


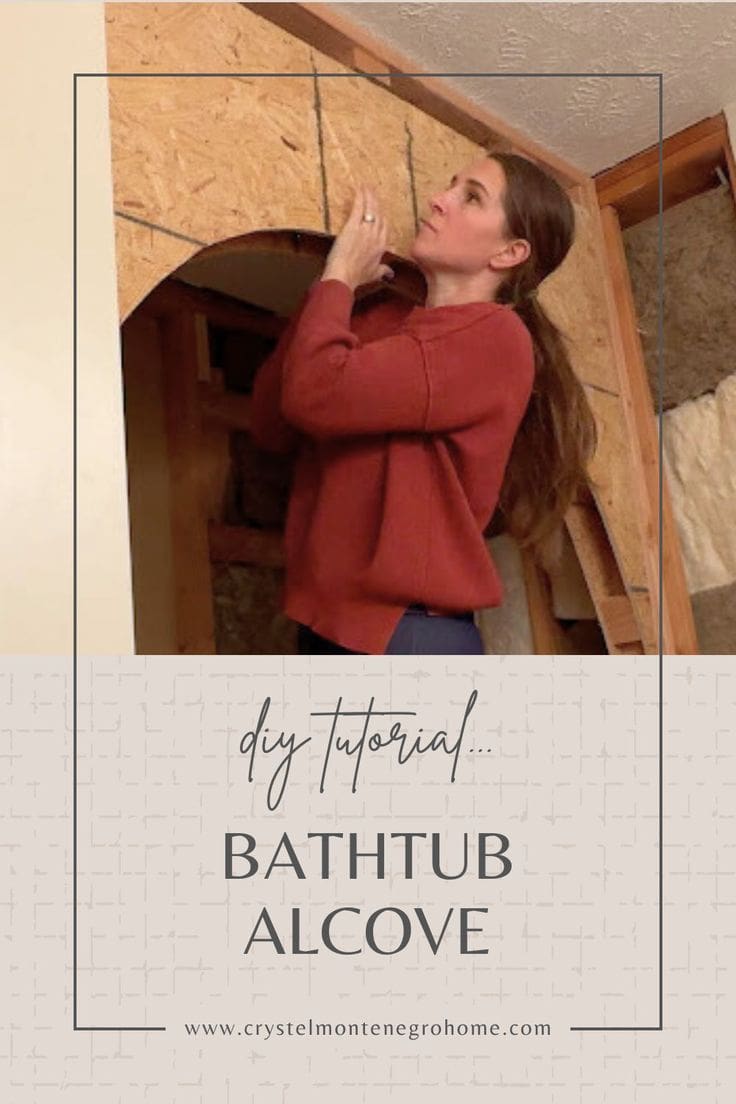
How To Build an Arched Bathtub Alcove


Updated July 13, 2026
Dreaming of a unique bathroom makeover? Creating an arched bathtub alcove might be the perfect solution if you’re looking for a way to add classic elegance and charm to your space. Follow along as I take my basic, builder-grade guest bathroom and turn it into something truly special, starting with my DIY arched bathtub alcove.
Associated Blog Posts
– Complete DIY Guide to My Dark Green Bathroom Remodel
– DIY Curved Molding Around an Arch
– How I Installed a Beautiful Tile Tub Surround (And You Can Too!)
– Upgrading Our Guest Bath with DIY Picture Frame Molding
– How To Build a Brass Rail Shelf (high-end dupe)
Table of Contents
- Tools for Building a Bathtub Arch
- Materials for Your Arched Bathtub Alcove Project
- Step 1: Demo the Shower Area to Prep for an Arch
- Step 2: Frame the Bathtub Alcove with 2x4s
- Step 3: Trace and Cut the Arch for Your Bathtub Niche
- Step 4: Assemble the Arched Structure with Spacer Blocks
- Step 5: Install the Arch Inside the Framing
- The Final Reveal: My Finished Arched Bathtub Alcove
- 📌Save This Project for Later
- Frequently Asked Questions About Building an Arched Bathtub Alcove
Tools for Building a Bathtub Arch
Materials for Your Arched Bathtub Alcove Project
- 2×4’s
- OSB
- Wood screws
- Brad nails
Step 1: Demo the Shower Area to Prep for an Arch
Let’s take a moment to appreciate the “before” photos – a basic shower, toilet, and vanity combo. Functional, sure, but nothing memorable. Adding an arched bathtub alcove was just the first step in transforming this space.

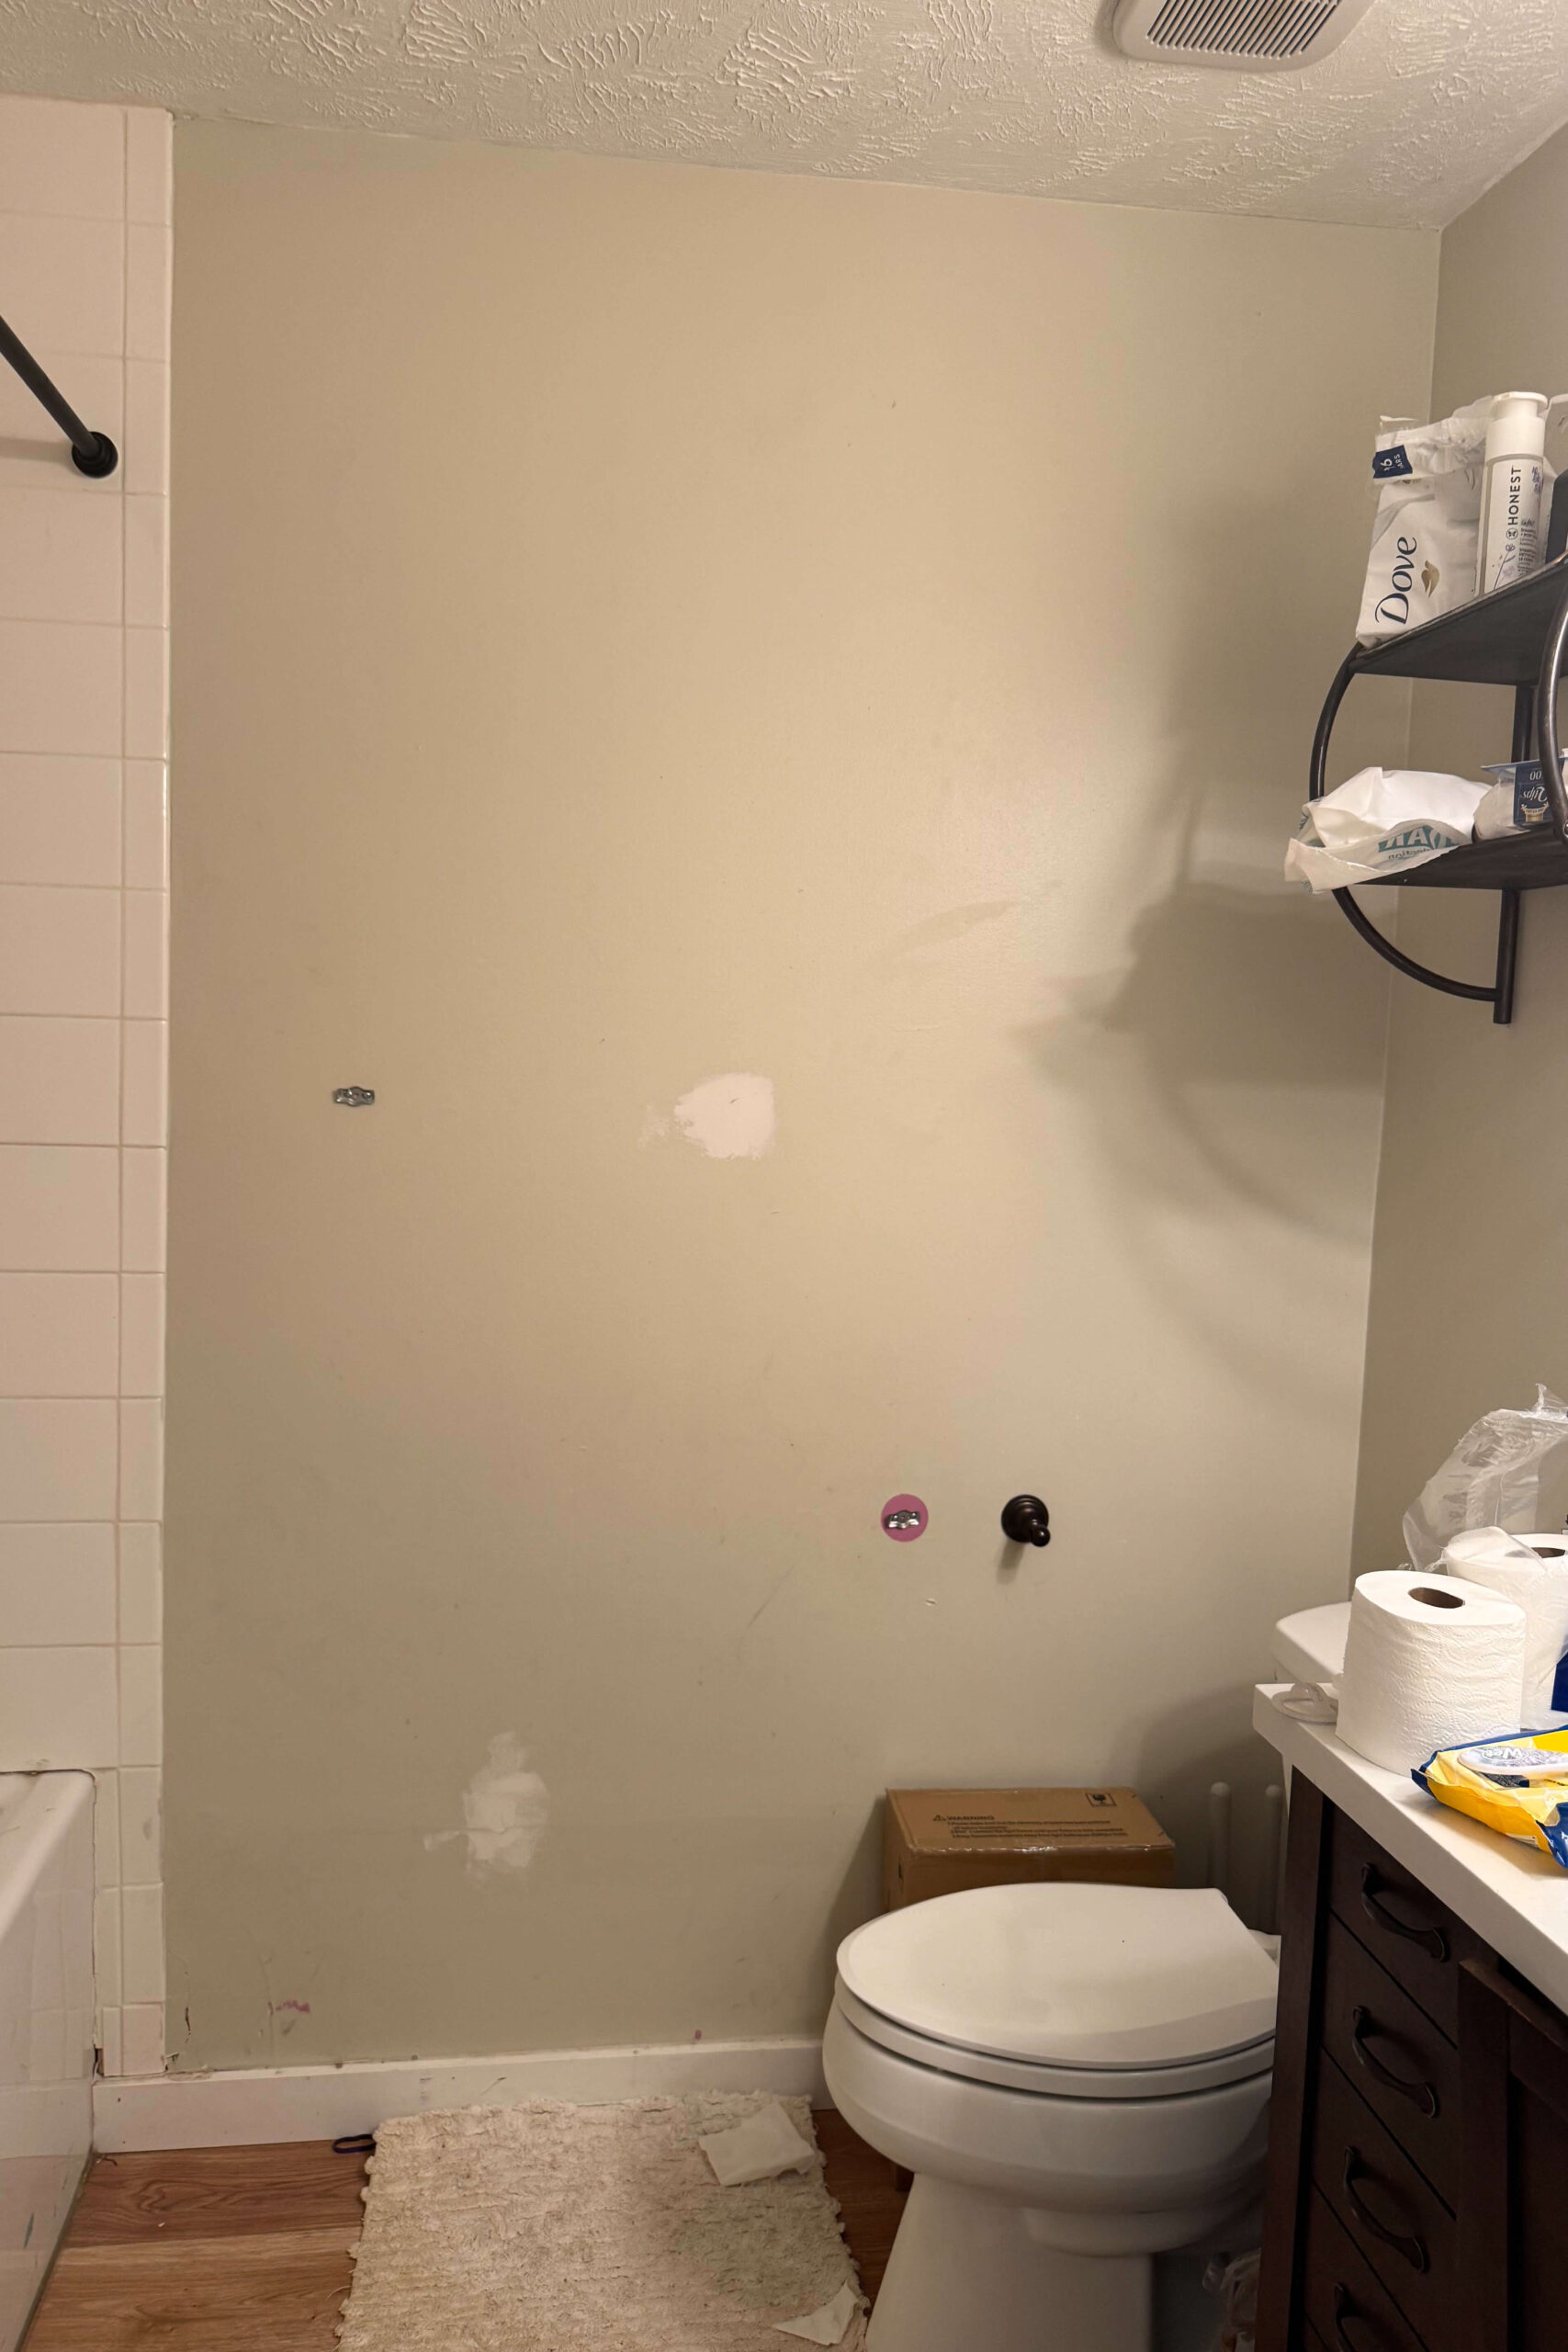
To get started, I stripped the shower surround down to its bones. The bathtub itself stayed, but the tired tile walls had to go. Armed with a hammer and a pry bar, I chipped away at the tiles, carefully sliding the curved end of the pry bar underneath and tapping with precision. Once the tiles were gone, I cut out the old cement board (and some drywall) with my multi-tool to prep the space for the next stage.


Step 2: Frame the Bathtub Alcove with 2x4s
With a clean slate ready, it was time to start framing. Using 2x4s and my trusty framing nailer, I built the basic structure for the arched bathtub alcove. A level is a must during this process because when it comes to framing, precision is everything!


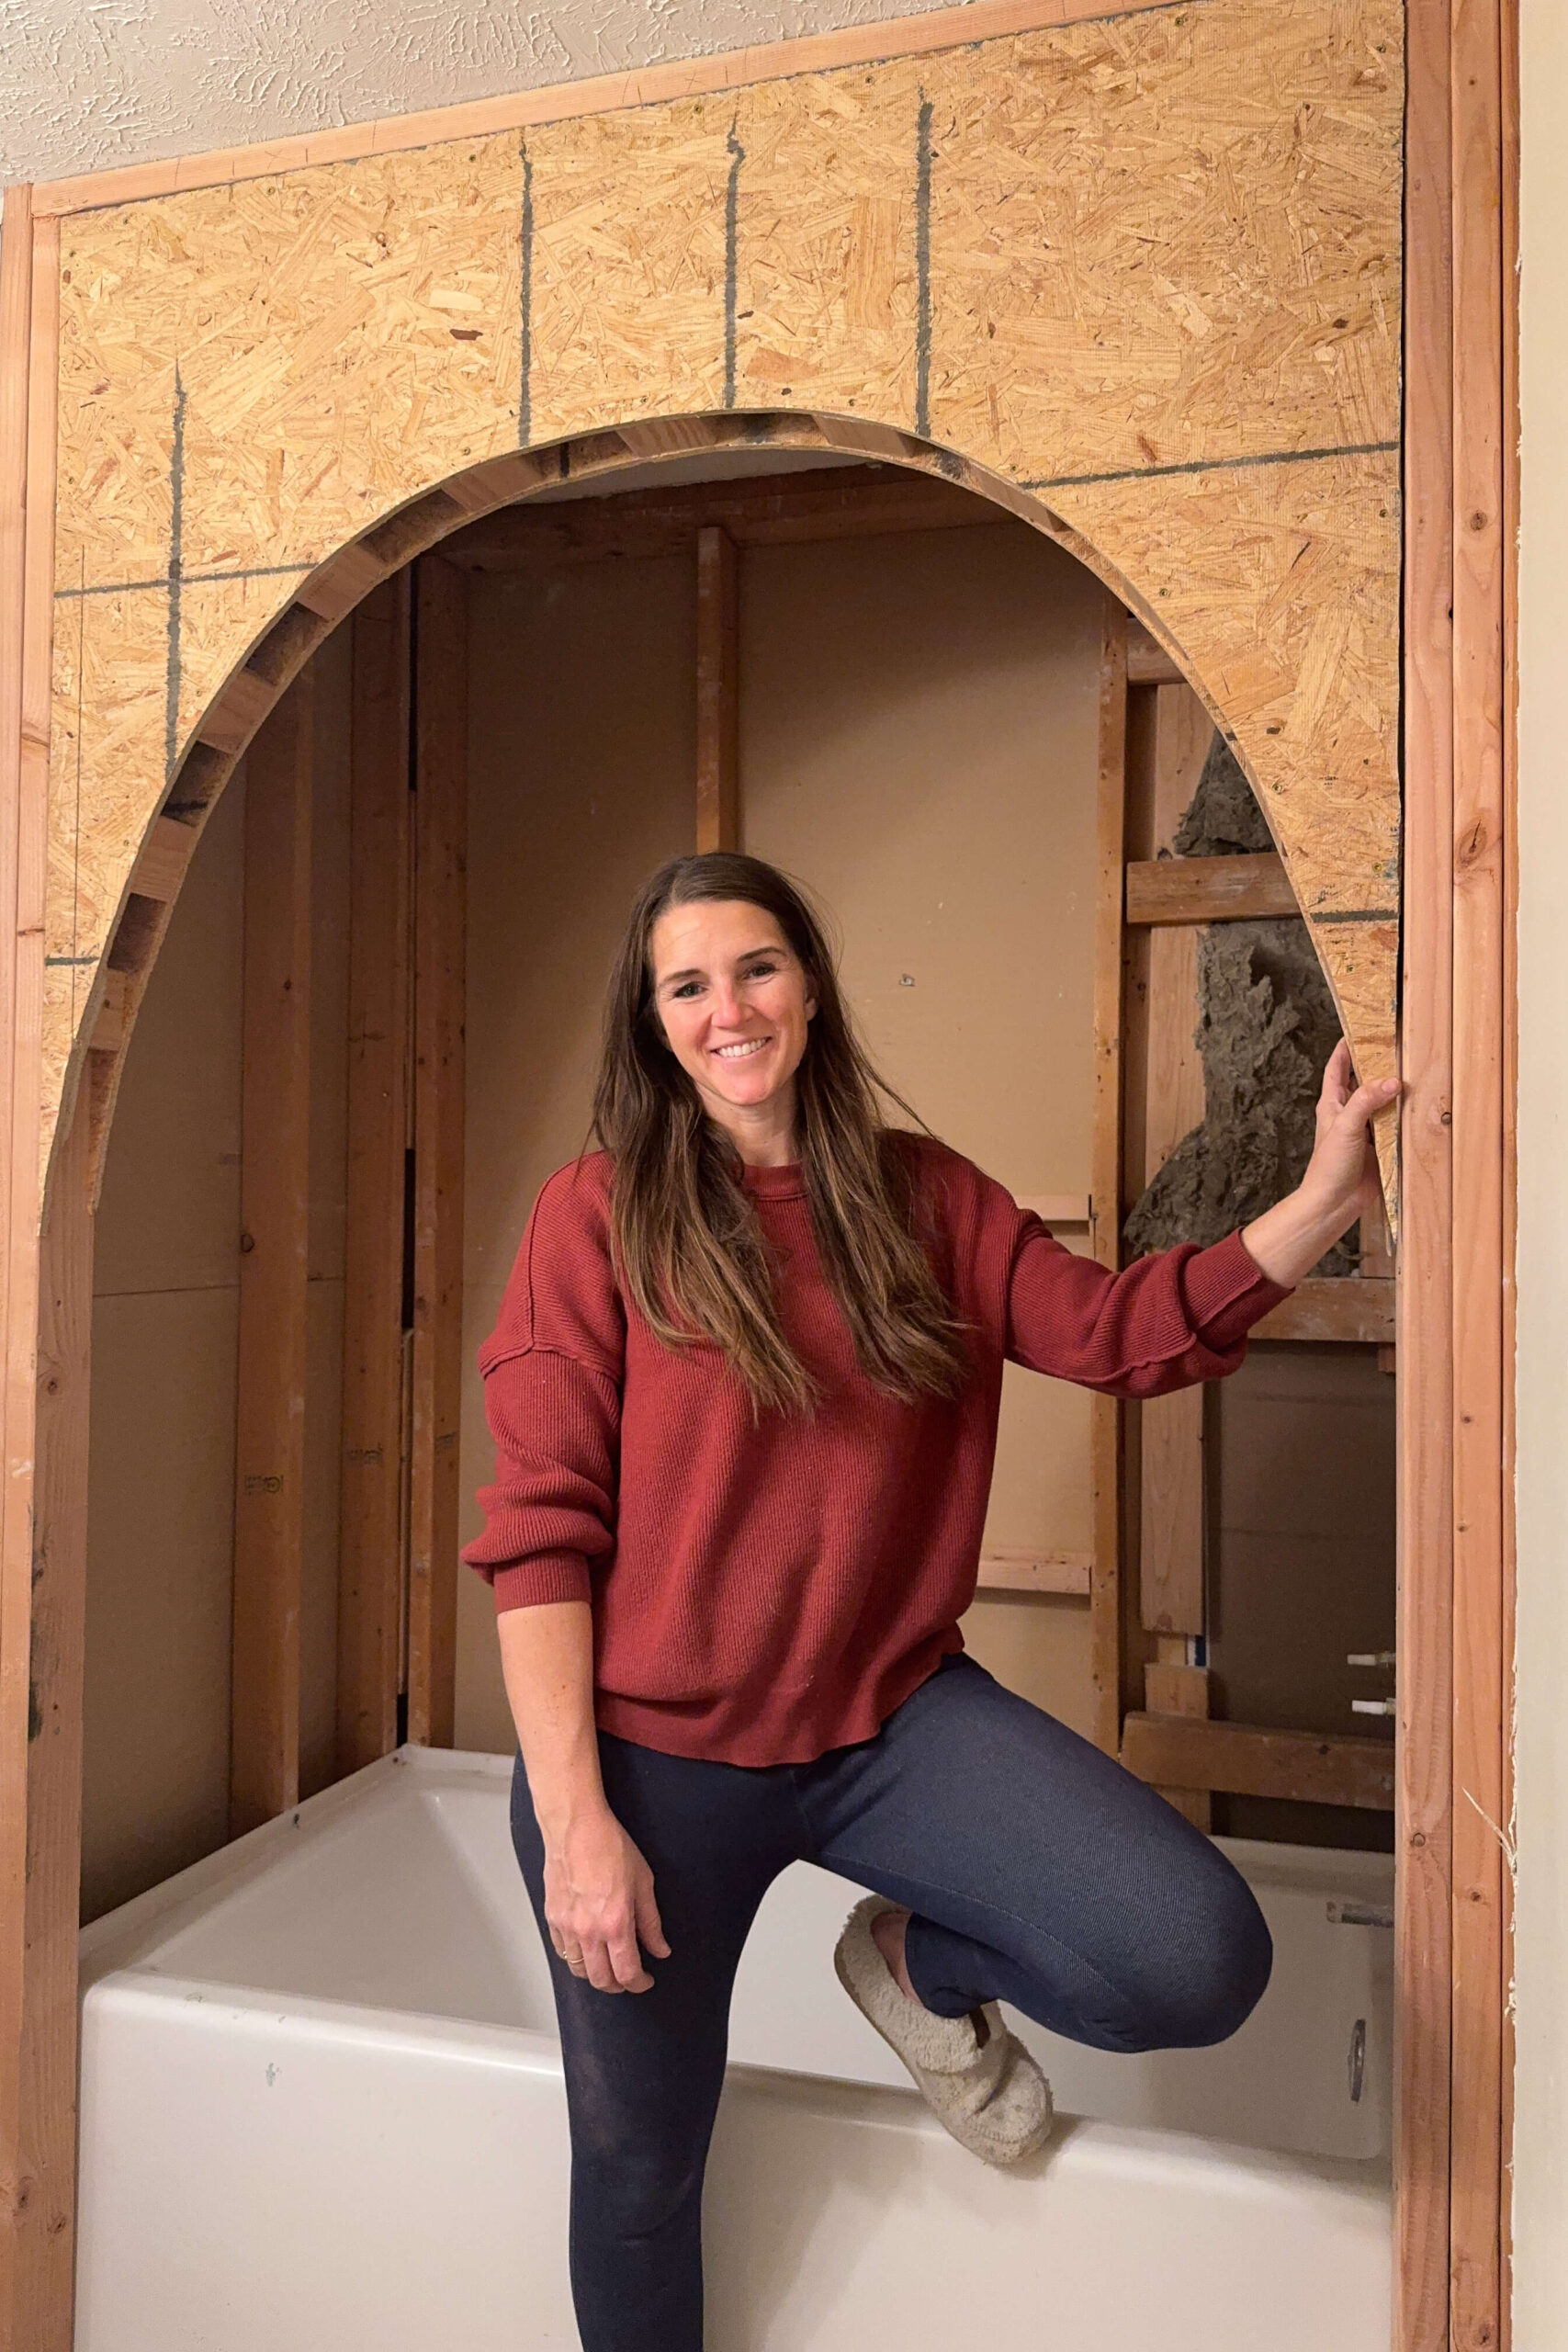
Step 3: Trace and Cut the Arch for Your Bathtub Niche
The star of this project – the arch – was up next. To get it just right, I made a paper pattern and traced it onto a sheet of OSB. With my jigsaw, I carefully cut out the curved shape. Before moving forward, I dry-fit the arch to ensure it was a perfect fit. Spoiler alert: it was!
Using the first arch as a template, I traced and cut out a second identical piece.


Step 4: Assemble the Arched Structure with Spacer Blocks
To give the arch the thickness of a 2×4 (3.5 inches), I created a layered structure. Each sheet of wood was half an inch thick, so I added 2.5-inch spacer blocks in between. I cut the blocks with my miter saw, spaced them evenly along the arch, and sandwiched everything together.


A brad nailer held it temporarily, but for long-term durability, I drilled pilot holes and secured everything with wood screws. This method ensures the arched bathtub alcove will stand the test of time.

Step 5: Install the Arch Inside the Framing
To attach the arch inside the frame, I added 2.5-inch spacer blocks along the top beam of the framing. Scrap pieces of OSB came in handy to quickly center the blocks.

Once everything was aligned, I slid the arch into place and secured it to the spacer blocks.


For the underside, I added wood blocks every few inches to create a solid surface for tiling or drywall. These were initially held in place with the brad nailer, then locked down with screws for extra stability.

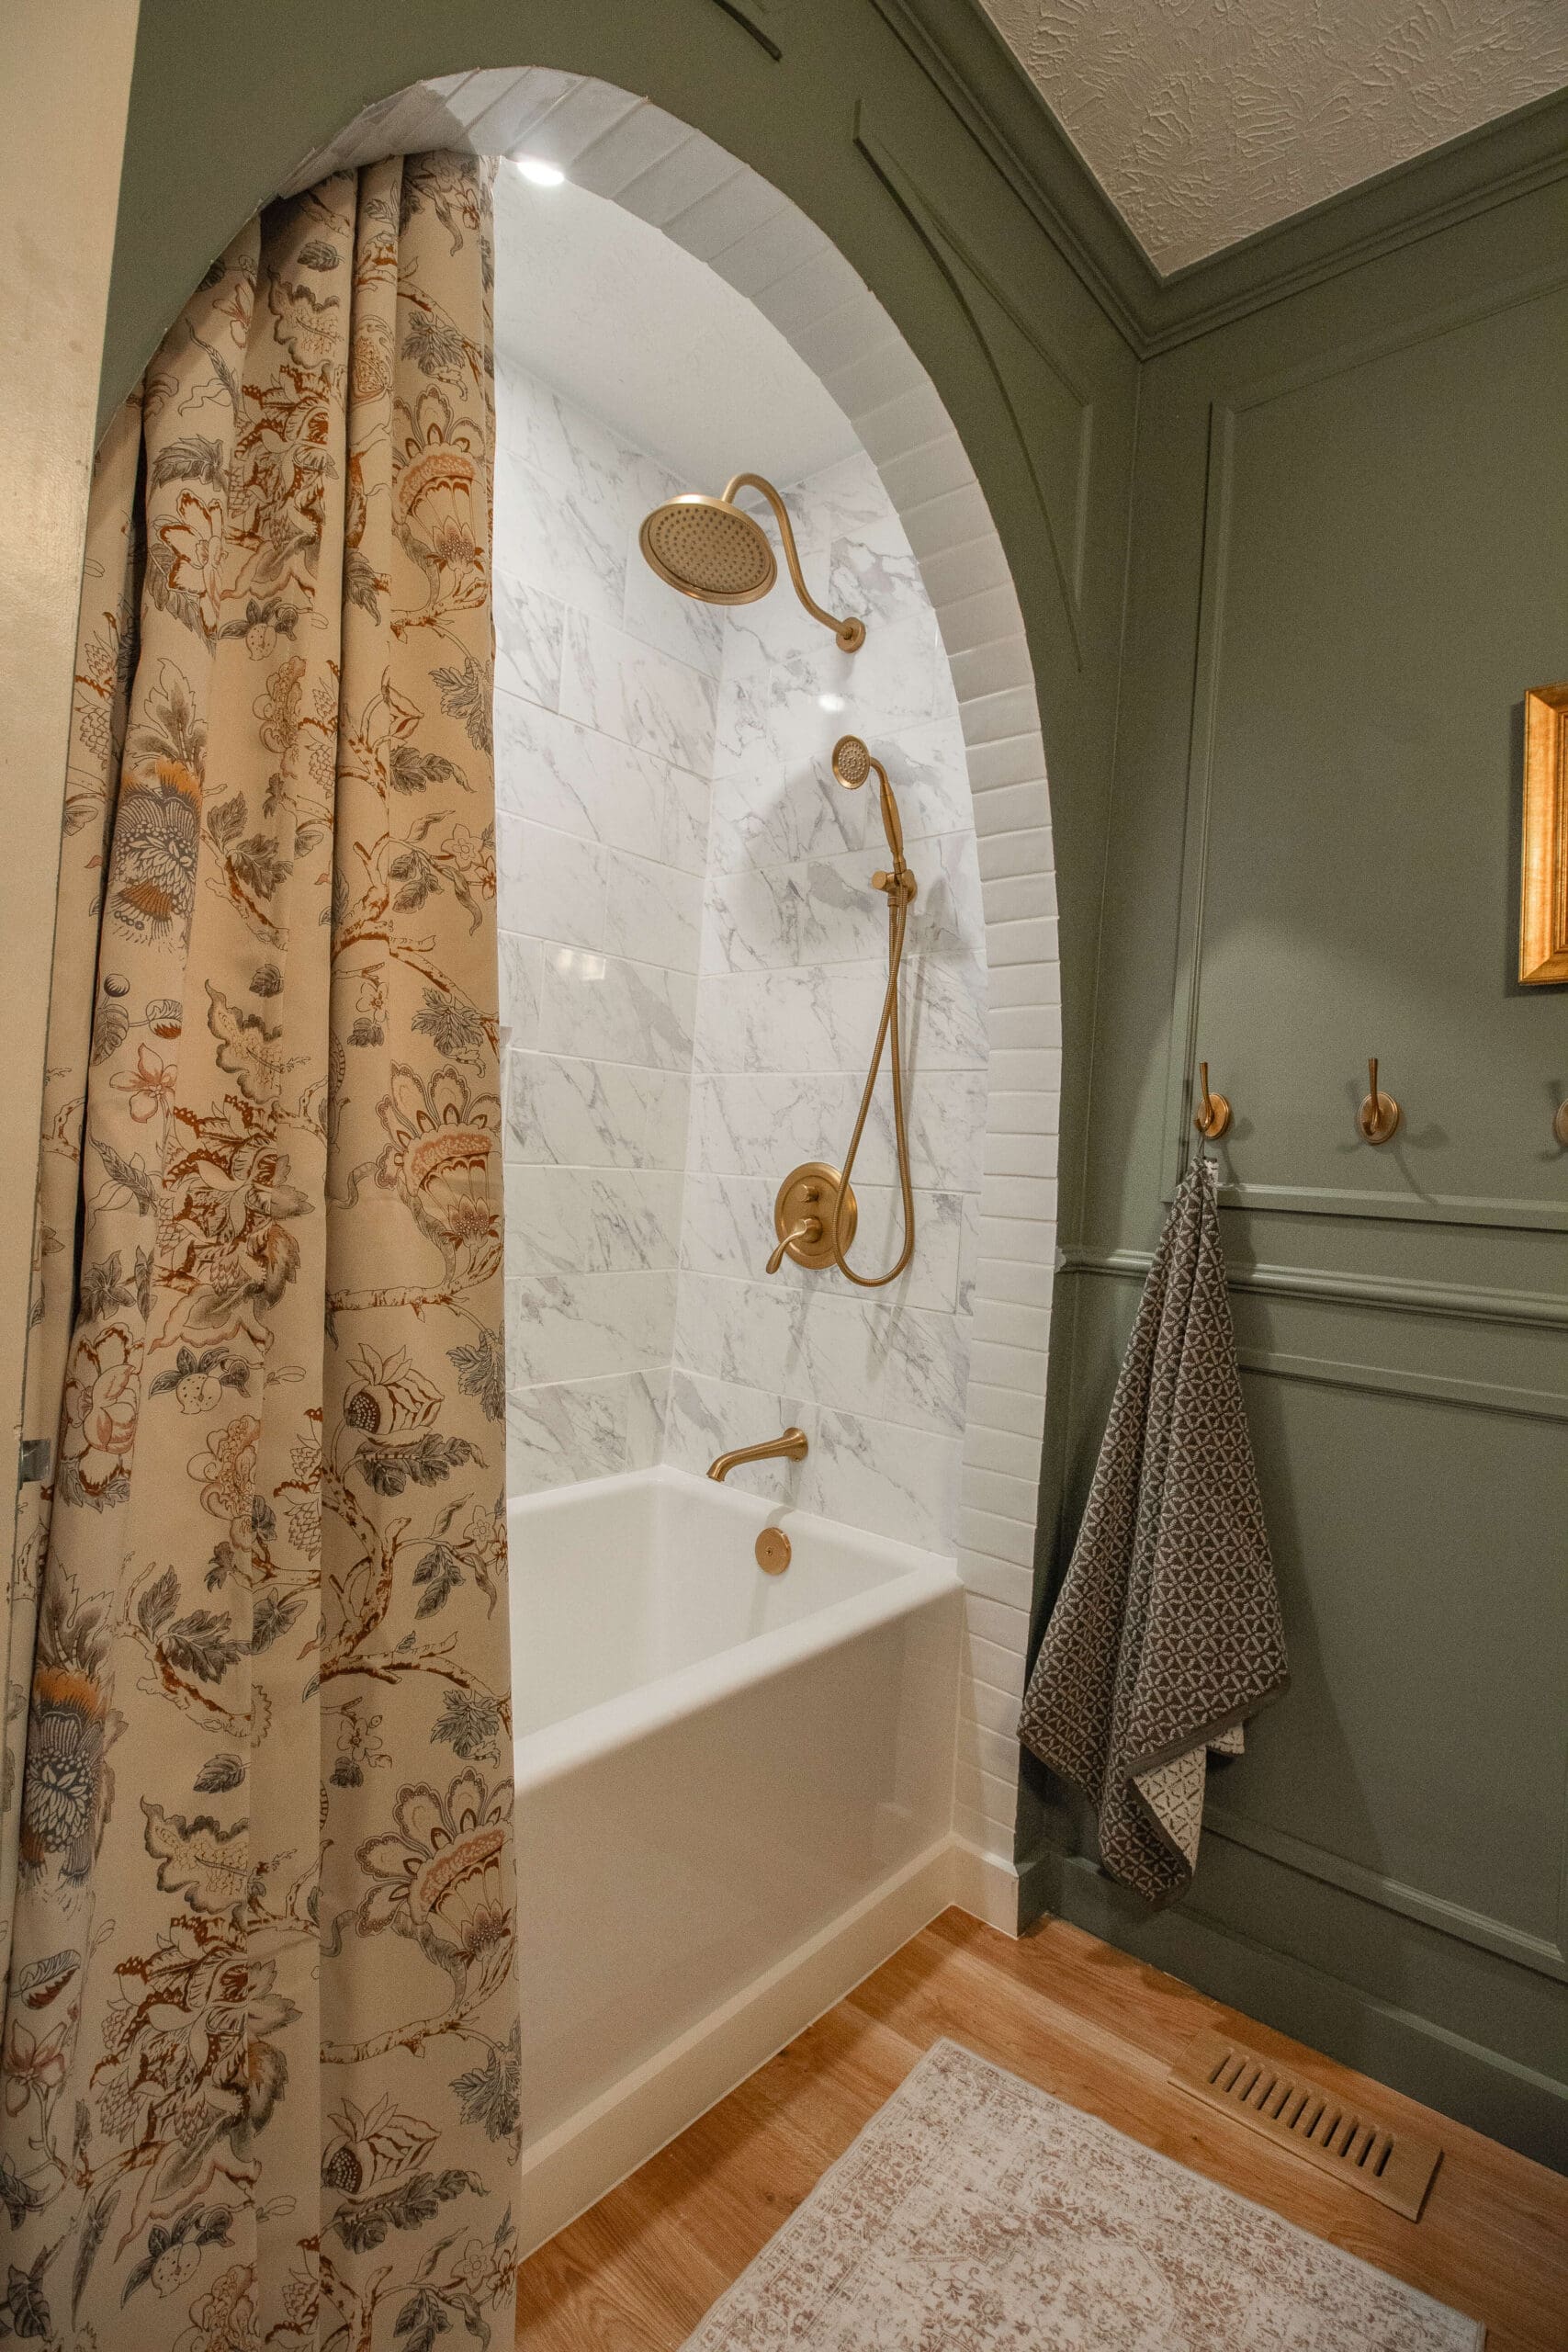
The Final Reveal: My Finished Arched Bathtub Alcove
I couldn’t be happier with how this arched bathtub alcove turned out. Arches have become a signature in my home—showing up in places like my stone range hood, living room built-ins, and pantry doorway. But this arched bathtub alcove feels extra special. It’s for my girls, and it’s one of my last big DIYs before our upcoming move.
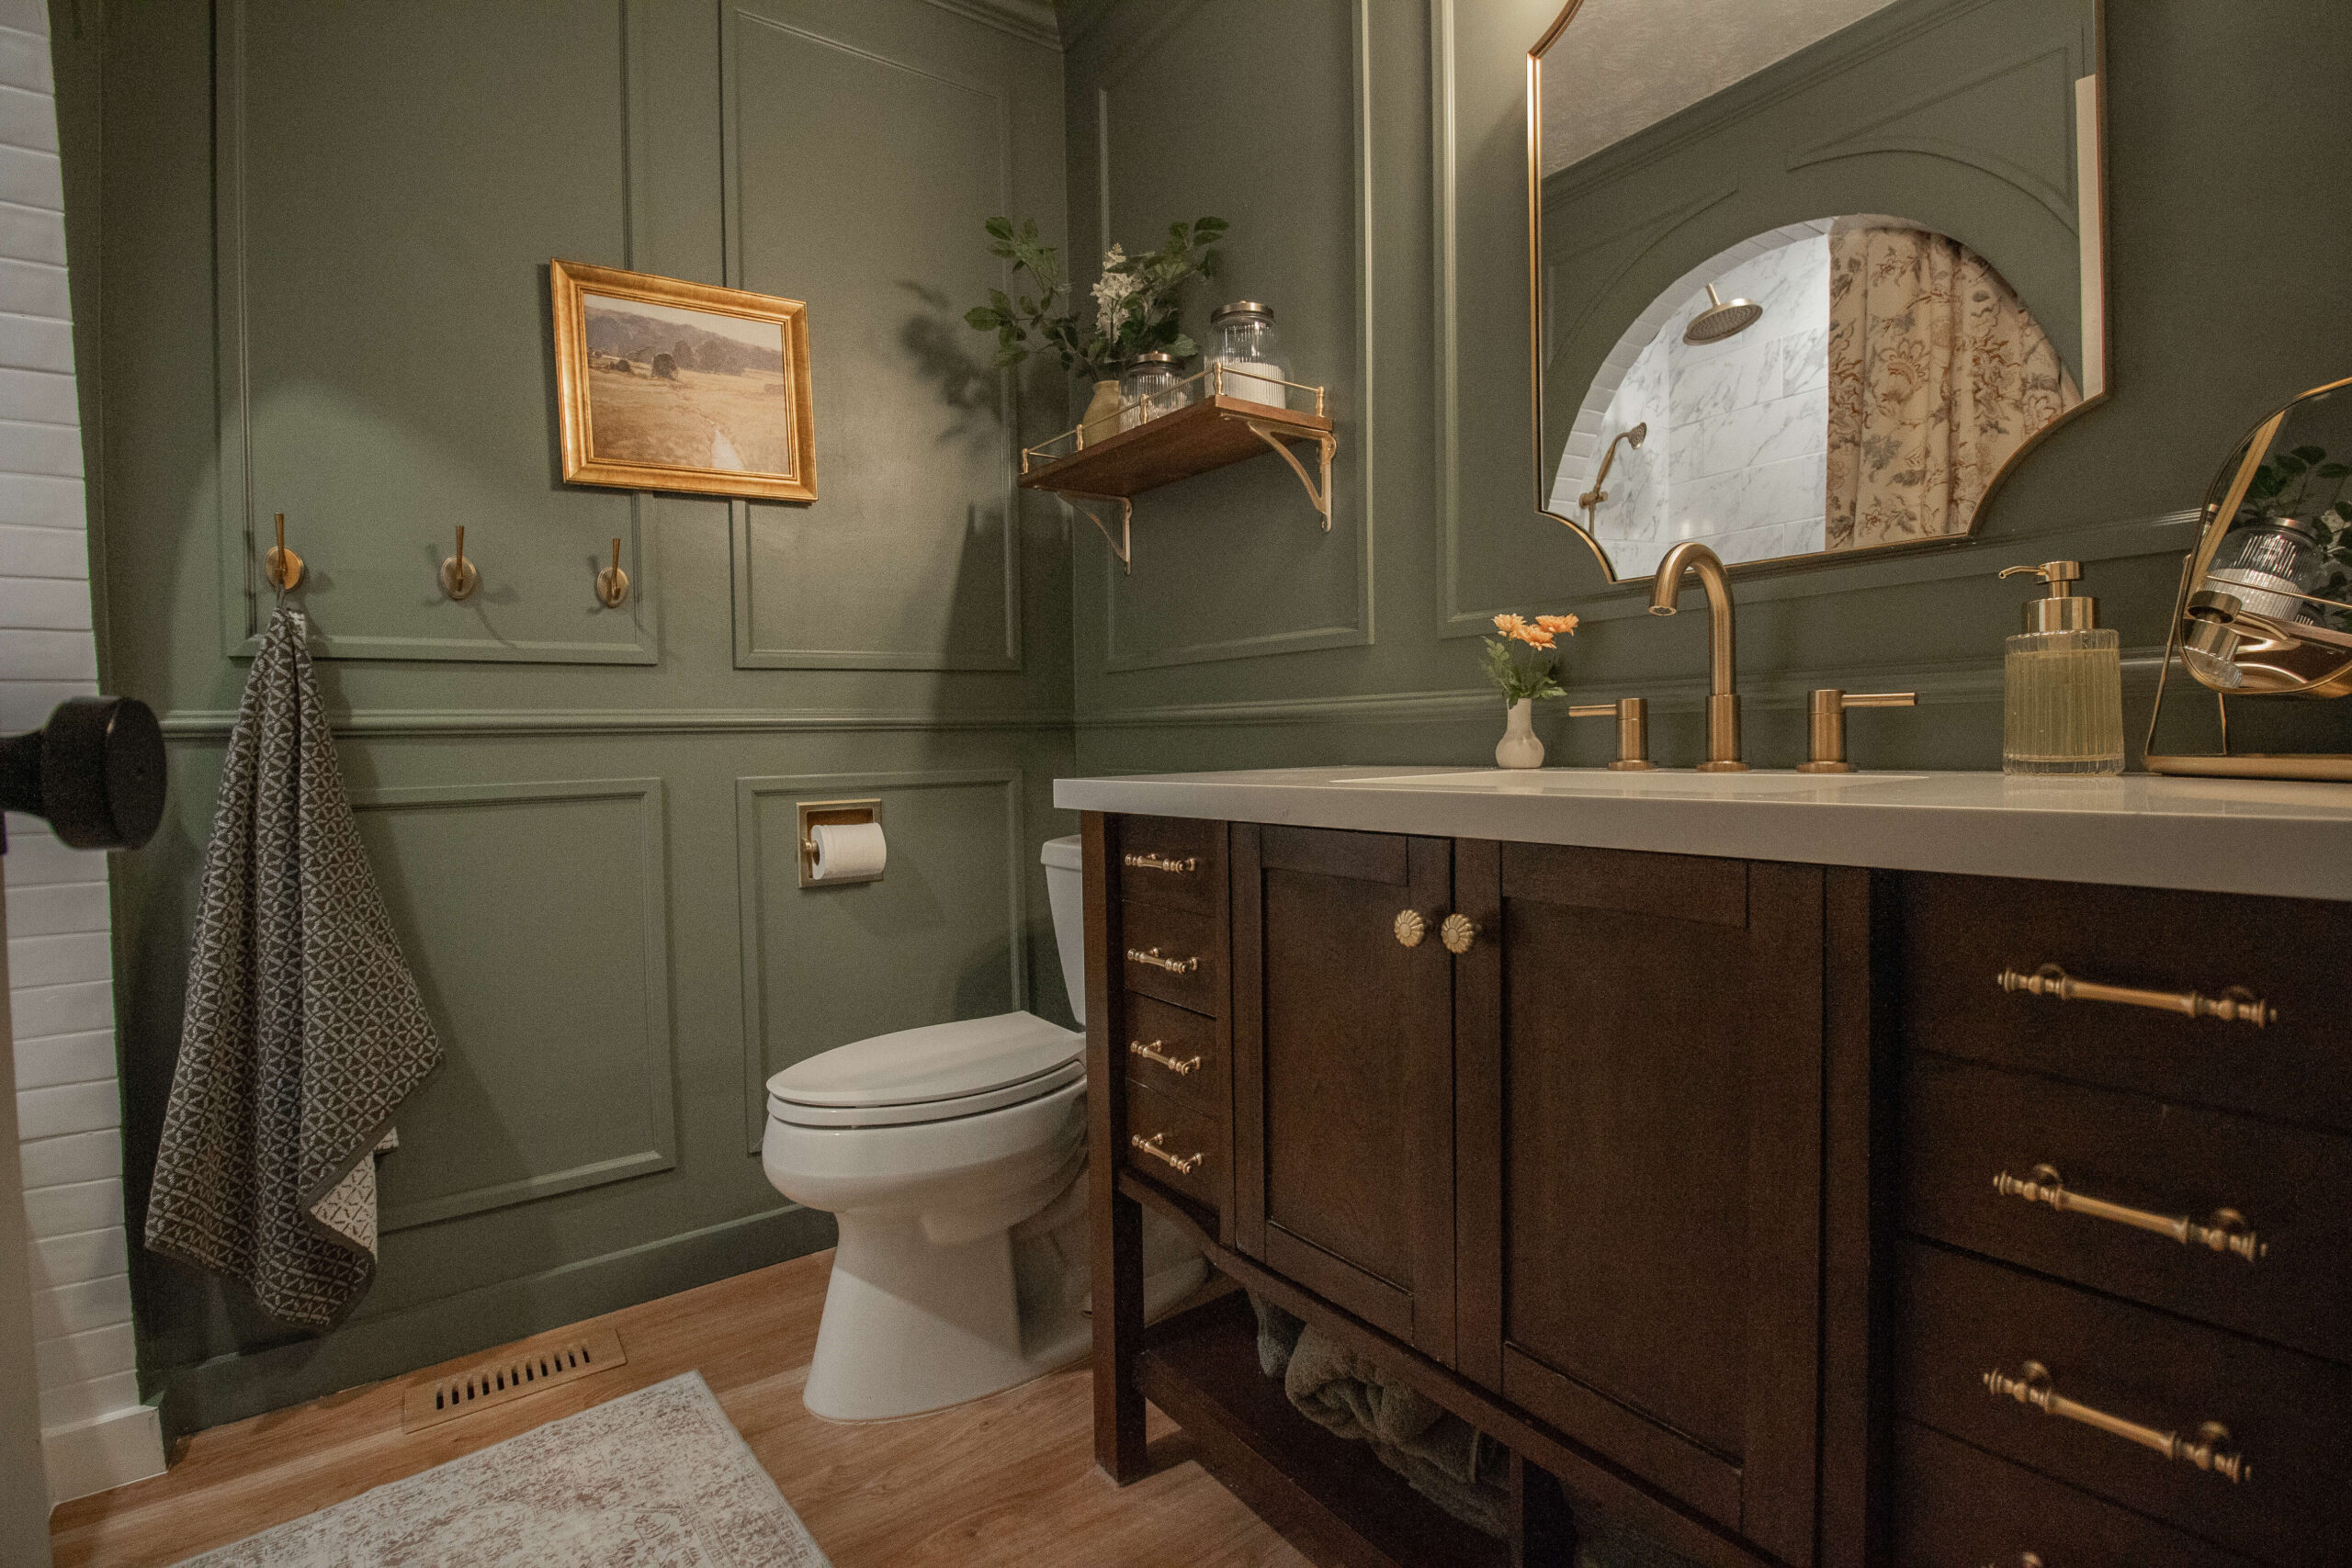
After installing this gorgeous tile, drywalling, painting, and adding custom curved trim, the bathroom was completely transformed. What was once a basic, builder-grade space is now functional, elegant, and brimming with personality.
Links to all the projects in this bathroom:
- How I Installed a Beautiful Tile Tub Surround
- DIY Curved Molding Around an Arch
- DIY Guest Bath Upgrade with Picture Frame Molding
- DIY Dark Green Bathroom Remodel: Complete Guide
- How To Build a Brass Rail Shelf (high-end dupe)

If you’ve been dreaming of upgrading your bathroom, an arched bathtub alcove could be the perfect way to add timeless charm and make your space truly one of a kind.
Would you like to see the full bathroom reveal? Click this link for all the details in one blog post.
📌Save This Project for Later

Frequently Asked Questions About Building an Arched Bathtub Alcove
An arched bathtub alcove is a curved architectural feature that frames a bathtub, adding elegance and character to a bathroom. It can be styled with tiles, drywall, or decorative trim to create a focal point in your space.
To build an arched bathtub alcove, you’ll need basic tools like a jigsaw, framing nailer, and wood screws. Start by framing the structure, cutting the arch from wood, and securing it into place. Adding wood blocks for stability is essential for a solid and durable finish.
Yes, you’ll need tools like a multi-tool for demo work, a jigsaw for cutting the arch, and a framing nailer for assembling the structure. These tools ensure precision and durability throughout the project.
Absolutely! An arched bathtub alcove can make a small bathroom feel more luxurious by adding architectural interest without taking up extra space.
I would really like to know what your tile is called and where you got it!
The subway tile is at Lowes and it’s Hudson Brilliant White 3-in x 6-in Glossy Ceramic Subway Wall Tile. The larger tile is also at Lowes and it’s Satori Statuario 12-in x 24-in Polished Porcelain Floor and Wall Tile
I am doing a similar design and wondered whether you did anything special for the curtain rod? Thank you!
It’s just a regular tension rod hung inside behind the arched part.