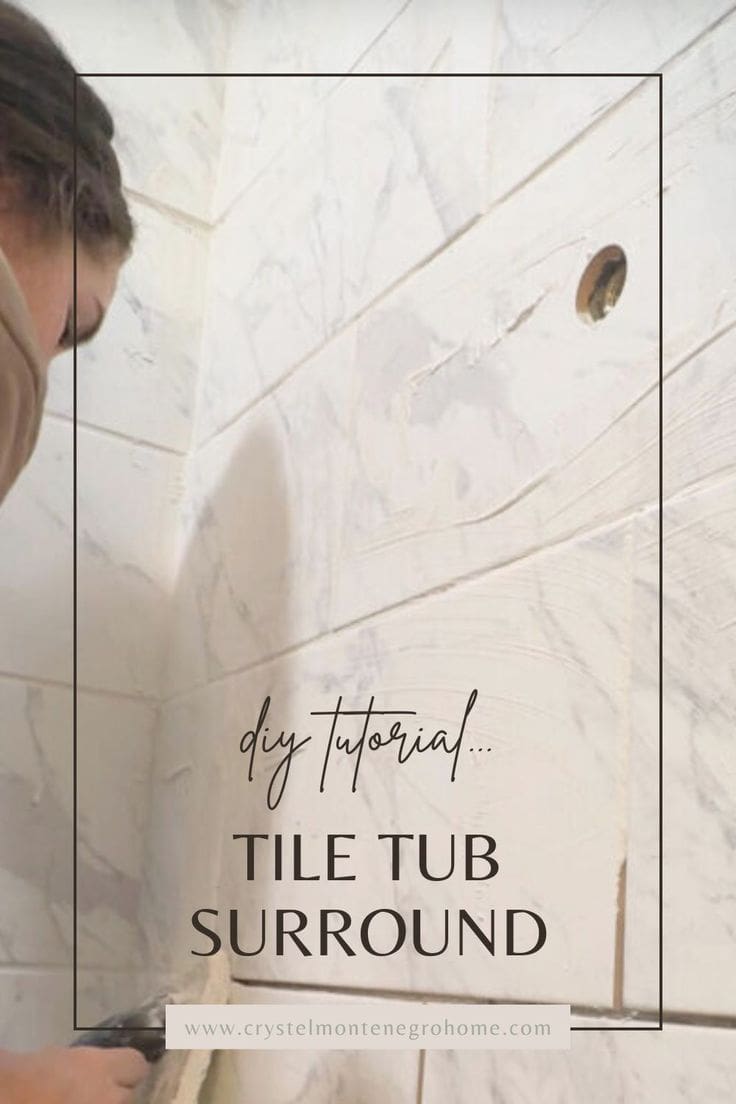
How I Installed a Beautiful Tile Tub Surround


Updated July 13, 2026
Welcome back, DIY enthusiasts! If you’re just tuning in, this is part two of my guest bathroom remodel adventure. Today, I’m showing you how I turned a boring shower/tub combo into a stunning tile tub surround. If I can do it, you can too! Let’s dive in.
Related DIY Bathroom Tutorials You’ll Love
– Complete DIY Guide to My Dark Green Bathroom Remodel
– DIY Curved Molding Around an Arch
– How To Build an Arched Bathtub Alcove
– Upgrading Our Guest Bath with DIY Picture Frame Molding
– How To Build a Brass Rail Shelf (high-end dupe)
Table of Contents
- Related DIY Bathroom Tutorials You’ll Love
- Tools for Installing a Tile Tub Surround
- Materials to Tile a Shower and Tub Combo
- Starting My Guest Bathroom Shower Remodel
- How to Prep Walls for a Tile Tub Surround
- How to Waterproof a Tile Tub Surround with AquaDefense
- Installing Shower Niche Tile in a Tub Surround
- How to Tile the Walls in a Bathtub Shower Combo
- Cutting Tile Around Shower Fixtures and Plumbing
- How to Grout and Seal a Tile Tub Surround
- Tile Tub Surround Reveal: See the Finished Look
- Related DIY Bathroom Tutorials You’ll Love
- 📌 Save This Project for Later
- Frequently Asked Questions About Installing a Tile Tub Surround
Tools for Installing a Tile Tub Surround
- Drill
- Angle grinder with diamond wheel
- Board-cutting drill attachment
- Multi-tool
- Putty knife
- Paint Roller
- Notched trowel
- Tile saw
- Laser level
- Brad nailer
- Diamond hole saw
- Grout float
- Caulk gun
Materials to Tile a Shower and Tub Combo
- Cement board
- Concrete Screws
- Moisture resistant drywall
- Fiberglass tape
- Thin-set mortar
- AquaDefense
- Small tile for nook
- Large tile for shower wall
- Shims
- Scrap wood
- Tile Spacers
- Grout
- Tile sponge
- Silicone
- Shower fixtures
Starting My Guest Bathroom Shower Remodel
Before tackling the tile tub surround, here’s a quick recap. I started with the demo and built the frame for my bathroom’s showstopper – a beautiful arched alcove. I also added a shower nook for extra storage. Pro tip: To build a nook, install two crossbeams between the studs – one at the top and one at the bottom (sloped slightly forward for drainage). It’s a small detail that makes a big impact!
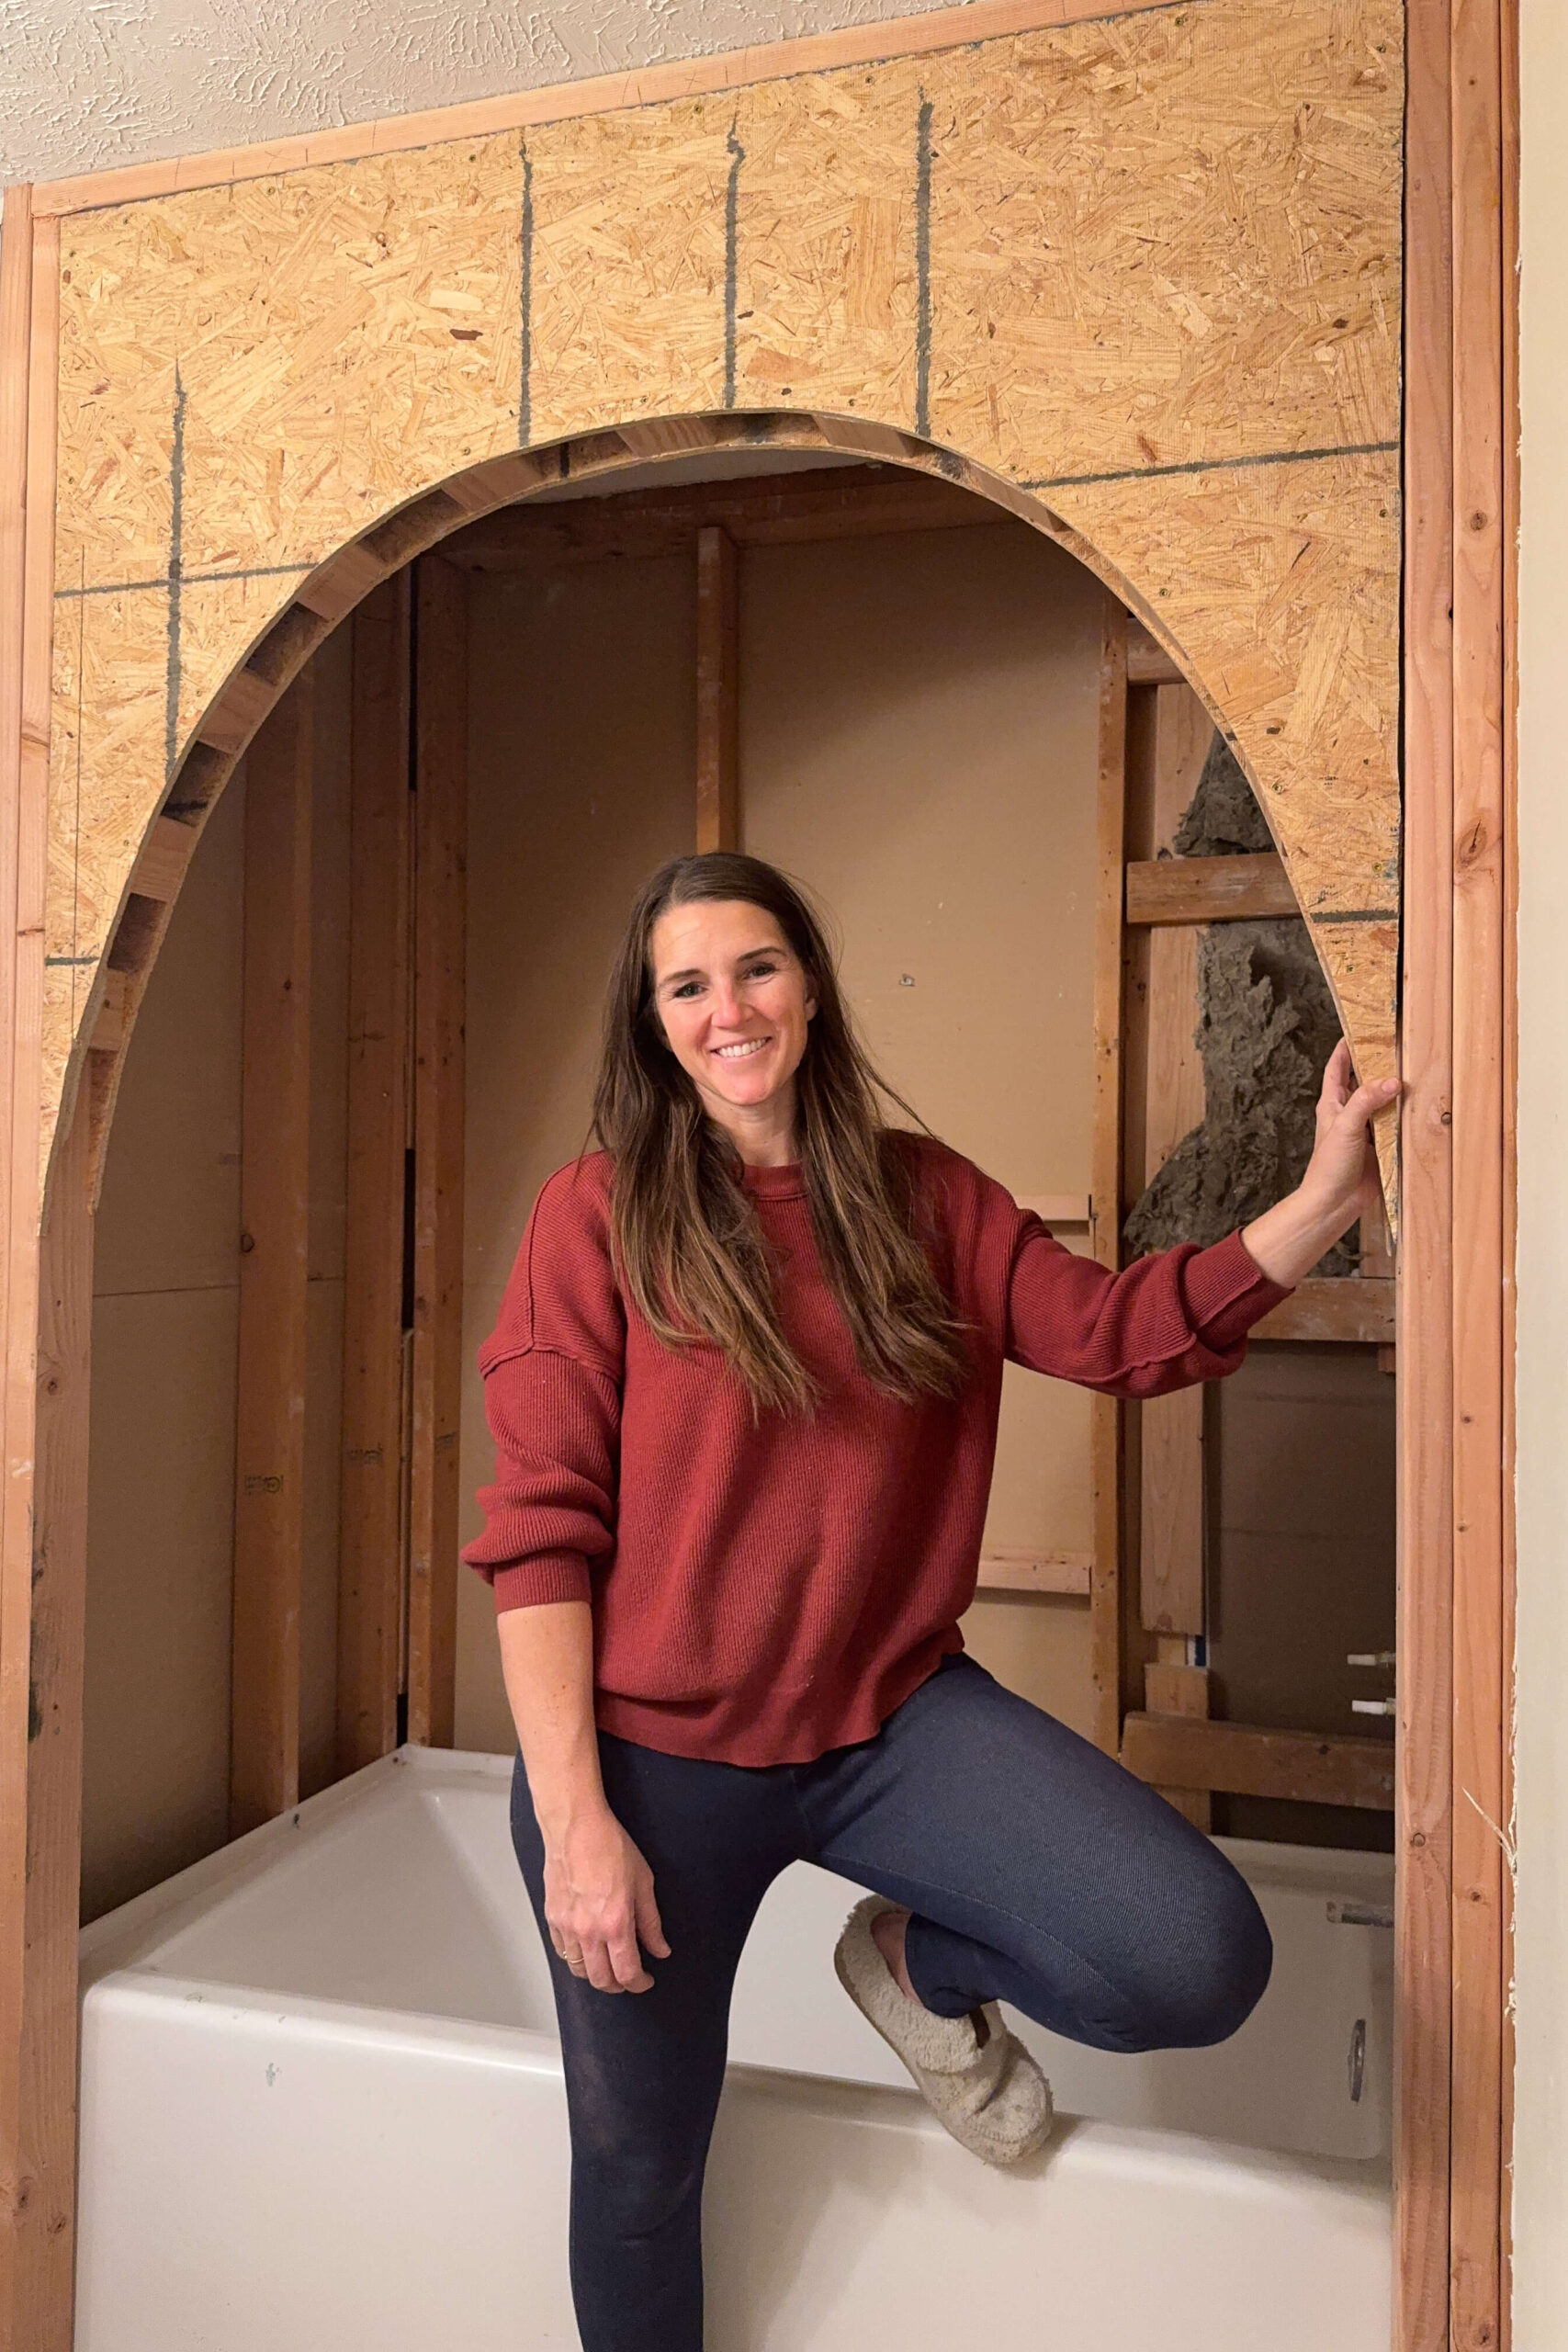

How to Prep Walls for a Tile Tub Surround
With framing done, it was time to prep for tile. Any area getting tiled must be covered with cement boar – it’s tougher than drywall and essential for a waterproof tile tub surround. I used a special drill attachment to cut the cement board, carefully fitting it around the shower nook, plumbing, and underside of the arch. Then, I secured it to the studs with concrete screws.


For the outside of the shower, I installed moisture-resistant drywall. Cutting the perfect arch was a breeze: I hung the drywall first, used the wood arch as a guide, and cut from the inside with my trusty multi-tool.


How to Waterproof a Tile Tub Surround with AquaDefense
Waterproofing is crucial for any bathroom tile project, especially a tile tub surround. I sealed the cement board seams with fiberglass tape and thin-set mortar. Once dry, I coated the entire area with AquaDefense – it’s amazing! Using a paint roller, I applied two coats, an hour apart, to create a reliable waterproof barrier.


Installing Shower Niche Tile in a Tub Surround
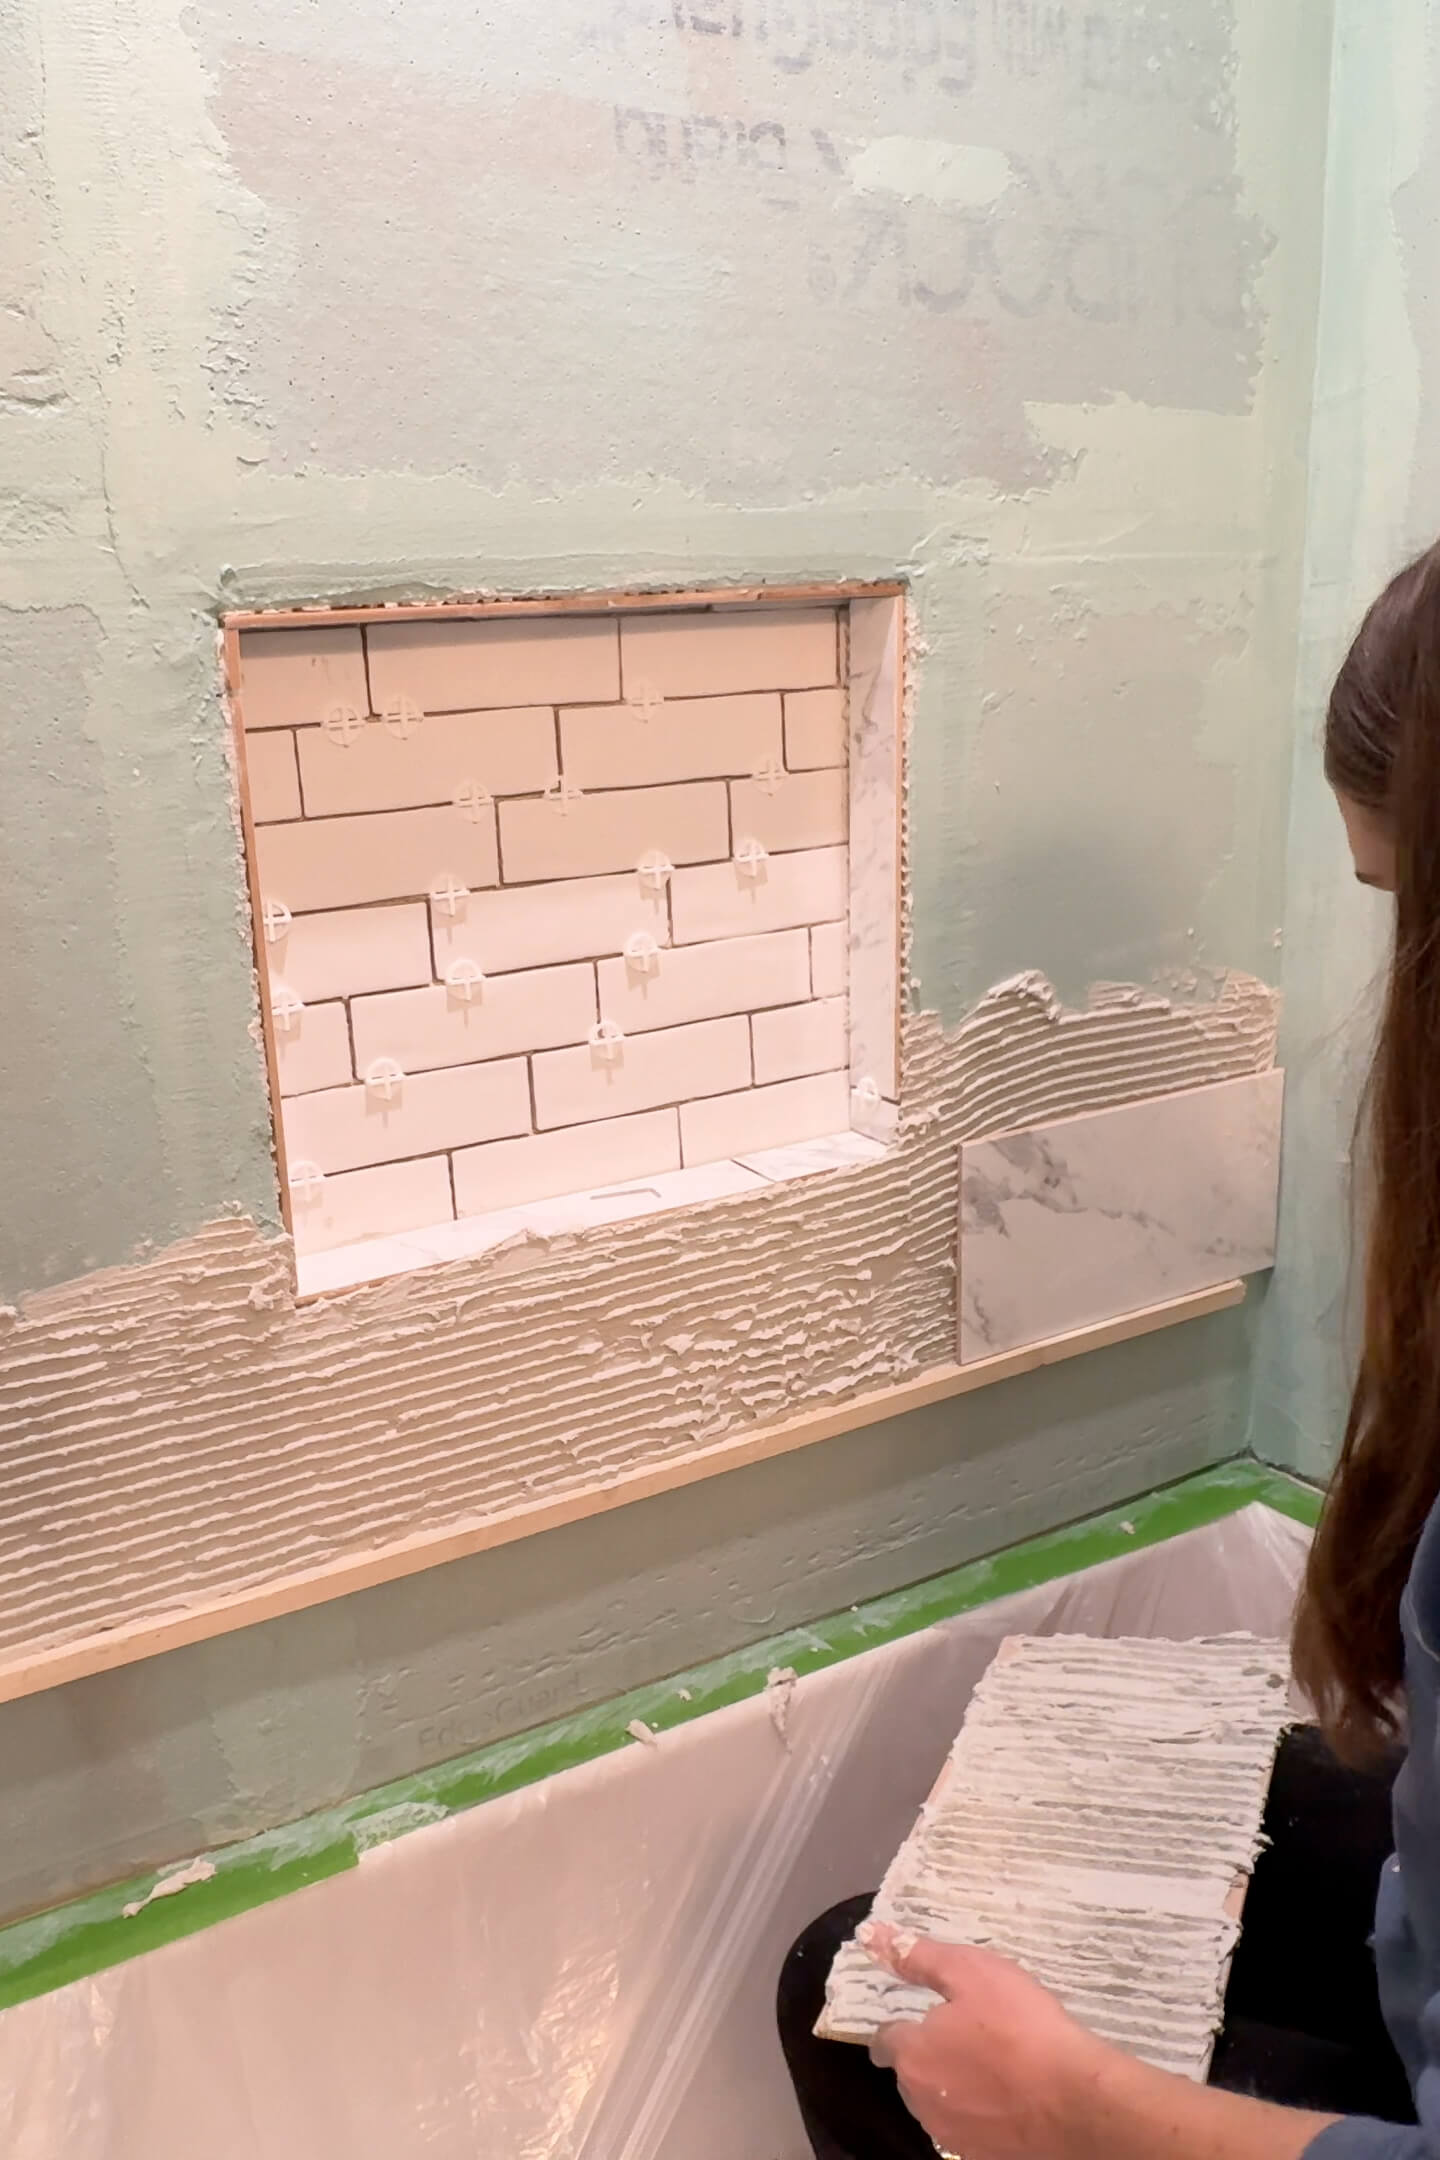
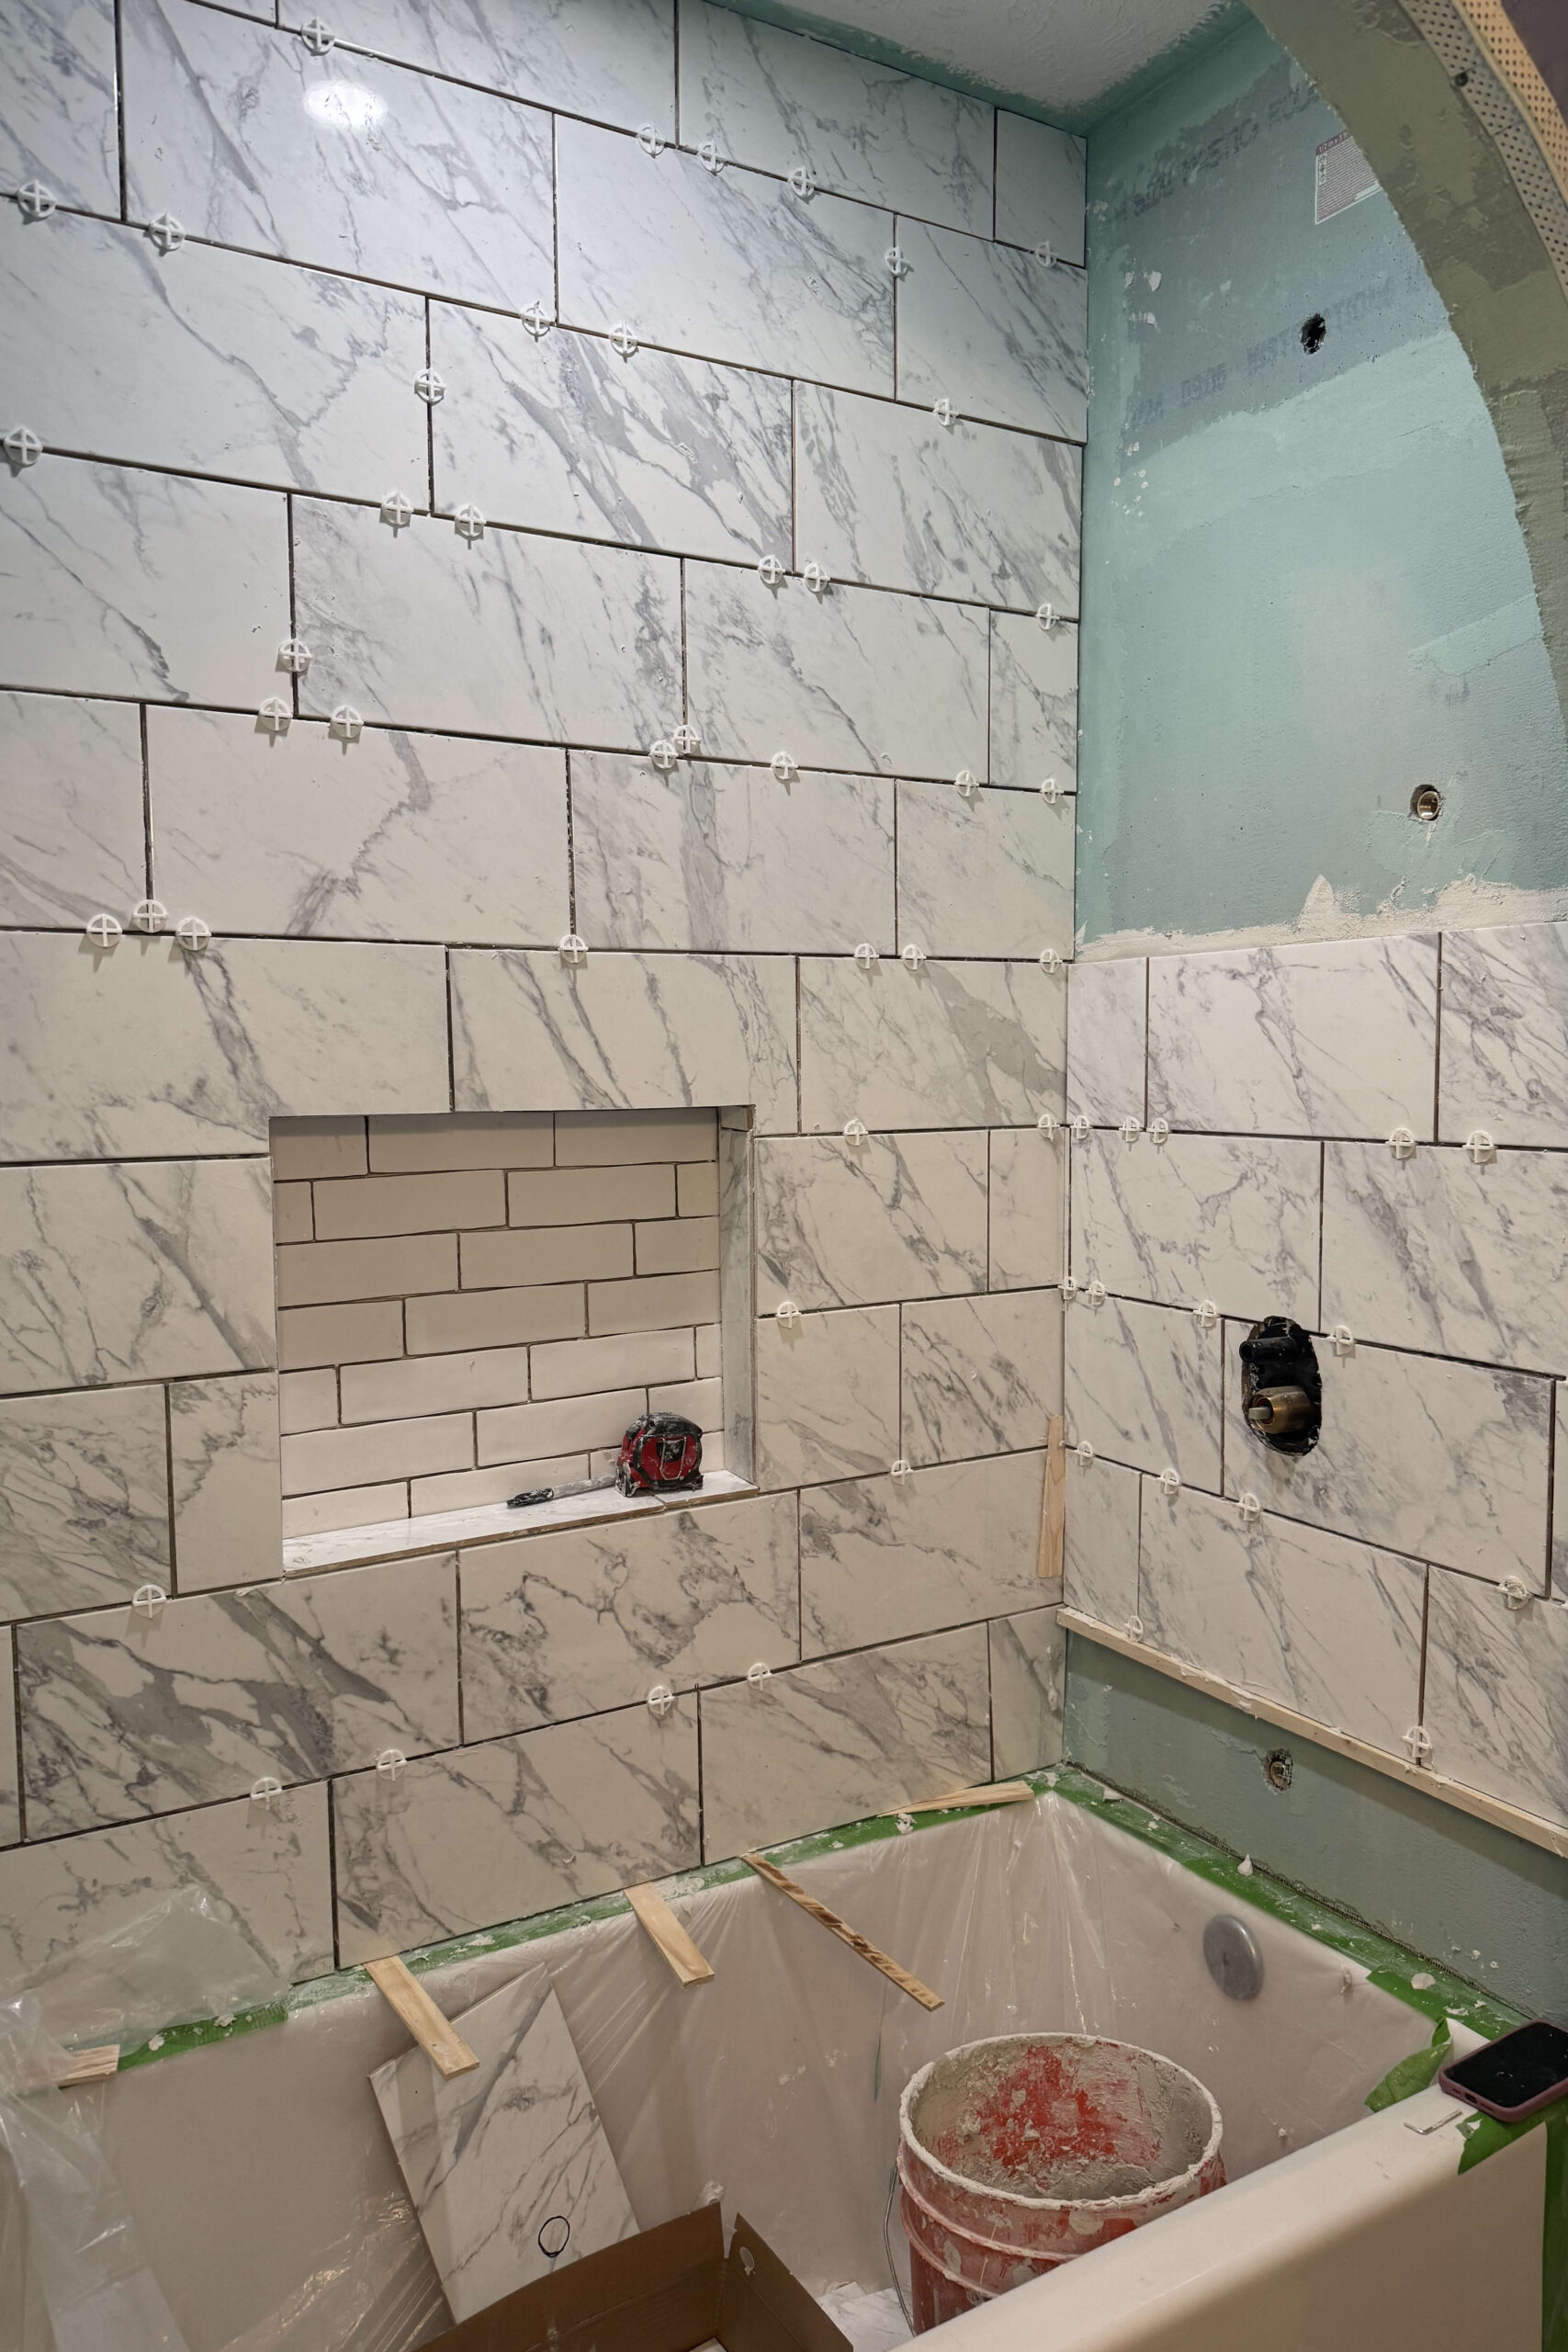
With the waterproofing done (note the blue walls from AquaDefense), it was time for tile. I started with the shower nook, using small subway tiles for the back. I find it’s easiest to place all the full tiles, then go back and fill in with cut pieces. For the nook’s edges, I trimmed pieces of the marble tile I used for the walls – fewer grout joints, cleaner look.


How to Tile the Walls in a Bathtub Shower Combo
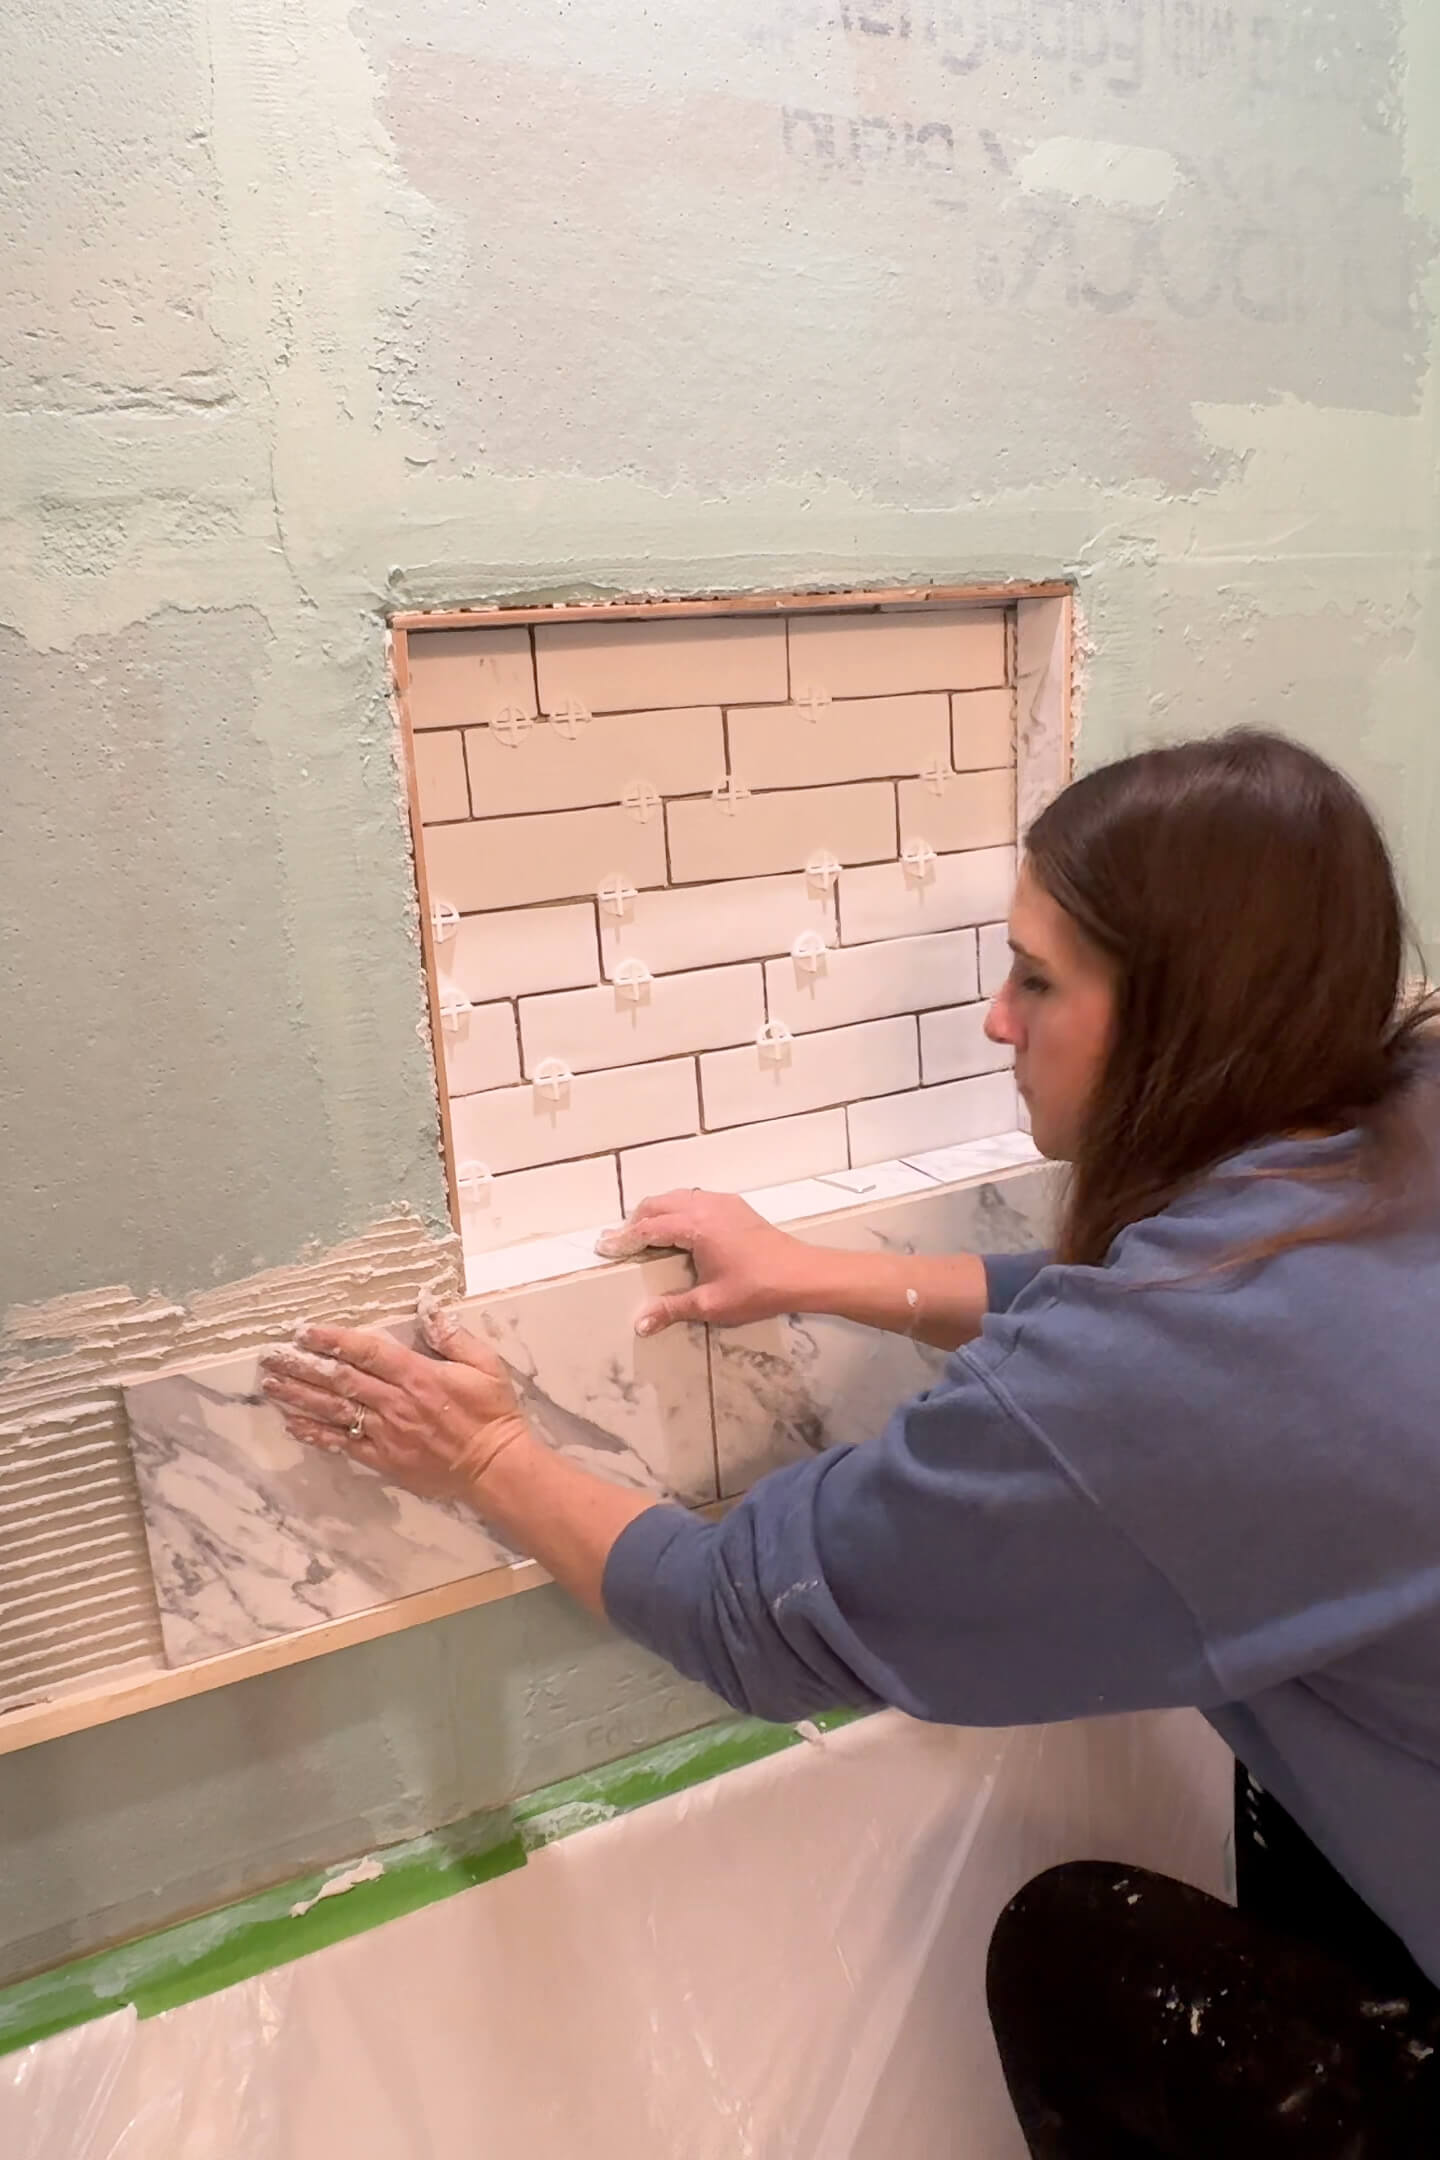
A ledger board is a must when tiling your tile tub surround – most tubs (like mine!) aren’t perfectly level. The ledger board ensures your first row of tile is even. I used a laser level to align it and secured it with a brad nailer.
Using a notched trowel, I applied thin-set to the wall and back-buttered the large marble tiles for extra adhesion. Starting at the bottom, I worked my way up, saving the bottom row (below the ledger board) for last. Once the upper tiles dried, I removed the ledger board, and patched the brad nail holes with AquaDefense.
Then, I trimmed and installed the very bottom tiles. Shims were perfect for propping them up off the tub since you want to keep that grout line even for a professional look.
For the arch, I used the same small subway tiles as the shower nook. After applying thin-set, I placed the tiles one by one while my assistant added spacers to keep everything aligned.

Cutting Tile Around Shower Fixtures and Plumbing
Cutting tiles for a tile tub surround can feel intimidating, but it’s manageable with the right tools. For small cuts (like the showerhead), I used a diamond hole saw. For larger openings, like the shower handle, my tile saw worked like a charm. A little water while drilling keeps everything cool and smooth.


How to Grout and Seal a Tile Tub Surround
Once all the tiles were in and the thin-set dried, it was time to grout. Using a grout float, I pushed grout into every gap at different angles. Before it dried, I wiped away excess grout with a damp sponge, rinsing and repeating until the tiles were clean.


If you want a visual of the process, I have a video showing how to apply grout from another shower remodel I did awhile back.
For the gap between the tub and tiles, I switched to silicone caulk. Silicone flexes with the tub’s subtle movements, preventing cracks. I also sealed around the fixtures for a watertight finish. These little details are key to a durable tile tub surround.


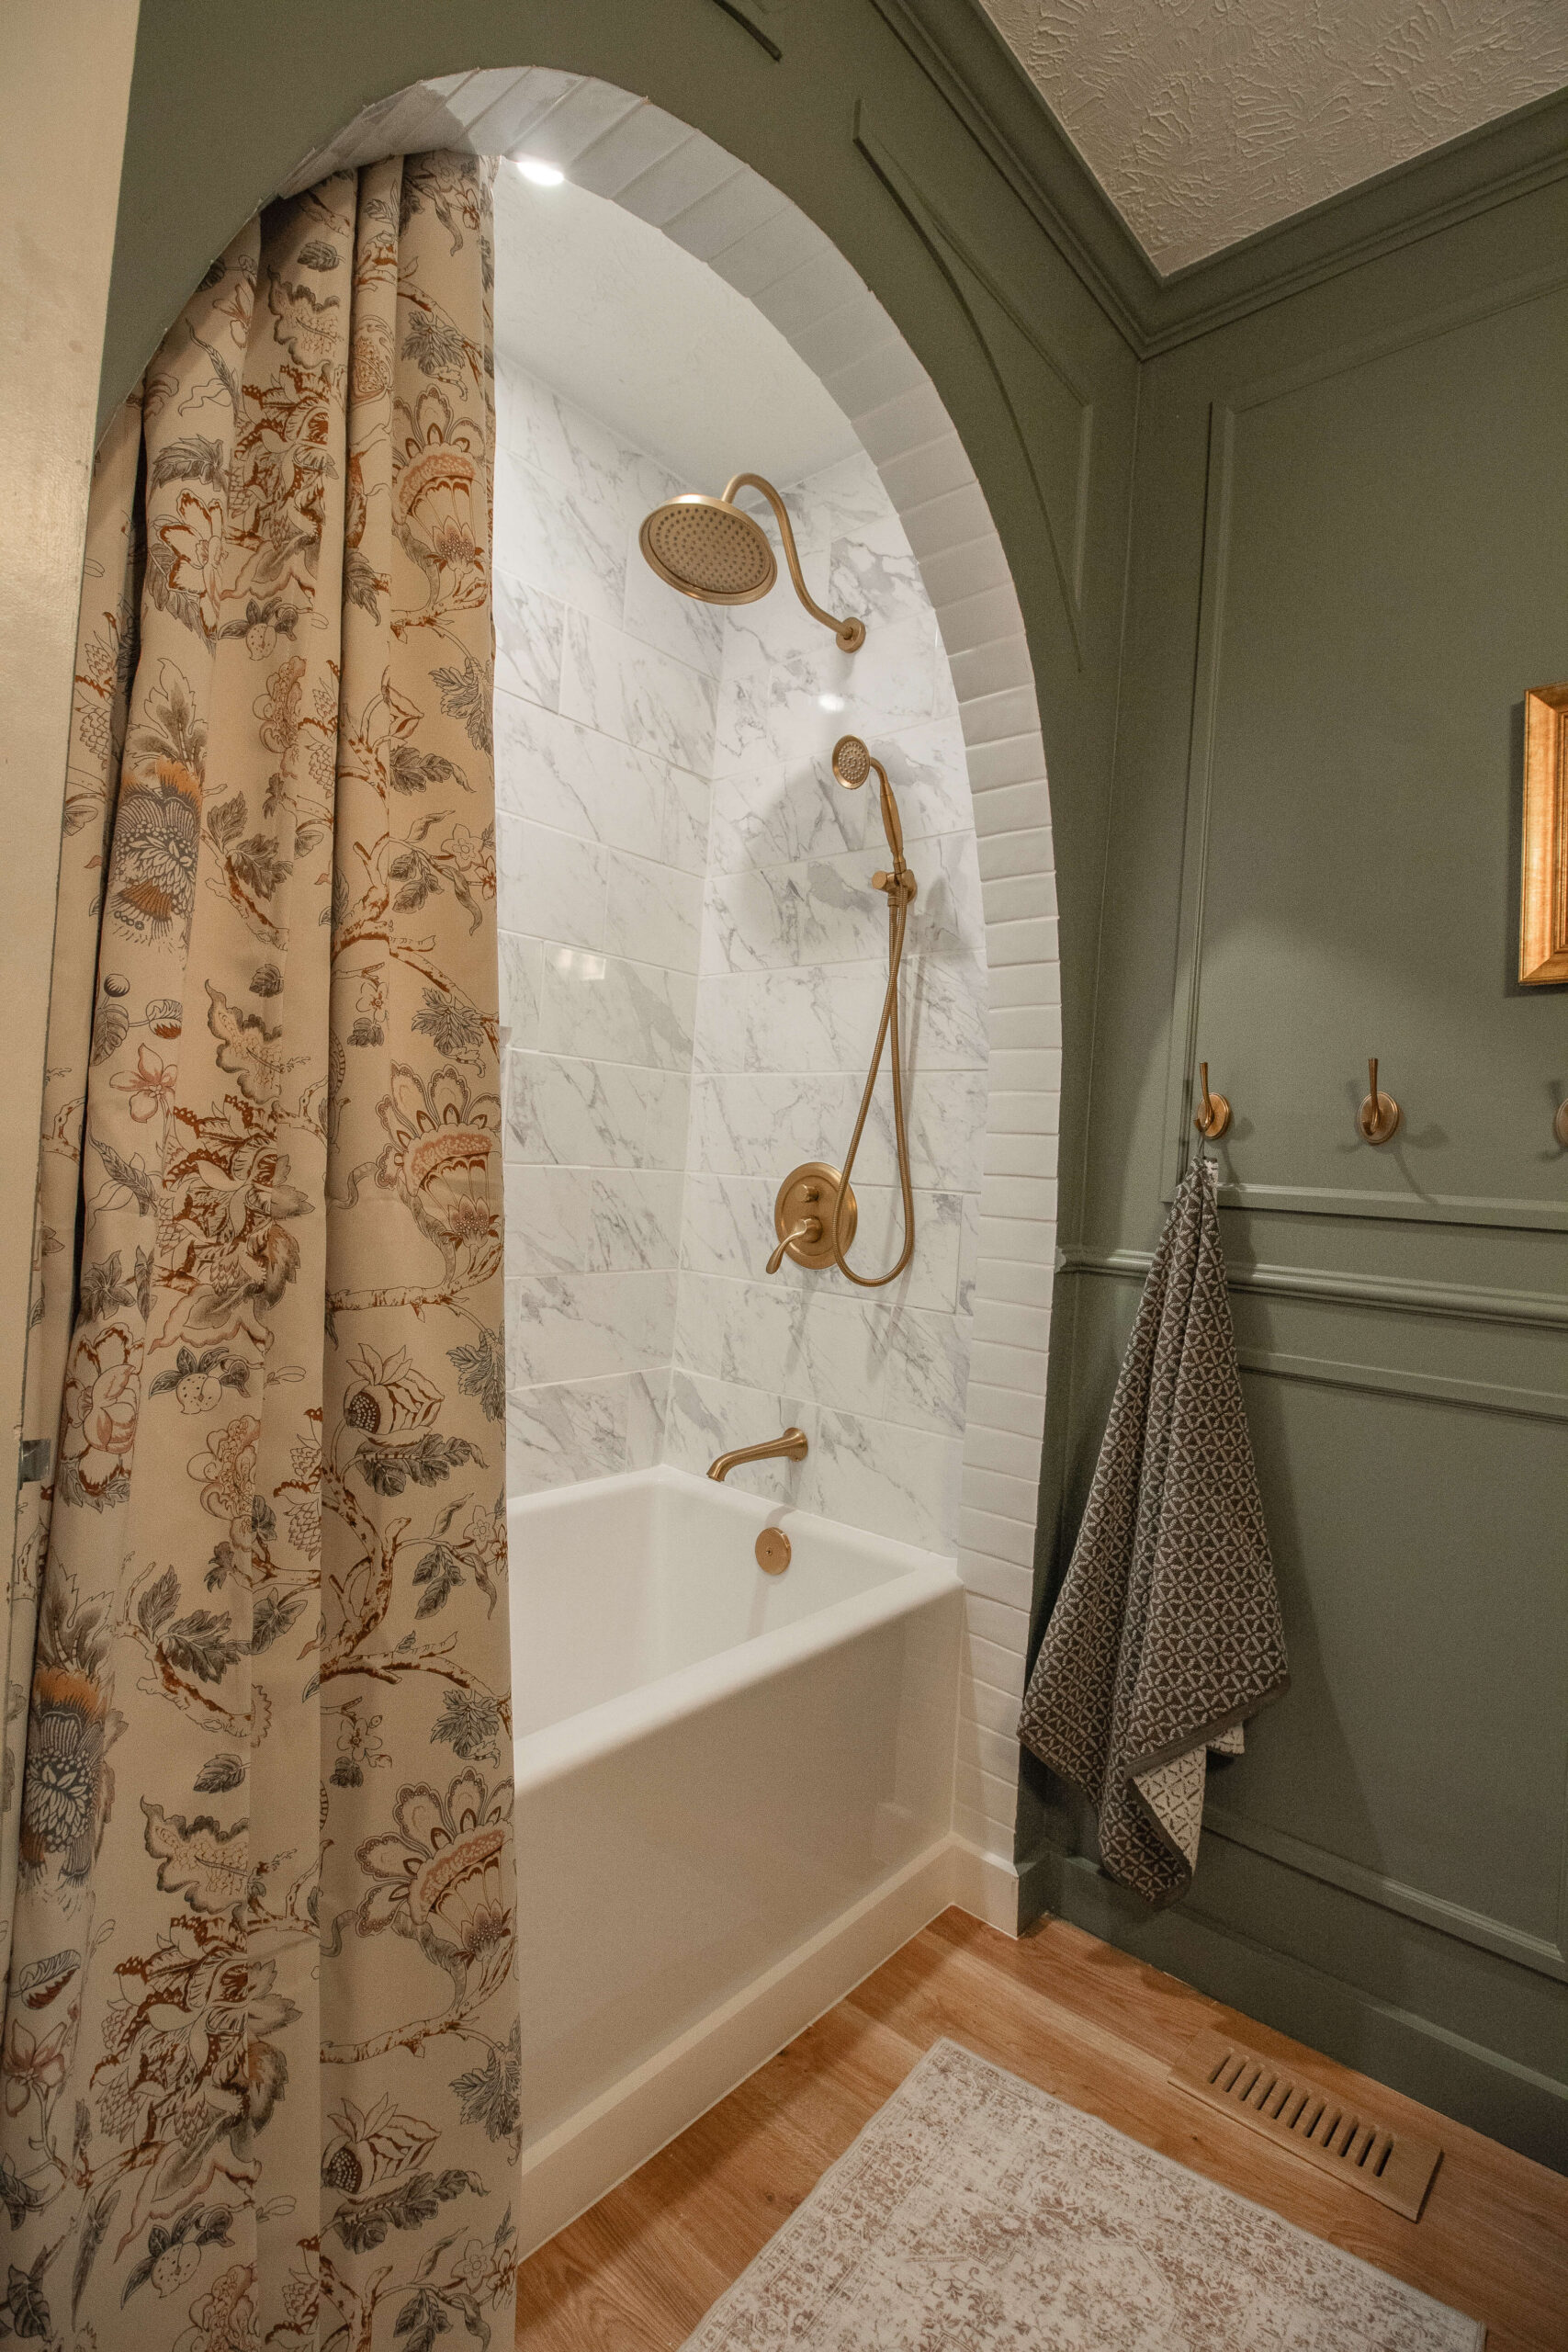
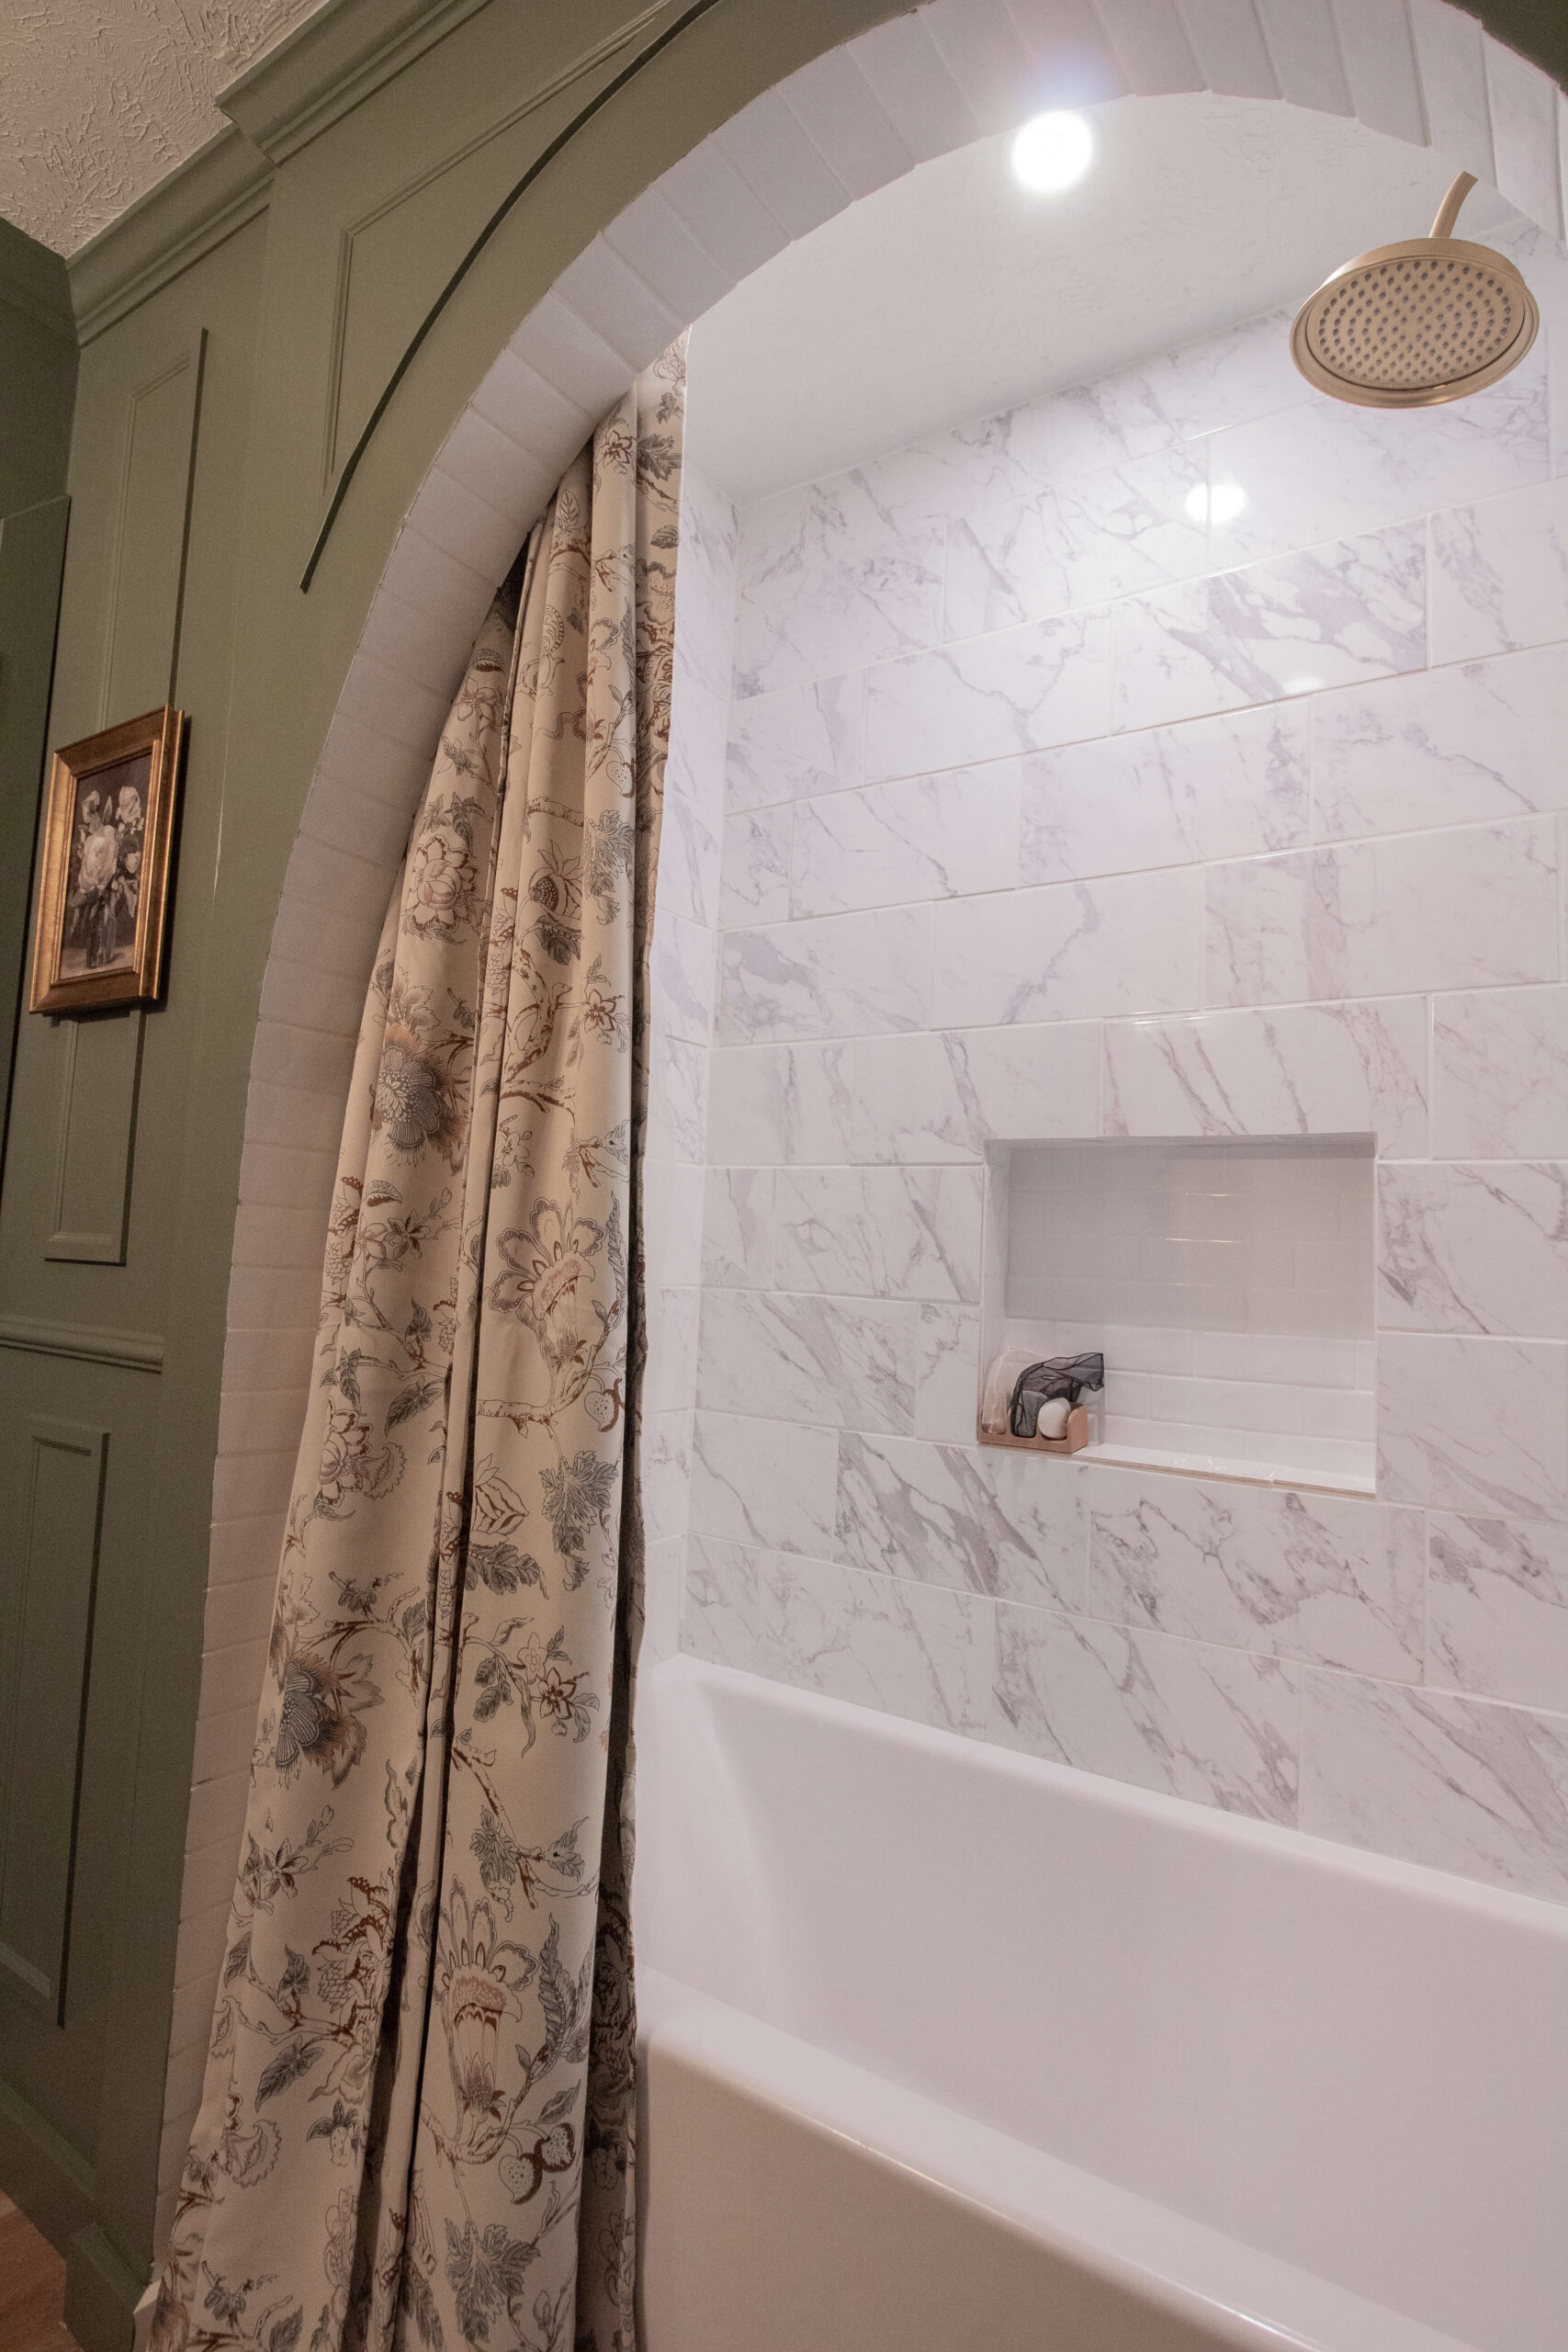
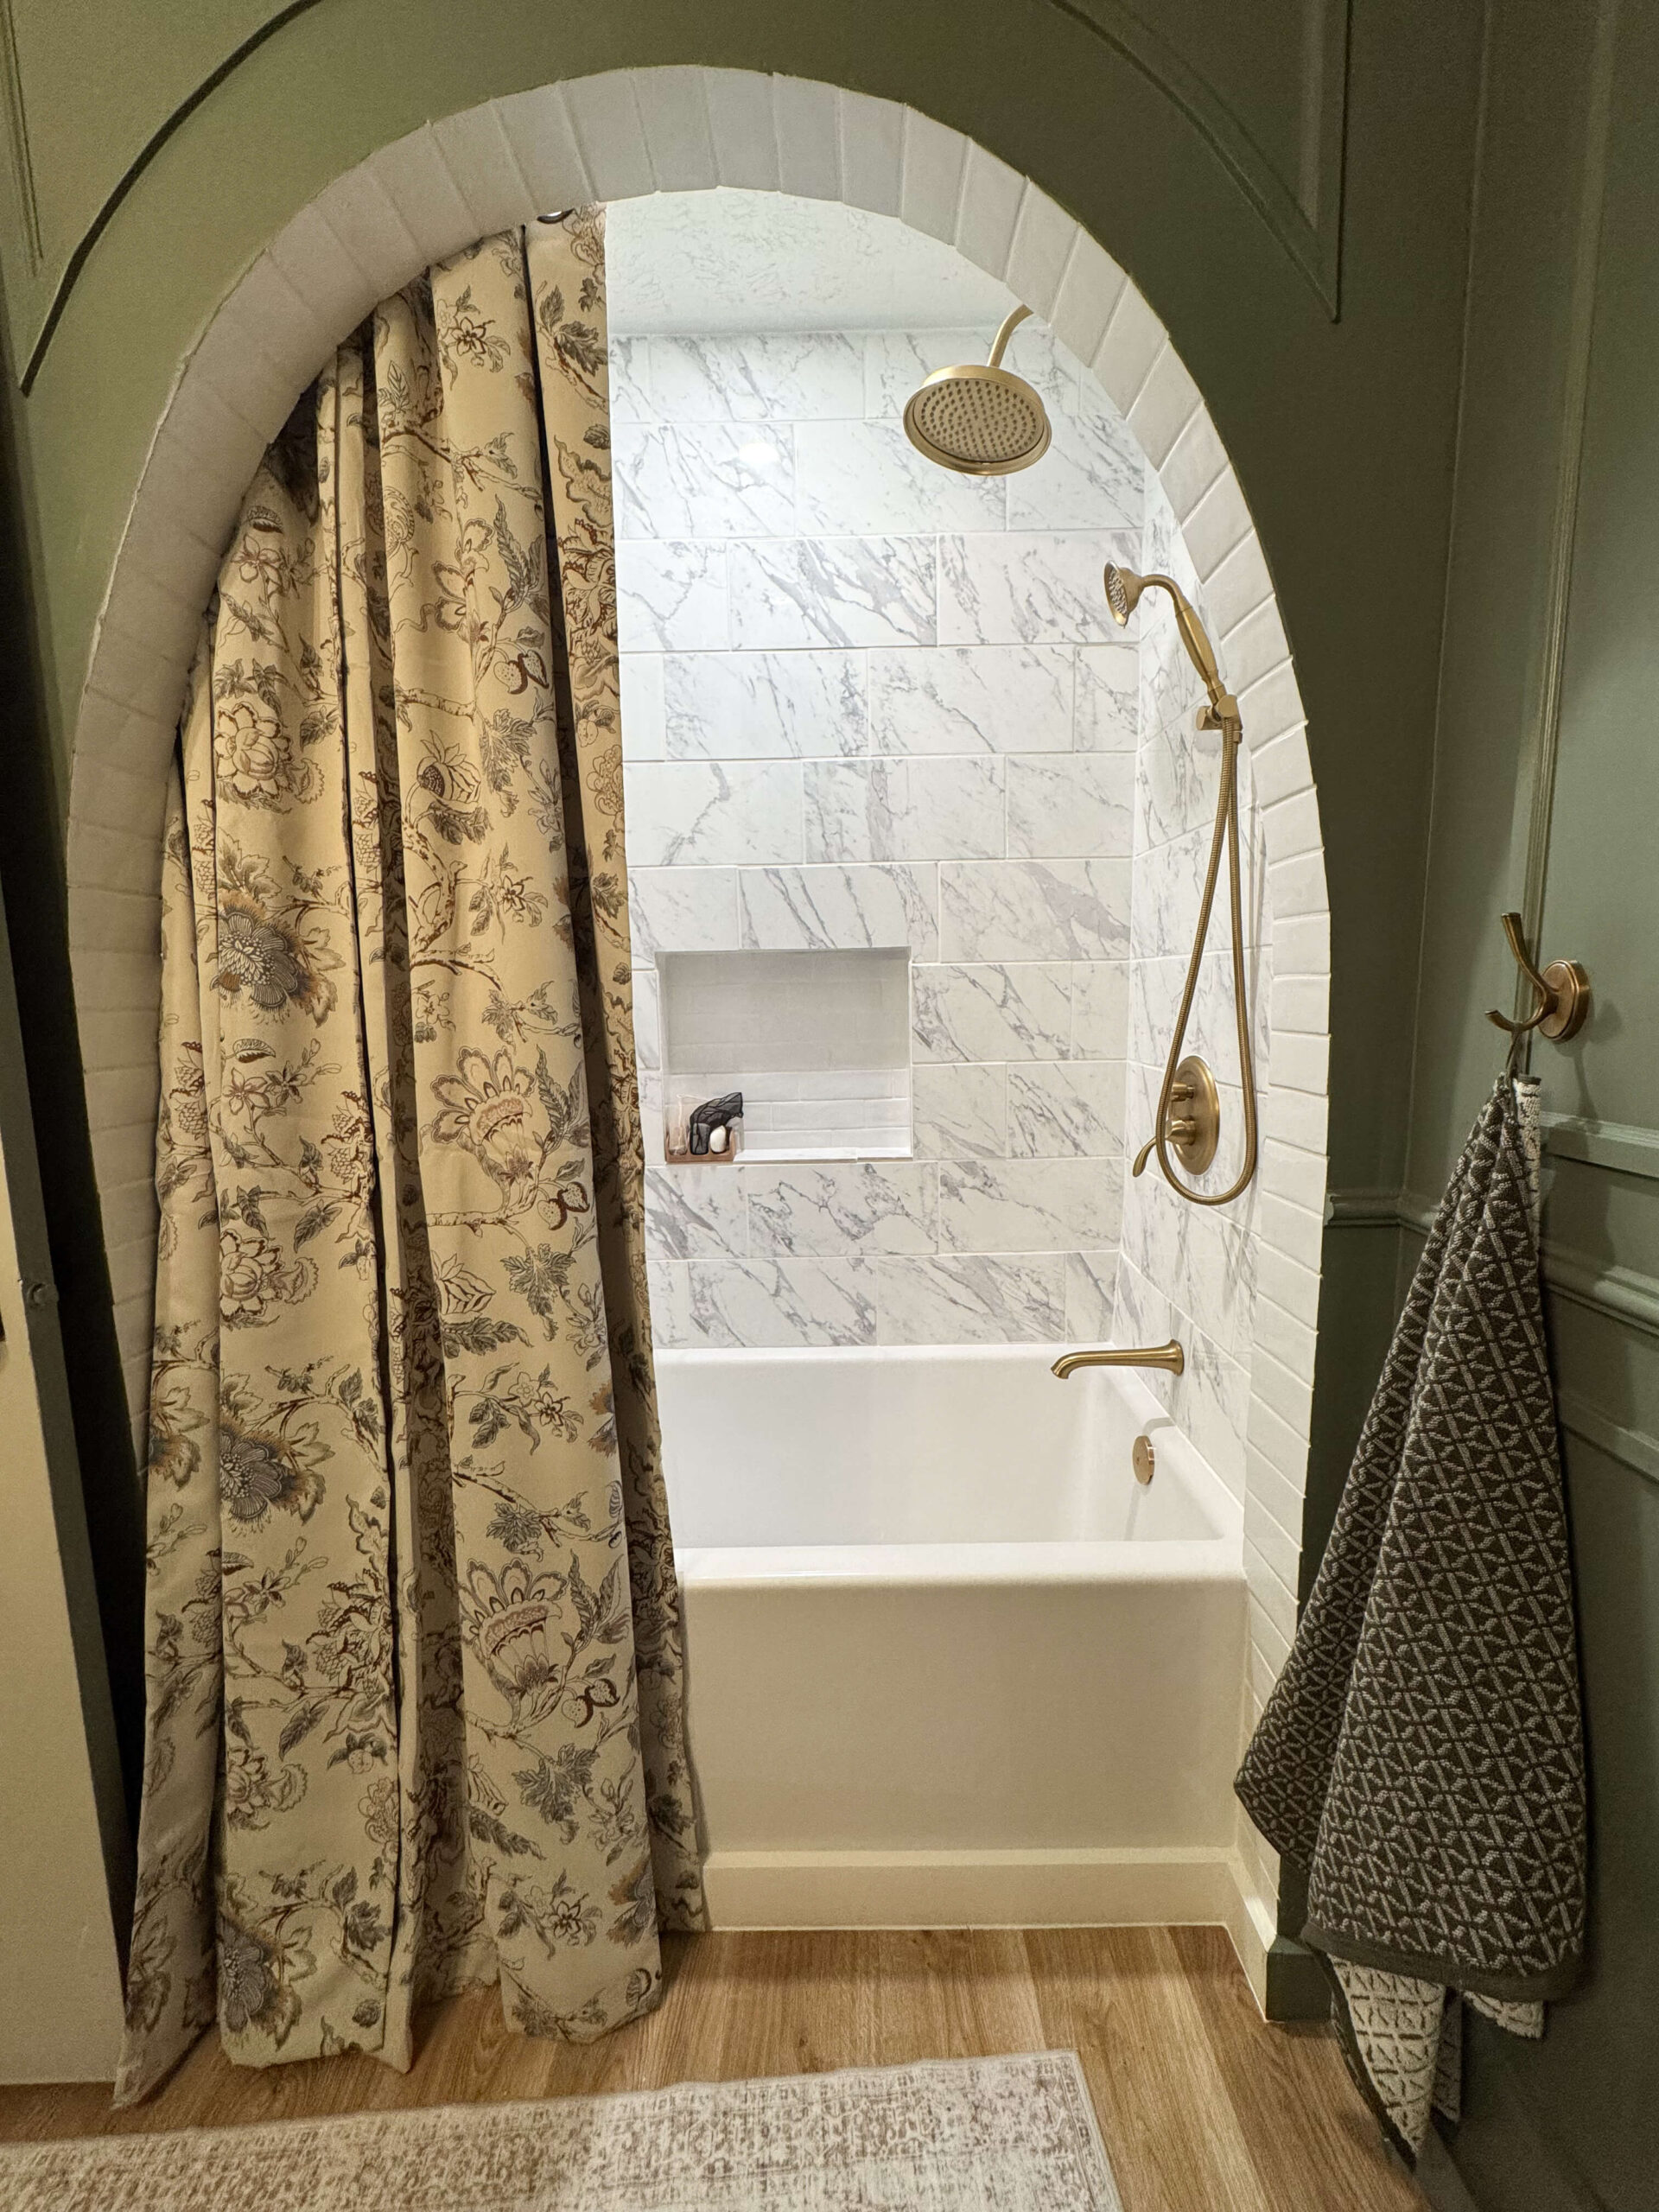
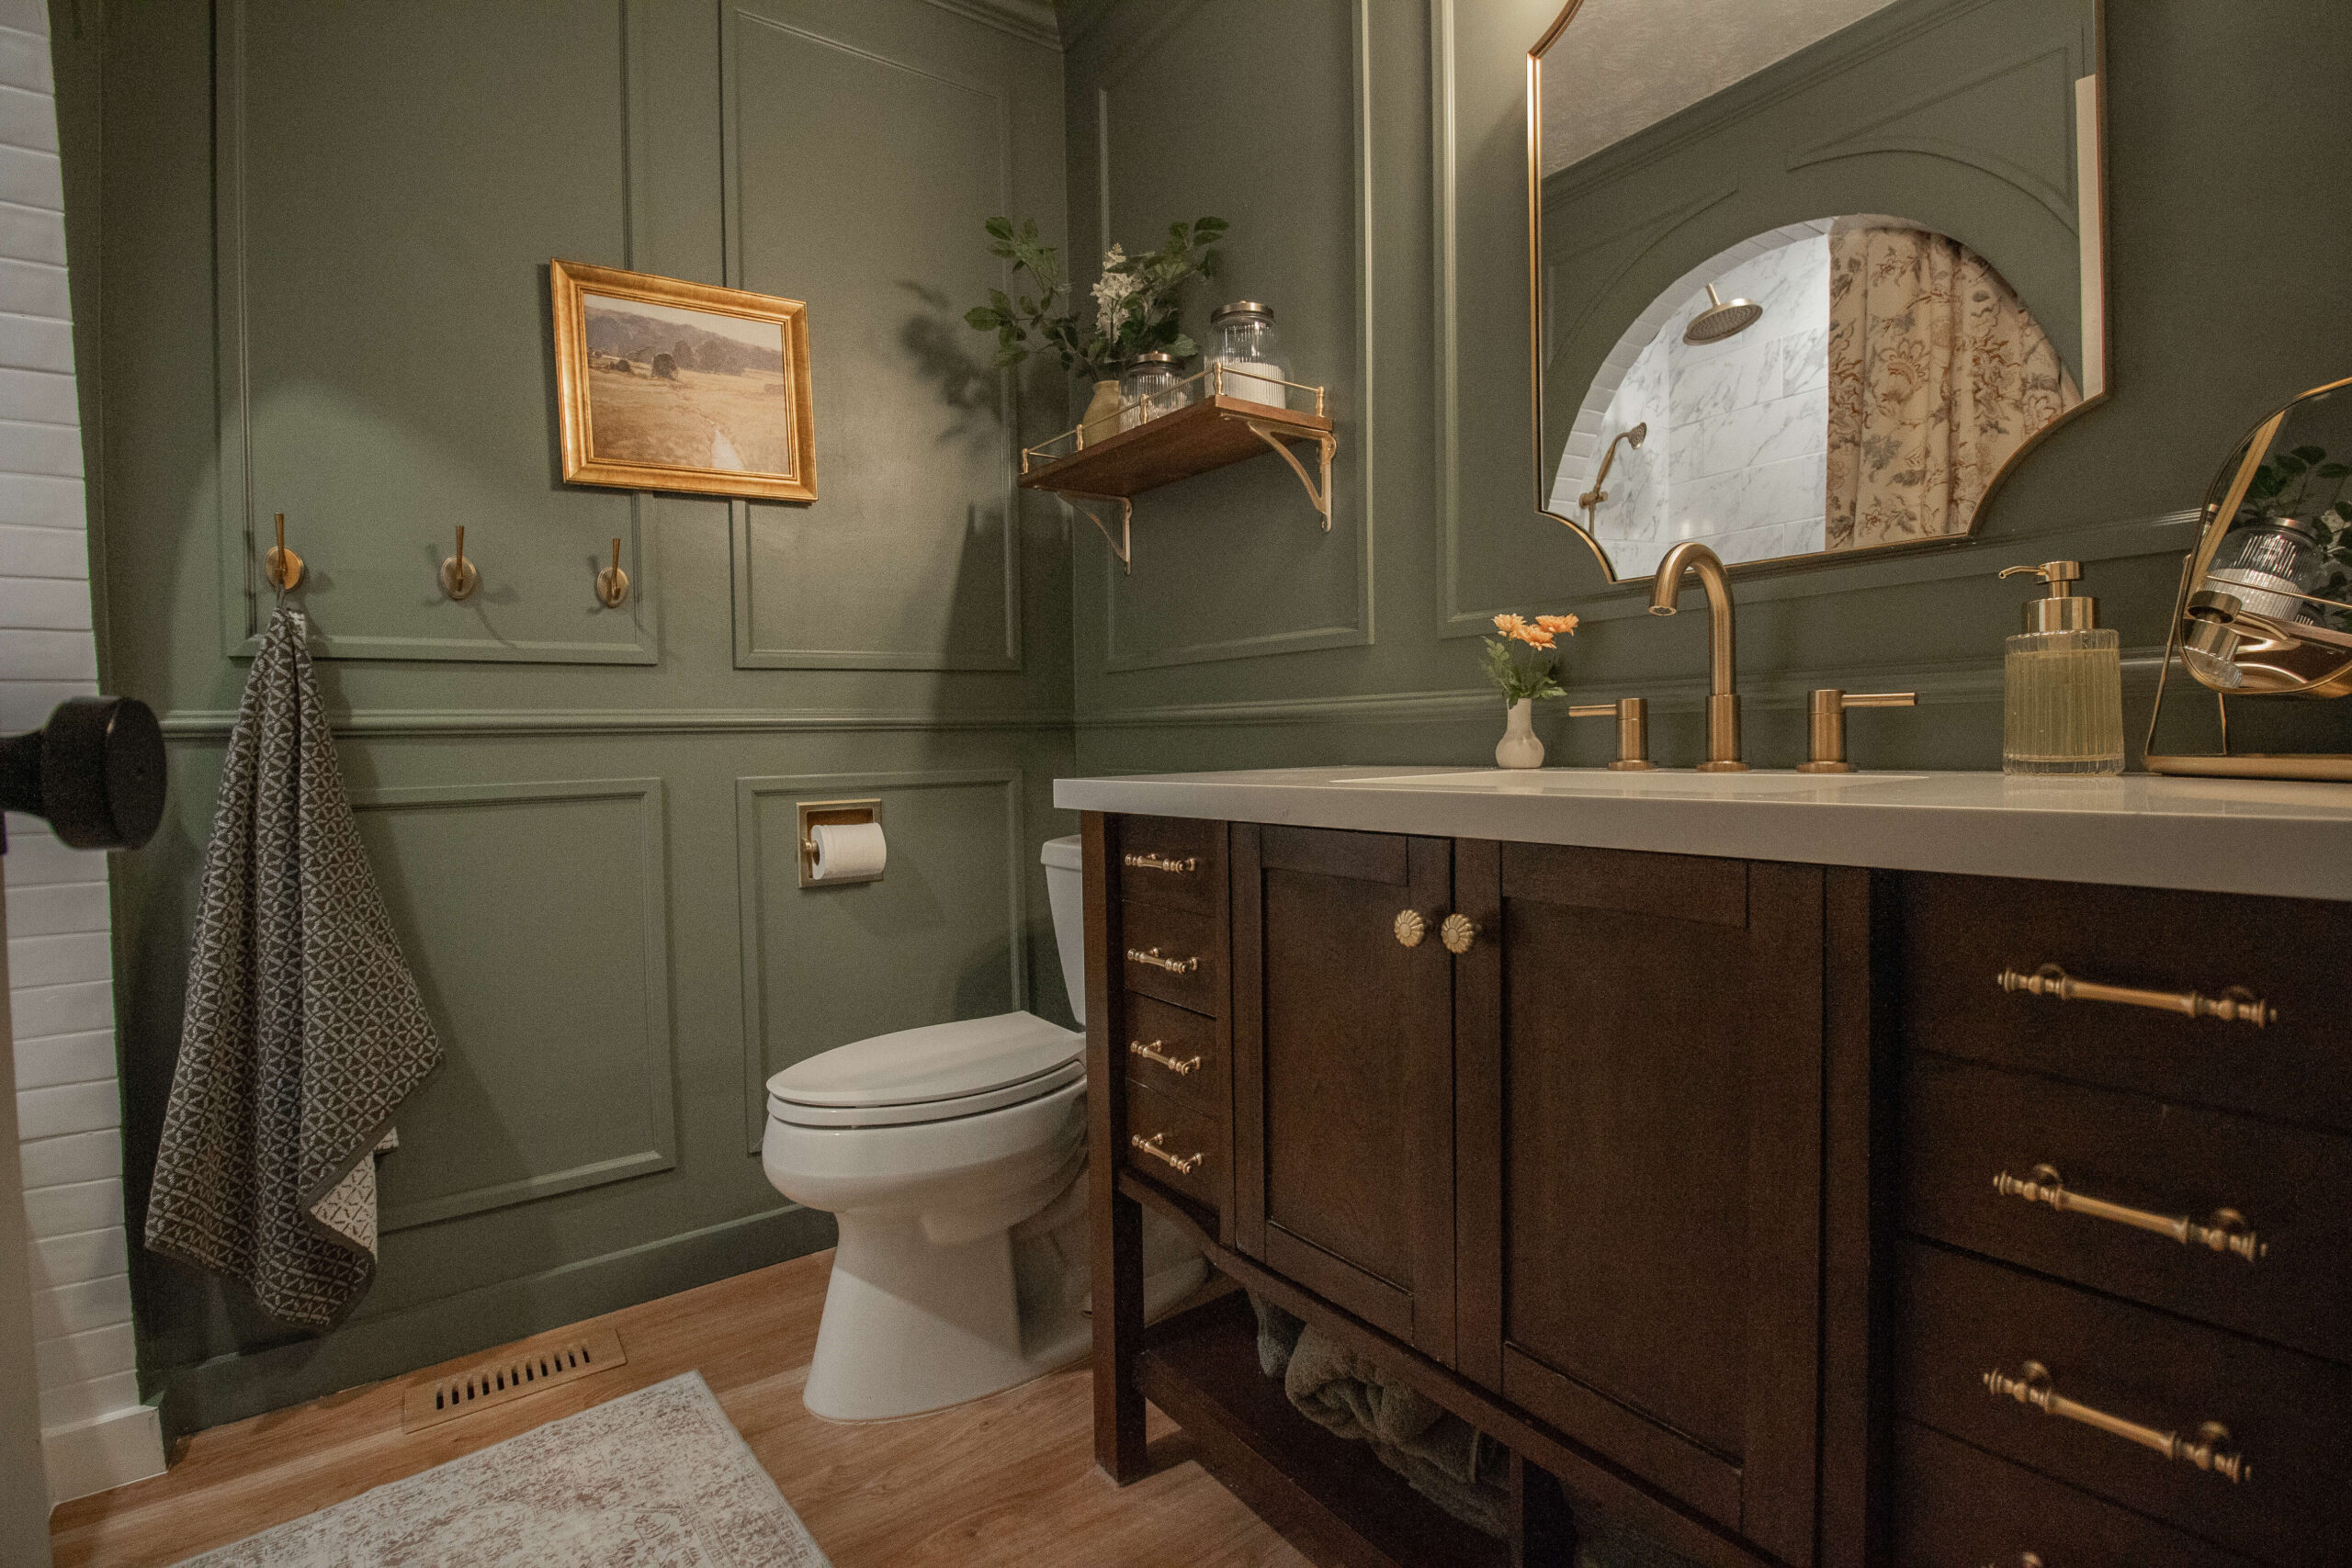
Tile Tub Surround Reveal: See the Finished Look
And there you have it – my tile tub surround is officially complete, and I couldn’t be happier with the result. From the arched alcove to the marble tiles and gorgeous brass fixtures, this project has transformed my guest bathroom into a luxurious retreat.
Related DIY Bathroom Tutorials You’ll Love
Would you like to see the full bathroom reveal? Click this link for all the details in one blog post.
📌 Save This Project for Later

Frequently Asked Questions About Installing a Tile Tub Surround
Waterproofing a tile tub surround involves sealing the seams of the cement board with fiberglass tape and thin-set mortar, then coating the entire surface with a waterproofing membrane like AquaDefense. This ensures your shower stays protected from moisture and prevents long-term water damage.
Yes! With proper preparation and the right tools, installing a tile tub surround is a DIY-friendly project. Start by ensuring the area is waterproofed, use a ledger board for straight tile alignment, and work methodically from the bottom up. Following tutorials like this one can make the process easier.
Using a ledger board is the best way to ensure the tiles in your tile tub surround are level. Since most tubs aren’t perfectly straight, the ledger board creates a reliable guide for your first row of tiles, ensuring a professional look.
For a tile tub surround, use a high-quality grout for the tile gaps and silicone caulk for areas prone to movement, like the seam between the tub and tiles or around plumbing fixtures. Silicone is flexible and water-resistant, making it ideal for sealing these areas.