


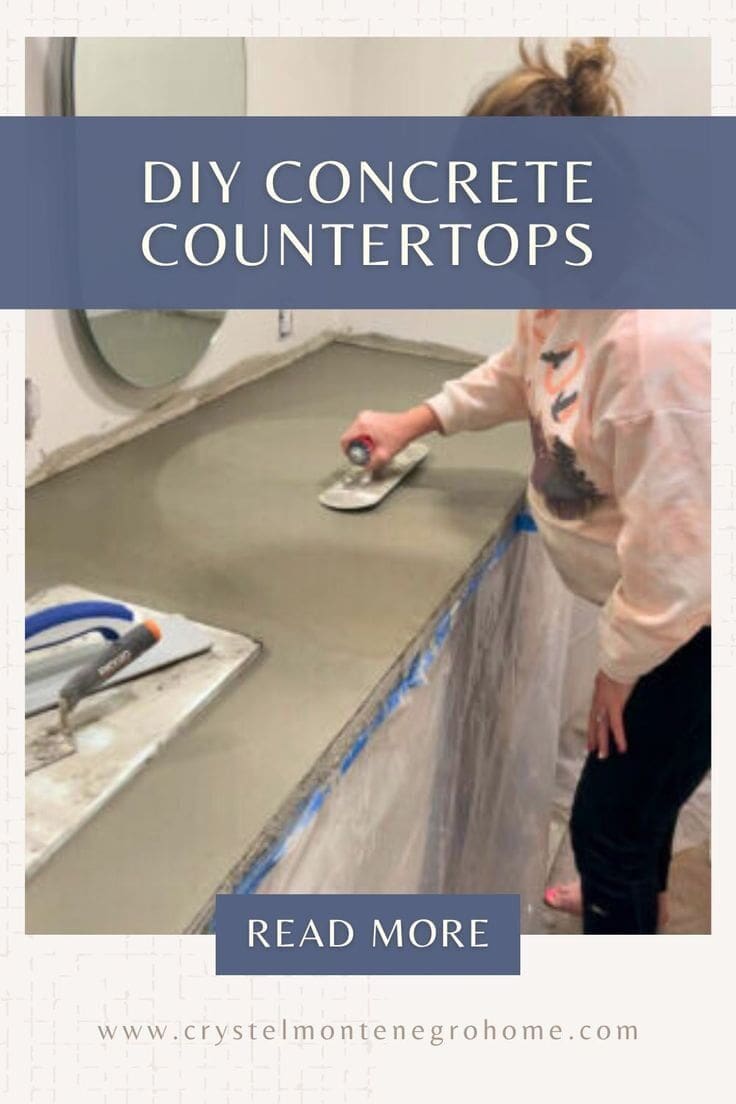
DIY Concrete Countertops: A Step-by-Step Guide


Updated July 13, 2026
Dreaming of sleek, durable countertops for your bathroom or kitchen? Wondering how to DIY concrete countertops? You’re in the right place! I’ll walk you through how I transformed my bathroom using Z Counterform products and a few basic tools. Concrete countertops bring the look of stone without the hefty price tag – especially when you DIY them.
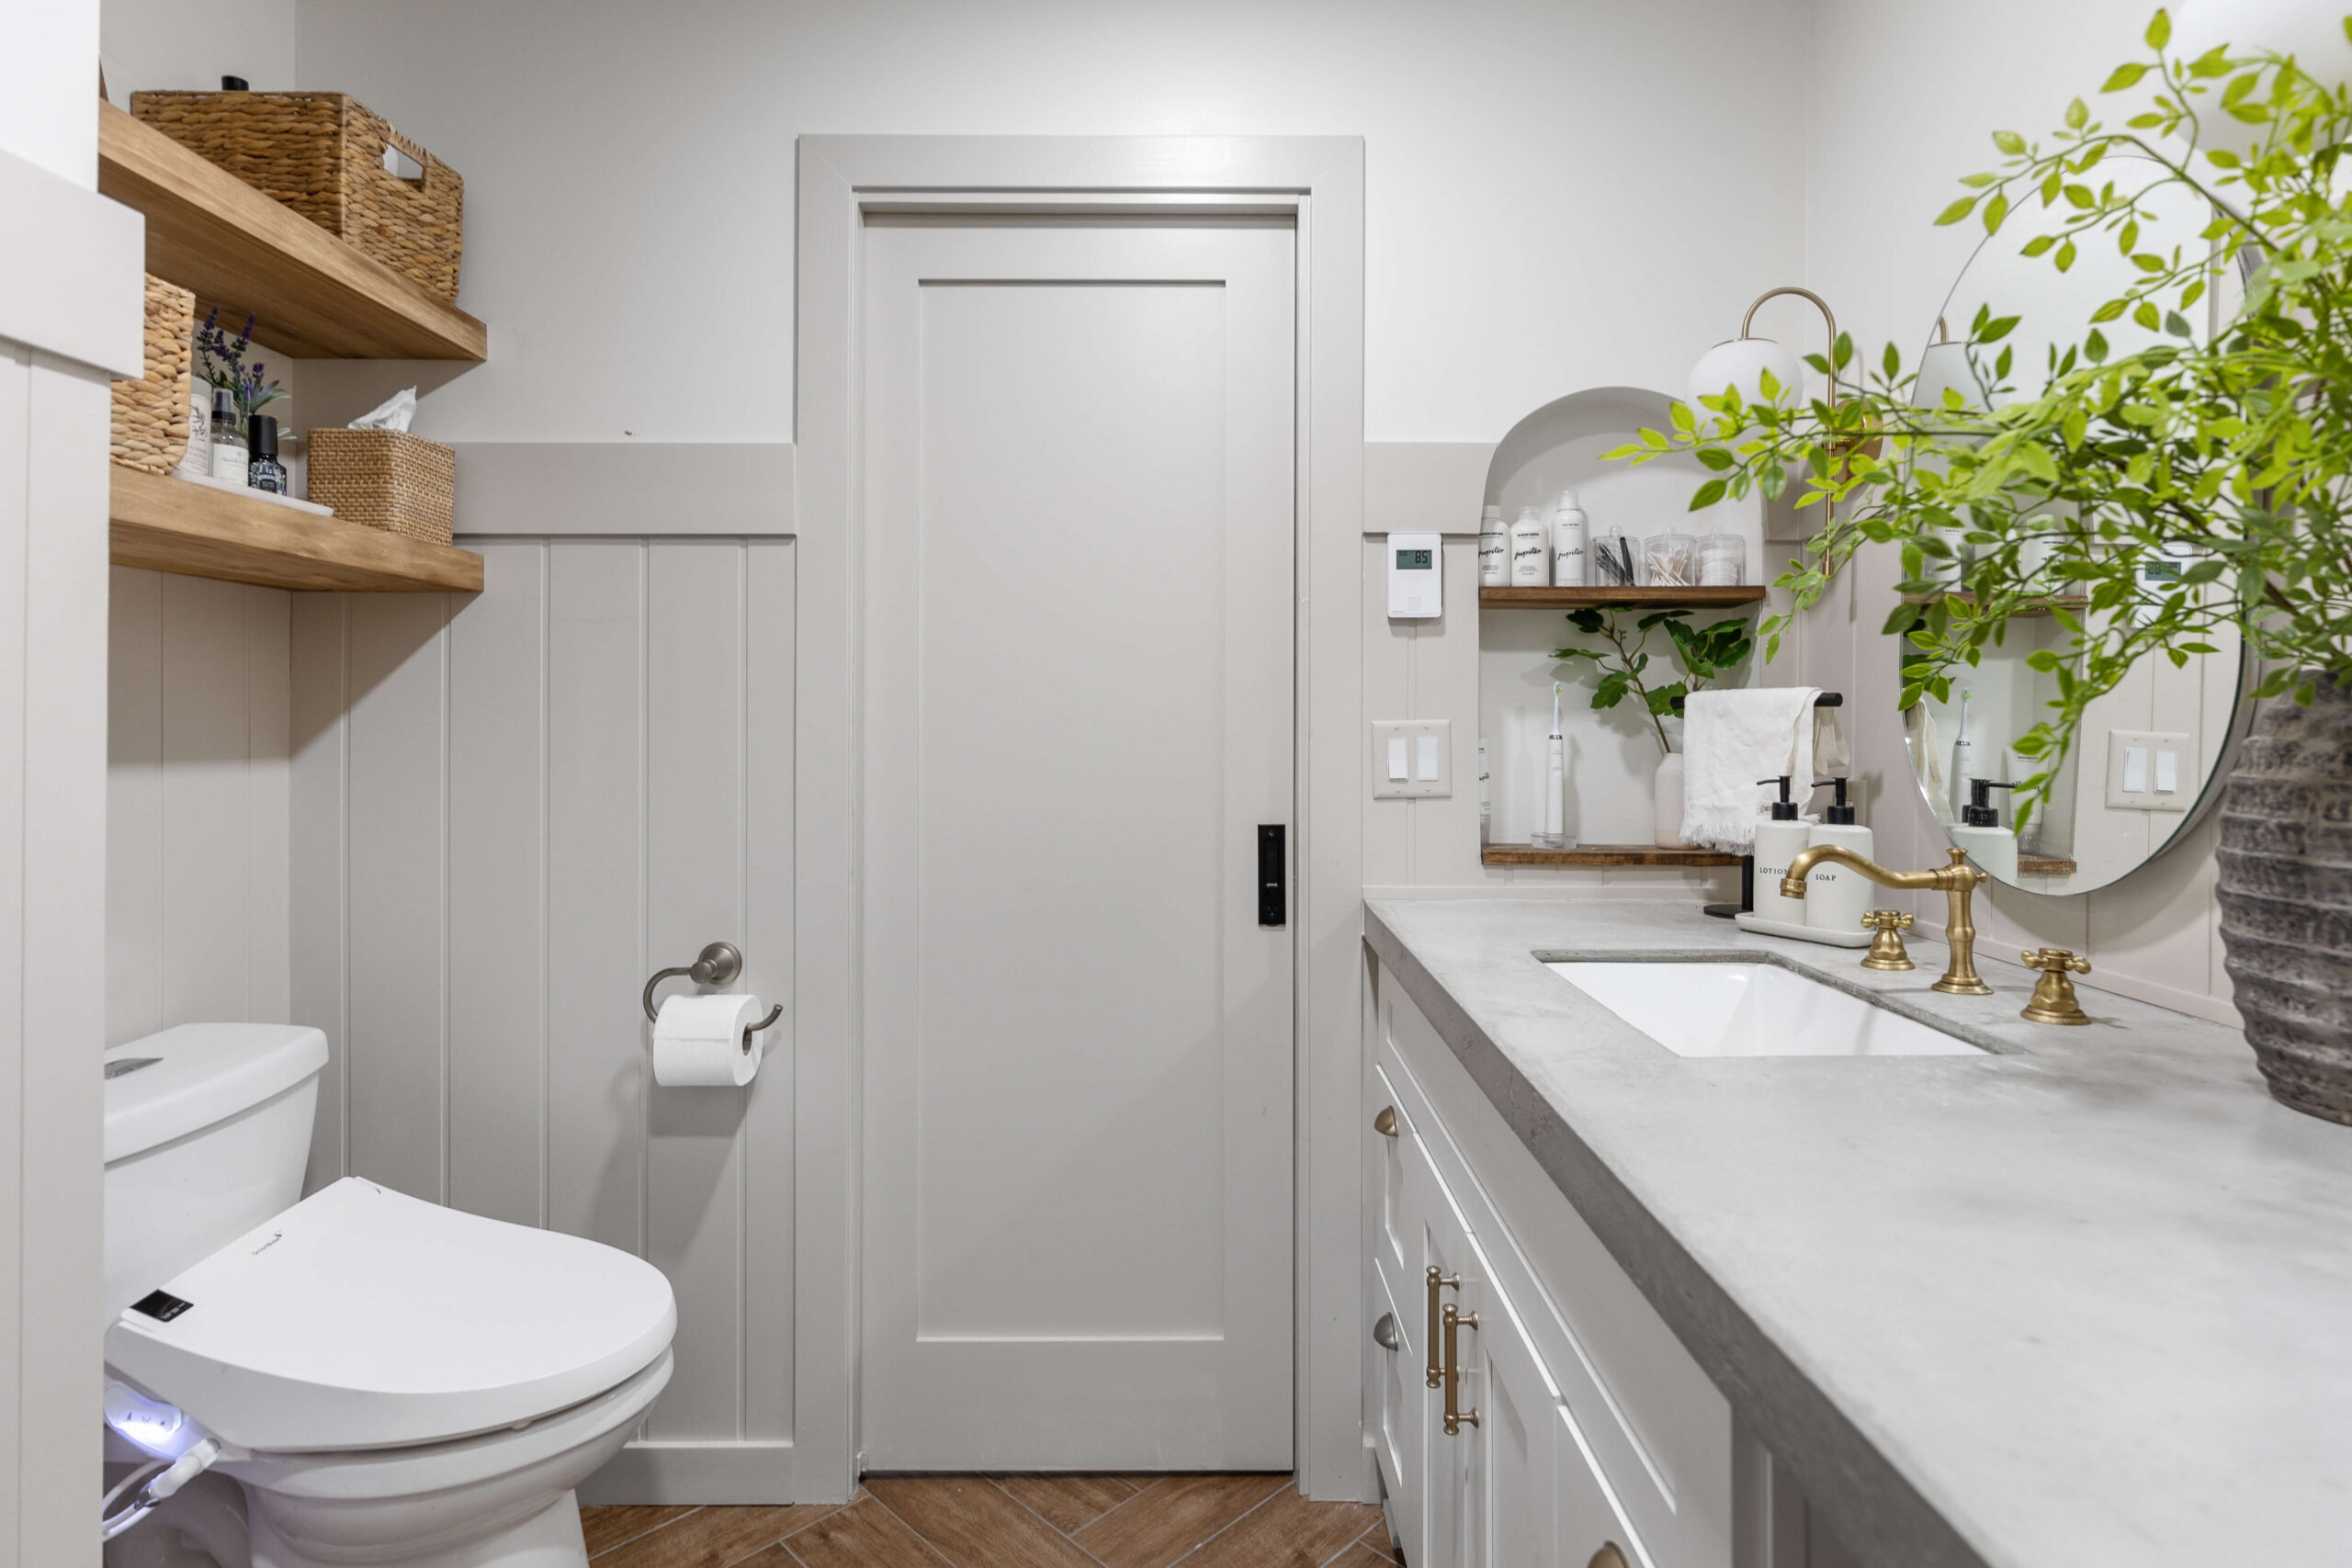
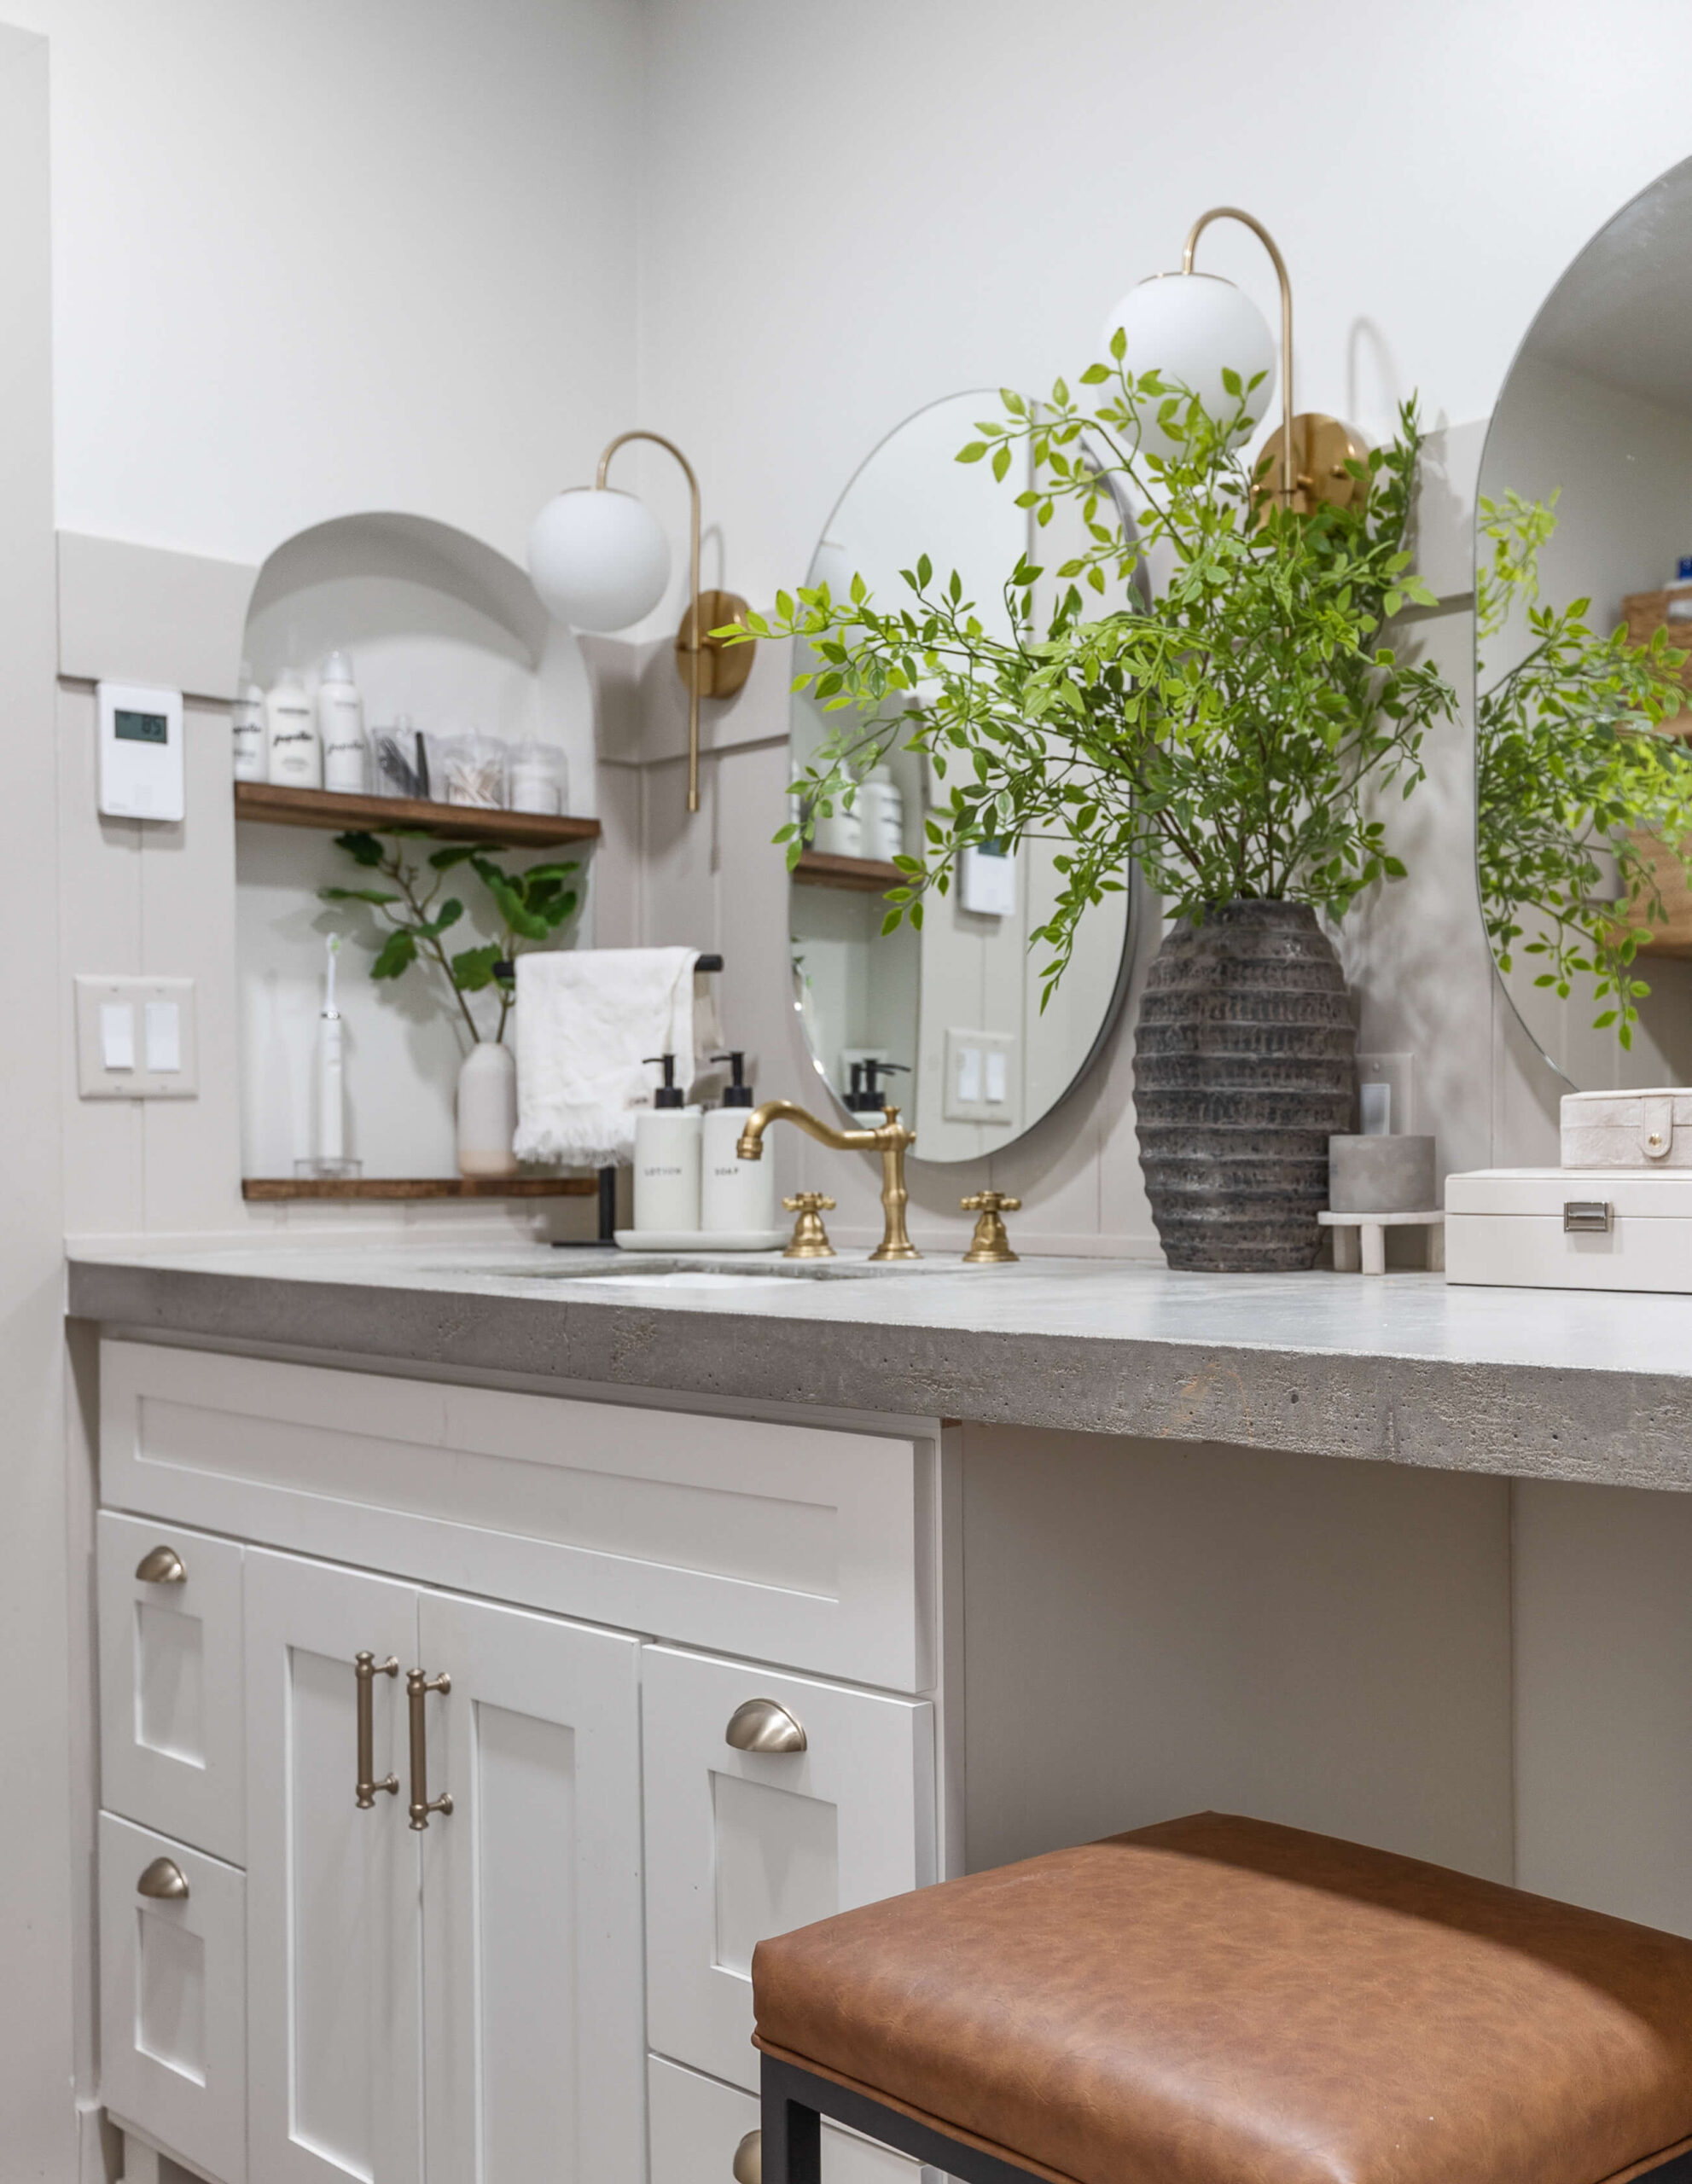
Table of Contents
- Tools for Making Concrete Countertops
- Materials for DIY Concrete Countertops
- Step 1: Build a Strong Base for Your Concrete Countertops
- Step 2: Set Up Forms and Knockouts Like a Pro
- Step 3: Reinforce Your Countertops to Prevent Cracks
- Step 4: Mix and Pour Your Concrete Countertops
- Step 5: Smooth the Surface and Eliminate Bubbles
- Step 6: Cure and Unform Your Countertops
- Step 7: Seal Your Concrete Countertops for Long-Term Durability
- My Finished Concrete Countertops Reveal
- 📌 Pin This Project for Later
- Frequently Asked Questions About DIY Concrete Countertops
Tools for Making Concrete Countertops
- Drill
- Jigsaw
- Hole saw
- Caulk gun
- Scissors
- 5-gallon bucket
- Mixing paddle
- Steel trowel
- Counter screed
- Laser level
- Magnesium float
- Z Gem Pad
- Foam roller
Materials for DIY Concrete Countertops
- Plywood
- Countertop forms
- Knockouts
- Silicone
- Fiber mesh
- Z Clips
- Z Liqui-Crete additive
- Quikcrete Ready-To-Use concrete
- Z Aqua-Poxy sealer
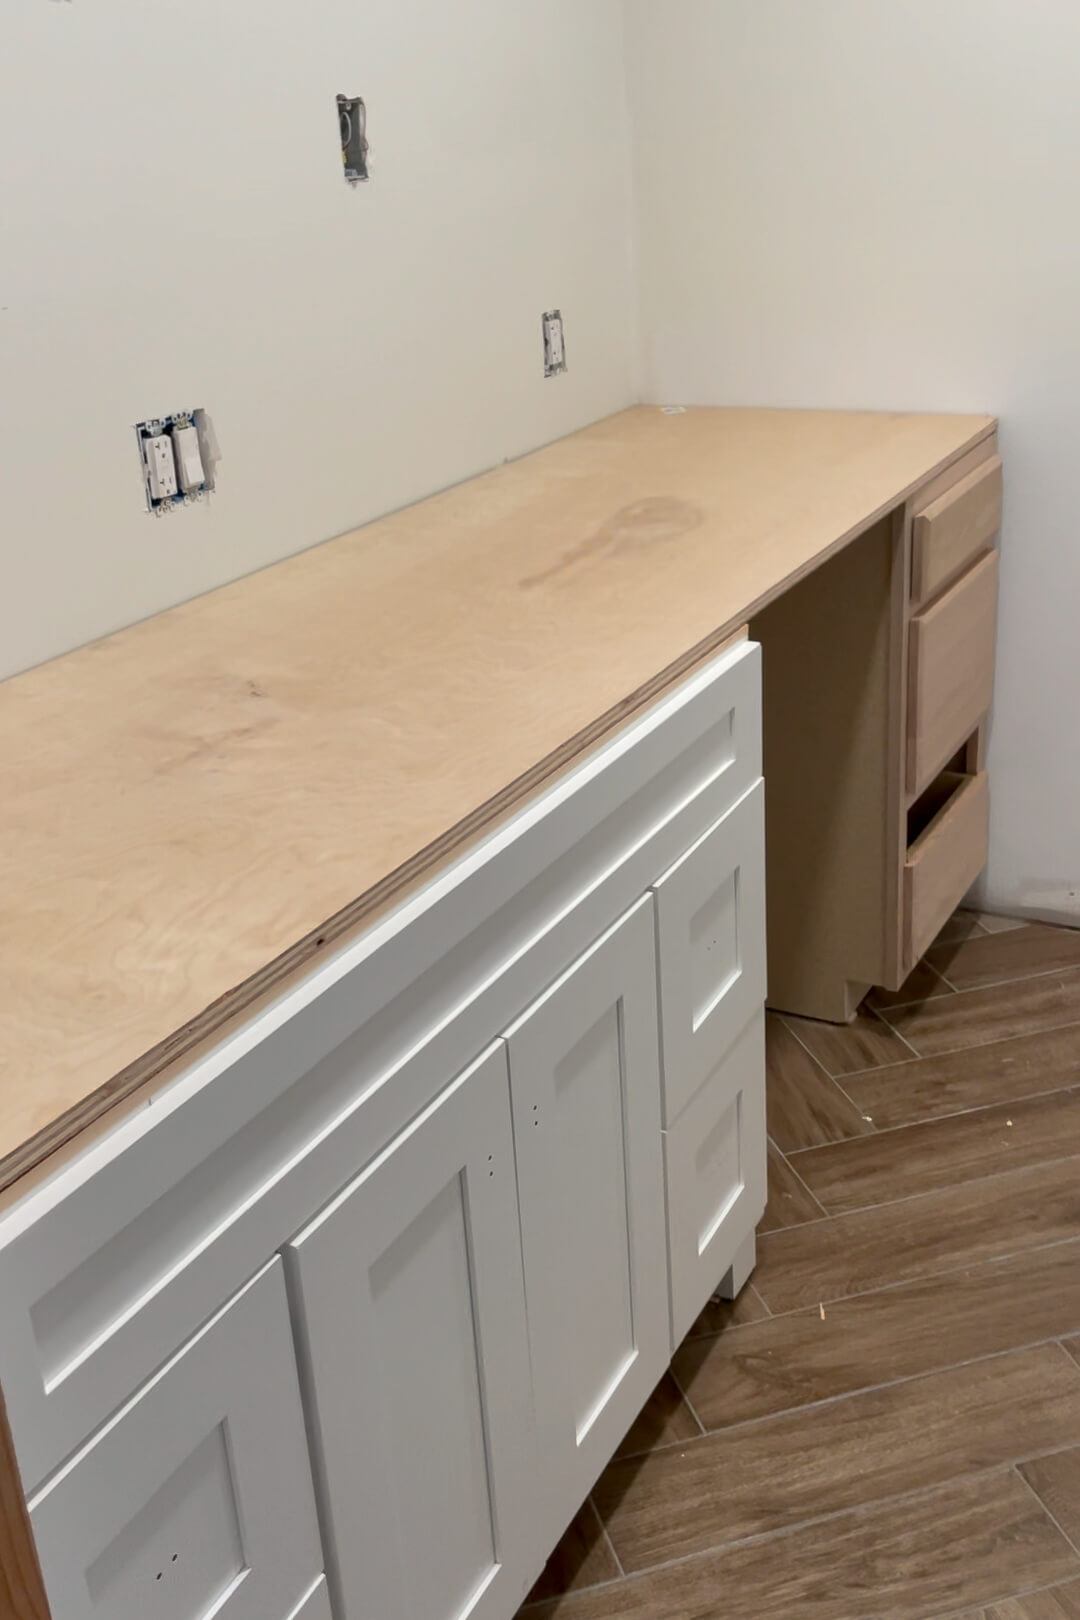
Step 1: Build a Strong Base for Your Concrete Countertops
I started with a plywood base for my DIY concrete countertops. I measured the plywood to fit my vanity and attached it securely. If you’re curious about how I built my custom vanity using a basic kitchen cabinet from Home Depot, I’ve got a full tutorial linked for you.
Your sink should come with a paper template – use it! Trace the template onto your plywood, drill a starter hole just inside the line, and cut it out with a jigsaw. Once your undermount sink is in place, drill faucet holes with a hole saw.
Pro Tip: Cut small and adjust as needed – you can’t put plywood back on once it’s gone!


Undermount vs. Drop-In Sinks:
- Undermount: Permanently sandwiched between plywood and concrete. Look for a thin lip to sit flush.
- Drop-In: Install after the concrete cures. Ideal if pouring concrete around a sink makes you nervous.
For detailed sink tips, check out Z Counterform’s Sink Installation Guide.
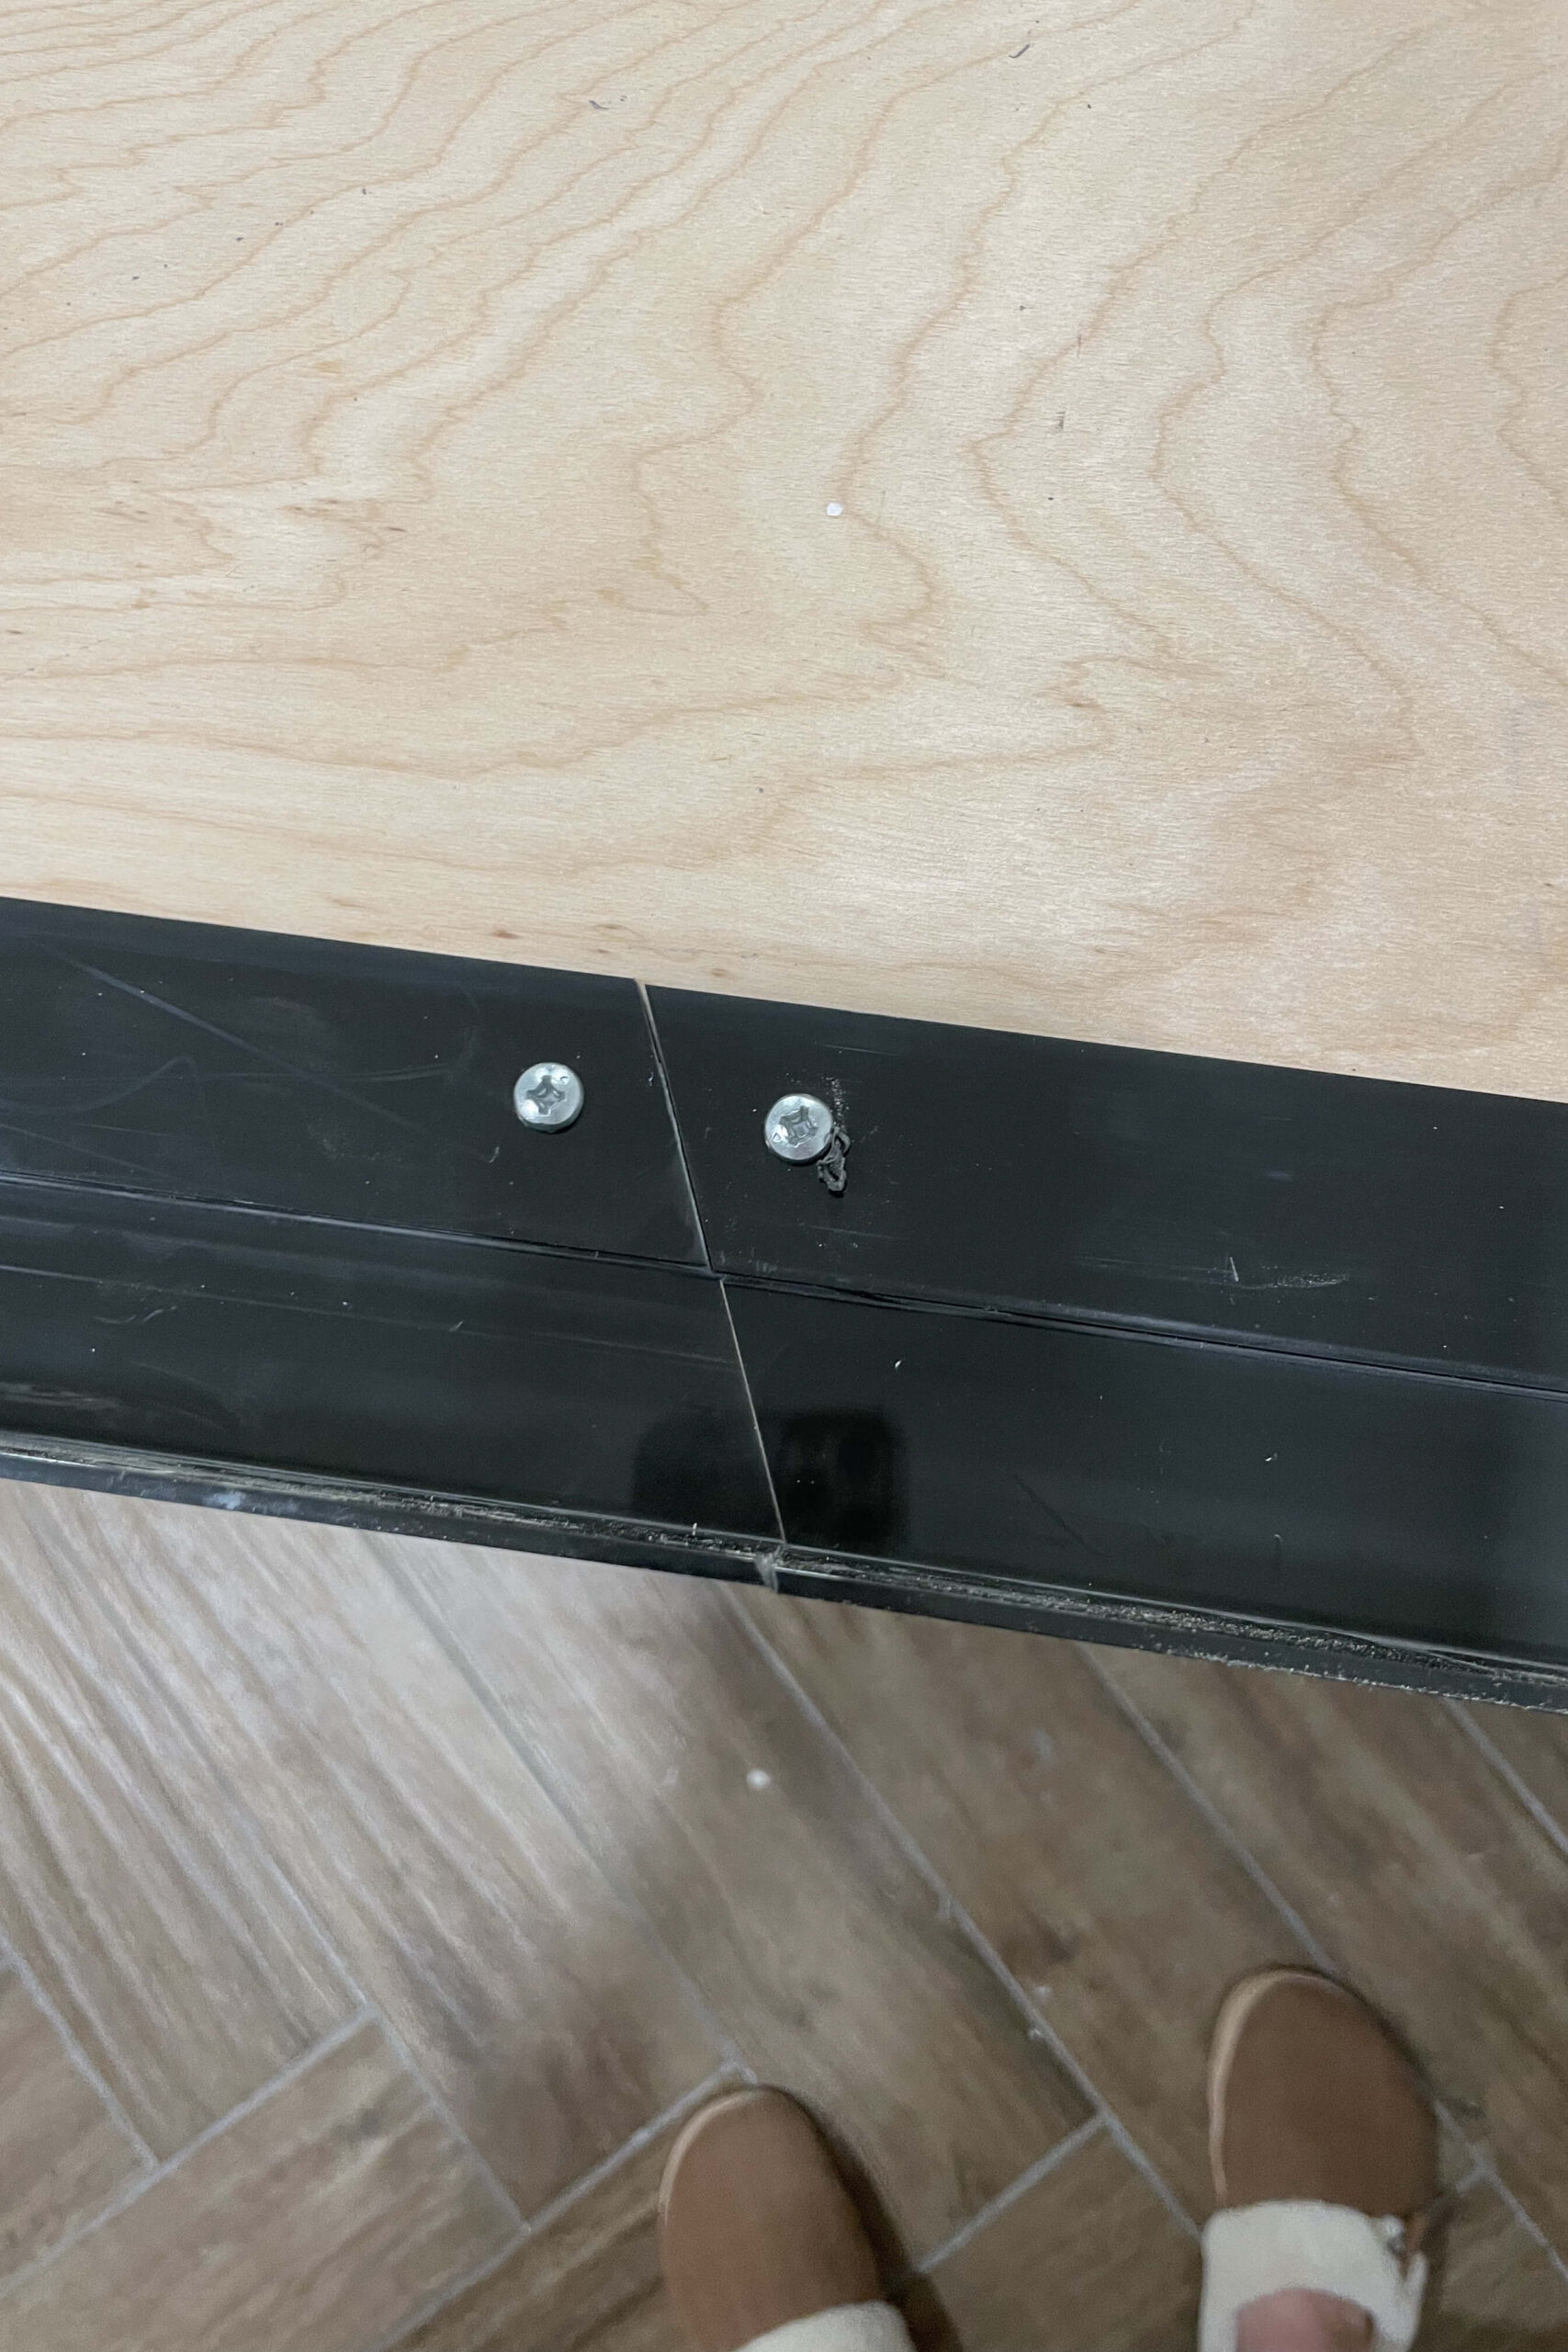
Step 2: Set Up Forms and Knockouts Like a Pro
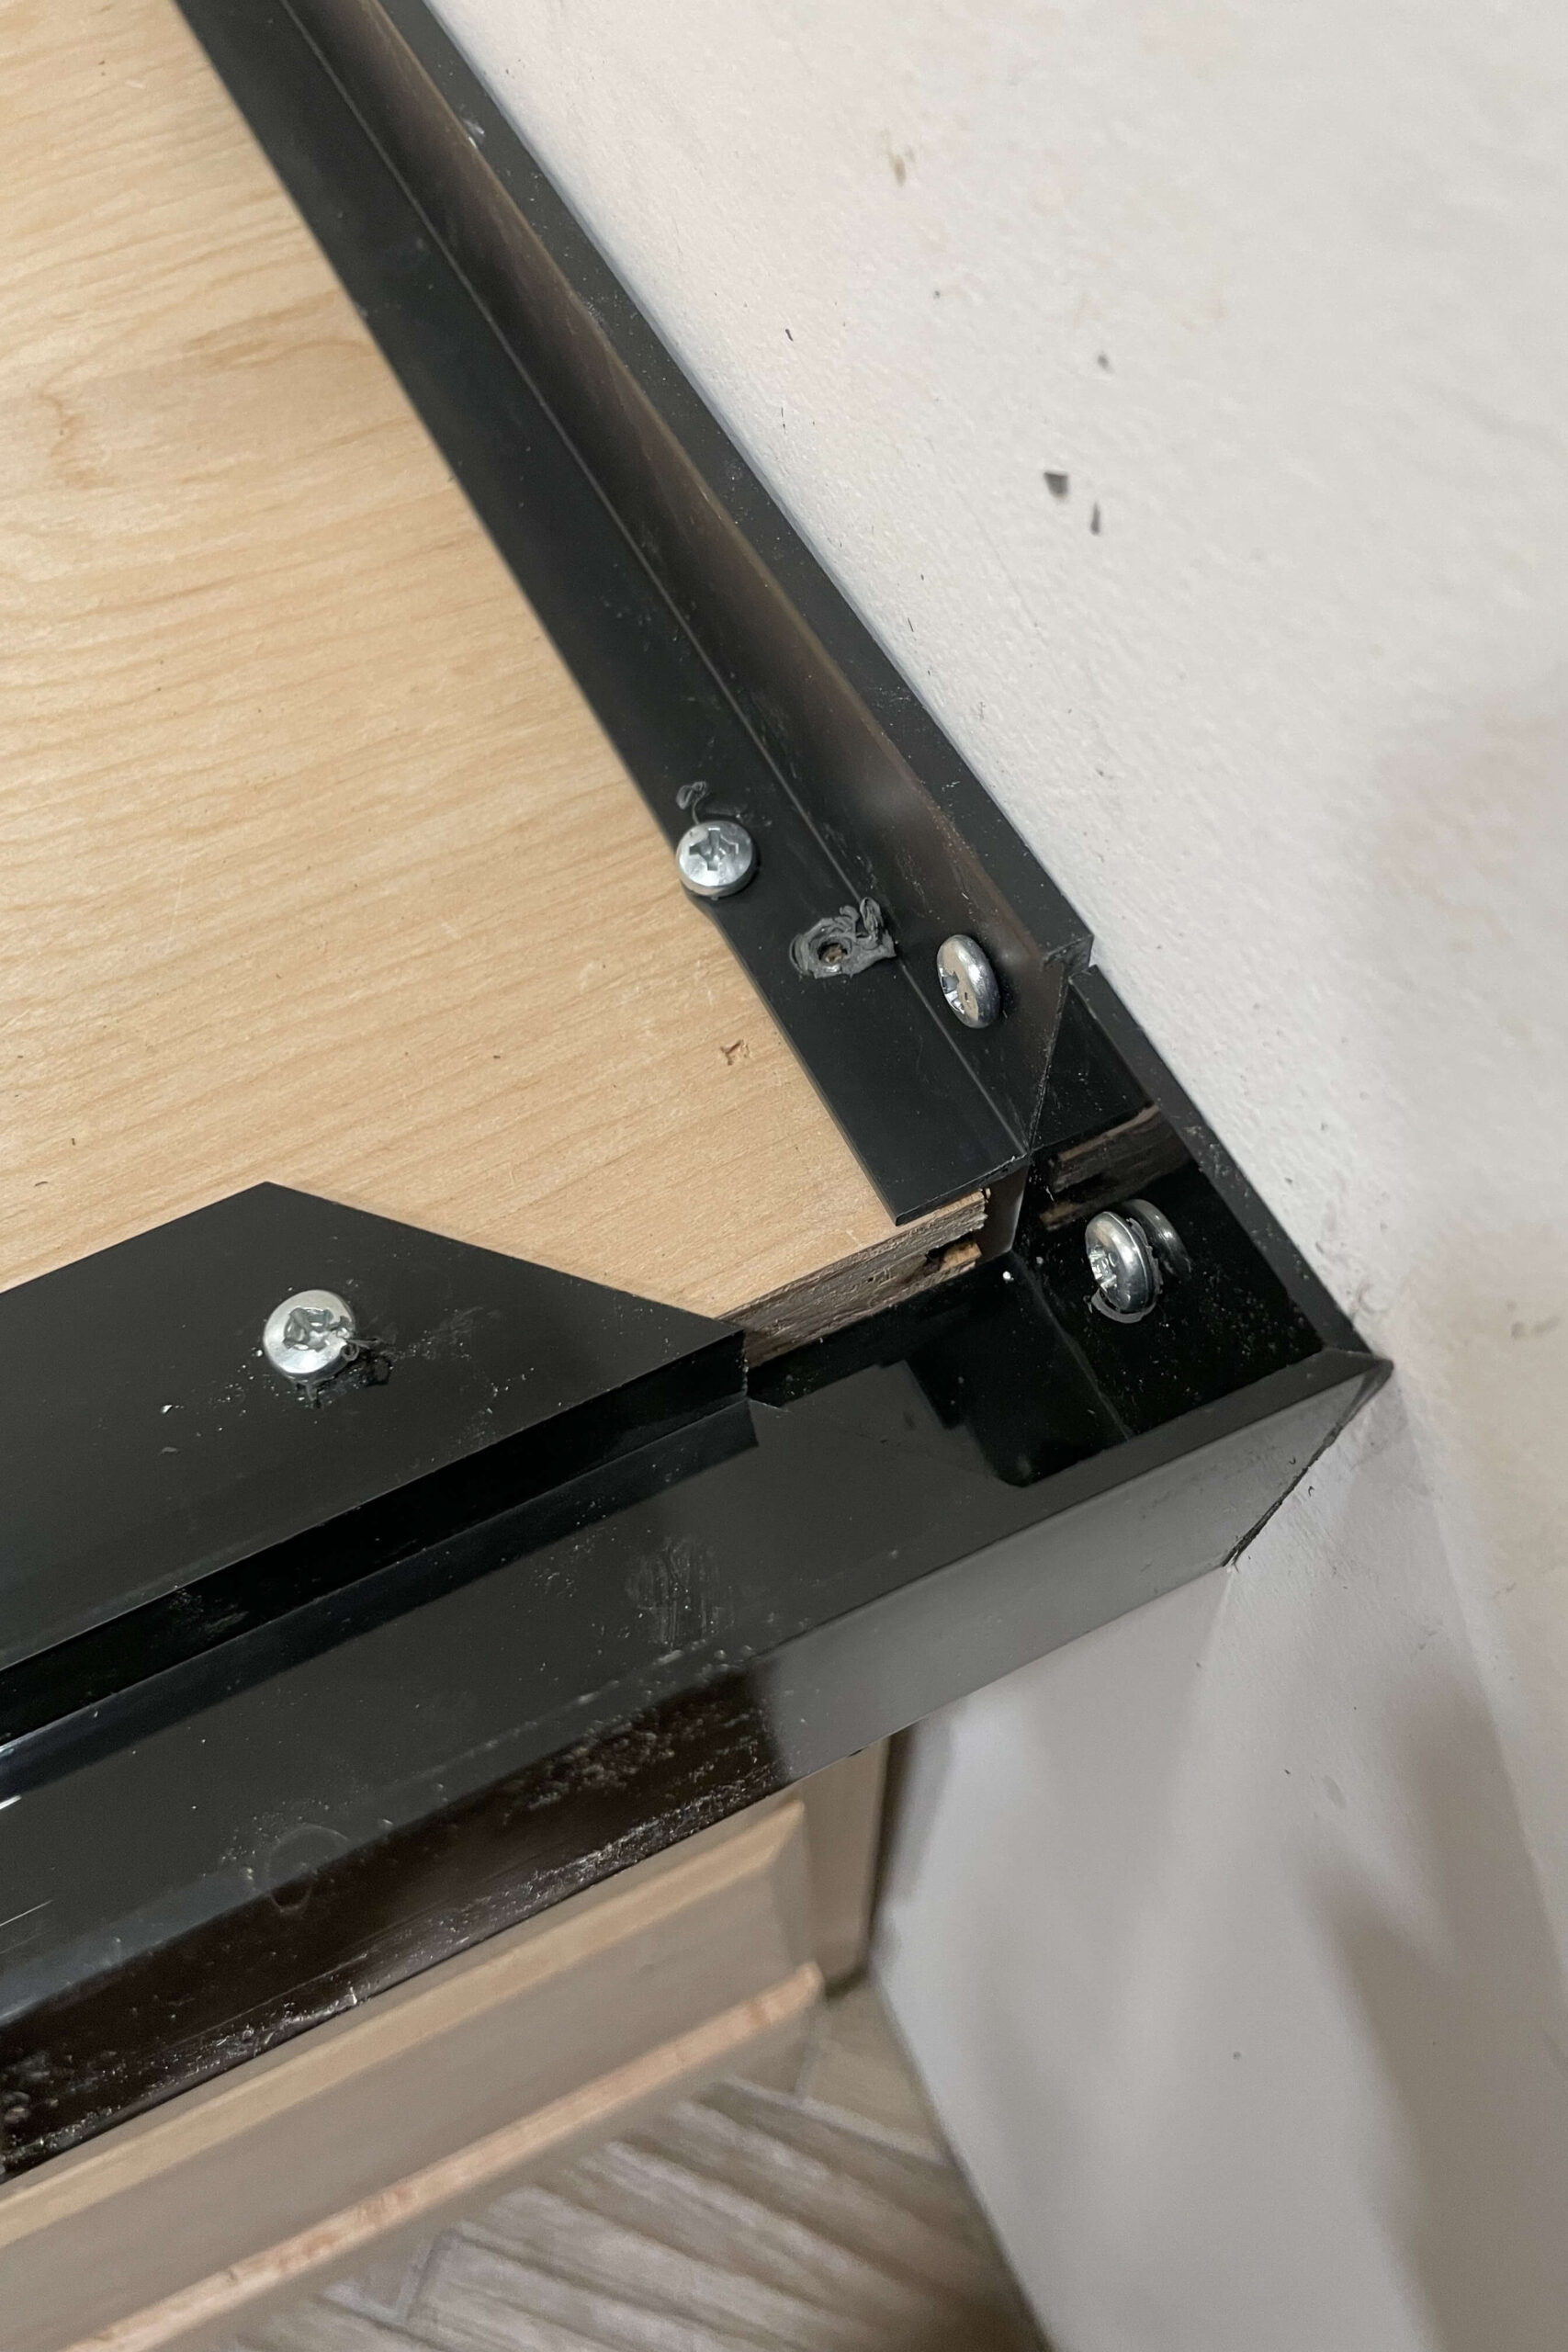
To build the edges of my concrete forms, I used Z Counterform square-edge forms. You’ll need to cut the forms and attach them to your walls and the plywood base with screws. If your countertop is longer than a single form, splice two pieces together at 22.5° angles for a seamless joint. For corners, you can use 45° angles.
To create the edges, I used Z Counterform square-edge forms. Cut them to size and attach them to your walls and plywood with screws. For longer countertops, splice forms at 22.5° angles for seamless joints. Corners? Use 45° angles.
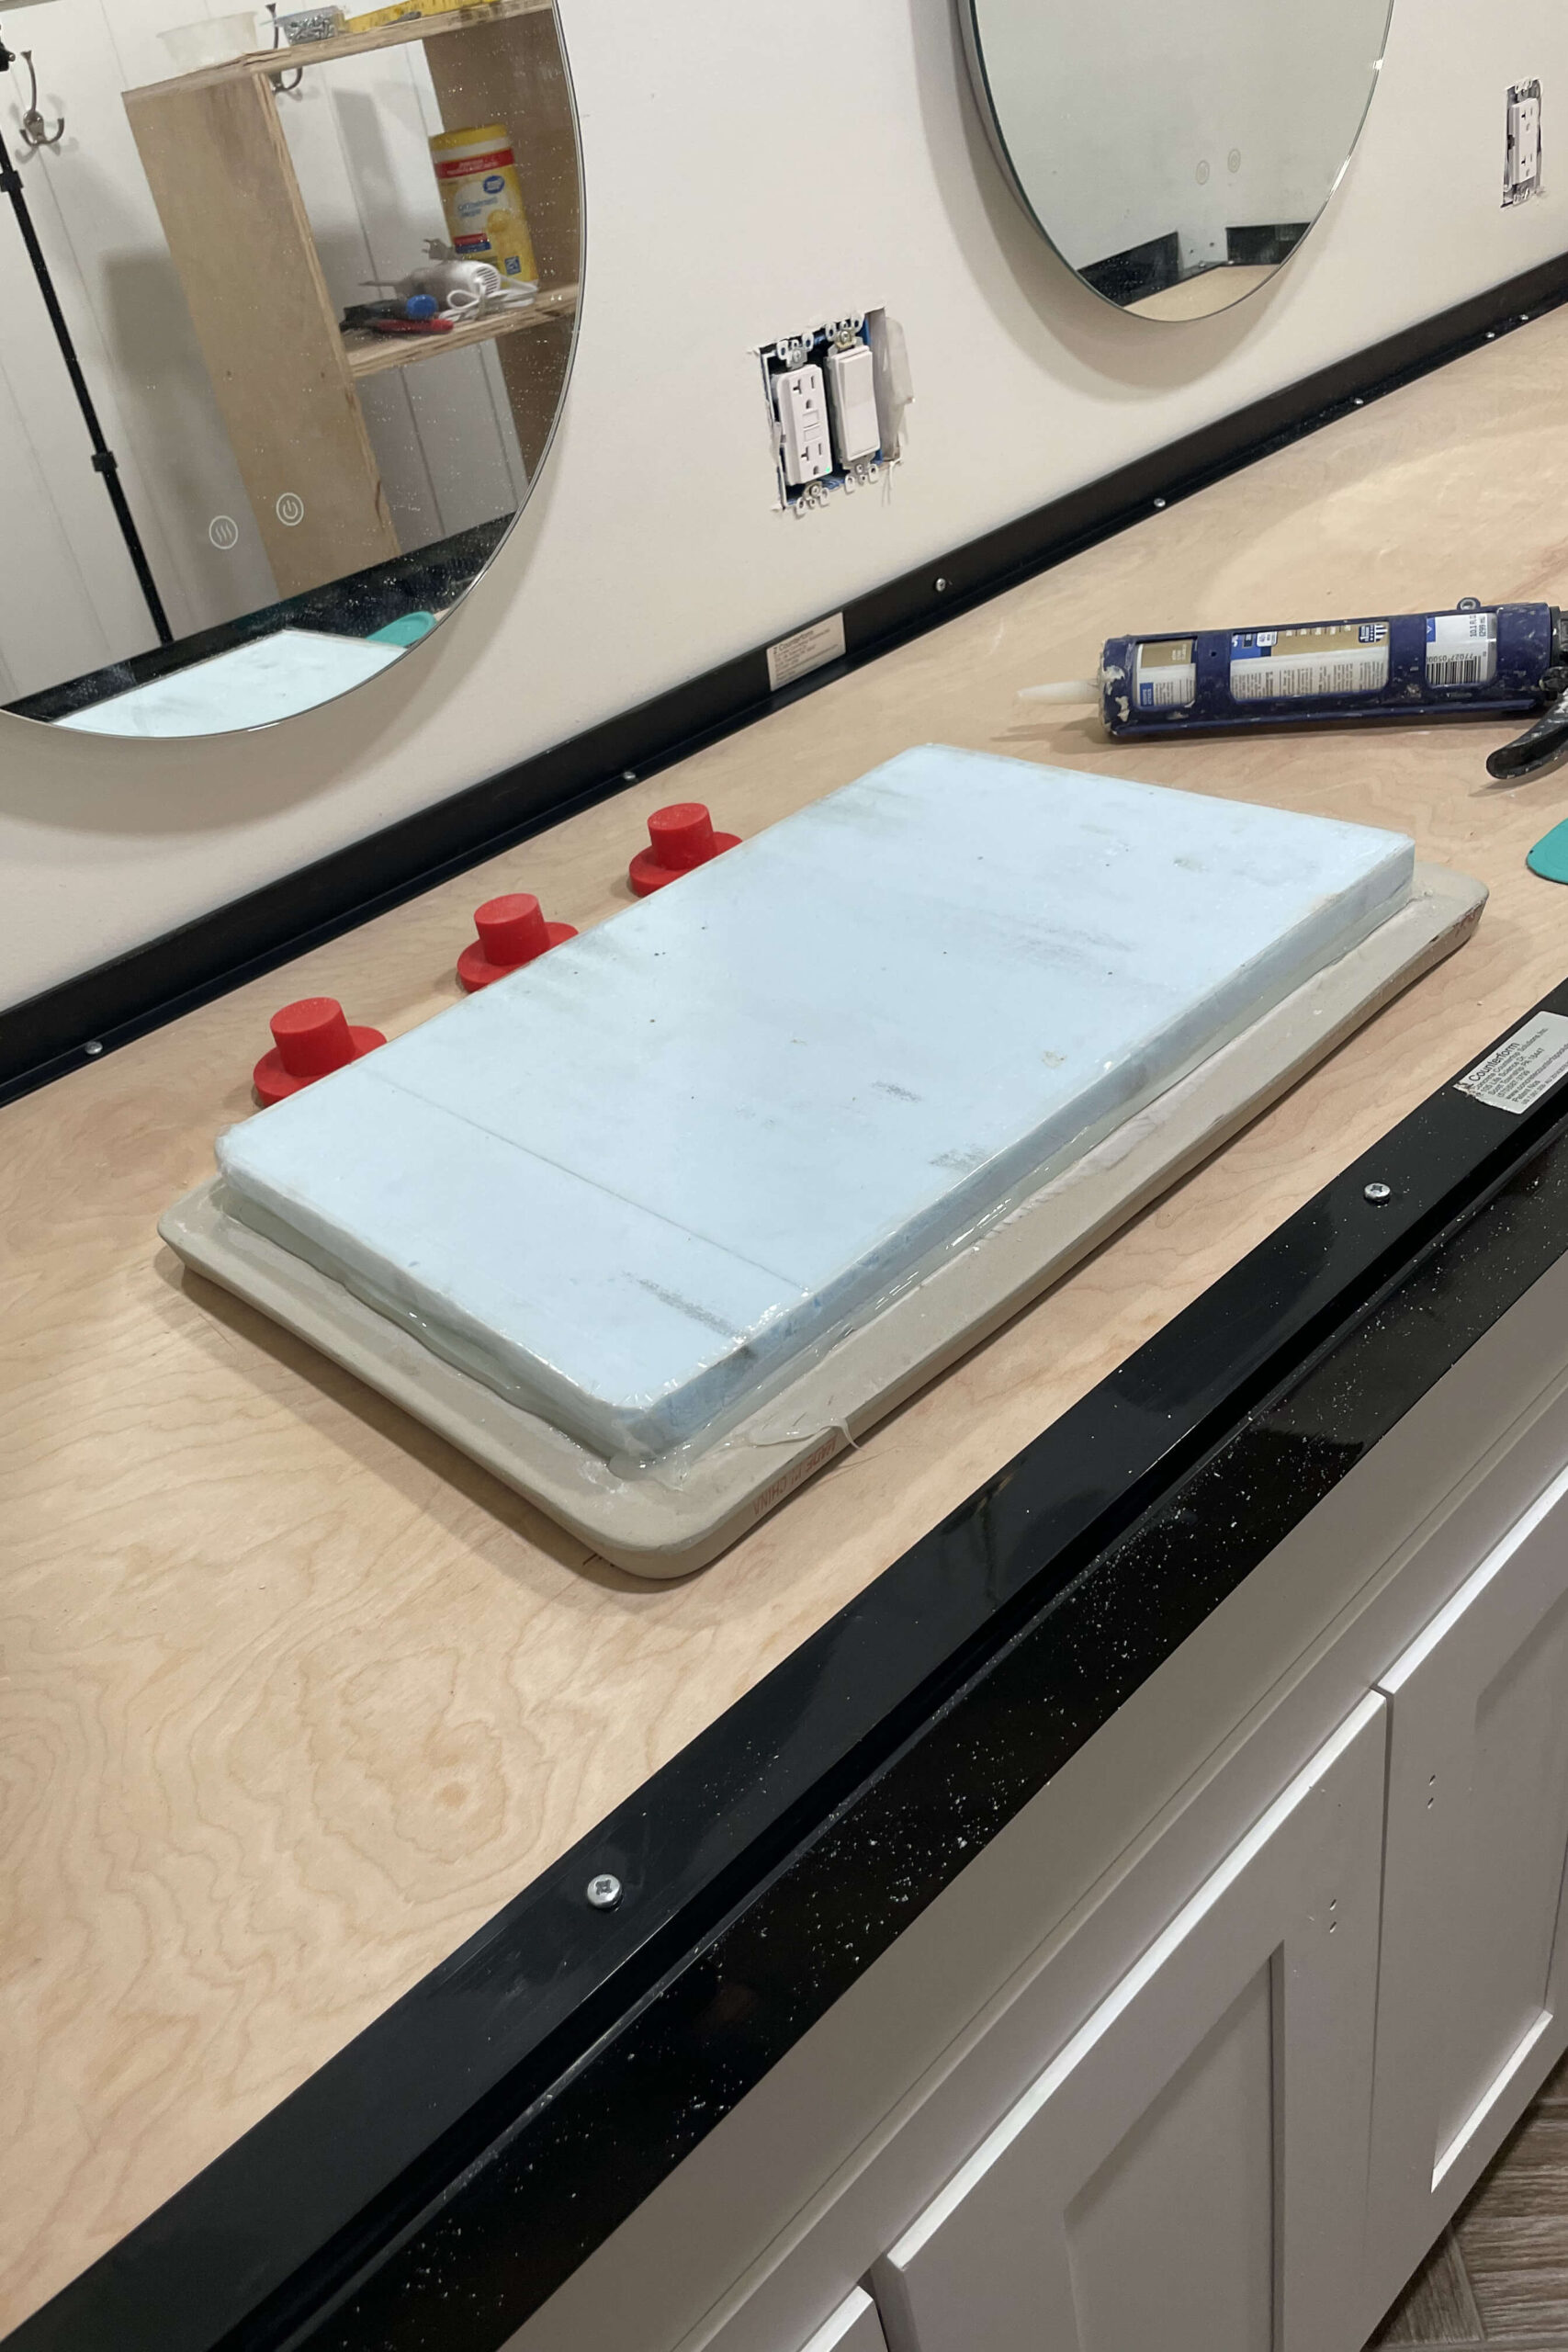
Block holes (like for the faucet and sink) with knockouts– tight-fitting plugs that prevent concrete from leaking through. Z Counterform’s faucet knockouts were perfect, but I got creative for the sink, crafting my own with insulation foam and packaging tape. It worked like a charm!
Seal all seams and edges with silicone to prevent leaks. Precision is key where visible edges meet the concrete – it’ll save you headaches later.
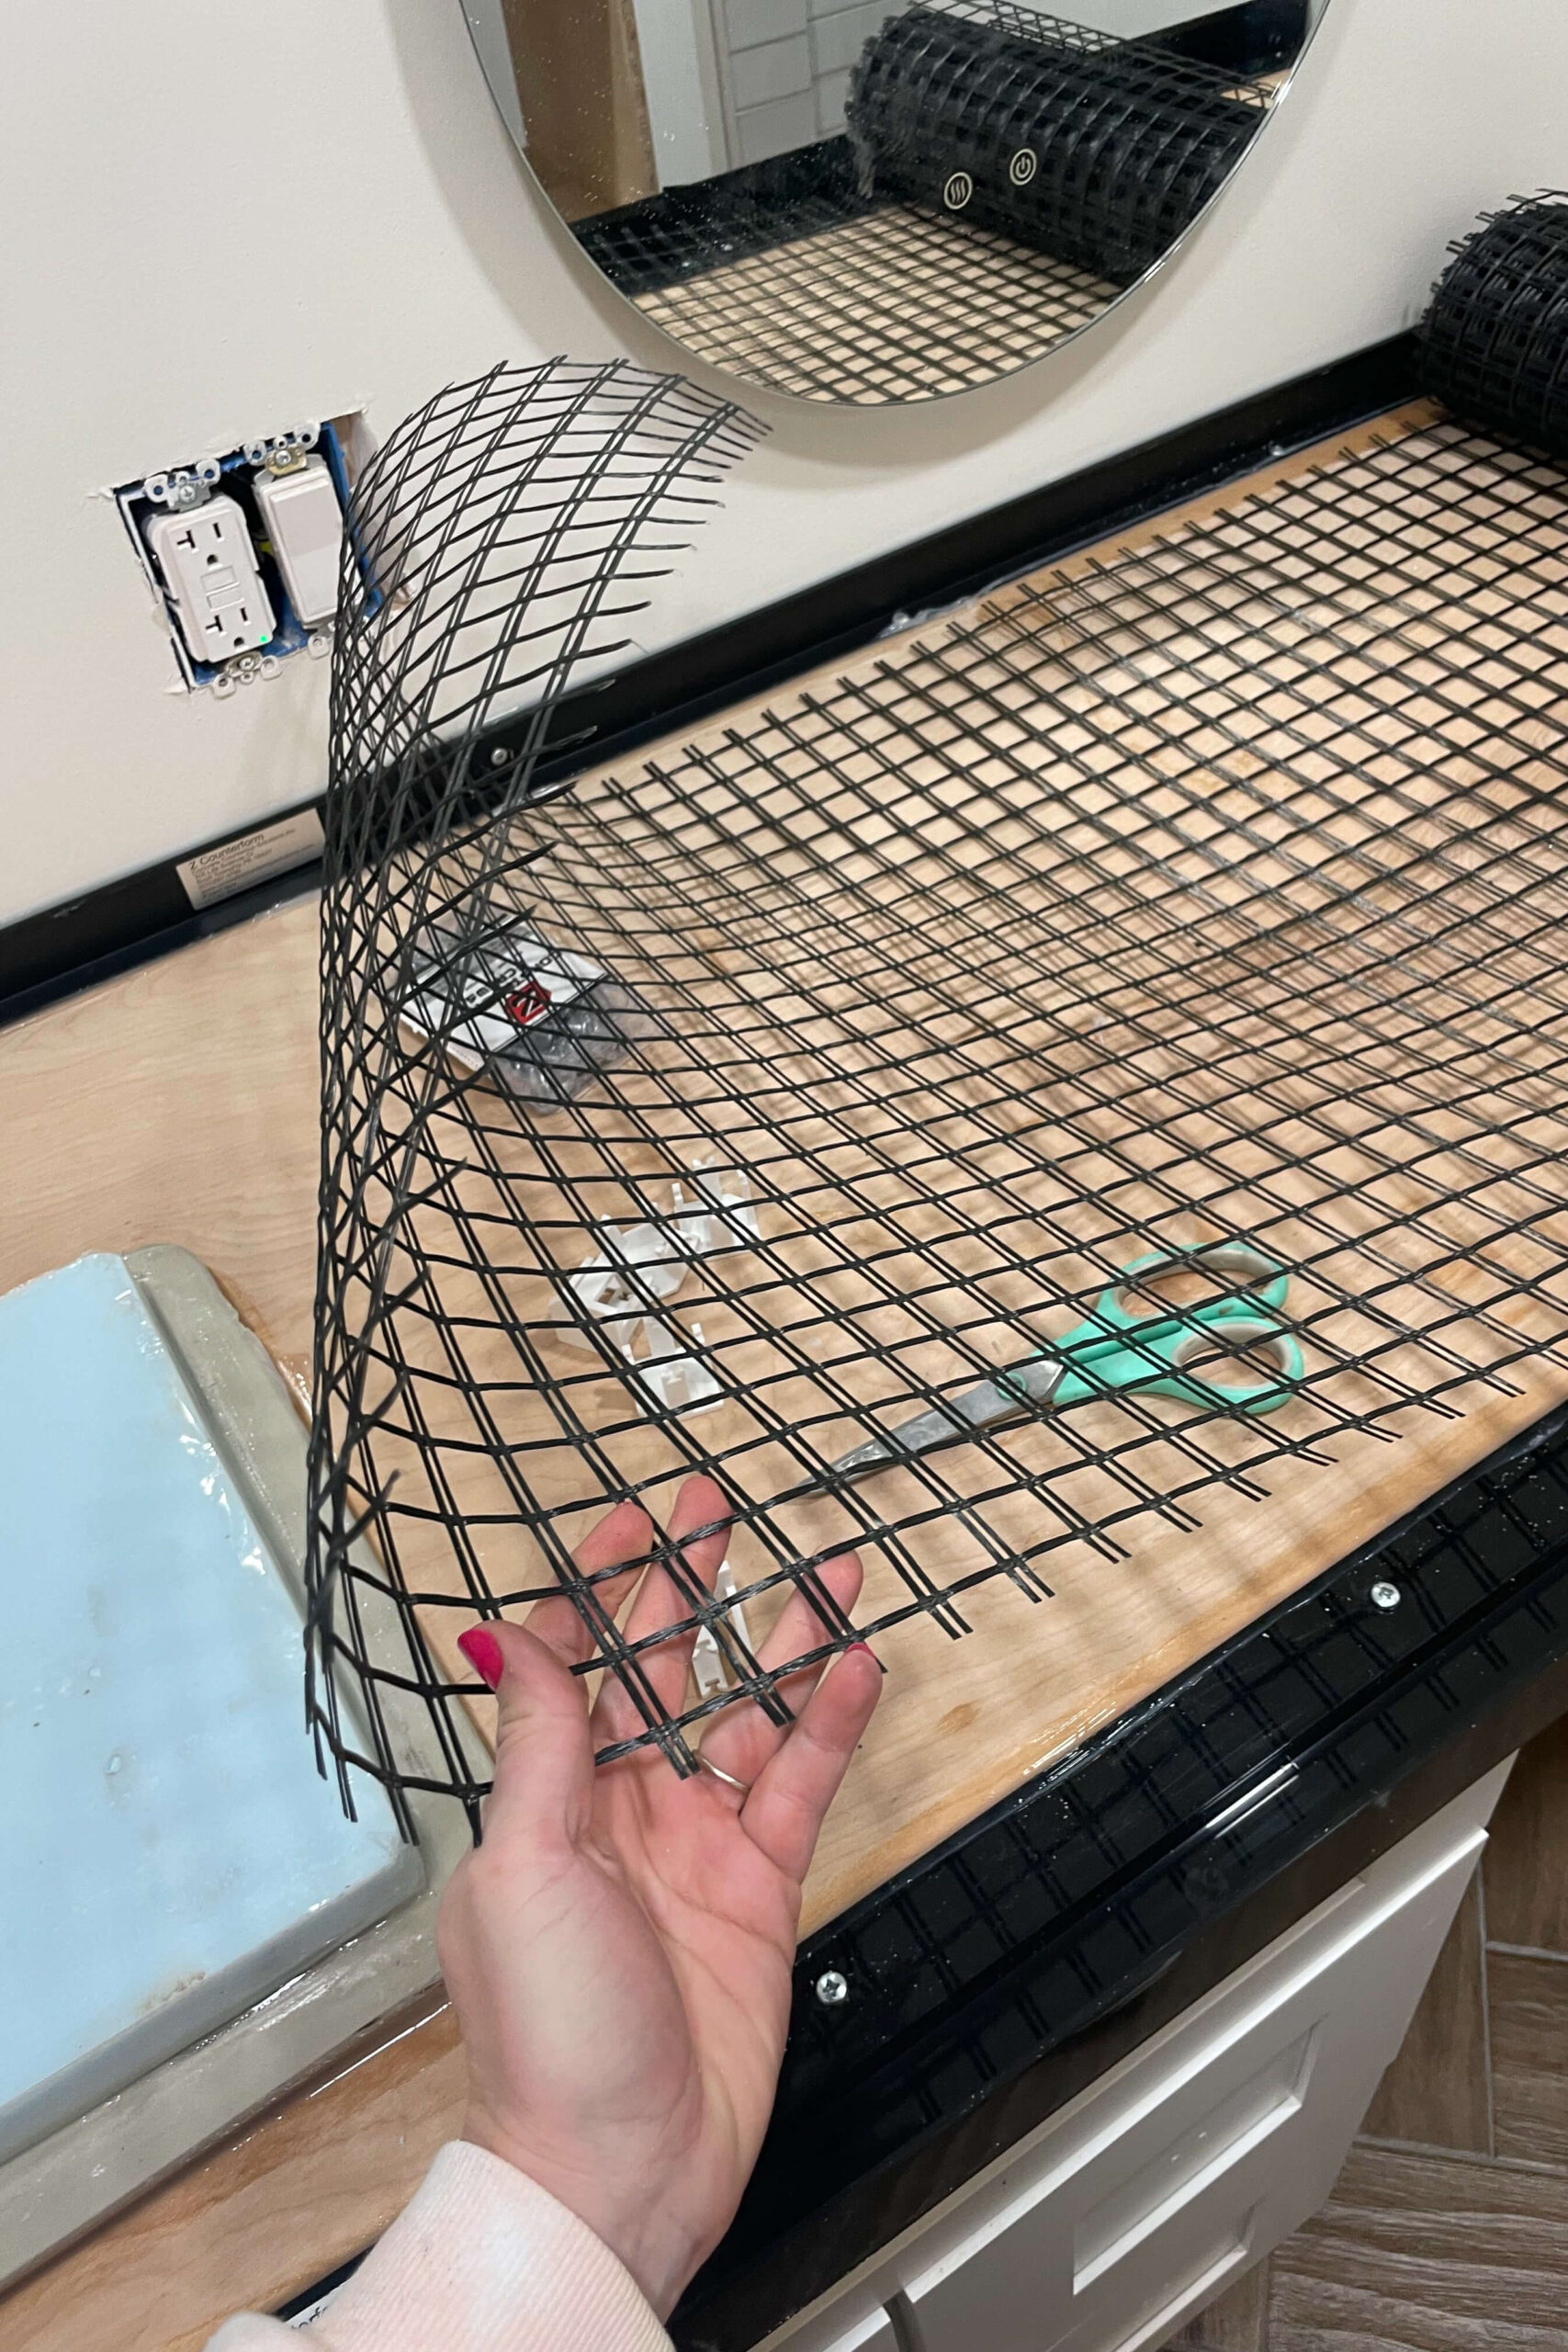
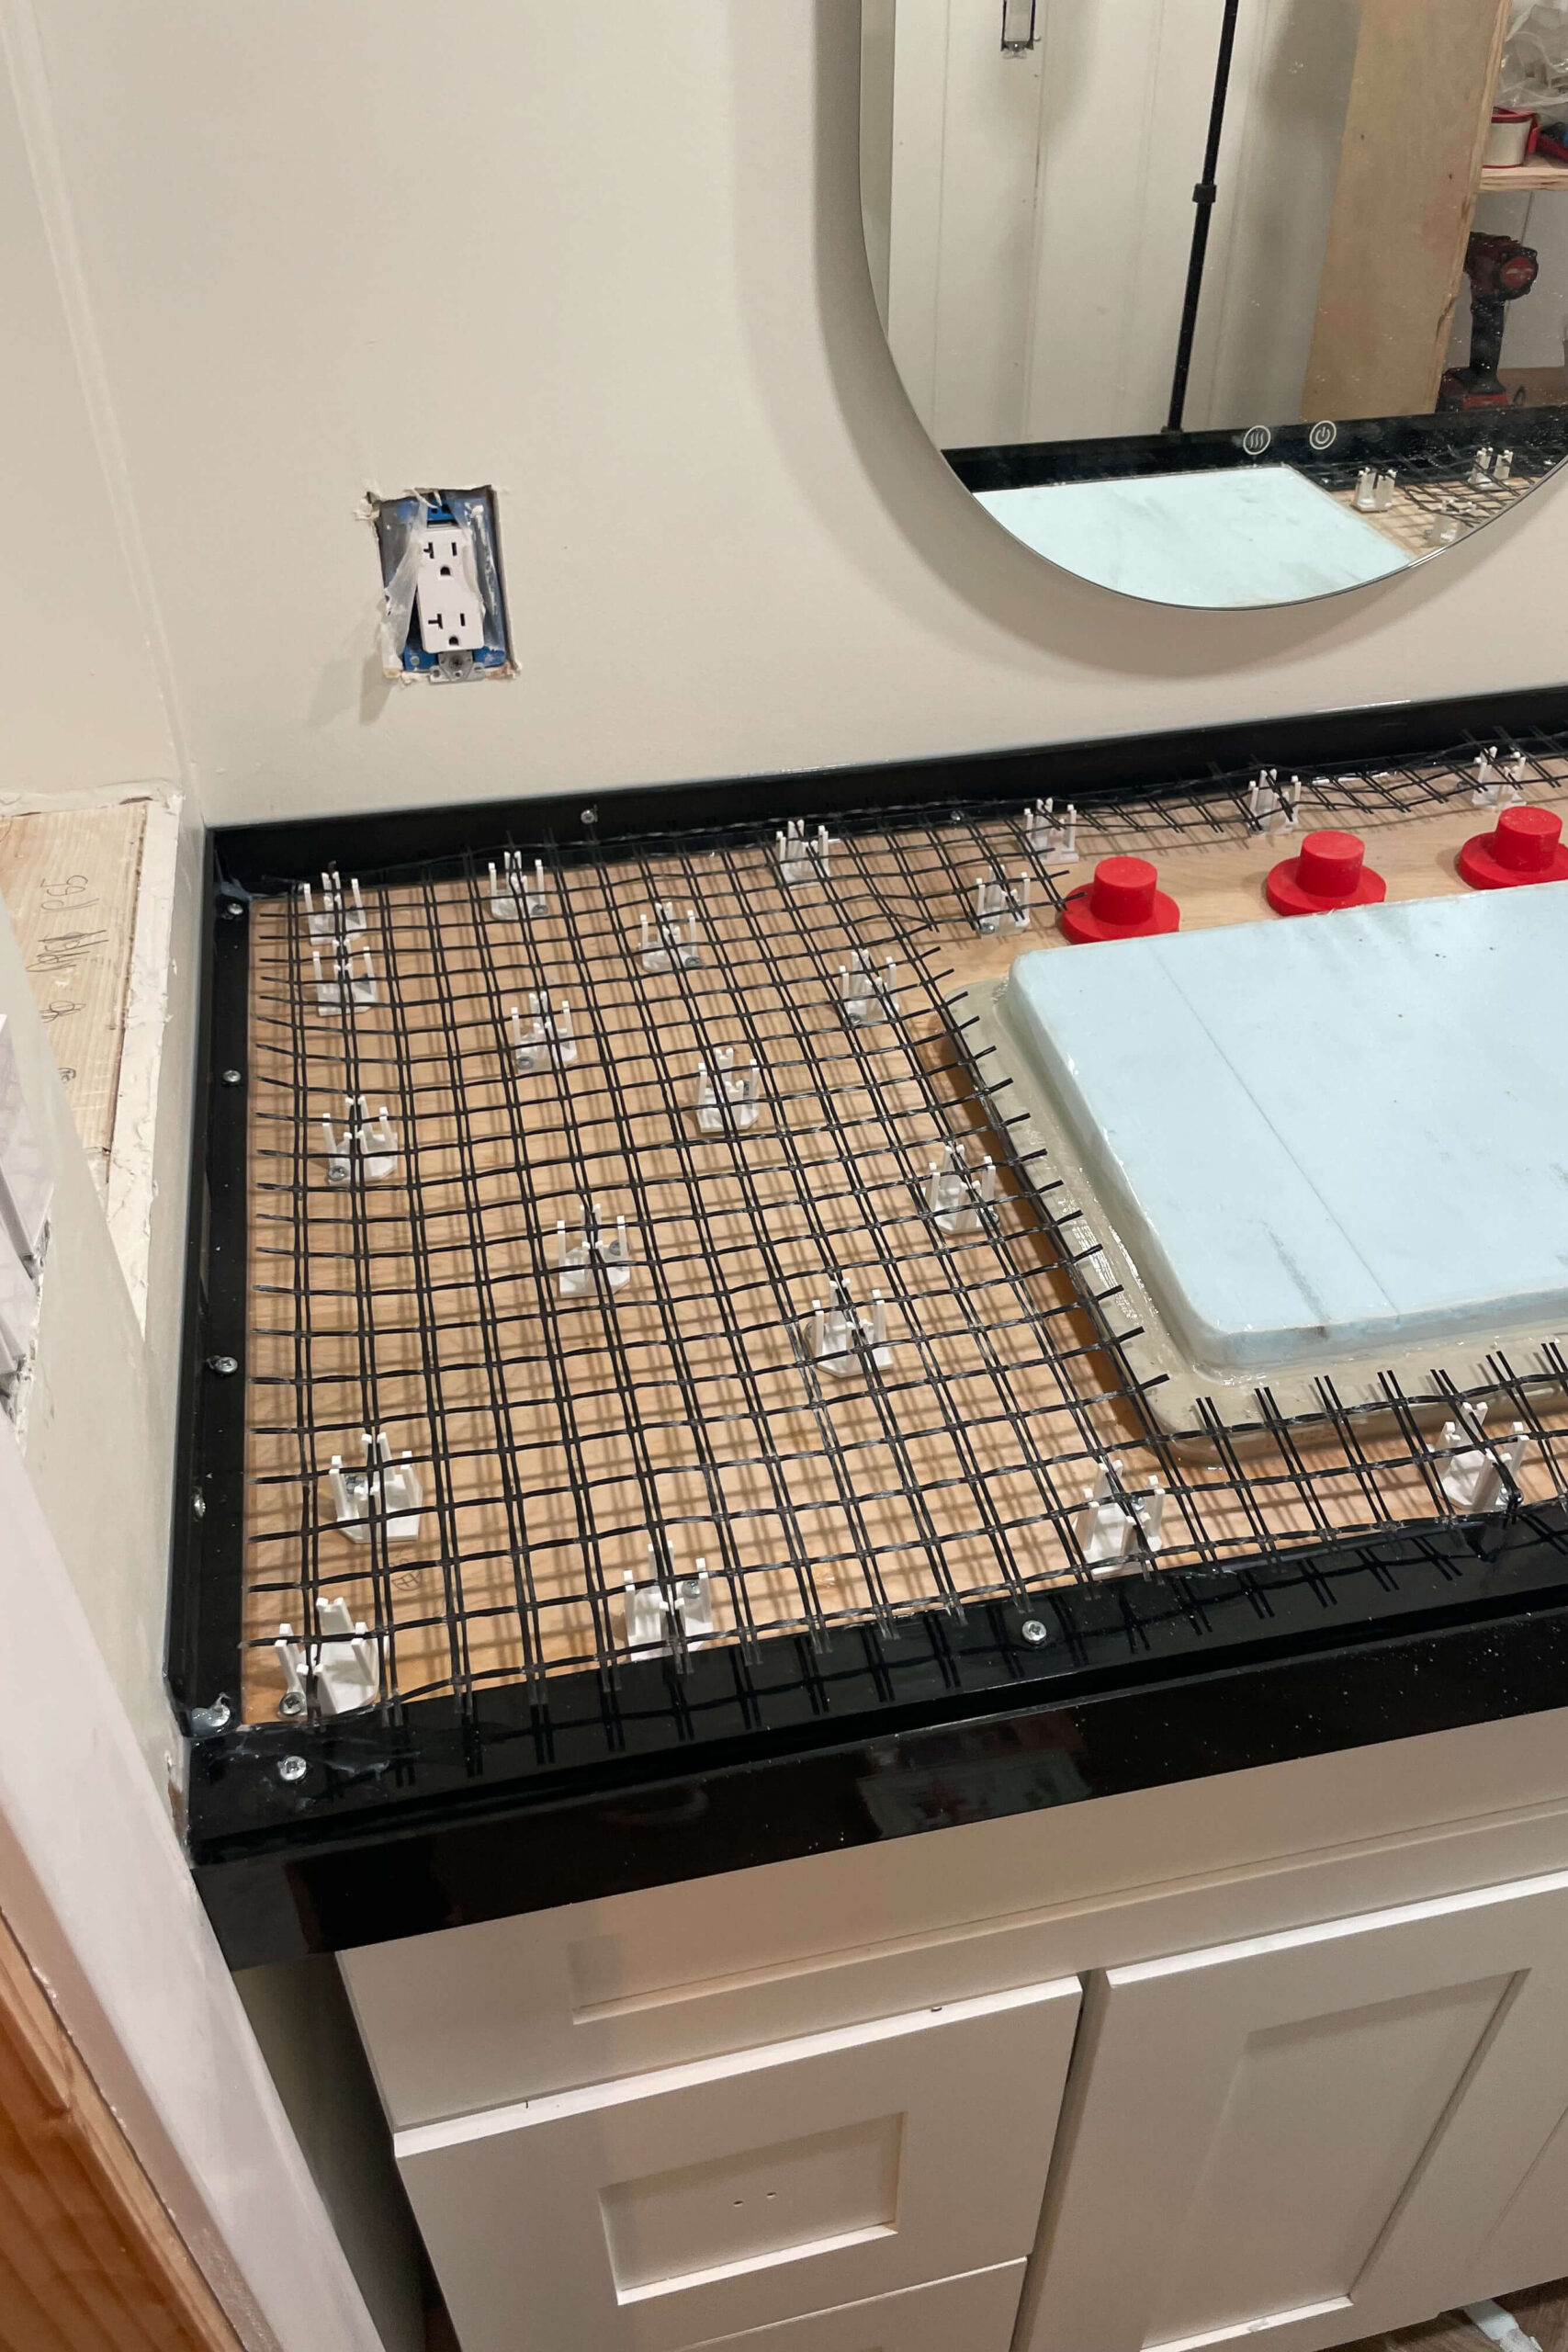
Step 3: Reinforce Your Countertops to Prevent Cracks
Reinforcing your countertops helps prevent cracking. Lay out fiber mesh, cut it to fit with scissors, and pop it into Z Clips. Attach the clips to the plywood base with concrete screws. Done and ready for concrete!
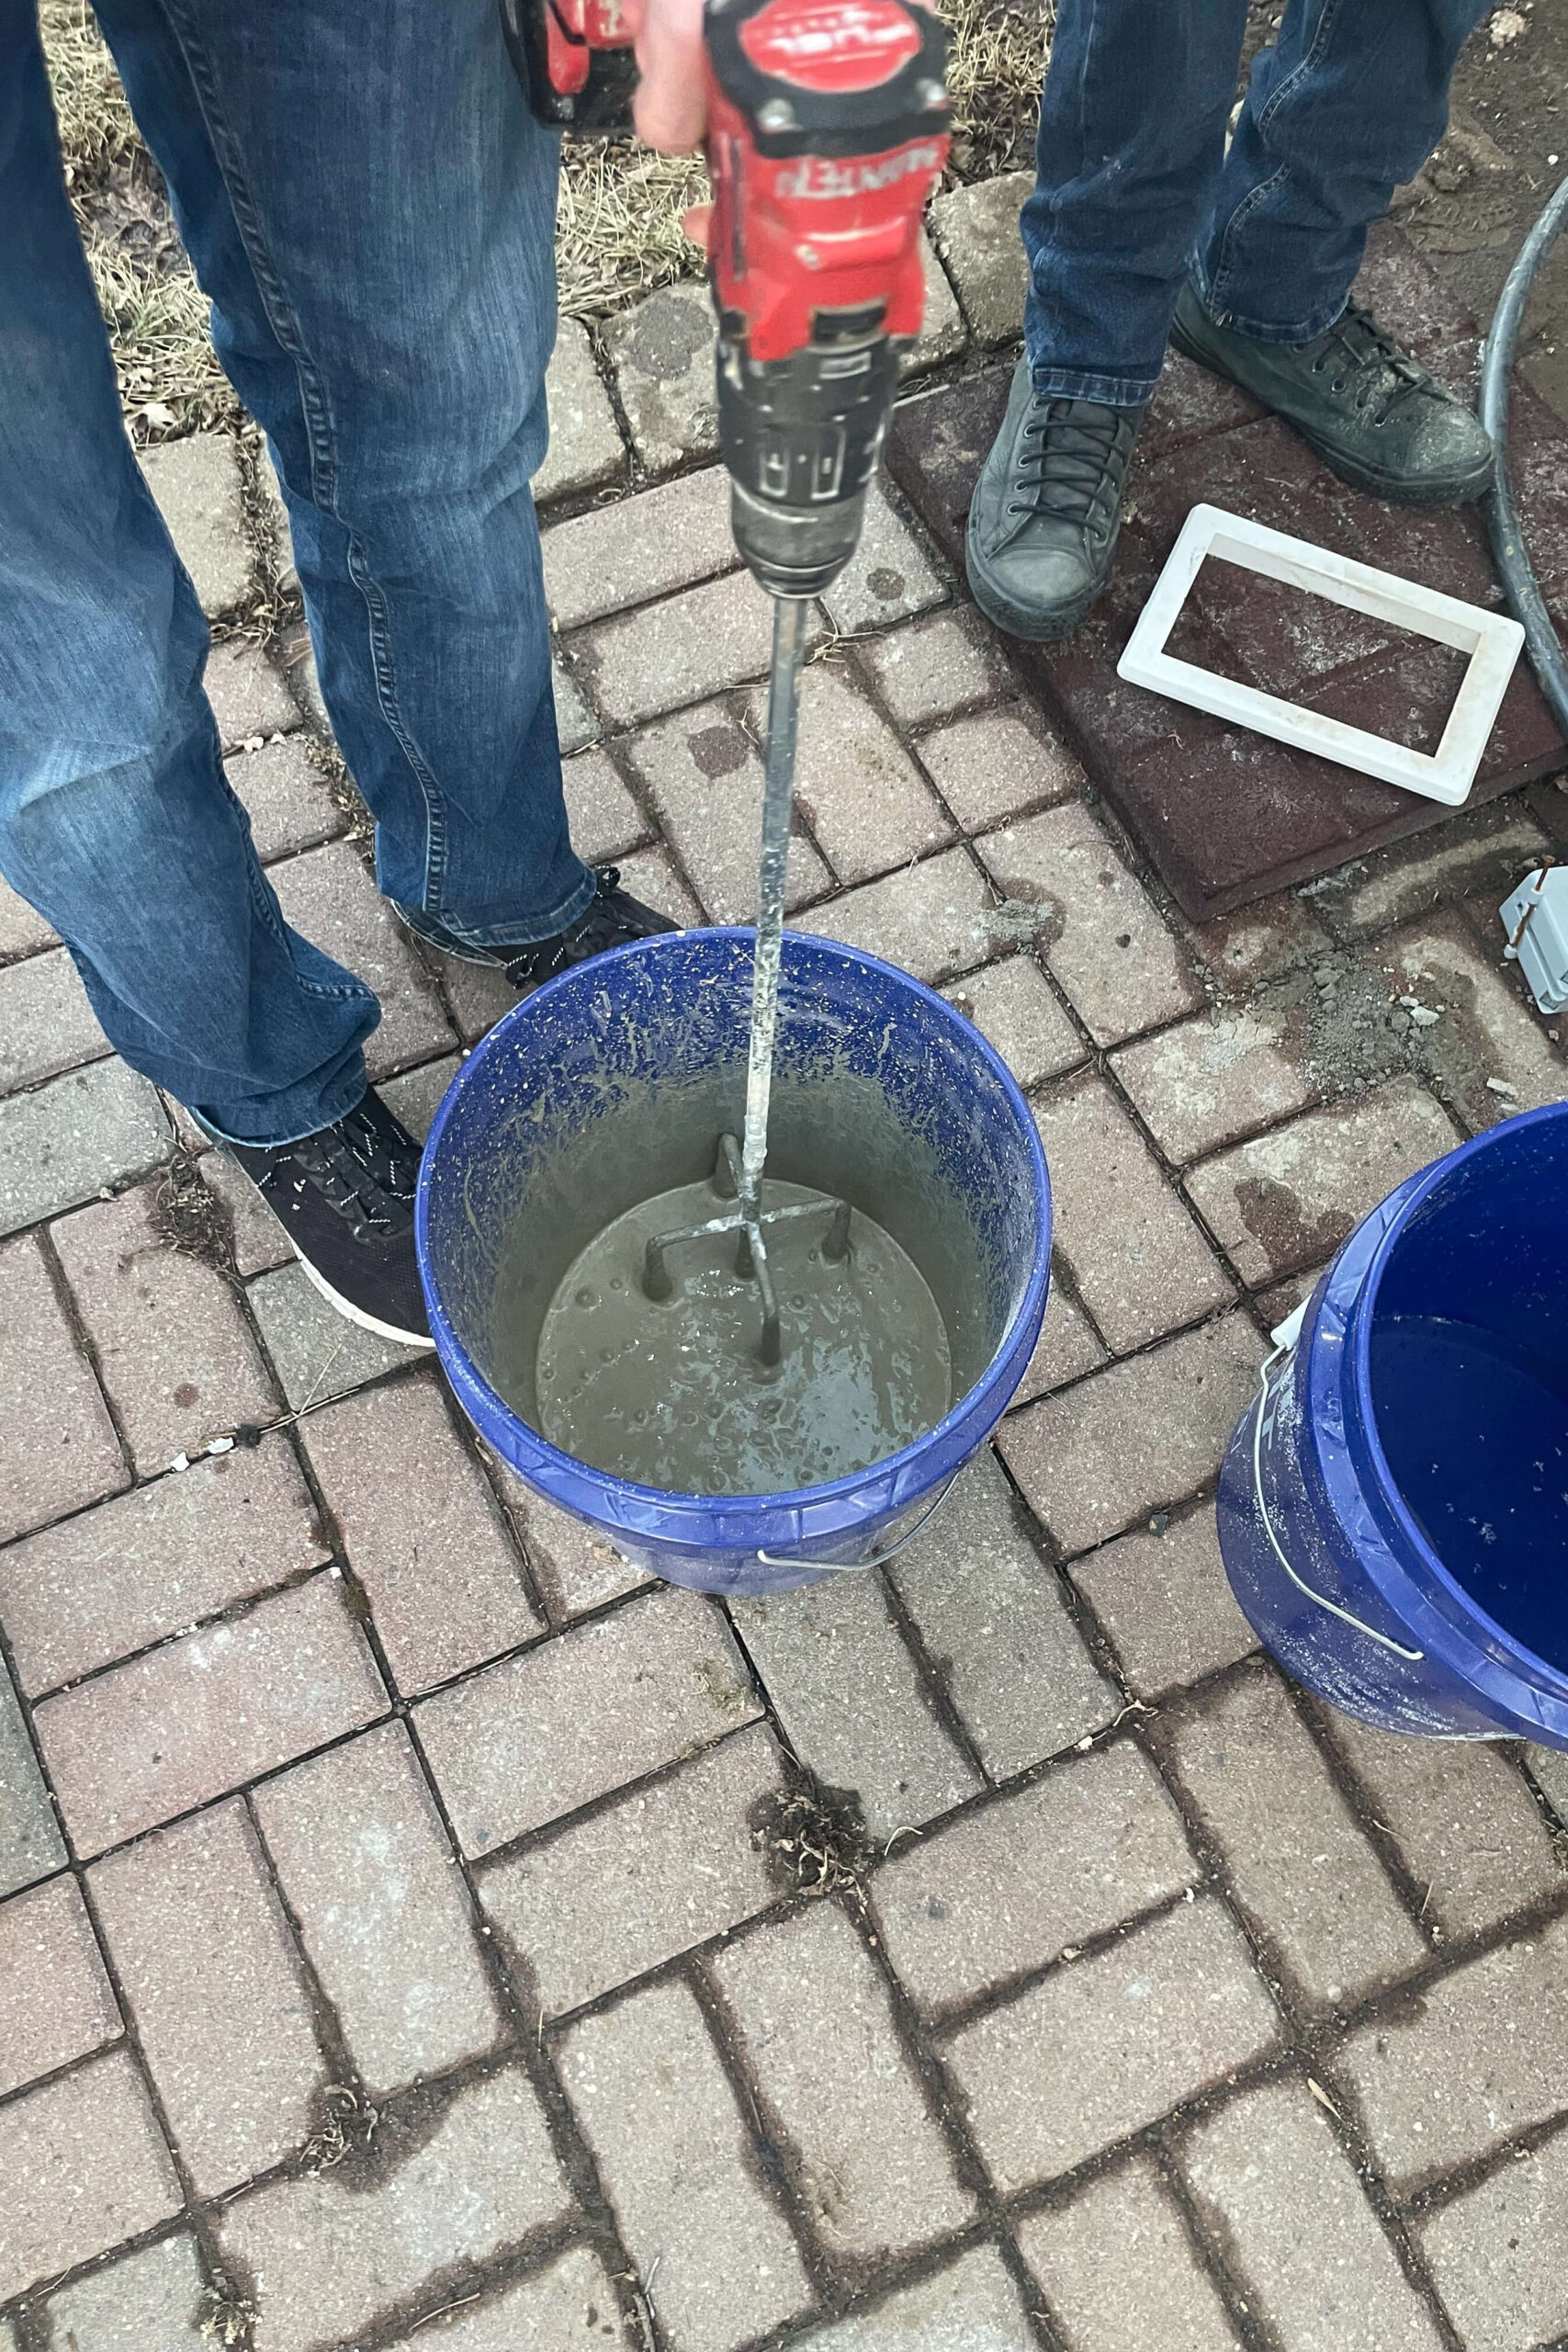
Step 4: Mix and Pour Your Concrete Countertops
Before you start pouring your DIY concrete countertops, protect your workspace with plastic drop cloths and painter’s tape—things are about to get messy!
In a 5-gallon bucket, mix:
- 2 quarts water
- 1 bag of Z Liqui-Crete additive
Then, add:
- 2 more quarts water
- 1 60-lb bag of Quikcrete Ready-To-Use concrete
Use a drill with a paddle attachment to mix. You’re aiming for a thick, pourable consistency—like pancake batter.

Pour the concrete over the mesh, spreading it evenly with a trowel. Use a screed to level it with the tops of the forms. A laser level is super handy here.


At this stage, don’t stress if your DIY concrete countertops isn’t perfectly smooth. Just ensure the forms are filled and the concrete is level.
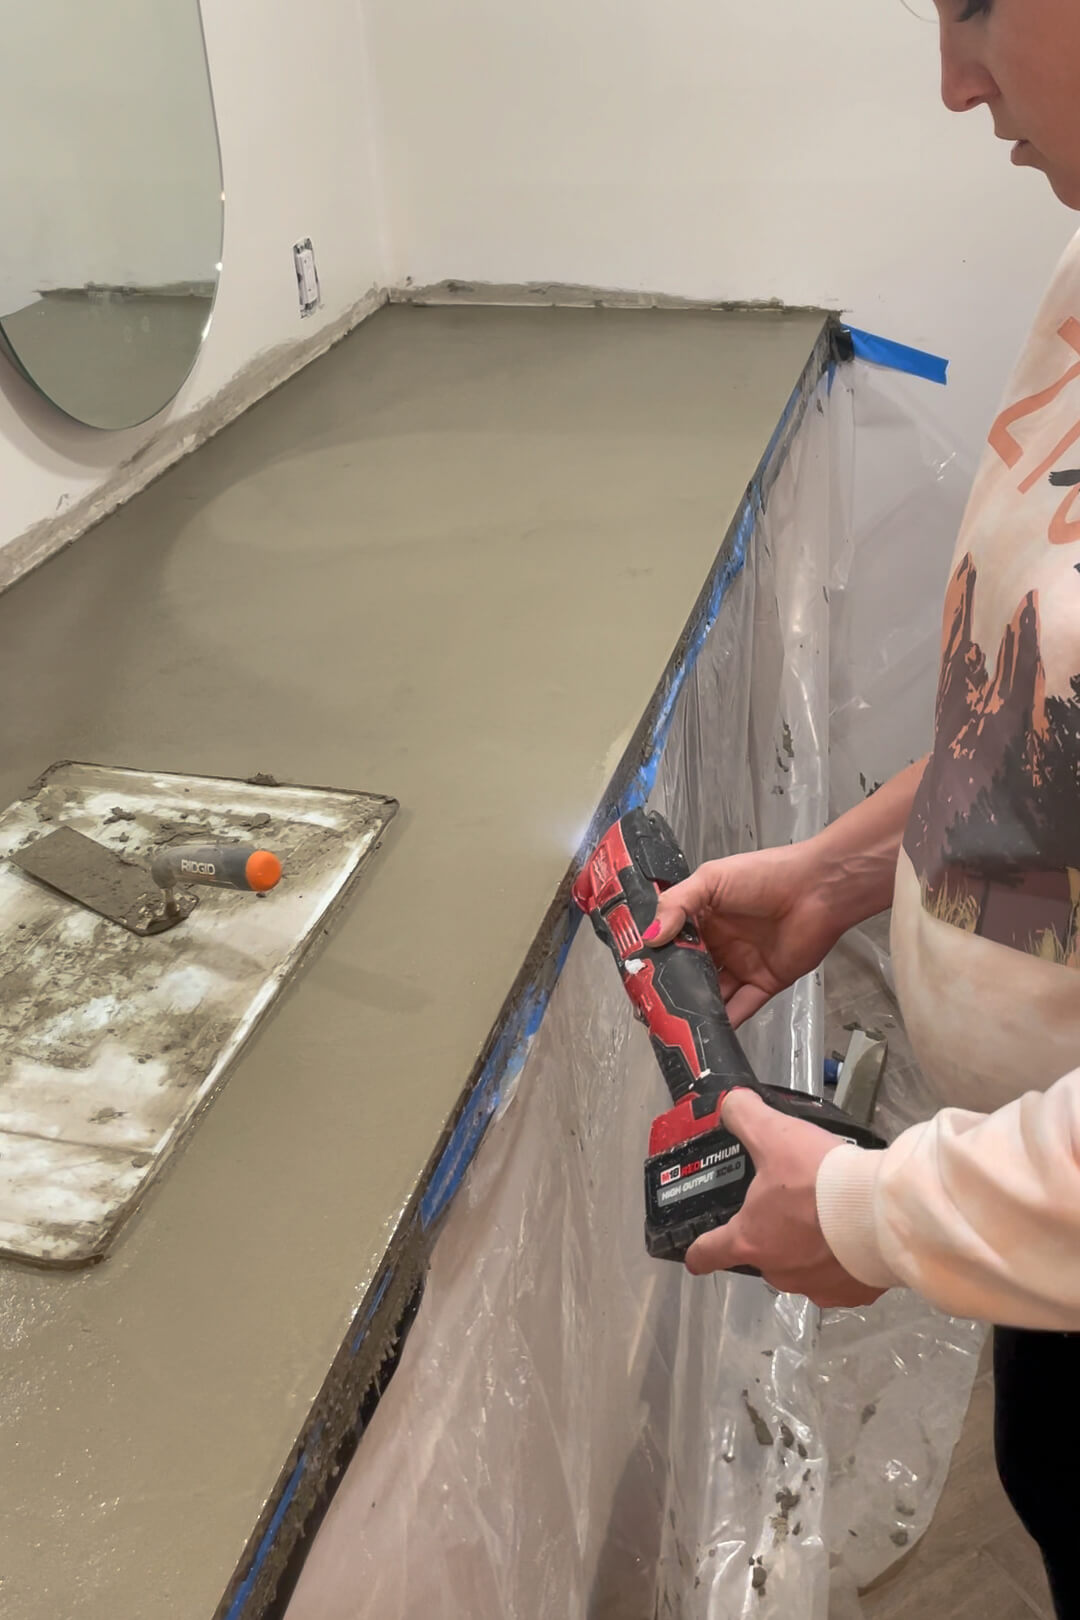
Step 5: Smooth the Surface and Eliminate Bubbles
Next, we want to remove air bubbles and excessive moisture that’s trapped in the concrete. I used a multi-tool pressed against the forms to gently vibrate out the bubbles. Tapping the forms works too – you really can’t overdo this step.
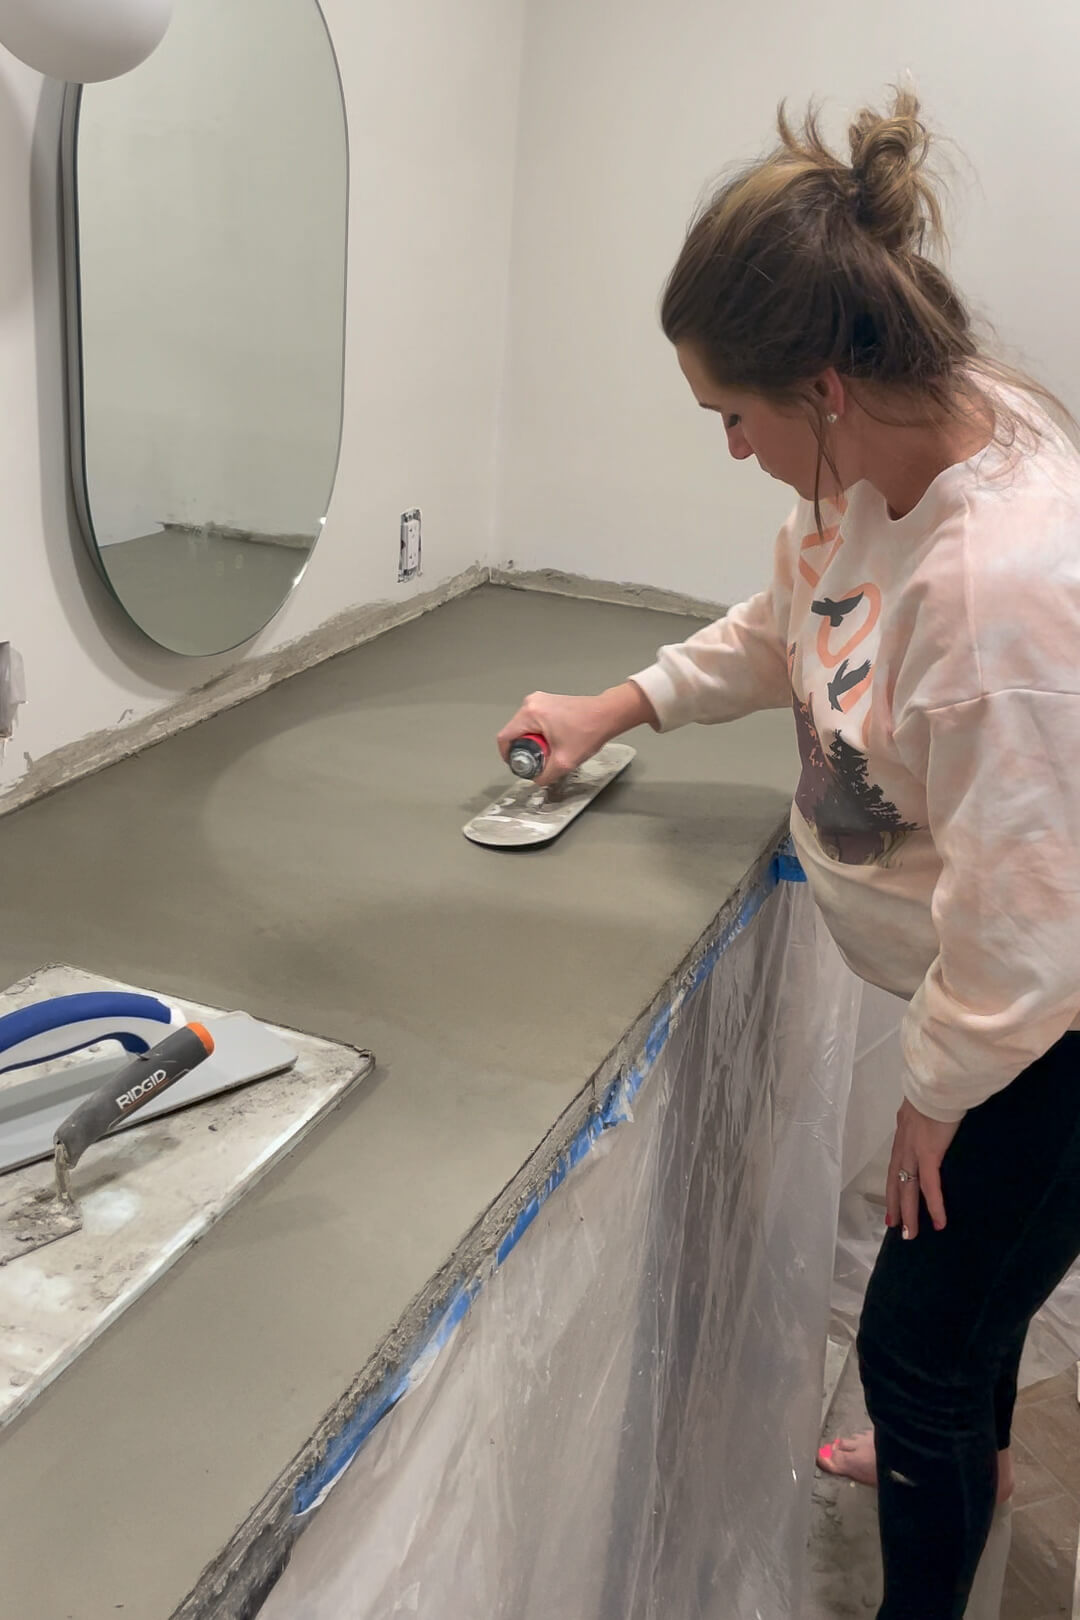
Then, I used a magnesium float to work the surface, which helps moisture escape. The slight texture left behind is a good thing; it’ll smooth out later. Don’t skip this step, or you’ll have a dusty look to your finished DIY concrete countertops.
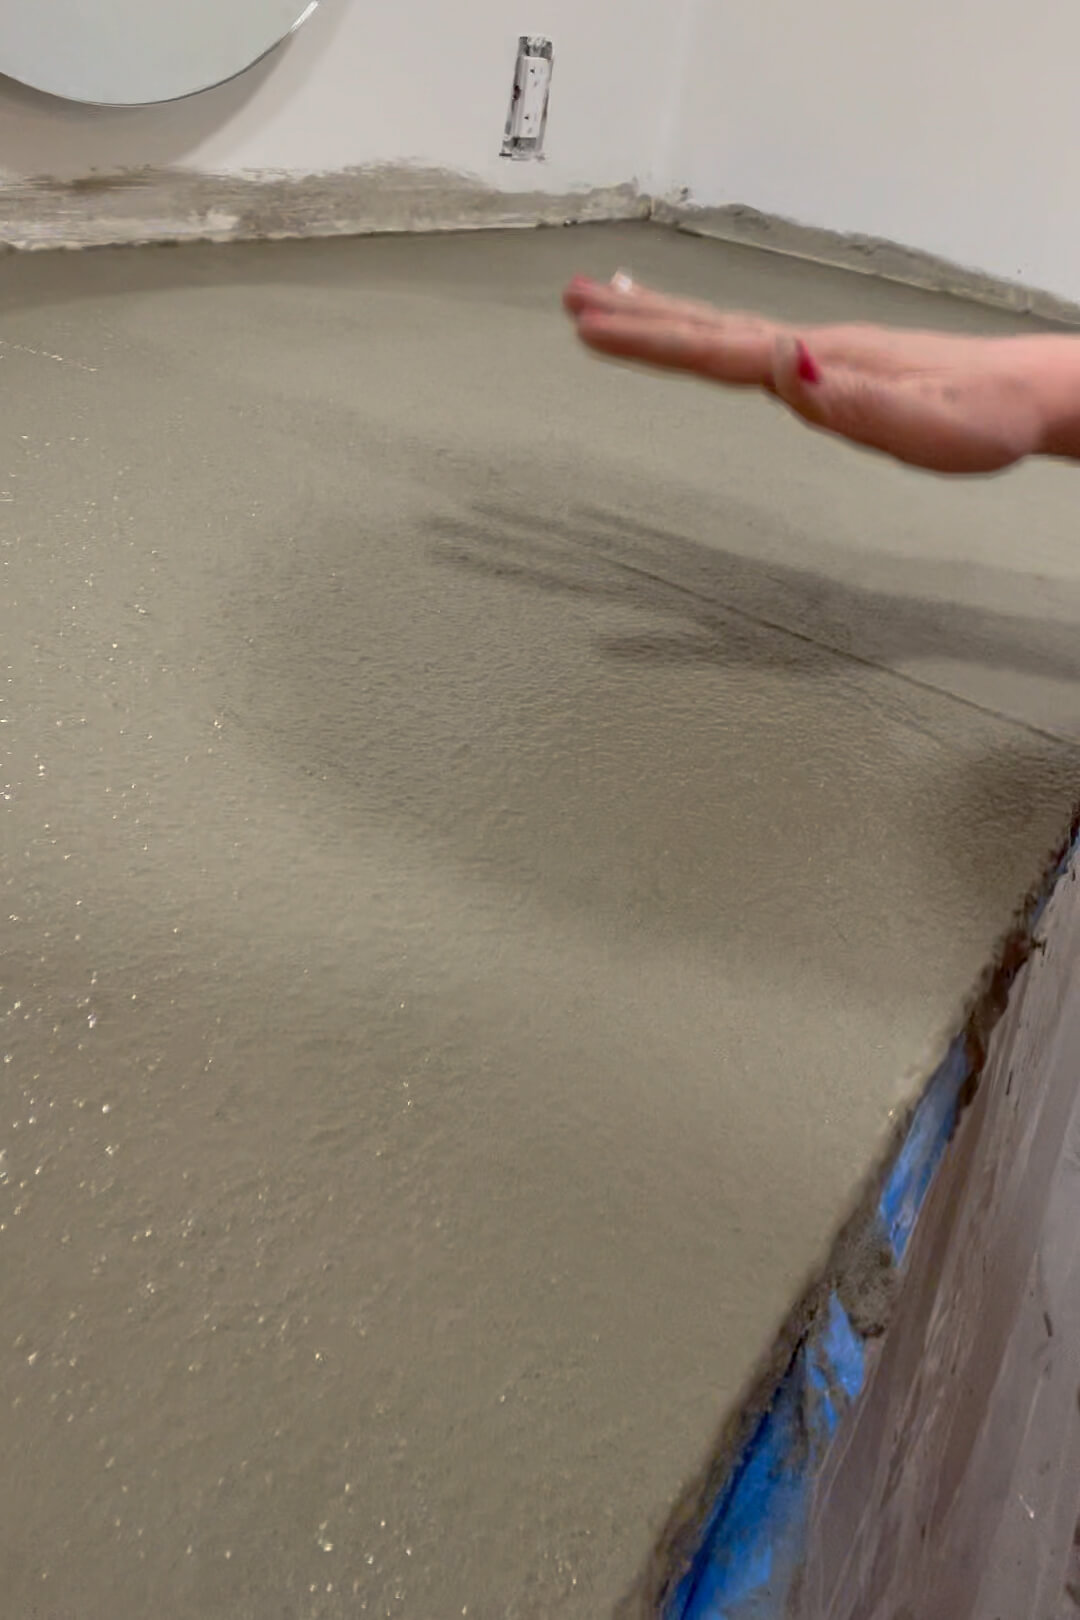
After 2–4 hours (when a light touch leaves no mark), use a steel trowel for a sleek finish. The smoother you get your DIY concrete countertops now, the less sanding you’ll do later.
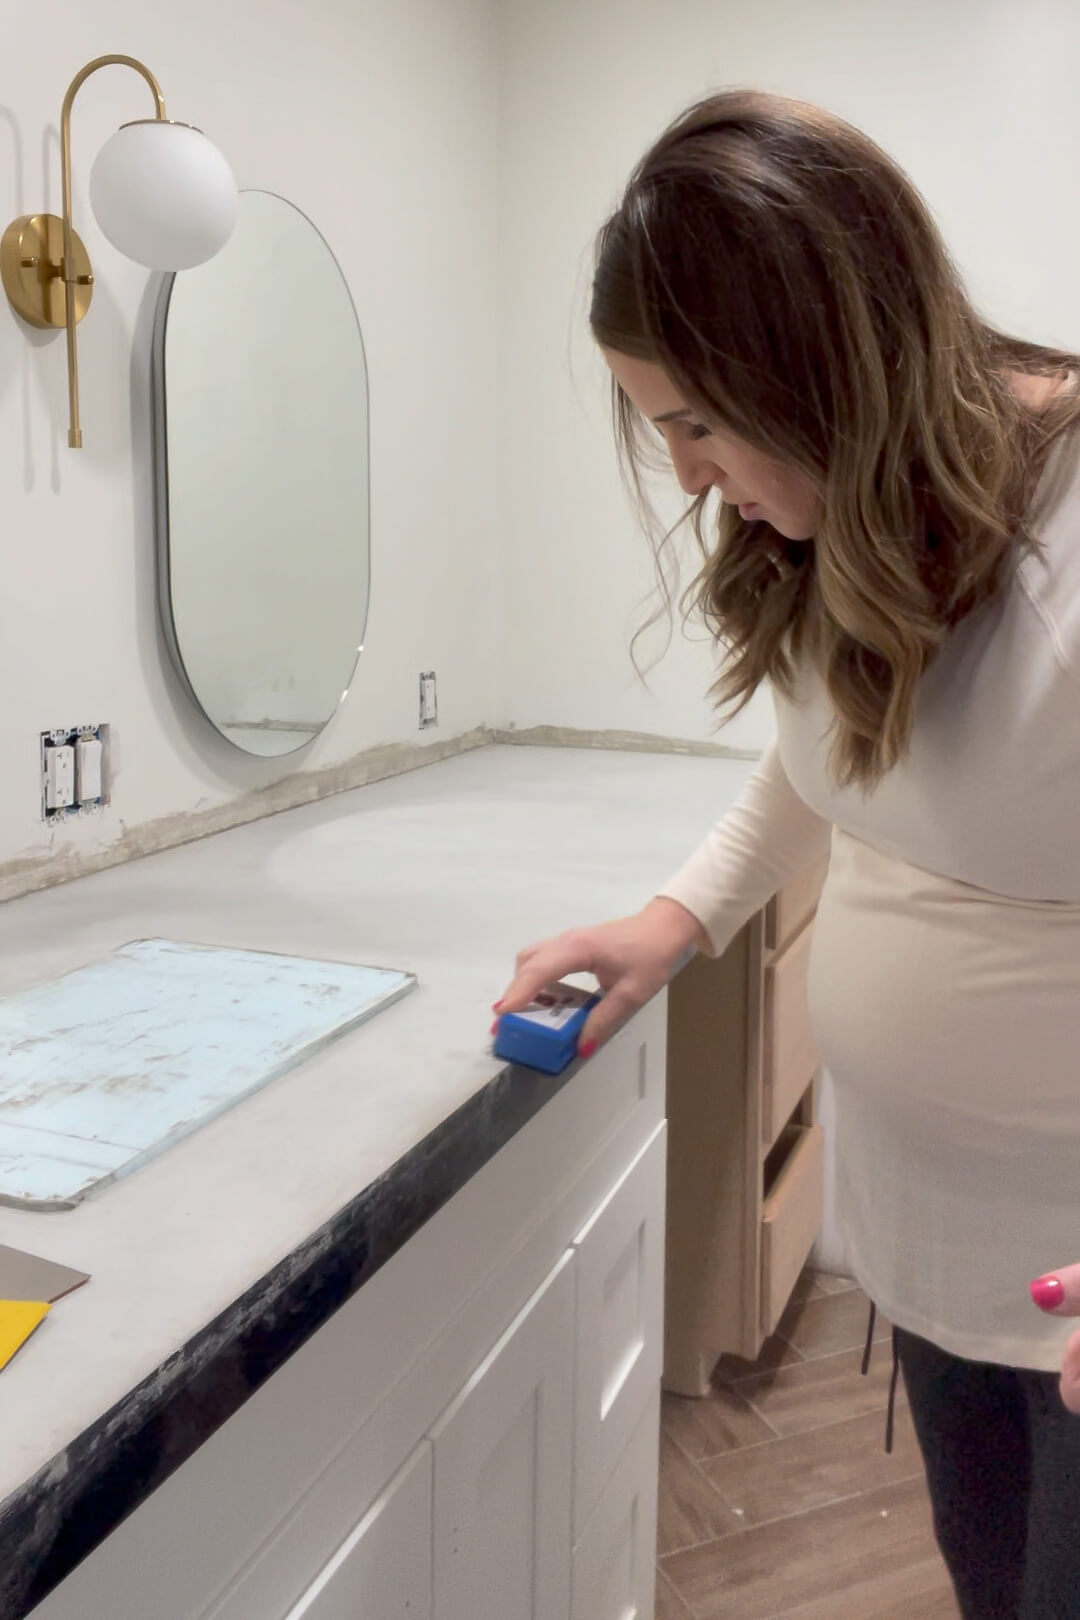
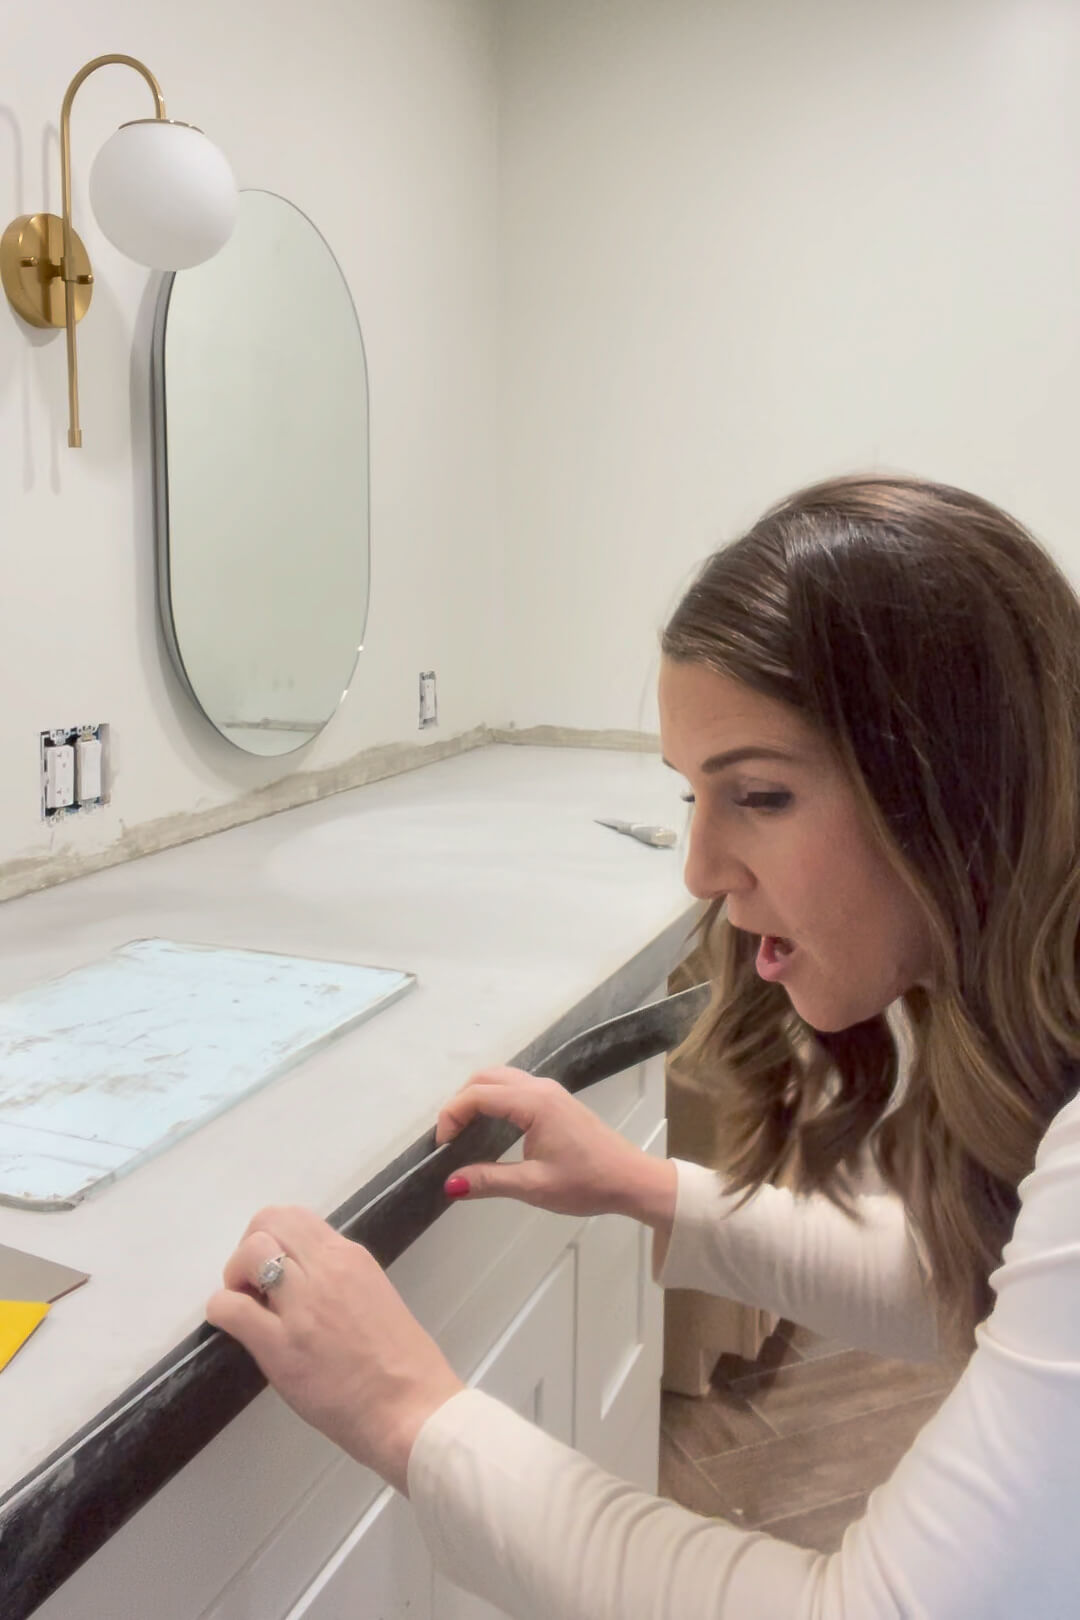
Step 6: Cure and Unform Your Countertops
Now, we wait. Let the concrete cure for 24–48 hours. If it looks blotchy as it dries, don’t panic – that’s normal. Once it’s dry, carefully remove the forms. Sand the edges where the concrete meets the forms with a Z Gem Pad and 300-grit sandpaper to prevent cracking. Use a putty knife to gently separate the forms, then pull them off.
After removing the forms, pop out the knockouts and sand away silicone or rough spots with a Z Gem Pad loaded with 150 grit, then followed up with 300 grit sandpaper.
Dealing with Imperfections: Small bubbles or flaws add character, but if you’re going for a flawless finish, use Z Counter-Patch to fill them in.
Step 7: Seal Your Concrete Countertops for Long-Term Durability
Last step, you’ll want to seal your DIY concrete countertops to keep them looking beautiful for years to come. Before sealing, perform a vapor test: tape plastic over the surface for 24 hours. If no moisture appears, you’re good to go.

Mix and apply Z Aqua-Poxy Sealer with a foam roller. Once my DIY concrete countertops were sealed, I added a bead of silicone around the sink and installed my faucet. That’s it – you’re done!
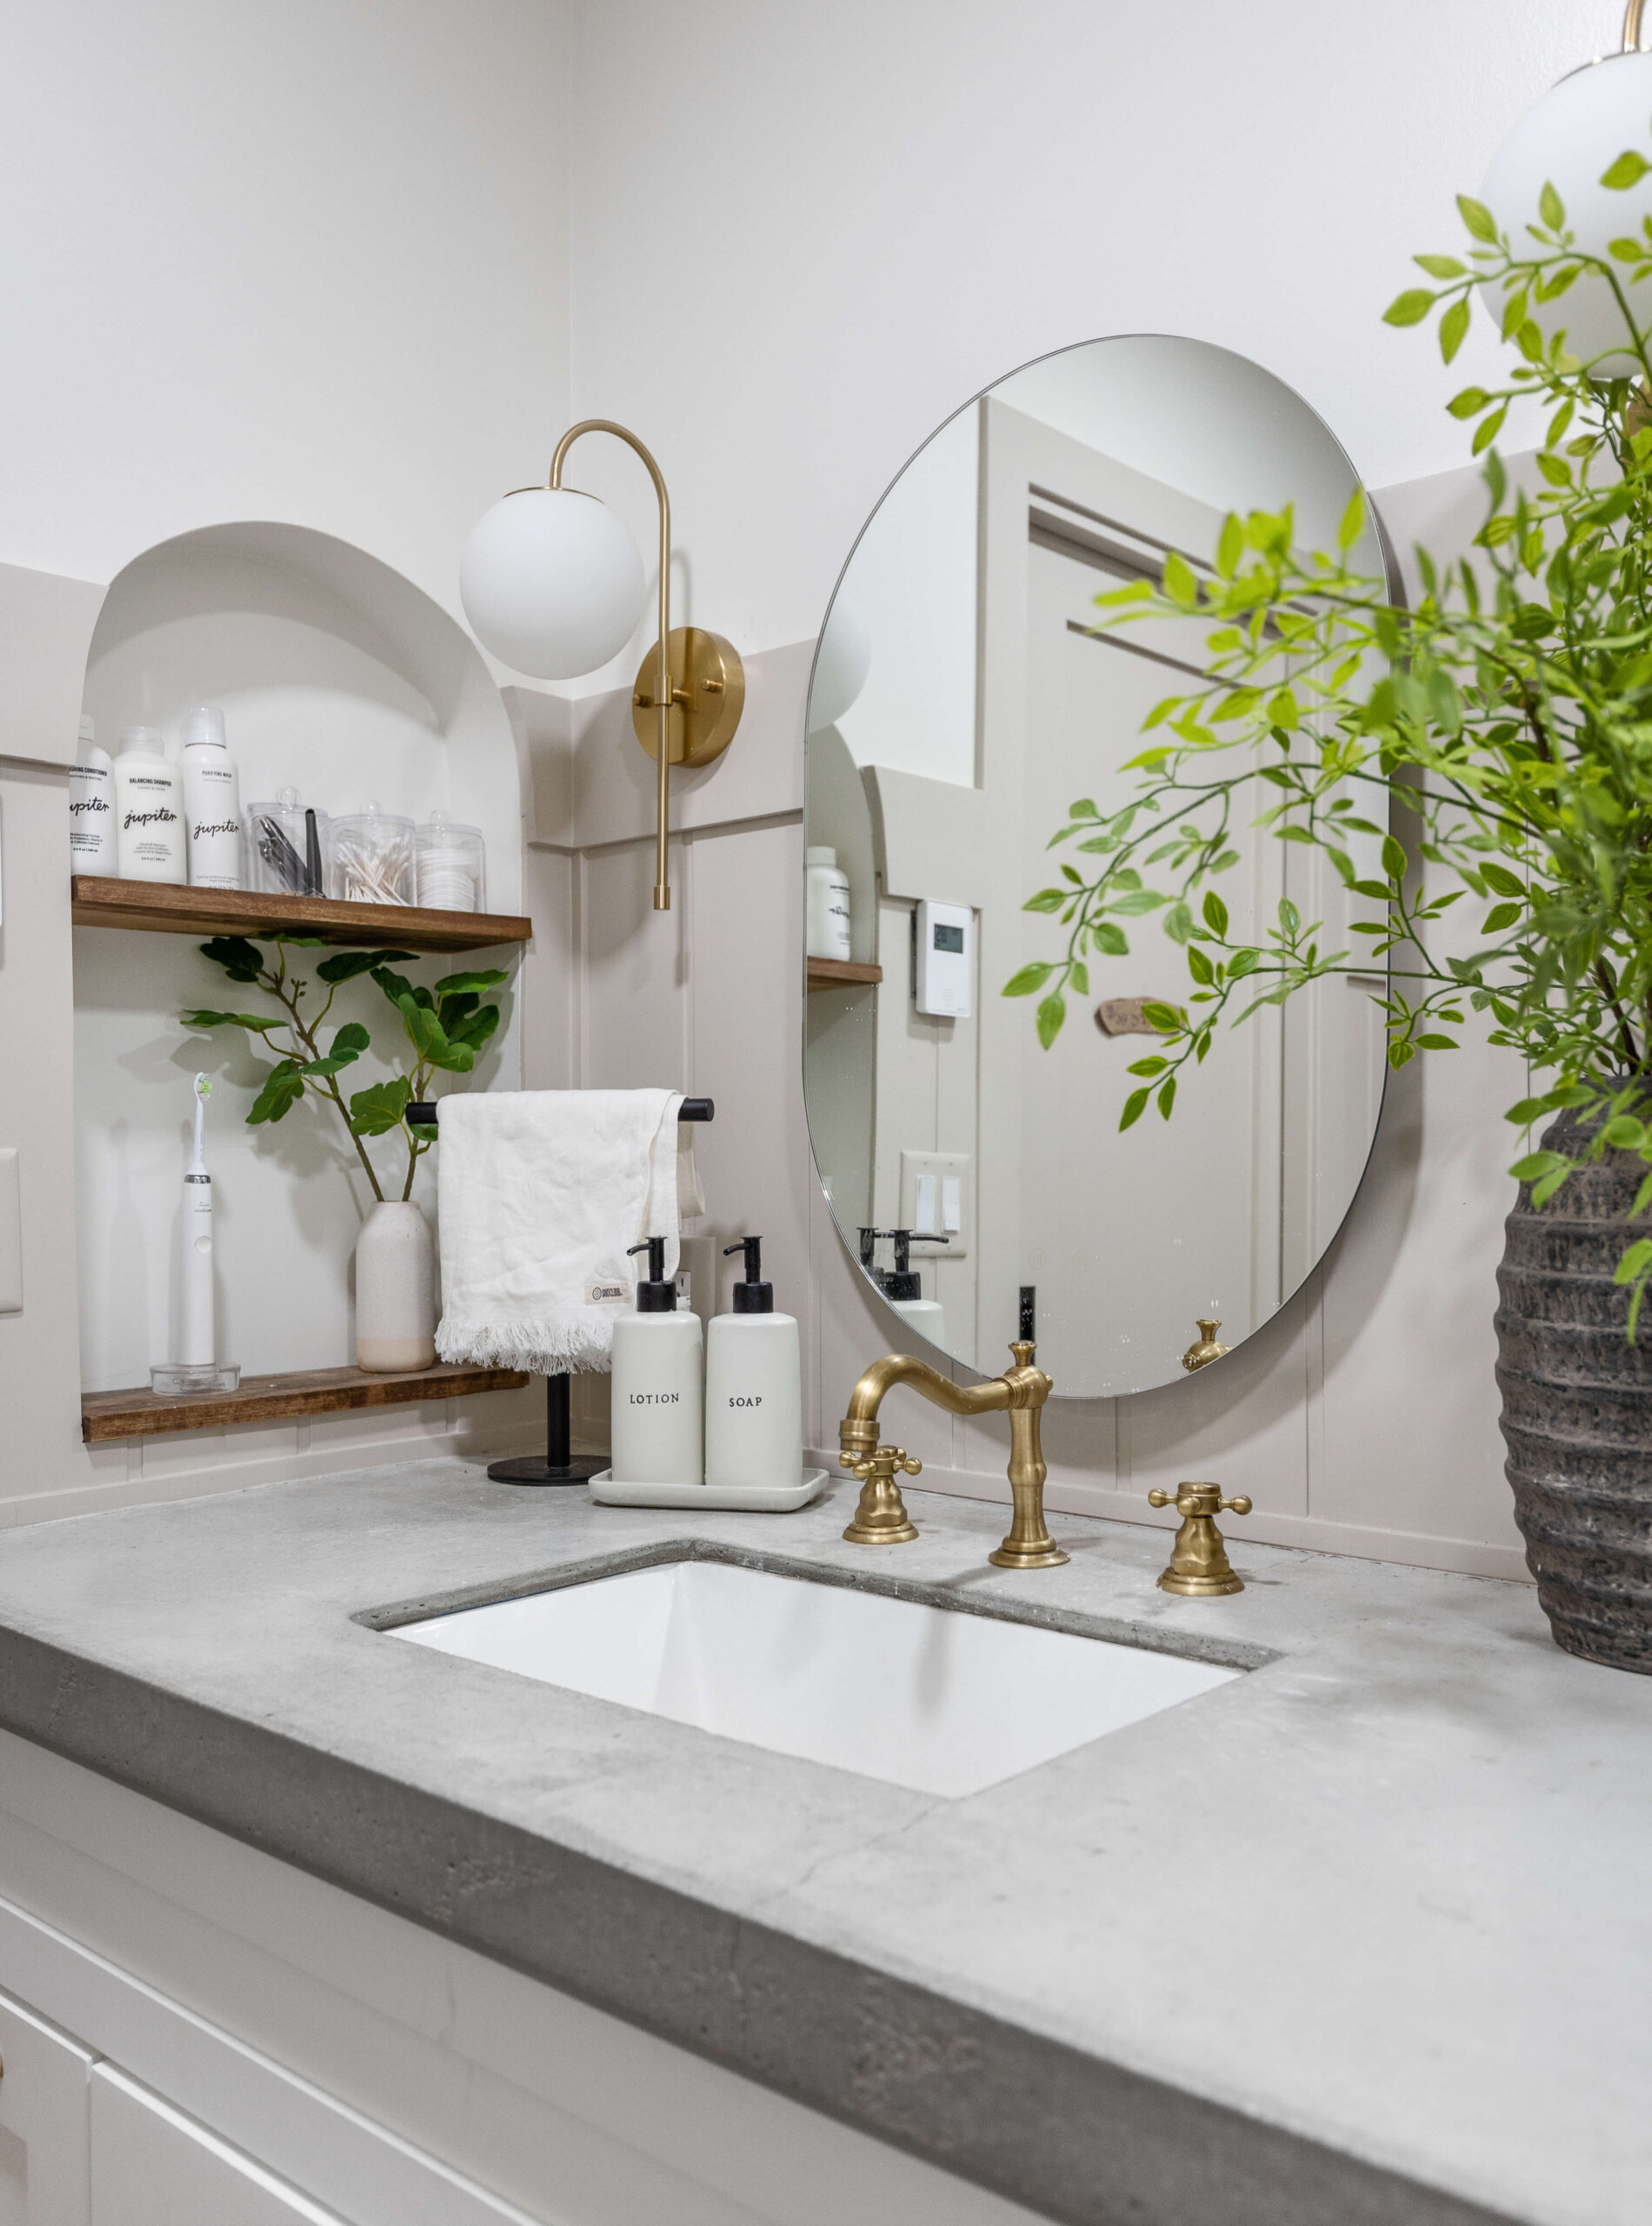
My Finished Concrete Countertops Reveal
I’m absolutely in love with how my DIY concrete countertops turned out. They’re sleek, stylish, and a perfect fit for my bathroom style. If you’re looking for more DIY countertop options, check out this post, where I go over my method of creating faux marble countertops.

📌 Pin This Project for Later
Frequently Asked Questions About DIY Concrete Countertops
Concrete countertops are affordable, customizable, and offer a sleek, modern look without the high price tag of natural stone. Plus, they\u2019re a great DIY project that adds a personal touch to your home.
Small bubbles or flaws can add character, but for a smooth finish, use Z Counter-Patch to fill any holes or surface imperfections before sealing.
Absolutely! Concrete countertops are durable and versatile, making them perfect for both kitchens and bathrooms. Just ensure they are sealed properly to resist moisture and stains.
Proper sealing with a high-quality sealer like Z Aqua-Poxy creates a protective barrier against stains, moisture, and everyday wear and tear.
