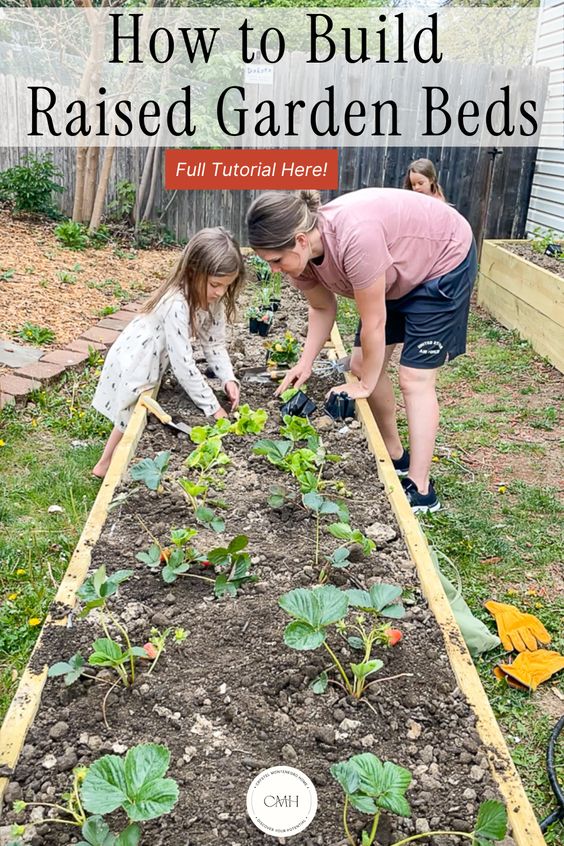
How to Build DIY Tall Outdoor Planter Boxes


Updated July 13, 2026
Want to grow your own vegetables, herbs, or flowers – even in a small space, like against a house? These DIY tall outdoor planter boxes are the perfect raised garden bed solution. They’re great for maximizing vertical space, improving drainage, and turning unused side yards into productive mini gardens. In this guide, I’ll walk you through exactly how to build I’ll walk you through exactly how to build tall outdoor planter boxes along your house using pressure-treated lumber and basic tools. I’ll also show you how to layer your soil for healthy growth, stain your boxes for longevity, and give you planting tips based on what worked best in our yard.

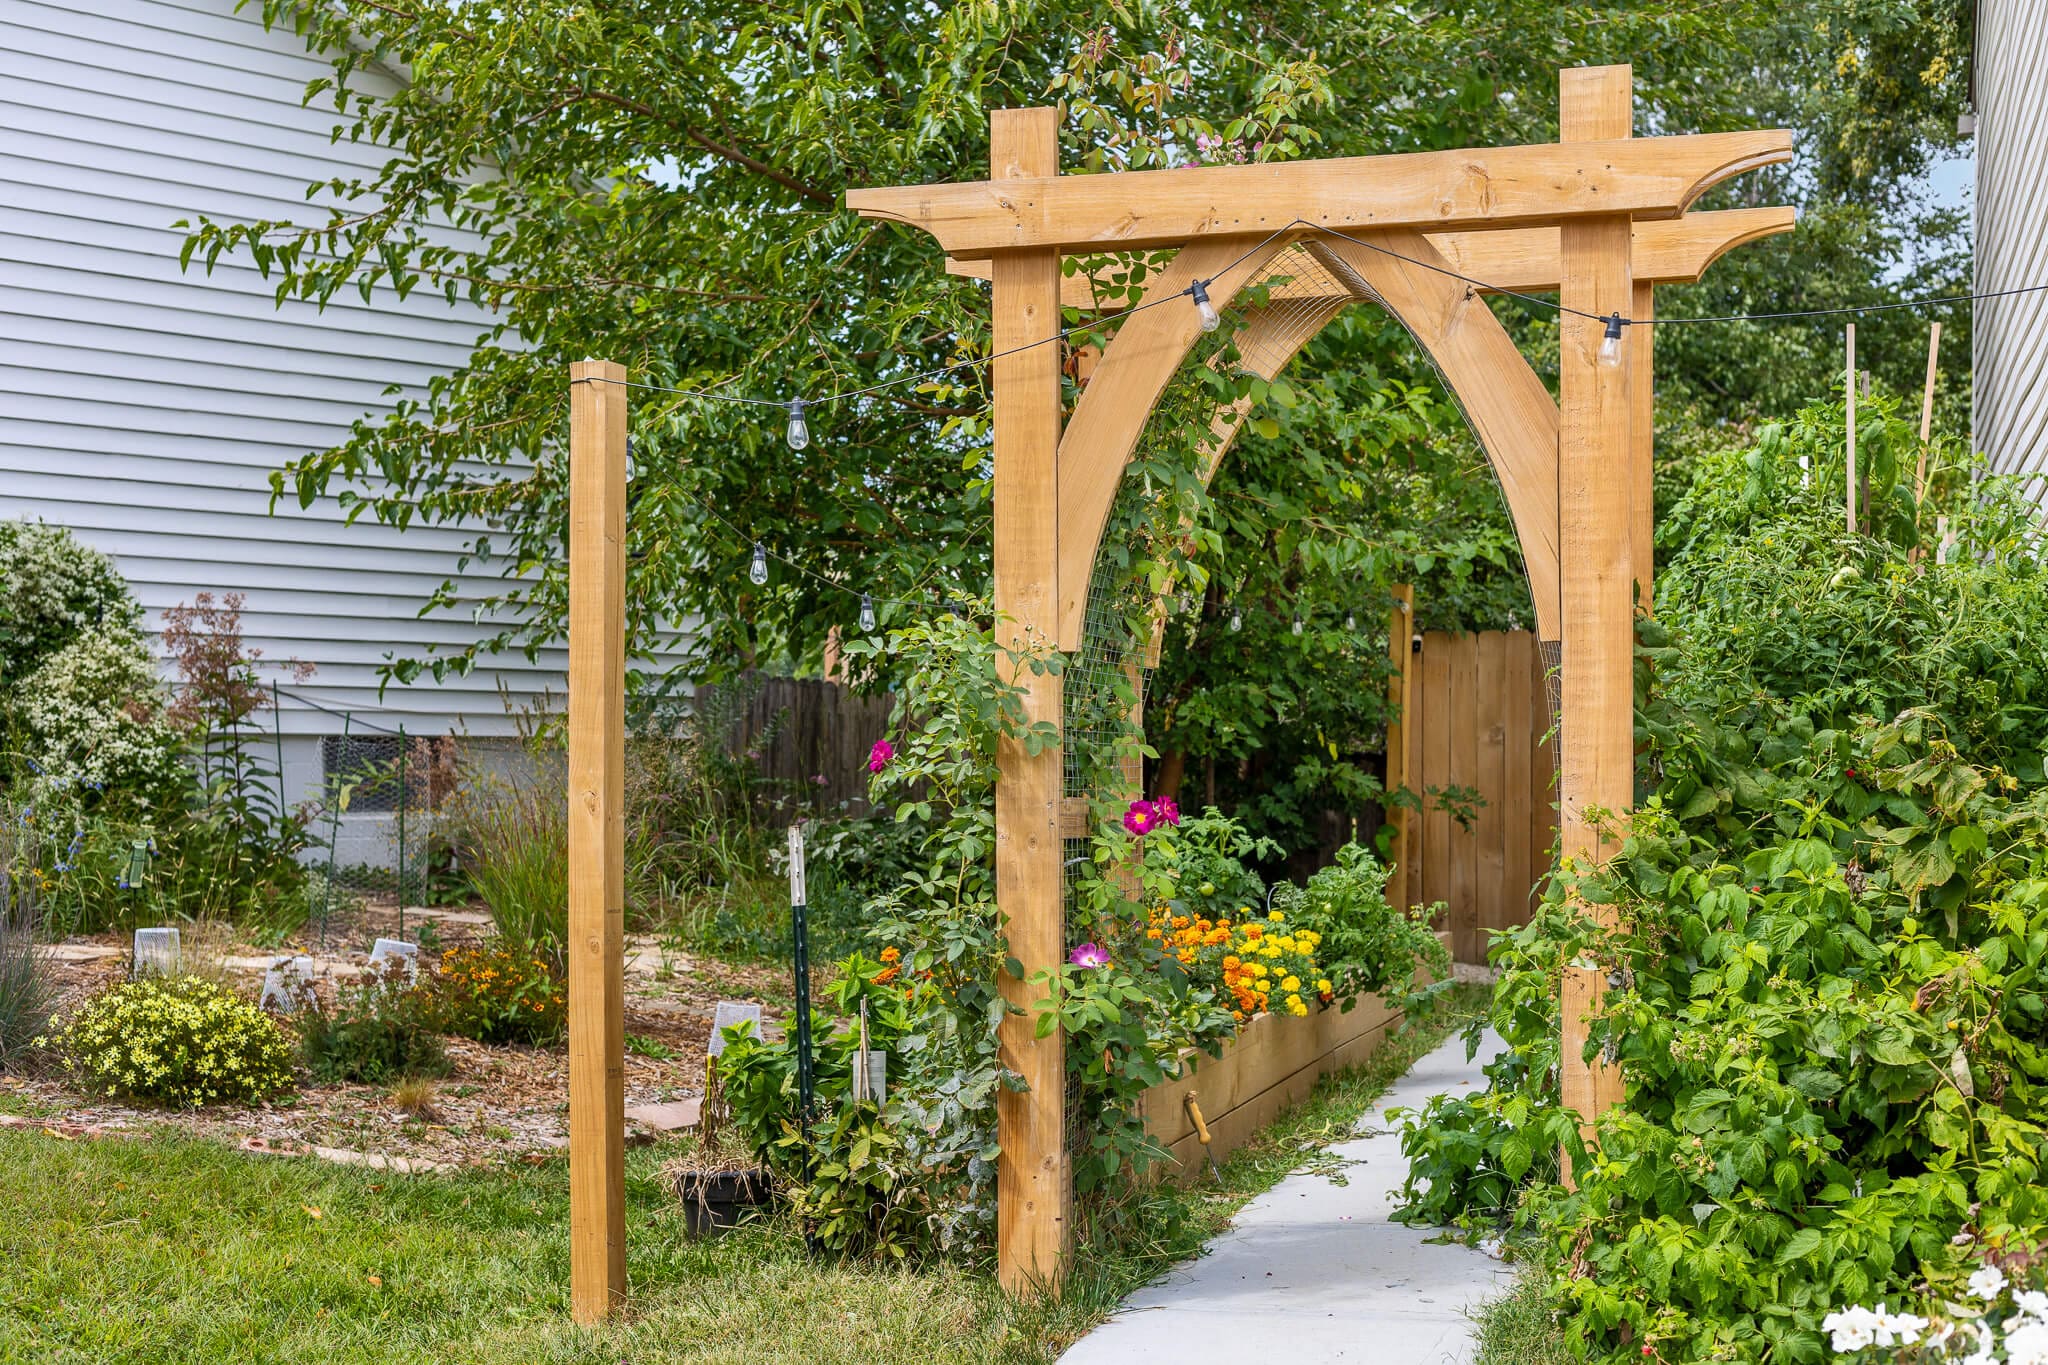
Want to take your garden design a step further? Check out the DIY garden arbor I built to add height, structure, and a touch of charm to this same space.
🎥 Watch the full build in action here: DIY Tall Planter Boxes YouTube Video
Table of Contents
- Materials + Tools for DIY Tall Planter Boxes
- Step 1: Choose the Best Spot for Raised Garden Beds
- Step 2: Build the Frame for DIY Tall Outdoor Planter Boxes
- Step 3: Add Wall Support to Raised Planter Boxes
- Step 4: How to Layer Raised Garden Beds for Drainage and Healthy Soil
- Step 5: How to Stain Outdoor Planter Boxes for a Longer Life
- Step 6: Best Plants for DIY Tall Outdoor Planter Boxes
- TIPS
- Step 7: Extra Gardening Ideas to Enhance Your Raised Bed Setup
- 📌 Save this Project for Later
- FAQ for Raised Garden Bed Builds
Materials + Tools for DIY Tall Planter Boxes
Here’s everything you’ll need to build sturdy tall outdoor planter boxes against your home.
Lumber:
- 2-in x 12-in x 16-ft Pressure Treated Pine (for bed walls)
- 4-in x 4-in x 8-ft Pressure Treated Pine (for support posts)
Building Supplies
Tools
- Staple Gun
- Dewalt Drill
- Miter Saw
- Various Lawn Care Tools
Step 1: Choose the Best Spot for Raised Garden Beds
In my heart, I’ve always felt like a gardener – even when I lived in a desert and nothing would grow. Now that we’ve settled into our new home in a much greener part of the country, I’m finally living that dream. It may not be the massive garden I envisioned, but this little slice of green is a beautiful start.
When building raised garden beds against a house, sunlight is your best friend. We chose the southwest side of our home, which gets full sun most of the day. I prepped the area by clearing out grass and weeds, carefully relocating some peonies, and leveling the ground to create a solid base for the tall outdoor garden beds.

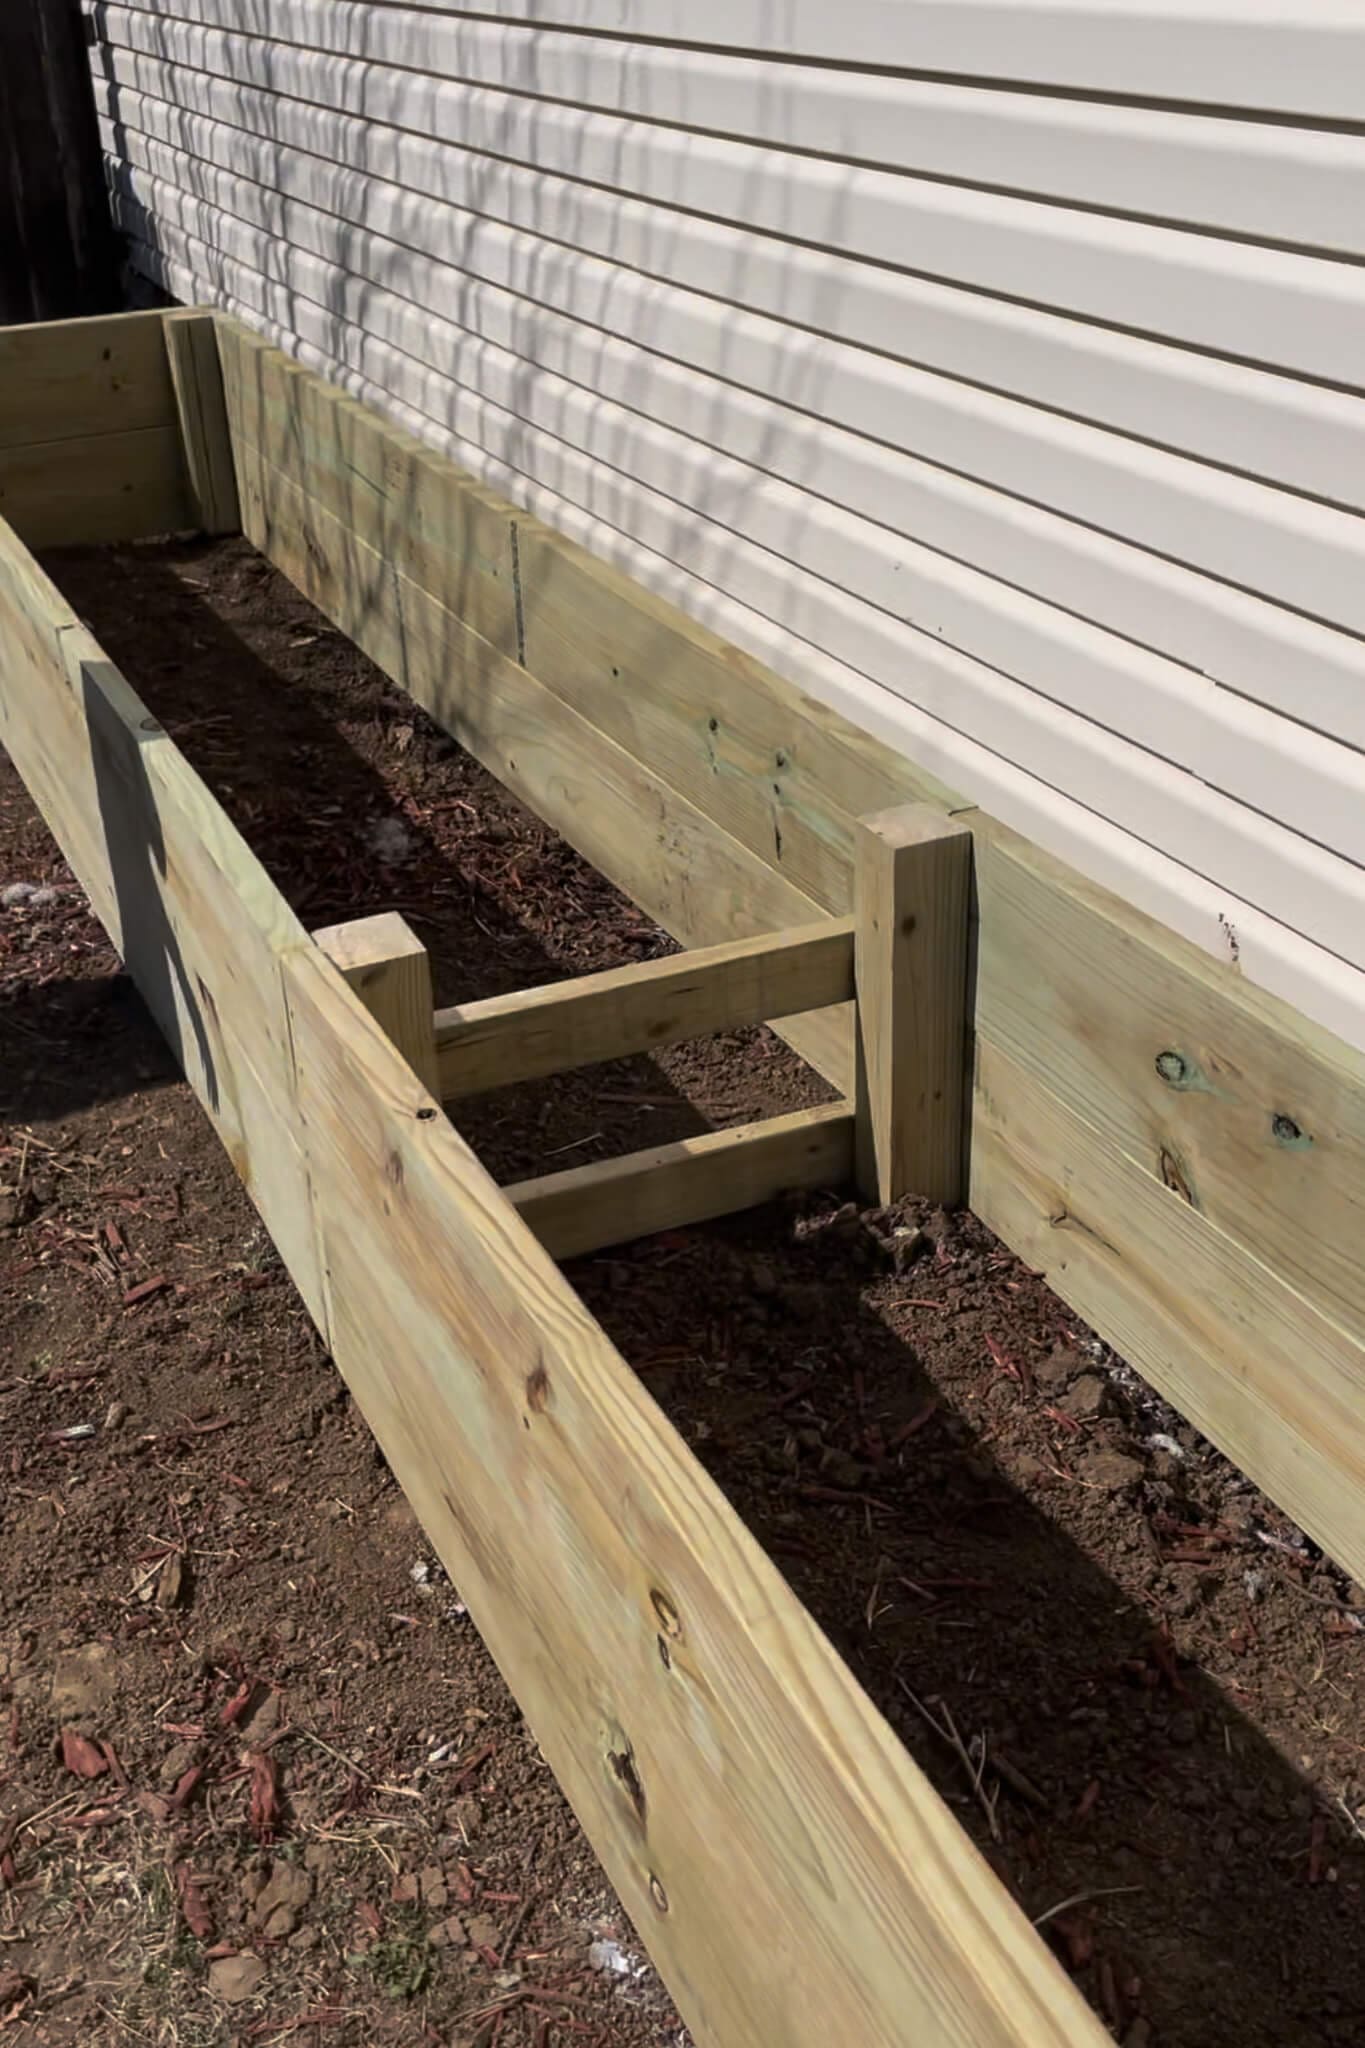
Step 2: Build the Frame for DIY Tall Outdoor Planter Boxes
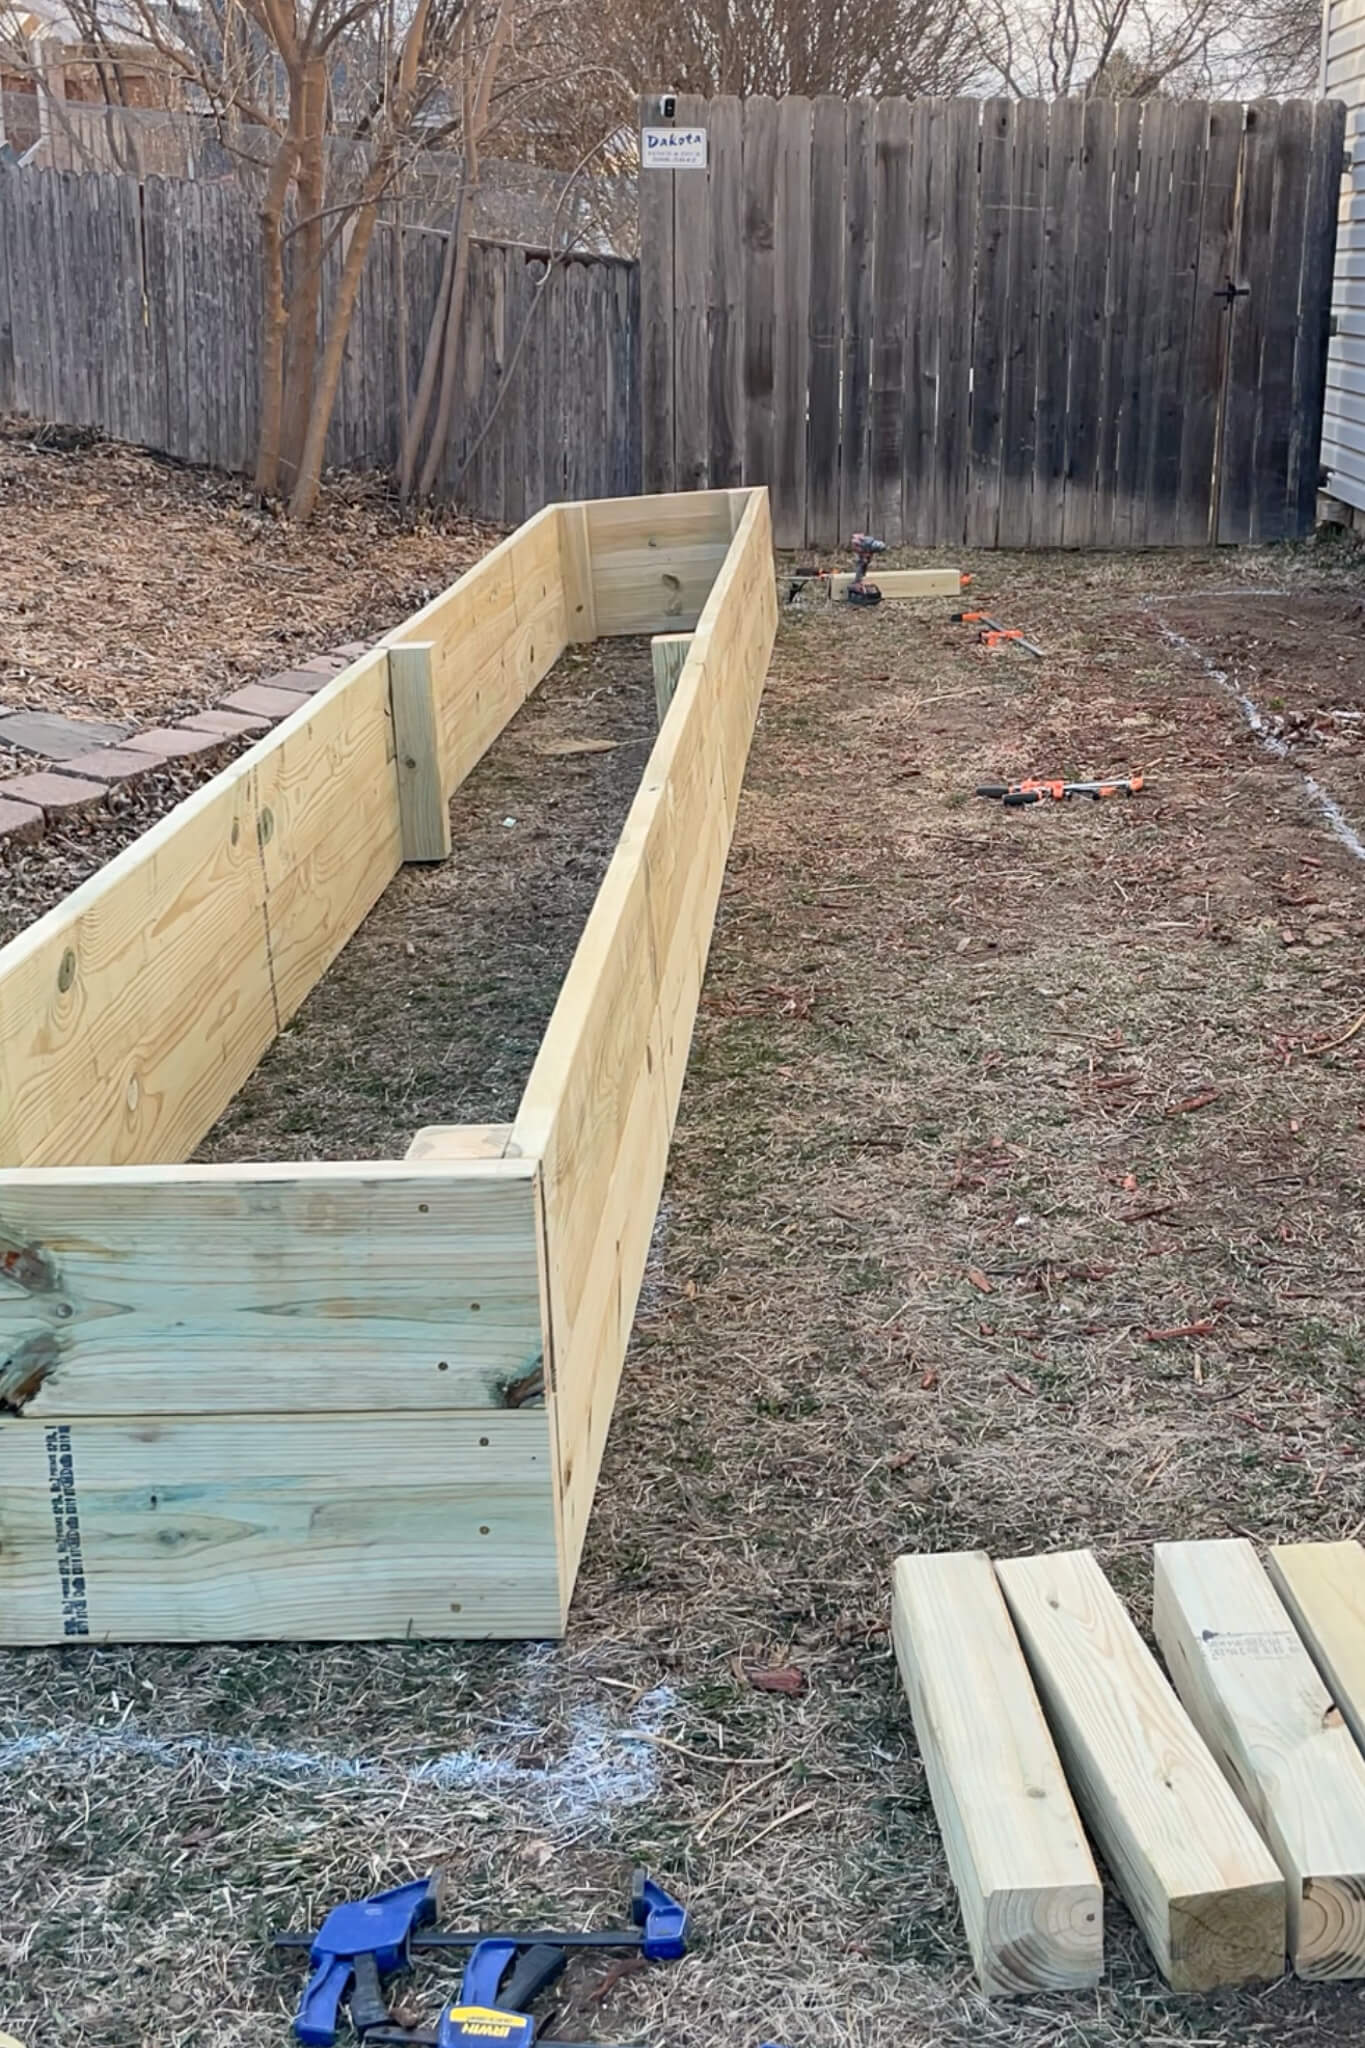
Each bed ended up being 32 feet long and 24 inches tall – built by stacking two 12-inch boards for simplicity and strength. We chose a width of 30 inches so I could comfortably reach across without needing to walk around, especially for the box that backs right up to the house.
To frame the tall outdoor planter boxes:
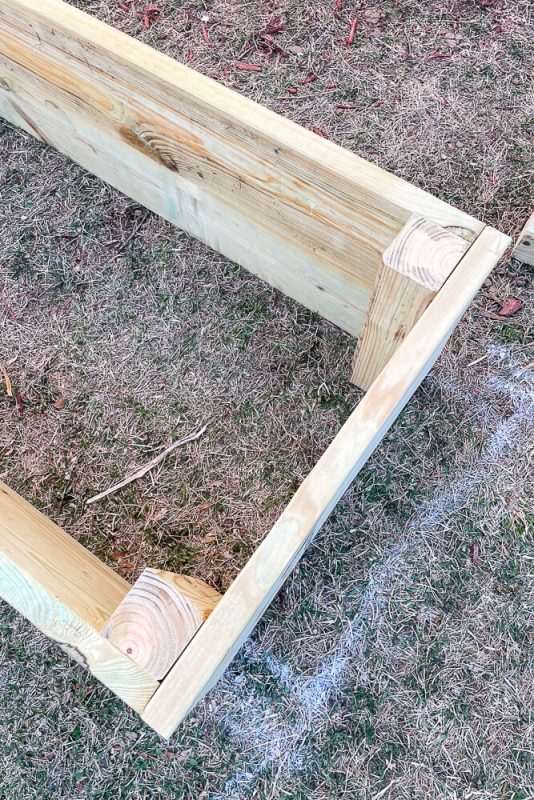
Cut 4×4 posts into 24″ sections. These act as both corner and mid-wall supports.
Each corner shares a single post where a long wall and a short wall meet – so both boards are attached to the same post at a 90-degree angle.
For the long sides, add an additional post at the midpoint. This center post supports the joint between two 16-foot boards, helping prevent bowing.

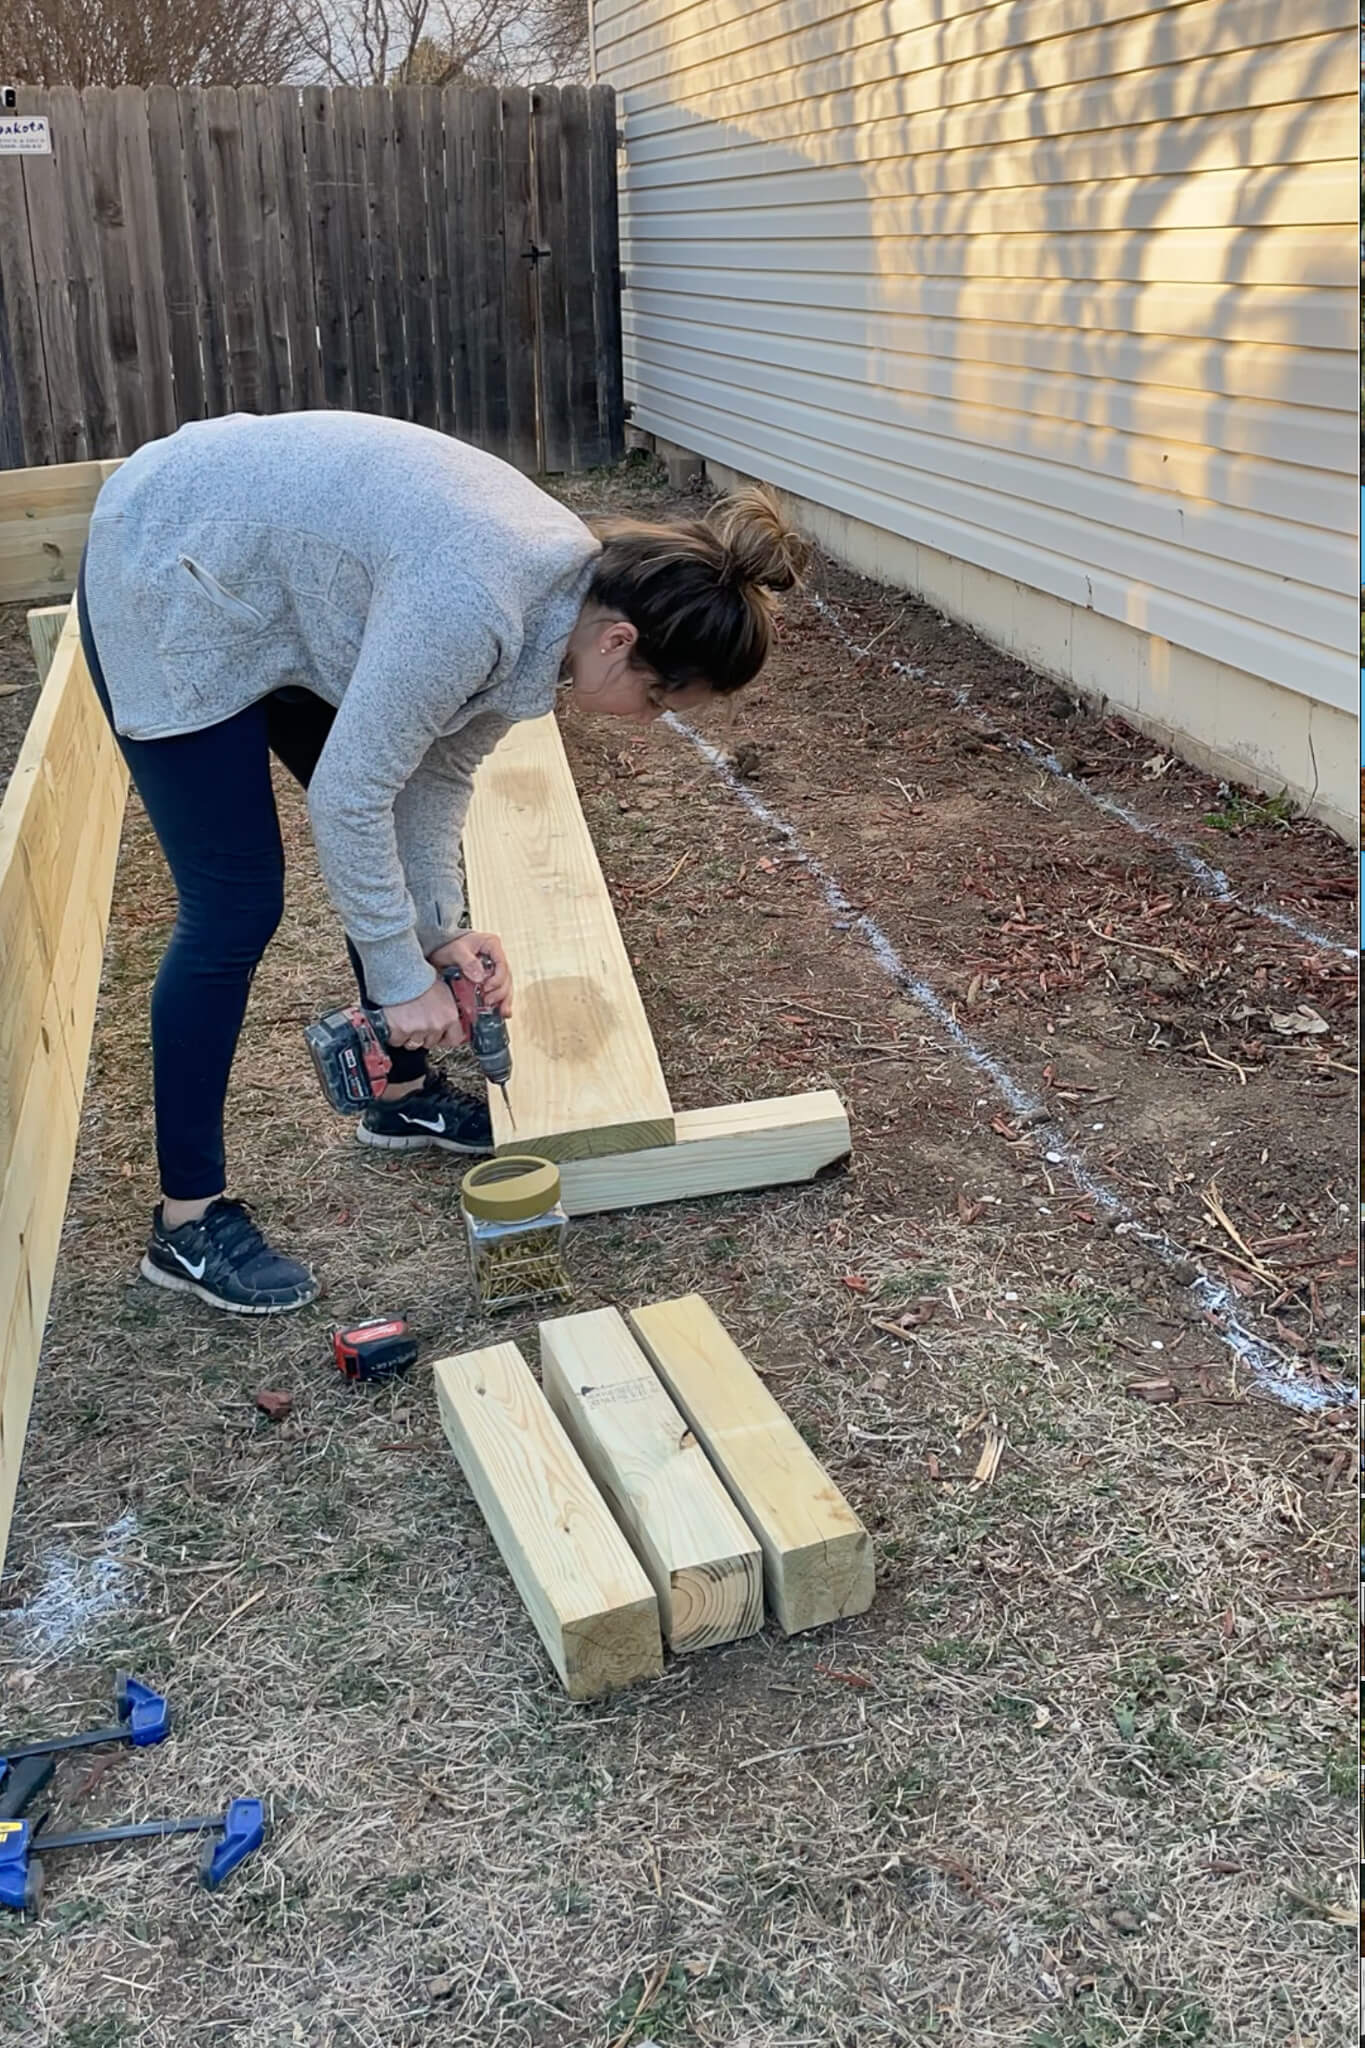
Clamp and screw each board flush to the posts, keeping everything tight and square. Use a scrap board underneath during assembly to help align the boards and maintain level edges.
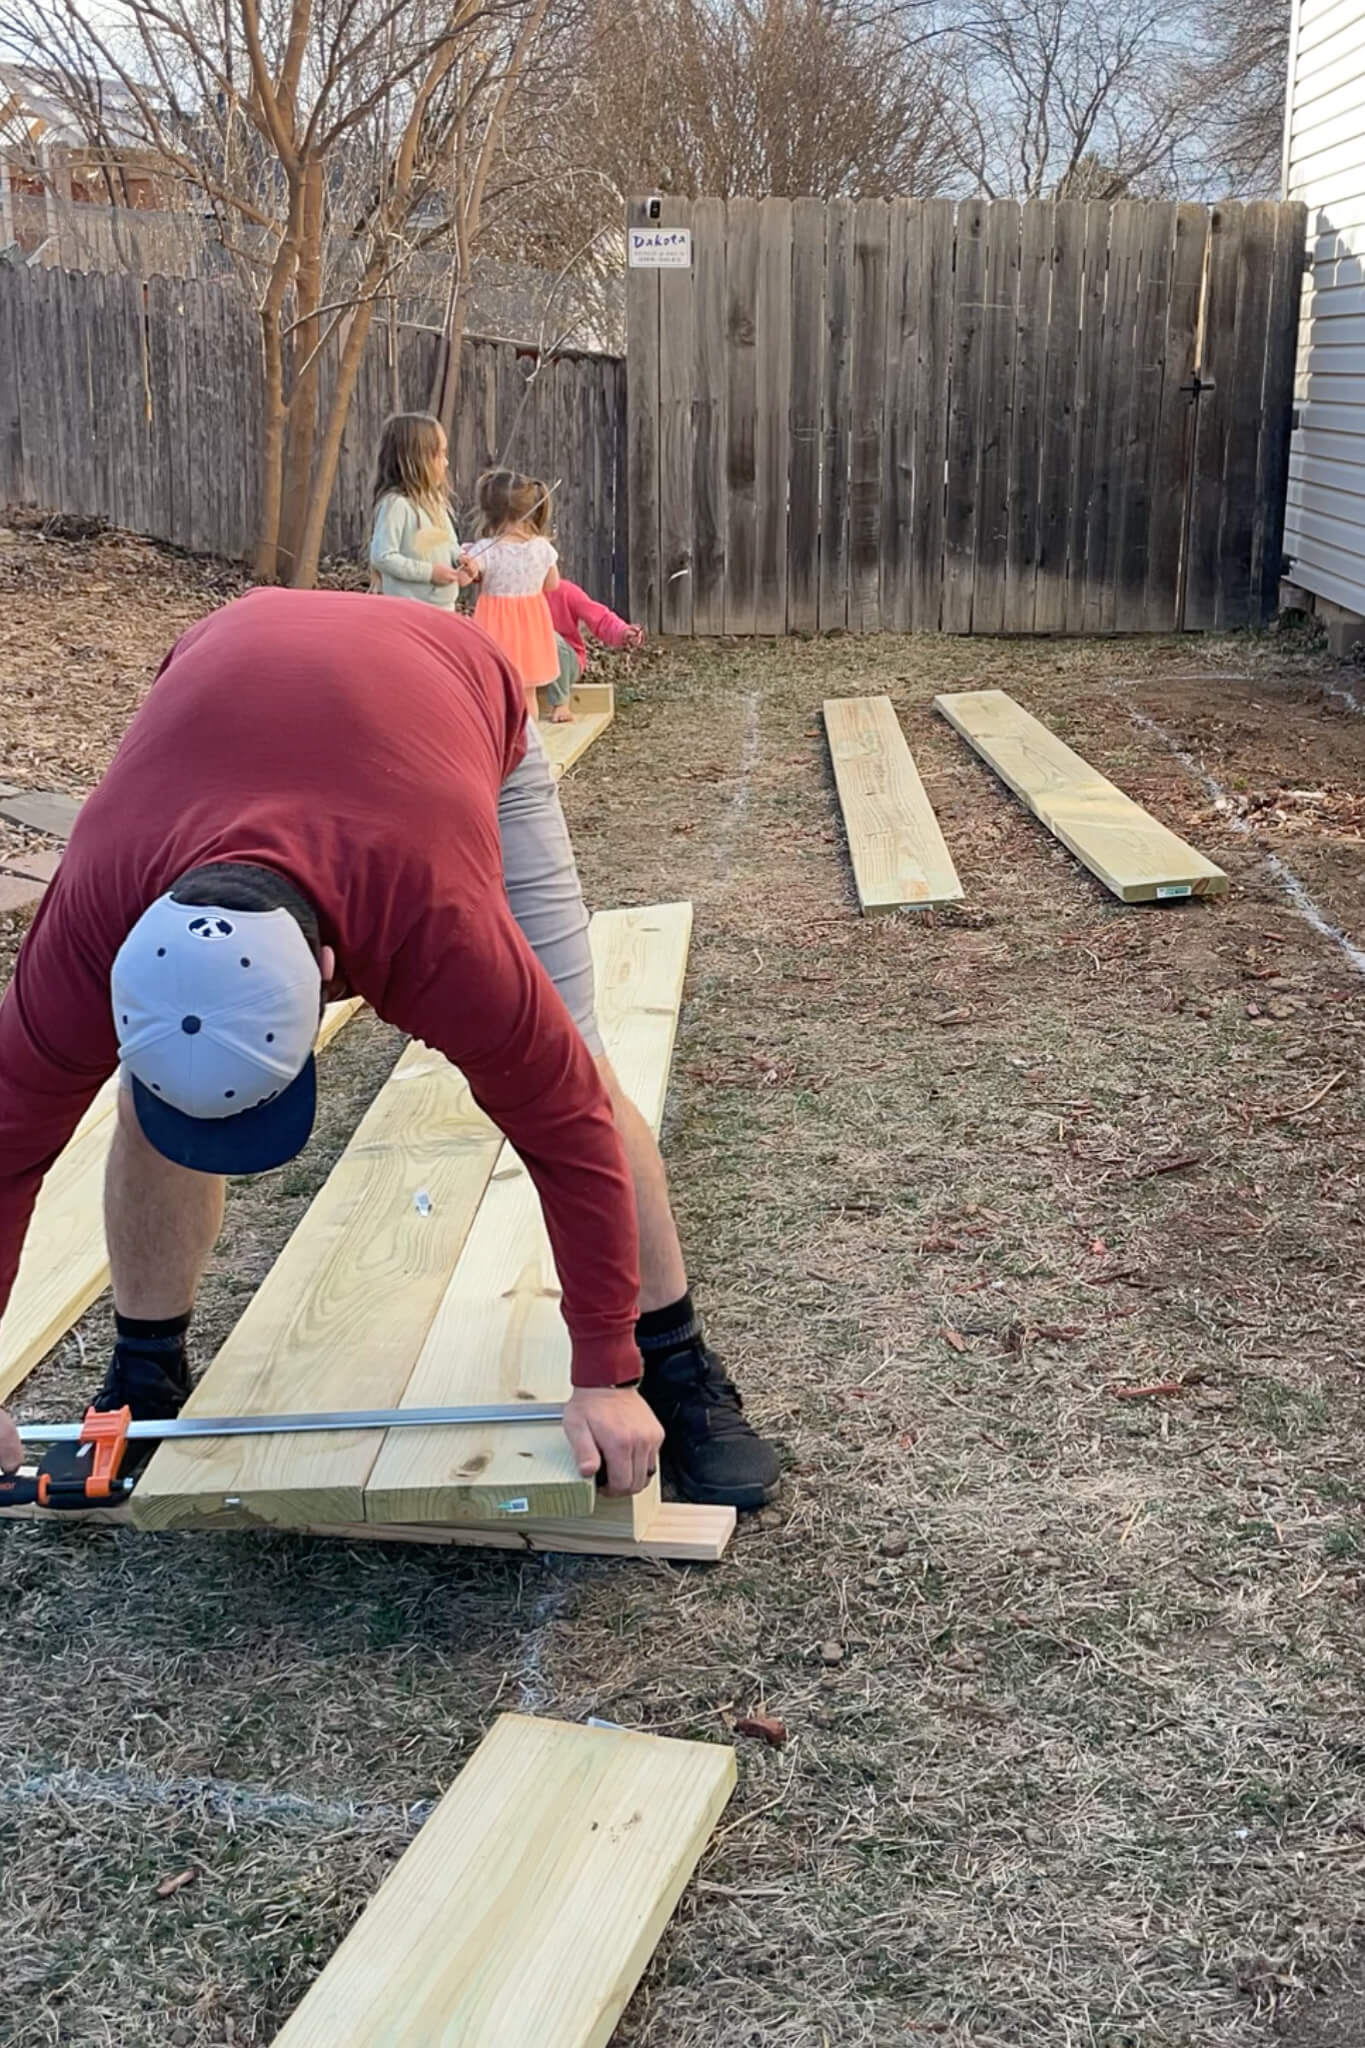
With the help of another person, stand up the long walls and measure and cut four short side boards (30″ wide), and screw them into the corner posts to complete the frame using the same shared-post method.
- We used clamps to keep everything flush and tight during assembly.
- Tip: rest the boards on scrap wood while drilling to keep edges aligned and level.
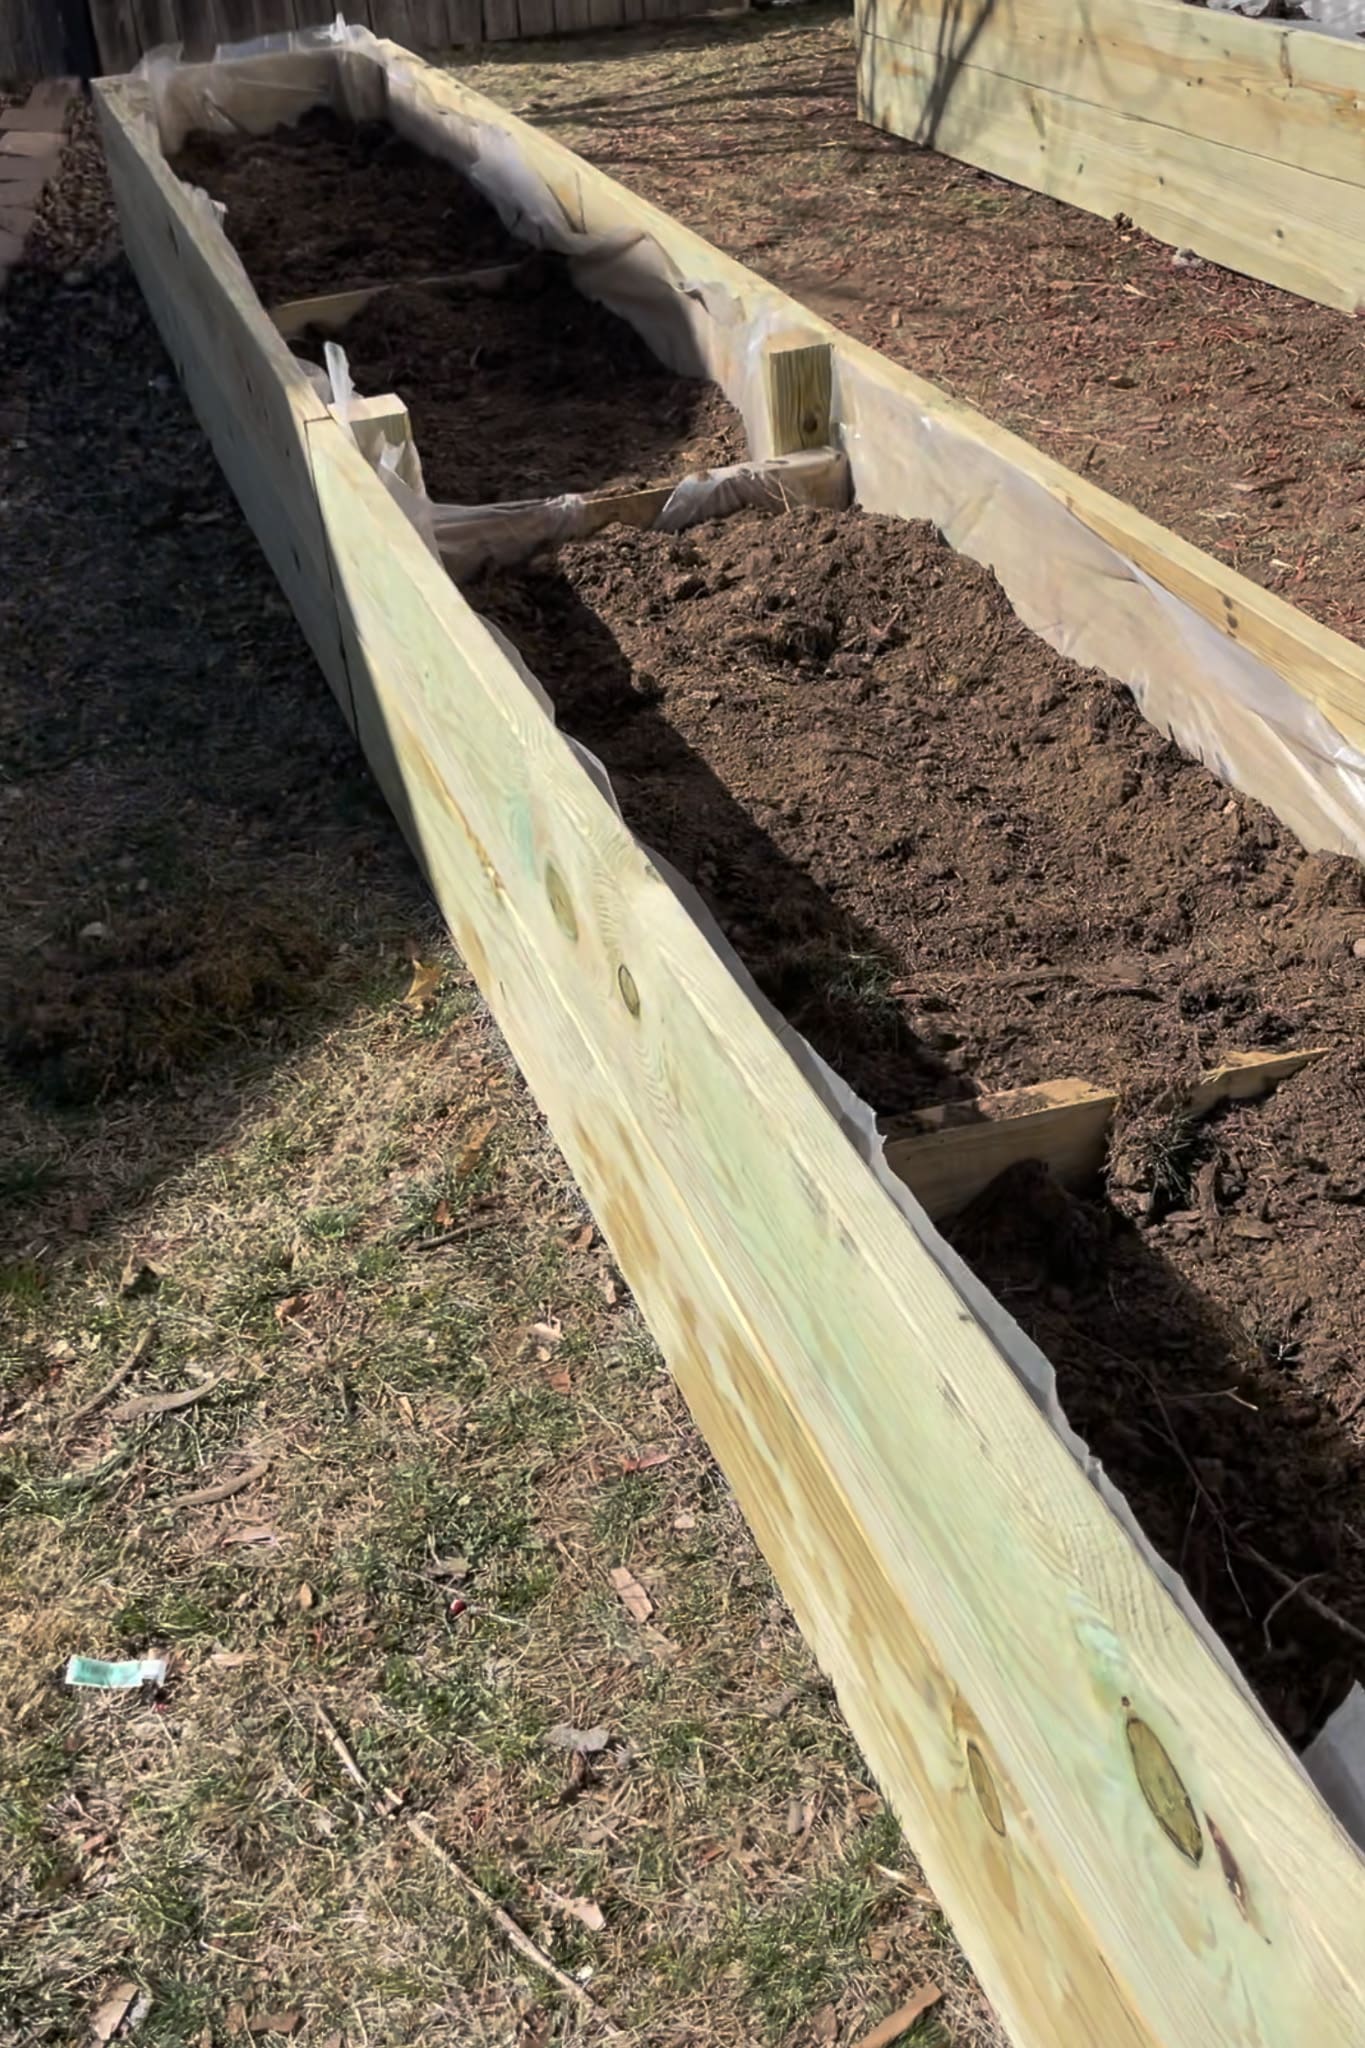
Step 3: Add Wall Support to Raised Planter Boxes
Once the basic frame was together, we realized the long sides would still need more support to handle the weight of the soil without bowing. So we cut additional braces from scrap wood – about 27 inches long to fit the interior width – and attached them across the middle, tying into the mid-wall posts. We added even more supports later as the beds filled and settled.
Step 4: How to Layer Raised Garden Beds for Drainage and Healthy Soil
Layering your raised bed soil correctly is essential for drainage, weed control, and nutrient retention.
The very first thing we added was a layer of cardboard to naturally block weeds and pests. Then we stapled heavy-duty painters’ plastic to the inside walls to prevent any chemicals from the pressure-treated wood from leaching into the soil.
From there, we built the rest of the layers from bottom to top:
- Cardboard to block weeds (here’s where all those Amazon boxes you toss into your garage come in handy)
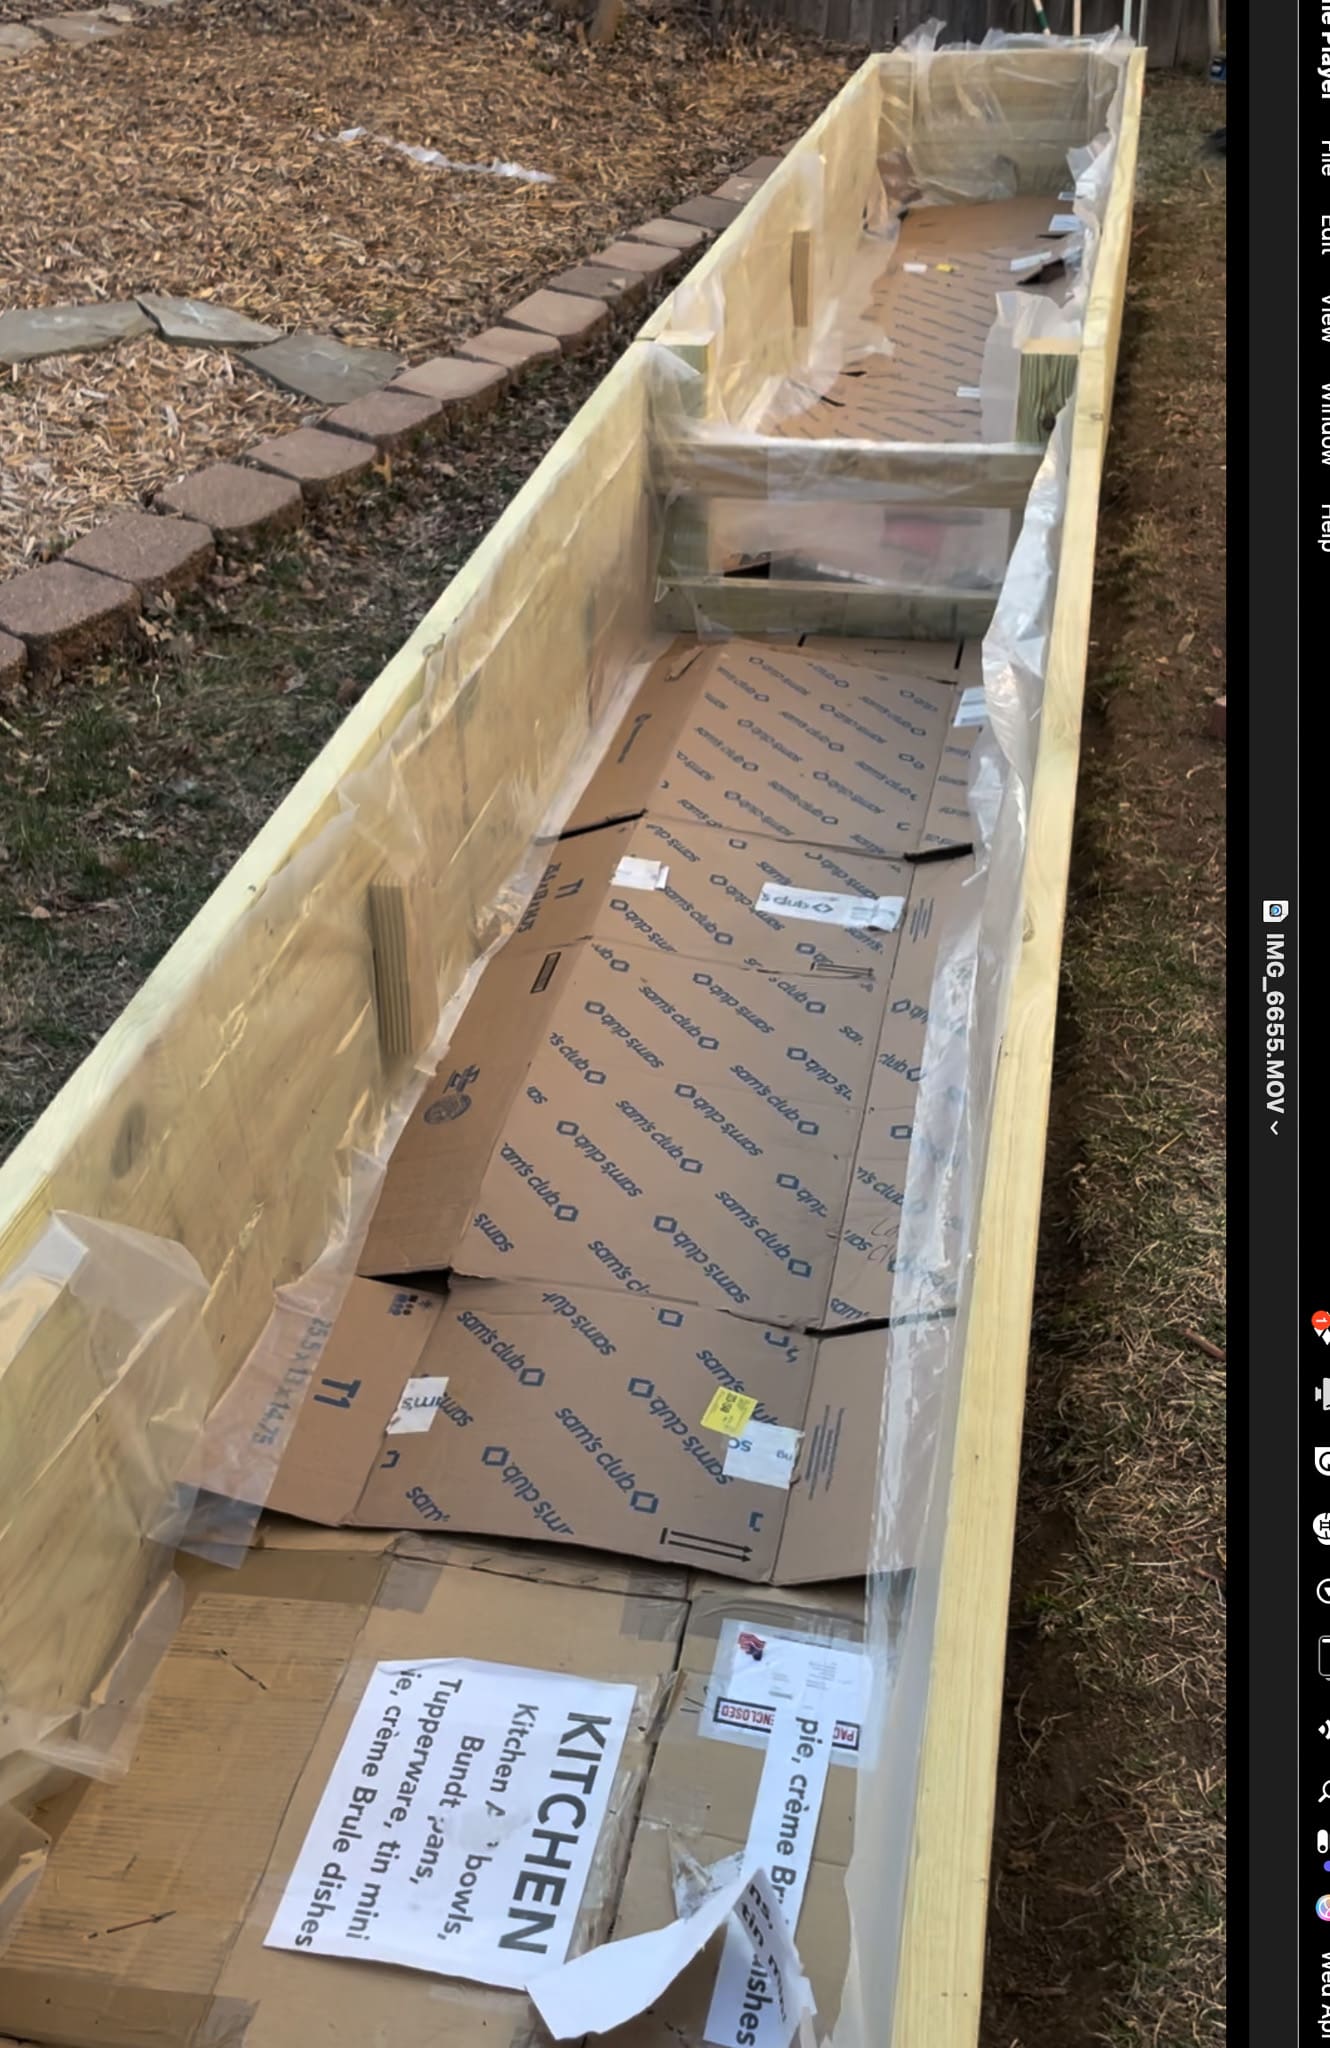
- Branches for air pockets and drainage

- Wood shavings for filler
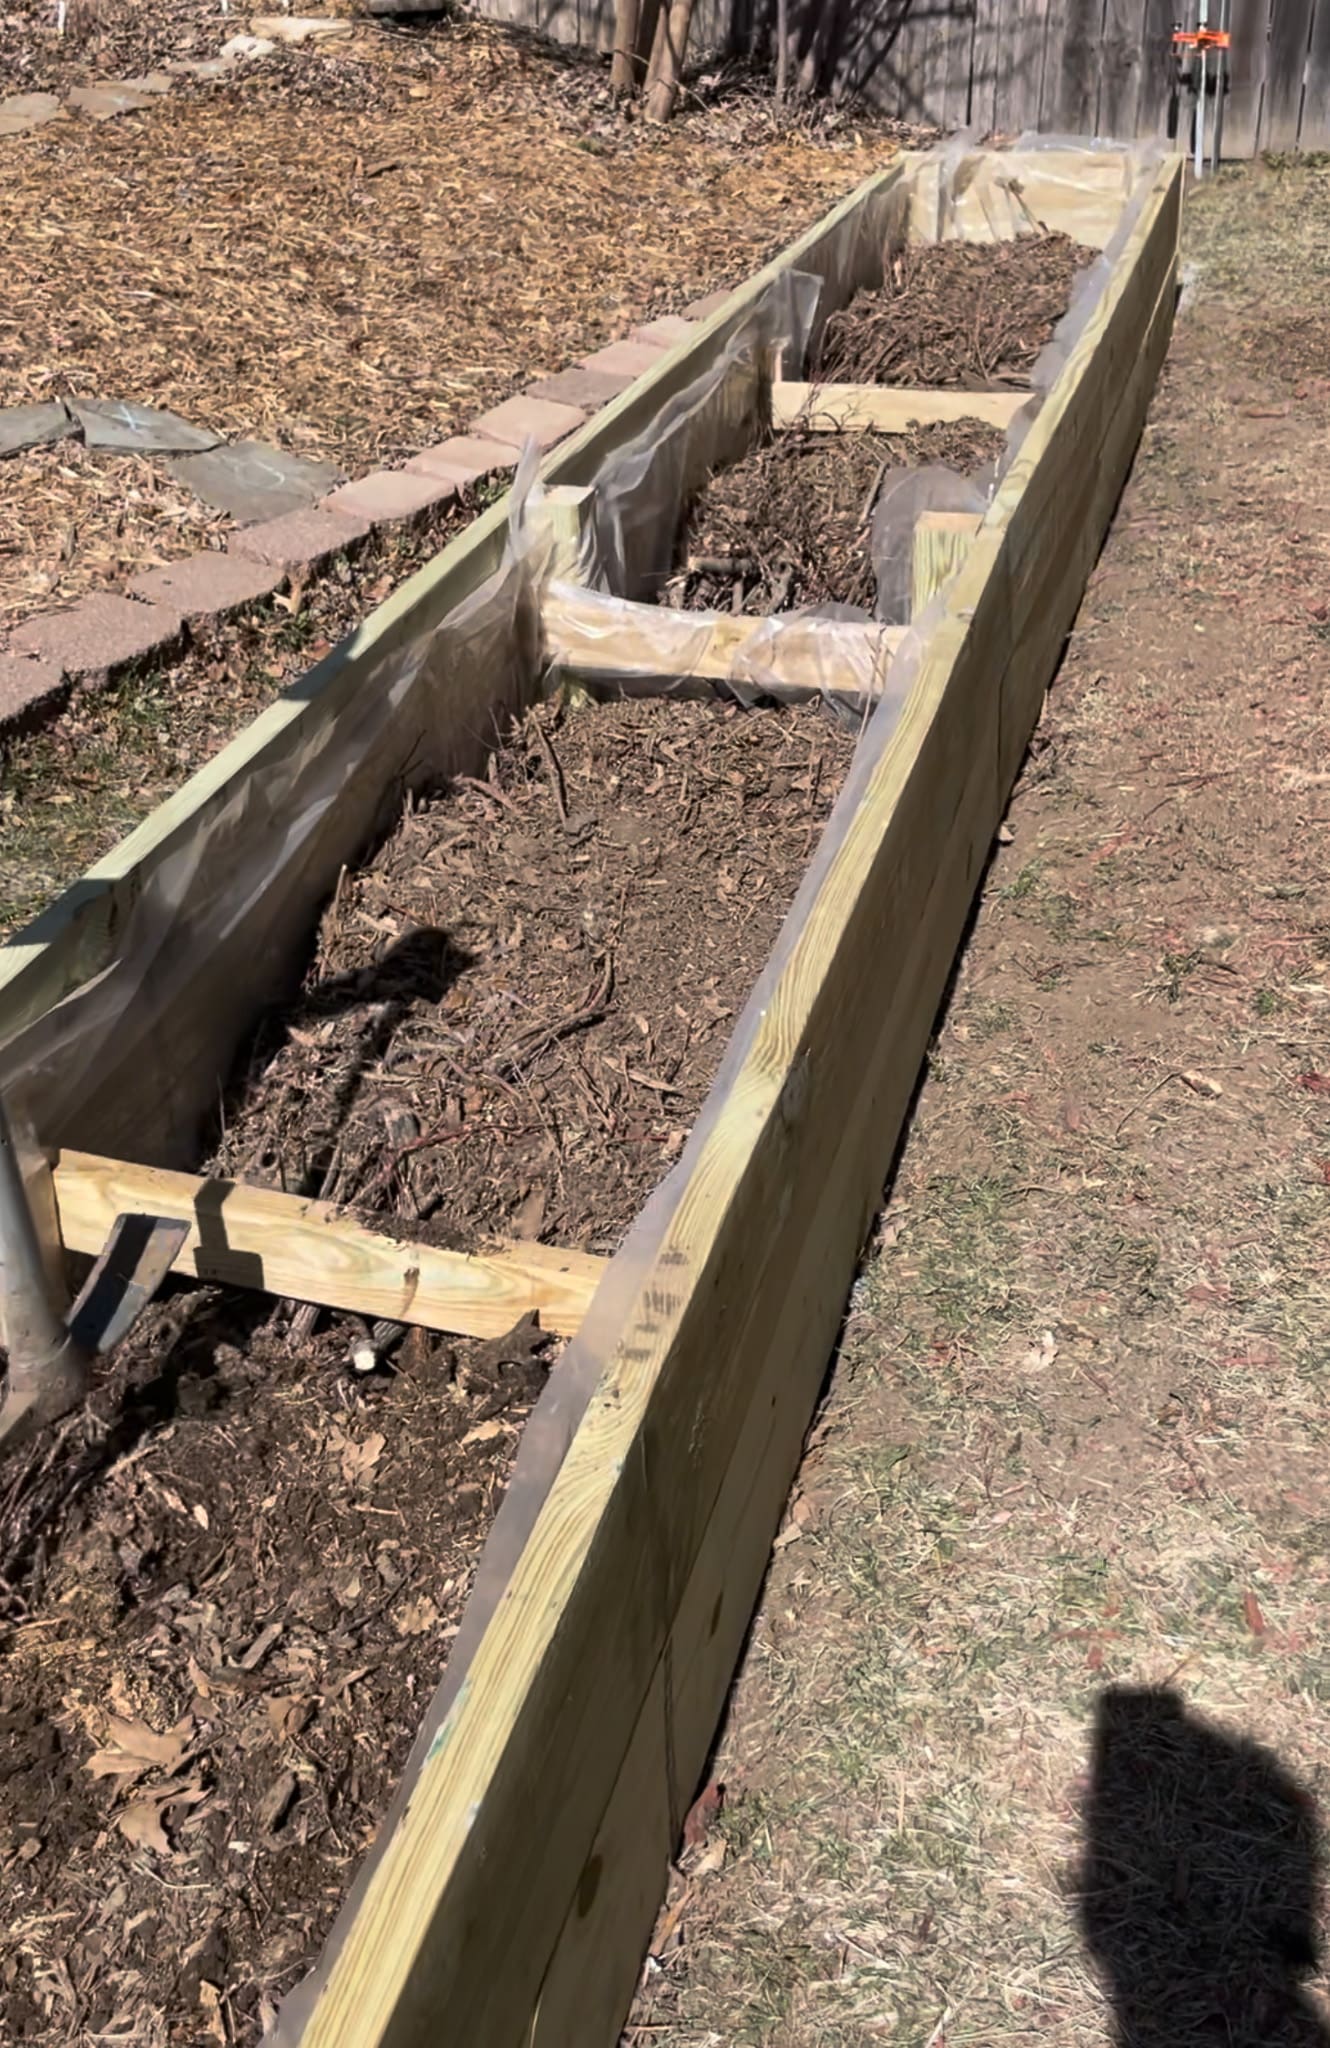
- Bulk compost topsoil to fill
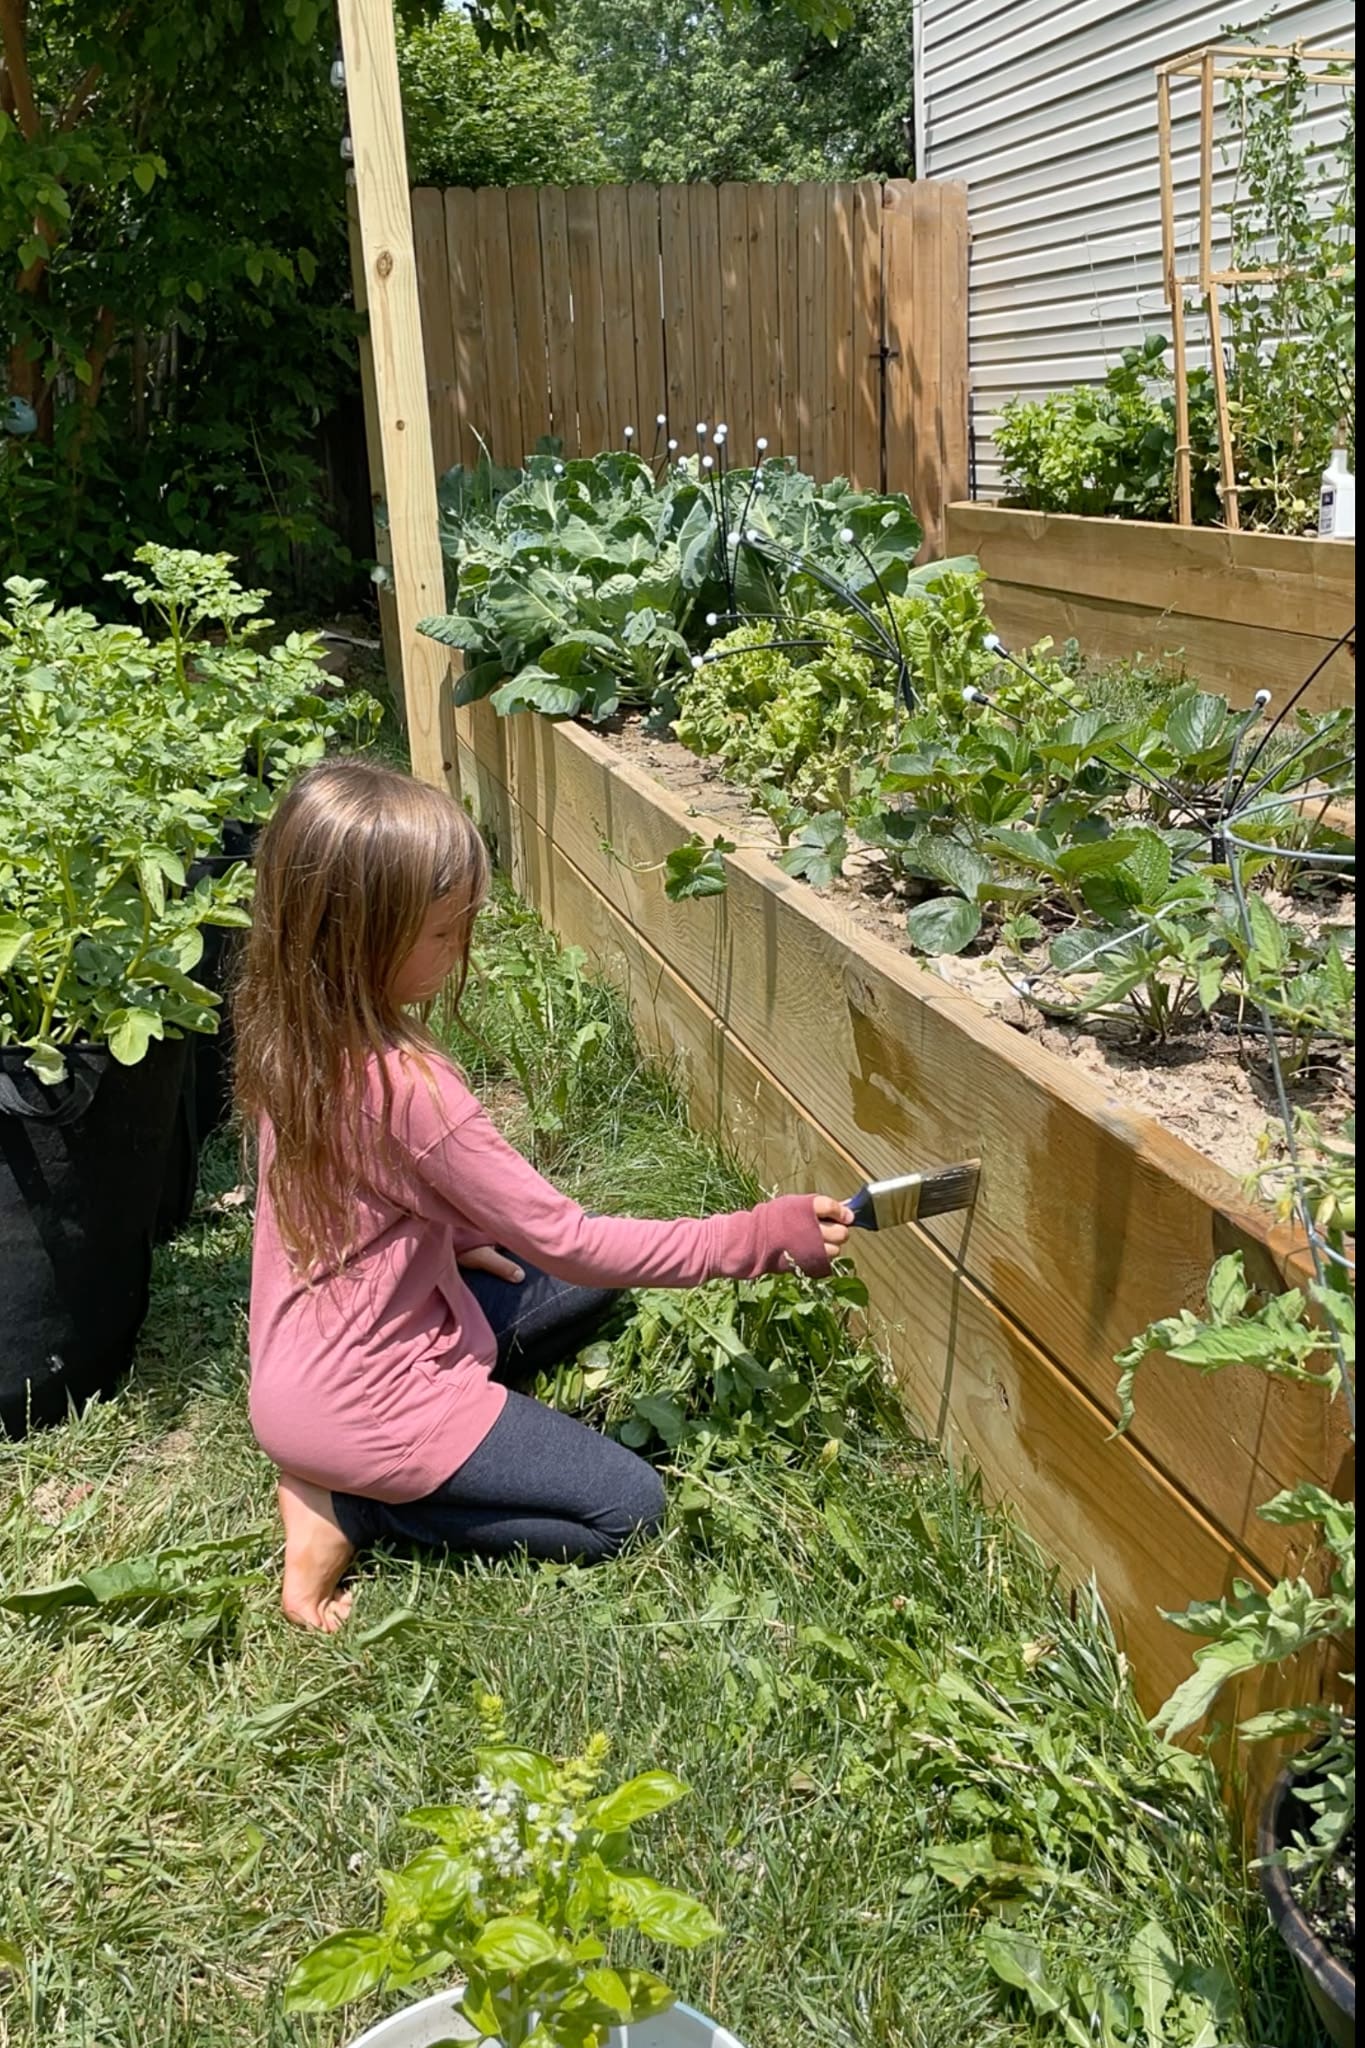
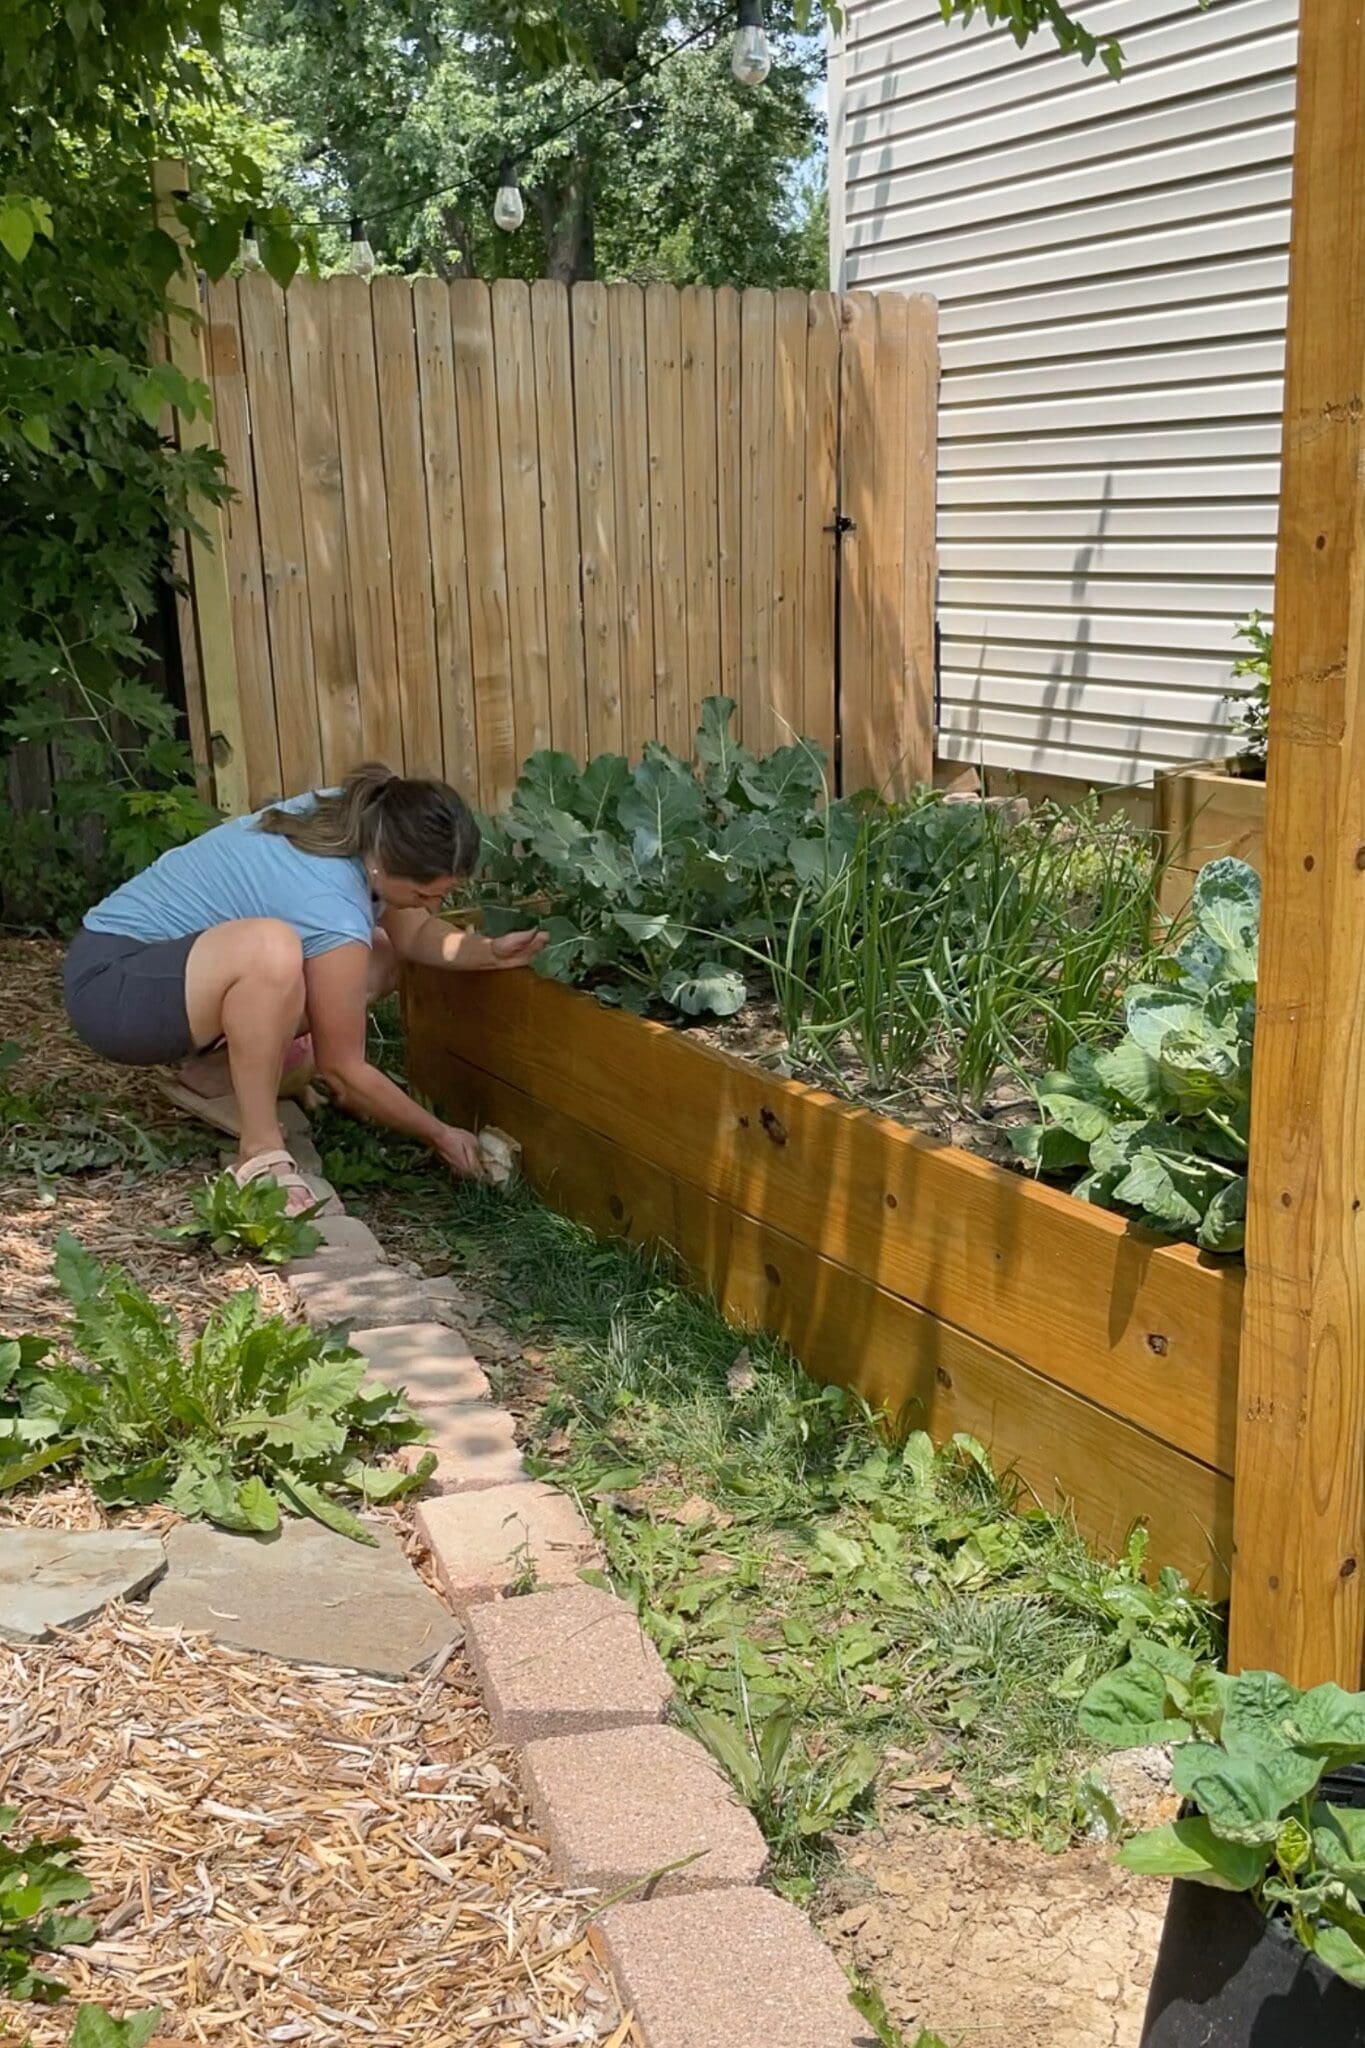
Step 5: How to Stain Outdoor Planter Boxes for a Longer Life
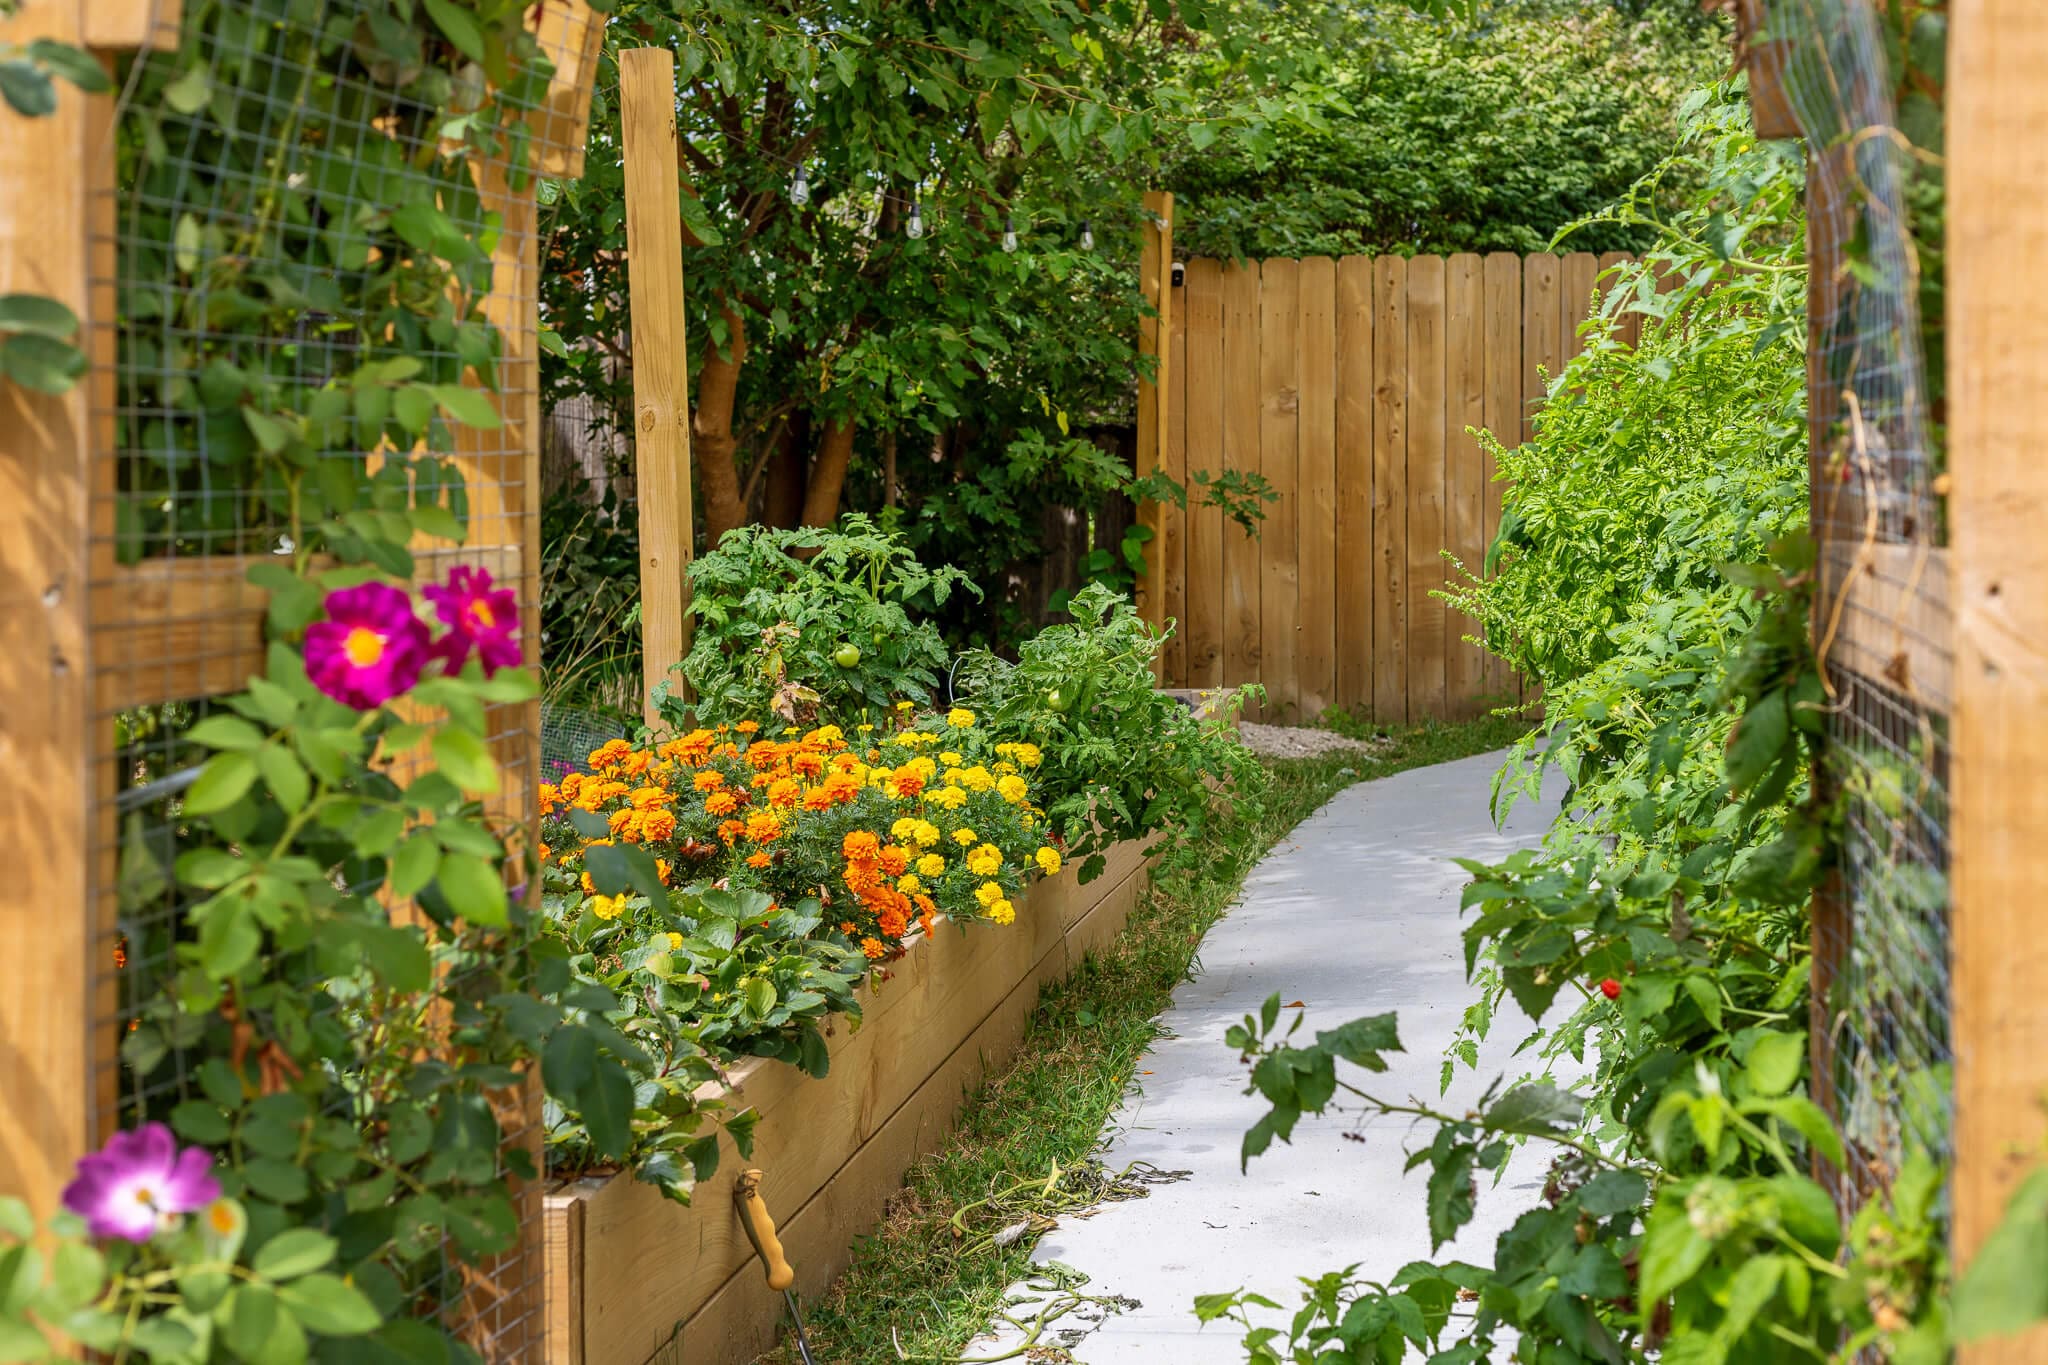
I gave the outside of the of the tall outdoor planter boxes a quick stain to help them last longer and blend in beautifully with our yard. Behr Cedar Exterior Wood Stain (which is safe for exterior use) gave the wood a rich, natural finish. I only stained the outside to avoid any chemicals leaching into the soil where we’ll be growing food. A single coat with a brush was all it needed to look finished and feel protected.
Step 6: Best Plants for DIY Tall Outdoor Planter Boxes
We turned our new beds into a mini grocery store garden. Here’s what we planted:
- Tomatoes, peppers, onions, celery, garlic, and potatoes
- Strawberries and raspberries
- Lettuce, basil, cilantro
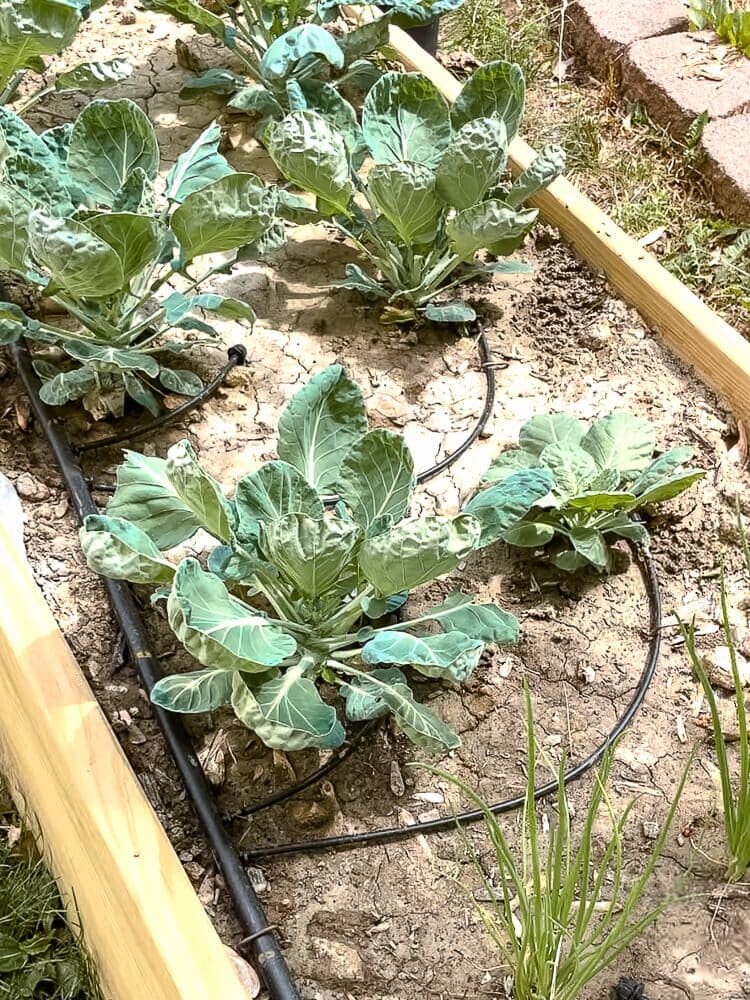
- Sugar snap peas and Brussels sprouts
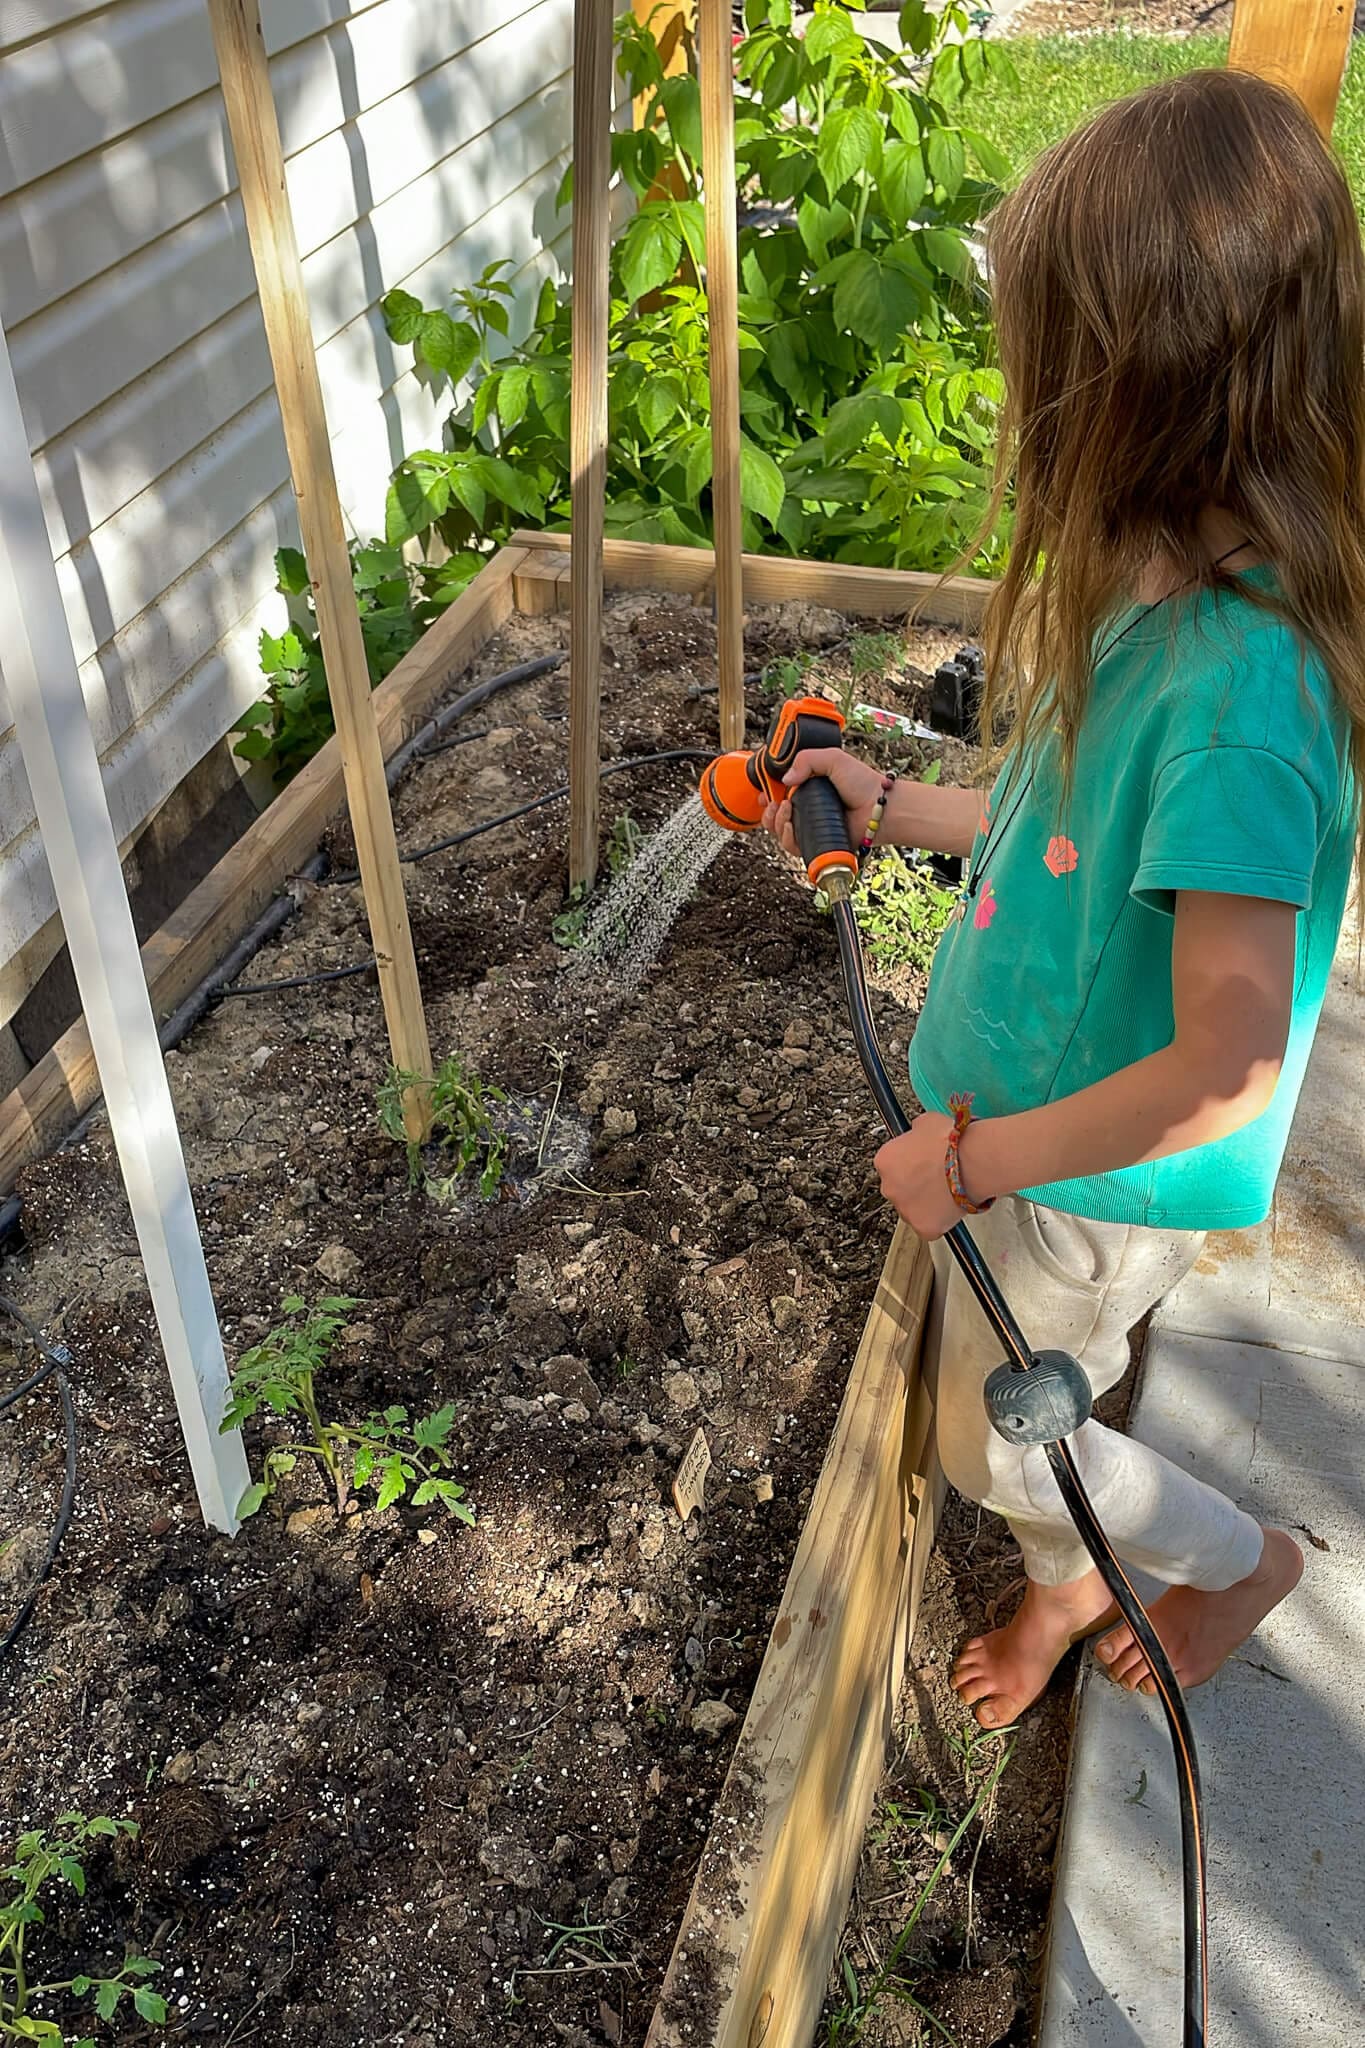
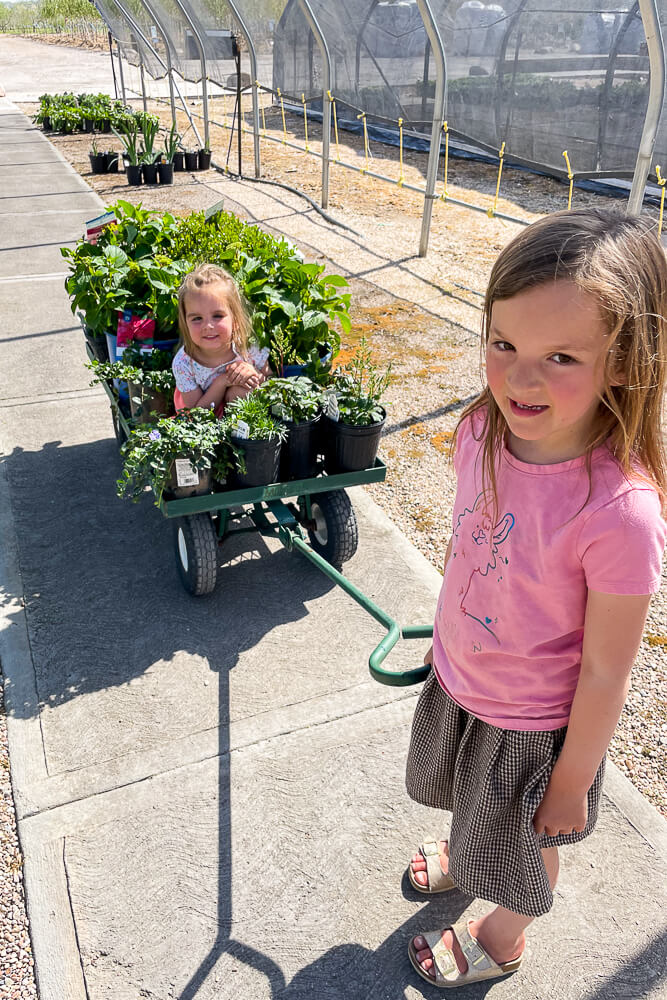
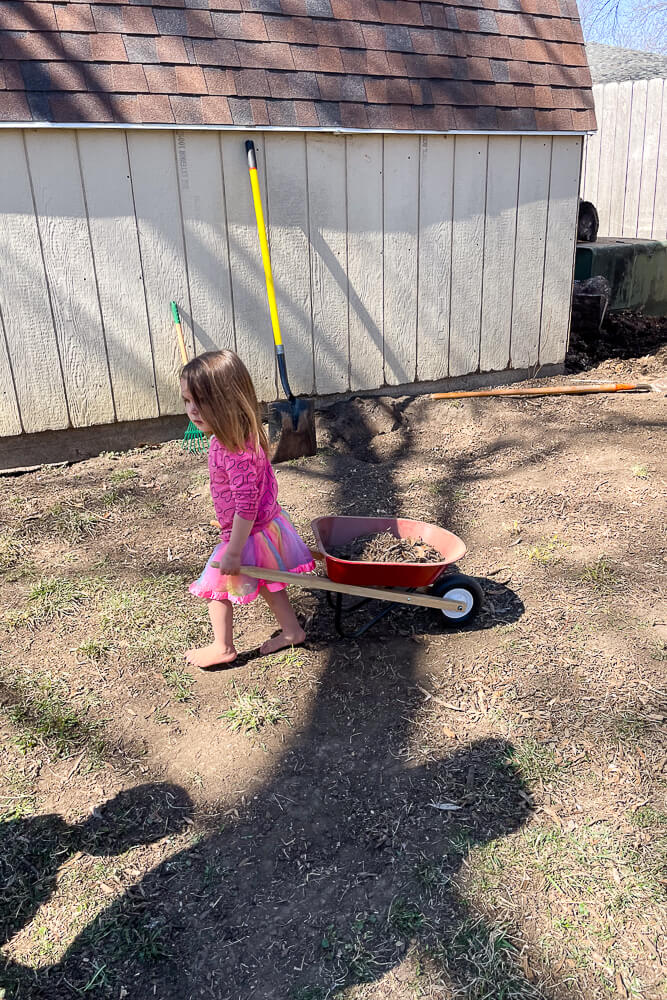
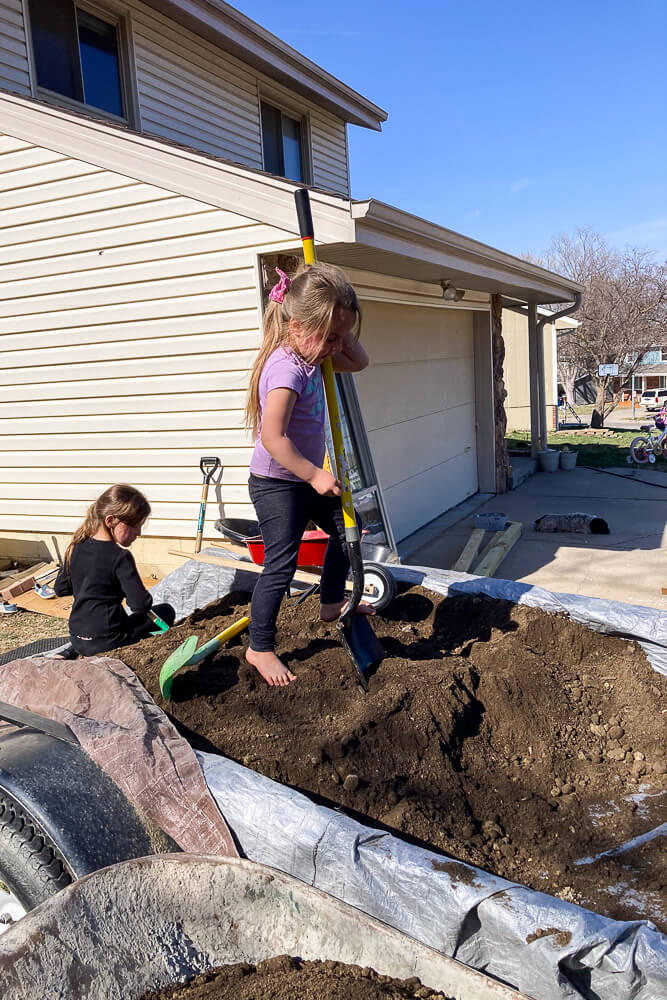
It became part of our homeschool curriculum – and our girls were so proud to dig in and help.

TIPS
Here are some products I’m using to strengthen my garden –
- I love tomatoes and am using a soil and fertilizer booster so they’ll grow nice and big.
- My potatoes are doing so well in these potato grow bags. Harvesting will be a cinch.
- We’re shooting for organic gardening, so we’re using Neem Oil as an insecticide.
- This berry fertilizer promises a “bountiful harvest”.
- We’re using these bamboo plant labels and they look so cute!
- These soil tester kits are easy to use. You just ship the company your dirt, and they’ll analyze your soil and tell you exactly what you need to make it more fertile.
We got the girls involved and they loved using their kids shovel set and Radio Flyer wheelbarrow.
Step 7: Extra Gardening Ideas to Enhance Your Raised Bed Setup
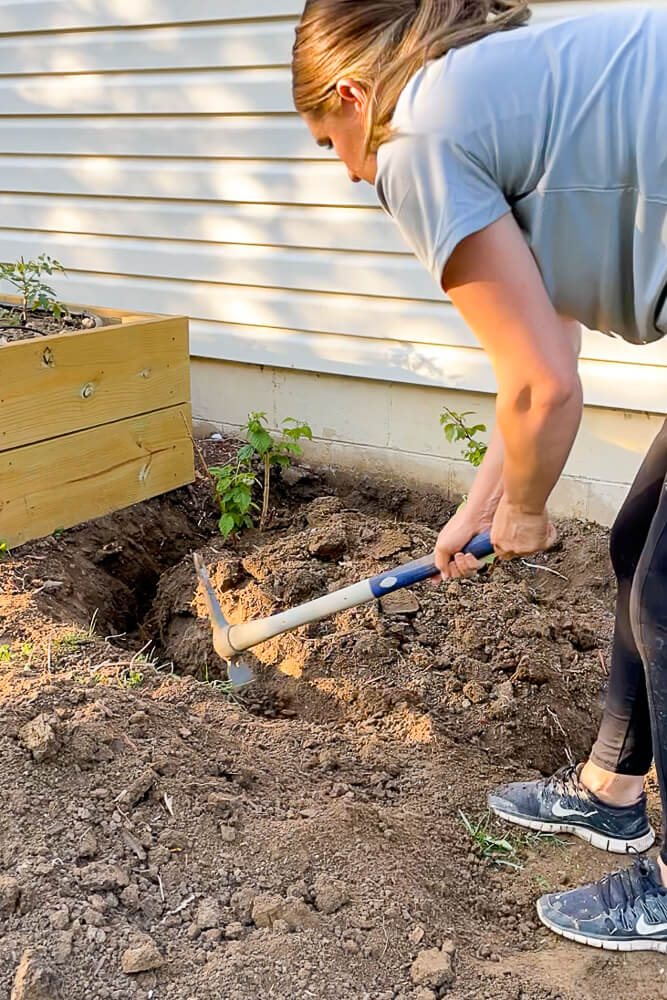
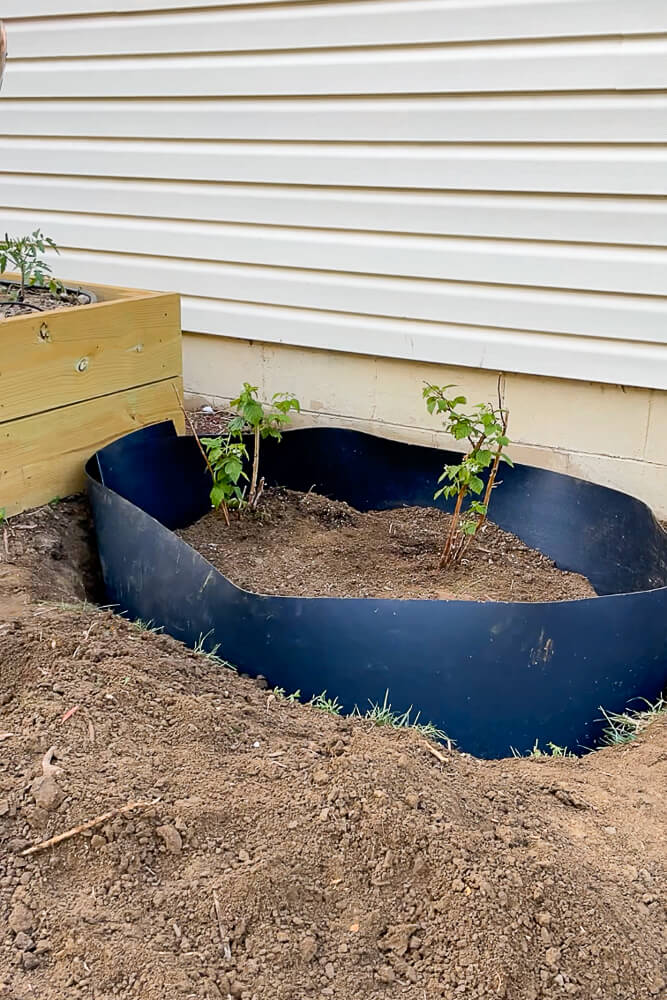
Raspberry bushes can overrun a garden, so I planted mine in the actual ground next to the garden boxes. The root control shield I was using to contain the vines needed to be placed about 18″ in the ground, so I dug a trench, placed the shield and filled in the dirt to keep it in place.
At this point, you can water everything on your own, or you can install an automatic drip system. We chose to use a drip system since I don’t have the time nor desire to stand outside holding a hose several times a day, and you can check out all the details in this blog post.
If you have questions about building your own tall outdoor planter boxes, leave me comment!
📌 Save this Project for Later

FAQ for Raised Garden Bed Builds
For outdoor planter boxes, untreated cedar or redwood is ideal because they naturally resist rot and insects—perfect for garden beds that will be exposed to the elements. Pressure-treated lumber can also be used, but be cautious if you plan to grow edible plants.
A depth of 12–18 inches is great for most vegetables and herbs. Leafy greens can thrive in 6–8 inches, but root vegetables like carrots or potatoes need more room to grow.
Yes, especially if you’re using wood that isn’t rot-resistant. Landscape fabric or plastic sheeting with drainage holes can help extend the life of your planter boxes and prevent soil from seeping out.
Add a layer of coarse material like gravel, small rocks, or sticks to improve drainage. Then top it with high-quality soil and compost to give your plants the best start.