


How to Install a DIY Drip Irrigation System for Raised Garden Beds


Updated July 13, 2026
Want a thriving vegetable garden without dragging the hose out every morning? A drip irrigation system for raised garden beds is hands-down one of the best upgrades you can make. It’s beginner-friendly, super efficient, and saves water (and your sanity) during the hot summer months. I’ll show you exactly how I installed ours step by step – all the tools, fittings, and tips that made this one of the easiest DIY projects we’ve tackled in the yard. If you haven’t built your raised beds yet, start with my DIY tall outdoor planter boxes tutorial first, then come back here.
Want to build the garden beds first? Here’s how I made our DIY tall outdoor planter boxes for the side of our house: Build Your Own Tall Raised Beds.
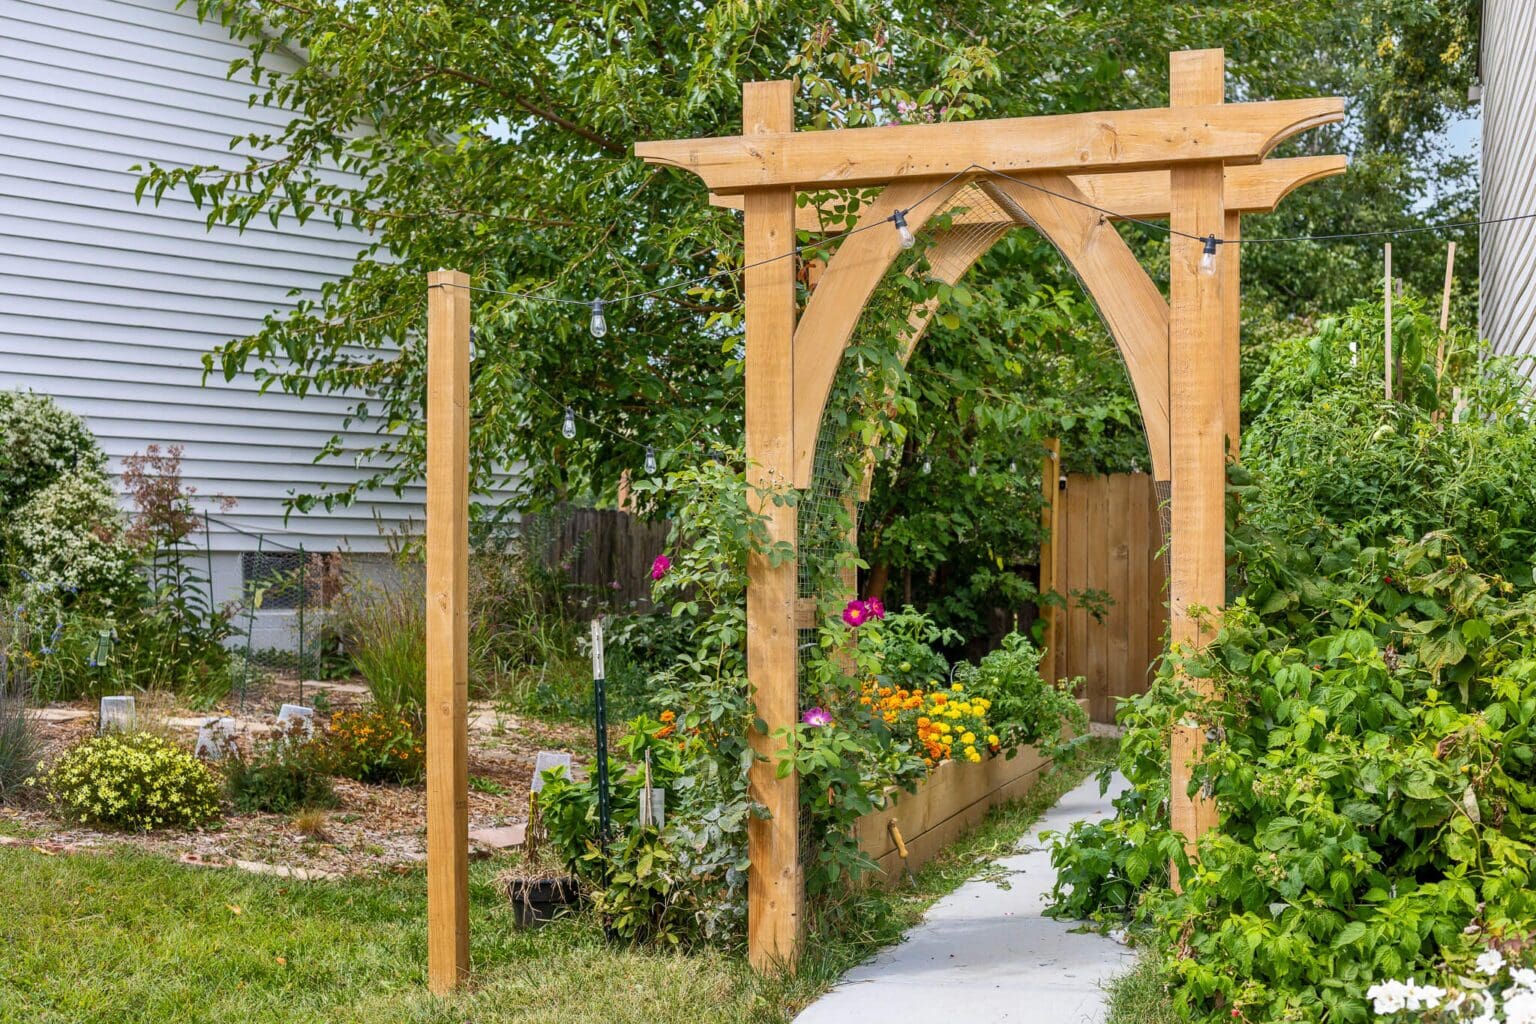
What about taking your garden design a step further? Check out the DIY garden arbor I built to add height, structure, and a touch of charm to this same space.
Watch How to Install Drip Irrigation for Raised Garden Beds
Table of Contents
- Watch How to Install Drip Irrigation for Raised Garden Beds
- Why a DIY Drip Irrigation System for Raised Garden Beds Is a Game Changer
- Supply List for DIY Drip Irrigation for Raised Garden Beds
- Step 1: Find the Nearest Water Source for Your Drip Irrigation System
- Step 2: Install a Hose Splitter for Drip Irrigation Access
- Step 3: Build the Main Line for Your Drip Irrigation System
- Step 4: Use Elbow Joints to Navigate Corners in the Main Line
- Step 5: Connect a Timer to Automate Your Raised Bed Irrigation
- Step 6: Split the Main Line to Water Multiple Raised Beds
- Step 7: Run Tubing Through the Raised Garden Beds
- Step 8: Use a T-Connector to Branch the Drip Irrigation Line
- Step 9: Extend the Drip Irrigation Tubing to the Second Bed
- Step 10: Secure the Header Line Inside the Raised Beds
- Step 11: Add Drip Tubing and Emitters to Water Each Plant
- Step 12: Finishing Touches on Your Drip Irrigation System for Raised Garden Beds
- Smart Watering Tips for Your Raised Bed Drip Irrigation System
- Why Drip Irrigation Is the Best Watering System for Raised Garden Beds
- 📌 Save This Drip Irrigation Tutorial for Later
- More Garden & Yard DIY Projects
- Frequently Asked Questions About Drip Irrigation for Raised Garden Beds
Why a DIY Drip Irrigation System for Raised Garden Beds Is a Game Changer
I’ll be honest – I’m no gardening expert. I grew up in the desert where even the weeds struggle. A watering system wouldn’t have fixed all that.
But now that we’re in Omaha, where plants basically volunteer to grow, I decided it was time to fulfill my green-thumb dreams. Installing a drip irrigation system felt intimidating at first, but it ended up being one of the simplest DIY projects I’ve tackled. Here’s why you should do it too:
- Stop setting alarms to stand in the sun with a hose – unless you really want to cosplay as a Victorian gardener every morning.
- Plants thrive with consistent watering, which means bigger, better harvests.
- Your neighbors do not want to water your garden while you’re on vacation. Trust me.
- It uses 30-50% less water than hand watering.
- It’s easier than you think – ours took less than half a day.
Supply List for DIY Drip Irrigation for Raised Garden Beds
Here’s everything you need to install a basic drip irrigation system for raised garden beds. I’ve linked exactly what we used so you’re not guessing at the hardware store.
Main Tubing & Water Source
- 1/2 Inch Main Irrigation Tubing – for the main line running from your water source to the beds – we used 1 roll
- Hose Bib Splitter – for running both a regular hose and the irrigation line from the same spigot
- 3/4-in Hose Adapter Fitting – for connecting the poly tubing to the hose bib
- Back Flow Preventer – for keeping water from flowing back into your main water supply
- Programmable Timer – for automating your watering schedule so you never have to think about it
Connectors & Fittings
- 1/2-in Irrigation Collar – Female Adapter for connecting tubing to the timer
- 1/2-in Irrigation Collar – Male Adapter for connecting tubing sections together
- 1/2-in Irrigation Collar End Cap – or capping off the end of each header line to maintain water pressure
- 1/2-in Irrigation Elbow – for turning corners without kinking the tubing
- 1/2-in T-Connector – for splitting the main line to feed multiple beds
- Figure 8 Clamp – for sealing the end of the main tubing
Drip Line & Accessories
- 1/4-in Drip Coupling – for connecting the small drip lines to the header line
- 1/4-in Drip Tubing – for running water from the header line directly to each plant
- Drip Line T-Connector – for branching one drip line to water multiple plants
- Drip Emitter – for controlling water flow at each plant
- Goof Plugs – for sealing any accidentally punched holes in your tubing – you will need these
Installation Tools & Hardware
- Adjustable Clamp – for securing tubing connections at the hose bib end
- Landscape Stakes – for holding the header line flat against the soil inside the beds
- Drip Line Hole Punch – for punching precise holes in the header line for drip couplings
- Sharp Garden Shears – for making clean cuts in poly tubing
- Pipe Straps – for securing the main line along the house or fence
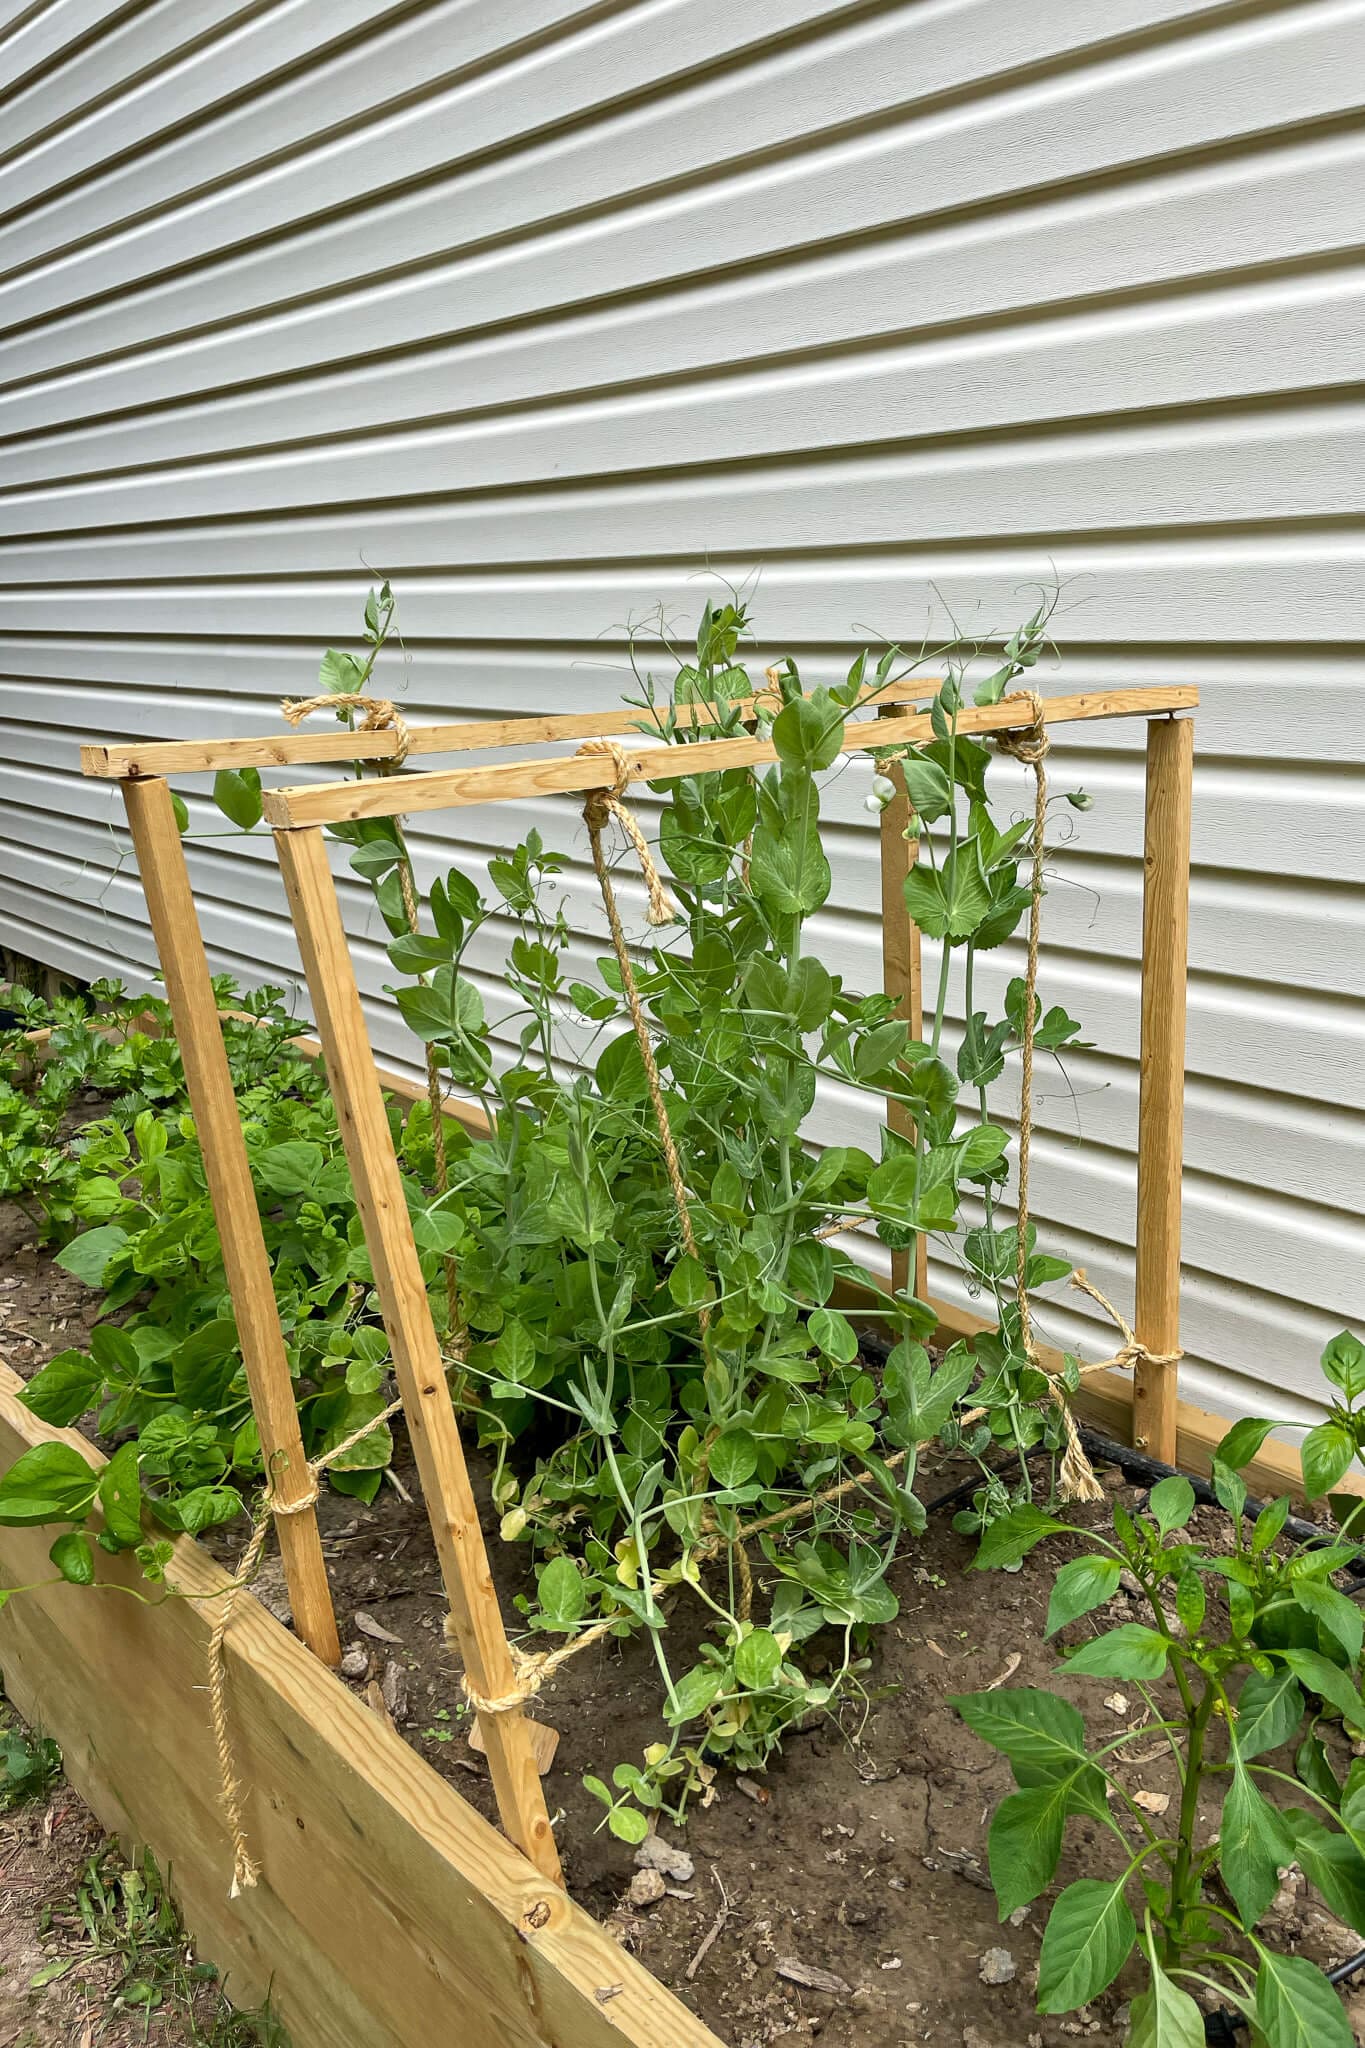
Step 1: Find the Nearest Water Source for Your Drip Irrigation System
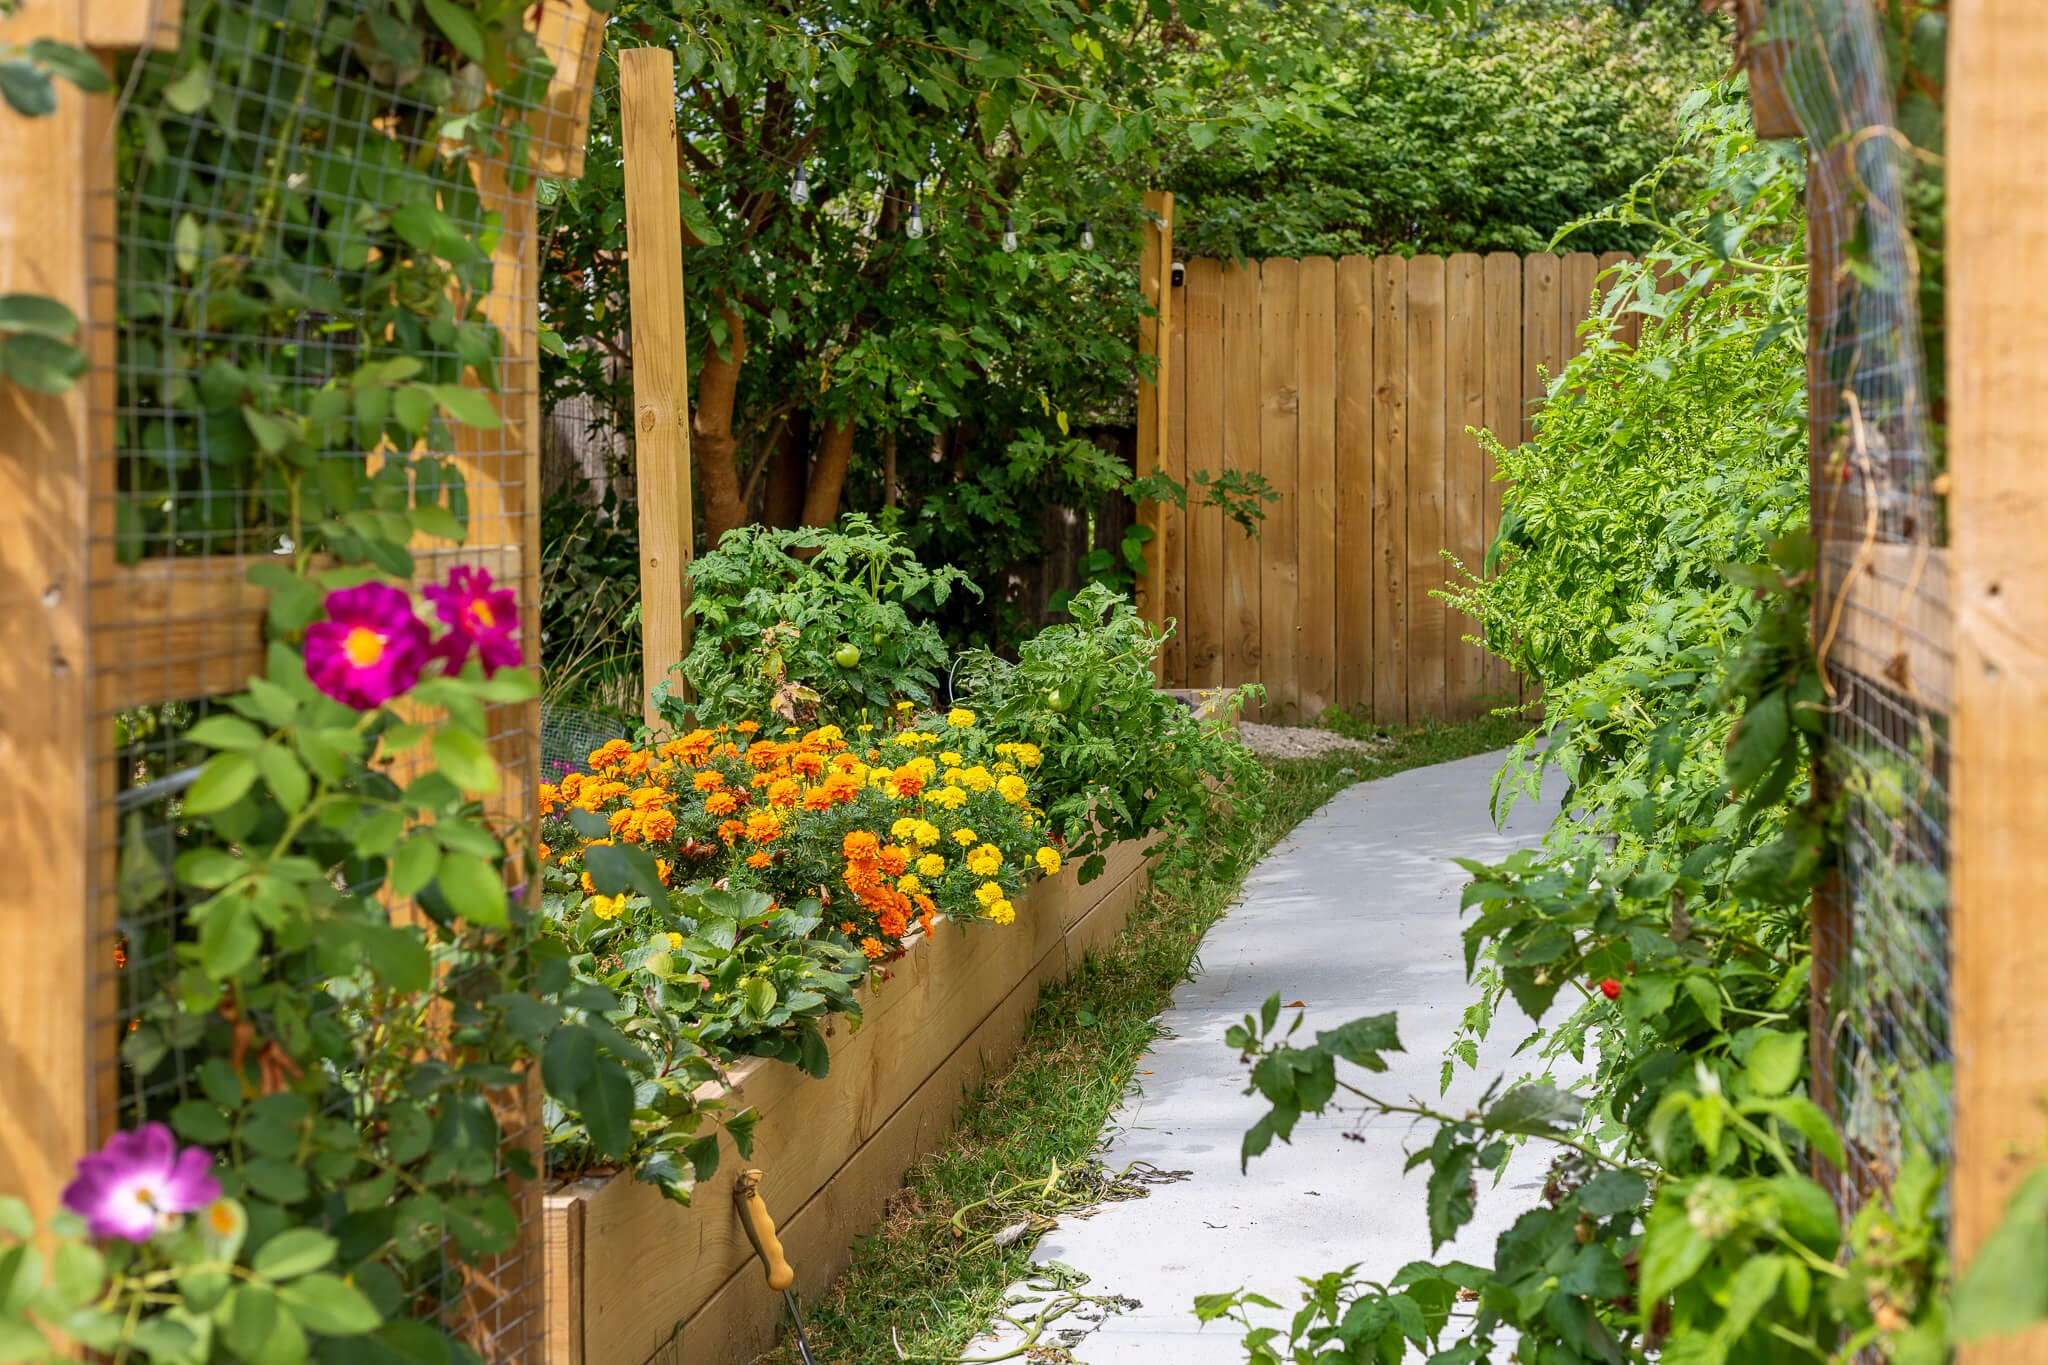
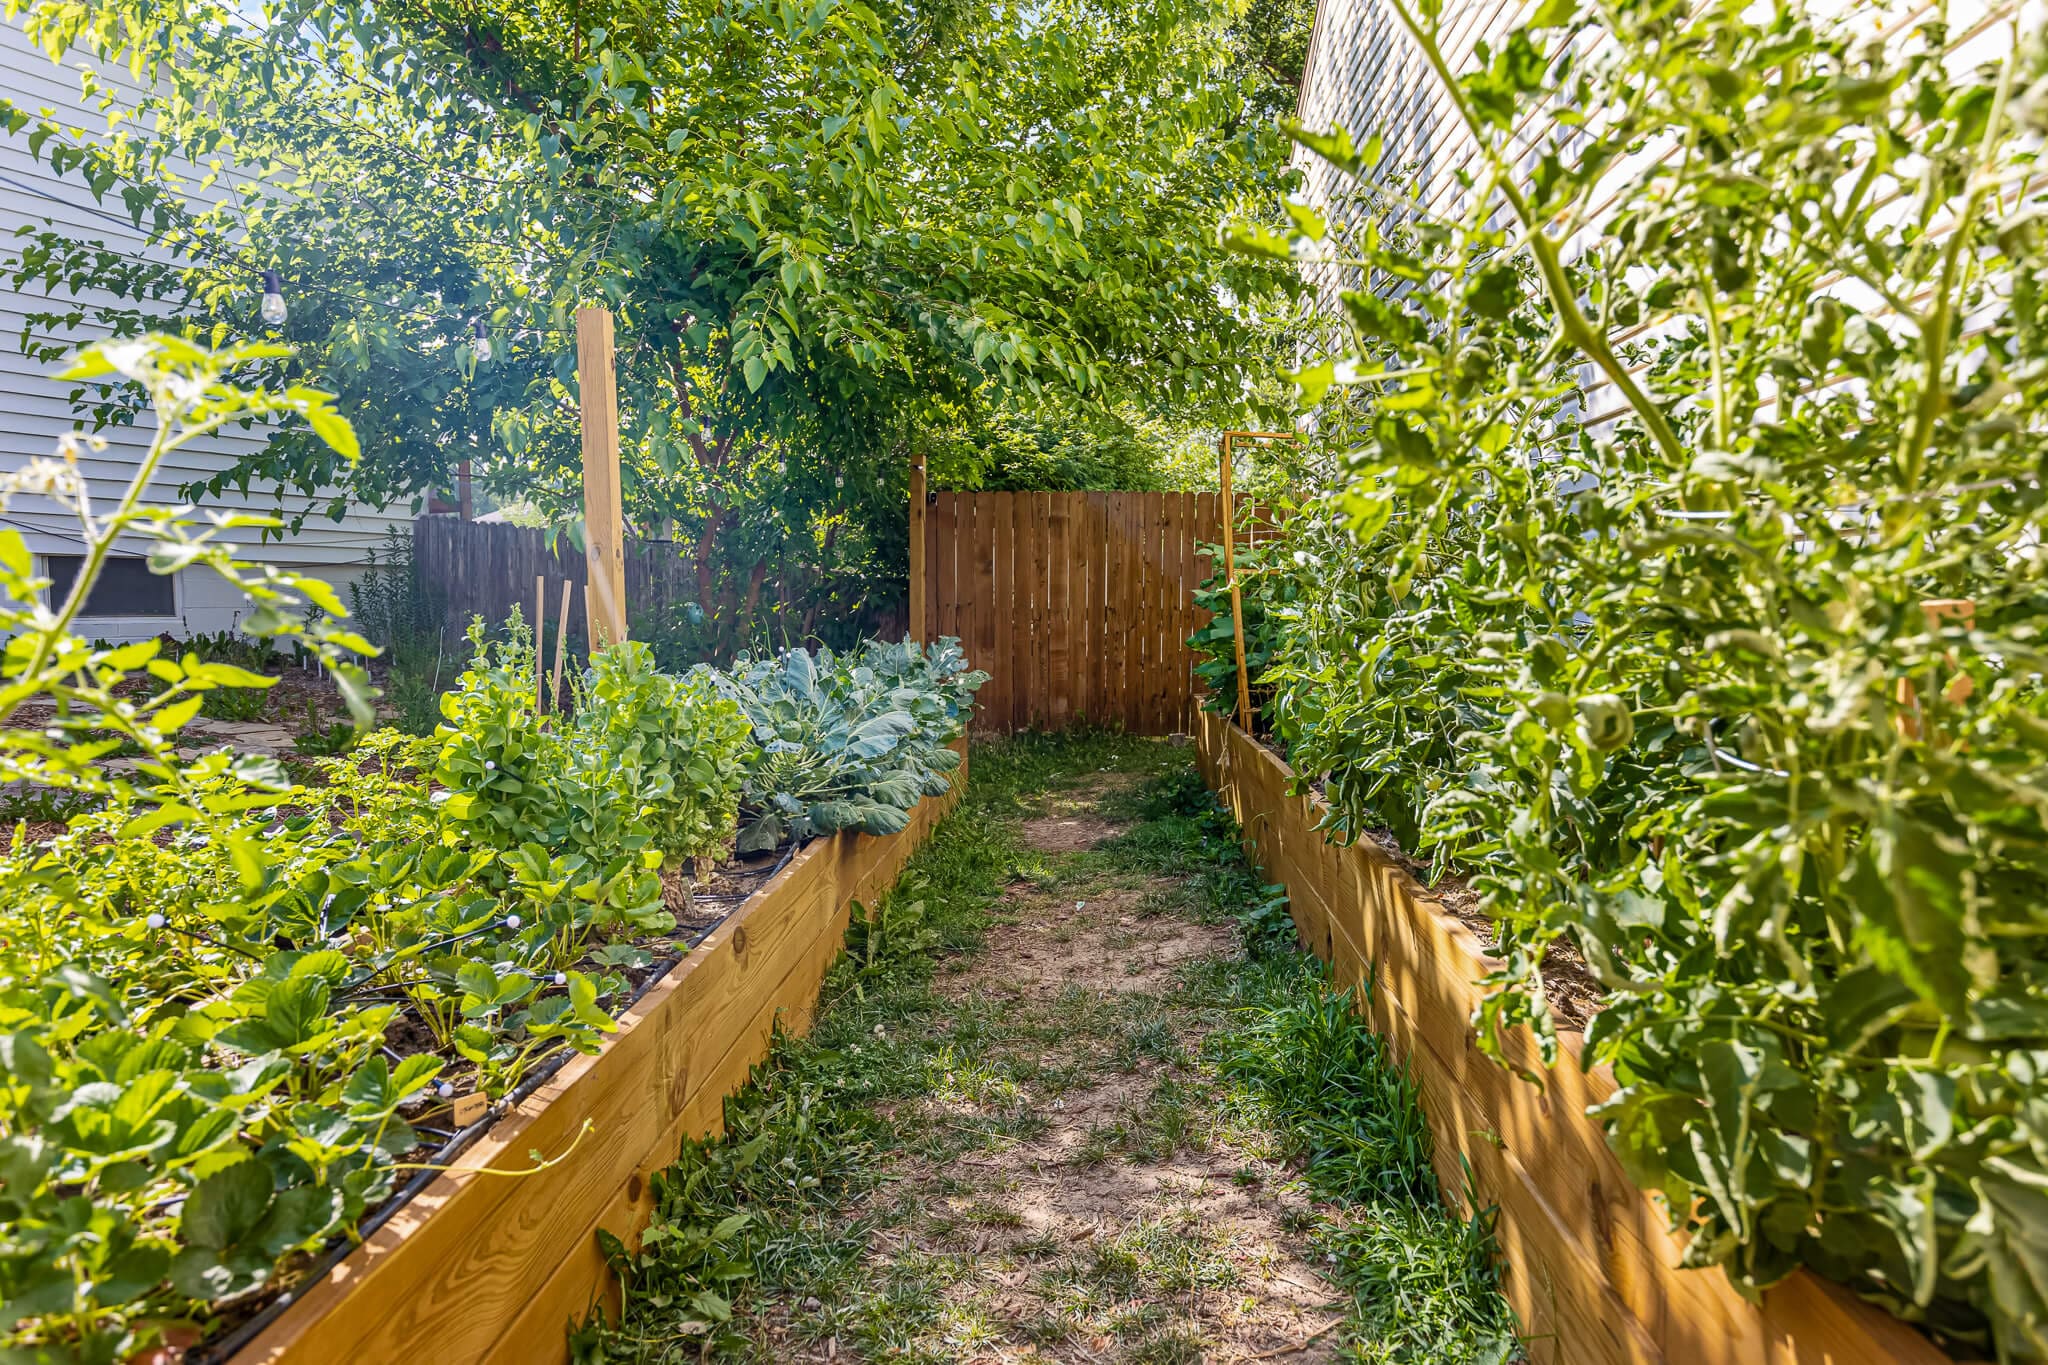
Start by identifying the closest water source to your raised beds. Ours are tucked along the side of the house behind a fence, but distance isn’t a deal-breaker – just plan your tubing run accordingly and measure before you buy. The shorter the main line, the less pressure drop you’ll deal with.
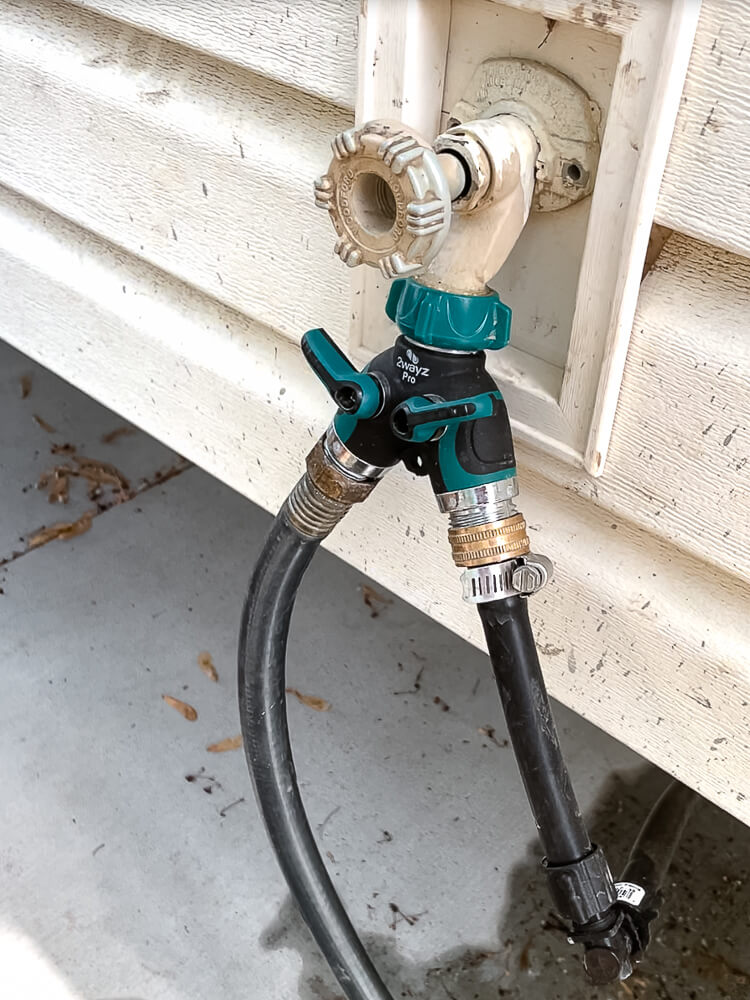
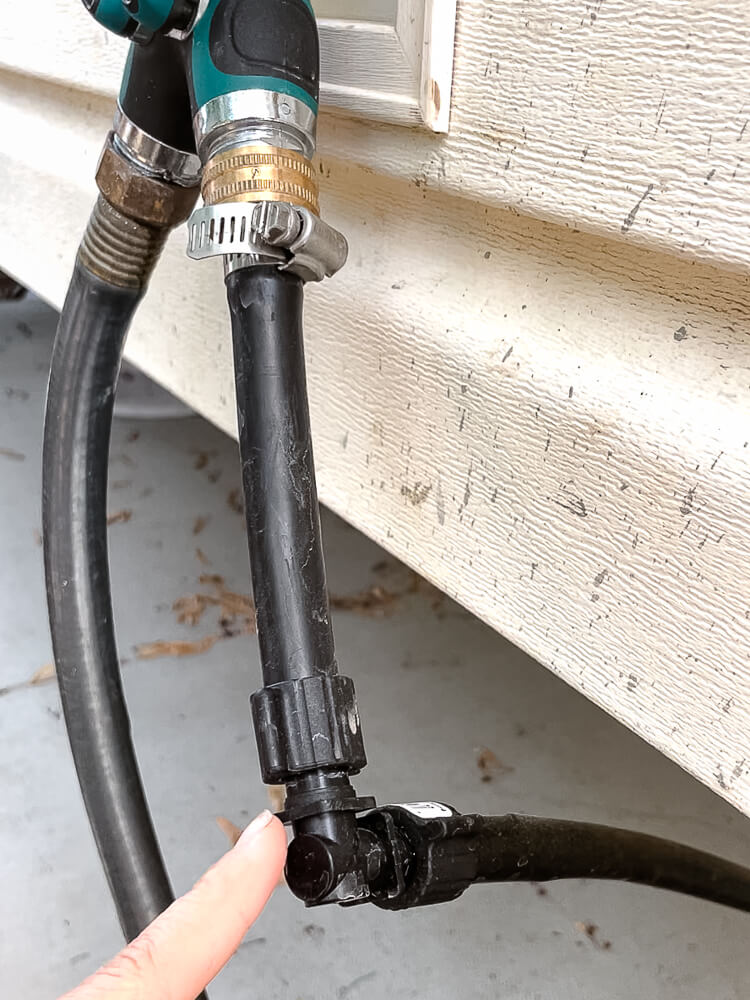
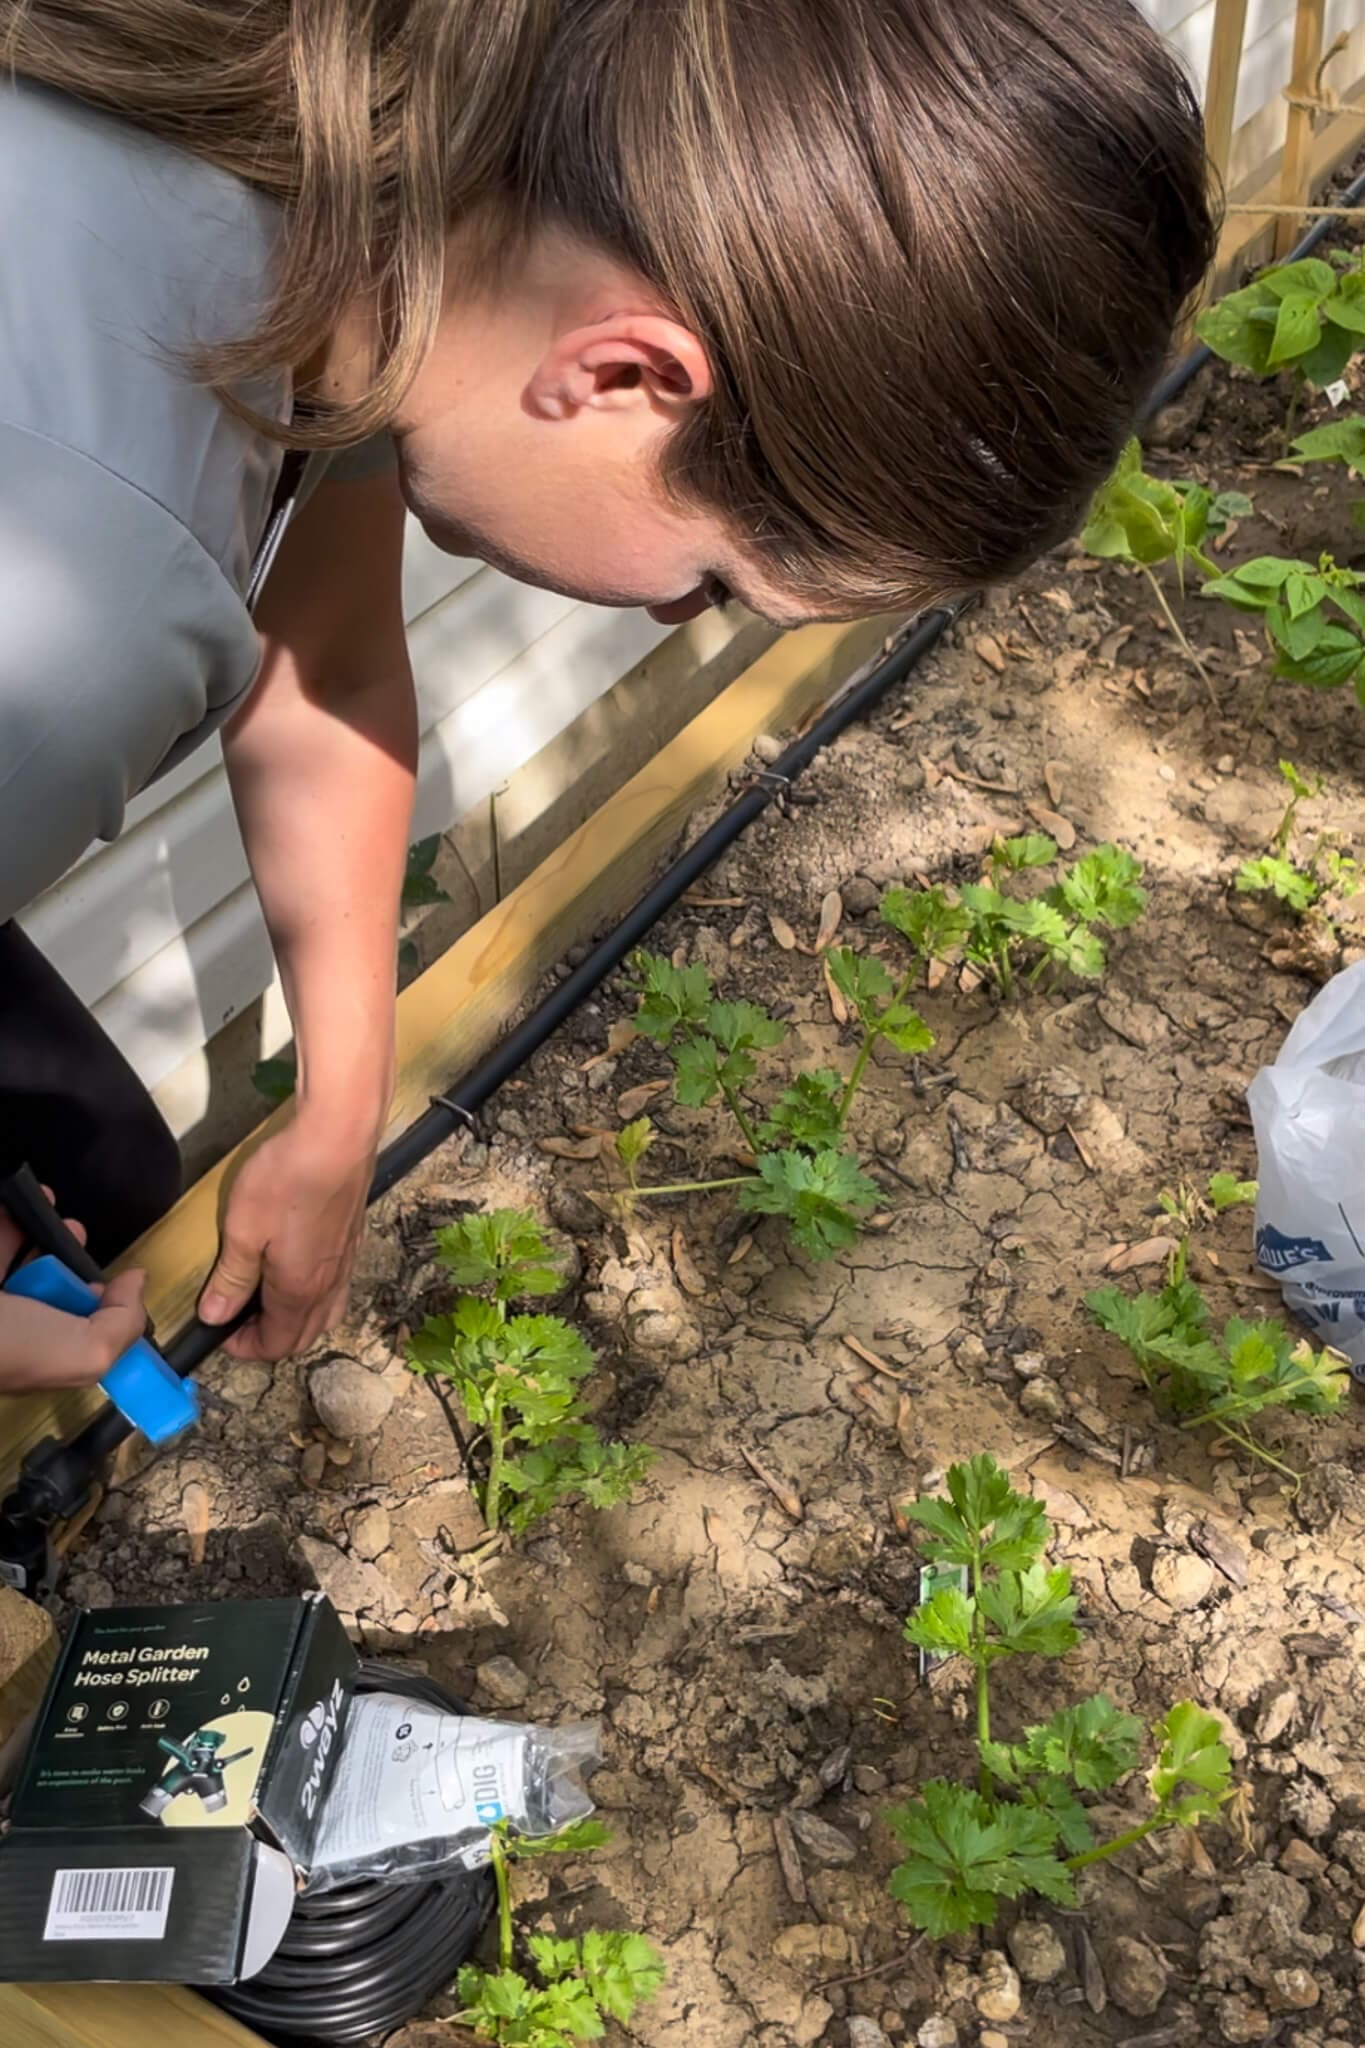
Step 2: Install a Hose Splitter for Drip Irrigation Access
If you’re limited on hose bibs like we are, attach a hose bib splitter to make room for your irrigation line. This lets you run both a regular hose and your drip irrigation system from the same spigot without having to choose between them.
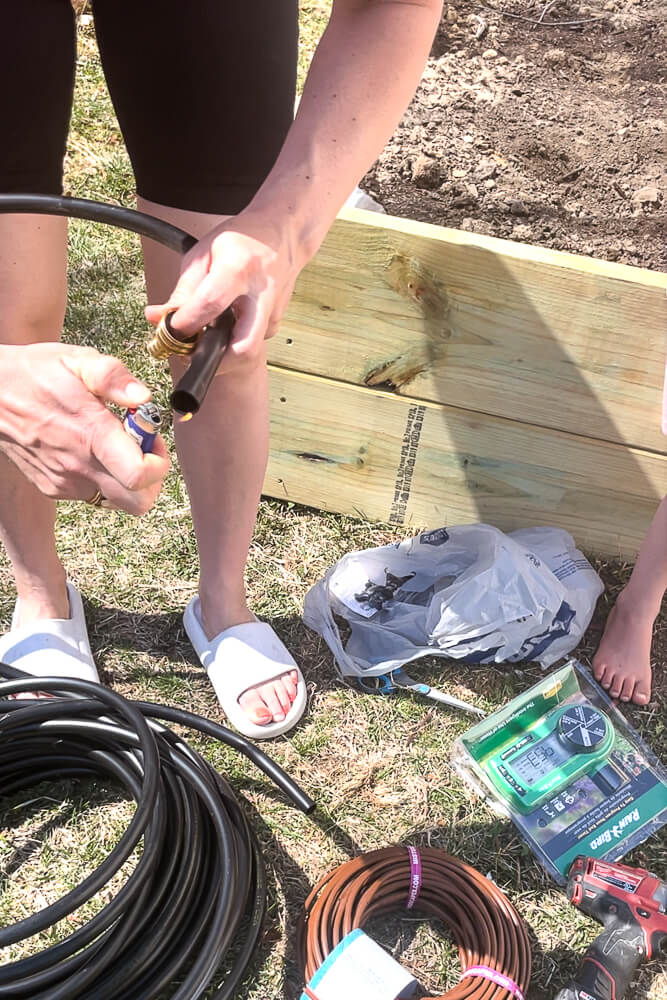
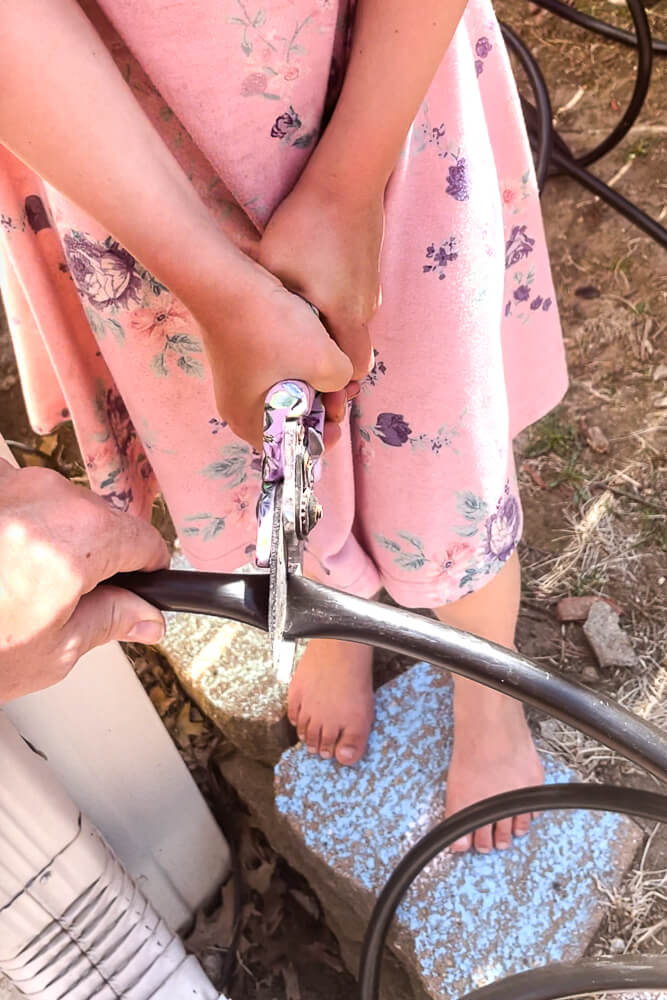
Step 3: Build the Main Line for Your Drip Irrigation System
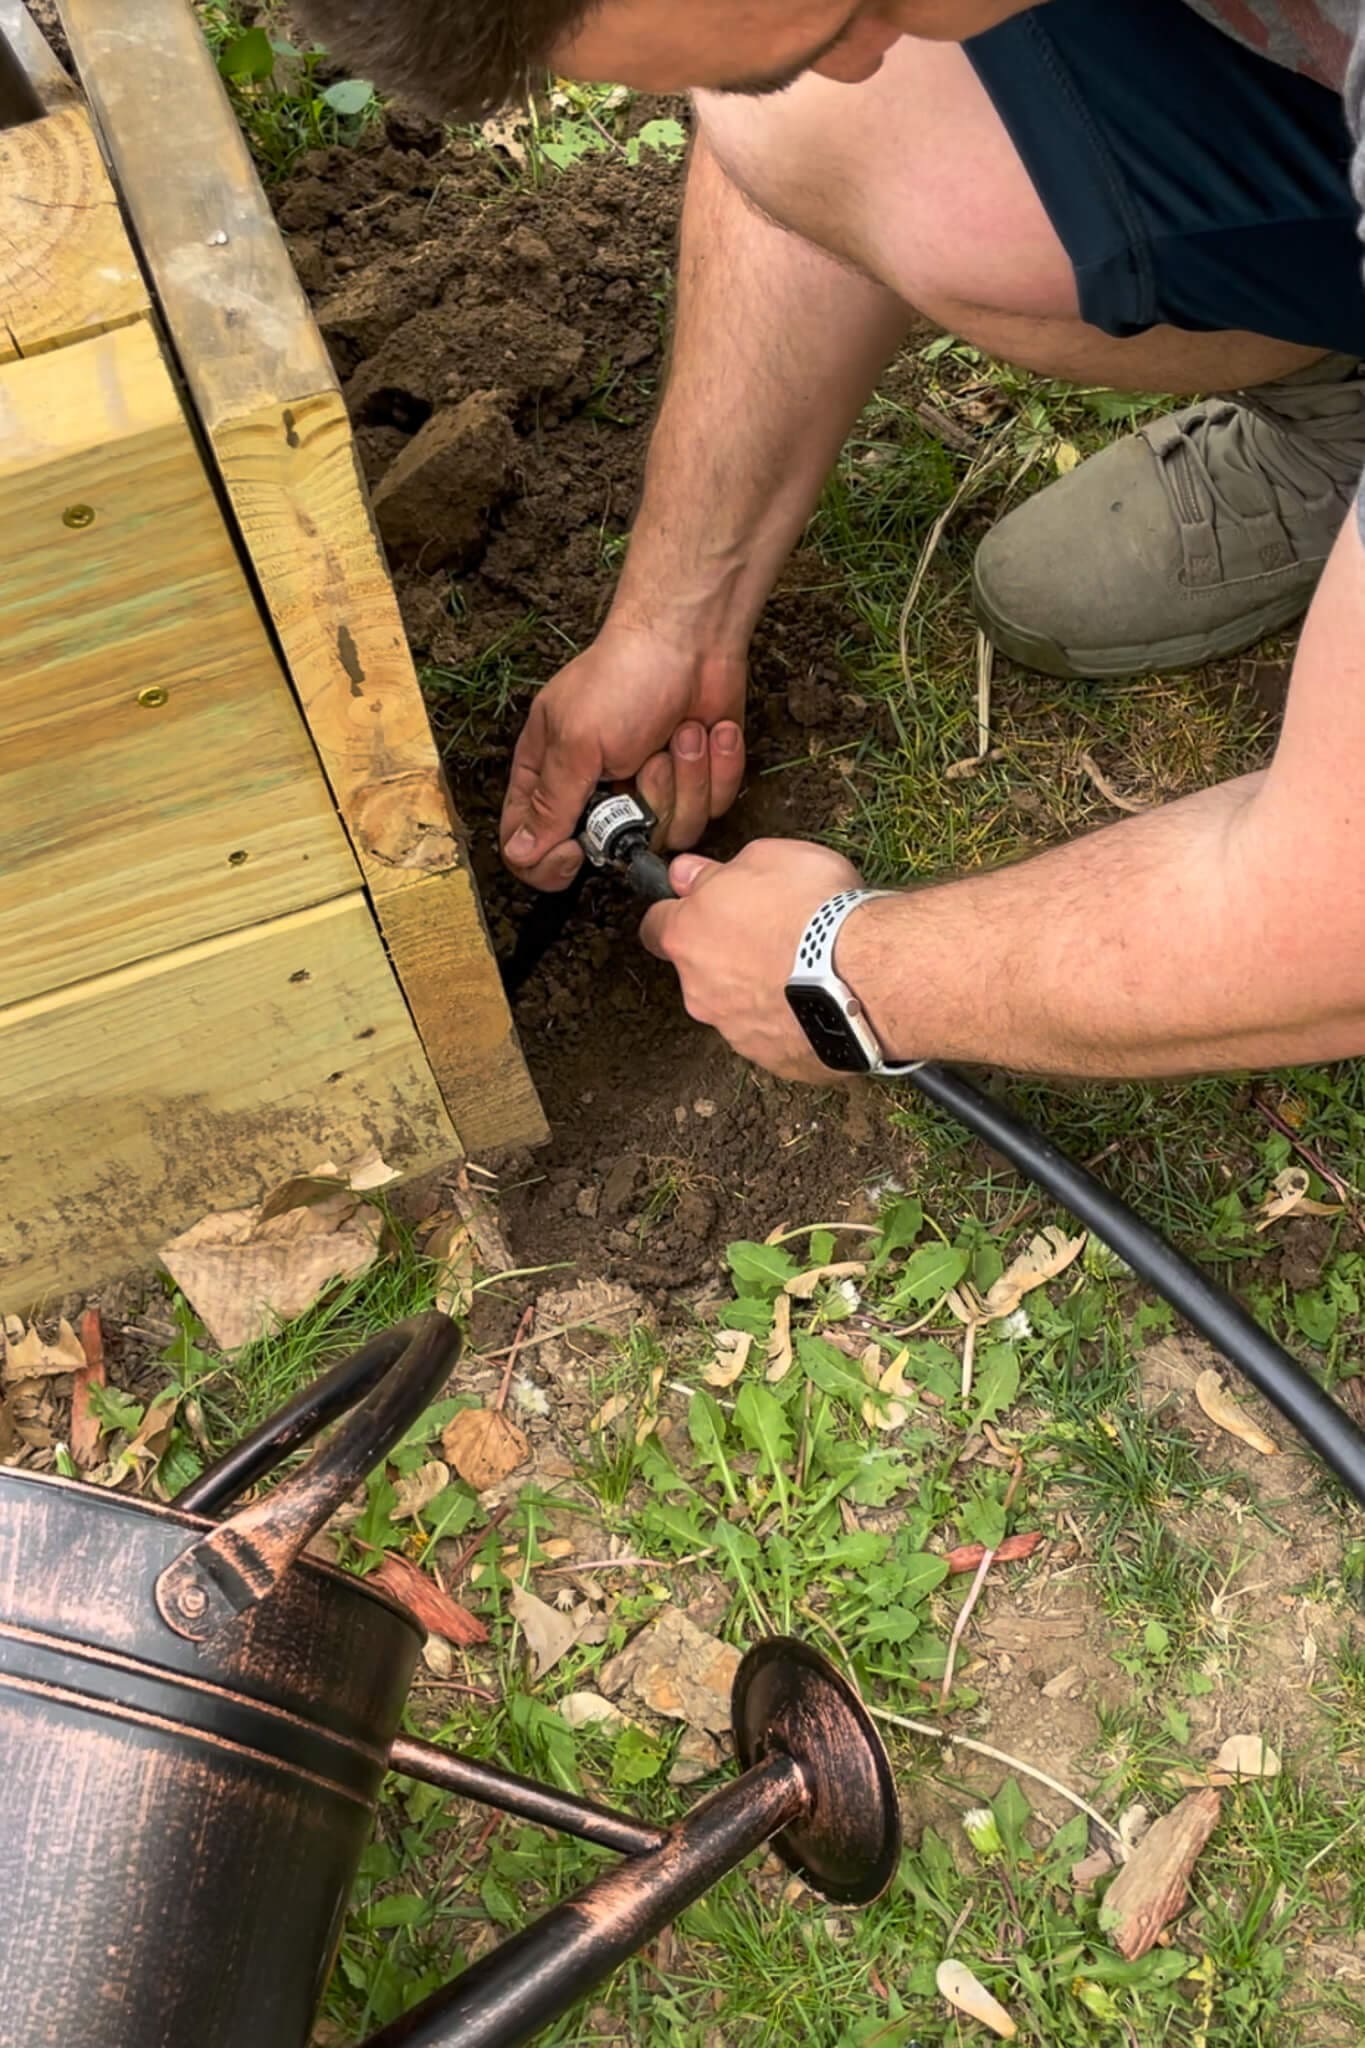
We built our own main line using 1/2-inch poly tubing since both ends were open. I slid an adjustable clamp onto one end, then used a lighter to gently heat the tubing – just enough to soften it. That made it easy to press the hose adapter in snug.
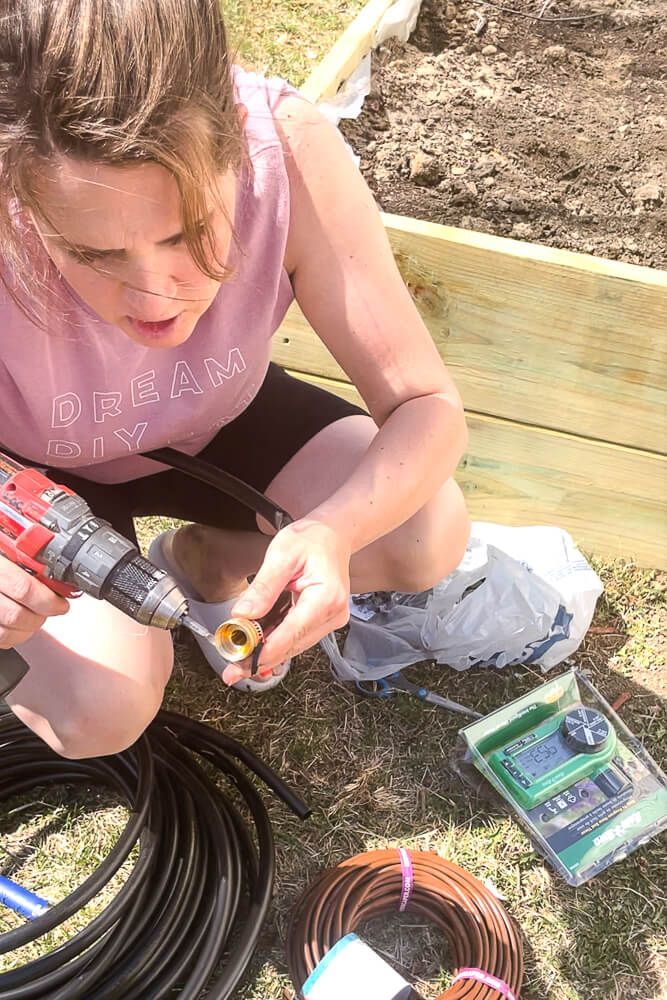
Once the adapter was seated, I tightened the clamp with my drill to lock it down. Just like that, we had our custom main line – connected to the splitter as the starting point of the whole drip irrigation system.
Step 4: Use Elbow Joints to Navigate Corners in the Main Line
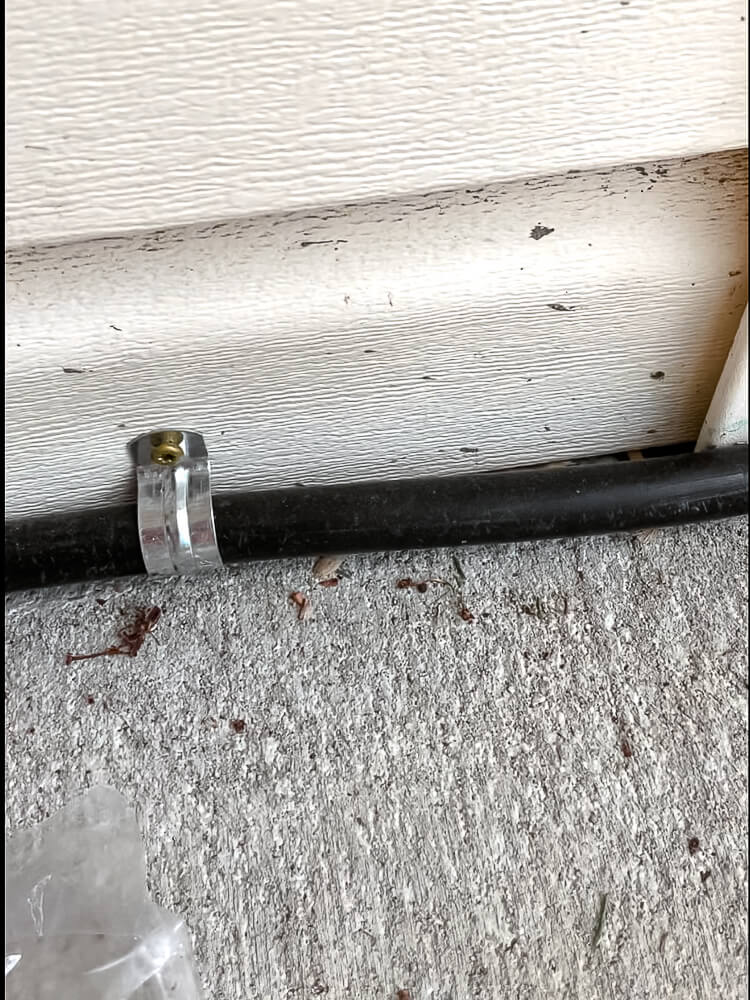
To turn corners without kinking your tubing, use sharp garden shears to make a clean cut, then insert an elbow fitting. These thread directly into the poly tubing and create a watertight seal. Our main line had to navigate several corners on its way to the beds, so we used quite a few of these.
We secured the main line along the house using pipe straps to keep everything tidy and off the ground.
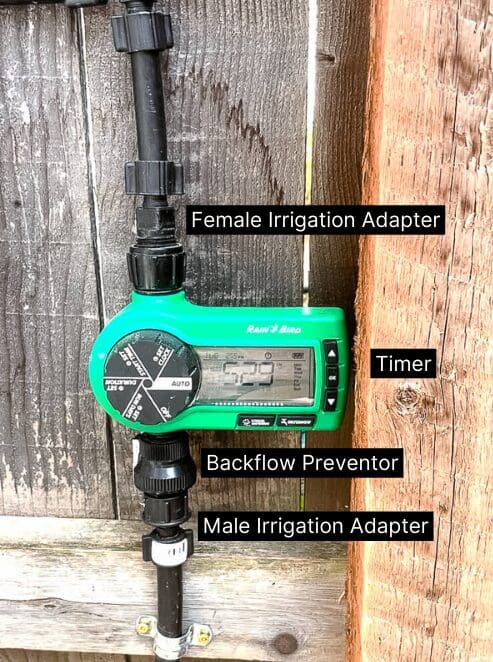
Step 5: Connect a Timer to Automate Your Raised Bed Irrigation
Adding a programmable timer is what transforms a basic drip setup into a fully hands-off watering system. We knew we didn’t want to manually turn the water on and off every day – especially in summer.
I cut the poly tubing near our side gate where I wanted the timer to hang, then attached a female irrigation adapter. The timer screwed right on, and from there I added a backflow preventer, a male adapter, and more poly tubing to keep the system moving toward the beds.
This is the step that makes your drip irrigation system genuinely low maintenance – set it once and forget it, even during vacation weeks.
Step 6: Split the Main Line to Water Multiple Raised Beds
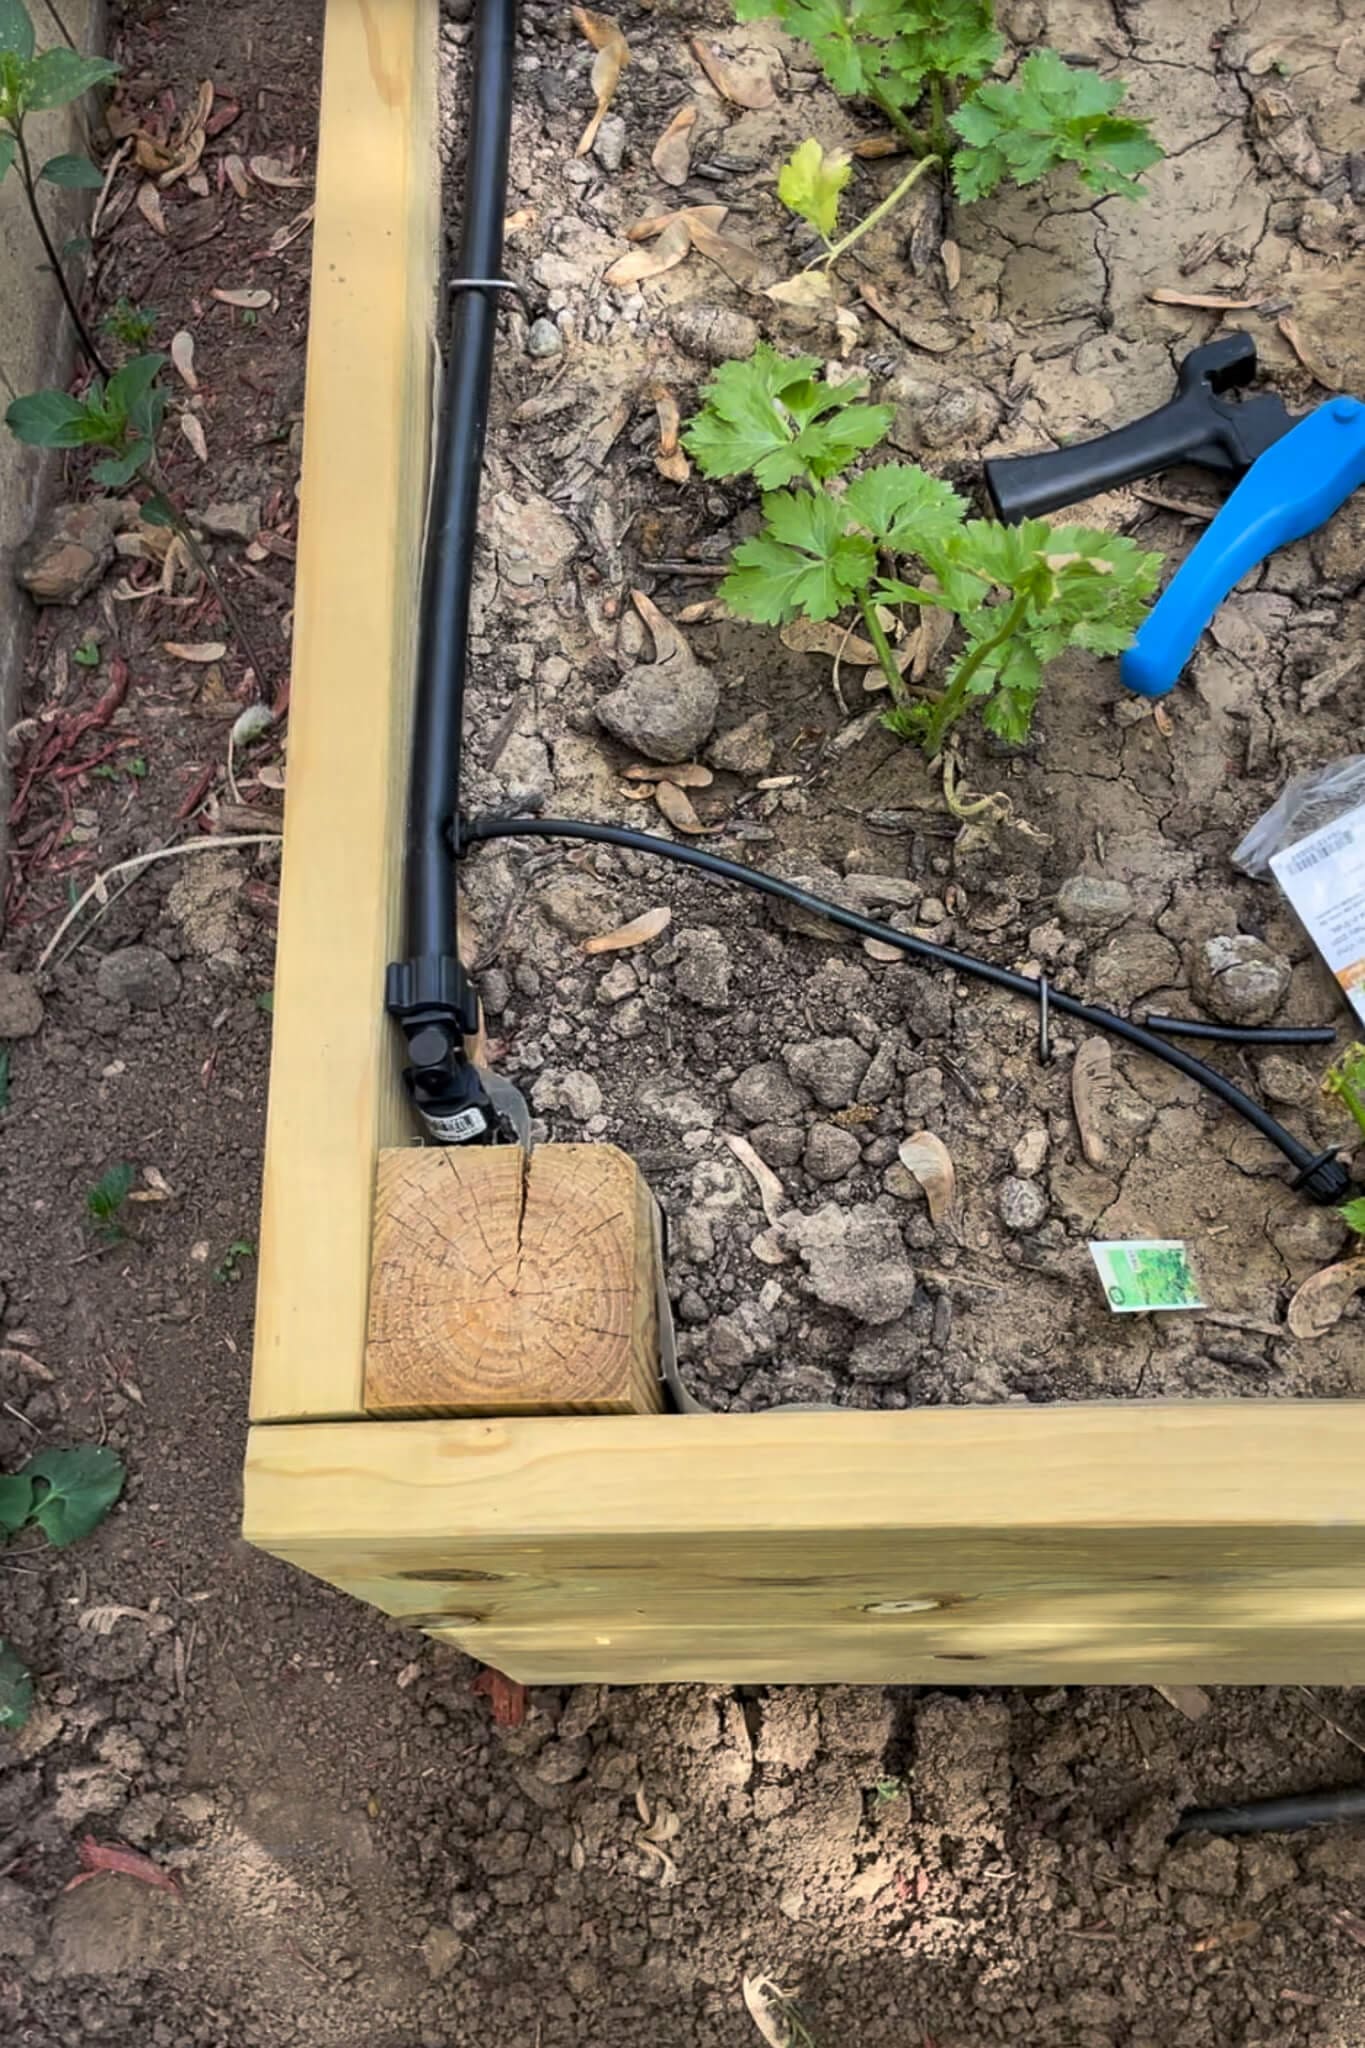
We have two garden beds, so the main line needed to split into two branches. I cut the line close to the corner of the first bed and set it aside, then dug a shallow trench underneath the corner of the bed for the tubing to run through.
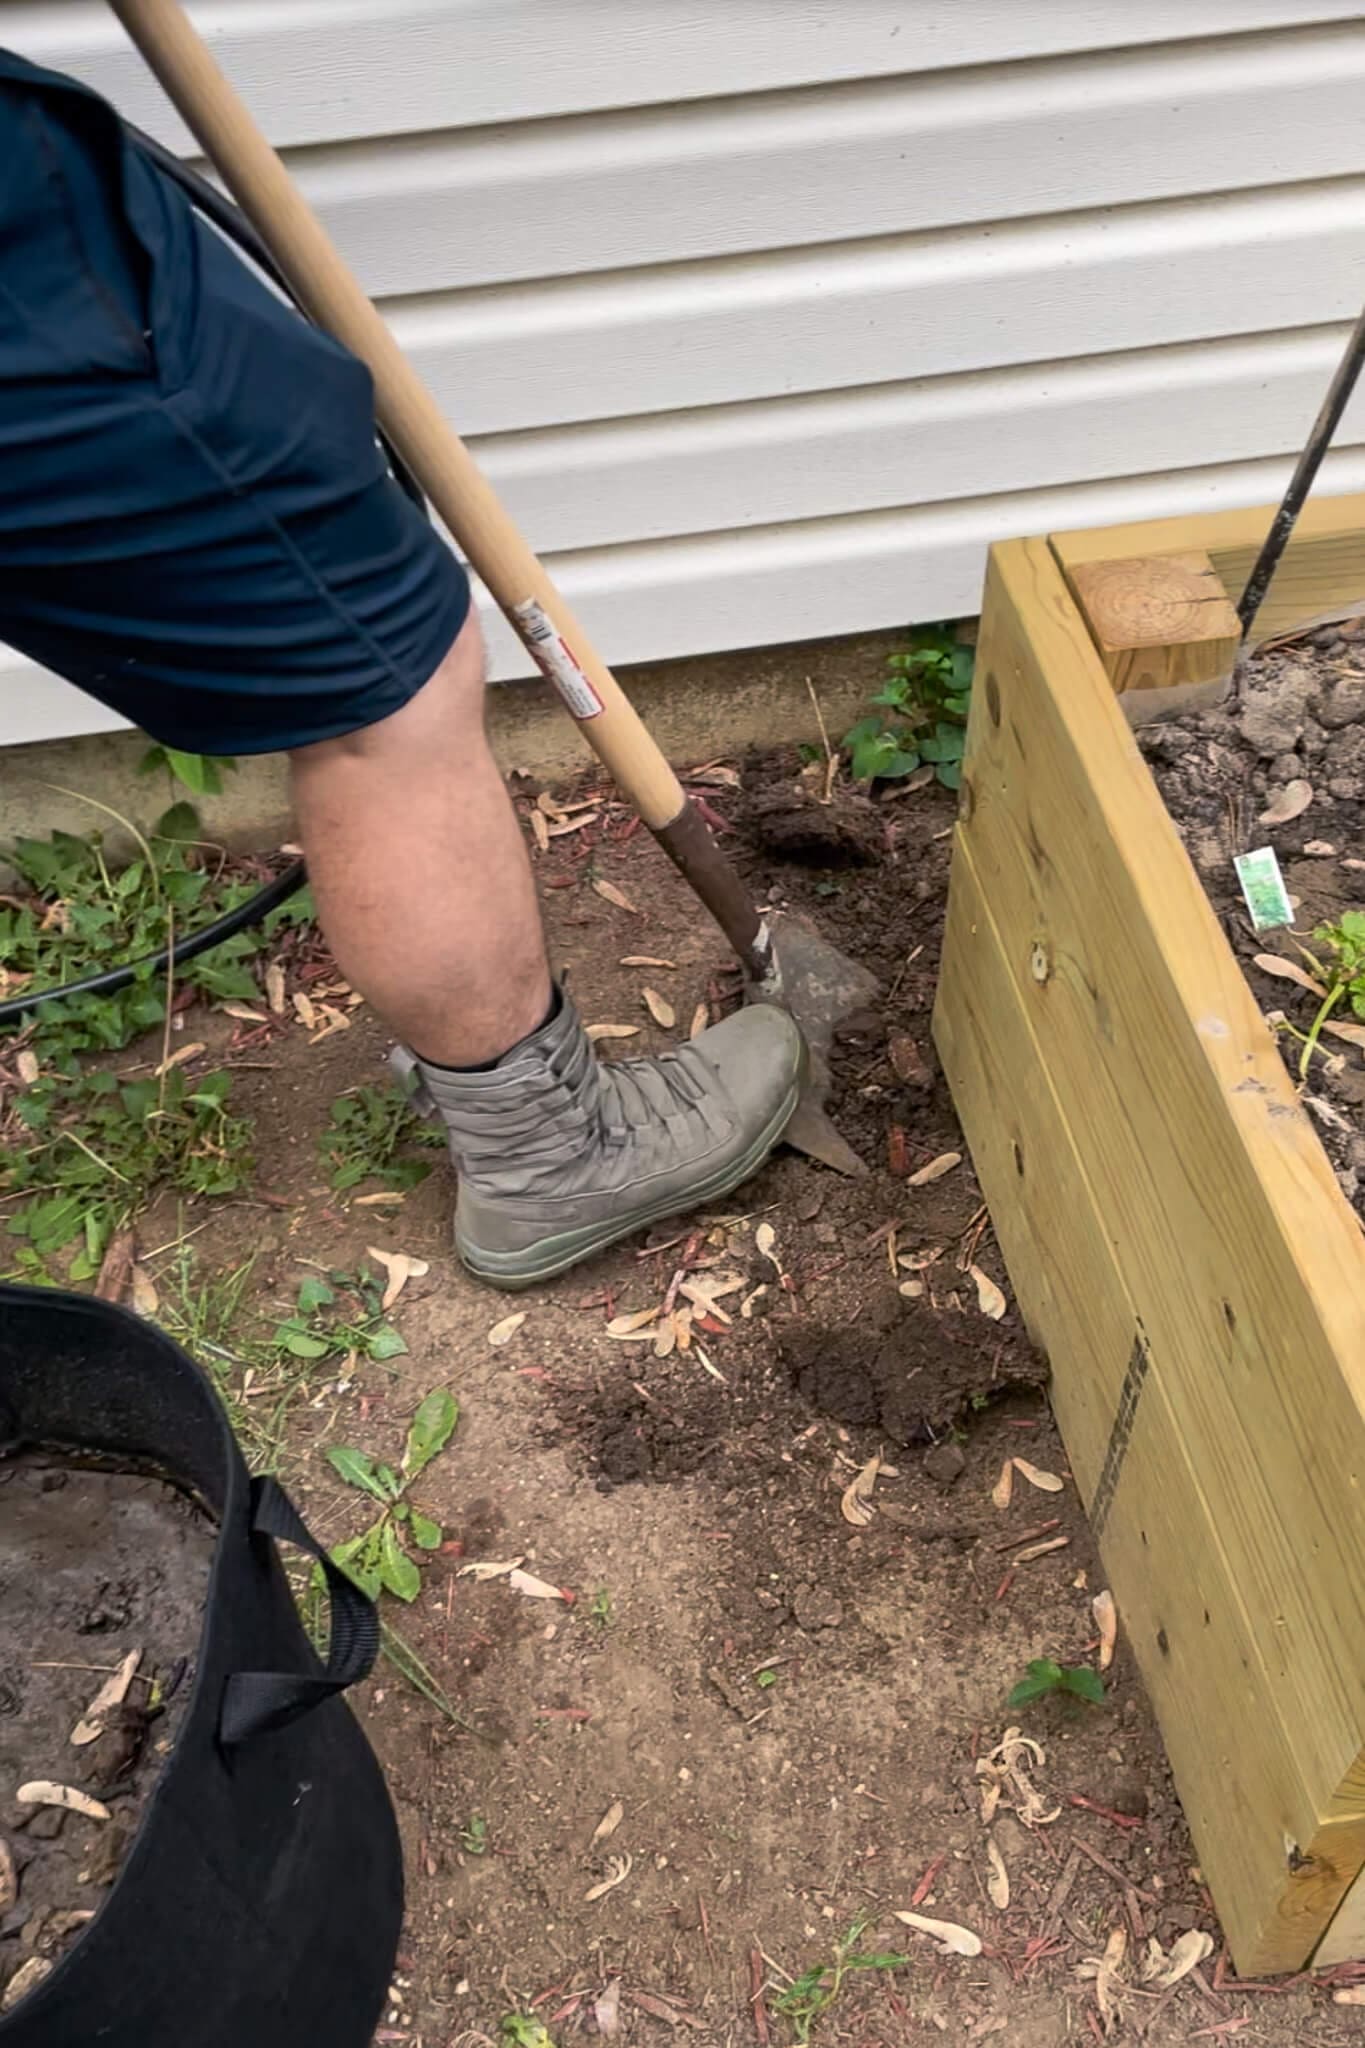
⚠️ Important: Do this before your beds are full of soil and plants. Digging under a fully loaded raised bed is significantly less fun – ask me how I know.
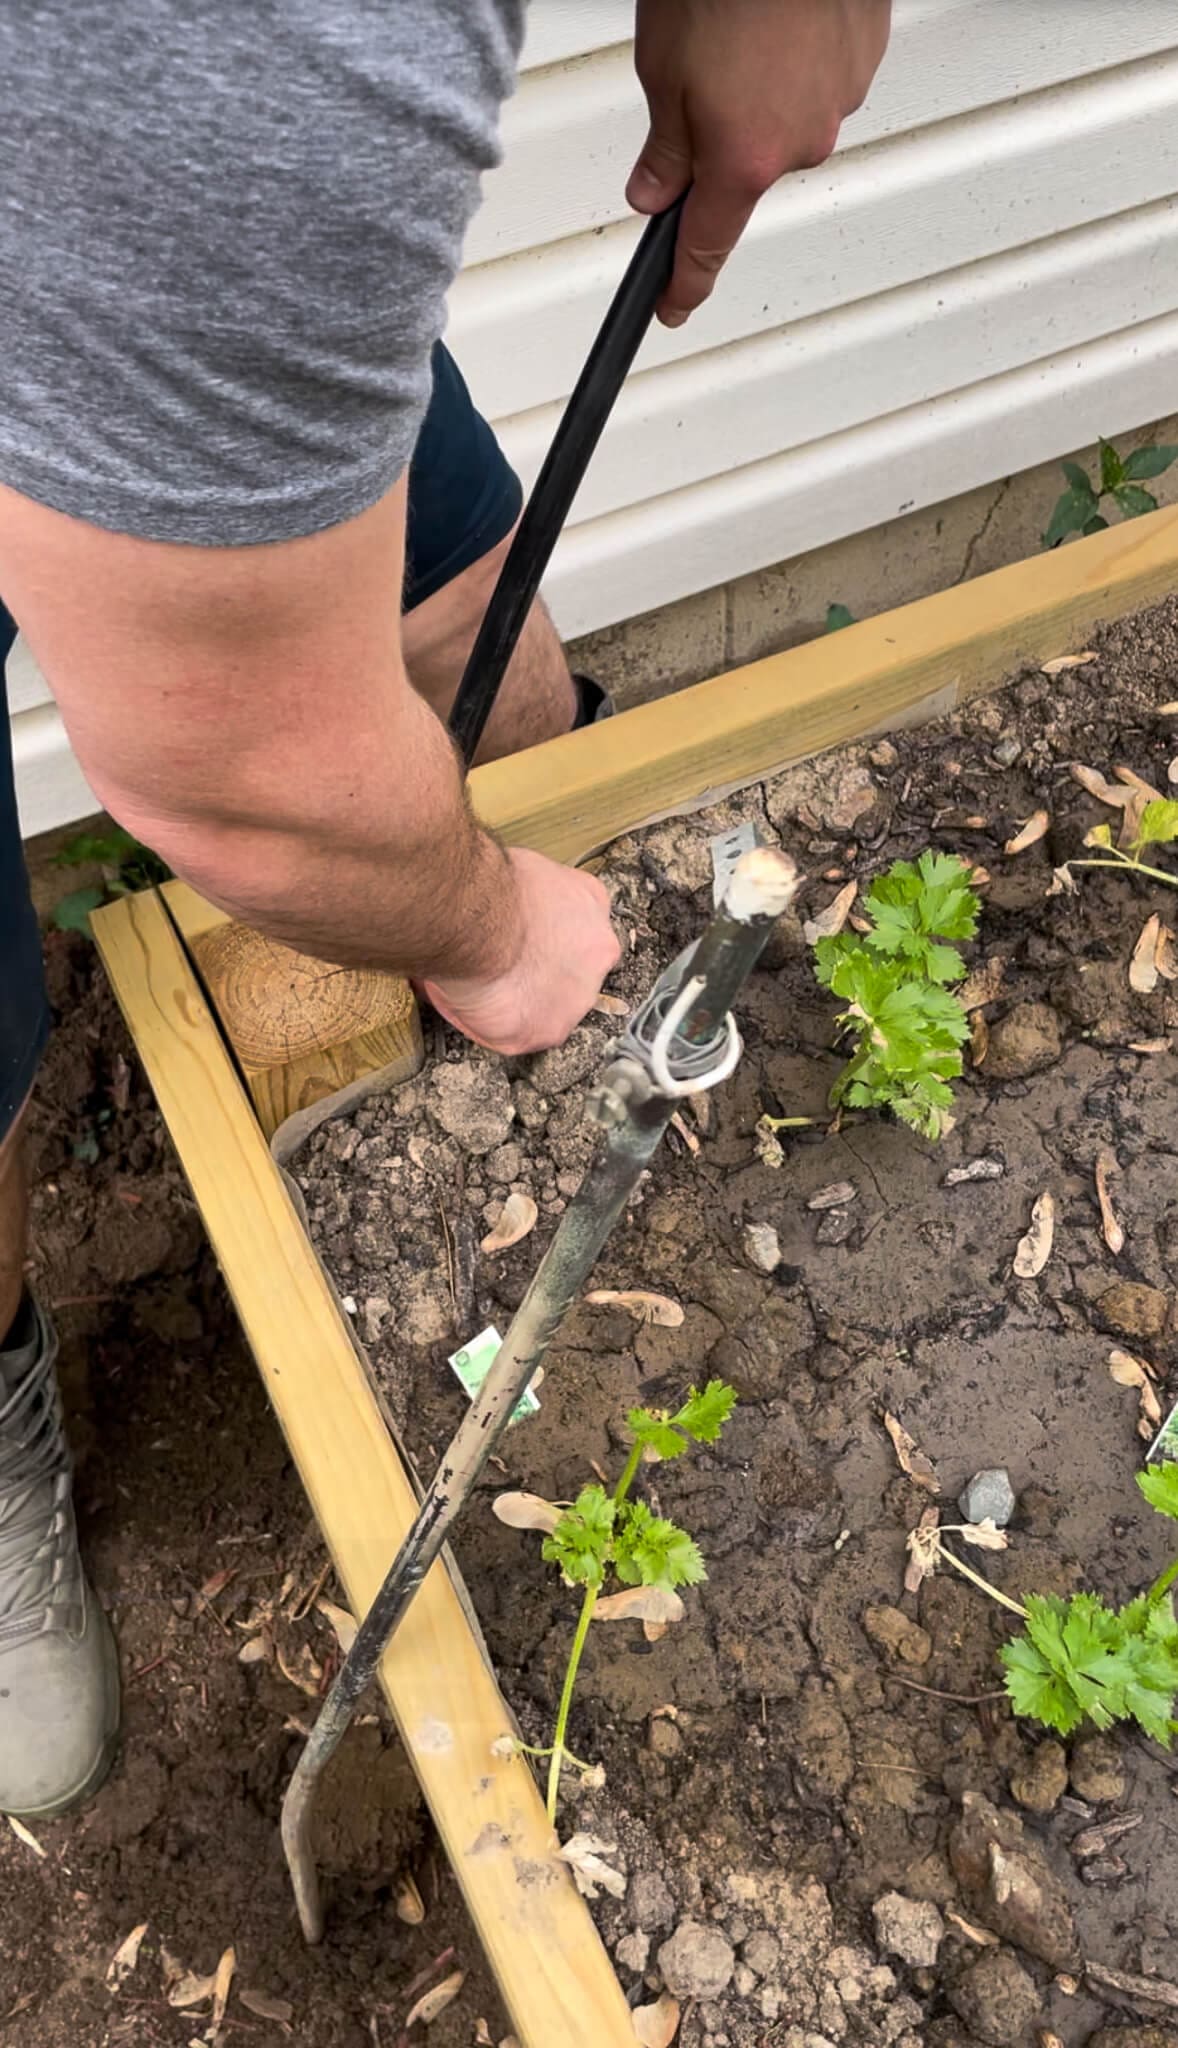
Step 7: Run Tubing Through the Raised Garden Beds
To get the tubing into the bed cleanly, I took a long landscape stake and drove it straight down through the top of the bed to the ground. That created a clean vertical channel for the poly tubing to follow. We fed the tubing down through the top hole to connect with the main line running underneath.
Step 8: Use a T-Connector to Branch the Drip Irrigation Line
Now that tubing was running through the first bed, it was time to split the line and send water to the second bed. We used a 1/2-in T-connector to do this – one side connected to the tubing we’d just pulled through the bed, and the other side continued toward bed number two. These connectors grip the tubing firmly without any tools.
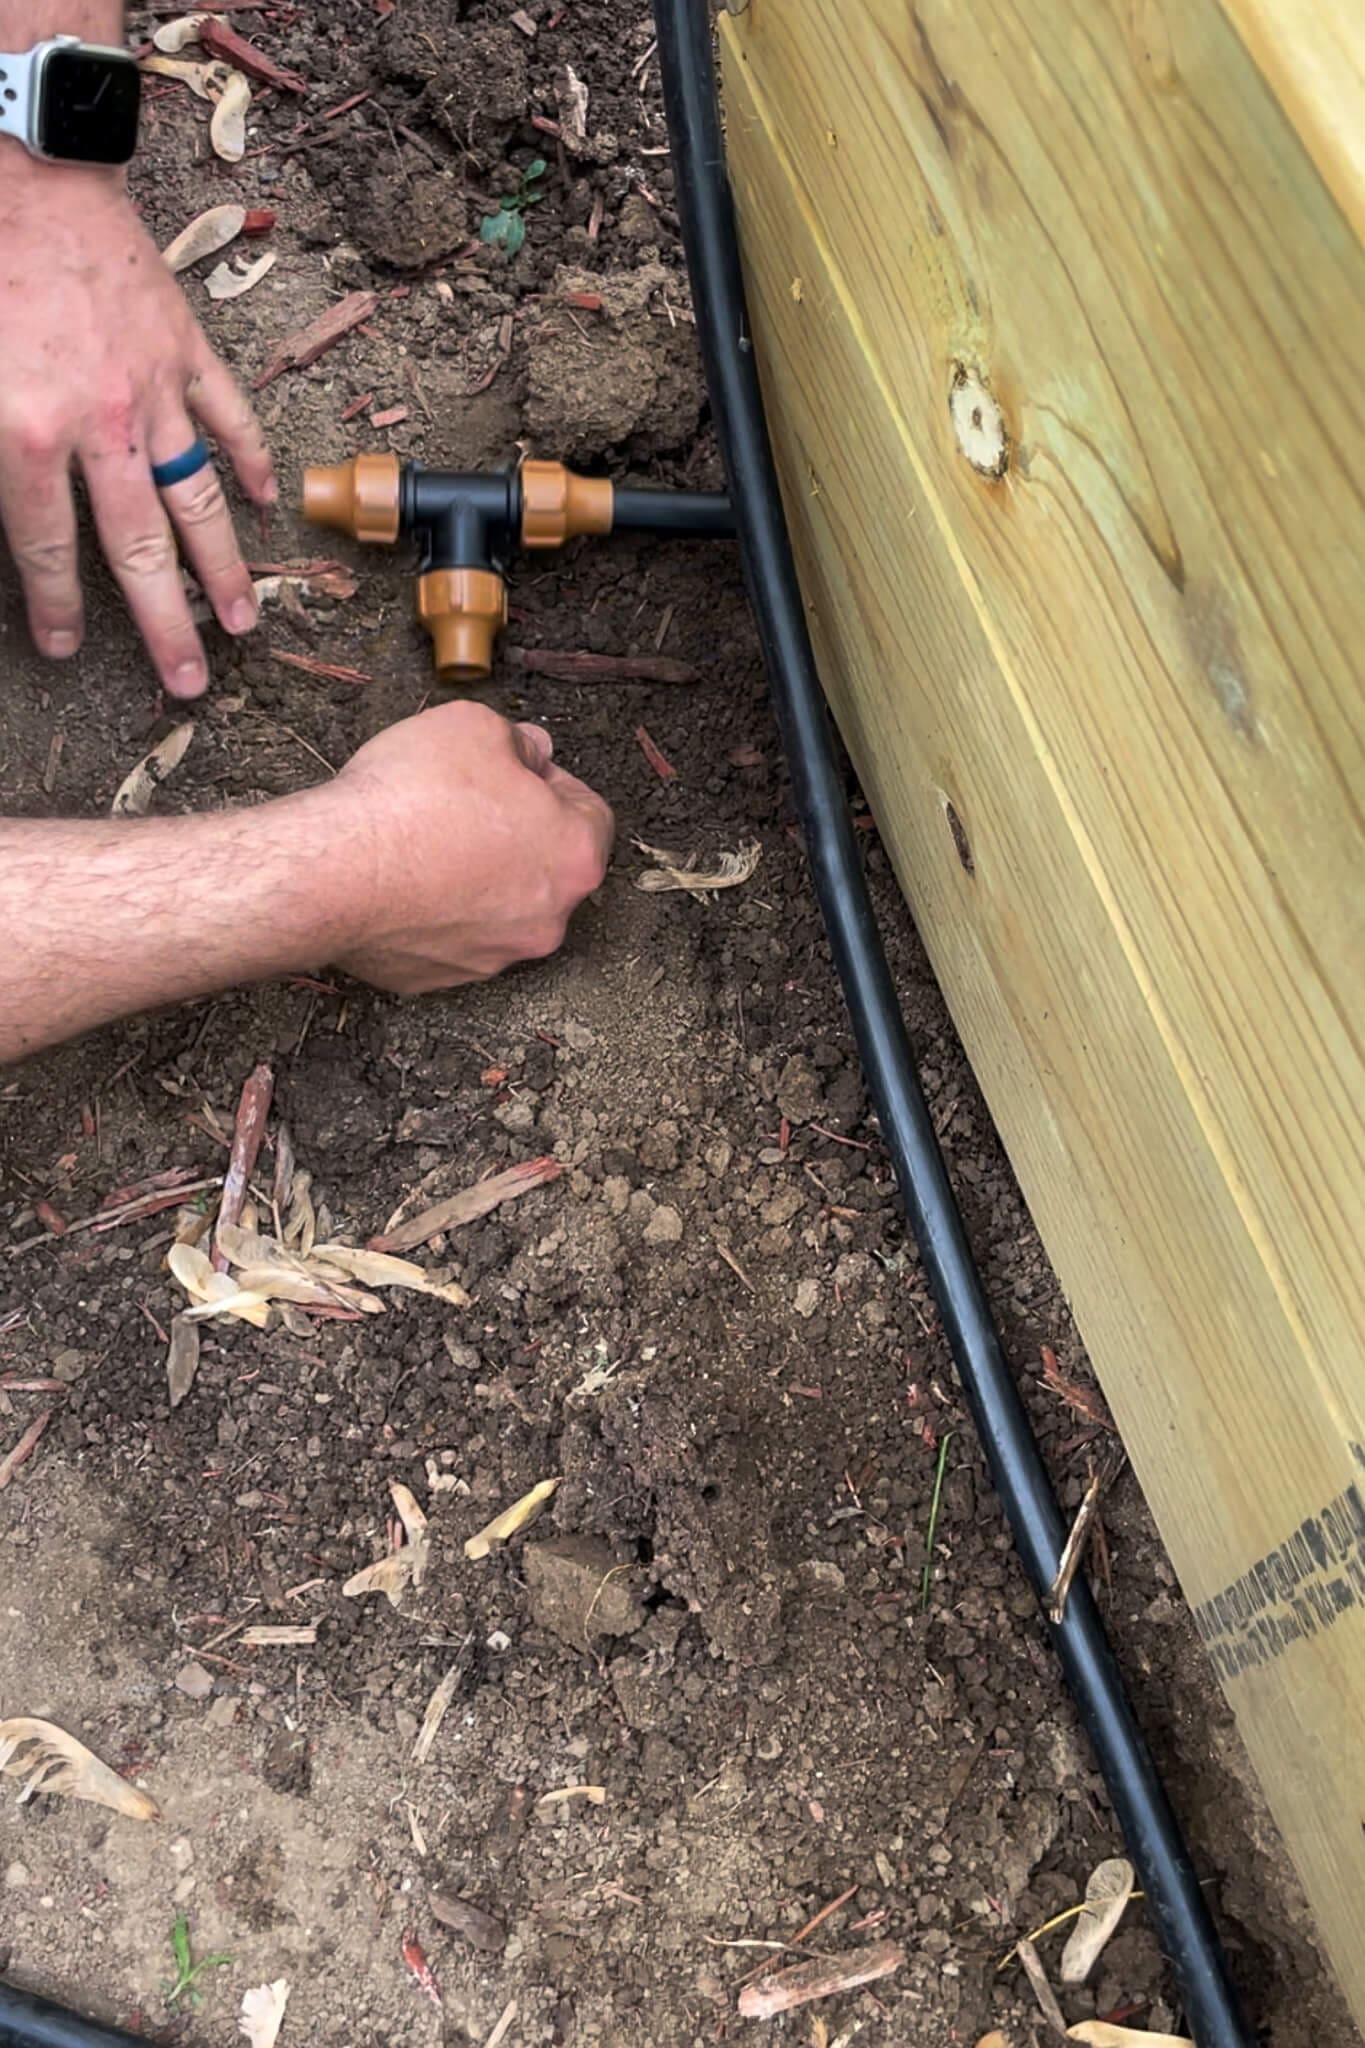
We then attached another length of poly tubing to the open end of the T to run toward the second bed.
Step 9: Extend the Drip Irrigation Tubing to the Second Bed
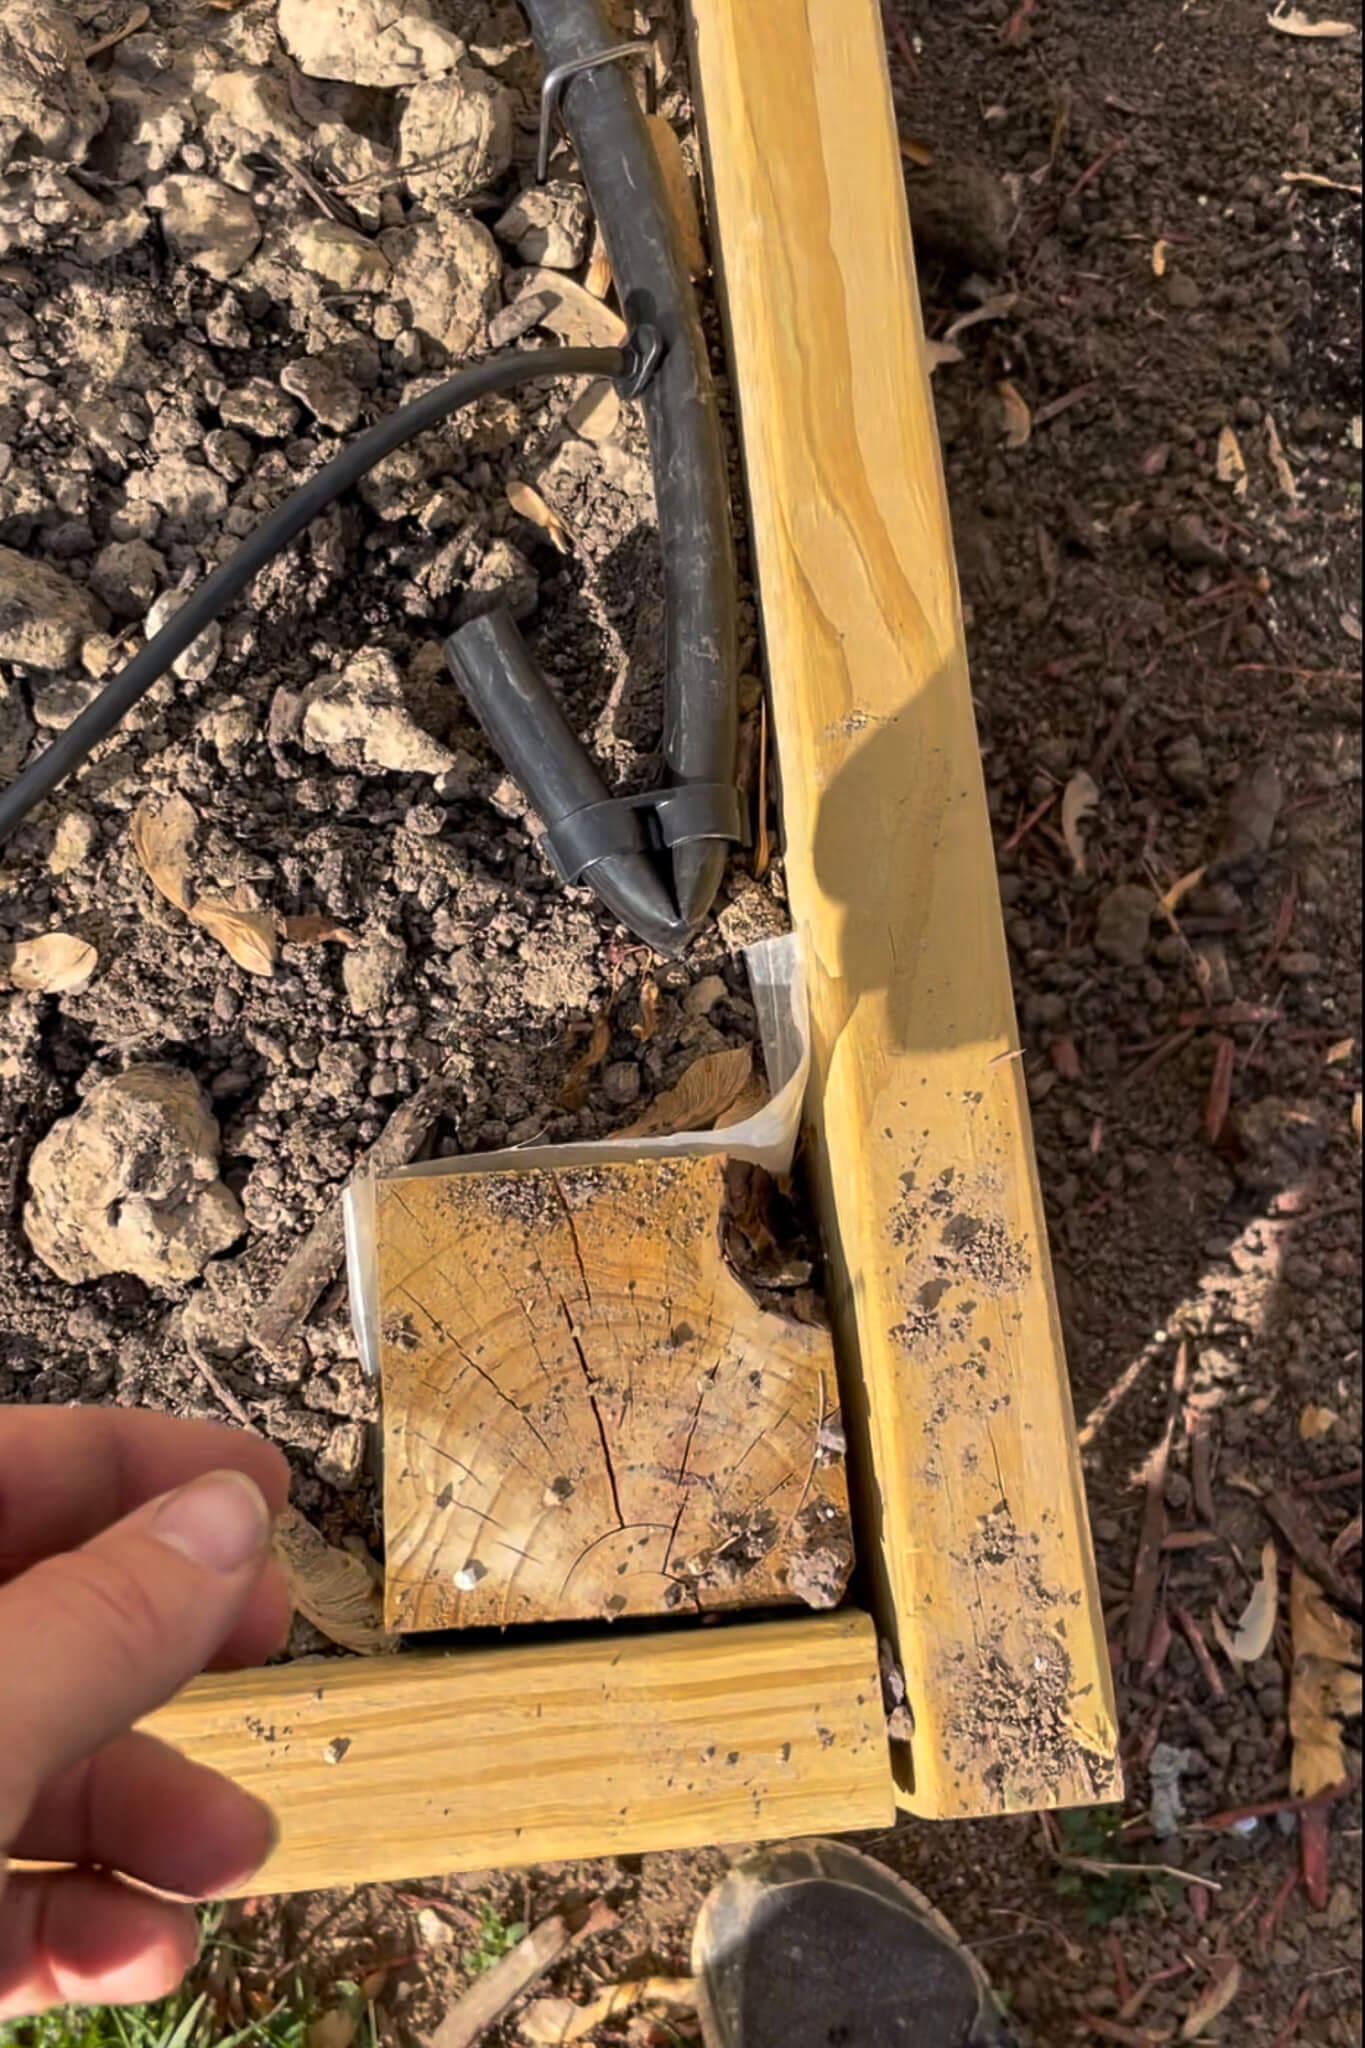
For the second bed, we repeated the same process: dug a small trench near the corner, drove a stake straight down through the top of the bed, and snaked the tubing down through the hole and back up through the trench to connect with the T-connector line. At the base, we added another elbow fitting to help the tubing turn without kinking.
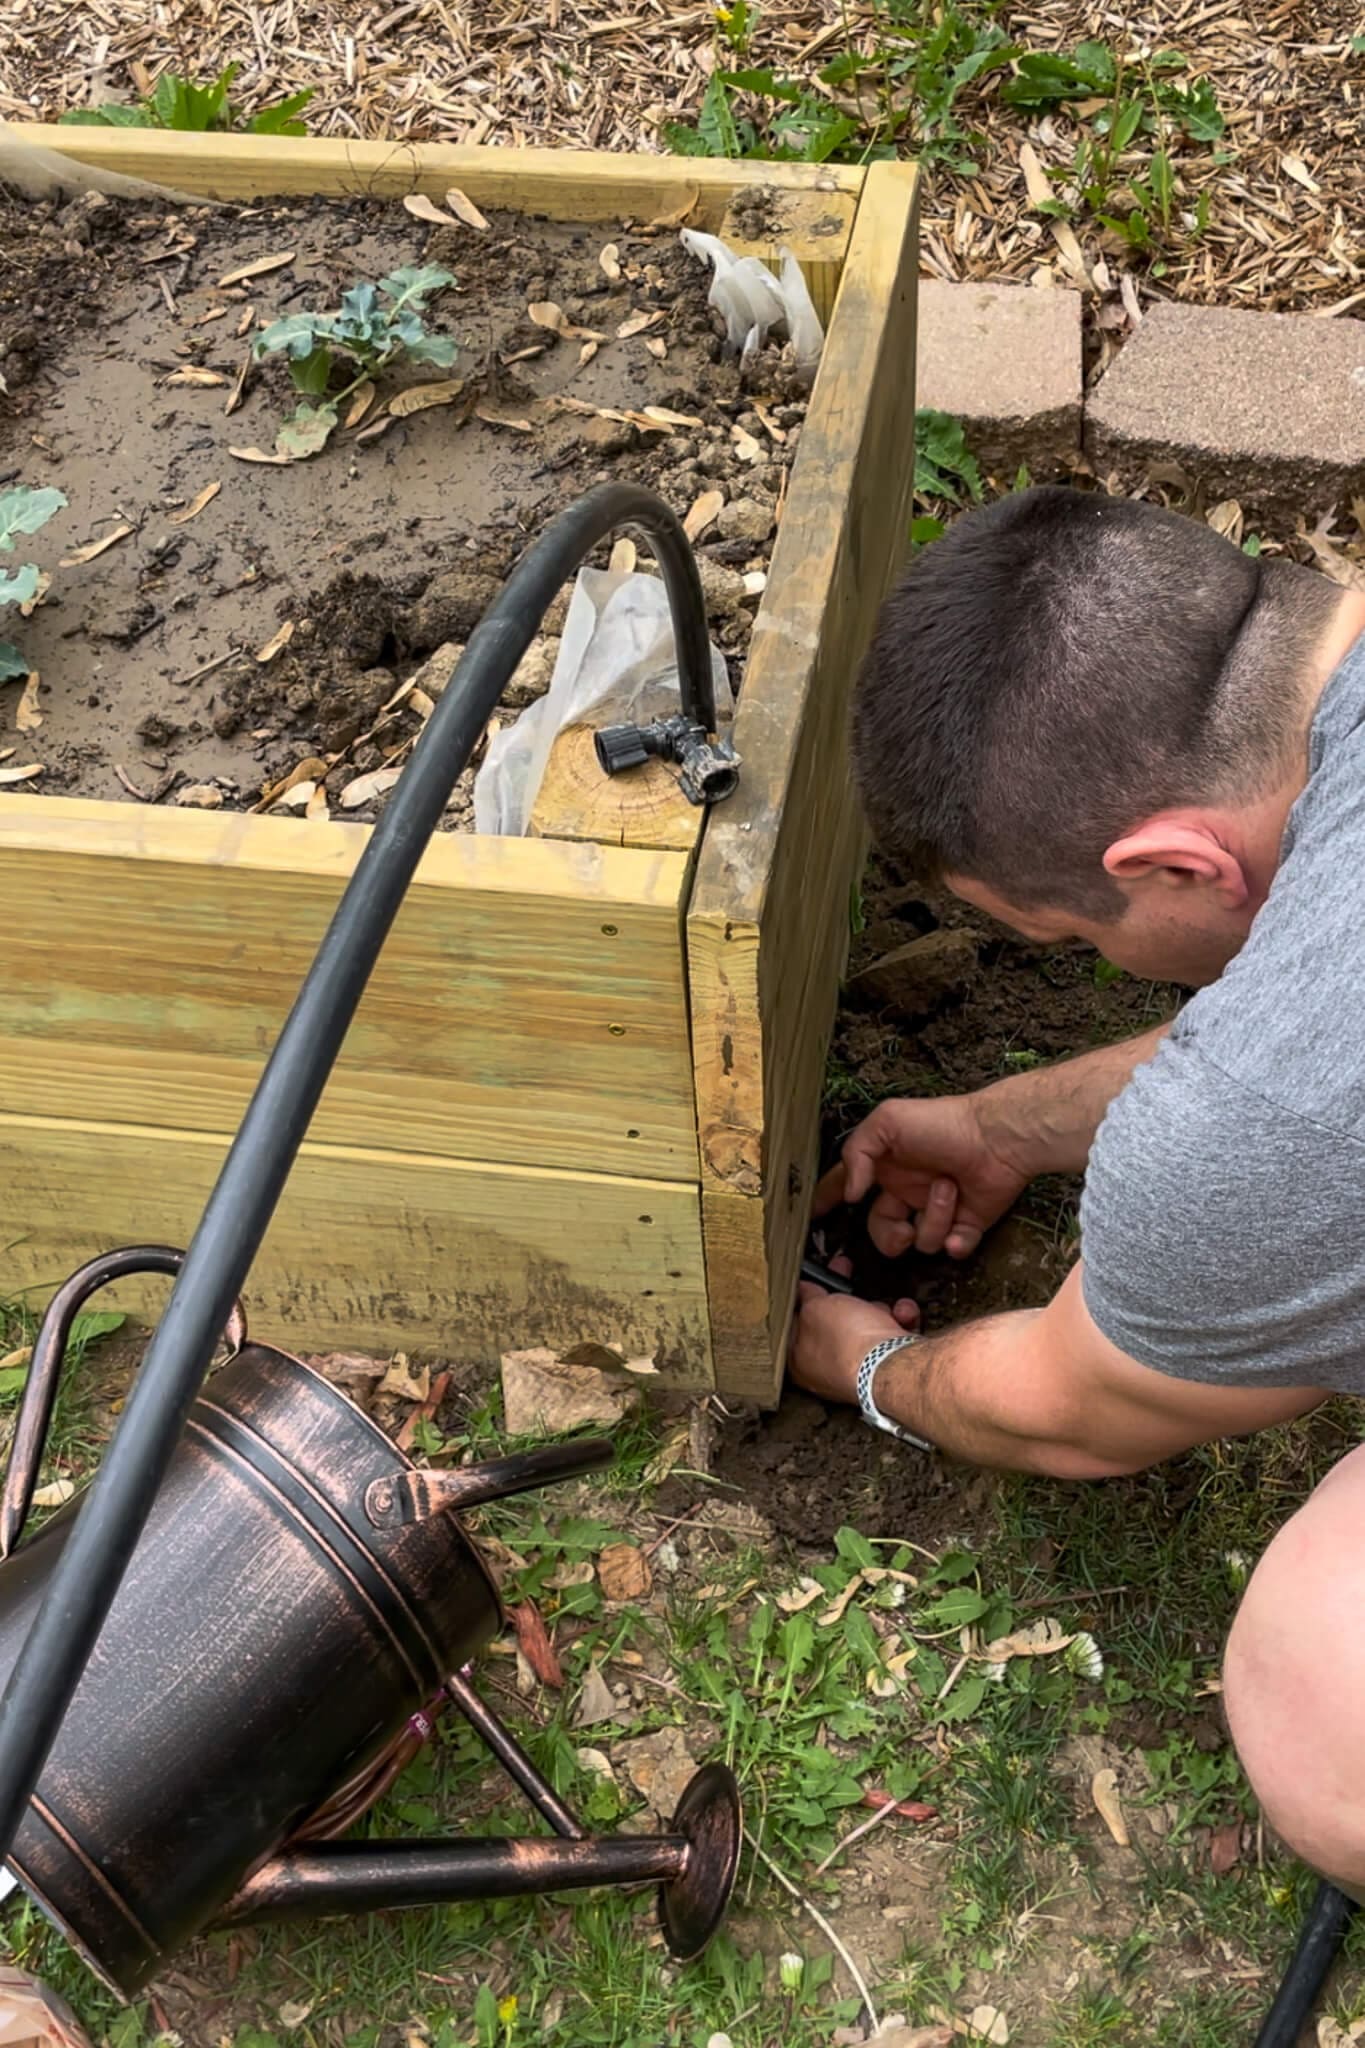
Once everything was connected, the underground groundwork was done.
Step 10: Secure the Header Line Inside the Raised Beds
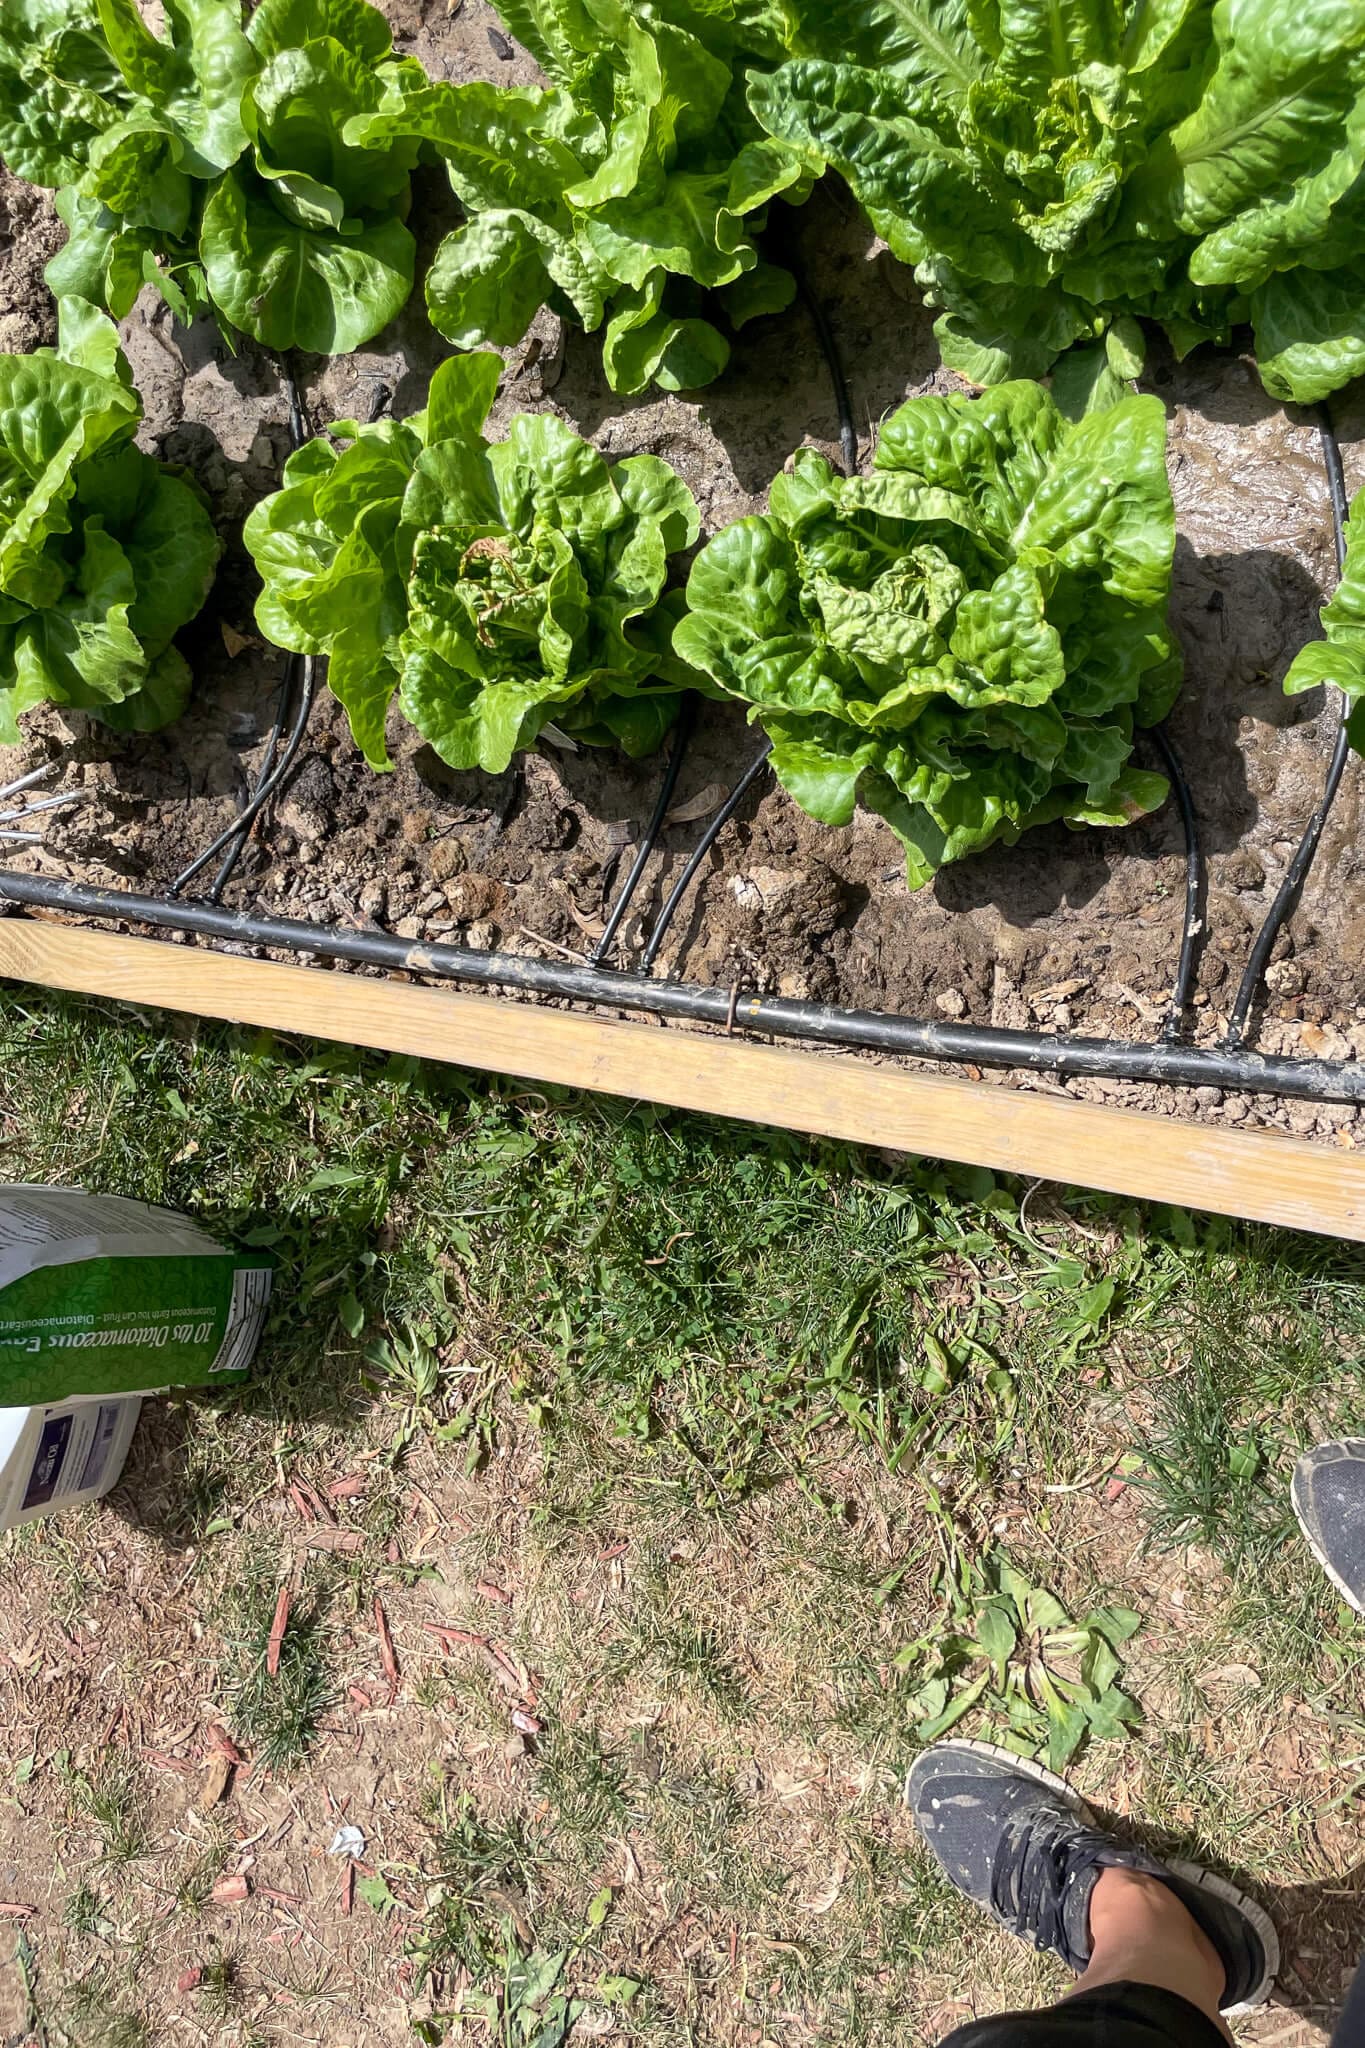
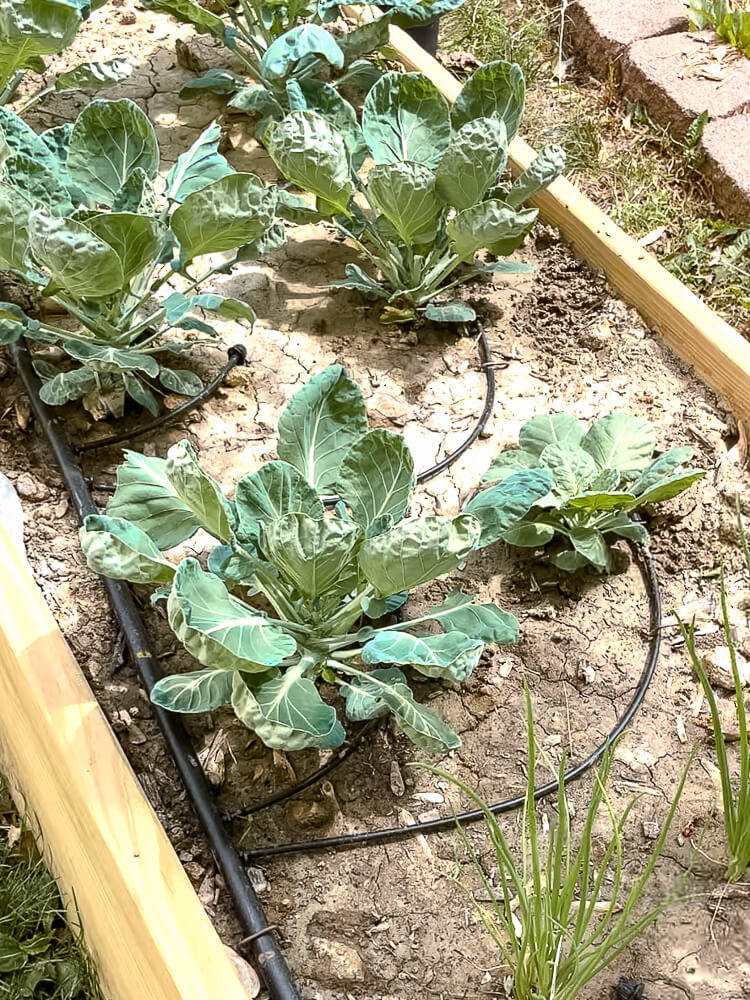
With the tubing now entering the bed from below, we added an elbow joint at the top so it could lay flat along the soil surface. This flat section is the header line – the main artery that runs across the bed and feeds all the individual drip lines.
We ran the header line along the top of the soil, pinned it down with landscape stakes, and capped the end with an end cap clamp to keep water pressure strong throughout the system.
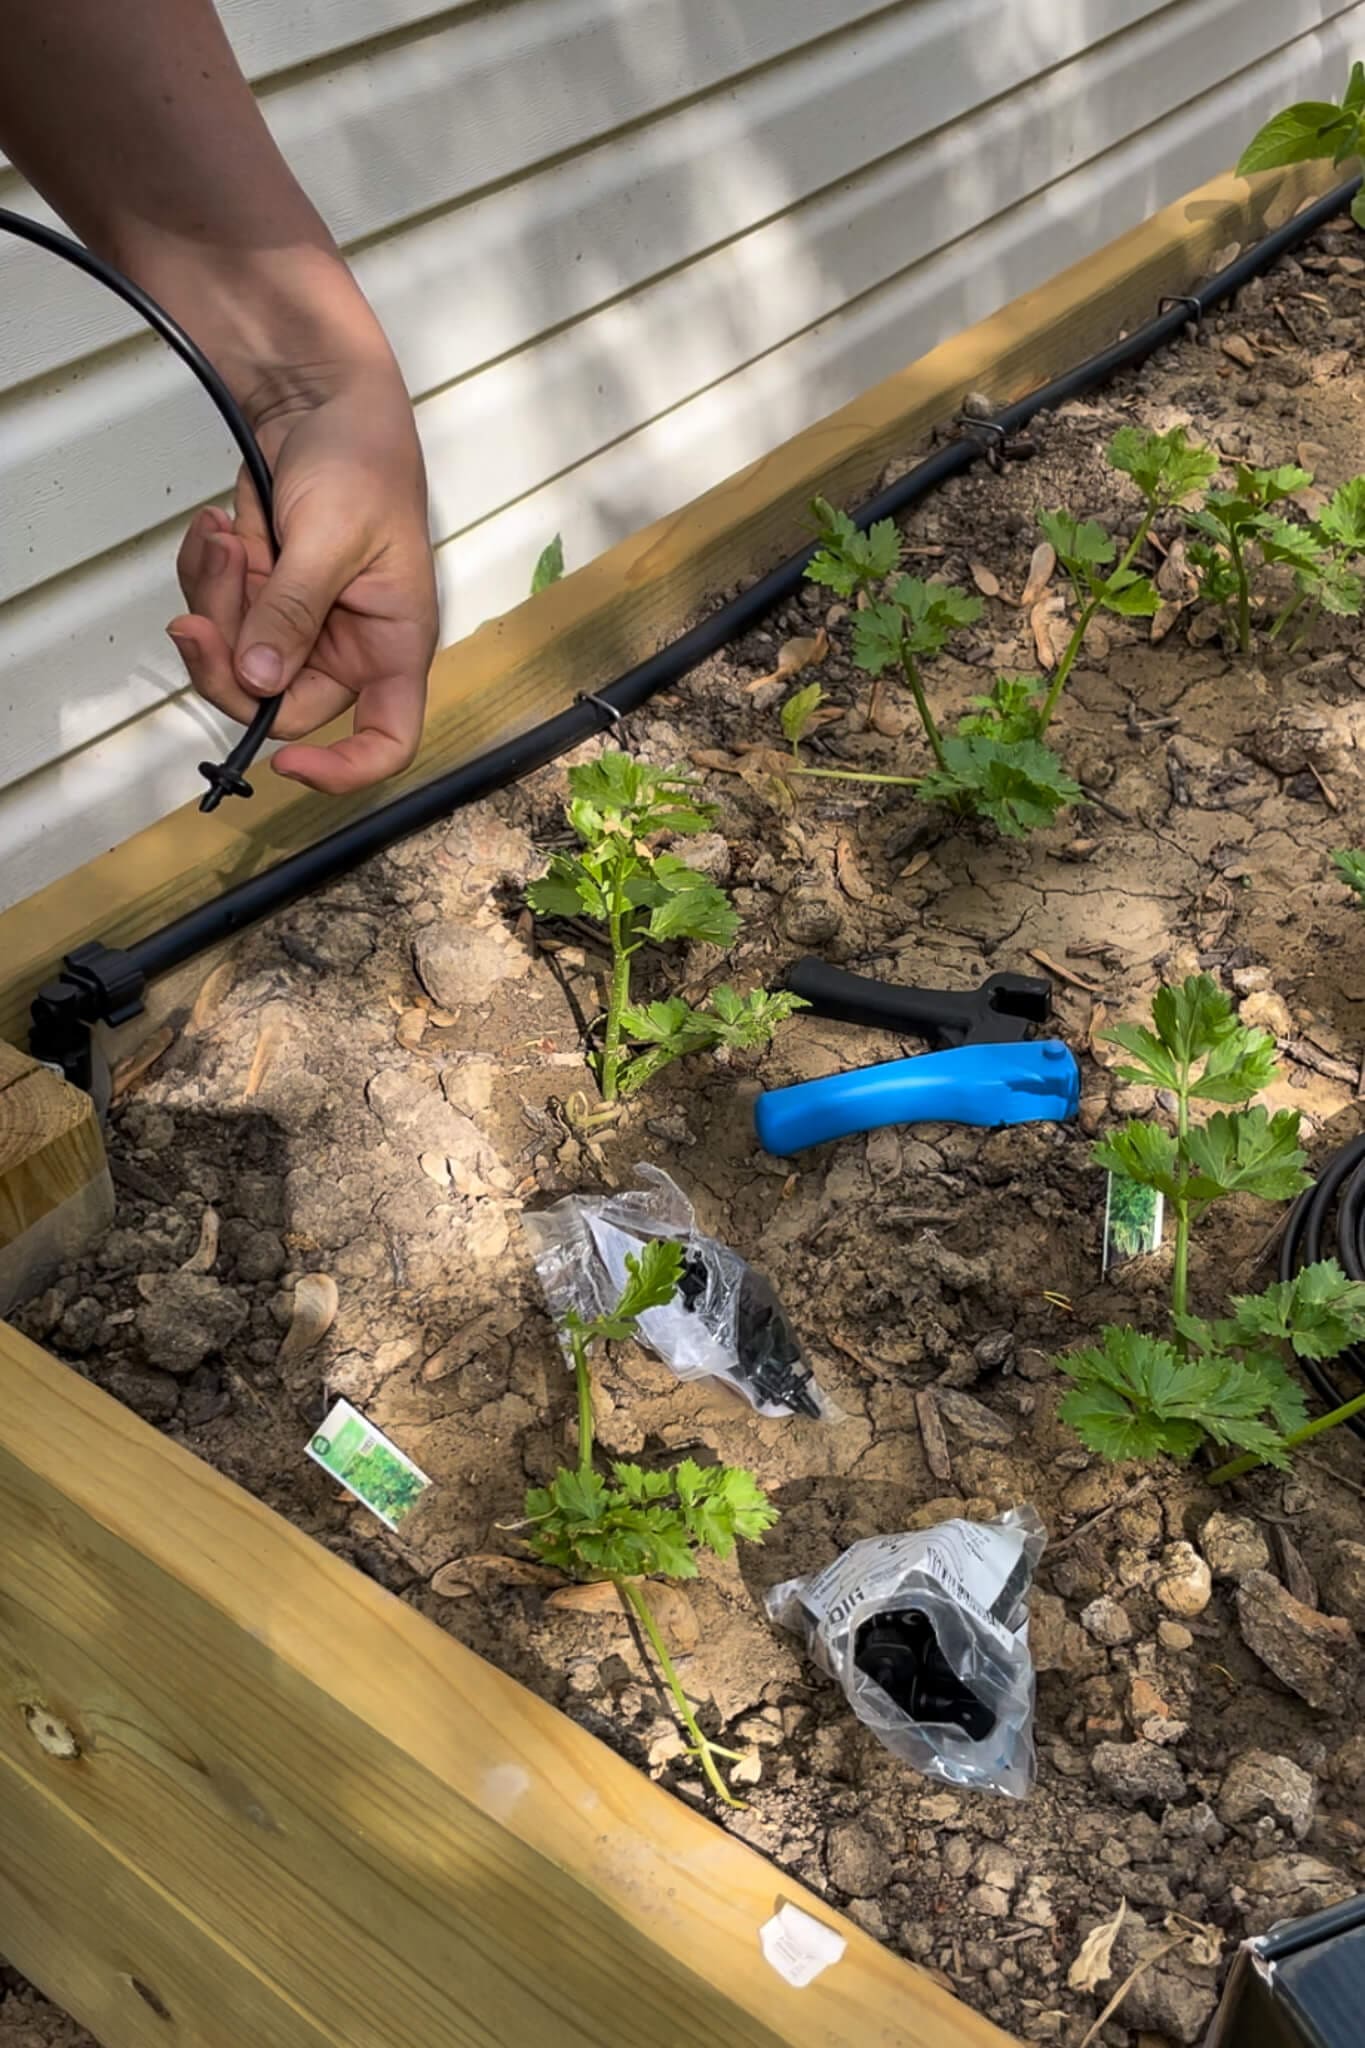
Step 11: Add Drip Tubing and Emitters to Water Each Plant
This is where your drip irrigation system for raised garden beds actually starts doing its job. Using the drip line hole punch, punch a hole into the header line wherever you need a drip line. Cut a length of 1/4-inch drip tubing long enough to reach the base of the plant.
One end of the tubing goes over a drip coupling and into the punched hole. The other end goes over a drip emitter positioned at the base of the plant. Use landscape stakes to hold each line flat against the soil.
If you need to water multiple plants from one hole, use a drip line T-connector to branch the line. And if you accidentally punch an extra hole – which I absolutely did – goof plugs seal it instantly.
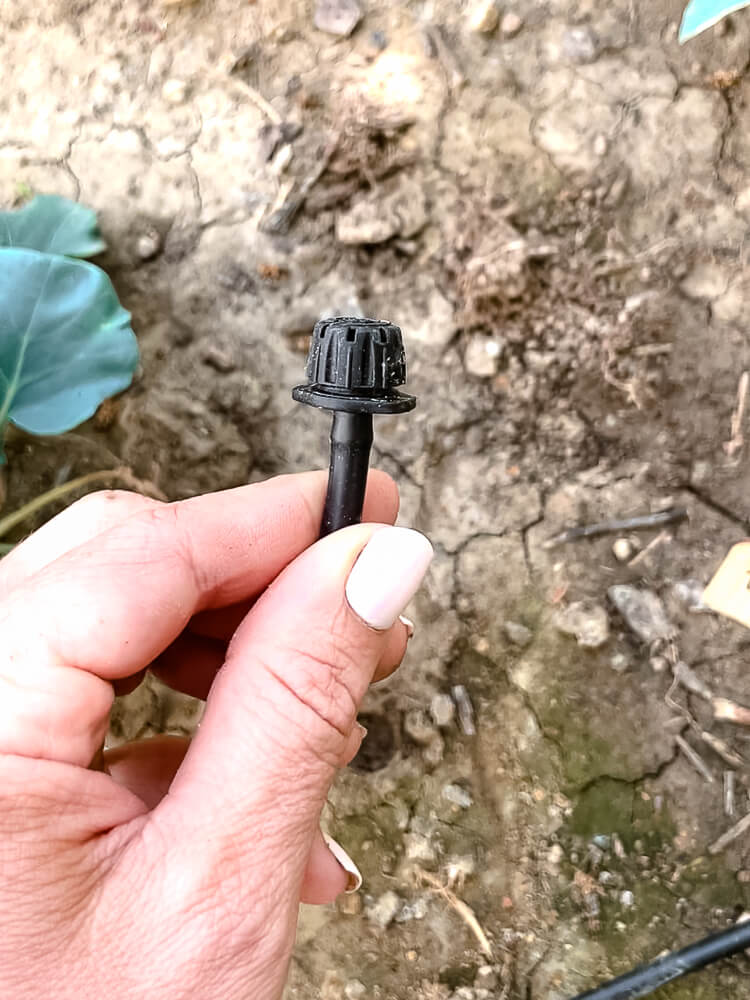
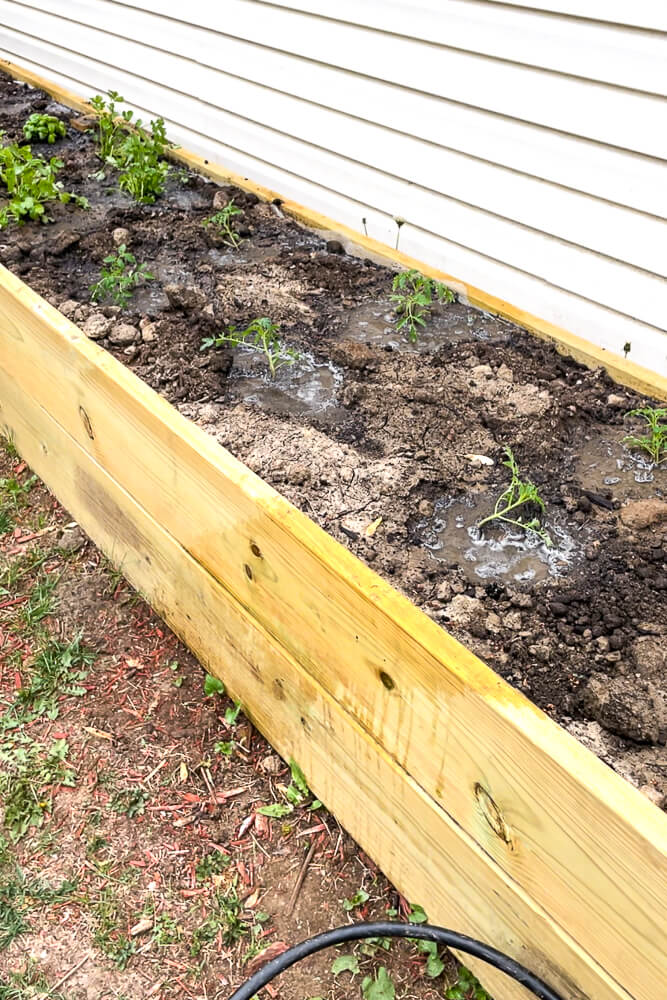
Step 12: Finishing Touches on Your Drip Irrigation System for Raised Garden Beds
Once everything was connected and tested, we buried the poly tubing running between the beds 4-6 inches deep to protect it from sun damage and eliminate tripping hazards. Then we set the timer, walked away, and let the system do its thing.
Smart Watering Tips for Your Raised Bed Drip Irrigation System
- Water early in the morning to reduce evaporation and fungal issues.
- Set your timer based on your local climate and the season – what works in June won’t be right for August.
- Check for leaks, blockages, or dead timer batteries at the start of each season.
- Use rainwater if possible – it’s better for your plants and free.
- Add a rain sensor or gauge to avoid overwatering during wet weeks.
Why Drip Irrigation Is the Best Watering System for Raised Garden Beds
Our drip irrigation system for raised garden beds turned out to be the easiest, most rewarding garden project we’ve done in the yard. We’re growing more vegetables, saving water, and spending zero time stressing about the hose. If you’ve been on the fence about installing one, this is your sign. It’s beginner-friendly, budget-conscious (most setups run $50-100), and genuinely life-changing for your garden.
Drop your questions in the comments – happy to help you troubleshoot your setup.
📌 Save This Drip Irrigation Tutorial for Later
Love this DIY drip irrigation system for raised garden beds? Pin it now so you can find it when you’re ready to install!
More Garden & Yard DIY Projects
If you loved this drip irrigation setup, here are more garden projects worth tackling:
DIY Tall Outdoor Planter Boxes for the Garden – The raised beds this drip system runs through. Build them first if you’re starting from scratch.
DIY Garden Arbor – Add height, structure, and charm to the same garden space with this arched wood arbor.
Weed Control for a Garden – Install a weed barrier before your beds go in and save yourself hours of weeding later.
Frequently Asked Questions About Drip Irrigation for Raised Garden Beds
A basic DIY setup using 1/2-inch poly tubing for the main line and 1/4-inch drip tubing with emitters for individual plants is the most reliable and beginner-friendly option. It’s fully customizable, easy to expand, and costs $50-100 for most setups. Everything you need is linked in the supply list above.
Start at your water source, build the main line with poly tubing, route it to your beds using elbow fittings and T-connectors, then run individual 1/4-inch drip lines with emitters to each plant. Add a programmable timer to fully automate it. The full 12-step process is detailed above.
IMost DIY setups run $50-100 depending on how many beds you’re watering. The programmable timer is the biggest single cost. Everything else – tubing, fittings, emitters – is relatively inexpensive and available online or at most hardware stores.
It’s one of the best things you can do for a vegetable garden. Drip irrigation delivers water directly to the root zone, reduces evaporation, prevents leaf diseases caused by overhead watering, and uses 30-50% less water than hand watering. Your plants will be noticeably happier.
It’s much easier to install before the beds are planted. If your beds are already full, route the main line above ground along the outside of the bed and enter through the top rather than tunneling underneath. Use landscape stakes to keep everything tidy.
Drip irrigation is widely considered the best option because it’s efficient, low-maintenance, and gentle on plants. Compared to sprinklers (which wet the foliage and waste water) or hand watering (which is inconsistent), a drip system delivers the right amount of water exactly where it’s needed.
Thanks for the detailed instructions! When you winterize a system like this, do you just unscrew the splitter and the hose from the bib? And cap off the hose?
Yep! You got it!
Thanks for taking the time to help us learn things!