


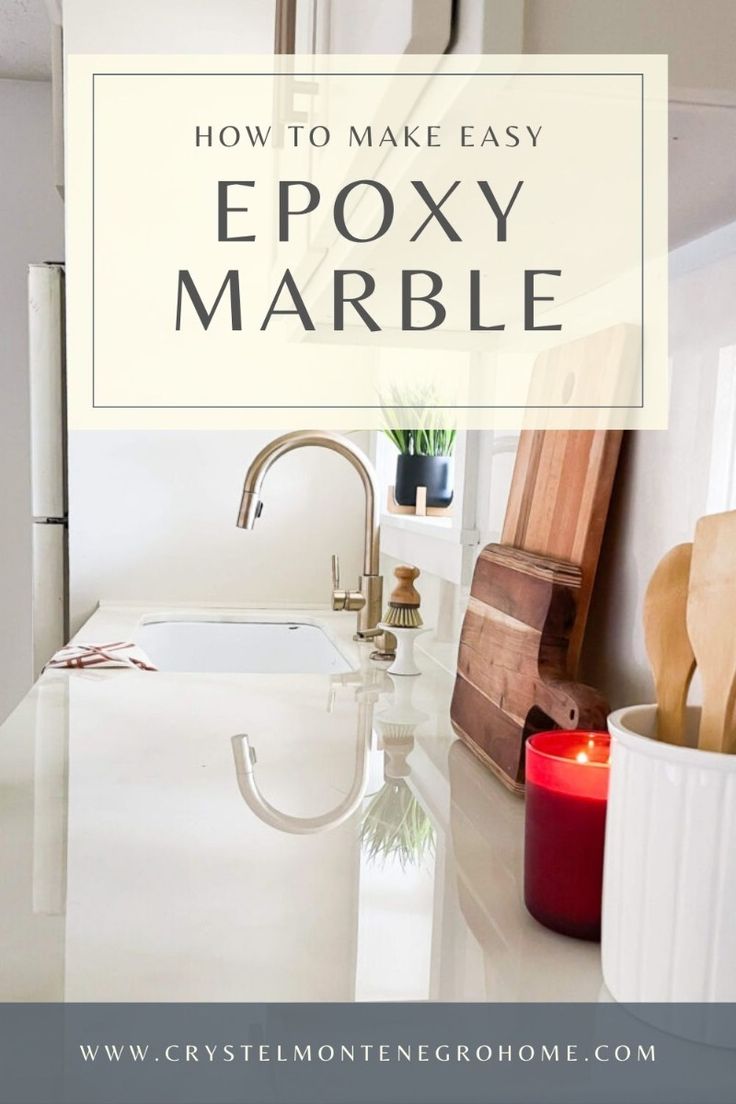
The Best Way to DIY Epoxy Counters


Updated July 13, 2026
Epoxy countertops are a great DIY countertop option if you’re on a budget and want some new counters. Since Stuart and I were married, every house we’ve lived in has been DIYed, and this basement kitchen in our home in Utah was no exception. By using DIY I’m able to take a limited budget, and still fulfill my vision for the space. These faux marble countertops are the perfect project if you have old countertops that need to be replaced or updated, but don’t have much money to make that happen.
My Method for Epoxy Countertops
The first time I attempted faux marble, epoxy countertops was five years ago. It’s since become very popular, and plenty of YouTube videos show you how it’s done. Most of the videos I’ve seen use the “dirty pour” or “exotic pour” method, where you layer epoxy and paint together, pour it on, and the epoxy spreads out and runs off the edge, stretching out the veining naturally. This method works and still looks beautiful, but I prefer having more control over the end look and my method allows as many do-overs as I need to get the look right.
I’ll be giving you an overview of my method for epoxy countertops, but I did write an ebook that goes into great detail about my process. If you’re feeling uncertain about tackling this project in your home, I highly suggest checking it out. You don’t want to use just any kind of epoxy because many epoxies will yellow, scratch easily, or chip. There are also a lot of tricks to making sure you get a good, even, beautiful, durable finish and all of those details are outlined in my e-book.
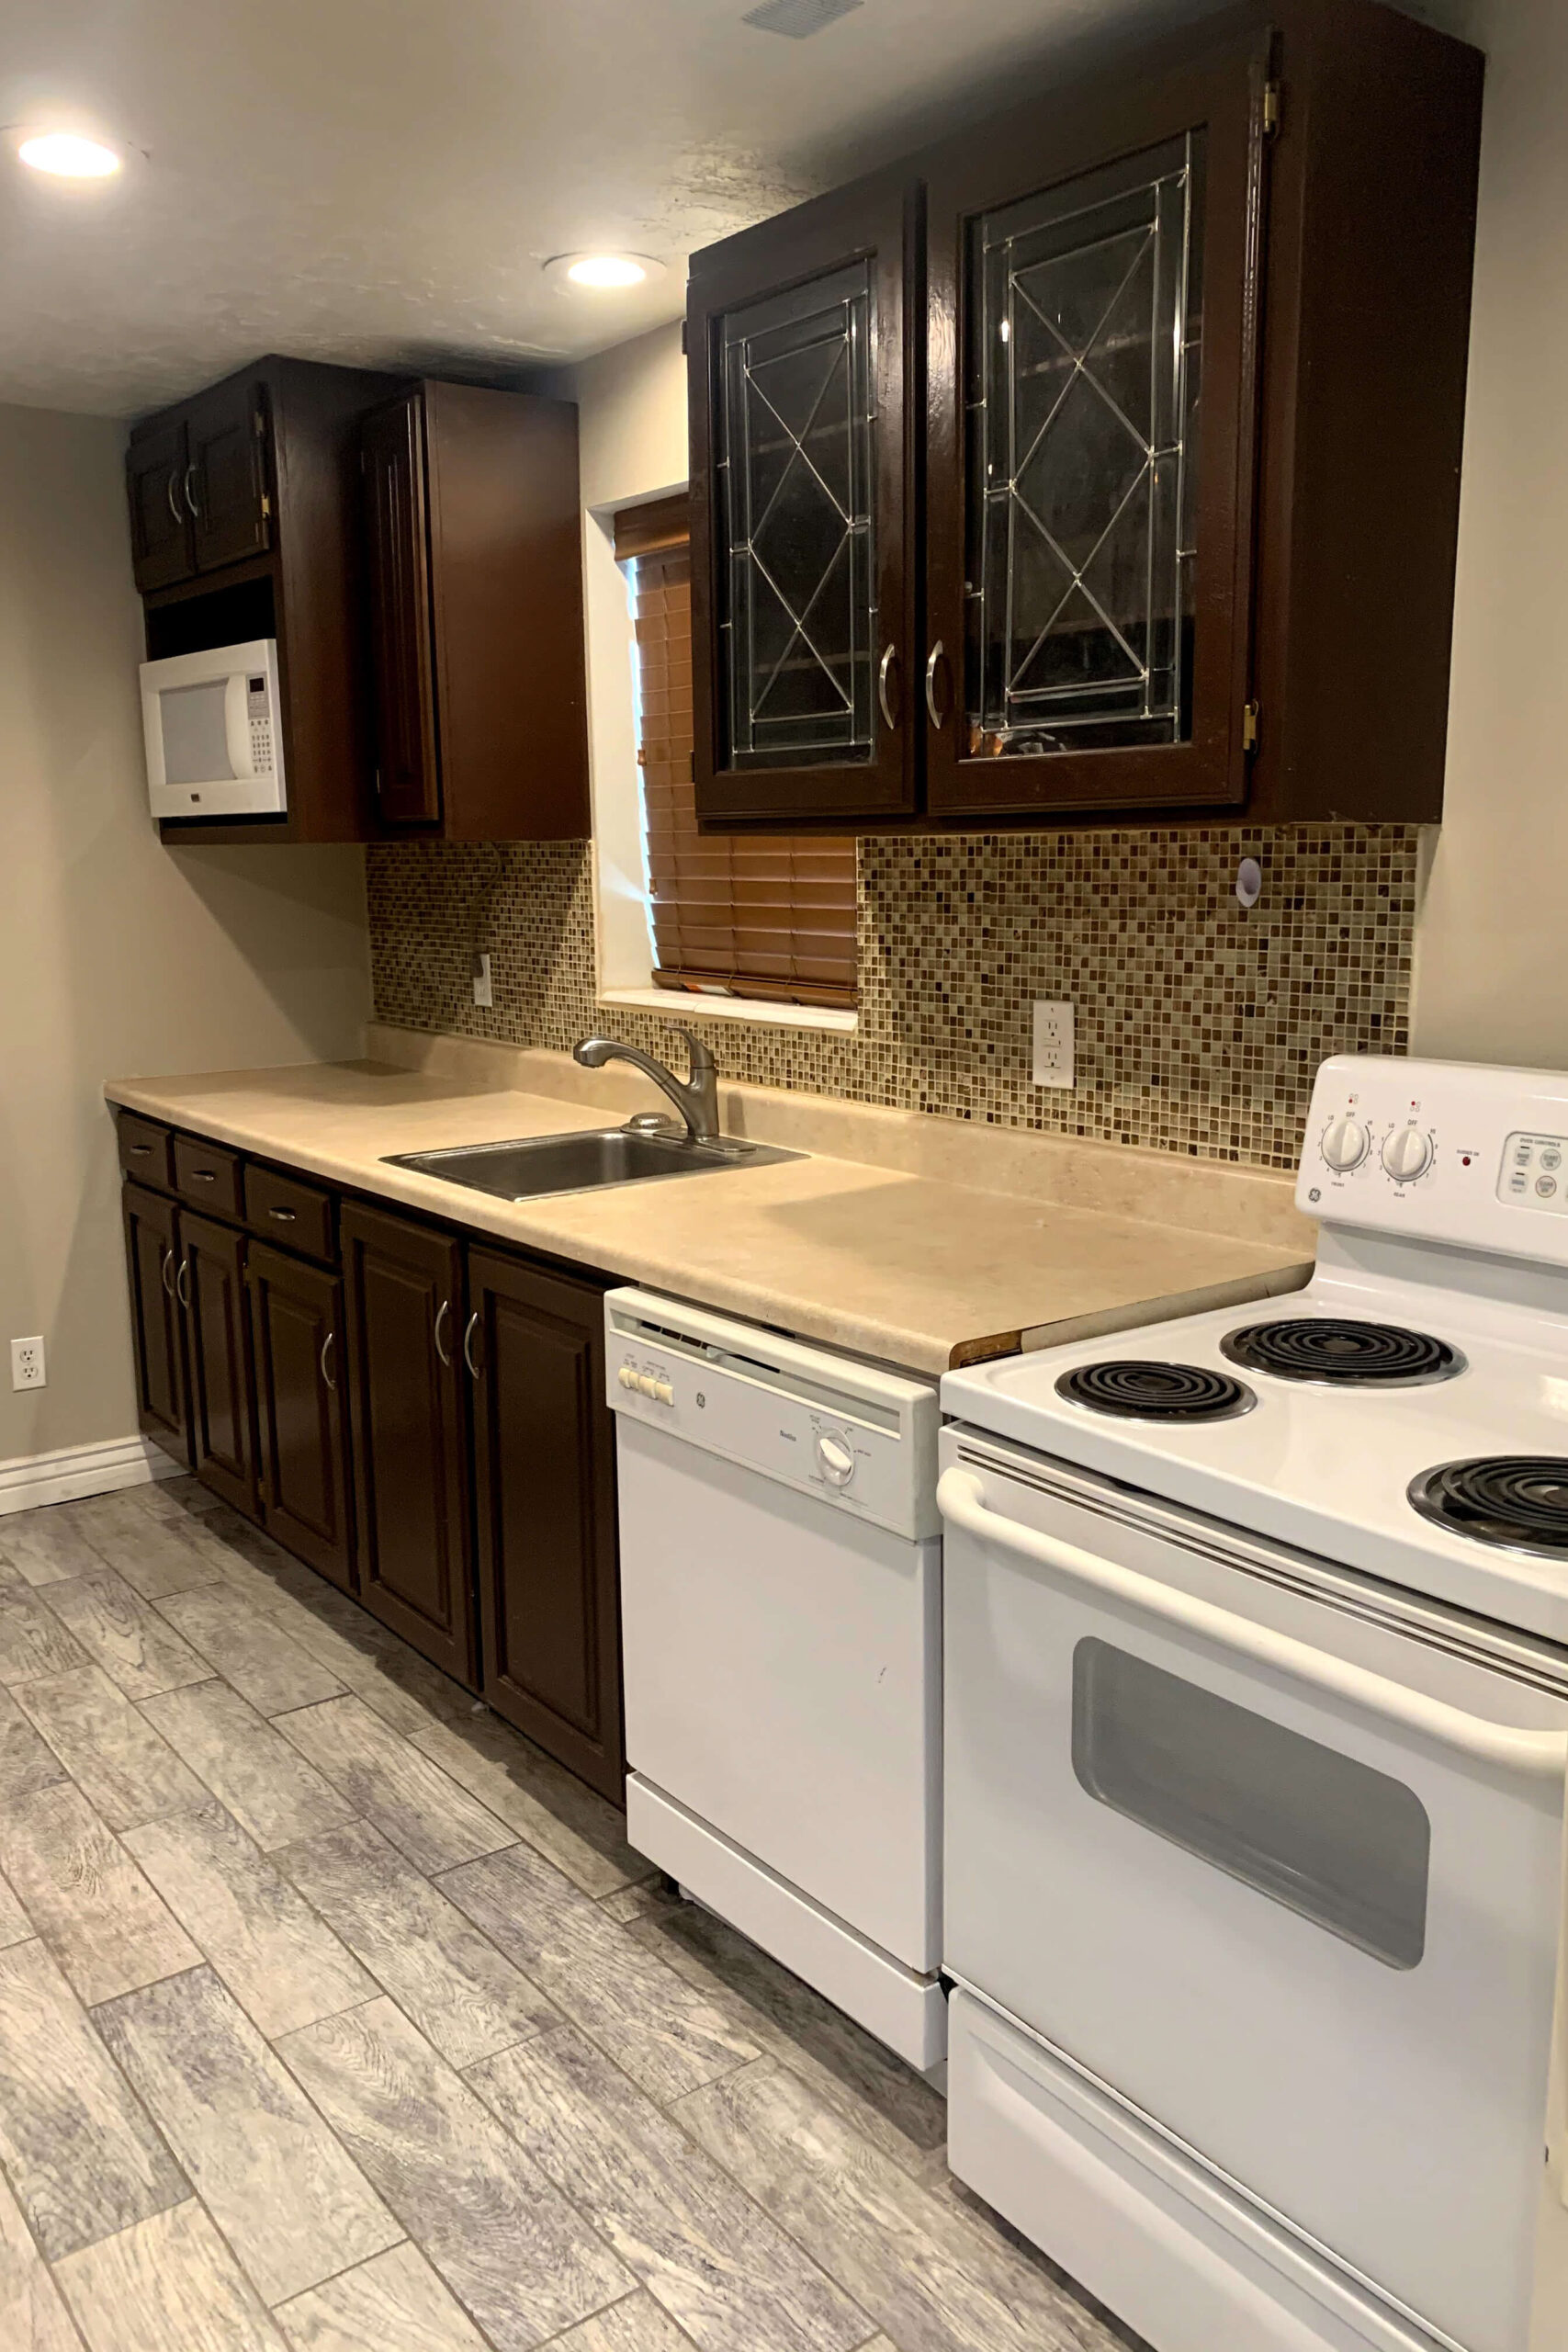
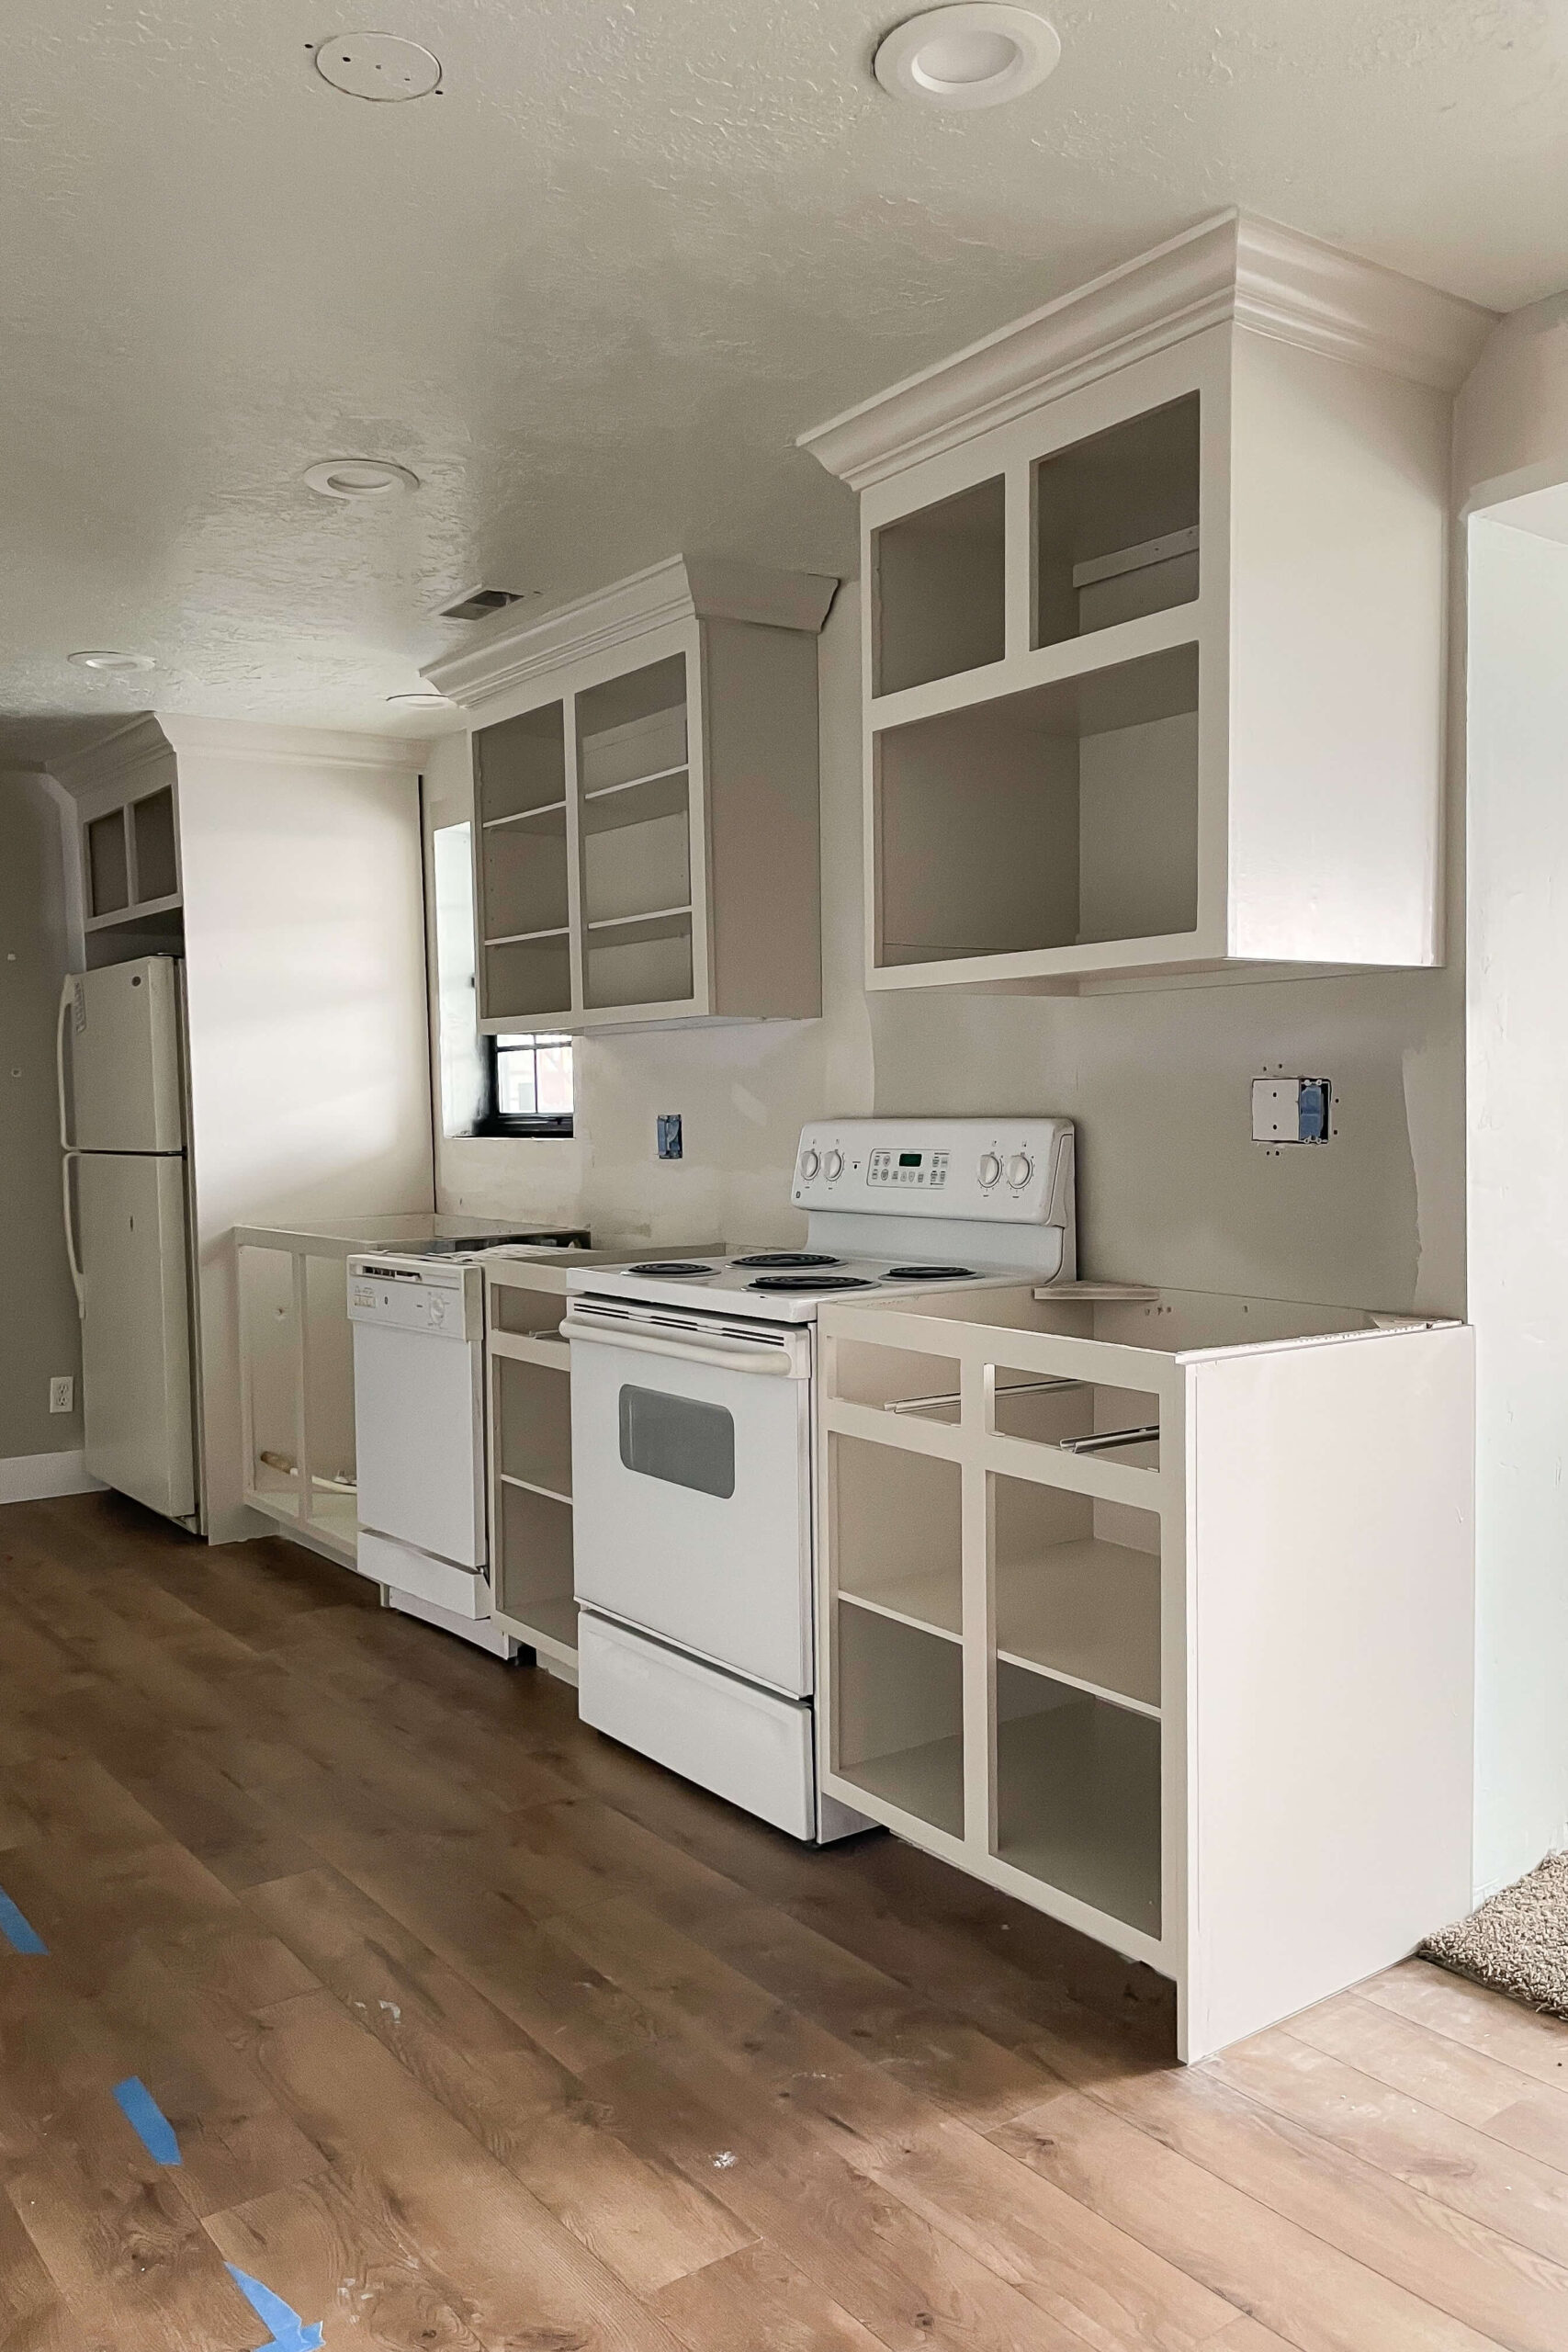
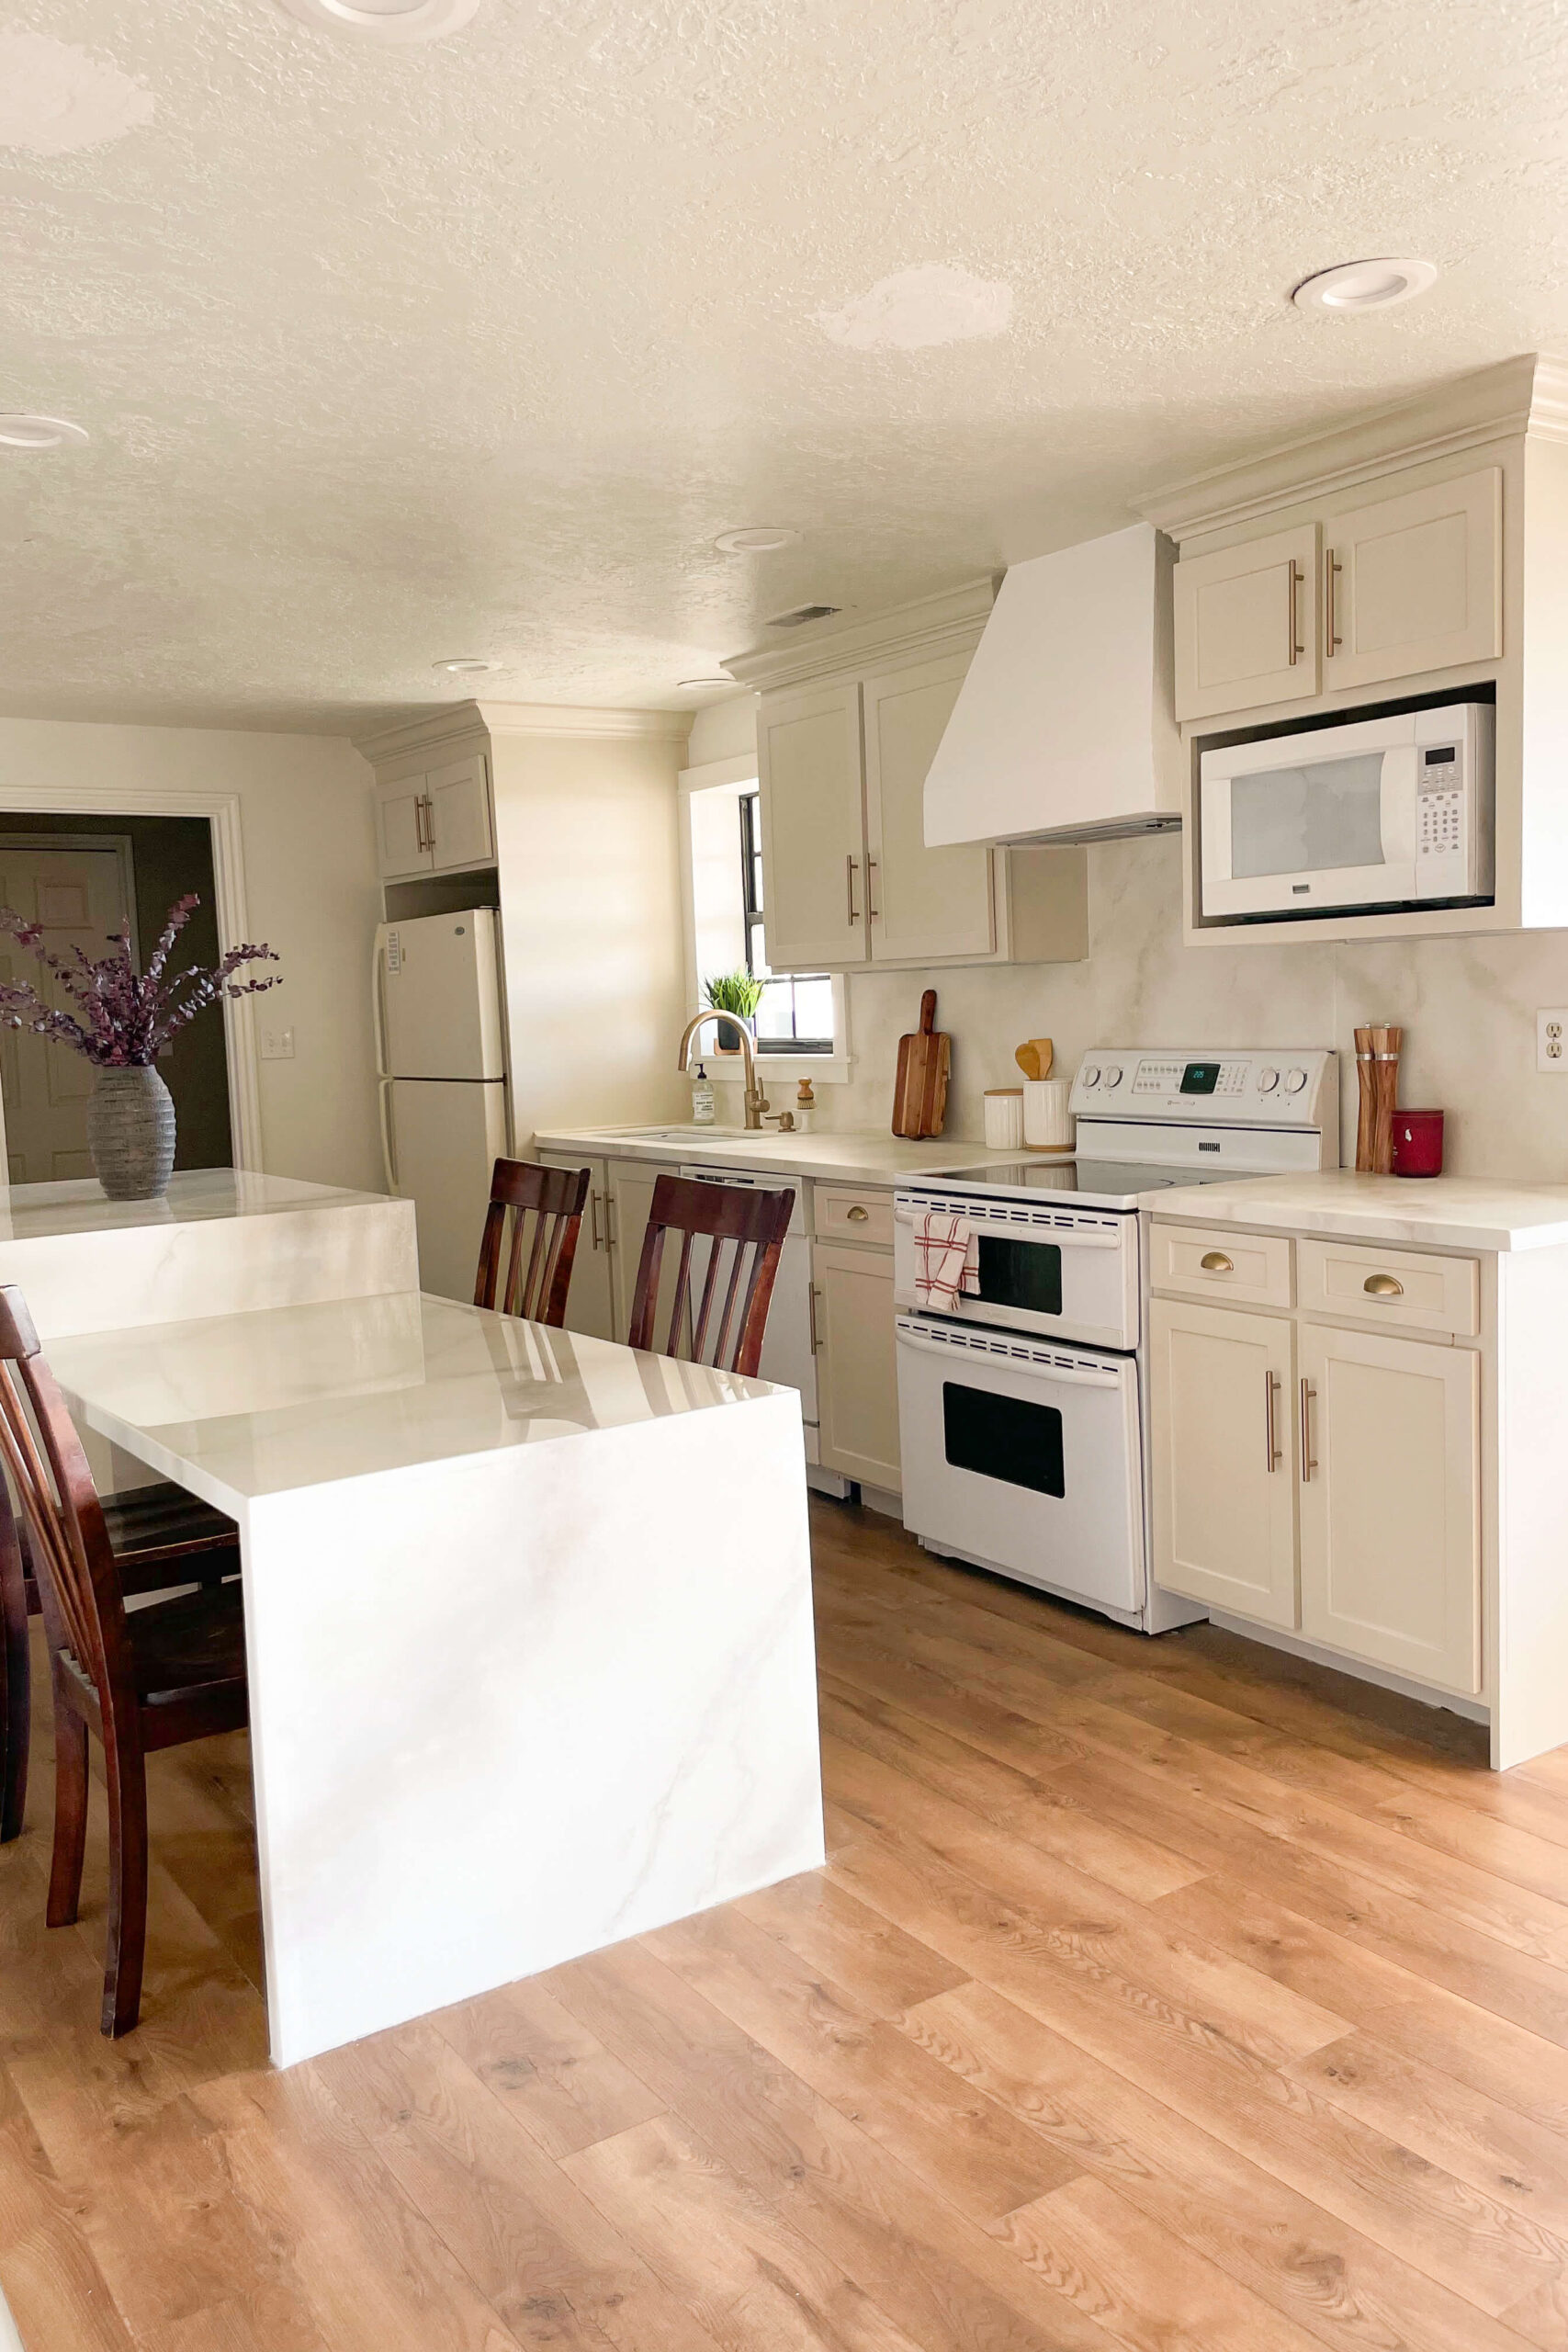
I can hardly believe that this photo on the left is what we started with in the basement kitchen. You can see that I completely changed up the layout when I painted and moved the existing cabinets around. We needed some new countertops for the new layout. Epoxy countertops were an affordable solution for this budget kitchen makeover.
You can use my method for epoxy countertops on existing counters. I have this reel on my Instagram showing how I did epoxy over an ugly granite countertop in my bathroom. But in this kitchen, I was starting from scratch. I used MDF for my countertop base, but would never use it again. Now I recommend using plywood. It’s firmer and will hold up a lot better over time.
Tools
- Circular saw or table saw
- 24 inch Level
- 48 inch level
- Brad nailer
- Jig saw
- Drill
- Hole saw
- Putty knife
- Handheld sander
- Foam paint roller
- Heat gun
- Paint brush
- Notched trowel
Materials
- 1 inch Plywood
- Bondo
- Primer
- Paint
- Glaze
- Feather
- Sea sponge
- Lint free rag
- Plastic drop cloths
- Painter’s tape
- Disposable bucket
- Epoxy
Building the Base for My Epoxy Countertops
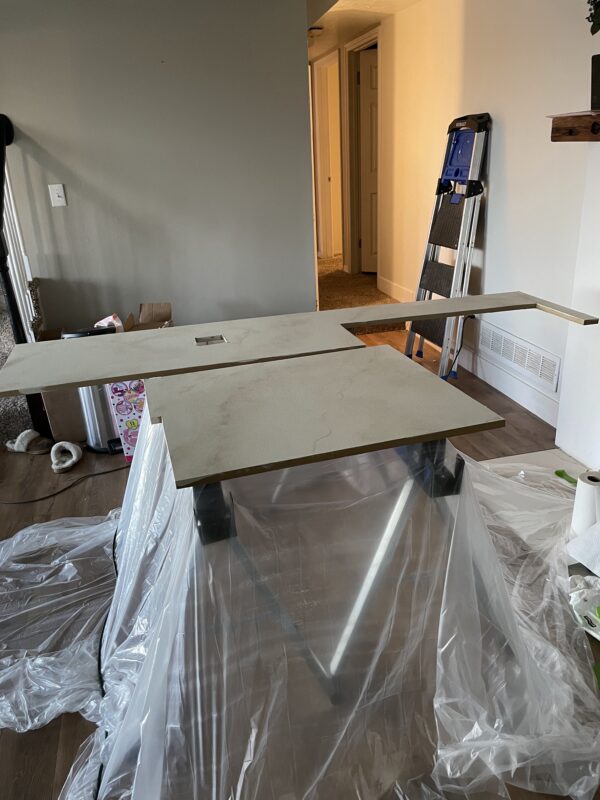
Using a circular saw, I cut the 4×8 sheets of MDF down to the sizes that I needed for my countertops (again…don’t use MDF, use plywood). Next, I had to make sure that they were level in both directions, front to back, as well as side to side. If there’s a slope, the epoxy will pool and look uneven. You can use shims to adjust the height if necessary. Long levels will work best for this.
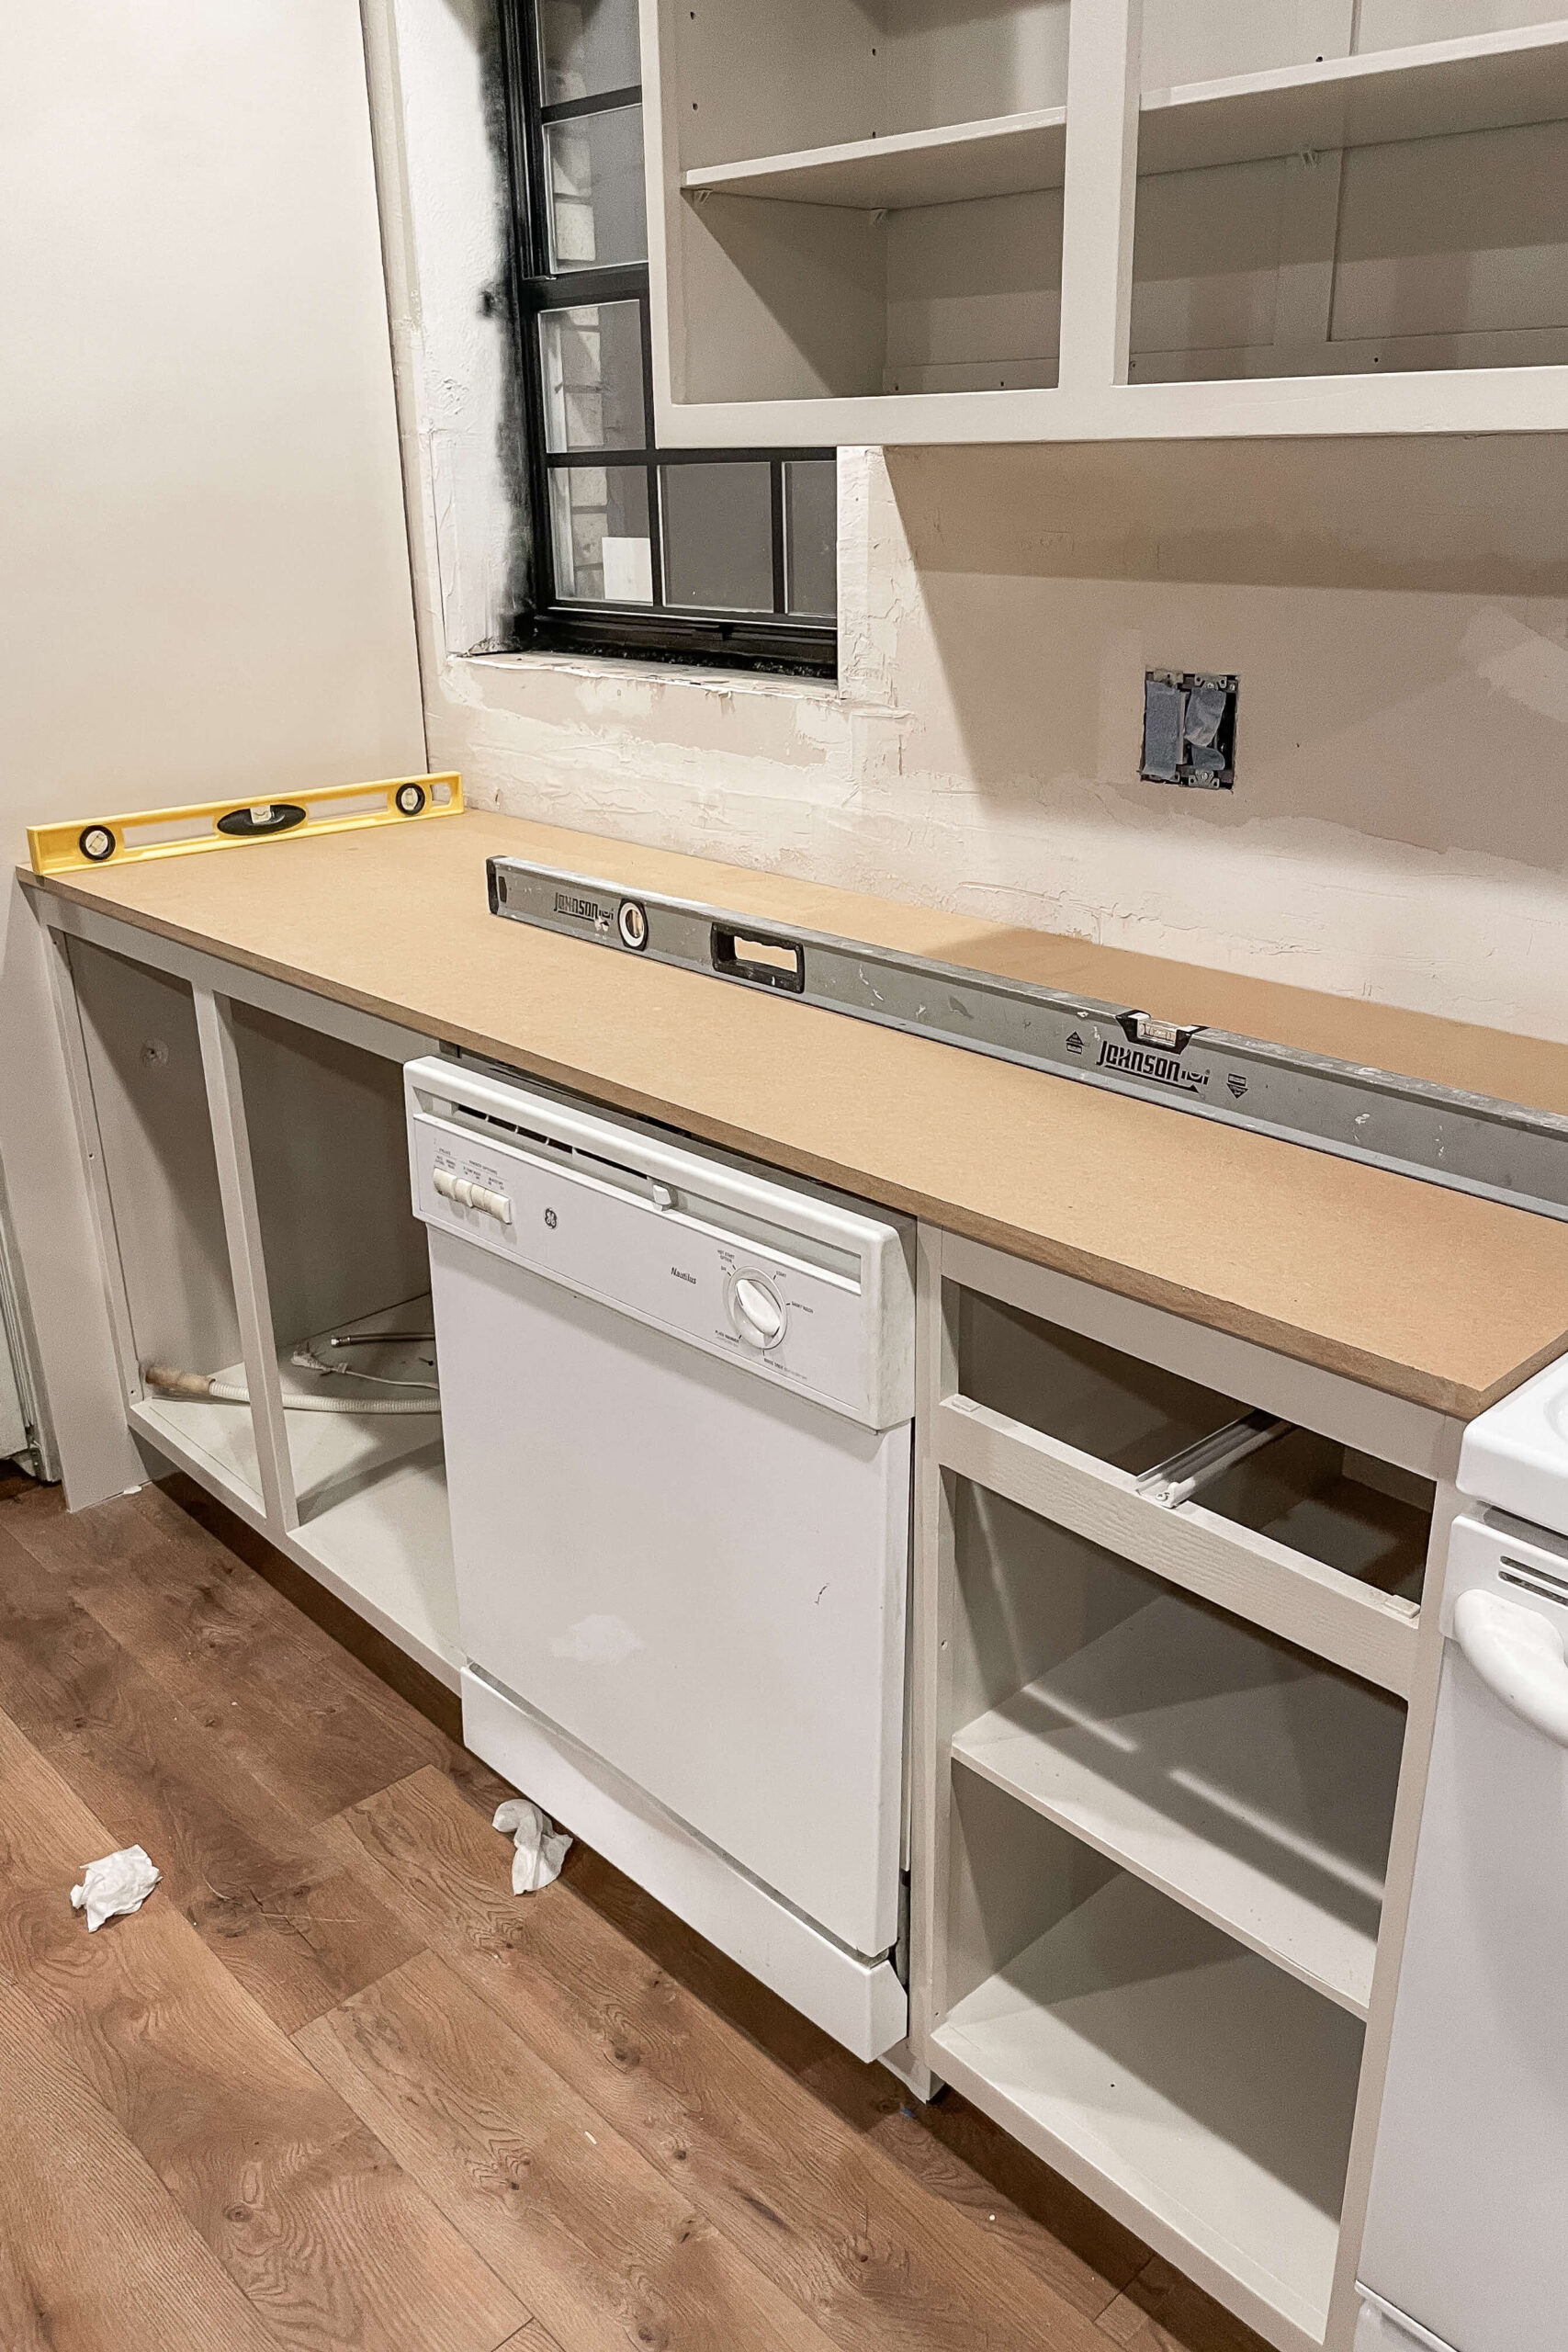
Once I had the wood for my epoxy countertops level, I attached them to my cabinet boxes using a brad nailer.

When you install a sink, it comes with a paper template for you to know how big of a hole to cut in your countertop. I taped down the template and used my jig saw to cut out the hole for the sink.

I also needed to cut out the holes for the kitchen faucet using a hole saw attachment on my drill.


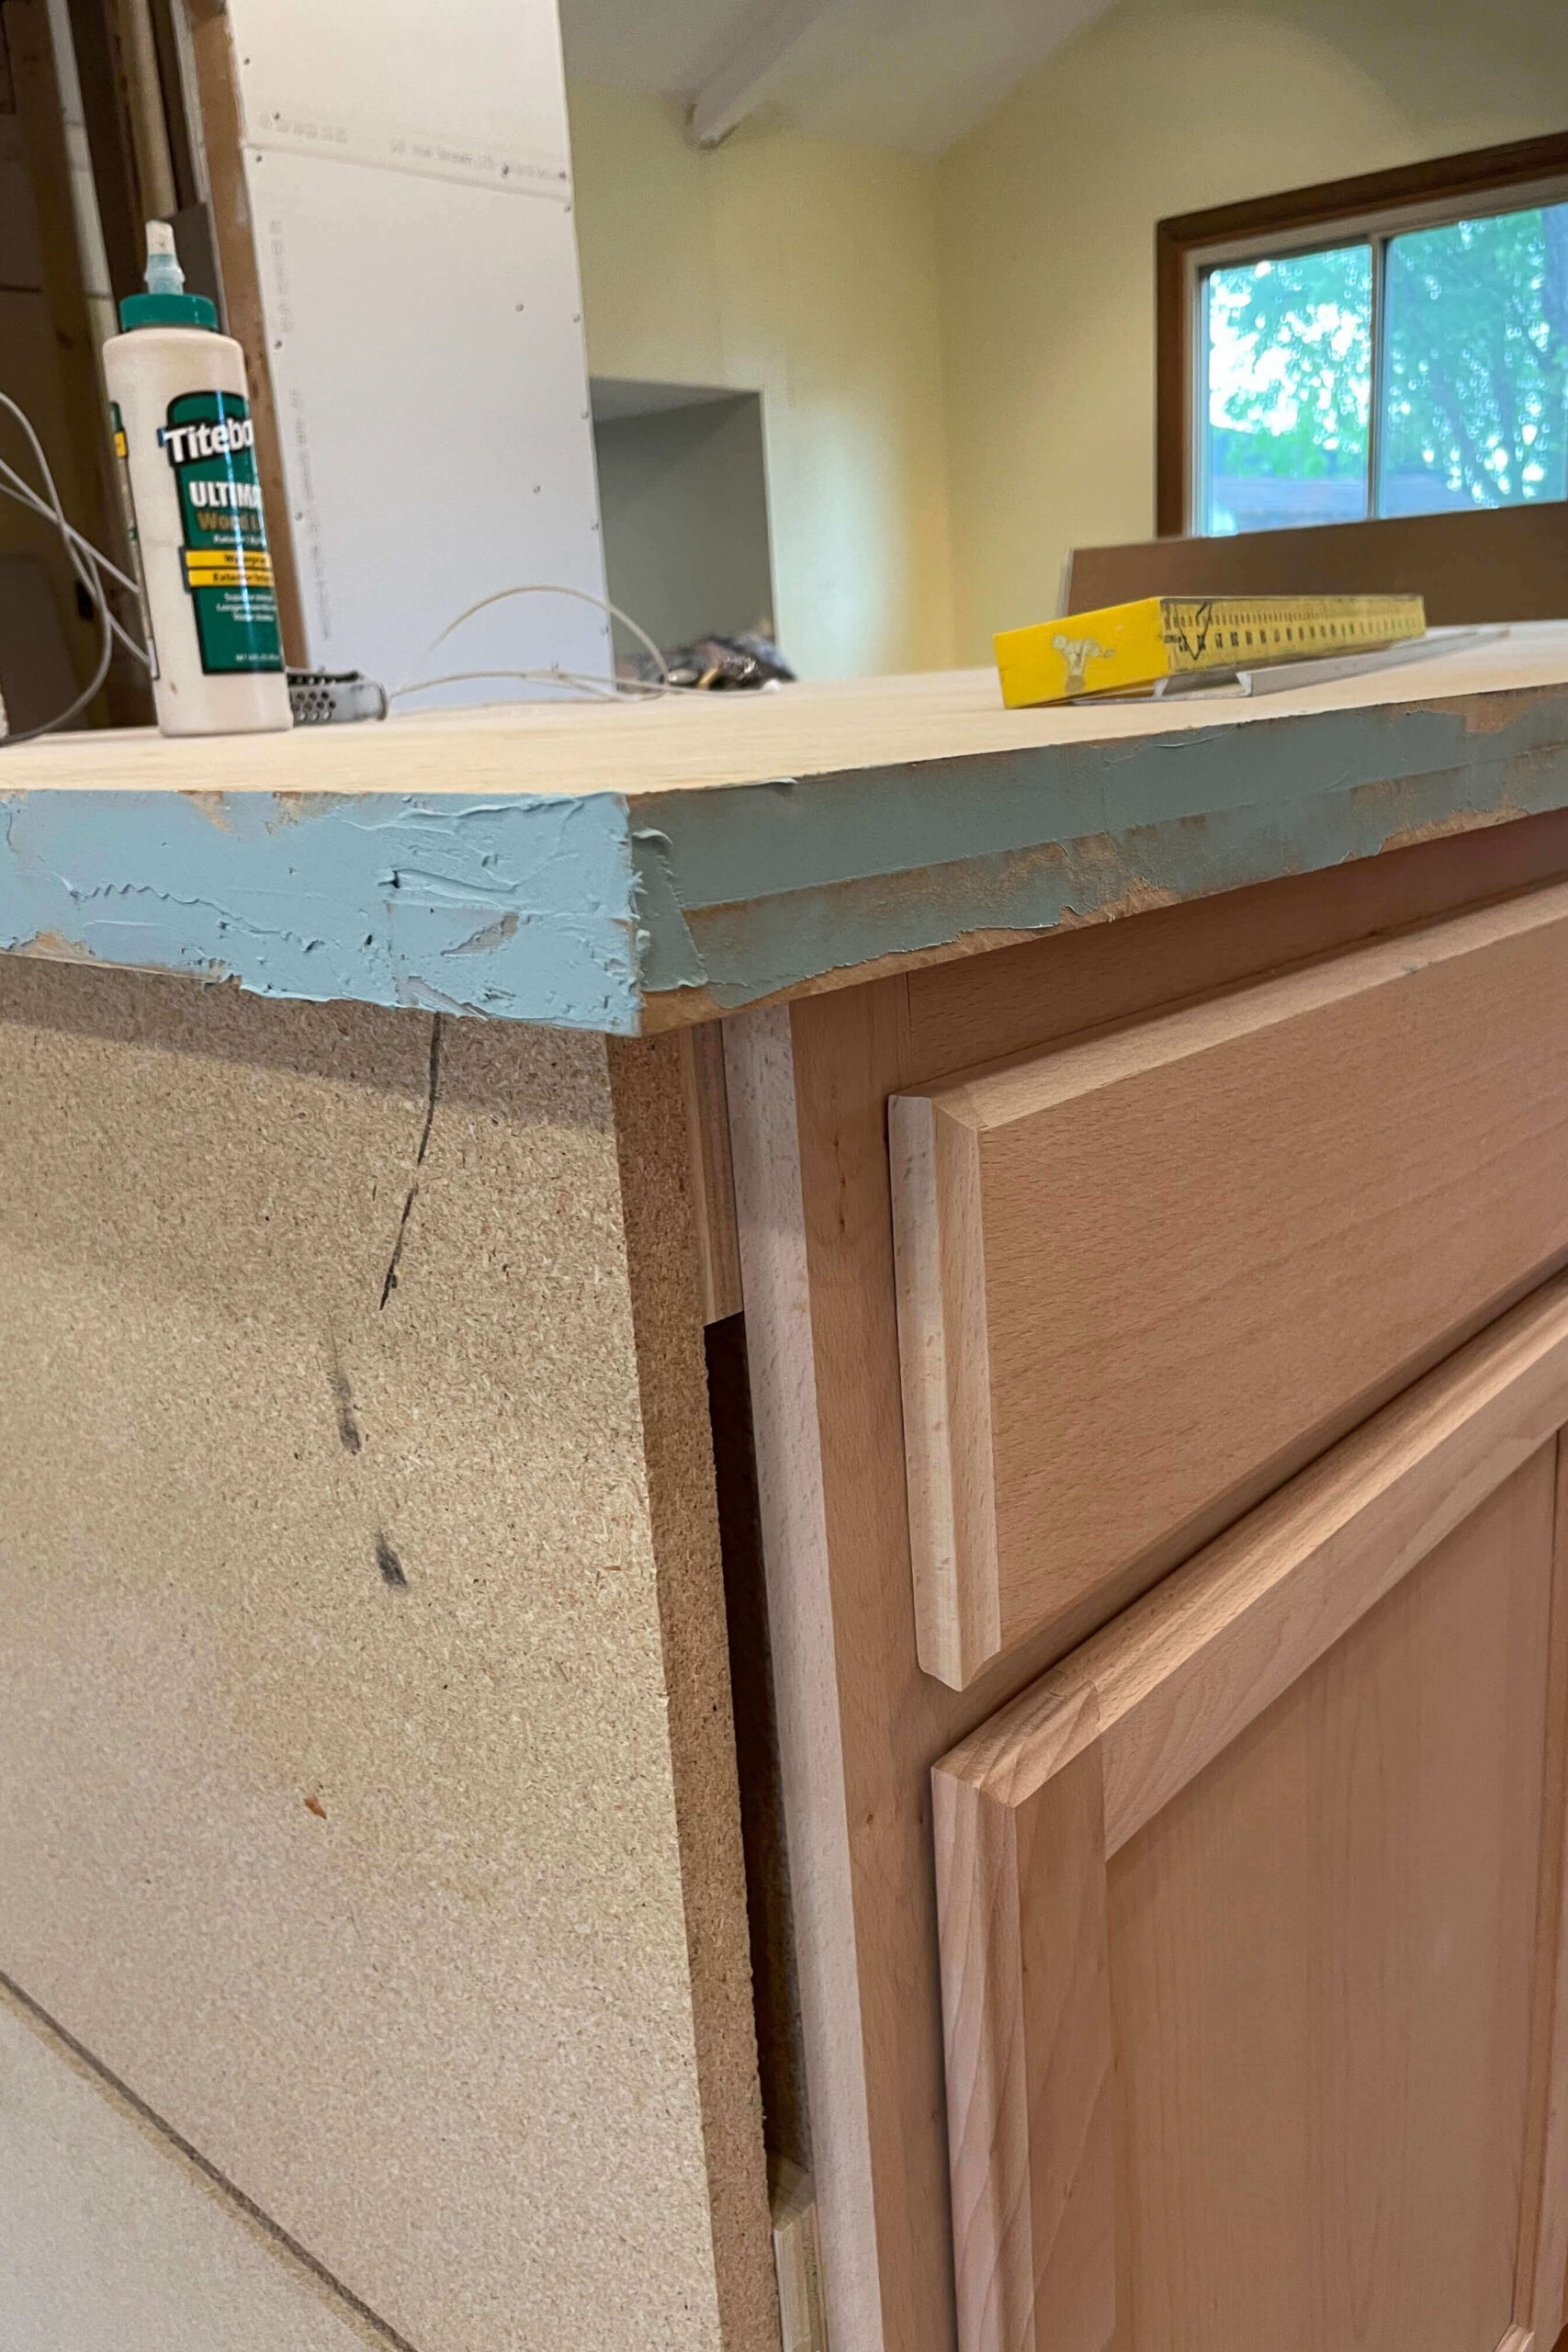
Whether you’re using 1 inch MDF or 1 inch plywood, it’s not as thick as a traditional countertop would be. To beef up the thickness of my epoxy countertops in this kitchen, I added a trim piece to the edges. I started by applying some wood glue and smearing it with my finger.


After sticking the trim piece to the edge of the countertop, I went back and attached it more permanently with my brad nailer.

Here’s a better view of how that extra piece sits on the edge of the counter, making the whole thing look thicker. I used wood filler to fill in my nail holes, as well as the seam between the edge piece and the main countertop piece. This wood filler is pink when you first apply it, then turns tan when it’s dry and ready to sand.


There are a couple of things that I do differently now when building the base for my faux marble epoxy countertops. First, rather than applying a trim piece around the edge of the countertop, I beef up the edges of the counter with a second layer of plywood underneath. To fill in the seam along the edge, I use bondo rather than wood filler. Both of these progress pics are from the kitchen in my current home in Nebraska. If you want to see more on that remodel click here.

How to Create the Faux Marble Look
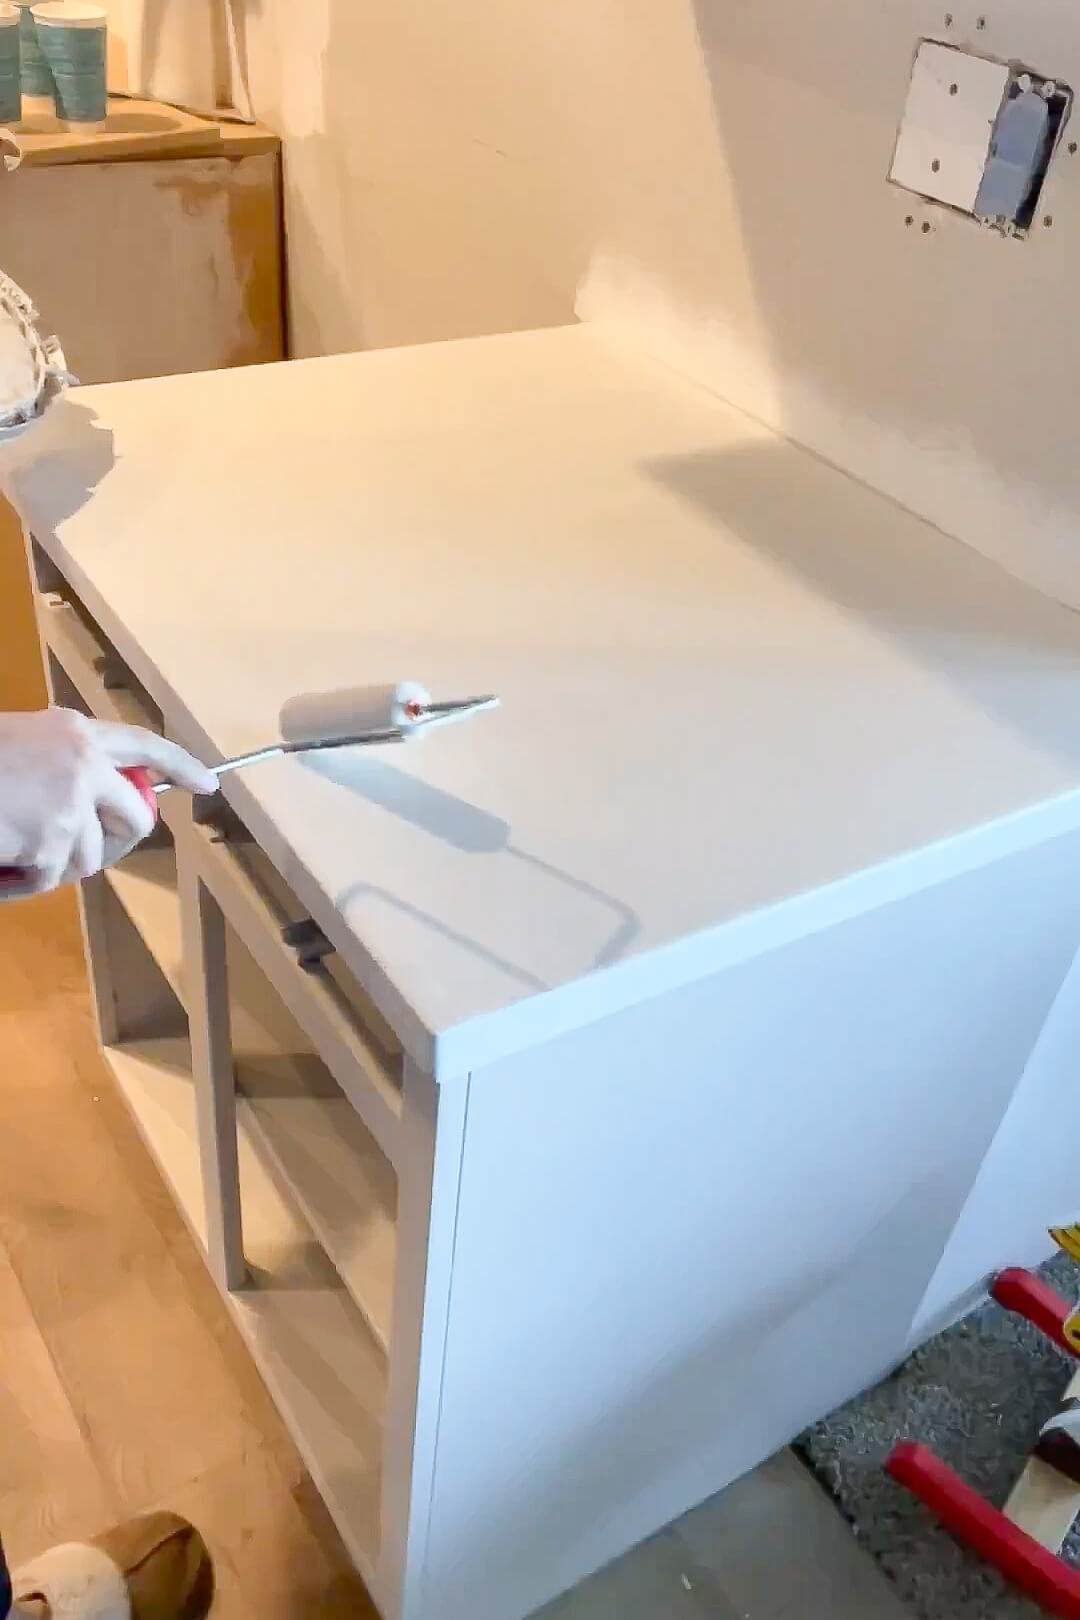
The marble look for these epoxy countertops is all done in layers. Since I have raw wood here, I’m starting with primer. At the time I used a different primer, but now I only recommend using B-I-N Shellac-Based Primer.

After the primer had dried, I painted on my base background color using a foam roller. When you’re deciding on your colors for your marble, I highly recommend choosing an inspiration photo, and thinking about how the colors in your marble will match within your space. I’m using a warm white for my background and warm grays for the veins on these kitchen countertops because that’s what will look best with my cabinet color.
For all the marbling and veins I’ll be painting on, I’m mixing up a few different shades of warm toned greys, some dark and some light. They’re all diluted with this glaze. I have all the specifics on how much glaze and paint to mix together in my e-book.

Okay, let’s create layers of marble.
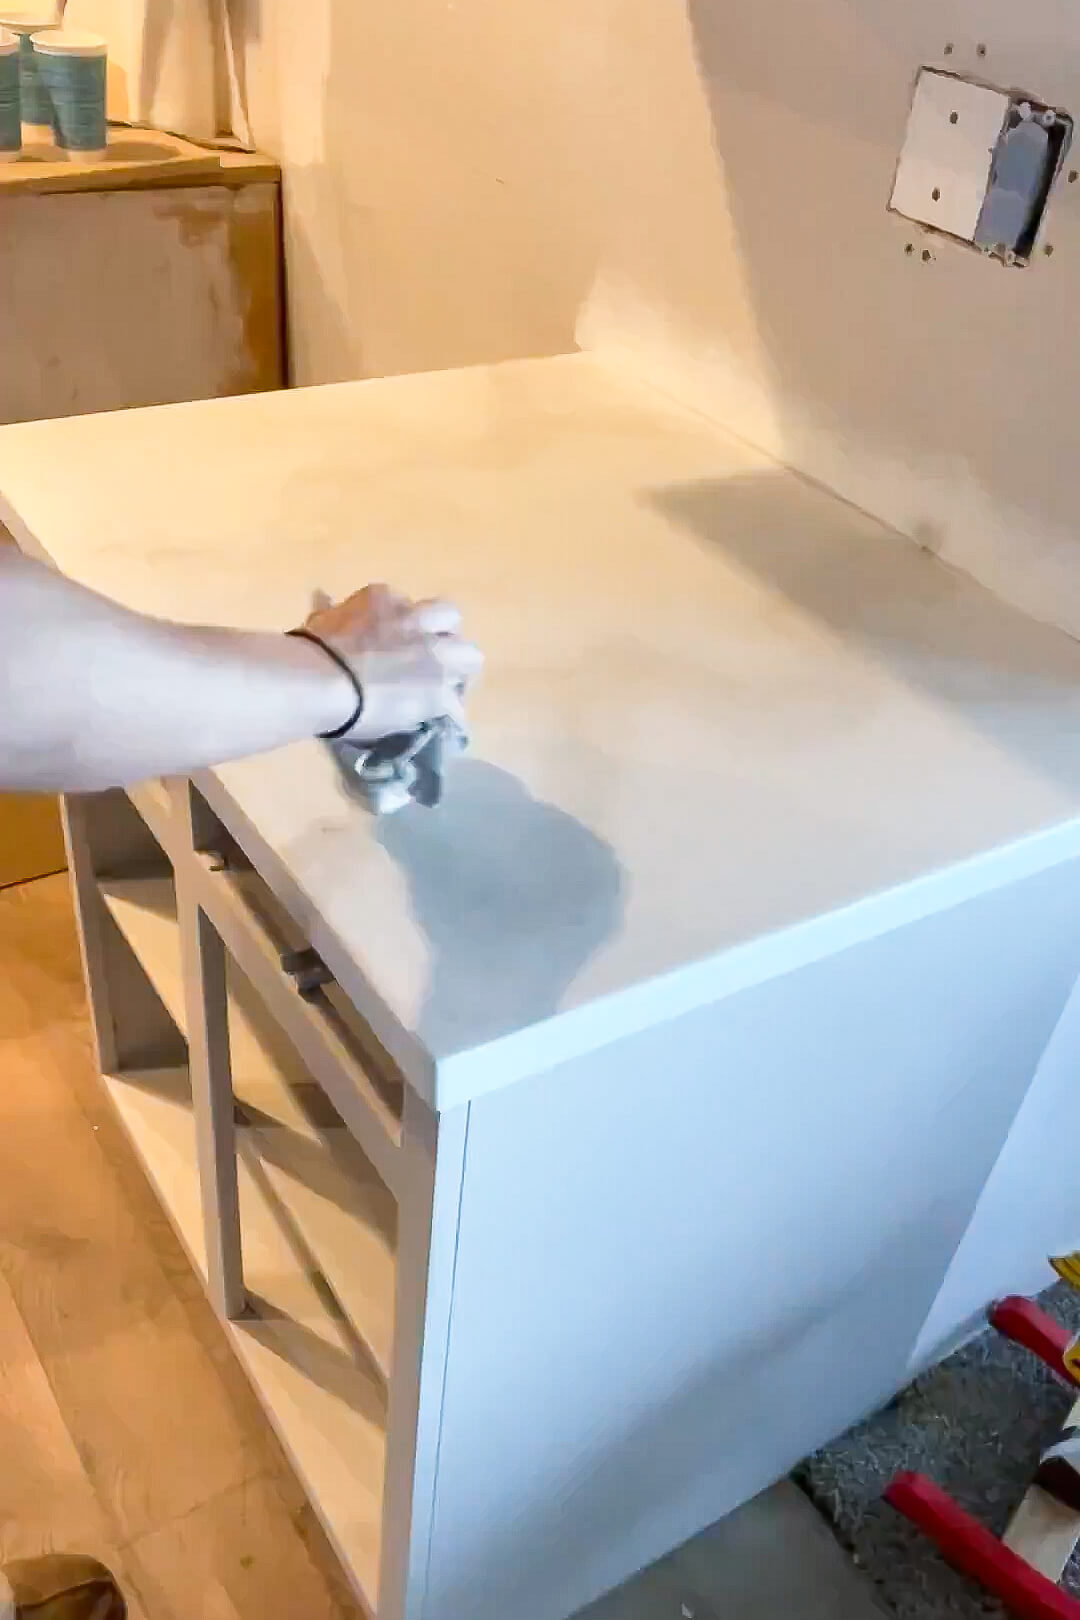
Take the sea sponge and dip it into your second darkest paint color. Just a little bit on the corner of the sponge will do. If you take too much, offload it onto the edge of the cup.
I always try to start my veins in the upper right hand corner and move them to the lower left hand corner, by just dabbing the paint on the counter with the sponge. You can do as many or as few dabs as you want, but all the branches should connect to each other. Dab in angled, irregular paths, and occasionally branch off and create a new vein. Don’t forget to continue it down the sides of your counter to make it look like a true slab of marble!
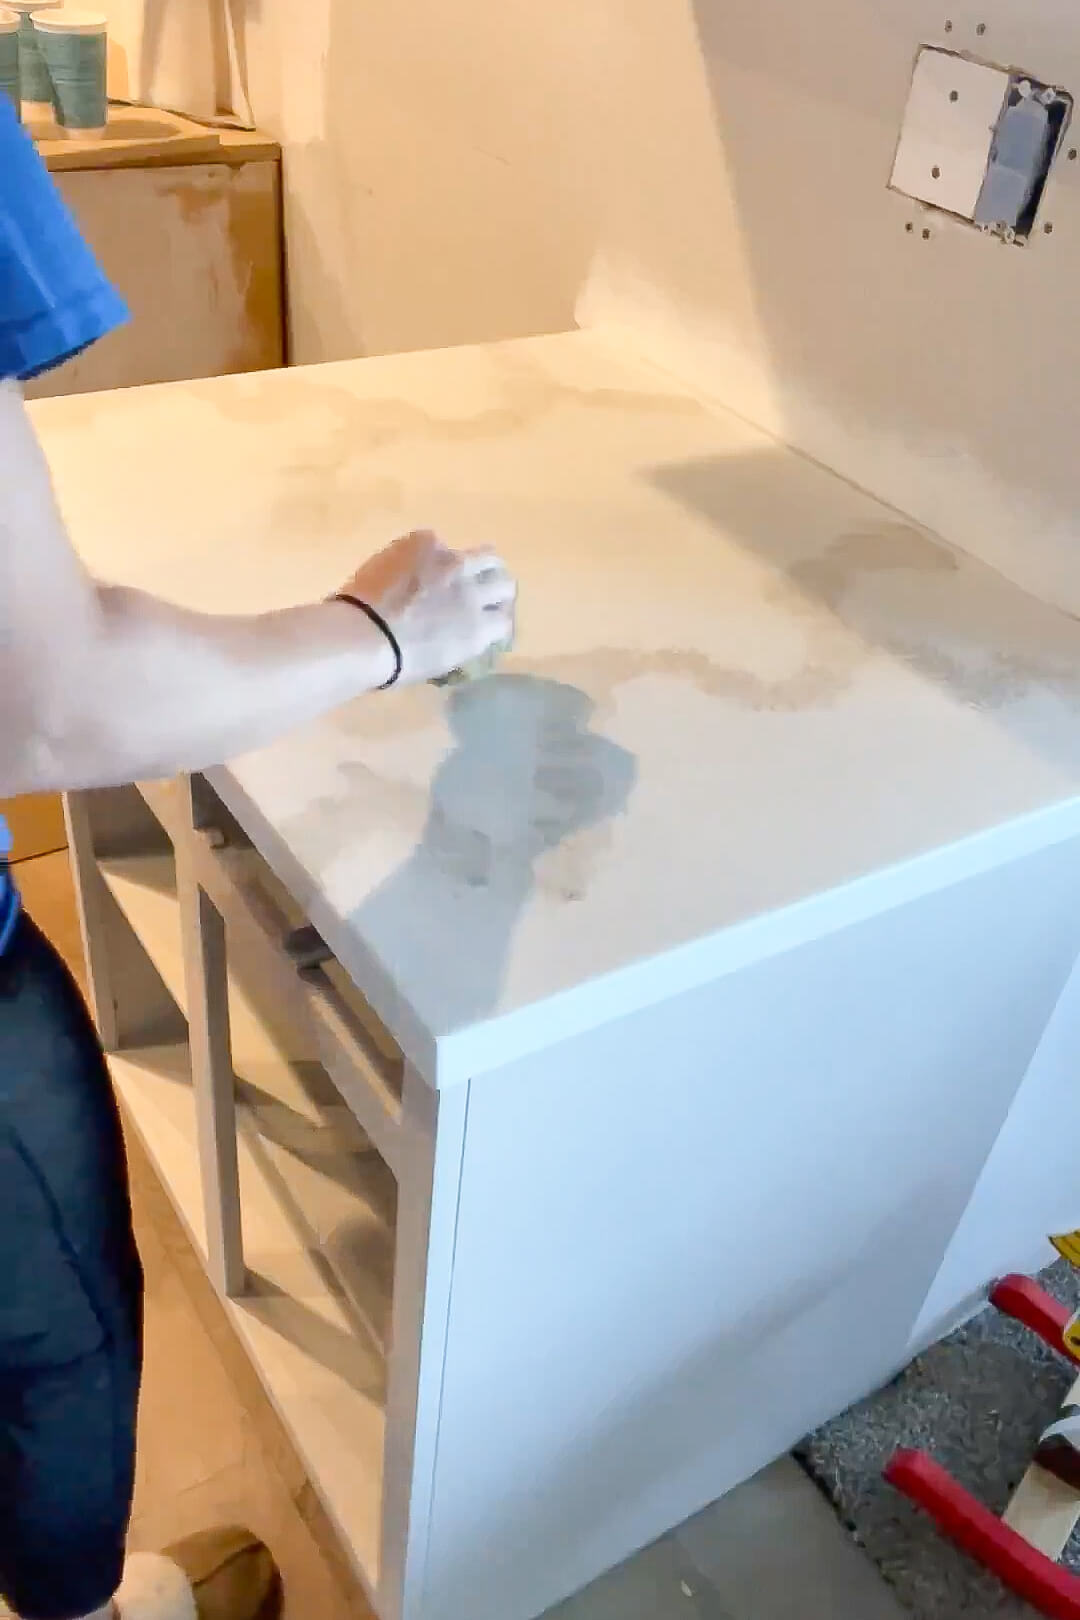
Then take a lint free rag and soften up all the edges of the veins by dabbing and gently wiping. The bonus of using the glaze is that it helps the paint blend so much easier than just using straight paint.
If you hate it, paint over it with your base color, and start over. If you want more contrast in your marbling, then add some more. You are totally in control of how your marble looks.
If you think it’s looking pretty good, you’re ready for the next step where you’ll add the skinny veins using a feather. I always head out to my backyard coop and grab a chicken feather, but if you don’t have chickens, a similar feather from the craft store will work just fine.

Dip the feather into your darkest paint color, then offload it on the edge of the cup so it’s not too heavy. Twist and pull the feather along the countertop creating veins. Let the feather go wherever it wants. Don’t be afraid to mess up since it’s supposed to look imperfect. The fewer the skinny veins, the more realistic it’ll look.

Then, use a rag to carefully feather out the skinny veins, but not too much. They’re supposed to look distinctively different and stand out more than the wider, lighter veins underneath.
Next you’ll “bury” the marble and lighten it up a bit by whitewashing with a mixture of your base coat, some water, and some glaze (in my ebook I share all the ratios). I used a foam roller to paint this mixture over the marbling. This last step really adds depth to the look of your marble.
Making a Faux Marble Backsplash
One unique thing that I did in this kitchen was that I used the same technique as I do for epoxy countertops to create a faux marble backsplash. I wanted both the backsplash and the countertop to look like they came from the same slab, so after priming and painting my base coat on, I set the backsplash against the wall and made sure to line up the veining. I pulled the backsplash piece down to soften out those larger veins with the lint free rag.


Then I propped the backsplash piece back up on the wall to line up the skinny veins as well. I pulled the whole thing back down to soften the skinny veins and apply that final whitewashing coat.

Here is a close-up so you can see what I mean by continuing the same veining from the countertop to the backsplash. The little bit of extra effort to line it all up is really worth it. Look how good it looks! I’m always blown away by how much these epoxy countertops look like real marble.

Let all of that paint dry for 24 hours. We need the gasses in the paint to completely disperse before putting on the epoxy.
Pouring Epoxy
Before pouring the epoxy, you have to thoroughly tape your floor, cabinetry, sink, or anything you don’t want epoxy touching. It’s impossible to remove so be meticulous on this step. I used plastic drop cloths and taped off my floor farther out than I thought I should, just to be on the safe side.

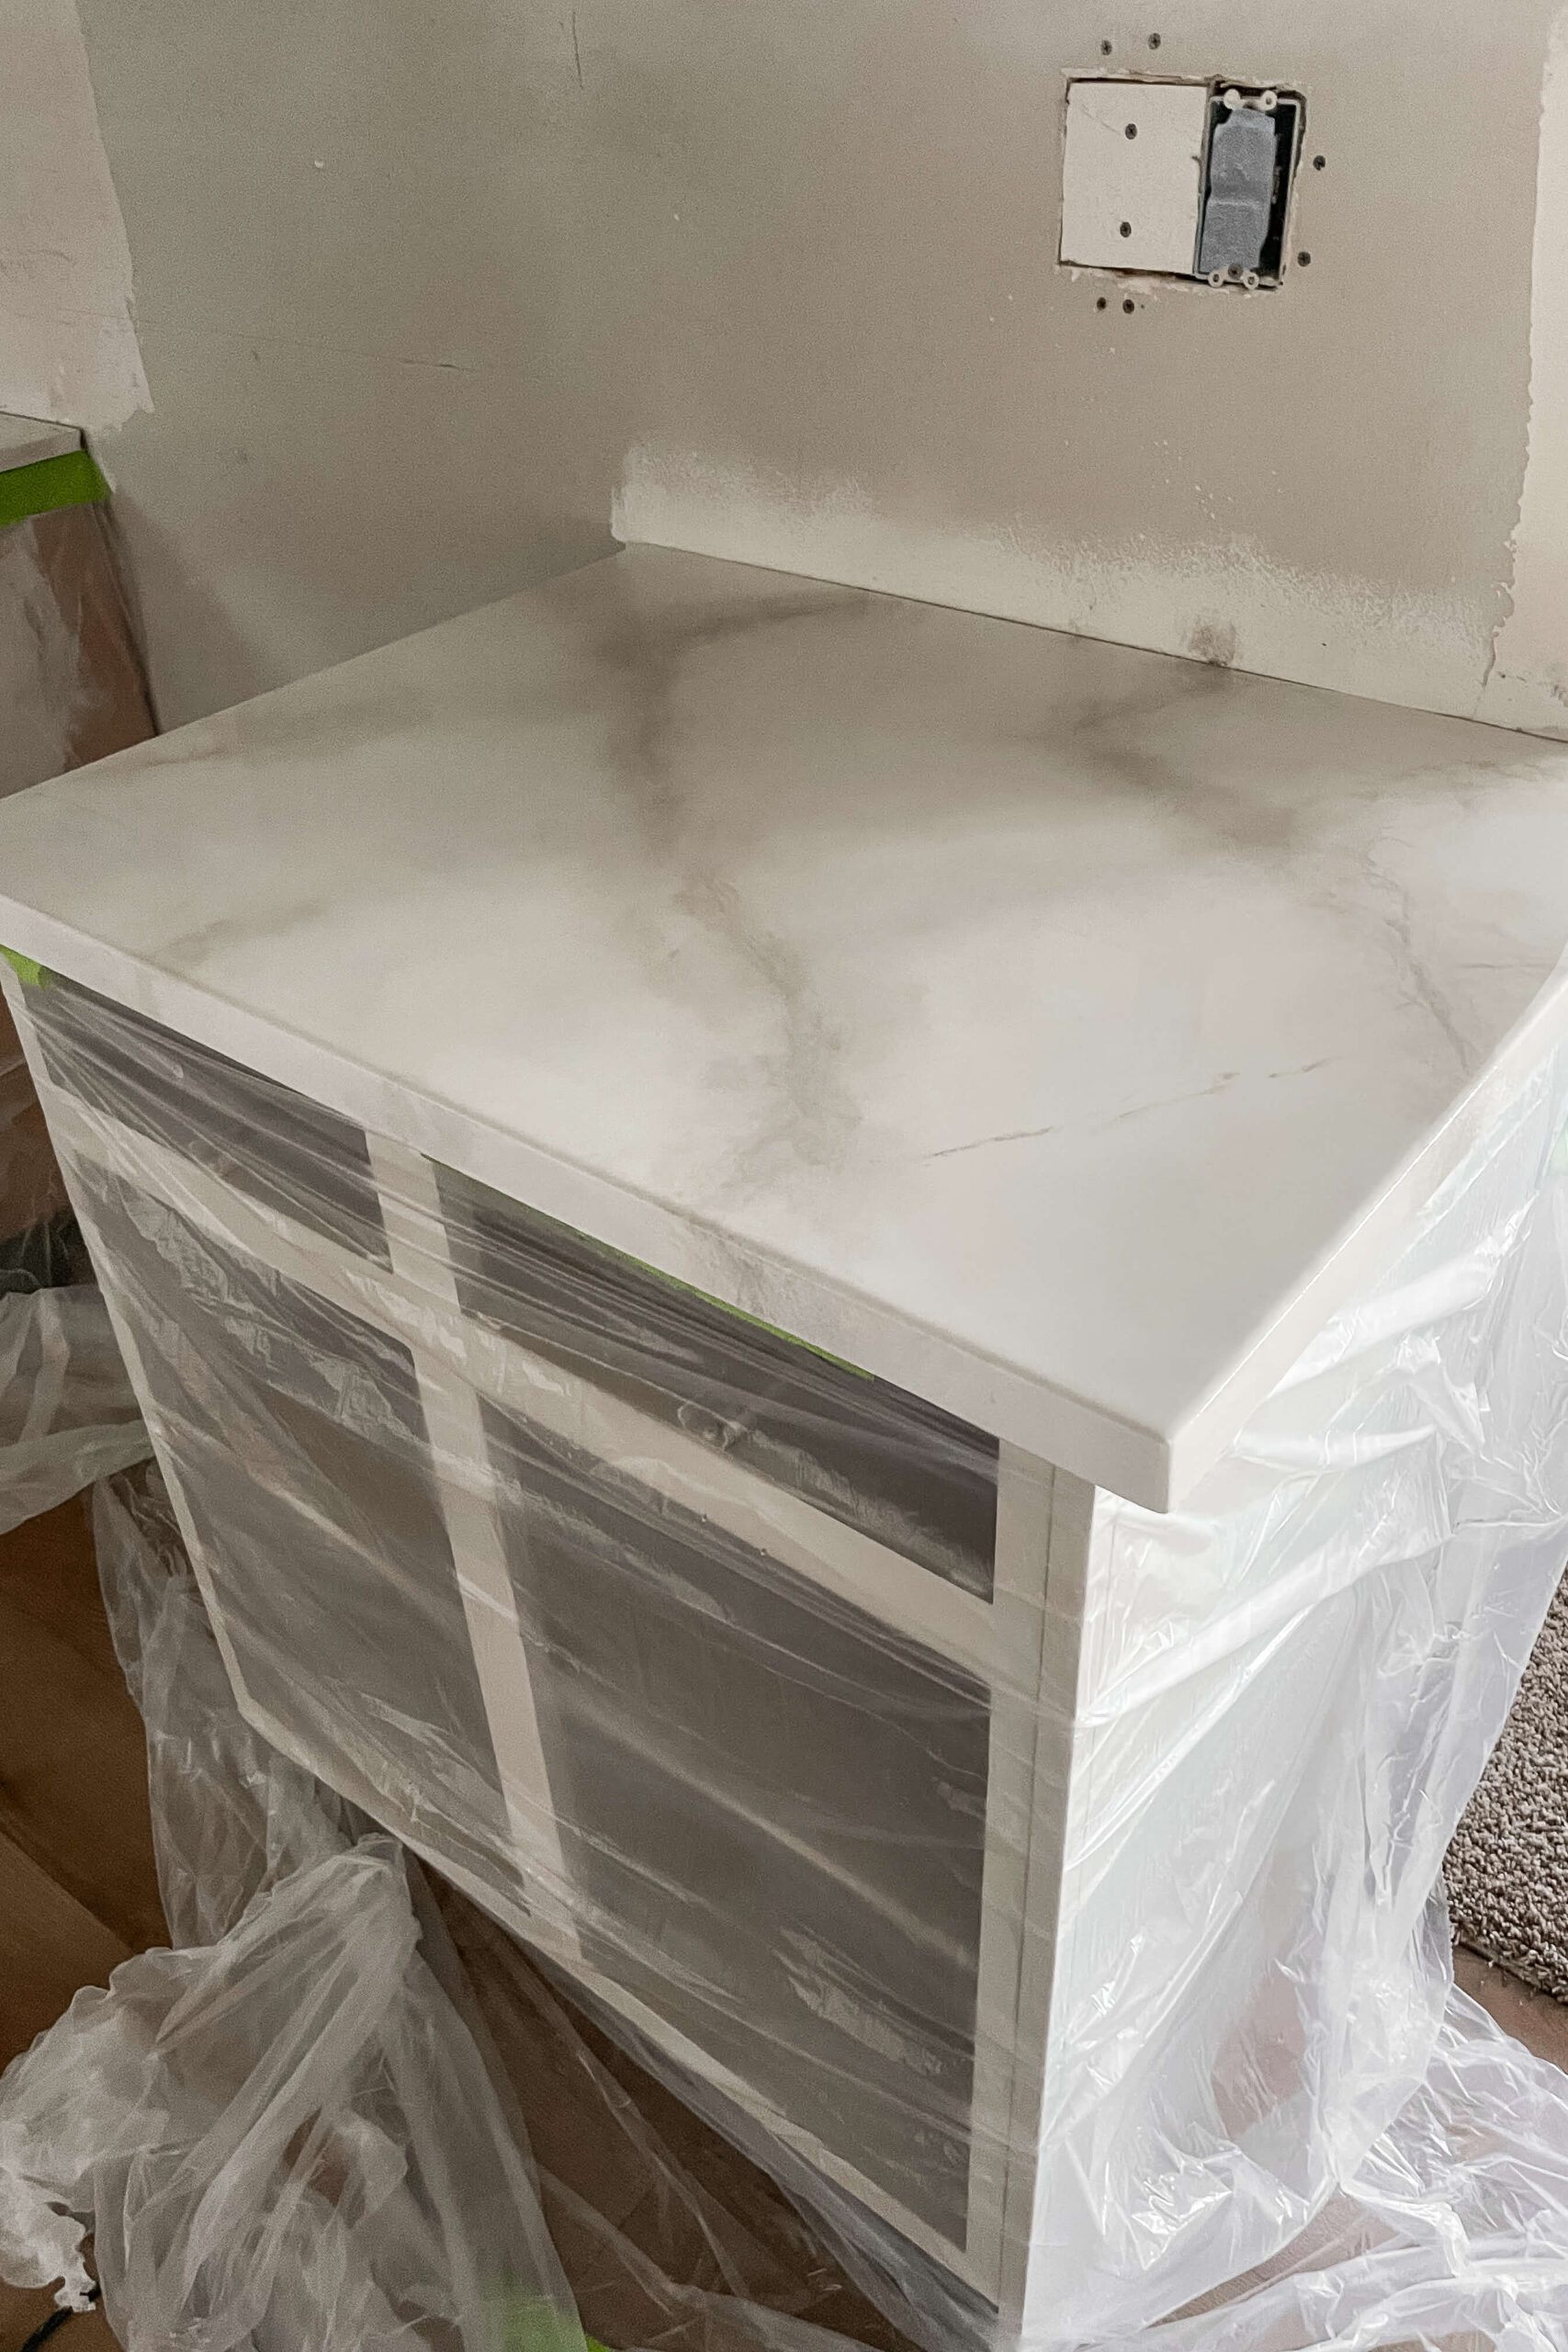
Now we’re ready to pour our epoxy countertops. My biggest tip is to pour the epoxy in the daytime when you have natural lighting.
I always use a large disposable measuring bucket that helps with exact measurements, and I can toss it when I’m done. Mix the two parts of your epoxy together with a paint stick for about 2 minutes to ensure that they are completely integrated. This is very important to ensure proper curing. Then pour it directly onto your counter.

A paint brush is great for pushing the epoxy around on your countertop, but picking out loose paint bristles in your epoxy is the worst, so I used a high-quality synthetic paintbrush. I also made sure to brush epoxy onto the sides of my counter, but be aware that since these are vertical surfaces, the epoxy will drip off and not dry as thick on the sides.
I used a ¼ inch square notched trowel to spread the epoxy out into an even layer. The epoxy is self-leveling, but on larger surfaces like kitchen counters, the epoxy can pool up thicker in some areas. Don’t worry about the lines from the trowel. The epoxy will settle down into a smooth surface all by itself.


The epoxy has 45 minutes of working time before it starts to harden, which is plenty of time for the next step.
Using my heat gun, I go over the epoxy countertops. It’s sooo satisfying watching the hot air work its magic and pop any tiny bubbles that may have formed. Just be careful not to keep the heat gun for too long in one place.

After you’re done popping all the bubbles, you may notice tiny specks of lint, dirt, and other random things that have settled in your epoxy. While the epoxy is still malleable, take a toothpick and very carefully pick it out.
I set a timer on my phone and went back after 4 hours to remove all of the tape and plastic. You don’t want to let the epoxy dry completely with your tape and plastic on or you’ll just have to factor in bright colored painter’s tape into your design plan. I found that 4 hours is the sweet spot for the epoxy to be malleable enough to pull the painters tape off, and just hardened enough that I don’t have to worry about wayward drips.
Once the plastic is off, you’ll notice little epoxy goobers on the bottom edge of your countertop. Using a paint stick, I run along the underside of the epoxy countertops and scrape them off. If you skip this step or happen to miss some, don’t worry, they are sand-able later. But I found that scraping them is way easier and less messy.
Set an alarm and go back at least once per hour as the epoxy settles and run some sort of a straight edge along the underside of your counters. This will remove any drips that are settling in place and ensures that the underside of your epoxy countertops cure smooth and flat!
Installing the Faux Marble Backsplash
After I let the epoxy on the backsplash dry for 24 hours, it was ready to install. I did have to sand down the edges just a bit in order to get the pieces to fit in place.
I generously applied some liquid nails with a caulk gun, all over the backside of my faux marble backsplash, then pressed it against the wall between my cabinets and epoxy countertops. That’s it!


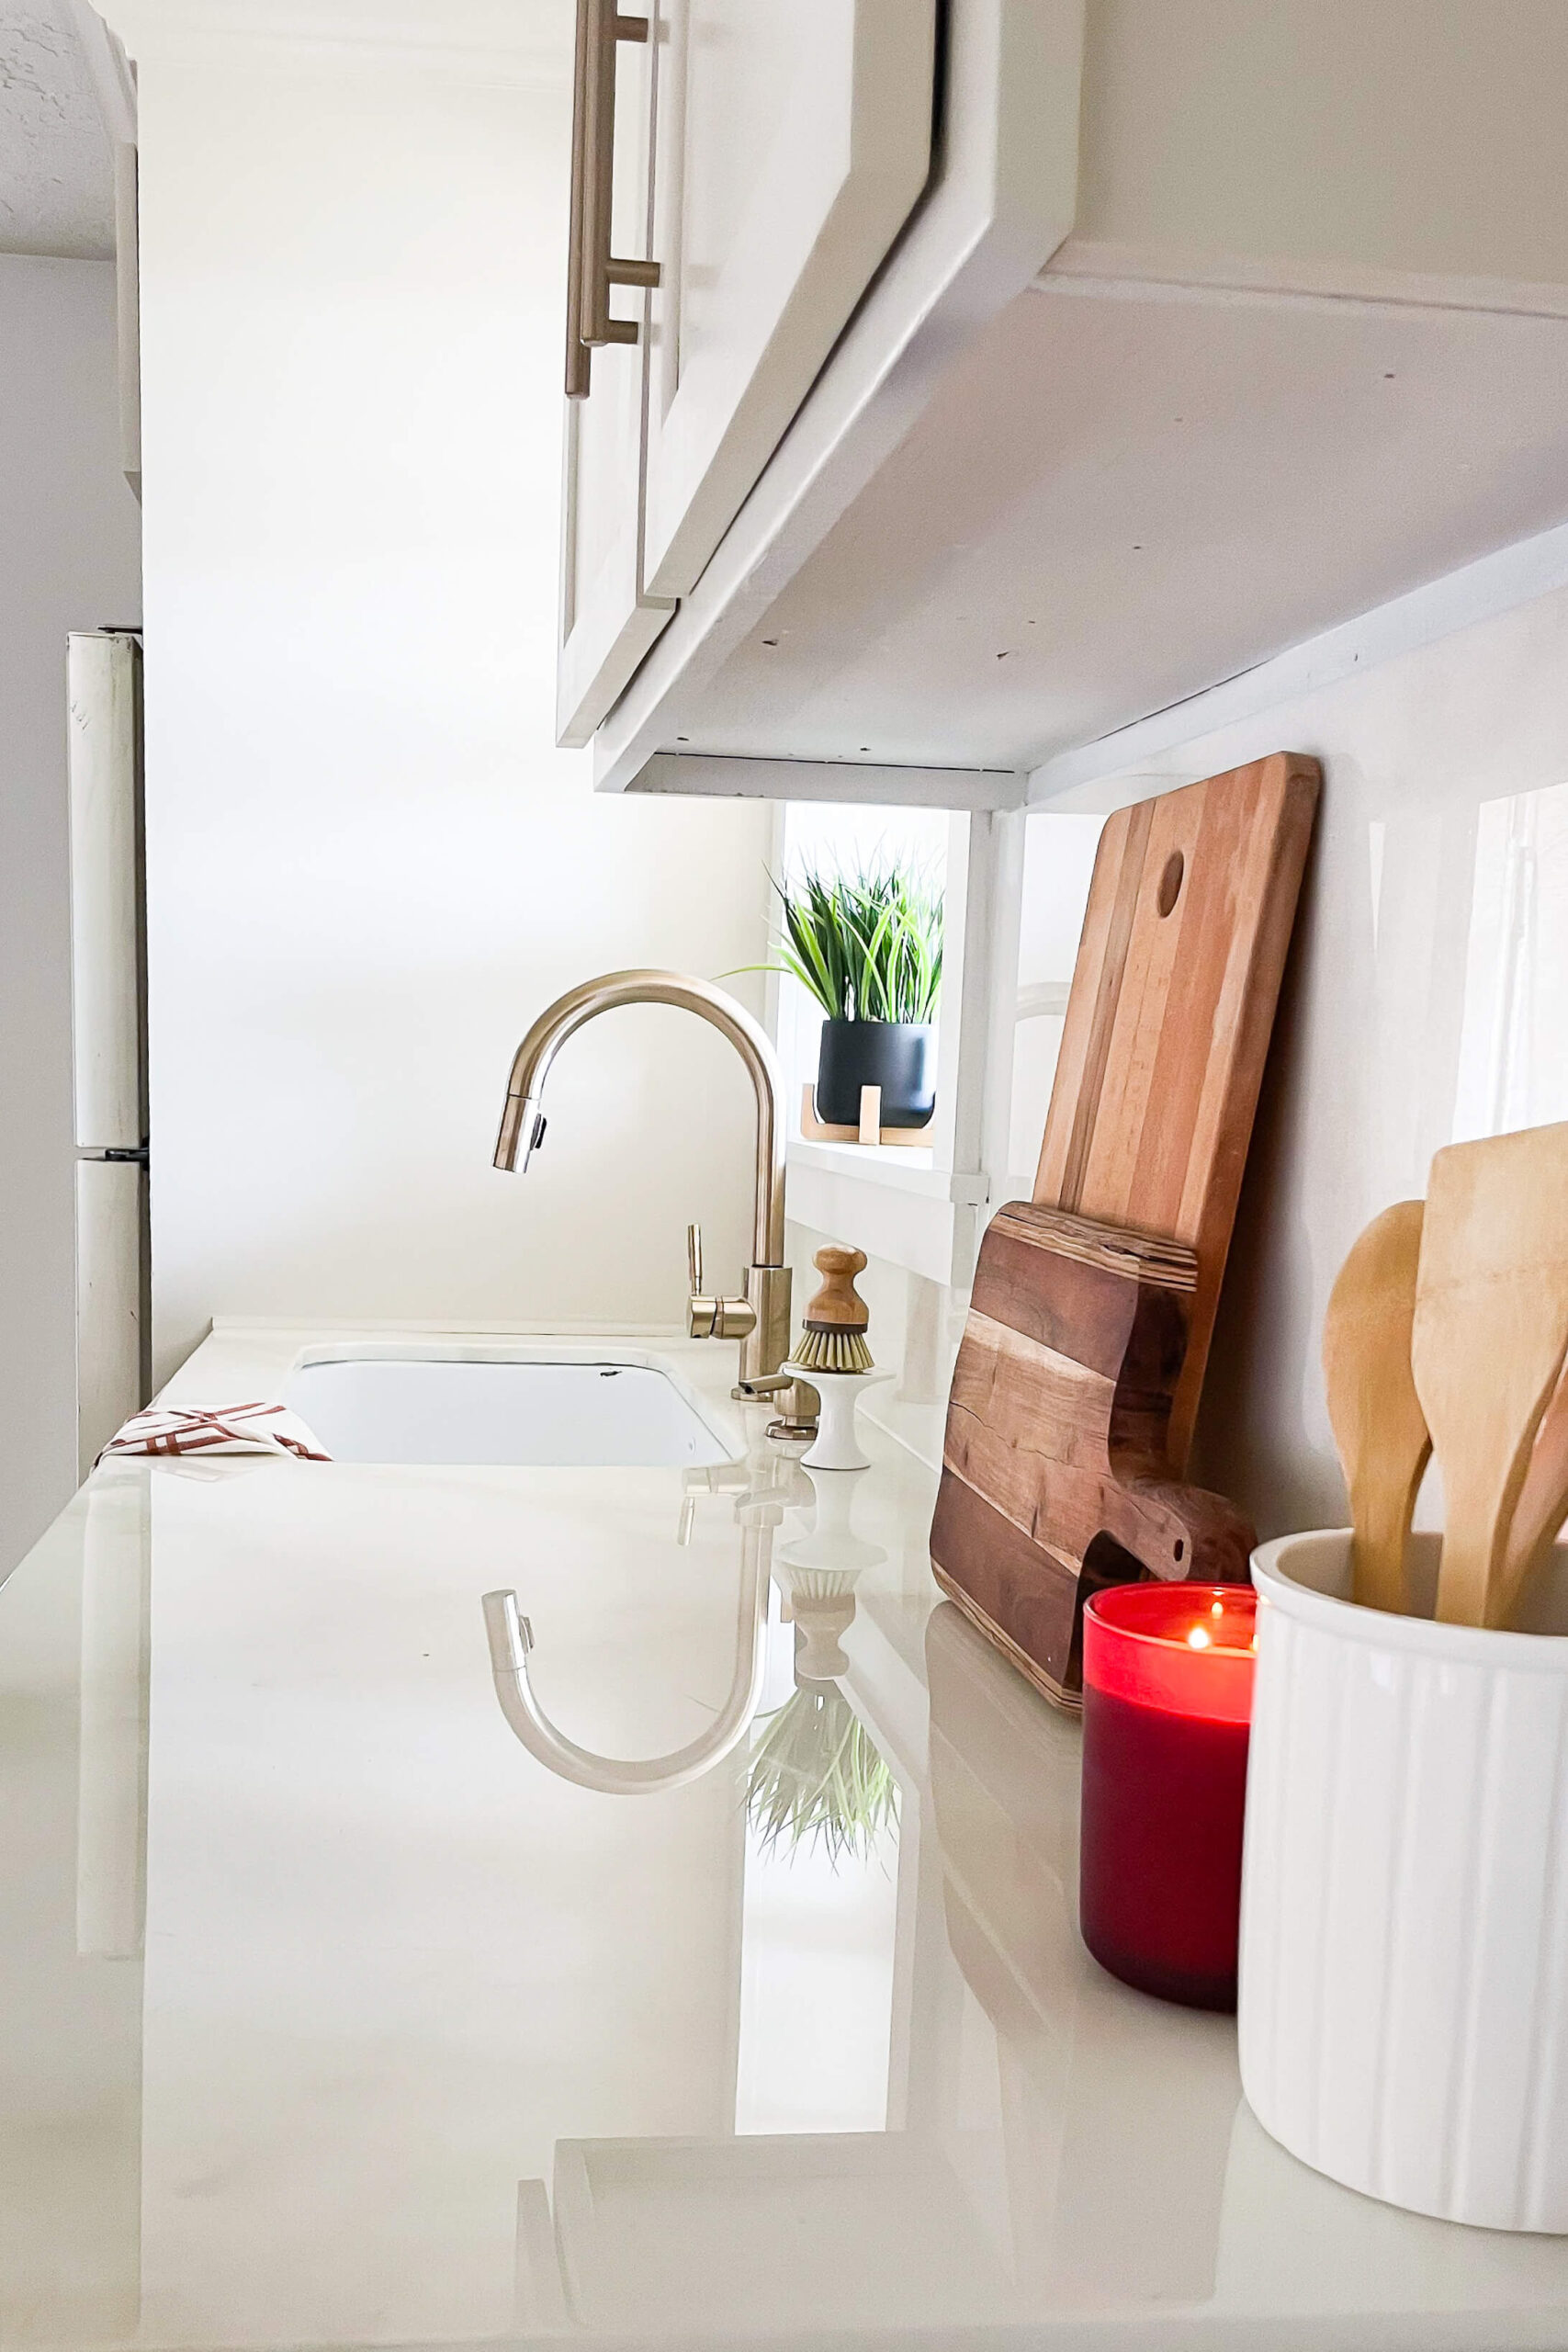
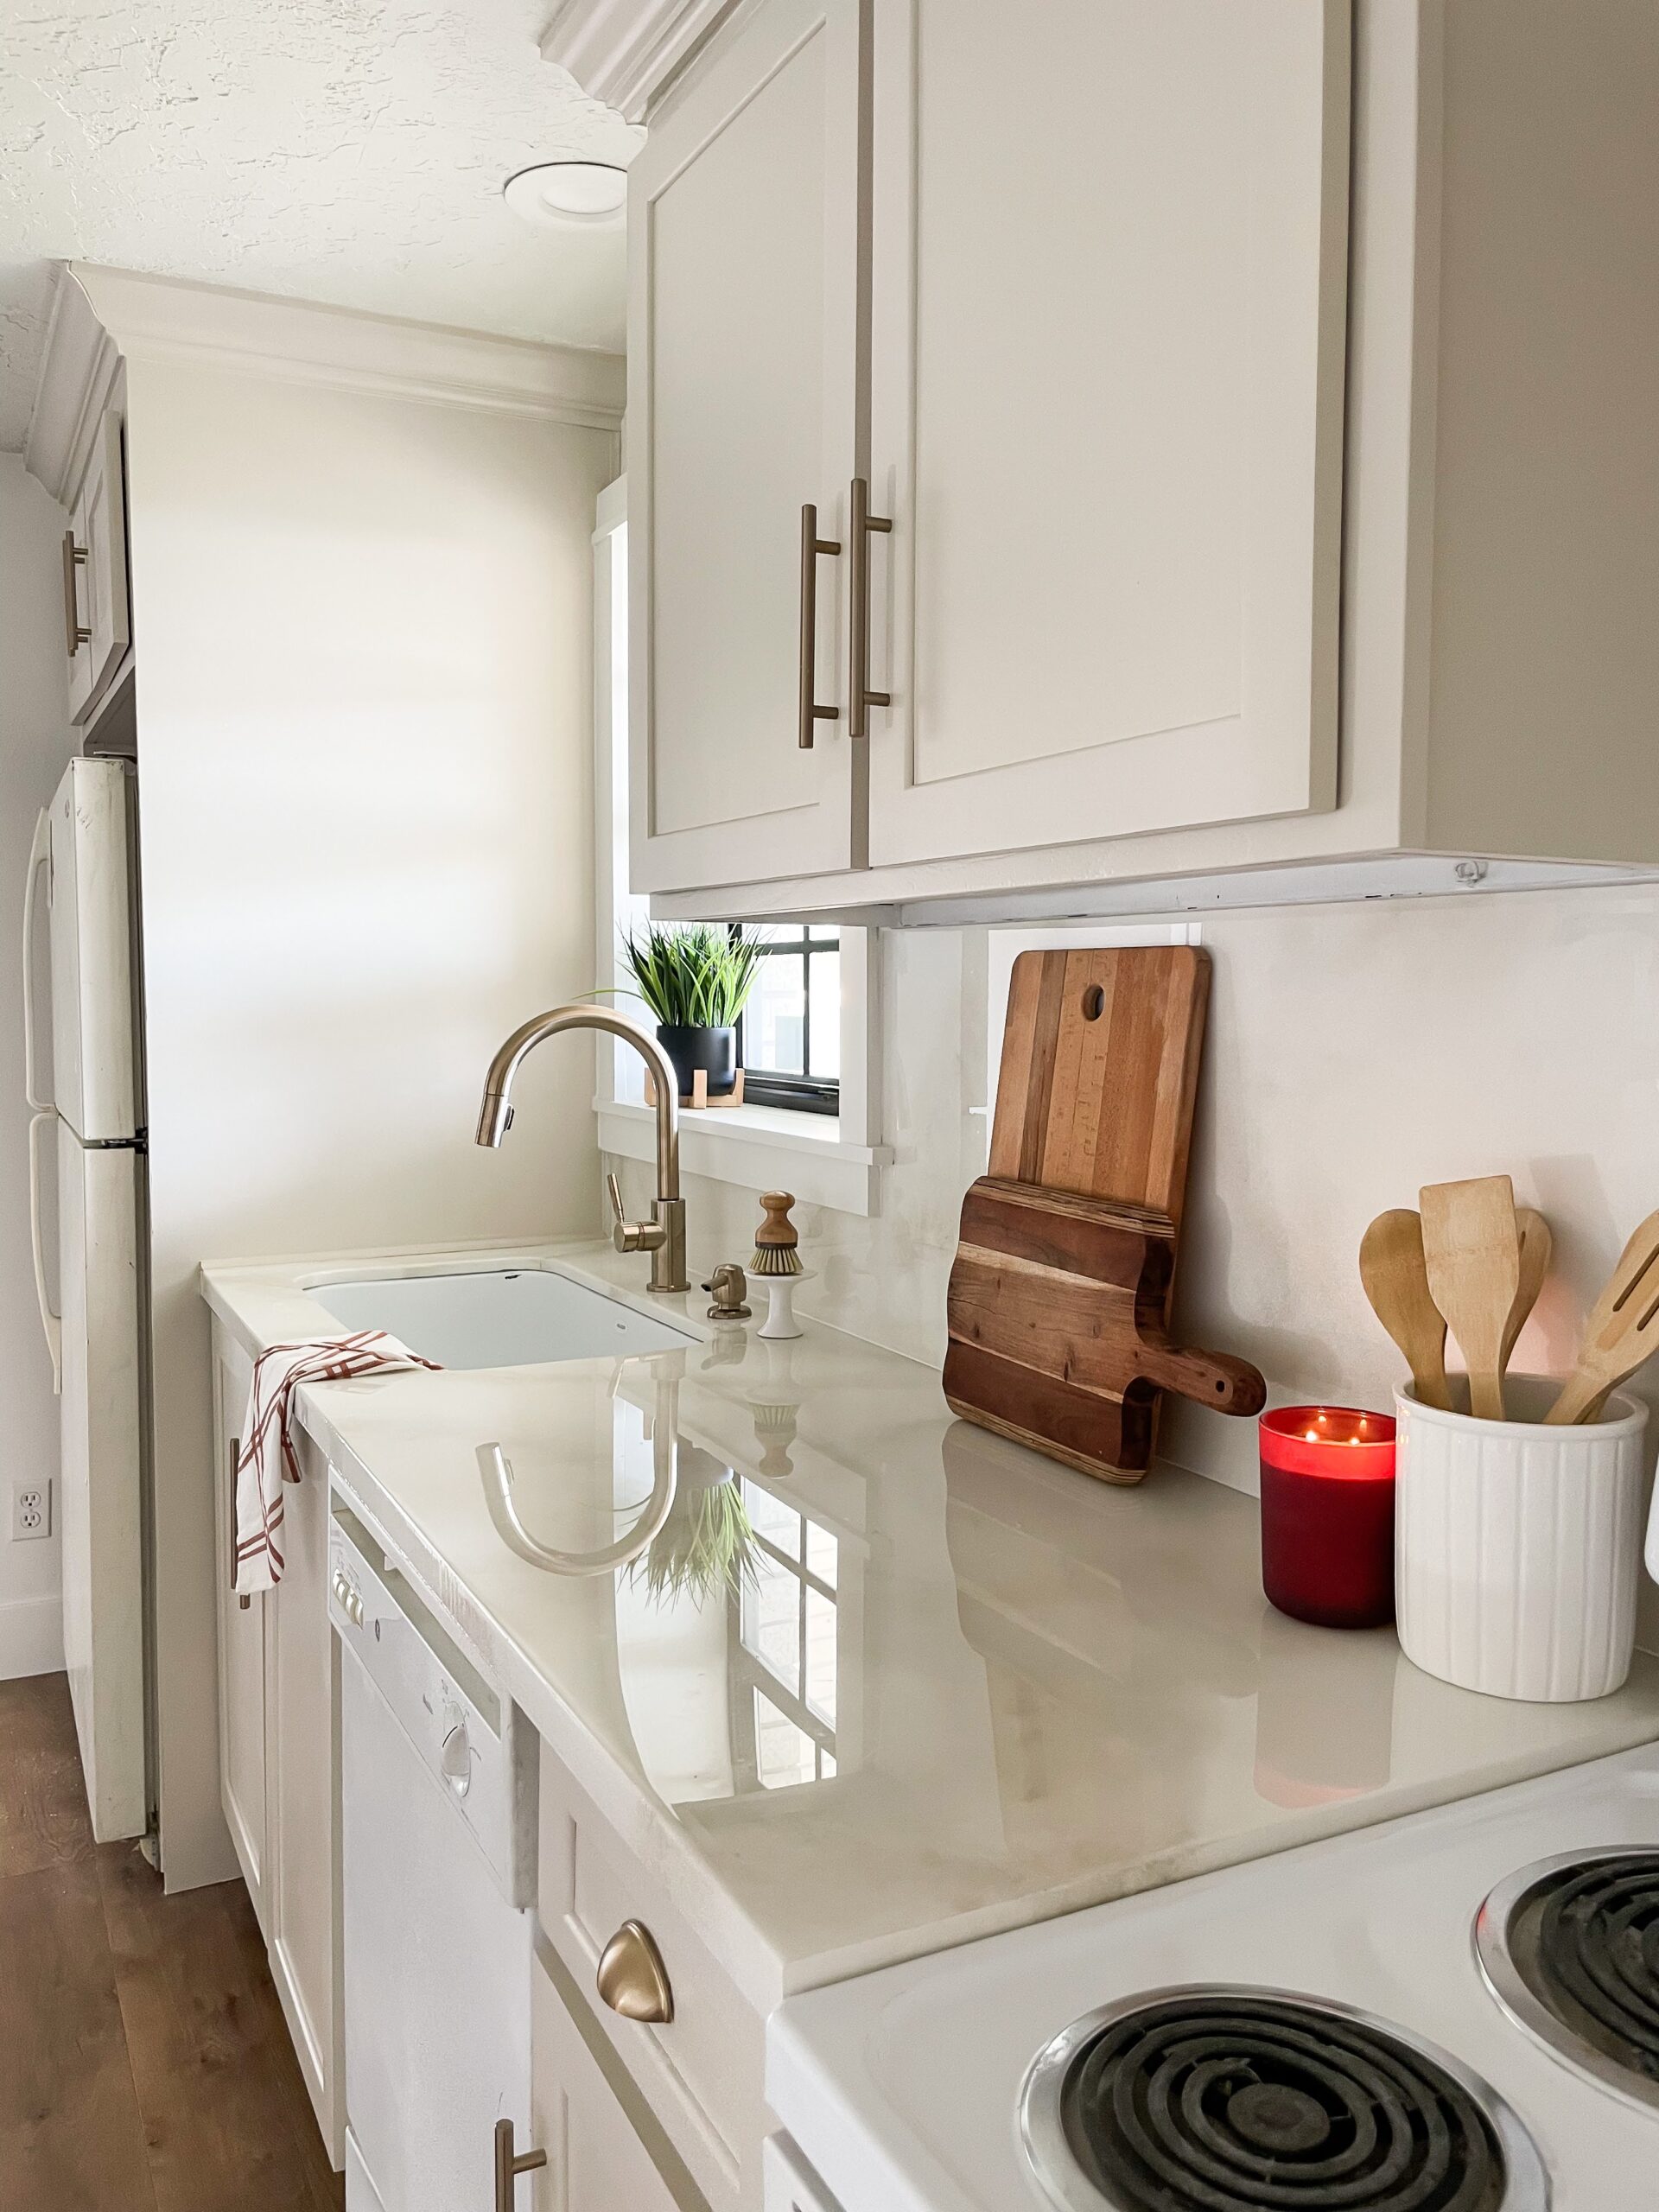
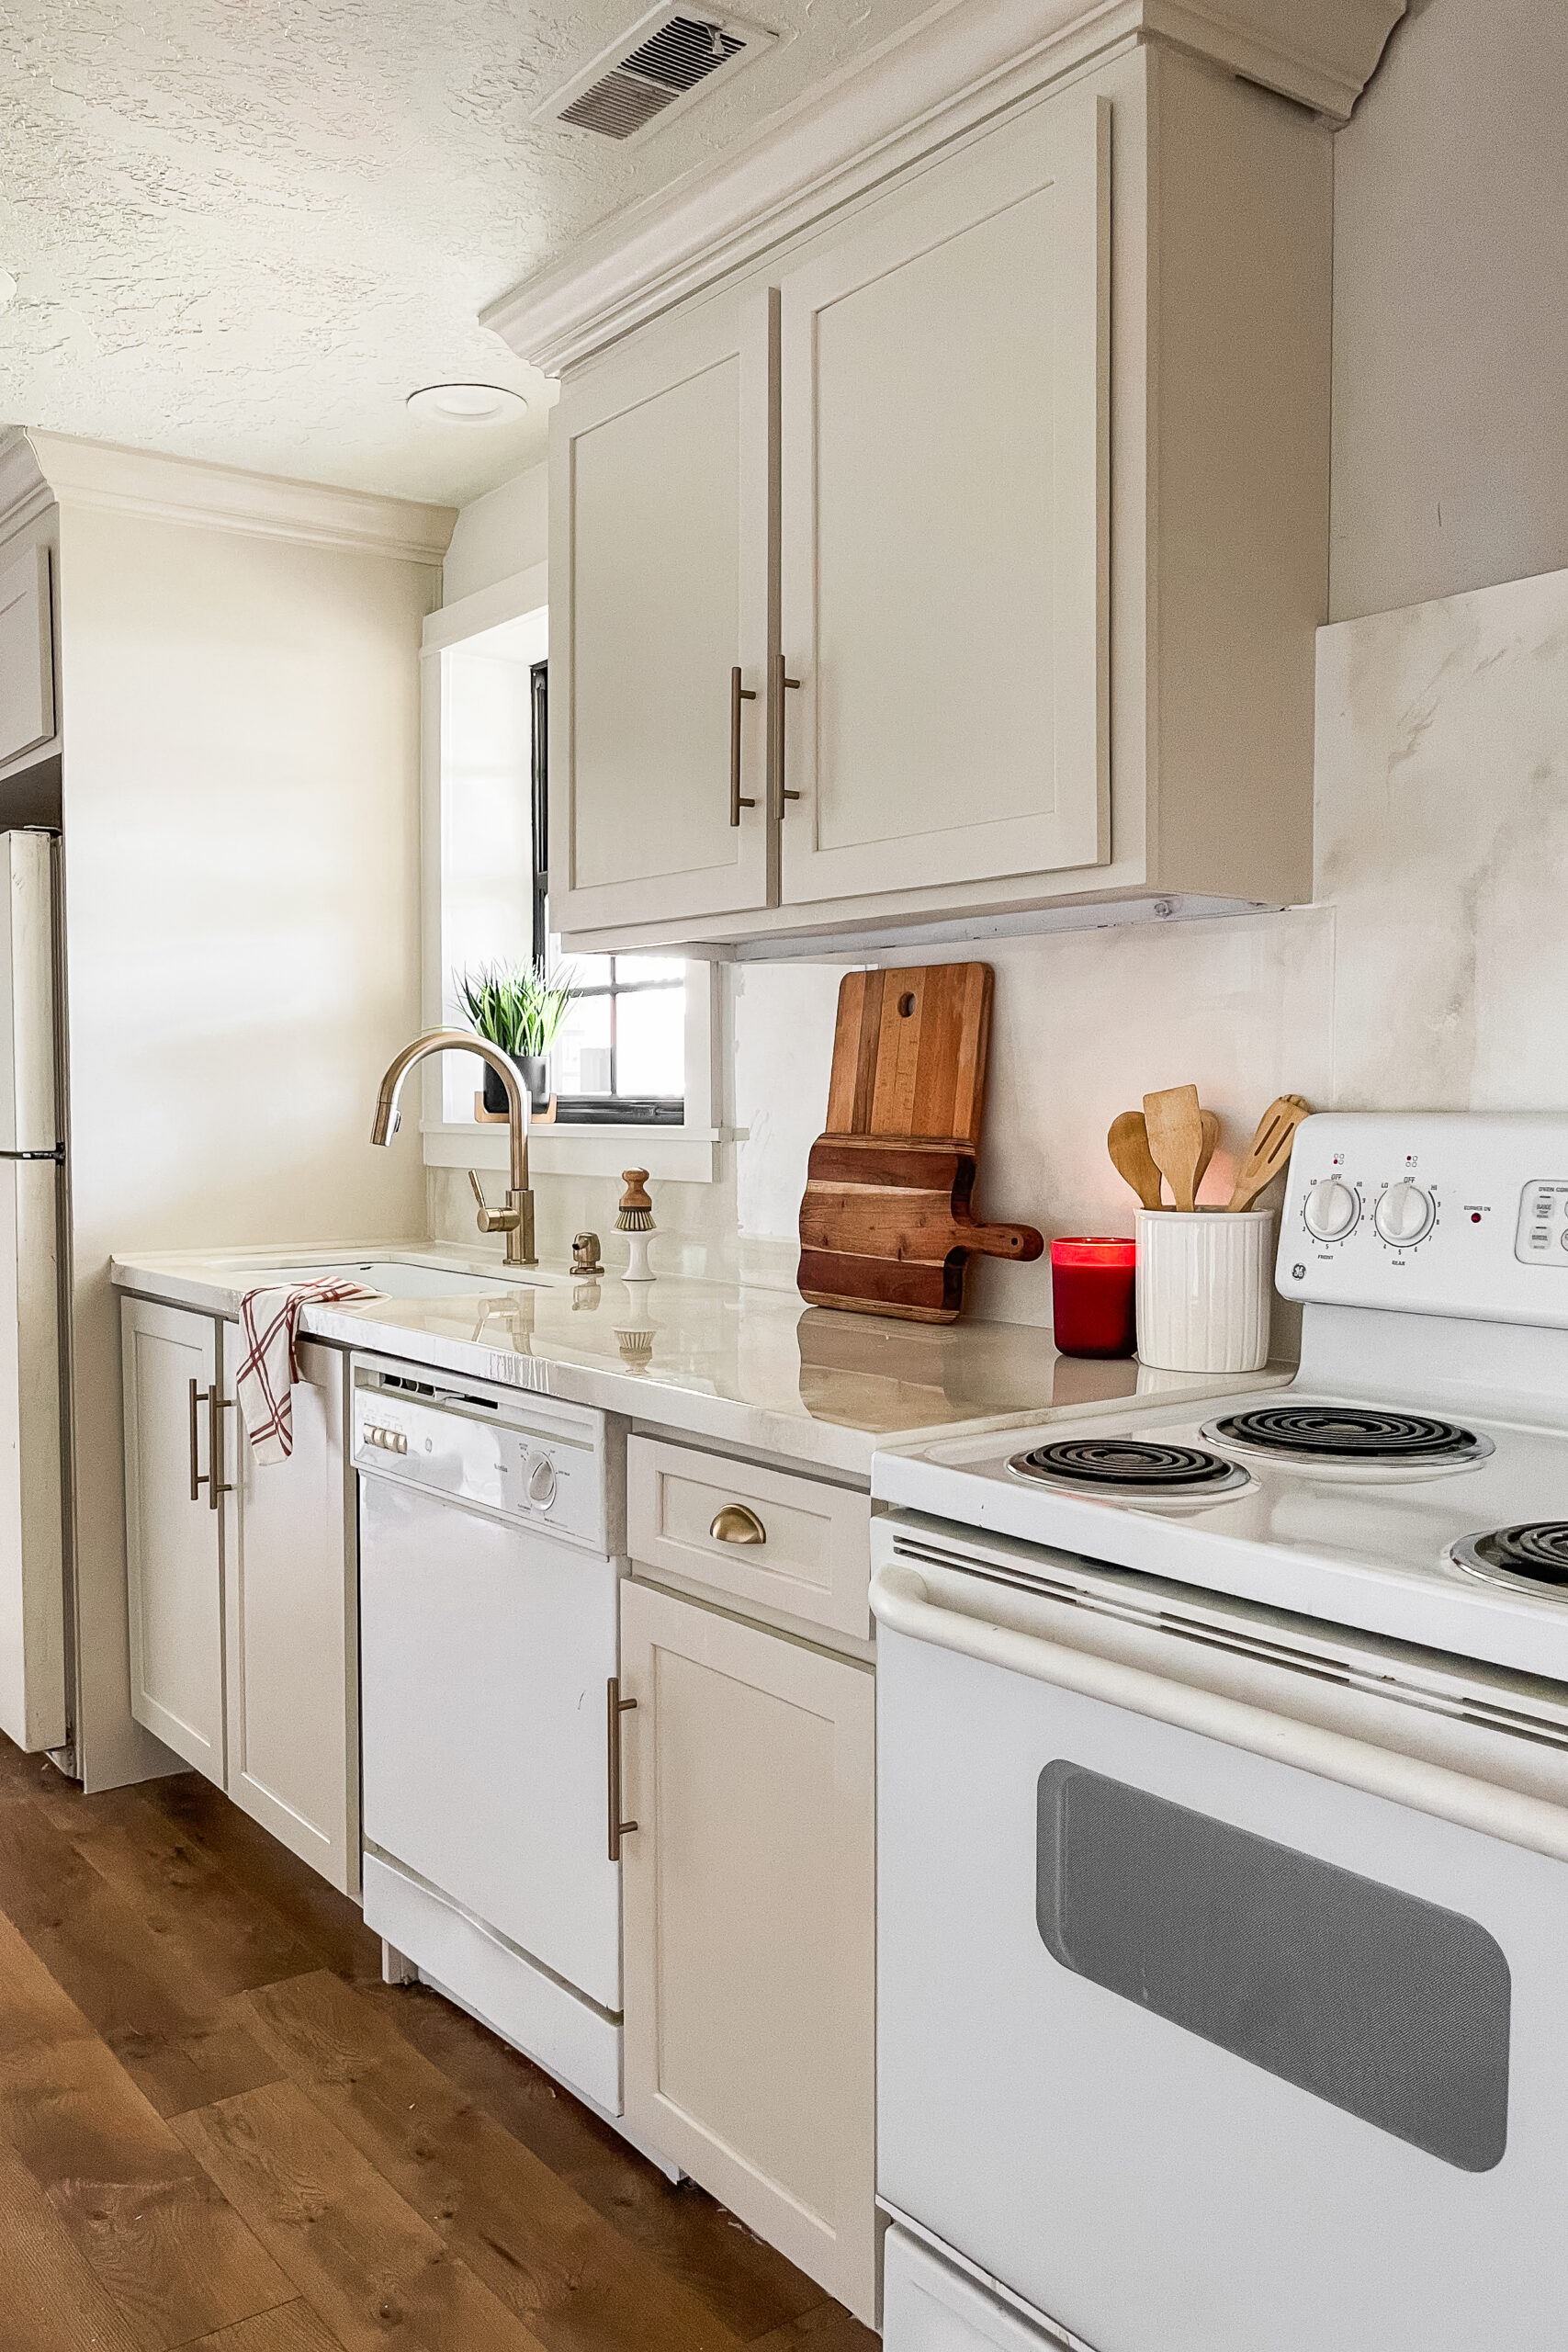
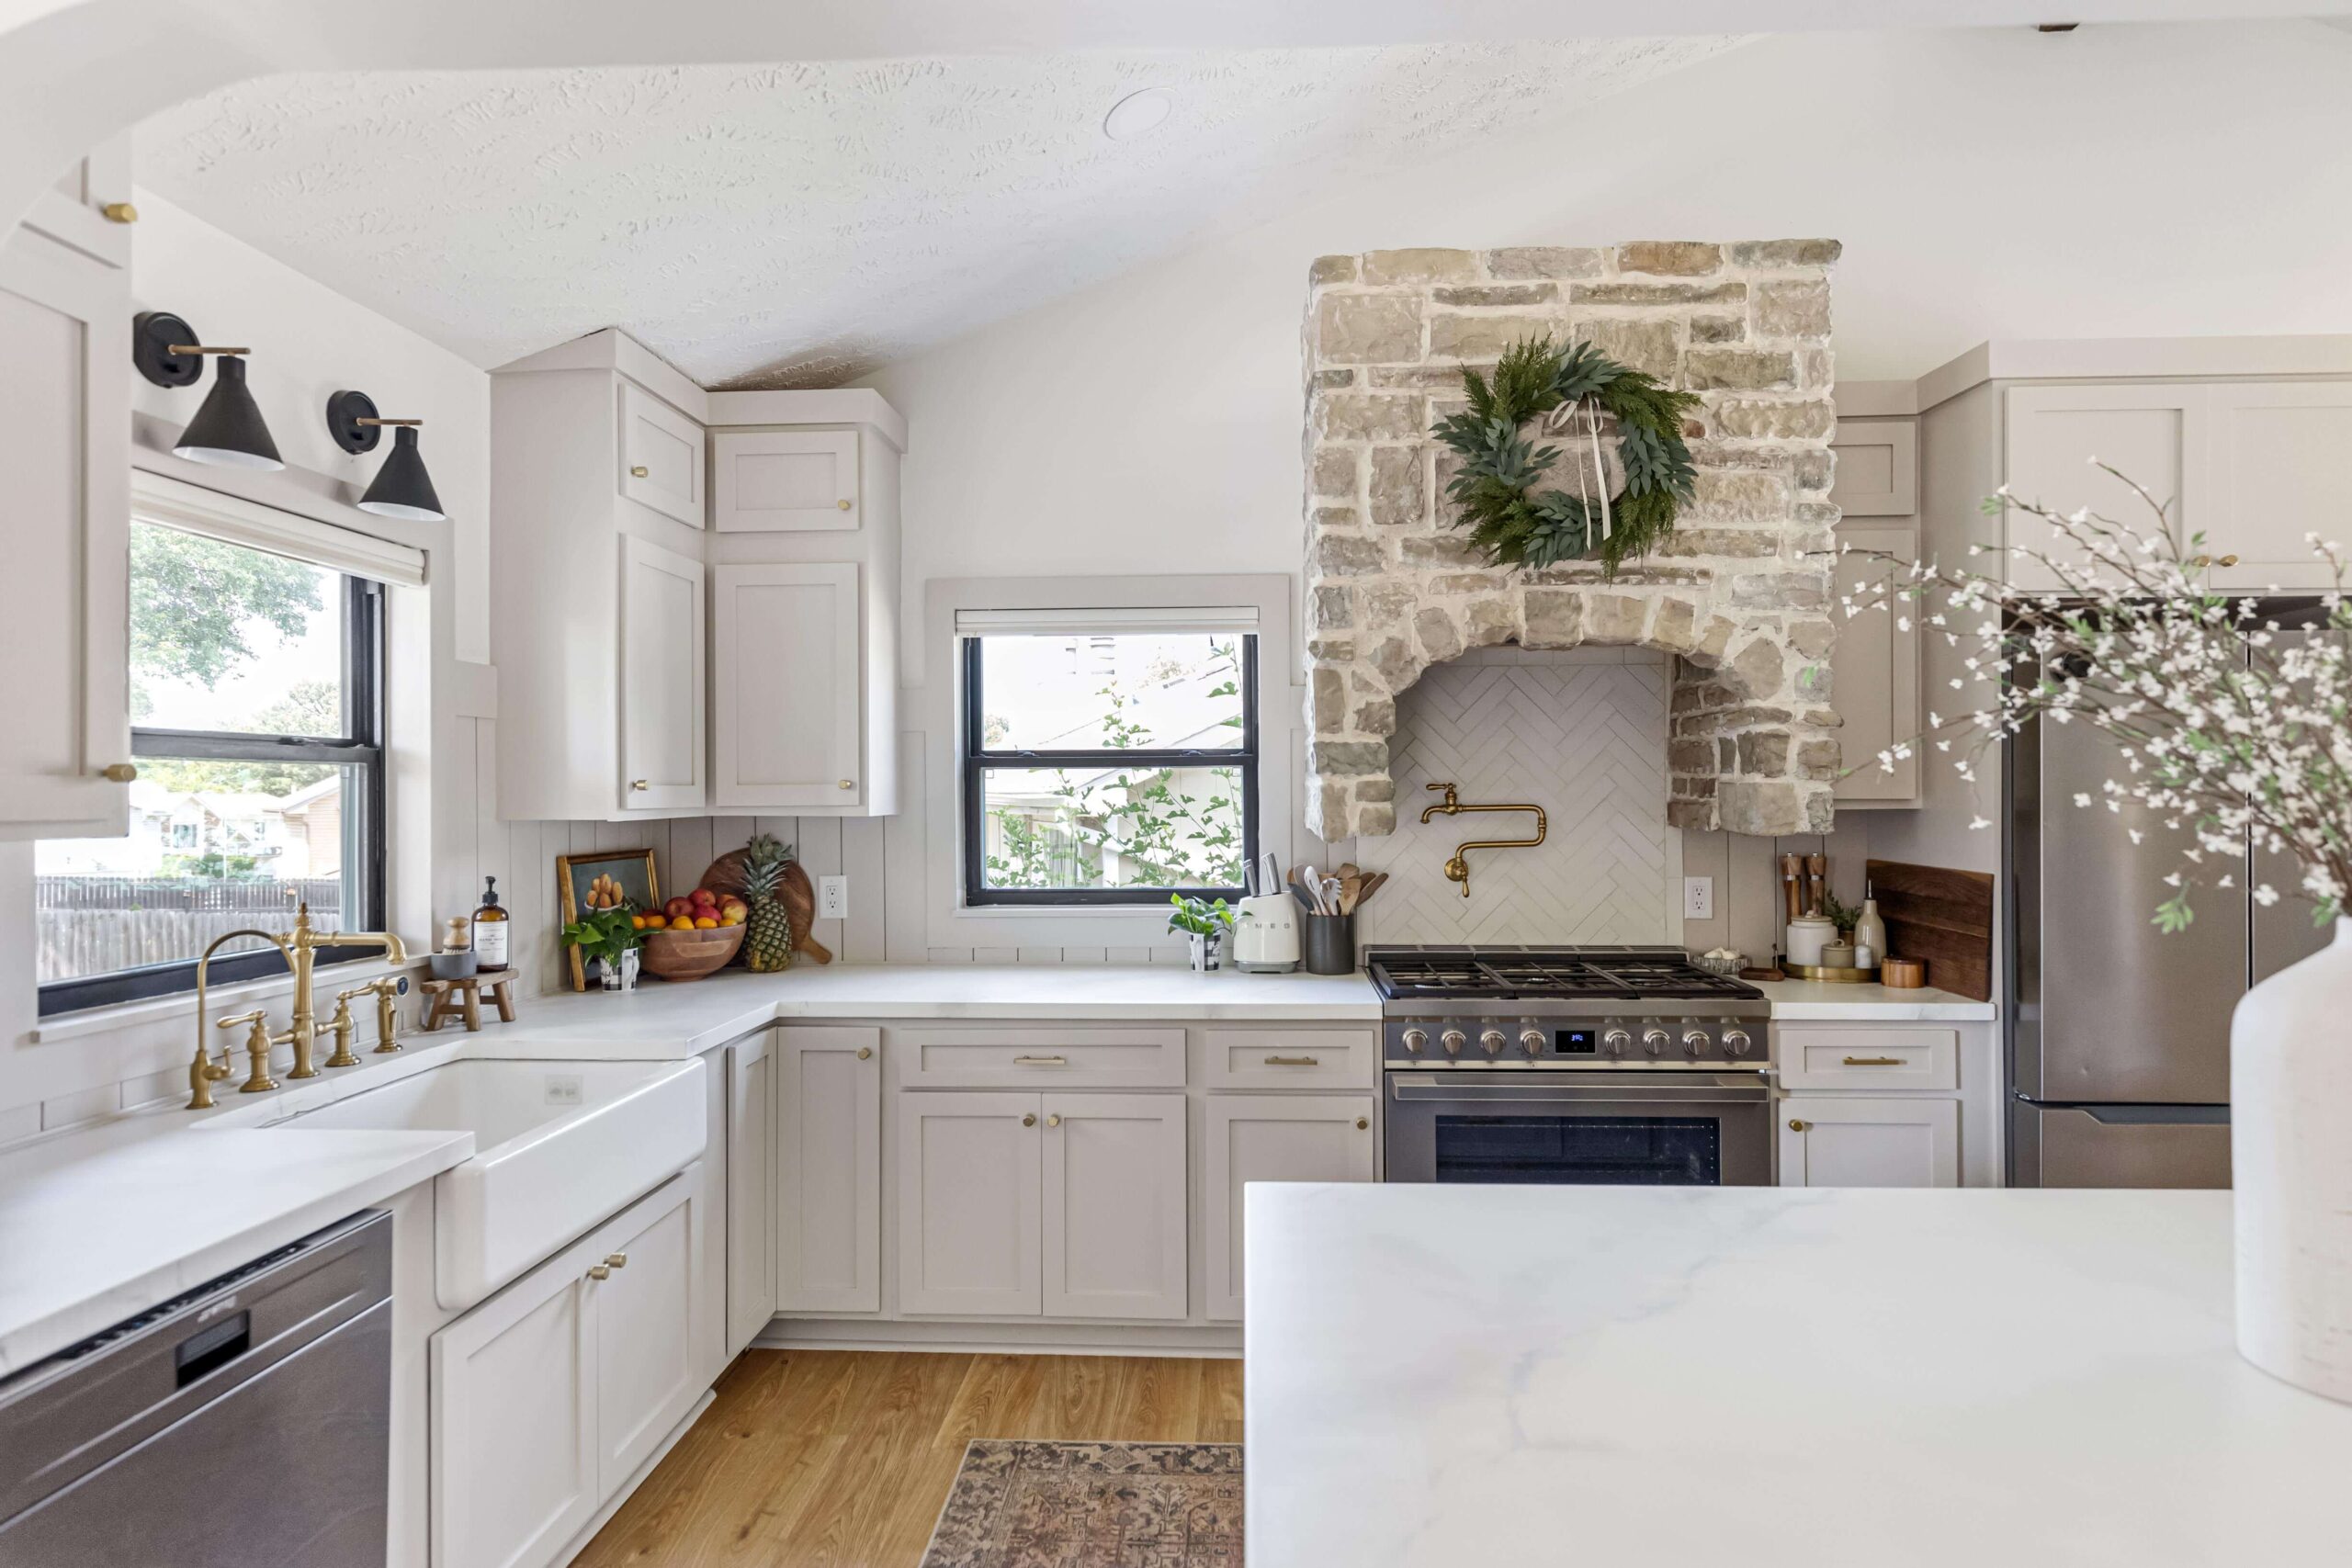
I’m so happy with how these faux marble, epoxy countertops look in this kitchen. The warm white and warm shades of grey in the marble perfectly compliment the painted cabinets.
Timeline for Epoxy Countertops
Let me give you some numbers to help you out with the planning for your own epoxy countertops project.
After painting your counters, you have to wait a full 24 hours before pouring the epoxy.
Once you pour the epoxy, it’s a full 24 hours before it becomes dry to the touch. If you want to do more than one coat for a thicker epoxy finish, you’ll need to wait a full 24 hours between coats.
It will be 3 full days before your epoxy countertops can handle light use, like setting lightweight dishes or decor on them. But it will be a full 7 days before you can move heavy stuff like your microwave on top of them. Even though you are good with heavier use after that first week, it’s not actually fully cured until after 30 days.
Once your epoxy countertops are fully cured, they’re really durable and easy to care for. They may lose their shine overtime, but you can buff them out with a sander and a very high grit sandpaper.
This epoxy countertops project was part of a budget kitchen remodel, and I’m currently working on posting tutorials for all of the projects in this kitchen. I redid the fireplace, removed tile and installed laminate flooring, rearranged and painted the cabinetry, built an island with a waterfall countertop, and built a custom range hood too. Follow along on my blog or on my Instagram if you want to see all the details on this kitchen remodel. The whole kitchen update was done for less than $3,000!
After moving from Utah to Nebraska, we did another DIY kitchen remodel, and used my method for epoxy countertops in that kitchen too. For details on that kitchen remodel, check out this post here.
Hello! Love your countertops! Just curious if they really amber over time from the epoxy?
Because of the brand of epoxy I use, it doesn’t yellow, which is great!