How I Installed Laminate Kitchen Flooring


Updated May 9, 2026
When redoing my kitchen, the first upgrade was installing laminate kitchen flooring. It’s beginner-friendly and budget-conscious—perfect for DIYers! Here are my tips for an easy installation.
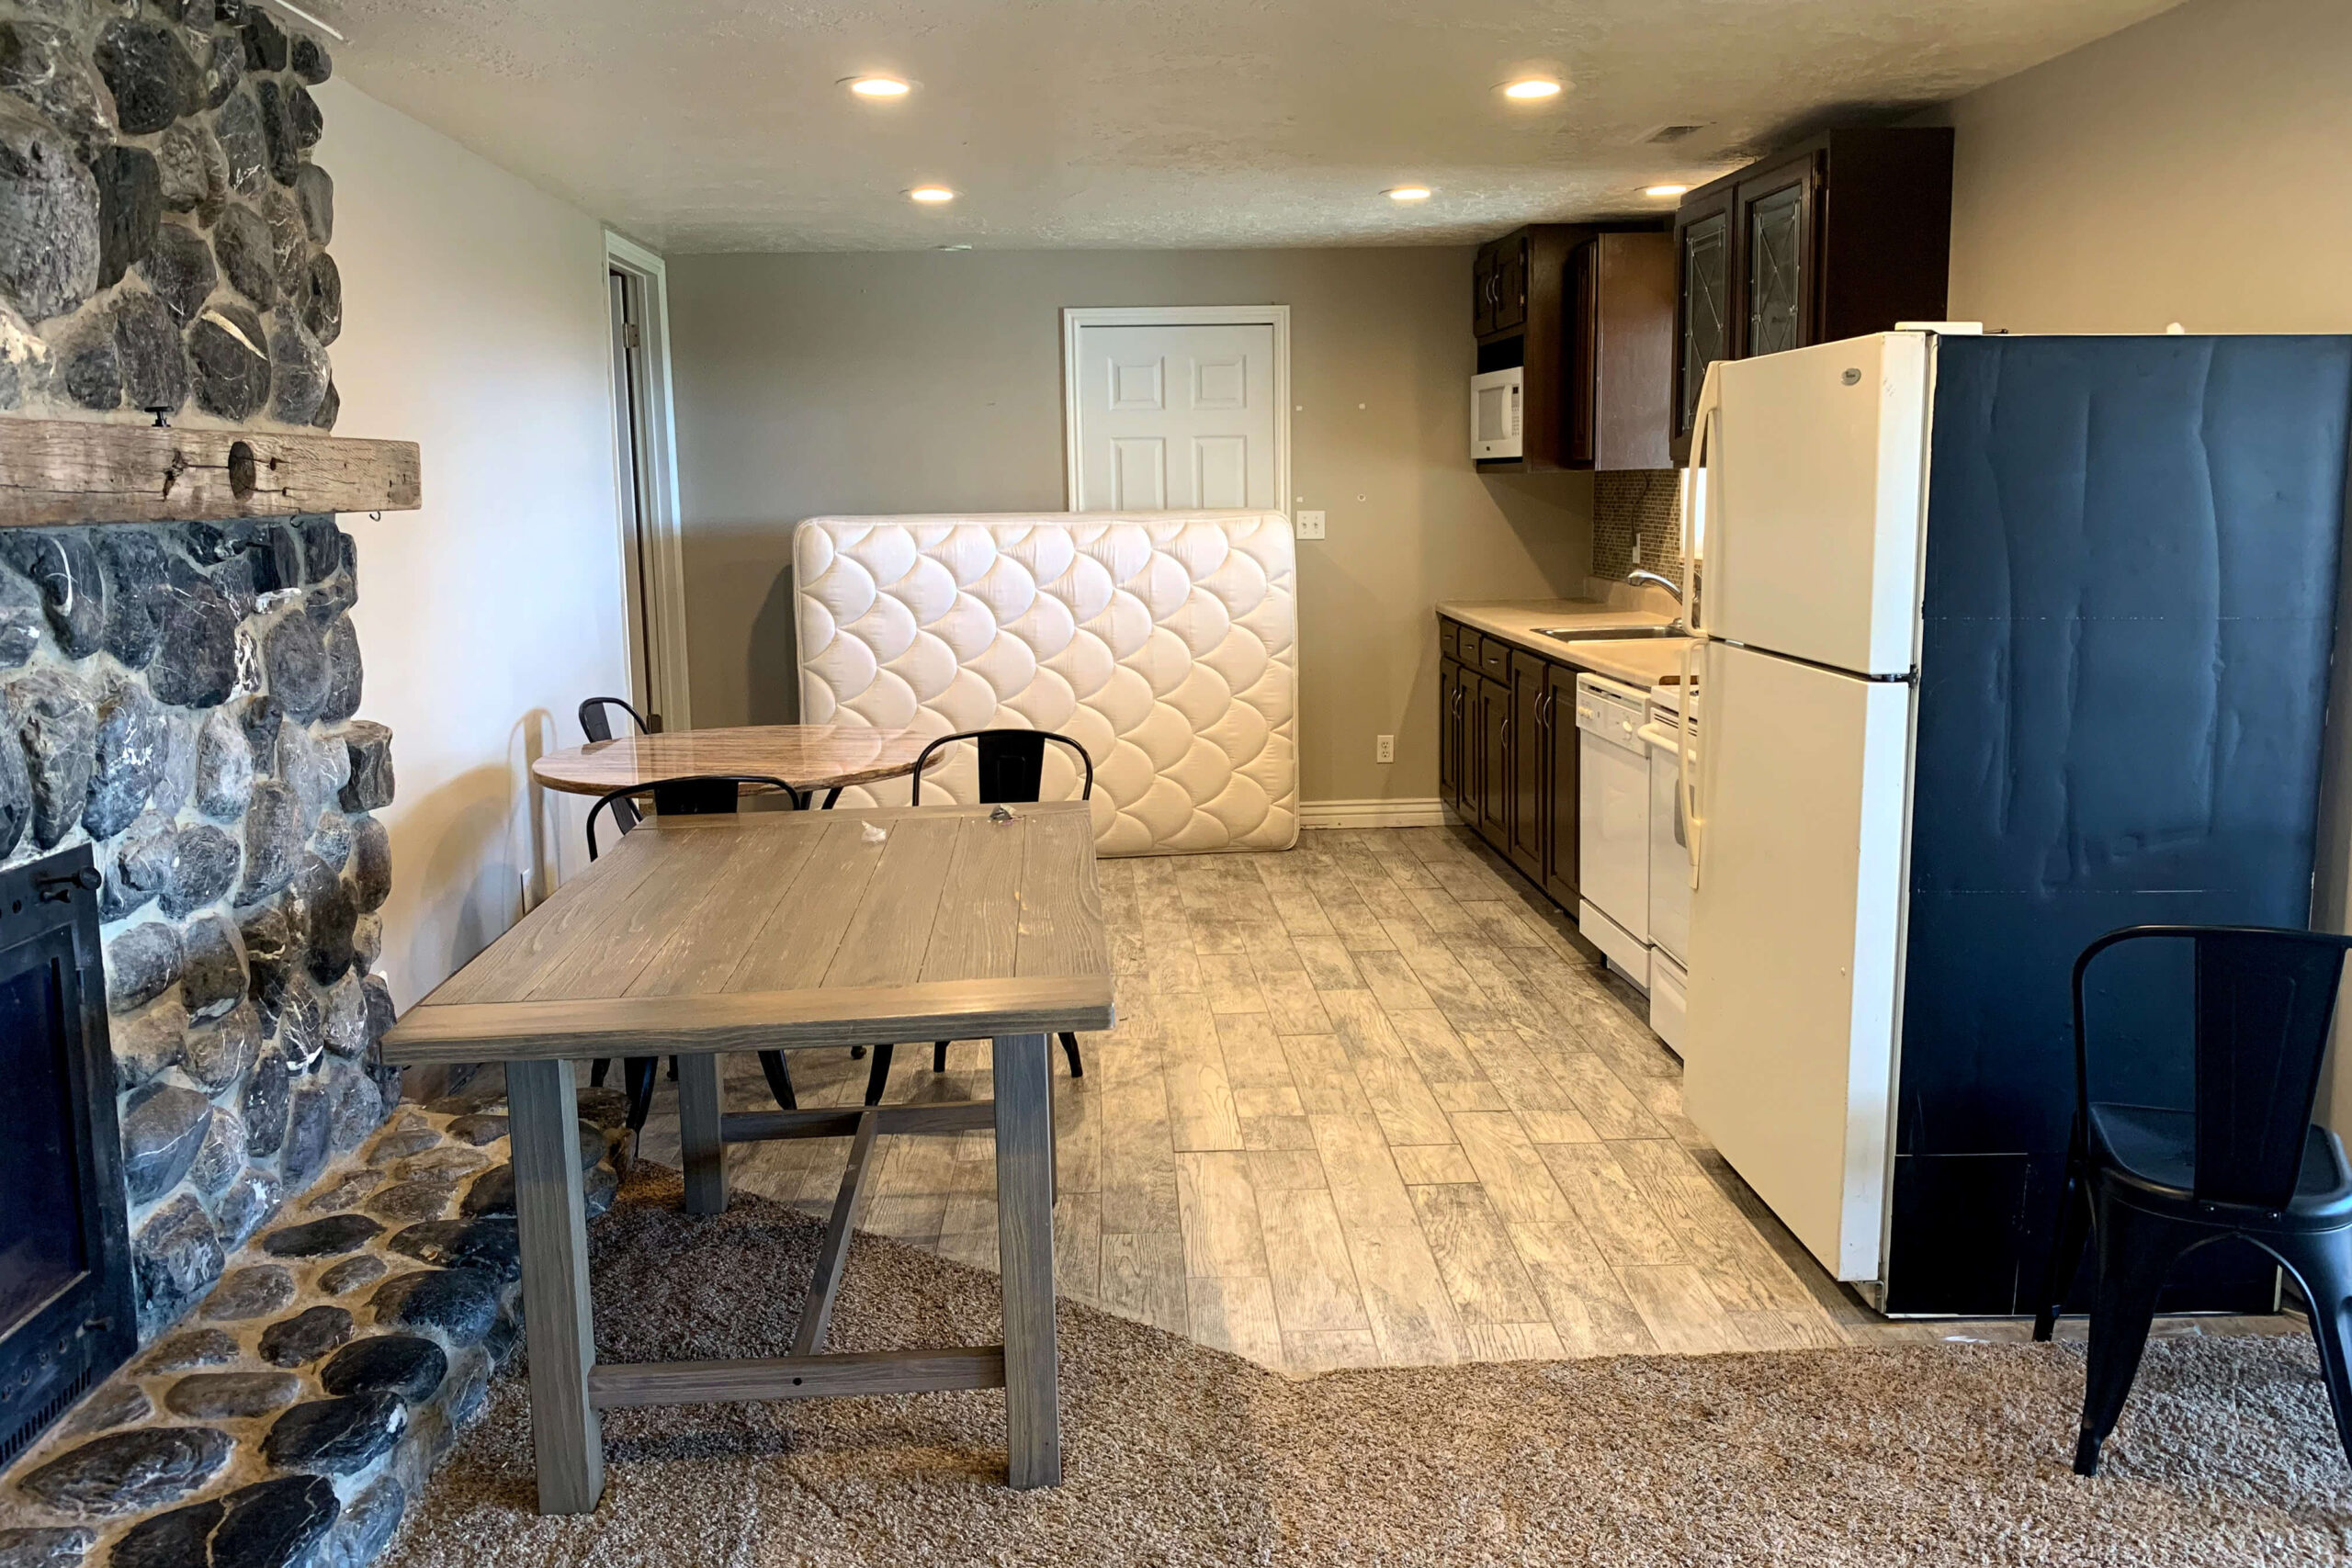
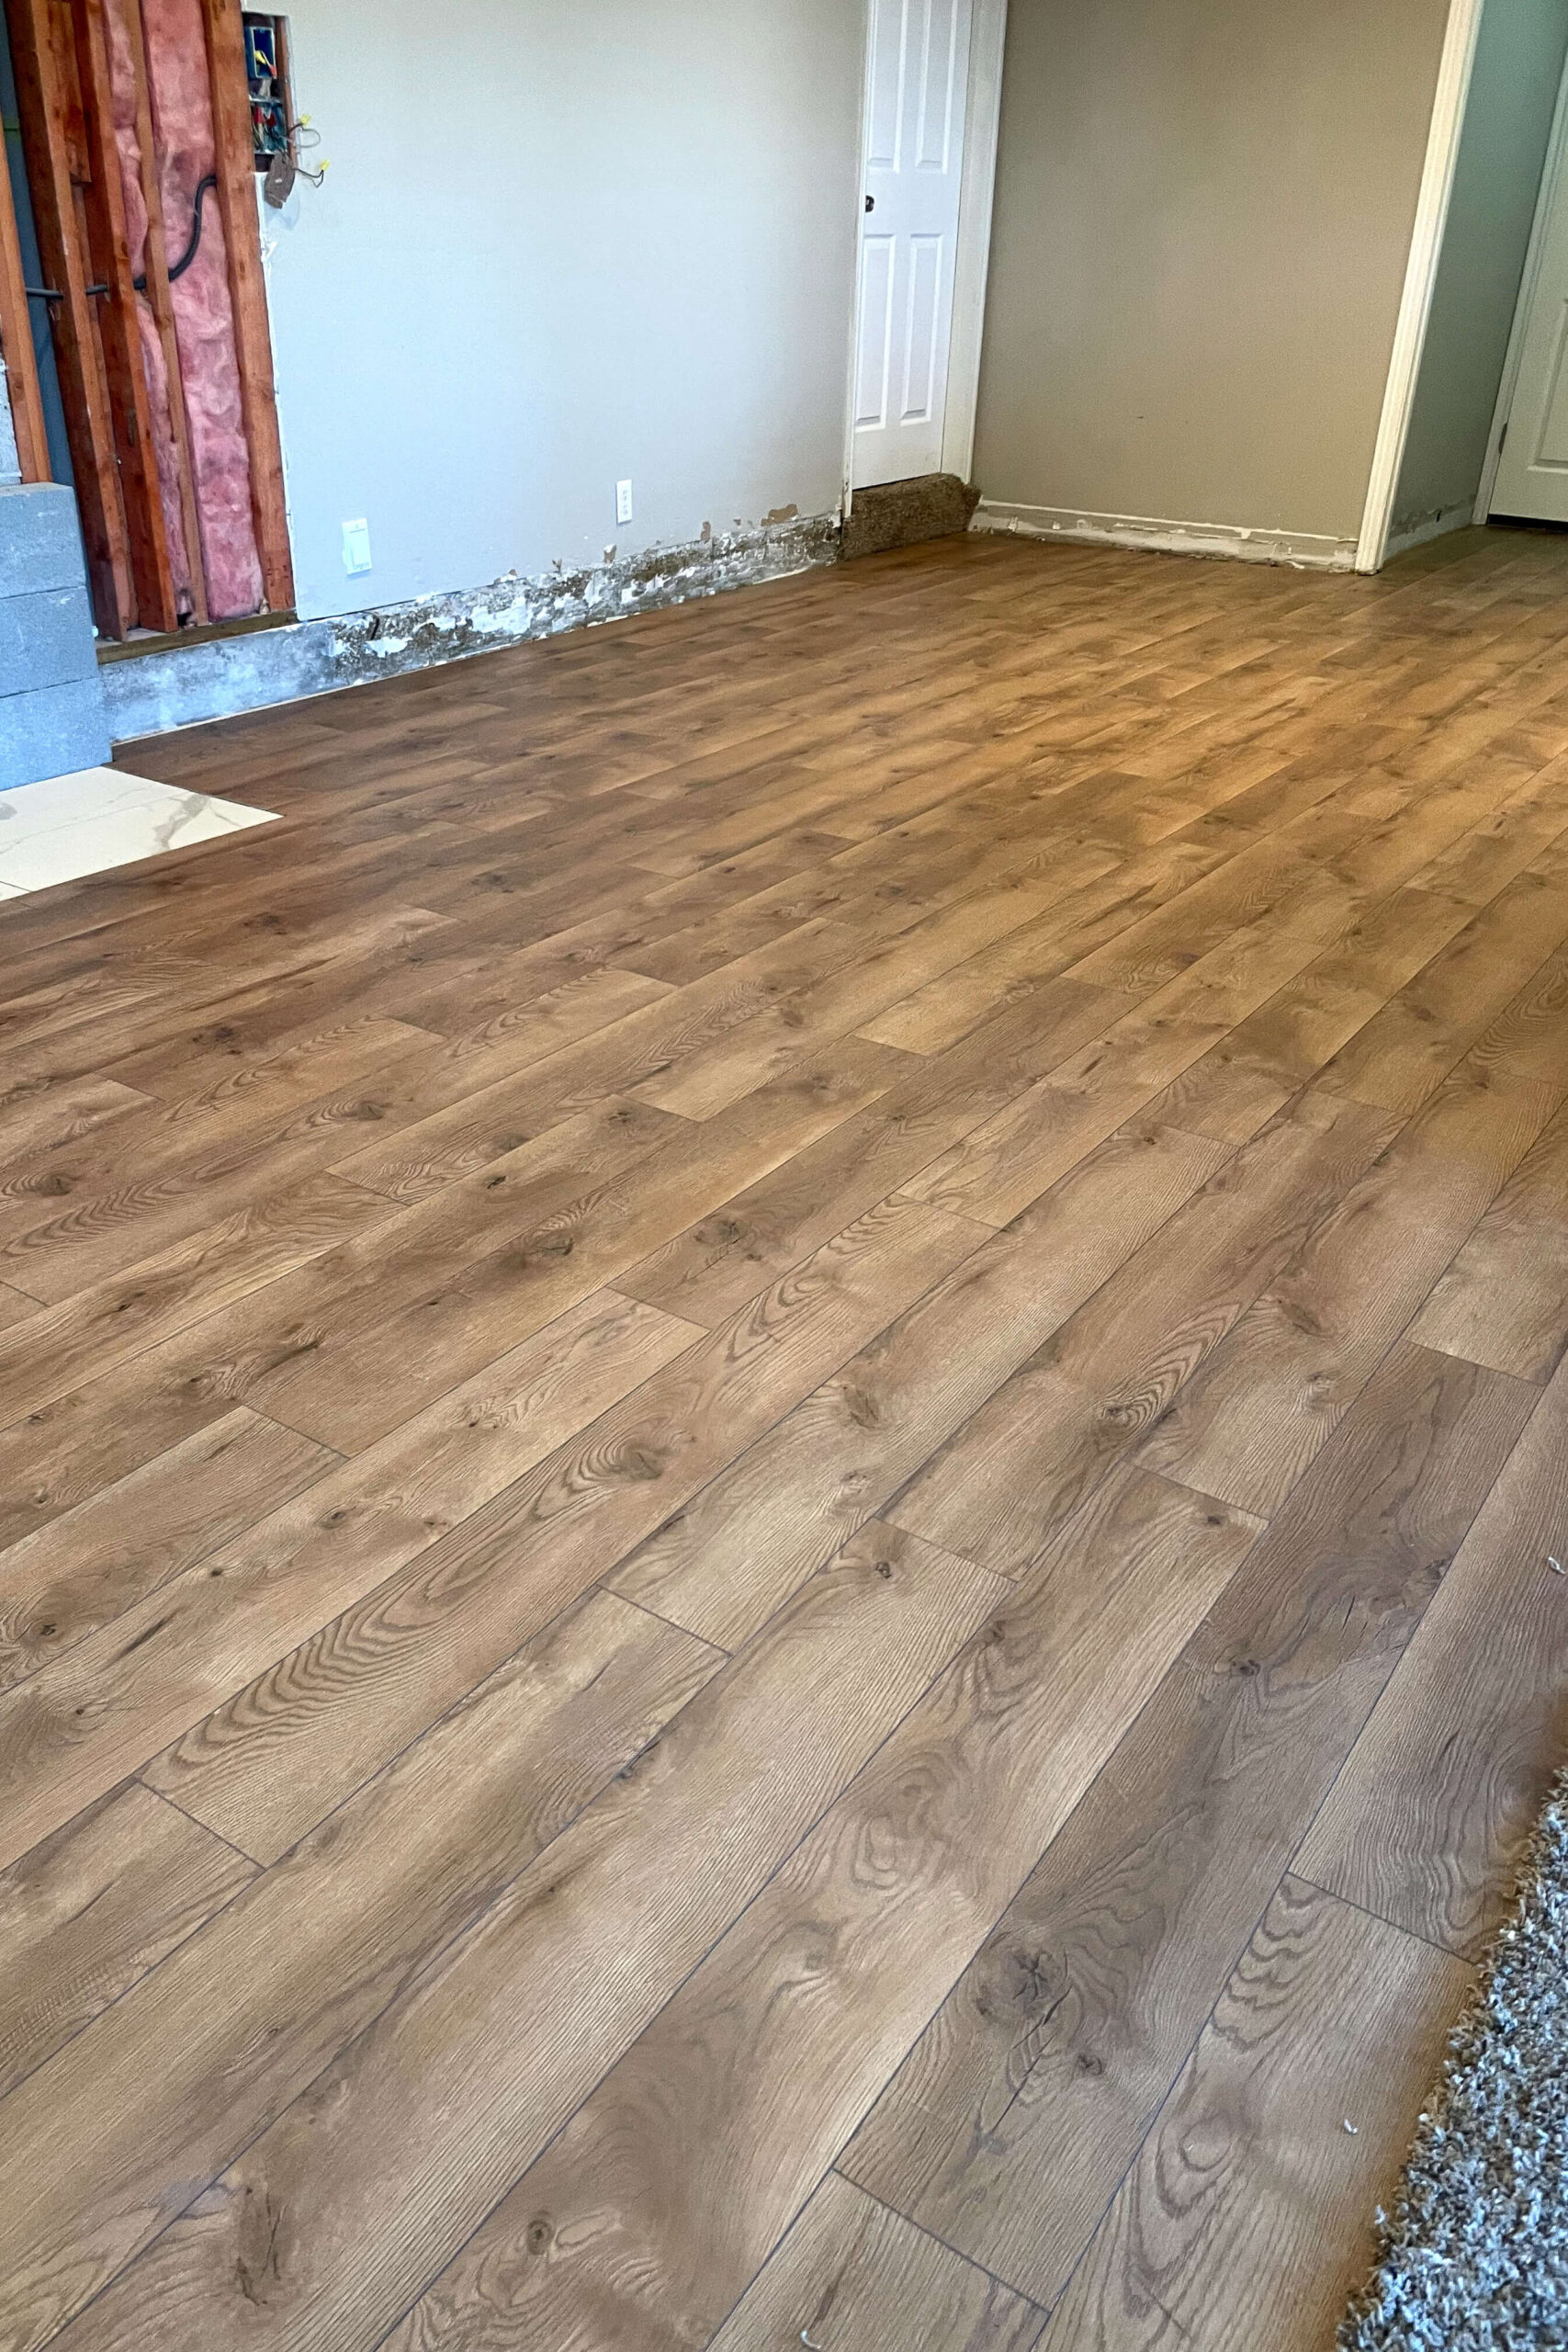
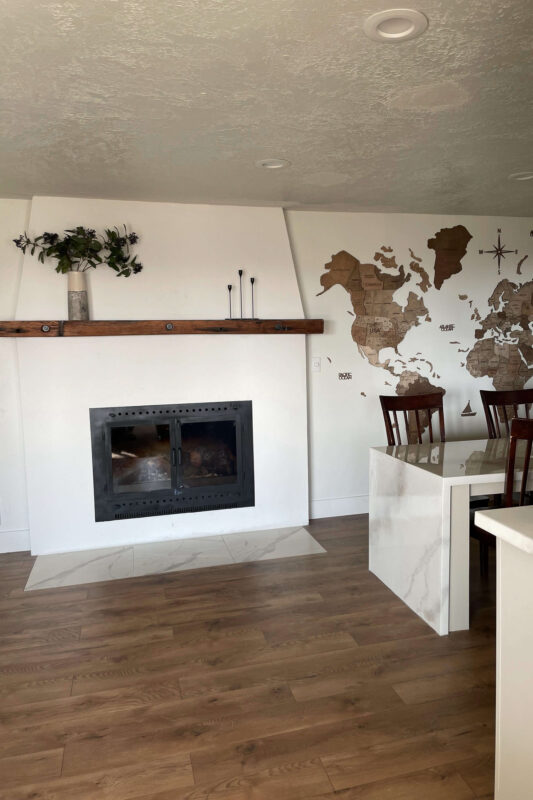
This laminate kitchen flooring project was part of a complete basement kitchen overhaul in our last home before leaving Utah. I have a couple before photos so you can see what we’re working with.

The mix of carpet and tile had to go, so I chose Select Surfaces laminate flooring—waterproof (very important in a kitchen) and easy to click together.
Tools and Materials
- Waterproof laminate flooring
- Underlayment
- Masking tape
- Rubber mallet
- Scrap piece of wood or tapping block
- Pull bar
- Circular saw or miter saw or table saw or jig saw
Prepping for Installation
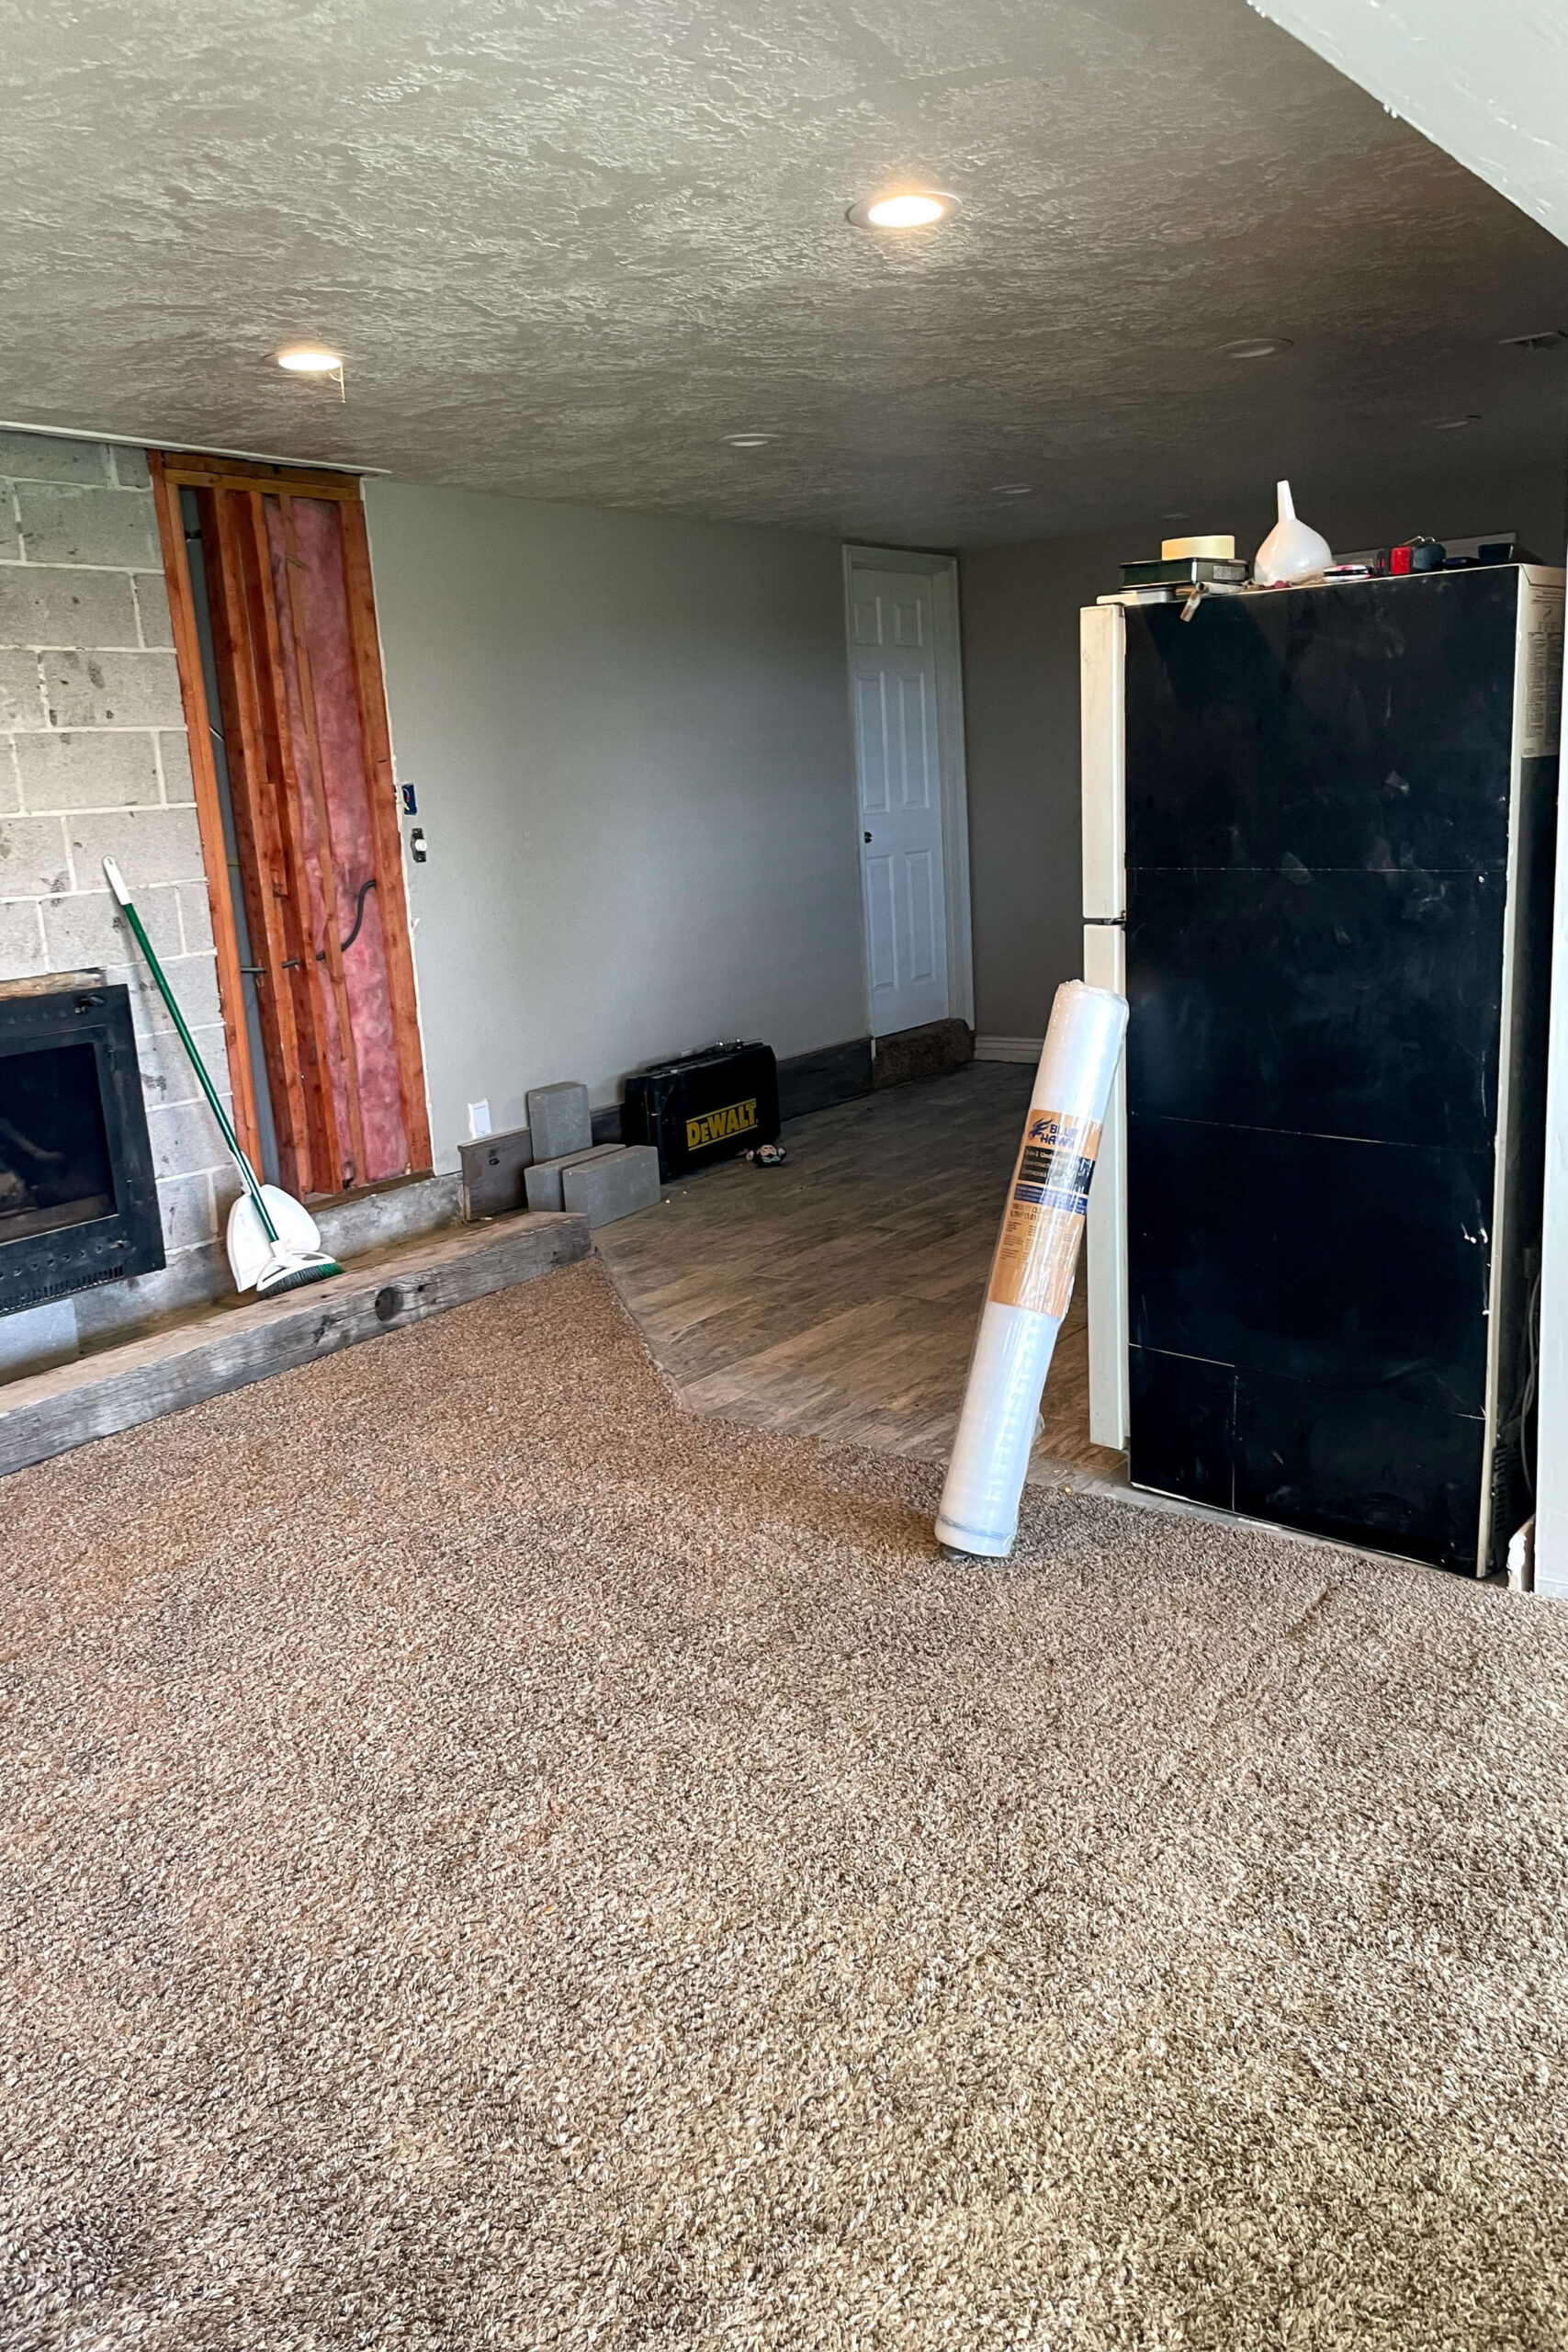
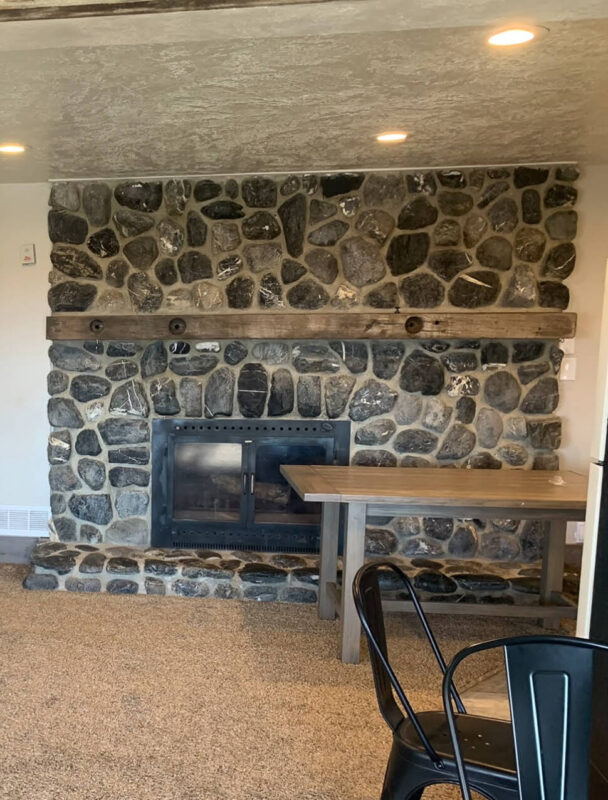
While working on the flooring, we also tackled the fireplace, which hogged a lot of wall and floor space. Once the stone was out, we ripped up the carpet, pad, tack strip, and tile. Armed with a jackhammer and floor scraper, I cleared the old tile, creating a blank slate for the laminate kitchen flooring.

The flooring has an attached foam pad for comfort and noise reduction, but I added an underlayment for a moisture barrier. Just unroll the underlayment in the same direction as your flooring and secure it with masking tape.

Installing the Laminate Kitchen Flooring
When laying the flooring, keep these points in mind: Laminate kitchen flooring goes up to the cabinets, not underneath, but it does go under appliances. Decide the direction of your flooring—I chose longways to minimize cuts and make the room feel bigger. Leave an expansion gap around the edges (1/4″ to 3/8″). Stagger the planks; I used a thirds pattern, which is the same stagger pattern that I chose when we installed flooring in our current home in Nebraska.

How to Click the Planks Together
To connect planks, hold one at an angle, insert it into the laid plank, and press flat. Use a scrap wood piece and rubber mallet to ensure a tight fit. A tapping block works even better.


Cutting Laminate Flooring
For cuts, I used a miter saw for short, quick cuts, a table saw for long, narrow sections, and a jig saw for tricky cuts around vents or corners.


Pro Tip: Save any scrap pieces to fill small gaps. They’re perfect for gaps and other small areas that need to be filled in as you go.
Installing Laminate Planks in Tight Spaces
For tight spots, a pull bar tool is invaluable. Angle the plank, press flat, hook the pull bar, and tap it into place with a rubber mallet.


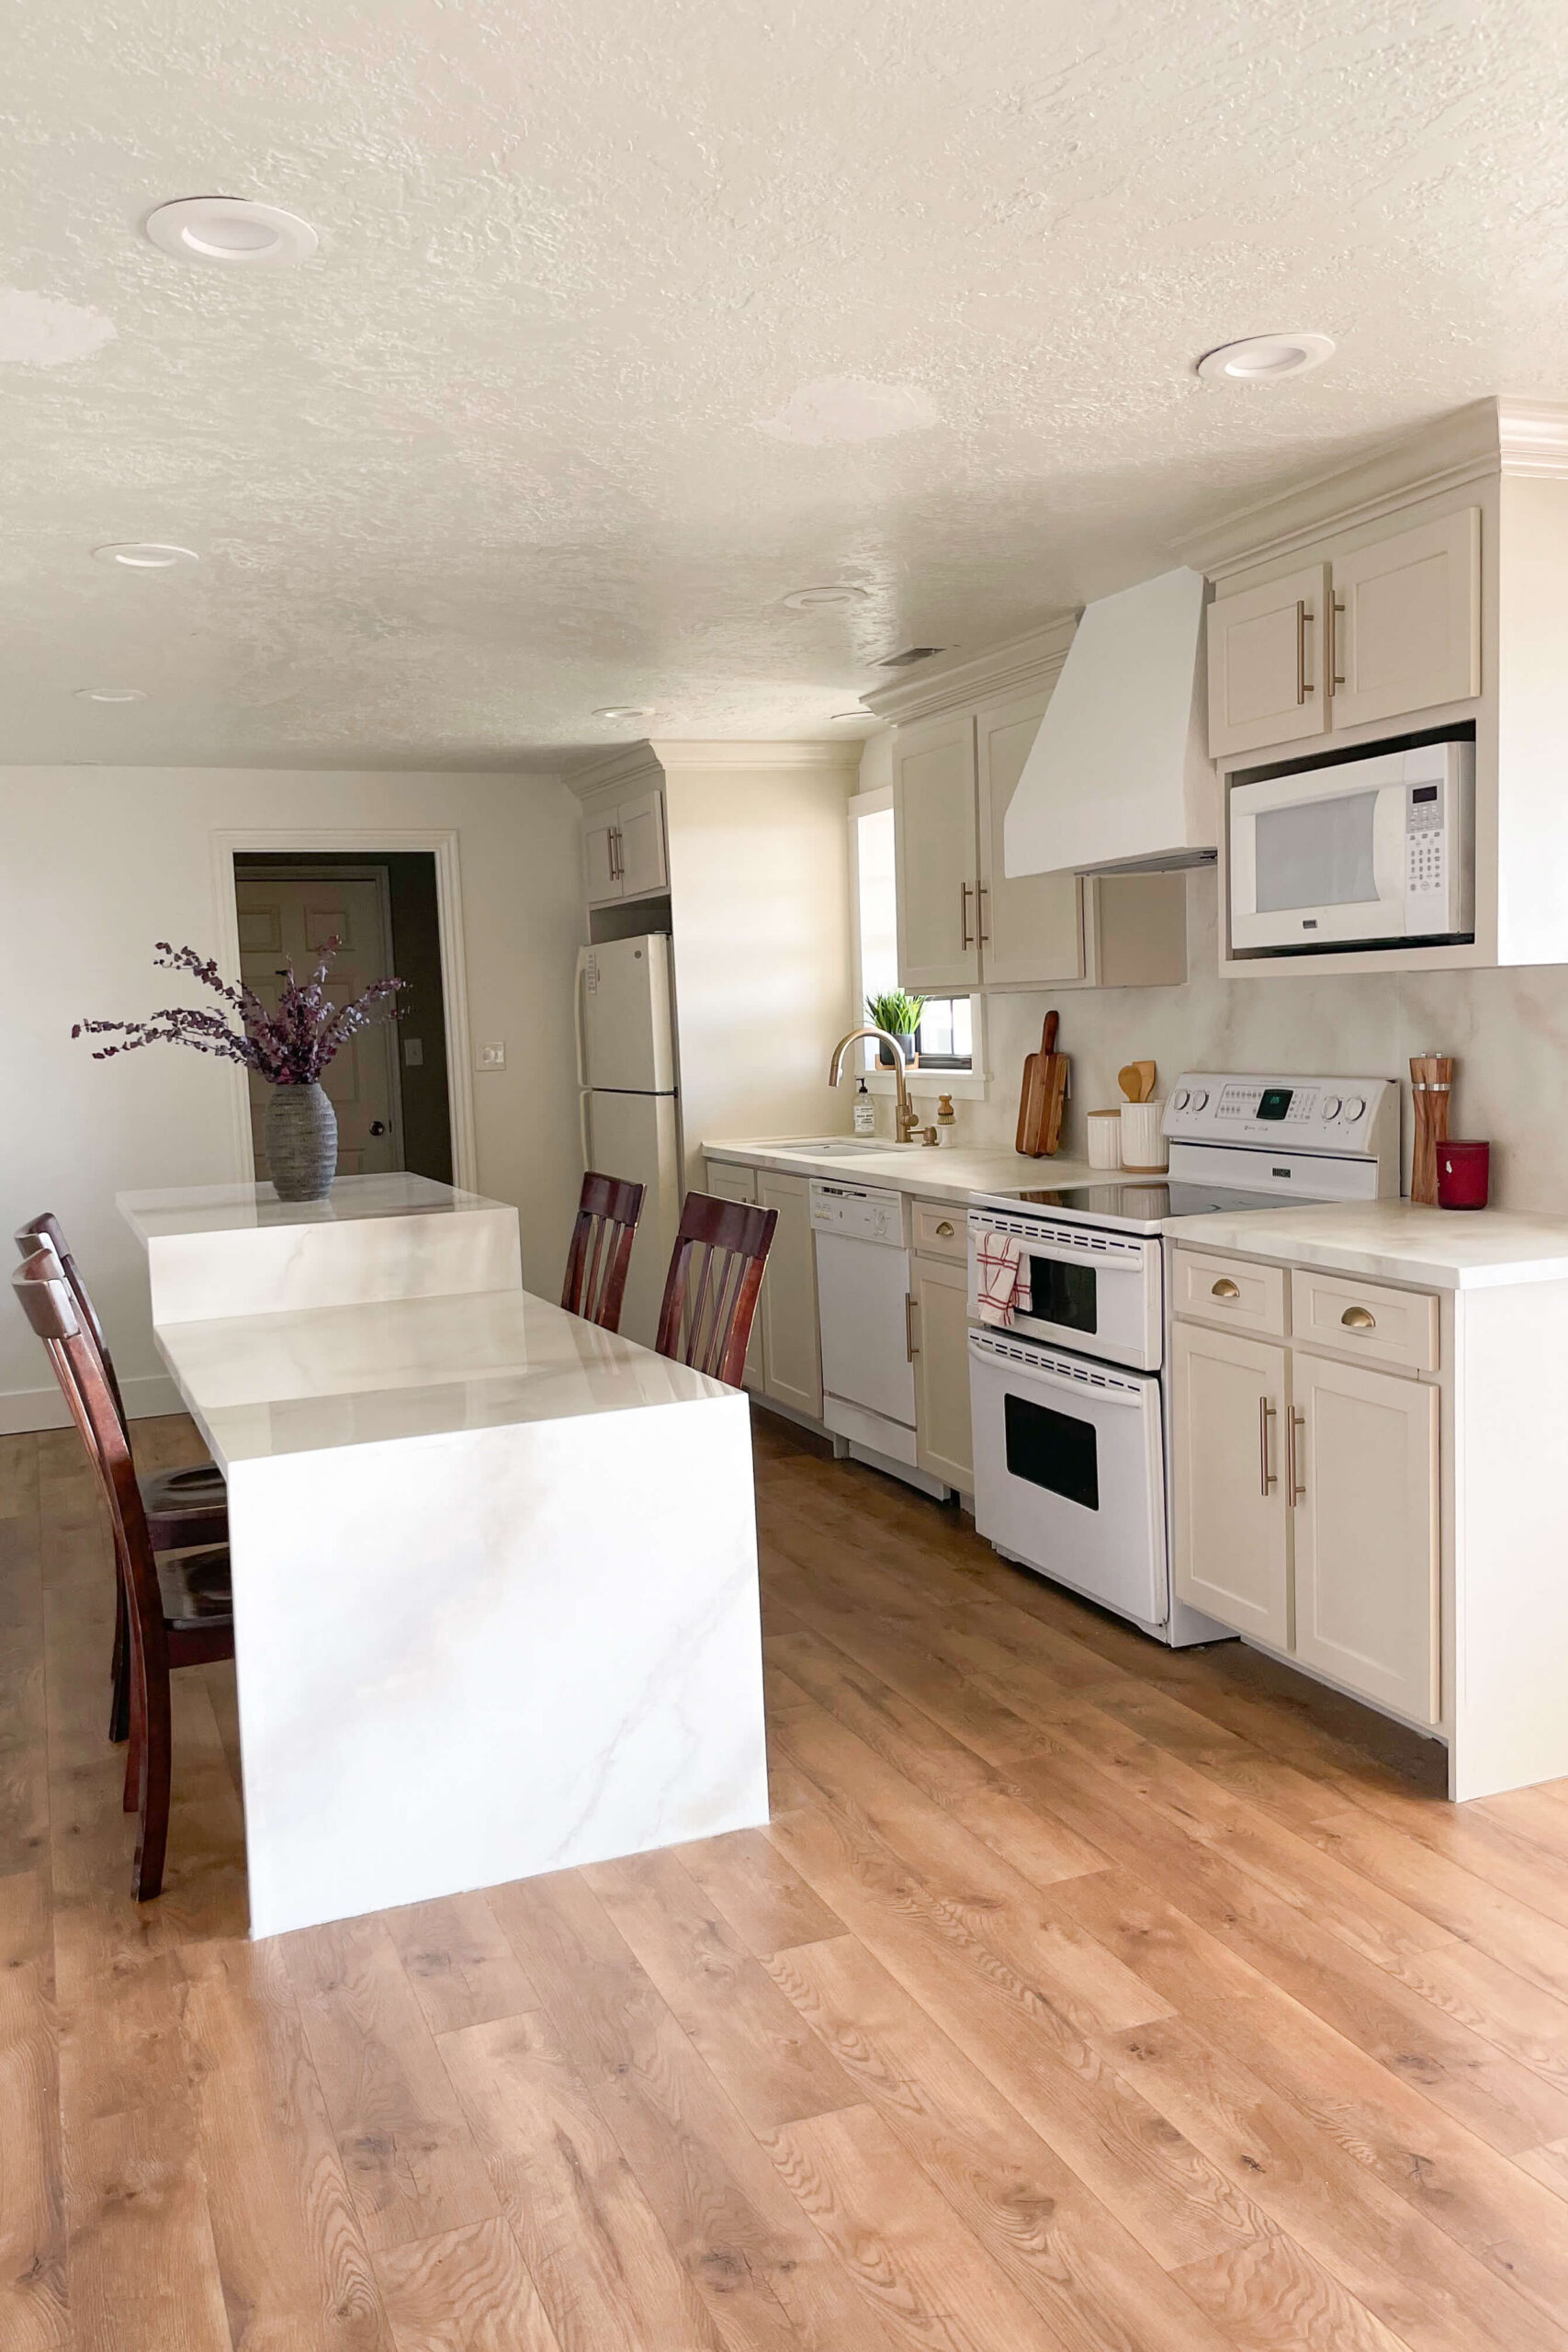
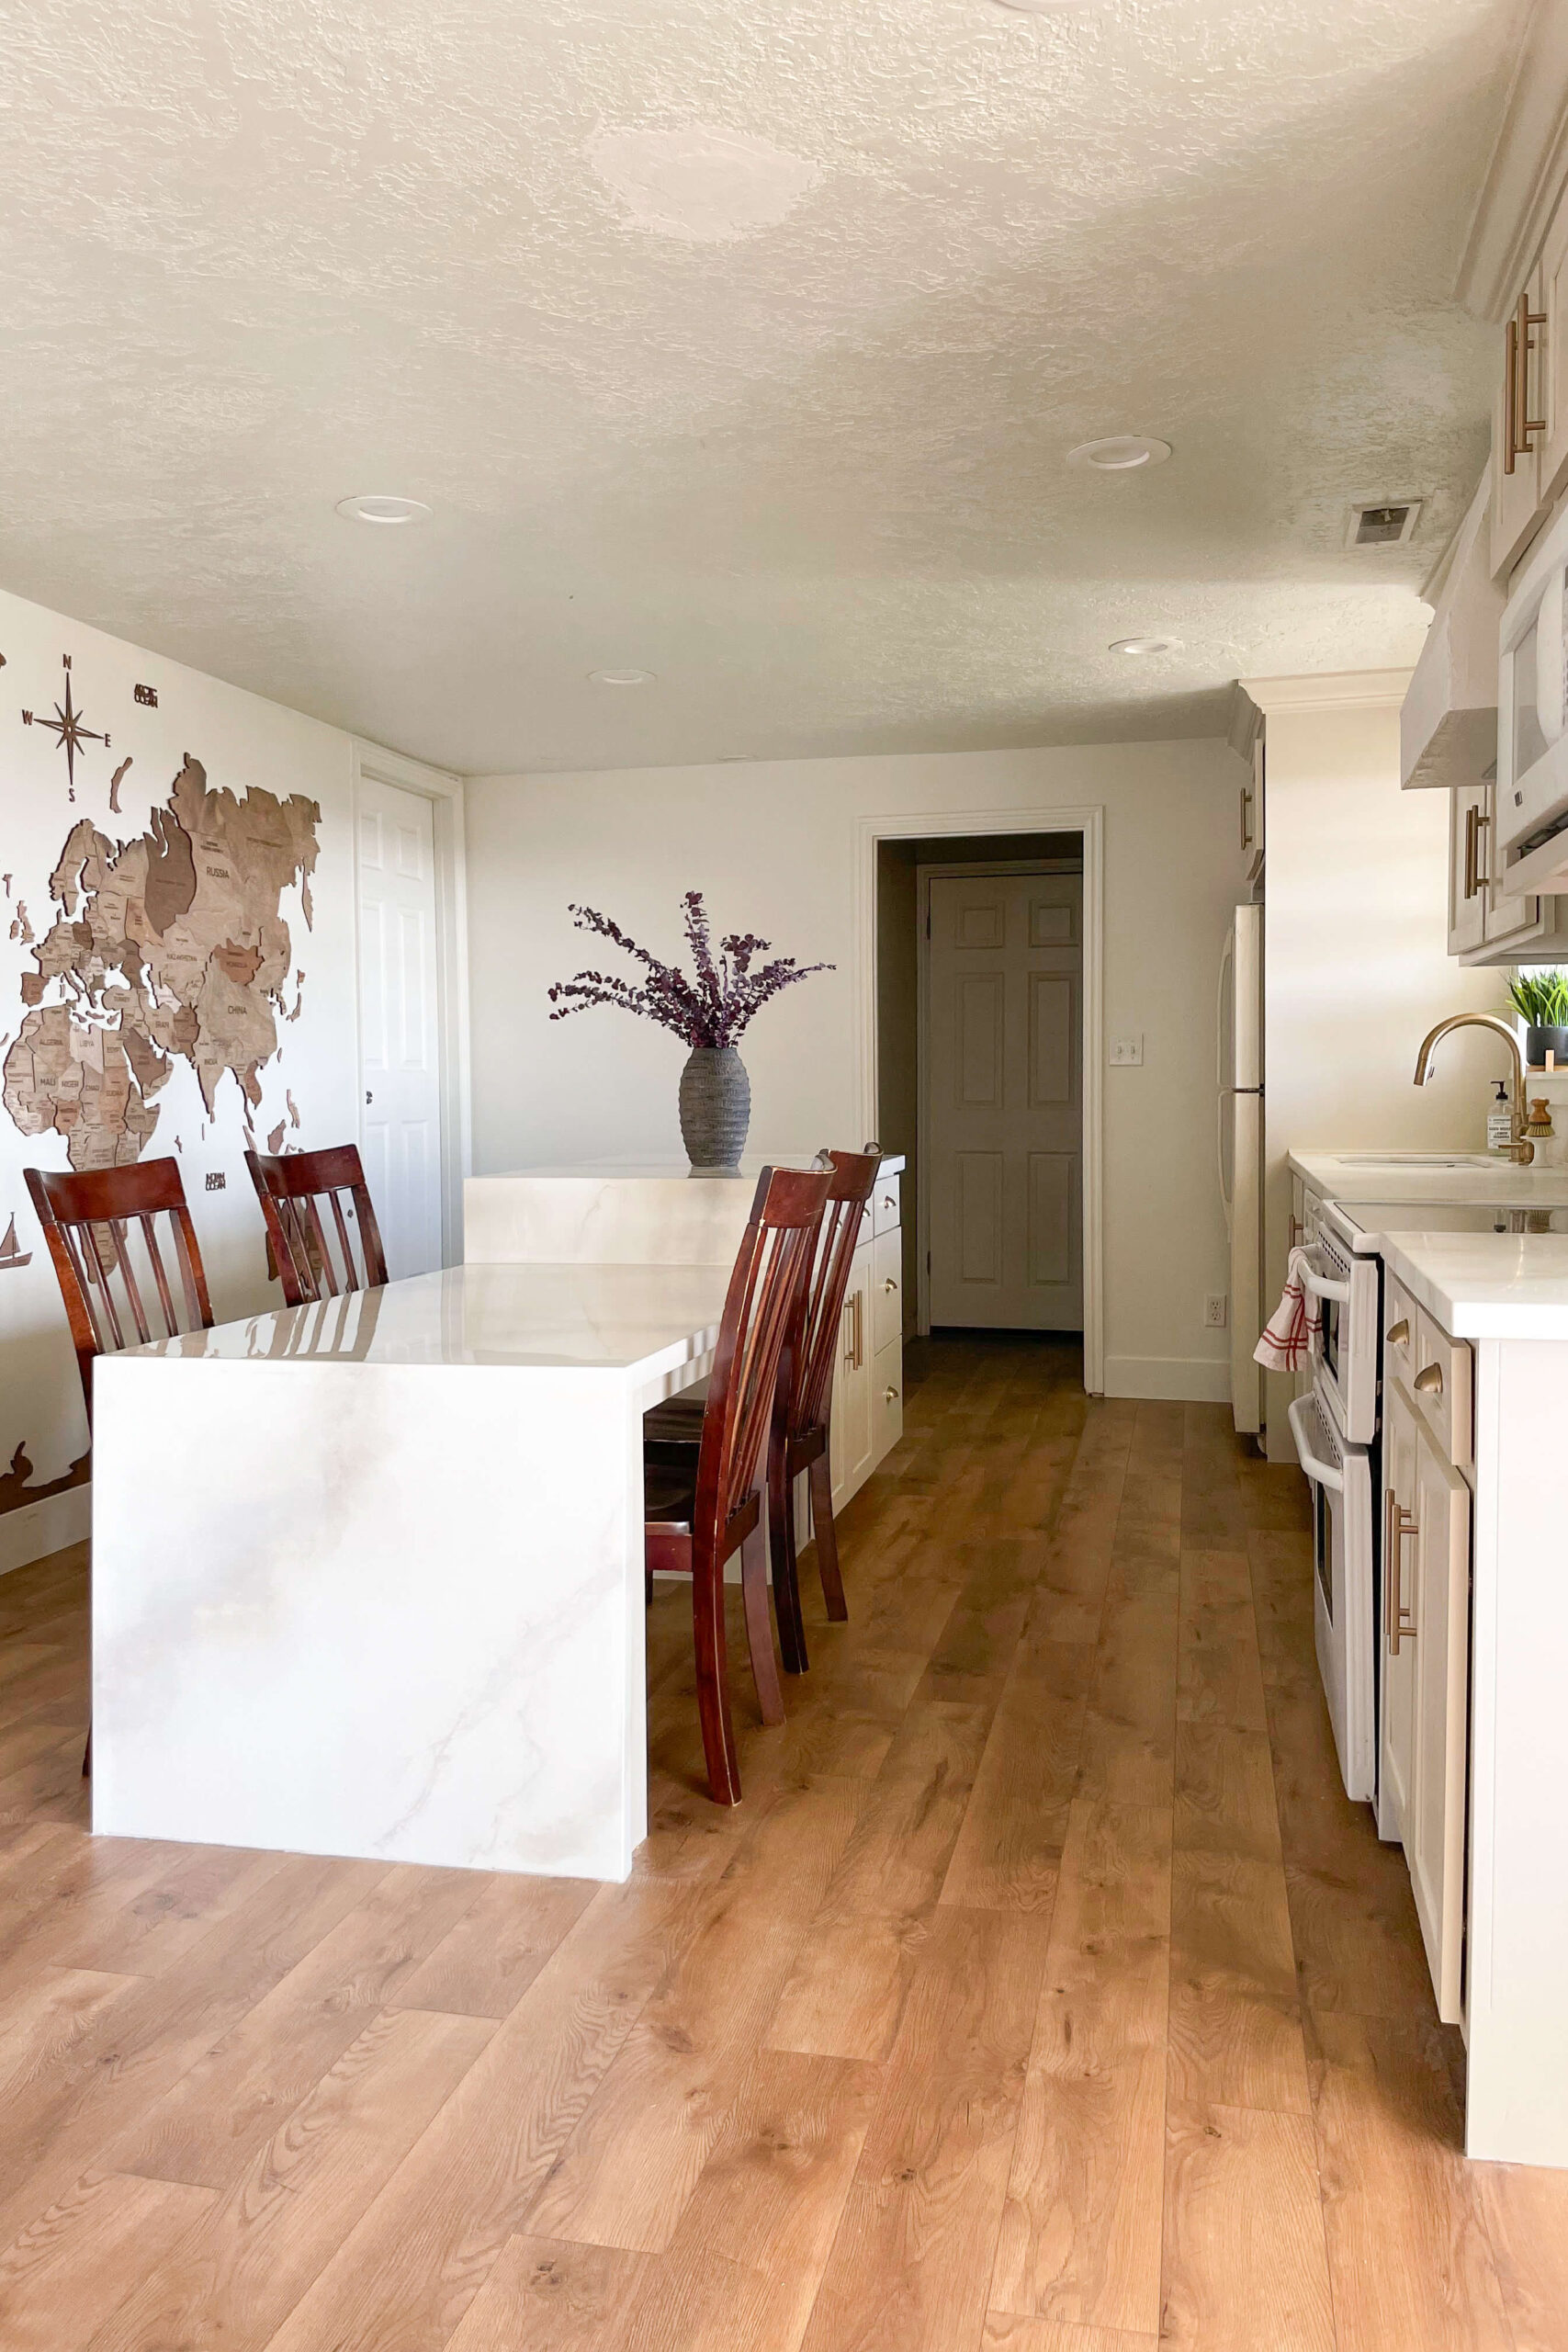
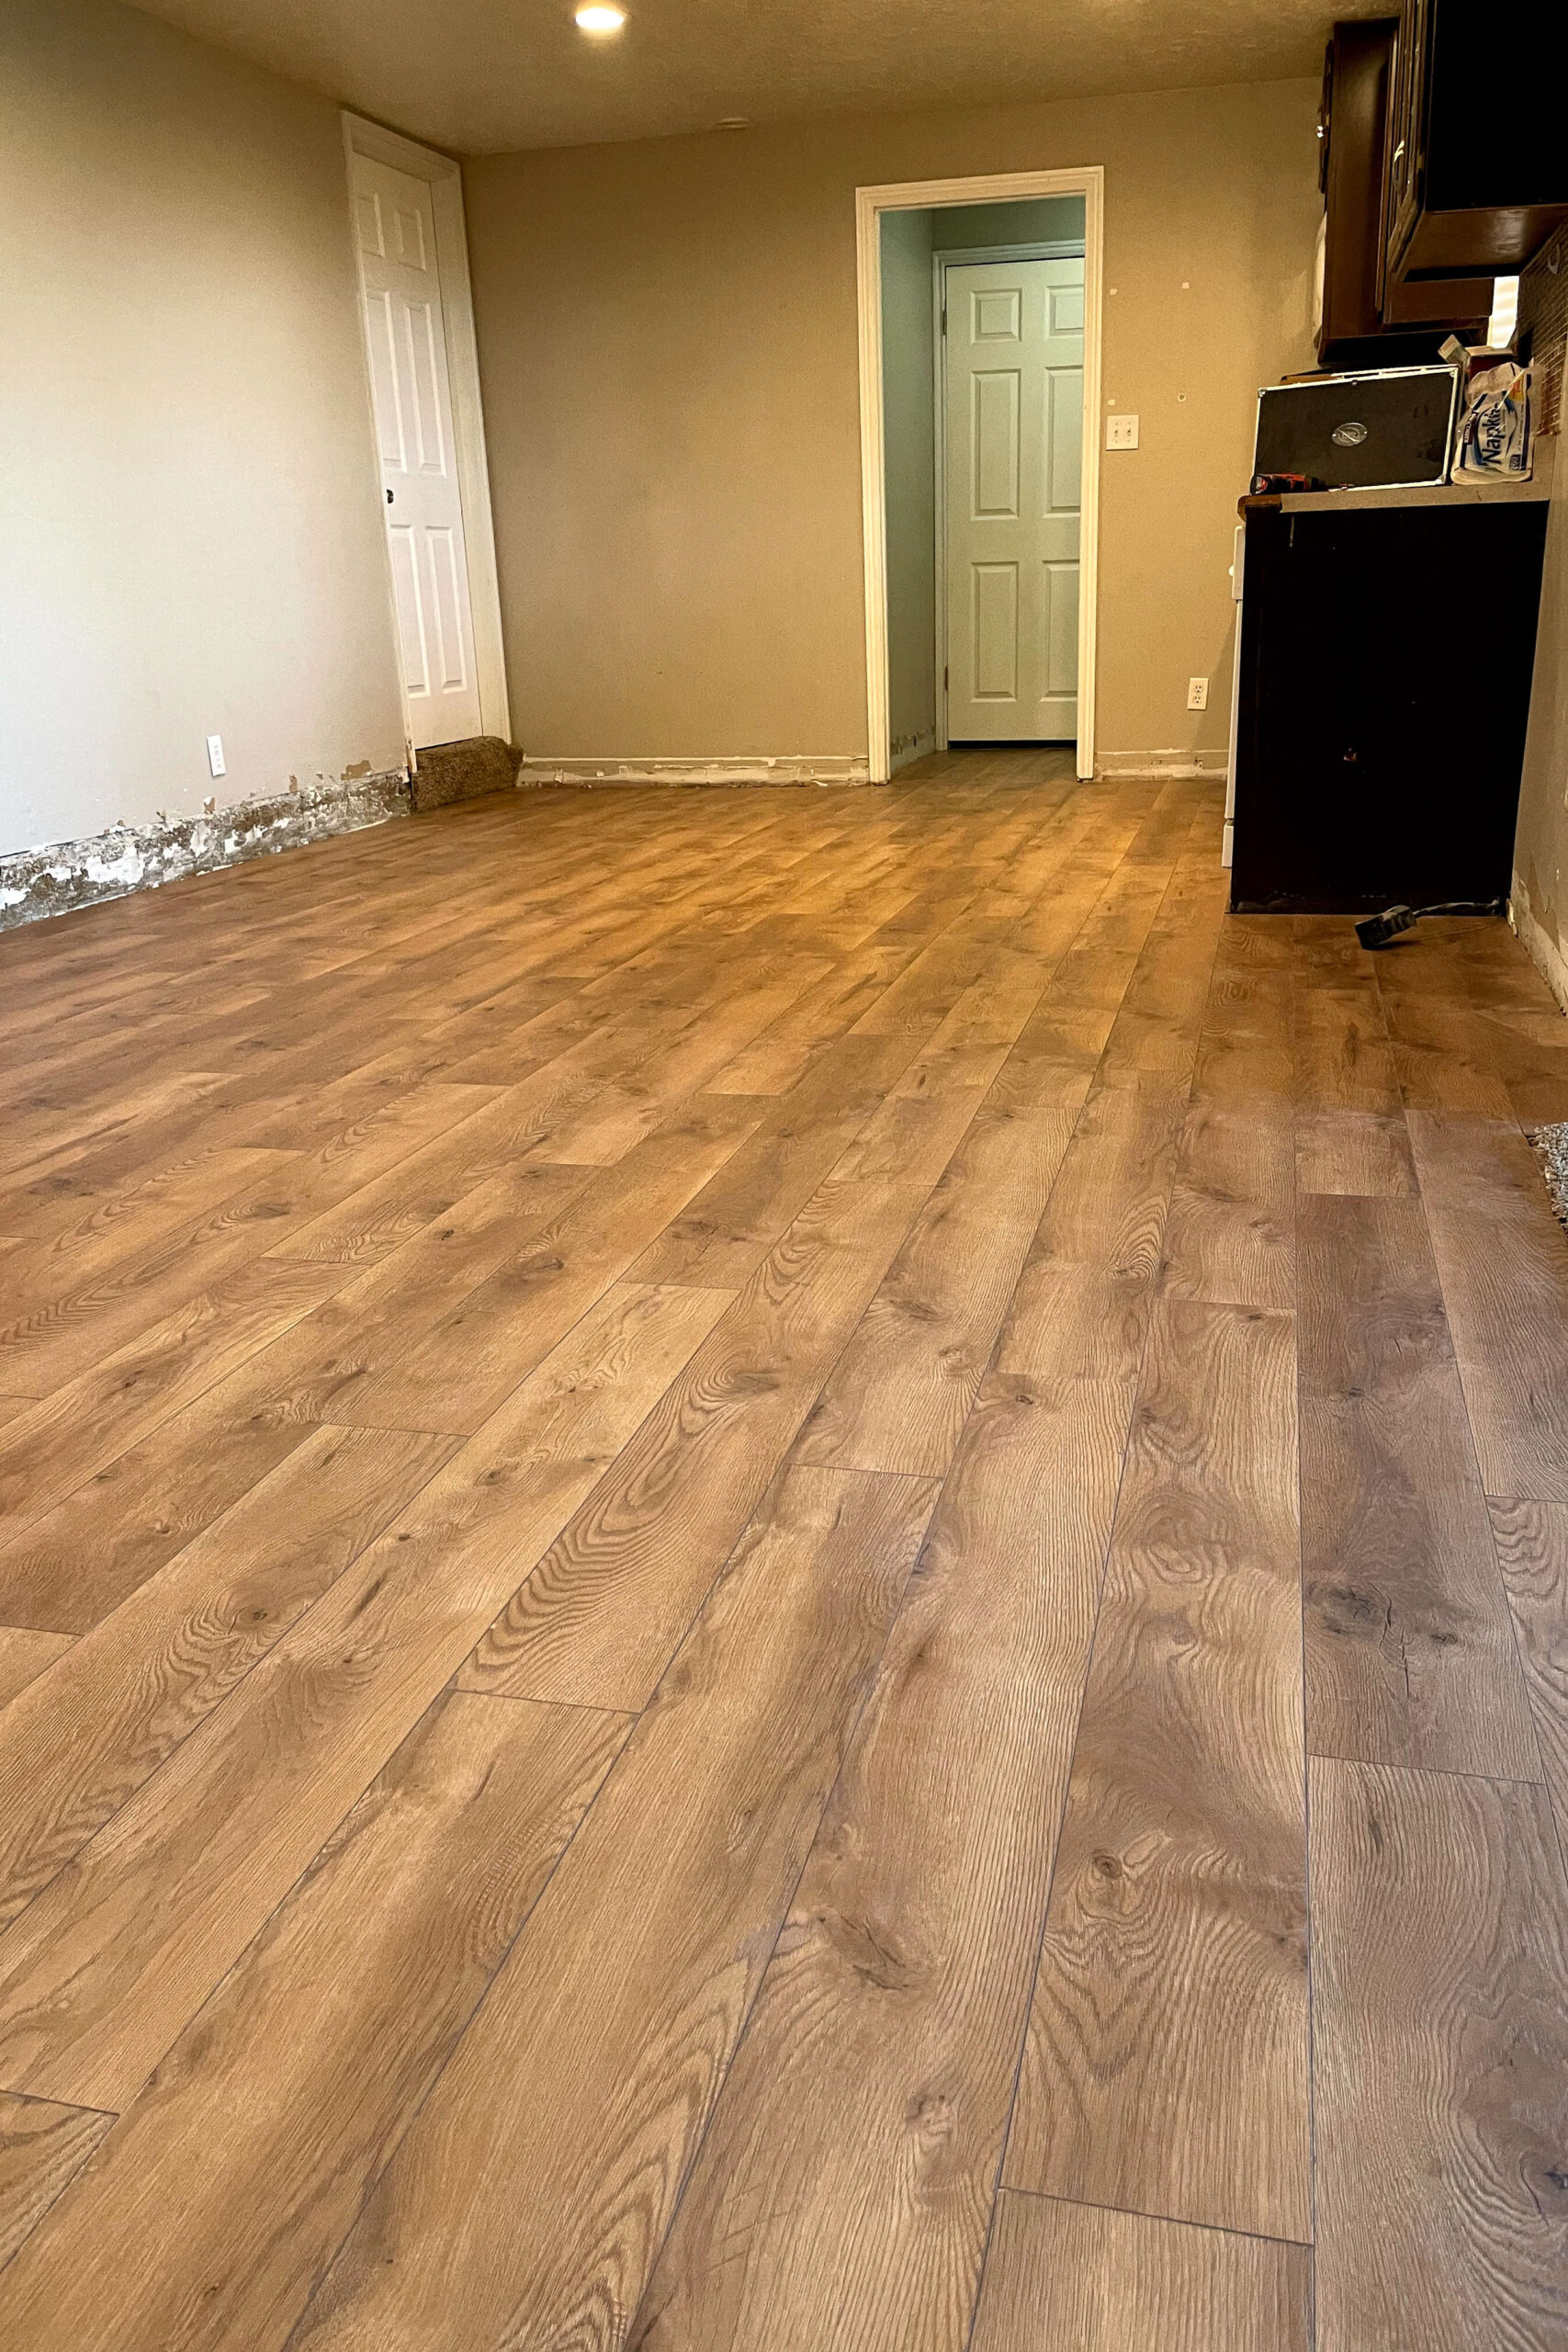
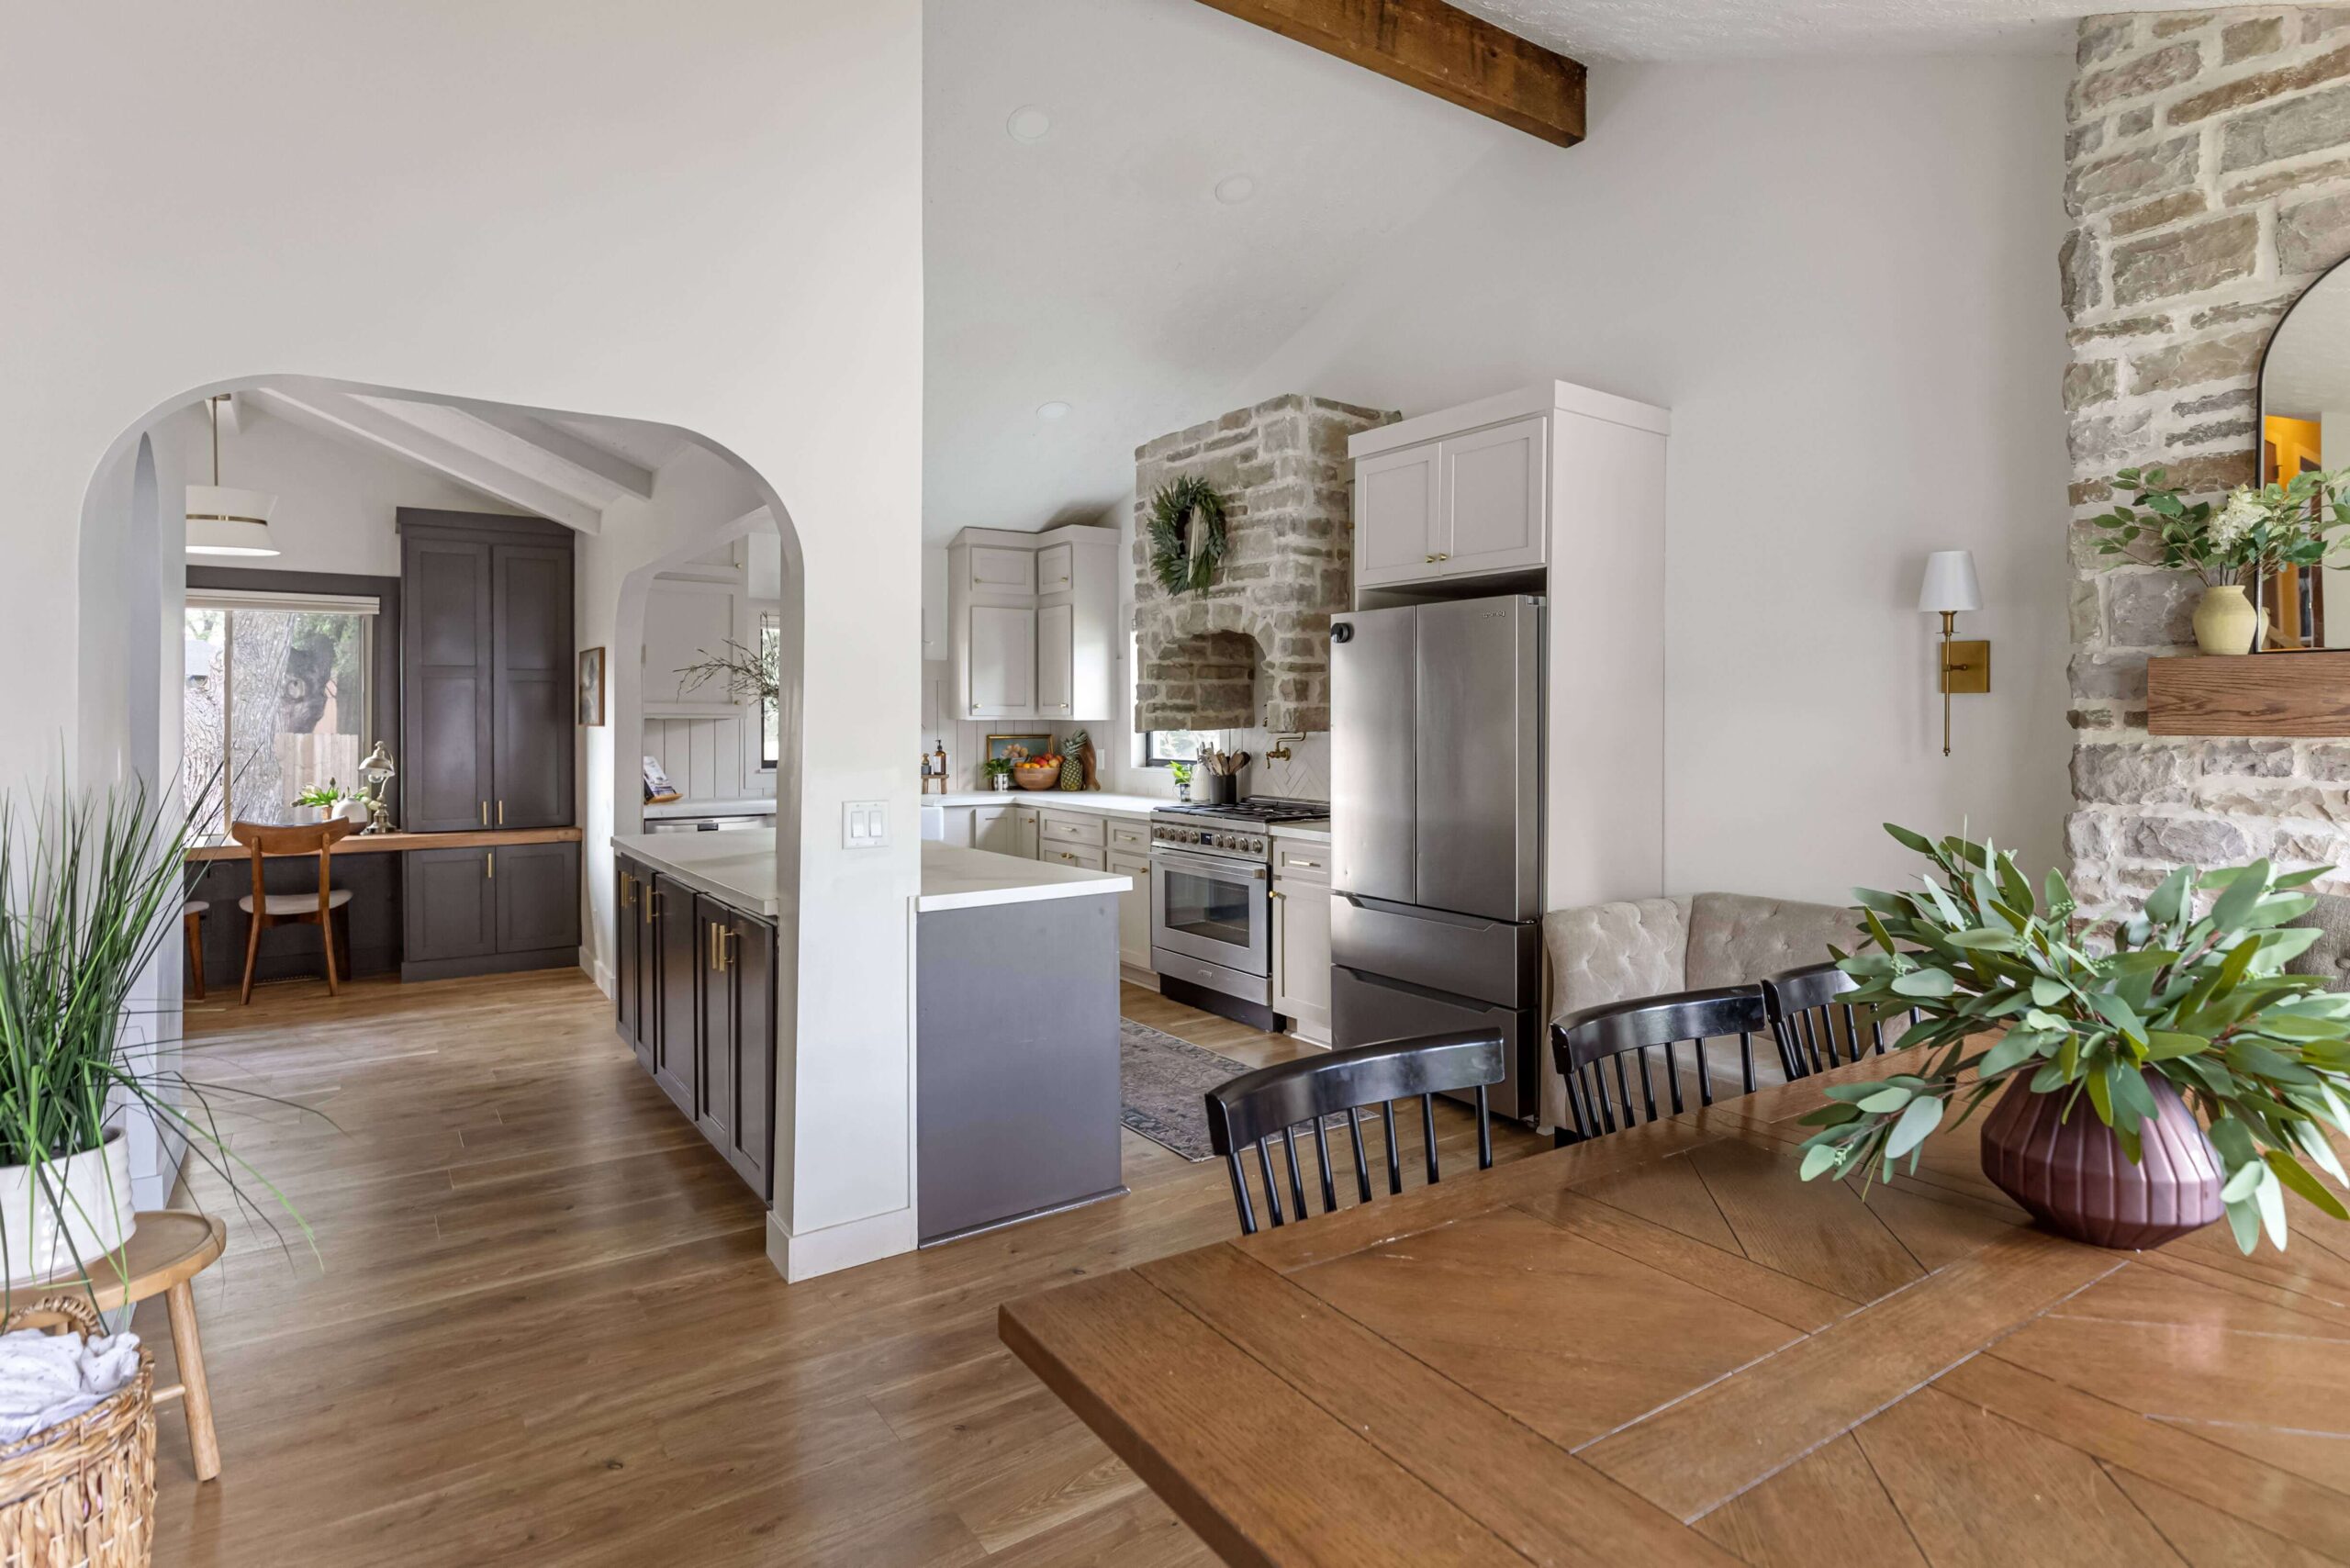
And it’s all done! The color of laminate I chose here is called Heritage Oak, and it’s just beautiful.
Even though this kitchen still needed a lot of work, it’s already looking so much better with the new laminate kitchen flooring installed.
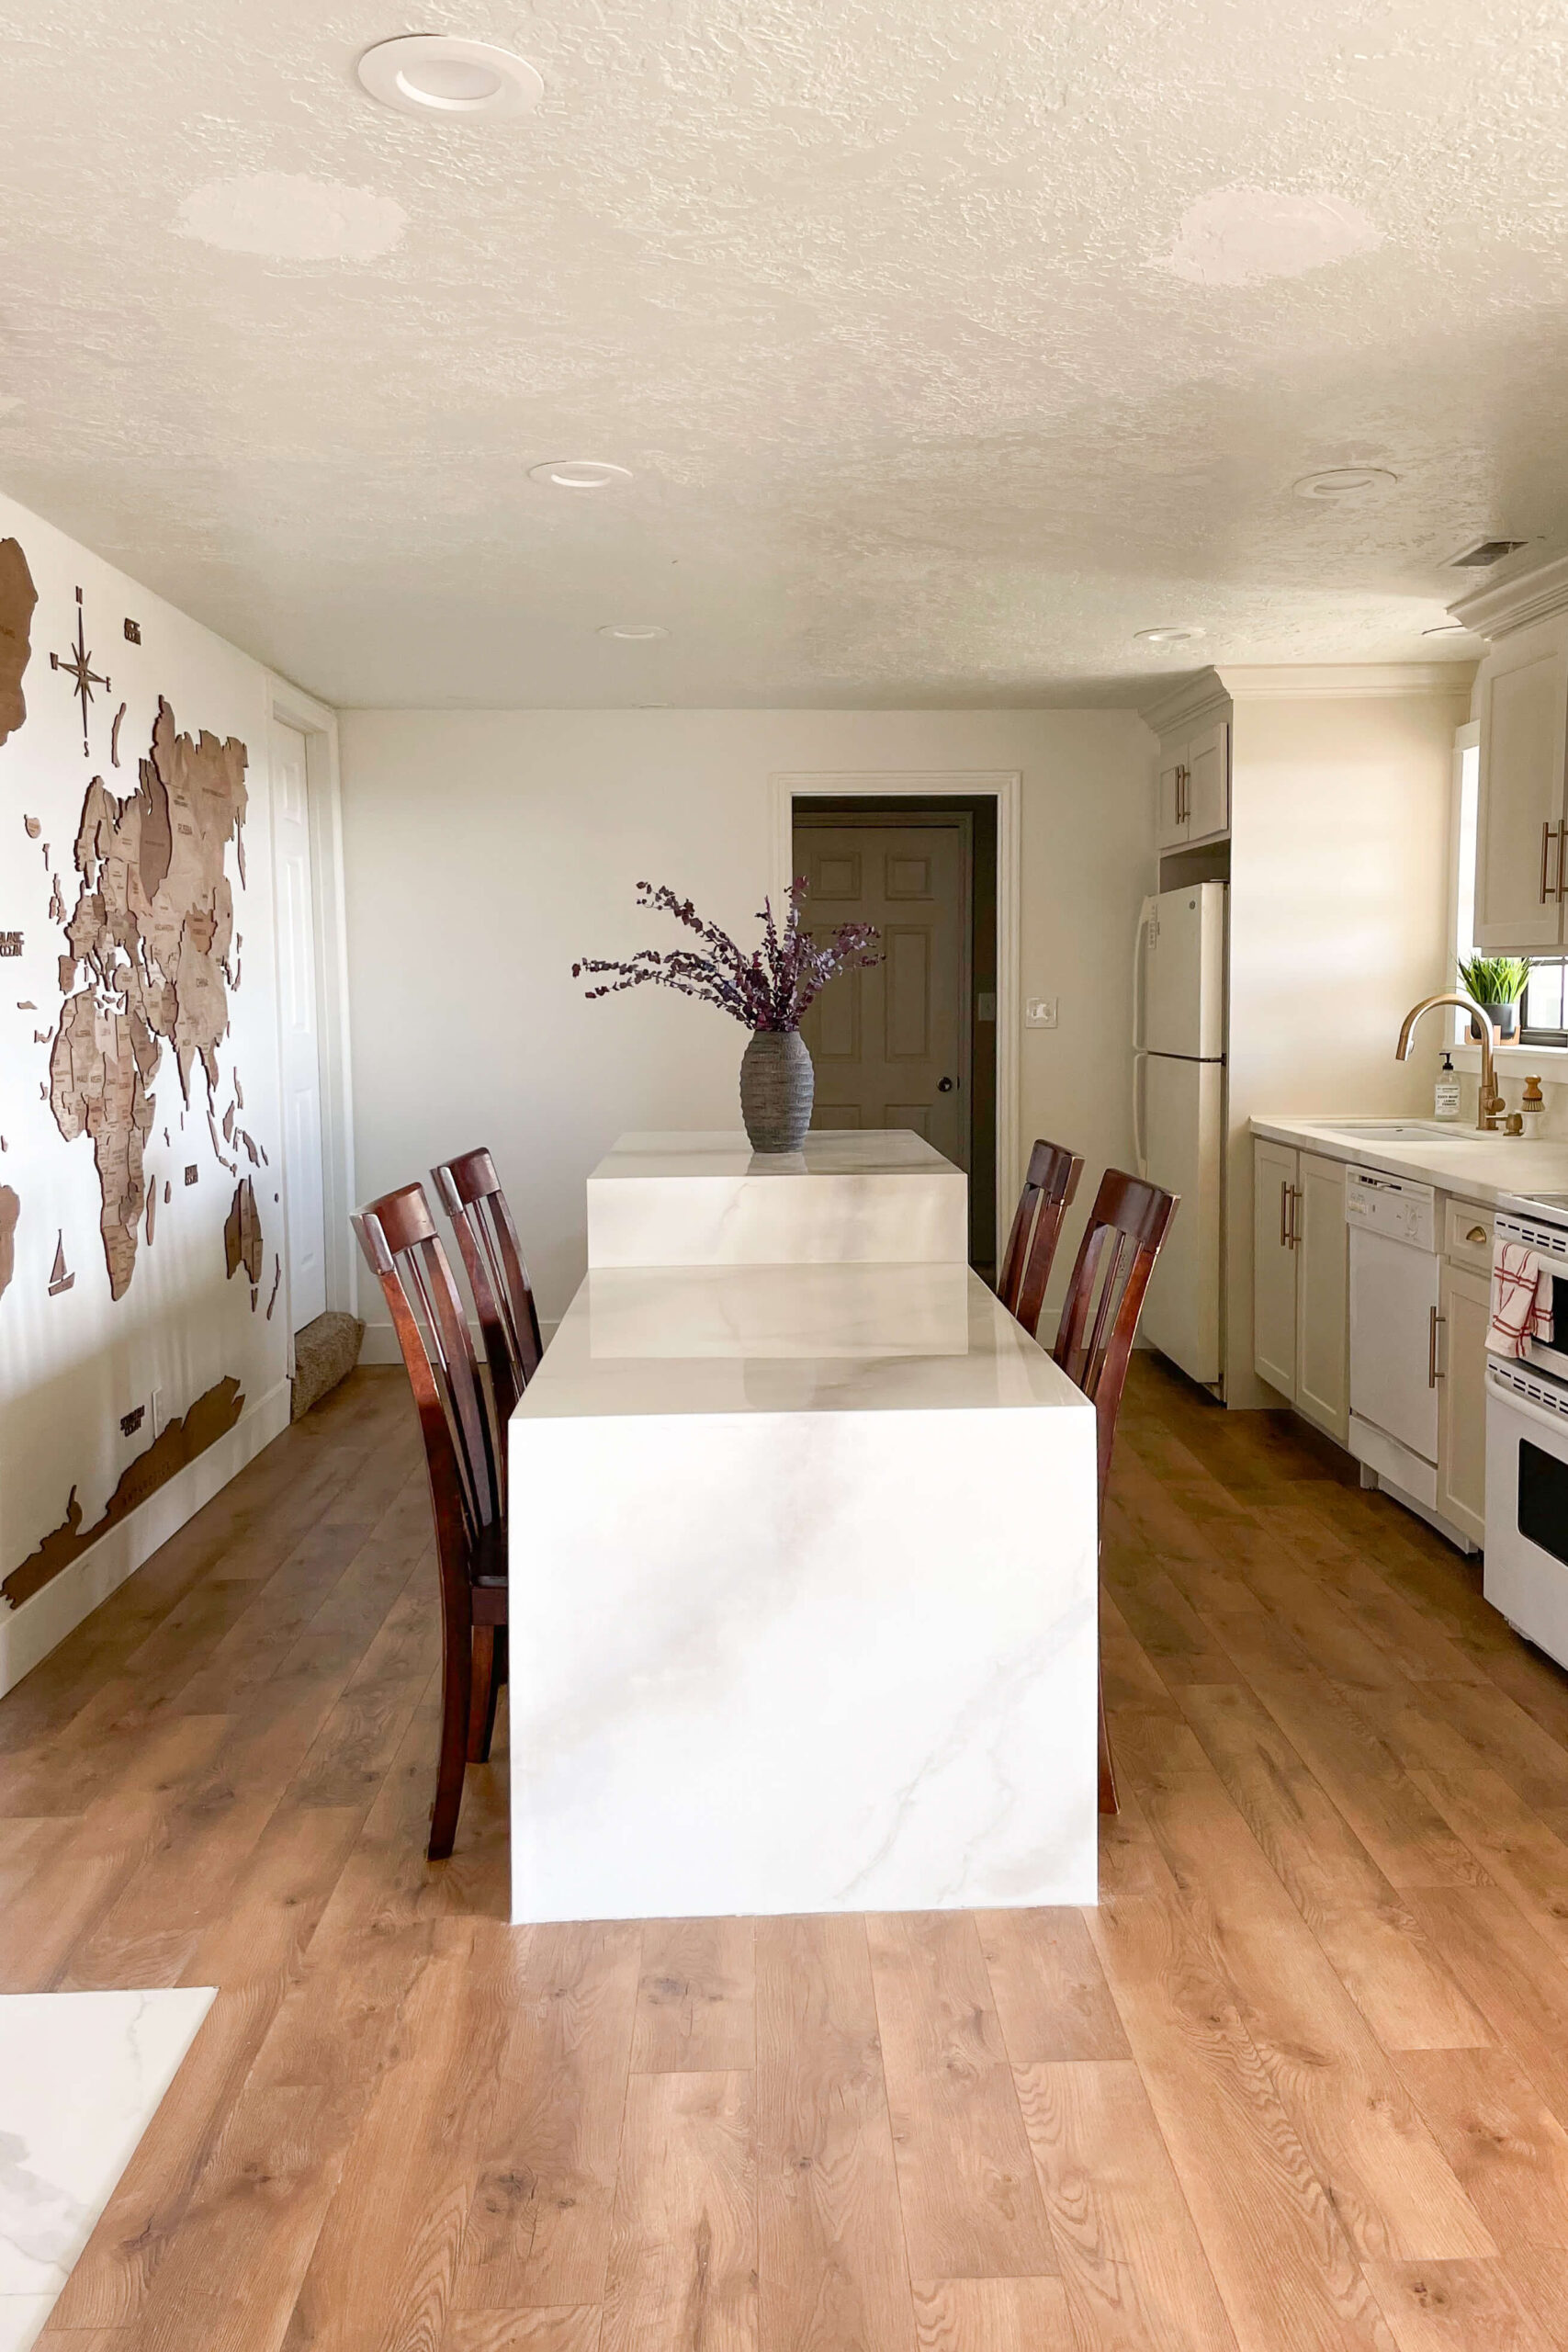
After the kitchen was done, this floor really popped. It was the perfect, warm base for my light and bright basement kitchen.
Looking for details and instructions for all the other projects in this kitchen? Be sure to follow along on my blog, as I work my way through writing full posts for each section of this remodel starting with how I took this ugly, stone fireplace from this to this.
For this kitchen, I had to rip up the old flooring, but in my current home I actually installed the new flooring right on top the old one. Want to know how I did it? Check out the full tutorial with all the details here.
Any questions about this flooring installation? Just let me know in the comments!