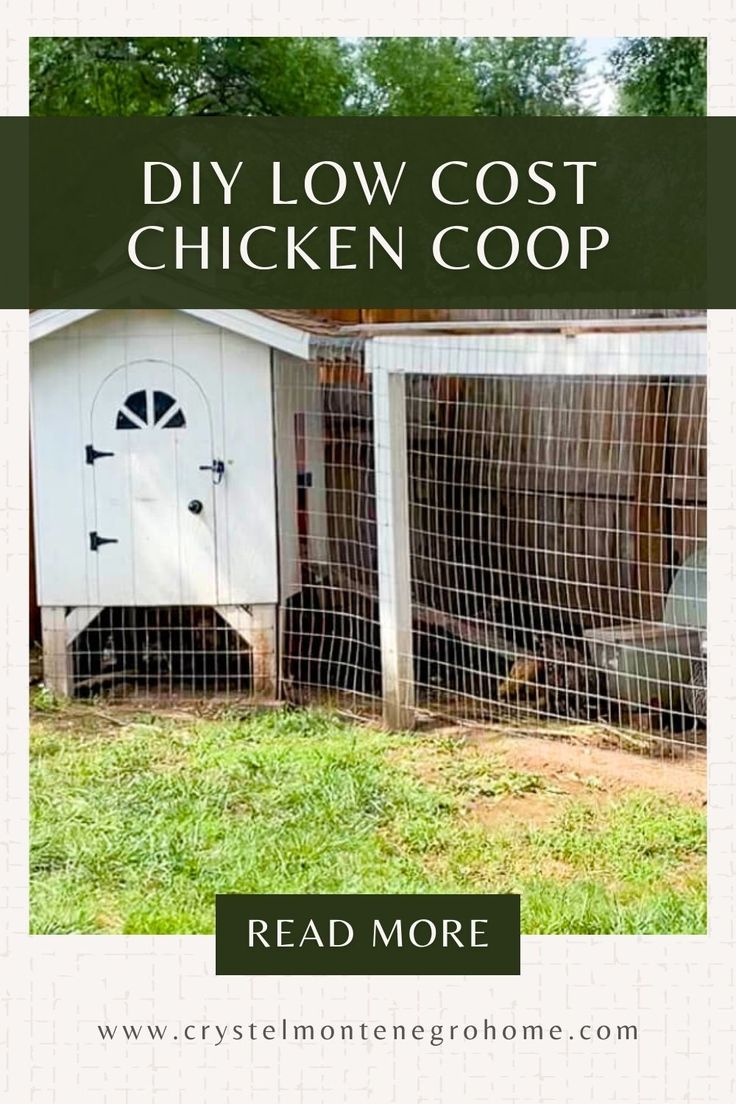
How to Build a Low Cost DIY Chicken Coop


Updated July 13, 2026
Need a low cost DIY chicken coop to house your backyard flock? You’re in the right place. When we moved from Utah to Nebraska, our hens needed a home quickly and on the cheap. I’ll walk you through exactly how we accomplished this low cost build so you can build your feathered friends a coop, without draining your wallet.
When we first moved into our home in Utah the first project we took on was our major kitchen remodel. But, we had to take a quick pause right in the middle of that massive project in order to get our chickens properly housed in a coop and keep them from running loose around the backyard all day.
What You Need to Build a Low Cost DIY Chicken Coop
Our backyard chicken coop was built with mostly leftover materials from other projects. If you’re starting from scratch, then you’ll need to make a trip to your local hardware store. It’ll still be a low cost build using very basic tools and materials.
Tools
Materials
- 2x4s
- 4x4s
- Screws
- Plywood
- Siding
- Hinges
- Handles
- Latches
- Automatic door
- Tar paper roofing underlayment
- Drip edge flashing
- Roofing shingles
- Roofing nails
- Primer
- Exterior Paint
- Welded wire fencing
Framing Our Low Cost DIY Chicken Coop
We started our low cost DIY chicken coop with a simple, elevated platform. It’s always a good idea when building your coop to keep it off the ground. This helps keep your hens safe from burrowing predators.
The platform itself is made from plywood, and the legs are 4x4s. To make it sturdier, we added 2x4s underneath, running along the edge of the plywood between each leg. These clamps work great for holding the 2×4 in place while you screw it in with your drill.

For even more structure and support, we also added 2x4s as corner braces.

Once we had a nice firm base to build on, we began framing the walls of our low cost DIY chicken coop. Just like when framing walls in a house, we have a base 2×4 attached to the platform, upright 2×4 studs running vertically, and then another 2×4 on the top to cap off the walls.

When framing your walls, you’ll want to leave space for your nesting boxes. We chose to put them on the side of our coop, and we left room for them between the studs on that side.
Our nesting boxes are built out of plywood. We cut out openings on the outside that will be covered with a hinged door. This will make for easy egg collection. On the coop’s inside, we gave just enough space for the chickens to get in the boxes. They like having a cozy, safe, enclosed place to lay their eggs.
The number of nesting boxes you need will depend on the size of your flock. A good rule of thumb is one nesting box for every four chickens. In our case, two nesting boxes were plenty.


After the nesting boxes were in, it was time to finish framing our low cost DIY chicken coop by adding the front wall, leaving a nice sized opening for a front door. The door on the front isn’t so much for the chickens to use. It’s more for us to access the coop for cleaning and such.

Siding Our Low Cost DIY Chicken Coop
Now that our framing was done, we could add the siding to enclose our coop’s walls.
When the previous owners of our home built a shed in the backyard they had leftover siding, which fortunately was left inside the shed for us. Score! That is what we used for this low cost DIY chicken coop project. I love using leftovers and scraps, and that’s why I have a tendency to save everything. You never know when you might be able to use it.
After cutting the siding down to the correct sizes for each wall using a table saw or circular saw, we needed to cut out the openings and the doorways.
Pro Tip: It’s so much easier if you cut out the openings most of the way but not all of the way. Leave the doors just slightly attached to the siding in a few places. Then when you add the hardware, it’s really simple to make sure that everything lines up perfectly.

After your hardware is all attached, go back with your jig saw and finish cutting out the door.

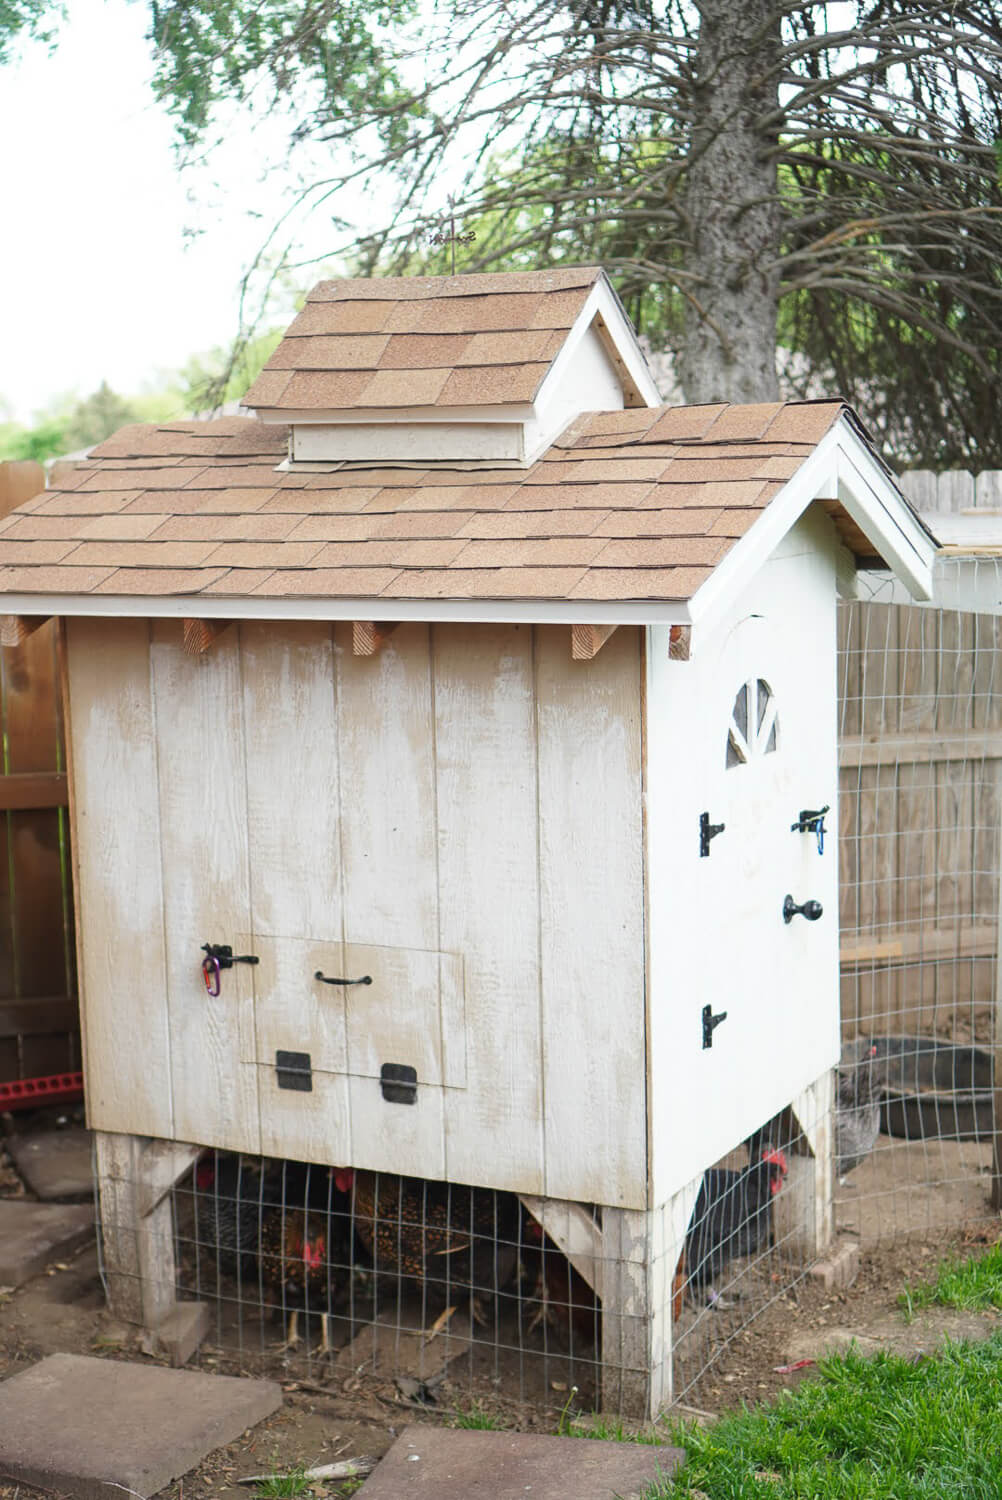
This technique worked great for the egg collecting door (shown above) and the arched front door (shown below).

As soon as I saw the arched door, I knew I wanted to add a cute window. So before I cut out the door completely from the front siding piece, I drew a window using some string and a pencil for the arch, then a scrap piece of wood in place of a straight edge.


Before using my jig saw to cut the window design that I had drawn, I needed to drill a hole first. The thin jig saw blade usually needs to start from an edge. If you want to cut something out starting in the middle, first drill a hole that’s big enough for the jig saw blade to fit through. Then, you can finish cutting out the shape with your saw.


The siding was ready to go after the hardware was on and our openings were cut. We attached it to the framed walls of our low cost DIY chicken coop using screws and an impact driver.
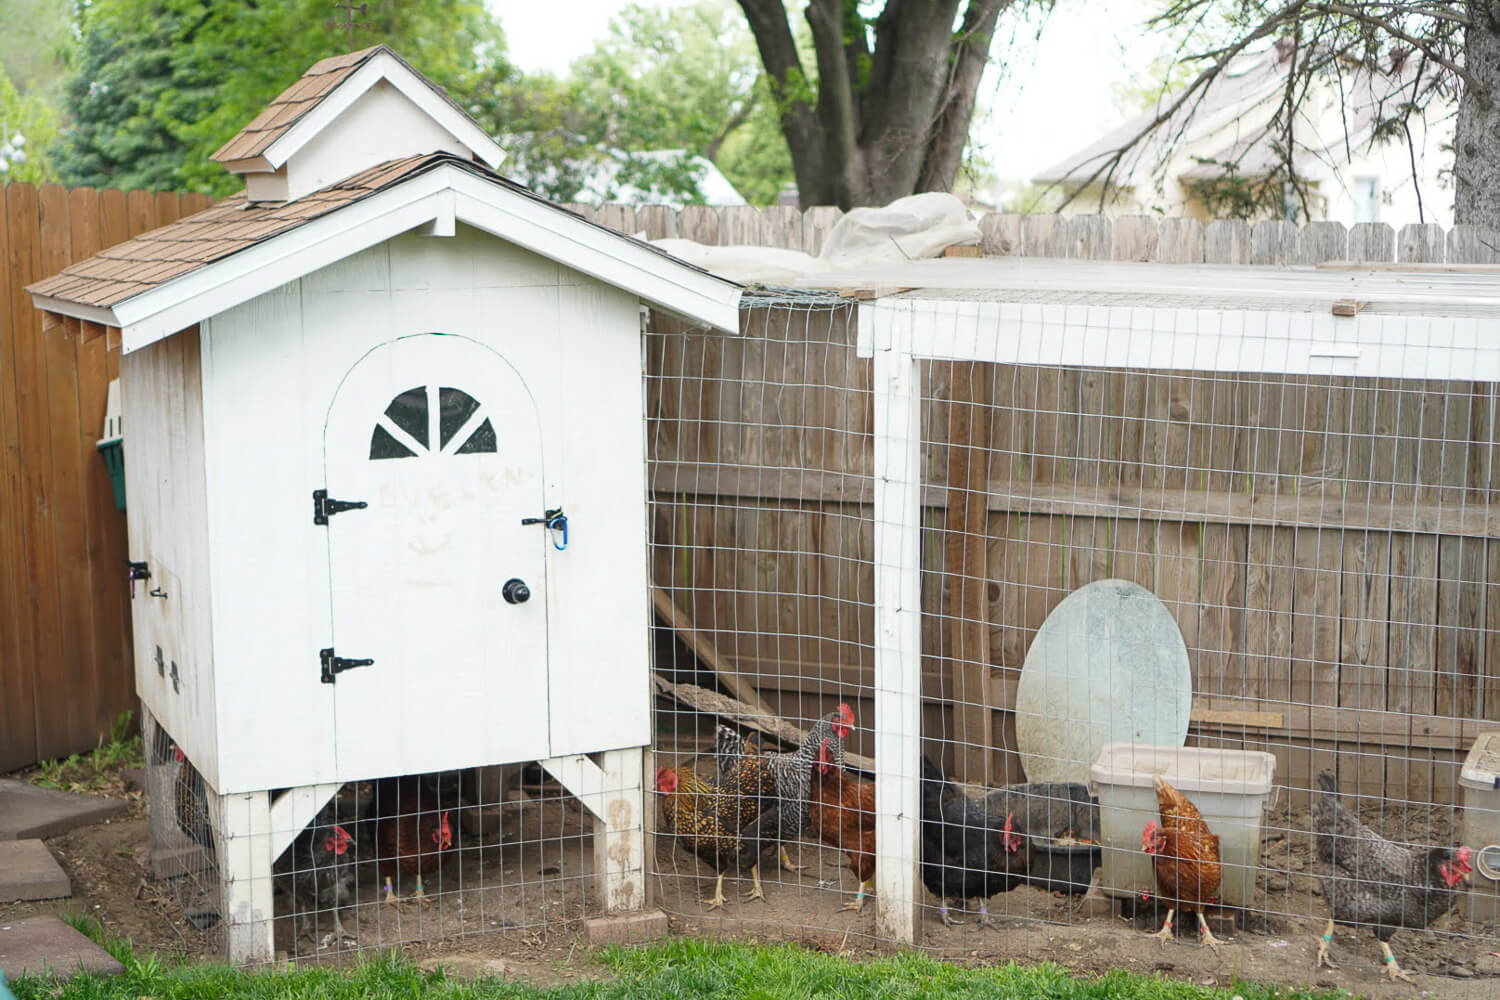
The side with the egg collecting door went on the left here.

Then, on the right side of our coop, we cut out a hole that will allow our chickens to access their run.

We were able to keep the costs on this low cost DIY chicken coop at an affordable level because we used basic materials, and in our case they were mostly leftovers and scraps from other projects. One of the few things we purchased was this automatic door, and it’s 100% worth it.
You could install a door that manually has to be opened each day and closed each night, but I love knowing that my chickens are locked up safe each night, and I don’t have to worry about getting up bright and early to let them out. The automatic door just does it for me.
This door was very easy to install, it’s battery operated, and it works great for our chickens.

Roofing the Chicken Coop
When building our chicken coop, we built it a lot like a miniature house. So, when it came to the roof, we built trusses similar to those used to roof a home. They’re made with 2x4s and have a 22.5° pitch to give us good runoff from snow and rain. You can see here that we added extra bracing and notched the trusses so that they sat down on the walls of the coop.
After the siding was all on, we could attach our trusses. We did a total of four. The center two are about a foot a part, and have bracing between them because we’ll be adding a cupola to the roof for ventilation.

Once the trusses were attached, we could sheet the roof. This would typically be done entirely out of plywood, but we really were making an effort to use up leftover pieces for this low-cost DIY chicken coop to make it as affordable as possible. So, some leftover siding pieces were used for part of the roof. It’s all going to be covered, so it doesn’t matter. Note how we are leaving a hole in the middle of the roof for the cupola.

On the front of the coop, we did just a bit of an overhang for some eaves. We’ll add 2x4s on the front here as a facia board.

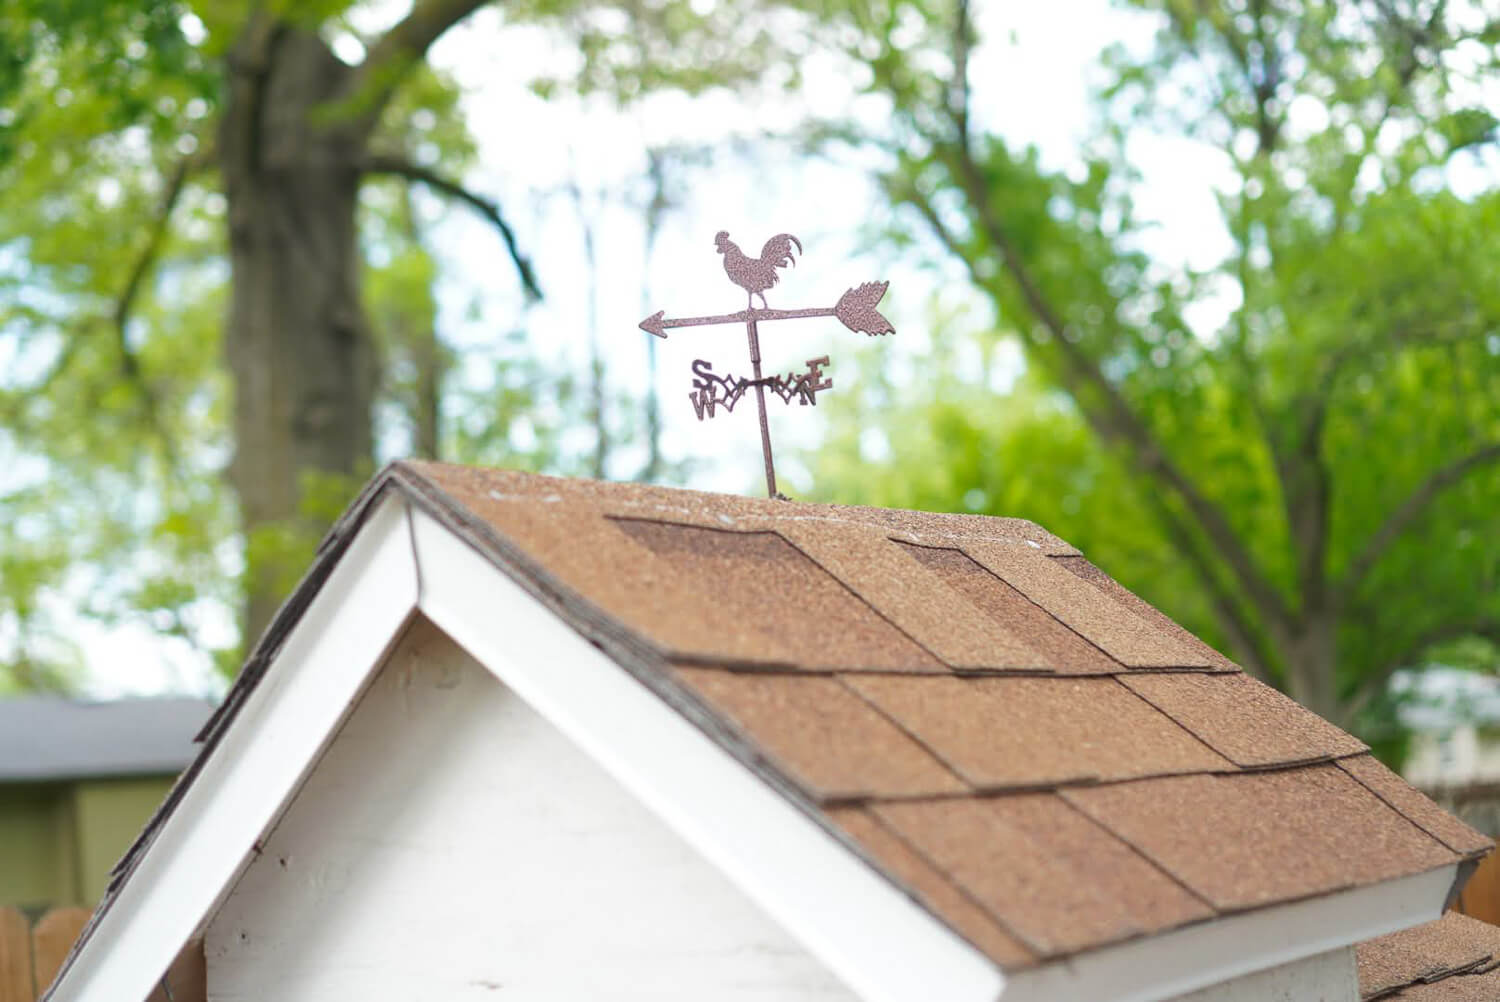
Before finishing the roof, we added the framing for the cupola. These 2x4s give us the basic shape and will be the studs that the siding and roof sheeting will attach to.

Just like when roofing a house, we added drip edge flashing to help protect our roof’s wood elements from water damage.

Then,on top of that, we laid out the tar paper roofing underlayment.

Lastly, we layered roofing shingles (a bonus leftover in the shed from the previous owners).
When laying roofing shingles you start at the bottom and work your way up to the top, with each layer overlapping the last. To attach the shingles to the roof you’ll use a hammer and roofing nails.

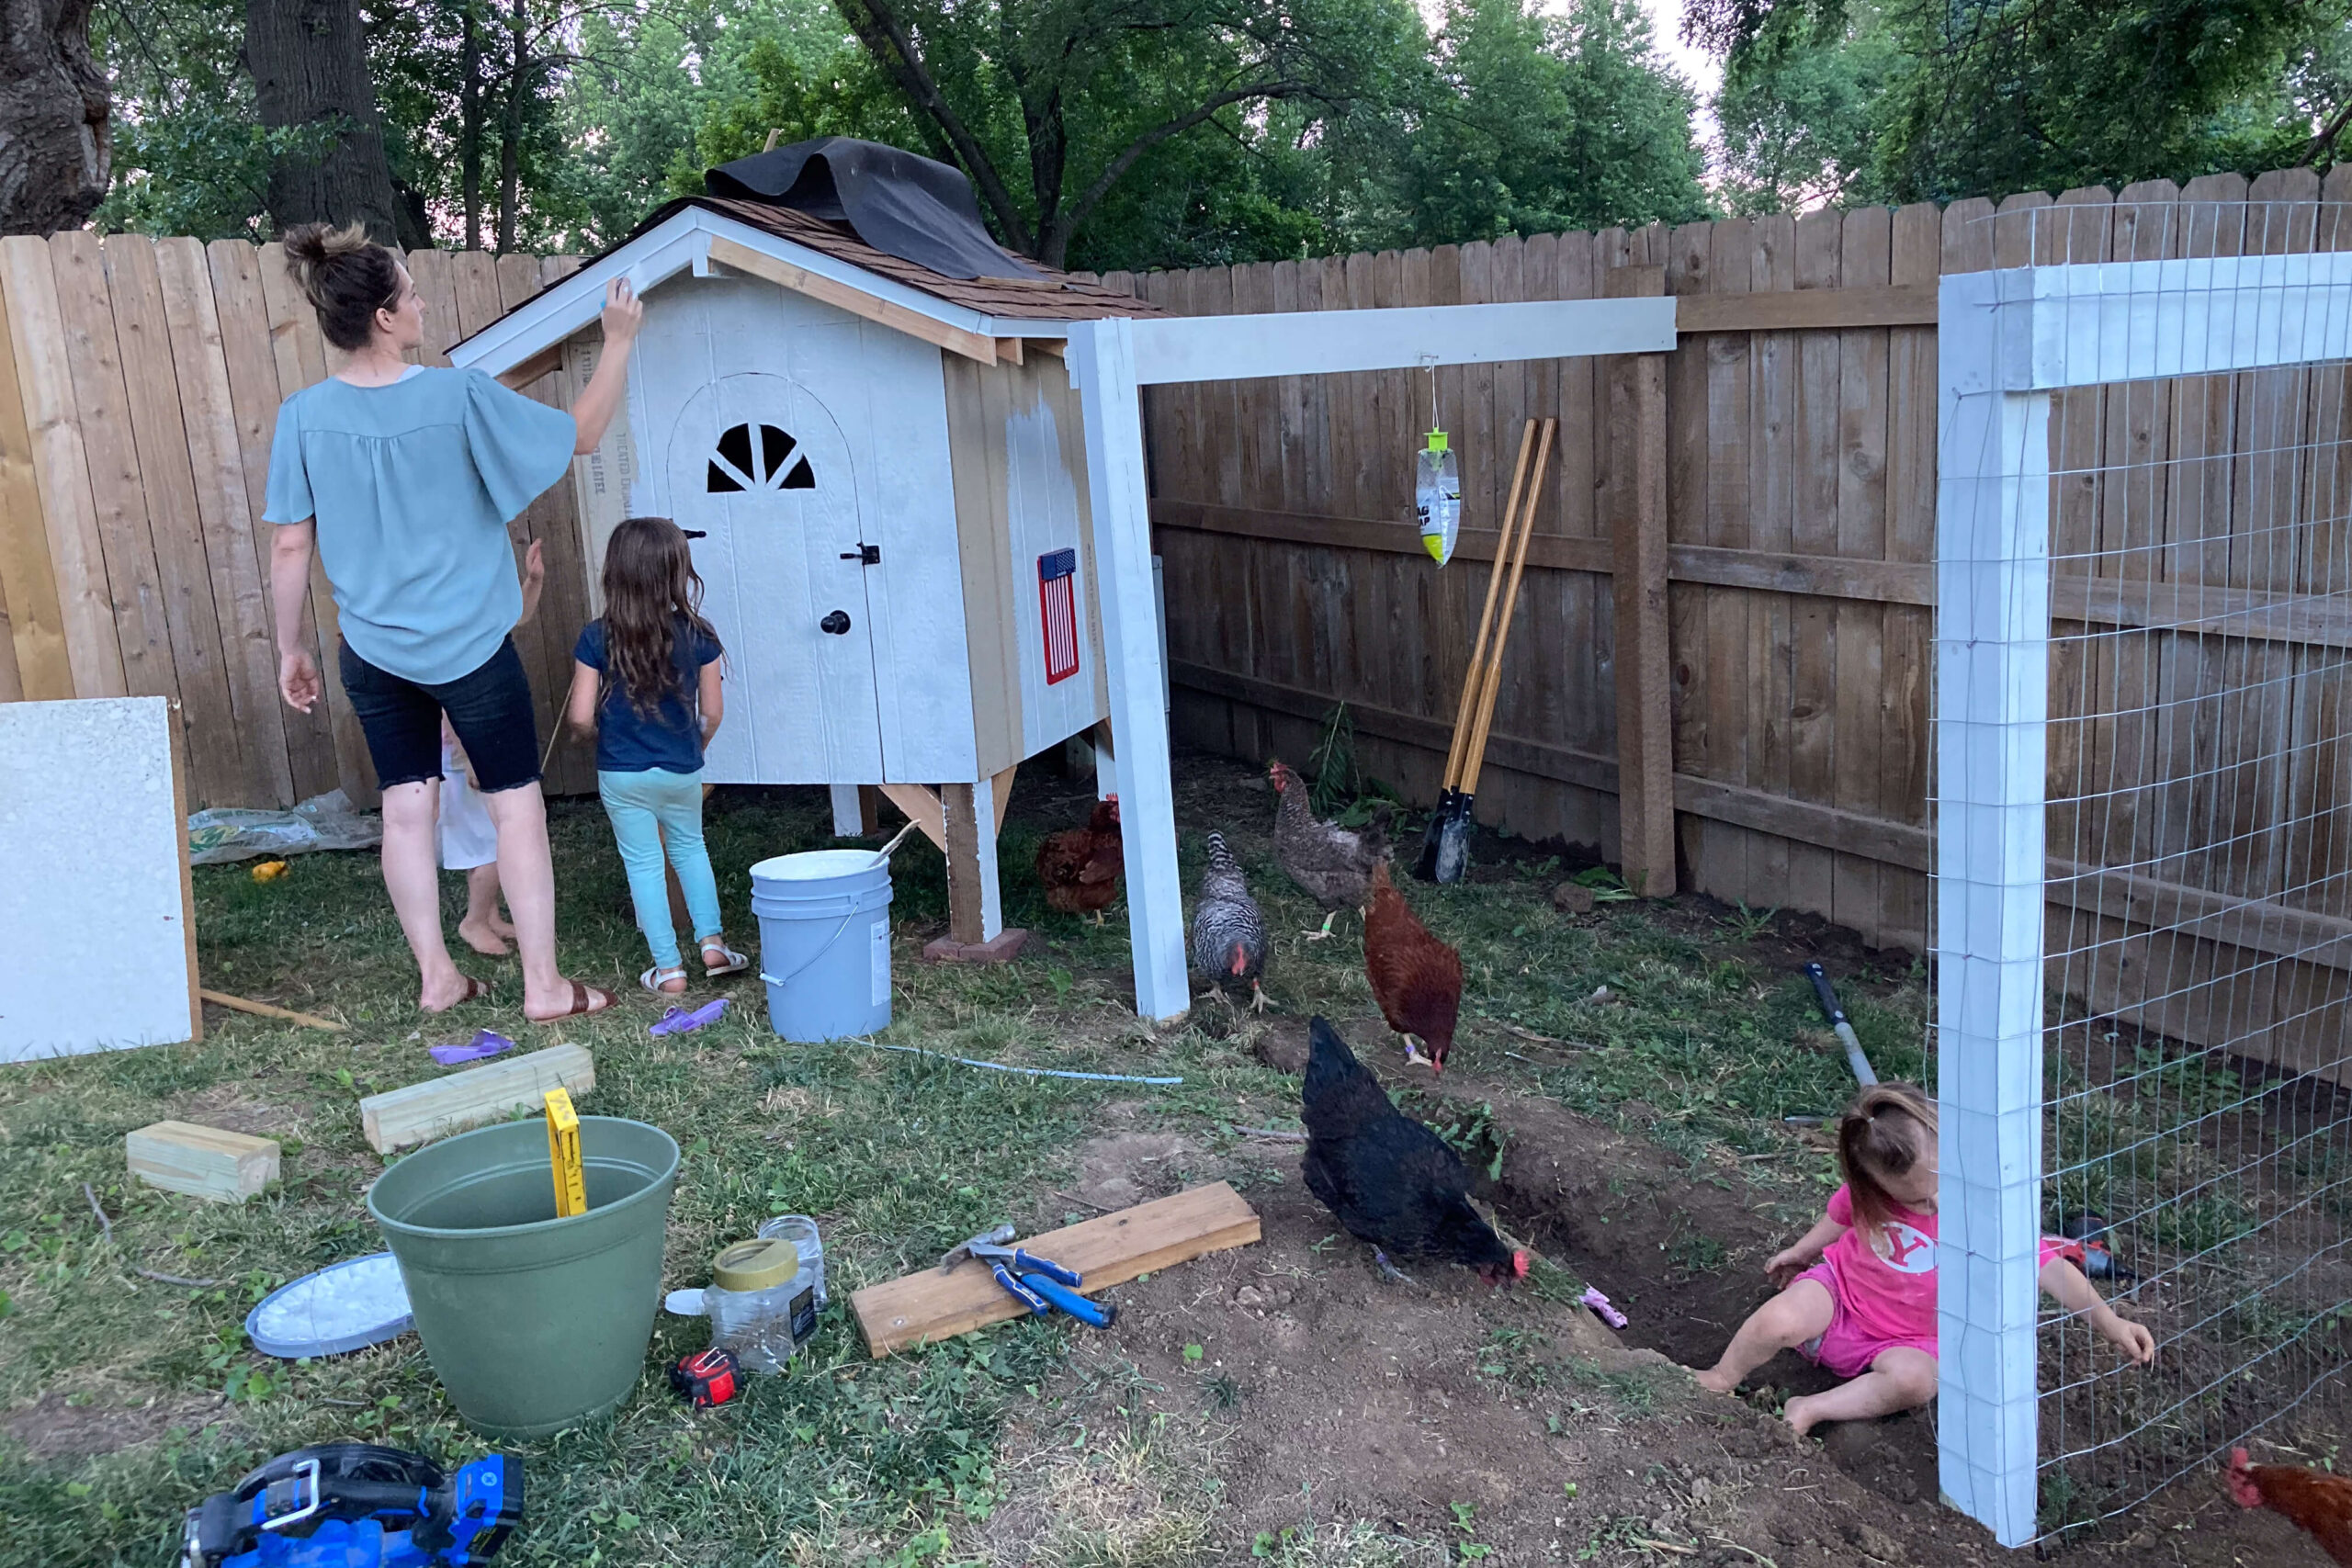
Painting and Finishing Our Chicken’s Home
Our low cost DIY chicken coop was all built and now needed paint. To protect it from the elements, it’s essential to use good primer, followed by quality exterior paint. I’m a big fan of Sherwin Williams brand paints.
And your chickens, of course, need somewhere to roost at night. We made simple roosts for our chickens using some scrap wood. Another low cost option is a sturdy tree branch.
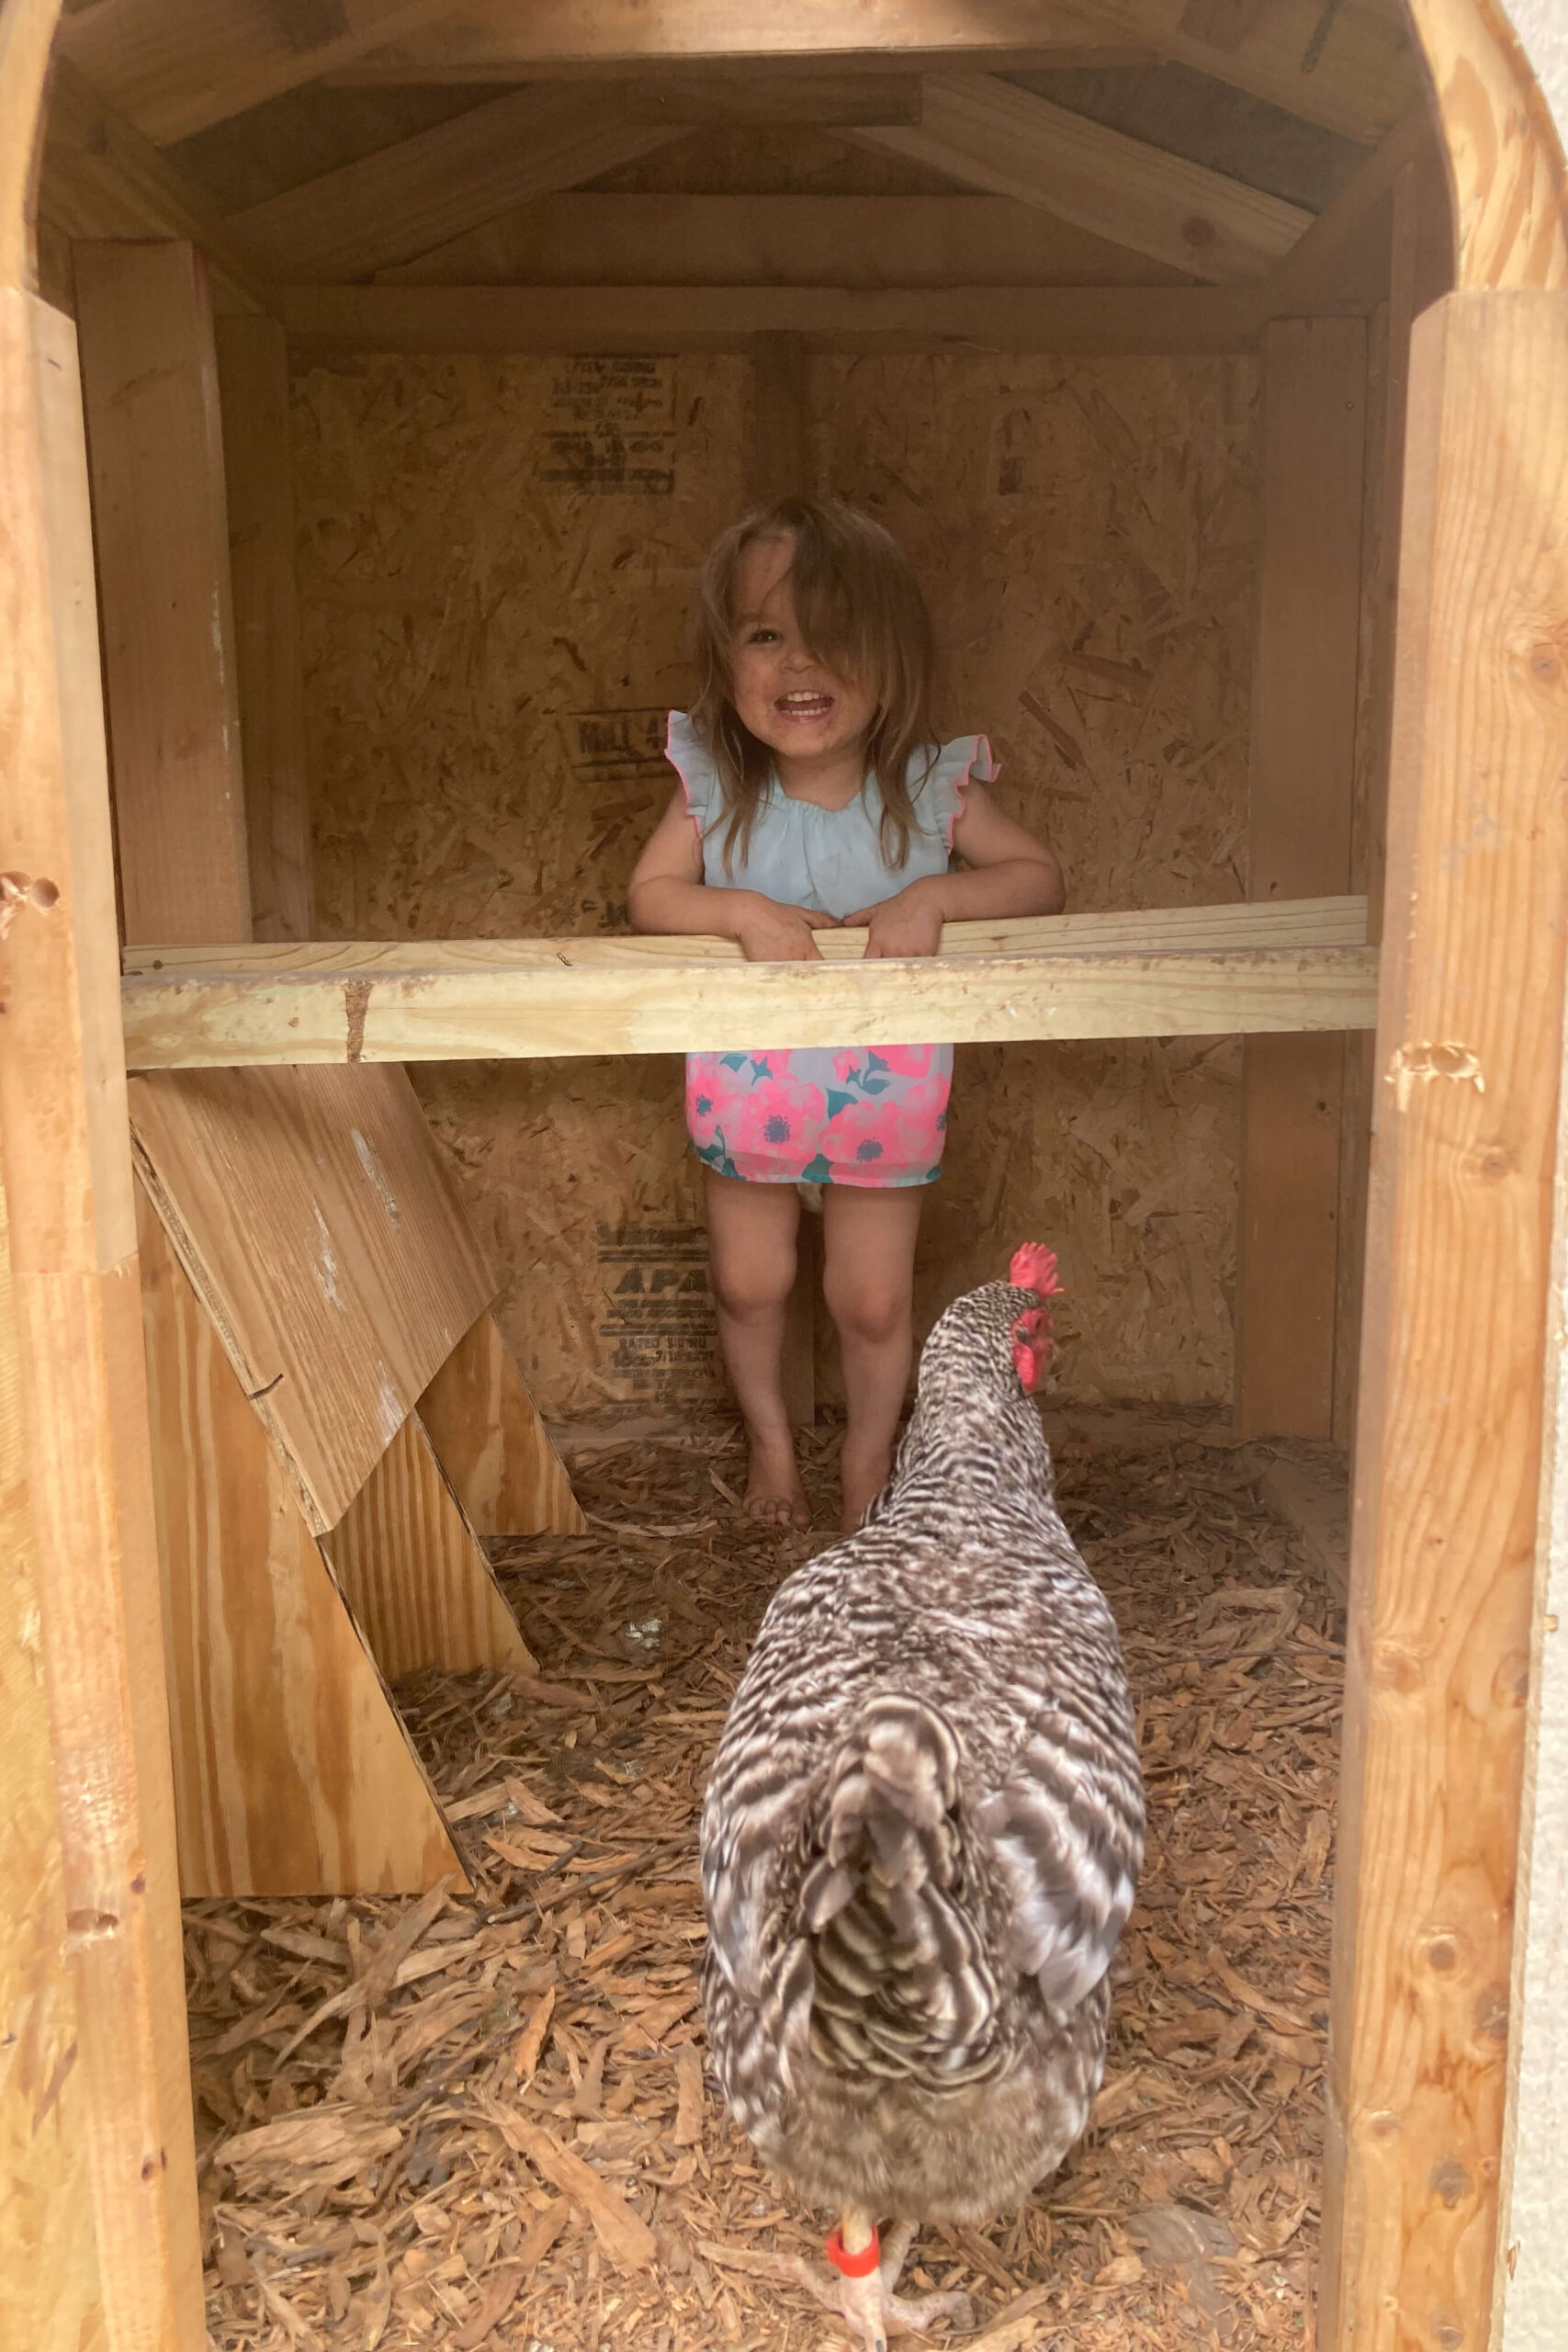
After adding bedding to the bottom of our new coop, it was ready to use.
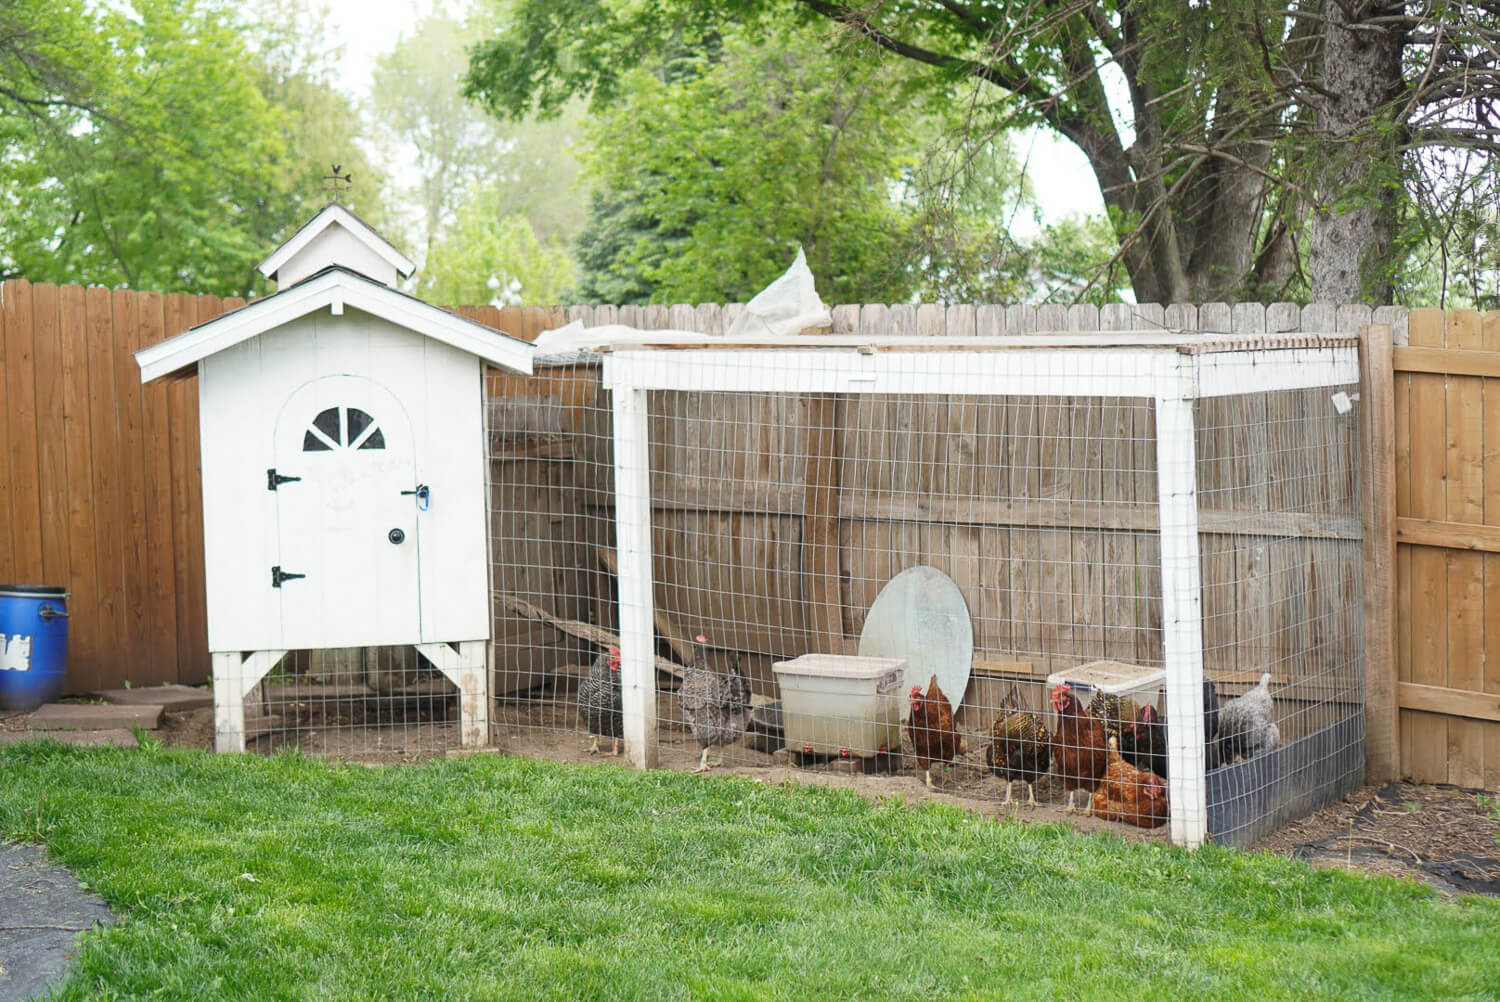
Building a Run for Our Chickens
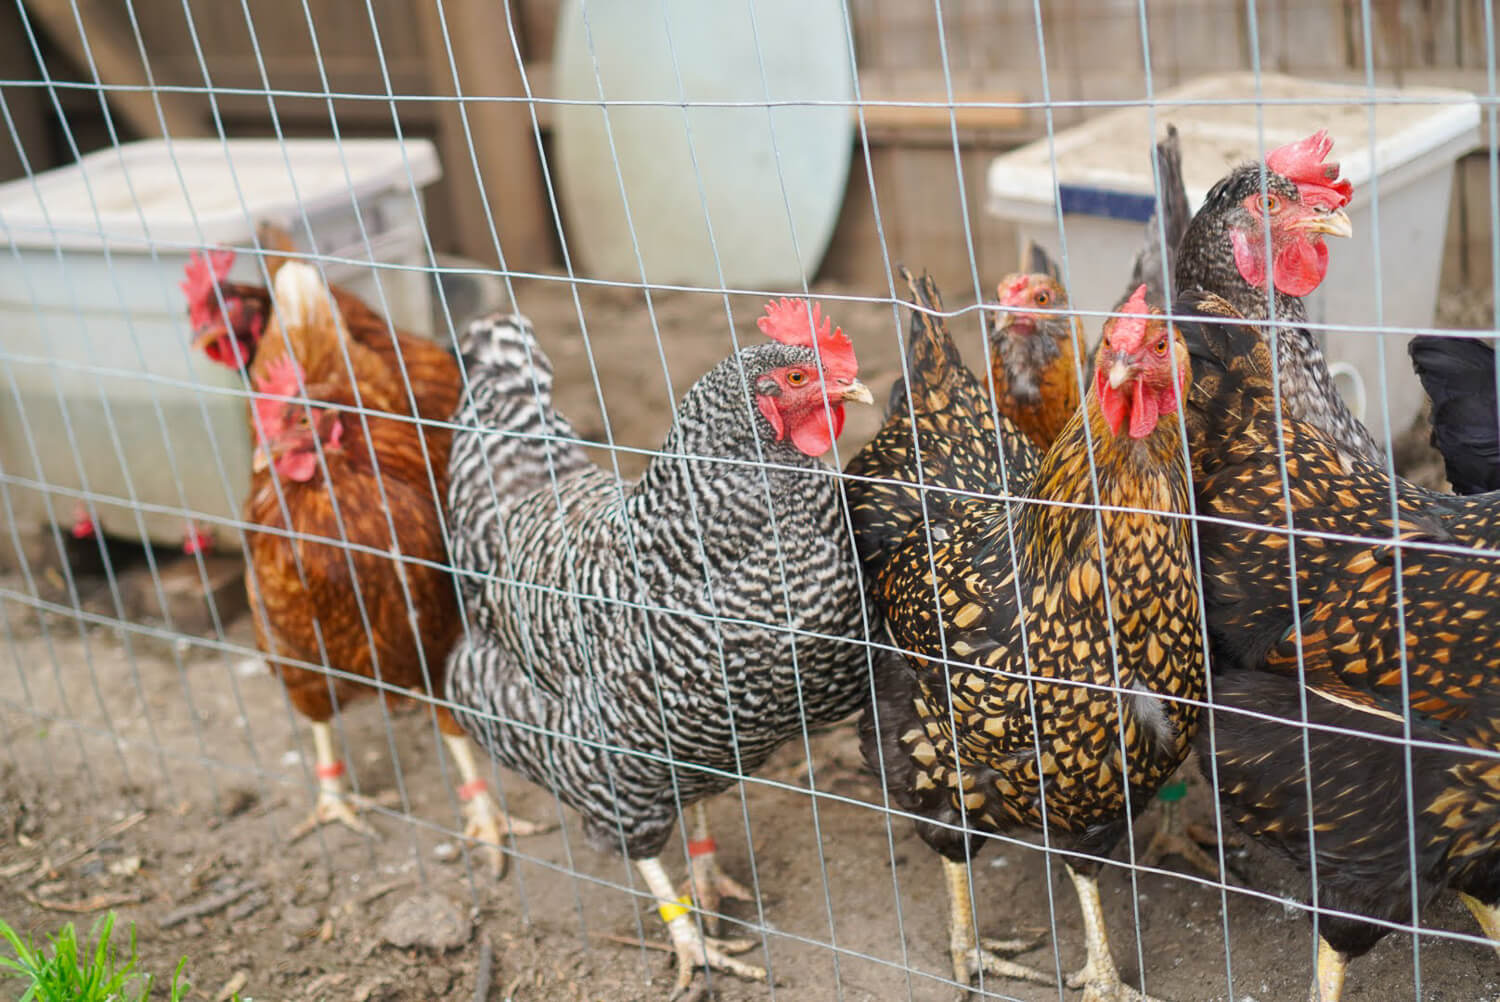
Right next to our low cost DIY chicken coop, we added a run. This is where the hens spend most of their day. We attached the run directly to the fence to save on some wood. We painted the run with the same paint and primer used on the coop, and enclosed it with welded wire fencing.
These fly bags (see them hanging there on the side of the run?) are a must have for around your backyard chicken coop. Having backyard chickens, you’ll notice an increase in flies, but these bags really help keep the flies down so we can enjoy our backyard more.

The automatic door opens each morning to let my hens out into the run. Each night, as it gets dark, the chickens put themselves to bed, and the automatic door closes up, keeping them safe.
We used a slice of a log for a ramp for our hens. We got creative on this low cost DIY chicken coop to use materials we had around the house as much as possible.

All done! This low cost DIY chicken coop is complete and fully in use. The hens love their space, and I love getting fresh eggs right from our backyard each day.