


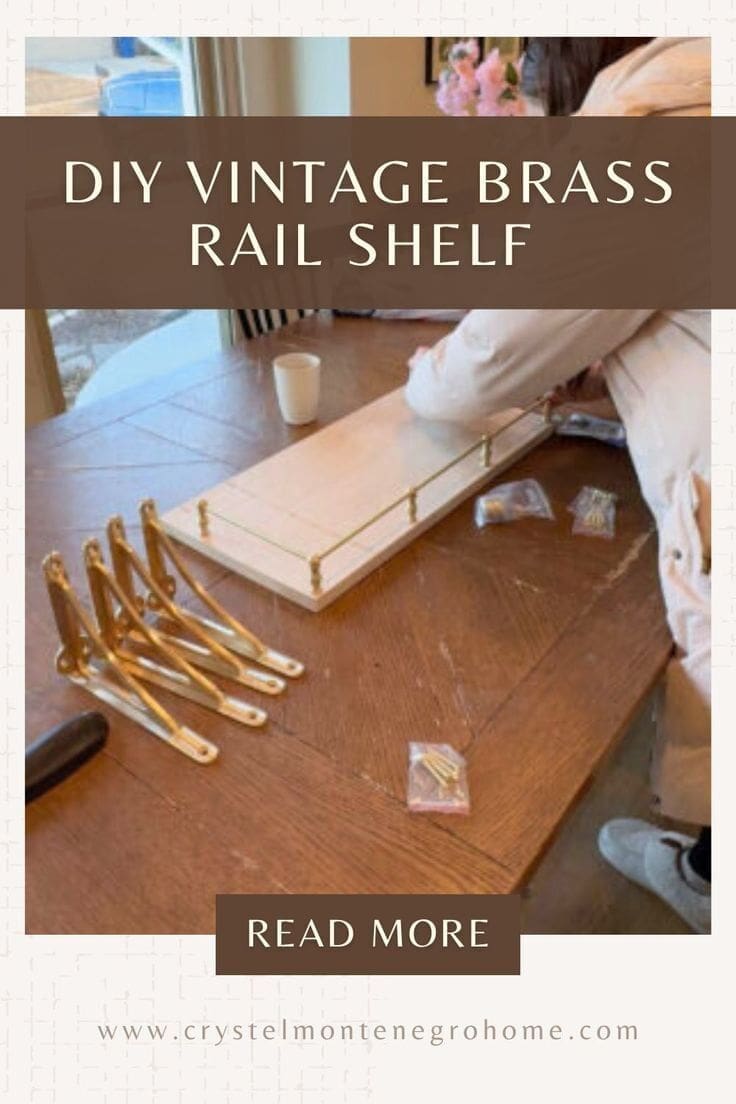
How To Build a Brass Rail Shelf (high-end dupe)


Updated July 14, 2026
While completely renovating my guest bathroom, I found myself on the hunt for the perfect shelf to go over the toilet. I imagined a combination of wood and brass – something sleek yet functional. When I couldn’t find exactly what I wanted, I decided to roll up my sleeves and make my own brass rail shelf. Let me tell you, it was a surprisingly simple project that used just a few tools and came together quickly. Bonus: it looks so high-end and gorgeous in the space! Keep reading, and I’ll walk you through how I made it.
More DIY Projects from This Bathroom Makeover
– Upgrading Our Guest Bath with DIY Picture Frame Molding
– DIY Curved Molding Around an Arch
– How I Installed a Beautiful Tile Tub Surround (And You Can Too!)
– How To Build an Arched Bathtub Alcove
Table of Contents
- More DIY Projects from This Bathroom Makeover
- Tools for Building a DIY Brass Rail Shelf
- Materials to Build a Brass Rail Shelf for the Bathroom
- How to Trim Brass Rods for a Custom Shelf
- Staining the Wood Shelf for a Warm, Rich Finish
- Installing the Brass Rail System on Your Shelf
- How to Install a Brass Rail Shelf Securely
- Final Reveal: My Finished DIY Brass Rail Shelf
- 📌 Pin Now An Save For Later
- Frequently Asked Questions About Installing a Brass Rail Shelf
Tools for Building a DIY Brass Rail Shelf
Materials to Build a Brass Rail Shelf for the Bathroom
- Wood for shelf (I used Poplar)
- Brass rail system
- Stain (I used this one)
- Polycrylic
- Drywall anchors
How to Trim Brass Rods for a Custom Shelf
The rods I ordered for my brass rail shelf were a little too long, but that was an easy fix. I grabbed my trusty angle grinder and trimmed them down to the perfect length. Pro tip: use a pair of pliers to hold the rod steady while trimming. Next, I trimmed the back of the shelf down with my circular saw, and we were in business.


Staining the Wood Shelf for a Warm, Rich Finish
After cutting the shelf down to size and giving the board a good sanding, it was time to stain. I chose Minwax Gel Stain in Walnut, a warm, classic color that pairs beautifully with the brass. To apply the stain, I used a cheap paintbrush (nothing fancy needed!) and wiped off the excess with a paper towel. Simple, right?


Since this brass rail shelf was going in a bathroom, I wanted to give it extra protection. Enter Polycrylic: my go-to for a clear, durable finish. Using my favorite paintbrush, I applied a thin coat. Don’t be alarmed by its milky appearance in the can – it dries crystal clear with a subtle satin sheen

Installing the Brass Rail System on Your Shelf
Once the finish was dry, it was time to add the brass rails. I assembled the rail system and used the included screws to attach it to the shelf. So simple! Here’s a pro tip: use a drill extension to make reaching those tight spots easier.


How to Install a Brass Rail Shelf Securely
With the rails securely in place, I attached the brackets to the underside of the shelf. Finally, it was time to hang my brass rail shelf. If you can’t hit a wall stud during installation, make sure to use drywall anchors for a secure fit.

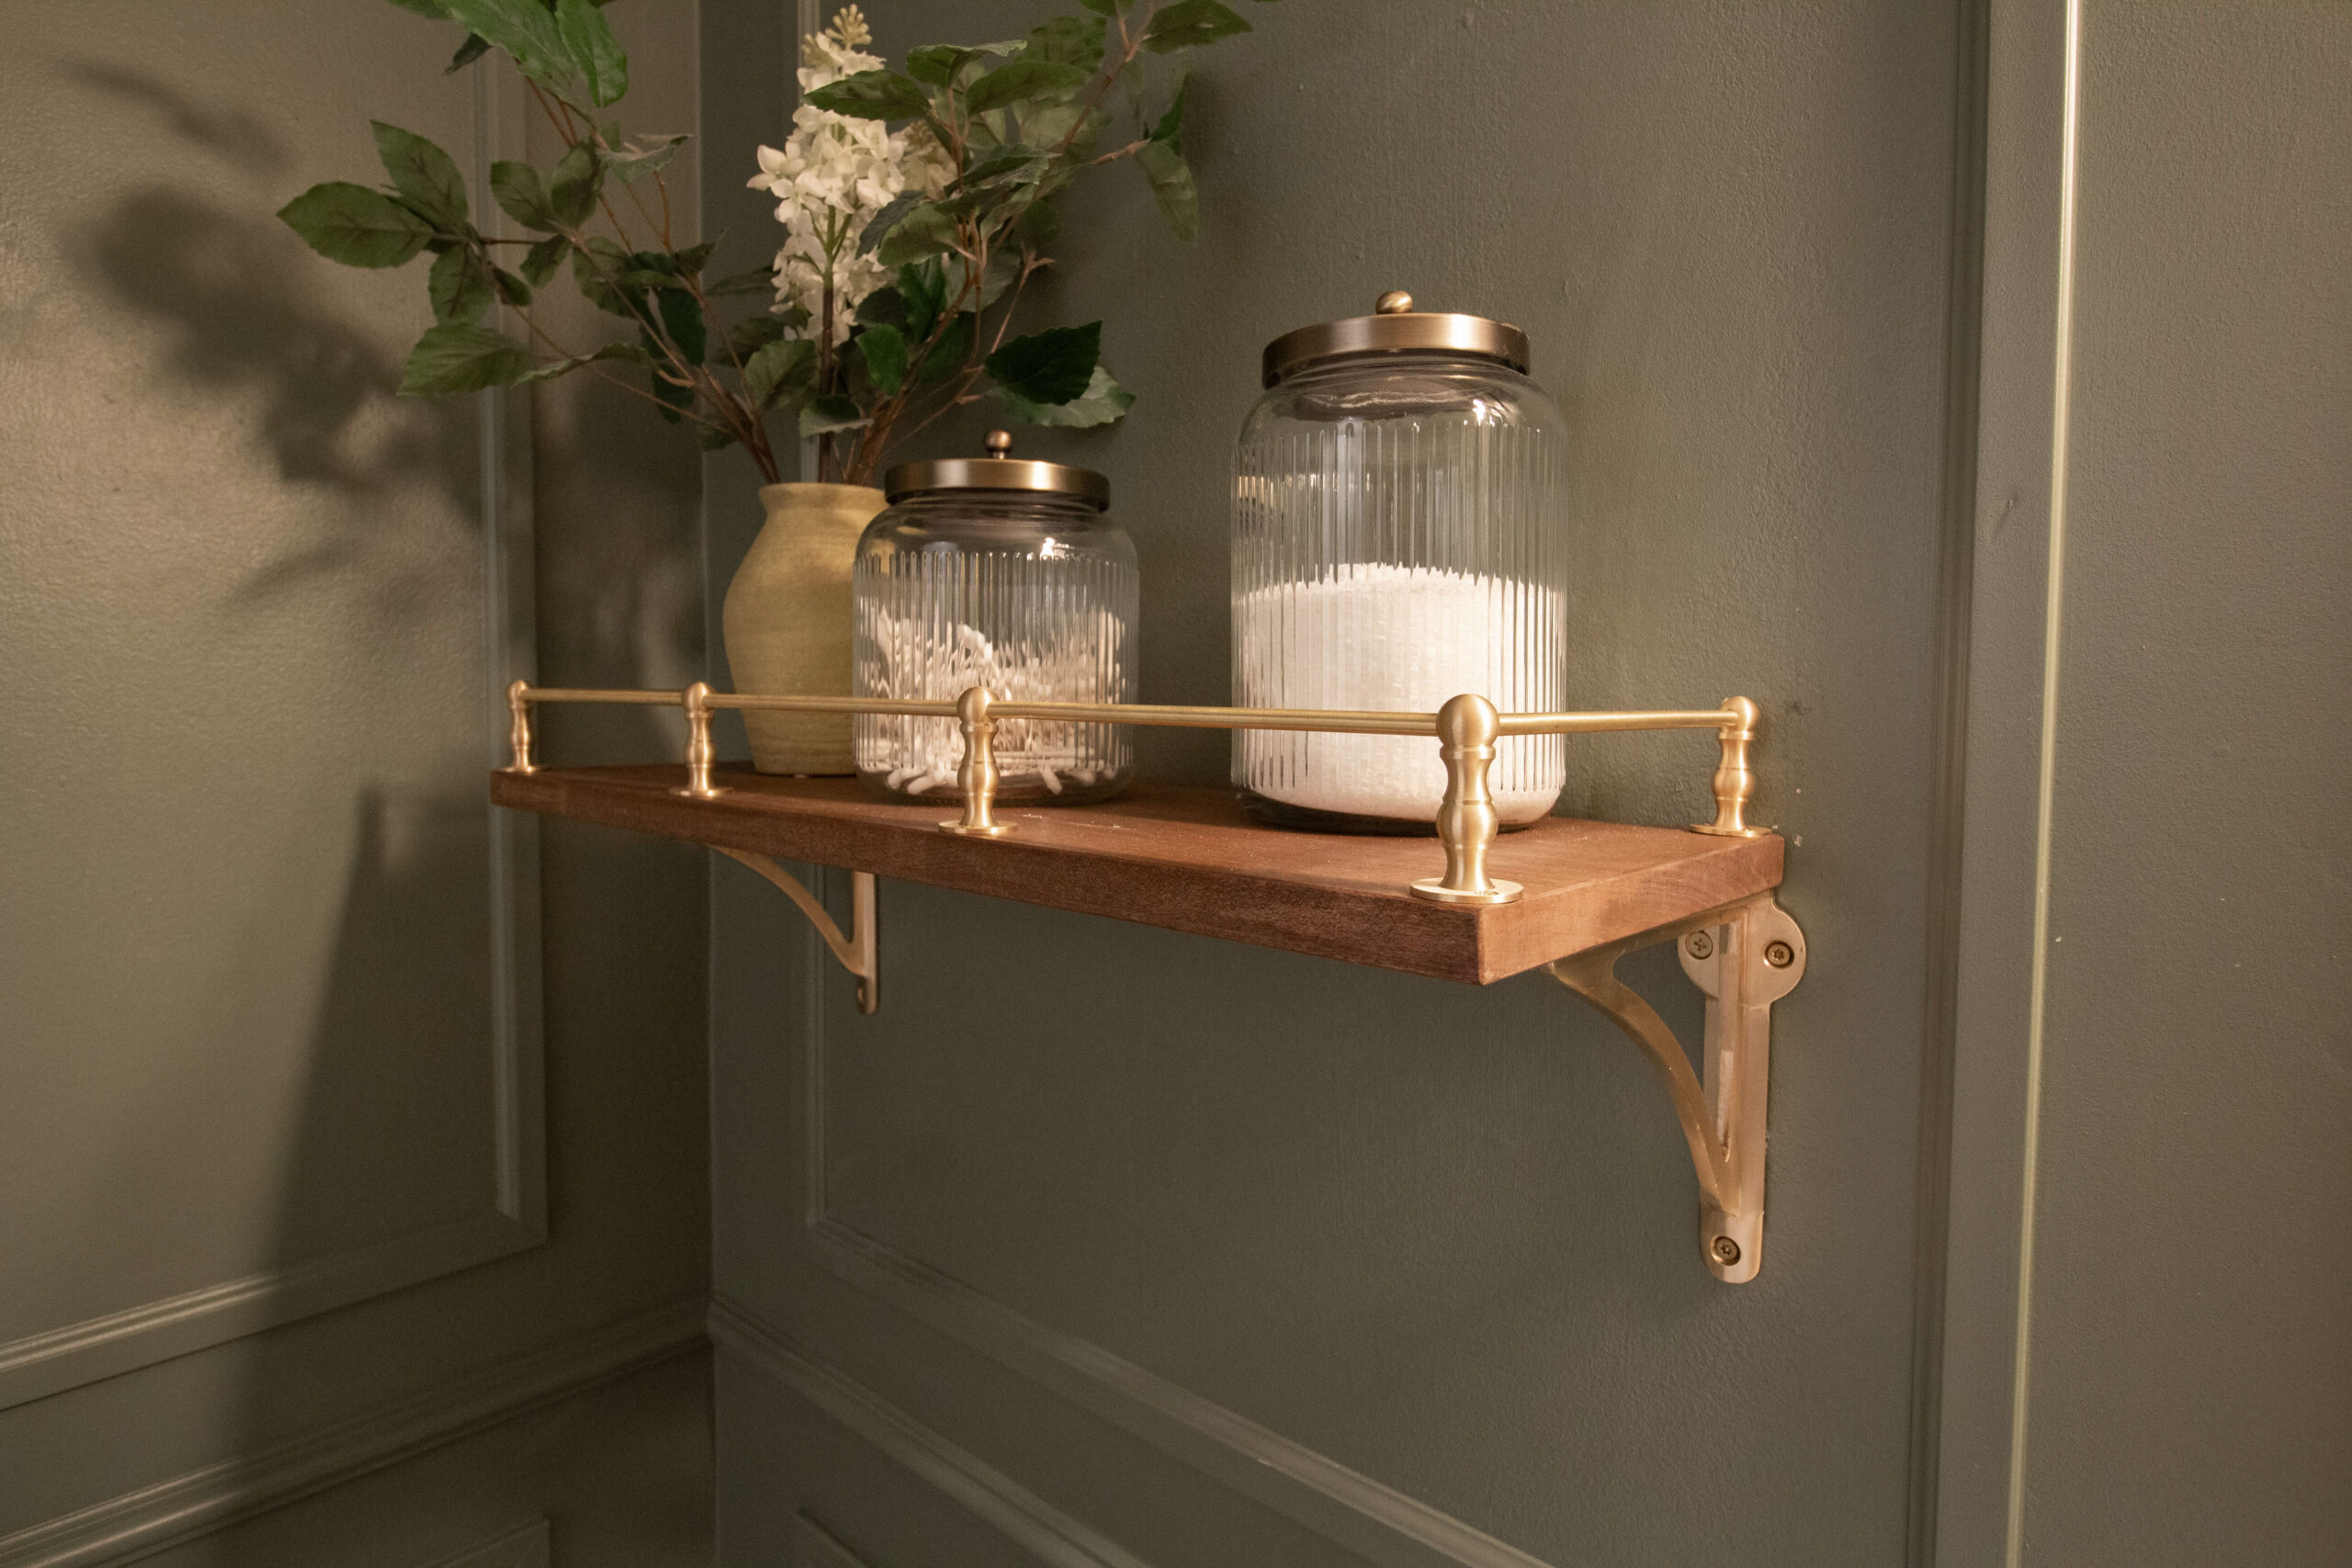
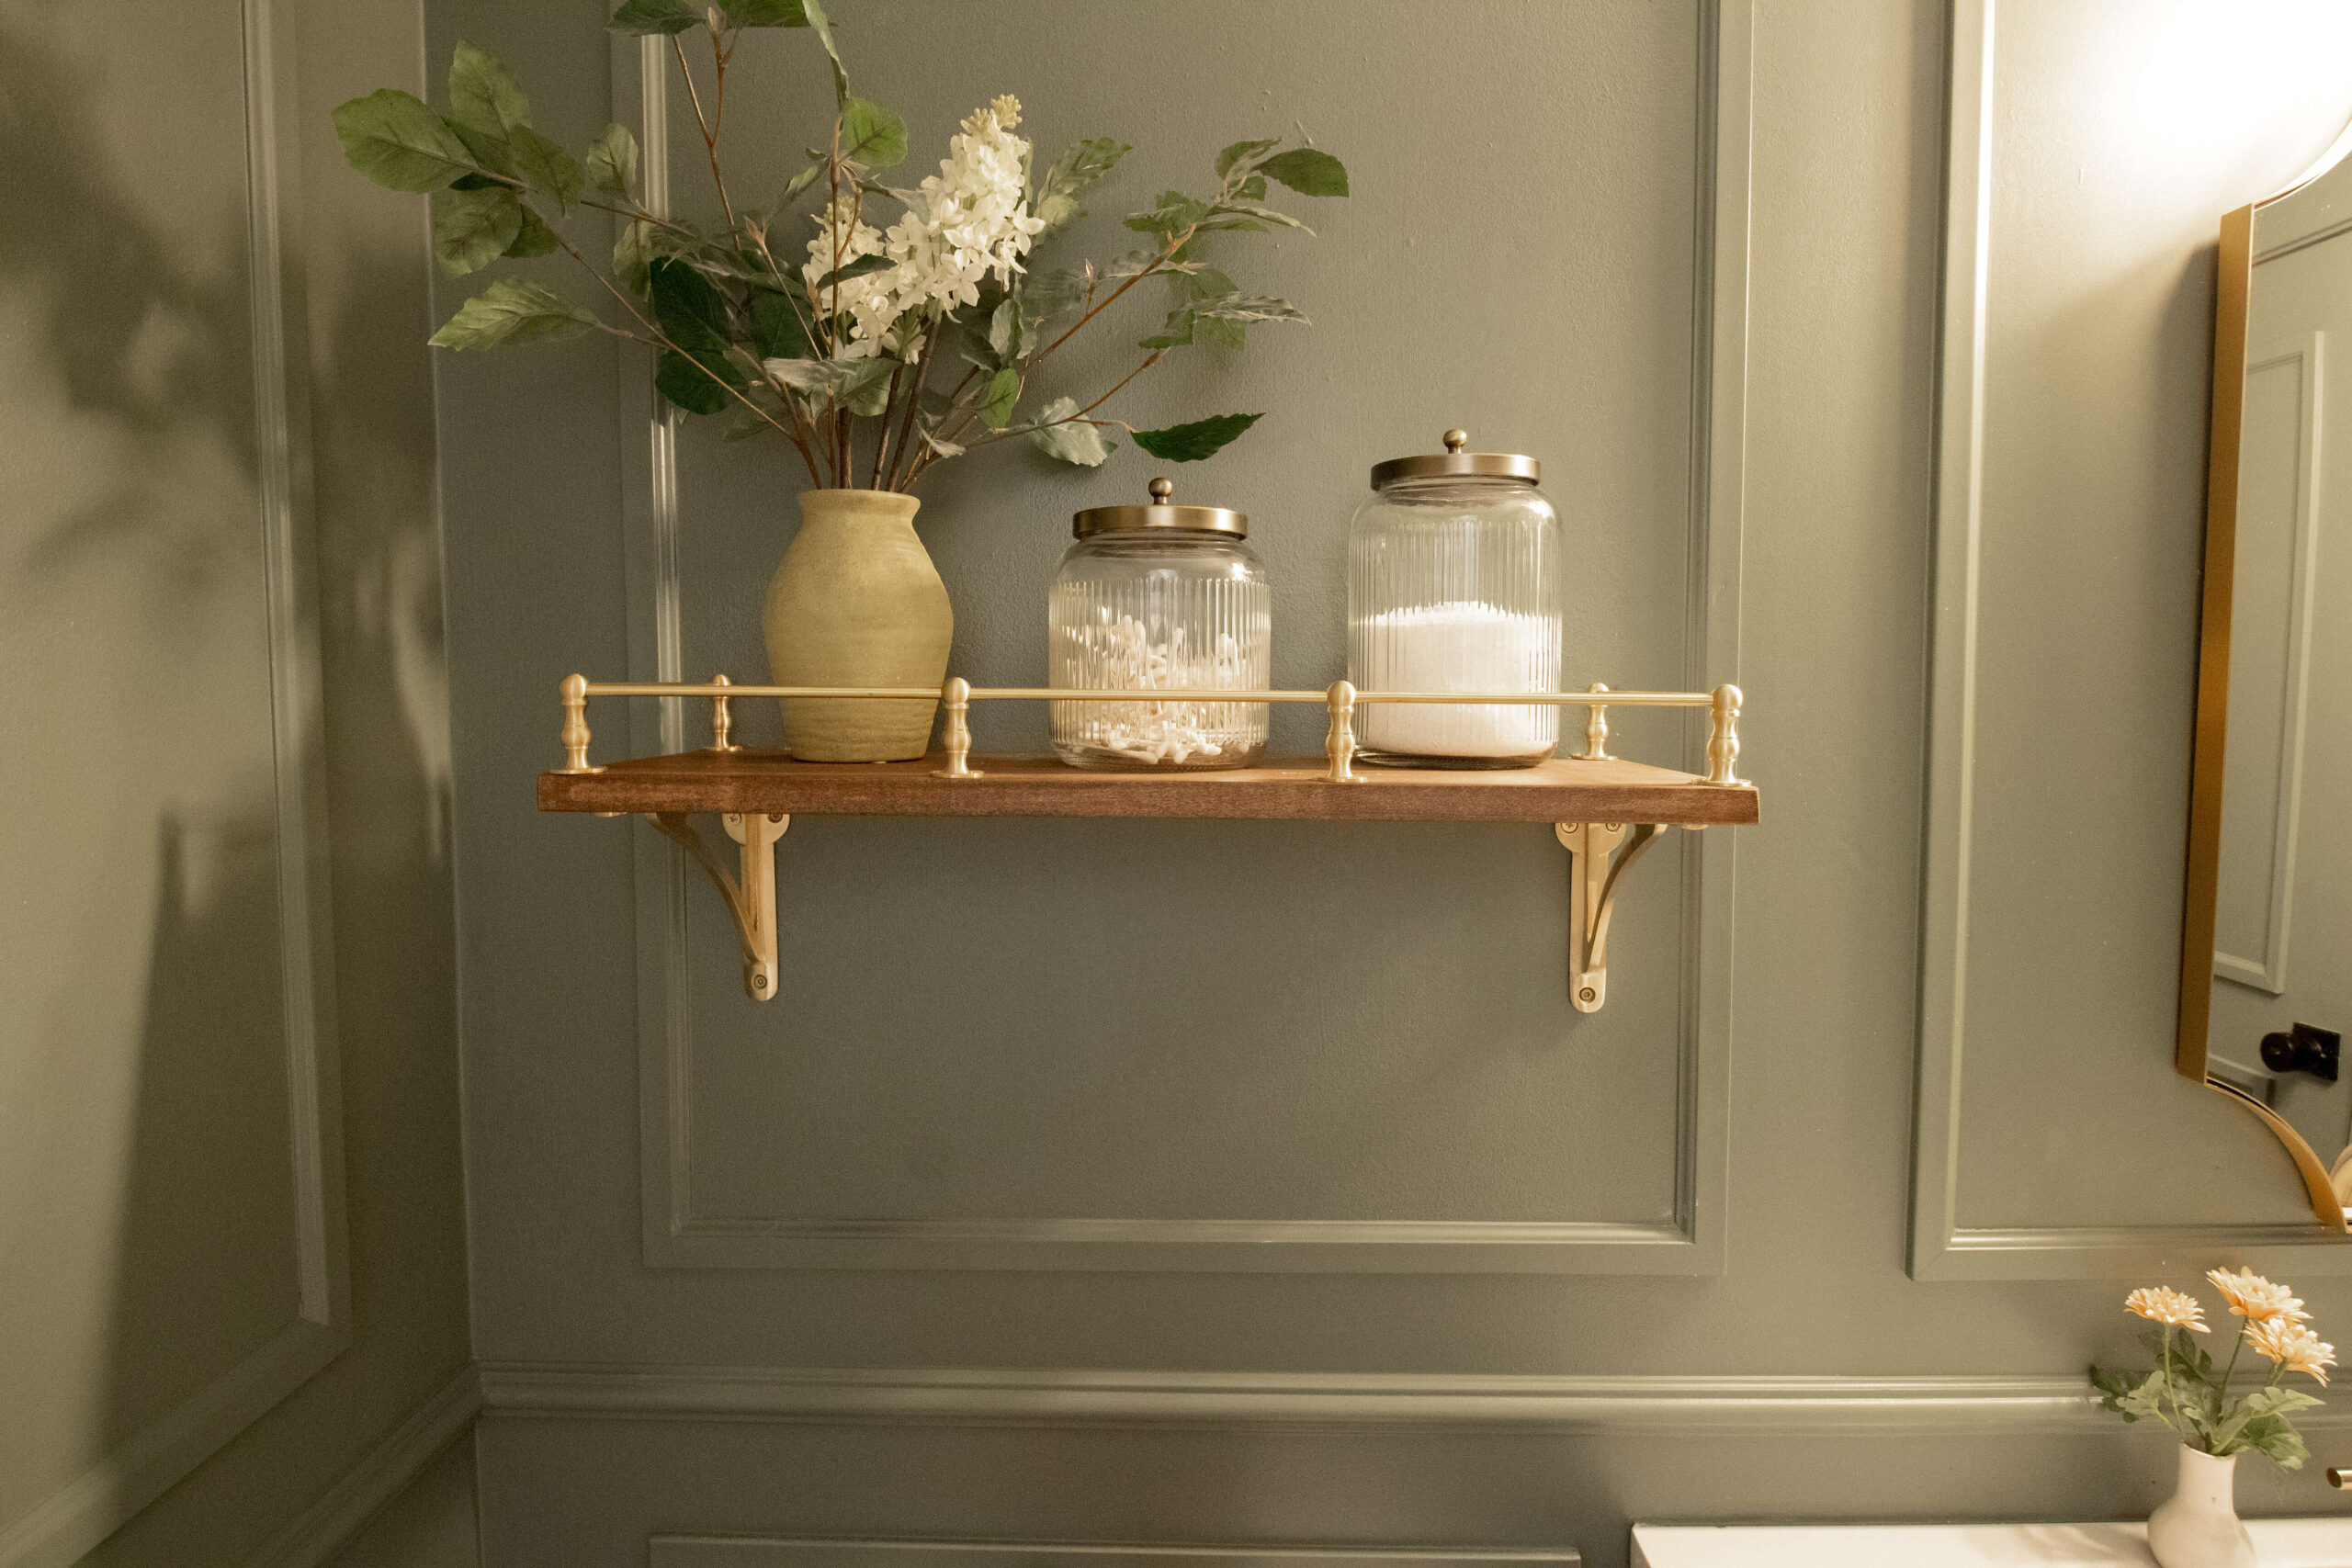
Final Reveal: My Finished DIY Brass Rail Shelf
And that’s it! My new brass rail shelf is up, and I couldn’t be happier with how it turned out. It’s the perfect mix of form and function, adding both style and storage to the bathroom. Love it!
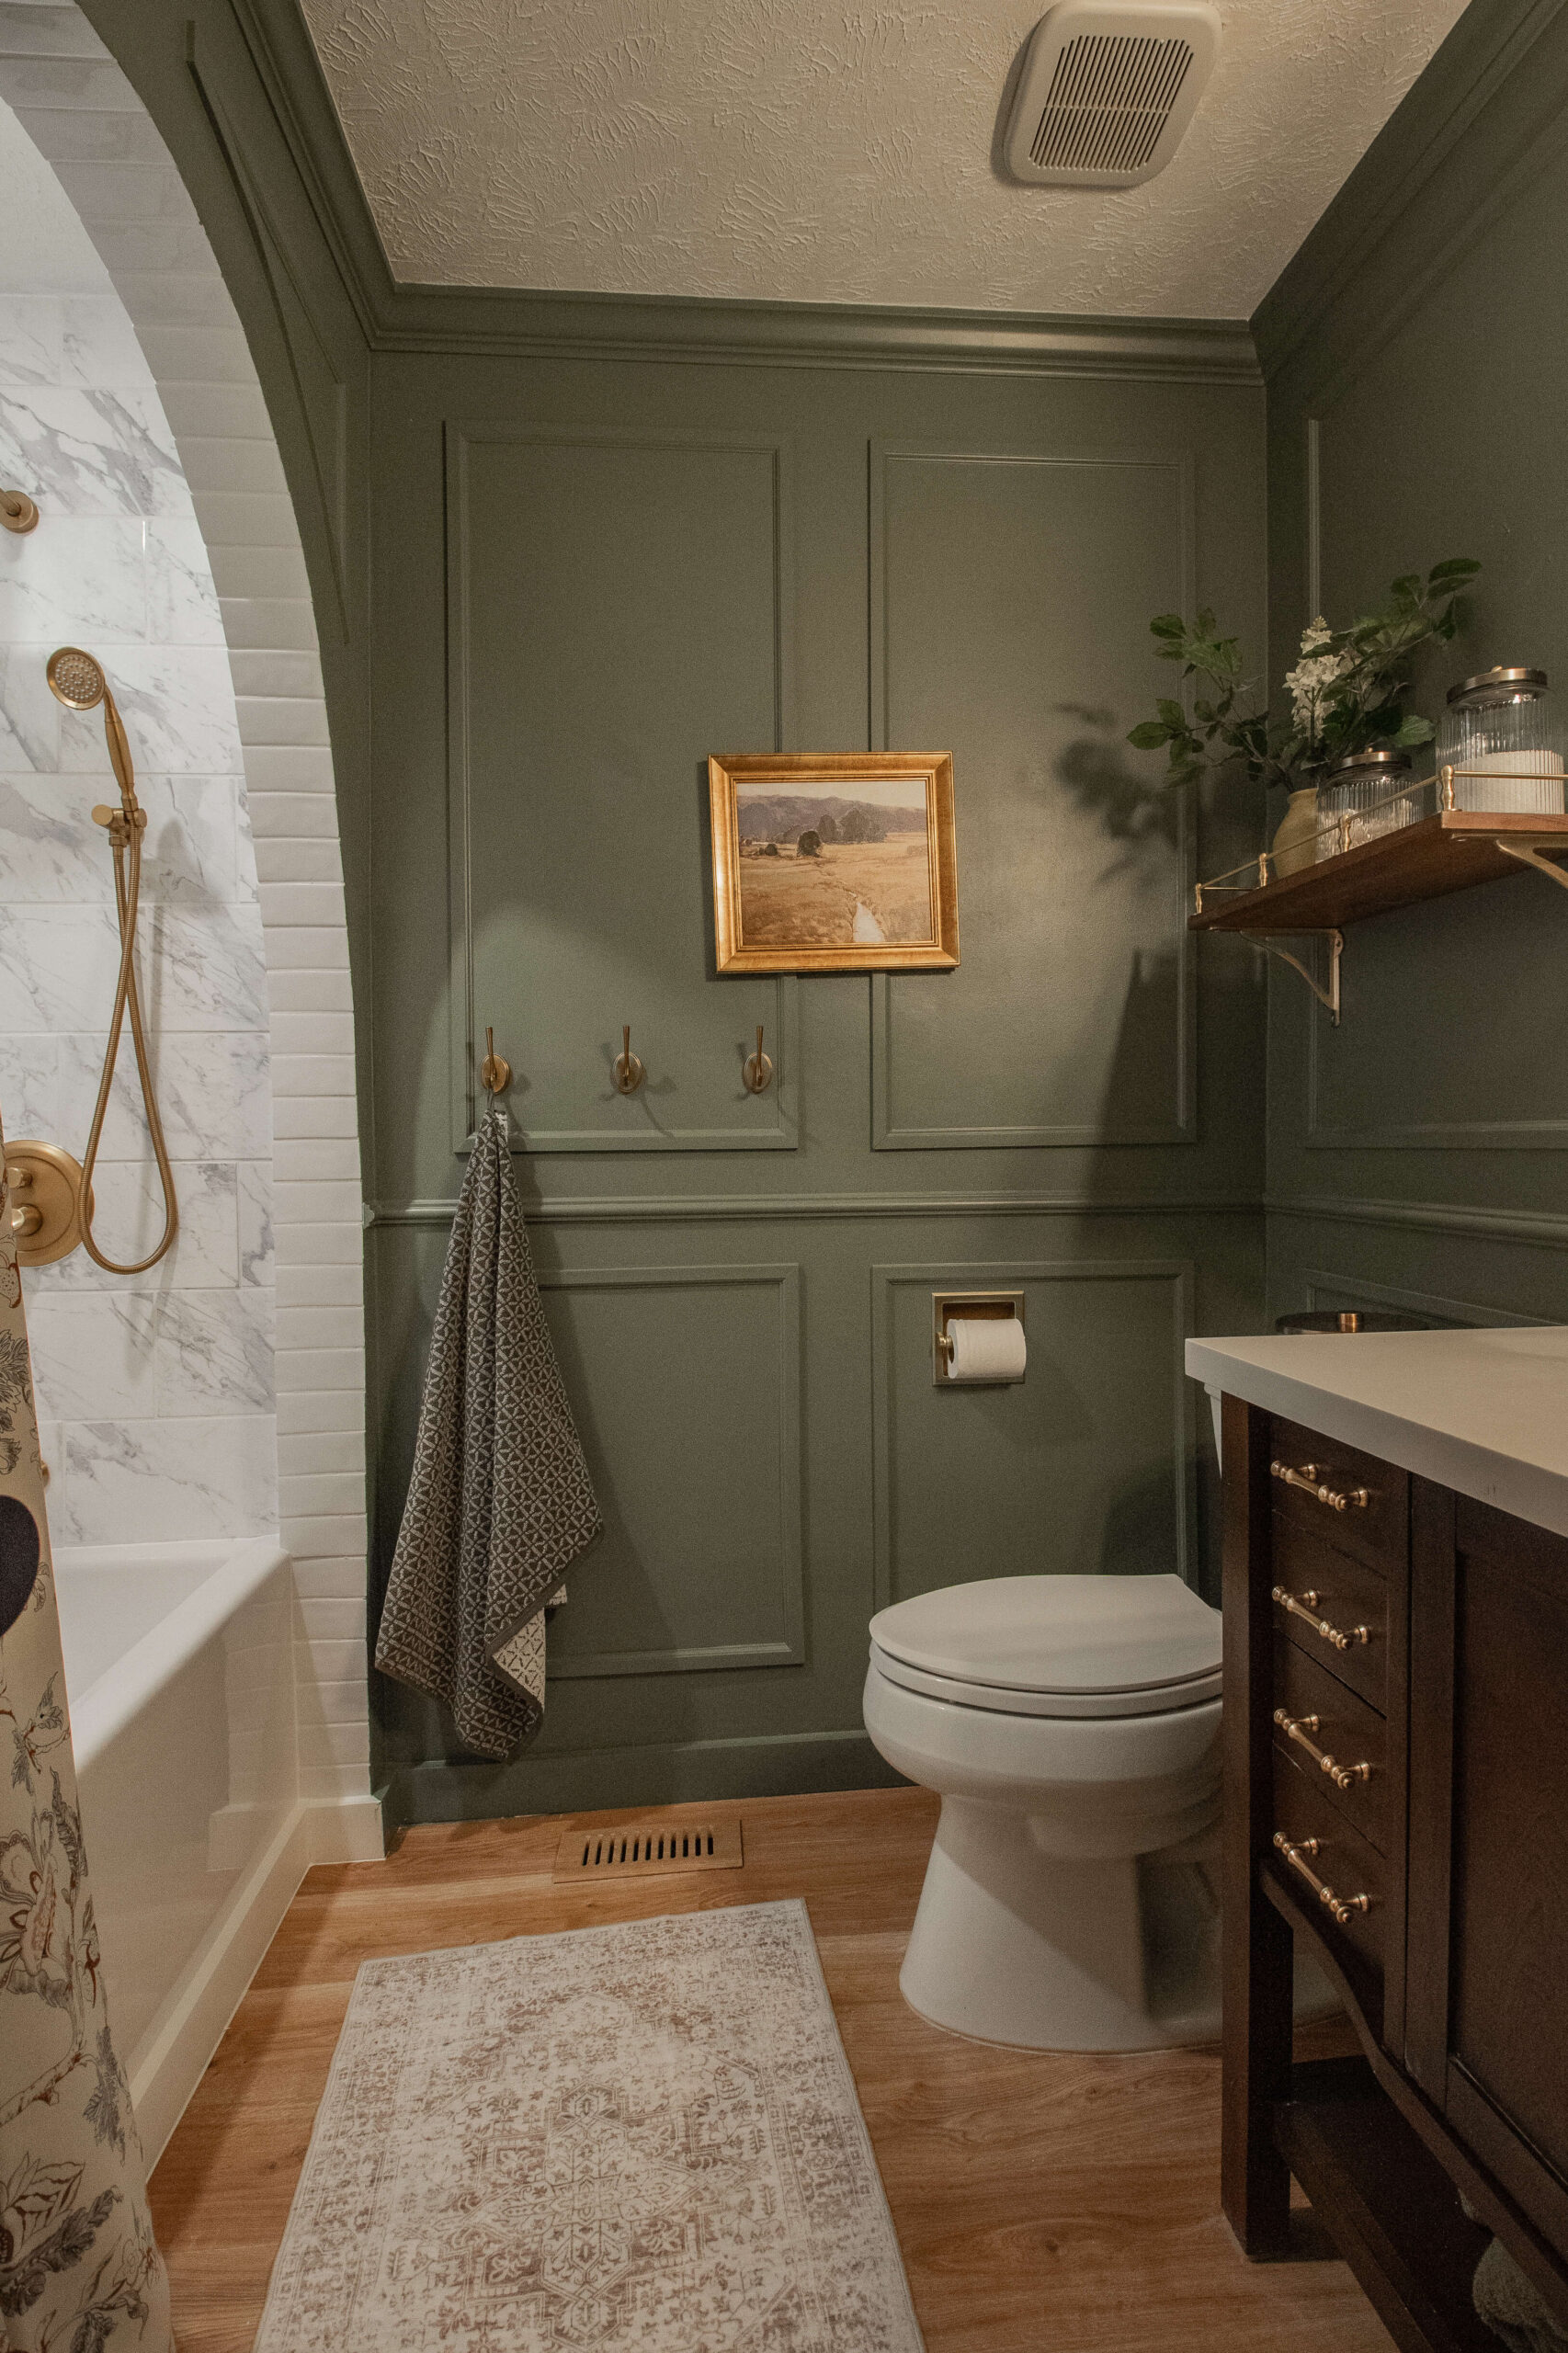
Want to learn more about the other projects I did in my small bathroom overhaul? I’ve got all the details posted here!
📌 Pin Now An Save For Later
Frequently Asked Questions About Installing a Brass Rail Shelf
I found mine on ETSY!
Use a clear finish like Polycrylic for added protection. It dries clear with a satin sheen and provides durable coverage.
Use heavy-duty drywall anchors to securely mount the brass rail shelf.
