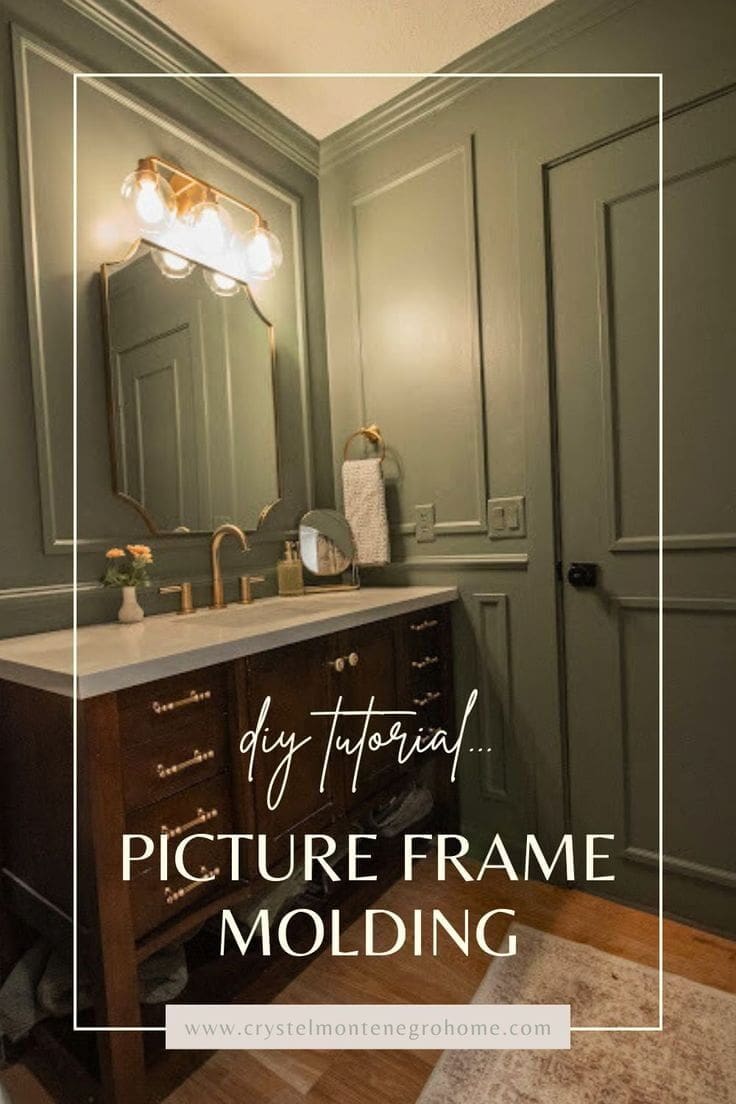
DIY Guest Bath Upgrade with Picture Frame Molding


Updated May 9, 2026
Over just 12 days, I transformed my guest bathroom from basic and boring to a timeless classic – and the star of the show? My DIY picture frame molding! This beginner-friendly project adds style, depth, and sophistication to any room. Here’s how I made it happen, step by step:
When I started planning this bathroom refresh, I knew I wanted to keep things classic but with a little architectural interest. I kept seeing picture frame molding pop up in design magazines and old homes – and it felt like the perfect mix of timeless and trendy. Once I realized I could DIY it with just a miter saw and some trim, it was game on.
Table of Contents
- Tools for Installing DIY Picture Frame Molding
- Materials for Bathroom Picture Frame Wall Trim
- Step 1: Install Crown Molding and Baseboards for a Framed Look
- Step 2: Add a Chair Rail to Divide the Wall for Trim
- Step 3: Create and Install Your DIY Picture Frame Molding Boxes
- Step 4: Caulk and Spackle Trim for a Smooth, Professional Finish
- Avoid These Common DIY Picture Frame Molding Mistakes
- Step 5: Prime and Paint Your Picture Frame Molding Like a Pro
- Bonus Tip: The Trick to Crisp Paint Lines on Wall Trim
- Before and After: Our Finished DIY Picture Frame Molding Wall
- 📌 Pin And Save For Later
- Frequently Asked Questions About DIY Picture Frame Molding
Tools for Installing DIY Picture Frame Molding
Materials for Bathroom Picture Frame Wall Trim
- Crown molding
- PVC baseboard
- PVC trim
- Chair rail
- Brad nails
- Caulk
- Spackle
- Painter’s tape
- Primer
- Paint (I used this color)
Step 1: Install Crown Molding and Baseboards for a Framed Look
Before diving into the DIY picture frame molding, it’s important to create a solid foundation by installing crown molding at the top of the wall and baseboard at the bottom. Using a brad nailer, securely attach these elements to the wall. This step defines the borders of your design and gives you a clear picture of how much wall space you’ll have left to work with.


Step 2: Add a Chair Rail to Divide the Wall for Trim
For my DIY picture frame molding, I divided the wall into upper and lower sections with a chair rail. For a balanced look, measure about one-third of the way up the wall as a general guide. A laser level will keep everything perfectly aligned, while a stud finder helps you locate the studs for secure attachment.
Attach the chair rail along the laser guide using a brad nailer, wrapping it around the entire room. For corners, use 45° angled cuts, while flat cuts are perfect for edges, like where the trim meets the tiled archway.


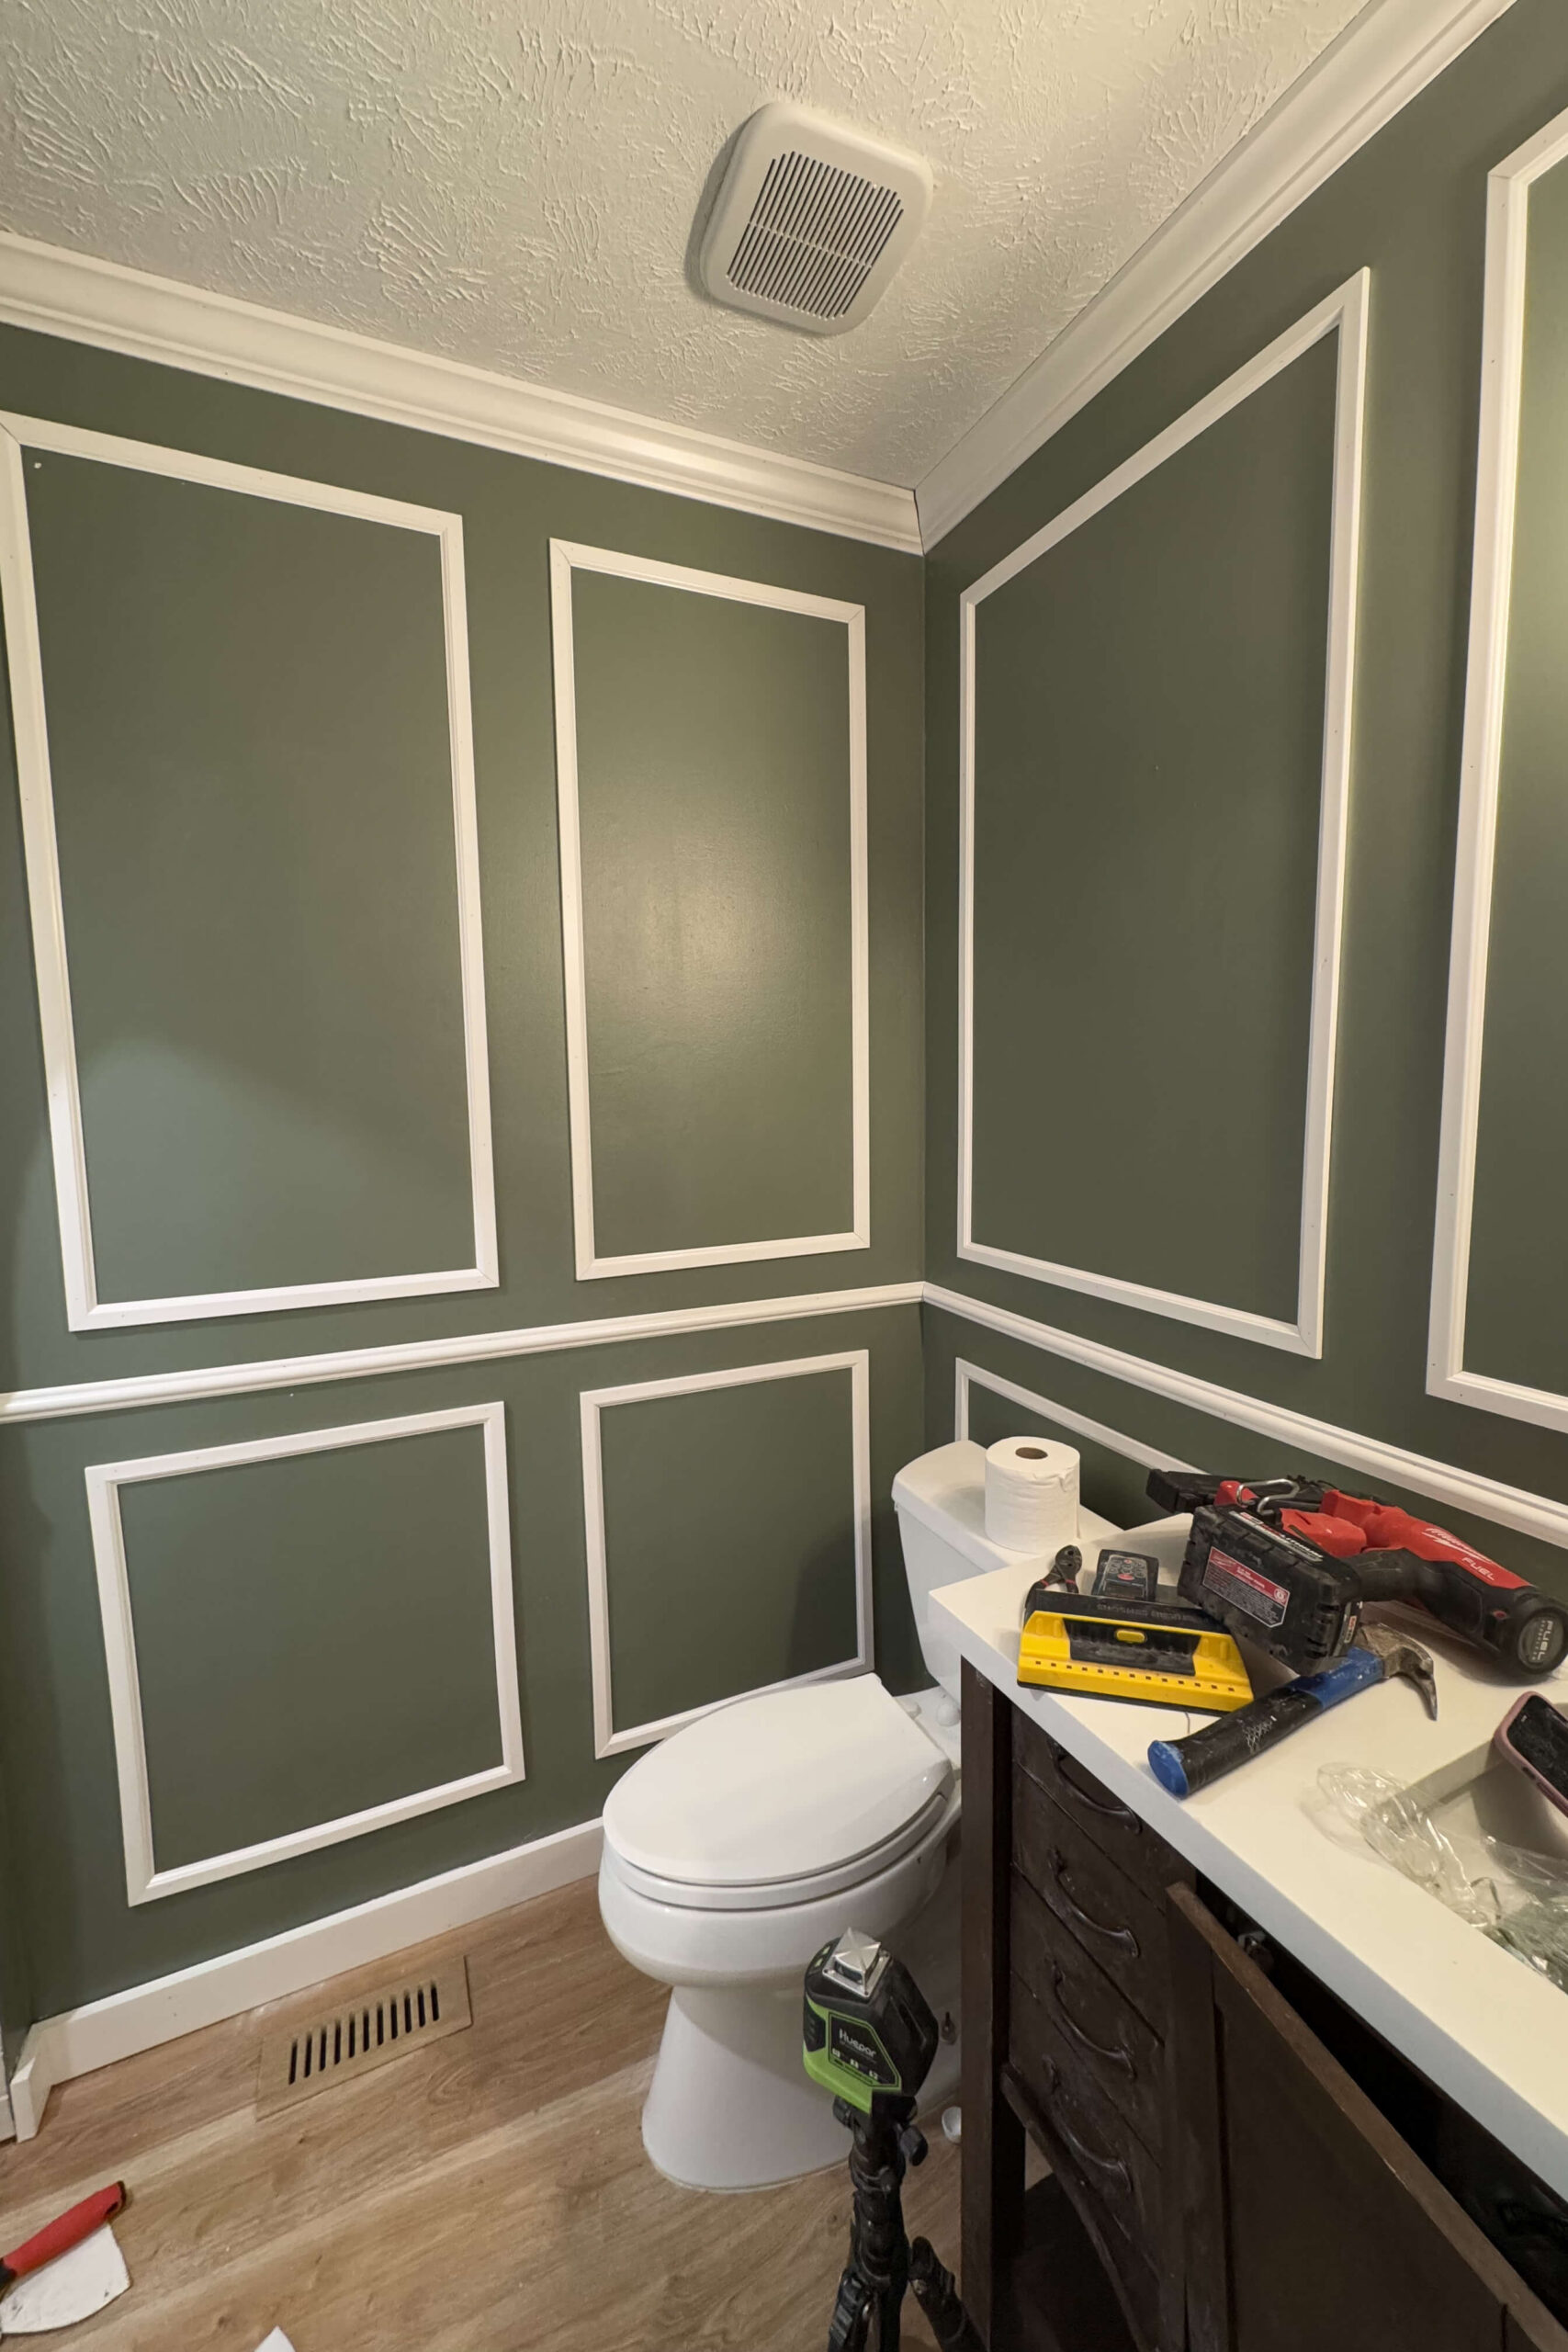
Step 3: Create and Install Your DIY Picture Frame Molding Boxes
With the chair rail in place, it’s time to outline the boxes for the DIY picture frame molding. A laser level is your best friend here, ensuring every box is perfectly straight and evenly spaced.
Using the laser lines as guides, I attached the trim pieces to the wall with my brad nailer. To create neat, professional corners, I used 45° angled cuts with my miter saw some trim shears.


Doesn’t it look so good? Even though the box sizes may vary depending on your wall dimensions, maintaining equal spacing between them is key to achieving a polished look.
For a cohesive design, I carried this spacing through to the curved trim around the archway. Check out my full tutorial on how I created this curved trim.

Step 4: Caulk and Spackle Trim for a Smooth, Professional Finish
Once the trim was installed, I caulked all the edges where the molding meets the wall. Caulking is a small step that makes a big difference, giving the trim a seamless, professional finish.
Next, I filled nail holes and seams with spackle instead of traditional wood filler. Spackle is perfect for tiny holes and requires no sanding – just wipe it smooth with a damp cloth or baby wipe. This method is fast, mess-free, and has worked wonders for me on past projects, like my coat rack wall.


Avoid These Common DIY Picture Frame Molding Mistakes
- Crooked boxes – If your trim starts drifting, pause and re-check your laser level. It’s worth the extra time.
- Gaps in corners – Even small angles can throw things off. Use a scrap piece as a test cut before committing.
- Paint bleed – I’ve learned (the hard way) to always seal my painter’s tape with a little caulk. Game changer.
- Visible nail holes – Don’t skip the spackle step! Baby wipes make smoothing them out quick and painless.
Step 5: Prime and Paint Your Picture Frame Molding Like a Pro
Since bathrooms are high-moisture spaces, I used PVC trim, which is waterproof and durable. However, PVC requires a shellac-based primer to ensure the paint adheres properly. Skipping this step will lead to peeling or chipping paint on your DIY picture frame molding.
After priming, I painted the trim with a combination of a trim brush and a foam paint roller. This technique smoothed out brush strokes for a flawless finish.


Bonus Tip: The Trick to Crisp Paint Lines on Wall Trim
Want the secret to crisp, clean paint lines? Start by masking along the edges of the trim with painter’s tape. Run a thin bead of caulk along the tape to seal any gaps, then paint as usual. Once the paint dries, score the tape with a utility knife before peeling it off. This method creates perfect lines with zero paint bleed – even on textured surfaces like ceilings.


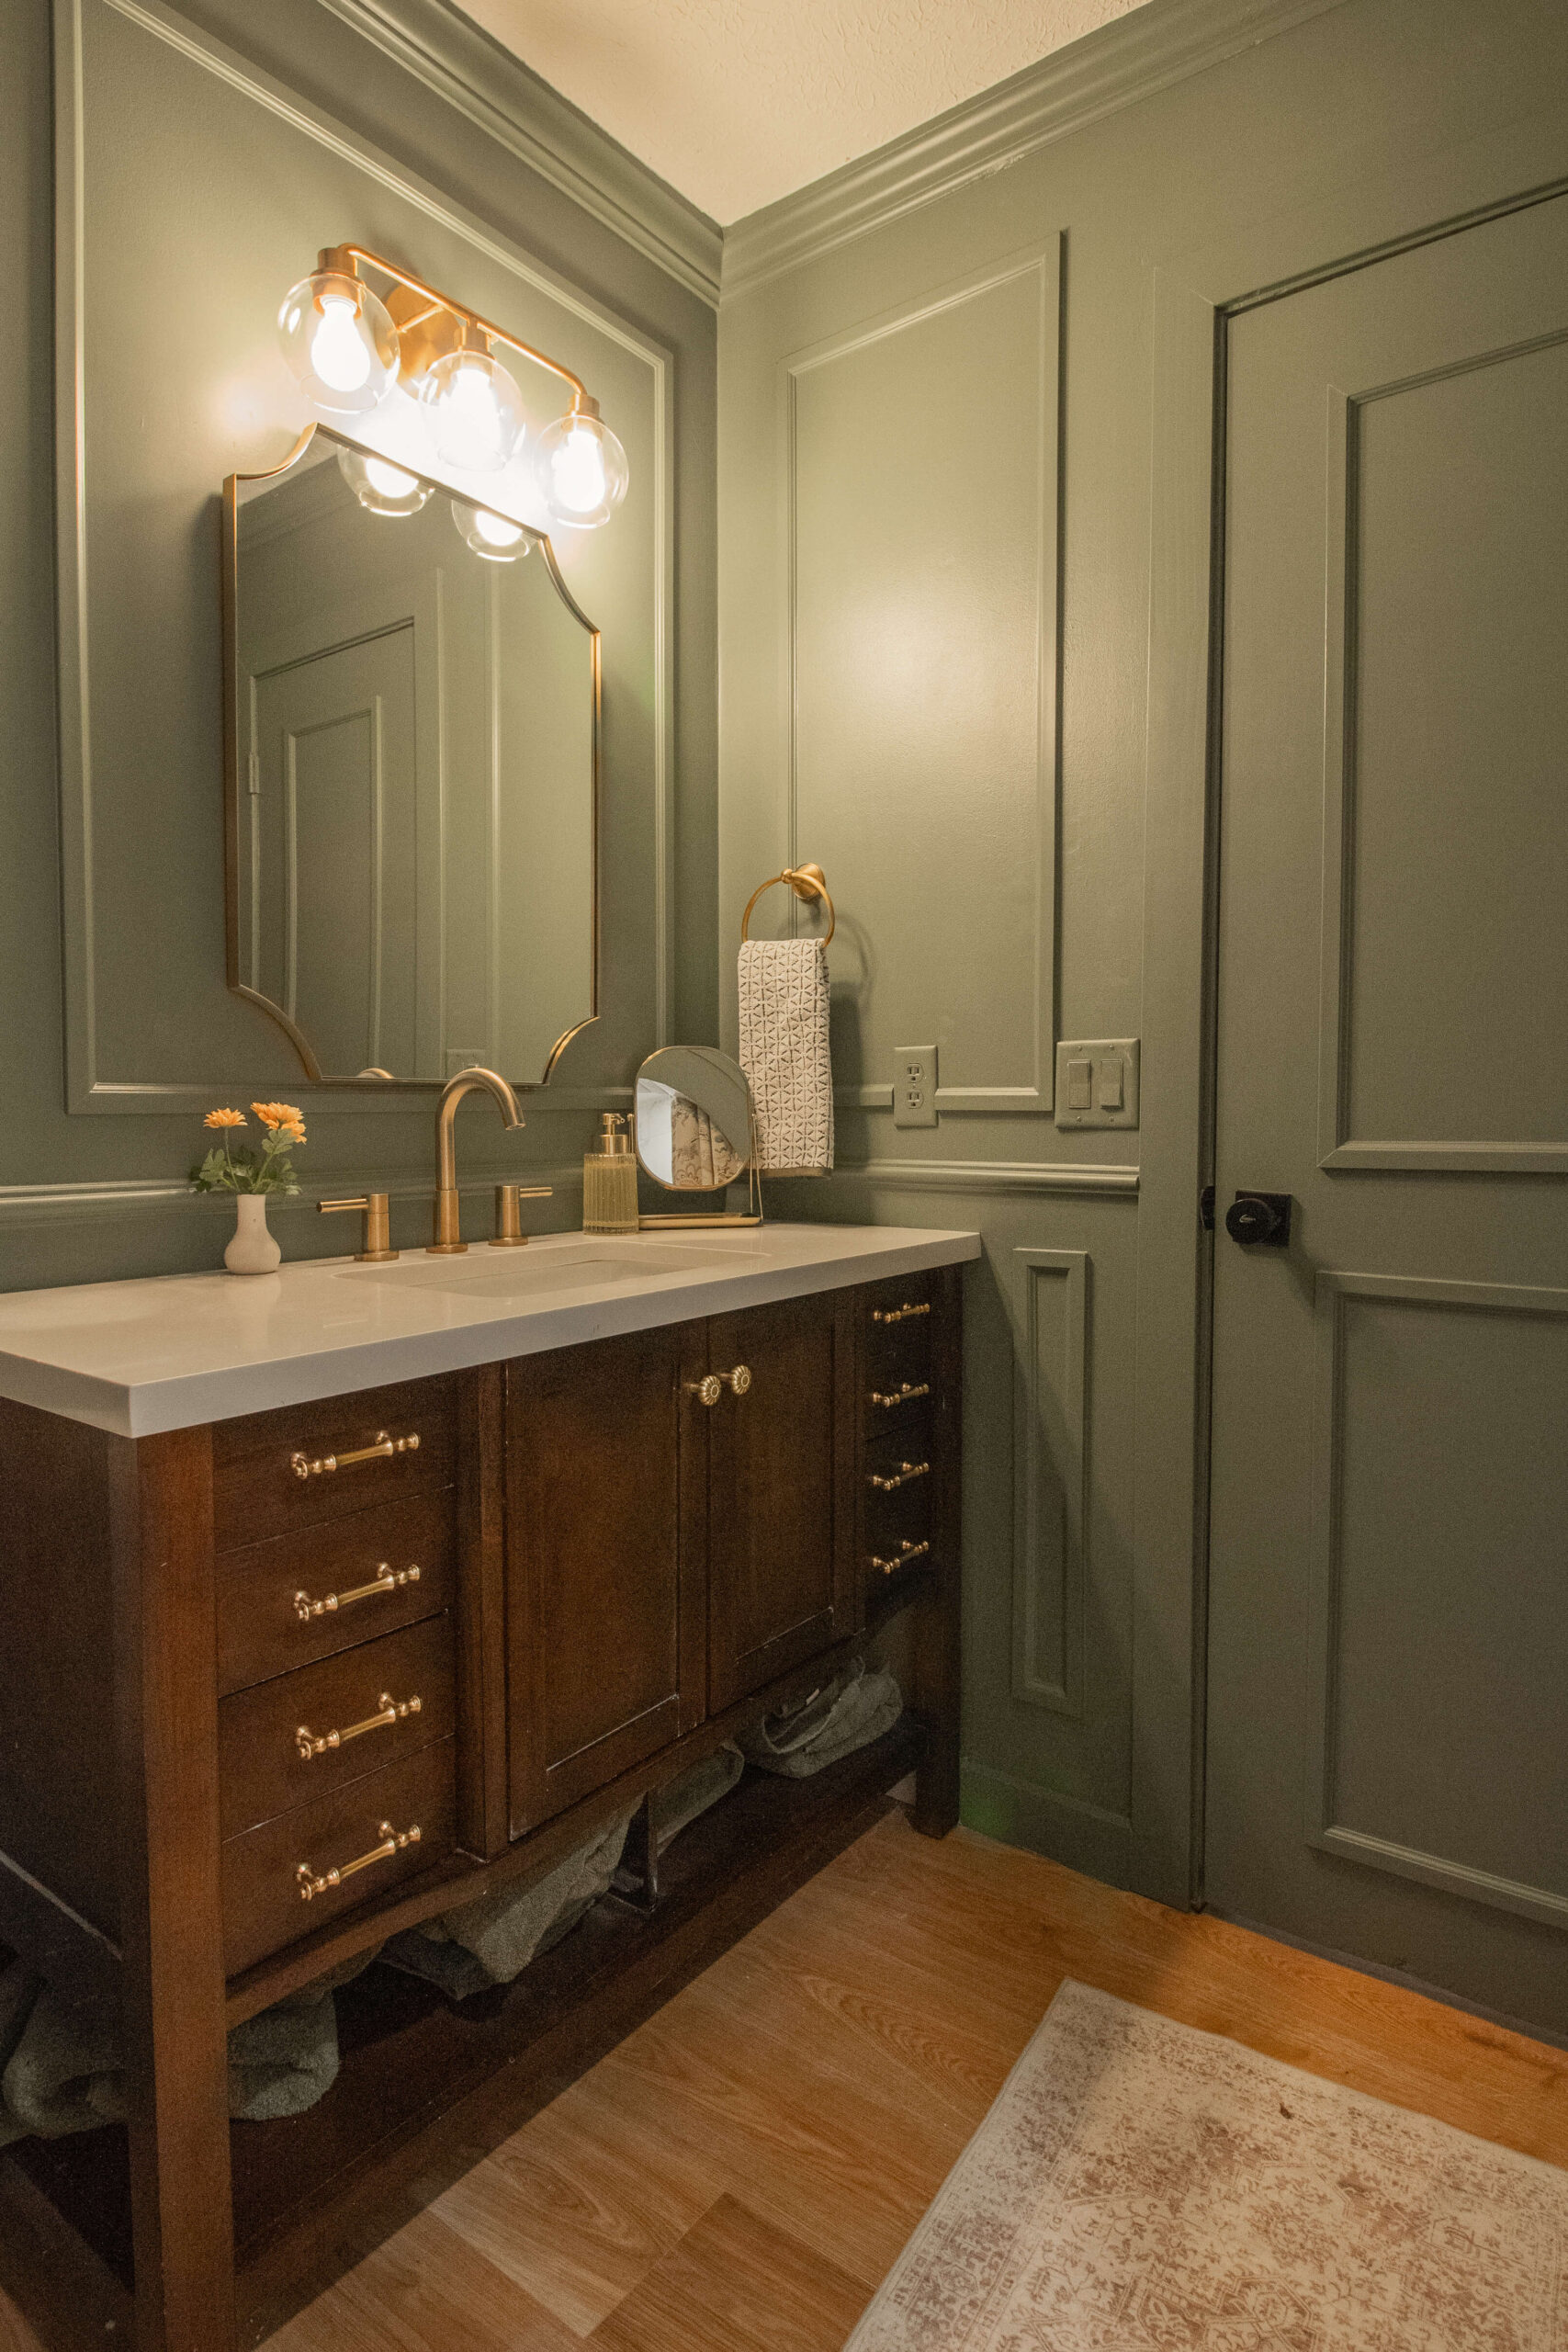
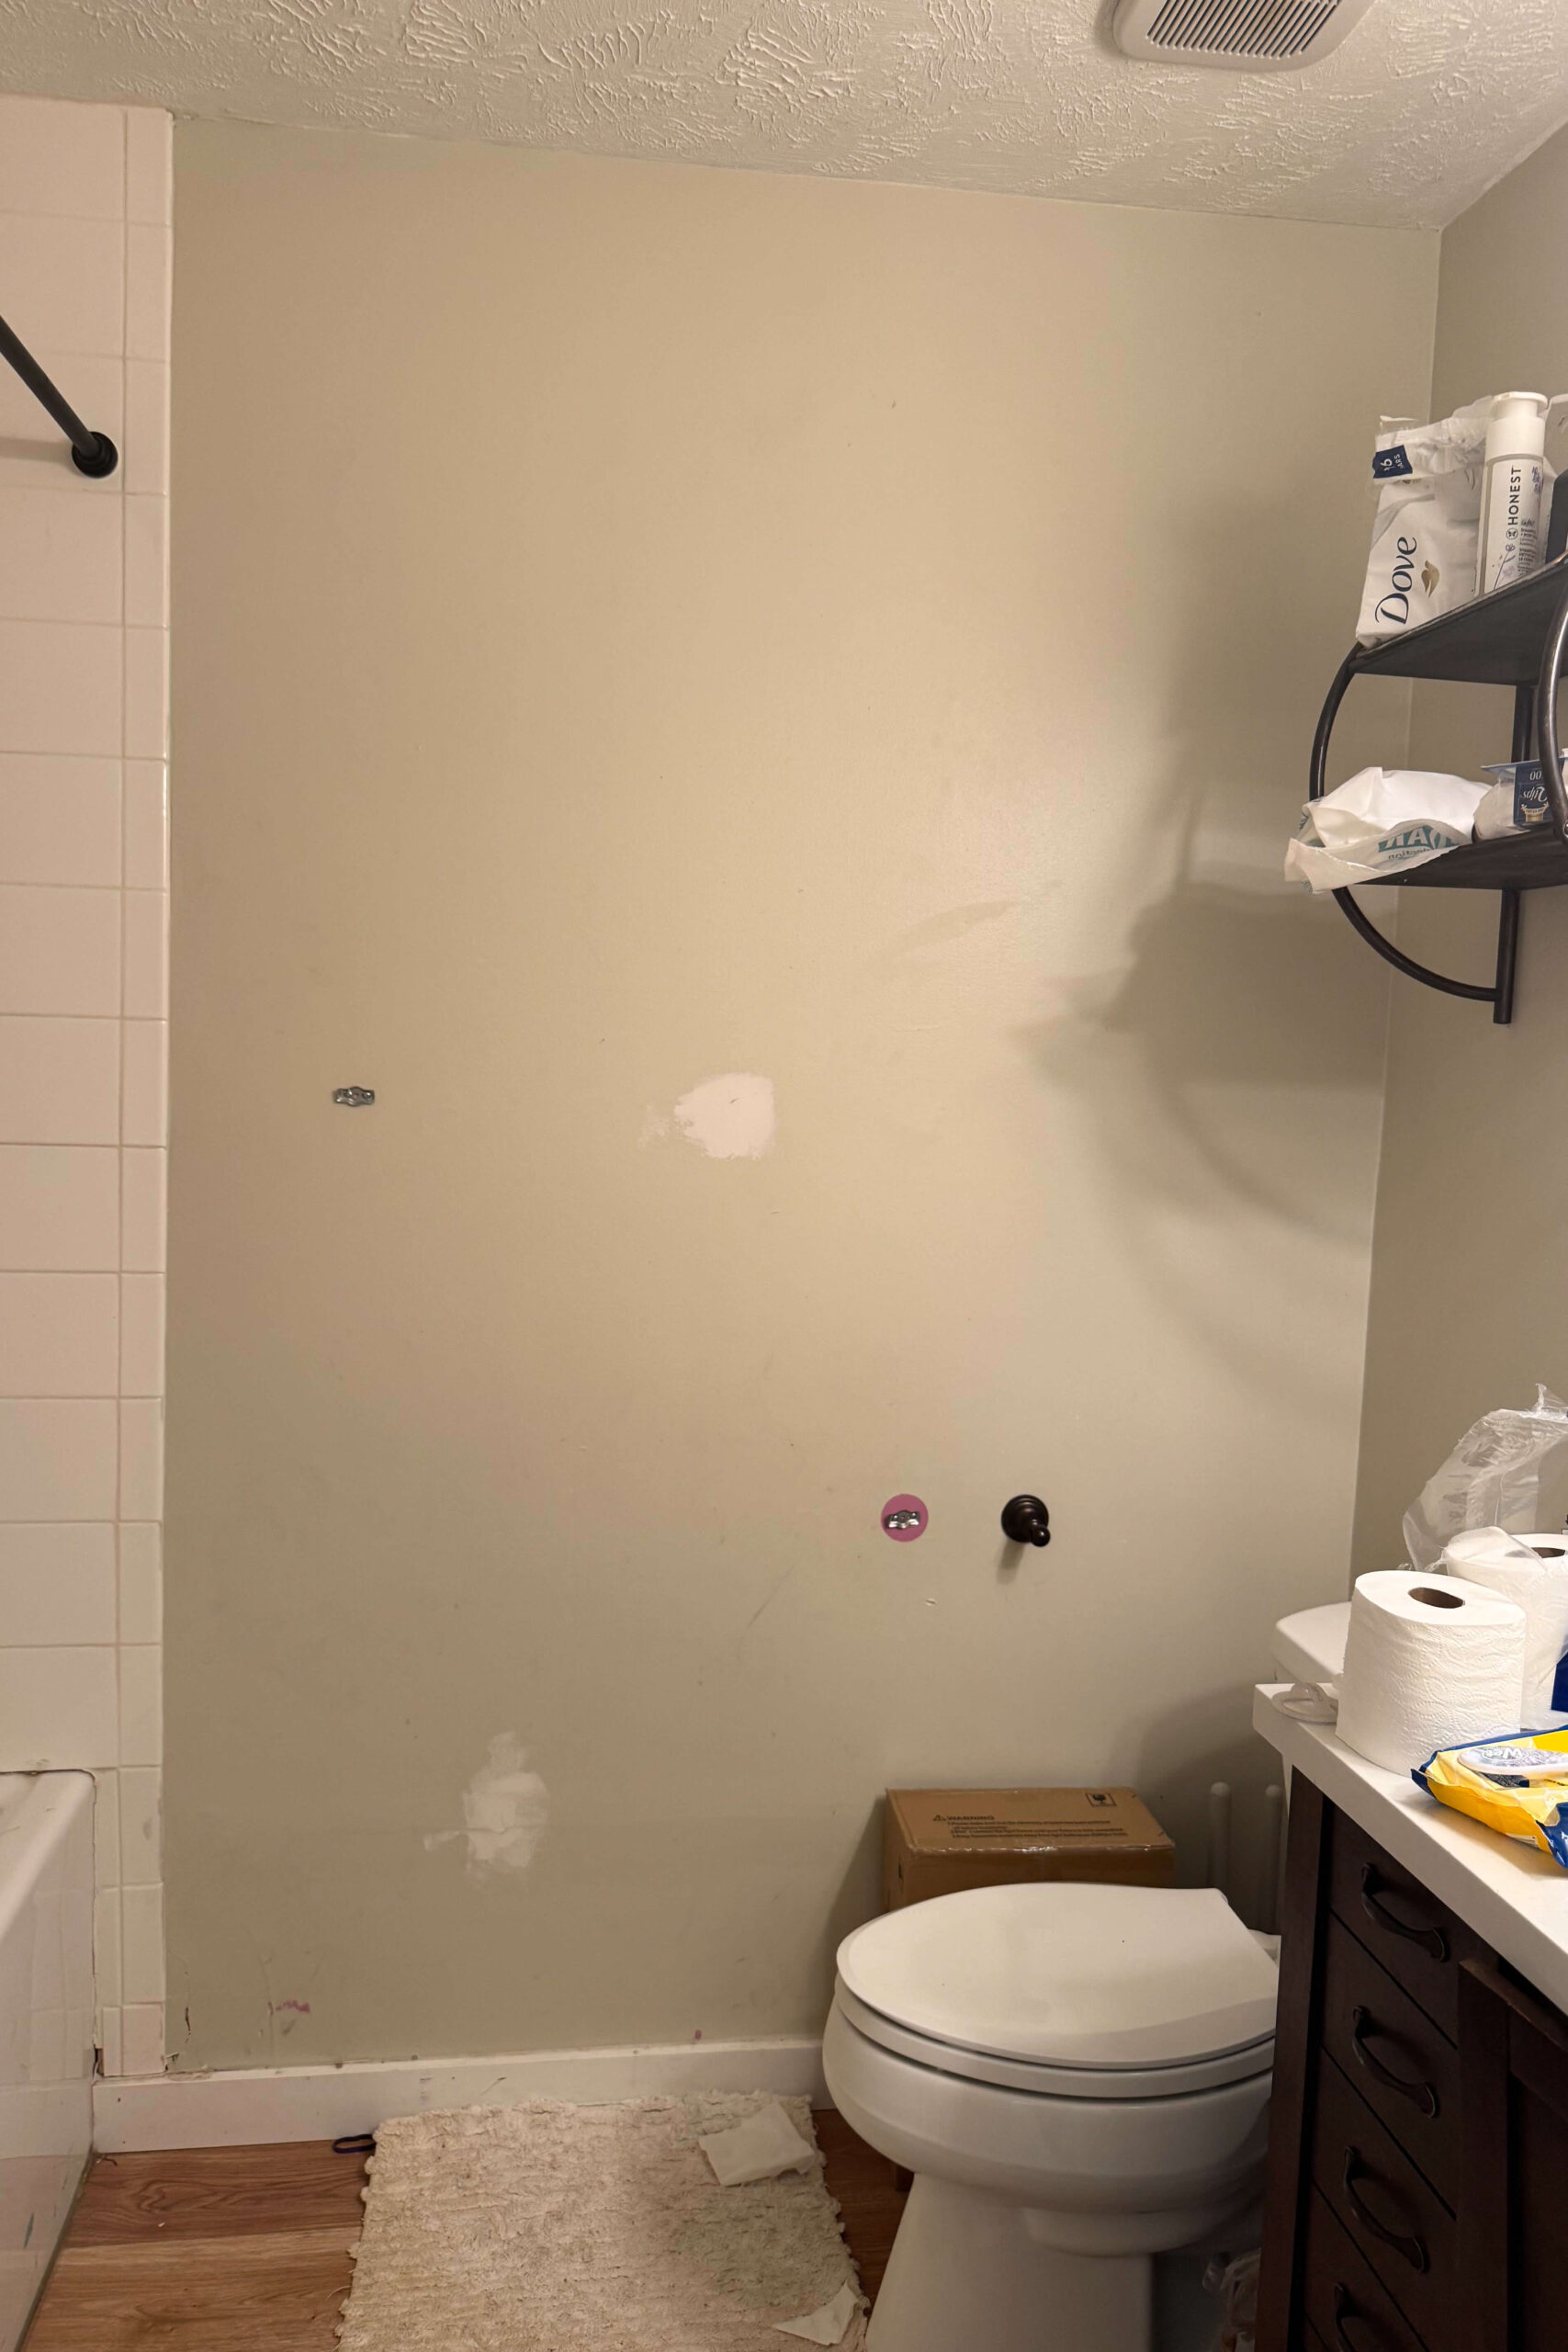
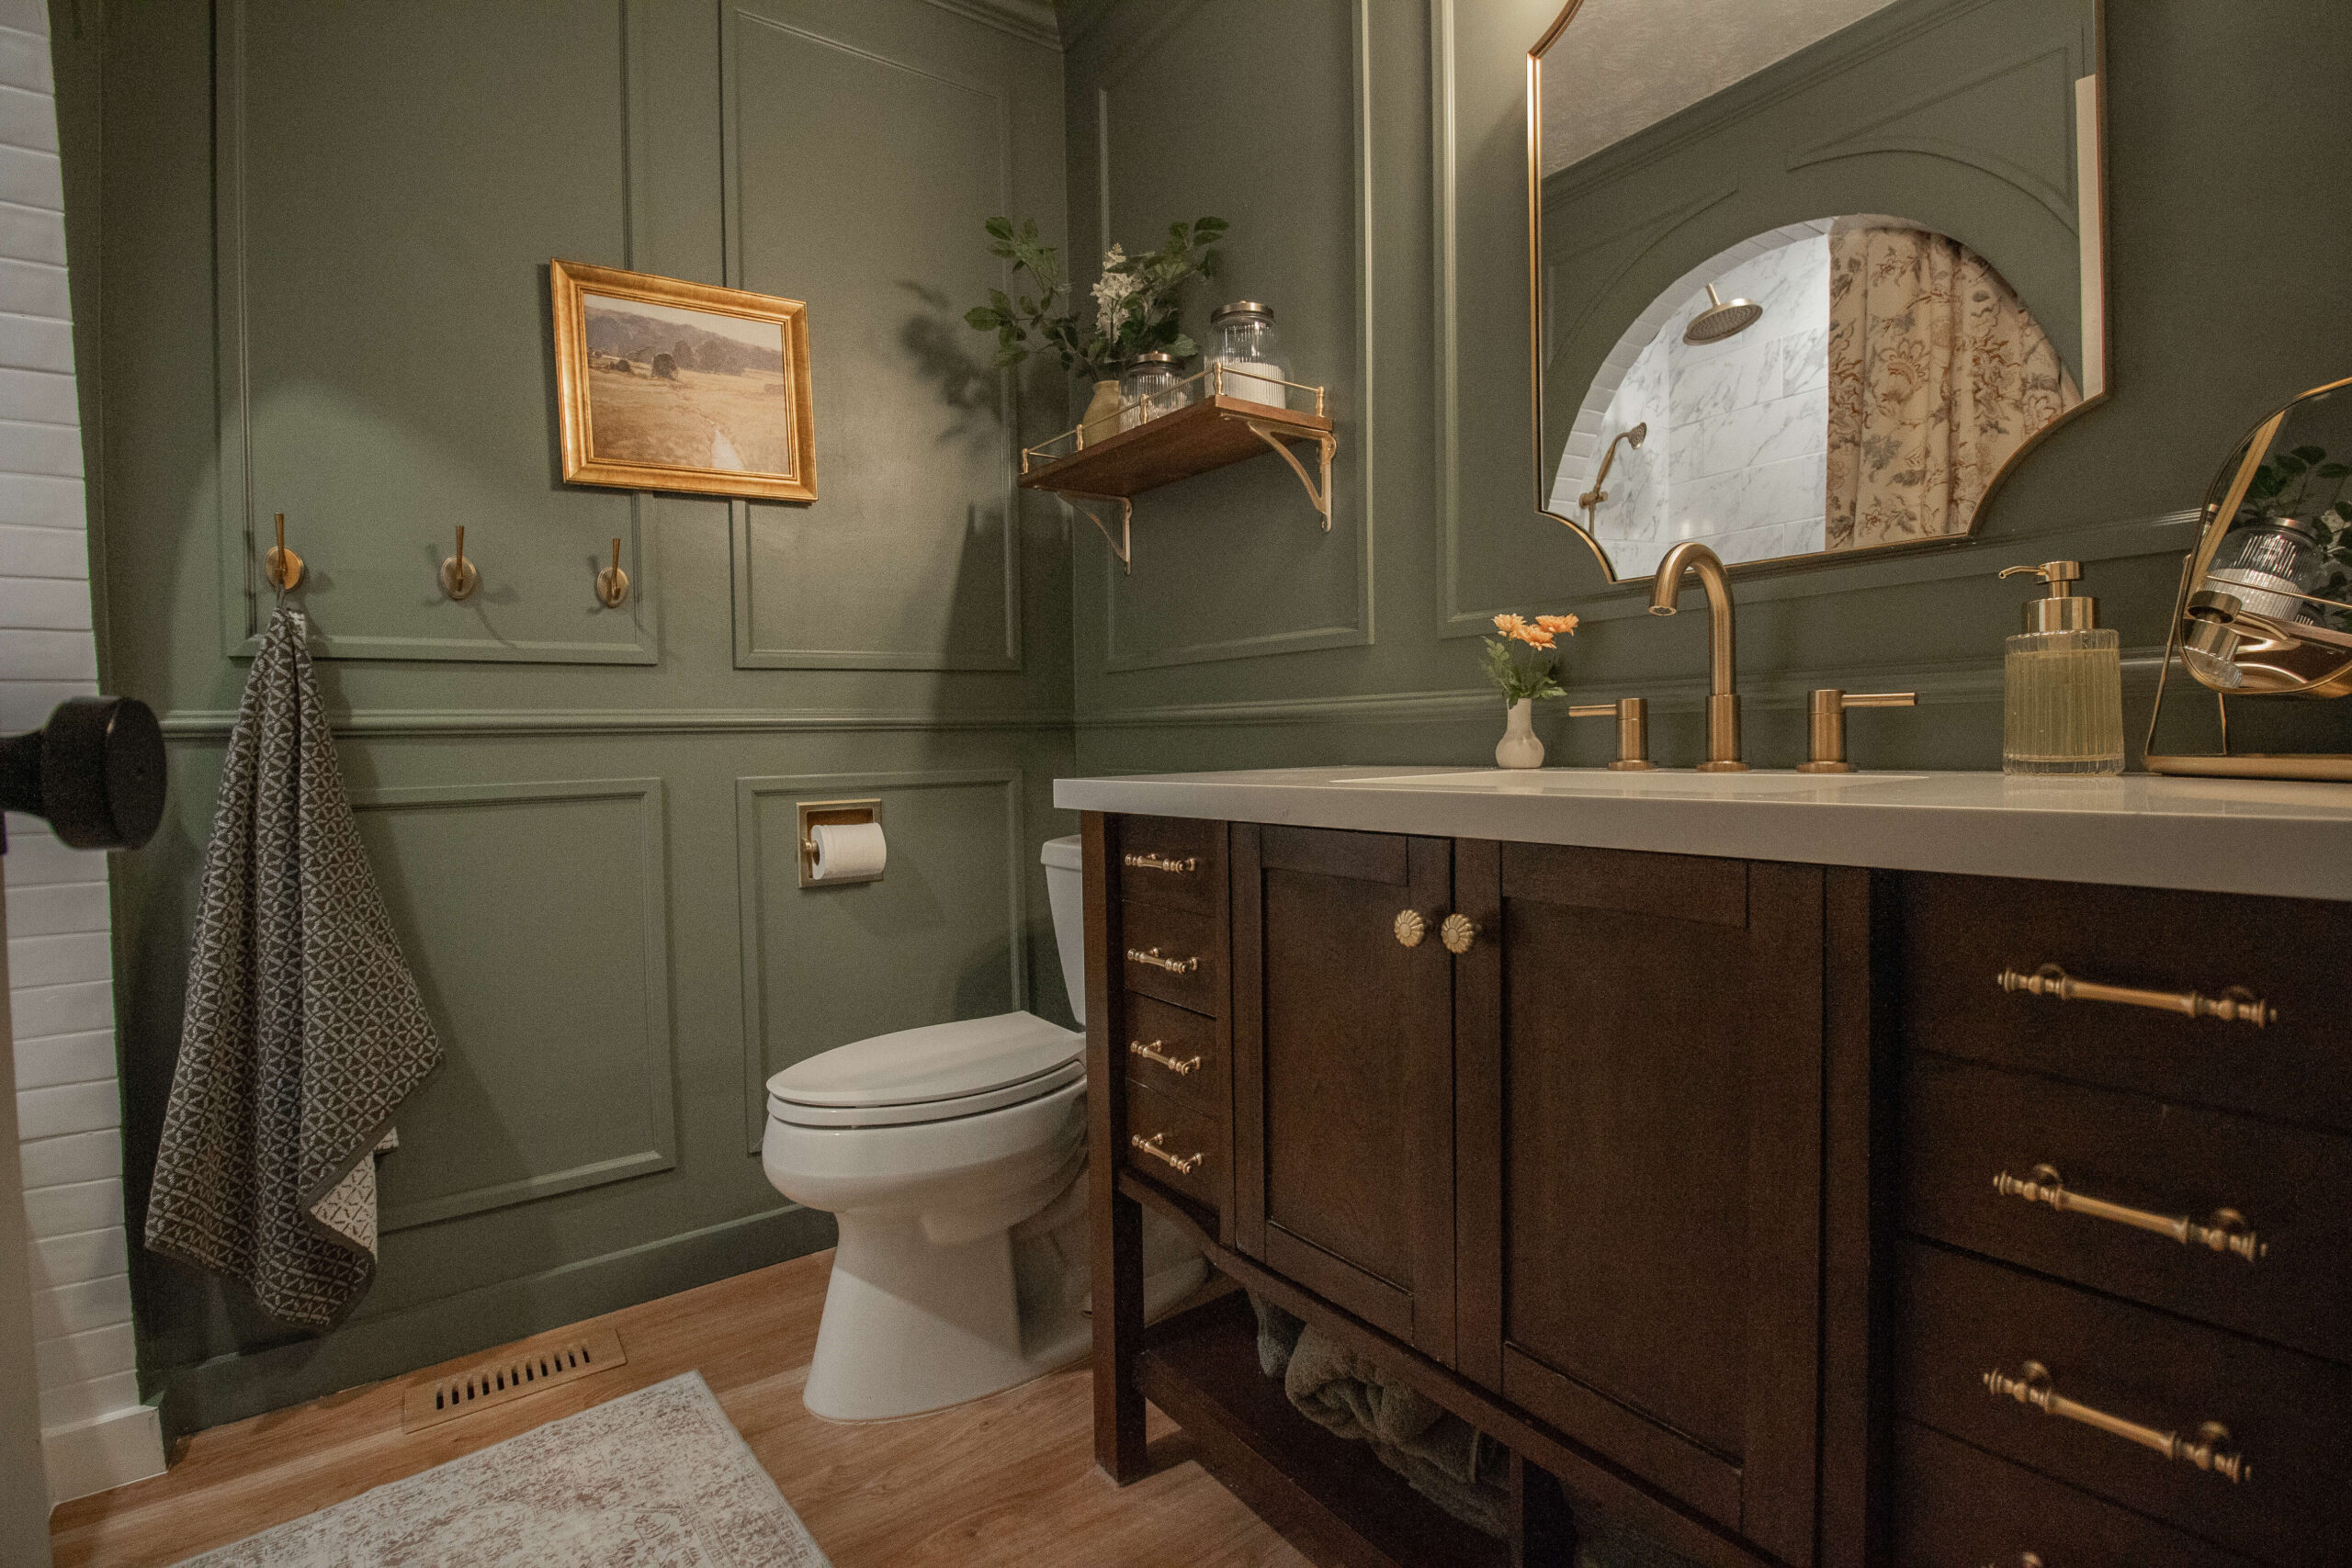
Before and After: Our Finished DIY Picture Frame Molding Wall
Here’s a quick before-and-after moment to show just how far my bathroom has come. The DIY picture frame molding adds timeless charm, tying the entire design together beautifully. It’s subtle yet impactful, transforming the space into something truly special.
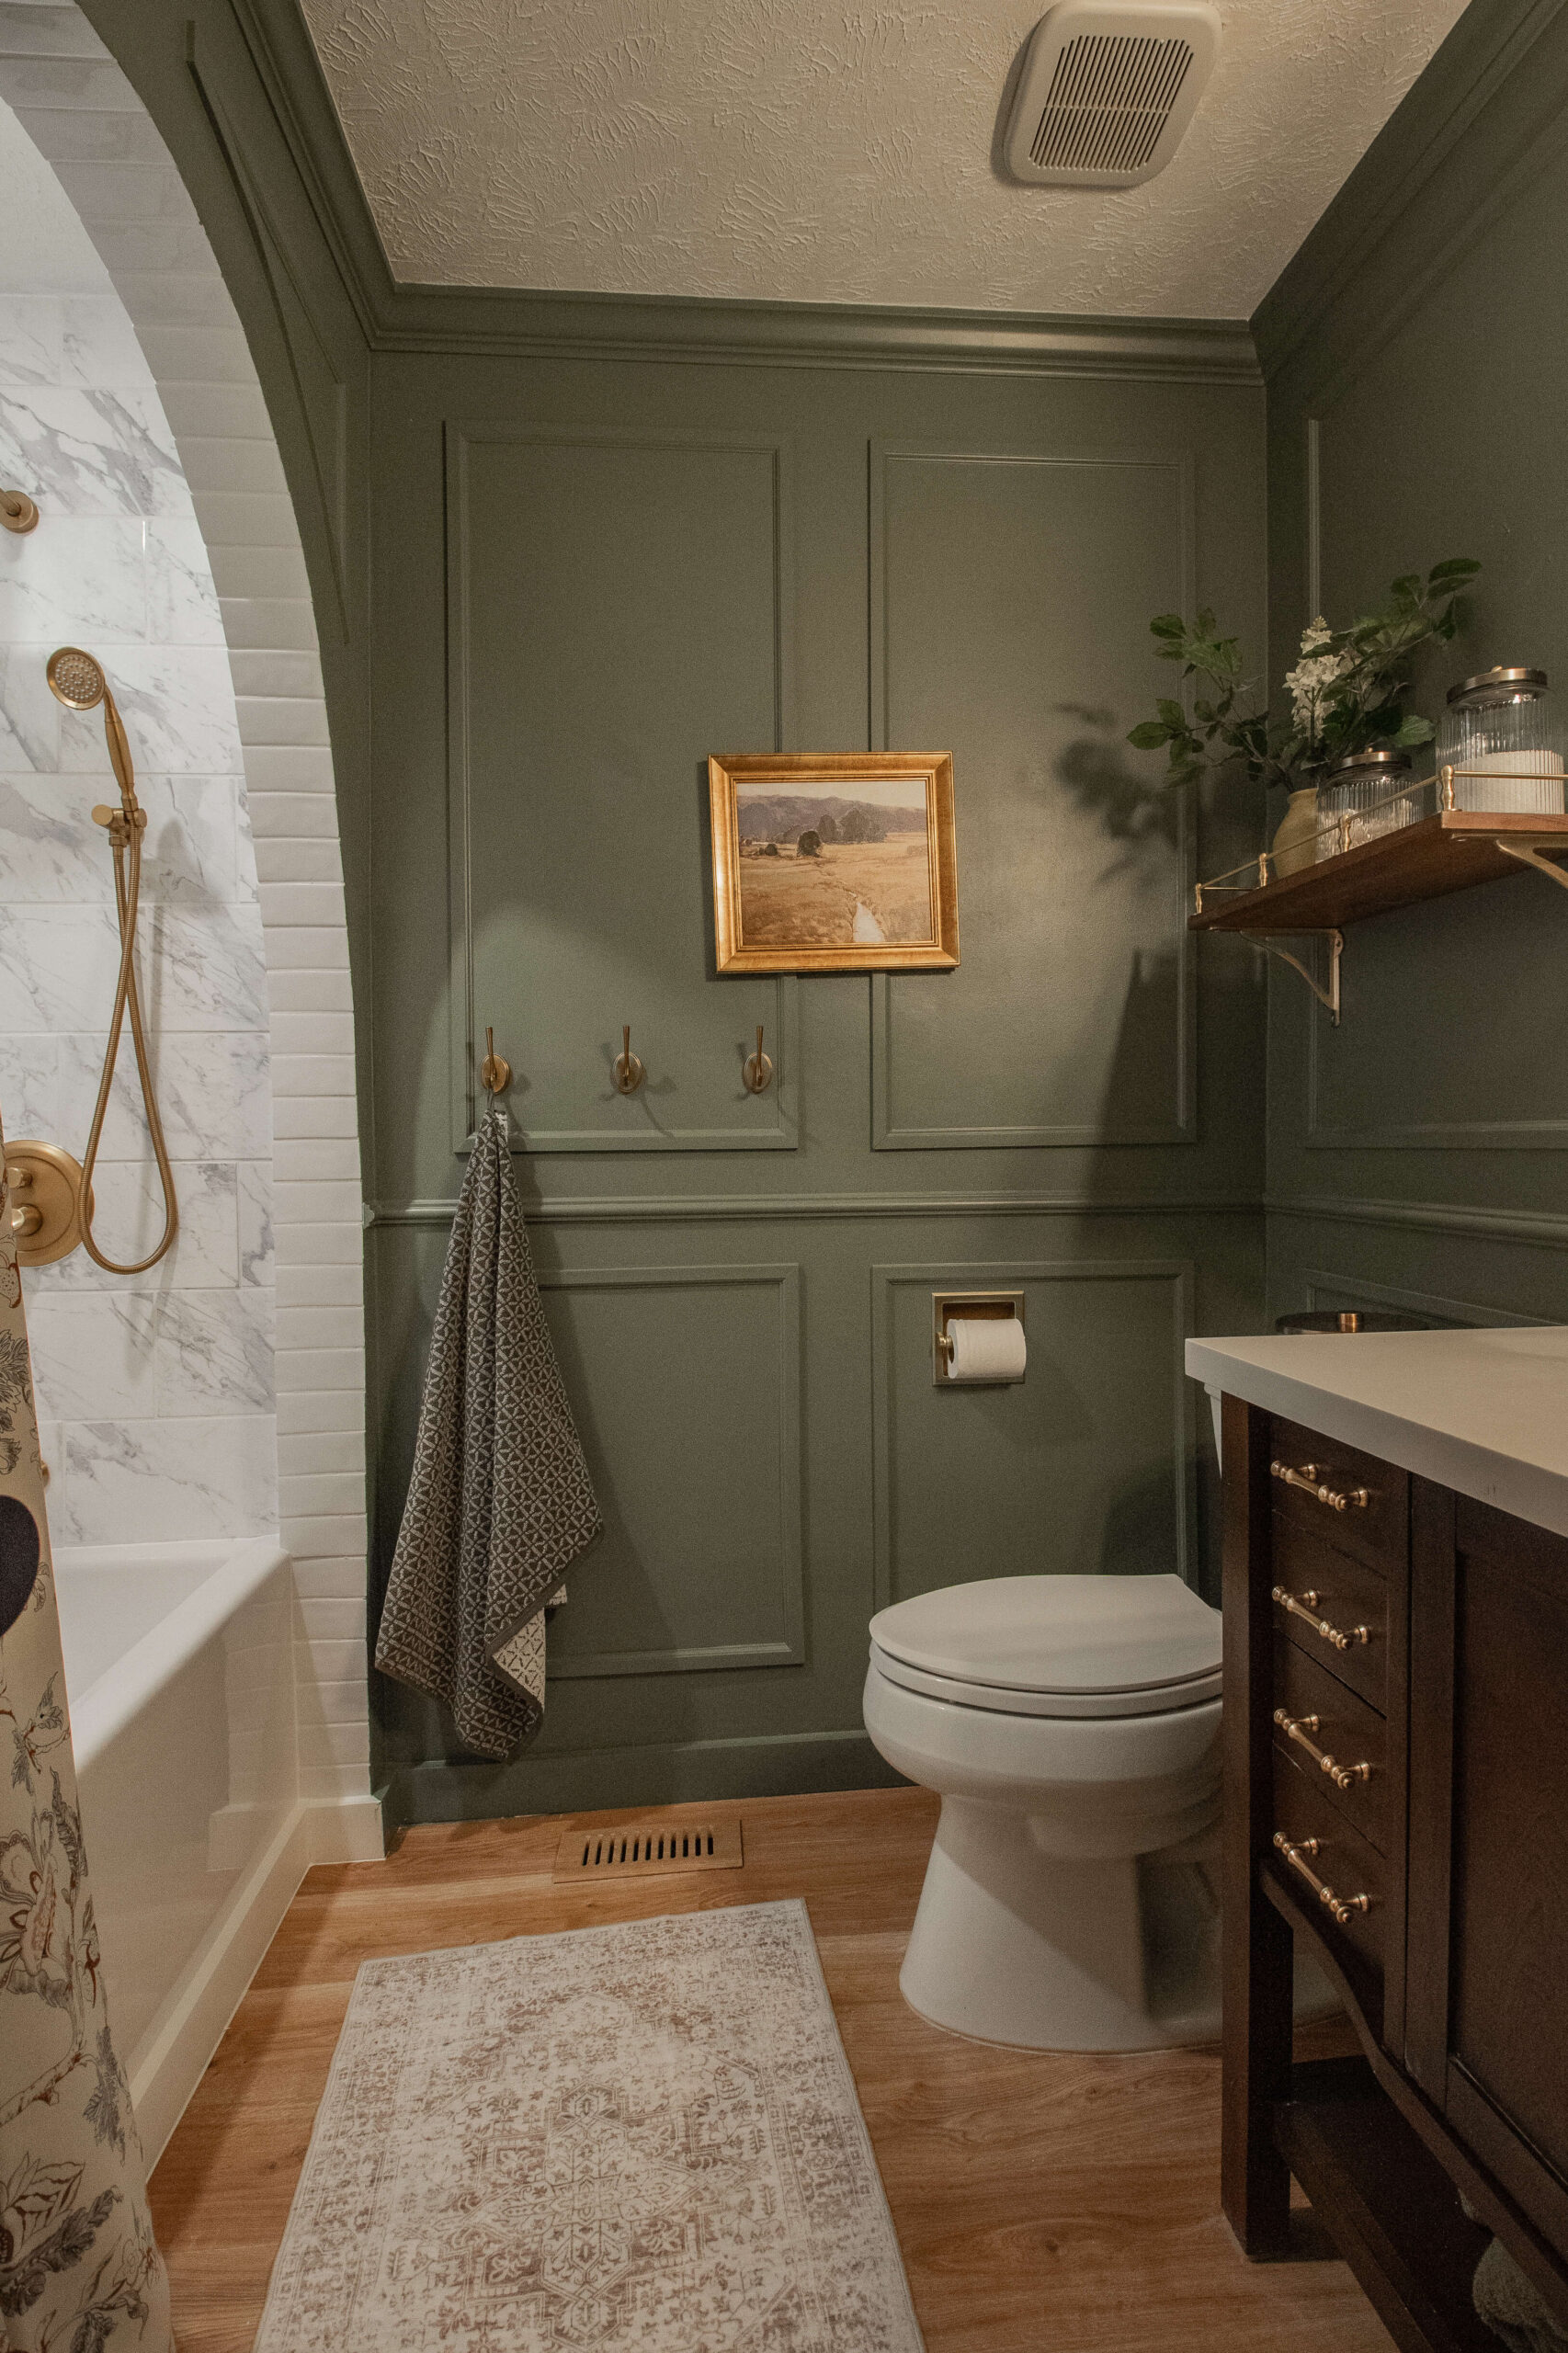
I still can’t believe how much this simple molding elevated the entire space. It feels custom and high-end – but didn’t require a contractor or a big budget. If you’re on the fence about trying this in your own home, go for it. It’s easier than it looks, and the payoff is so worth it. Tag me or leave a comment if you give it a try – I’d love to see your version!
Would you like to see the full bathroom reveal? Click this link for all the details in one blog post.
📌 Pin And Save For Later
Frequently Asked Questions About DIY Picture Frame Molding
DIY picture frame molding is a decorative wall treatment that involves creating rectangular or square “frames” on your walls using trim. It’s a budget-friendly way to add elegance and architectural interest to any room.
Yes, but the material you choose matters. Wood trim is a classic choice, while PVC trim is ideal for bathrooms or high-moisture areas because it’s waterproof and won’t warp.
Yes, you can! Just be sure to caulk the edges where the trim meets the wall to create a smooth transition and minimize gaps.
For crisp paint lines, mask off the trim with painter’s tape, then run a thin bead of caulk along the tape’s edge to seal gaps. Once it dries, paint as usual, and remove the tape carefully for perfect lines.

