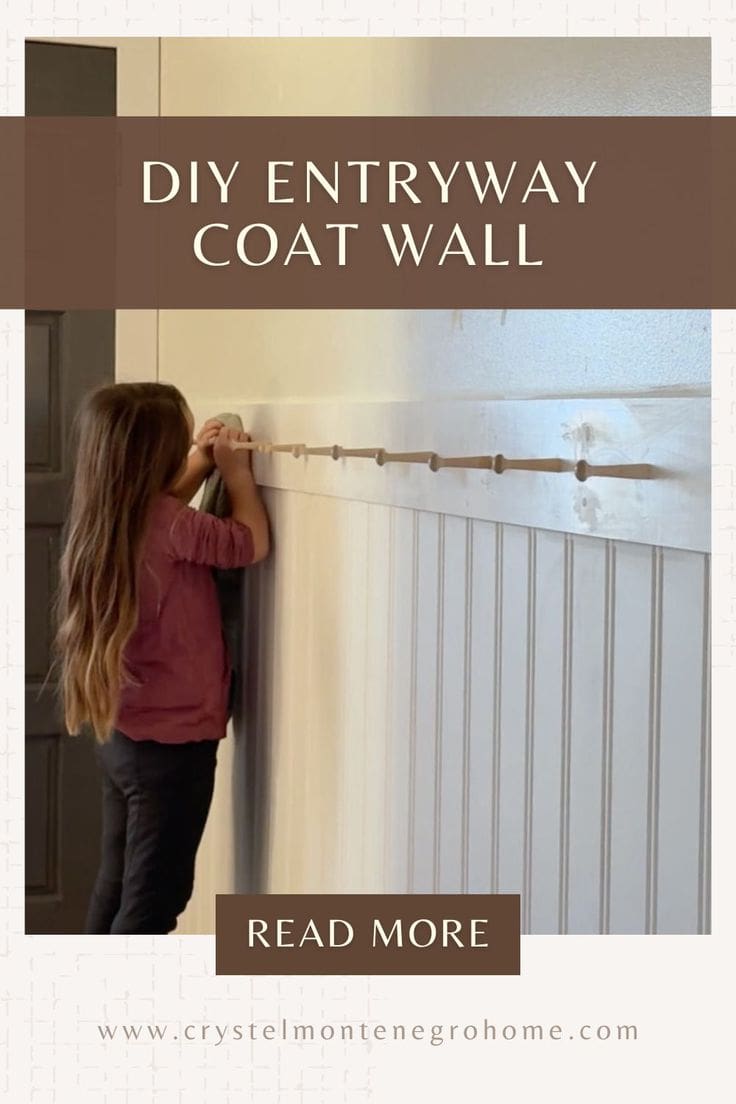
Easy DIY Wall Coat Rack for Entryway


Updated July 13, 2026
Are you drowning in a sea of coats and bags every time you walk through the door? I’ve been there—it’s a struggle! My small entryway used to be a cluttered mess, but I found the perfect solution: a wall coat rack. By using the space behind my front door, I created a functional and stylish spot for all those coats and bags. This beginner-friendly DIY project takes just an afternoon and delivers a big impact. A wall coat rack not only saves space but transforms a chaotic entryway into a clean, inviting area.
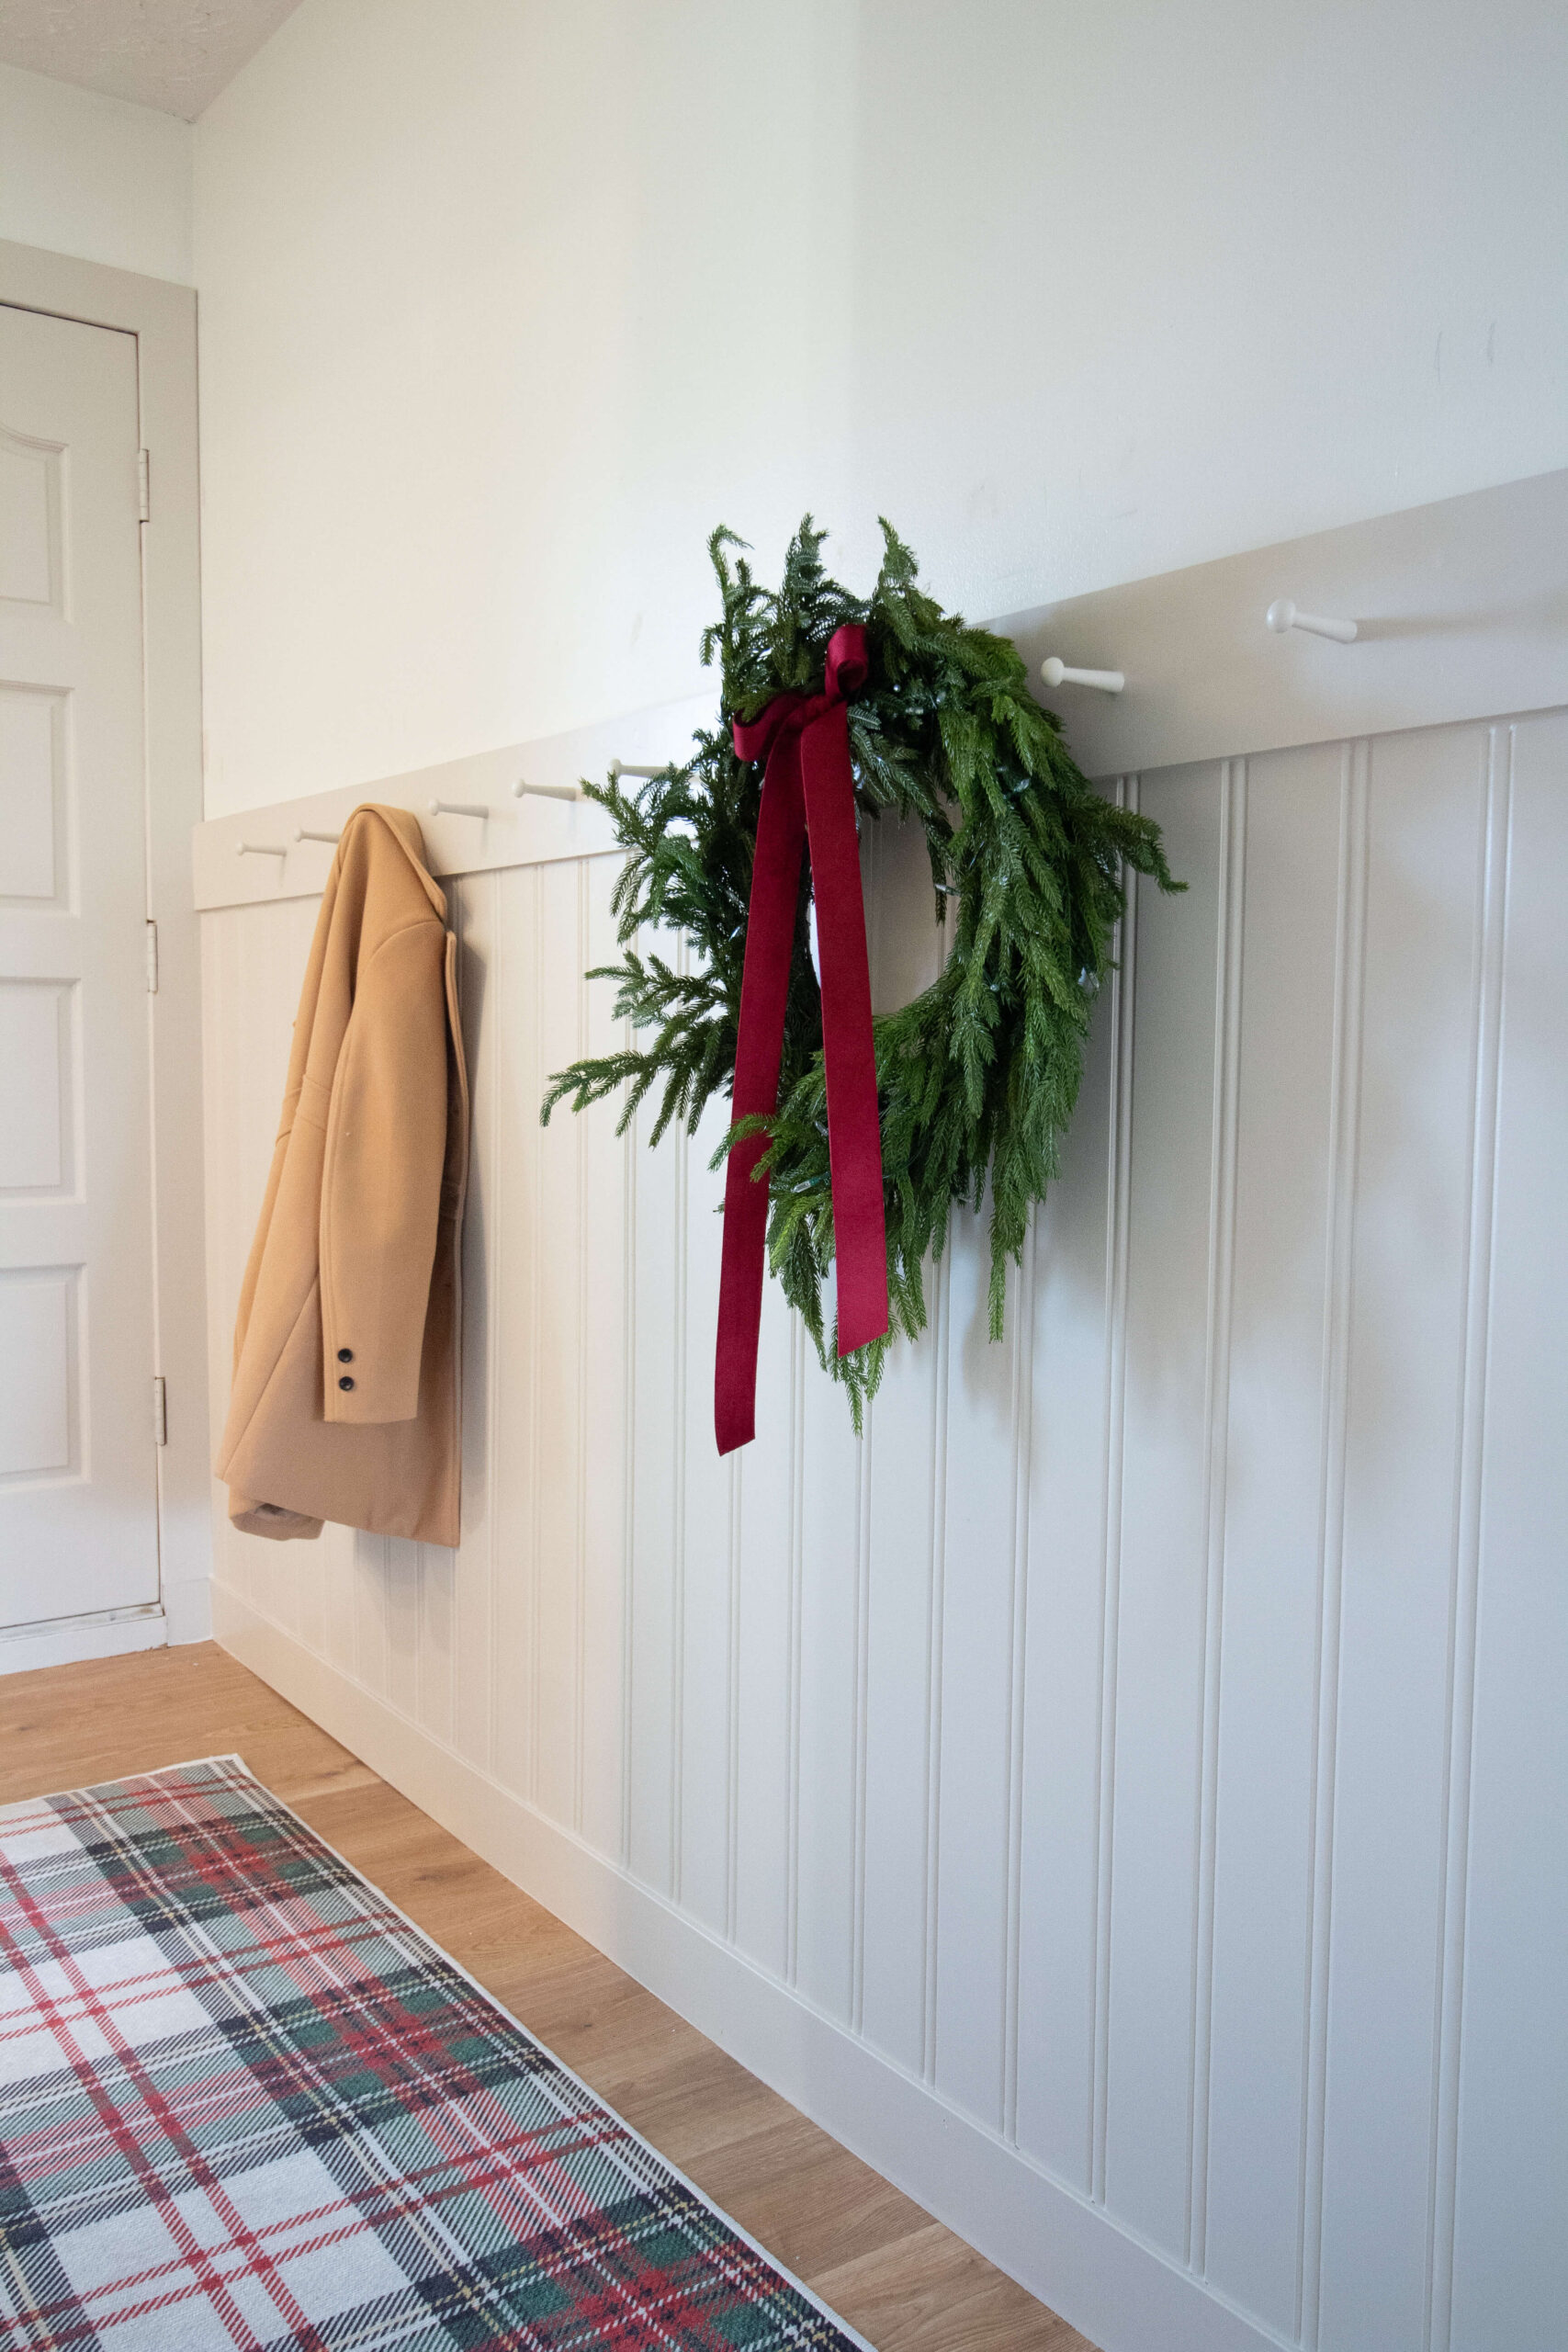
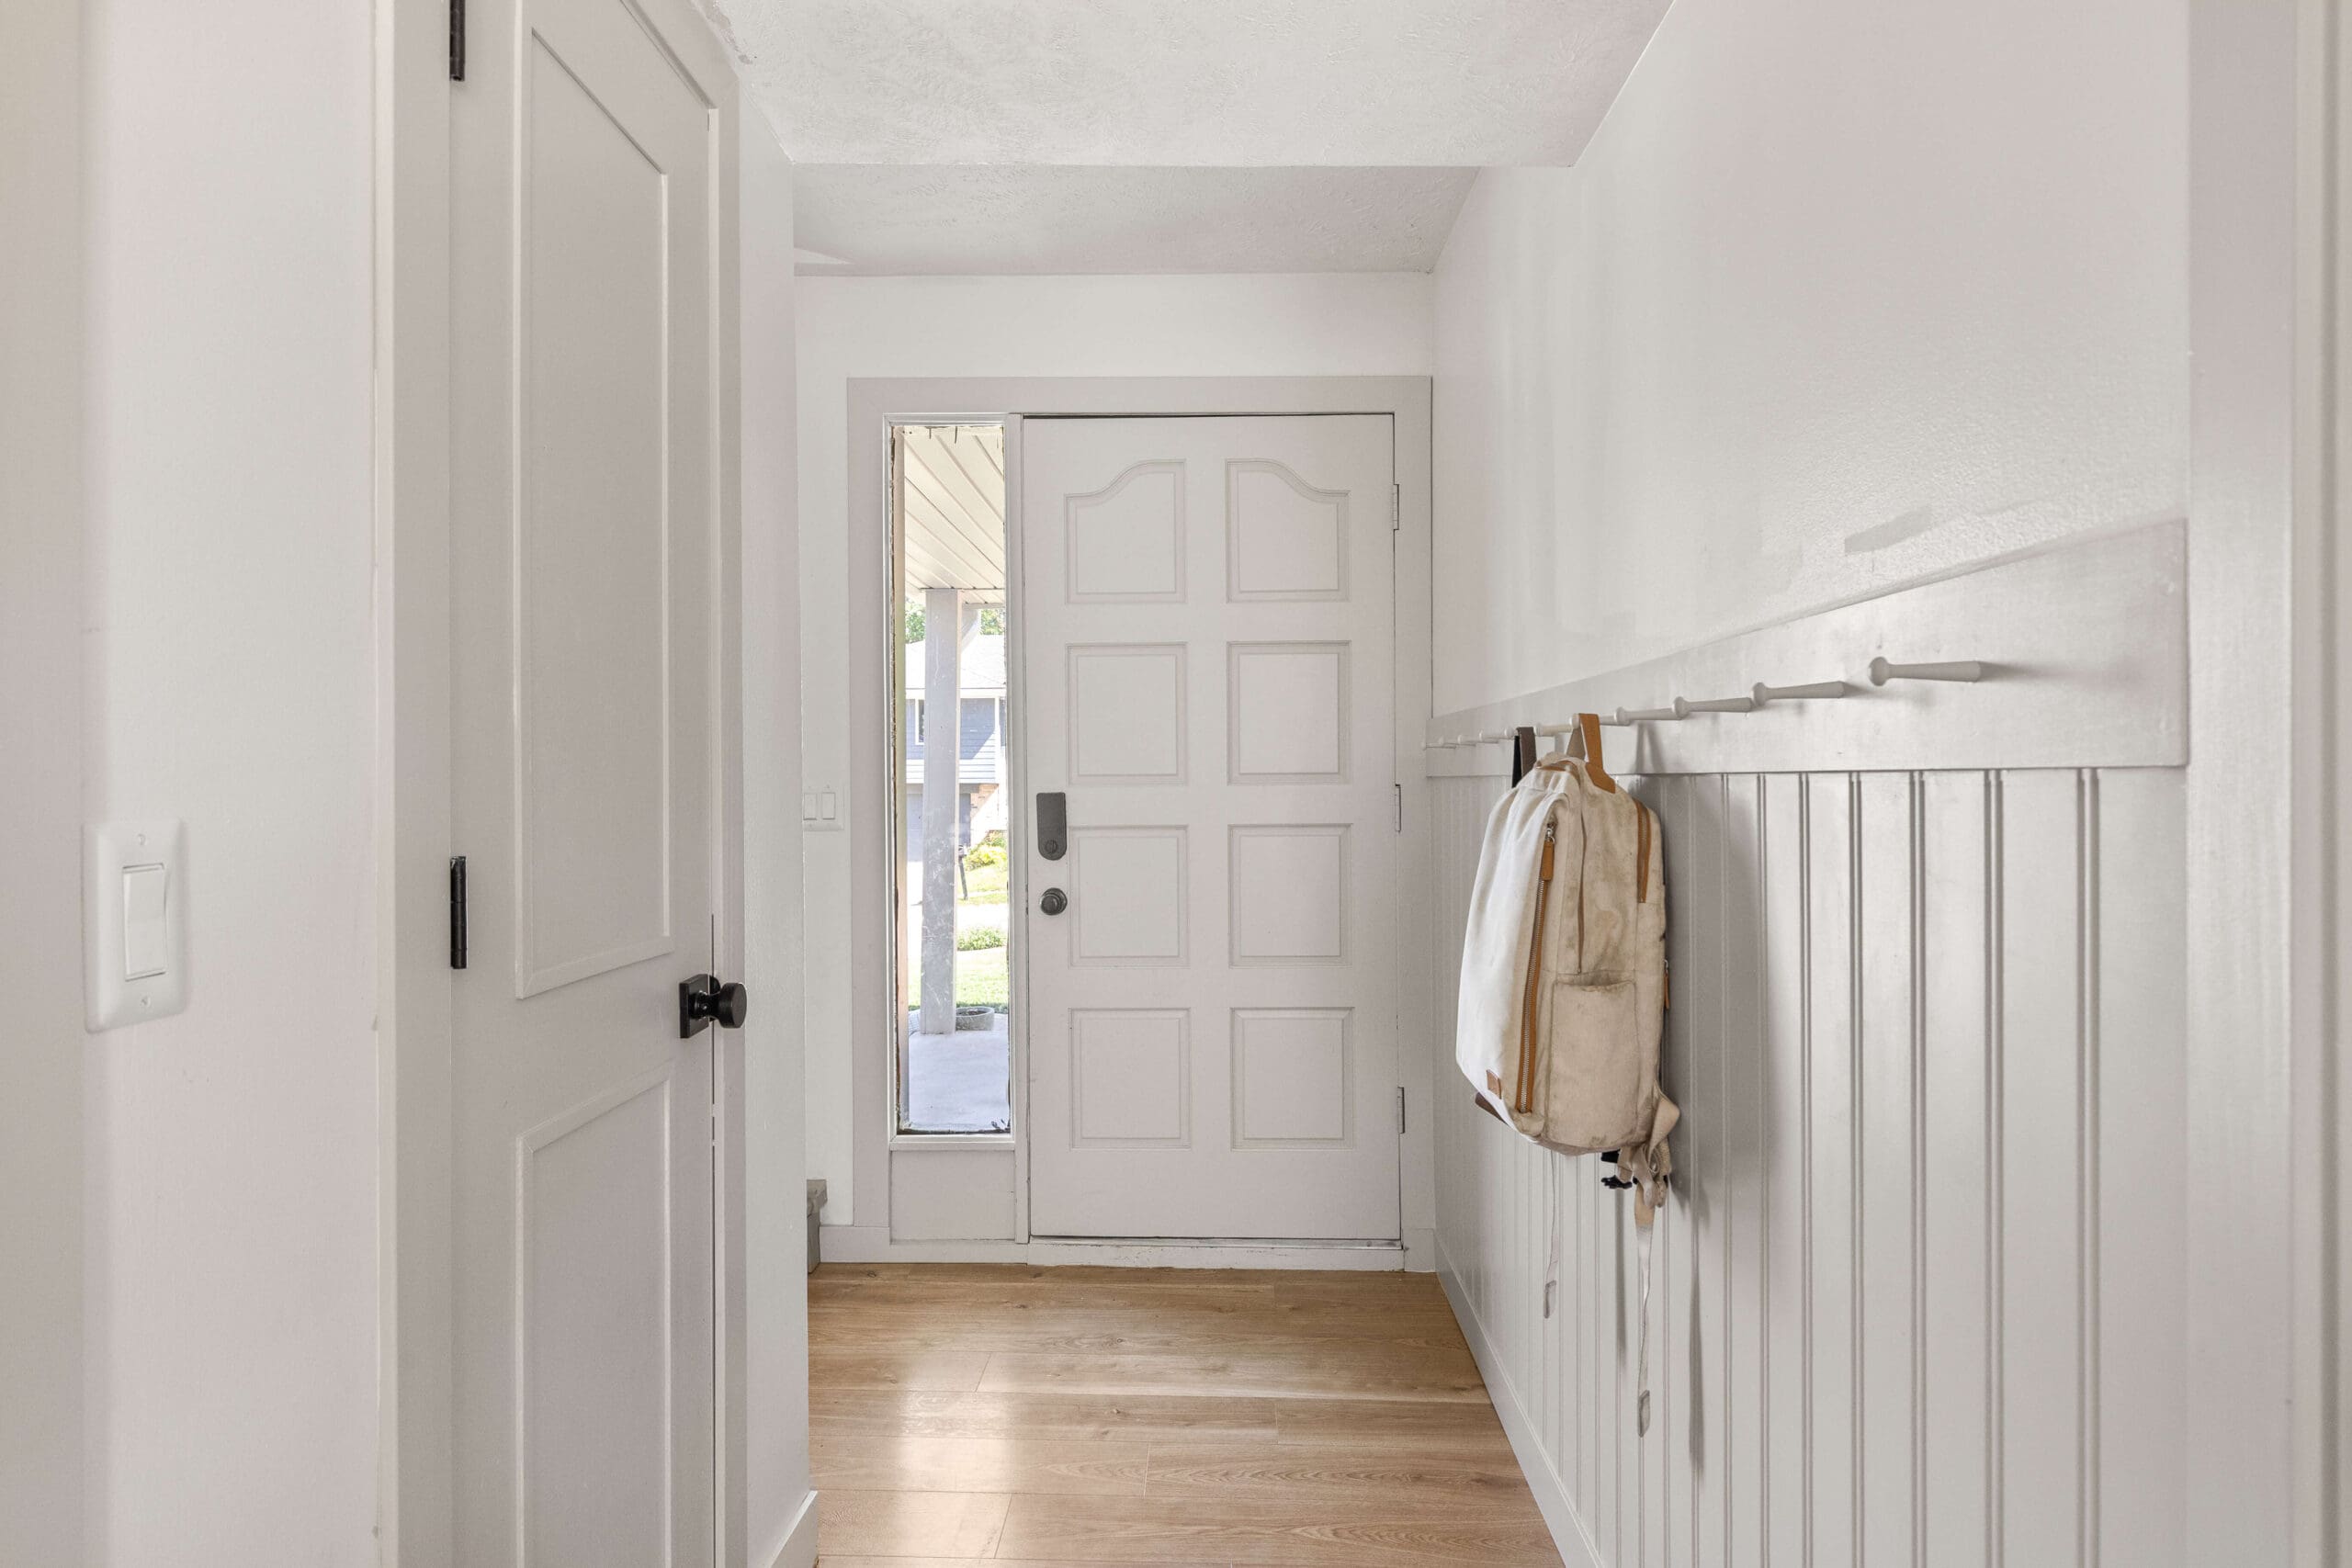
Table of Contents
Tools & Materials
Why I Needed This Wall Coat Rack
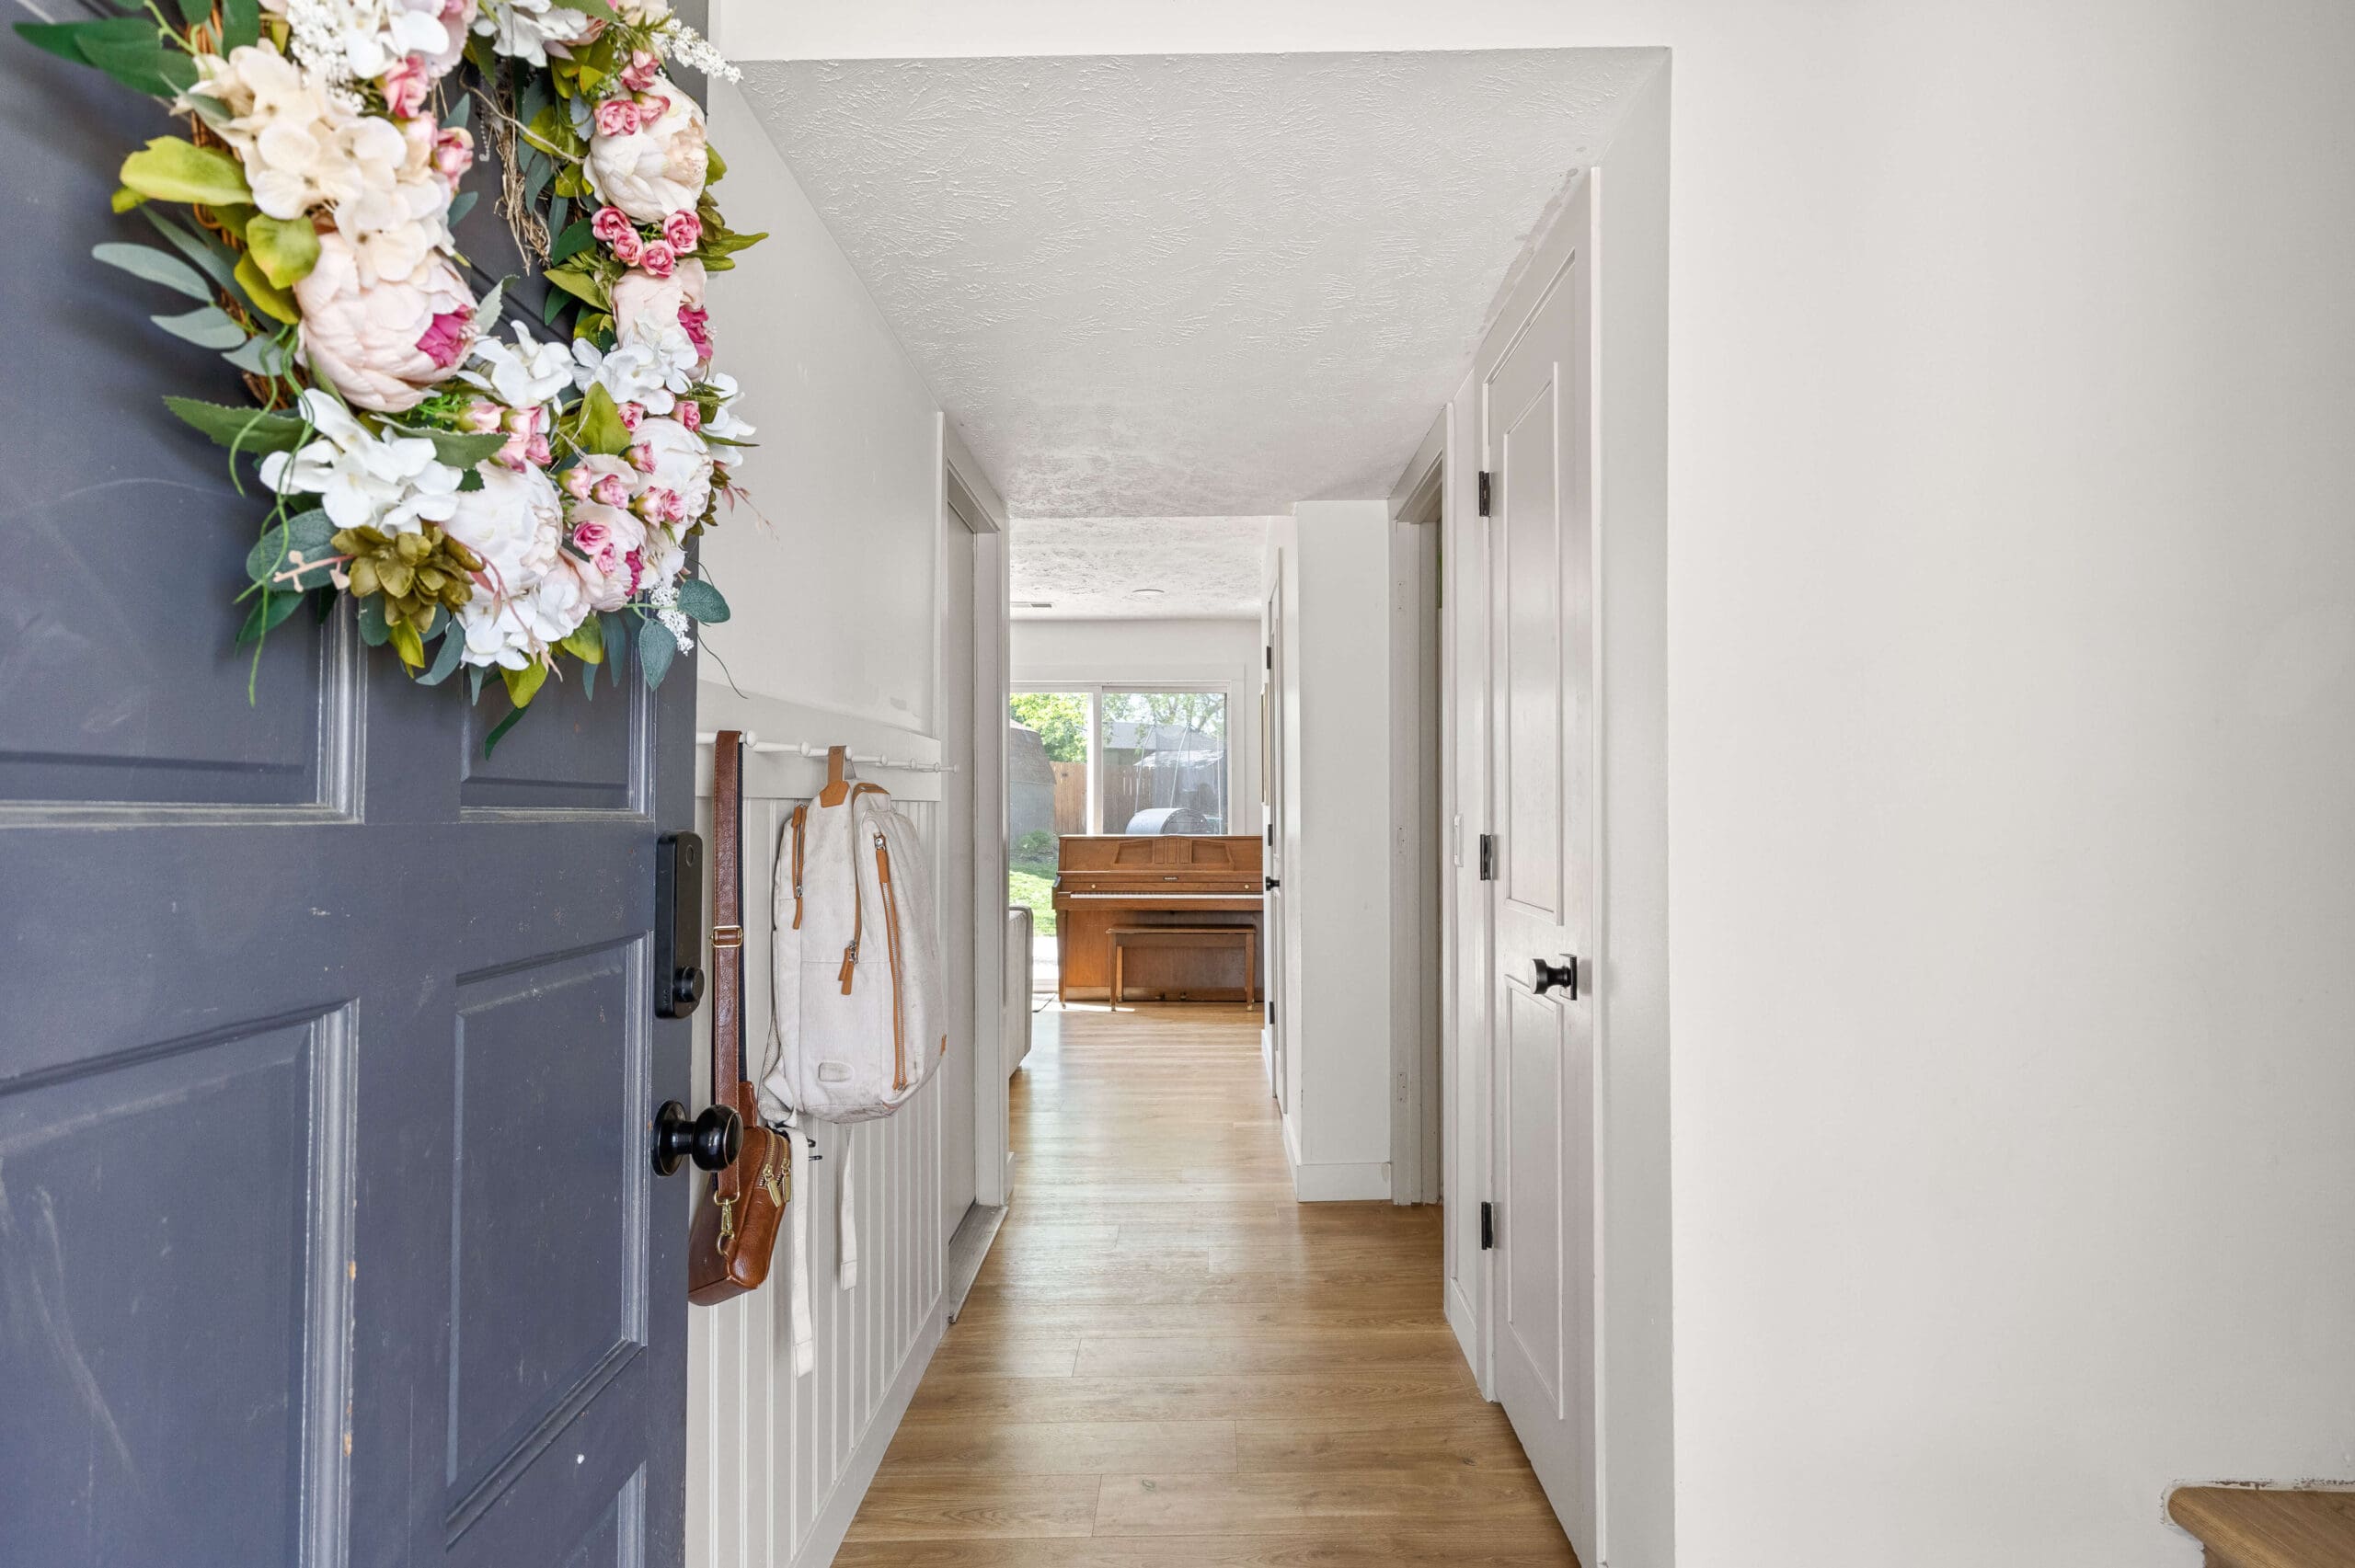
Anyone else have kids who treat the entryway like a dumping ground? Coats, bags, shoes—it was chaos. I needed a designated spot for their stuff and wanted a tidy, welcoming space for guests to hang their coats and purses. The coat closet just wasn’t cutting it. Enter: the wall coat rack.

I cleared out a family gallery wall in our entryway to create a blank slate for this functional and stylish project.

Hanging Beadboard
First things first: find those studs! The beadboard backing for my wall coat rack needed to be securely attached to the studs—not just the drywall. Using a stud finder, I marked the stud locations and set up my laser level for precise alignment.

The beadboard comes in 4×8 sheets. I positioned it to sit neatly on top of the baseboard, but you can remove the baseboard and run the beadboard all the way to the floor for a seamless look (I did this in my bathroom). Since houses are rarely level, I trimmed the beadboard as needed using a circular saw.
Once trimmed, I nailed the beadboard to the wall with a brad nailer, ensuring the nails hit the studs I marked earlier.


Install the Top Rail
Next, I added a pre-primed 1×6 top rail for the wall coat rack. To ensure it could handle the weight of coats and bags, I attached it to the studs with screws, rather than just nails.

To cover the screw holes, I used spackle (though wood filler or Bondo would be best). After the spackle dried, I smoothed out any excess with a damp rag. No sanding required! I also caulked all the gaps and seams—where the beadboard met the baseboard, walls, and top rail—for a polished, professional look.


Adding Pegs for My Wall Coat Rack
Now it’s time for the fun part: adding pegs! Using my laser level as a guide, I measured and marked holes 8 inches apart along the rail. I drilled pilot holes, applied wood glue to the screw ends of each peg, and screwed them in place. A quick wipe with a damp cloth cleaned up any glue drips.


Time to Paint
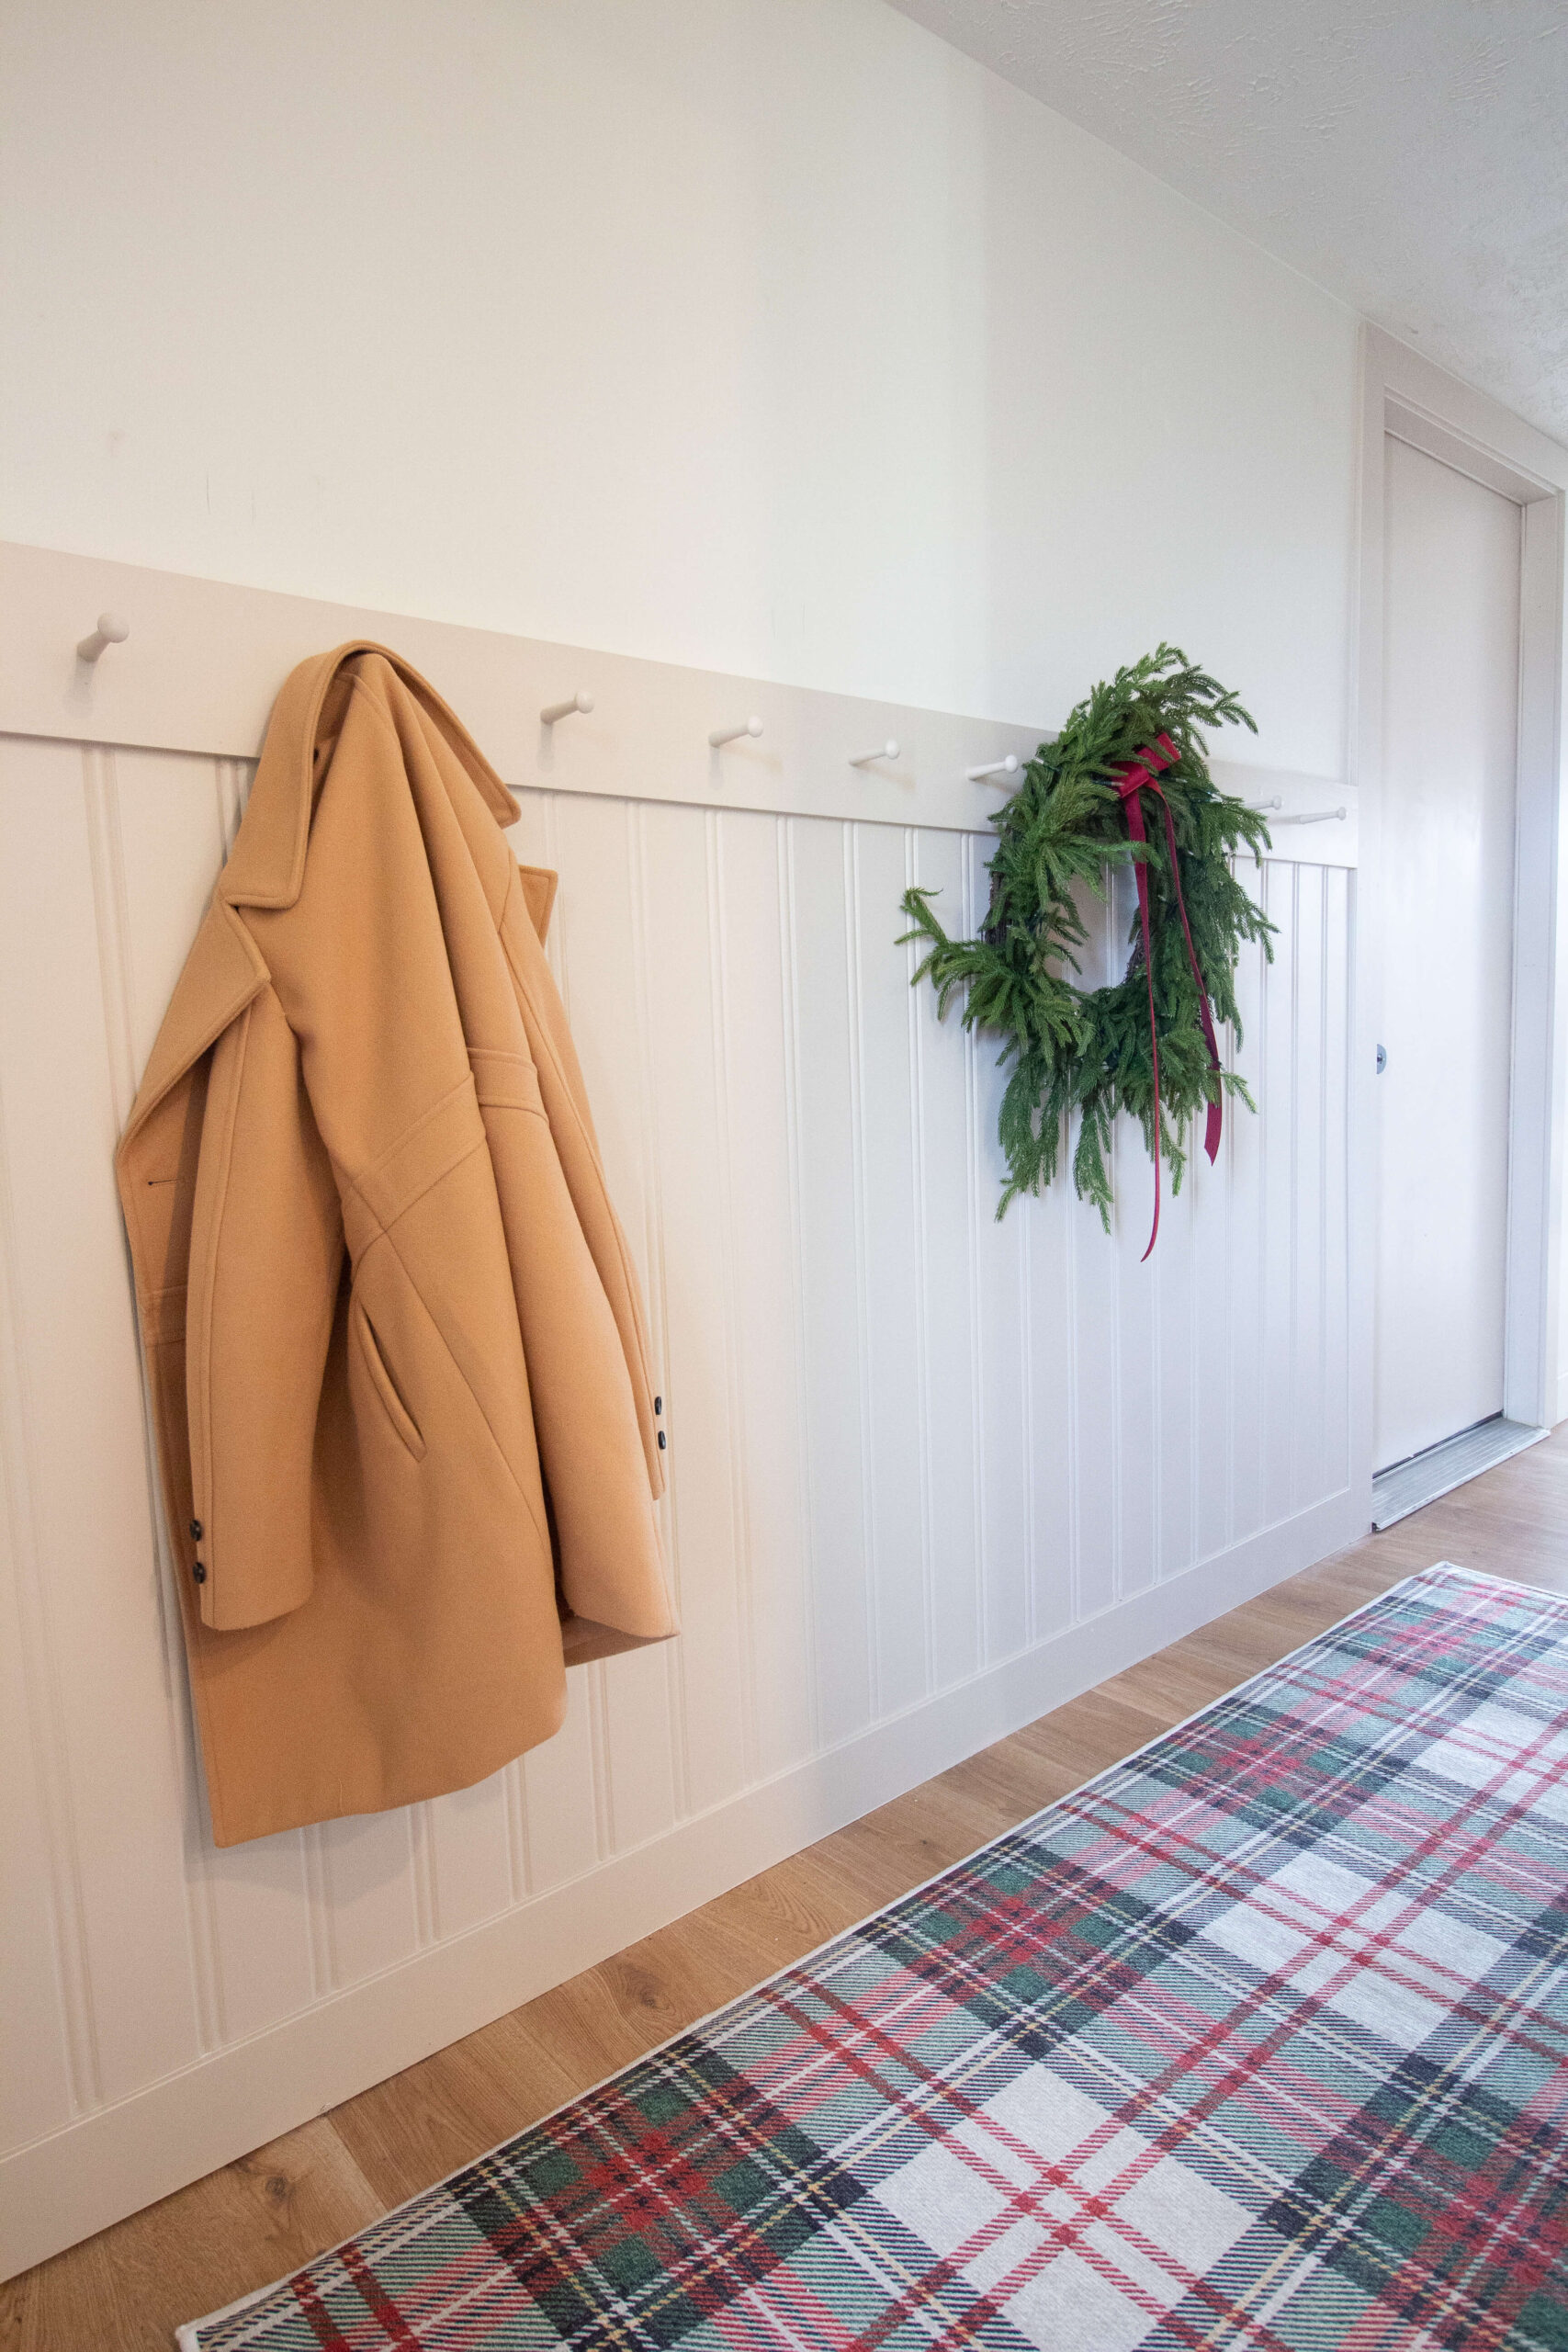
The last step of our wall coat rack: paint! I went with Sherwin Williams Accessible Beige, a warm, neutral shade I’ve used for other projects like my kitchen cabinets, our family command center, and the girls’ bunk beds I built. It’s the perfect choice for a highly visible area like my entryway.
When painting beadboard, be sure to use a brush to get into all the grooves before rolling on the final coat. A foam roller will give you a smooth finish with no paint streaks.


In just an afternoon, I turned my messy entryway into a functional, organized space with this beautiful wall coat rack. The kids love using it, and I love not tripping over their coats and bags. And I absolutely LOVE this plaid rug in here. It’s washable and brings the best Christmas vibes along with my realistic looking pine wreath.
Whether you’re dealing with kid clutter or hosting guests, this DIY project is an easy, impactful way to elevate your entryway. Ready to make your own? Let me know how it turns out!
To install a wall coat rack in a small entryway, start by identifying wall studs for secure mounting. Use beadboard as a stylish backdrop, attach a top rail for added stability, and evenly space pegs for hanging coats and bags. Finish the project with paint for a polished look.
The essential tools for creating a DIY wall coat rack include a stud finder, circular saw, brad nailer, drill, laser level, caulk gun, and a paintbrush. These tools ensure a sturdy, professional-quality result.
Hardwoods like oak, maple, or birch are ideal for a sturdy wall coat rack. For a budget-friendly option, pine works well but may require extra care to avoid dents and scratches.
The cost to build a DIY wall coat rack depends on the materials you choose. On average, you can complete the project for $50–$100 using beadboard, pegs, and a top rail, making it an affordable home improvement.