Beautiful Coat Closet Makeover!


Updated May 9, 2026
Have you ever wondered how you could make your coat closet more functional for your family’s needs? I needed to do something about our coat closet ASAP! It was SO hard for our girls to find their sets of shoes and things ended up being tossed into the closet left and right with no organization whatsoever. I wanted something that was going to be functional and obviously more beautiful. This coat closet makeover could be an easy weekend project, and I will show you just how easy it is!
Supply List
Brad Nailer
Milwaukee Drill Combo Set
2 1/2″ Screws
Brad Nails
Trim Puller
Milwaukee Tape Measure
Laser Level
Level
Stud Finder
Handheld Sander
Miter Saw
Hanging Rod Brackets
Gold Hooks
Edge Banding
Painters Tape
Primer
Aged Oak Gel Stain by Minwax
Small Paint Brush
Mini Paint Roller
Lumber Supplies
Cleats – 1×2 Select Pine
Shelving – 3/4″ Plywood
Hanging Rod – 1×4 Pine
Support Boards – 3/4″ Plywood
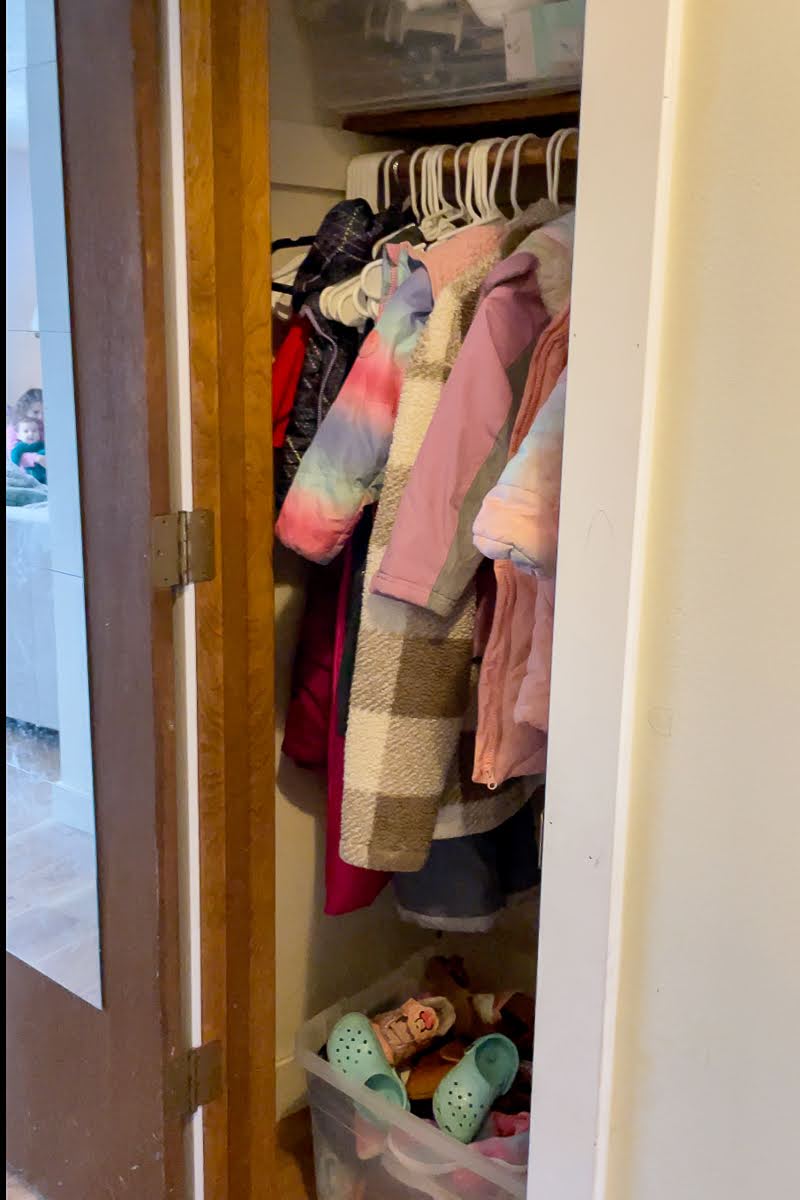
Preparing for a Coat Closet Makeover
I started this coat closet makeover by gutting the closet. Everything came out, including the cleats, shelf, and hanging rod. I used a trim puller to get the cleats out without damaging my walls. Taking everything out was like a weight lifted off my shoulders, knowing that functionality would be brought to this closet soon! You could either paint the inside of your closet or put wallpaper in it. Yep! Wallpaper a closet! That’s exactly what I chose to do and you can read all about the process in this blog post.
Shoe Shelves for the Coat Closet Makeover
I was going to install cubbies inside the coat closet but realized I just needed two shelves to hold our shoes.
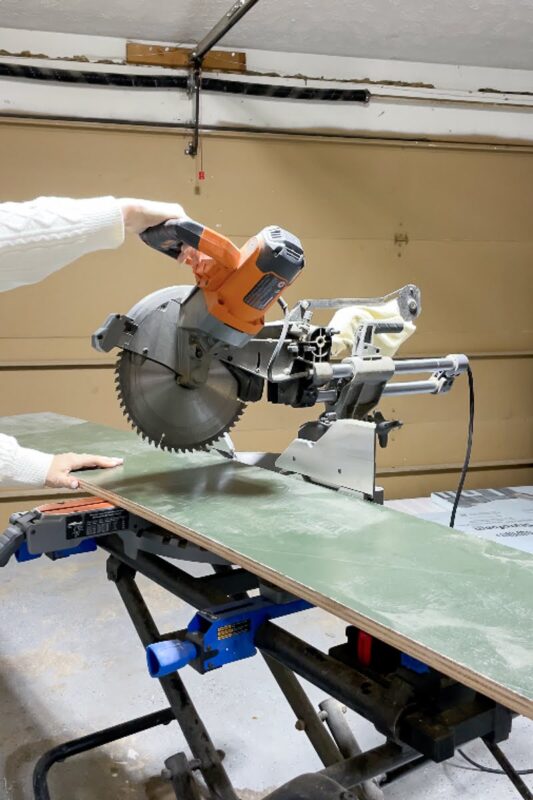
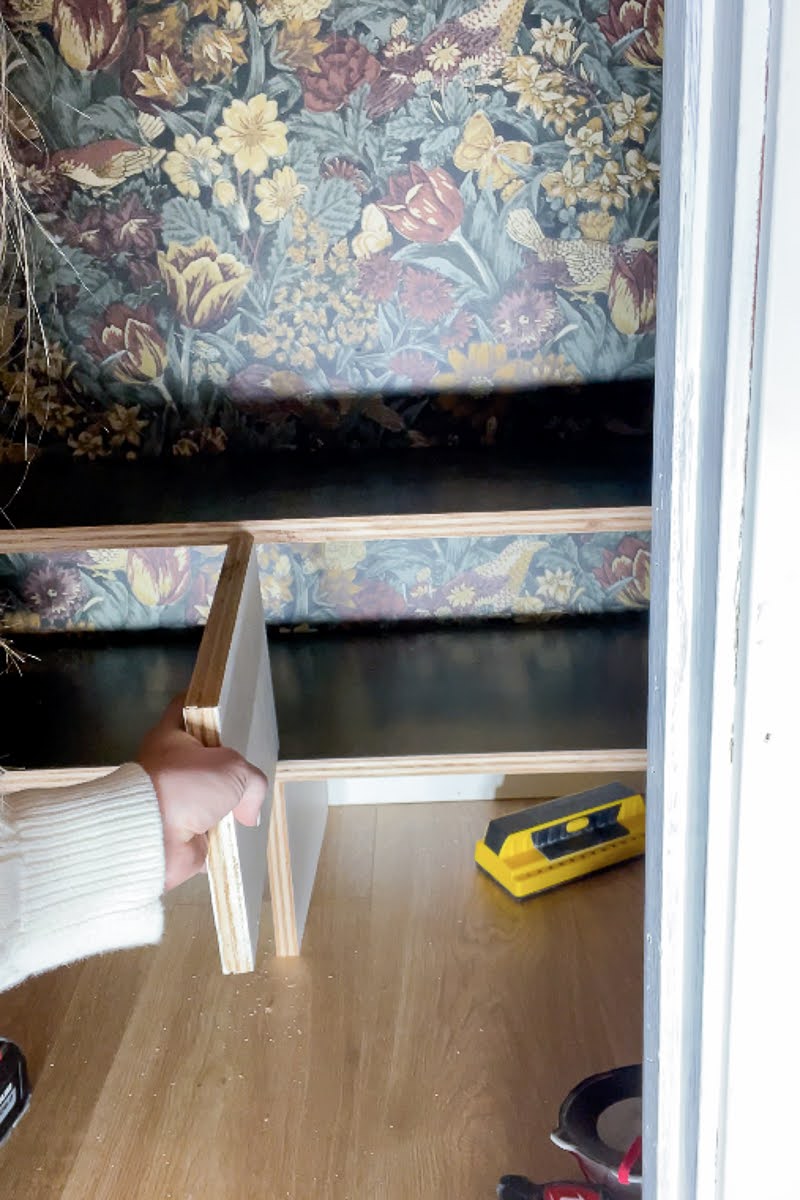
I customized the shelves with some leftover 3/4″ plywood I had lying around and they turned out to be perfect for the shoe shelving in this coat closet makeover. I started by cutting them in half right down the center, then measured the inside width of the closet, and cut the boards to fit.
Creating and Installing Cleats
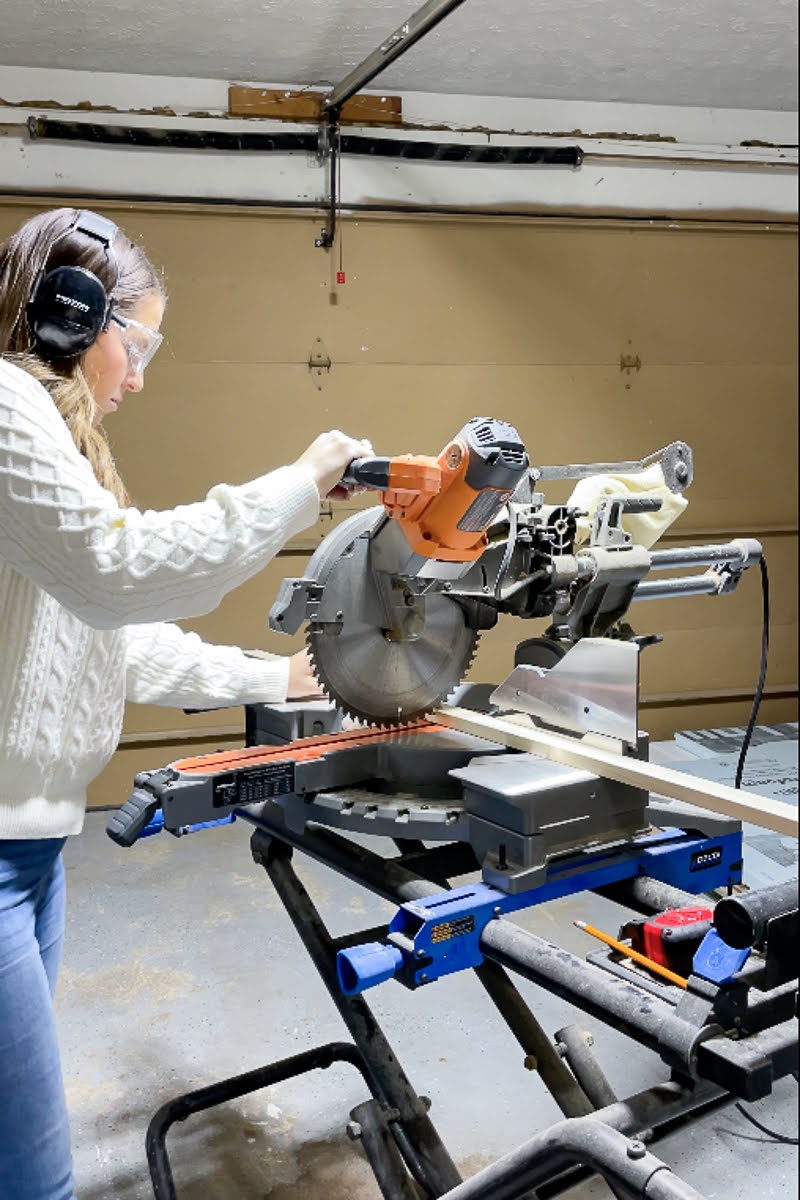
Next, I created cleats for each shelf to sit on from a mixture of 1×2 poplar and select pine wood. You can use poplar wood for these, but select pine would be a cheaper option if you’re buying it from scratch. I needed three cleats for each shoe shelf, two for each side wall, and one long cleat for the back wall.
I measured the depth of each side wall and then the length of the back wall to ensure my cuts were exact. I did take some extra off of the cleat for the back wall so that it would fit between the two side cleats.
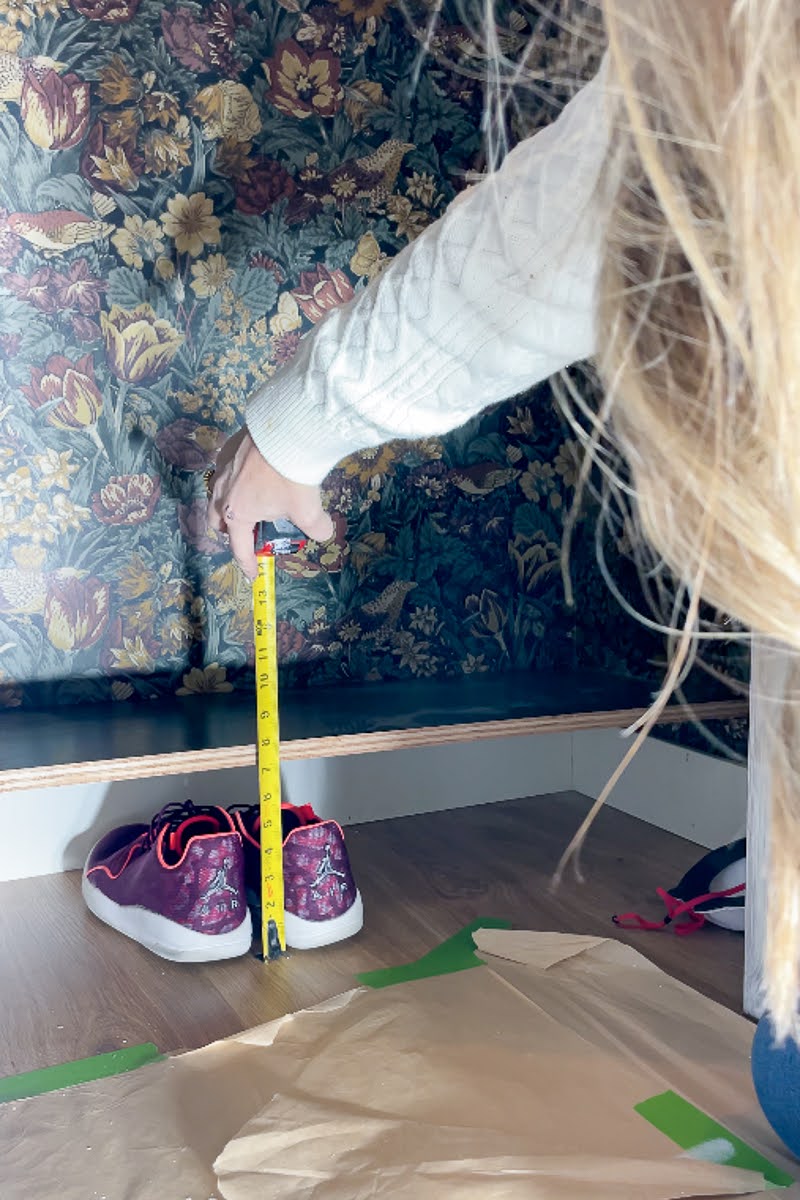
After cutting the cleats to size, I measured from the floor up to where I wanted the lower shelf to sit, then subtracted 3/4″ to account for the edge of the plywood, and then marked it. Then, I brought the top of the cleat up to that line. That way the plywood sits right on top of it and it would be as exactly high as I wanted the shelf to be.
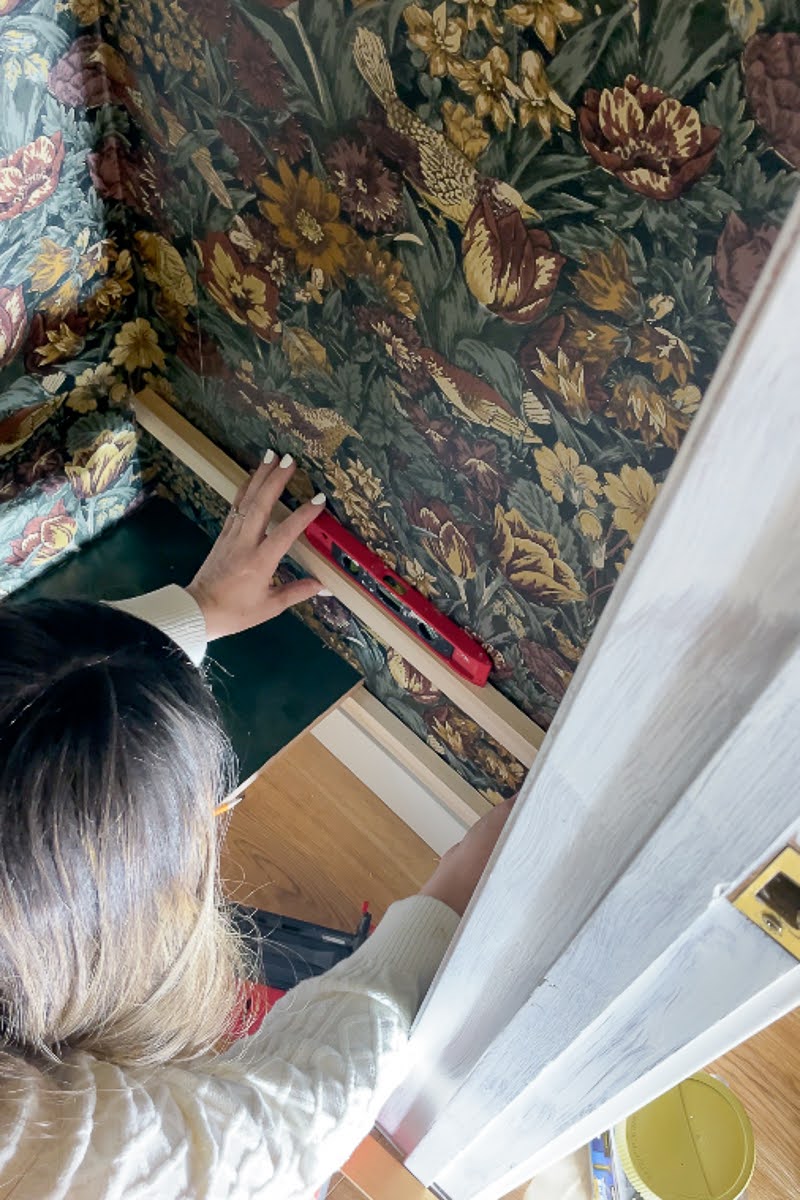
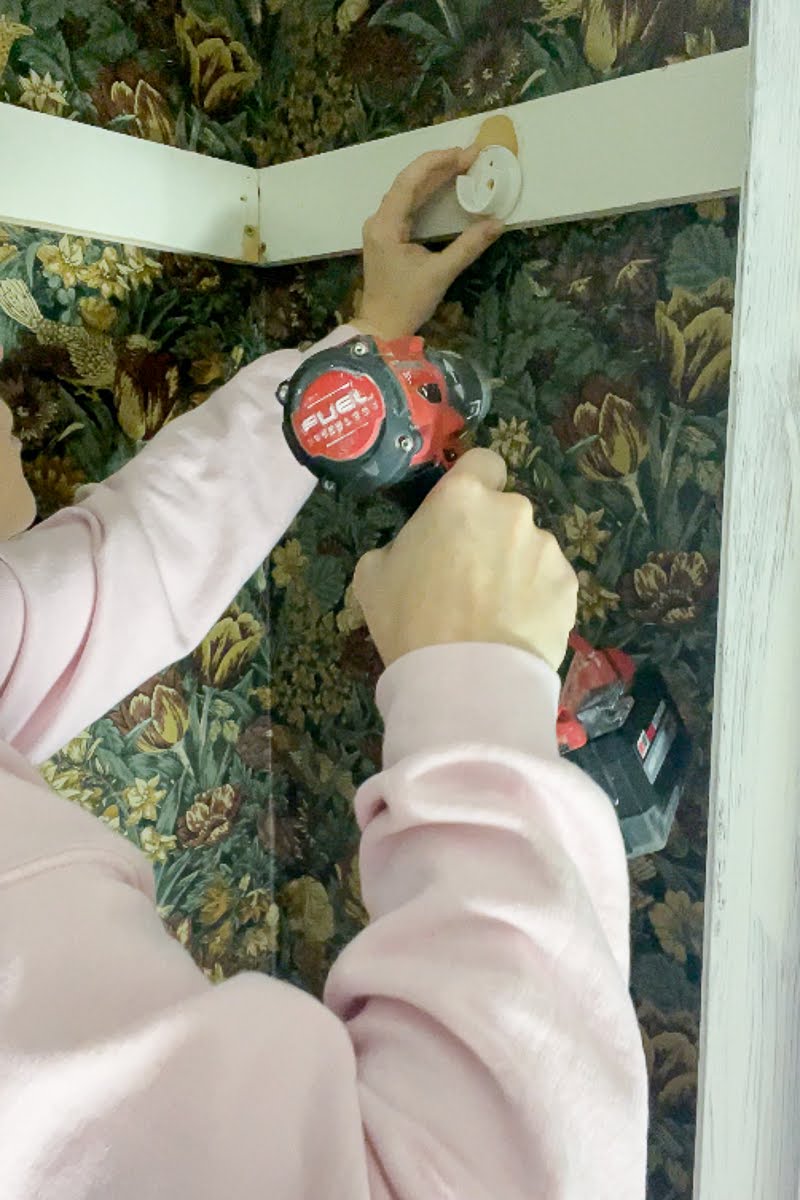
A quick tip is to use a brad nailer and quickly nail the cleat up so it’s held into place while you level it and drill holes into the sides of it. Drilling holes will help when using the 2 1/2″ screws to screw the cleat firmly into the wall stud. I then put in some extra brad nails around the cleats, ensuring they would be sturdy enough to hold a good amount of weight.
The lower shelf was placed on the cleats, then I measured from that shelf up to where I wanted the next set of cleats placed and the shelf to sit — then, repeated the steps to install the cleats for the coat closet makeover. The cleats came out longer than the shelves because my wall didn’t have a stud in the center to which I could attach the other end of the cleat too. So, I had to extend them out where there was a stud.
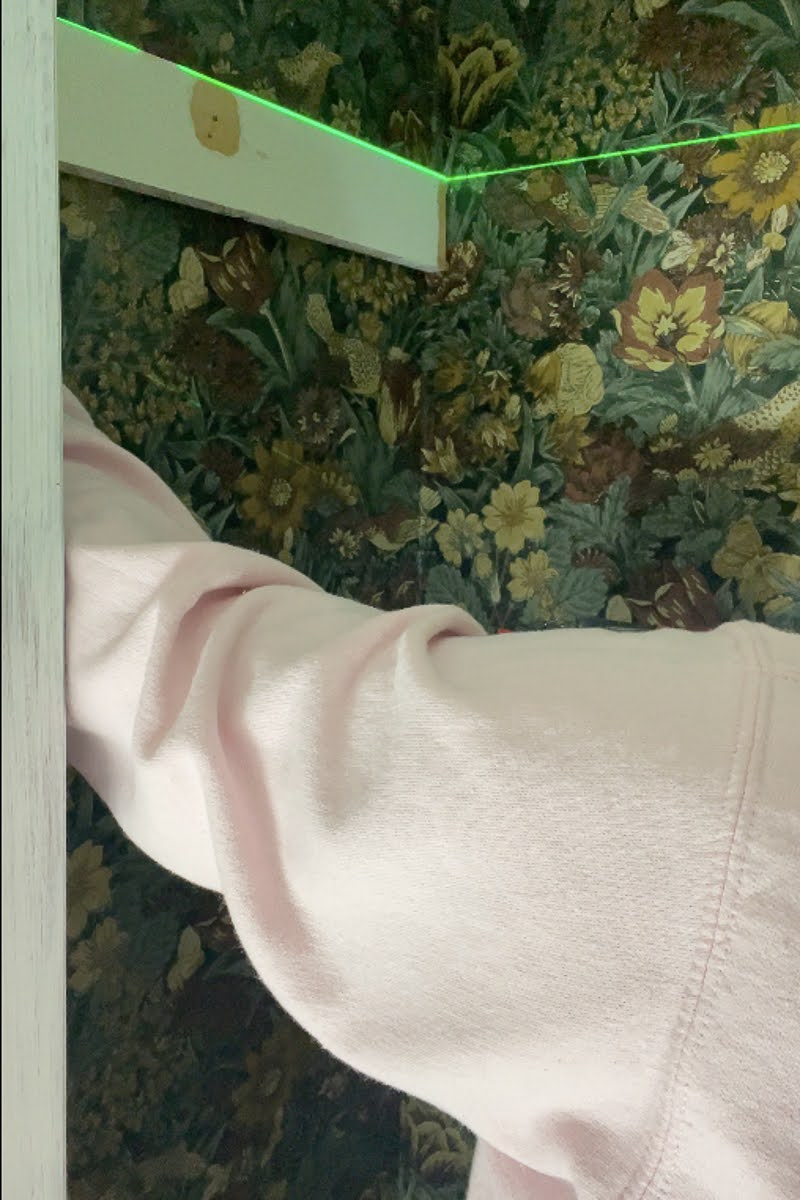
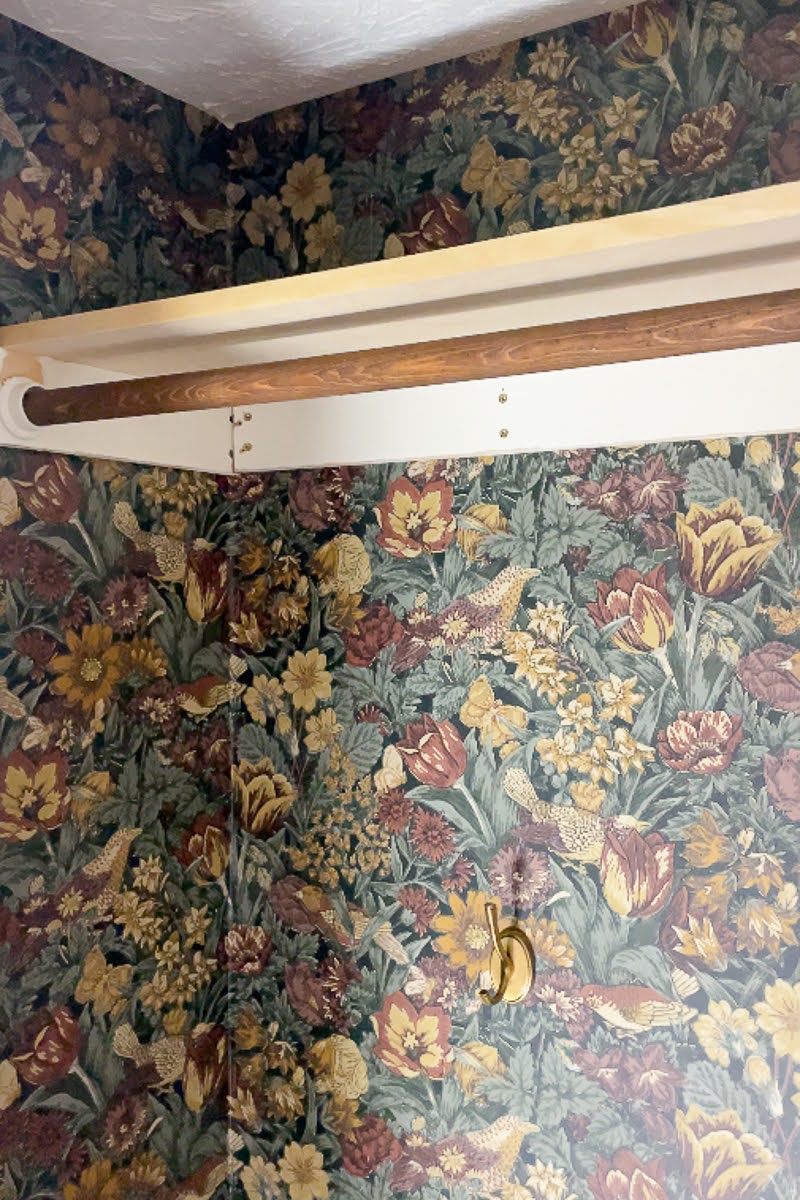
For the top shelf, I recycled the cleats and shelf that were original to the closet but sanded them down first. I installed the cleats the same way as the lower ones but used a laser level to make sure they all were even and level.
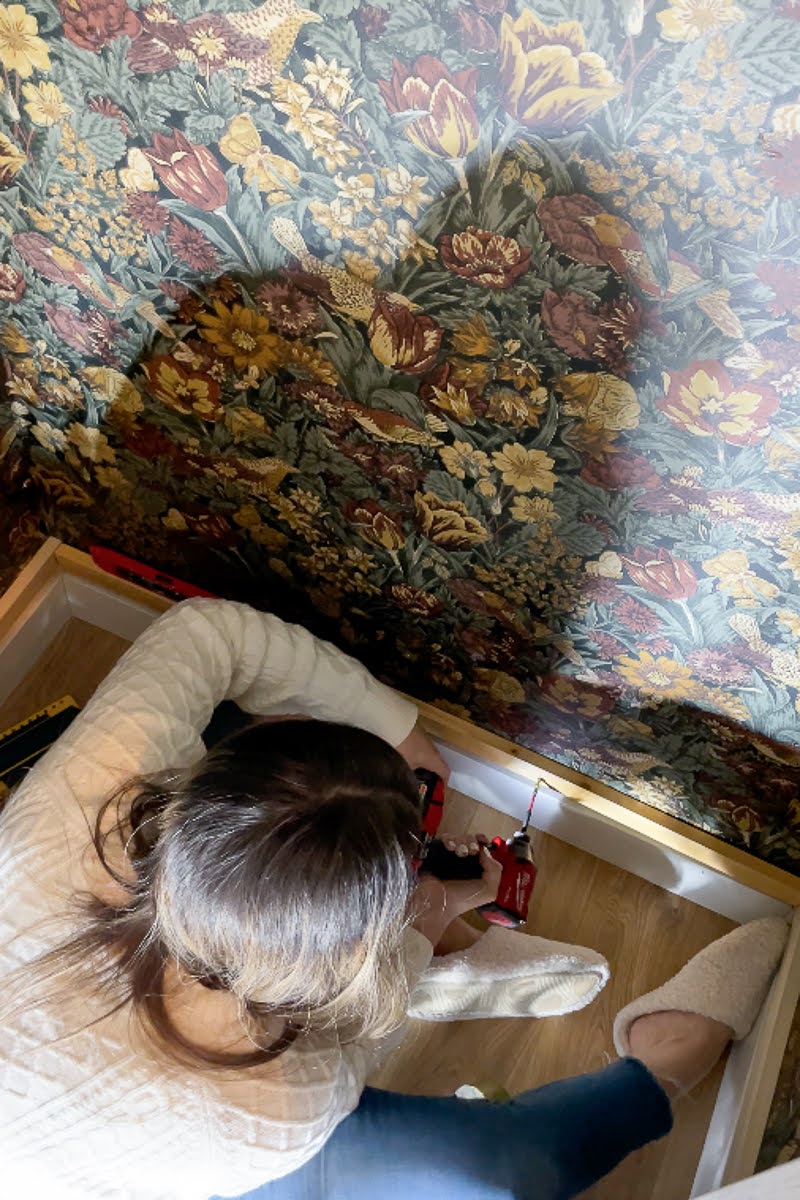
Then, I installed the hanging rod brackets on each side wall cleat. I used the previous holes from the original closet, but if you are building this with new wood, measure the distance from the back wall to wear you want the bracket to sit and make sure it is the same on both sides.
I wanted the top shelf to be quite a bit higher than it normally would sit because I wanted there to be plenty of space between the bottom of my coats and the top of my shoes. I don’t need to put a lot of tall things on the shelf anyway so there really doesn’t need to be a whole lot of space between the shelf and the ceiling.
Installing the Shelves for the Coat Closet Makeover
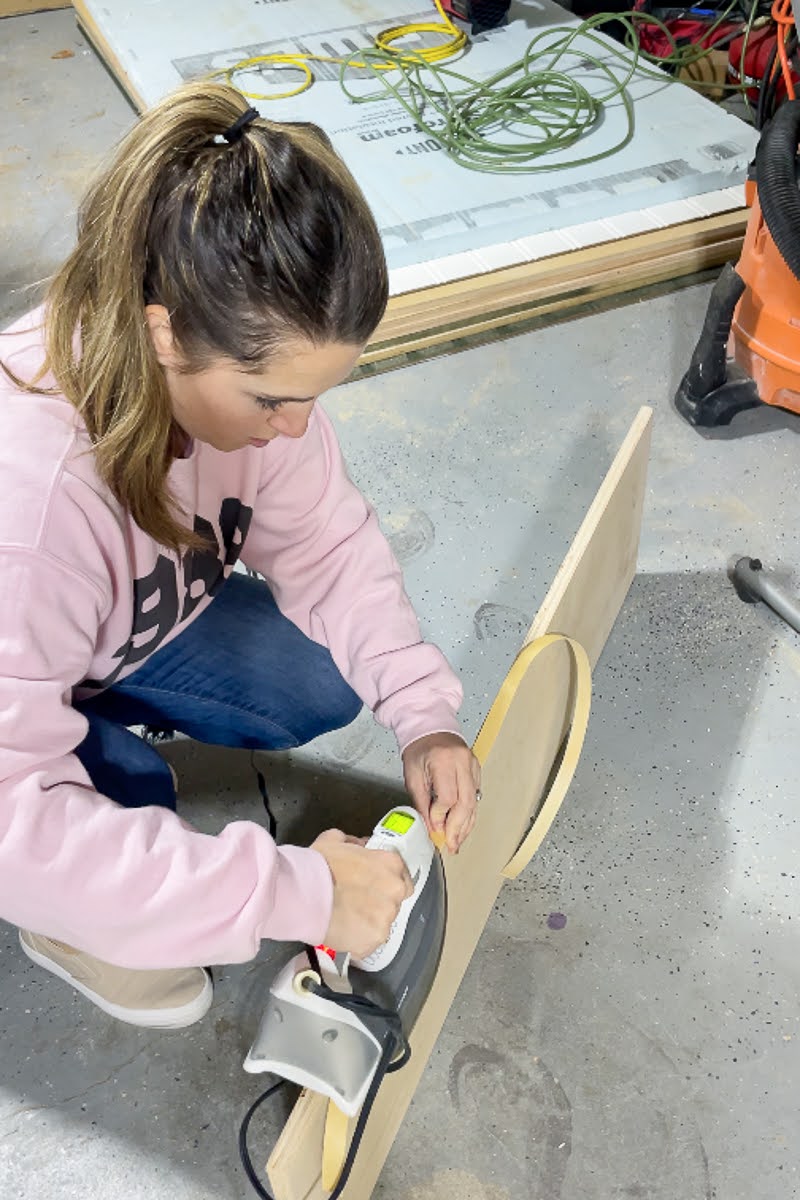
The bottom shelves were painted a green color and I put some edge banding onto the front edge of each shelf to create a smooth look because I didn’t want the rough edge of the wood showing. The edge banding needs to be ironed on, so it’s a bit tricky to do while in the closet.
Since the top shelf was original to the closet, I sanded it down well and also ironed the edge banding onto the front side of that shelf too. The top shelf is difficult to place on the cleats because you have to angle it in the closet to get it into place, so the hanging rod will need to be out for that to happen. The hanging rod is easy to get back in after the shelf is placed and before the shelving is nailed down.
The hanging rod was original to the closet, but if you need to buy one, I would purchase a 1×4 pine wood hanging rod. That size rod will give you enough space to install it easily into the closet.
All shelves were set onto their cleats and nailed into place in multiple areas around the edge. Keep in mind that all closets are a different size and your shelving and cleat measurements will need to be customized to your specific closet.
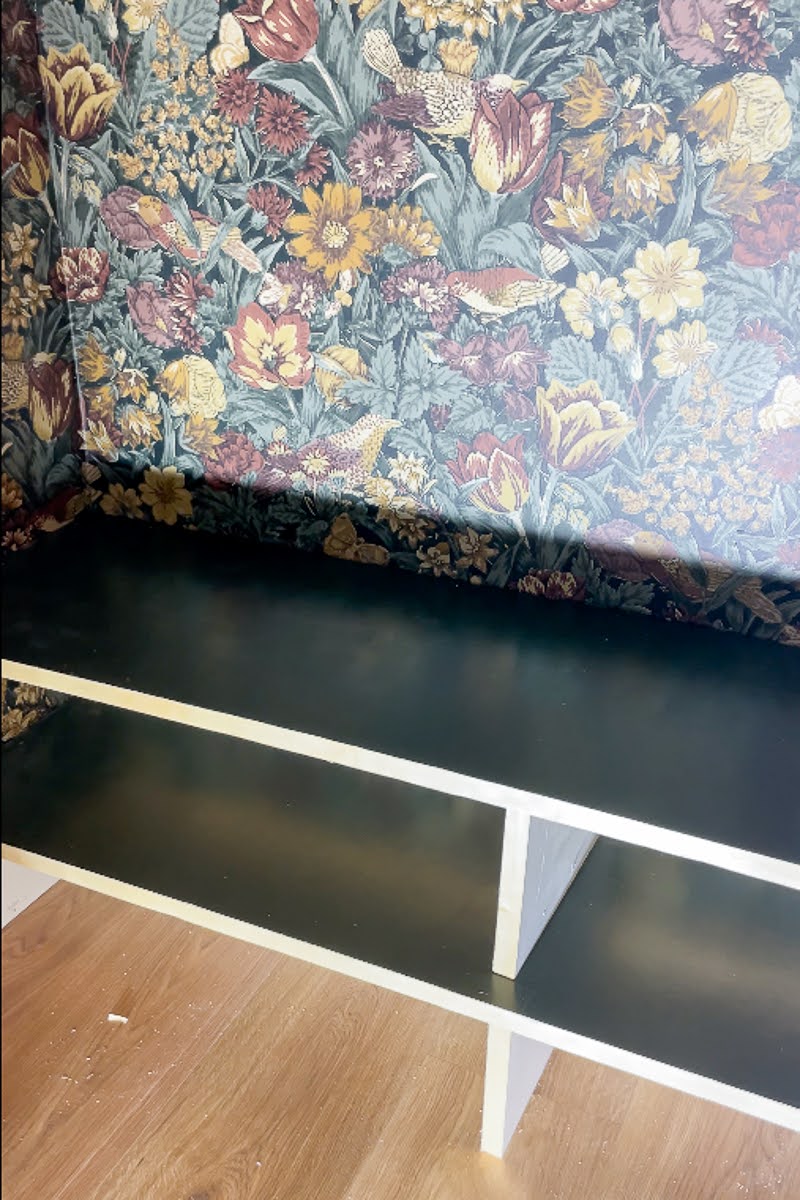
Adding Supports to the Shelving
I picture little kids playing in the closet and trying to stand on these shelves, so I went ahead and added a support in the middle of each shelf. But before I added the supports, I went ahead and got them all ready to paint and put some edge banding on their front edges.
After getting the supports into place, each shelf was nailed in well to make sure the supports wouldn’t collapse with any weight added.

Adding Beautiful Gold Hooks
I got four of these really pretty gold hooks that I wanted to place lower so that my girls could hang their own coats!!
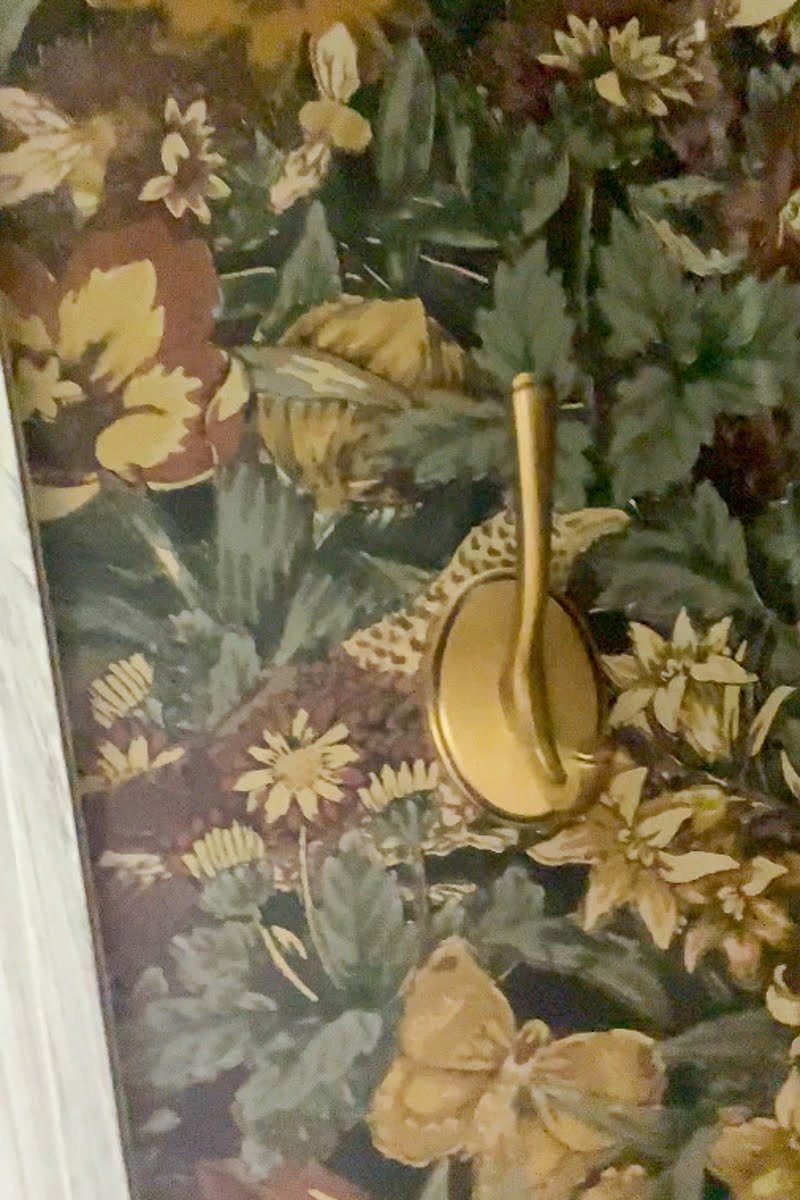
I placed two of the hooks on the backside of the closet. The other two were placed on the inside of the doorway with one on each side. We are still using the hanging rod for our coats and they will need room to hang.
Staining and Painting to Perfection
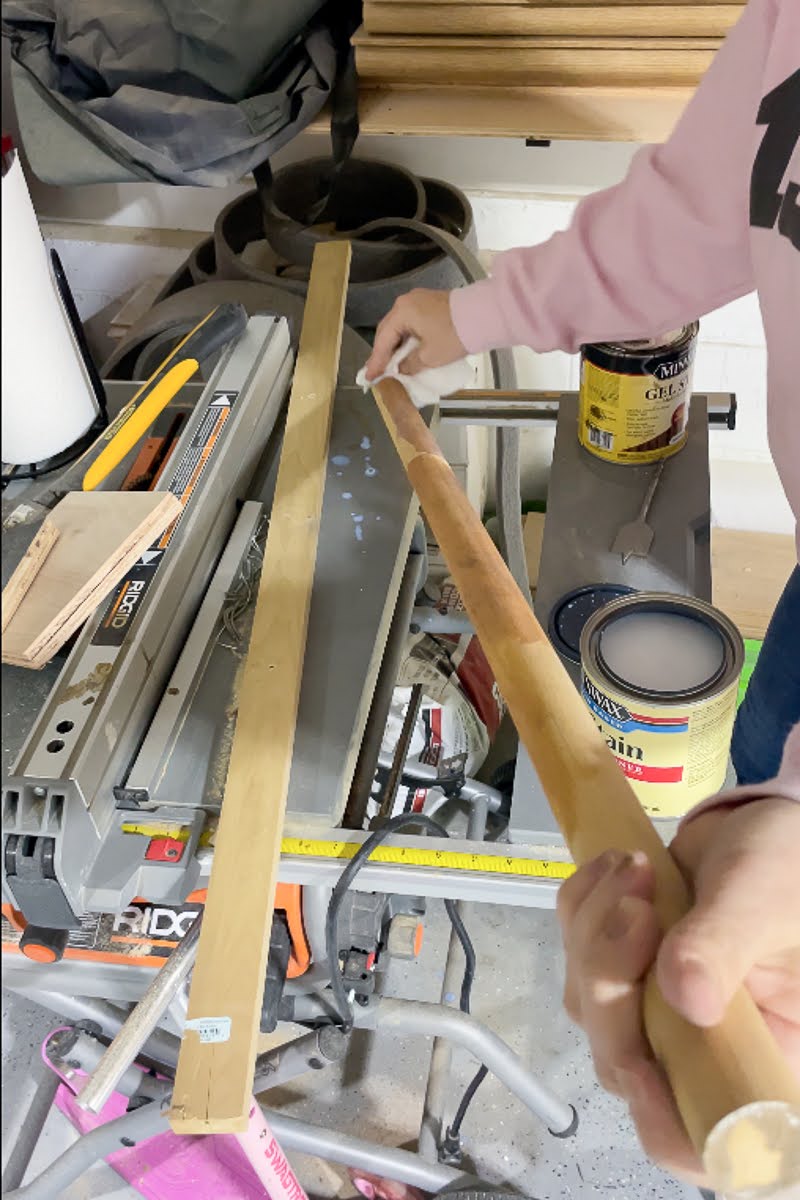
Since the hanging rod was original to the closet and a little beat up, I went ahead and sanded it down using my handheld sander. Then, I applied a coat of Aged Oak gel stain to it. Now, it looks good as new!
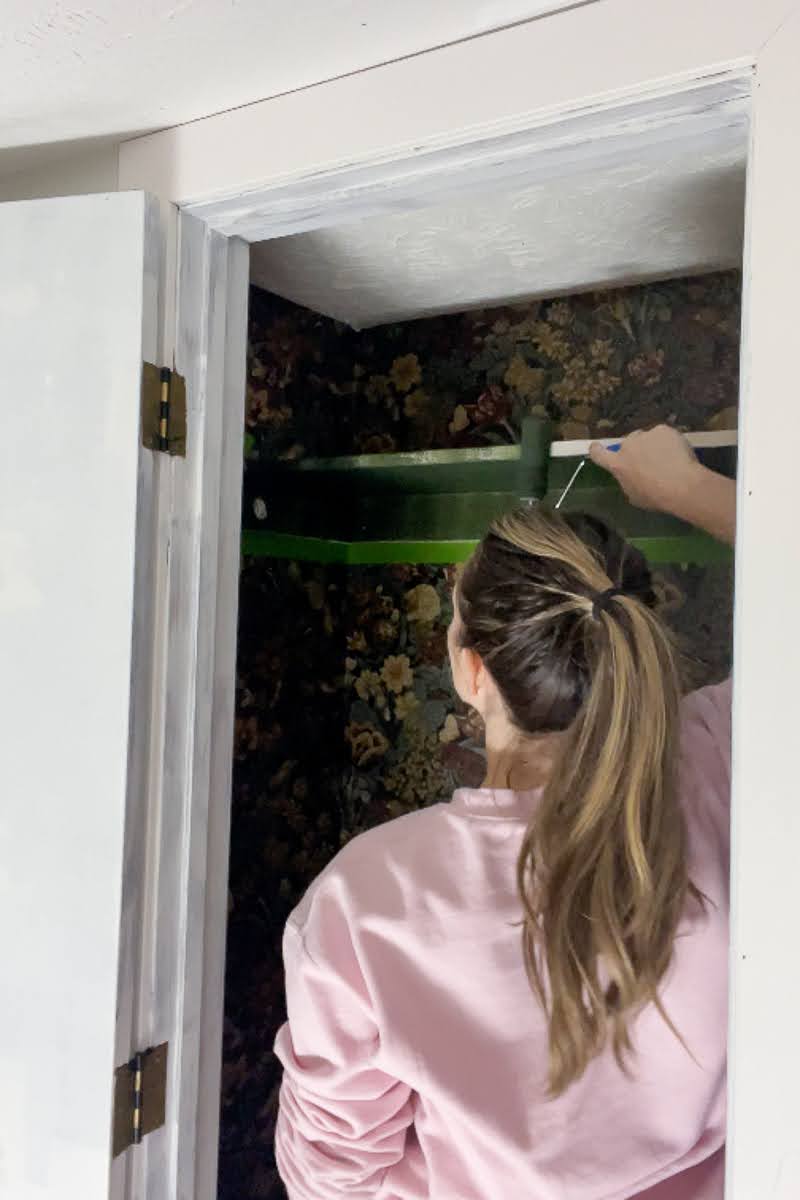
The edge banding that was added to the shelves was primed. Then, I used a custom Sherwin-Williams green paint to paint over the edge banding, and then painted the underside of the top shelf and the cleats. It was easier to use my small trim paintbrush for the cleats and than my mini paint roller for the rest of the shelf.
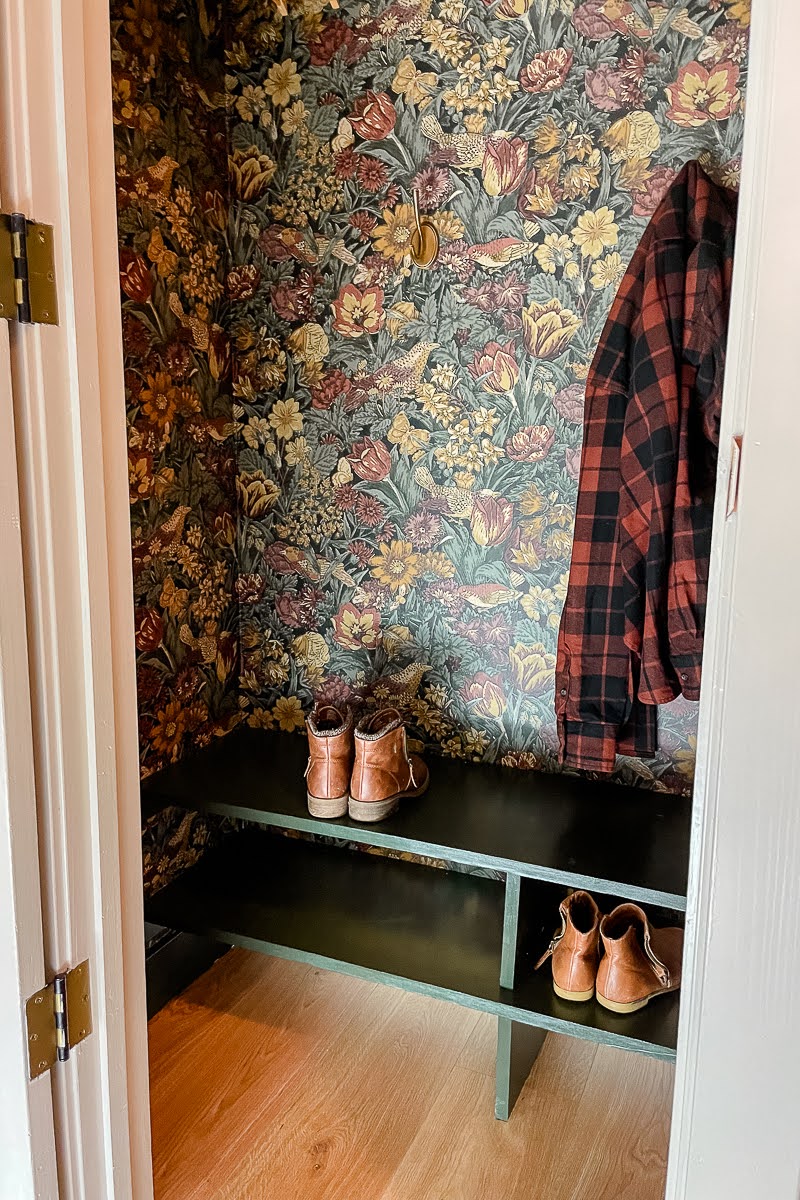
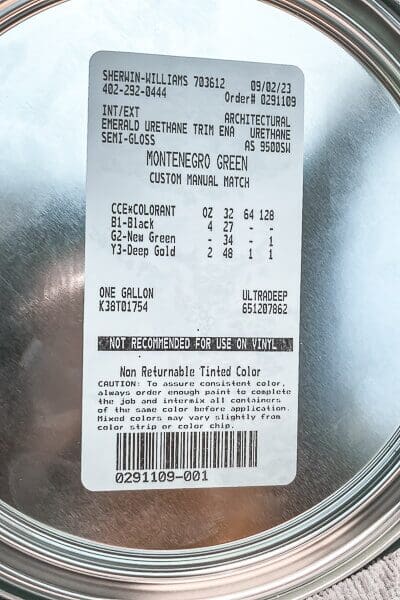
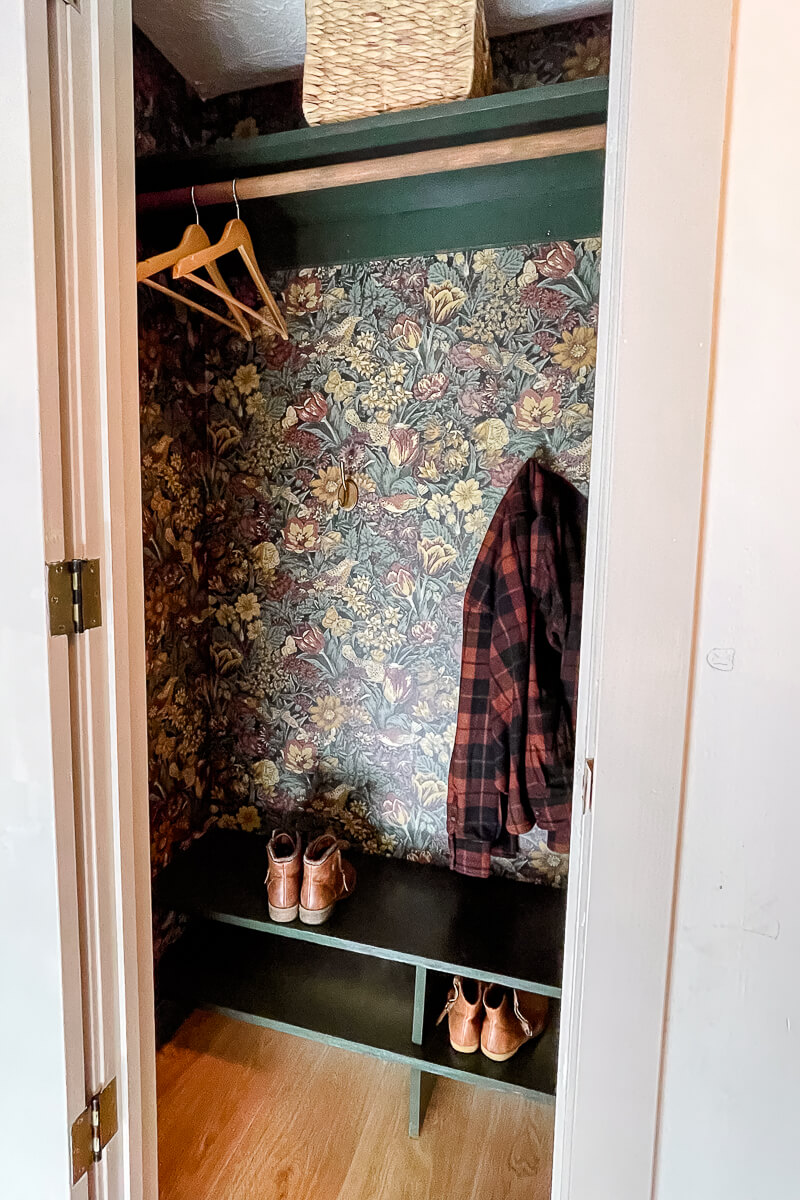
The green paint along with the wallpaper is SO beautiful! If you are interested in using the same paint color, here is what was used to make it.
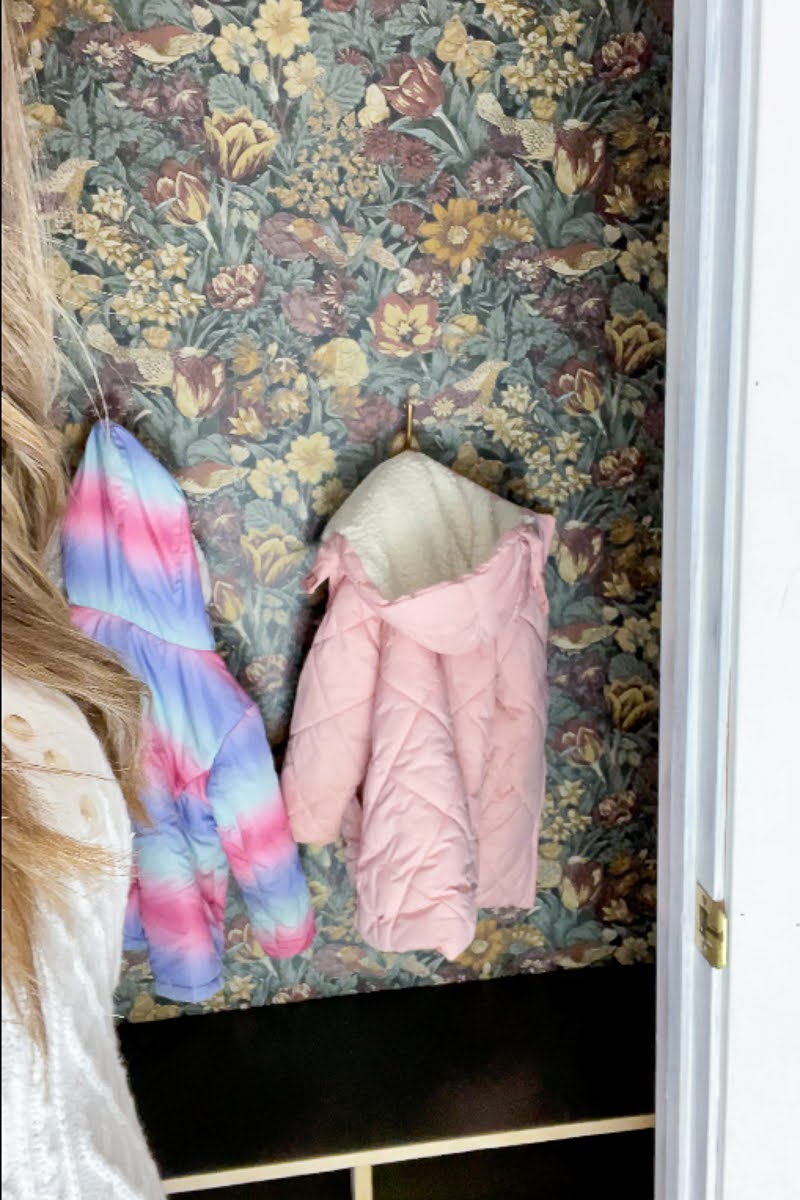
This coat closet makeover turned out beautifully. The functionality of it is perfect for our family and allows our kids to contribute to the organization and cleanliness of the house.
Are you interested in learning how wallpaper can make the coat closet more appealing? Read how I applied wallpaper to this closet.