Easy Guide on How to Wallpaper a Closet


Updated July 13, 2026
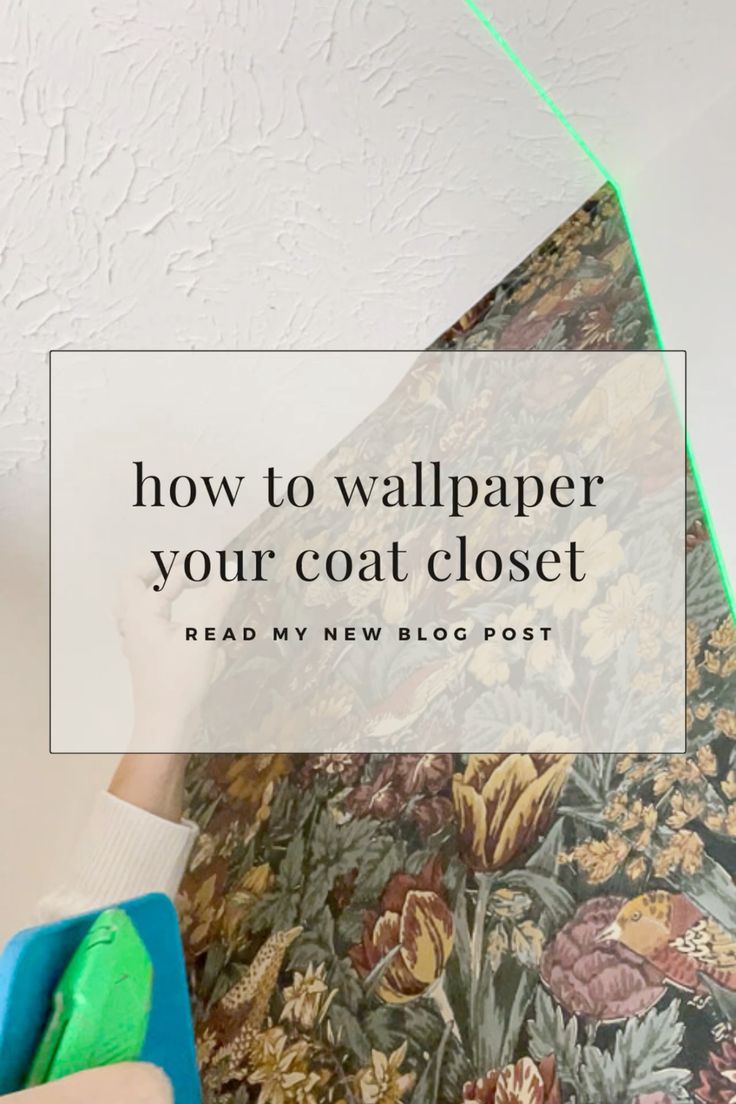
Have you ever thought to wallpaper a closet? I was tired of looking at our boring, messy hallway closet full of unorganized coats and shoes, so I gave it a fun makeover! Adding wallpaper in a closet is an easy way to turn a boring space into something cute and colorful. And since we use this closet literally every single day (everybody needs those shoes!) it definitely gets seen! You’ll appreciate your work whenever you open that door to shove yet another puffy winter jacket inside.
Supply List
Peel and Stick Wallpaper – I needed 3 rolls!
Wallpaper Tool Kit – Contains the flattening tool and knife you’ll need
Laser Level – Use a plumb bob as an alternative
Prepare the Closet for Wallpaper
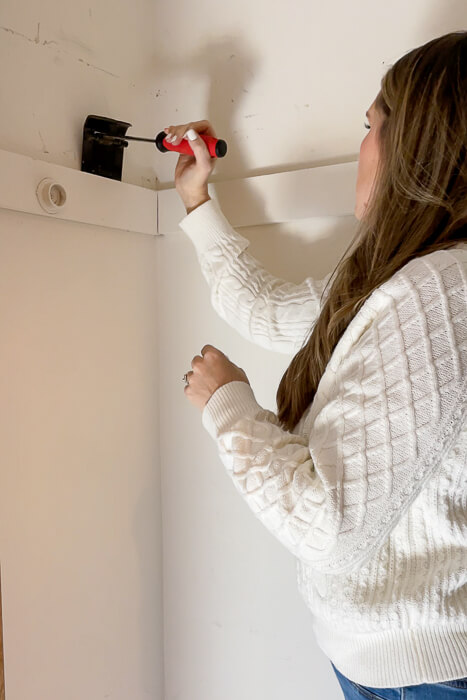
Obviously, the first thing you’ll want to do before you wallpaper a closet is toss all your personal items out of the closet. I took EVERYTHING out, and I mean EVERYTHING. This closet has been a hassle to keep organized, so I gave it a complete makeover. I built custom shelves that I designed to fit the needs of our family and make more sense for how we live.
So, I had to remove all of the original shelving and the cleats from underneath. This trim puller will remove trim without damaging the trim or your walls.
Next, I ran my hands all over the walls to feel for rough spots, which I sanded down using a sanding sponge. Those little imperfections could be seen underneath some types of wallpaper or create unwanted bubbles.
Now, depending on the sheen of the wall paint, your next step may be to prime everything. If the sheen of your paint is on the glossy side, you can get away without priming. If your paint sheen is on the duller side, you’ll want to prime the walls so the wallpaper can be removed without causing damage. You’ll thank yourself in the future for not skipping this step. This is the primer I recommend.
Guide Tools You’ll Need to Wallpaper a Closet
When your closet walls are nice and prepped, it’s wallpaper time. I used a peel and stick this time but I will say, not all peel and stick wallpapers are created equal. Out of non-pasted, pre-pasted, and peel and stick wallpapers I honestly do not have a preference of which is the easiest way to install at this point because the quality and ease varies so much from brand to brand.
The first thing you’ll need to do is set up the laser level. No walls are perfectly straight, and the vertical laser lines are going to guide you so the wallpaper doesn’t start looking wonky.
Isn’t that wallpaper so pretty? And it’s really forgiving when it comes to matching the pattern on the seams.
It’s Time to Wallpaper a Closet!
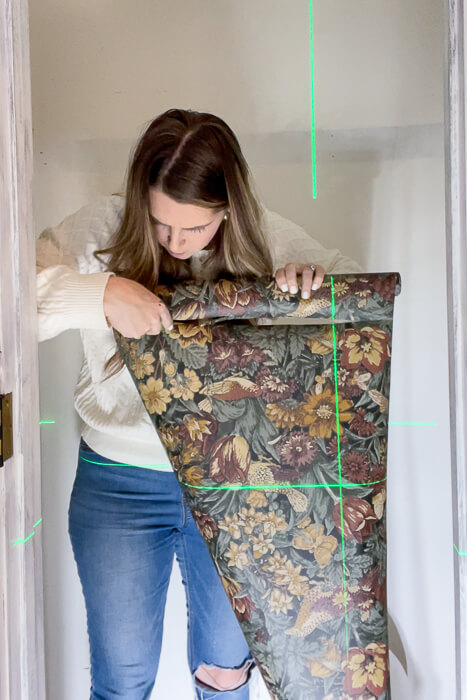
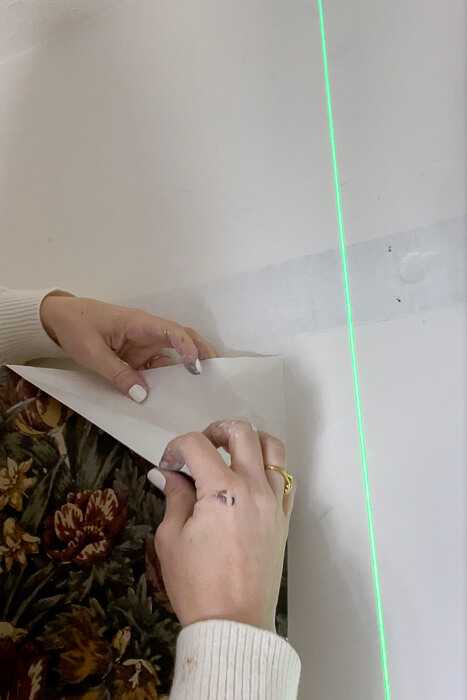
The first thing I did was lay the wallpaper against the wall from the ceiling to the baseboard and trim it so there was extra hanging off each end.
Next, it’s time to unpeel the backing and line it up on your laser line. I like to start by placing the first strip in the middle of the wall so I can get a perfect vertical with a laser level. Corners are not a good place to start because the walls are almost never straight and that can throw off your whole pattern and make matching up the seam on the other side a nightmare.
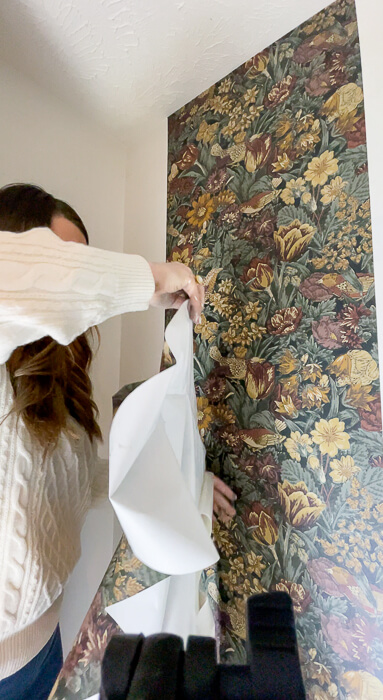
Starting at the top, place the paper on the wall and slowly remove the backing as you press and smooth the paper out with your hands. Take your time with this step, and be prepared to pull up and re-place your wallpaper about a hundred times to get it right.
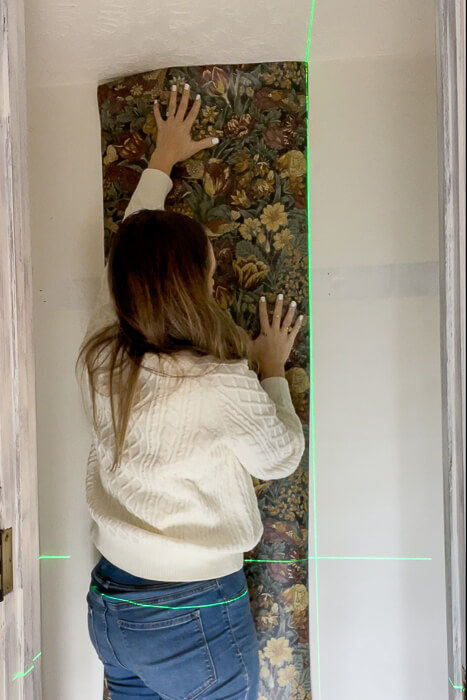
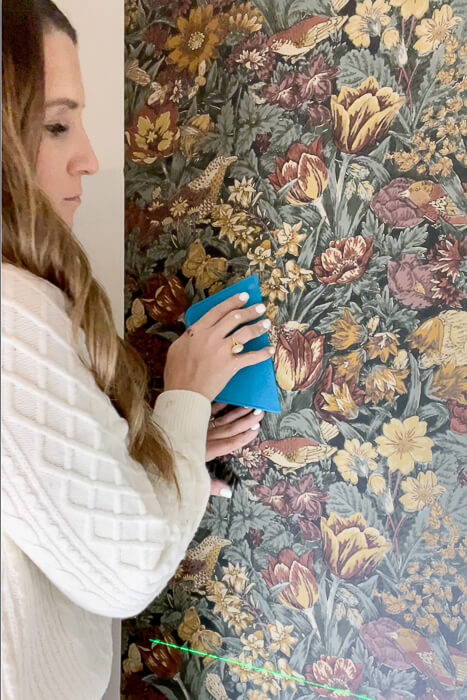
I prefer to smooth the wallpaper out with my hands first and not be too fussy about bubbles just yet. Smoothing it out with my hand allows me to get it where I want it without creasing it, and then when it’s there I can go over my work with a flattening tool to remove all the air bubbles. If you use the tool too soon, you’re liable to have unsightly creases in the wallpaper.
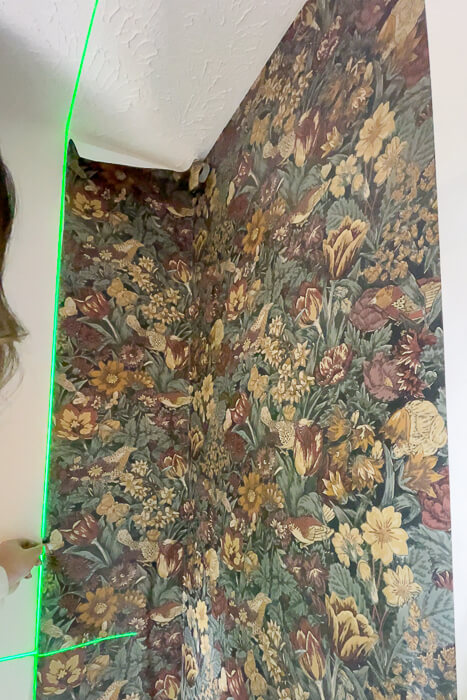
I didn’t line up the end in the ceiling corner because, like I said before, no walls are straight. Instead, I cut the excess off with a razor by running the blade inside the corner and peeling away the extra paper. I did the same at the baseboard corner. It was very satisfying.

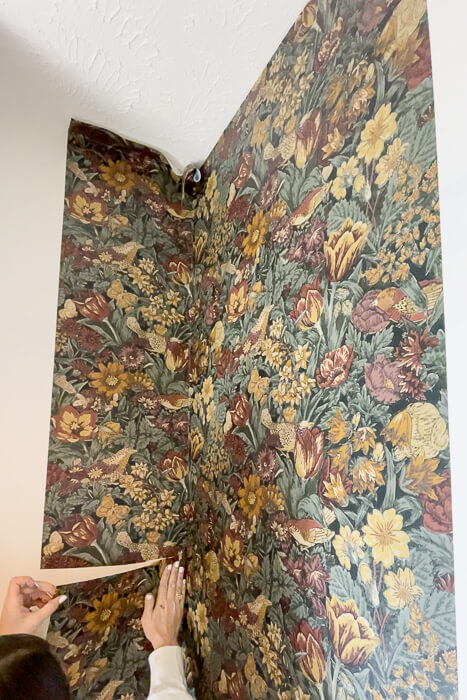
How to Wallpaper a Closet Corner
So now it gets tricky. The way I wallpaper a closet corner is first to peel off the entire sticker paper and line up the seam to match with the adjacent strip all the way down on the one side.
After matching the pattern, I use my hand to smooth it down until it meets the corner and hits the other wall. It’s awkward, but if you go slow, it’s manageable. I smooth out the other side of the wallpaper onto the other wall just enough to determine where it will end and then set up my laser level to make sure I can maintain my level line.
If your wall is not straight like mine is, this means that the wallpaper will not have a smooth transition onto the next wall and will create some puckering. My solution for this is to smooth it out so that the puckering is all in one place, then cut a slit the entire length of the pucker and allow the two pieces to overlap. This means that the pattern won’t match up in the pucker, but if you’ve got a really busy pattern like mine, it’s not even slightly noticeable.
If you don’t have a busy pattern, you can try cutting out the pucker altogether and patching it with a piece of scrap wallpaper to get the pattern to match exactly.
Be extra careful when peeling off the backing because the peel and stick wallpaper behaves like cling wrap and becomes difficult to unstick to itself. I learned the hard way.
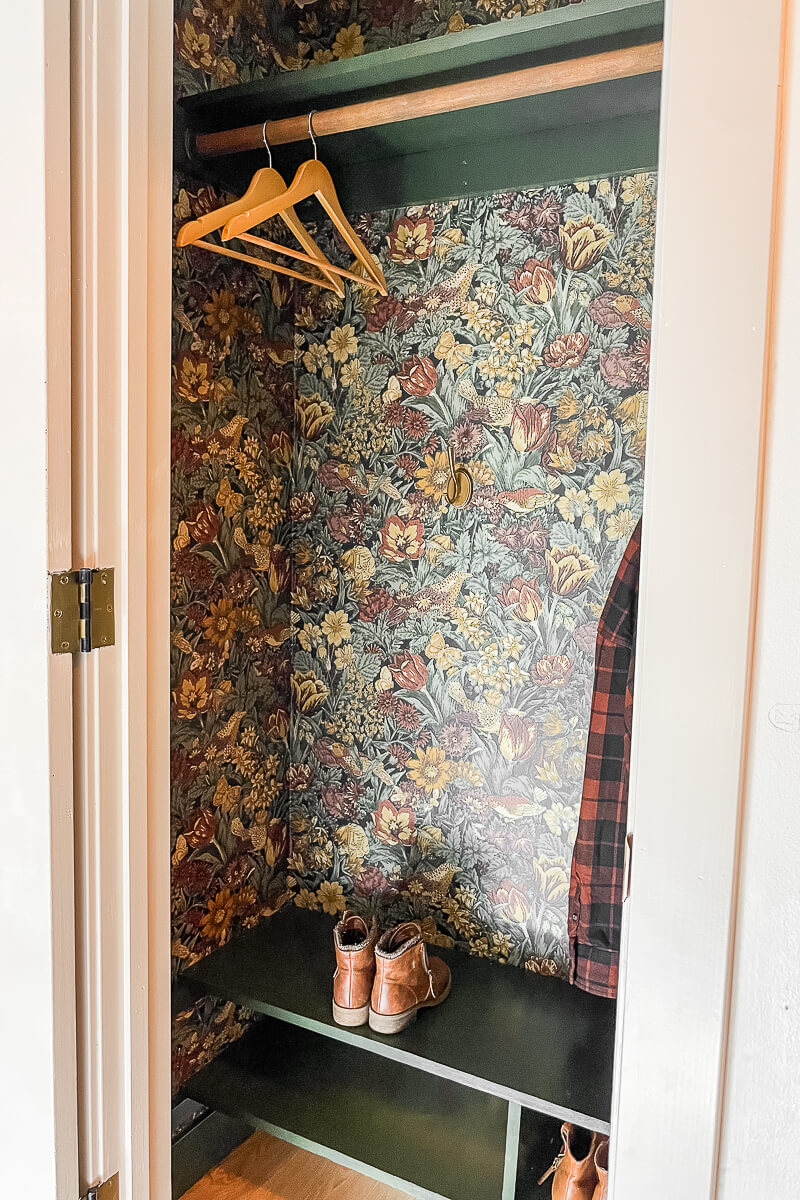
Peel, Stick, and Repeat!
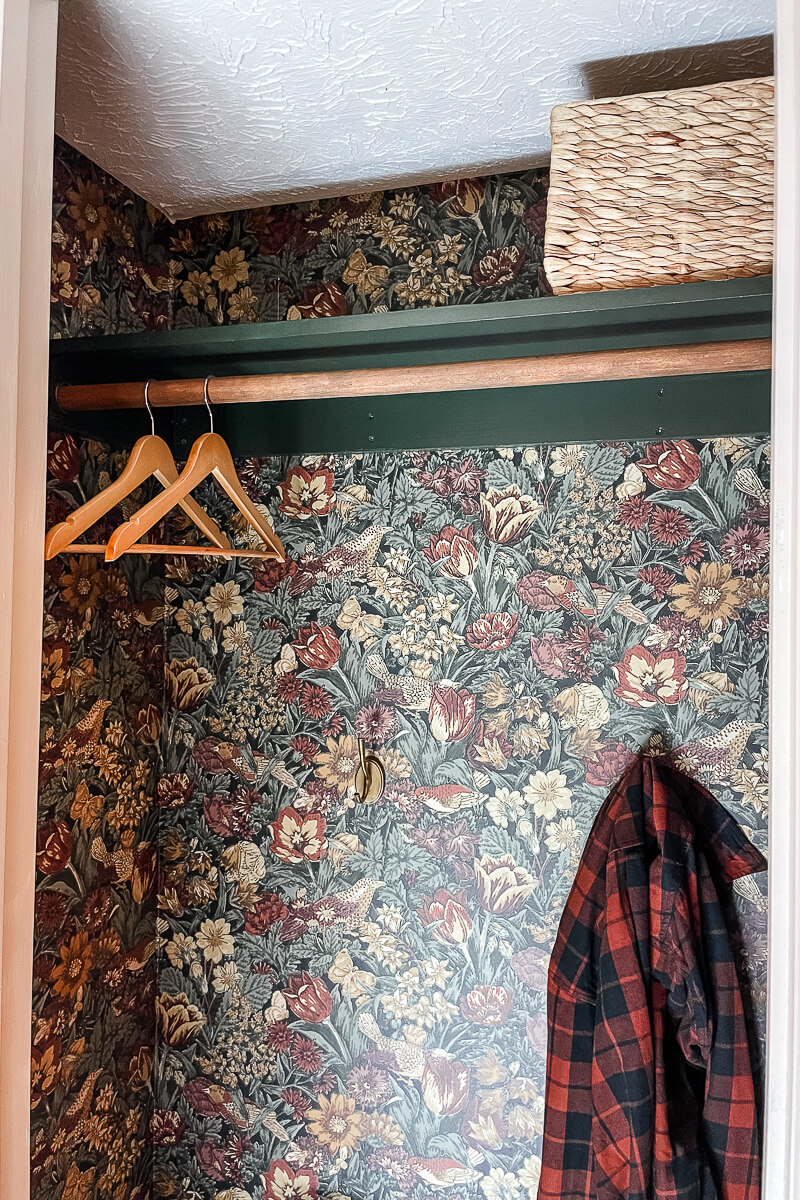
If you’ve come this far, you’ve successfully learned how to wallpaper a closet wall. I repeated the process all along the walls until everything was covered and I had a sleek, moody closet. Who knew a moody closet could look so good?
Thanks for checking out my guide on how to wallpaper a closet! If you want to see what I did next to finish this closet, check out my closet makeover post for all the details. You won’t believe the transformation!