How to Make an Arched Doorway Easily in Your Home


Updated May 9, 2026
Want to know how to make an arched doorway easily while adding timeless charm to your home? Follow along with my step-by-step guide and learn how to make an arched doorway! You’ll see how easy it is to add a classic architectural feature like this to your home.
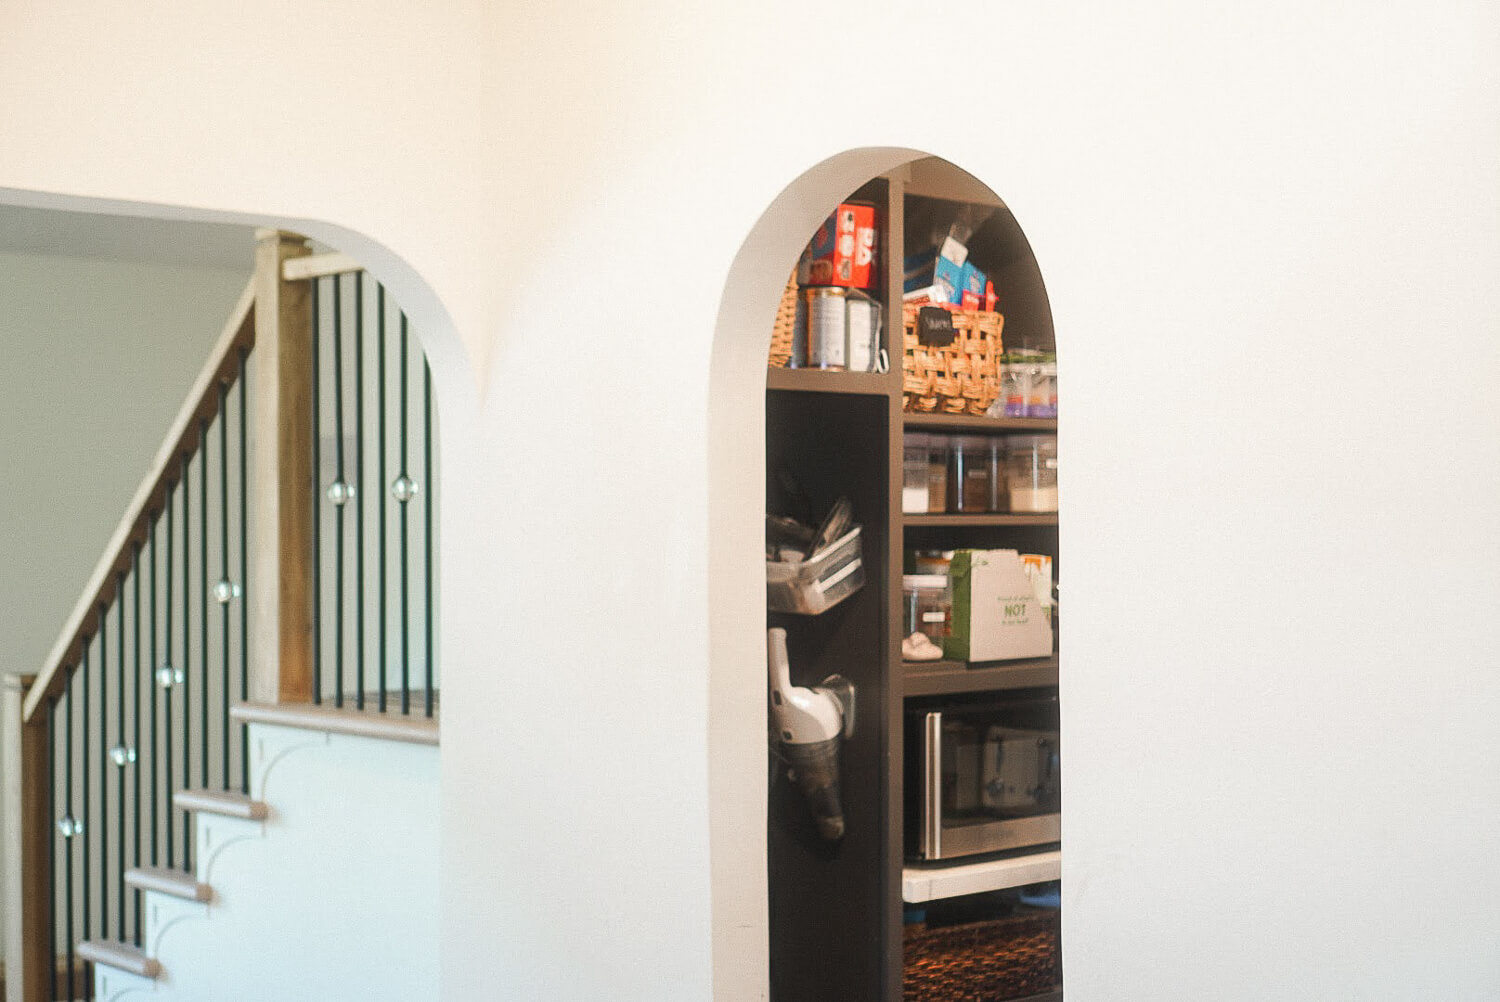
When completely redoing my kitchen I added a few different arched openings. Arched doorways look softer and have a classic charm that just wouldn’t be there with a basic, squared opening. For this post I’m going to walk you through how to make an arched doorway using my pantry doorway as an example.
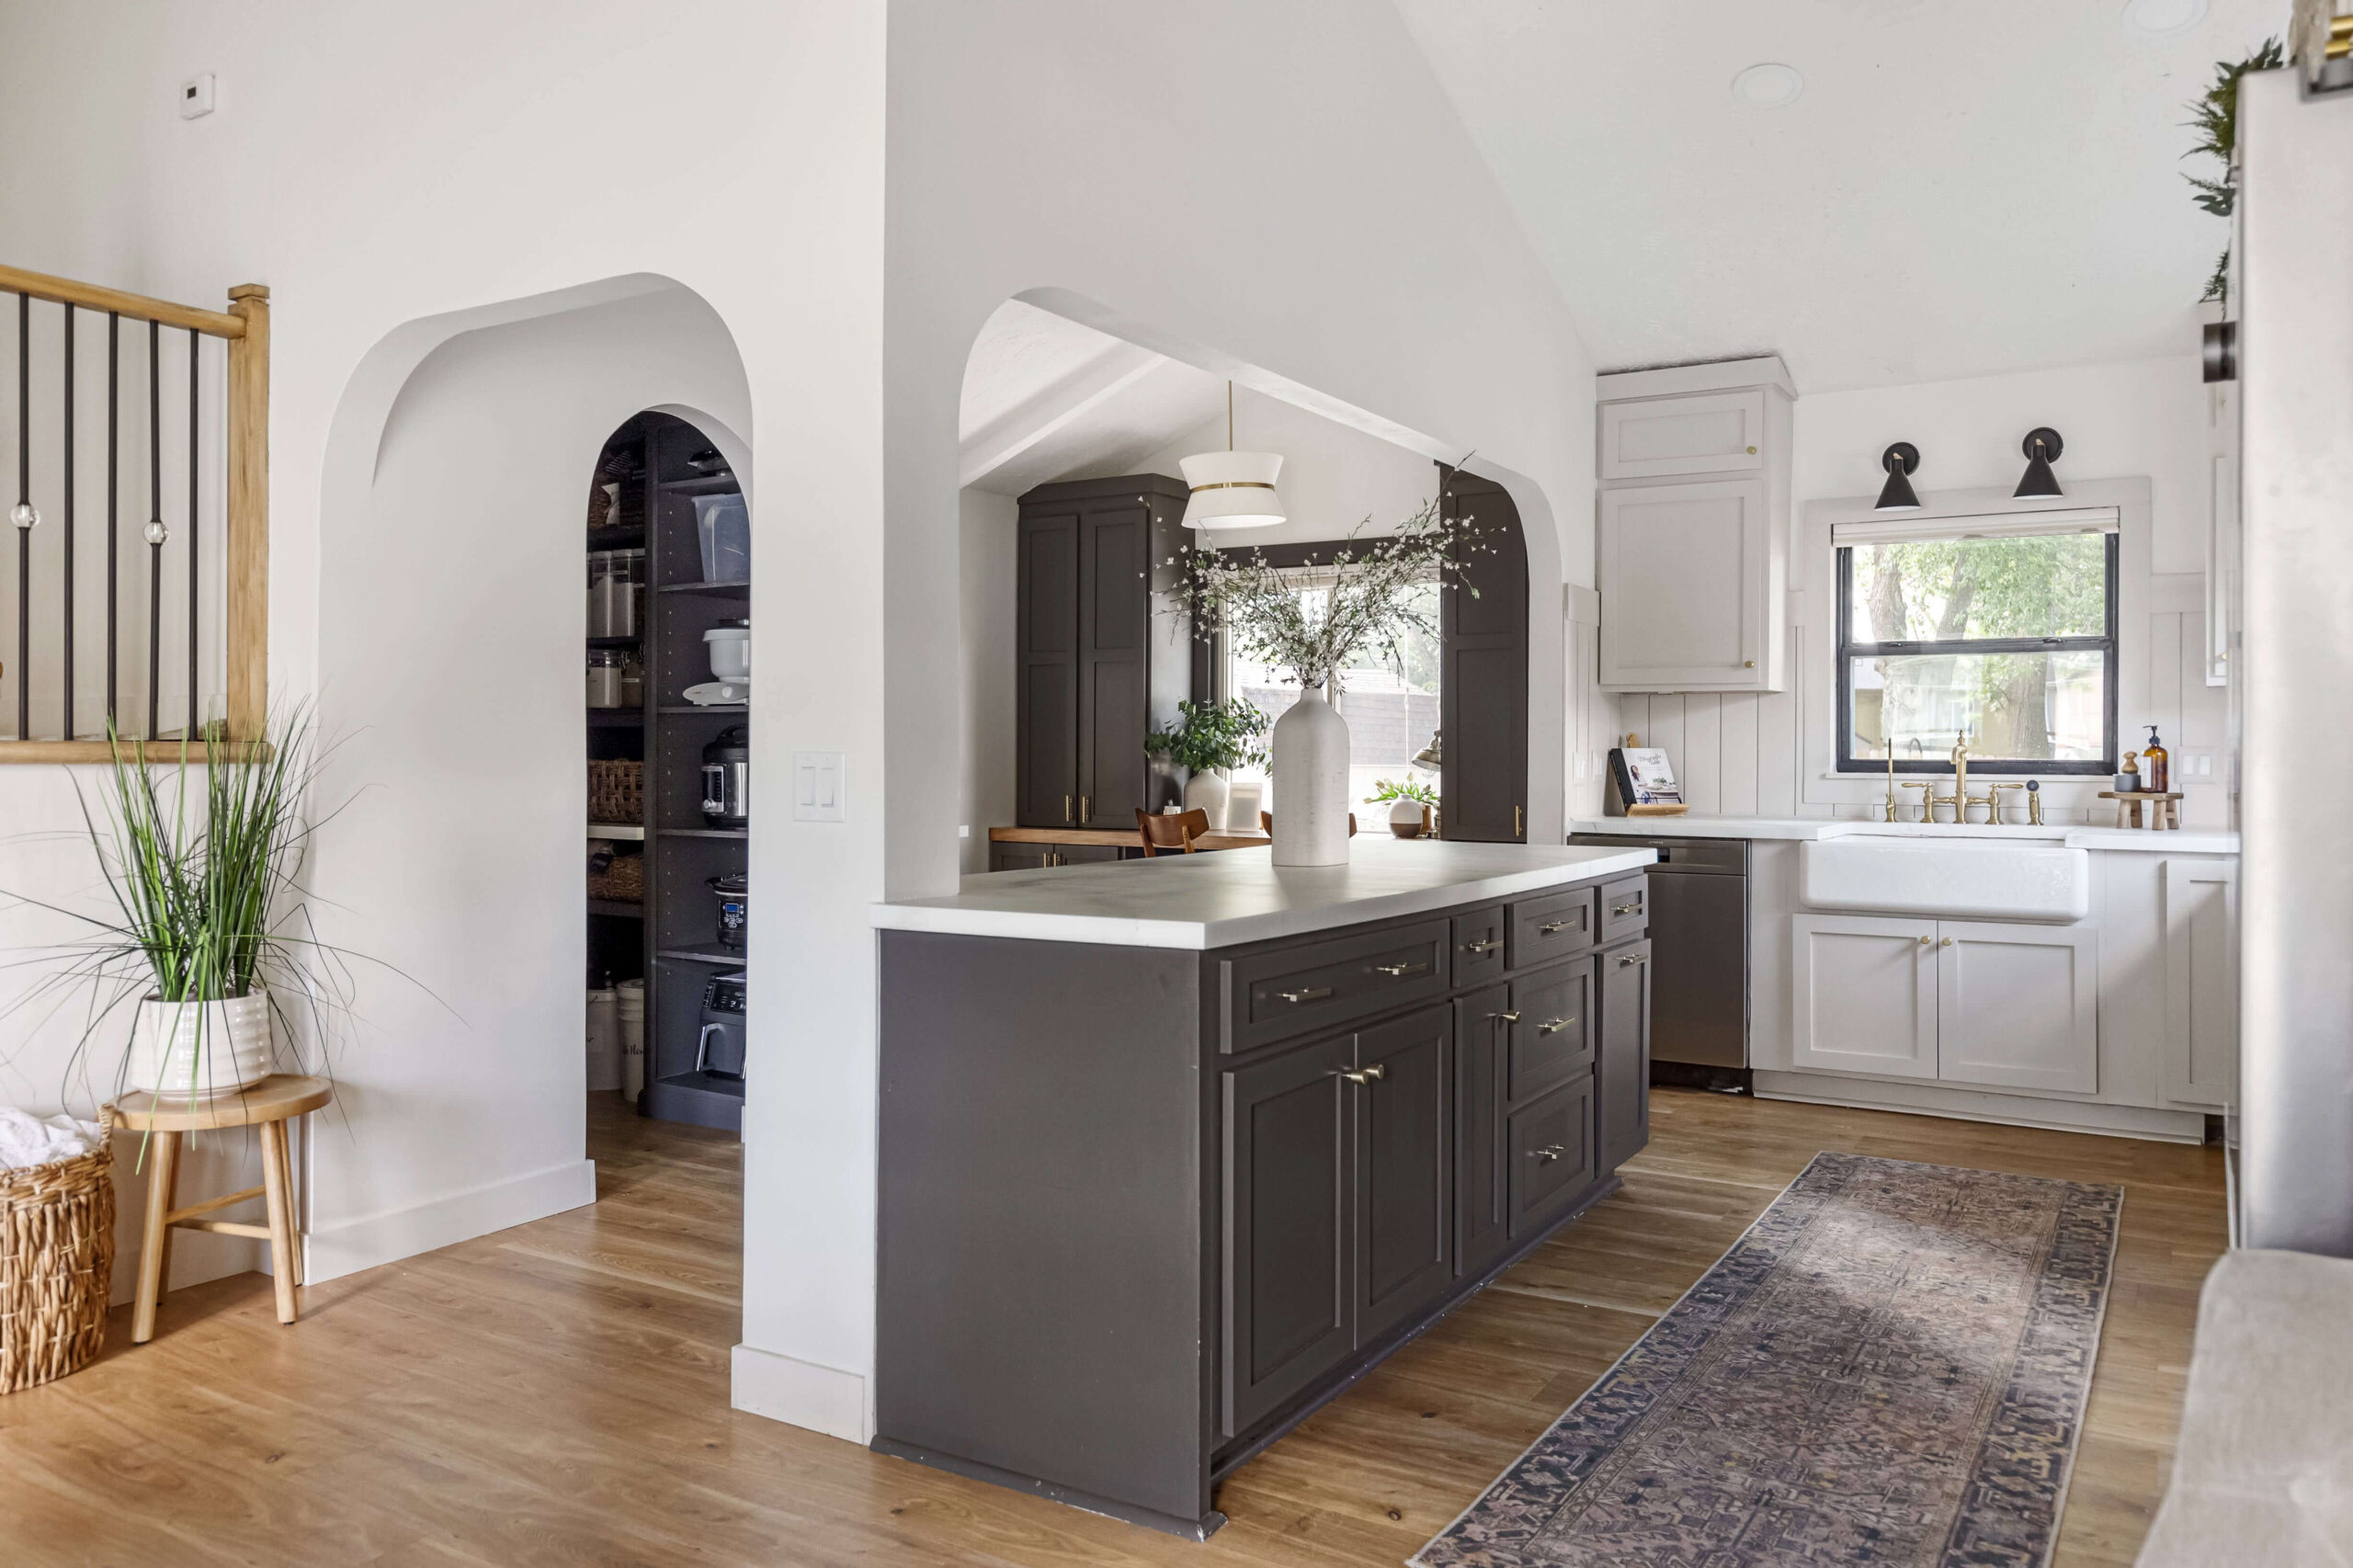
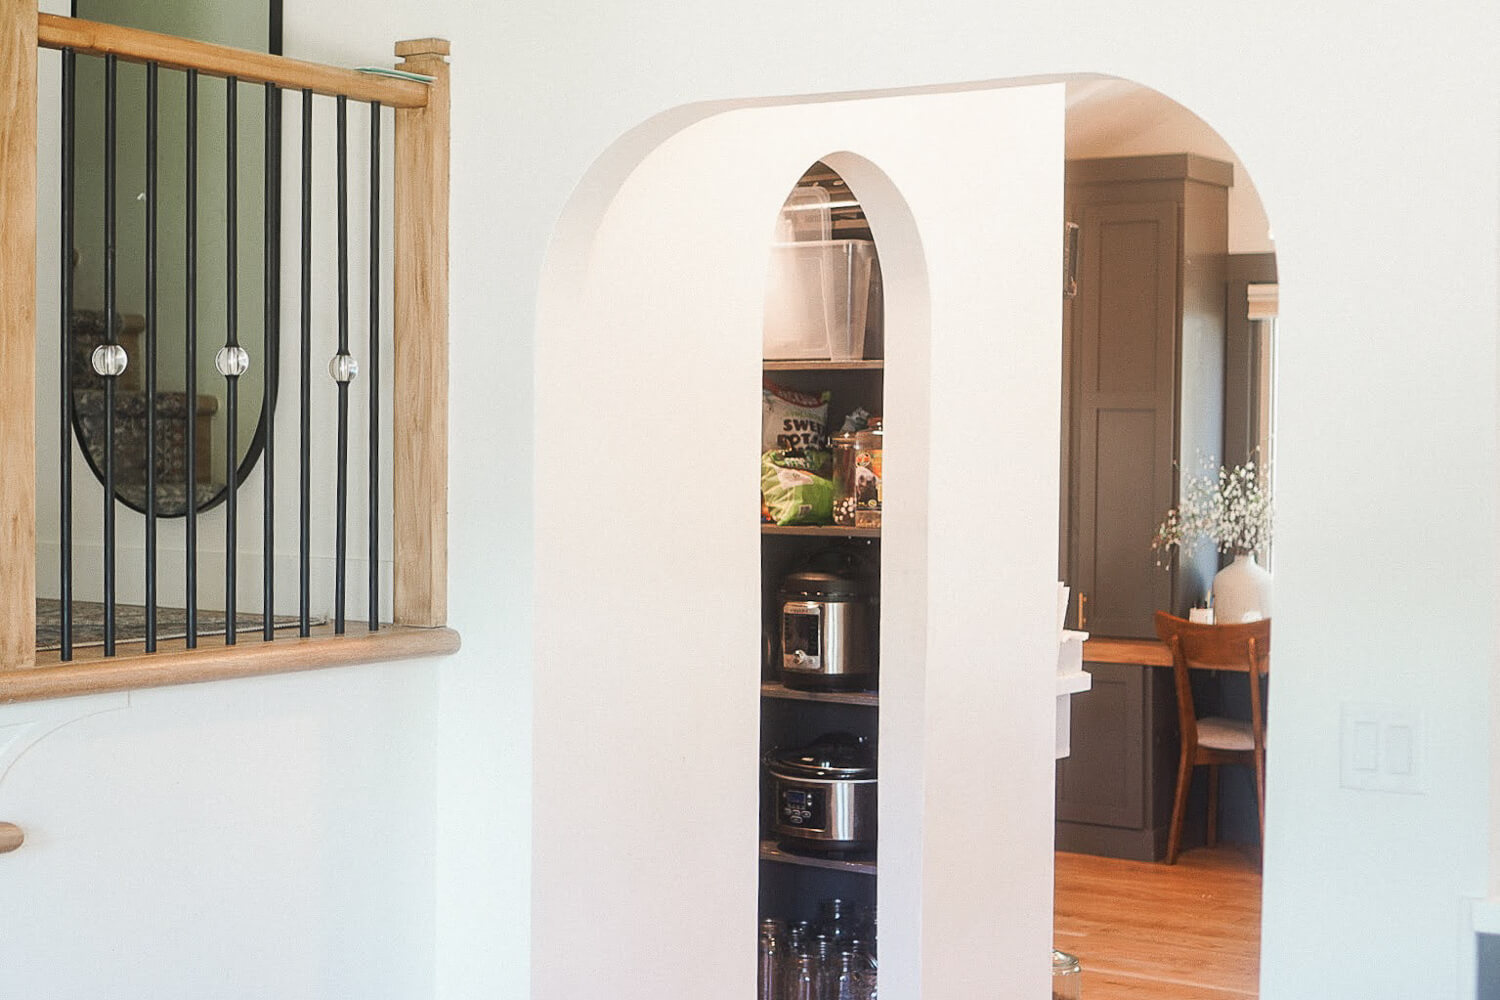
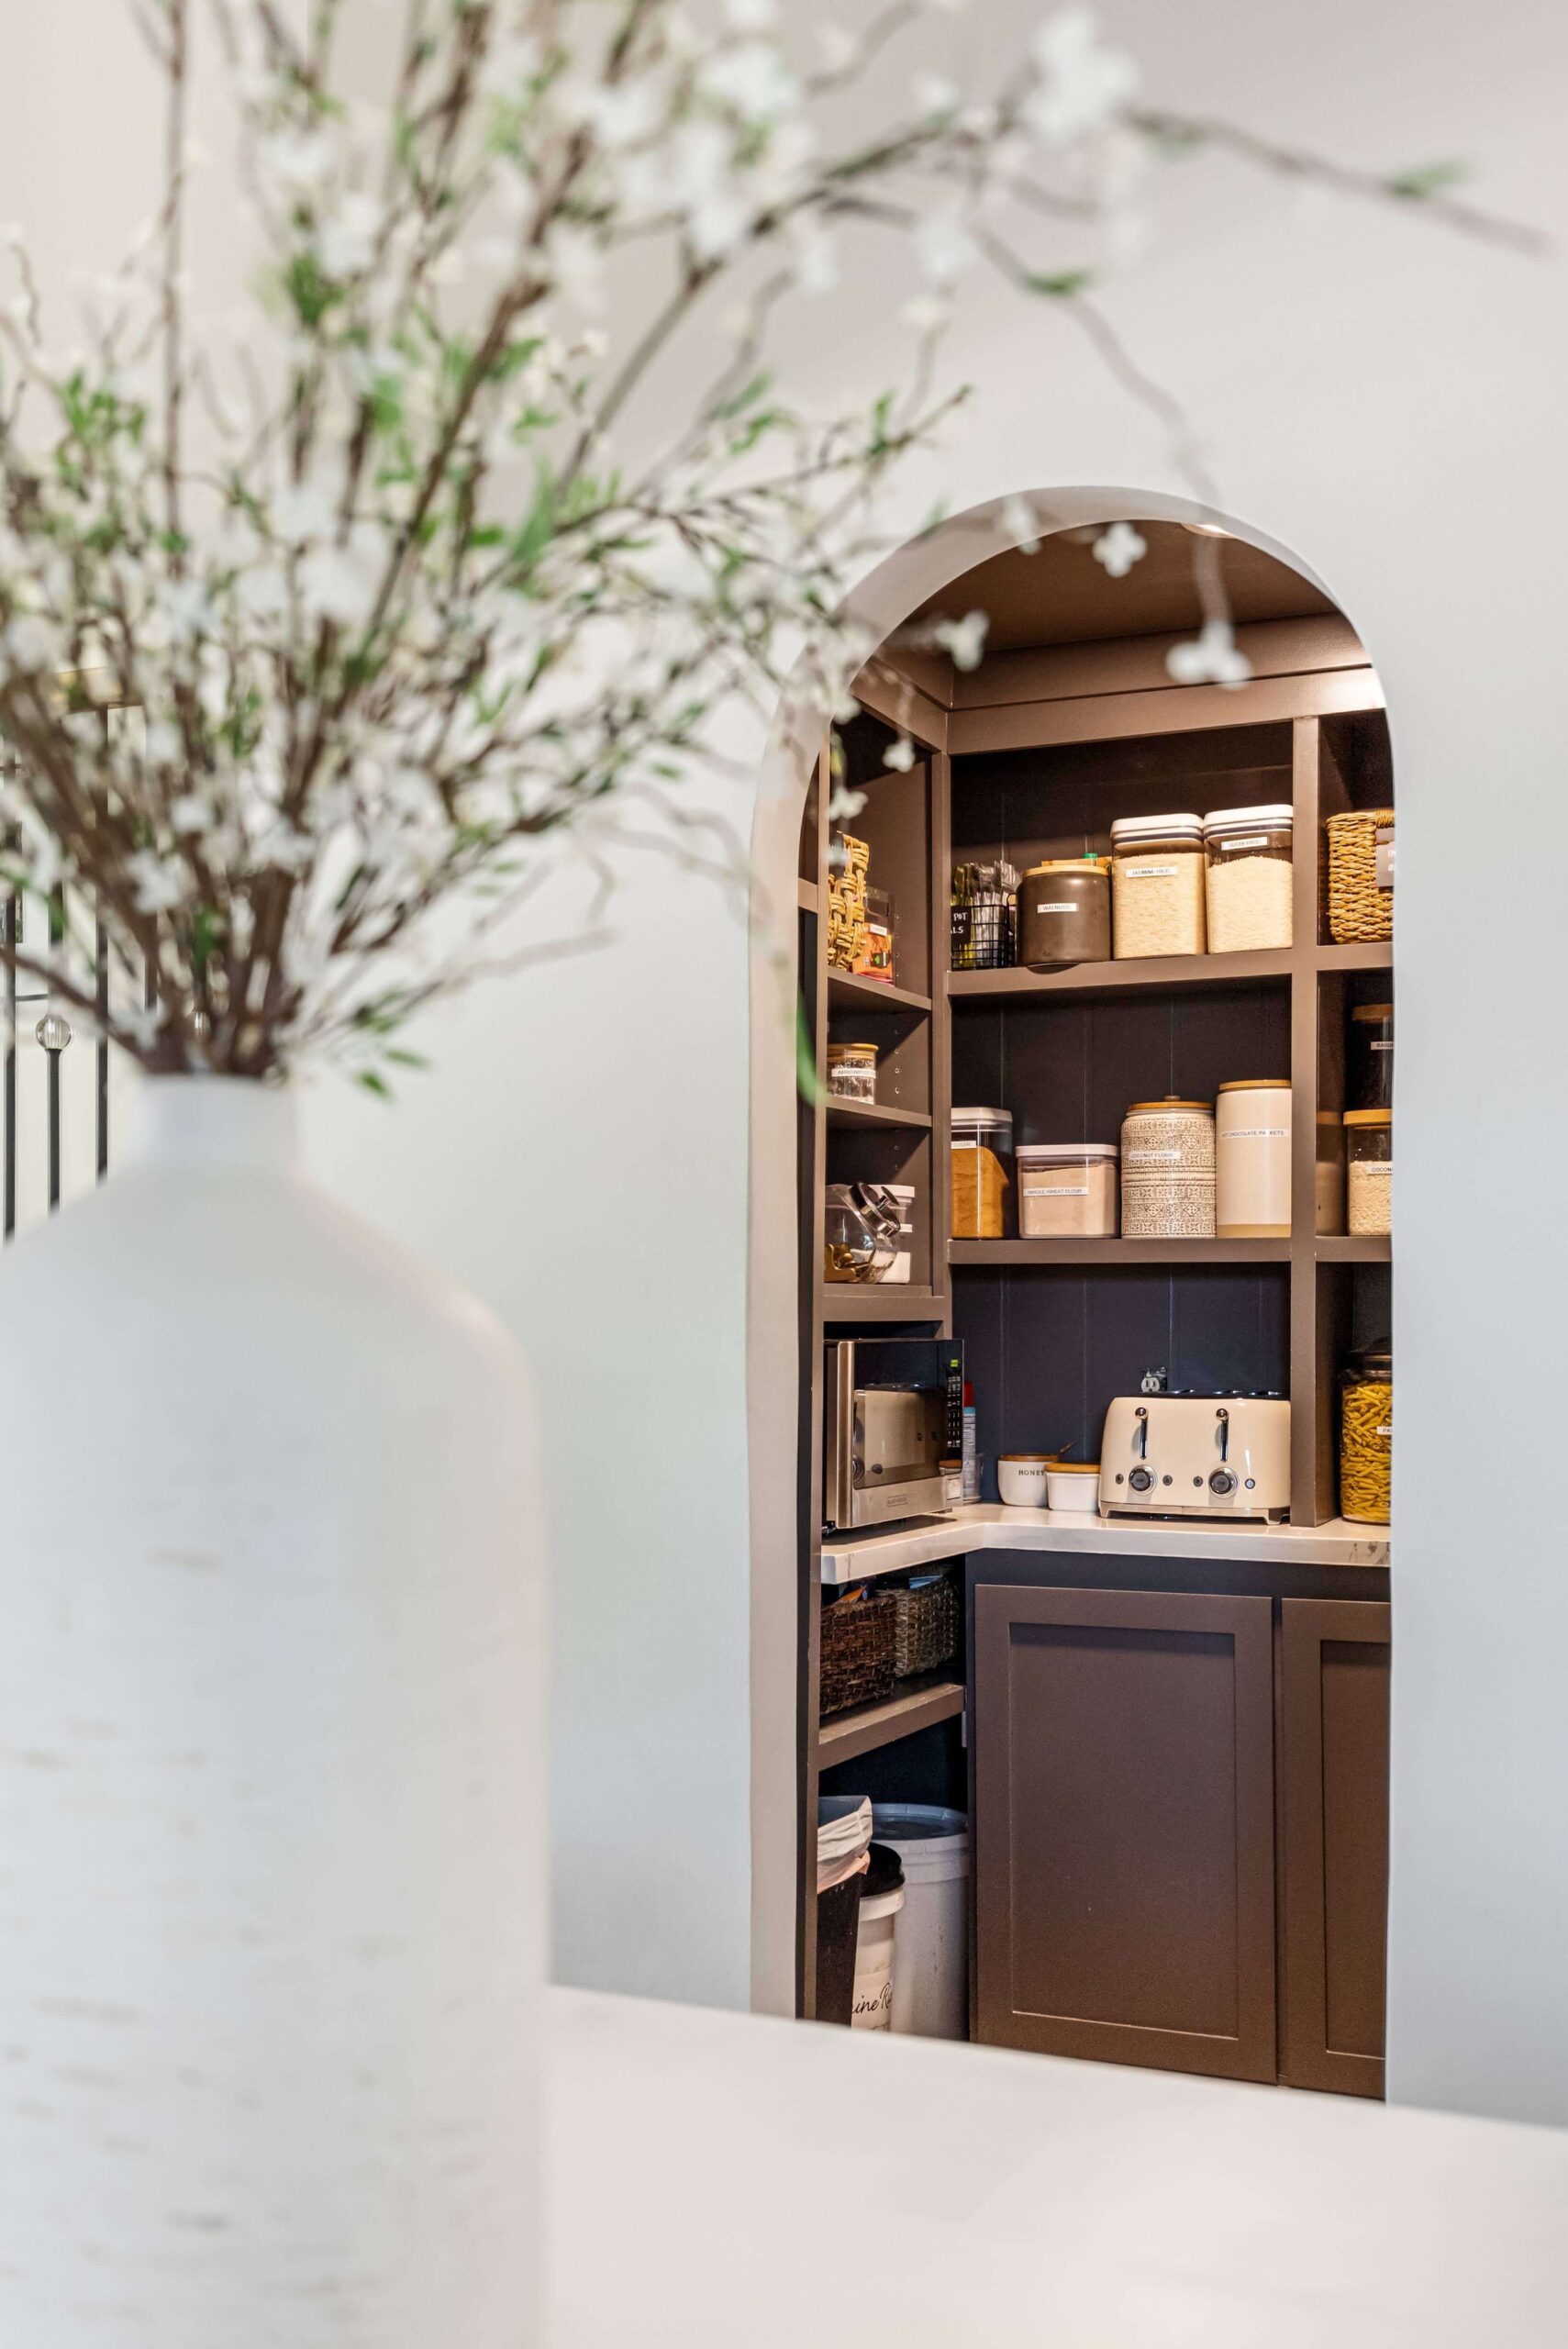
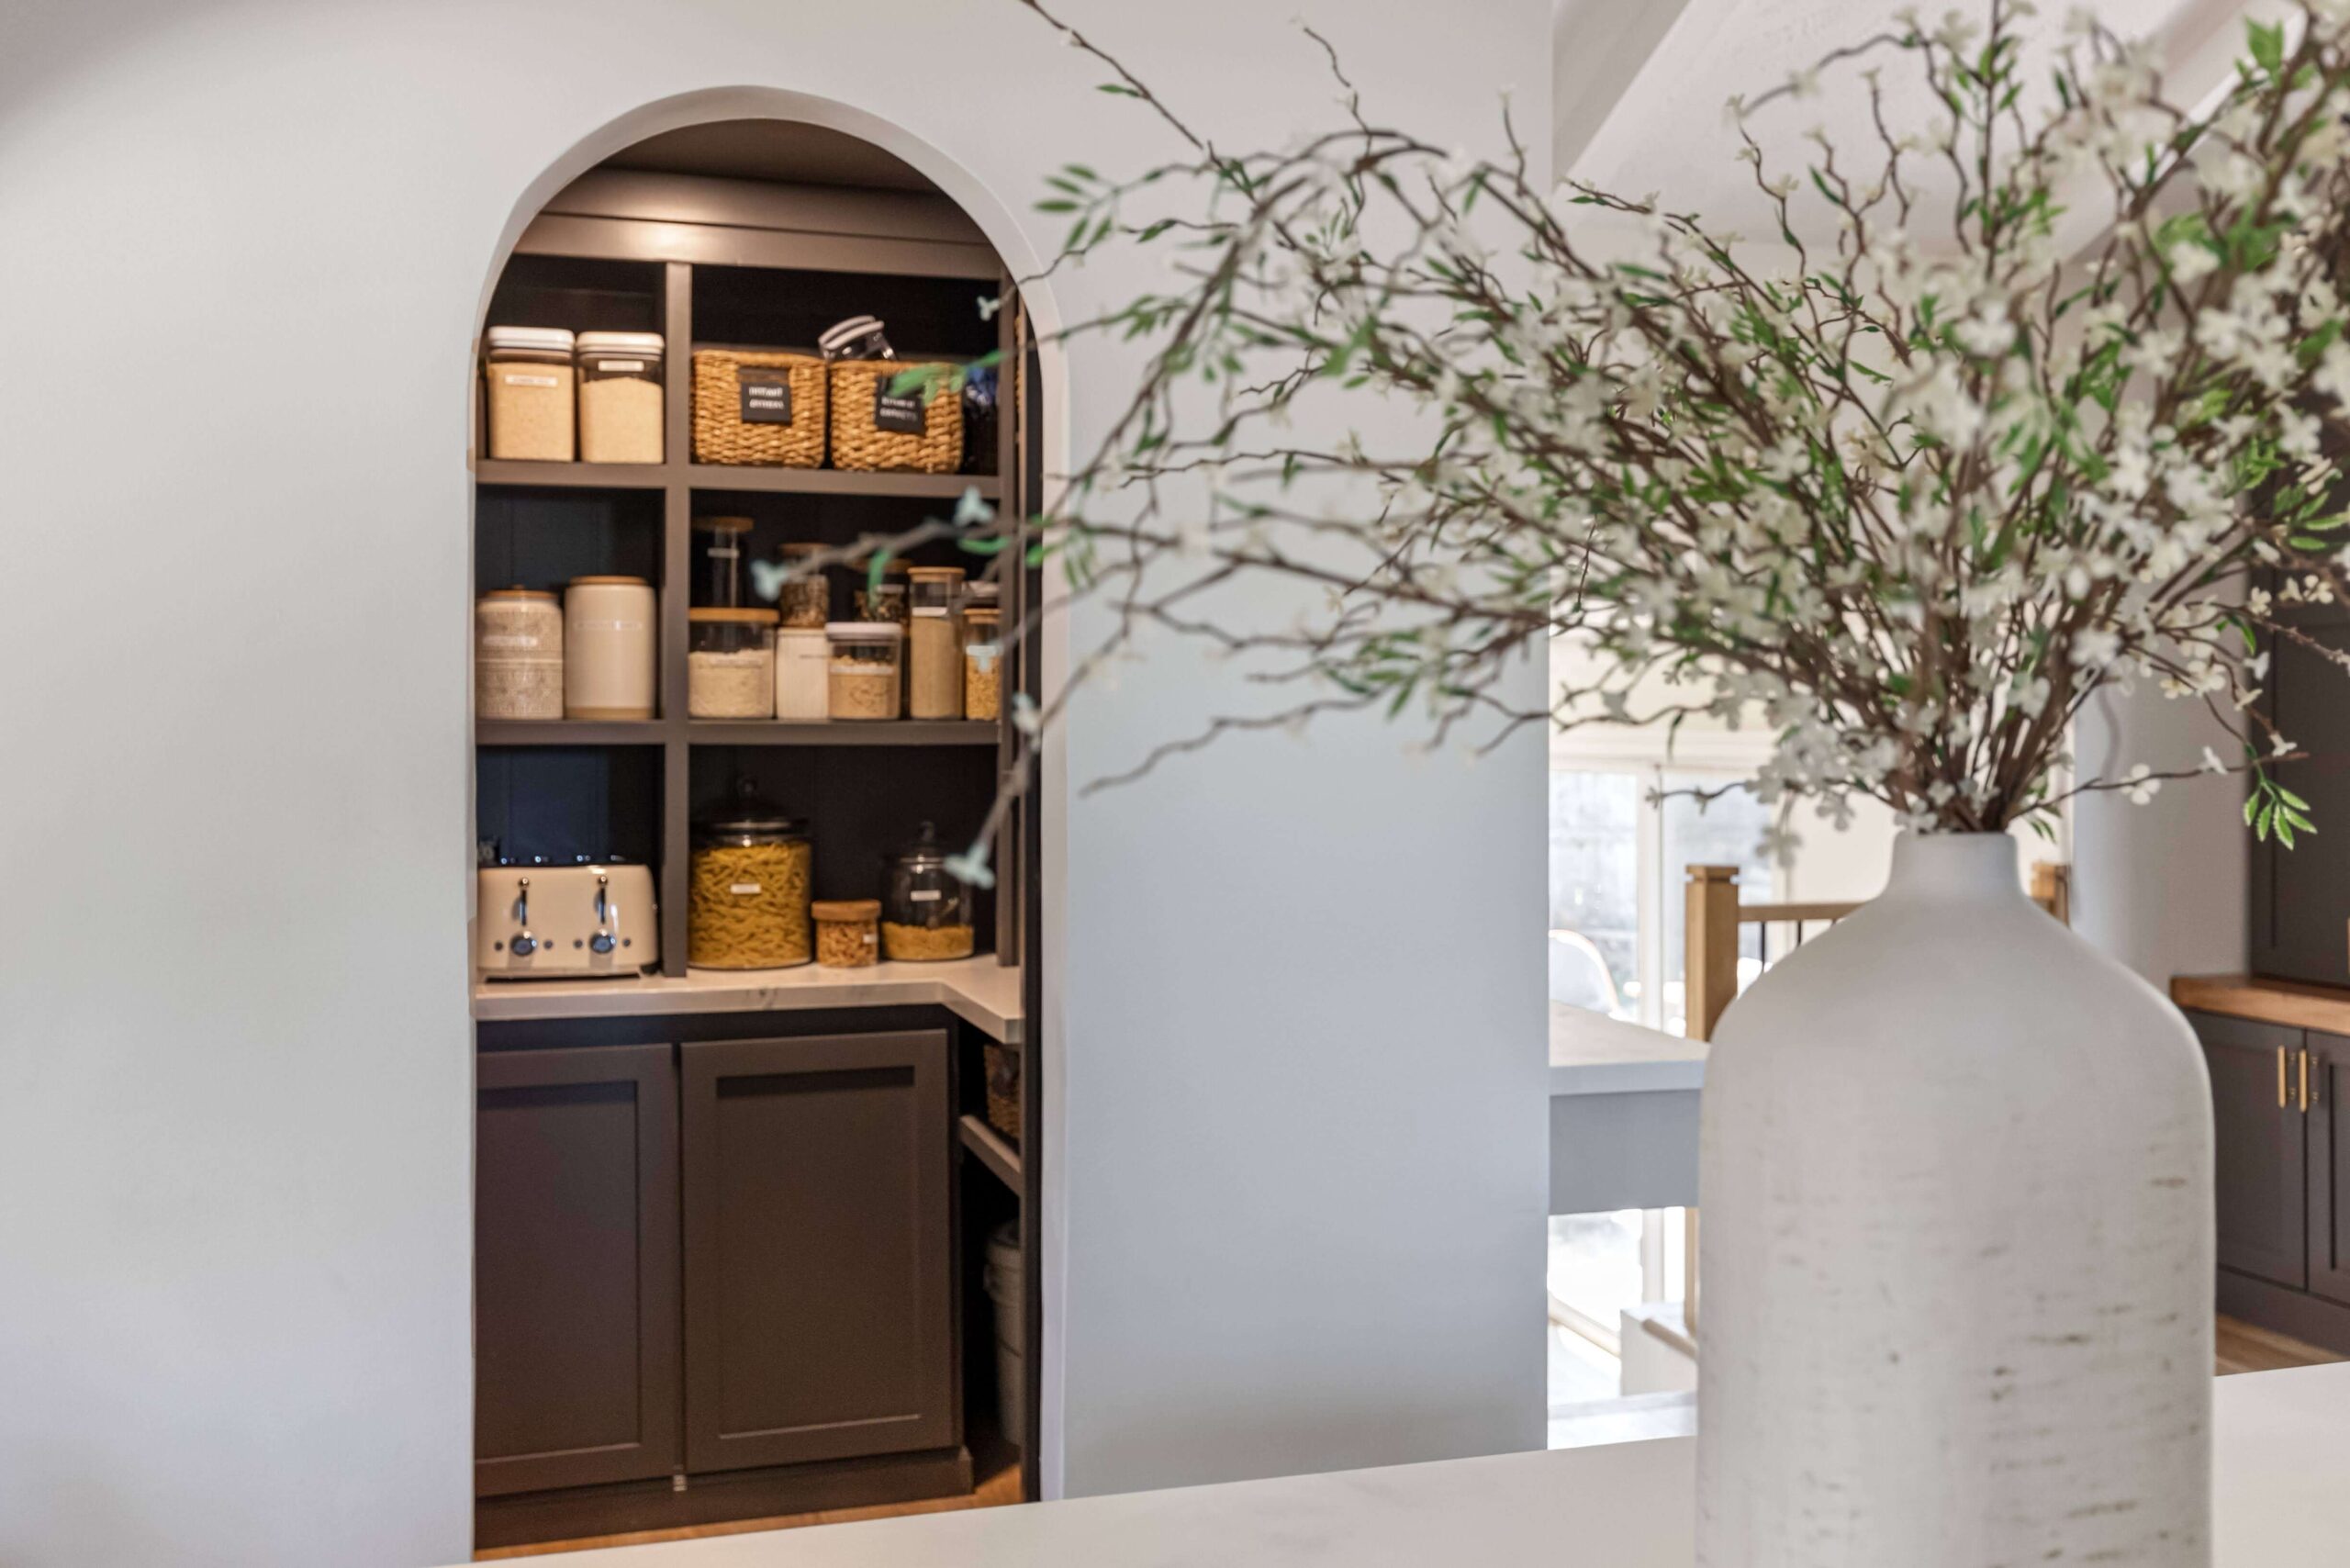
Isn’t it beautiful?! After finishing this arched doorway, I’d planned on building a custom door here. But it’s been two years since I finished my pantry and I’ve yet to get around to it. The arched opening just looks finished by itself without even having a door. I’m excited toshow you how to make an arched doorway of your own.
Tools
- Tape measure
- Miter saw, table saw, or circular saw
- Drill or impact driver
- Jigsaw
- Utility knife
- Drywall cut out rotary tool
- Taping knife
Materials
- Particle board or plywood
- 2×4’s
- Wood screws
- Drywall screws
- Drywall
- Corner bead
- Mesh tape
- Drywall joint compound
- Drywall sander
How to Make an Arched Doorway
Since we completely gutted and relocated the kitchen when moving into our home, I built the pantry from scratch. This guide on how to make an arched doorway should help give you some direction, even if you’re trying to add an arch to an existing square doorway.
Step One: Measuring and Making Arches
The first step in making an arched doorway is knowing how big of an arch you’re going to be making. Using your tape measure, measure the width of your door opening. The opening of my pantry is 28 inches, so I’m going to cut a board that is 28 inches wide.

For this part of the project I recommend using particle board. No one will ever see it and it’s much cheaper than plywood, but you could also use plywood for this part if that’s your preference.

After marking out the 28 inches on my piece of particle board, I used my miter saw to make the cut. Since the blade didn’t come out far enough to cut this board all at once, I cut one edge, then flipped the board over to finish the rest of the cut. I also could’ve taken the board outside to cut it on my table saw. Even a circular saw would’ve done the job.


Now for some math.
My opening is 28 inches wide, so I want my arch to be 28 inches wide. Half of 28 is 14, so I am going to measure from the top down 14 inches and make a mark. Then I’ll measure in from the side 14 inches and make a mark.


Where those two marks intersect, making an “X”, is where the center of my circle is for drawing my arch.
Next I attached a scrap piece of wood to my board using a screw. That screw needs to go through the center mark that I made. Don’t tighten it all the way down as we want to be able to rotate and pivot the scrap piece of wood.

After that, I measured up 14 inches from the screw I added (should be right about at the edge of the board), and drilled a hole through the scrap piece of wood. The hole must be big enough for a pen to fit through.
The last part is easy. Just put a pen through the hole and move the scrap piece of wood along your board, drawing a semi-circle in the process.


Now that I have my arch drawn on the board, it’s time to cut it out.

The jig saw is a must-have tool for cutting along a curved line like this.

The half circle part that I cut out went to the scrap pile. All I need are these curved, corner pieces that will go into the corners of my arched doorway. For each door opening you do, you’ll need four of these pieces, two for each side. I used these first two pieces I cut as a template to trace and cut out the rest of the arched corners I needed for my kitchen.


Step Two: Framing the Arched Doorway
The corner pieces that I cut will sit right inline with my 2×4 stud. I’ll be adding drywall on top of the particle board, so I have to leave room for that. I need to cut out a few blocks of wood that will sit in between my two arched corner pieces, so I’ll measure how much space there is between these two boards.

Once I had the measurement for how big those blocks needed to be, I moved over to the miter saw to quickly cut part of a 2×4 down into blocks the size I needed.

Then using screws and my impact driver I assembled my corner pieces with three blocks sandwiched in between the two curved pieces. Then, I repeated that for the second side.


Step Three: Drywall the Arched Doorway
After attaching the arches to each corner of my doorway, it was time to add the drywall. Adding drywall over the particle board on the front and back is really straightforward. Drywalling the inside of the arched opening on the other hand, is just a little bit trickier. When first learning how to make an arched doorway, this was the part that worried me the most, but it’s much simpler than it looks.

First, I cut out a strip of drywall just a bit wider than I needed. It’s easy to cut off the excess drywall later, and I don’t want it to be too narrow. Then, using a utility knife, I will score the back of the drywall every inch or so. When scoring the drywall you want to go through that first layer. Be careful not to go all the way through.

To attach this piece of drywall to my arch, it has to be screwed into wood. I can attach it to the particle board, or the blocks, but either way this part can be a little tricky since there is not a lot of wood to attach to.

I started at the top, where it’s easy to screw into the 2×4 at the top of the doorframe.

Then, I worked my way around. See how the scored drywall just “bends” easily to the shape of the arched doorway?


After the strip of drywall was attached, I trimmed off the excess drywall on both the inside and outside of my arched doorway using this cutting tool.


Once the drywall was on, it was time to add corner bead.
Corner bead comes in all kinds of styles and materials, from metal, to vinyl, to bullnose. For making an arched doorway, you need to purchase vinyl arch corner bead.
It’s very simple to install. I started at the bottom and worked my way around the arch, attaching the corner bead to the drywall with drywall screws. I added corner bead to both the inside and outside of the arched doorway.


I know it looks like a big ol’ mess right now, but don’t worry. The final step on how to make an arched doorway will bring it all together.

Step Four: Finish the Arched Doorway
There’s an art to drywall finishing, and you’ll get better and better at it the more drywall work you do. If learning how to make an arched doorway is your first try at drywall, then give yourself some grace and be patient.
First, I added mesh drywall tape over all of my seams. It’s ok if it laps over your corner bead just a bit at the end of a seam, but you don’t need to purposefully add any tape where the corner bead meets the drywall. The tape is just for laying over the seams where drywall is butting up against drywall.
Using joint compound and a taping knife I’m going to cover all of the seams, the corner bead, and anywhere that I placed a screw.


You don’t want to add too little of the joint compound, because then your seams and corner bead will show through. I also try my best not to not add too much, because that just means more work sanding later. Use your taping knife to really smooth it out, and add more coats of the joint compound if necessary.

I waited for the joint compound to dry, then returned and sanded it smooth. Look how good the arched doorway looks already!

After it was primed and painted to match my kitchen, this arched doorway was downright stunning. I am so happy with how this project turned out.
I hope this post has been helpful and that you feel confident that you too know how to make an arched doorway.
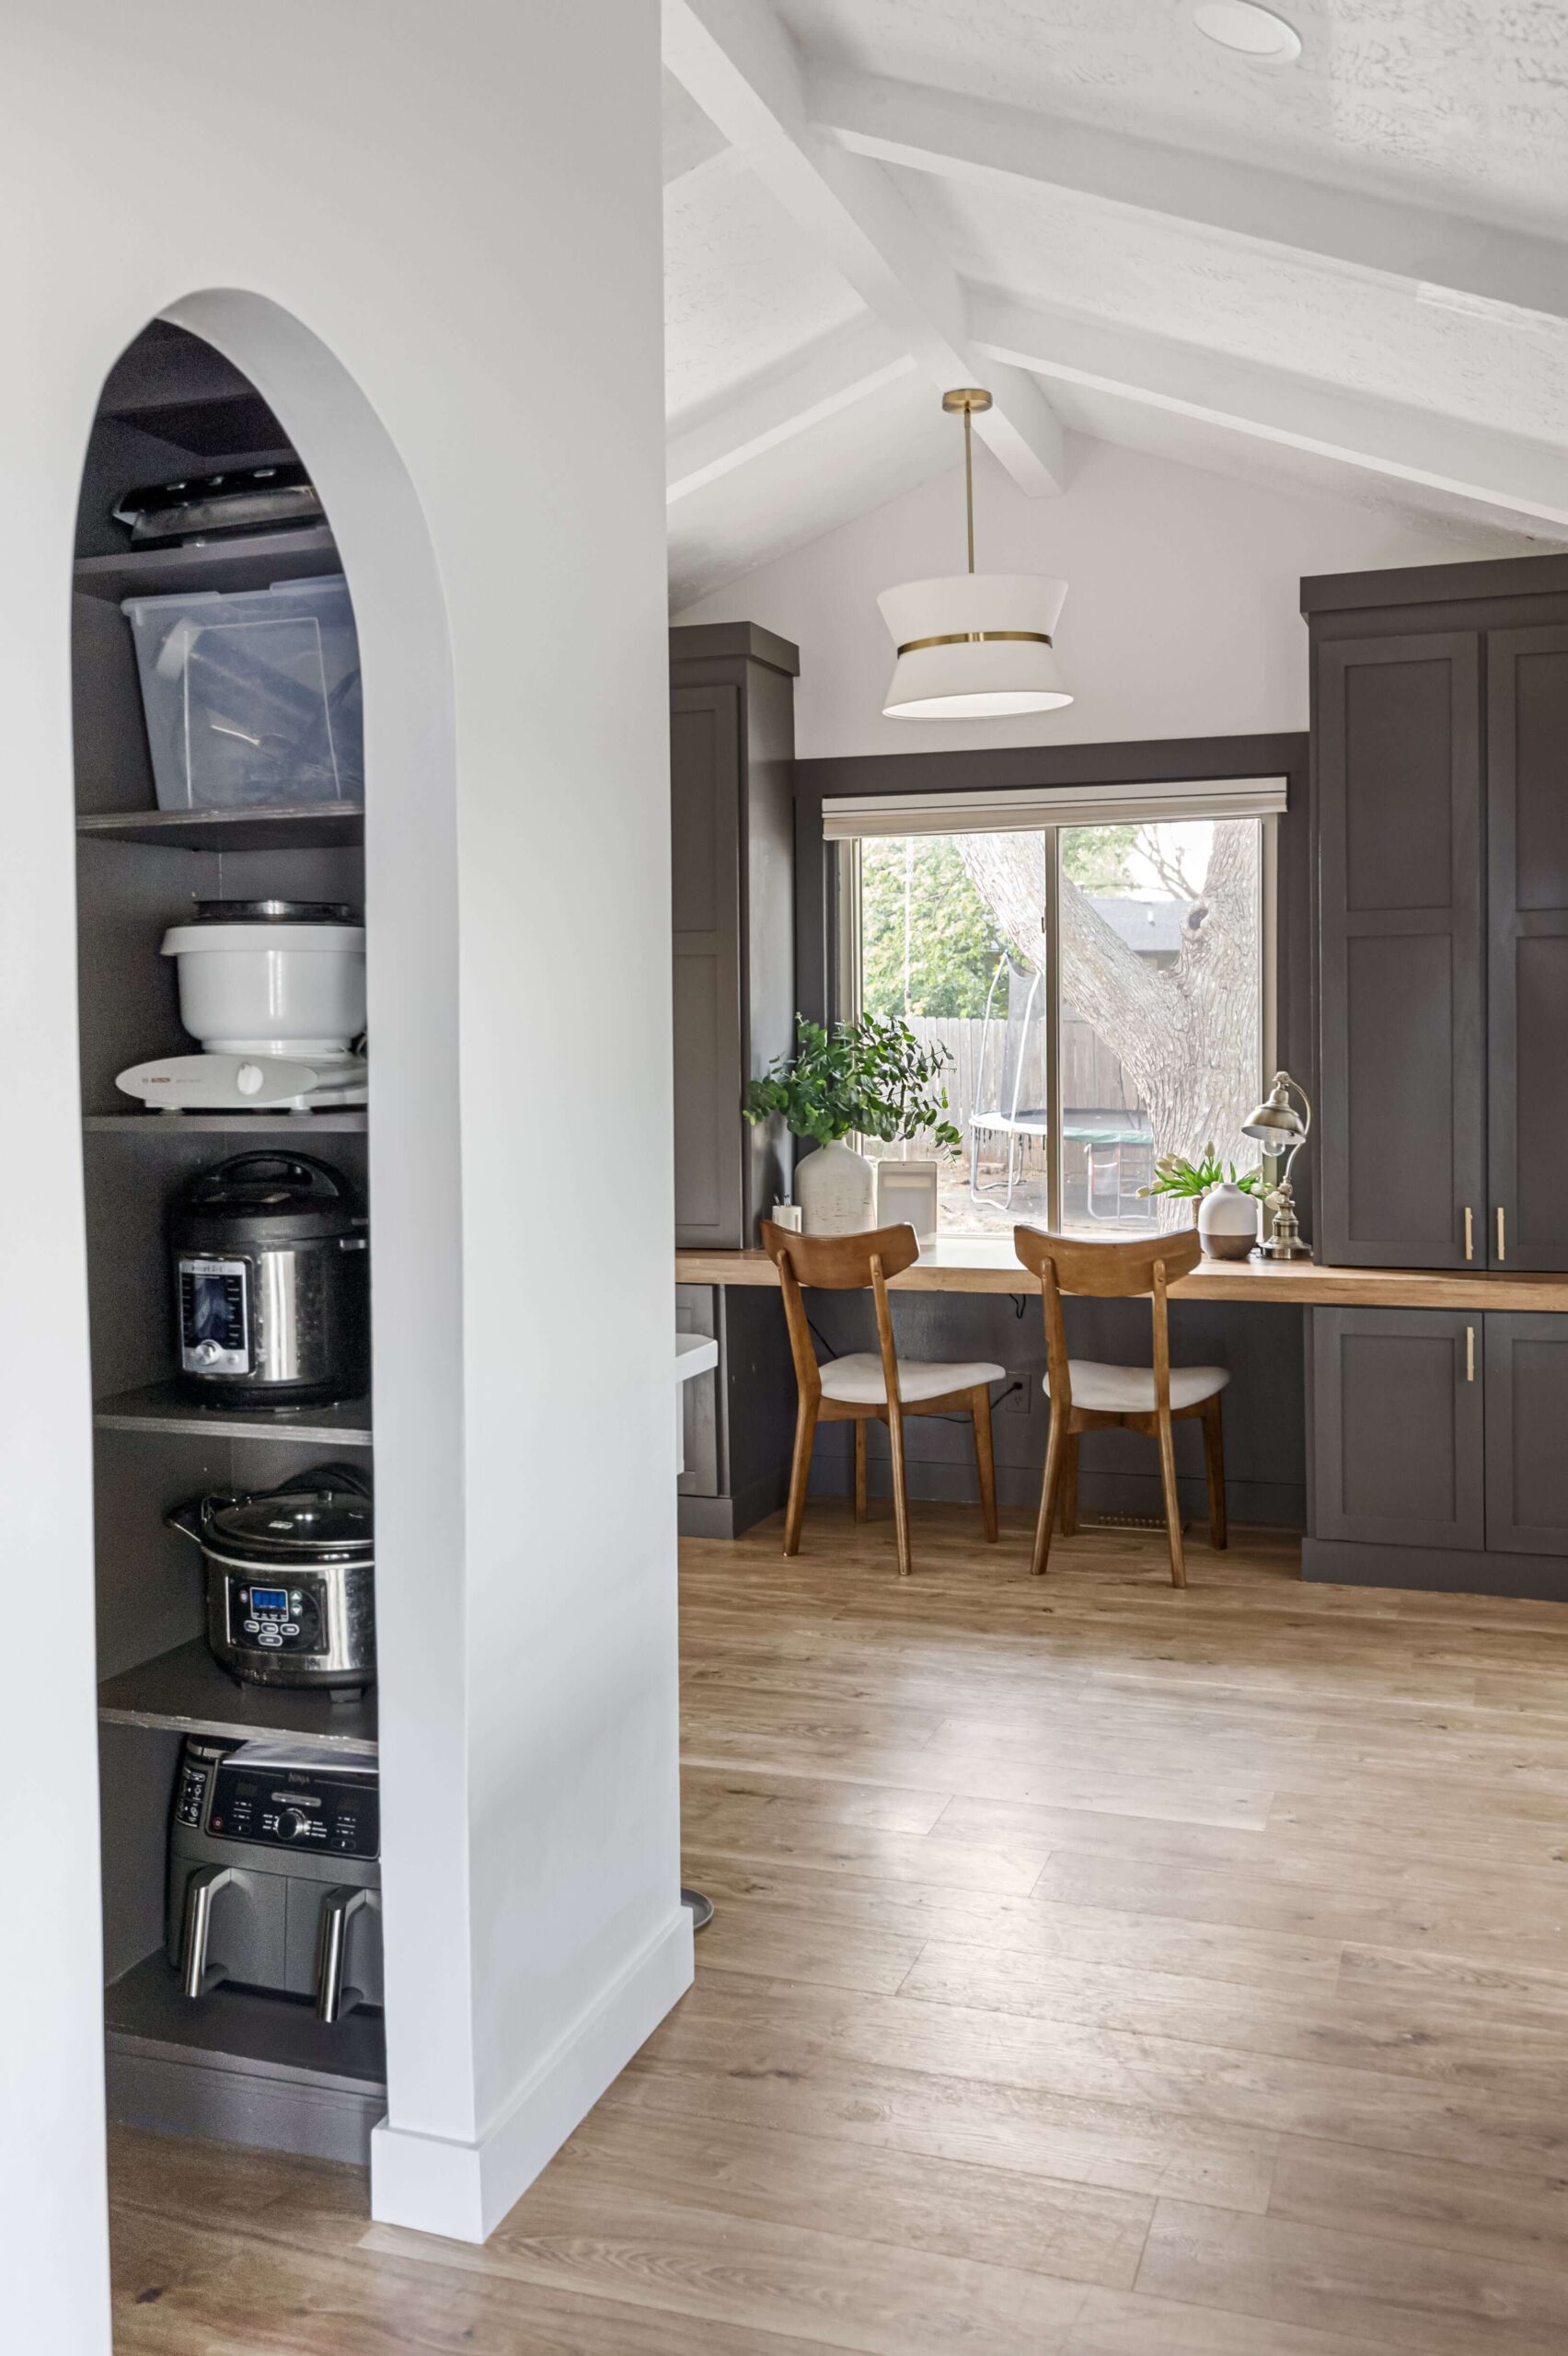
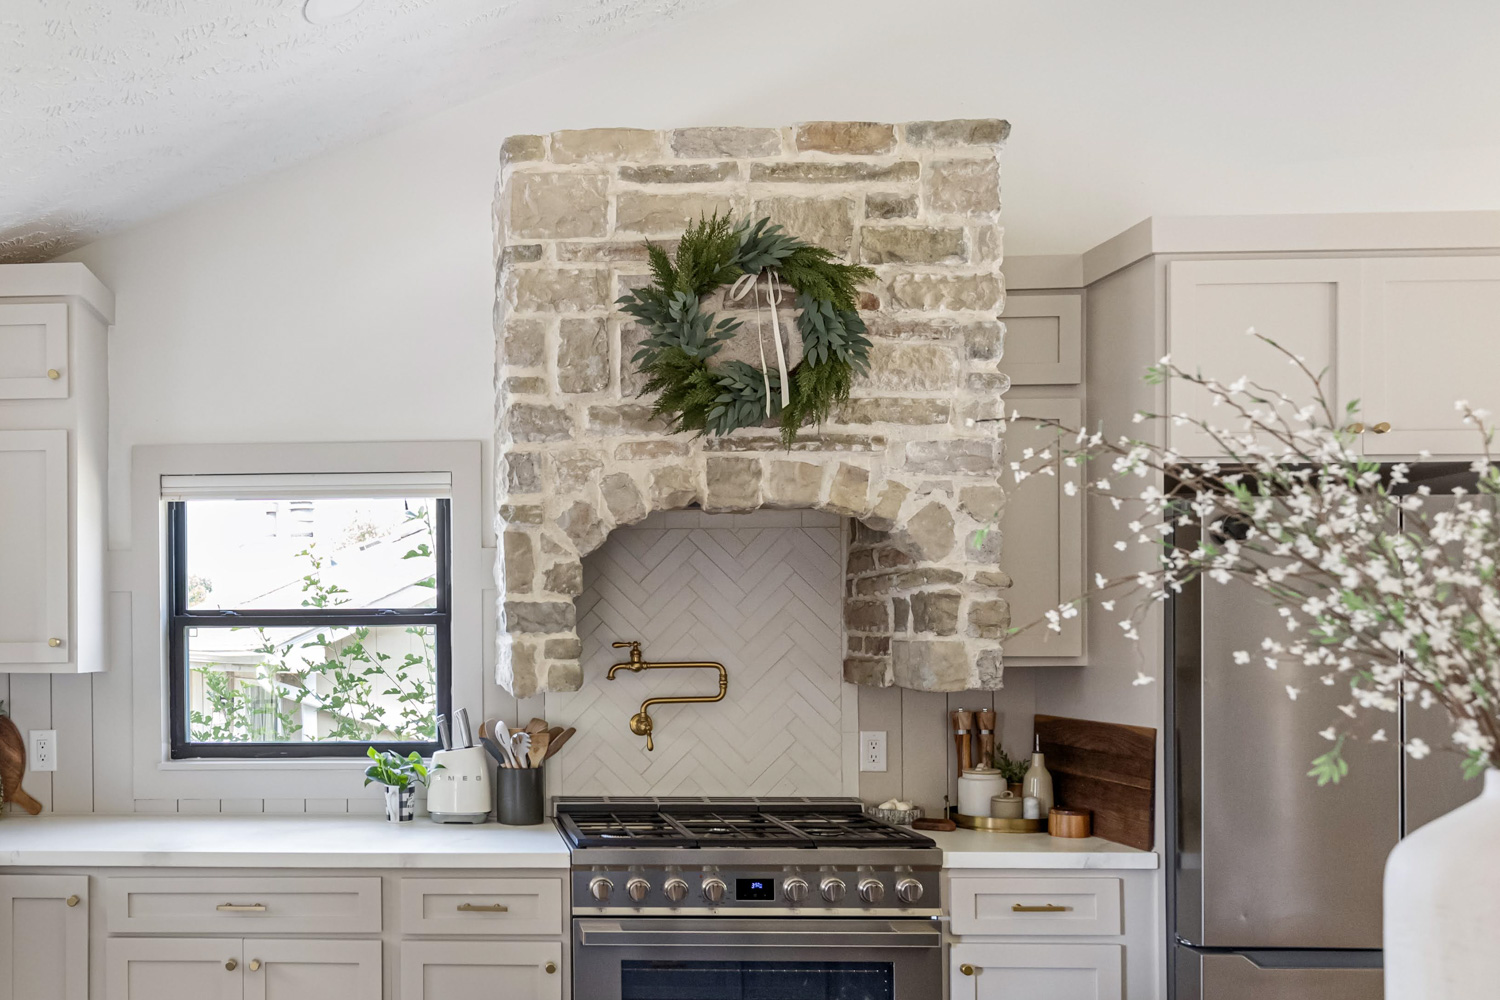
I applied these same principles of how to make an arched doorway to the other arched openings in my kitchen as well as to the arched front of my stone range hood. I even did an arched opening on my master bathroom shower. Once you learn how to make an arched doorway, these steps are transferrable to so many other projects.


Gorgeous! It looks amazing and you did a great job with instructions (usually I have a hard time following written instructions without a video, but yours are very clear)!