The Ultimate Beginner’s Guide to Installing Wallpaper


Updated May 9, 2026
If you’ve been eyeing those beautiful wallpapered rooms on Pinterest and wondering if you could pull it off yourself – yes, yes you can. I’ve installed wallpaper in so many rooms, using all three main types: pre-pasted wallpaper, peel-and-stick, and traditional/pasted wallpaper. Each one has its own quirks, but they’re all totally DIY-friendly once you get the hang of it.
This post is your crash course. I’m giving you the basics on each type of wallpaper, sharing the must-have tools, and linking to the full tutorials where I walk through each process step-by-step (with plenty of real-life photos). So whether you’re a wallpaper newbie or just want to see which type fits your next project best – you’re in the right spot.
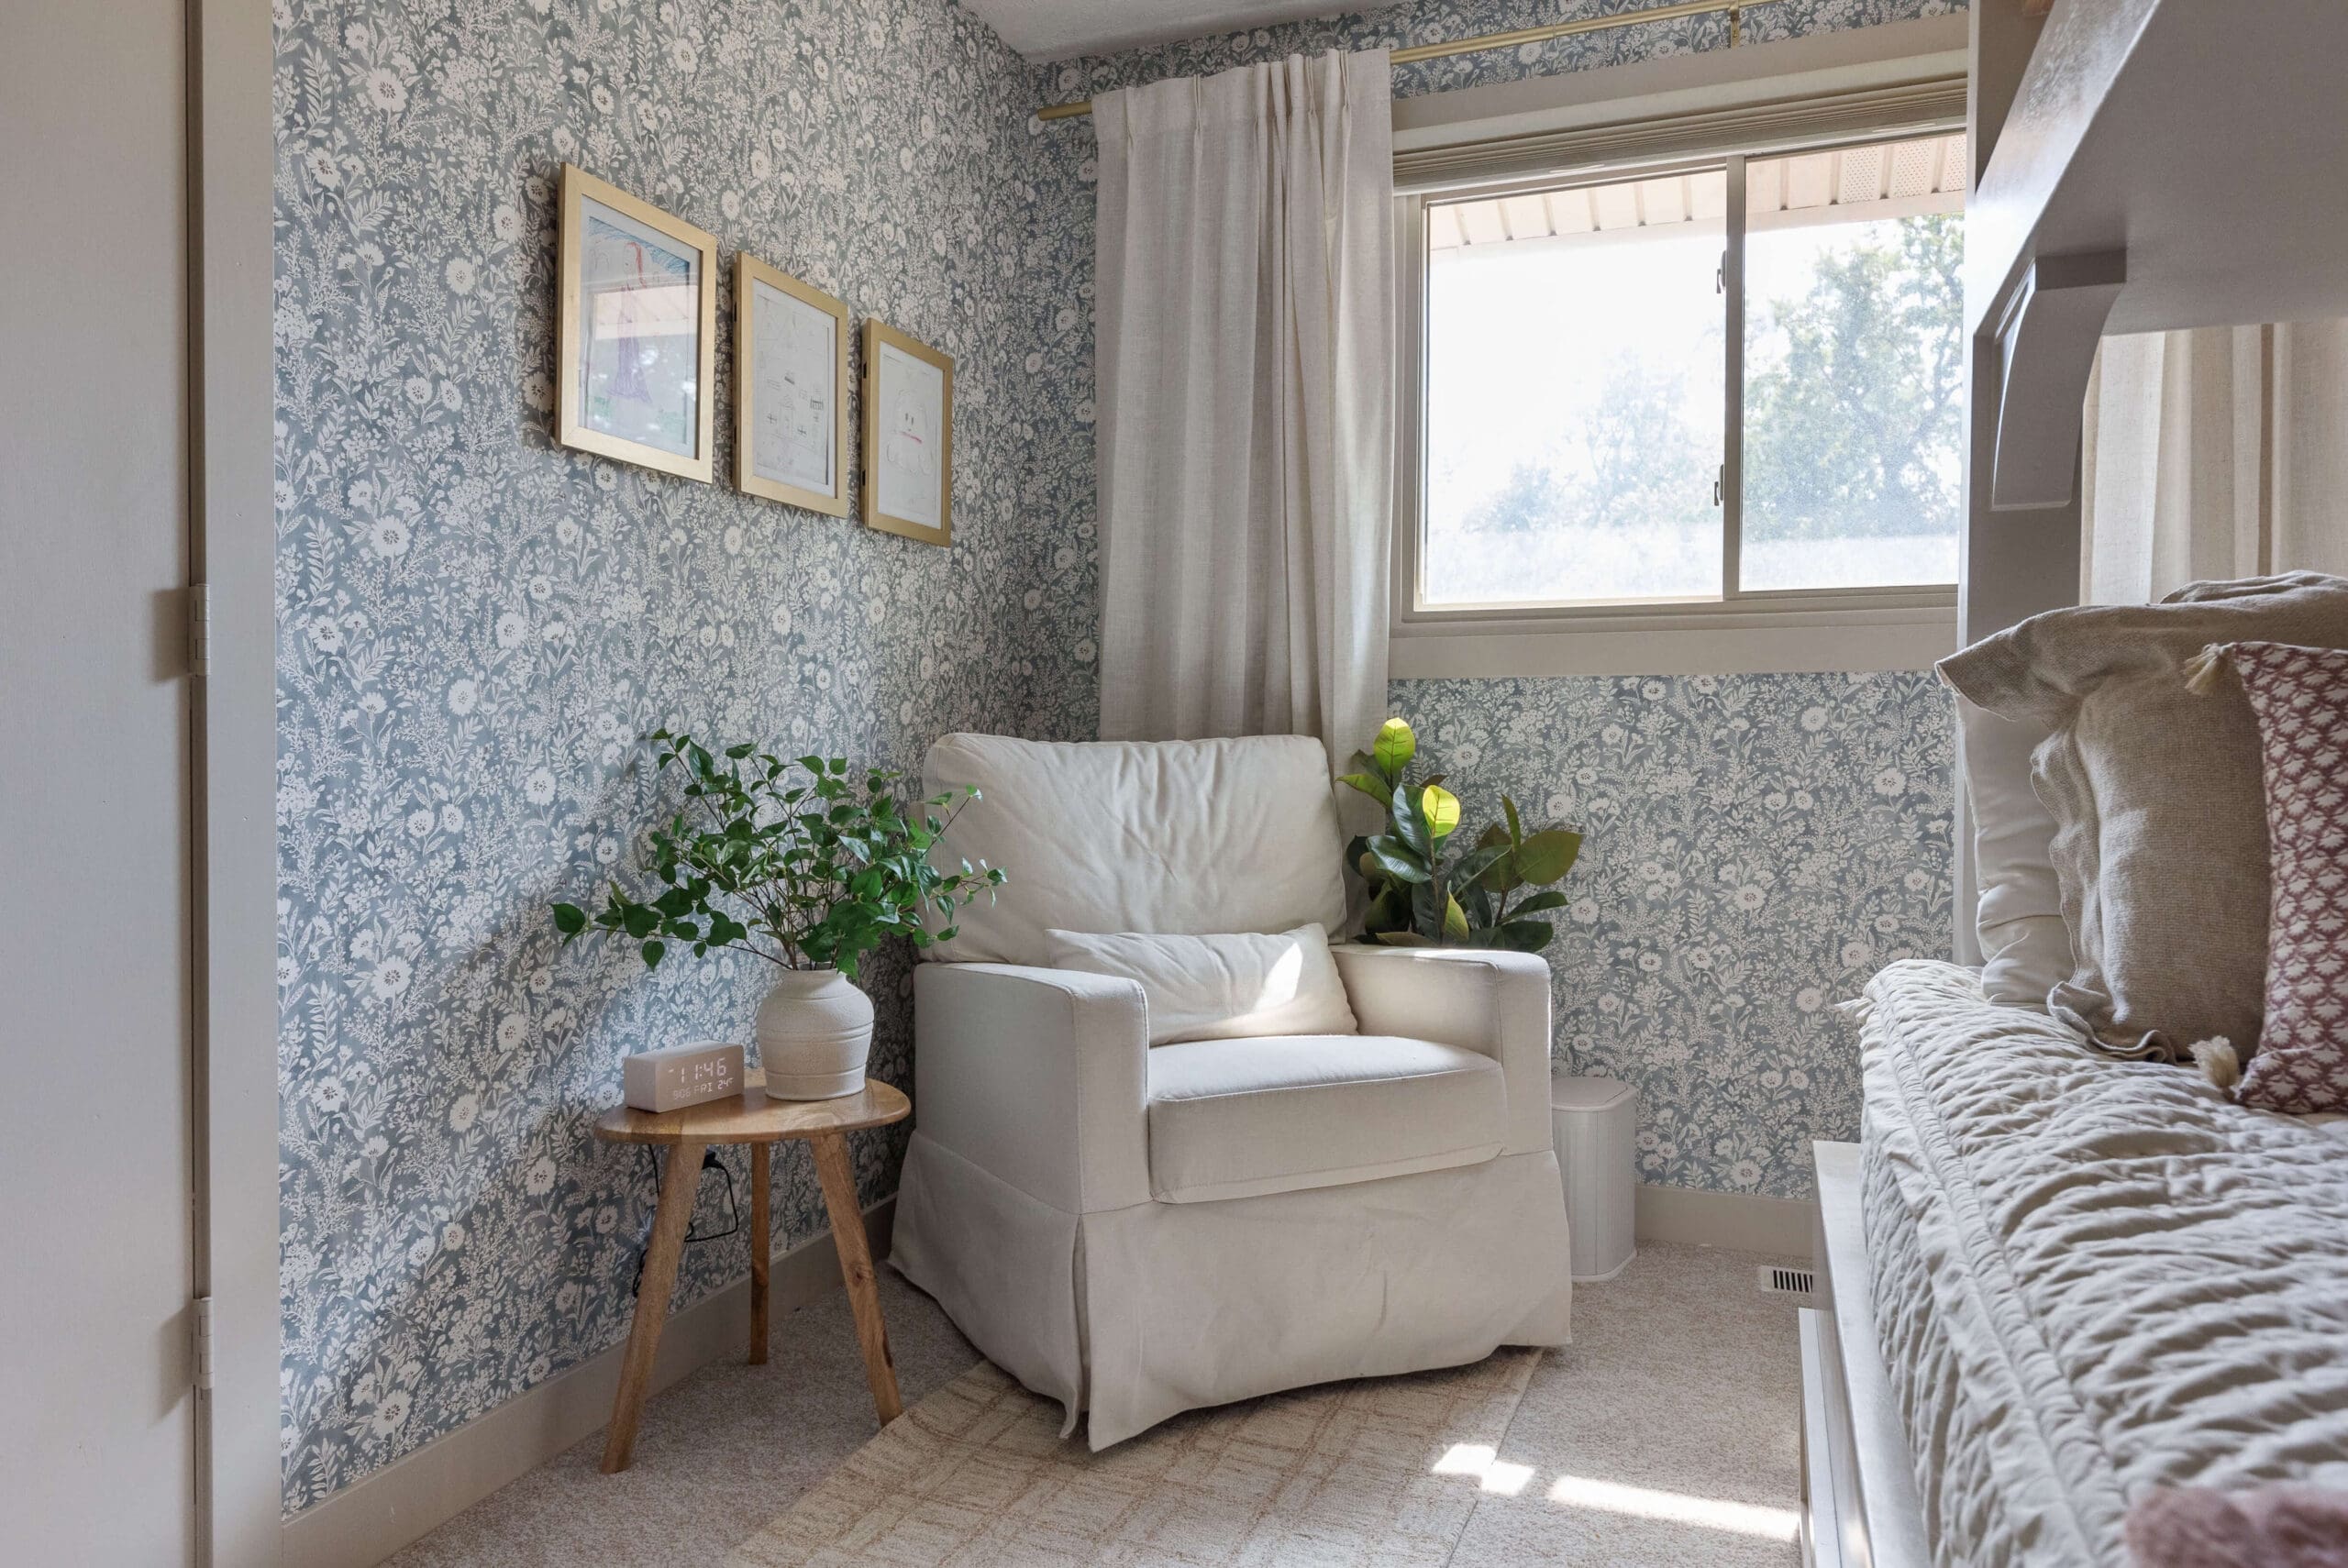
Table of Contents
What You’ll Need for Installing Wallpaper
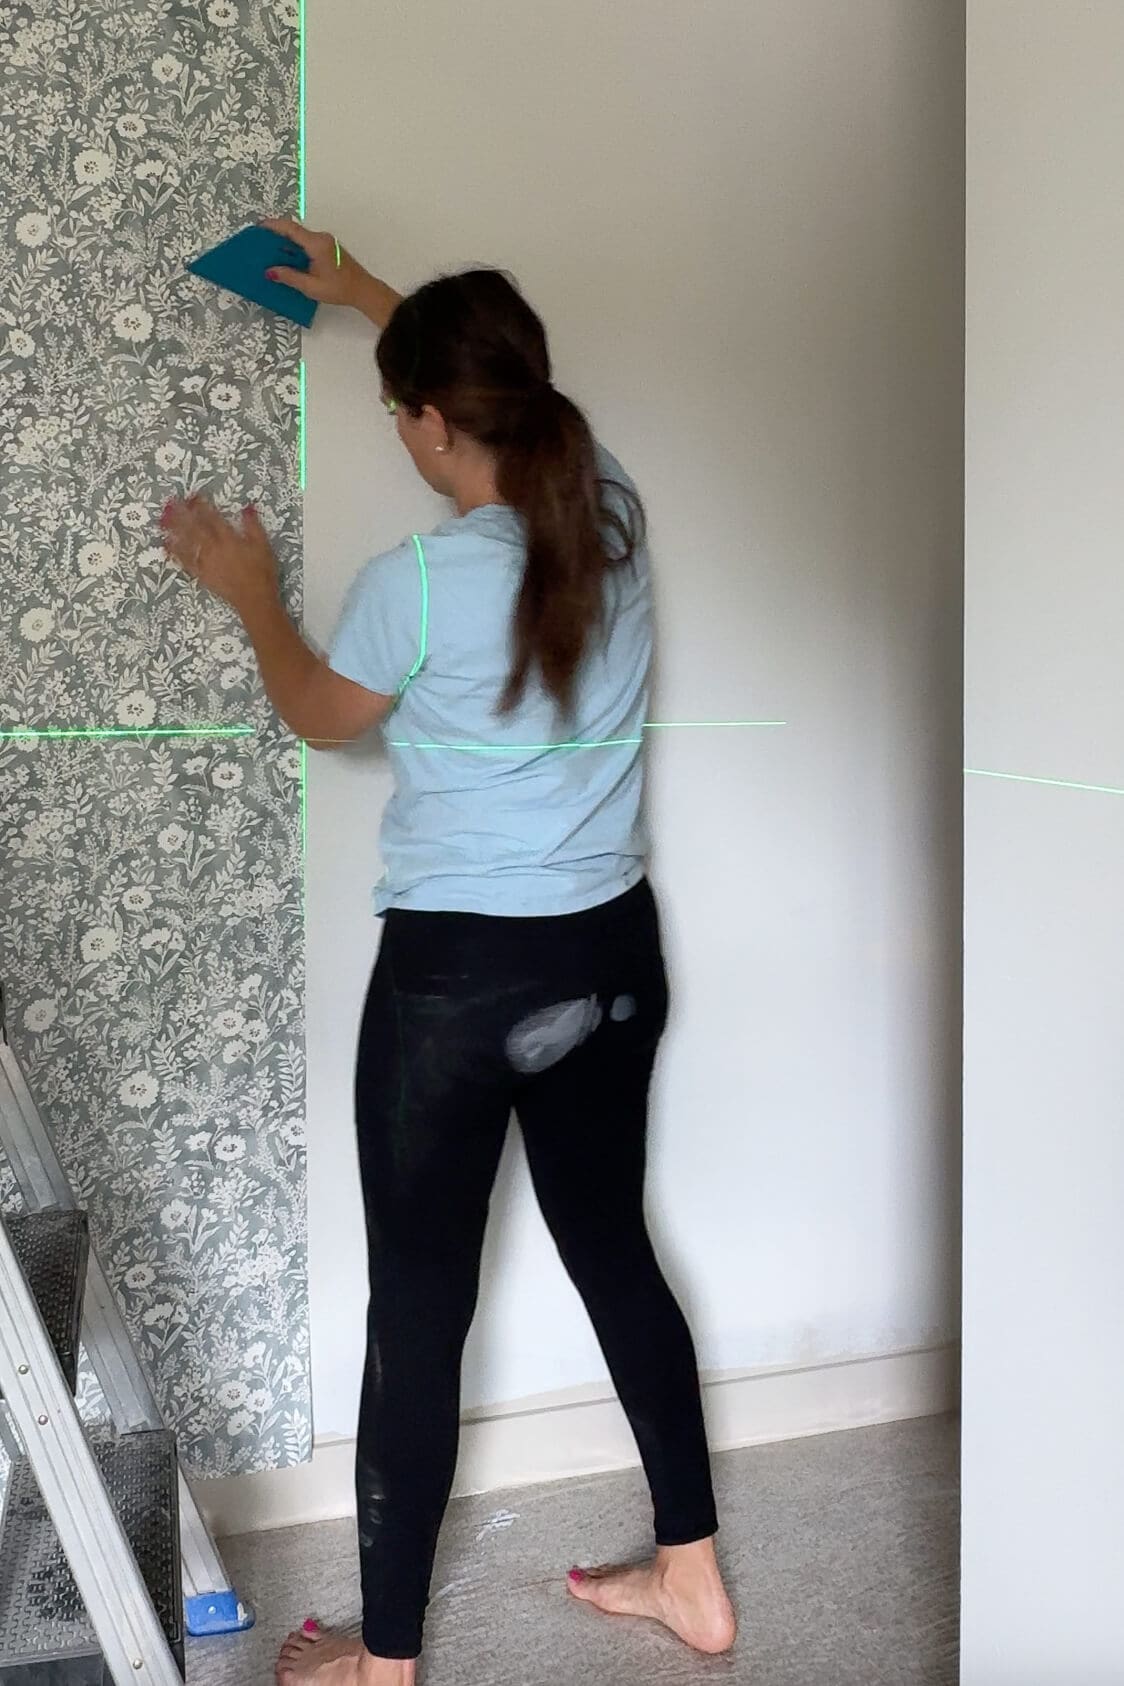
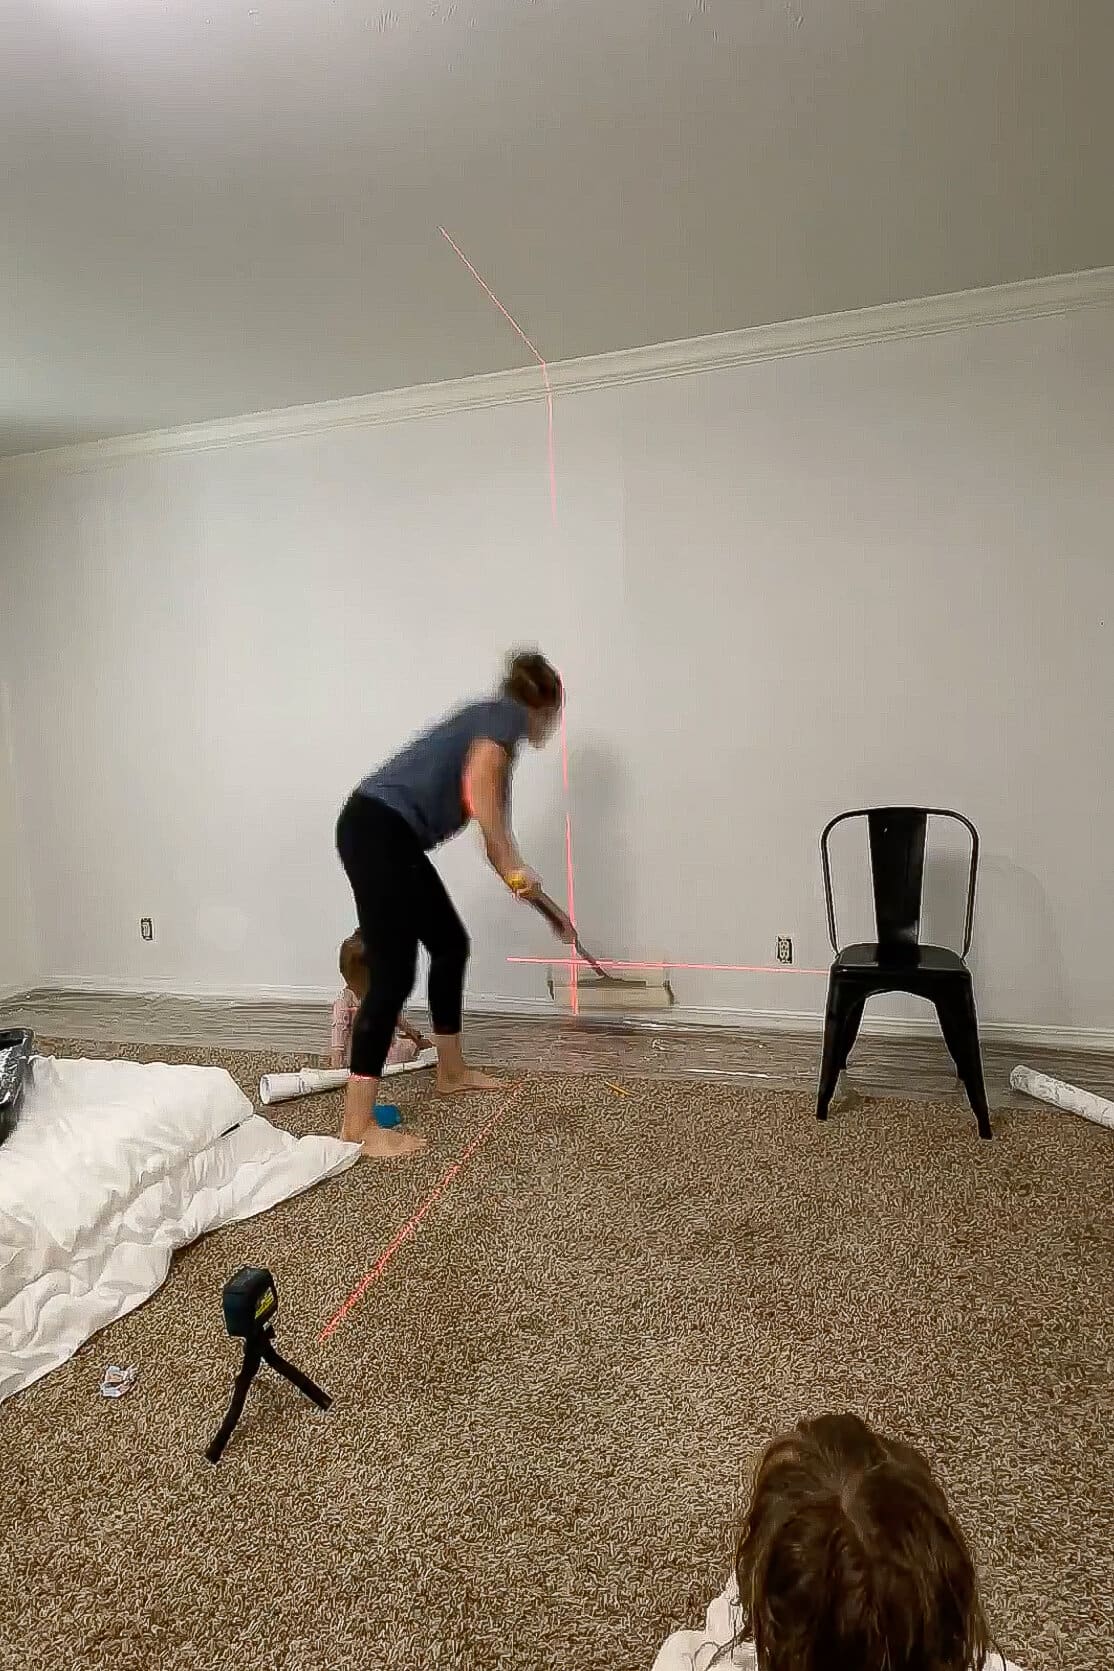
- Laser level – Keeps your wallpaper straight (which is everything).
- Sharp utility knife – For trimming clean edges along baseboards and ceilings.
- Scissors – For cutting pieces to size or around outlets and tricky corners.
- Wallpaper smoothing tool – Helps flatten air bubbles and get a crisp seal.
- A friend – An extra set of hands is always helpful when installing wallpaper.
Types of Wallpaper: Pros and Cons
Here’s a quick breakdown of the three main wallpaper types and why you might choose one over the others:
1. Pre-pasted Wallpaper
This type comes with adhesive on the back that’s activated with water.
✅ No glue required
✅ Easier removal later
⚠️ Can be slippery to work with when wet
2. Peel-and-Stick Wallpaper
This is basically a giant sticker – just peel the backing off and stick it to your wall.
✅ No mess
✅ Easy to reposition (at first)
⚠️ Not great on textured walls
⚠️ Edges can peel over time in humid areas
3. Traditional/Pasted Wallpaper
This type requires you to apply paste separately to either the paper or the wall.
✅ Longest-lasting and super secure
✅ Great for textured walls
⚠️ Messier and a little more prep
How to Install Each Type of Wallpaper
Each method has its own learning curve, but they’re all beginner-friendly with the right guide. Here’s an overview of how each type is installed – with direct links to my full DIY tutorials so you can dive deeper when you’re ready.
How to Install Pre-Pasted Wallpaper
Pre-pasted wallpaper is a cinch to install, once you get the hang of it. Start by cutting your strips to size, then soak each one in water to activate the adhesive. Fold it glue-side-in (“book it”) for a few minutes, then unfold and smooth onto the wall starting at your level line. Use a smoothing tool to push out air bubbles, then trim the edges with a utility knife. Here’s exactly how I Installed prepasted wallpaper
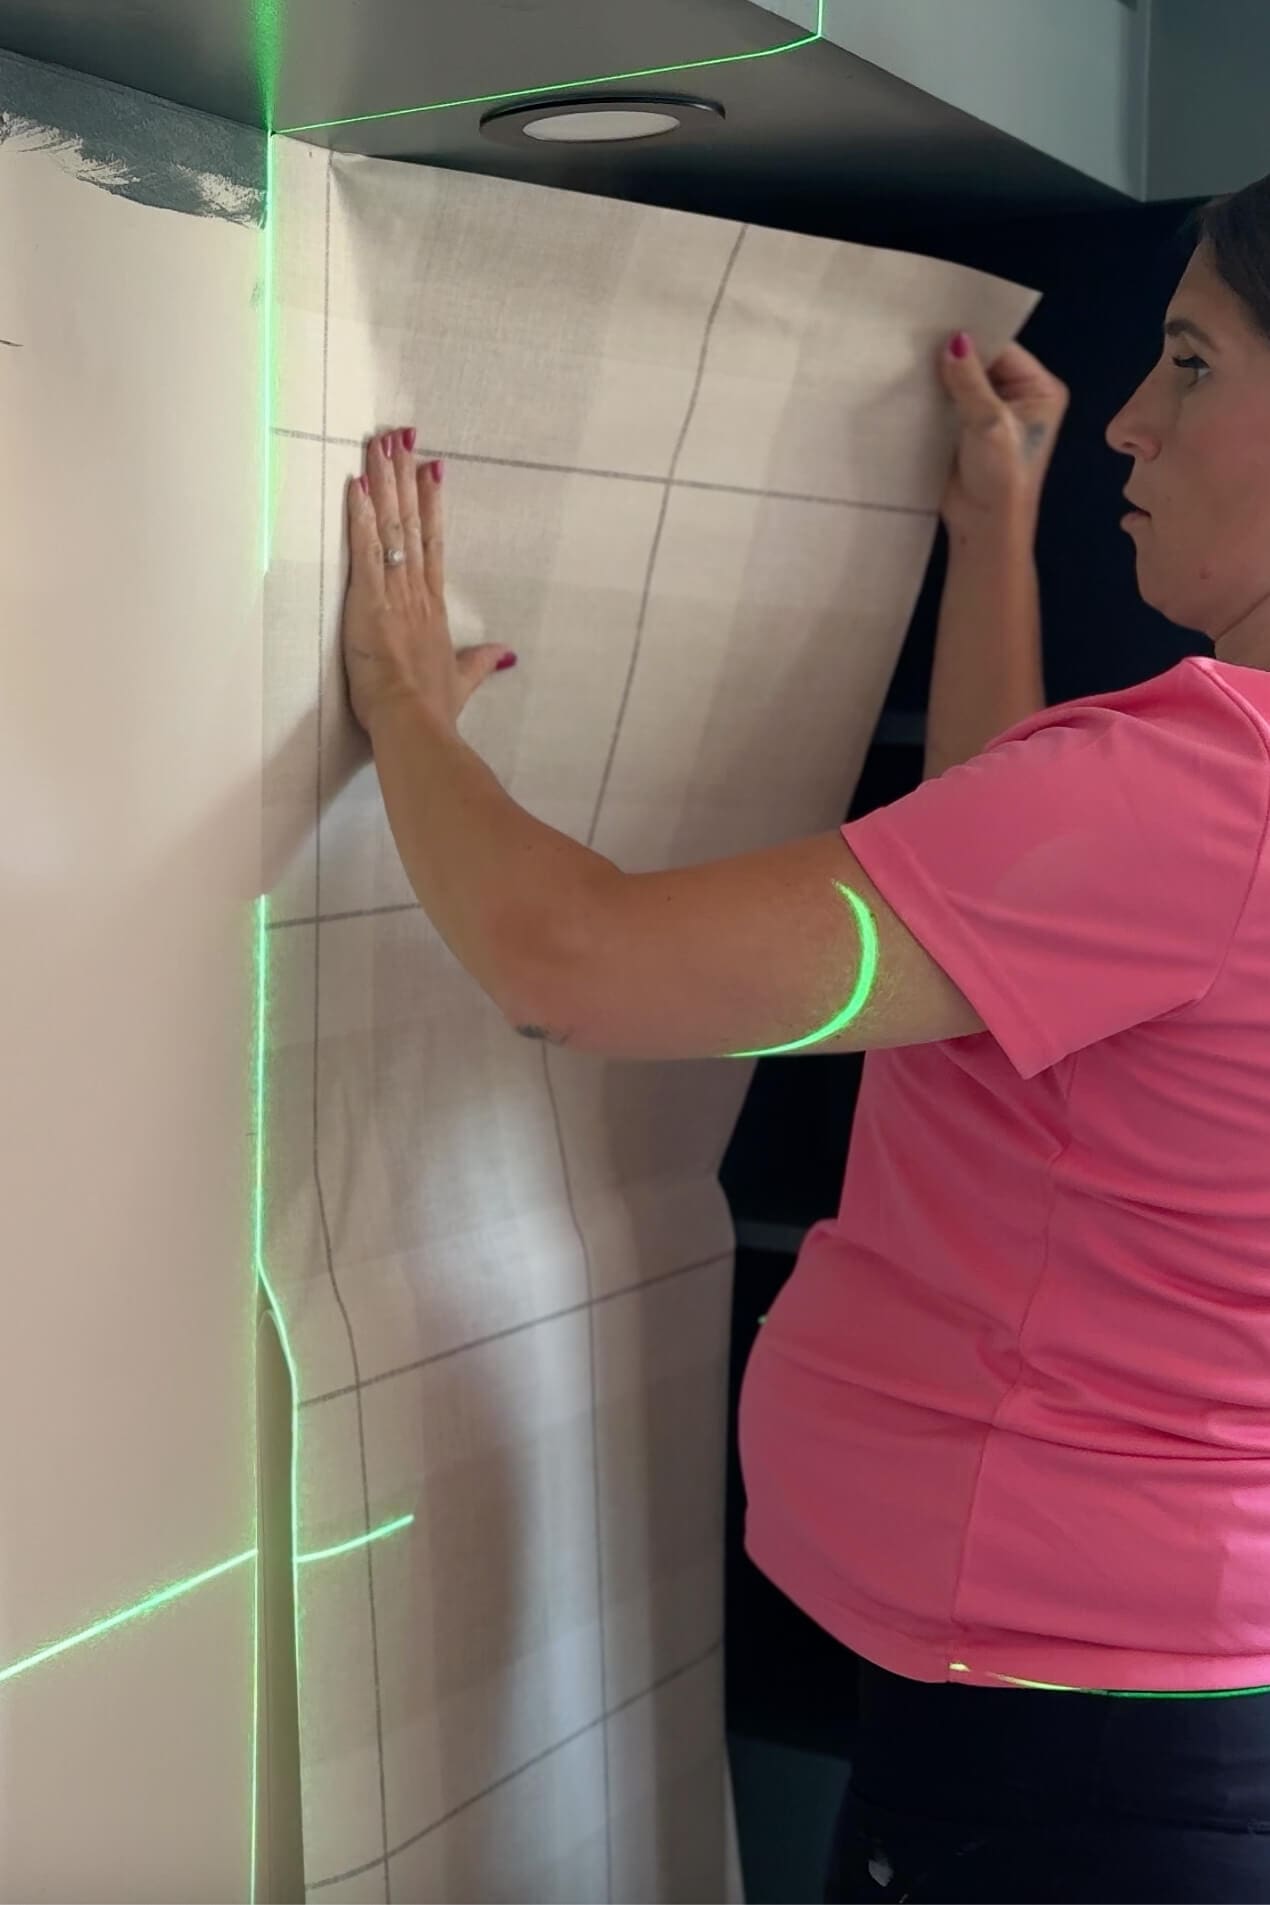
How to Install Peel-and-Stick Wallpaper
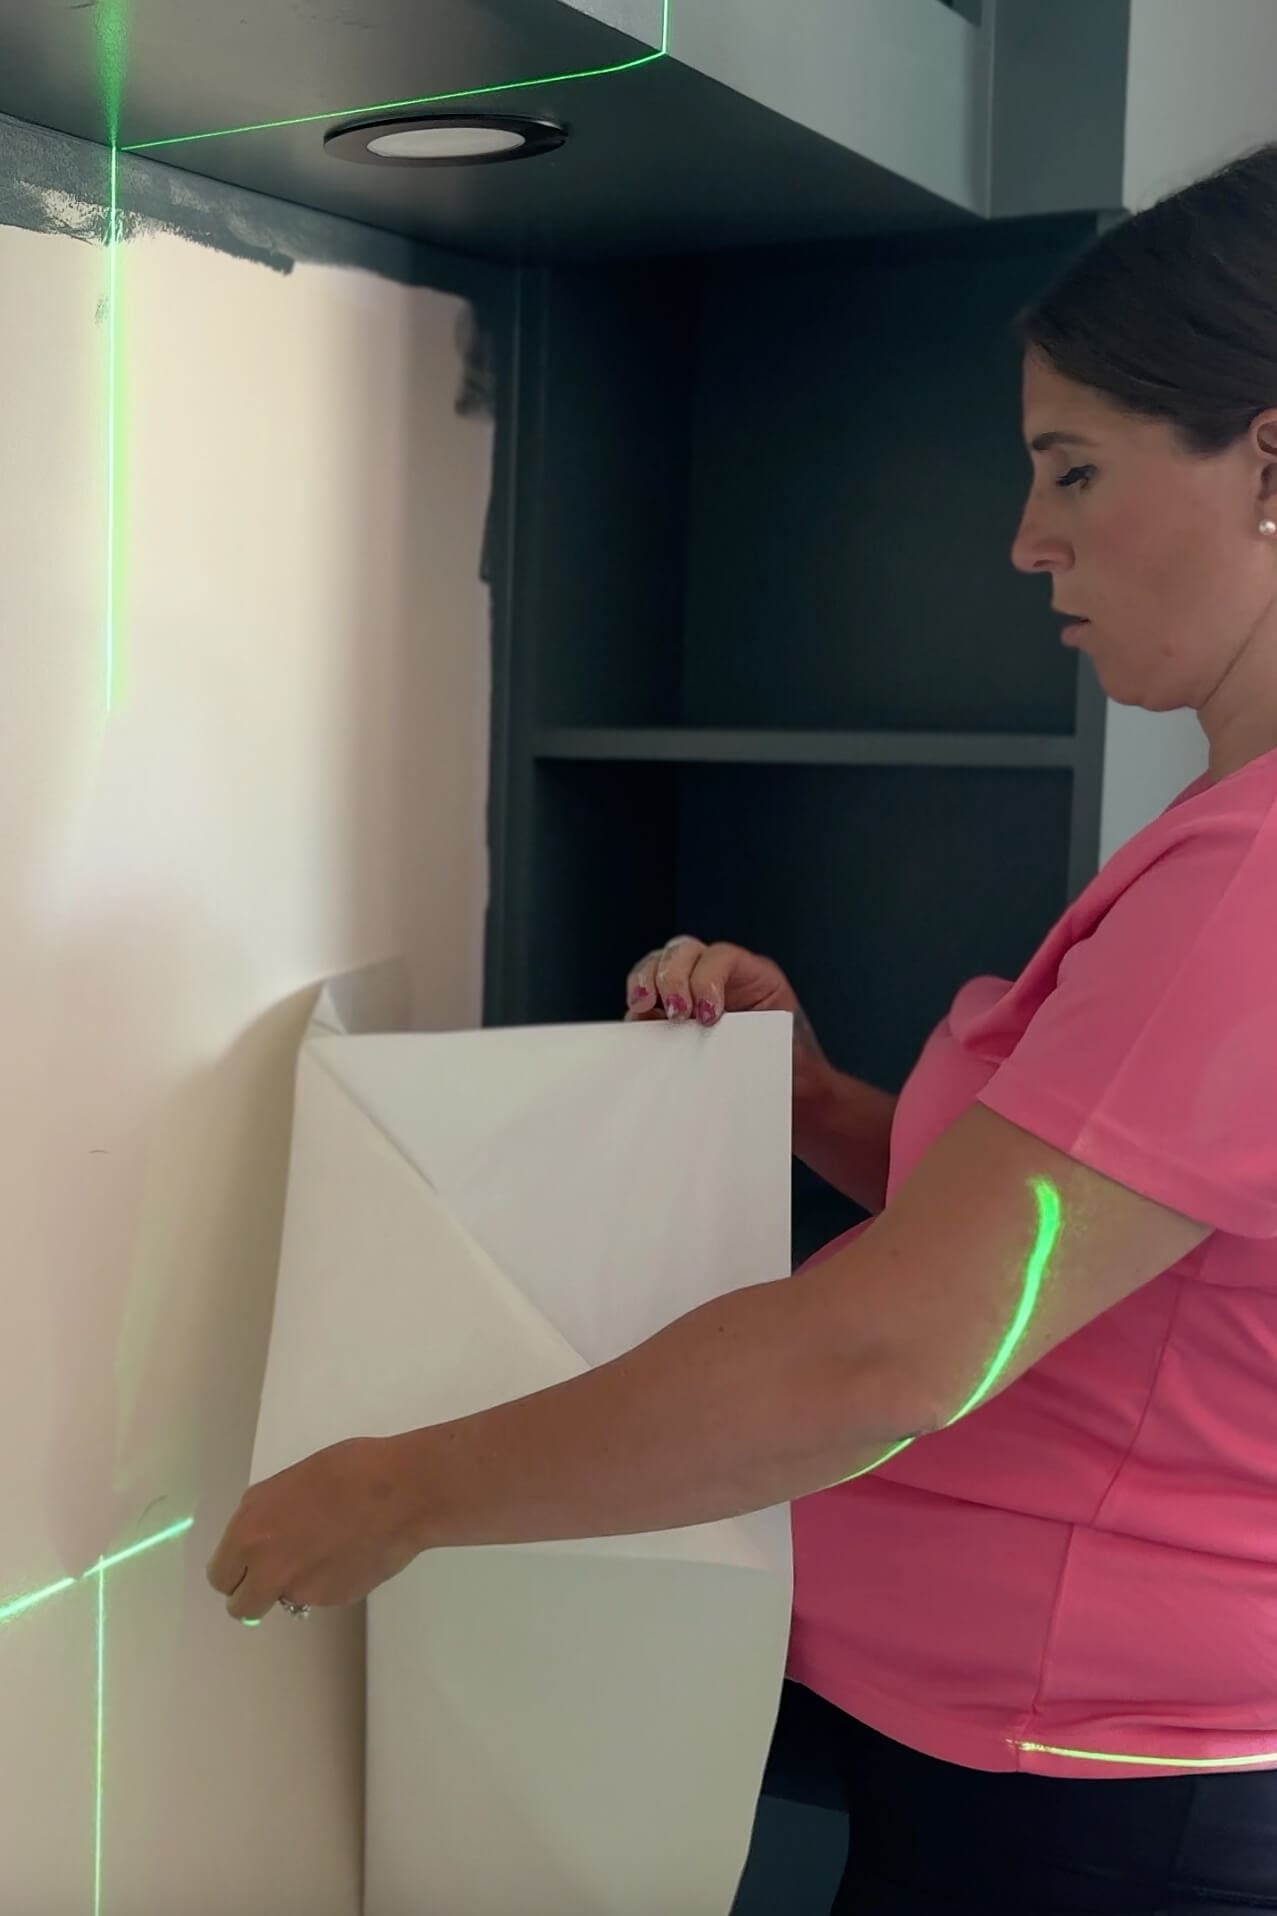
In my opinion, peel-and-stick is the easiest wallpaper to install. Line up your first strip using a laser level. Peel off a few inches of backing at a time, smoothing as you go. Adjust if needed and trim the top and bottom once it’s in place. Repeat with each strip, matching the pattern along the way. Here’s exactly how I installed peel and stick wallpaper in my nursery
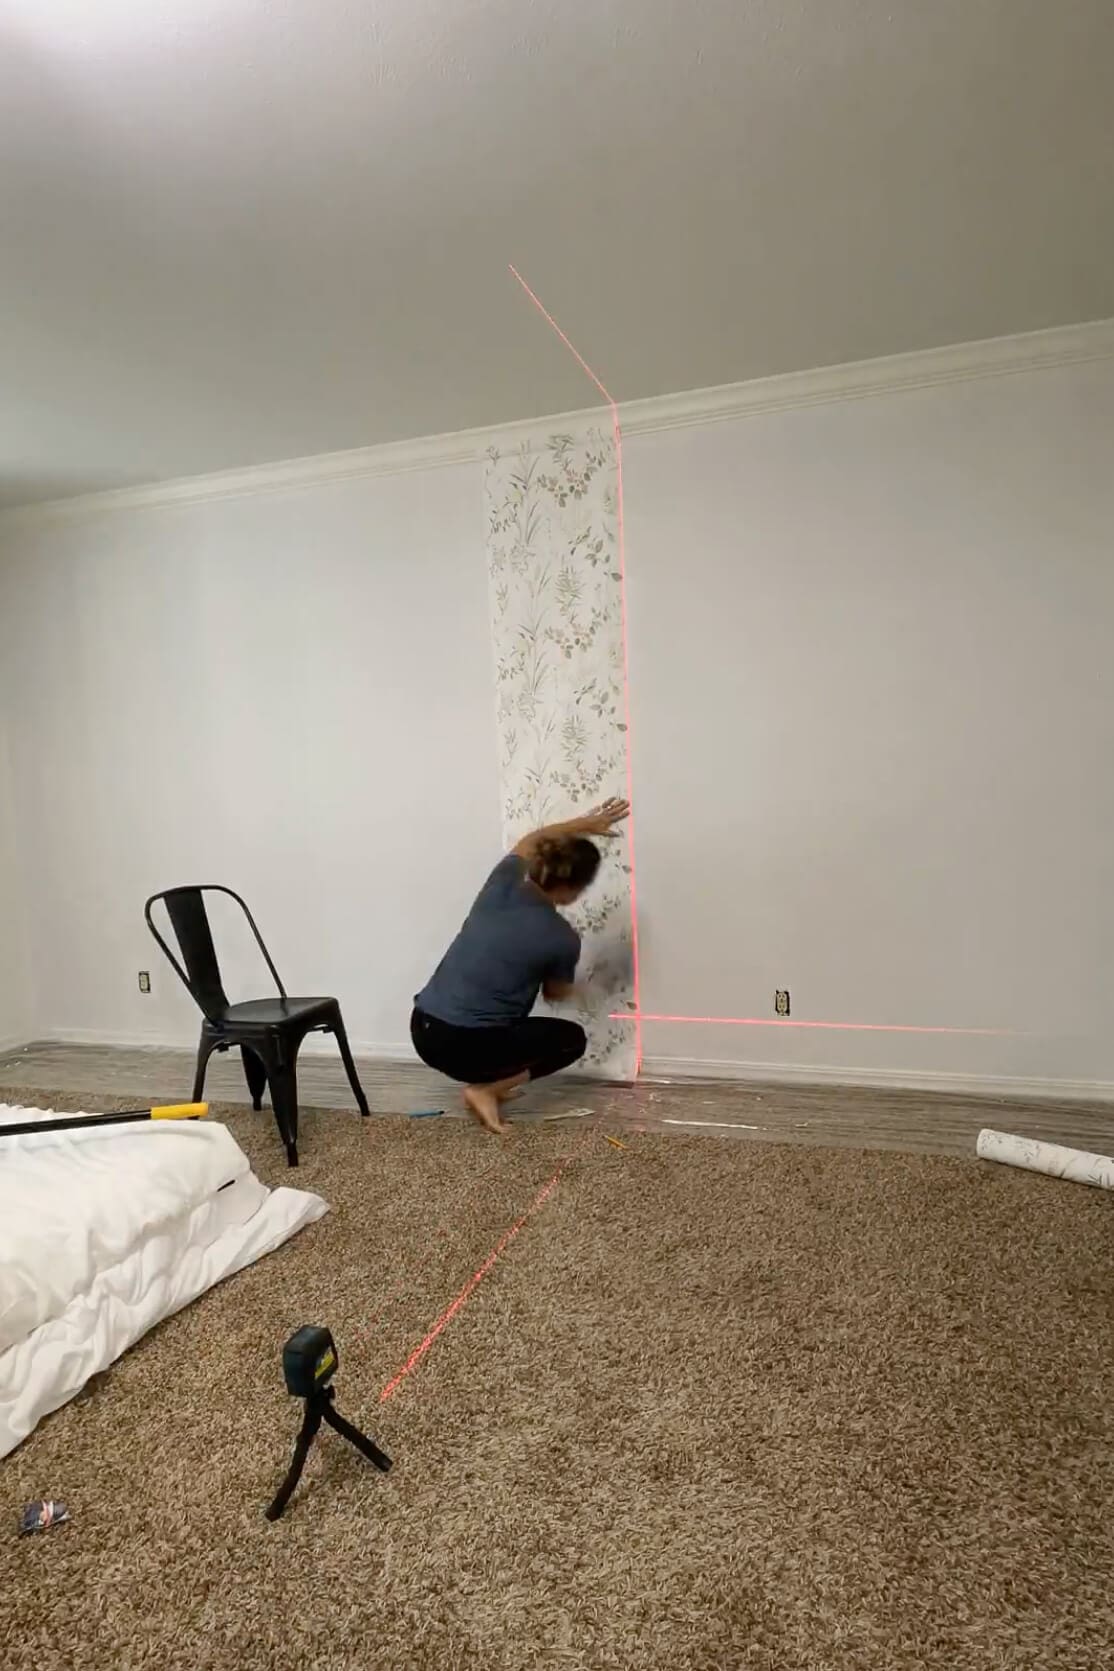
How to Install Traditional/Pasted Wallpaper
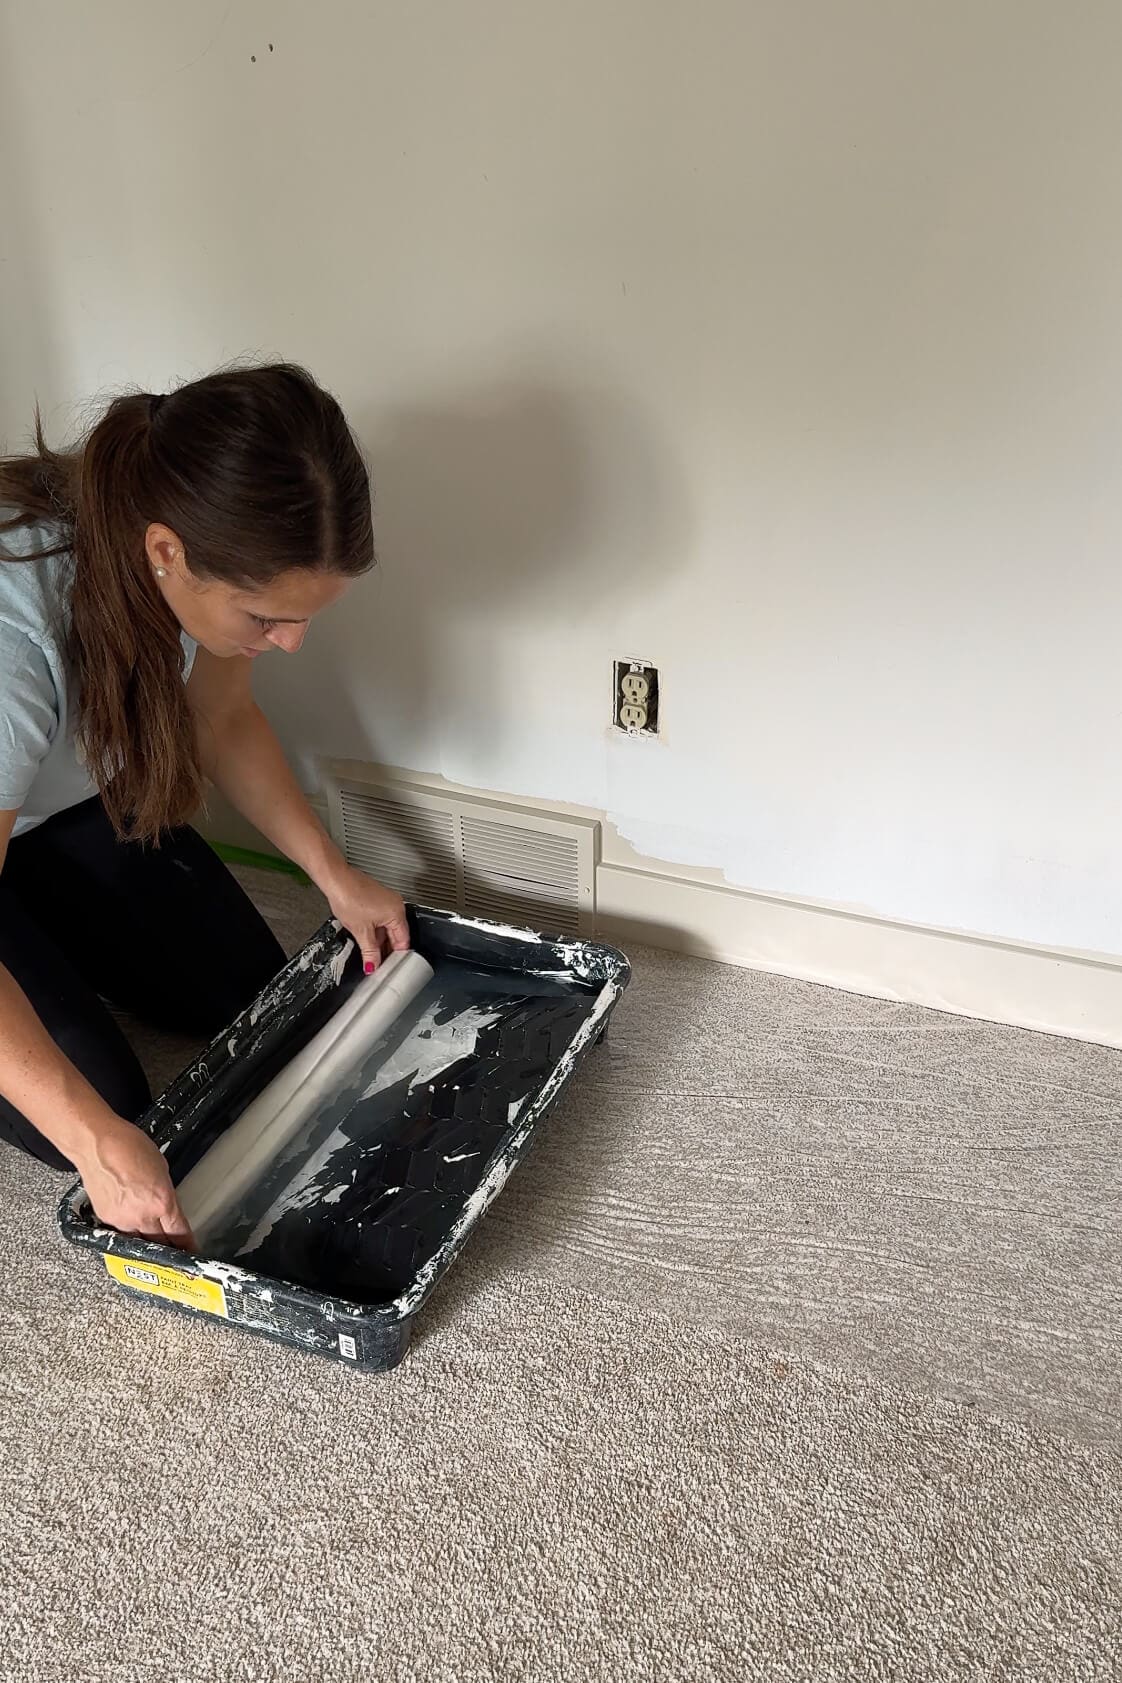
To install traditional wallpaper, you’ll start by rolling paste onto either the back of the wallpaper or directly onto the wall (depending on your wallpaper manufacturer’s instructions). Hang the strip along your laser level line, smooth it out, and wipe away excess paste. Trim the edges and move on to the next strip, lining up your seams as you go. All the details about how I installed traditional pasted wallpaper are written up in a blog post.
Finishing Touches That Make a Big Difference
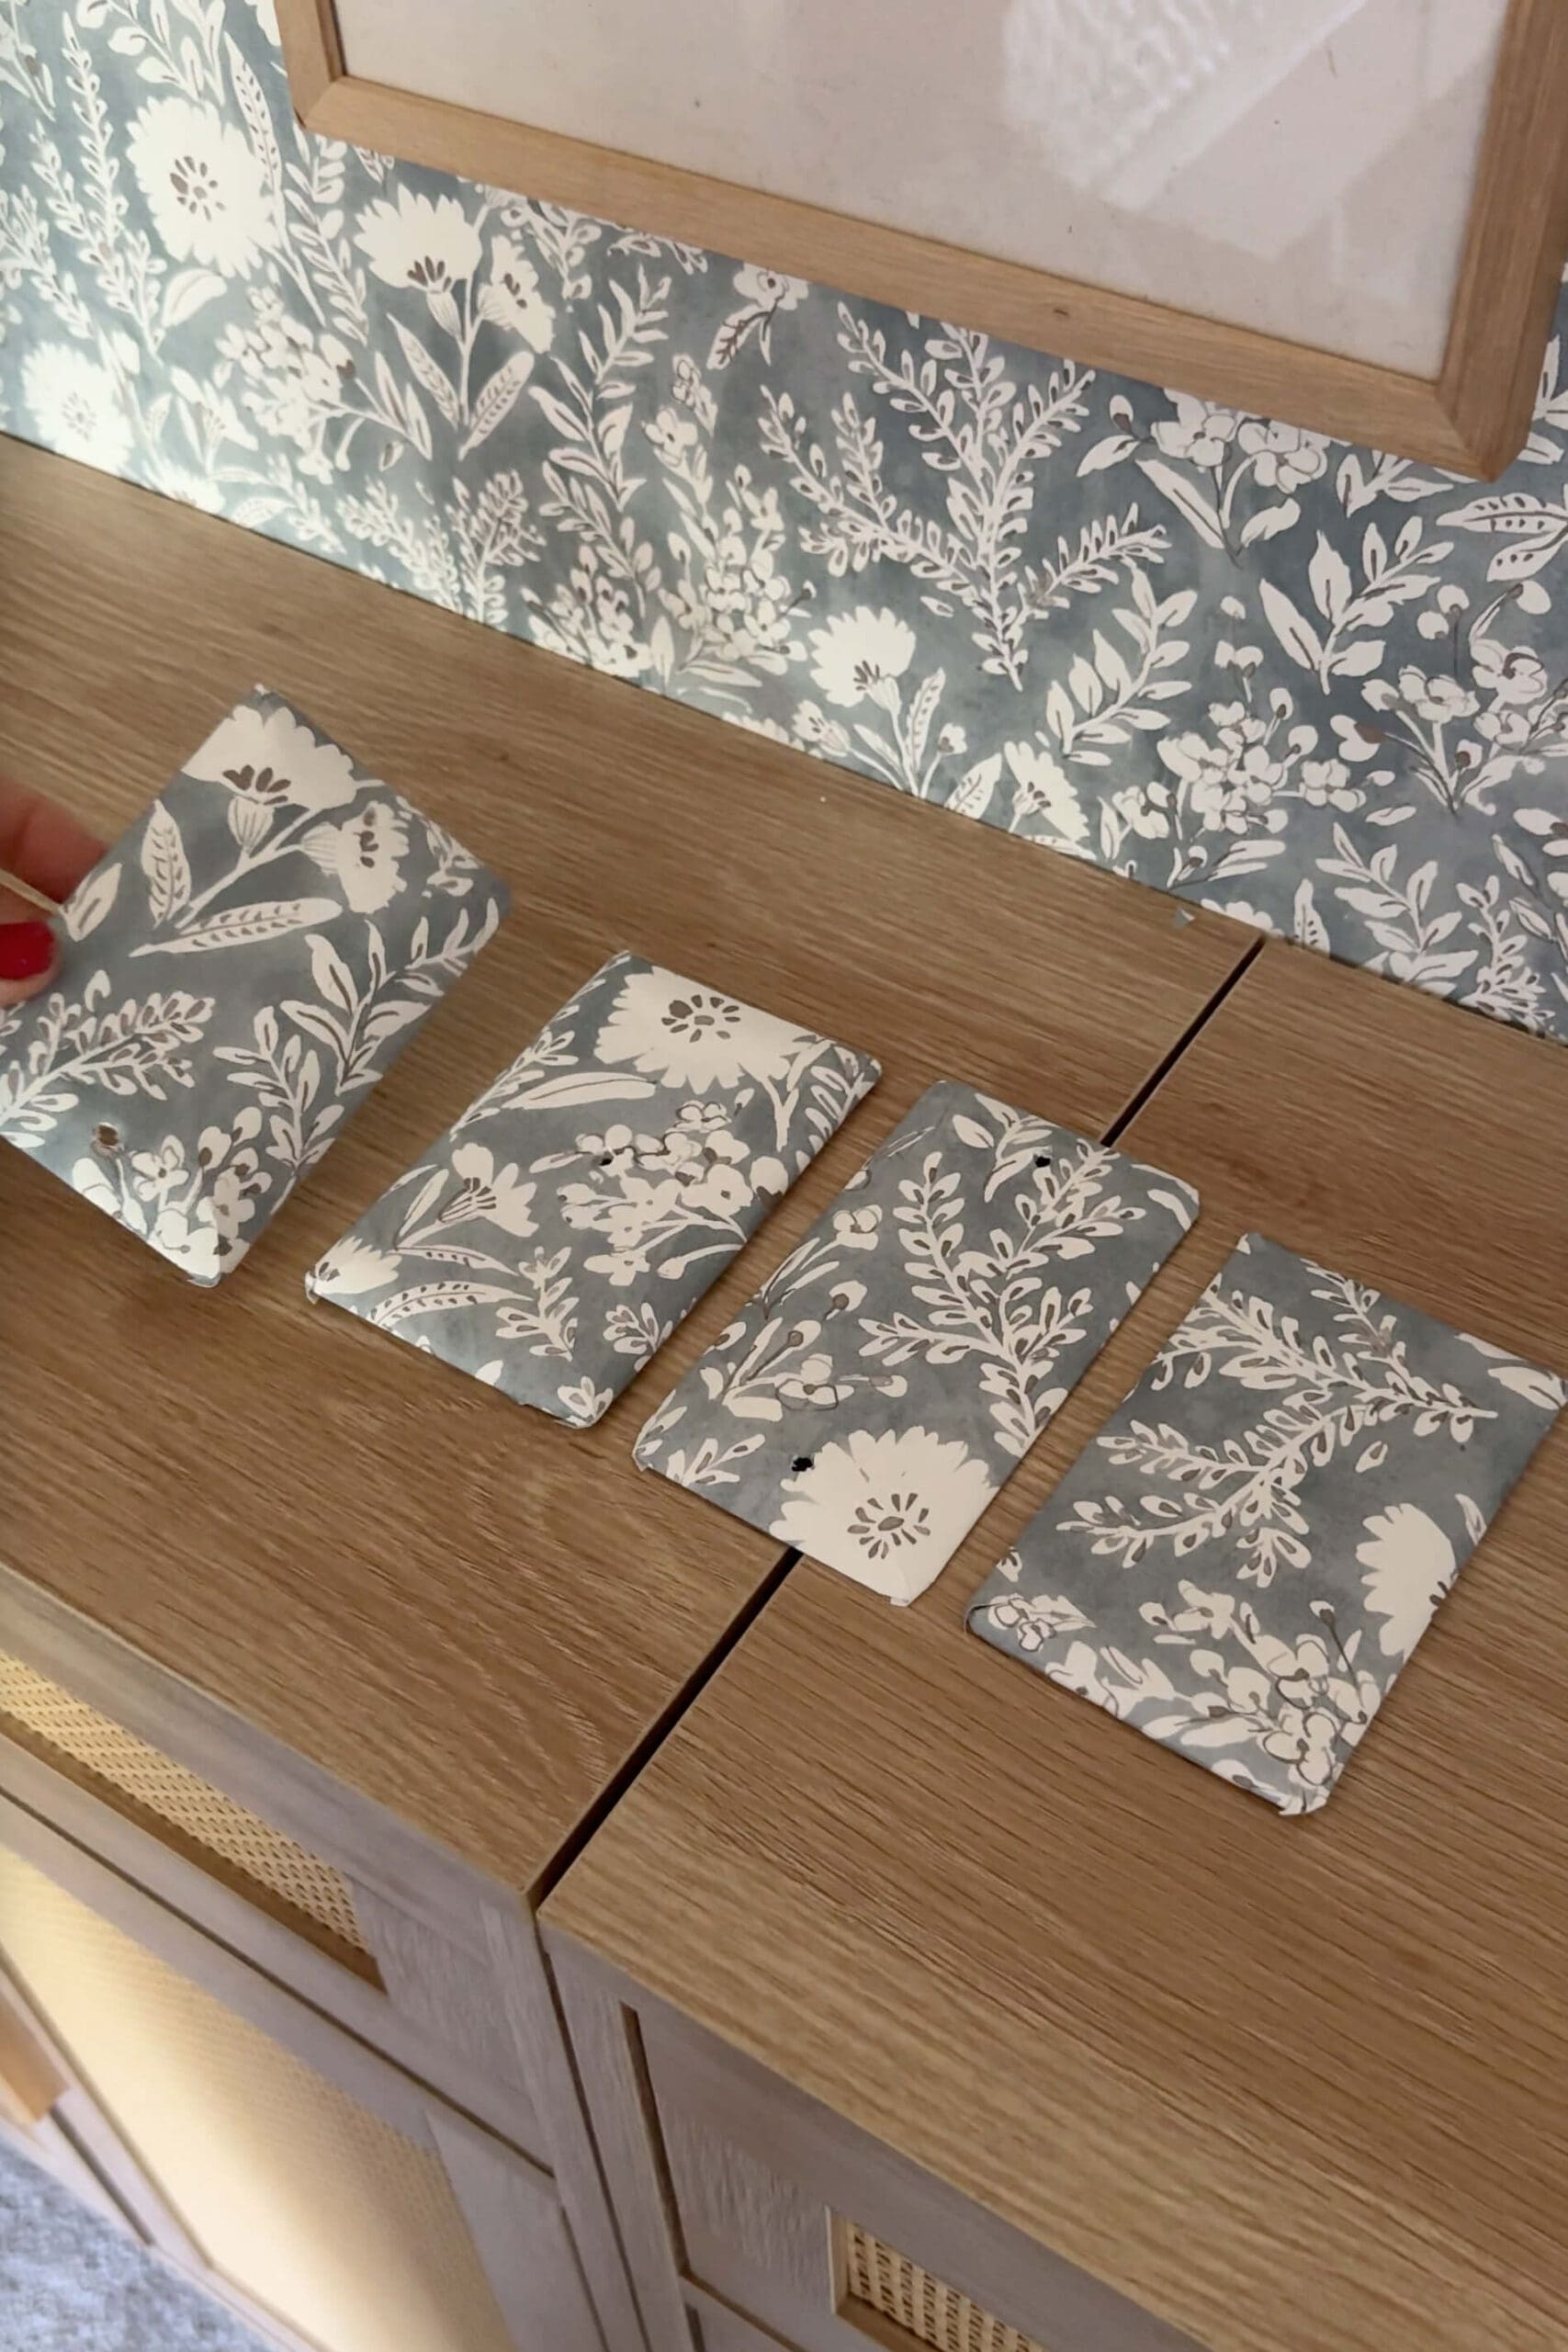
Once your wallpaper is up, don’t forget about the details – like outlet covers. I wallpapered mine to match the wall and it’s one of those little upgrades that makes everything feel more custom. Learn more about how I used wallpaper to cover my outlets.
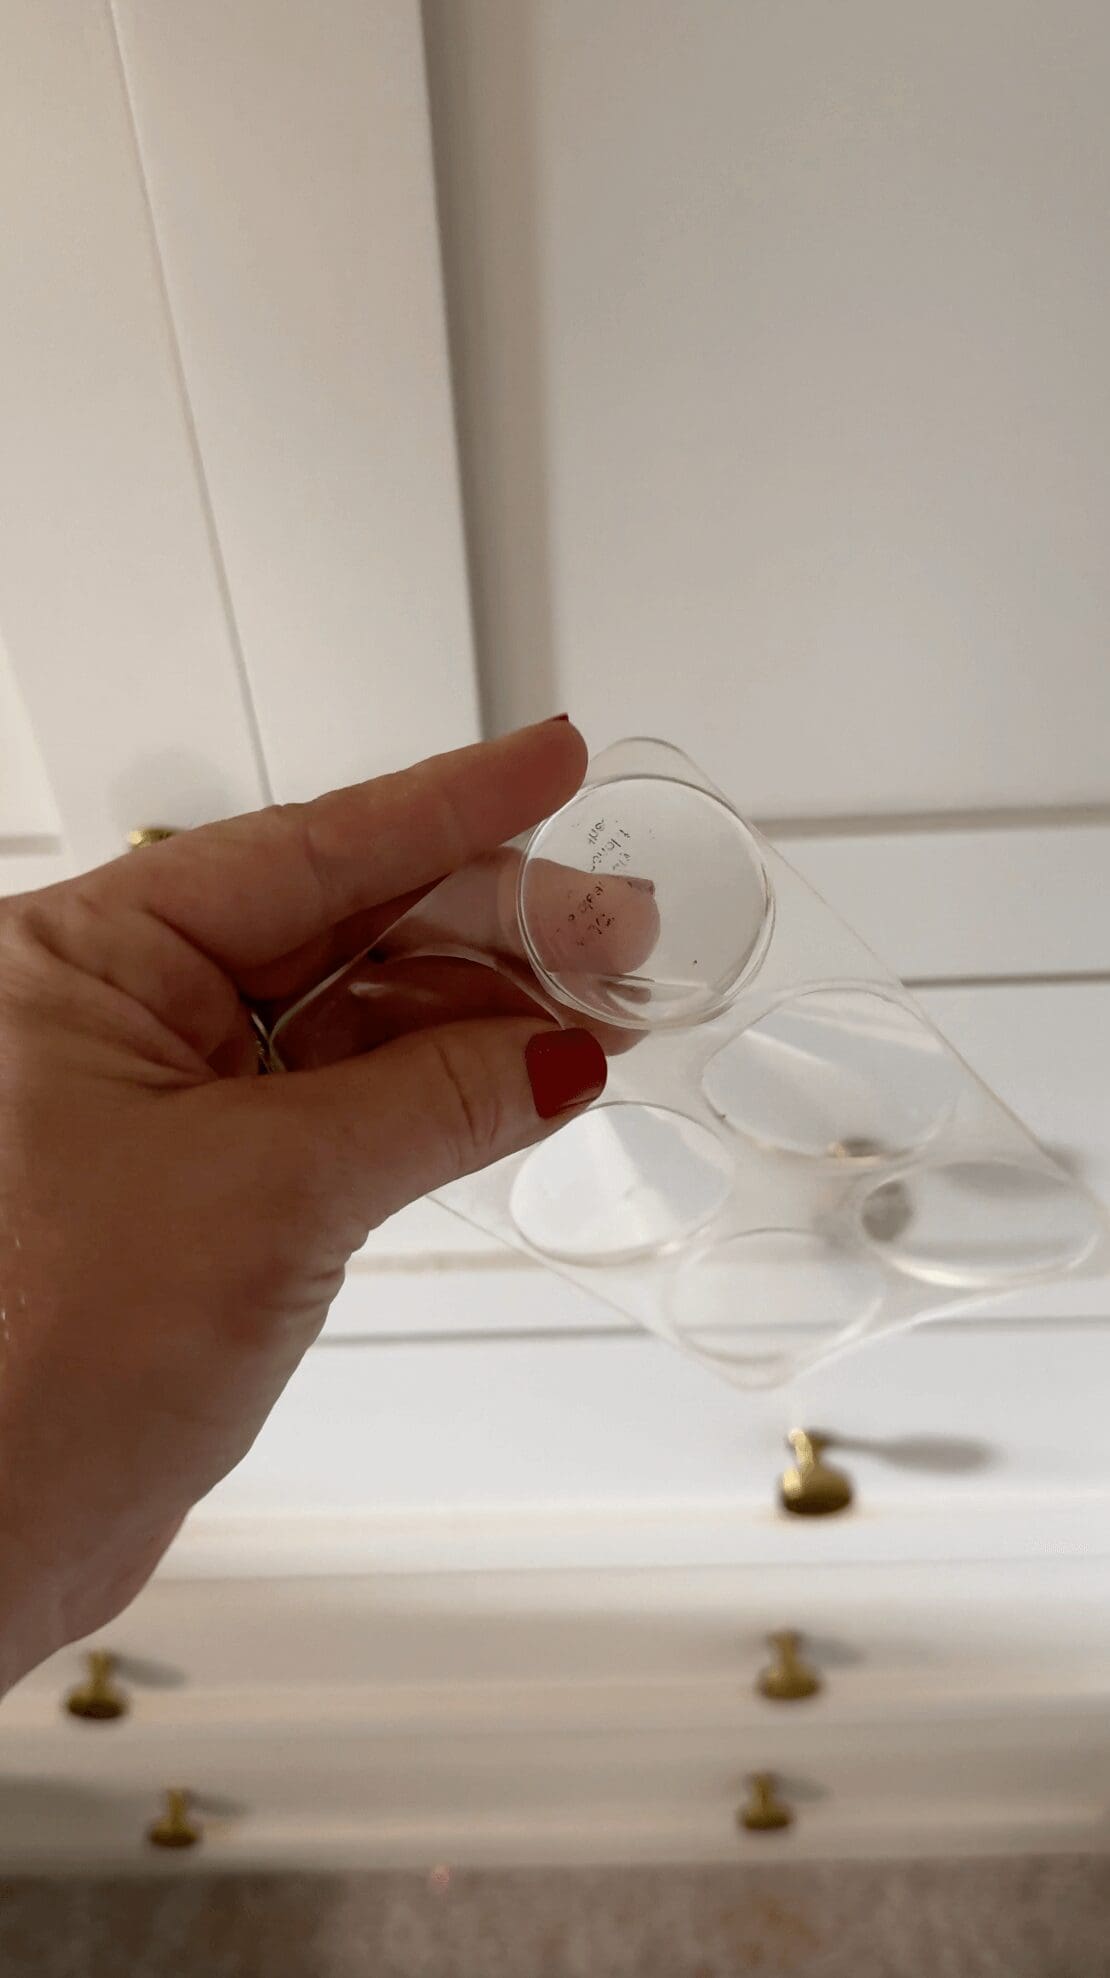
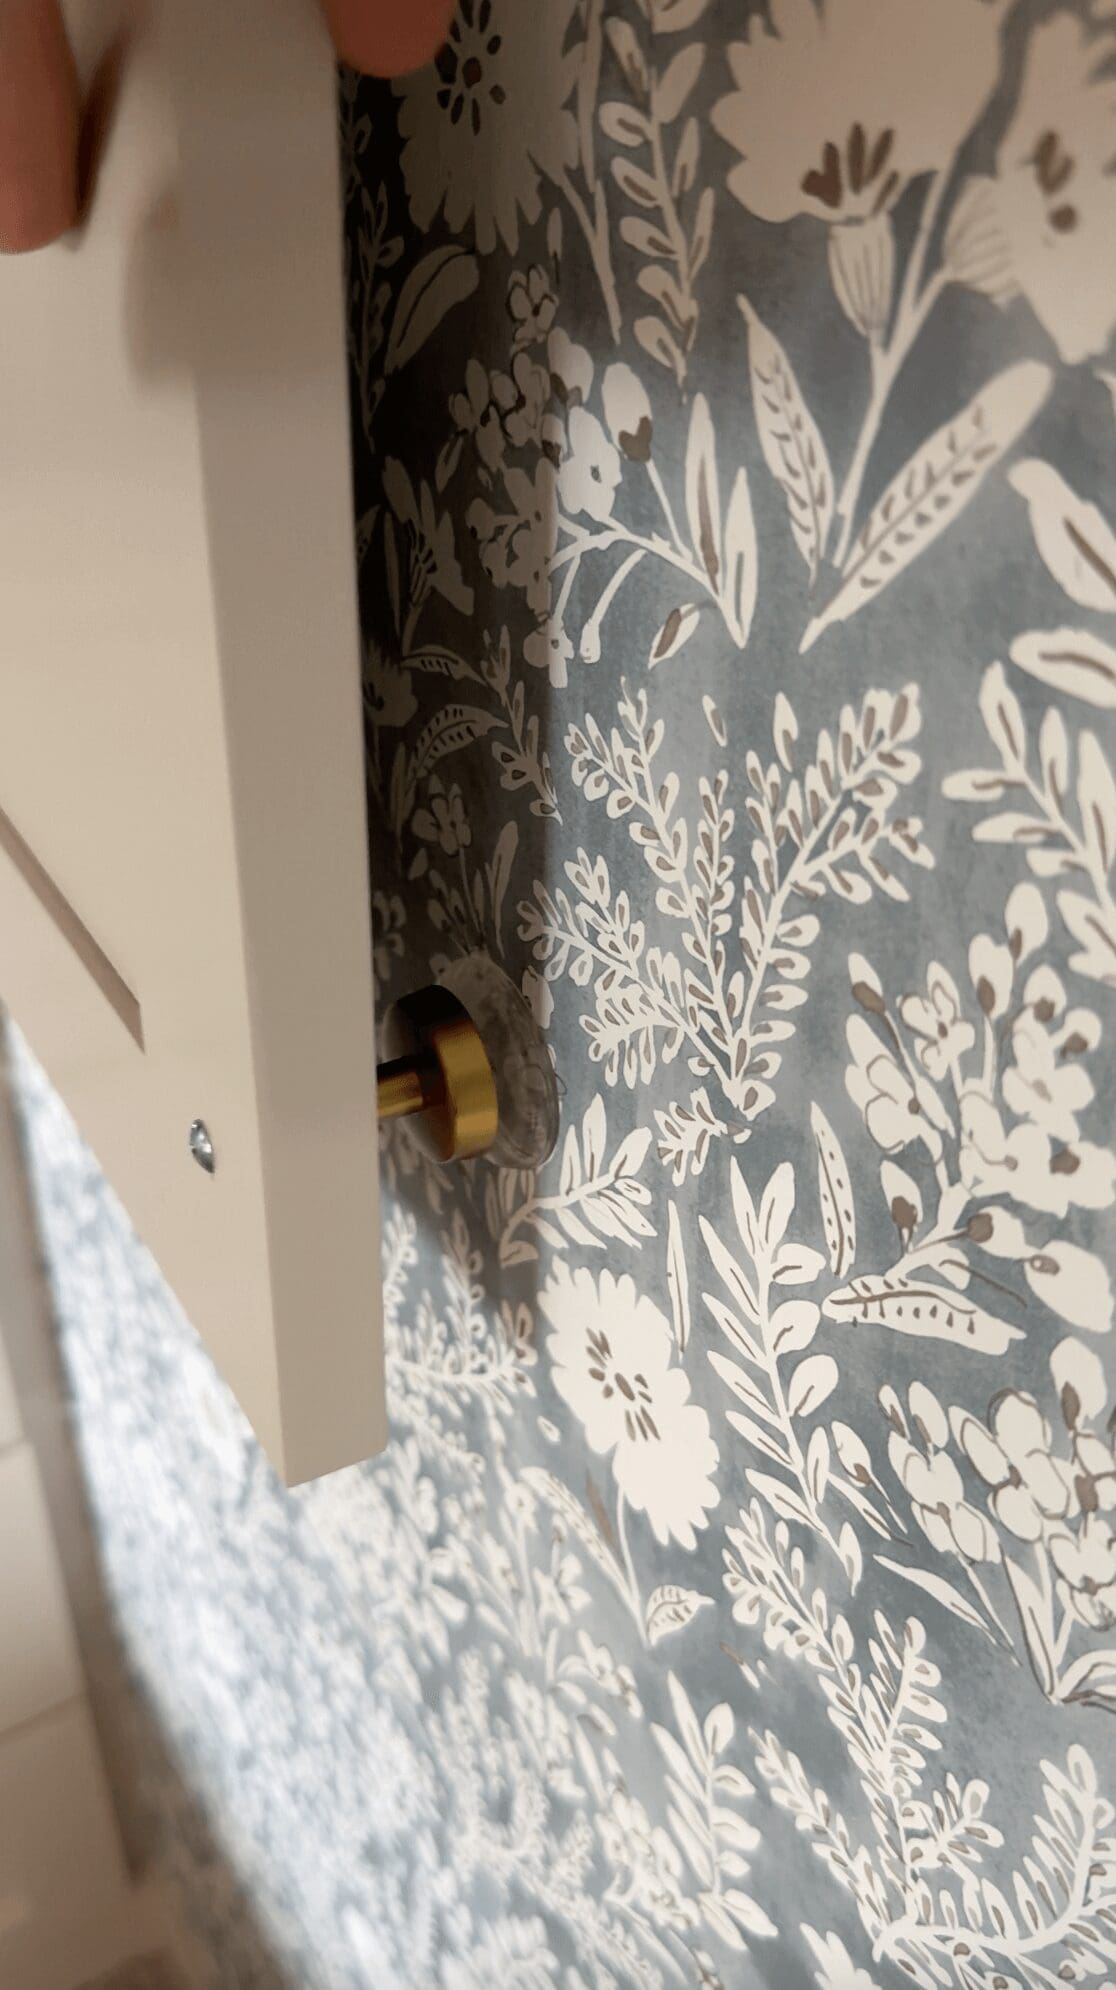
After you’ve gone through all that work installing wallpaper, you’ll definitely want to protect it. If you’ve got cabinets or door knobs that swing open near your wallpaper, grab these clear adhesive wallpaper protectors. They’re nearly invisible bumpers that keep knobs from dinging or scratching your wallpaper. Super easy to stick on and totally worth it to keep your wallpaper protected. They have a smaller size that’s perfect for cabinet knobs, and a larger size that’s better for door handles, but still look discreet.
Where I’ve Installed Wallpaper
Wallpaper can totally transform a space – whether it’s a big room or just the inside of a closet. Here’s a little peek at some of the places I’ve installed wallpaper over the years:
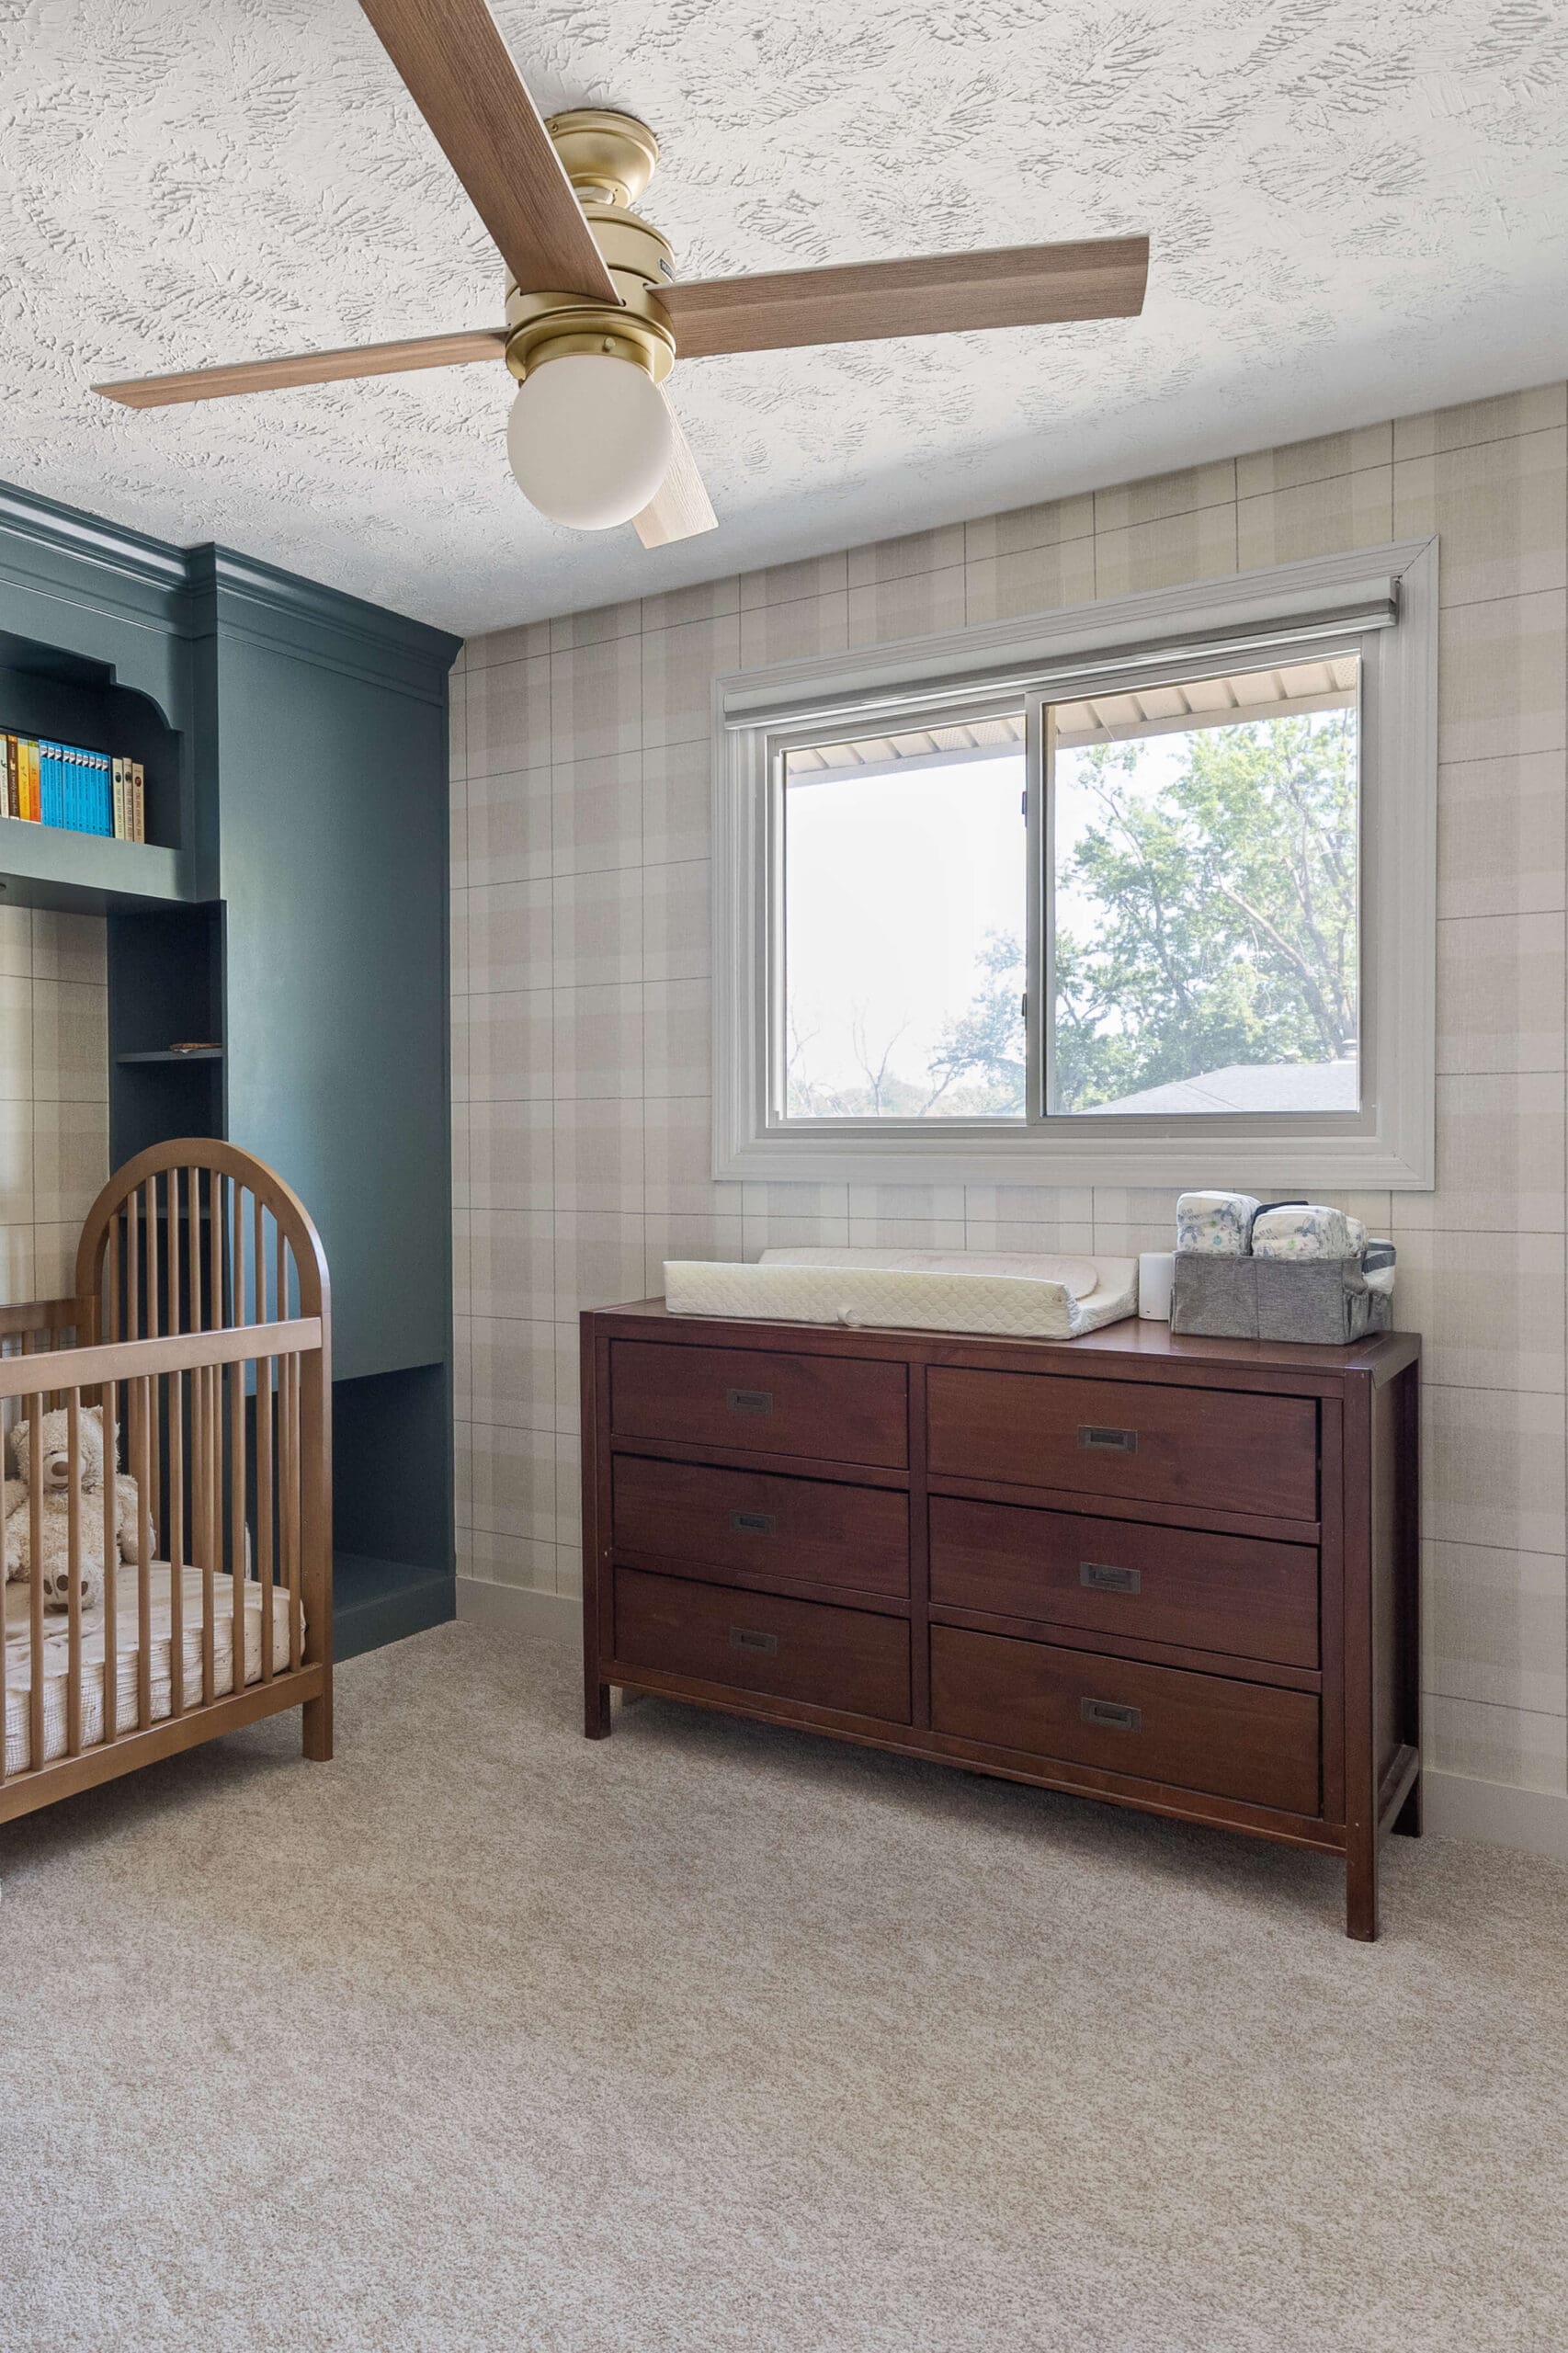
- Nursery – Neutral plaid that’s classic and versatile.
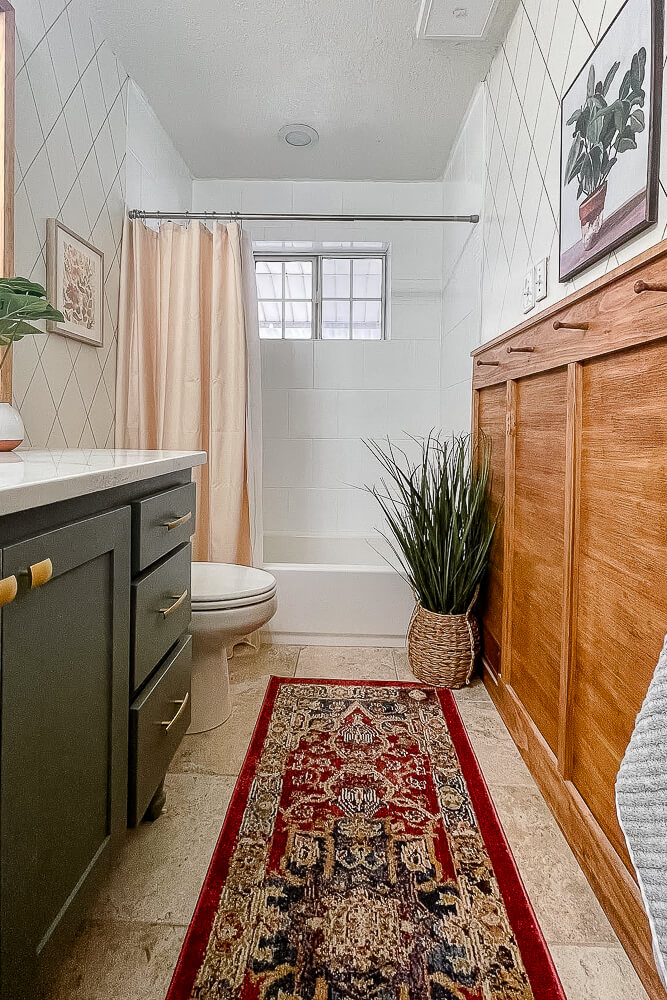
- Bathroom Walls – A grey floral that added personality in a small space.
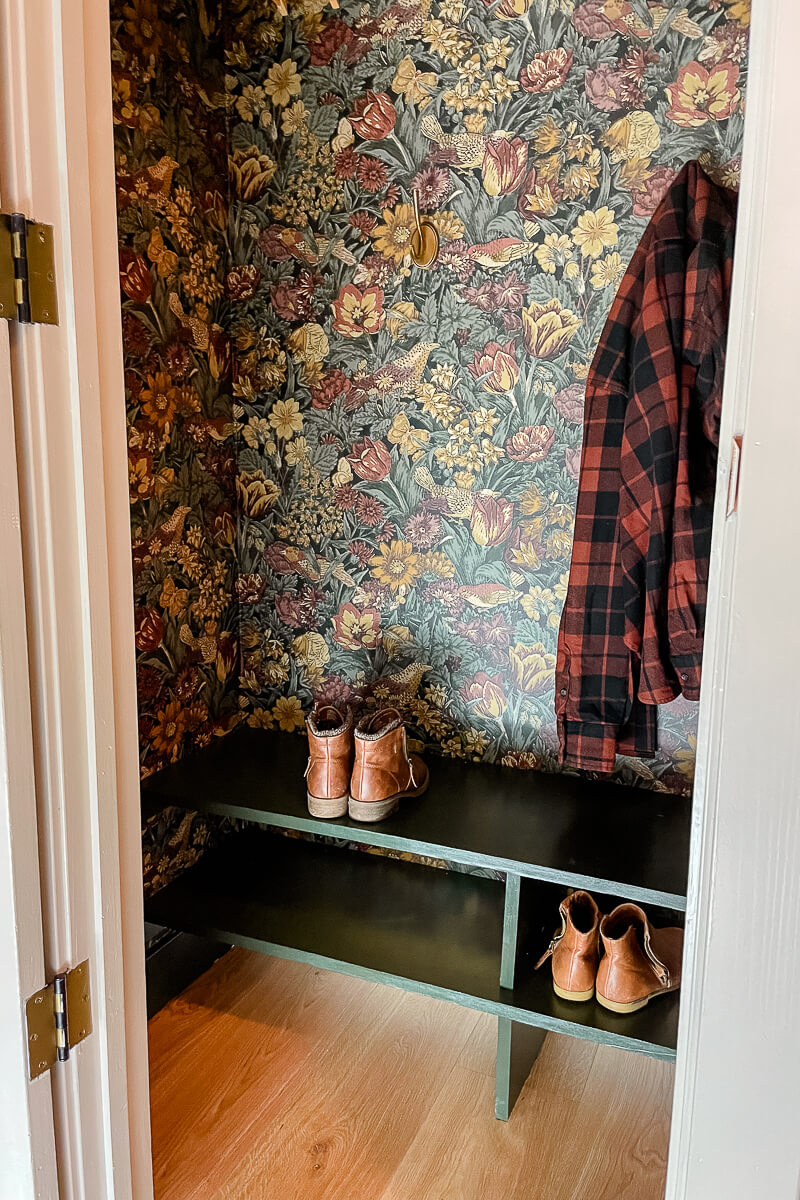
- Coat Closet – Love this dark floral… because even the hidden spaces deserve to be pretty.
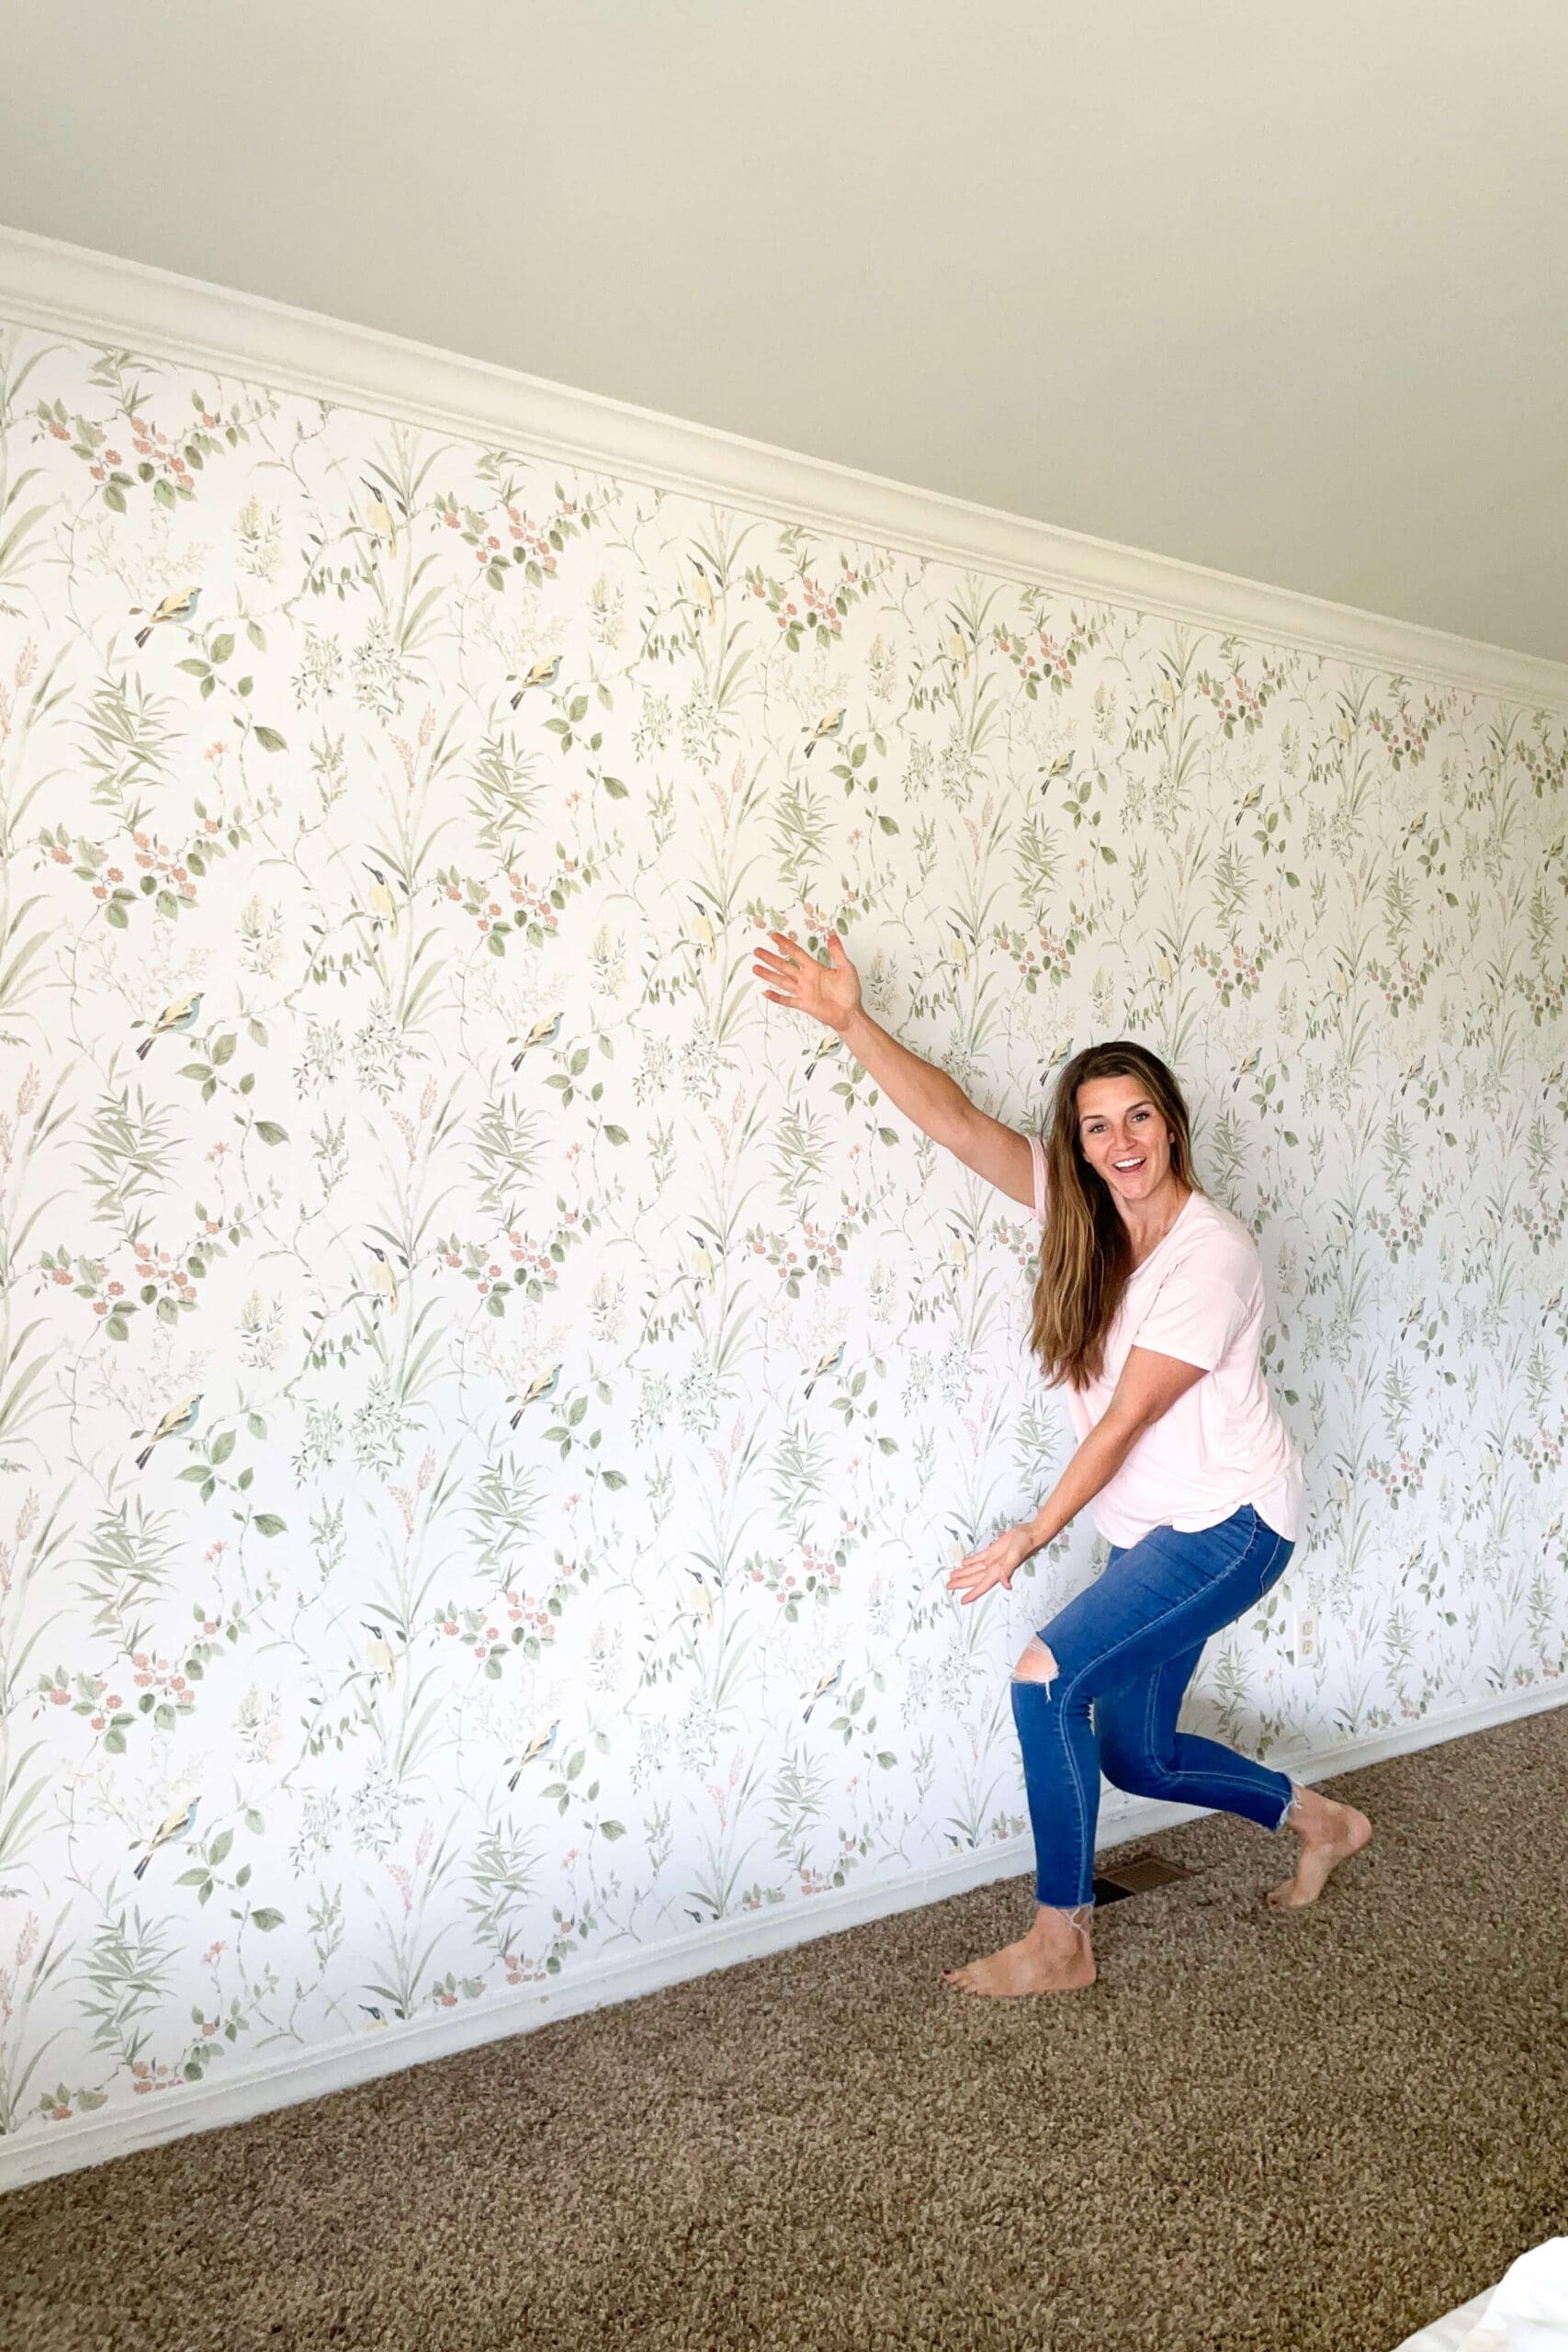
- Primary Bedroom – Calming pattern with birds and flowers gives the room a cozy, high-end feel.
- Girls’ Bedroom – Soft pastel + sweet floral print that made this room pop.

Your Walls Are About to Get a Glow-Up
Once you install wallpaper once, it’s hard not to fall in love. It adds instant personality and depth to any space—whether it’s a big room or a tiny niche. If you’re still debating, take it from someone who’s wallpapered just about every kind of wall: you’ll be hooked.
Here are all the full tutorials in one spot:
- How to Install Prepasted Wallpaper (Beginner DIY Tutorial)
- How to Install Traditional Wallpaper with Paste
- How to Install Peel and Stick Wallpaper in a Nursery
- Easy Guide on How to Wallpaper a Closet
- How to Wallpaper Outlet Covers for a Seamless Look
Bonus: A Faux Wallpaper Hack
And if you’re not quite ready to commit to real wallpaper, let me let you in on a little hack I tried during a bathroom remodel – I grabbed a Sharpie and drew on the wall. Yep, faux wallpaper with just a sharpie. It was crazy easy, insanely budget-friendly, and it actually turned out so good. Highly recommend if you want the look without the price tag or commitment.
With so many options and so many walls, where will you be adding wallpaper in your home?
📌 Pin This Ultimate Wallpaper Guide for Later
FAQ About Installing Wallpaper
Peel-and-stick wallpaper is the most beginner-friendly. It’s mess-free, easy to reposition, and doesn’t require any extra adhesive.
Yes—especially if you’re using traditional or pre-pasted wallpaper. Priming helps the paper stick better and makes removal easier down the line.
Yes, but look for vinyl or moisture-resistant wallpaper. Be sure the walls are smooth and fully dry, and avoid peel-and-stick in very humid bathrooms, as edges may lift over time.
Must-haves include a laser level, utility knife, wallpaper smoothing tool, scissors, and either adhesive or water (depending on the wallpaper type).
Pre-pasted wallpaper has adhesive built in—just activate it with water. Traditional wallpaper requires you to apply paste separately but tends to be more durable and forgiving on textured walls.
