


How To DIY Sharpie Wallpaper For Less Than $3!


Updated July 13, 2026
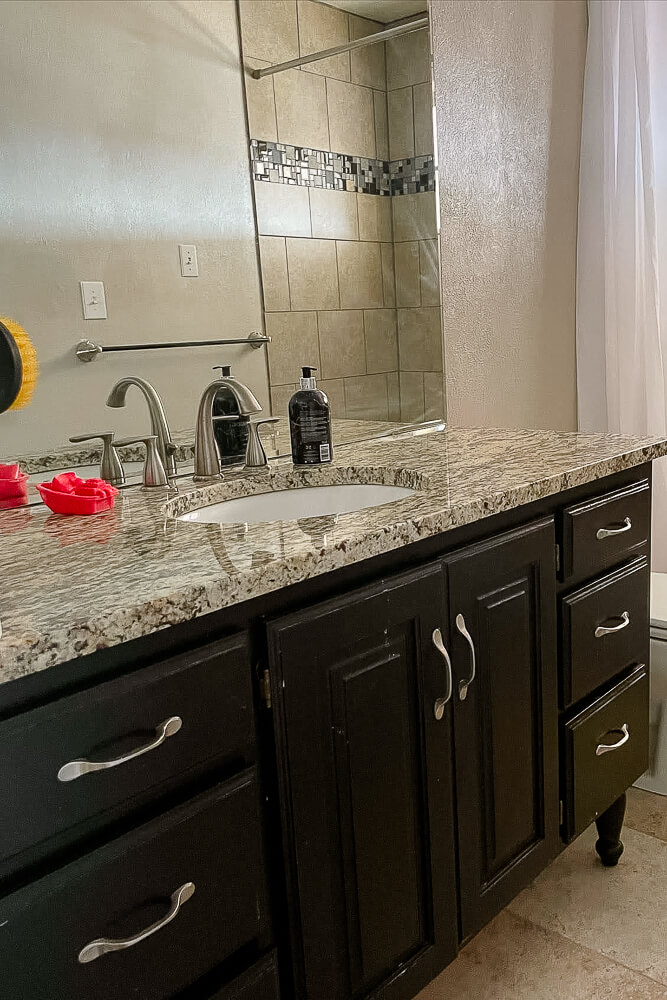
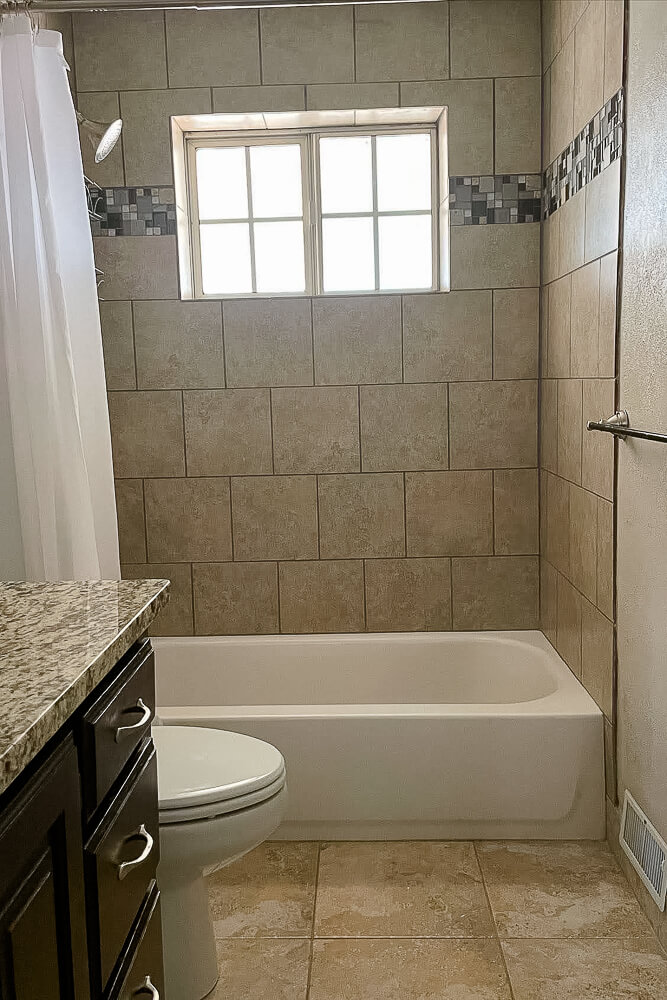
I had to make over this bathroom on a budget, and I had the crazy idea of doing DIY Sharpie wallpaper. So I grabbed a Sharpie and went for it. Designer wallpaper on a budget for the win!
Wallpaper can be expensive, which is funny because 10 years ago, if someone found out you were putting wallpaper up, they’d respond, “Huh, like real wallpaper? Can you even buy real wallpaper? Weird and good luck”.
Now, if you tell that same person you’re putting wallpaper up, a likely reply is, “Me too! But I can’t decide between the green palm fronds or the blue and white cranes, or between peel-and-stick or pre-pasted, or between grasscloth or linen, or between…”…you get my point. Wallpaper is on trend, which is why it’s pricey.
I have a DIY Sharpie wallpaper hack that I’m only sharing with my closest internet audience. It has saved me a ton of money, so read closely: don’t buy wallpaper. Buy office supplies instead. I’m showing you how I made faux designer wallpaper using just a gold Sharpie.
SUPPLIES
- 3 or more Fine Point Gold Metallic Sharpies (or whatever color of your choice), depending on the size you’re covering
- Wood or a Level
- Miter Saw
- Painters Tape
- Touch up paint
This project can easily be done in just a few hours.
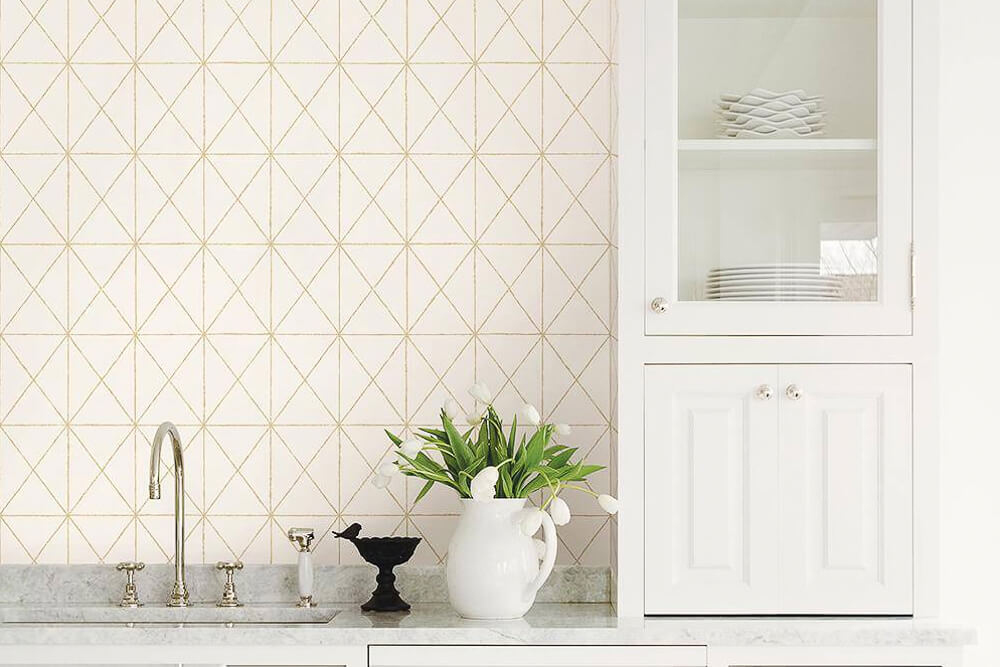
My DIY Sharpie Wallpaper vs Their Designer Wallpaper
This wallpaper is $78 a roll. I would need about 2 rolls to cover a typical-sized wall.
This gold Sharpie is $3; I needed 3 Sharpies to cover a typical-sized wall.
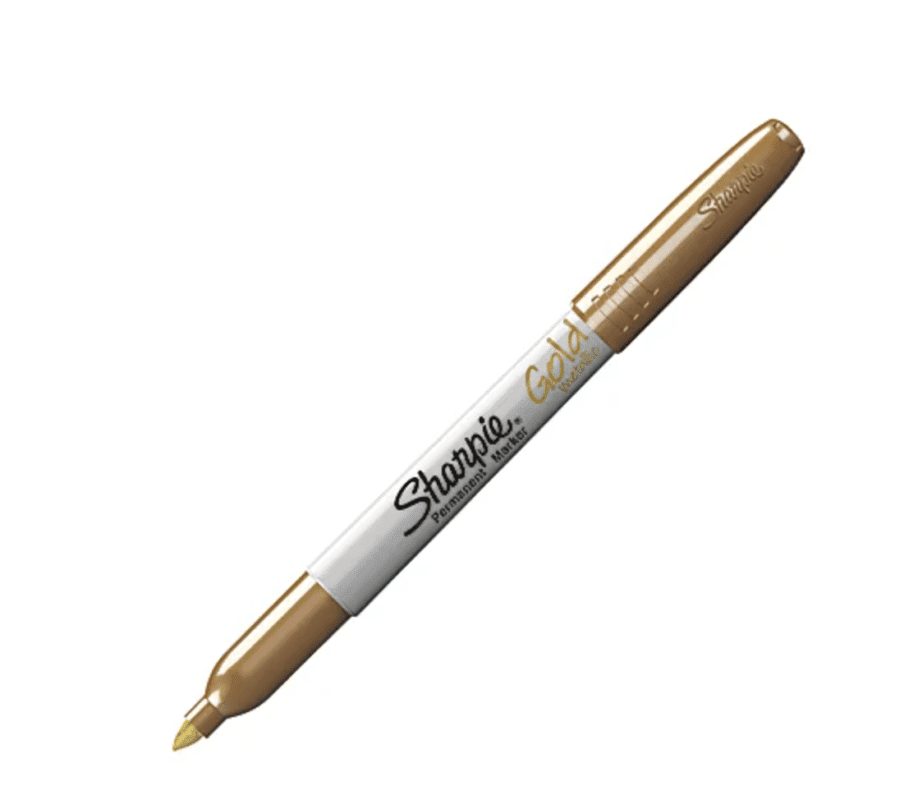
I saved myself $300, which I can now spend on more Sharpies.
DIY Sharpie Wallpaper – Method One
I made a wood template for my first DIY Sharpie wallpaper method. This method requires a miter saw. If you don’t own one, skip to method #2.
Pro Tip: Plywood would be best for this because it’s lightweight.
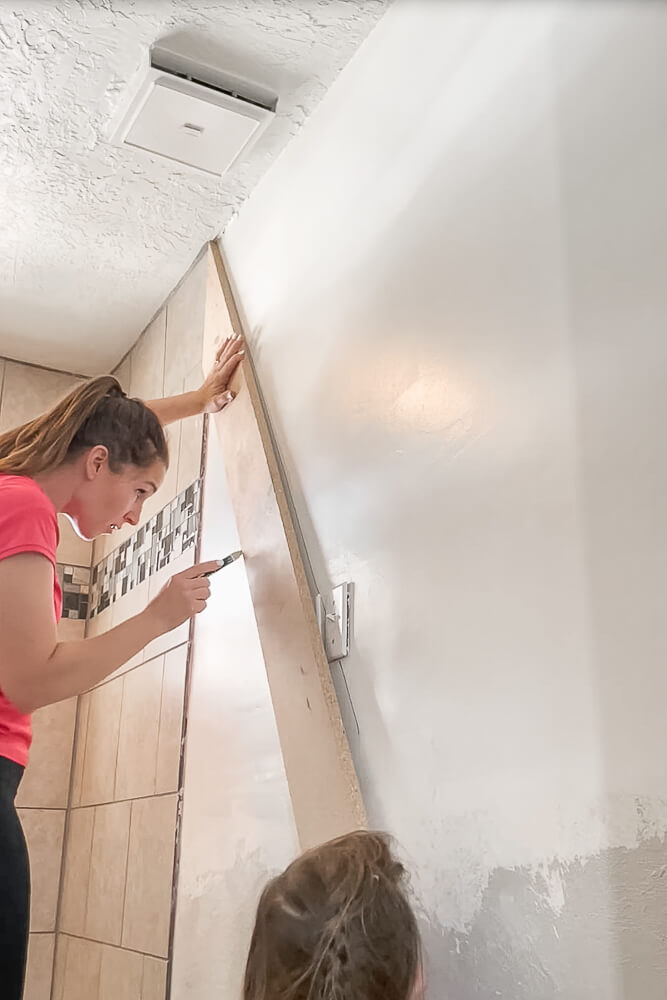
First, I took a 6 in x 5 ft board and cut a 60-degree angle at one end. The board’s length depends on the height of the walls.
I set the corner of the board flush against my vertical tile shower wall and drew a gold line down both sides of the wood. If you don’t have a starting point to lead from, just draw a very level vertical line up your wall.
Pro Tip: You can also use inexpensive gold paint pens rather than a Sharpie. These gave me thicker lines, which I liked although they are a little more finicky.
Next, I moved the board down a bit, matching the left side of my board with my previously drawn line. Then, I drew another line and continued until I had a line drawn to where my future board and batten would be placed. I continued this DIY Sharpie wallpaper process all the way across the bathroom. My board was long, so not every line could be drawn, especially because bathrooms have so many obstacles in the way, but I’ll explain my workaround for that in a minute.
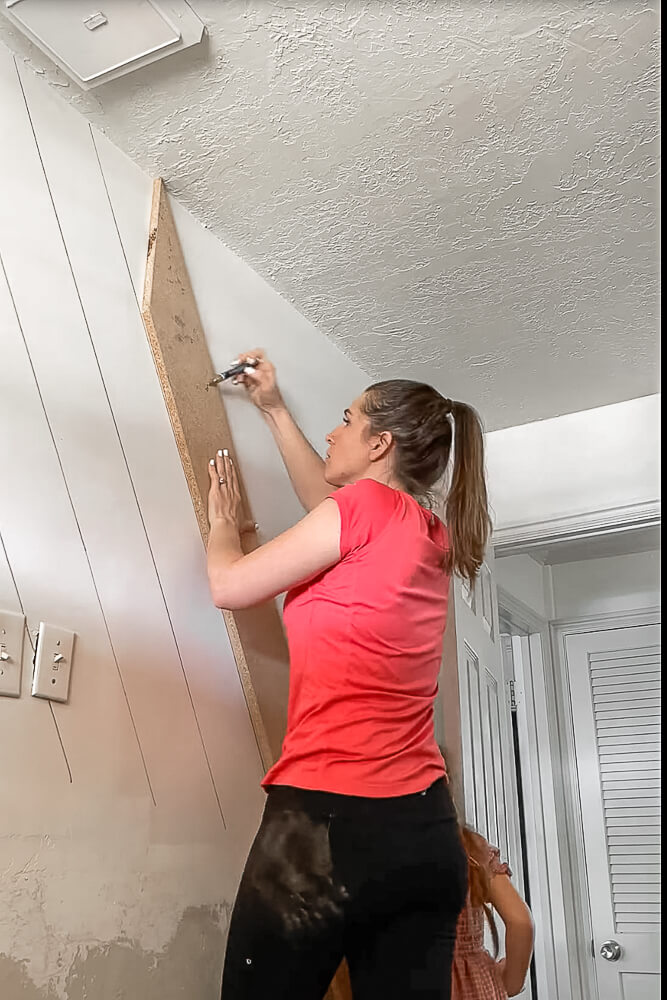
Then, I did the opposite, flipped my board over, and made my way back across the bathroom, placing the angle so it was flush with the corner, and drew my lines the opposite way, down the wall.

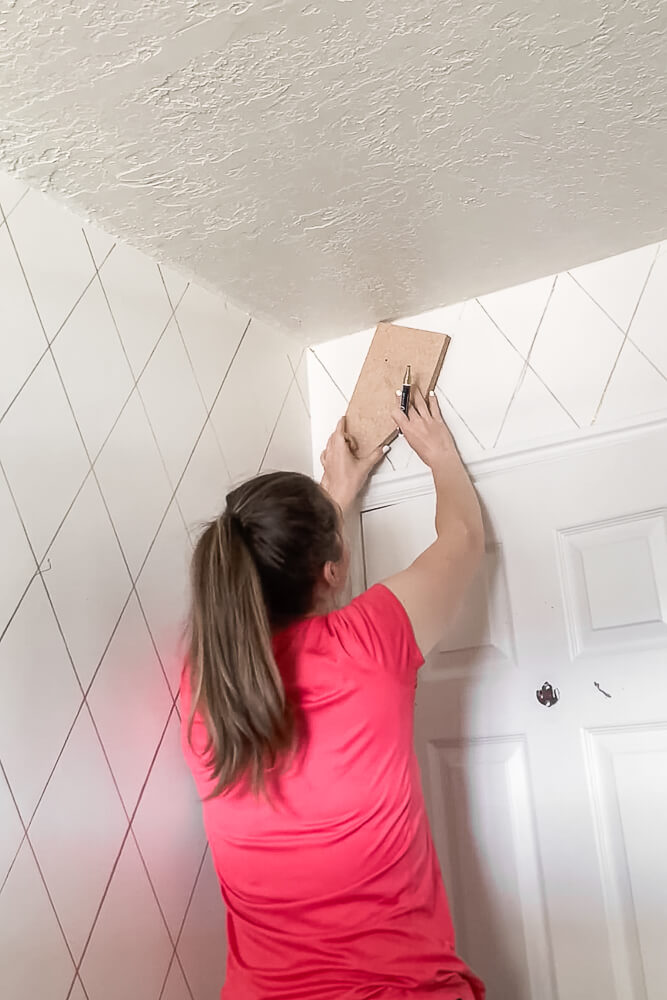
After I had drawn all the lines I could using that length of the board, I trimmed it down by 12 in so the board would fit in the smaller areas, and I continued drawing lines around the room.
I trimmed more each time to accommodate the area I was working on until my board was small enough for me to draw every line of my DIY Sharpie wallpaper.
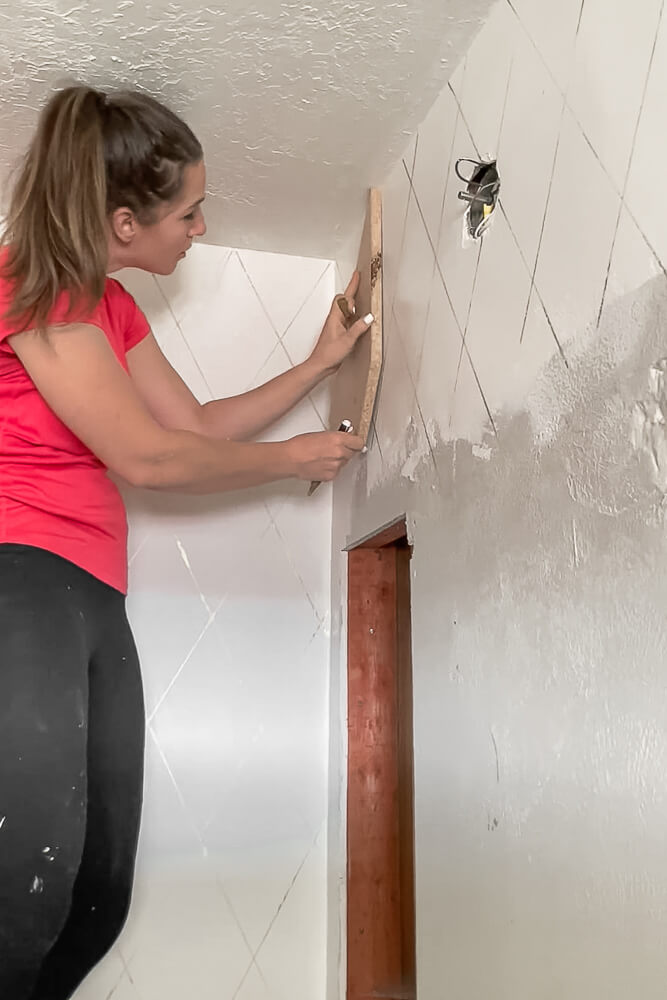
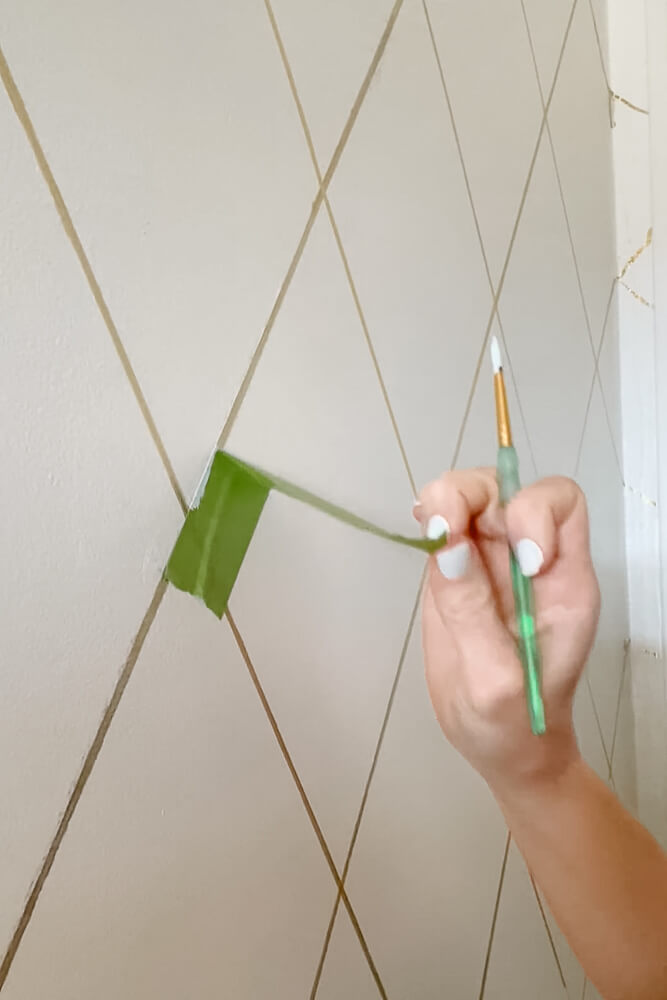
I had to darken some lines because they were fainter than others, and I also had to use touch-up paint to fix some lines that went a bit haywire.
DIY Sharpie Wallpaper – Method Two
The first DIY Sharpie wallpaper I ever drew was in my brother’s pantry. I was planning on building a cabinet, so I didn’t need to cover the entire wall, only what would be seen. They had just painted the pantry a stark white, and I knew the metallic gold would contrast beautifully with the wall.
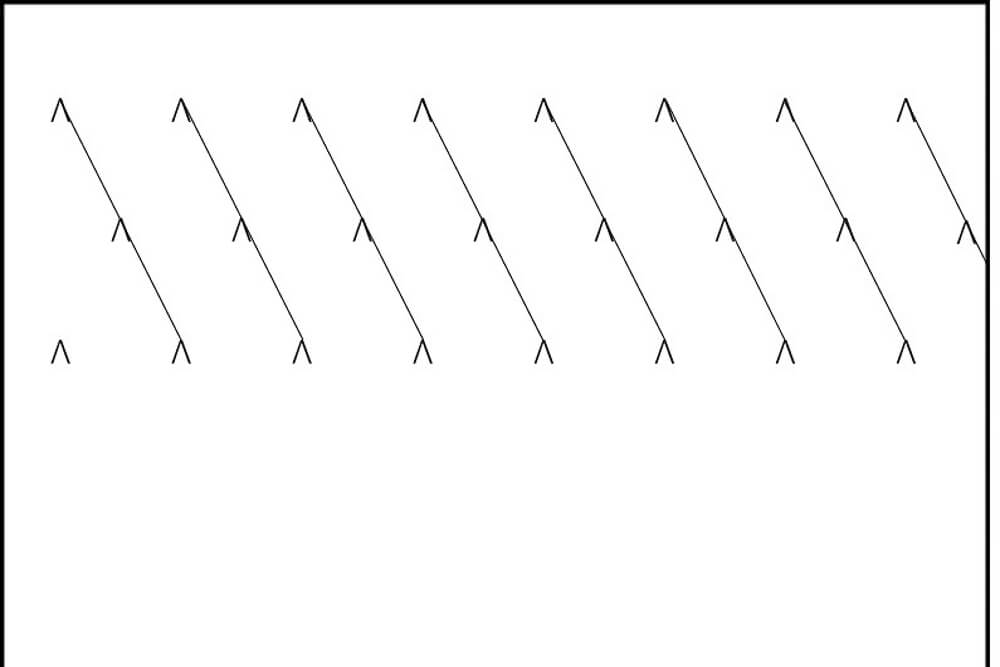
To create my DIY Sharpie wallpaper, I started at the left top corner of the wall and penciled in a tiny little V mark 6 inches down from the ceiling and 3 inches to the right of the corner. Then, I made another mark 6 inches down from the previous mark but only 3 inches to the right of the corner, and then one last mark 6 inches down from the previous mark and 6 inches to the right of the corner.
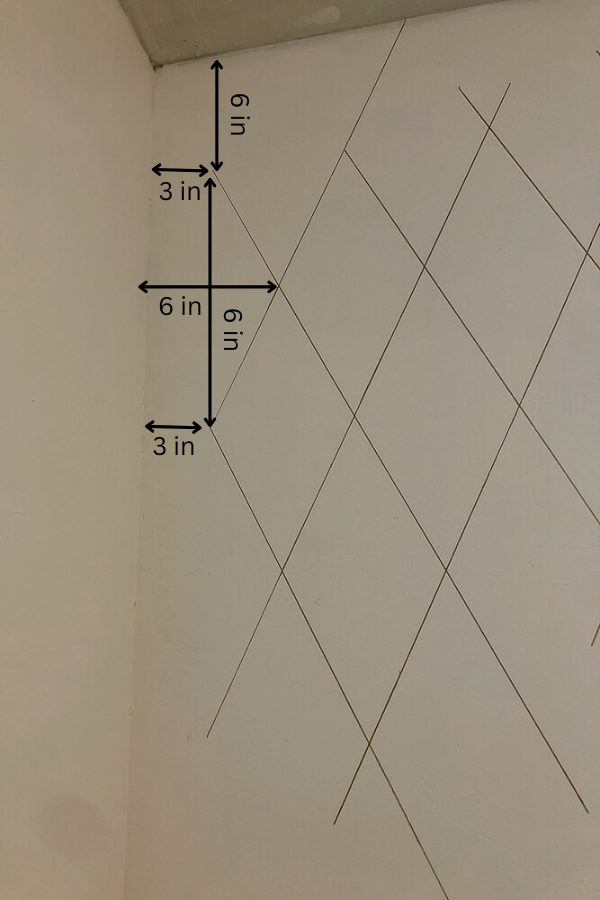
And then I repeated that all down and over on my wall. Your wall will start looking like this –

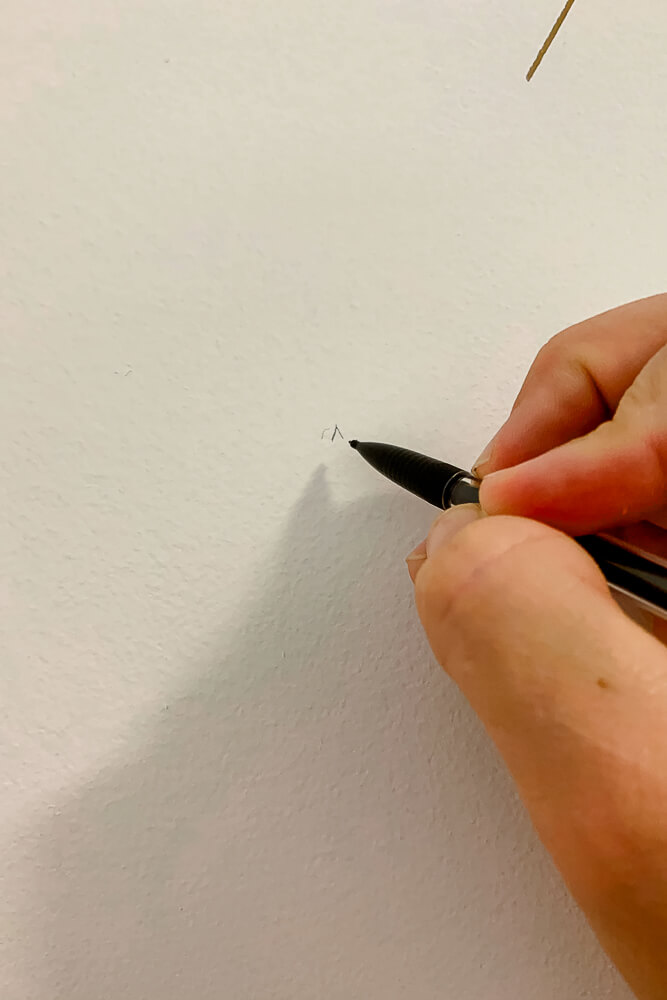
My marks were tiny upside-down Vs because I was only using them as a guide, and they needed to be easily hidden by my Sharpie line.
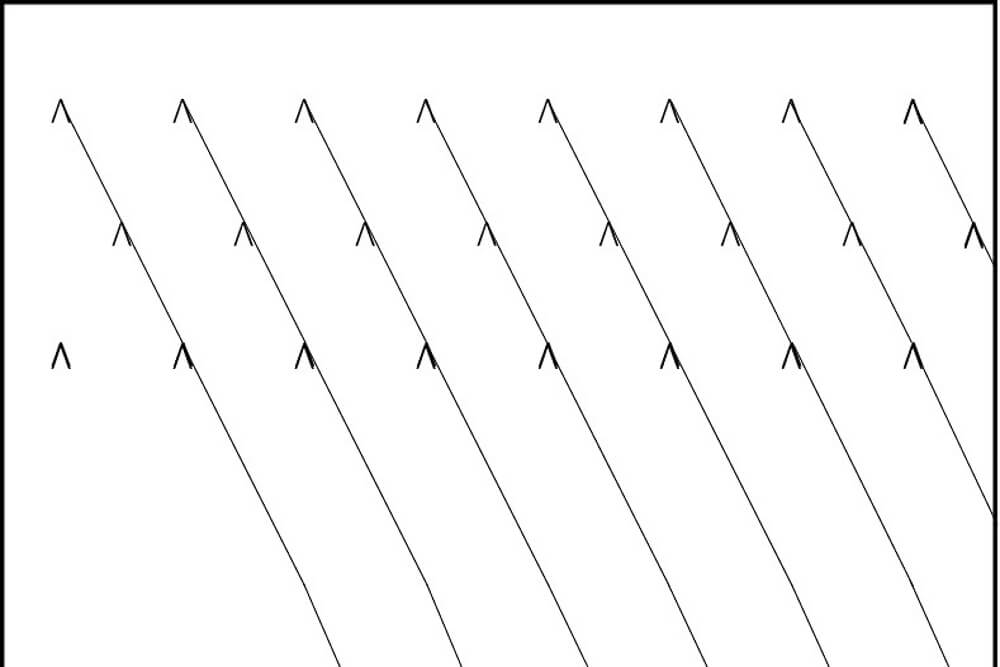
Now that I had my reference points, I took my level and made a line, connecting the point of the Vs down the wall towards the right. This line can be a pencil line if you don’t trust yourself, or you can just go full steam ahead and use the sharpie to make your lines. That’s what I did, and they turned out fine.
From that point, I lined my level up exactly on my previously drawn line, and working from left to right, I continued my lines down the width and length of the wall and knocked all those lines out.
Then I did the same thing but in reverse, working from right to left this time, connecting my level to the bottom of the Vs and making lines down the width and length of the wall.
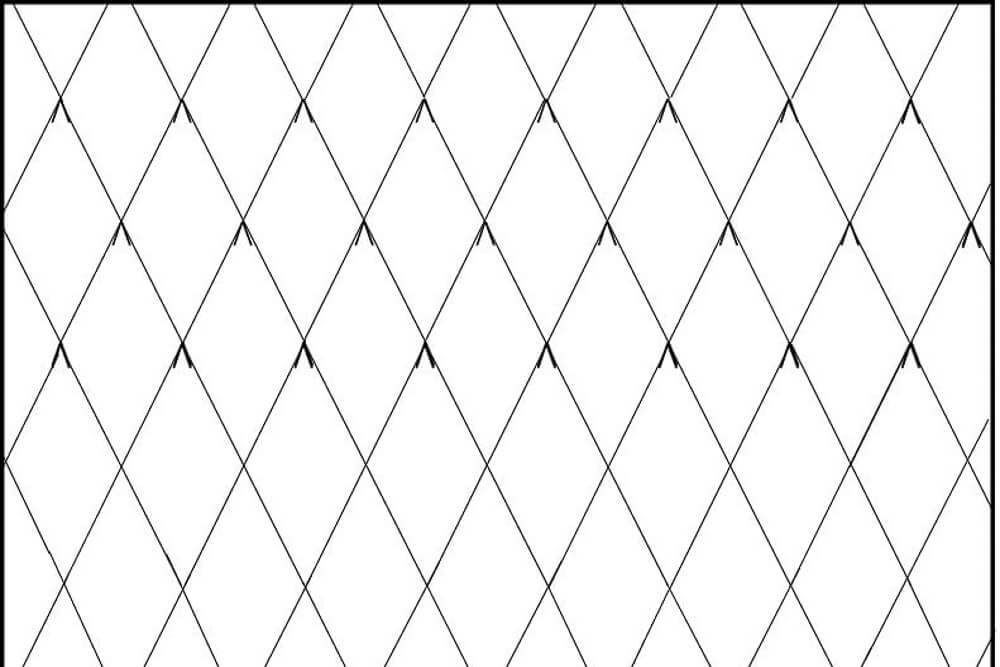
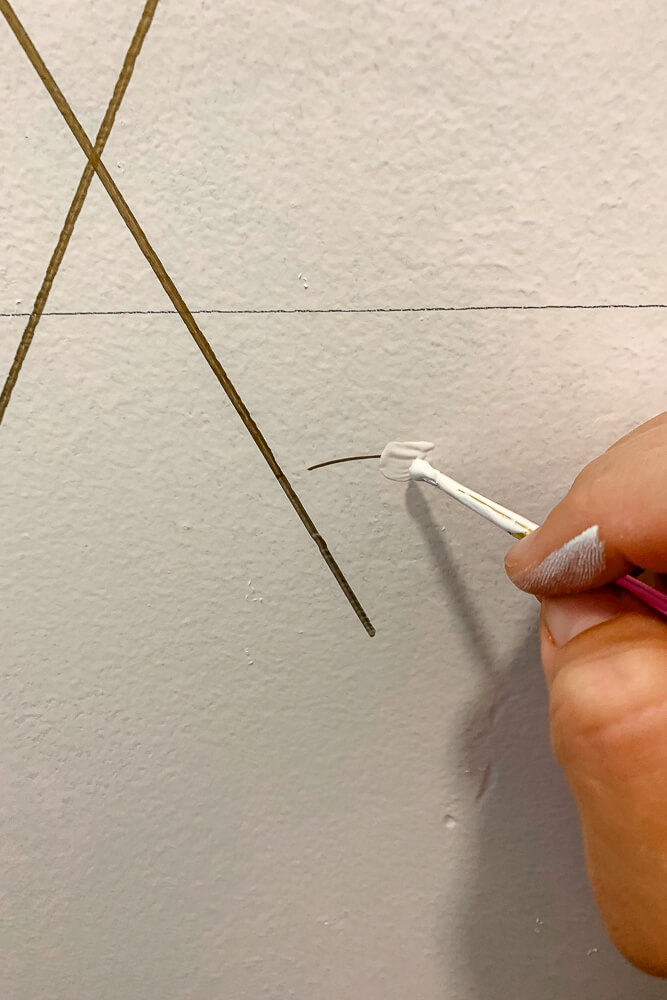
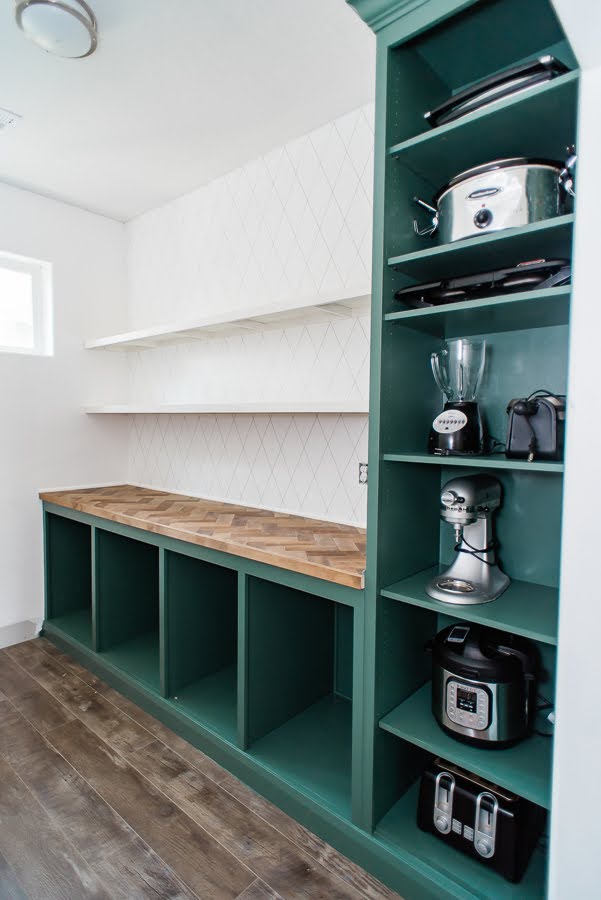
If you used a pencil, you’ll then take a level and run the Sharpie over your lines. And here’s what the DIY Sharpie wallpaper in the Butler’s pantry looks like –

Check out this post if you want to see how I built that Butler’s Pantry. It turned out pretty good if I do say so myself. If you like that Herringbone Counter or the floating shelves I built , I’ve got step by step tutorials for both.
My DIY Sharpie Wallpaper Helped Keep Costs Down
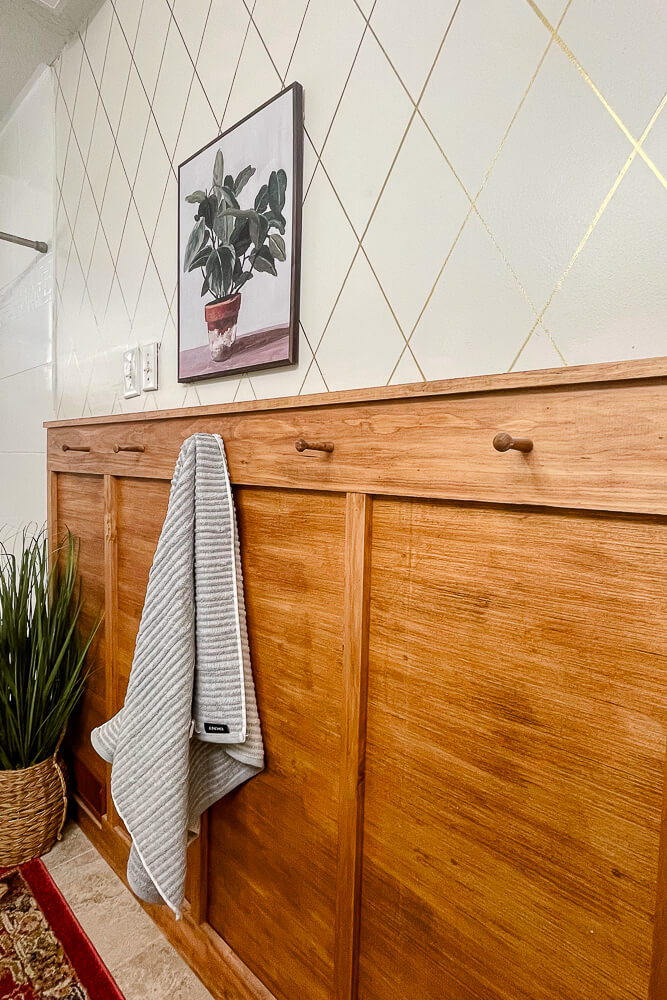
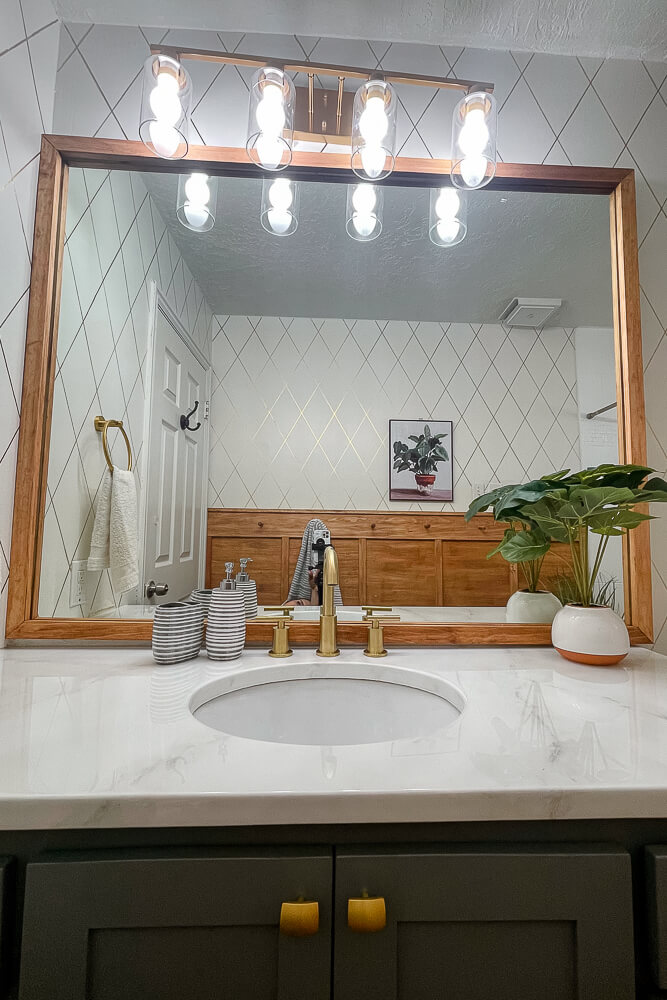
I had a goal of spending only $500 on this bathroom, and creating faux designer wallpaper using only a Sharpie was a huge help in keeping costs down. Check out these before-and-after shots. It’s hard to believe it’s the same bathroom!
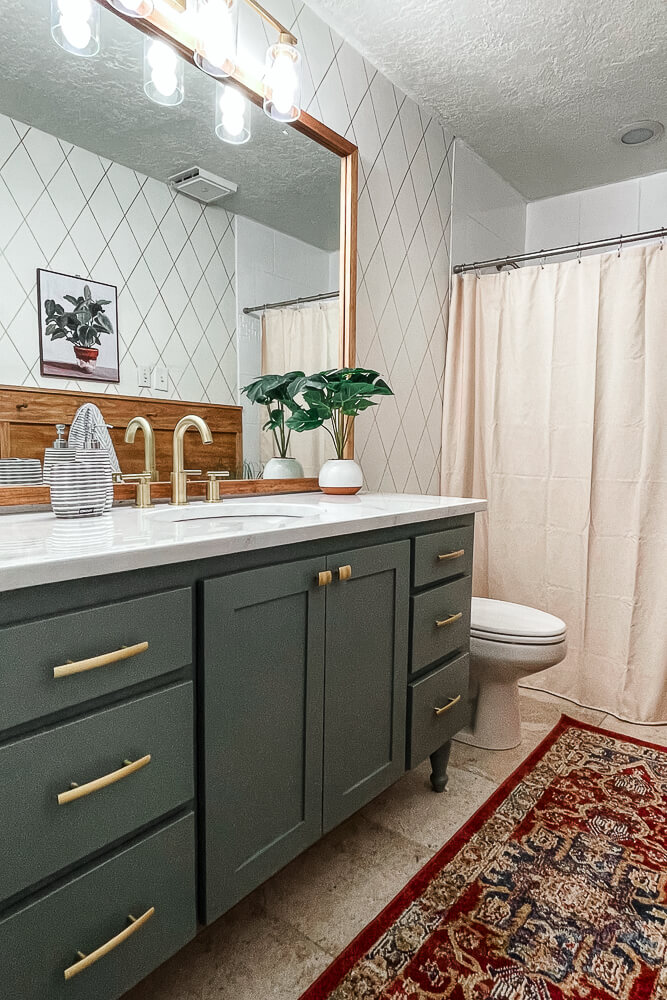
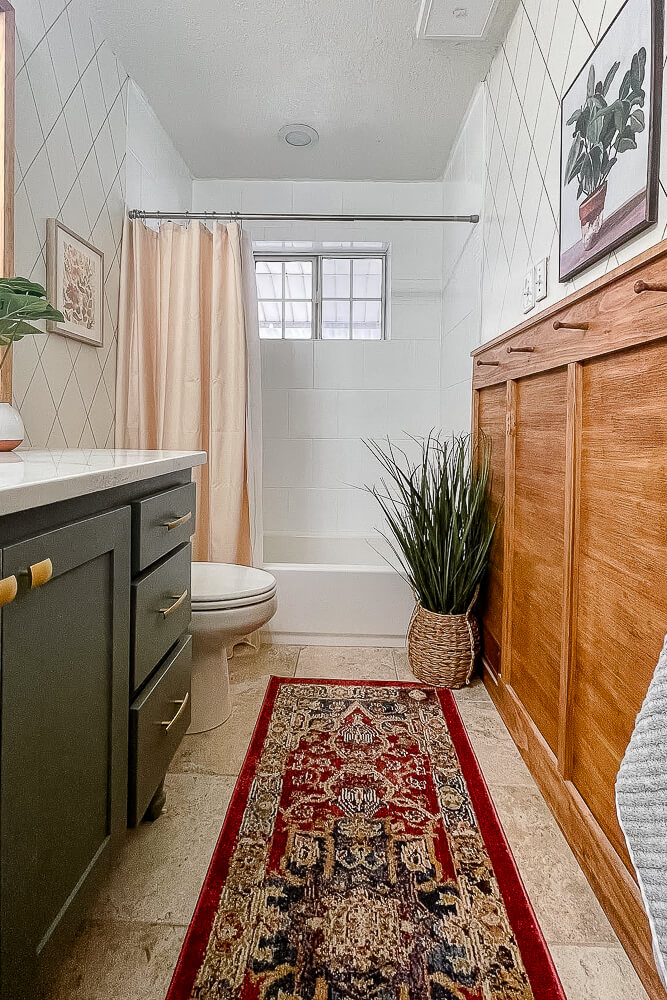
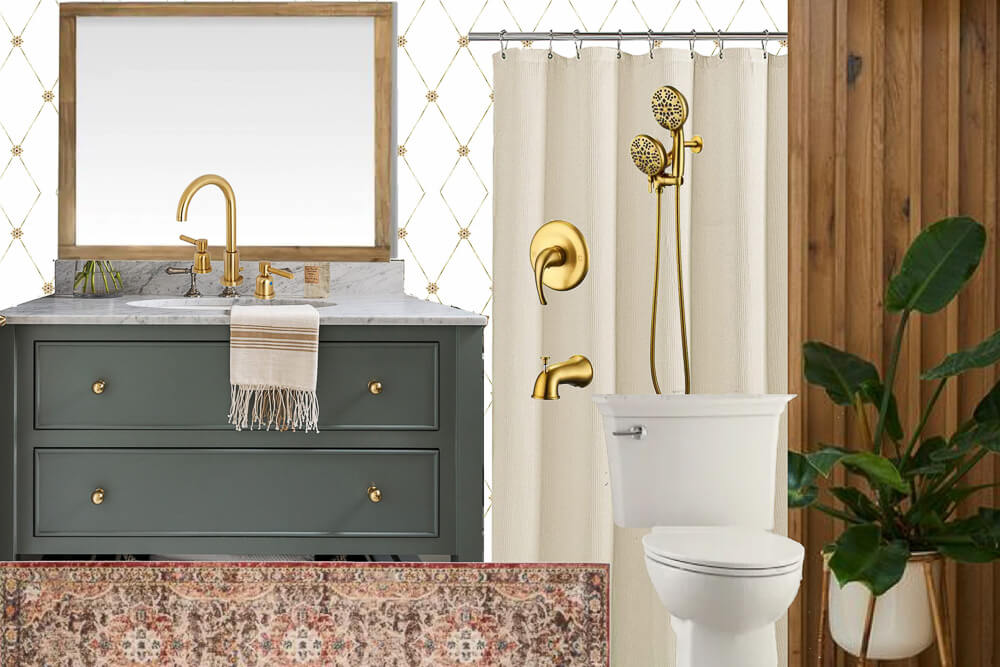
Look how similar my mood board is to the final design! I love it when I can make that happen.
I would love to hear from you! Please comment if you’ve tried this wallpaper and if it worked out for you. If you have any questions, I’ll be sure to respond.

This is GENIUS! I love when something is done or solved by doing less! I’m sure it was work, but worth it.
How do you handle touch ups over time?
Hi! I love the stain that you used for the wood there. Can I ask what the color is and what brand?? Thanks!