How to Build a DIY Board and Batten Wall in One Day


Updated May 9, 2026
If you’re looking for a DIY project that’s fast, affordable, and makes a huge impact – this is it. This board and batten accent wall completely transformed my living room, and the best part? I knocked it out in a single day. Yep, one day. It’s that beginner-friendly. Not only does it add instant charm and classic style to your space, but it’s also super budget-friendly.
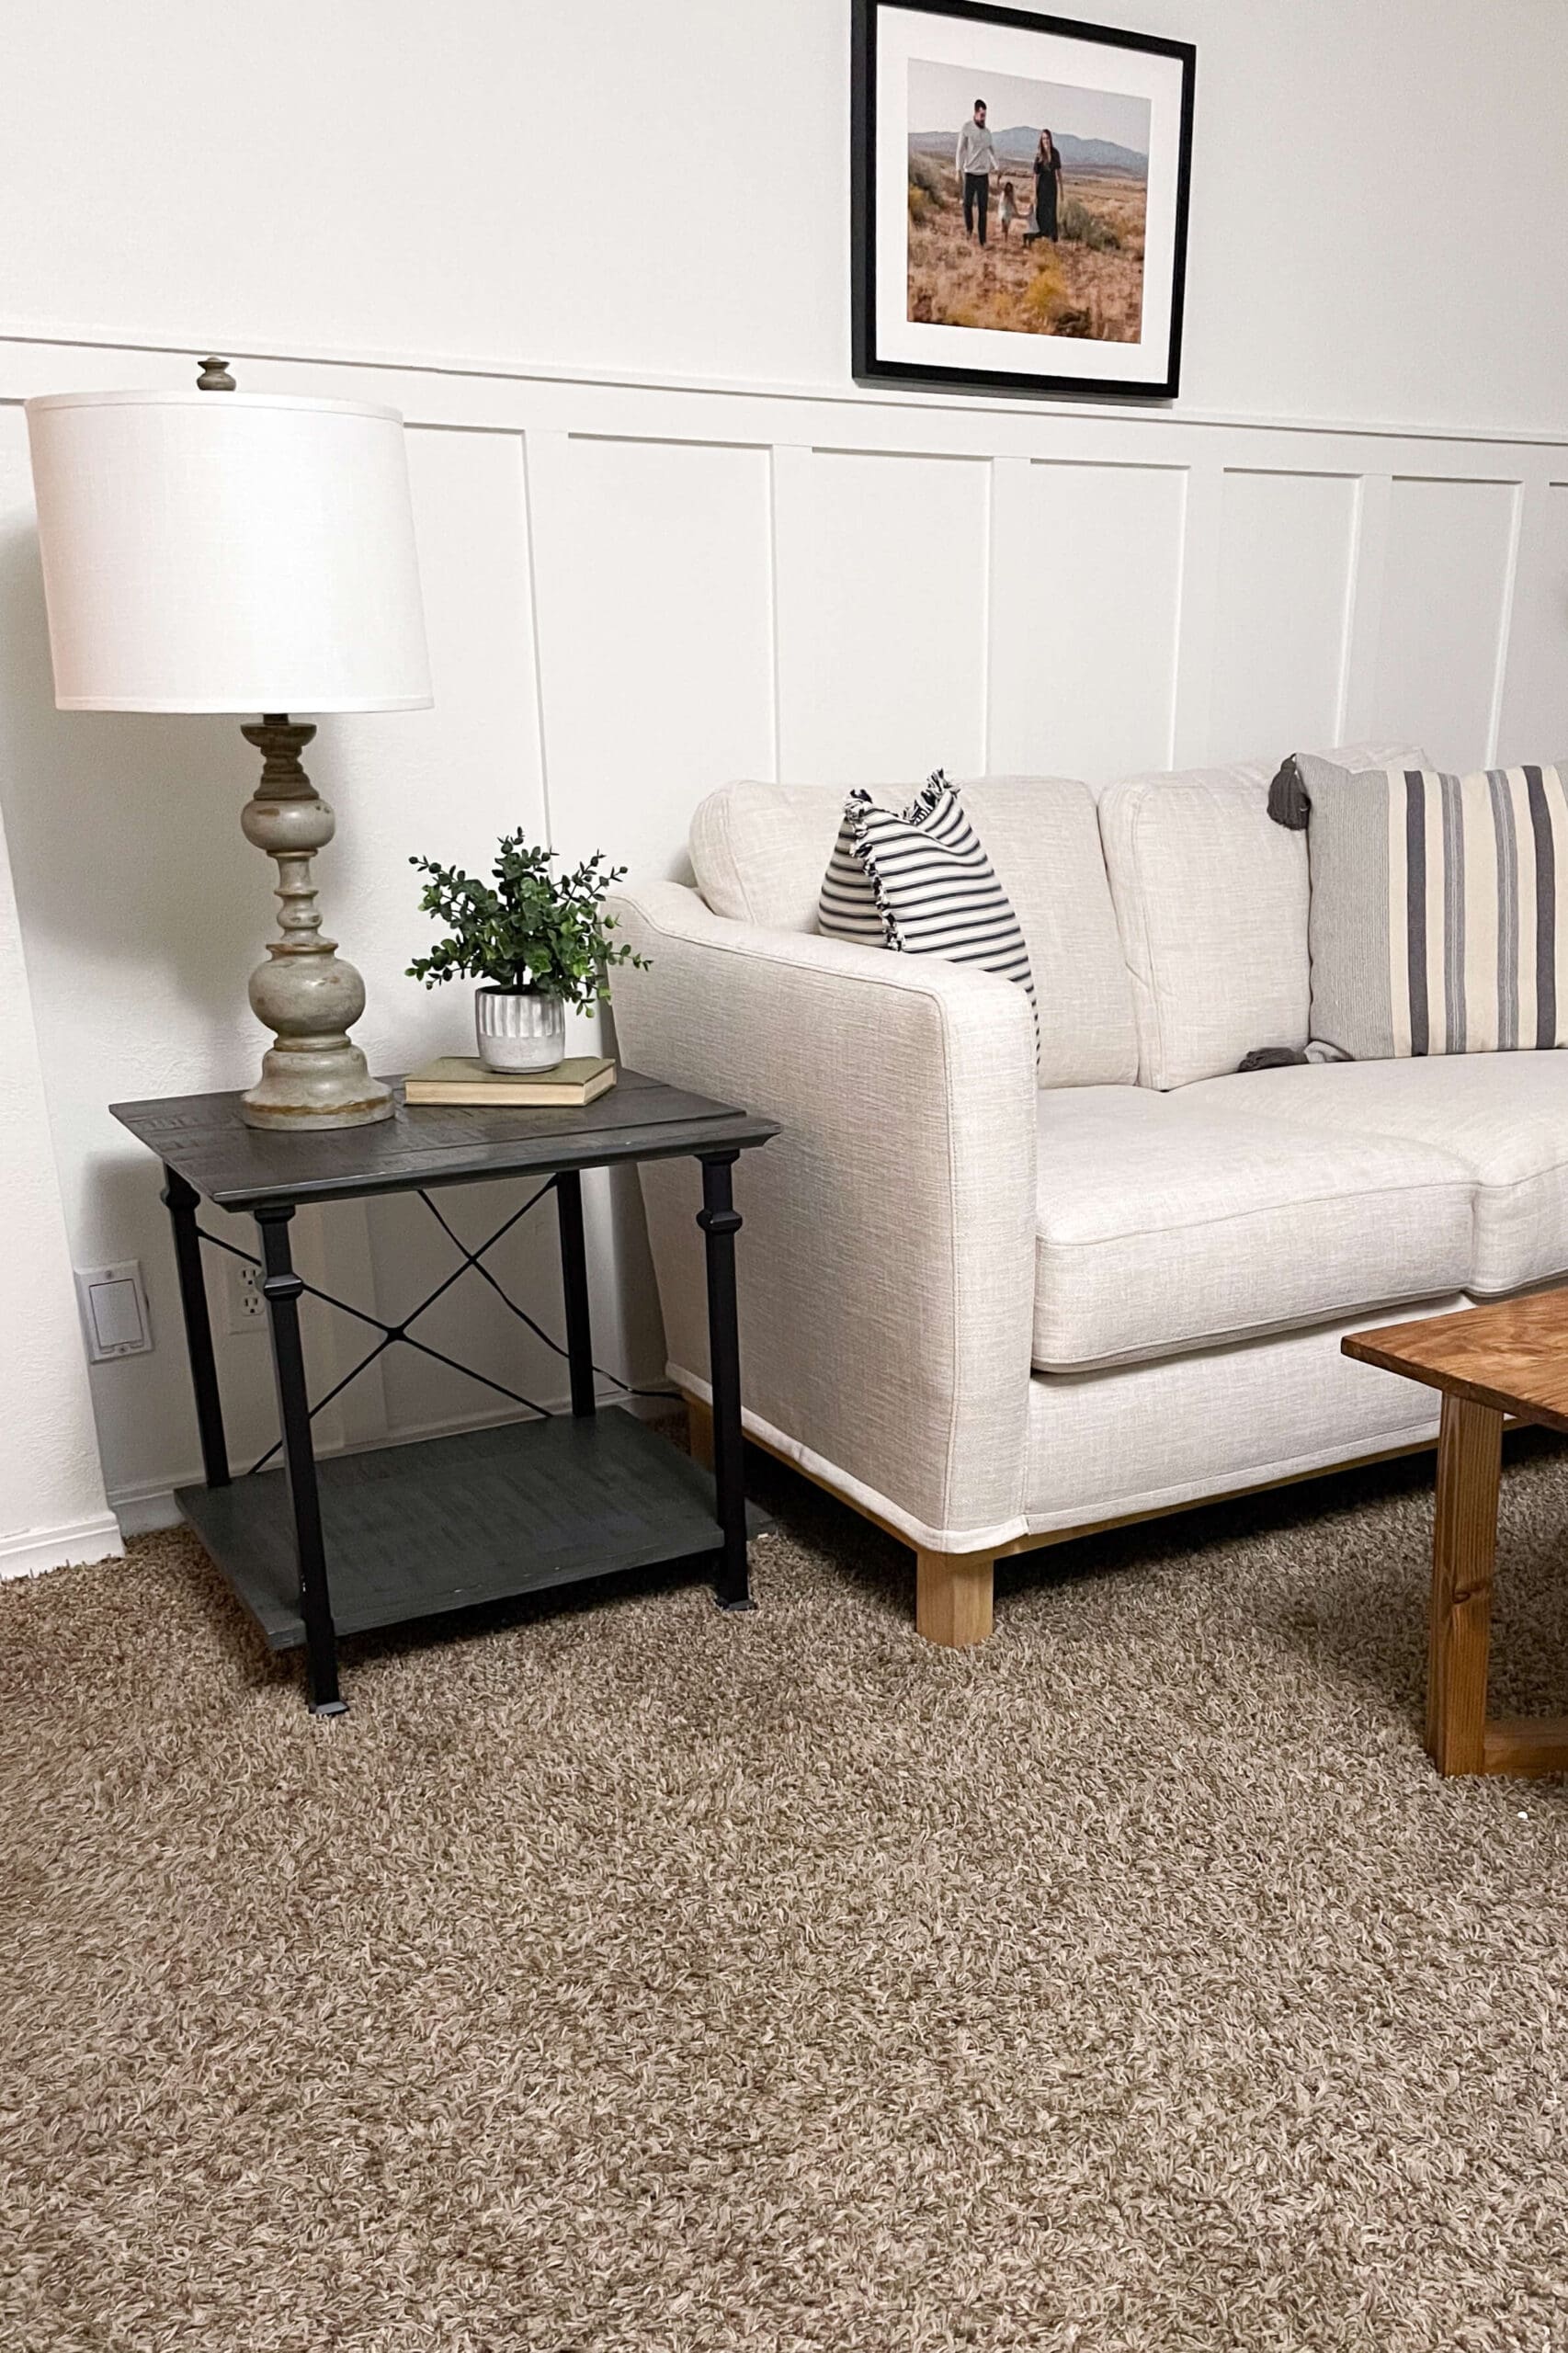
Table of Contents
- Supplies for Installing a DIY Board and Batten Wall
- Step 1: Prep Your Wall for a DIY Accent Wall
- Step 2: Cut or Buy MDF Trim for Board and Batten Walls
- Step 3: Install the Top Board for Your Board and Batten Layout
- Step 4: Add Vertical Battens for a Modern Accent Wall Look
- Step 5: Finish the Top Edge of Your Board and Batten Wall
- Step 6: Caulk and Smooth Your Board and Batten Trim
- Step 7: Prime the MDF for a Flawless Painted Finish
- Step 8: Paint Your DIY Board and Batten Accent Wall
- Done in a Day: This Board and Batten Wall Was So Worth It
- More Board and Batten Wall Inspo in Our Home
- FAQ About Installing a Board and Batten Wall
Supplies for Installing a DIY Board and Batten Wall
Tools for Building a Board and Batten Accent Wall
- Table saw (for cutting MDF – optional if using pre-cut trim)
- Miter saw (for cutting battens to length)
- Brad nailer
- Laser level (optional, but super helpful for lining everything up)
- Tape measure
- Pencil (for marking placement)
- Caulk gun
- Foam roller + angled brush (for smooth painting)
- Nail setter punch + hammer (for sinking any high nails)
Materials for a Board and Batten Feature Wall
- 1/2″ x 4′ x 8′ MDF sheet (cut into battens and trim pieces)
- Paintable caulk
- Primer
- Paint (I used the same color as the base wall)
- Brad nails
Step 1: Prep Your Wall for a DIY Accent Wall
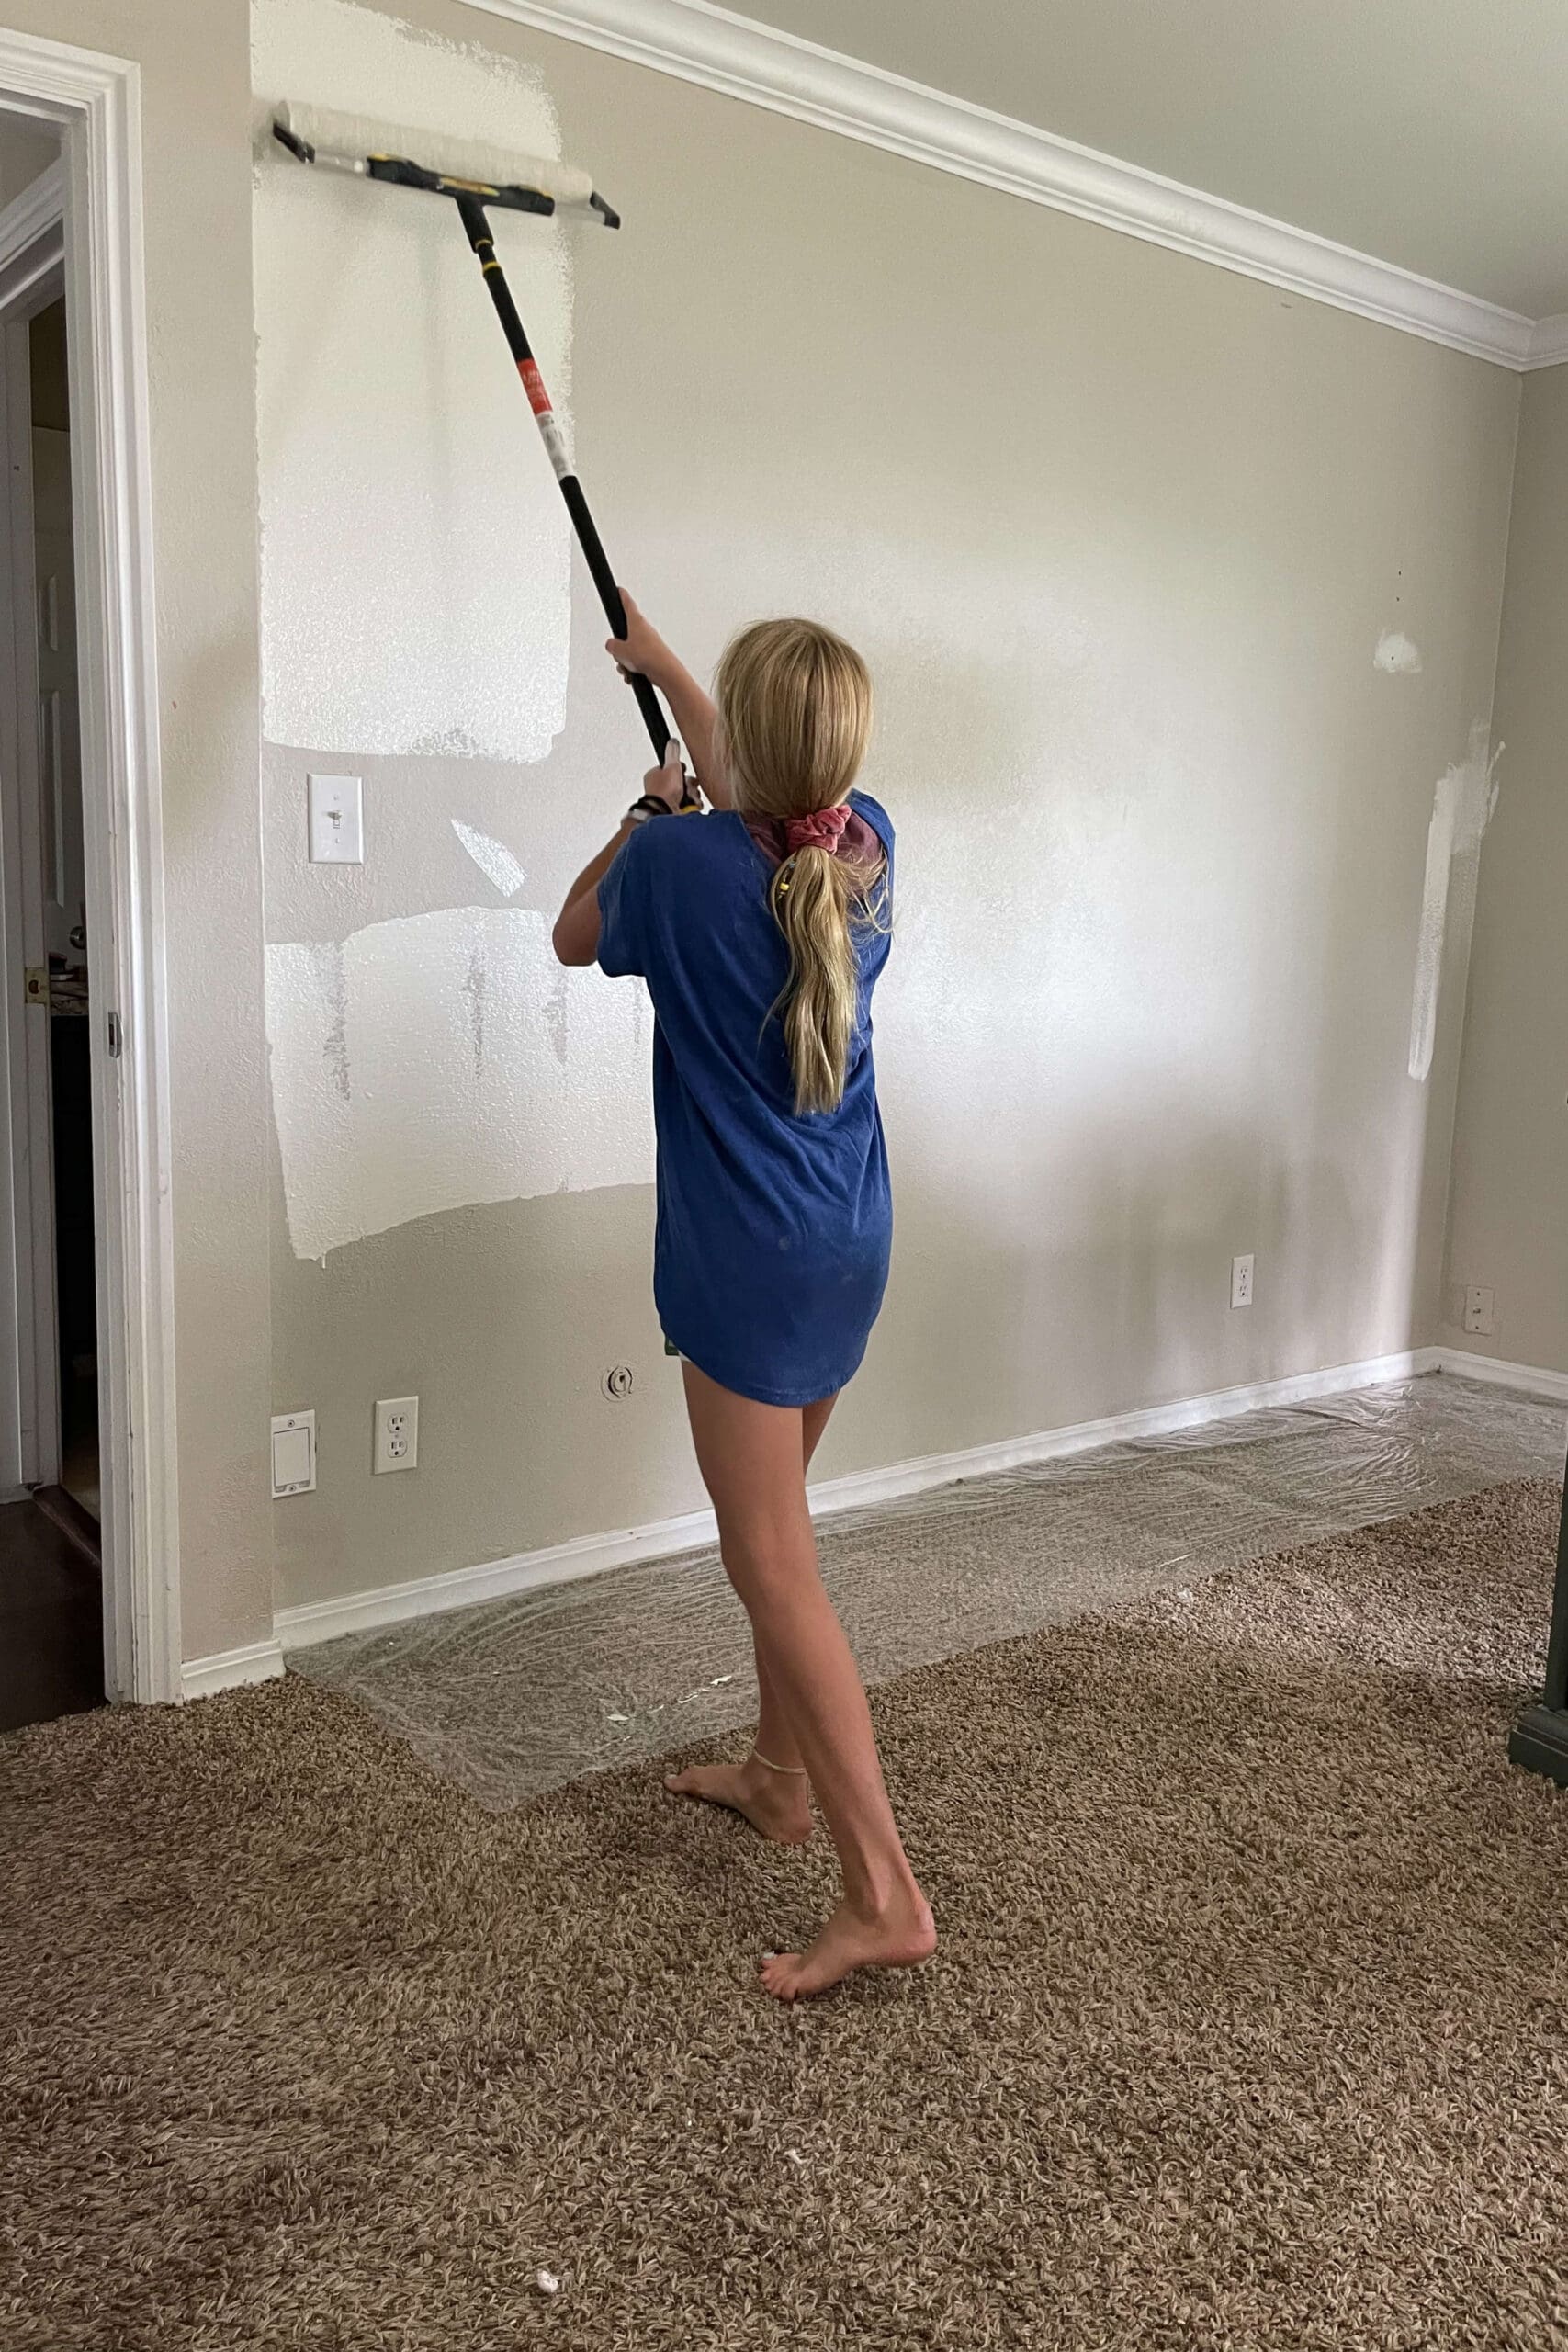
If you’re planning to change the wall color, do it before you start attaching your board and batten trim to the wall. Trust me – this way saves you from having to mask off all the trim you’re about to add.
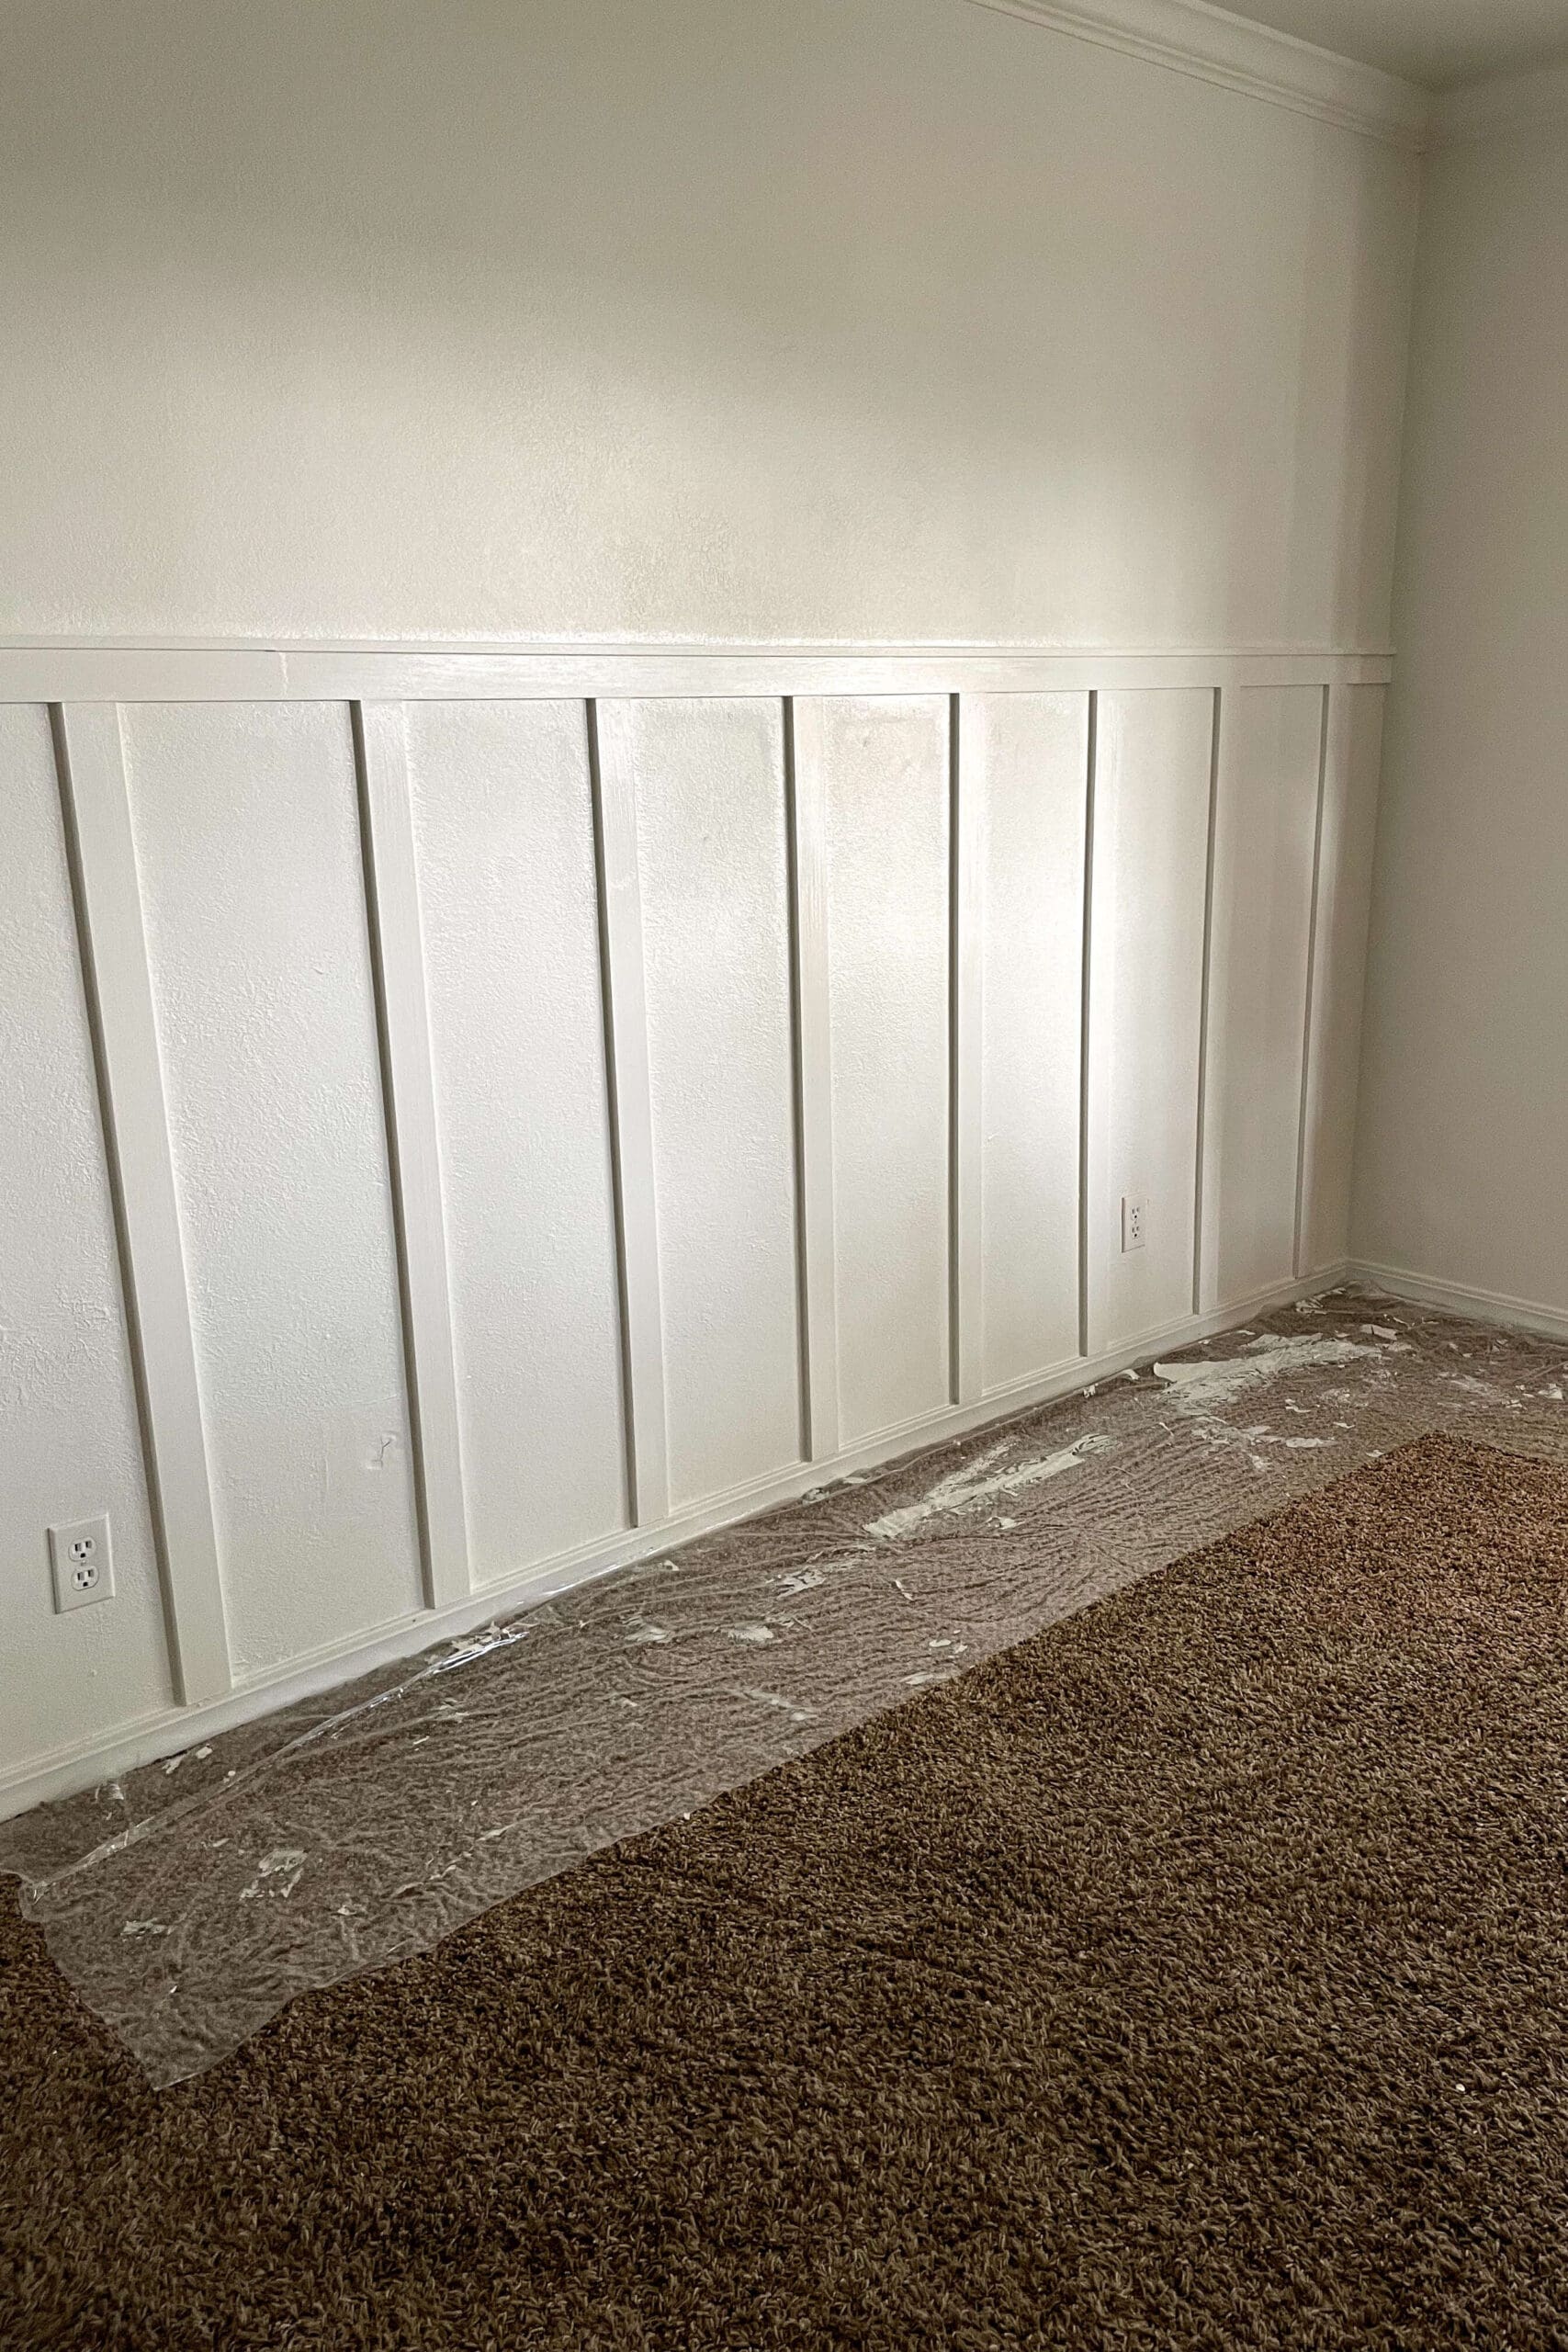
I said goodbye to the sad beige and went with a fresh, clean white. Painting first gives you a smooth, uninterrupted base, and saves a ton of time in the long run.
Step 2: Cut or Buy MDF Trim for Board and Batten Walls
I used a table saw to rip a 1/2-inch-thick, 4×8 sheet of MDF into 3-inch-wide strips. It’s super cost-effective, especially if you’re doing a larger wall. But if you want to make this project even faster, go ahead and buy the pre-cut MDF trim. It’s ready to install right on the wall, and we’ll definitely save you some time.
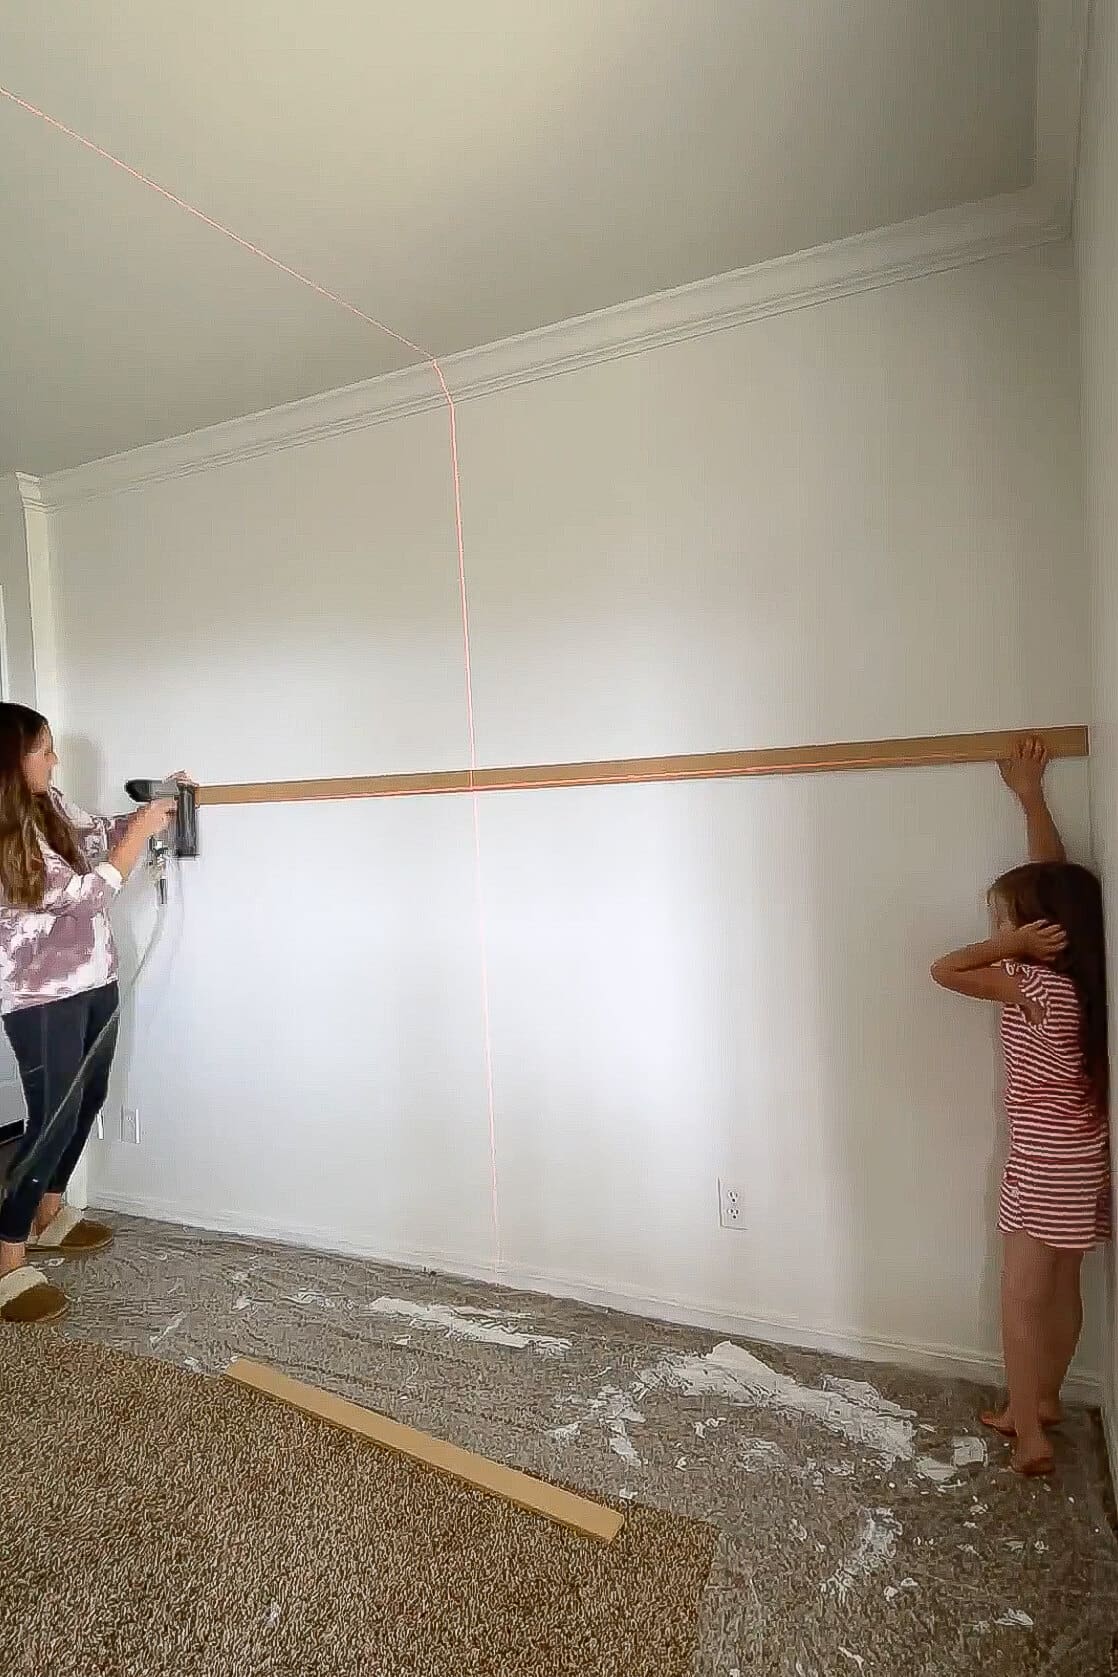
Step 3: Install the Top Board for Your Board and Batten Layout
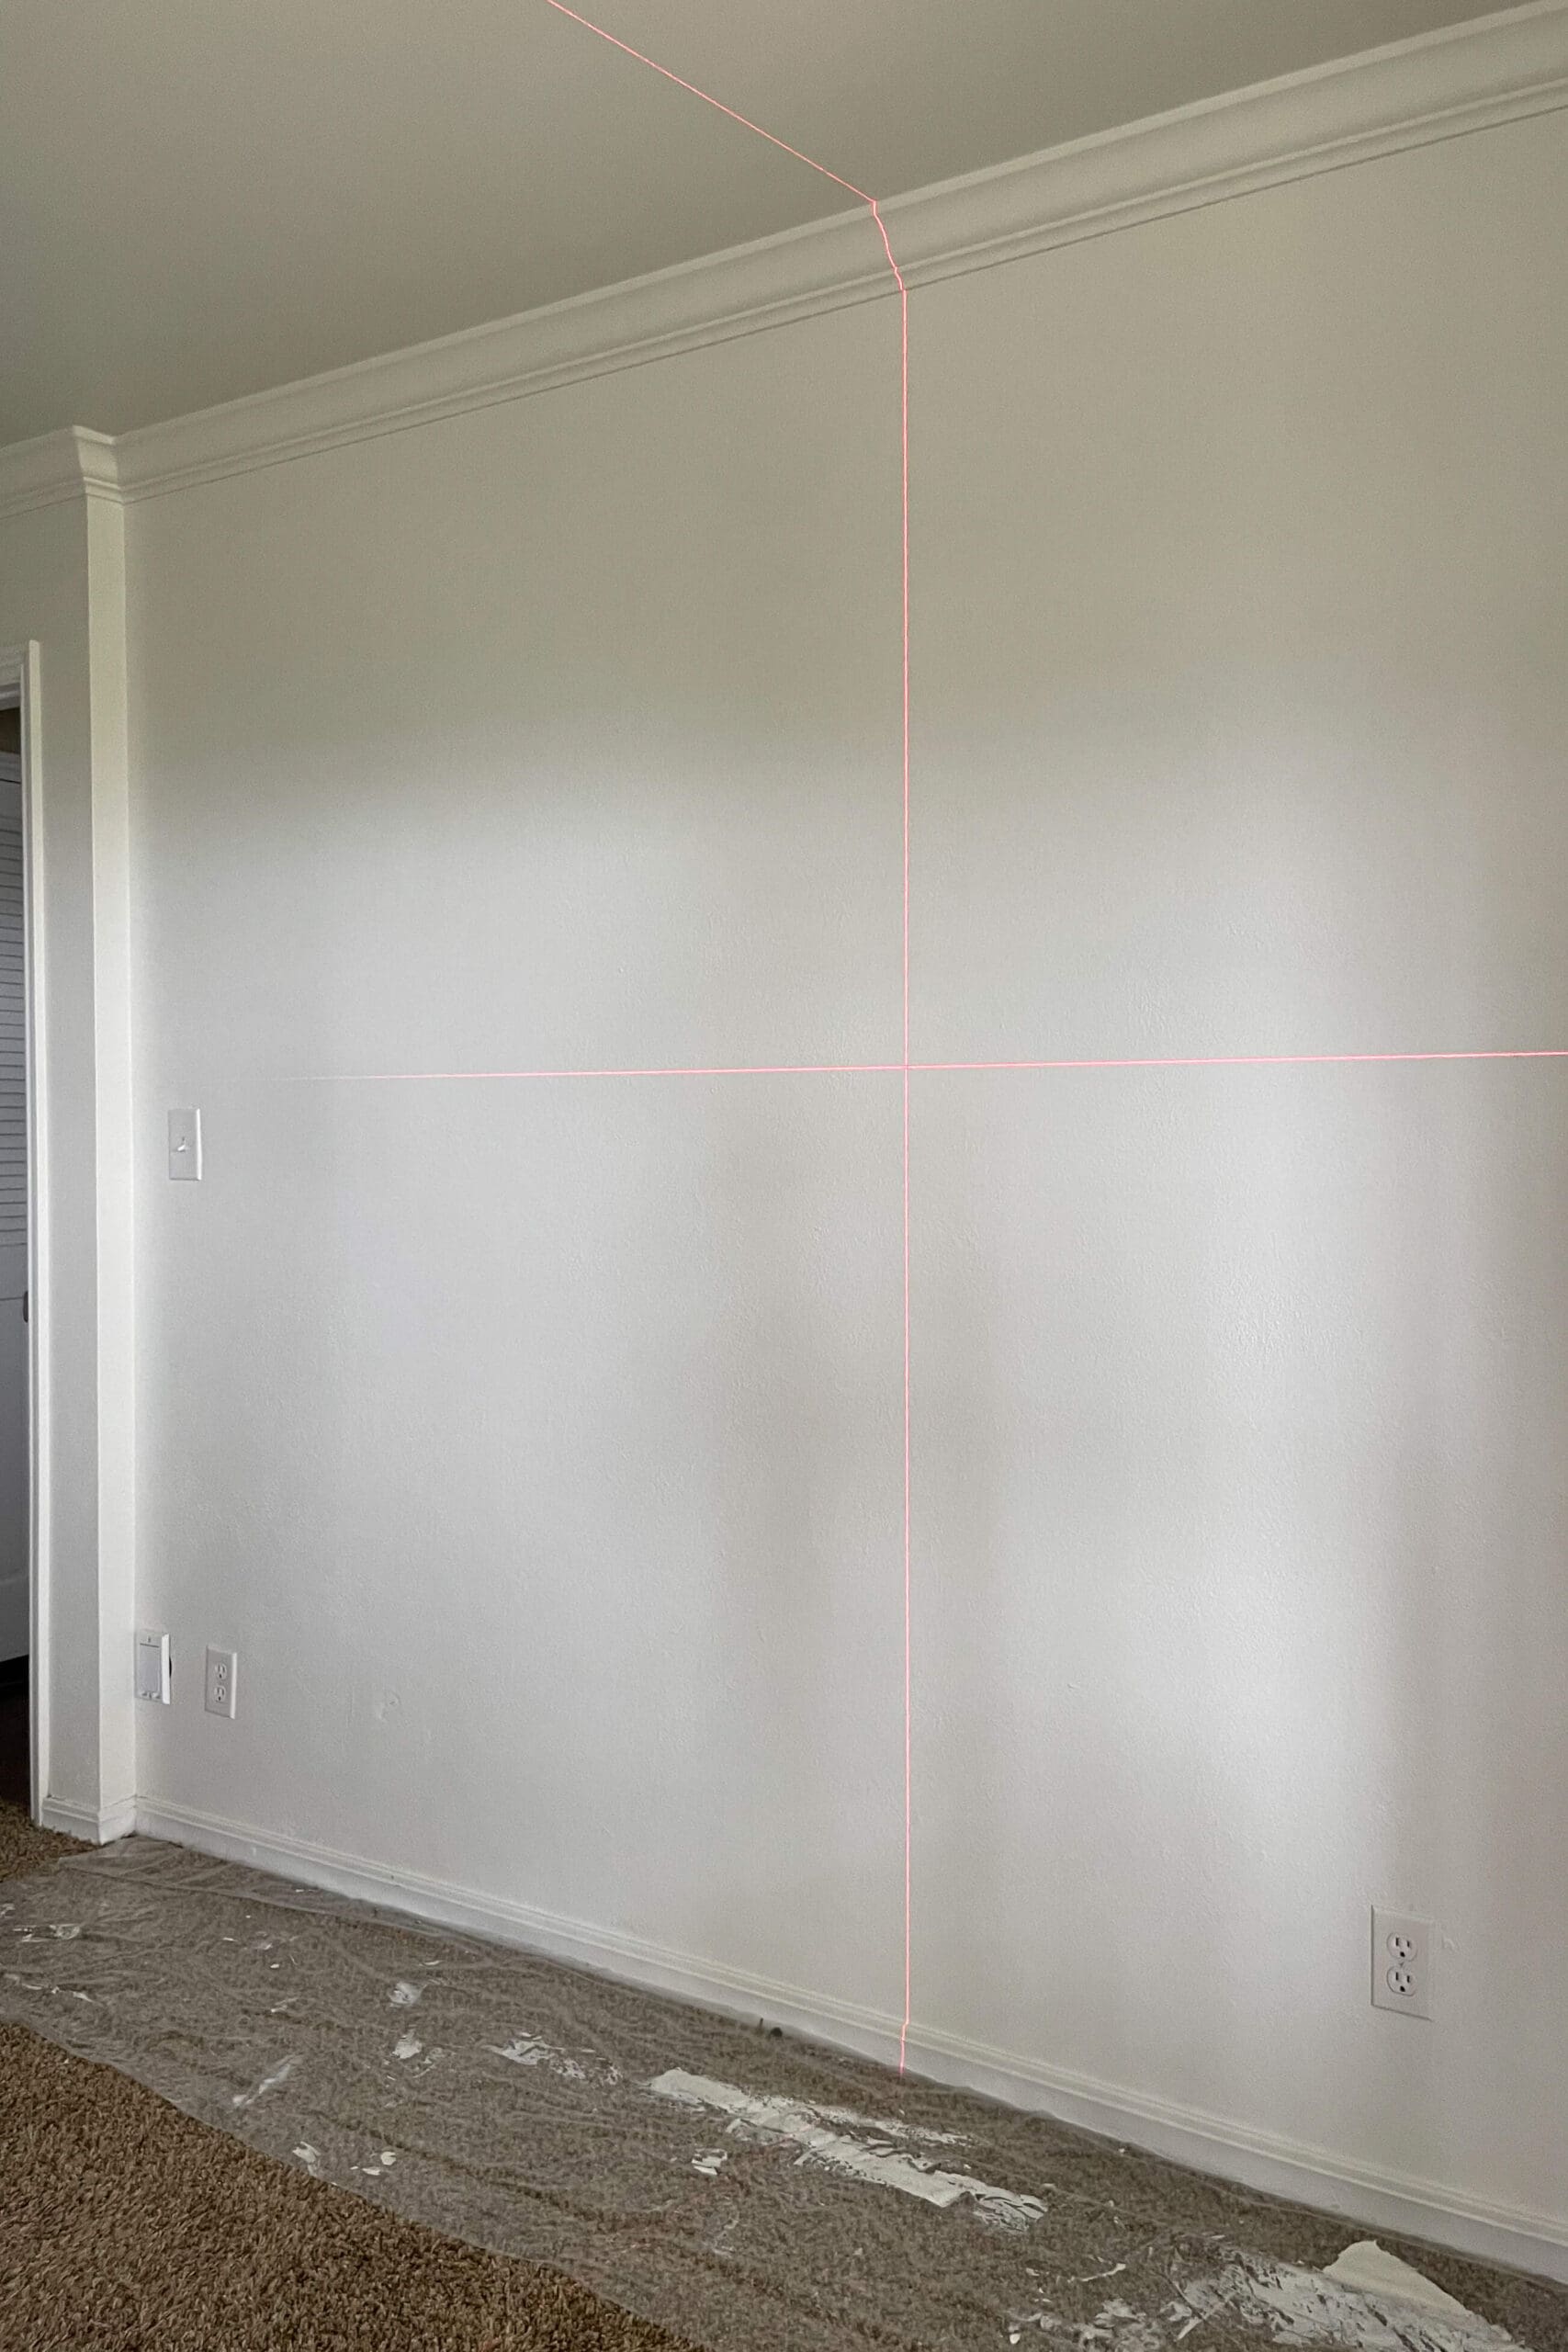
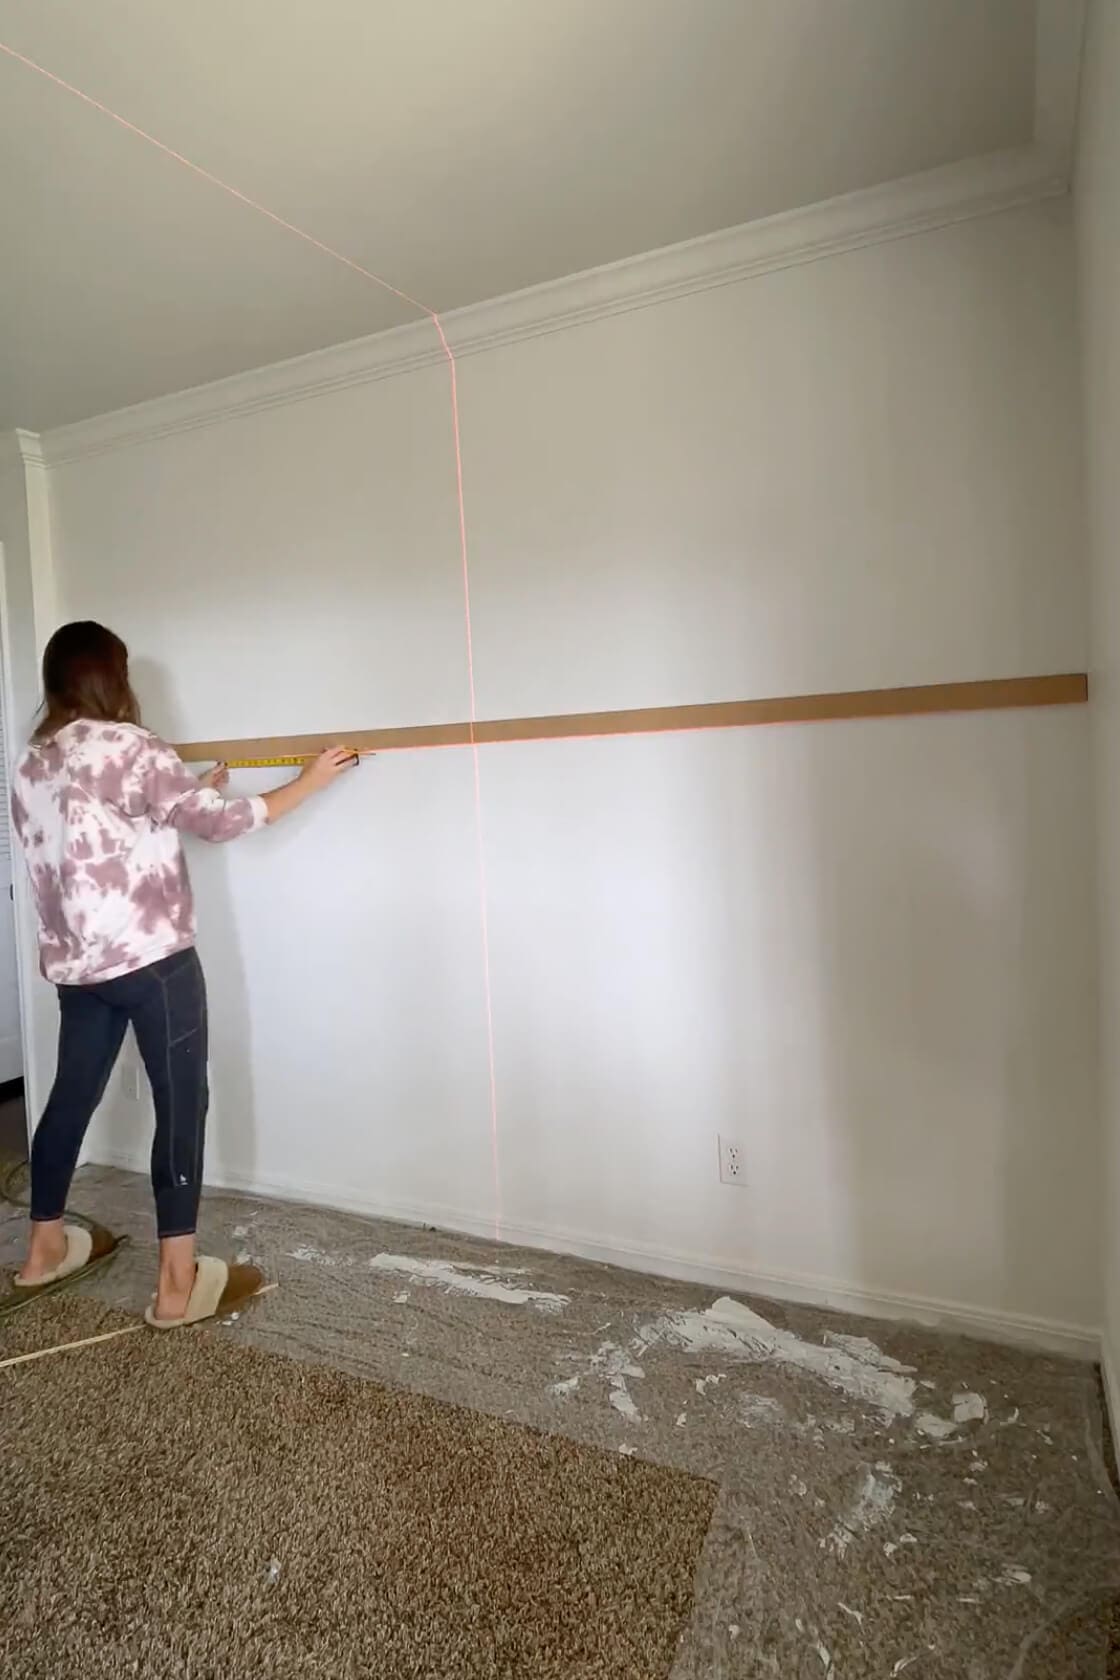
Decide how high up on the wall you want your board and batten to go. For mine, I’m making it sit just a bit above the center of the wall. It’ll be visible over the top of the couch, and it just looks right to me. You can base the height on furniture, windows, or just what feels right in your space.
A laser level isn’t required, but it makes lining everything up so much easier. I used mine to give me a perfectly straight guideline, then attached the horizontal board at the height I wanted using a brad nailer.
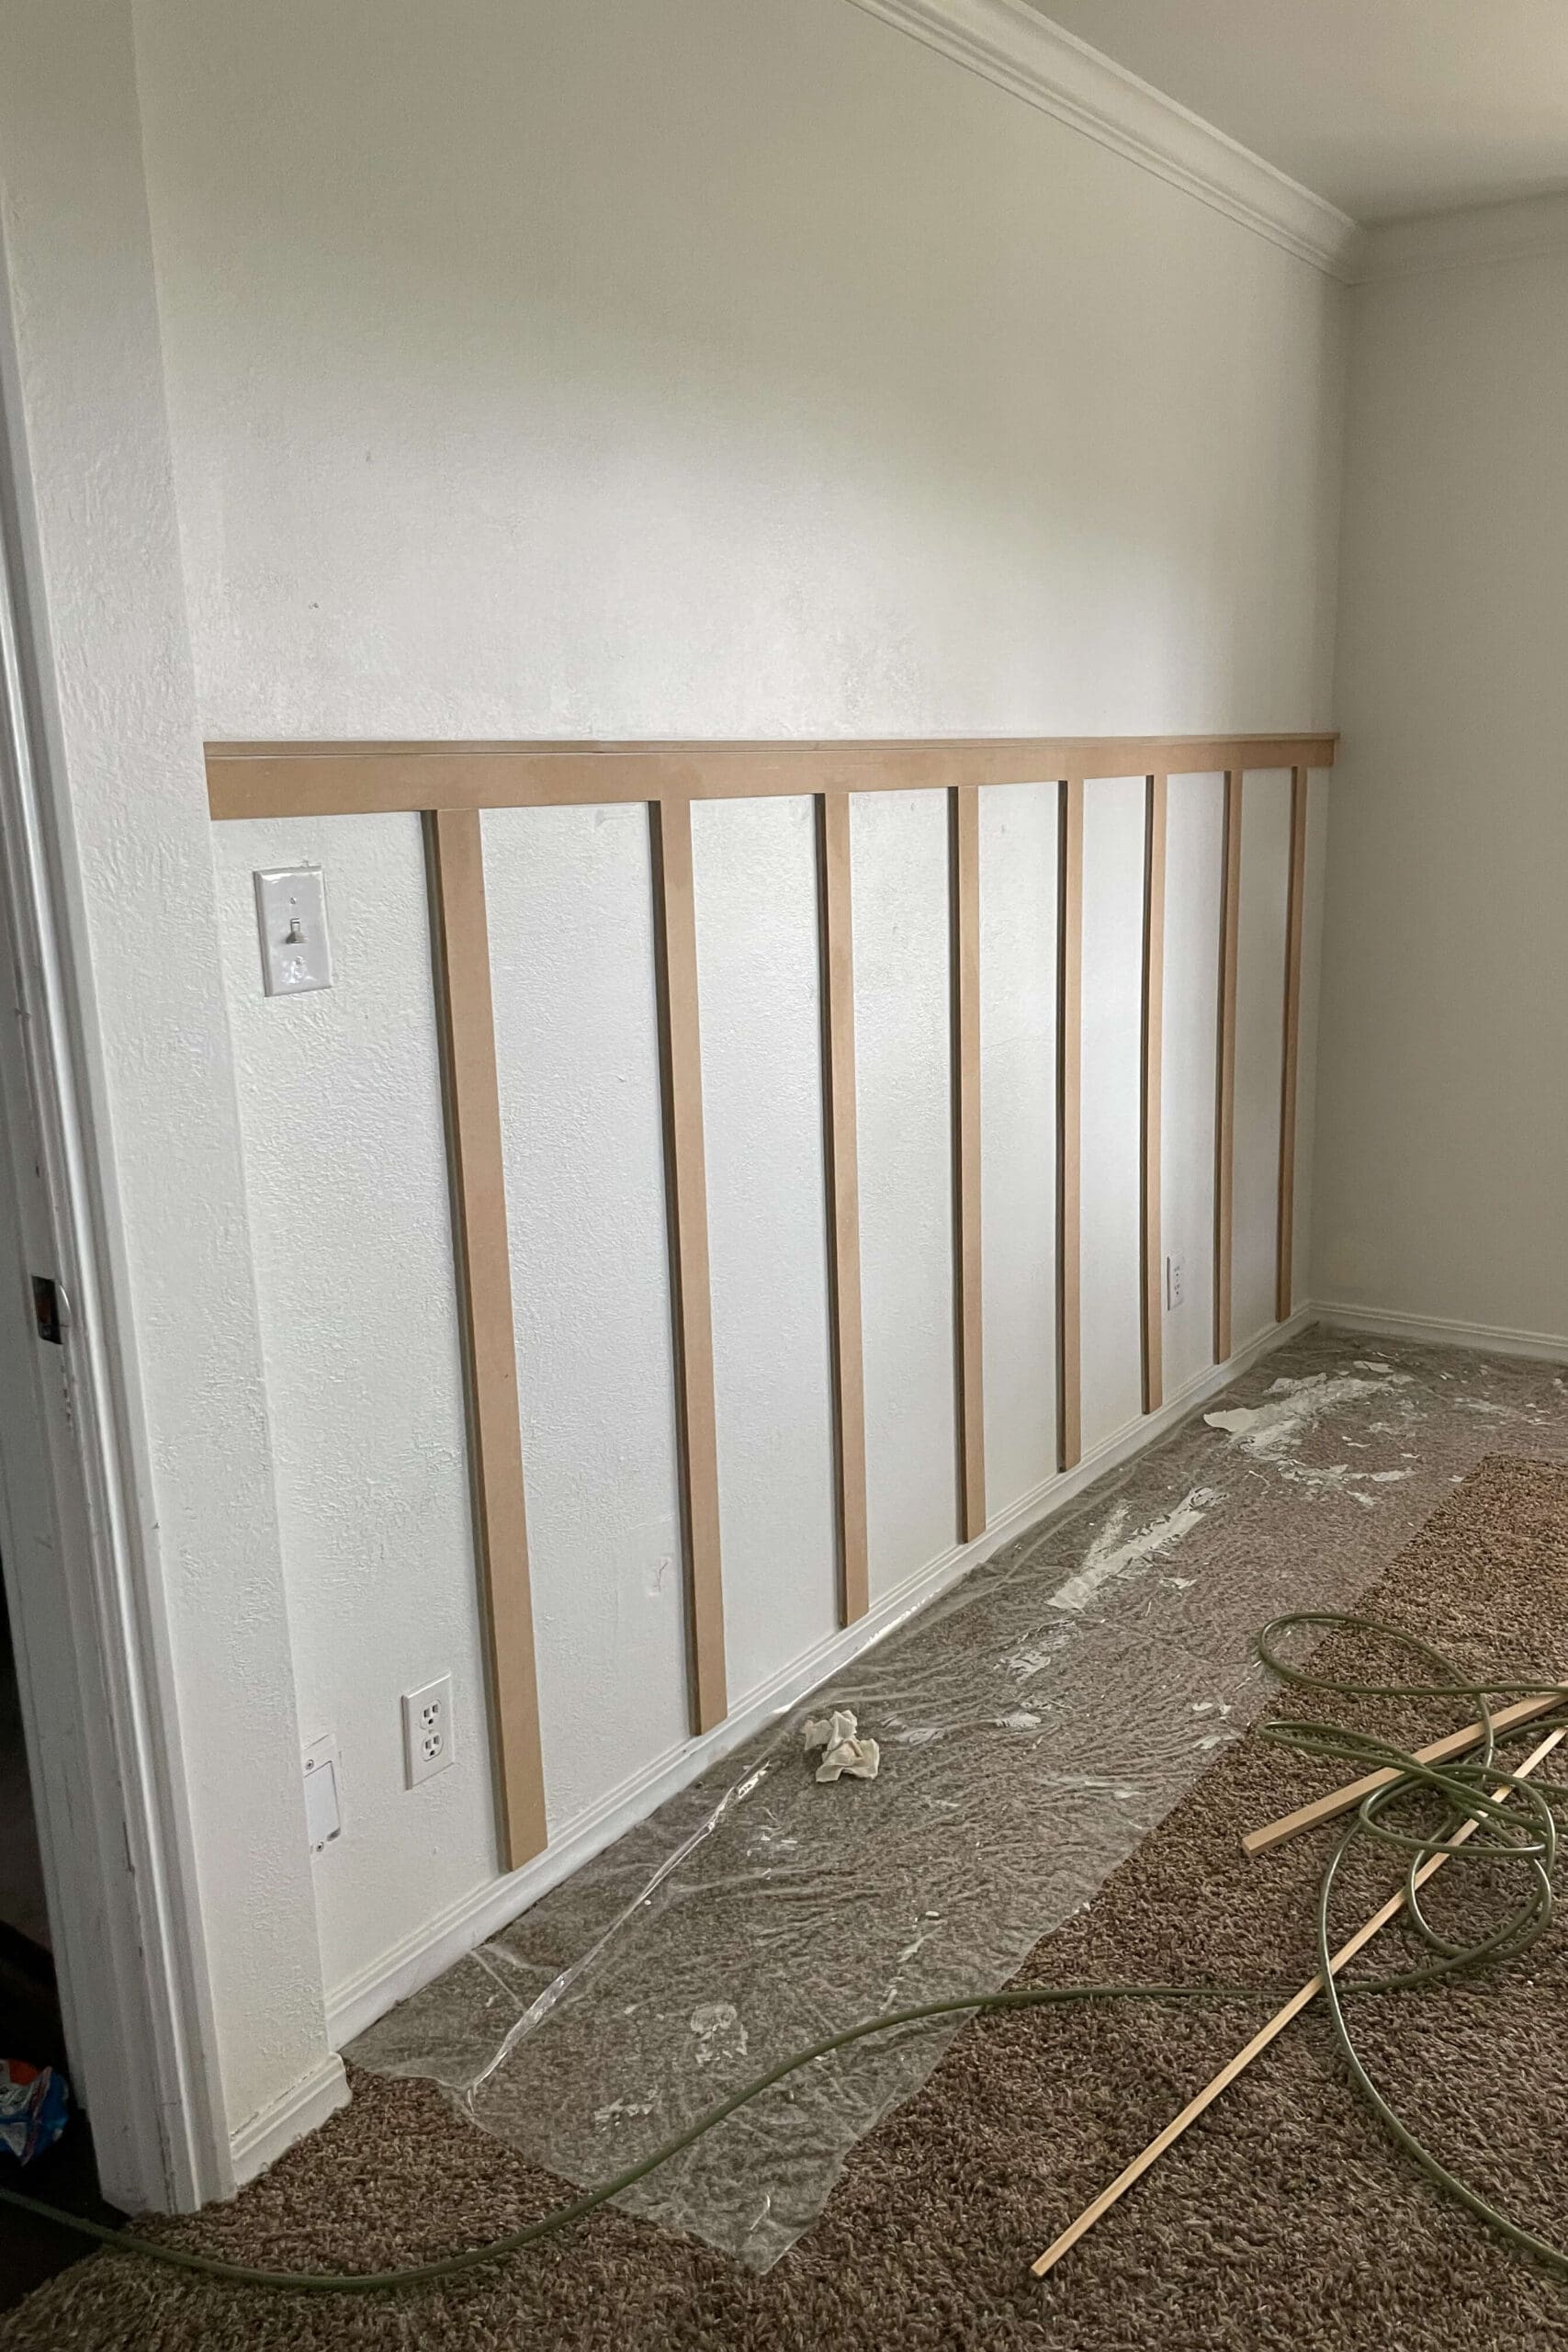
Step 4: Add Vertical Battens for a Modern Accent Wall Look
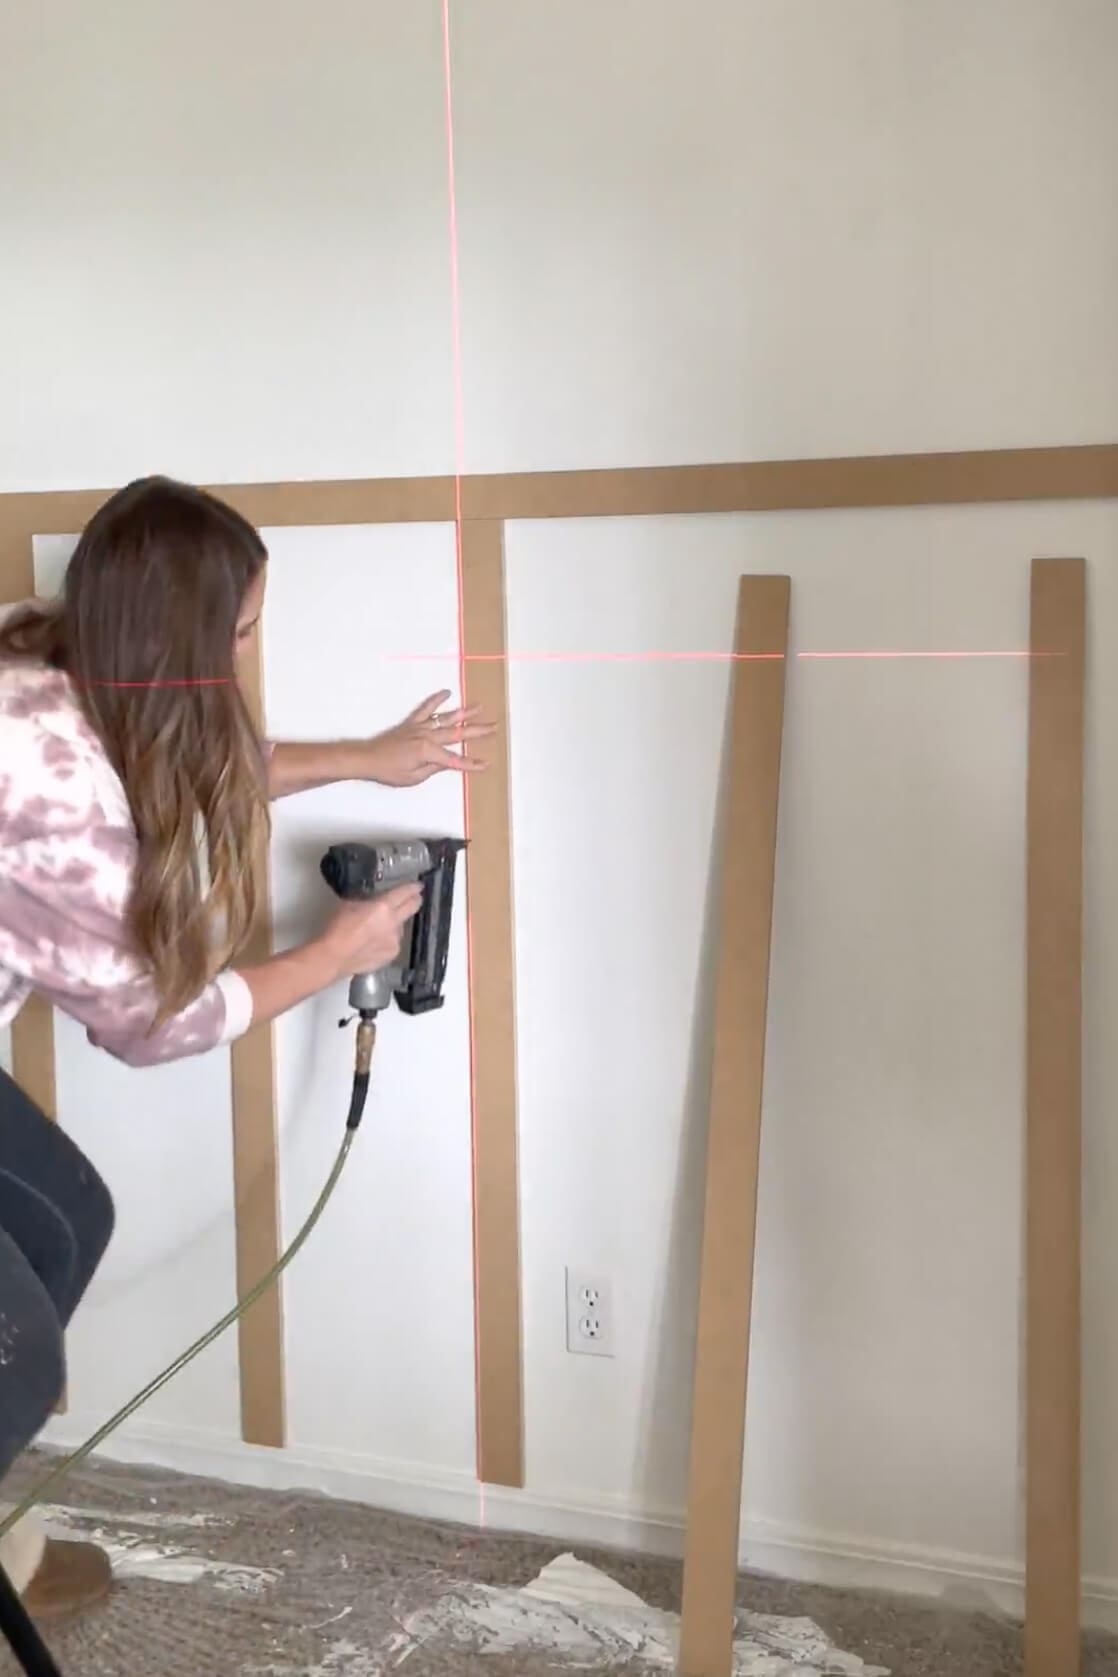
I marked where each vertical batten would go, spacing them evenly across the wall. Pro tip: don’t assume they’ll all be the same length – walls are rarely perfectly straight. I measured the distance between the baseboard and the top horizontal board for each batten individually to ensure a perfect fit.
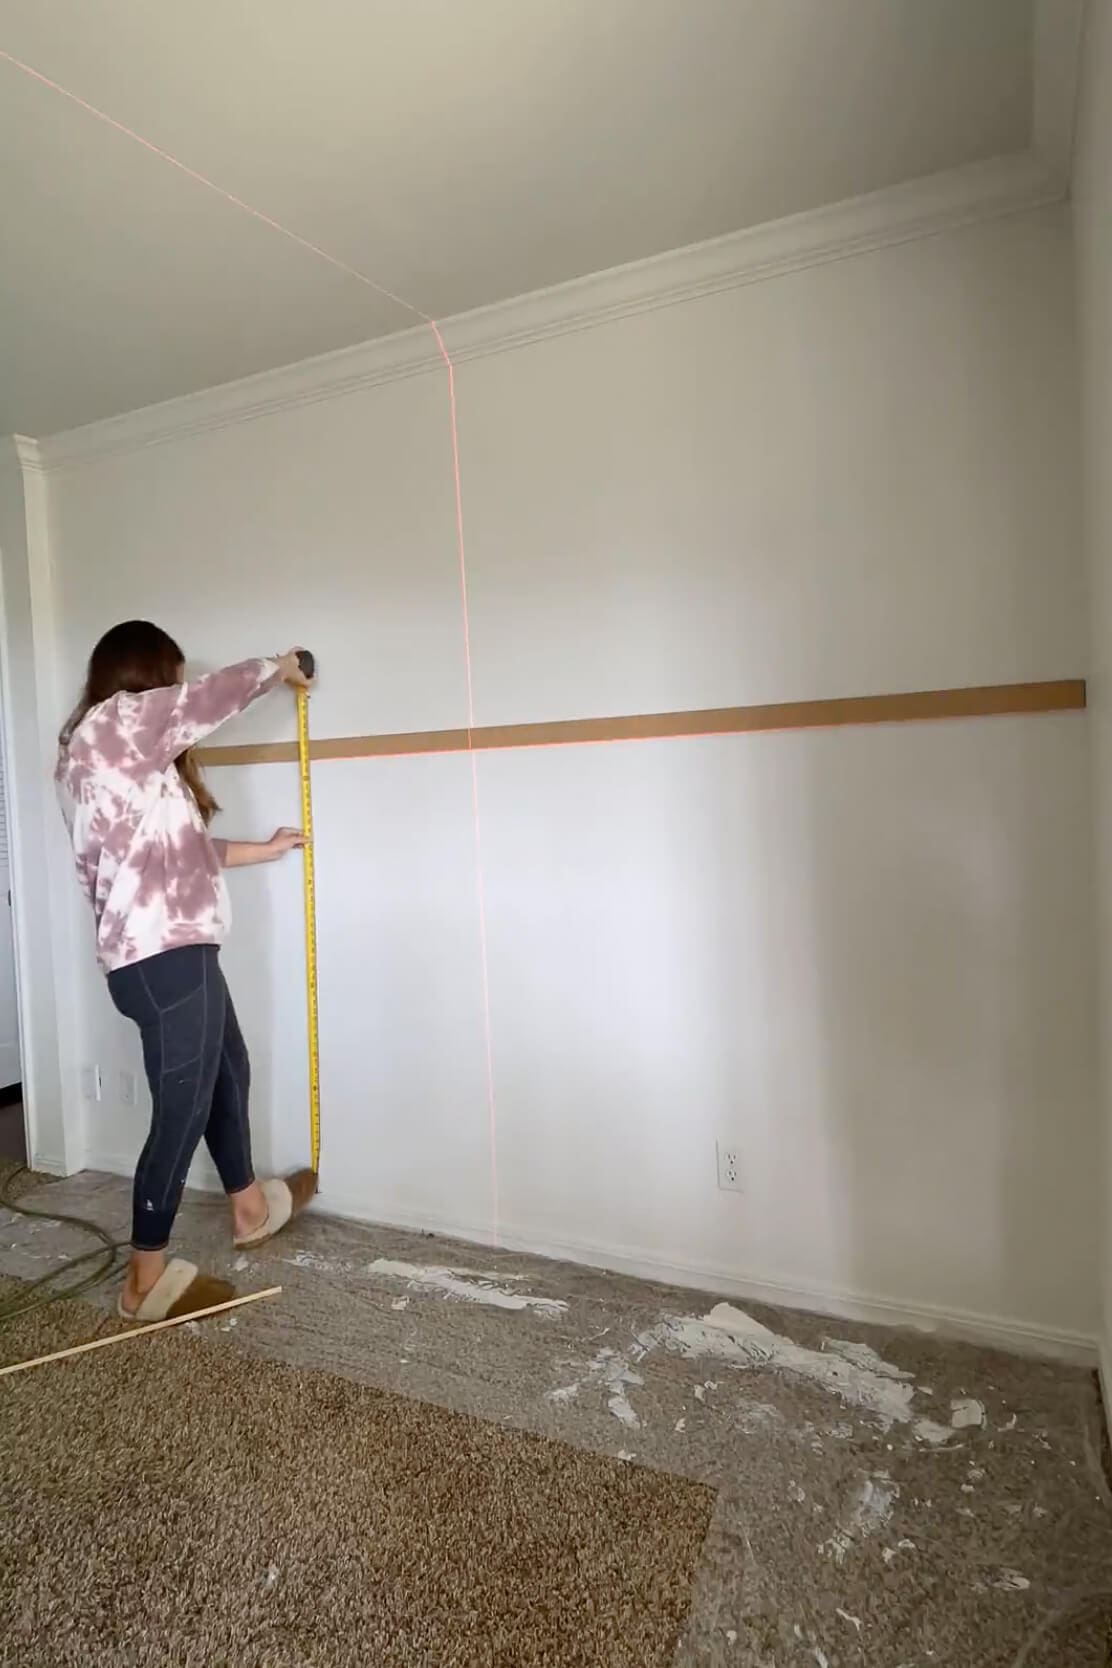
I cut each piece to size using my miter saw, then attached them with my brad nailer, following my laser level as a guide to keep everything perfectly straight.
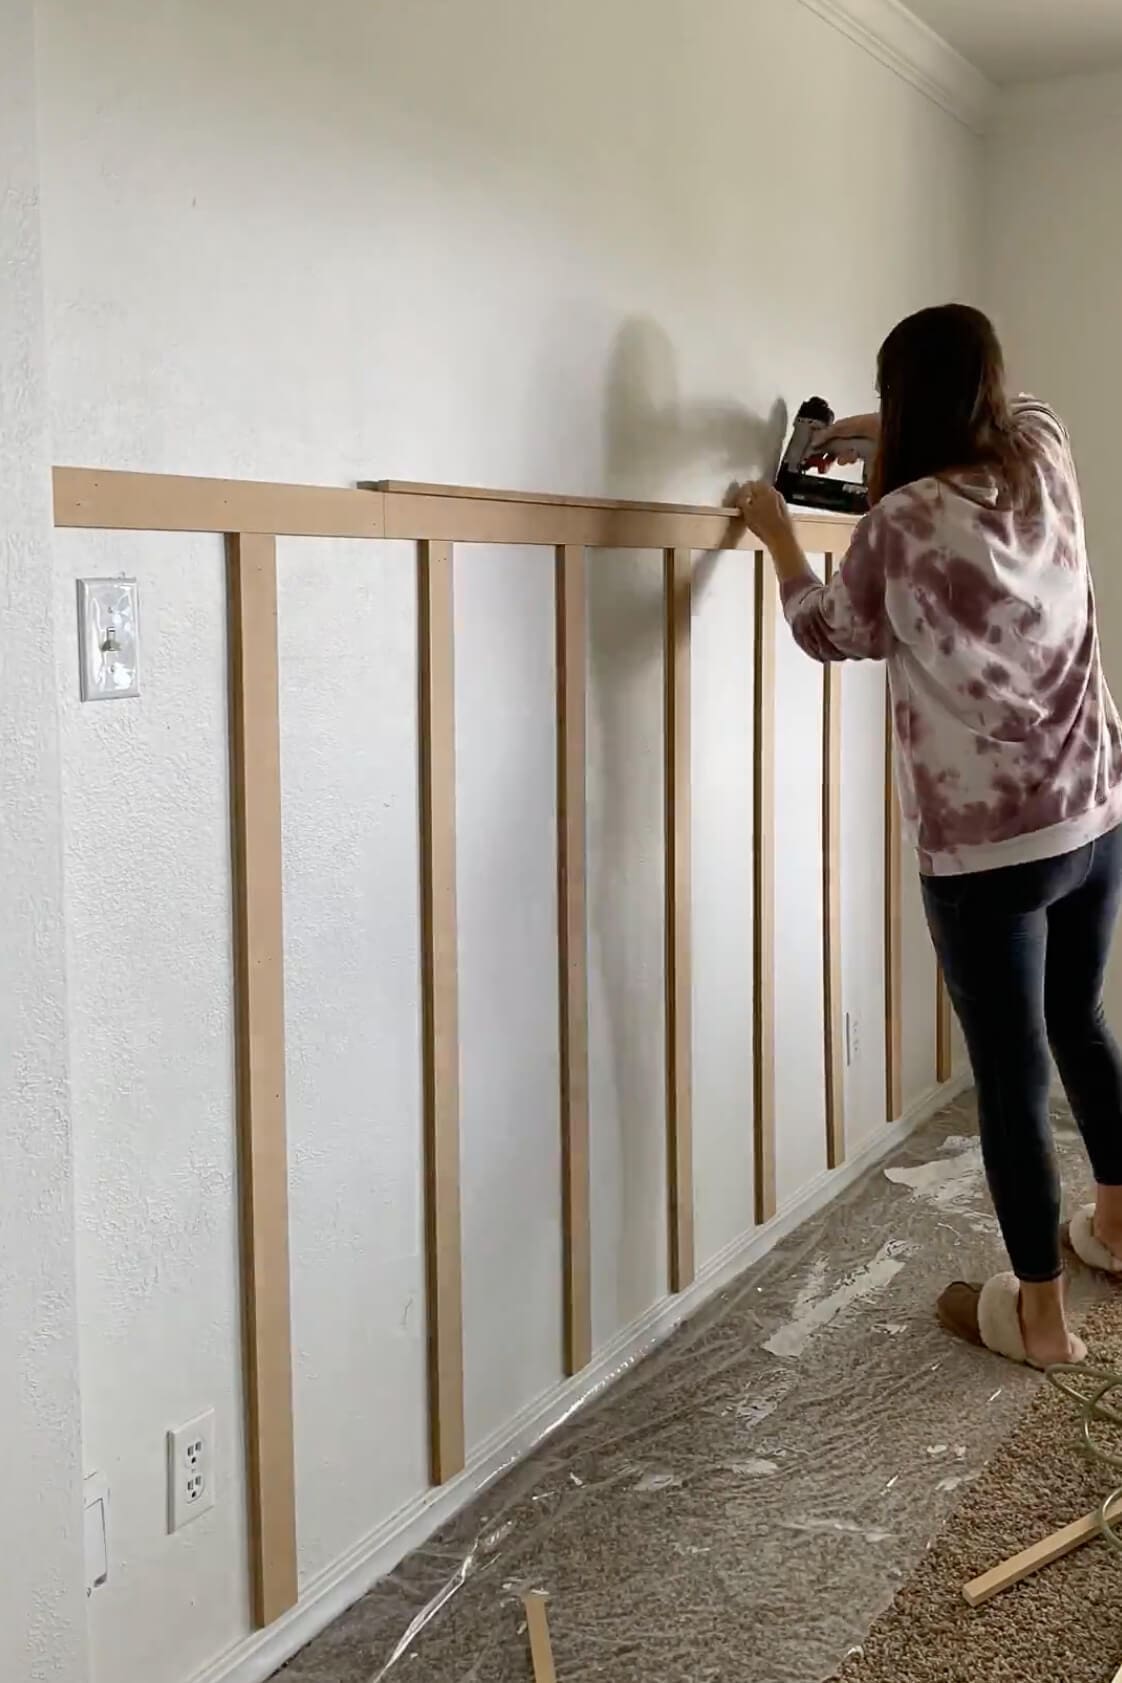
Step 5: Finish the Top Edge of Your Board and Batten Wall
To finish the top edge, I ripped down more MDF into a thin, 1-inch piece of trim, then laid it sideways along the horizontal board. It creates a small ledge and gives the entire board and batten wall a clean, finished look. If you’re looking to skip the table saw, I would purchase a small trim piece like this one to use for your top ledge.
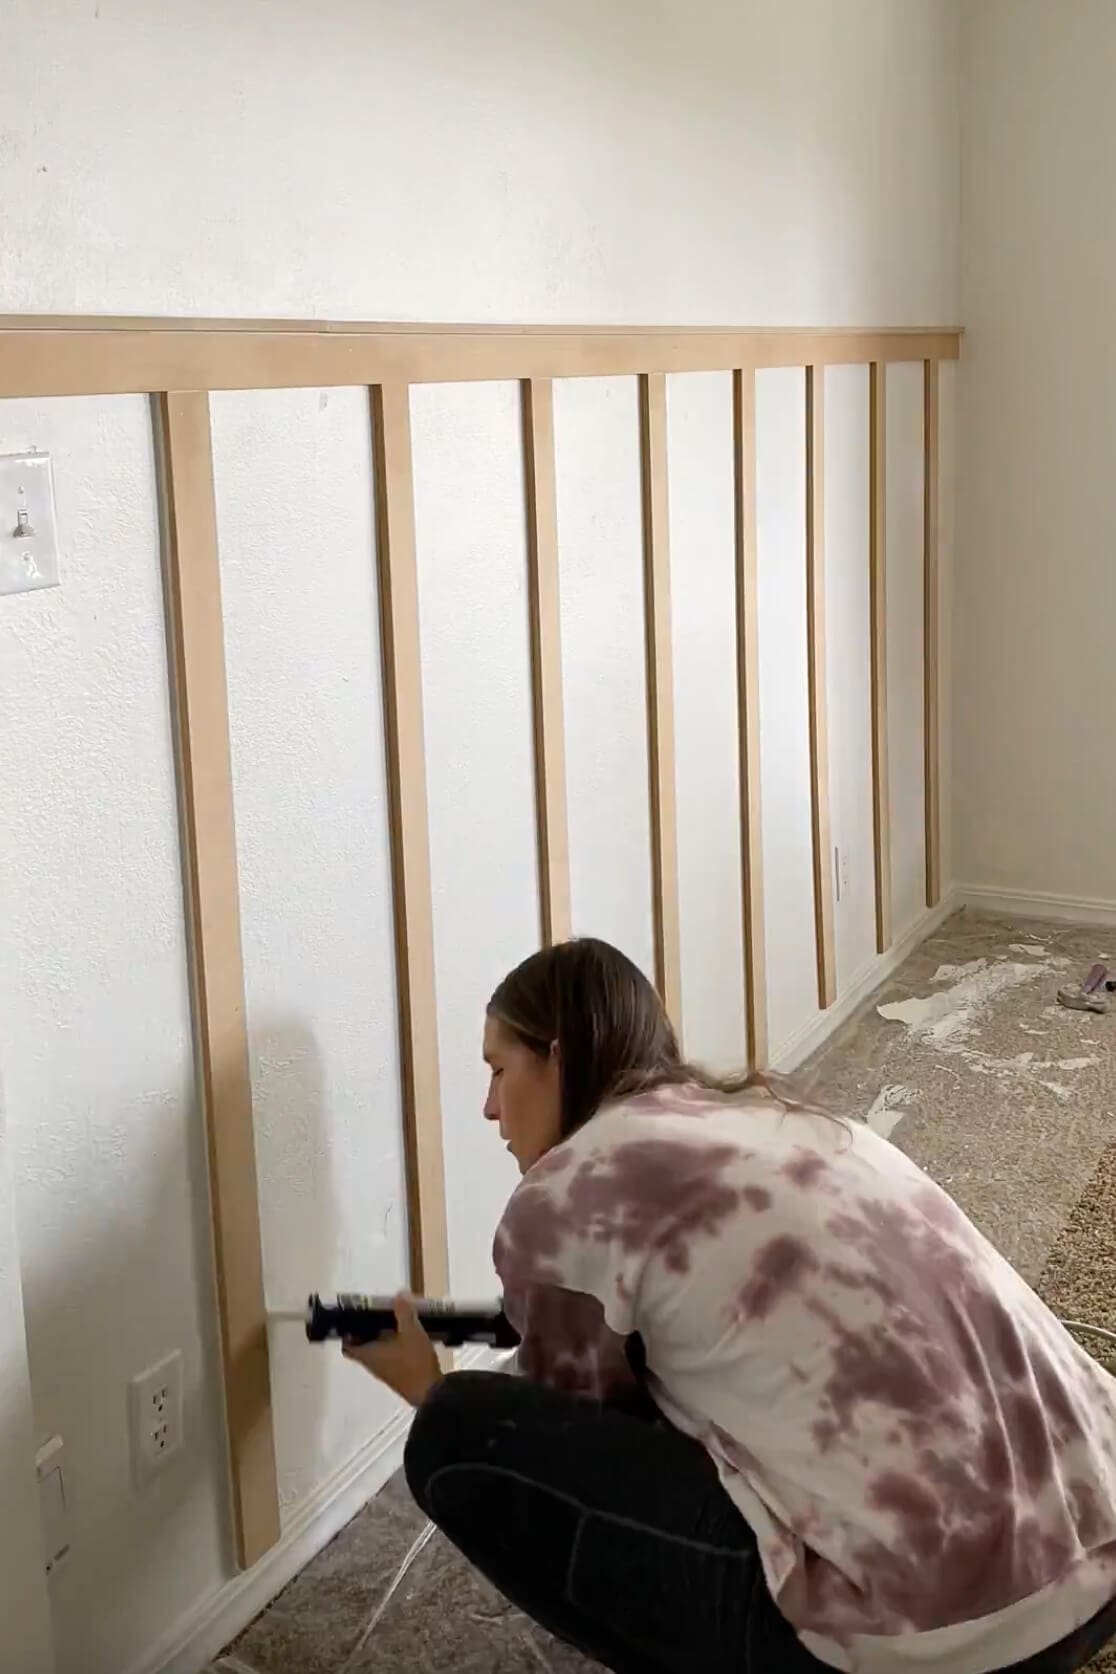
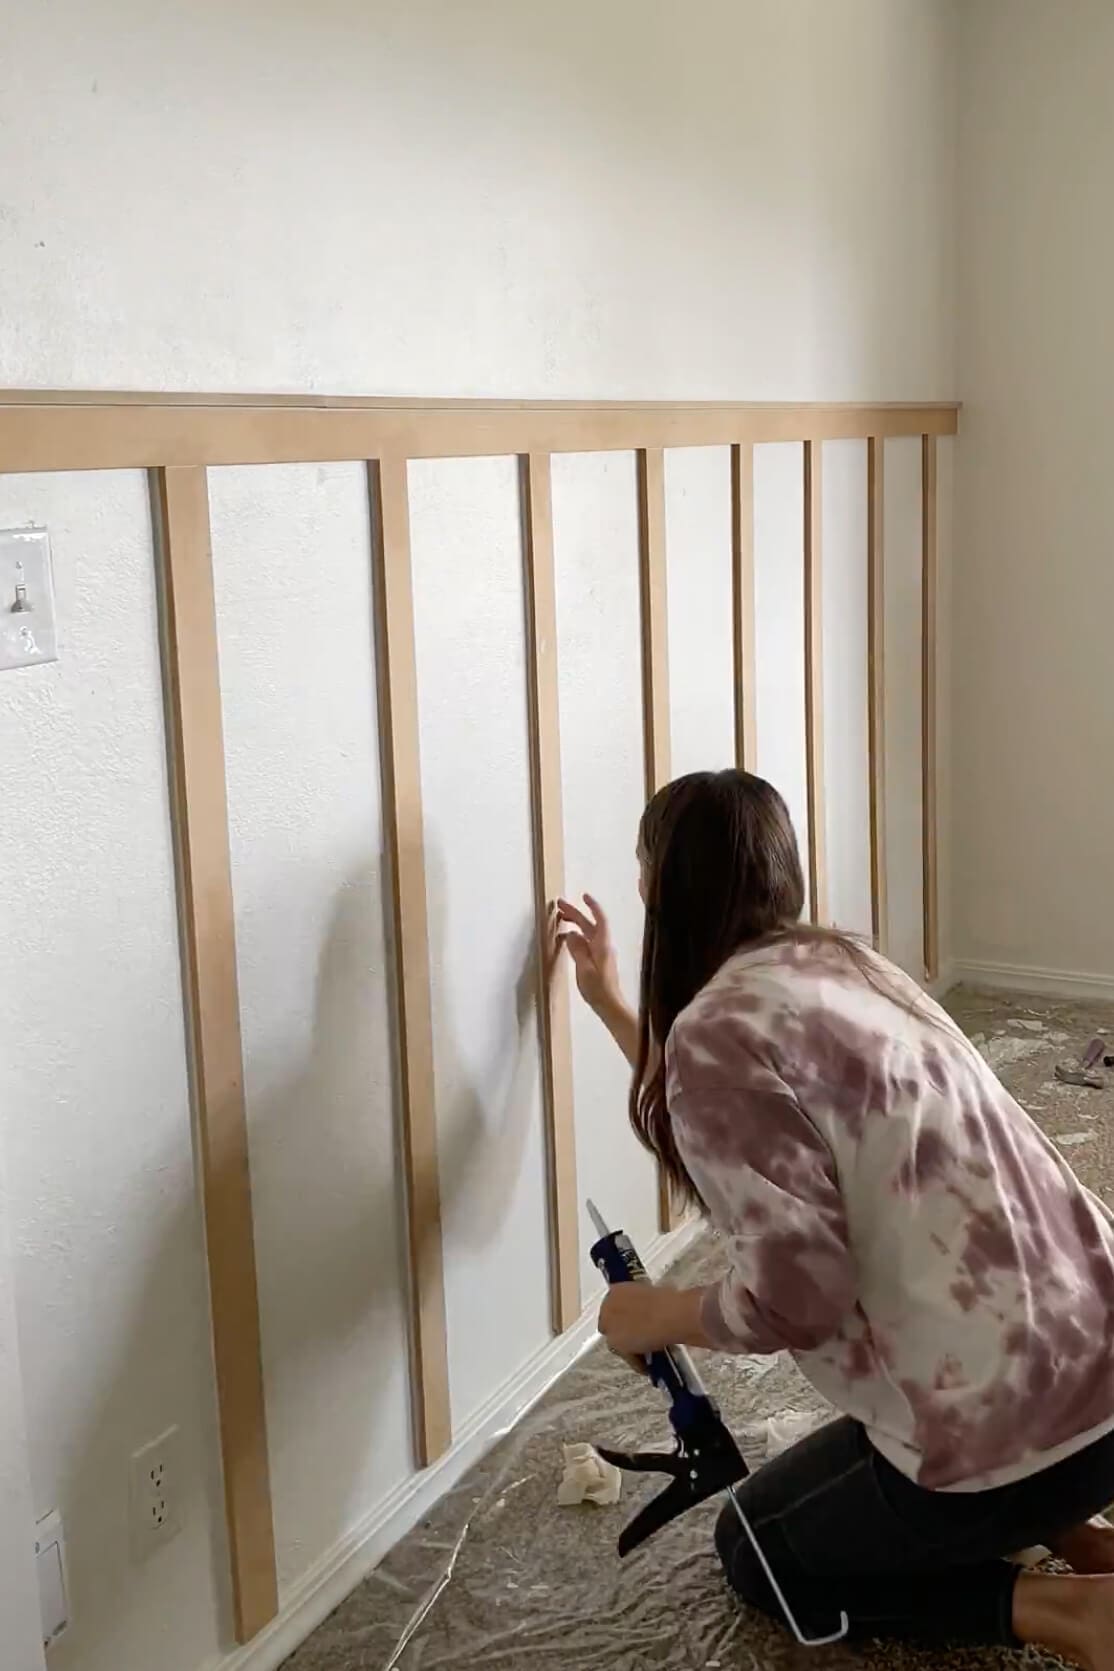
Step 6: Caulk and Smooth Your Board and Batten Trim
Caulking all the seams is what really takes this project from DIY to a professional level. Using a caulk gun, run a line of paintable caulk along every section where the boards meet the wall and each other. It smooths everything out and gives you that polished, built-in look.
I also used caulk to fill all the nail holes. Normally, I’d use spackle or wood filler, but caulk is faster and works just fine. As I went, if I found any brad nails sticking out, I used a nail punch and hammer to sink them below the surface before caulking over the small hole.
Step 7: Prime the MDF for a Flawless Painted Finish
This step is so important. MDF soaks up paint like a sponge, especially on the cut edges, so primer is non-negotiable. It helps everything go on smoothly and ensures your paint adheres evenly.
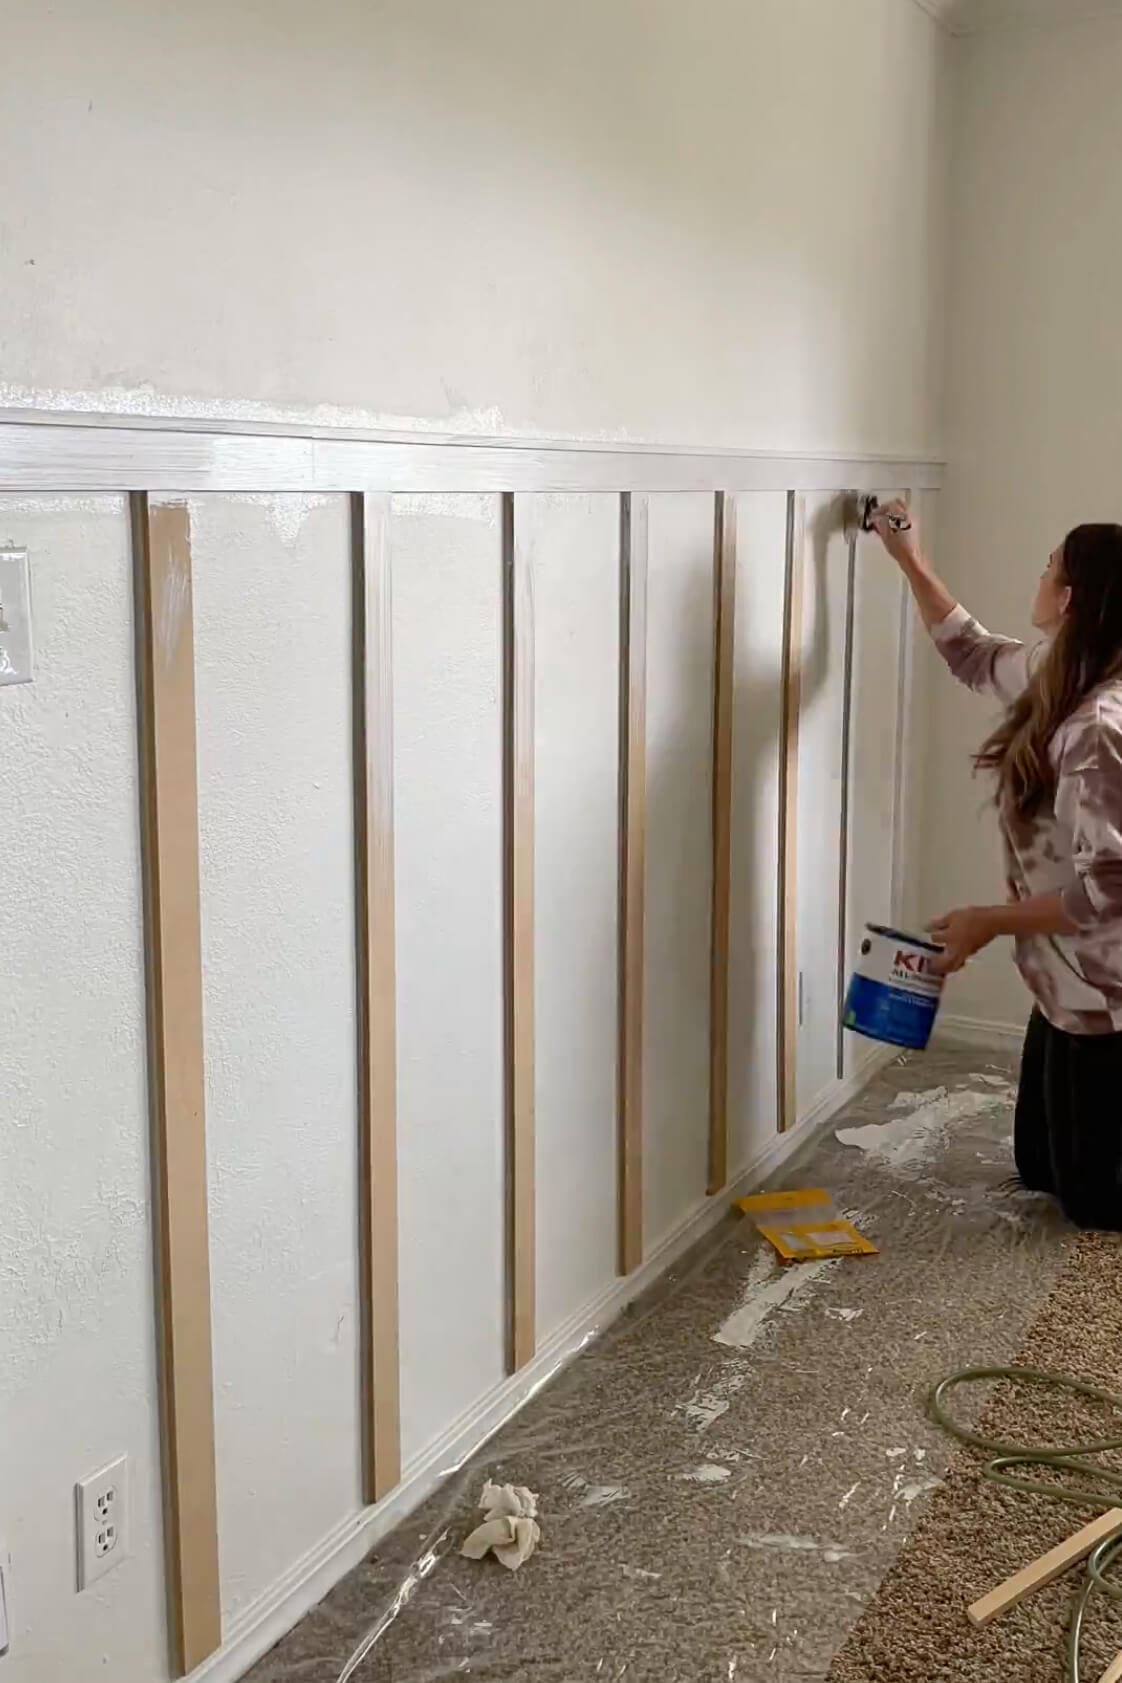
Step 8: Paint Your DIY Board and Batten Accent Wall
Once the primer is dry, it’s time to paint the board and batten wall! I used the same white paint as my wall color, so I didn’t even need to tape anything off. I like to use a paintbrush around the edges and in the grooves first, then roll over everything right away with a foam roller to smooth out the finish and eliminate brush strokes.
Done in a Day: This Board and Batten Wall Was So Worth It
And just like that, you’ve got a beautiful, clean board and batten feature wall that looks custom, adds character, and didn’t eat up your whole weekend. I love how much character and timeless style it brings to the space with just a little bit of trim and paint.
More Board and Batten Wall Inspo in Our Home
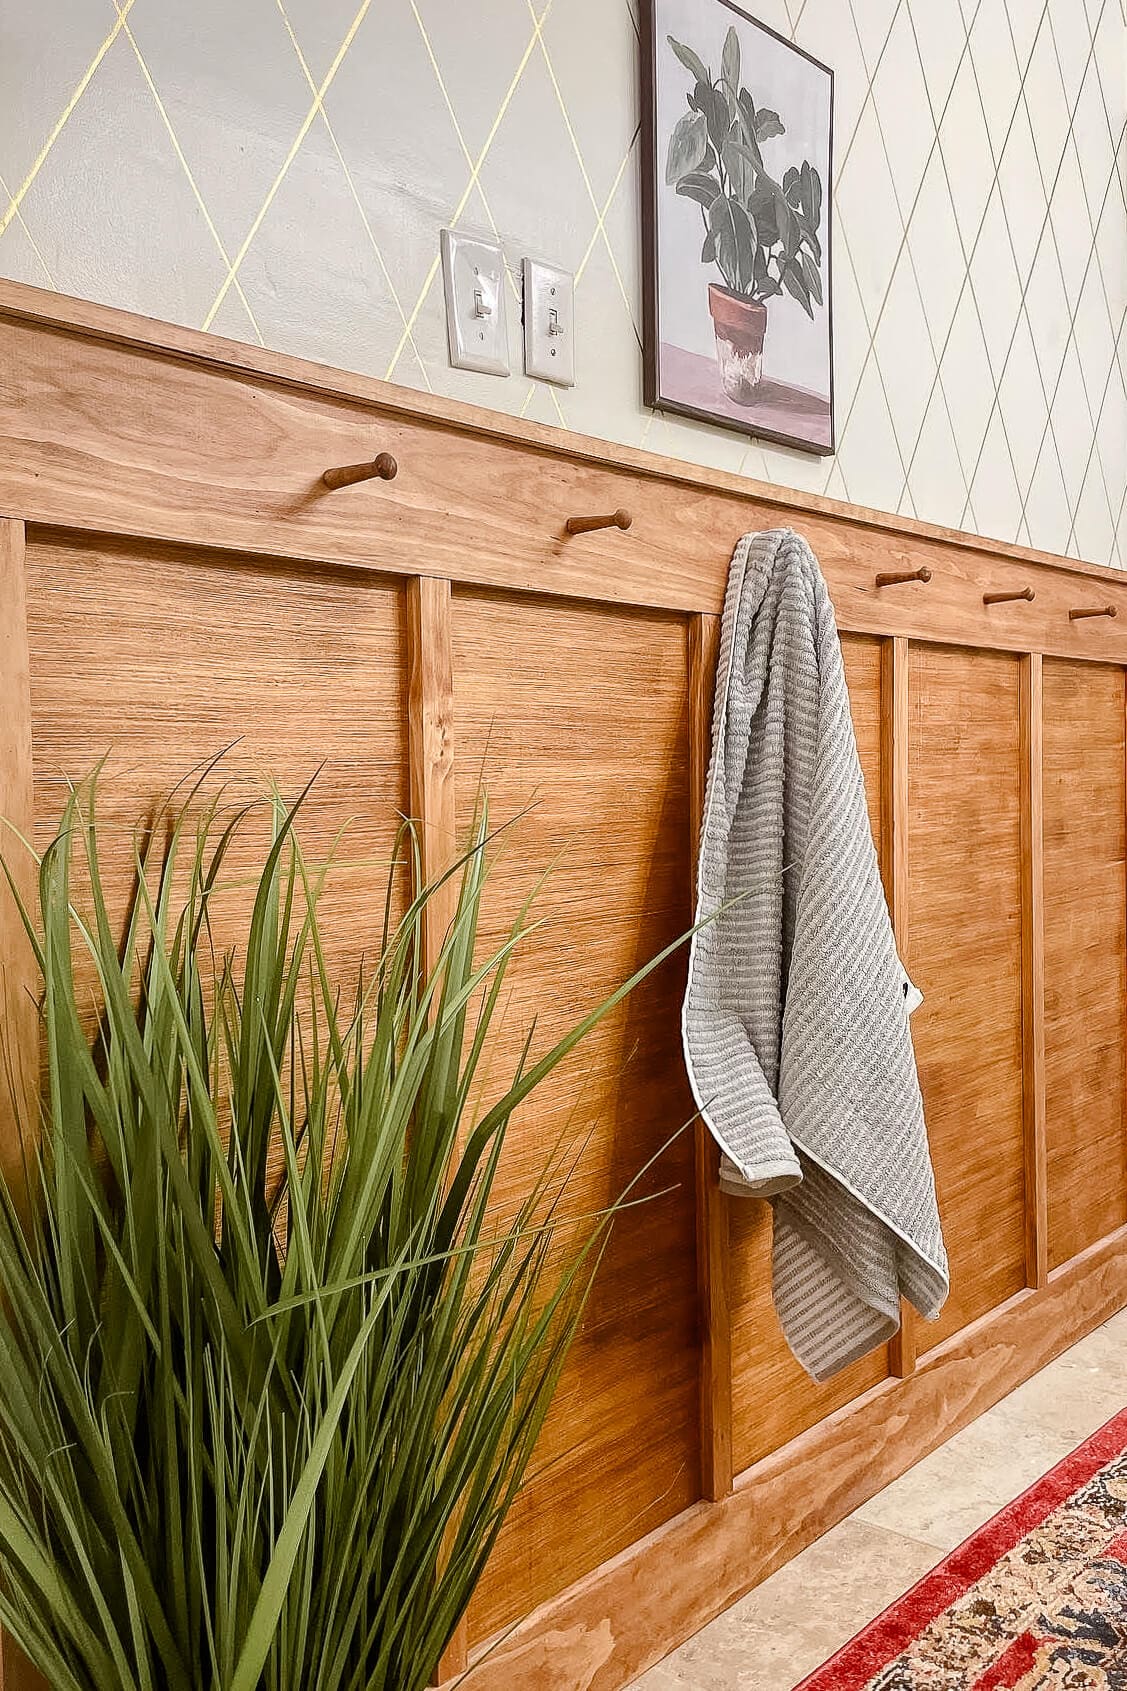
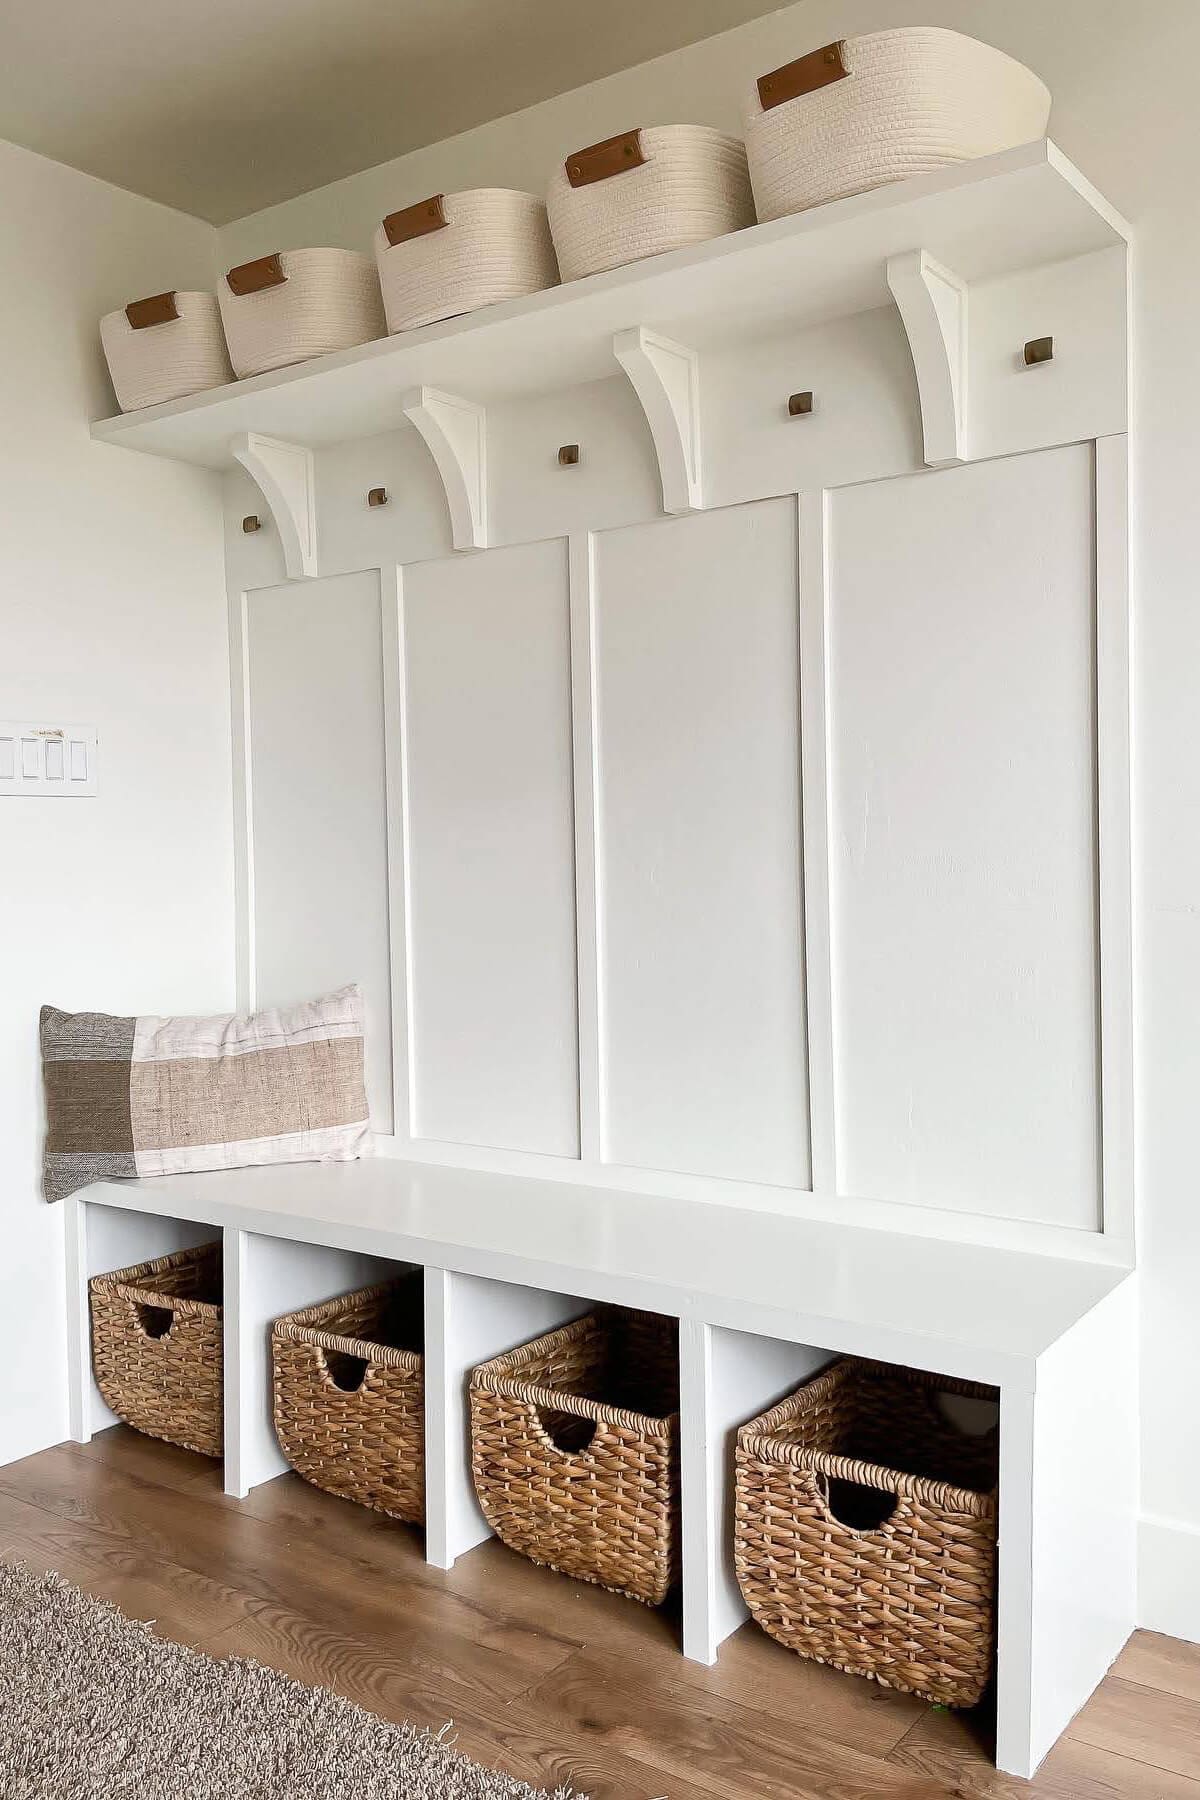
I love this wall so much, I ended up using board and batten in two other spots in our home! One is a DIY board and batten bathroom wall using stained wood, complete with pegs for hanging towels. The other is the backing of our custom mudroom bench, where I used the same vertical batten look for a clean and functional entryway setup. Both use the same concept – just with different finishes – and add so much charm throughout the house.
📌 Love it? Save it for later!
FAQ About Installing a Board and Batten Wall
Yes! You can buy pre-cut MDF battens and trim pieces at most hardware stores to skip the ripping step.
It depends on your space, but I like to place the top rail slightly above center – especially if it’s going behind furniture like a couch.
Use a laser level and measure from the baseboard to the top for every batten. Walls are rarely square, so measure each one individually for a perfect fit.
Absolutely. MDF is porous and will soak up paint unevenly. Primer gives you a smooth, professional finish.
