


How to Install Prepasted Wallpaper (Beginner DIY Tutorial)


Updated July 13, 2026
If you’ve been tempted to try prepasted wallpaper but weren’t totally sure what you’re getting yourself into – don’t worry, I’ve got you. This was my first time installing this type of wallpaper (the kind that activates with just water), and I documented every step. The good, the messy, and the surprisingly simple parts.
Spoiler alert: it turned out even better than I expected.
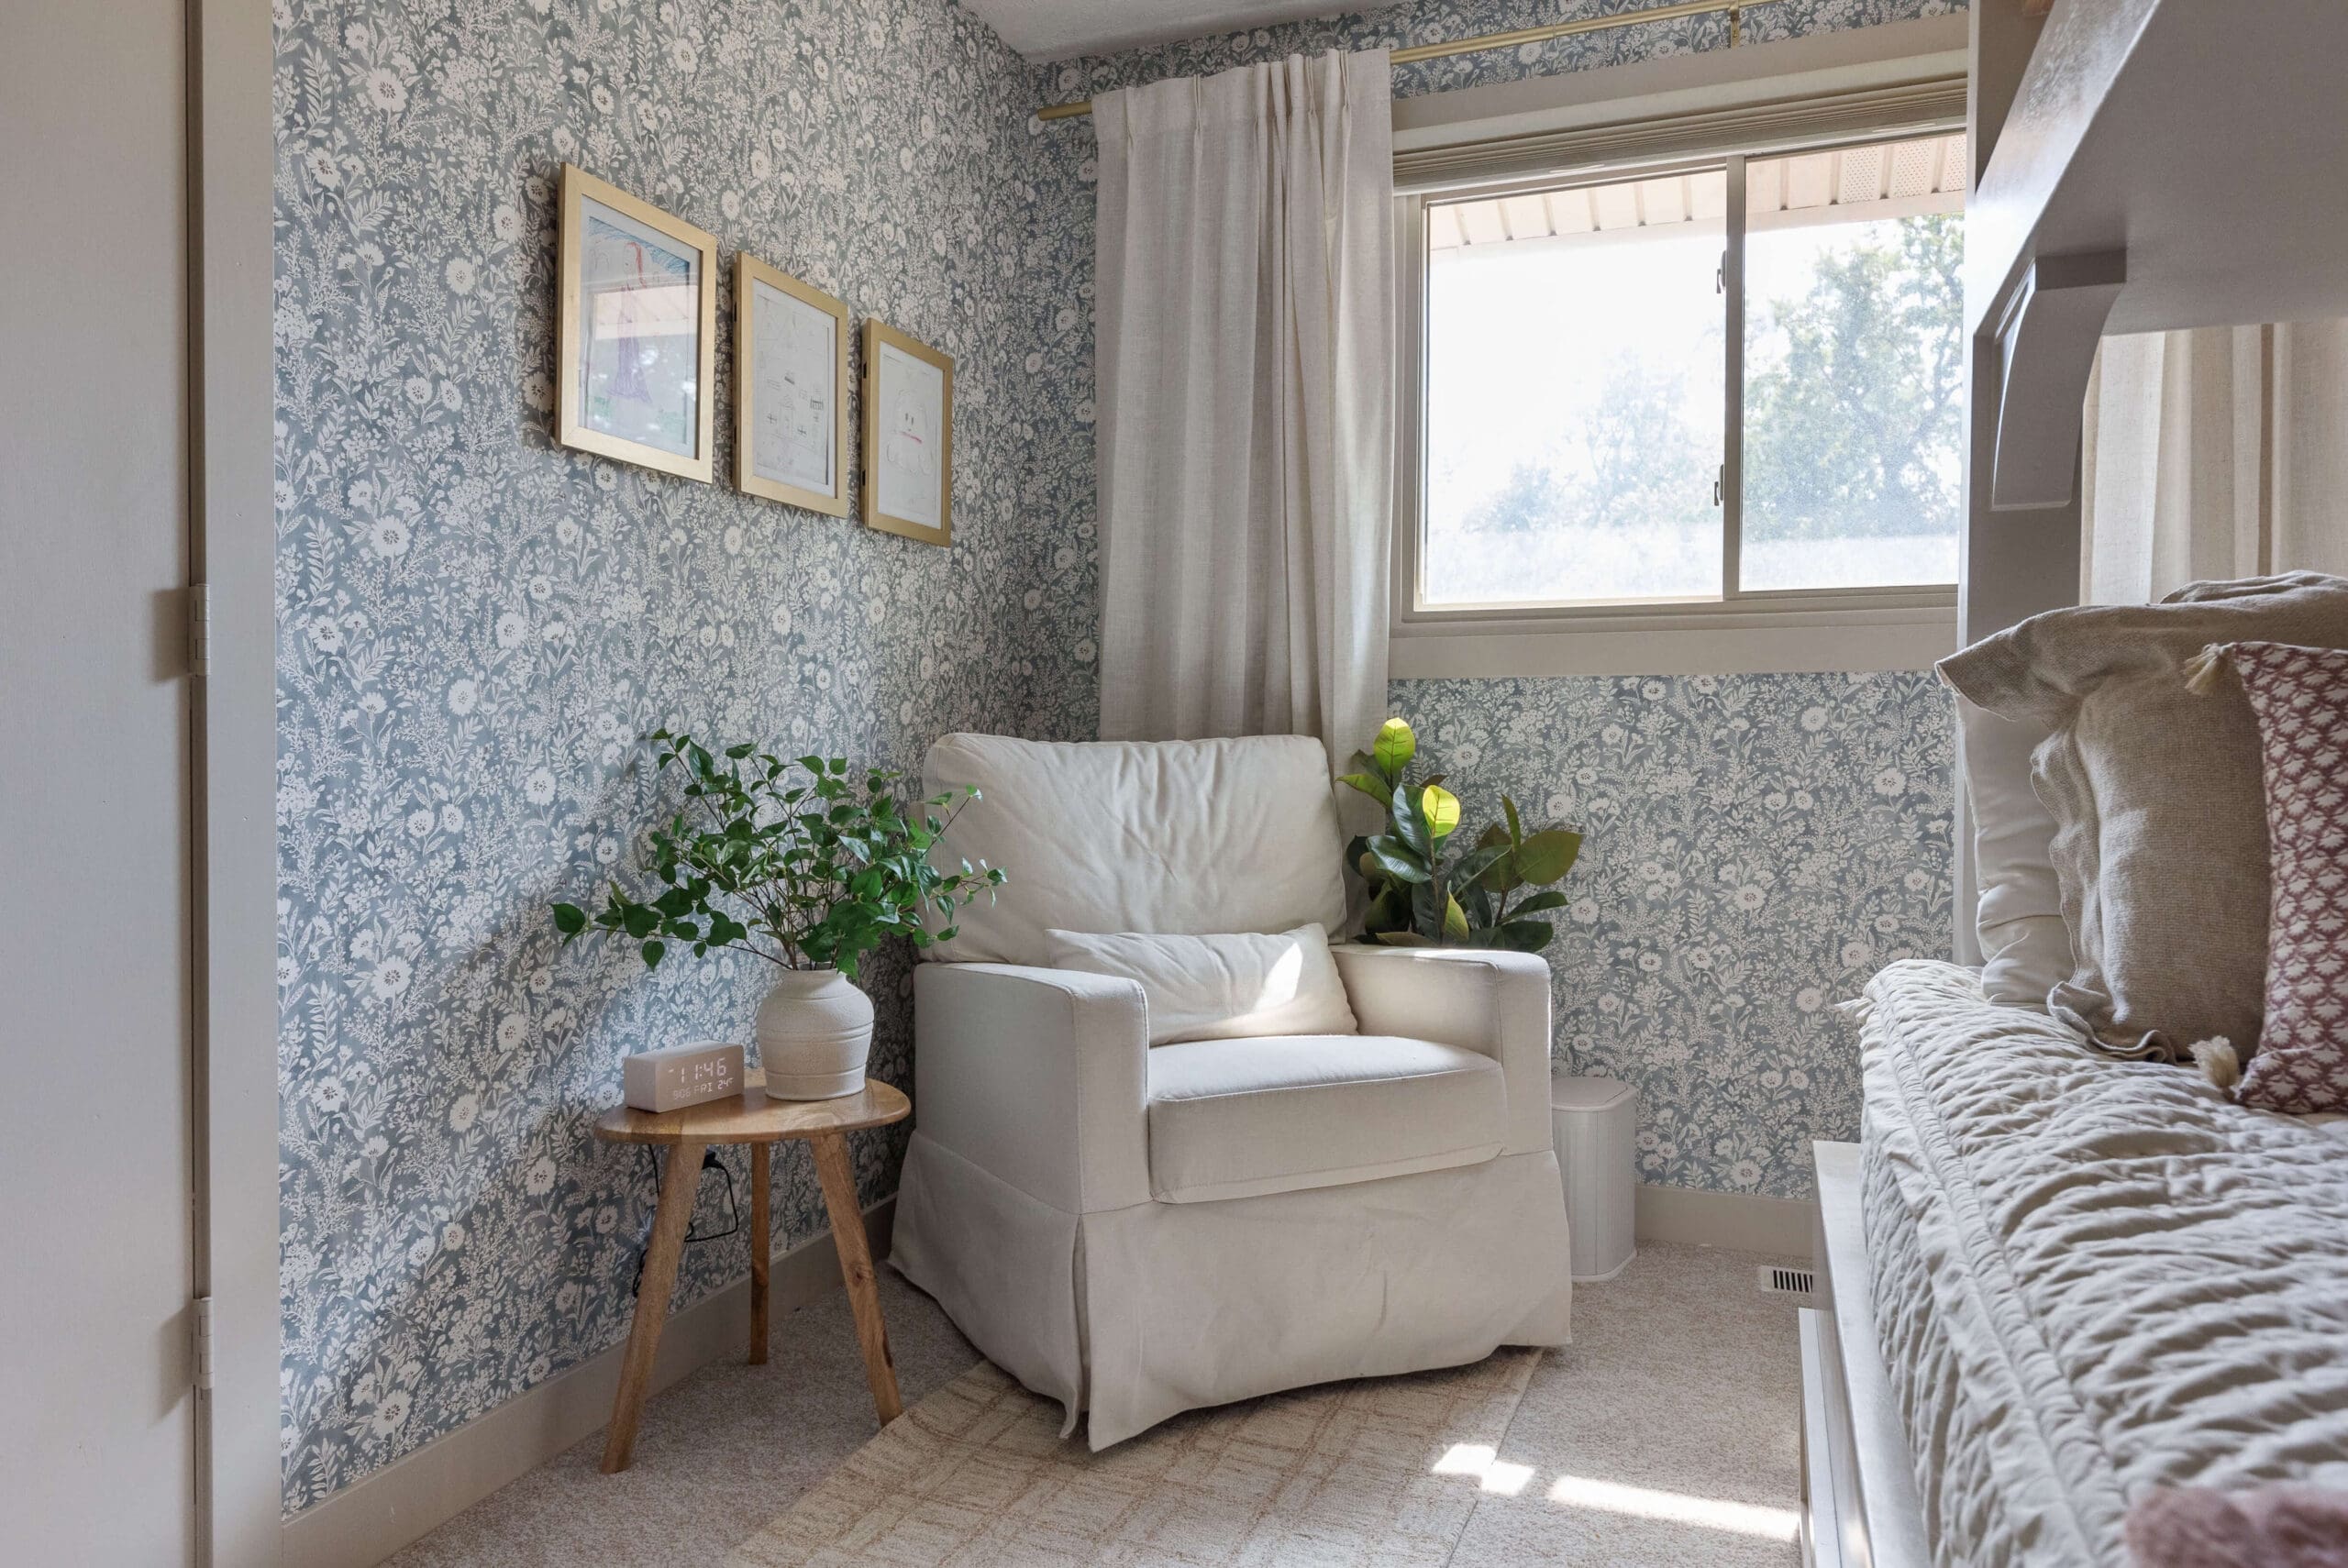
Table of Contents
- What You’ll Need to Hang Prepasted Wallpaper
- Quick Prep Tips Before You Begin
- Funny Story: I Thought It Was Peel and Stick
- Step-by-Step: How to Install Prepasted Wallpaper
- Extra Tips for Installing Prepasted Wallpaper
- The Finished Prepasted Wallpaper Reveal
- Bonus Touches You Should Totally Try
- Related Wallpaper Projects to Explore
- FAQ About Prepasted Wallpaper
What You’ll Need to Hang Prepasted Wallpaper
- Wallpaper (I used this one)
- Wallpaper prep tray
- Utility knife
- Wallpaper smoothing tool
- Laser level
- Step stool or ladder
Quick Prep Tips Before You Begin
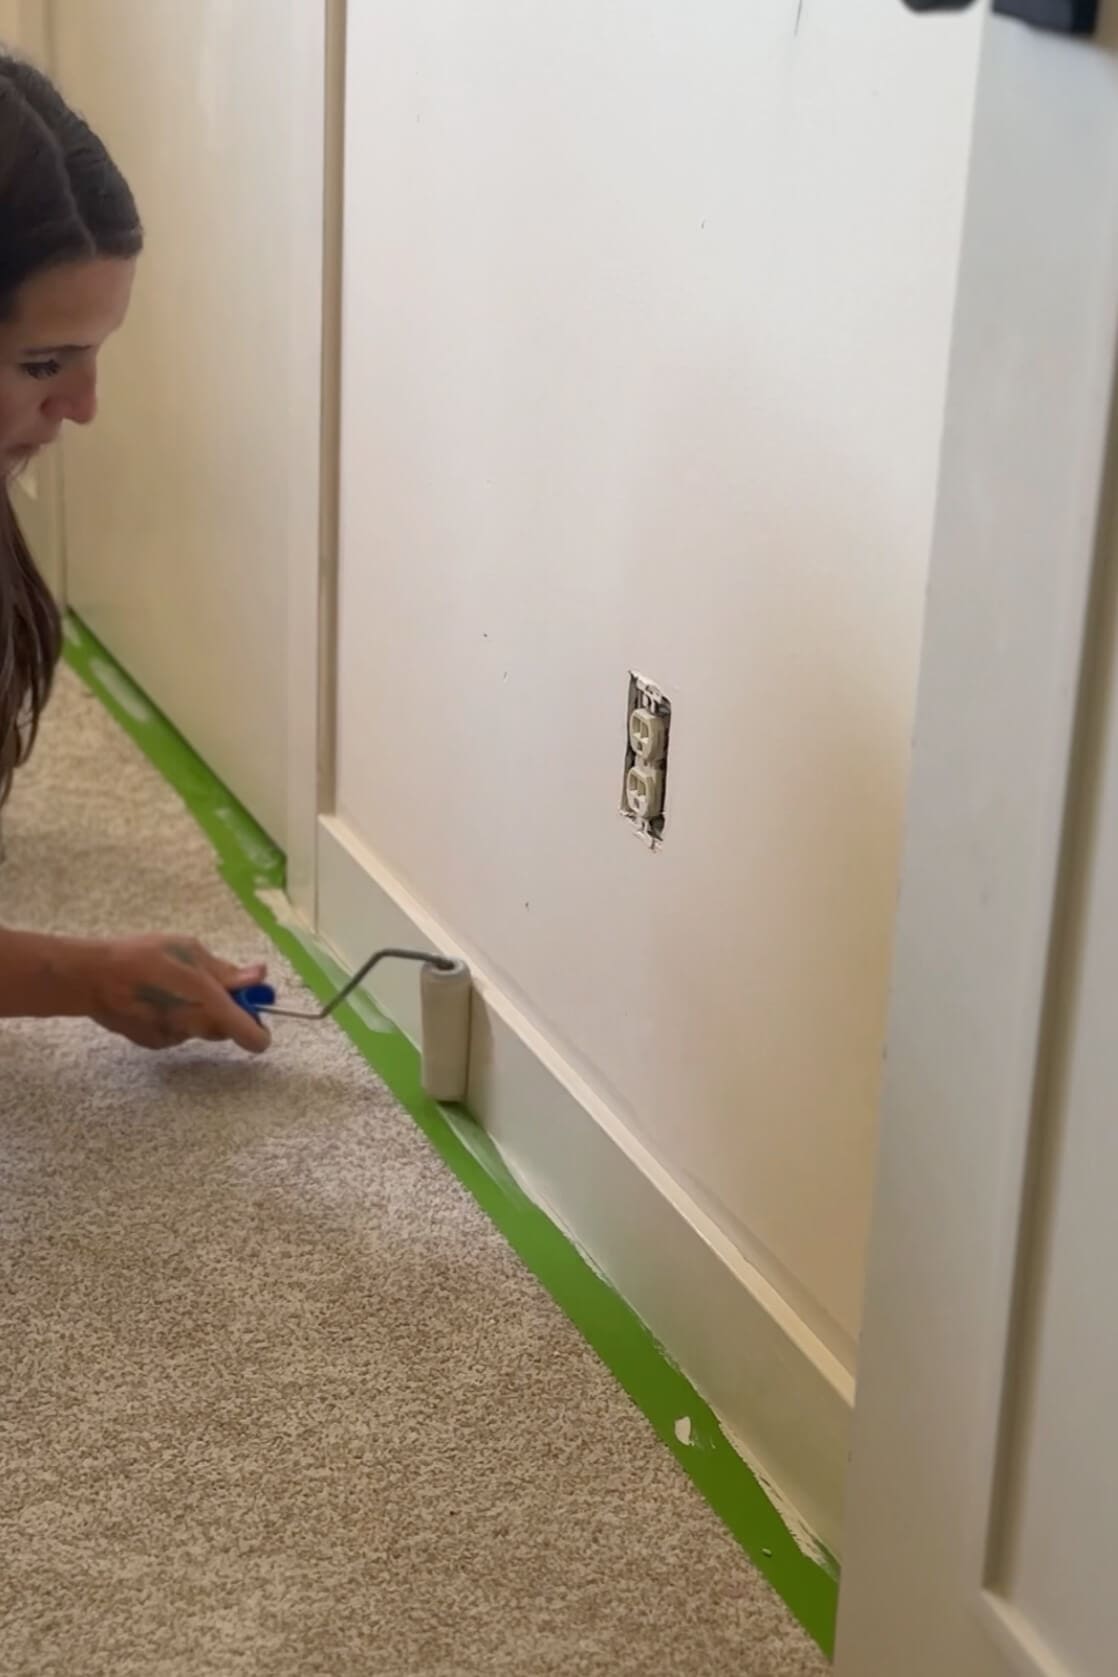
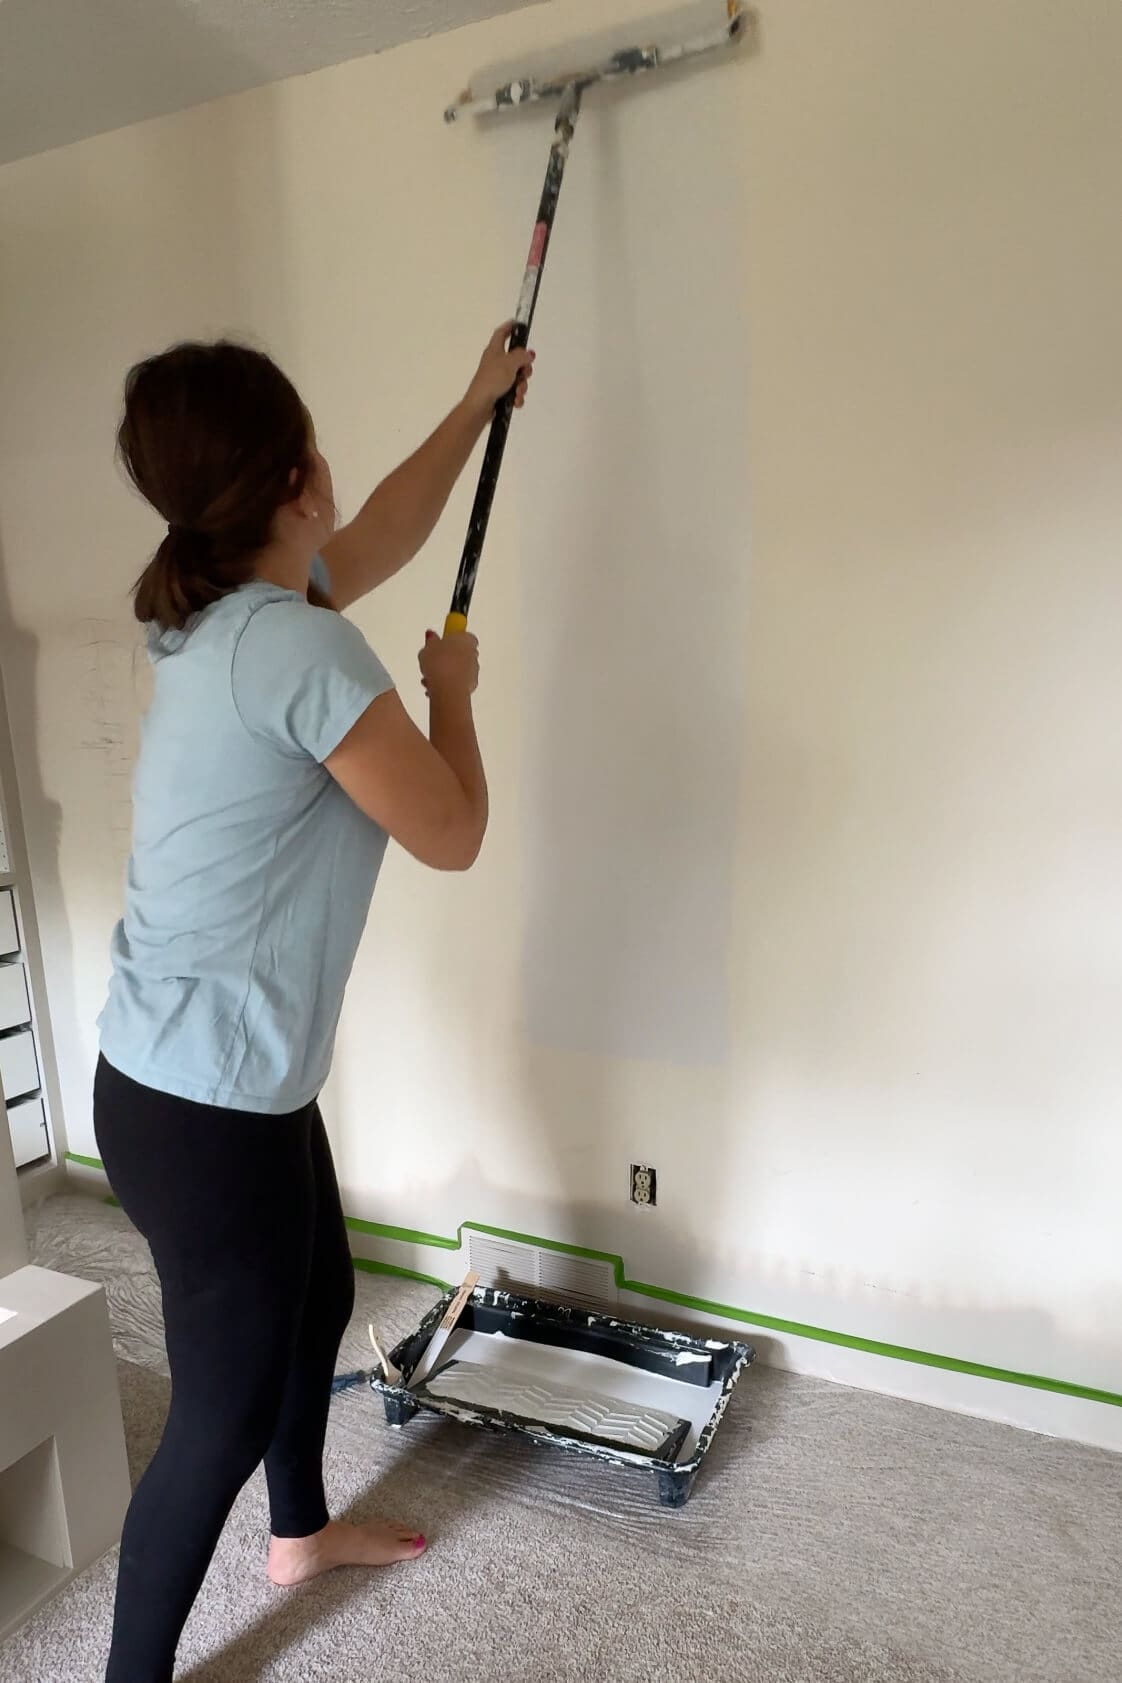
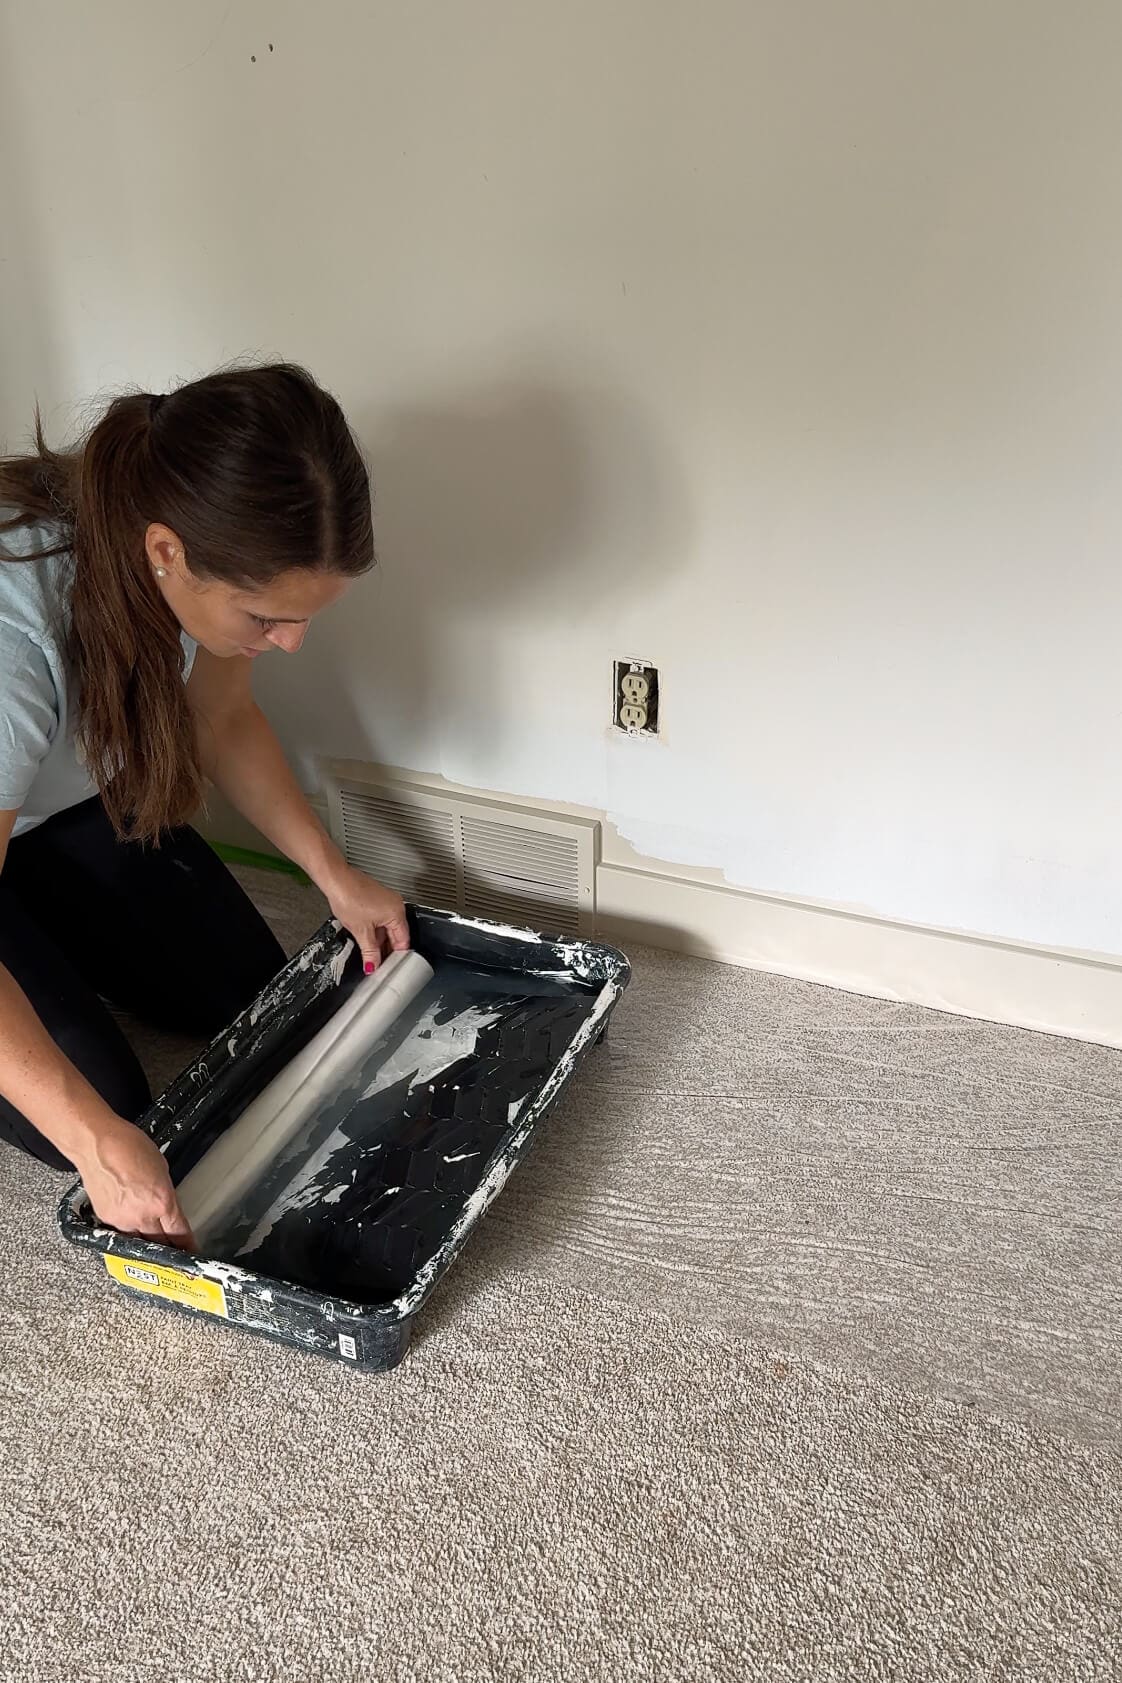
If you’re planning to paint your trim, knock that out before you hang wallpaper so you don’t have to mask anything off later. It’s one less headache. And while you’re at it, go ahead and prime your walls. Primer makes it way easier to remove prepasted wallpaper if you ever want to change things up. Future you will be so glad you did.
Funny Story: I Thought It Was Peel and Stick
Want to hear something funny? I opened up the roll of wallpaper, got ready to put the first panel on, went to peel off the back… but… no backing! This is the moment I realized that the wallpaper I bought was prepasted wallpaper, not peel-and-stick. Oops. Fortunately, I’m always up for learning how to do something new, and it was so much easier than I expected.

Step-by-Step: How to Install Prepasted Wallpaper
Here’s exactly how I did it, step by step:
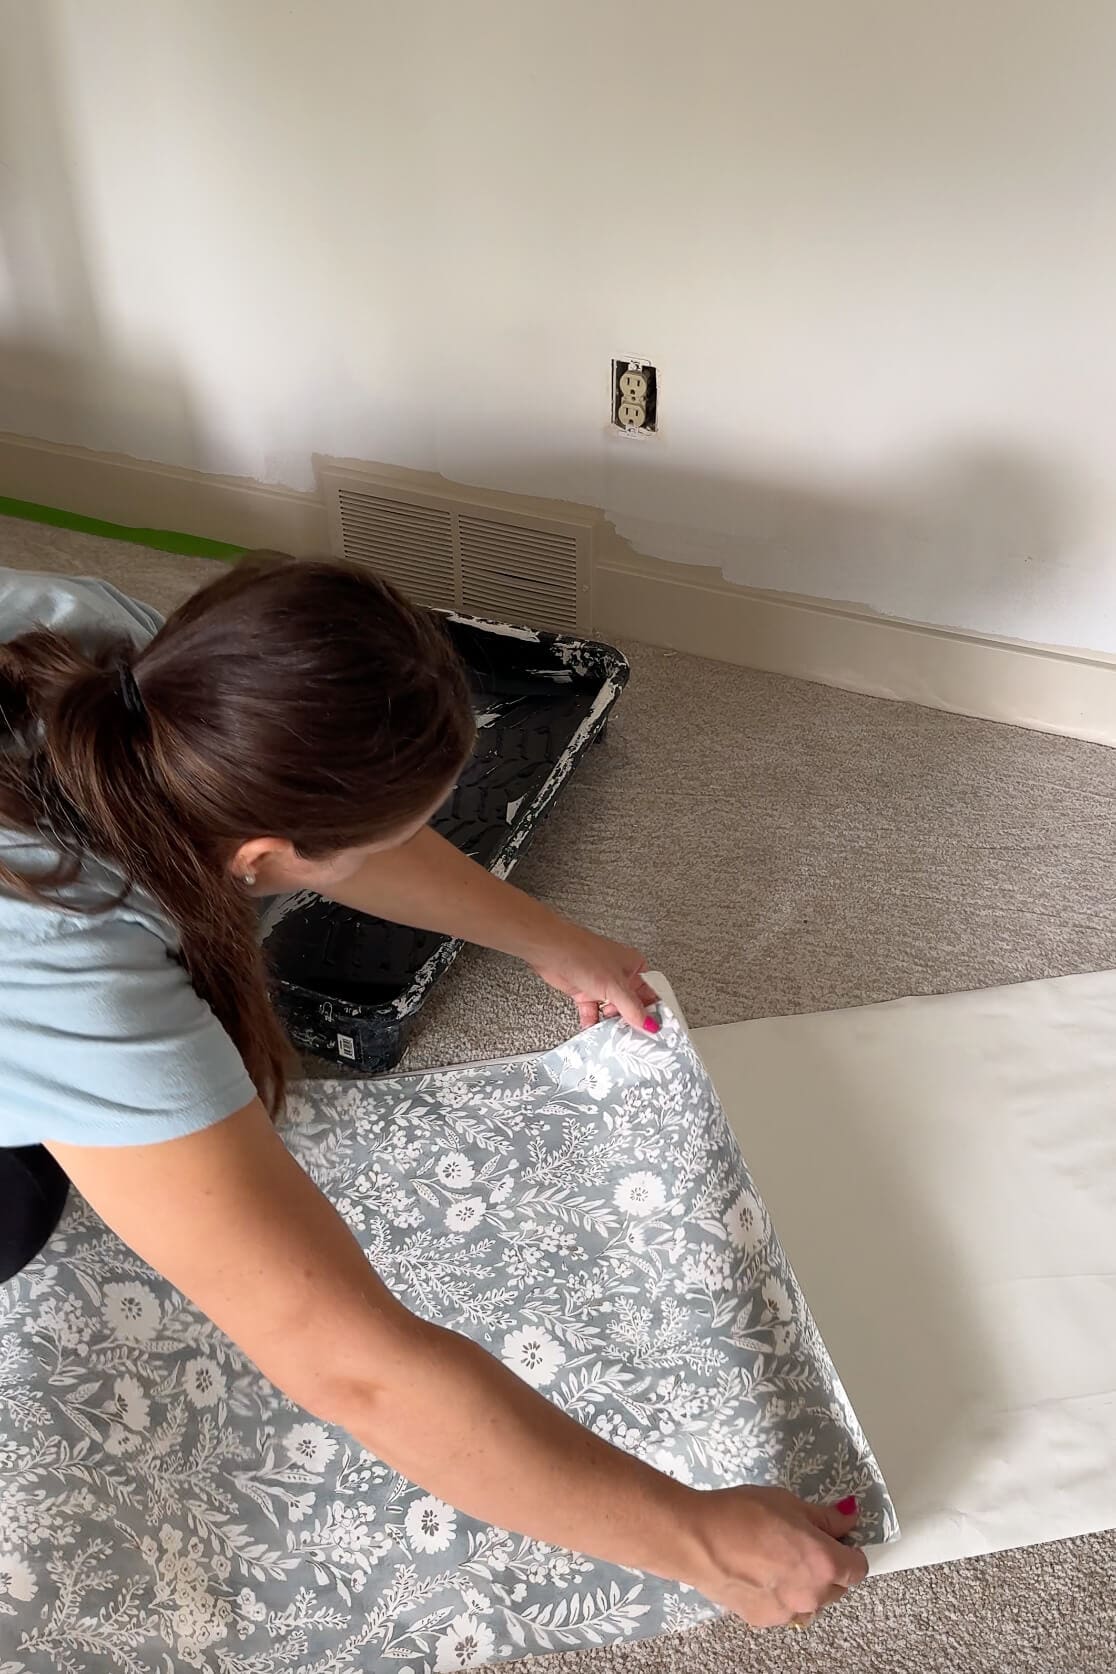
Step 1: Roll the PrePasted Wallpaper Inside-Out
Start by rolling your prepasted wallpaper panel with the pattern side in and the adhesive side out. This helps it soak evenly and keeps the glue side exposed for activation.
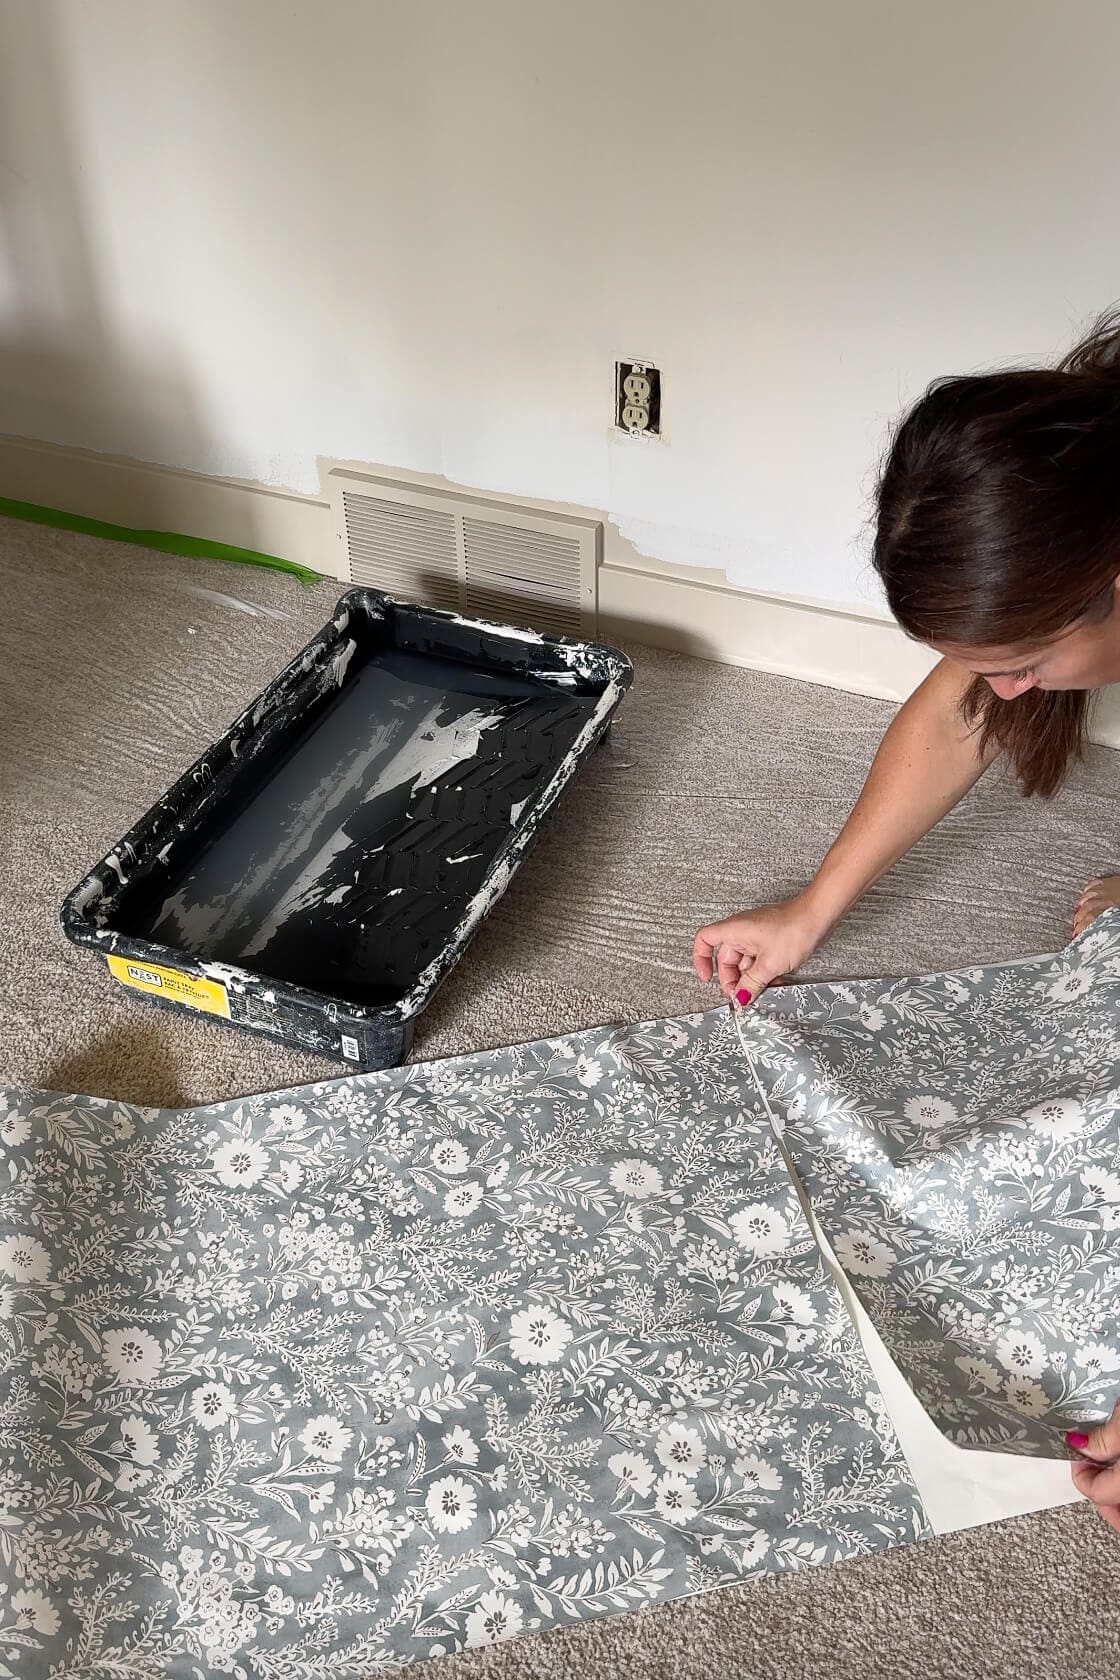
Step 2: Soak in Water
I used my deep, 18-inch paint tray, but you can also use a wallpaper tray or even your bathtub. Submerge the roll and let it soak for 10–15 seconds, then pull it through slowly so the entire back gets wet.
Step 3: Book the PrePasted Wallpaper
Lay the soaked panel on a clean surface and gently fold each end toward the center, adhesive sides touching (but don’t crease it!). This is called booking, and it gives the paste time to activate. Let it rest for a few minutes while you prep your wall.
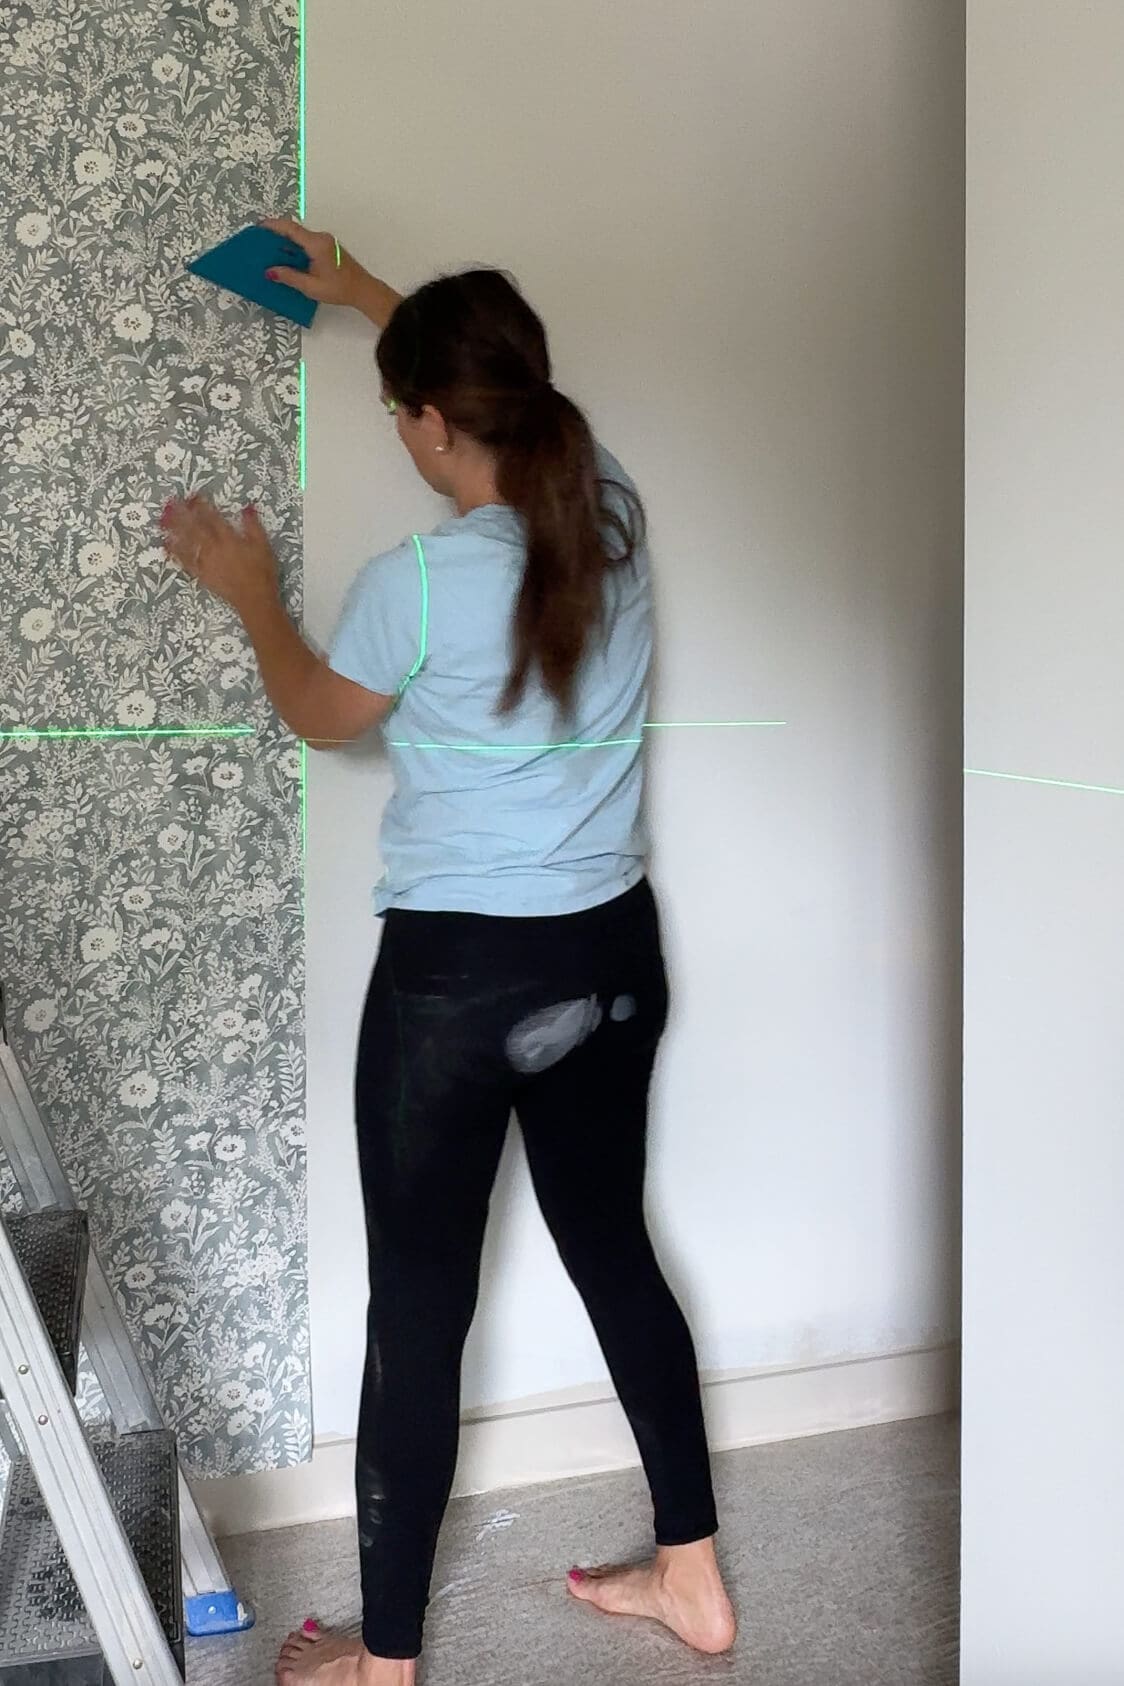
Step 4: Mark a Center Line
No matter what type of wallpaper I’m installing – peel-and-stick, traditional, or prepasted – I almost always start in the middle of the wall. I use a laser level to mark a straight vertical line just inside where the first panel will go. That way, everything stays aligned as you go.
Step 5: Apply the First Panel
Unfold the top half of your booked panel and press it to the wall, lining it up with your laser level. Smooth it out from the center using a plastic smoothing tool or your hands. Then unfold the bottom half and repeat.
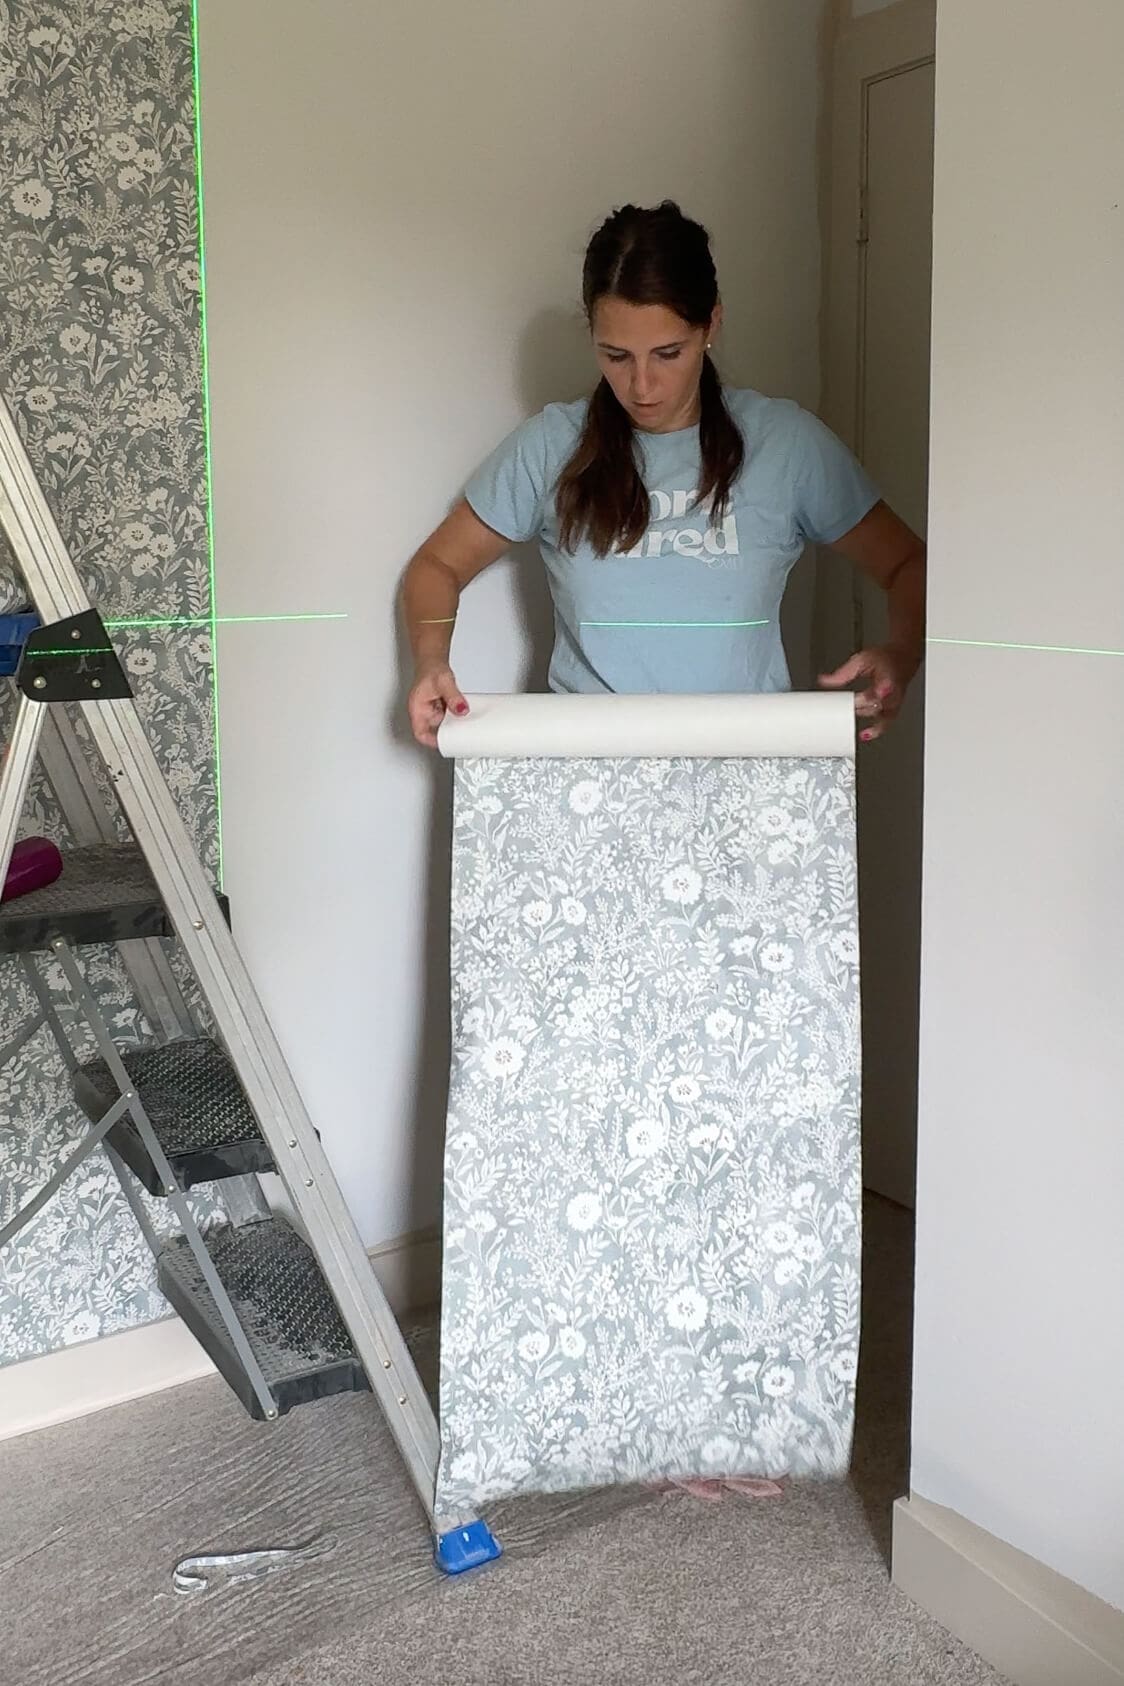
Step 6: Line Up and Continue
For each new piece of prepasted wallpaper, repeat the same steps: roll, soak, book, and apply. You’ll want to line up the pattern carefully. This part can be a little tricky at first, but it gets easier as you go. I repositioned my laser level as I moved around the room to make sure I stayed straight and avoided any drifting.
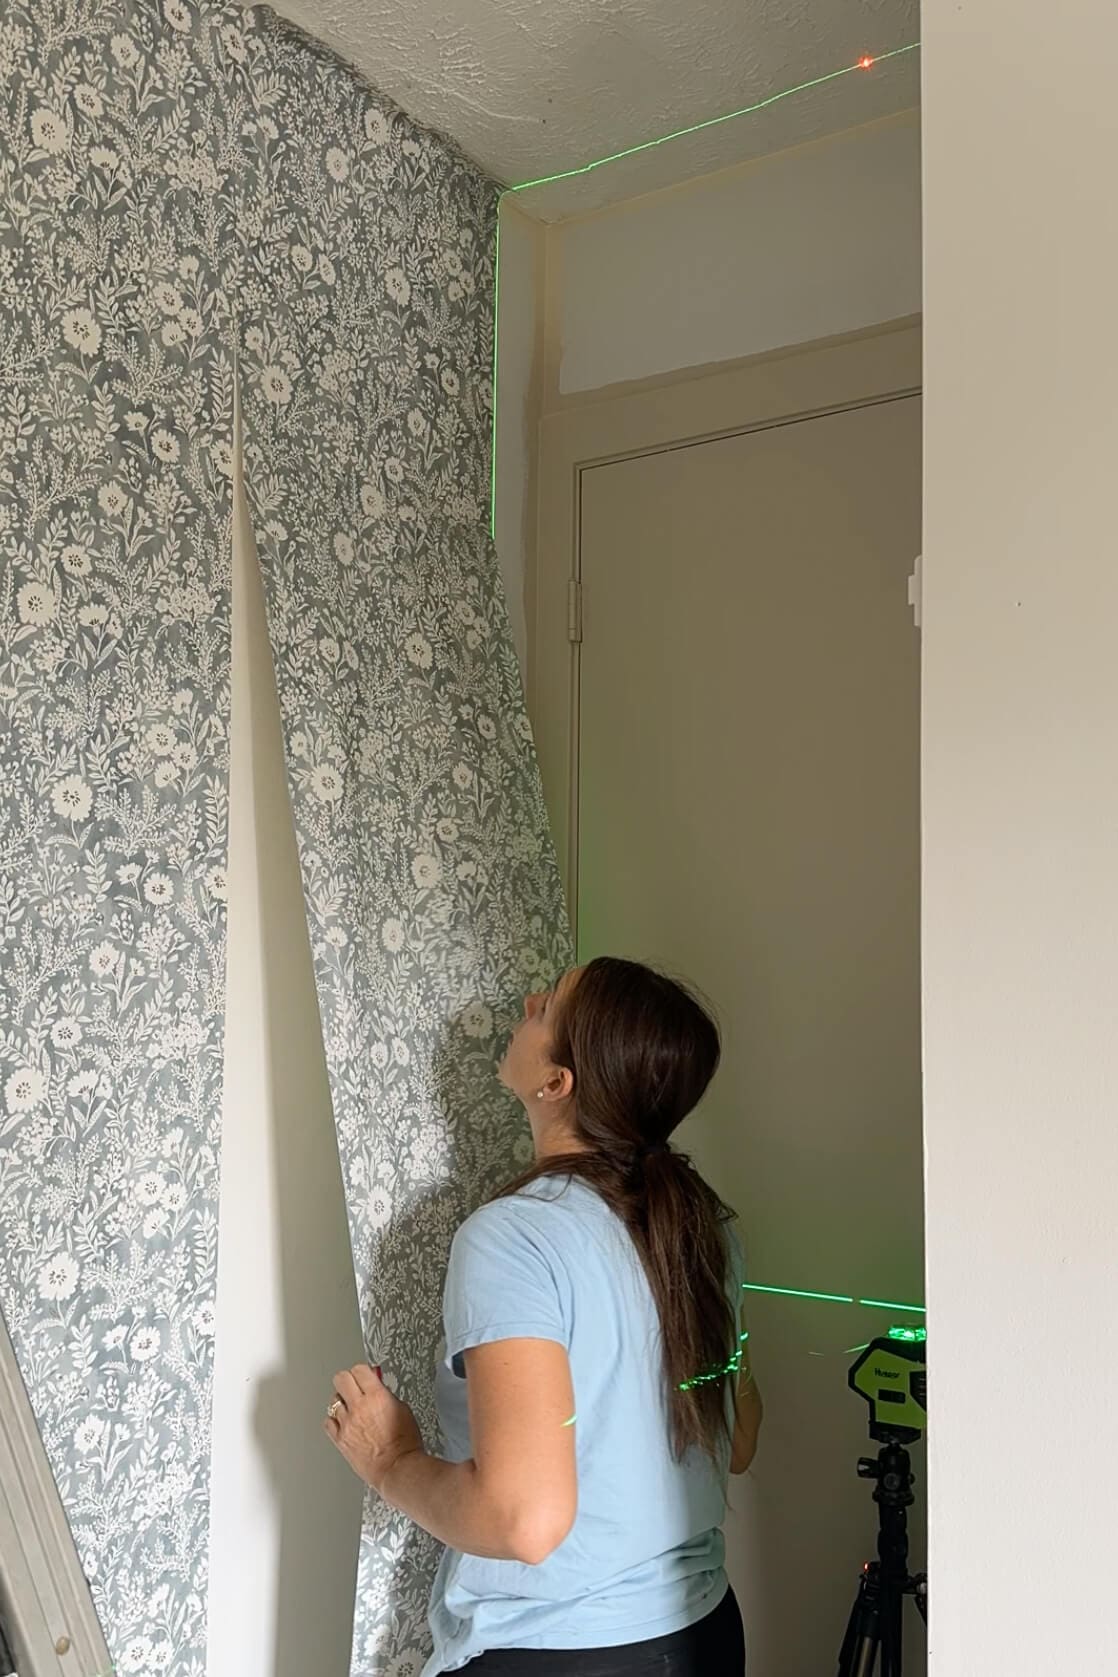
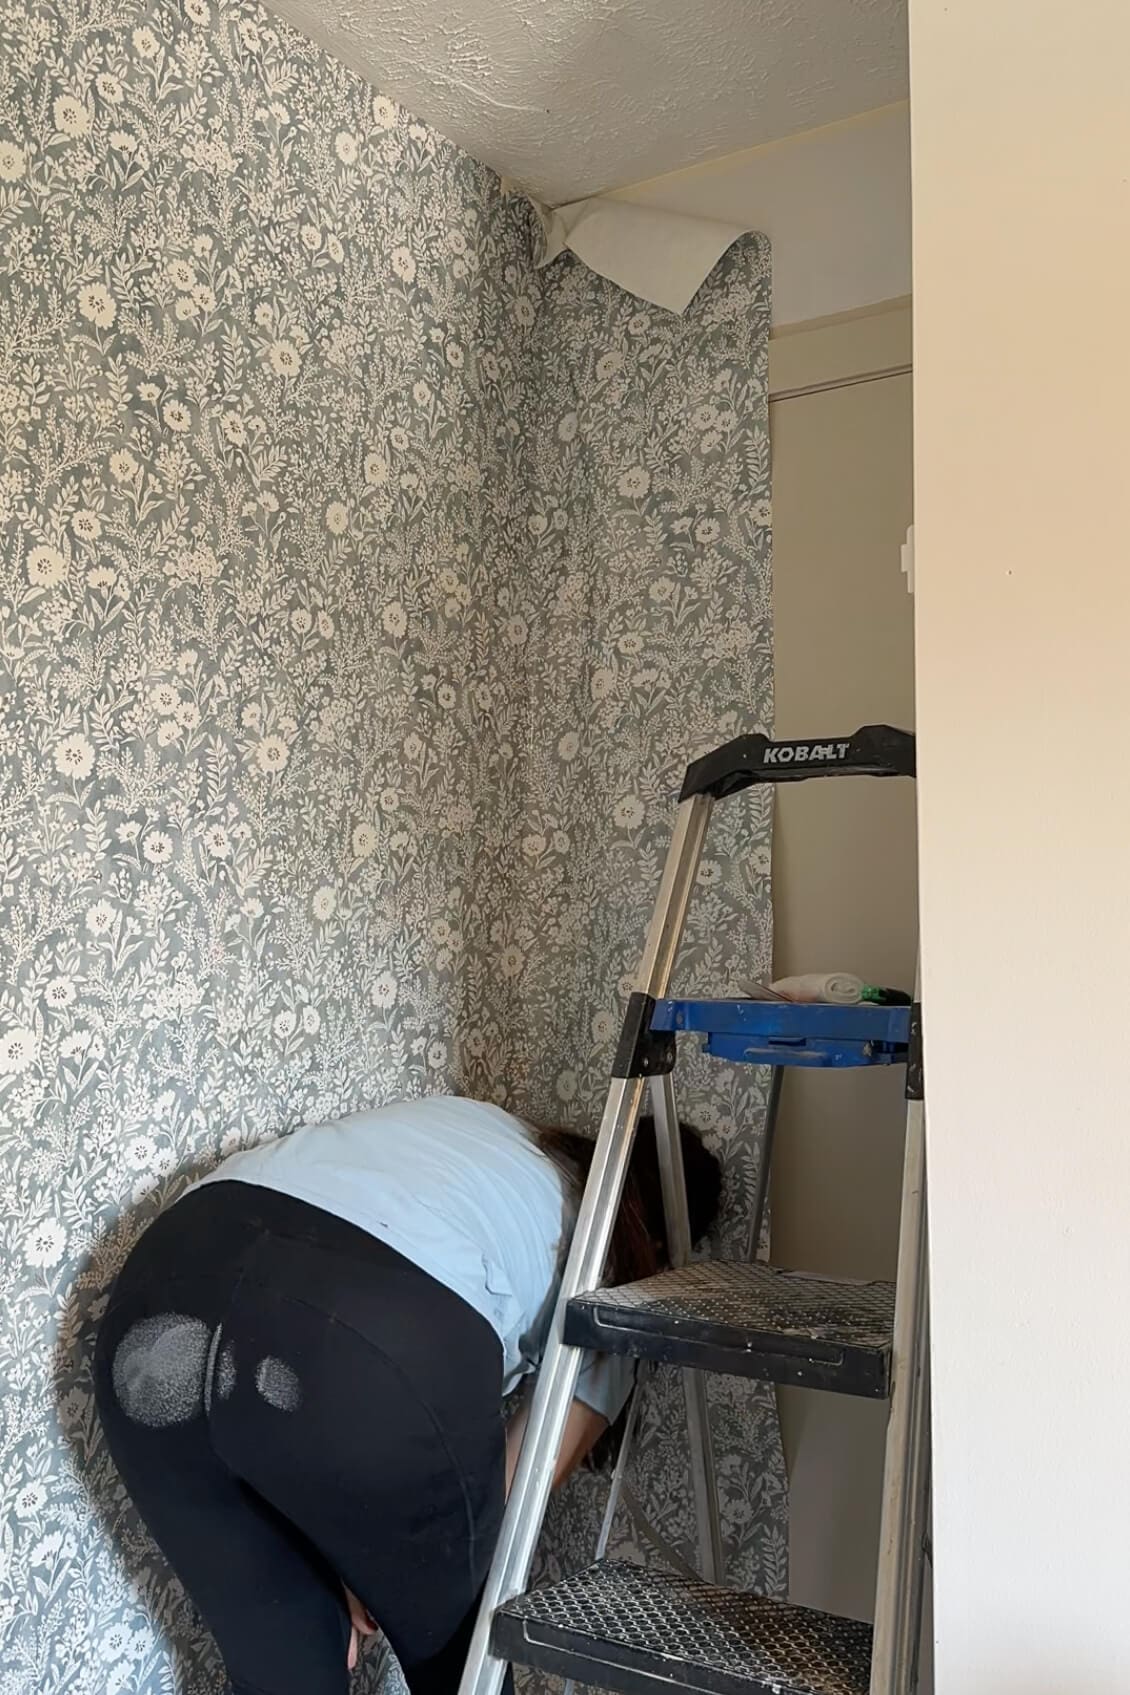
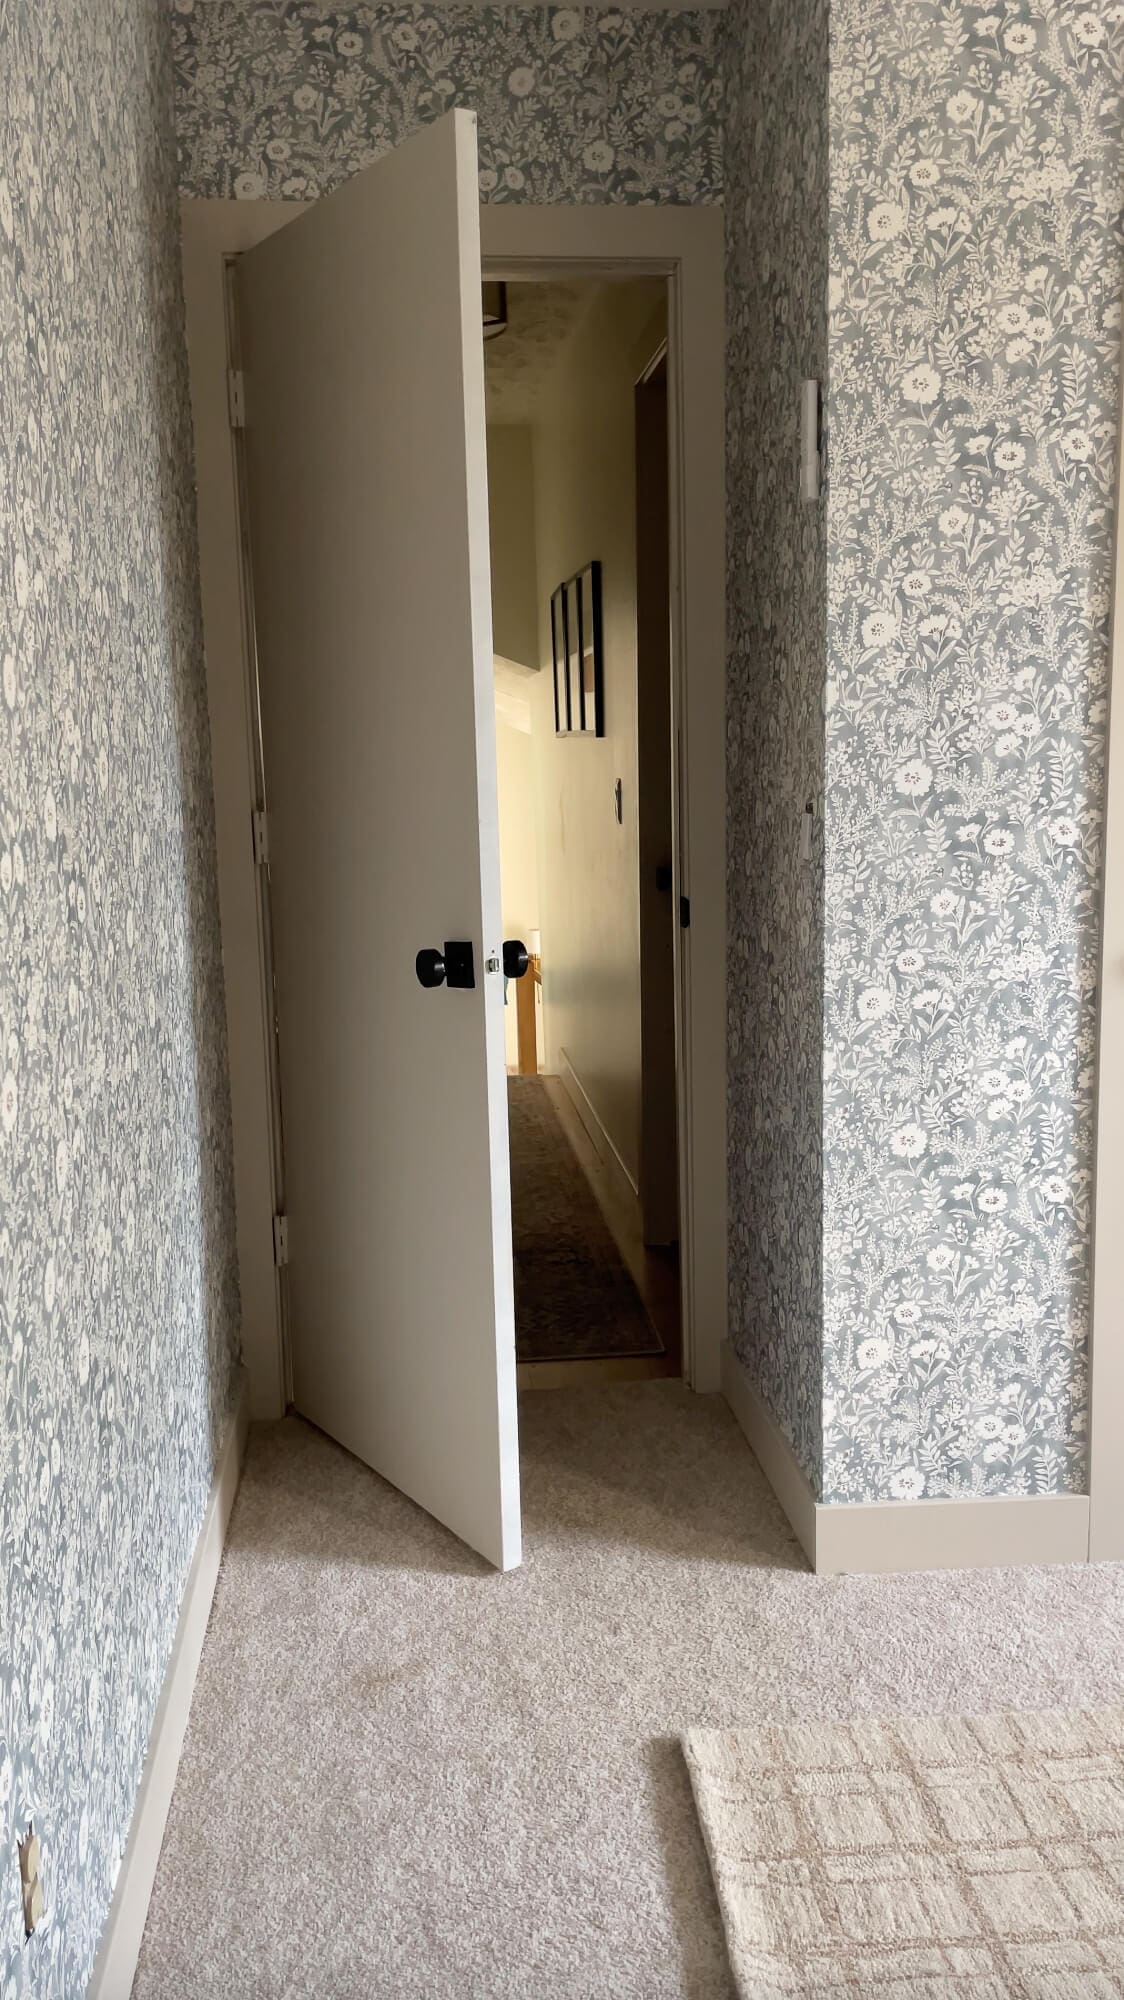
Step 7: Wrap Corners
When I got to the corners, I wrapped the wallpaper around rather than trimming and starting fresh. It keeps the flow looking seamless and helps avoid awkward gaps.

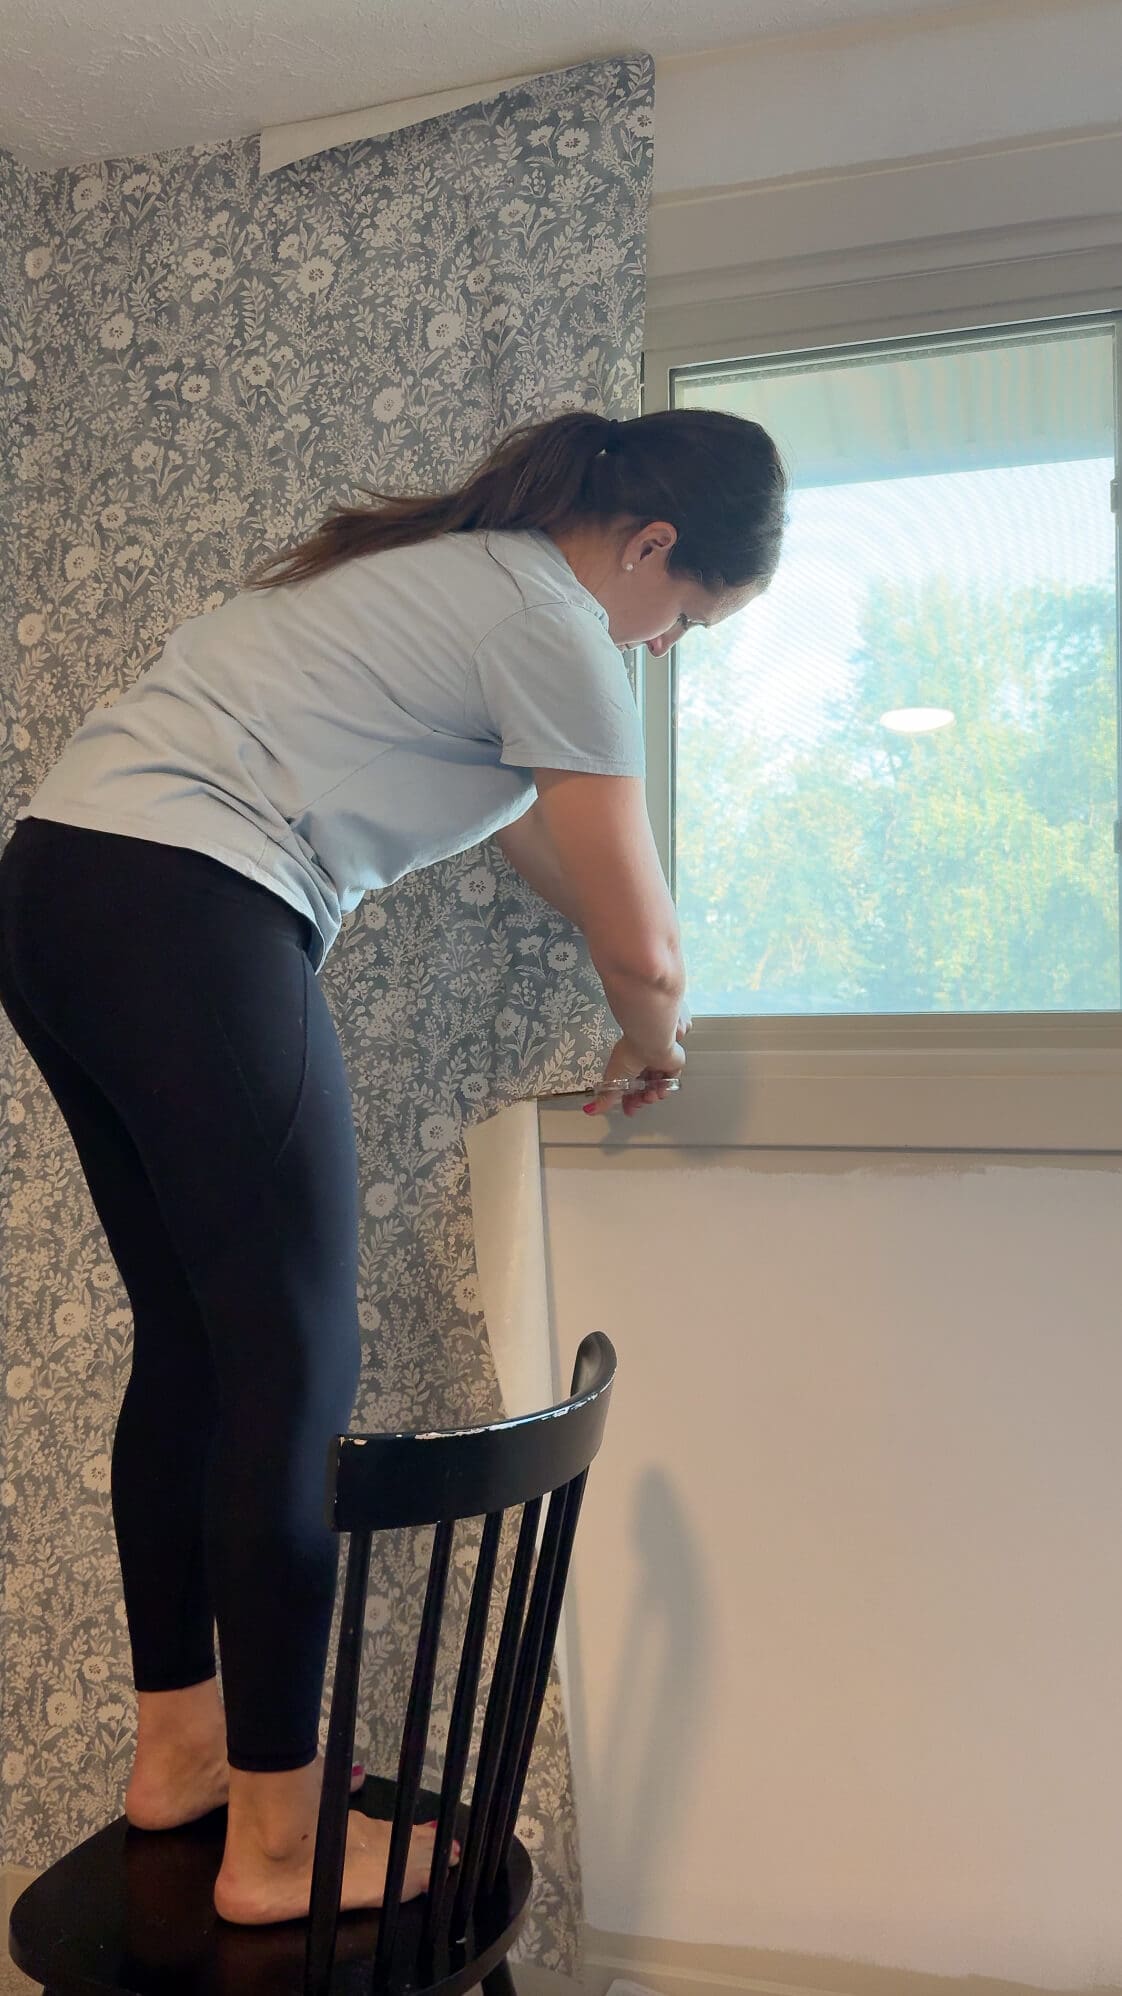
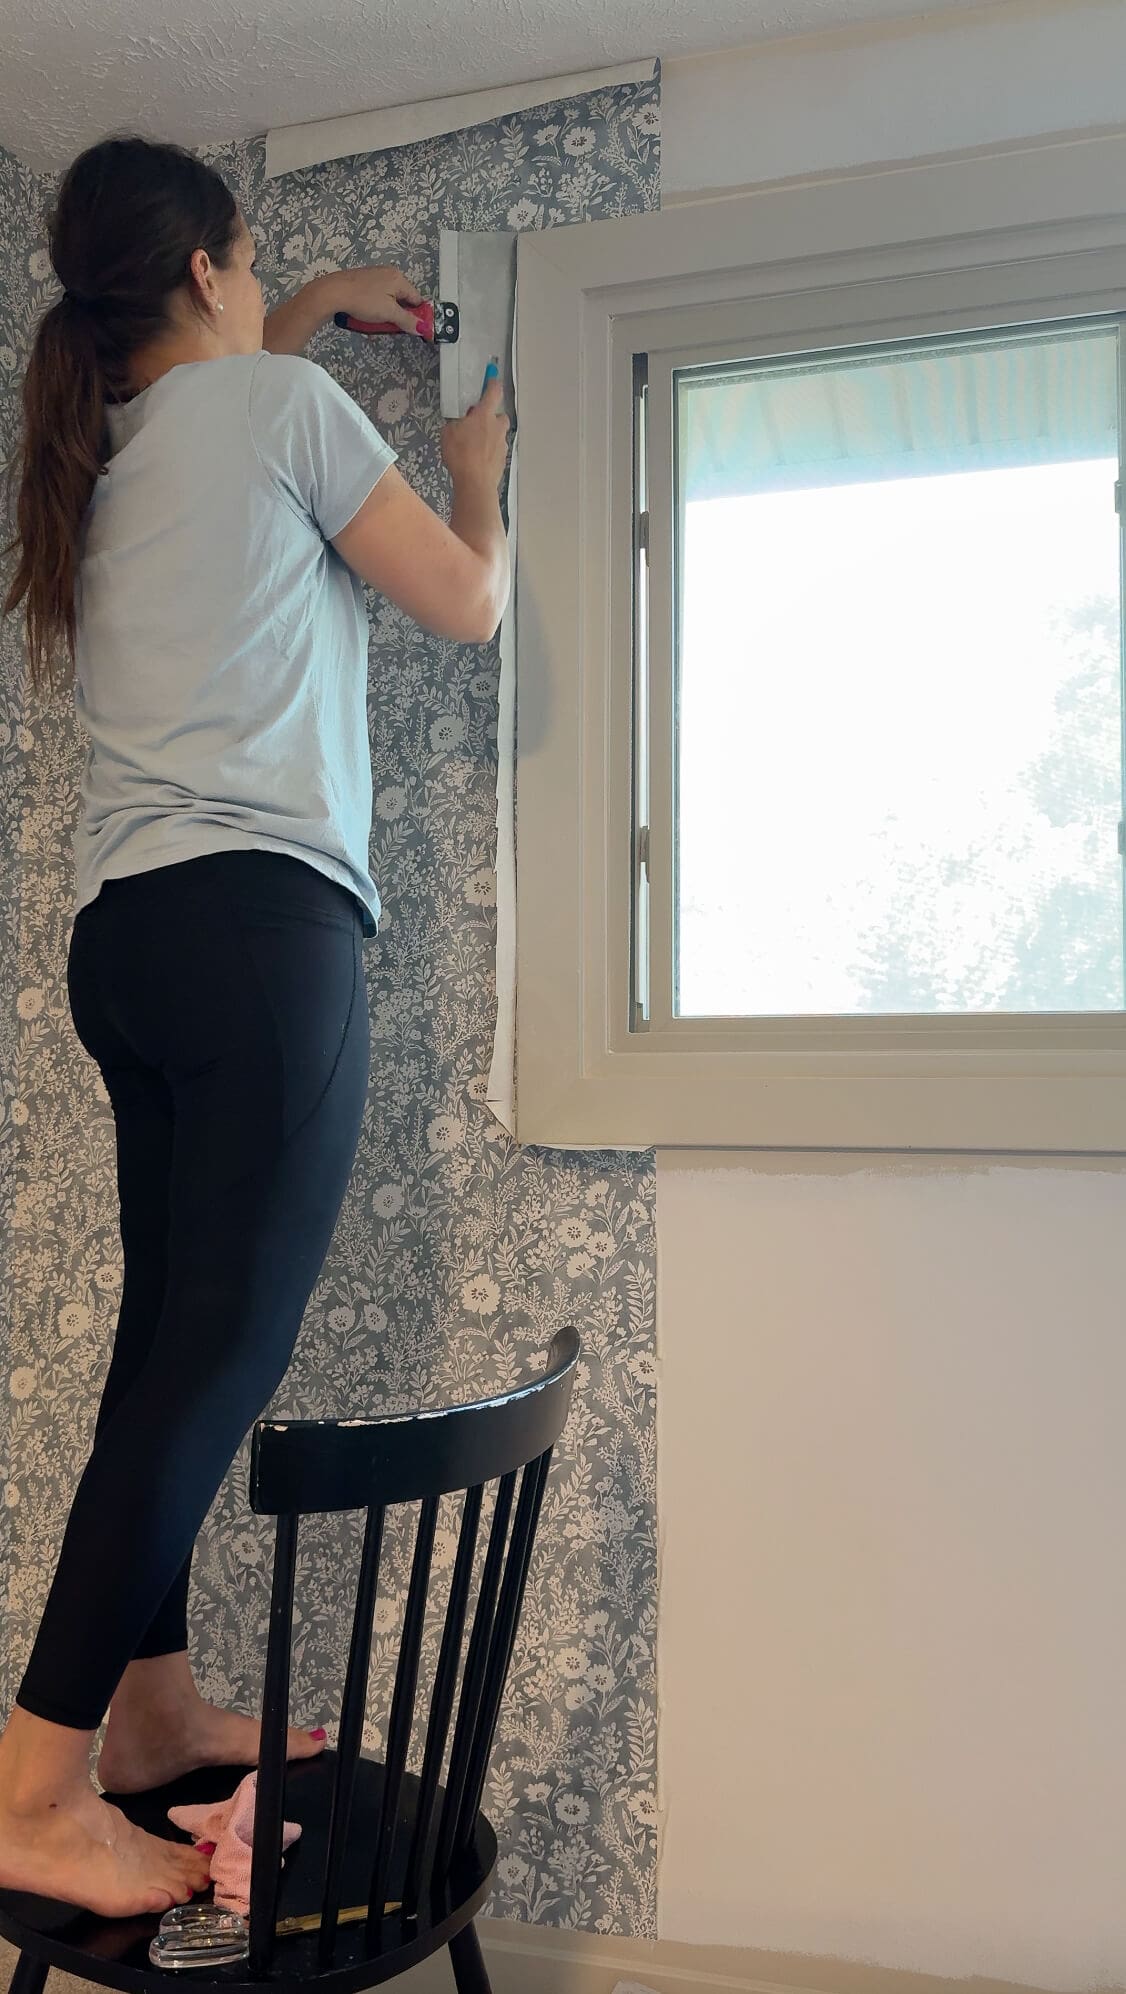
Step 8: Trim Windows and Doors
For tricky areas like around the window and door trim, I used scissors to quickly cut away most of the excess wallpaper first. Then I grabbed a utility knife and a smoothing tool to press the panel tight to the edge and get a clean, crisp cut.
Extra Tips for Installing Prepasted Wallpaper
- Start with the hardest part of the room and get it out of the way first. Once that’s done, the rest feels easy.
- Don’t skip the booking time – it really helps the paste activate.
- A laser level = game changer.
- Grab a friend to help. It’s much easier with two sets of hands.
- Keep a damp cloth nearby to wipe any paste from trim or baseboards.
- If the paper starts to slide, don’t panic. Adjust and smooth as you go.
- Save scraps for wrapping outlet covers or patching tricky corners.
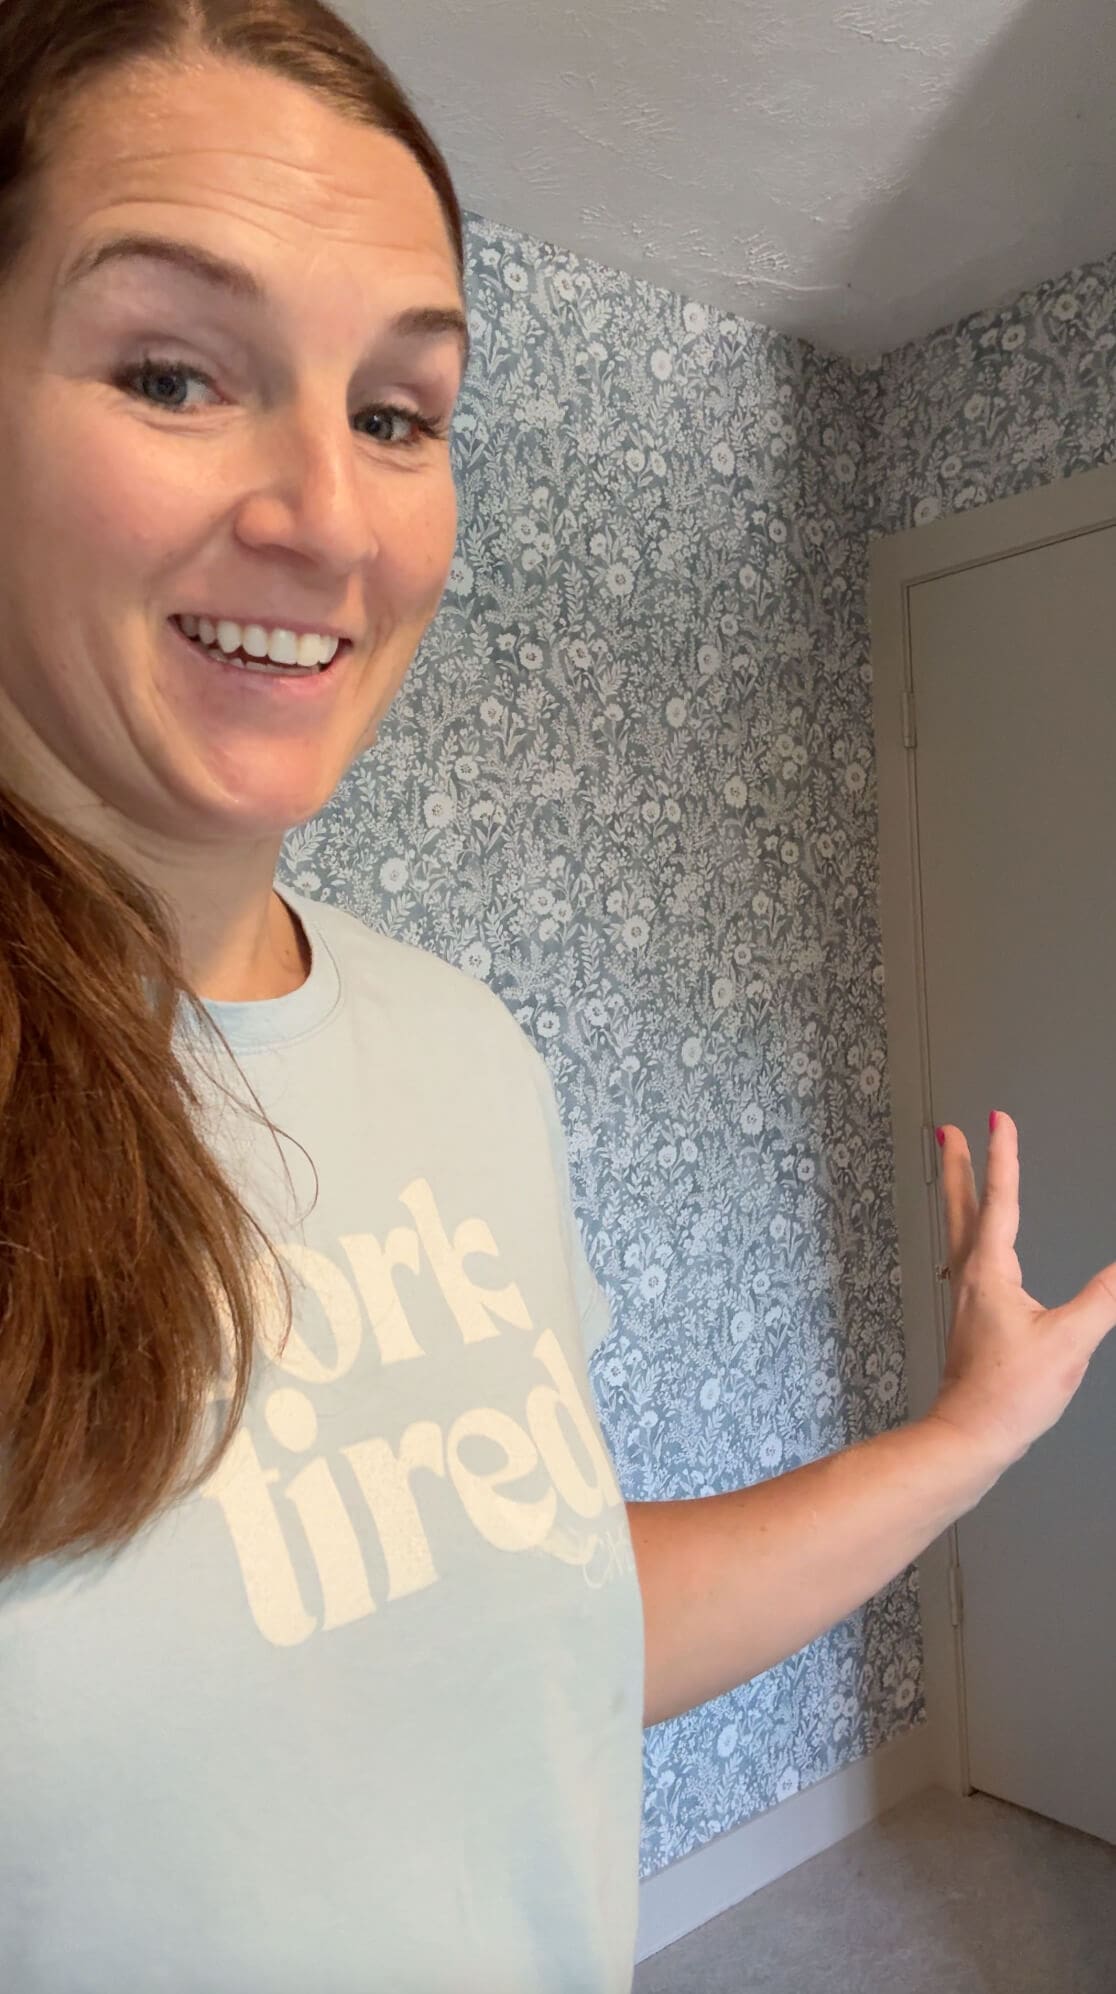
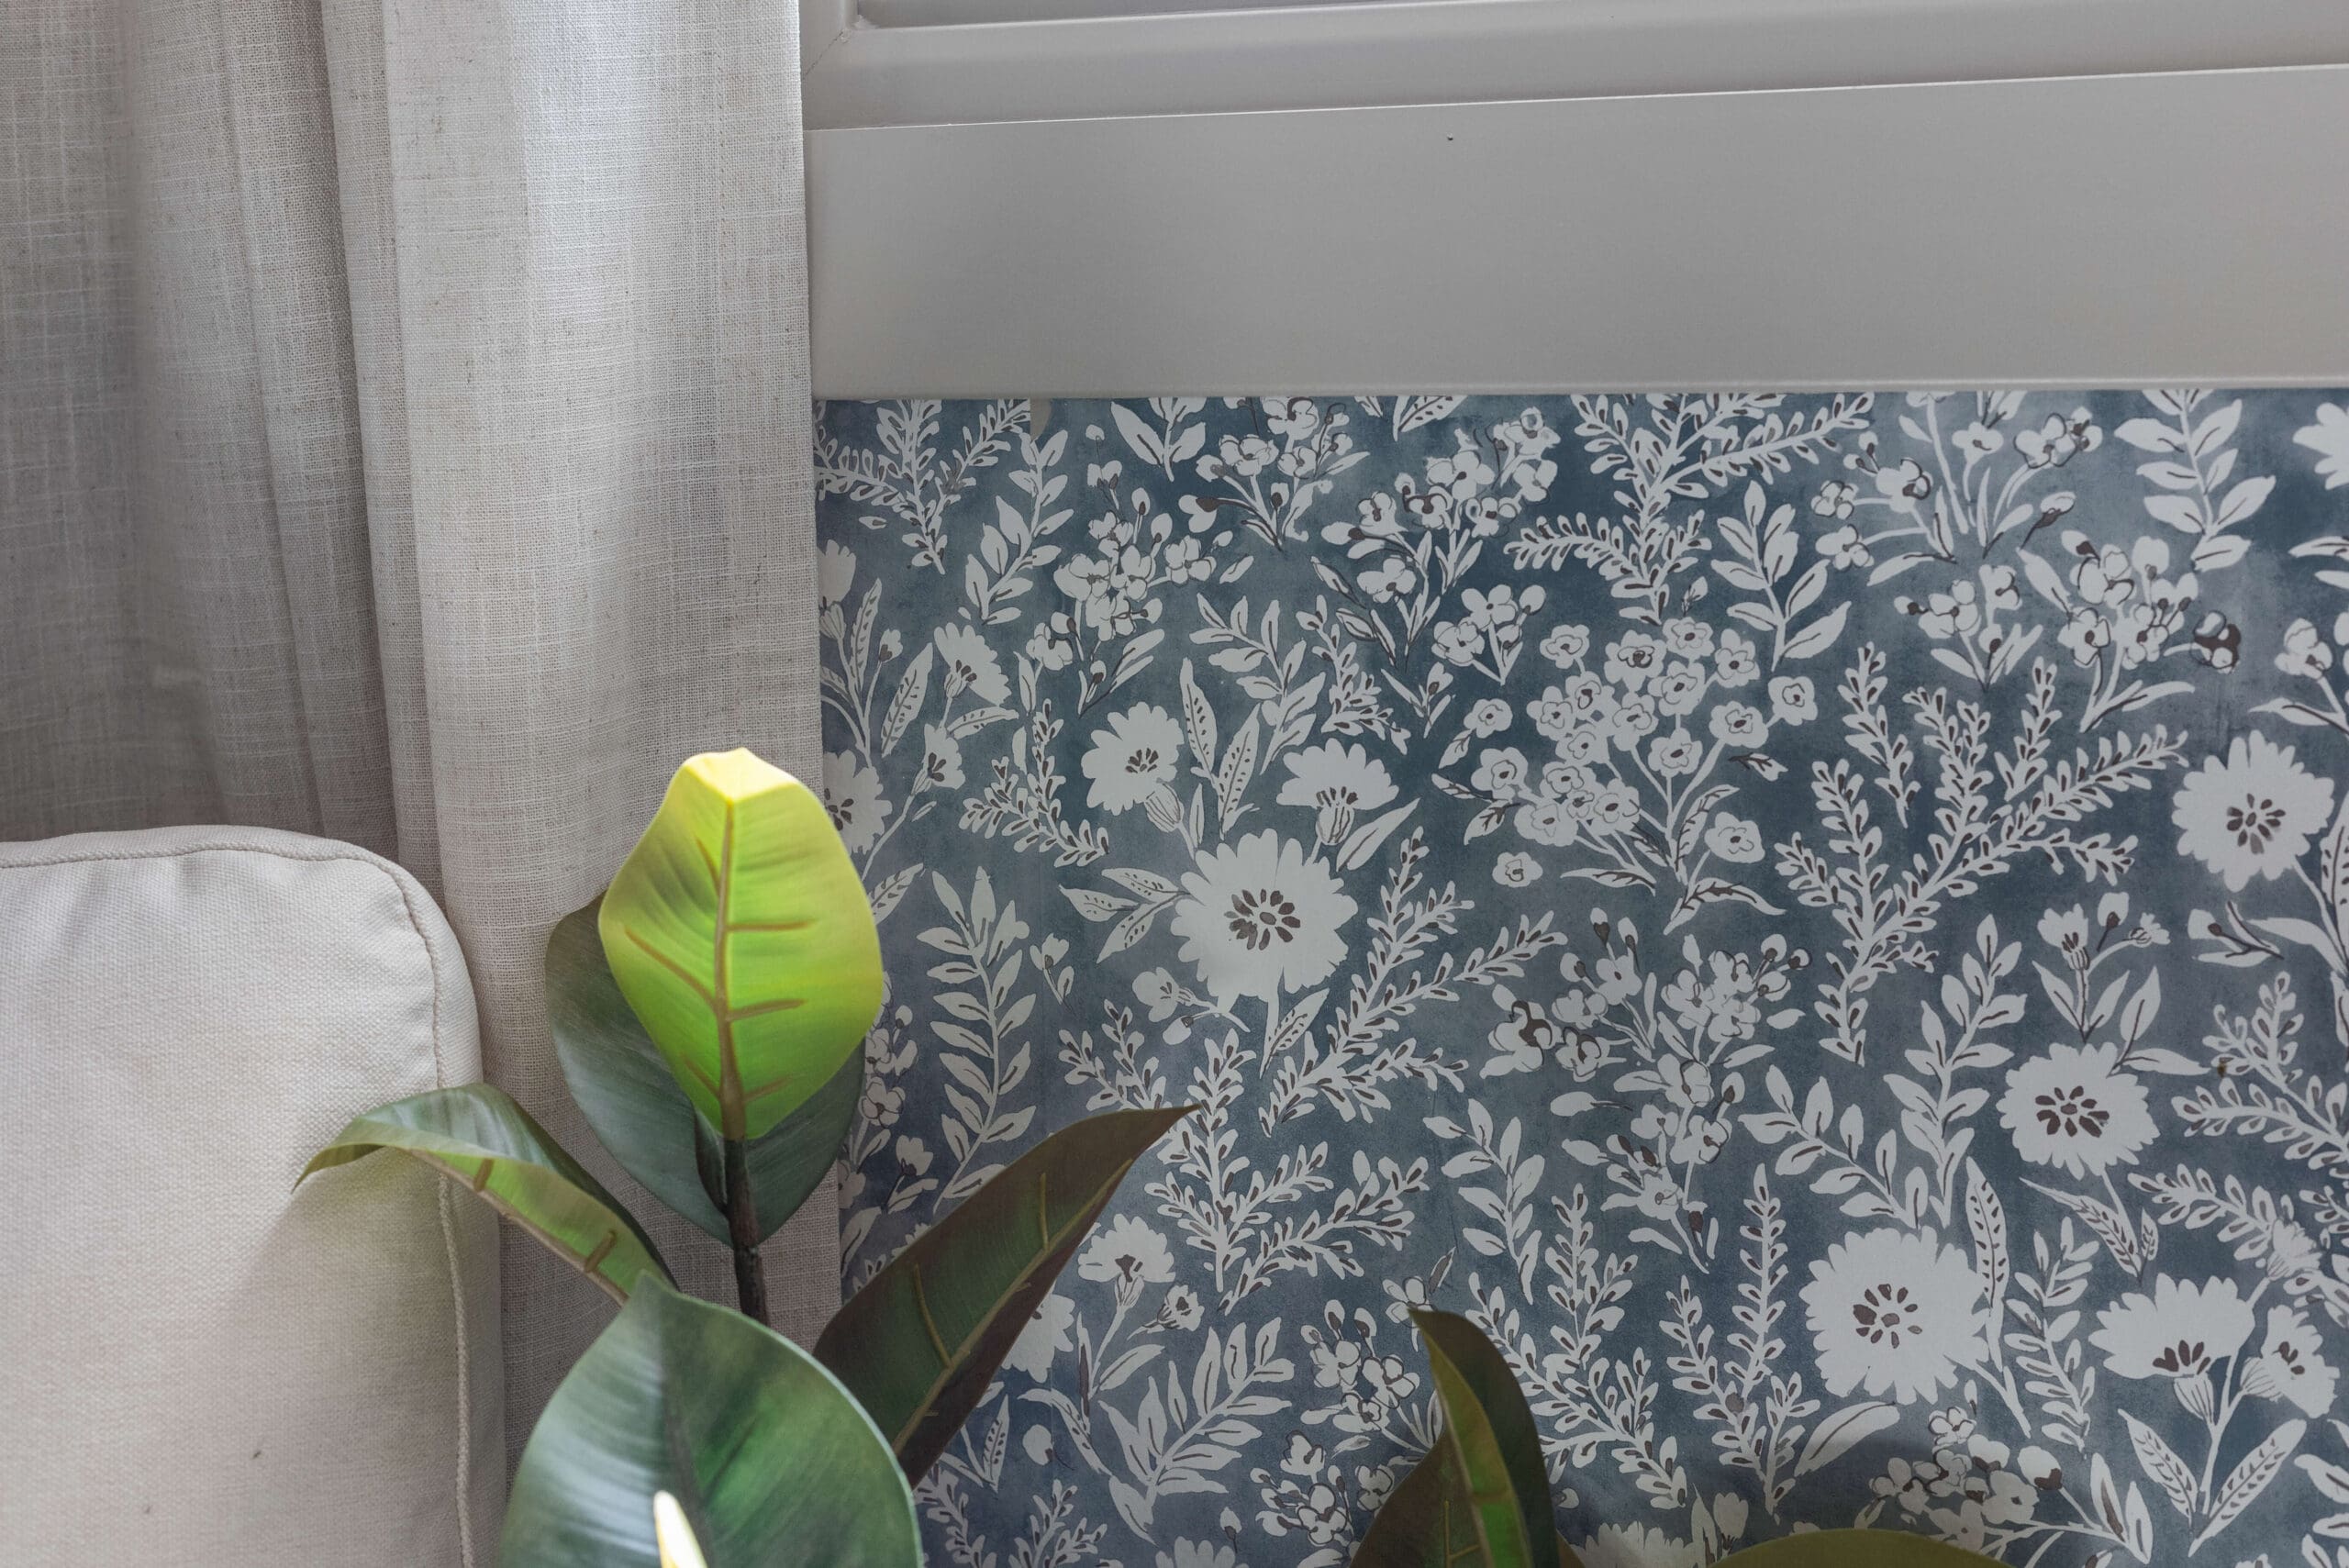
The Finished Prepasted Wallpaper Reveal
Y’all. This gorgeous, floral, prepasted wallpaper completely transformed the room. The walls went from “blah” to beautiful in just one afternoon. If you’re on the fence, I say go for it. It’s a beginner-friendly and forgiving DIY project.
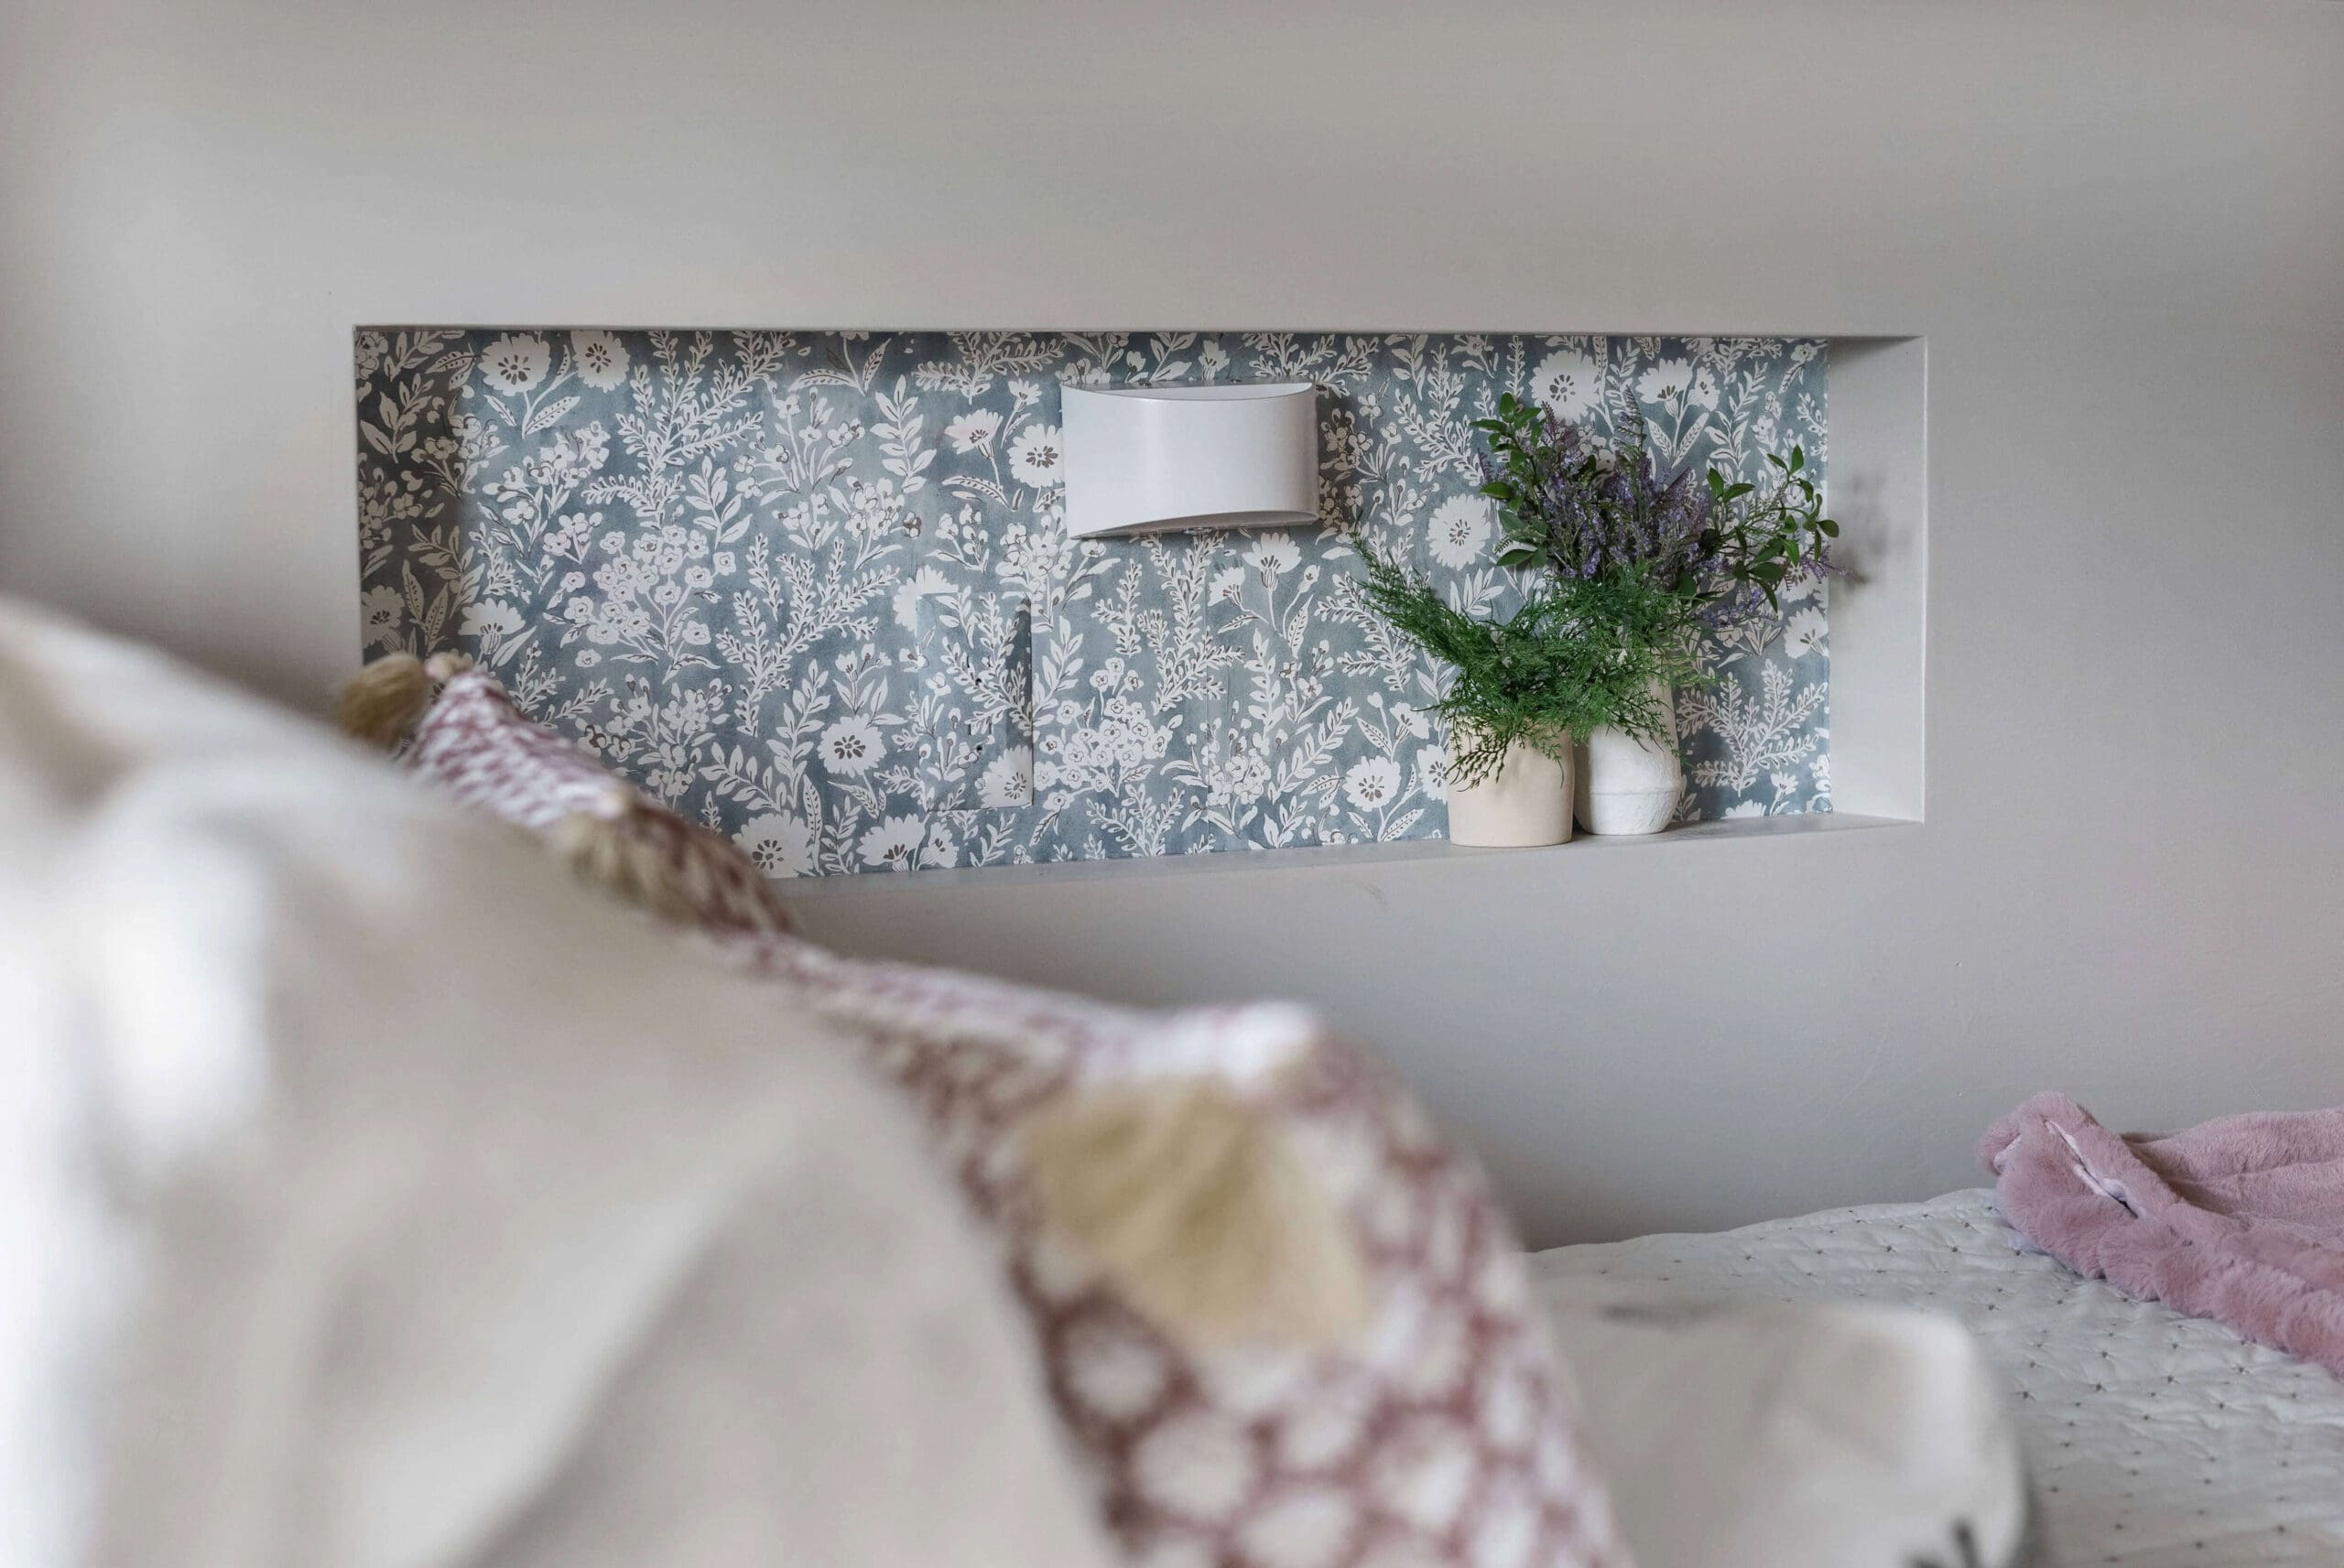
Bonus Touches You Should Totally Try
I couldn’t resist adding a little wallpaper inside the wall niche of the bunk beds – yep, the custom ones I built myself. It’s such a fun detail and really pulls the whole space together.
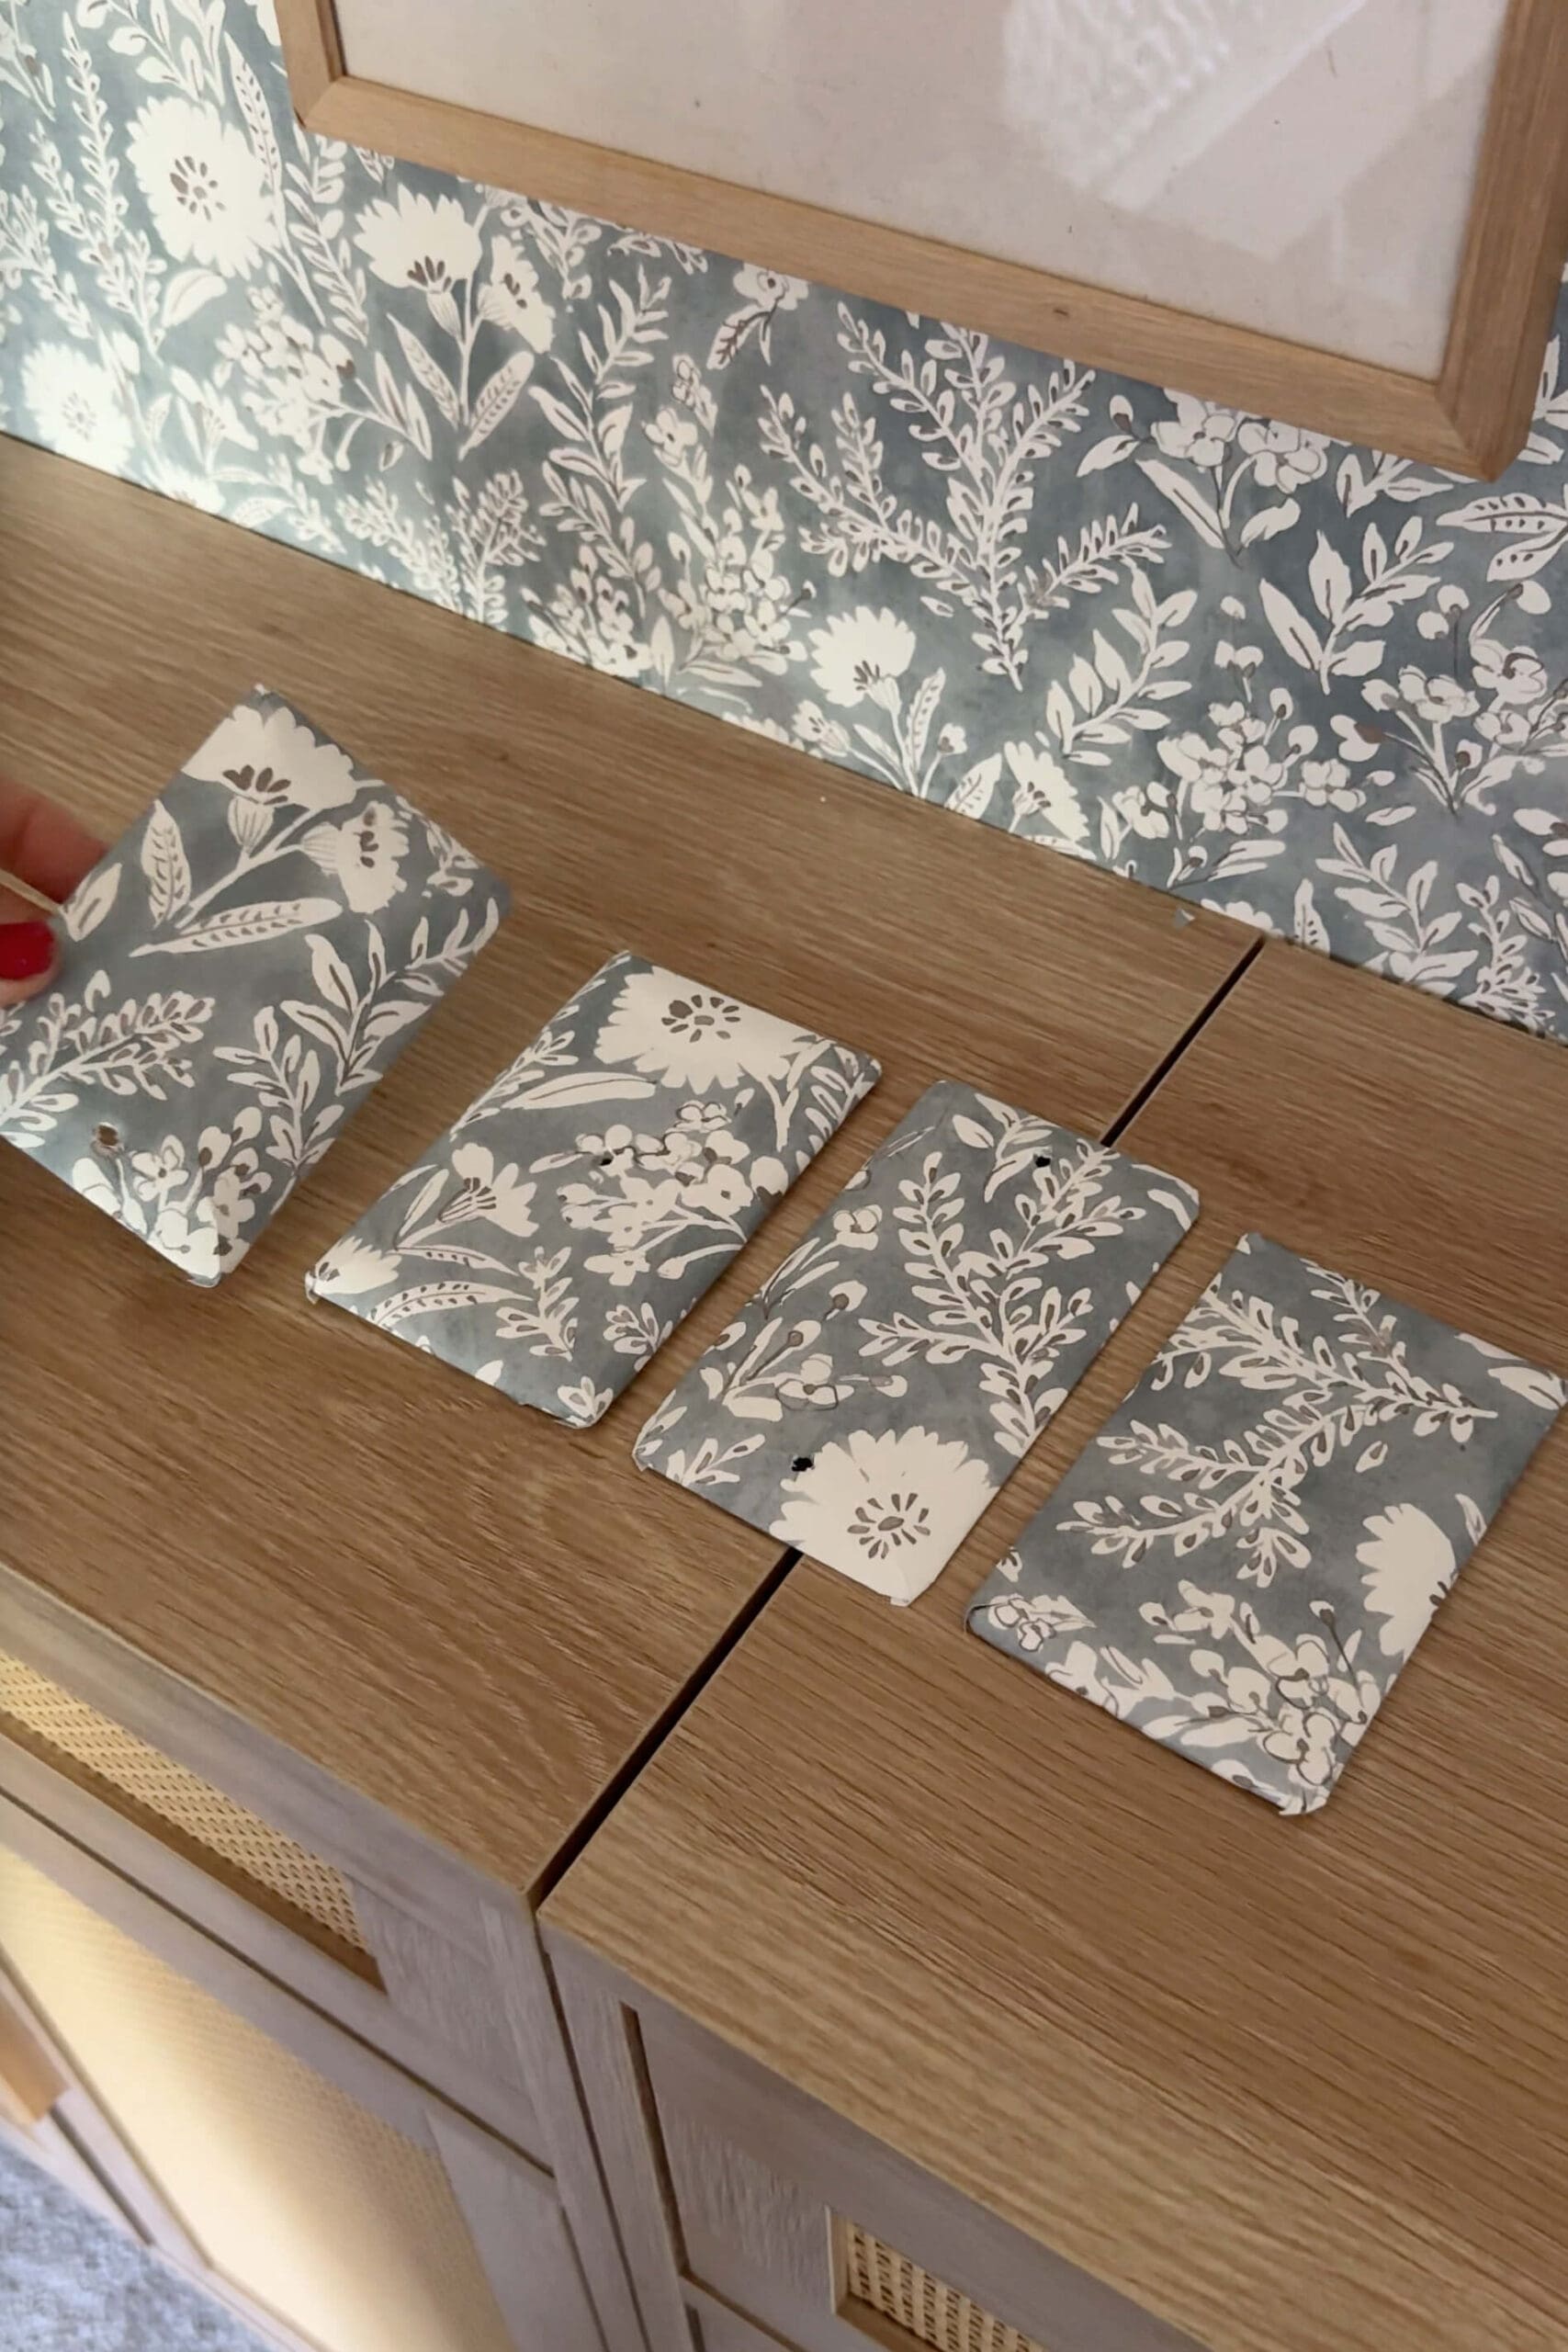
And if you really want that seamless look, don’t skip the outlet covers! Once I wrapped mine in matching wallpaper, they practically disappeared. It’s a tiny DIY, but it makes a huge difference. I have a full tutorial showing how to cover outlet and light switch plates with wallpaper posted here.
Related Wallpaper Projects to Explore
Curious how prepasted wallpaper compares to other options? I’ve got full tutorials on both traditional wallpaper with paste and peel-and-stick wallpaper, too. Each one has its quirks, but I walk you through them all step by step – so no matter what kind you choose, you’ll be ready.
- How to Install Traditional Wallpaper with Paste
- How to Install Peel and Stick Wallpaper in a Nursery
- How to Wallpaper Outlet Covers for a Seamless Look
- Easy Guide on How to Wallpaper a Closet
📌 Pin This Prepasted Wallpaper Tutorial for Later
FAQ About Prepasted Wallpaper
Prepasted wallpaper comes with dried adhesive on the back. When you soak it in water and “book” it, the paste activates and becomes sticky—no glue needed.
Roll it with the adhesive side out and soak it in a tray or tub of water for about 10–15 seconds. Then fold it paste-to-paste and let it rest (aka “book it”) for a few minutes.
Yes! It’s a great wallpaper type for beginners. It gives you enough working time to adjust the panel and doesn’t require separate paste.
Peel and stick wallpaper is like a giant sticker—just peel and apply. Prepasted wallpaper requires soaking in water to activate glue but often looks smoother and is easier to reposition.