How to Install Peel and Stick Wallpaper in a Nursery


Updated July 13, 2026
If you’ve ever stared at a blank wall and thought this needs something, but the idea of painting felt like too much commitment… peel and stick wallpaper might just be your new best friend. It’s one of my favorite ways to add instant personality to a space – no paste, no water, no drop cloths. Just some patience and a steady hand (or better yet, a laser level!).
I recently gave this nursery nook a cozy upgrade using a neutral plaid peel and stick wallpaper. Here’s the full step-by-step guide – plus a few helpful lessons I learned the hard way.
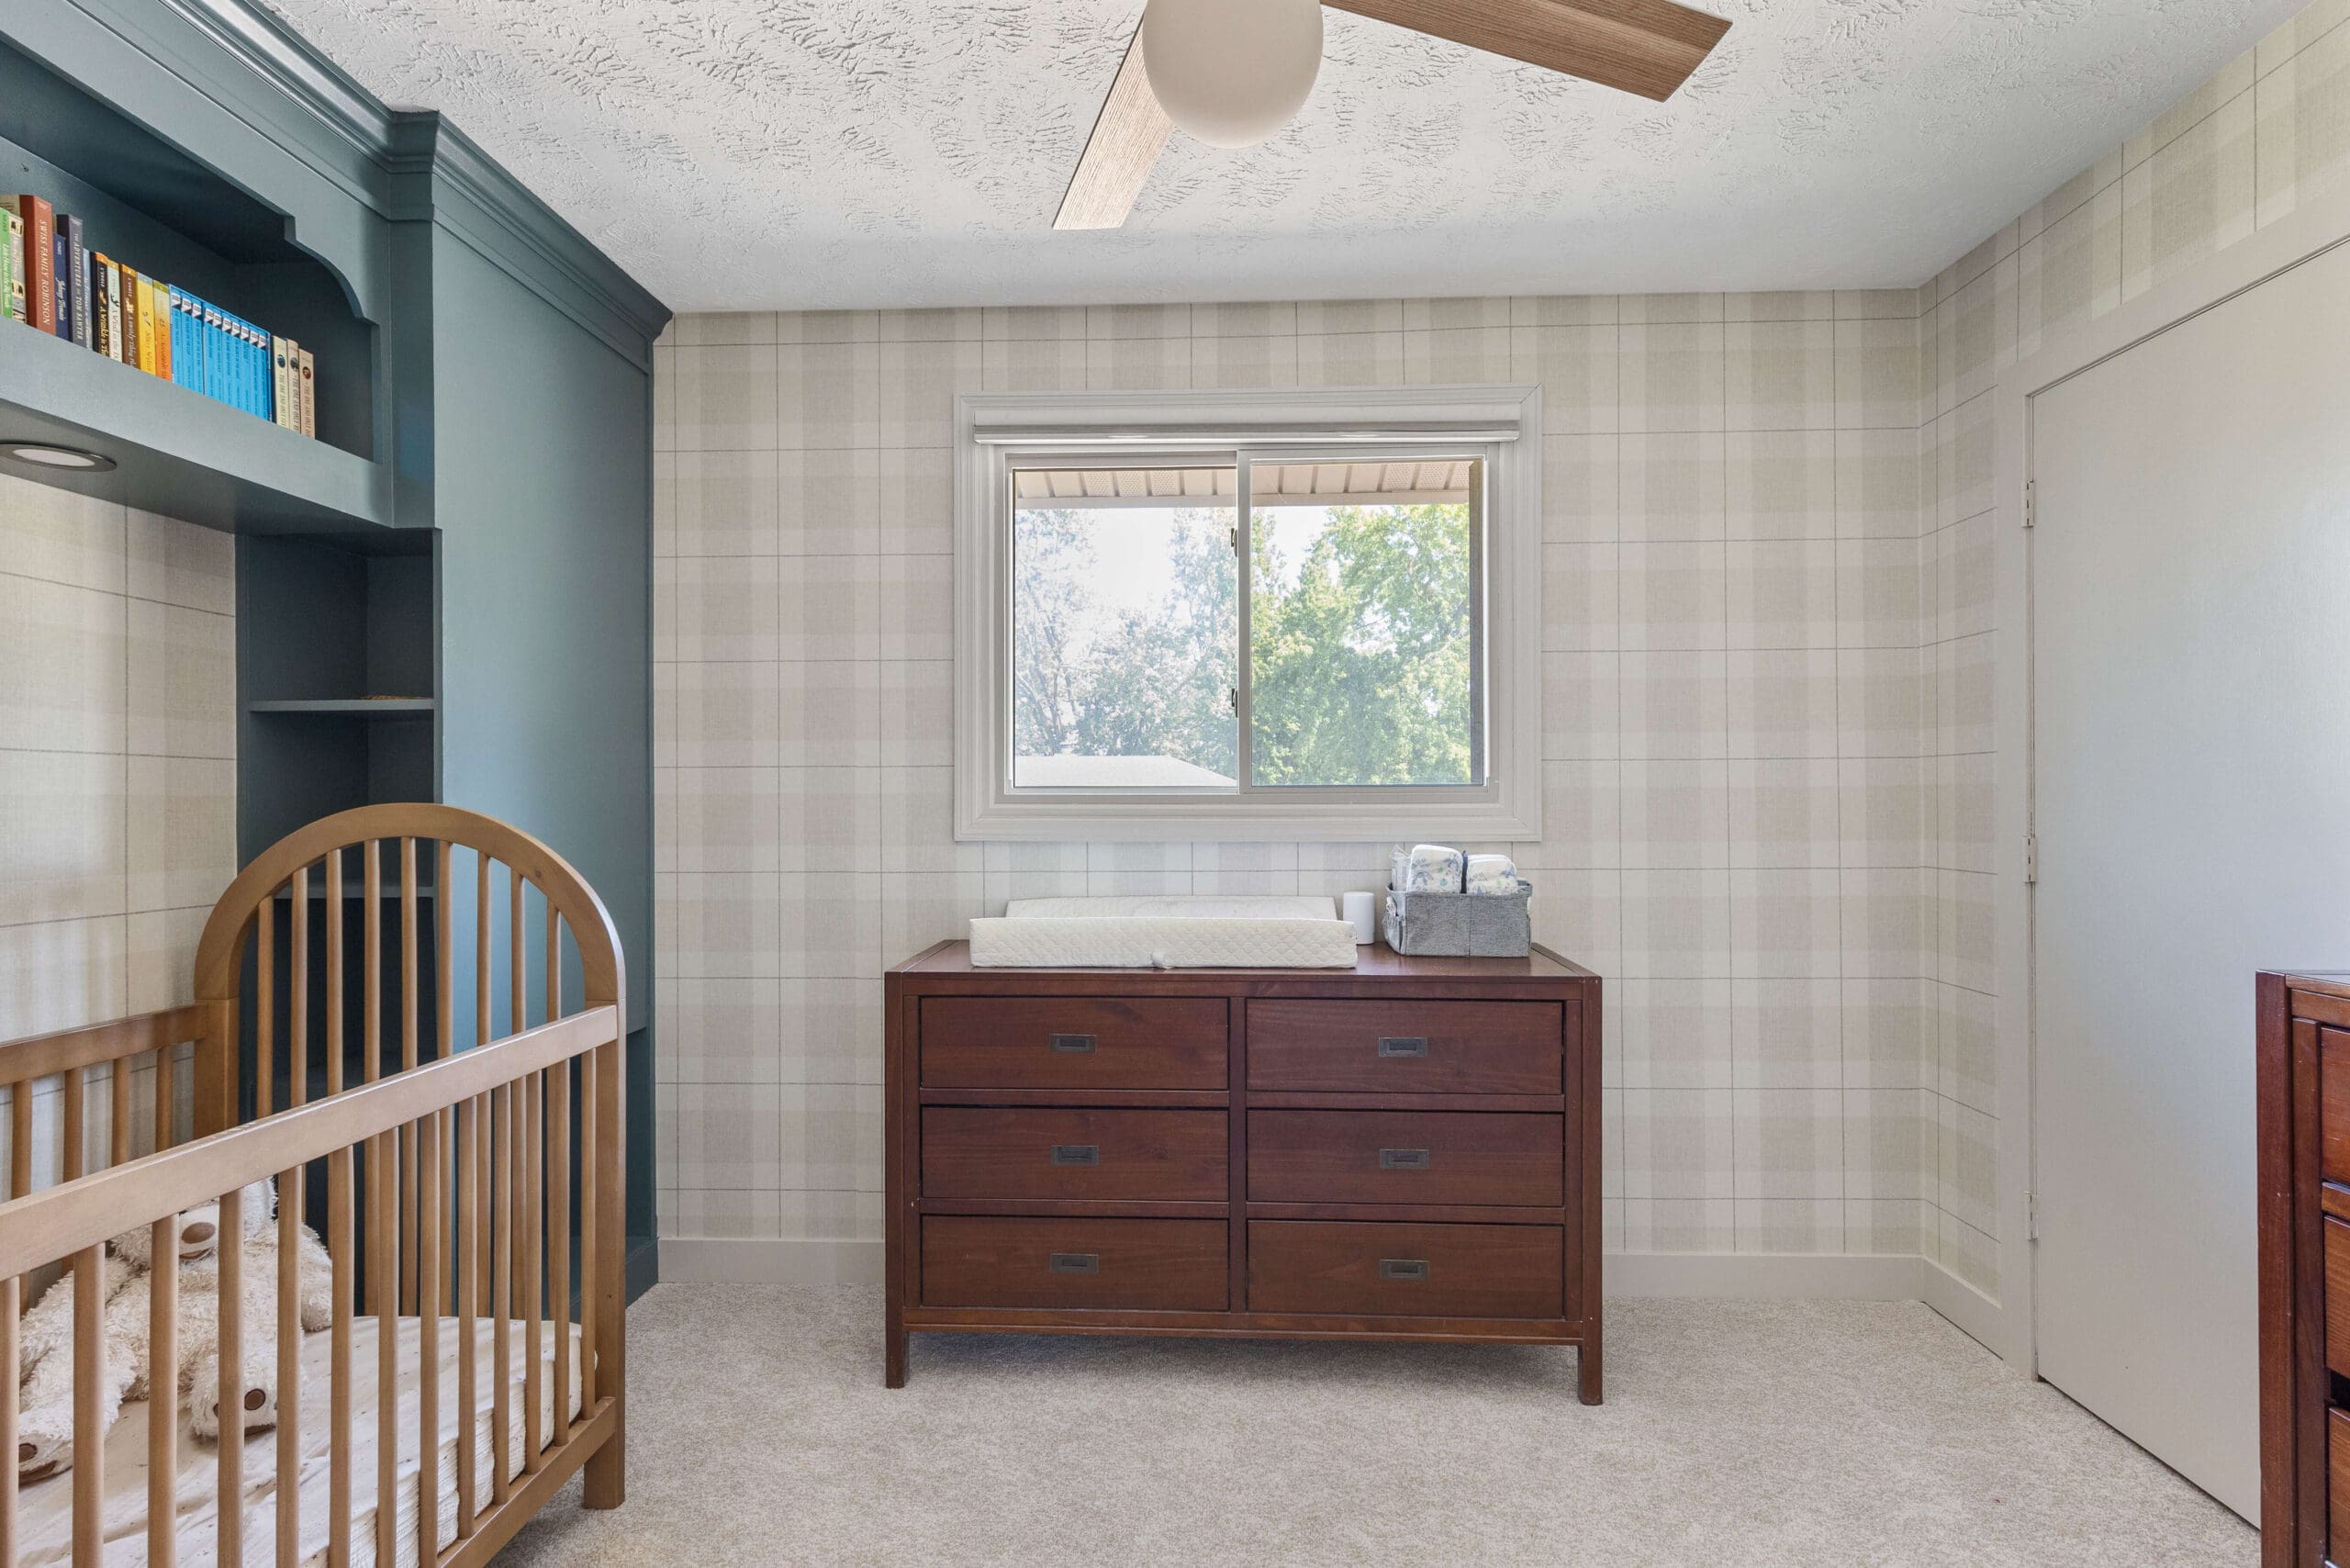
Table of Contents
- Should You Paint Trim Before Installing Peel and Stick Wallpaper?
- Tools You’ll Need for Peel and Stick Wallpaper Installation
- Step 1: Mark a Straight Line for Your Peel and Stick Wallpaper
- Step 2: Peel and Position the Top of the Wallpaper Panel
- Step 3: Smooth Down the Peel and Stick Wallpaper Slowly
- Step 4: Match the Wallpaper Pattern Across Panels
- Step 5: Trim Peel and Stick Wallpaper at the Edges and Outlets
- Finished Peel and Stick Wallpaper Project: Final Thoughts
- Want to Build These Nursery Built-Ins?
- More Wallpaper Tutorials You’ll Love
- FAQ About Peel and Stick Wallpaper
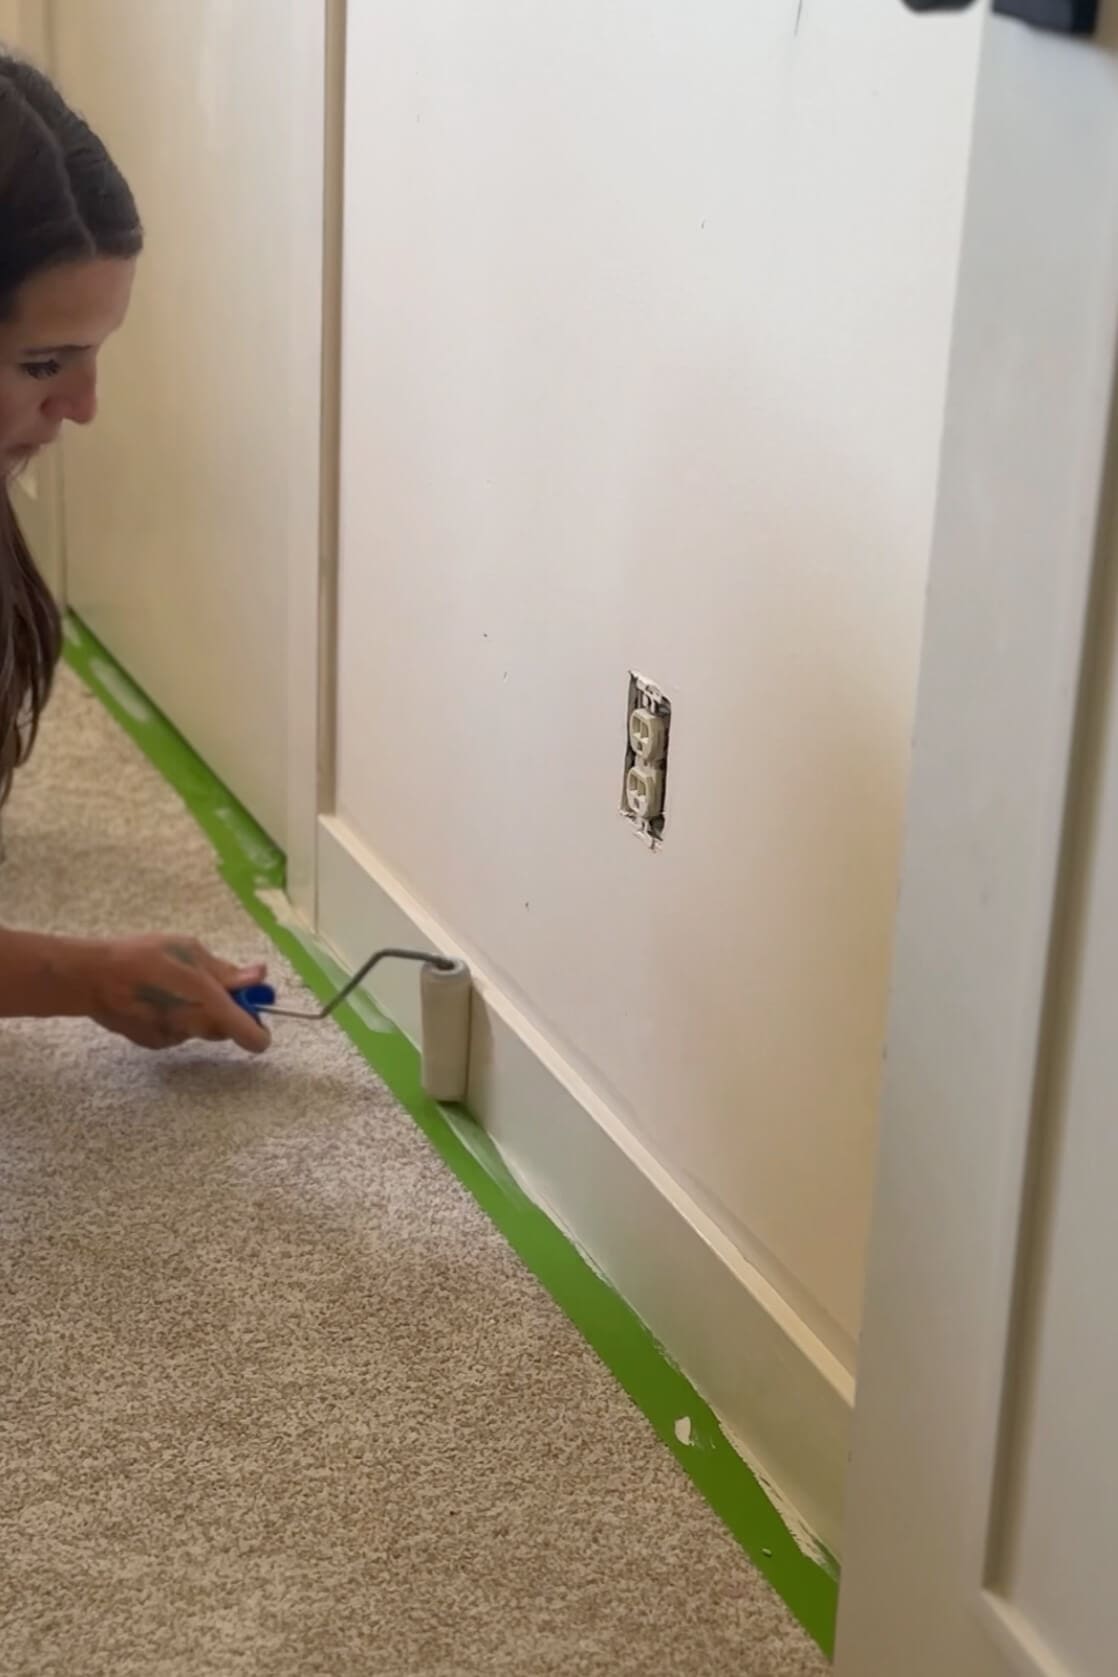
Should You Paint Trim Before Installing Peel and Stick Wallpaper?
Absolutely. Before touching a single roll of wallpaper, I always paint the baseboards and trim first. It’s so much easier to do this up front – you won’t have to tape off the wallpaper later or risk nicking it with your roller.
For this space, I used Sherwin Williams Accessible Beige on the baseboards and trim for a soft, warm contrast to the wallpaper. Once the trim was painted and dried, it was game on.
Tools You’ll Need for Peel and Stick Wallpaper Installation
- Peel and stick wallpaper (I used this one)
- Utility knife
- Wallpaper smoothing tool
- Laser level (this is a game-changer!)
- Step stool or ladder
- Patience, grace, and maybe a second set of hands
Step 1: Mark a Straight Line for Your Peel and Stick Wallpaper
Even if your walls look straight, they aren’t = this is where a laser level saves the day. I typically start in the middle of a wall, but for this nook inside the built-ins, I started at the edge. I held up a wallpaper panel, adjusted the line of my laser level just inside its width (I’ll trim the tiny bit of excess later). That gives me a clean, straight guide so I don’t end up crooked halfway through.
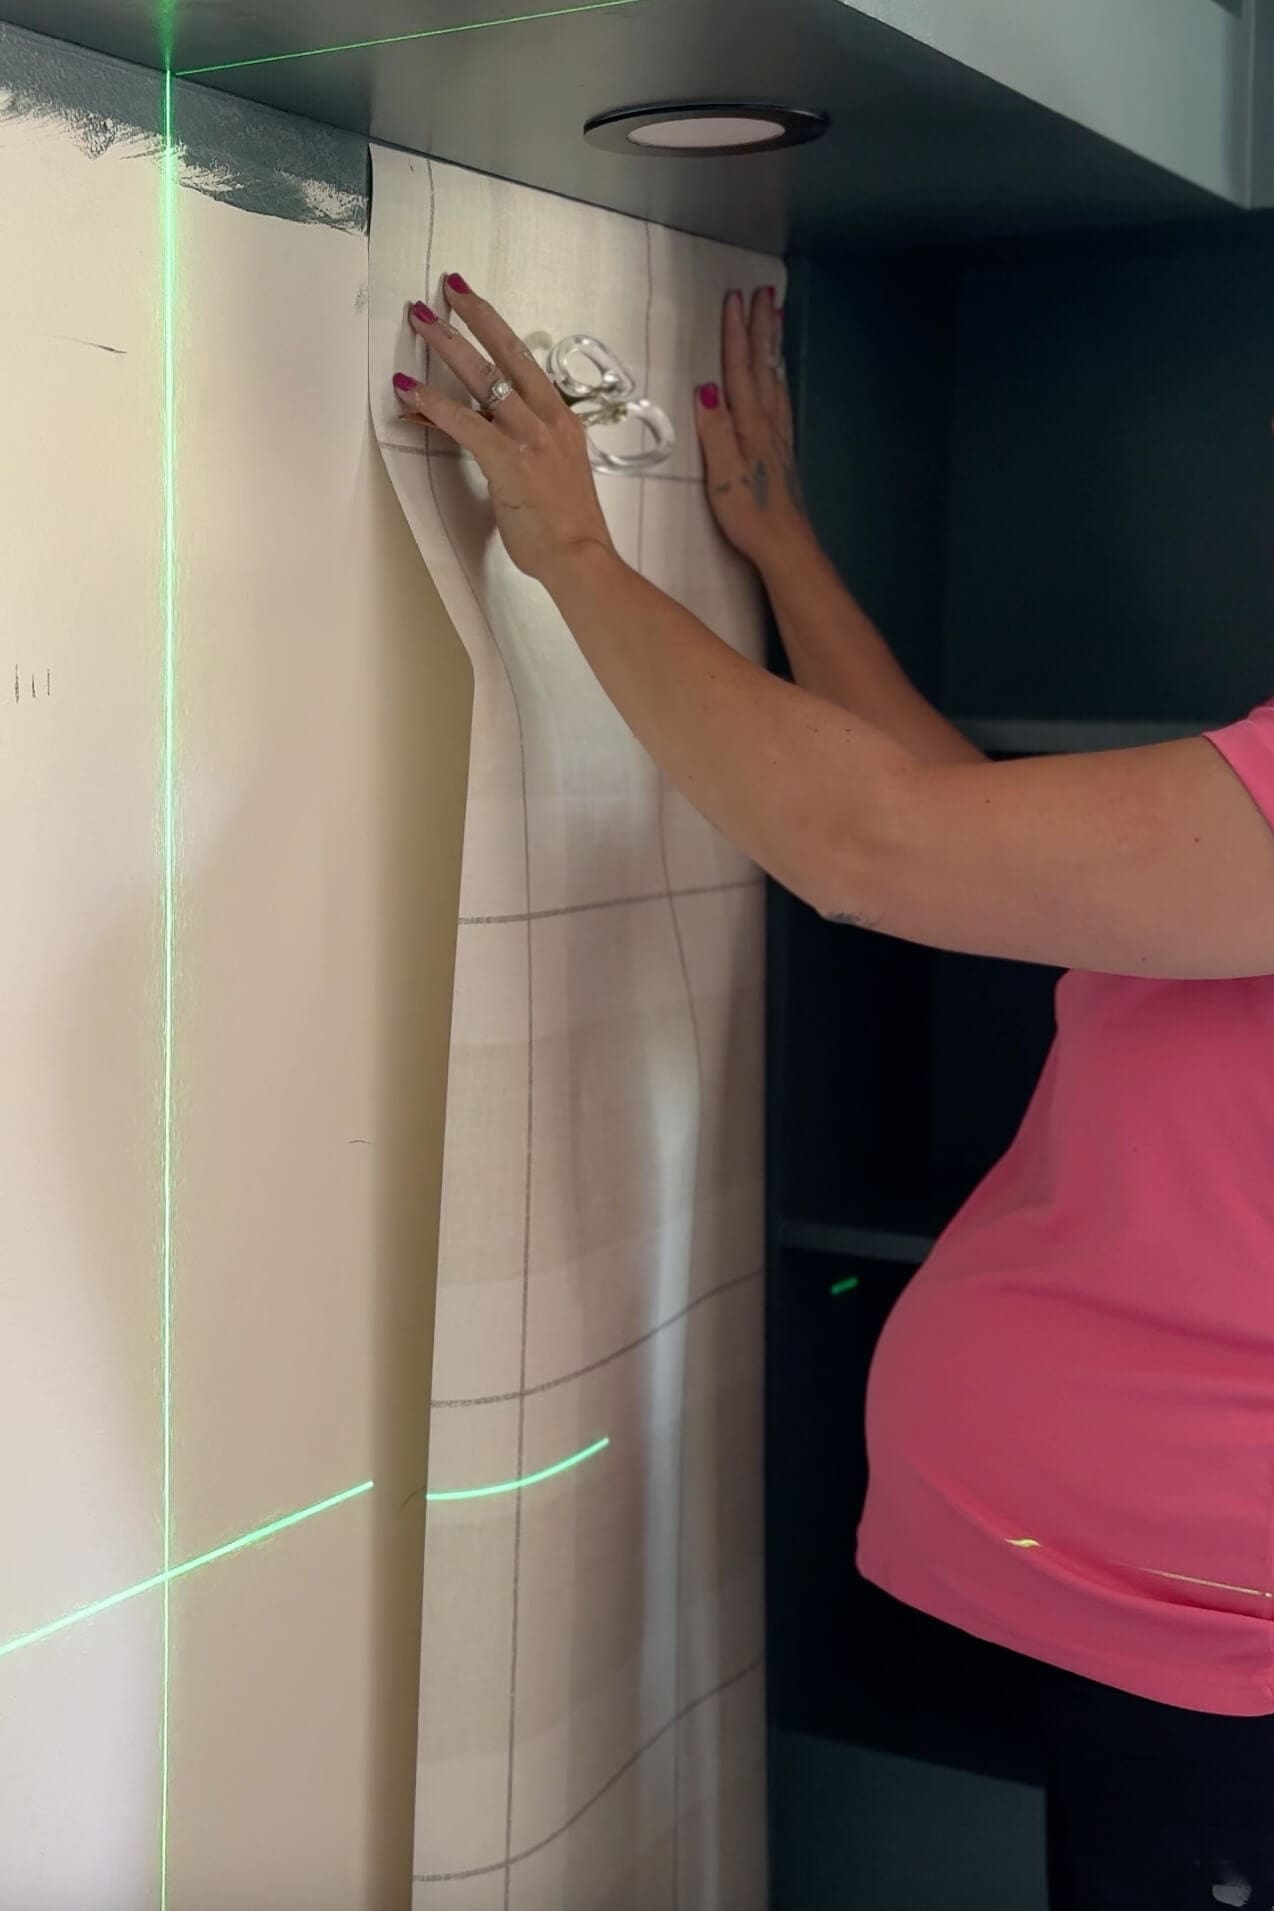
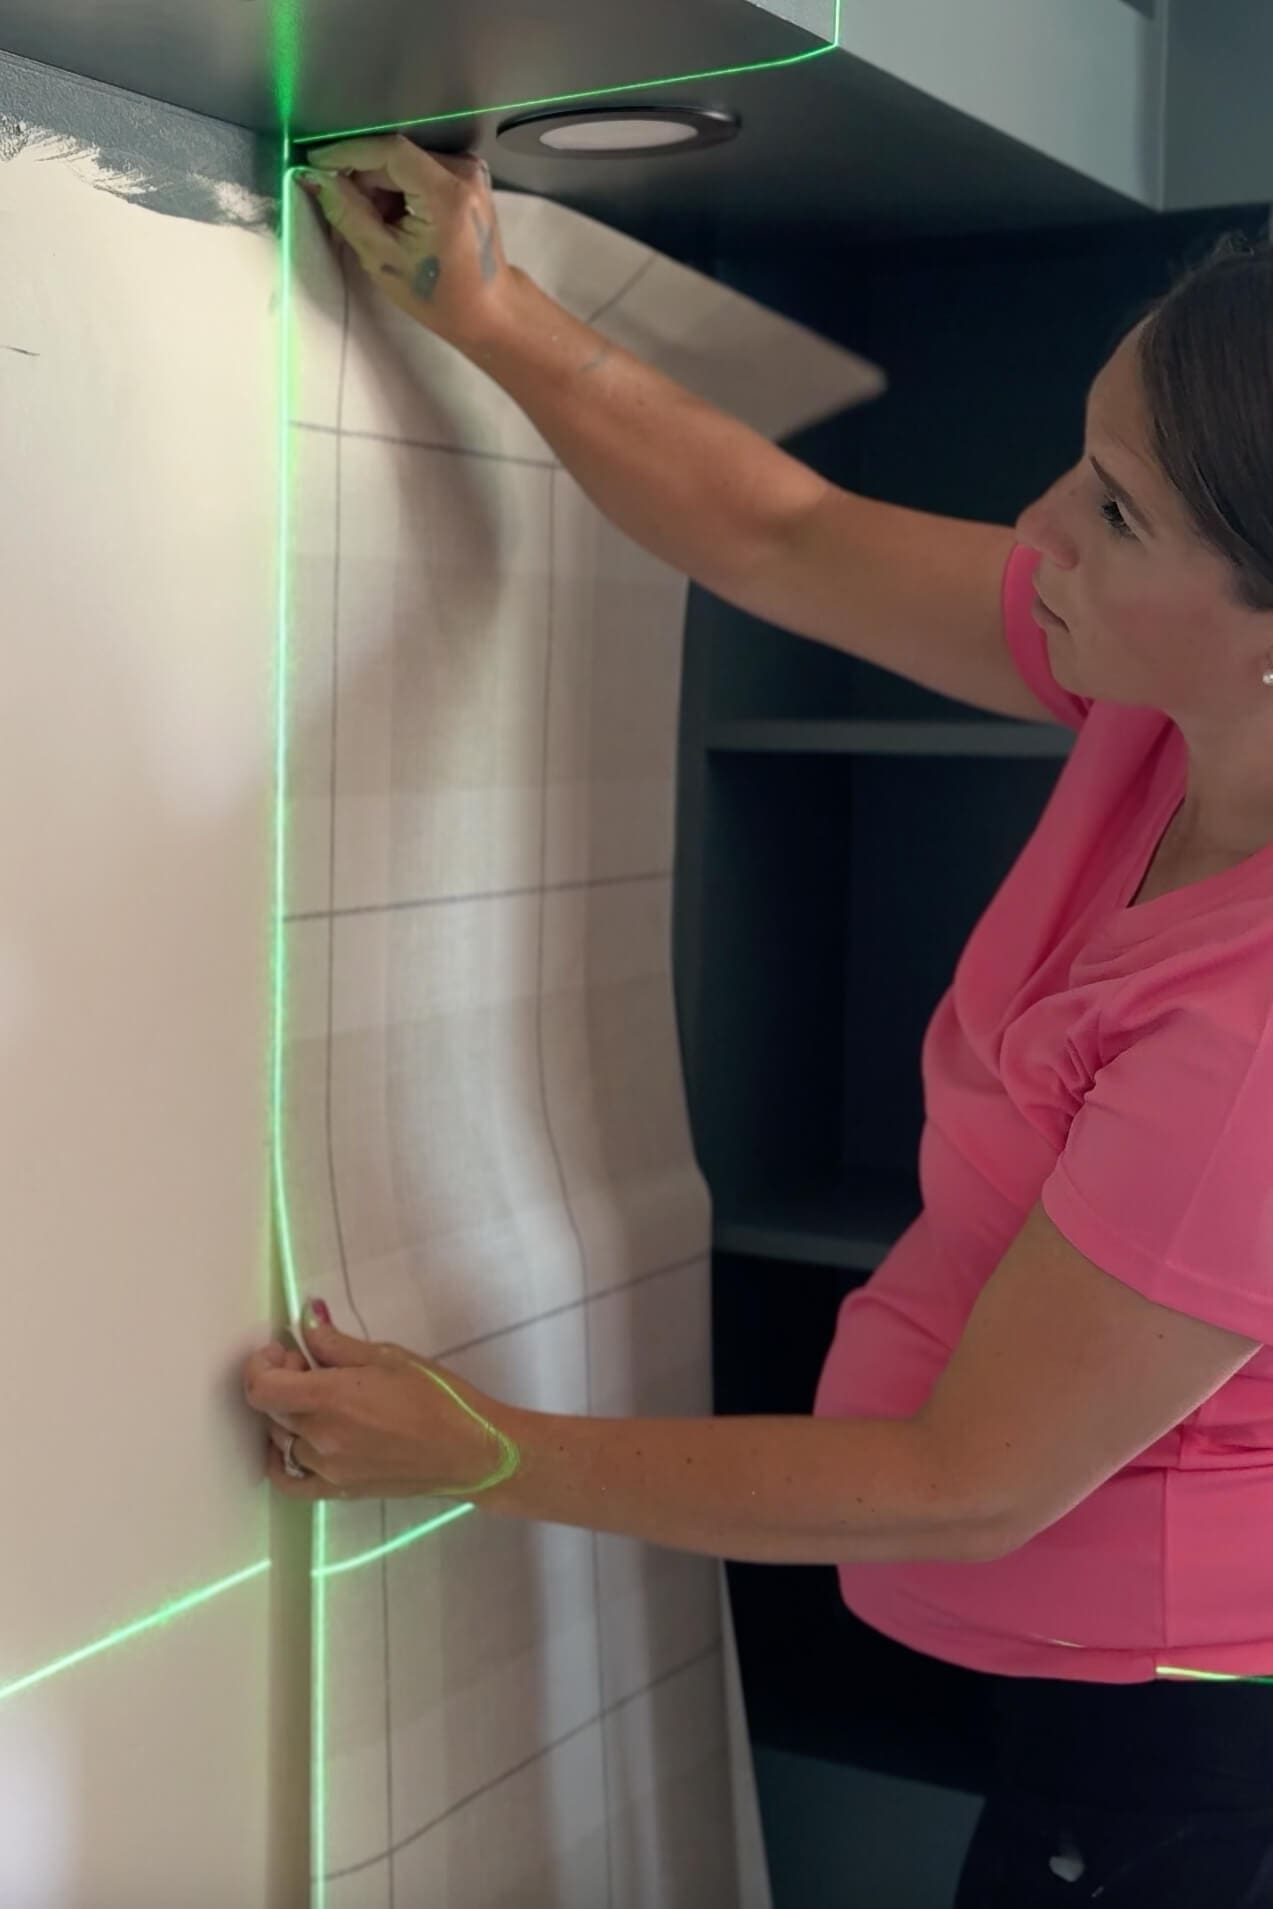
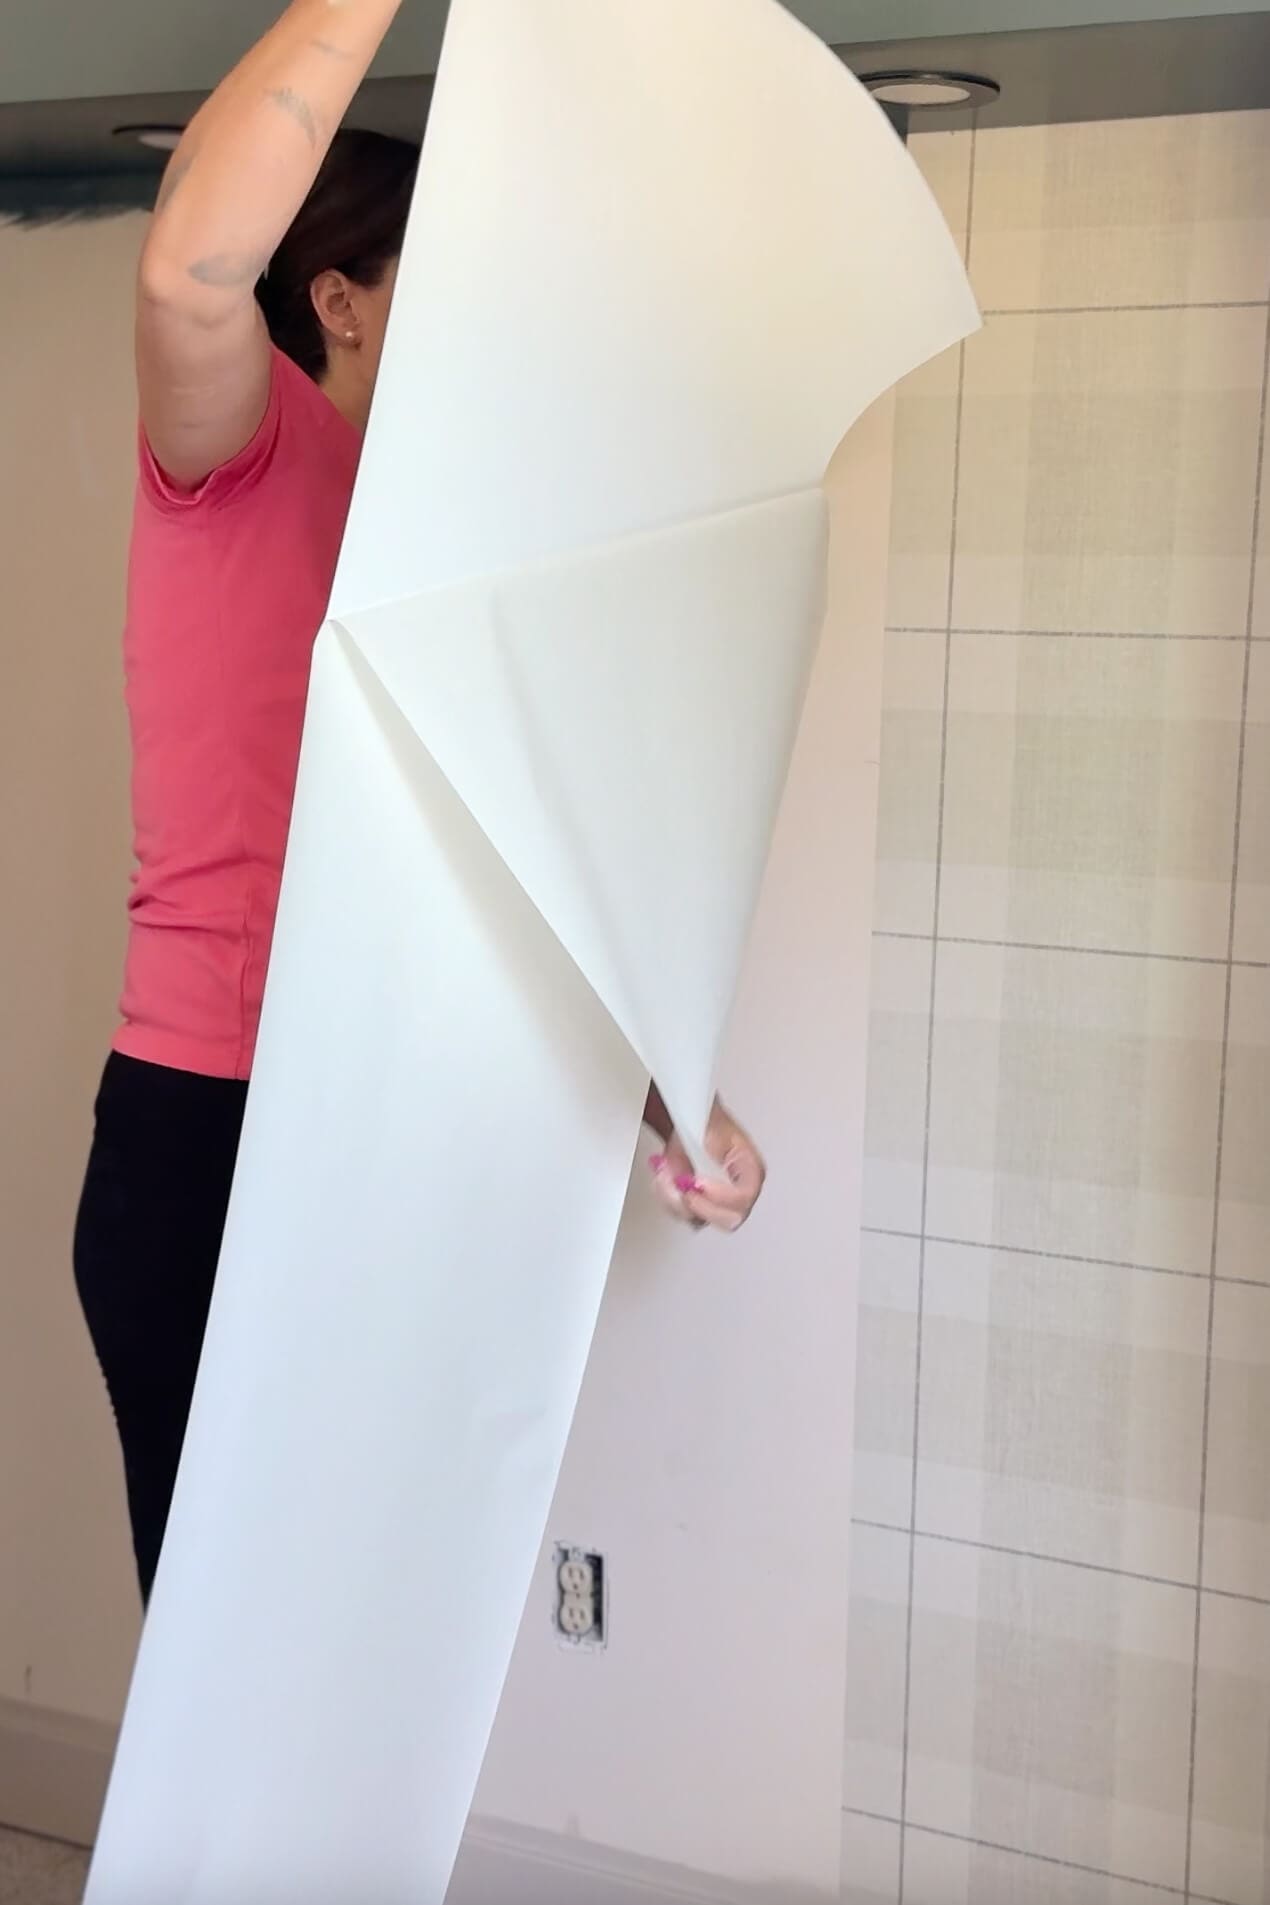
Step 2: Peel and Position the Top of the Wallpaper Panel
Now that your guideline is in place, peel back just a few inches of the backing off the peel and stick wallpaper from the top. Don’t go wild and peel the whole thing yet. Next, I hold the paper up to the wall and gently press just the top into place. I use the laser line to get it nice and straight.
Take your time, because this first piece sets the tone for everything else!
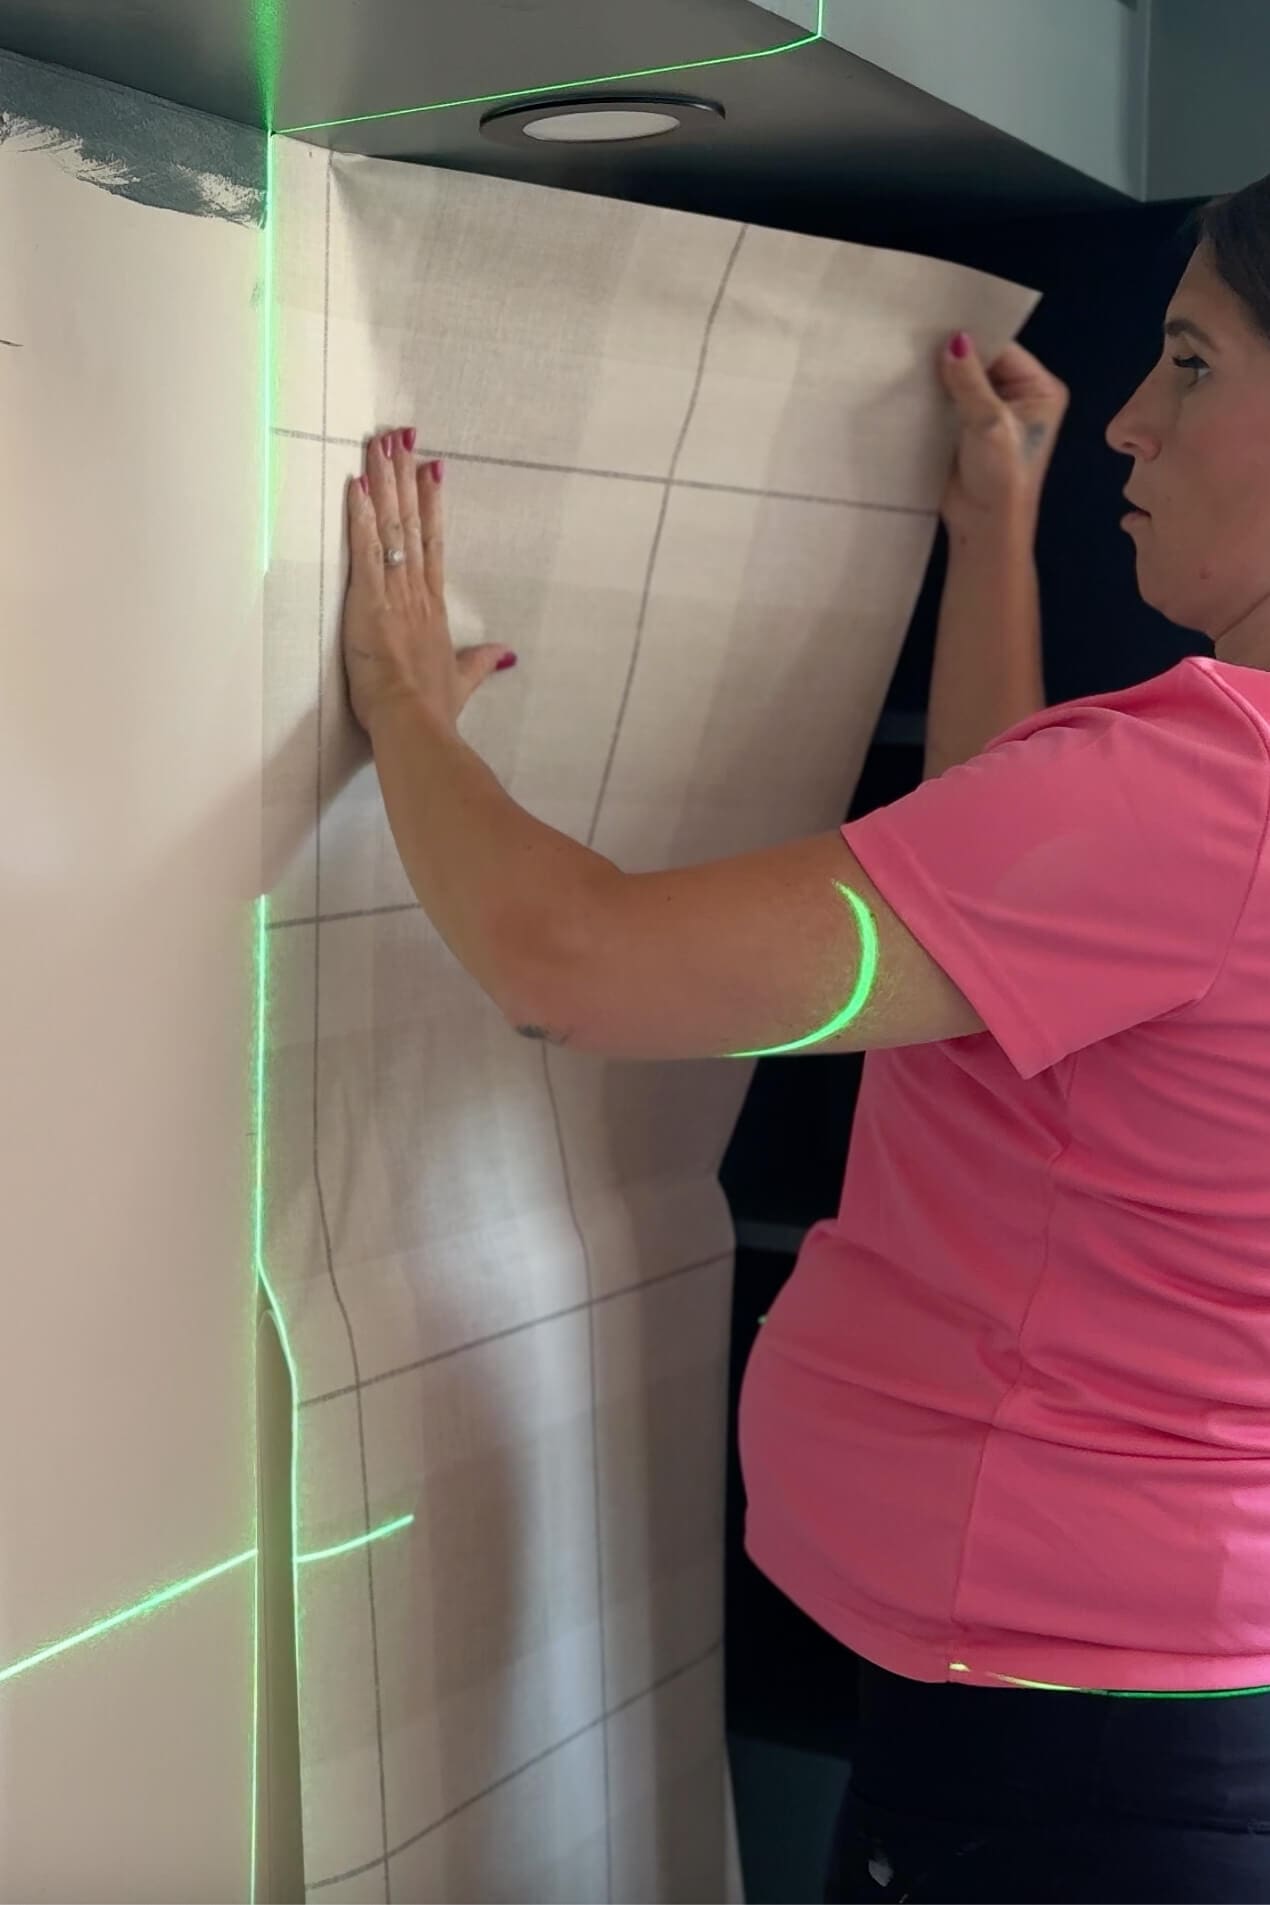
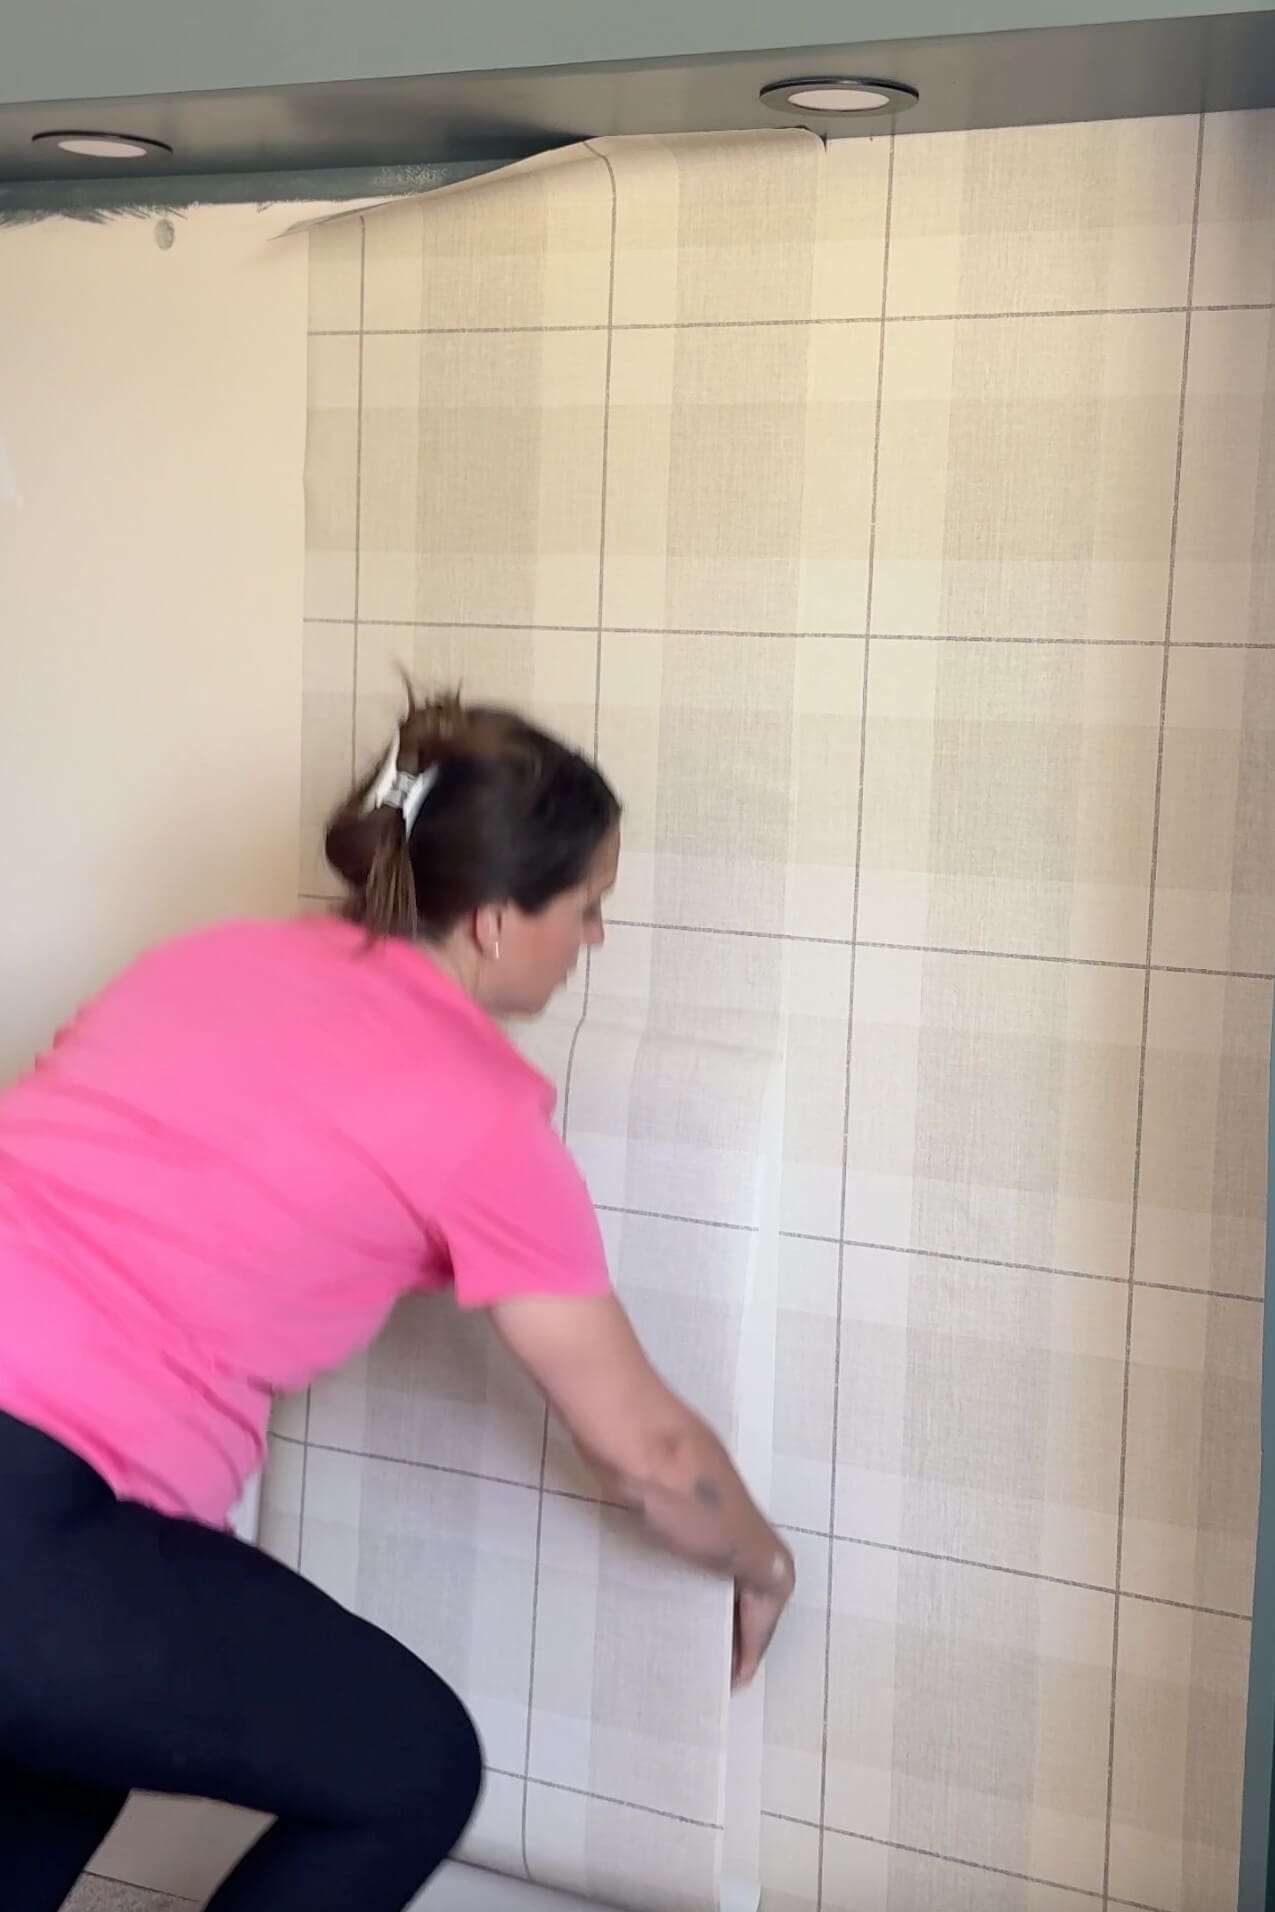
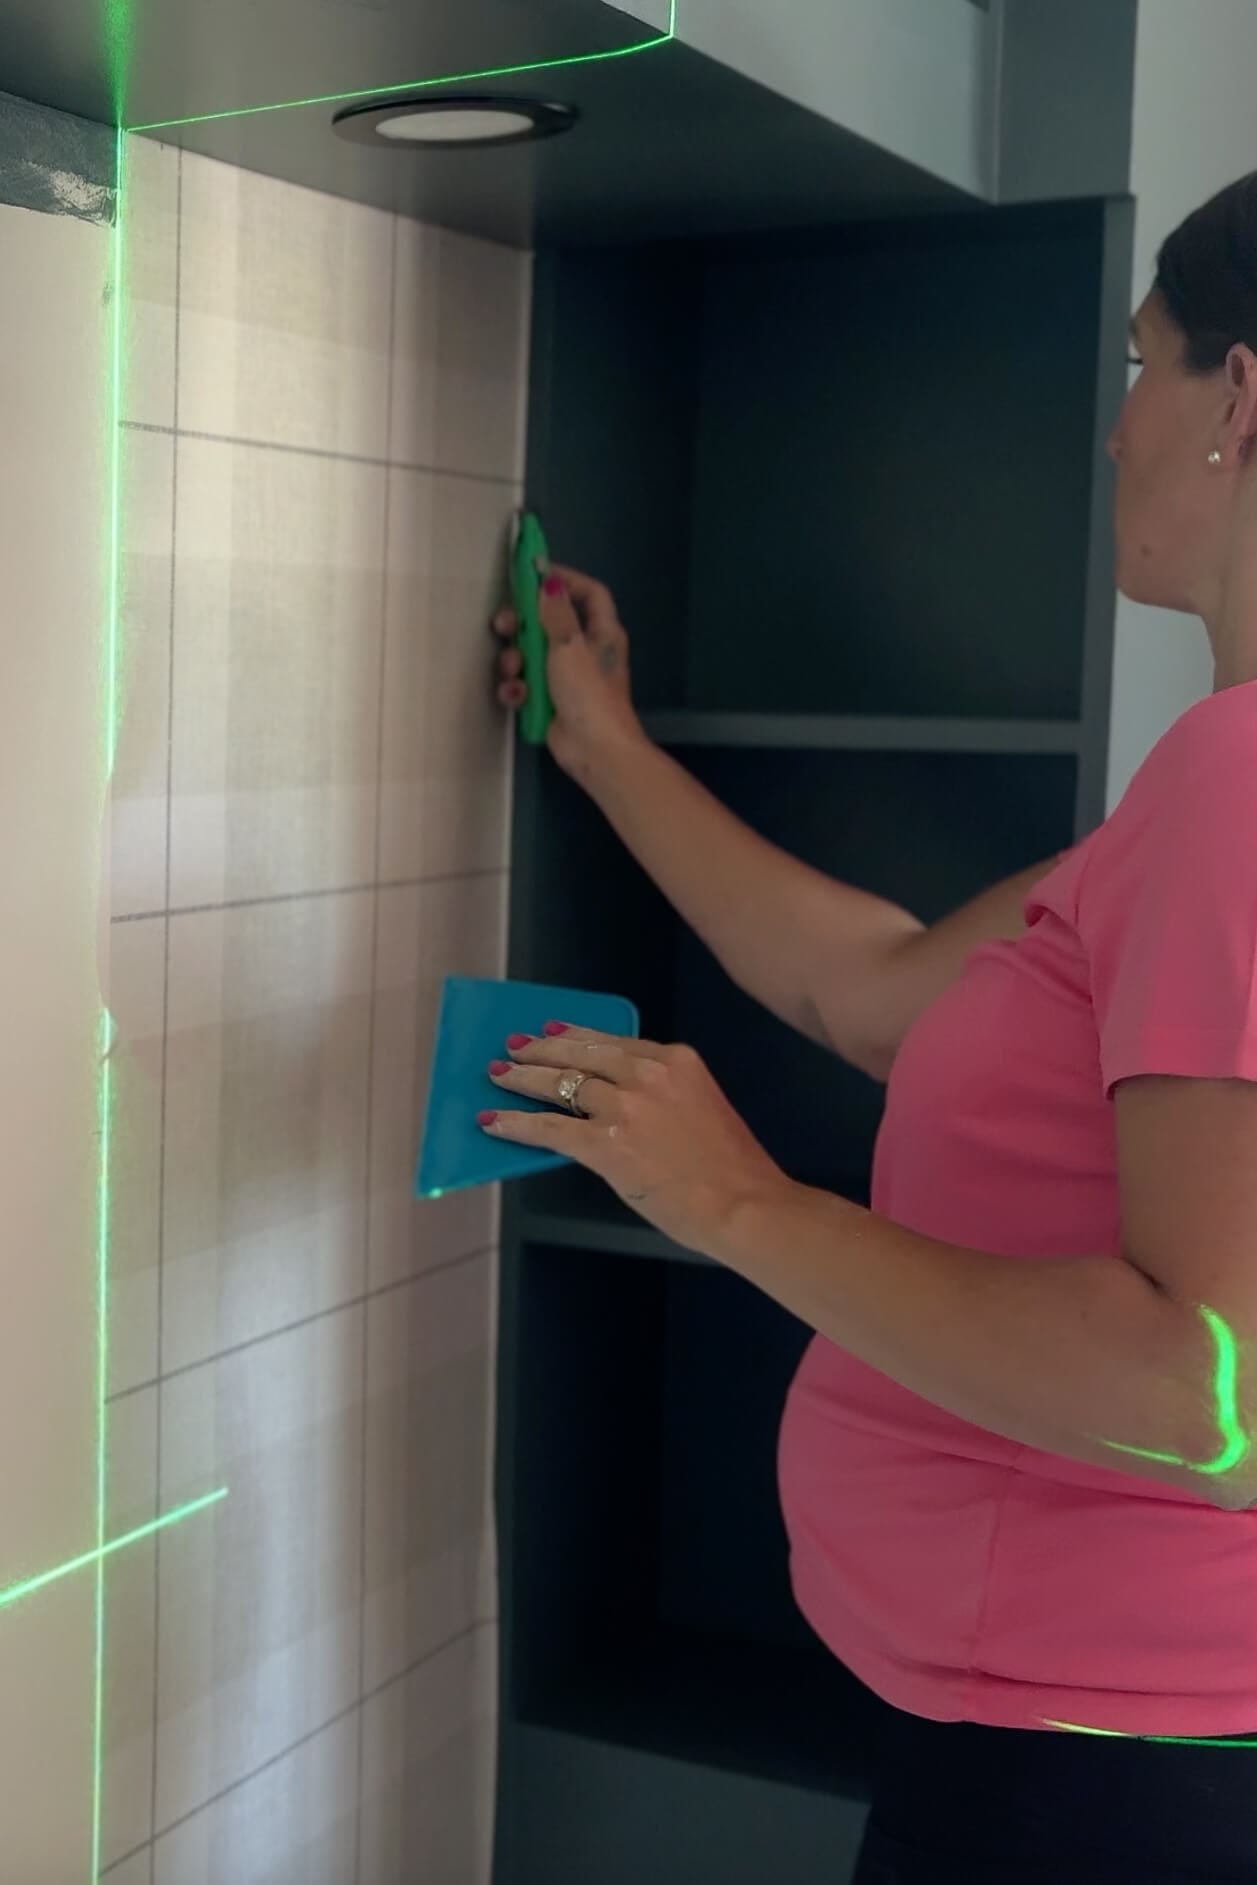
Step 3: Smooth Down the Peel and Stick Wallpaper Slowly
Once the top edge is secured and straight, I peel off more backing little by little – about 6 to 12 inches at a time – and smooth as I go. I use a wallpaper smoothing tool (or sometimes just my hands) to press out any bubbles and work the paper into place.
The trick with peel and stick wallpaper is to go slow and steady. Peel too much too fast, and it’ll stick to itself or start shifting. Ask me how I know.
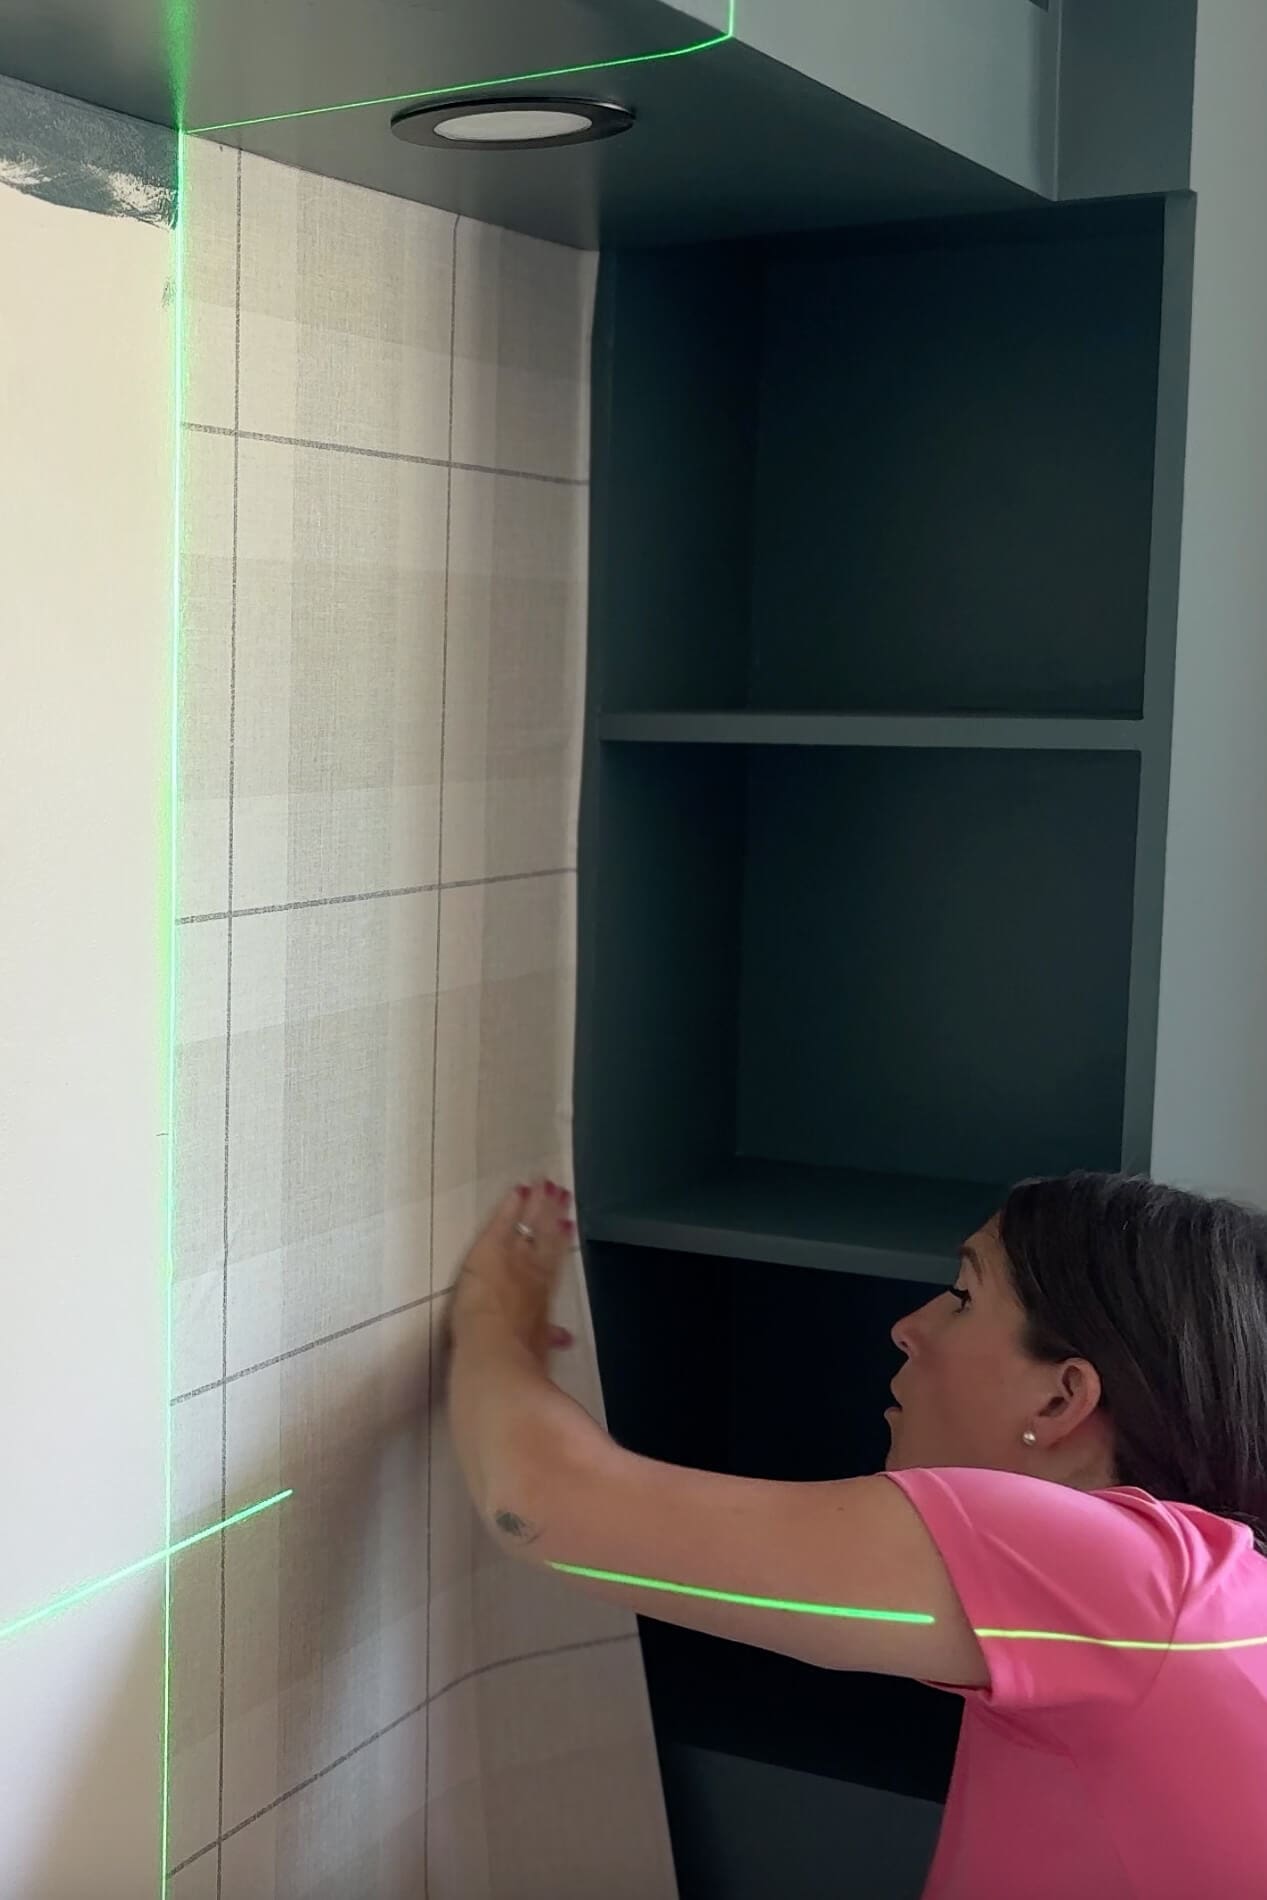
After that first piece, it’s just rinse and repeat. Peel, line it up, stick it down, smooth it out, and keep going.
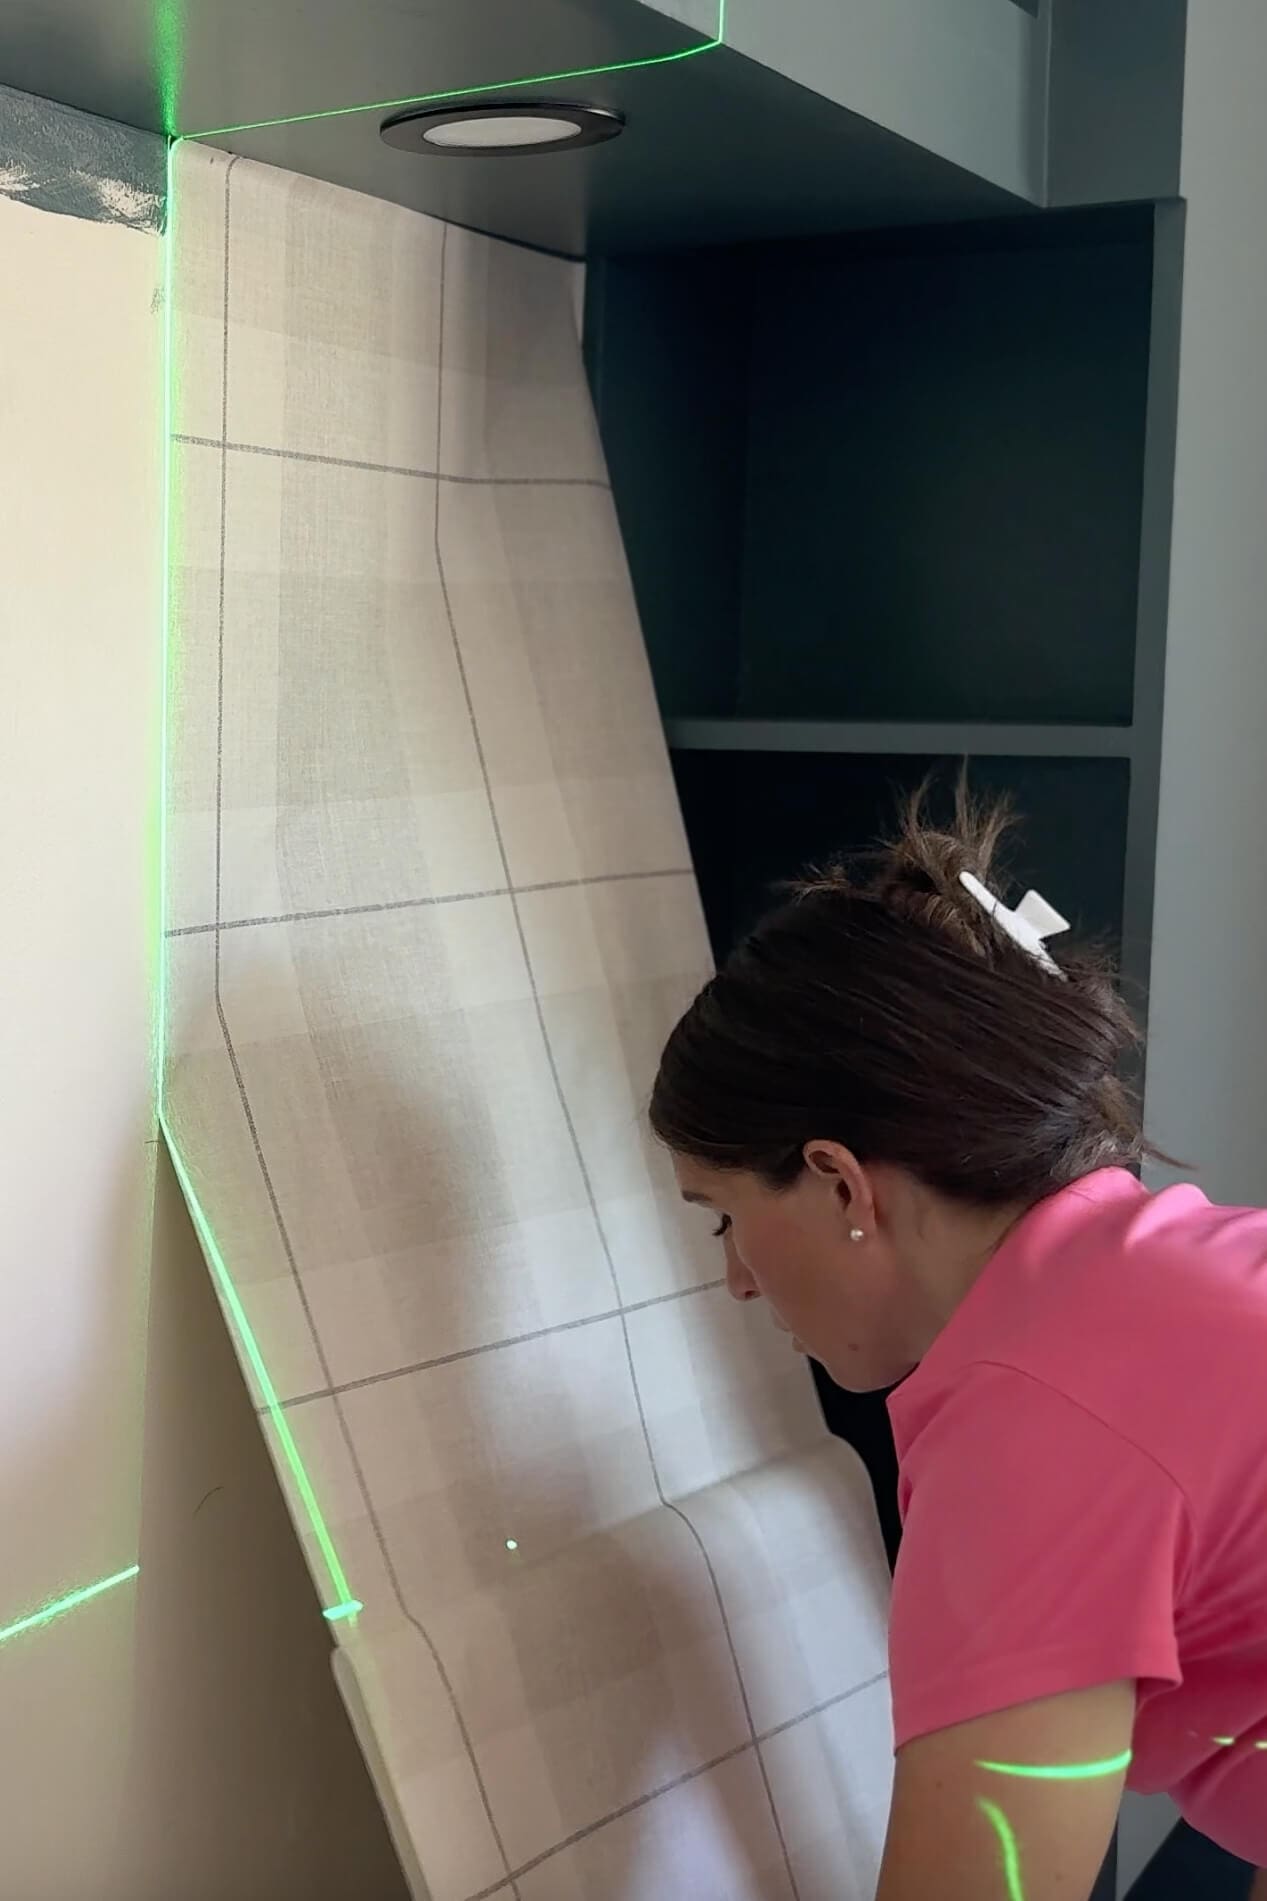
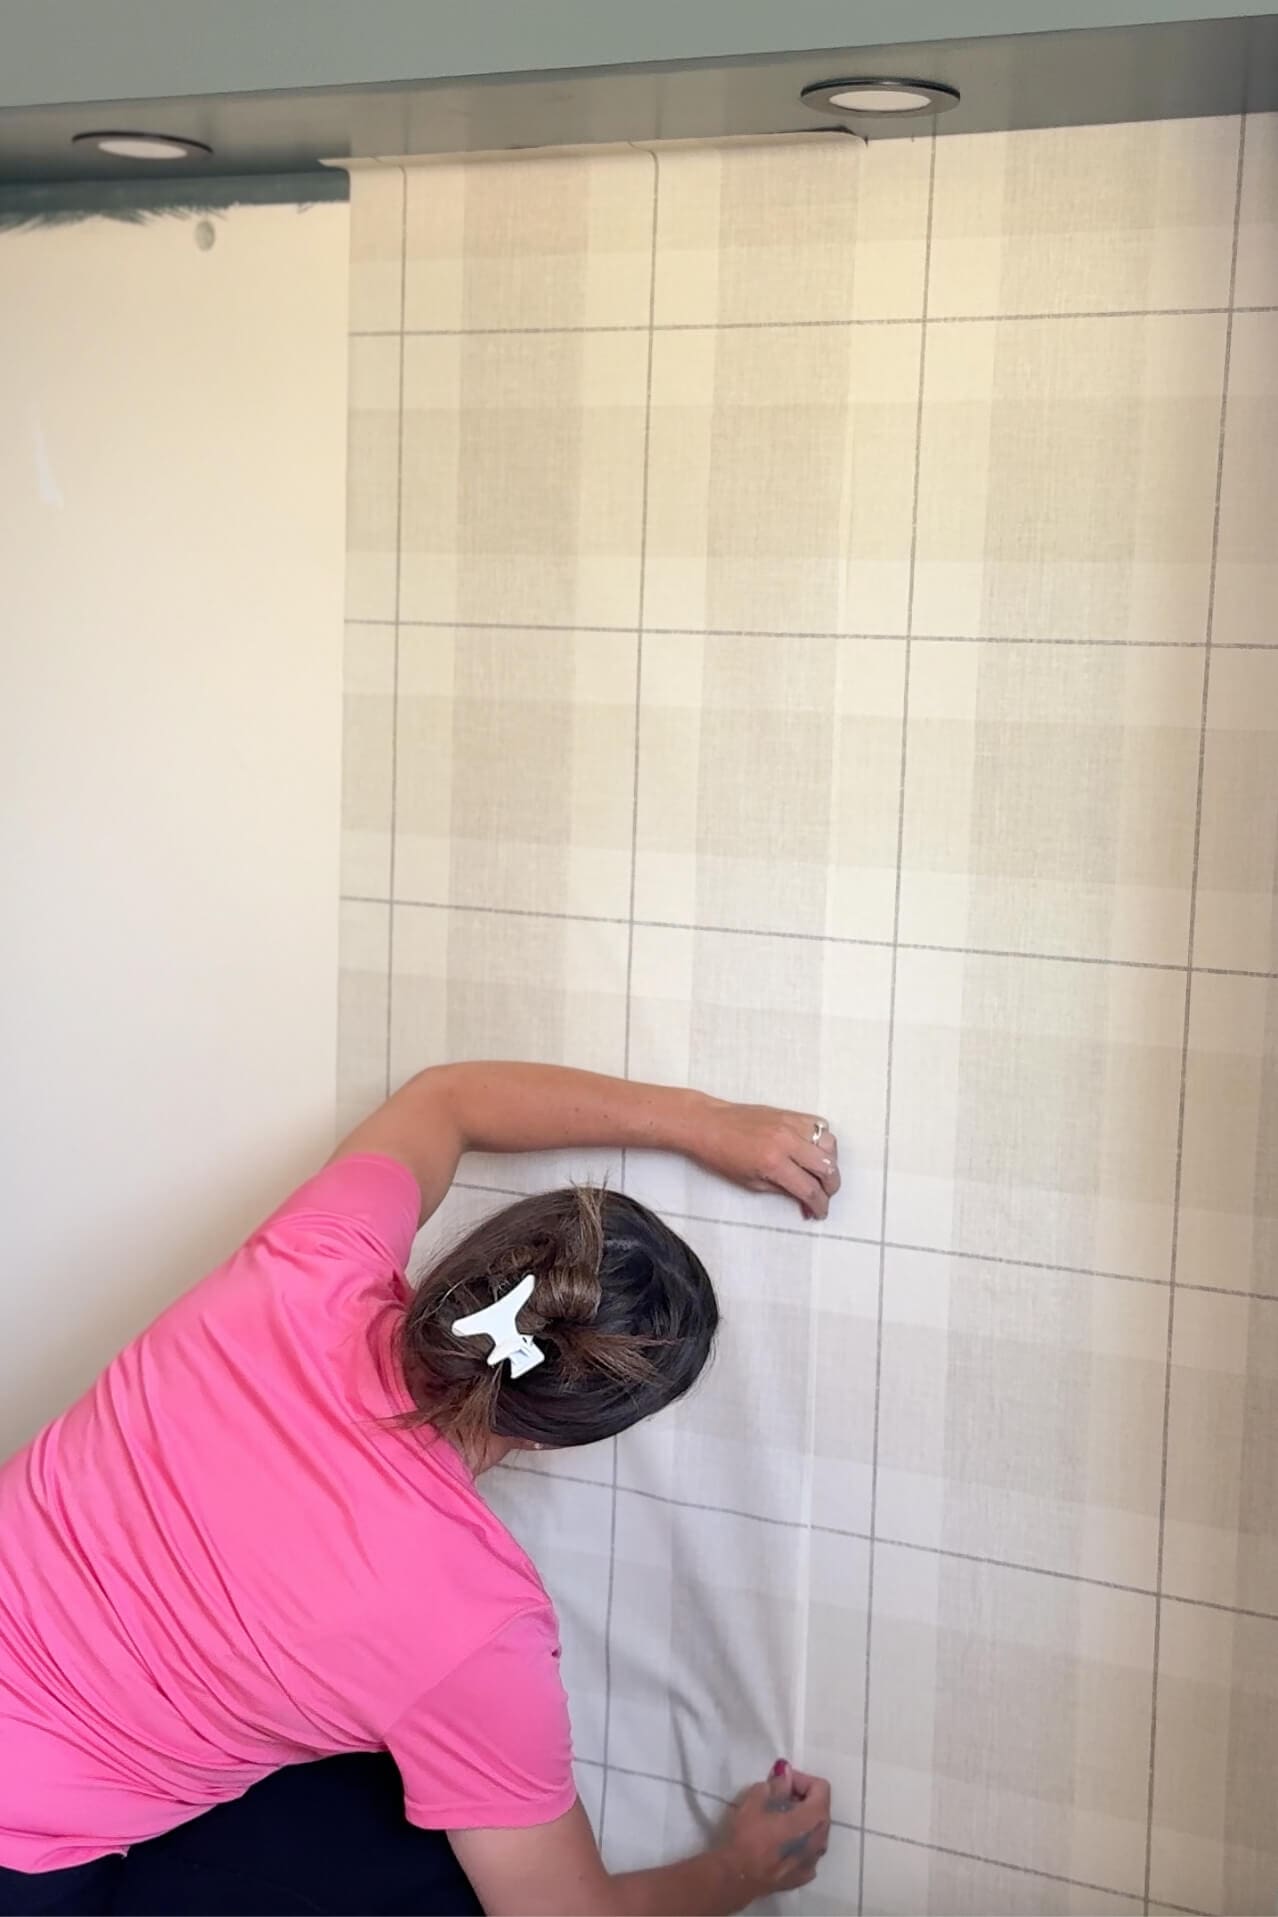
Step 4: Match the Wallpaper Pattern Across Panels
If your peel and stick wallpaper has a repeating pattern like this plaid one, line up the next sheet by holding it next to the first before peeling the backing. Once you’re sure it’s matched, repeat the process. Peel a few inches at the top, press, and work your way down.
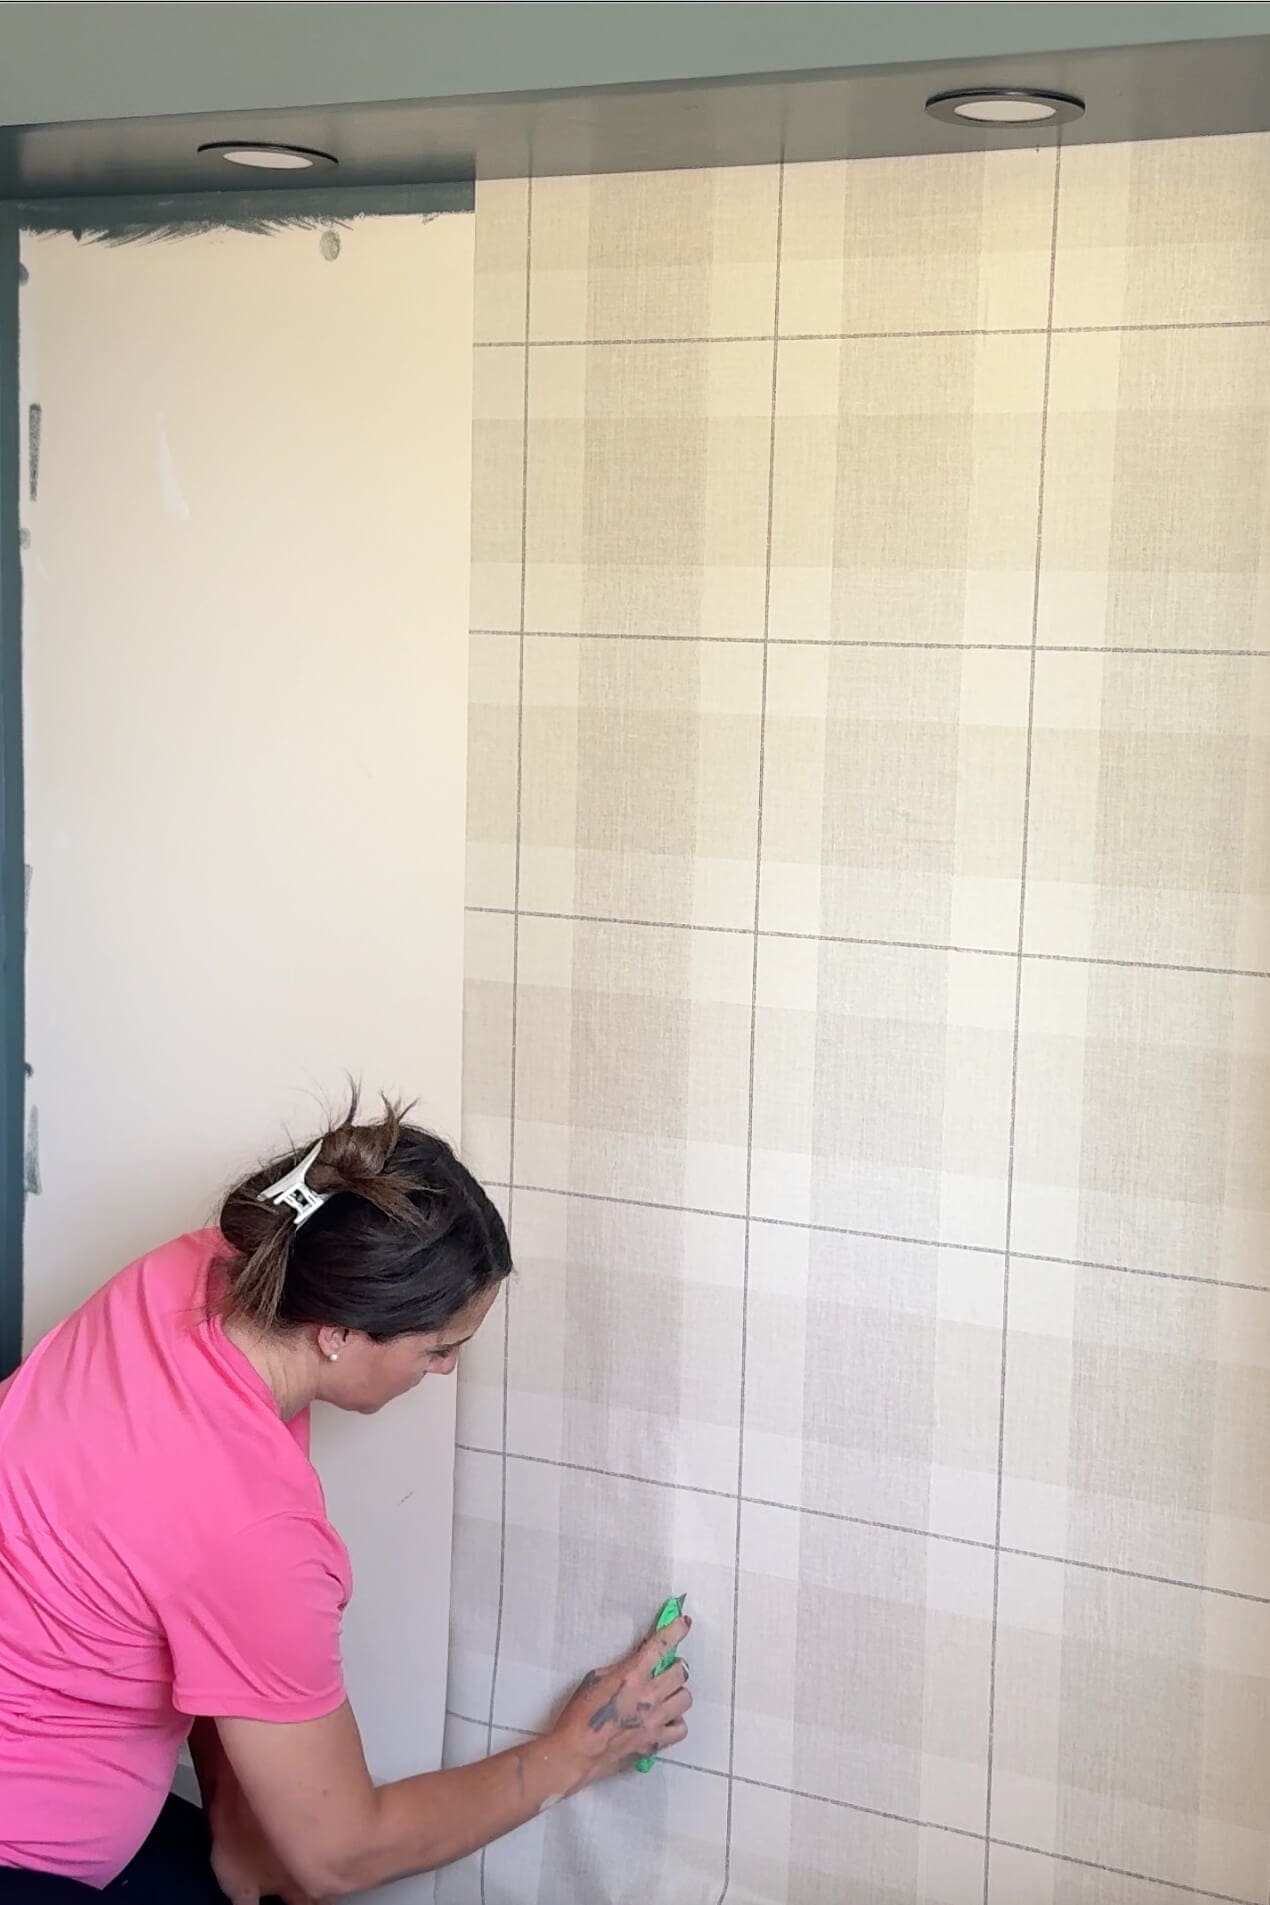
Step 5: Trim Peel and Stick Wallpaper at the Edges and Outlets
Lastly, after your panel is fully applied, use a sharp utility knife to trim along the baseboard, ceiling, or around outlets. Always use a fresh blade for clean cuts—it makes a big difference!
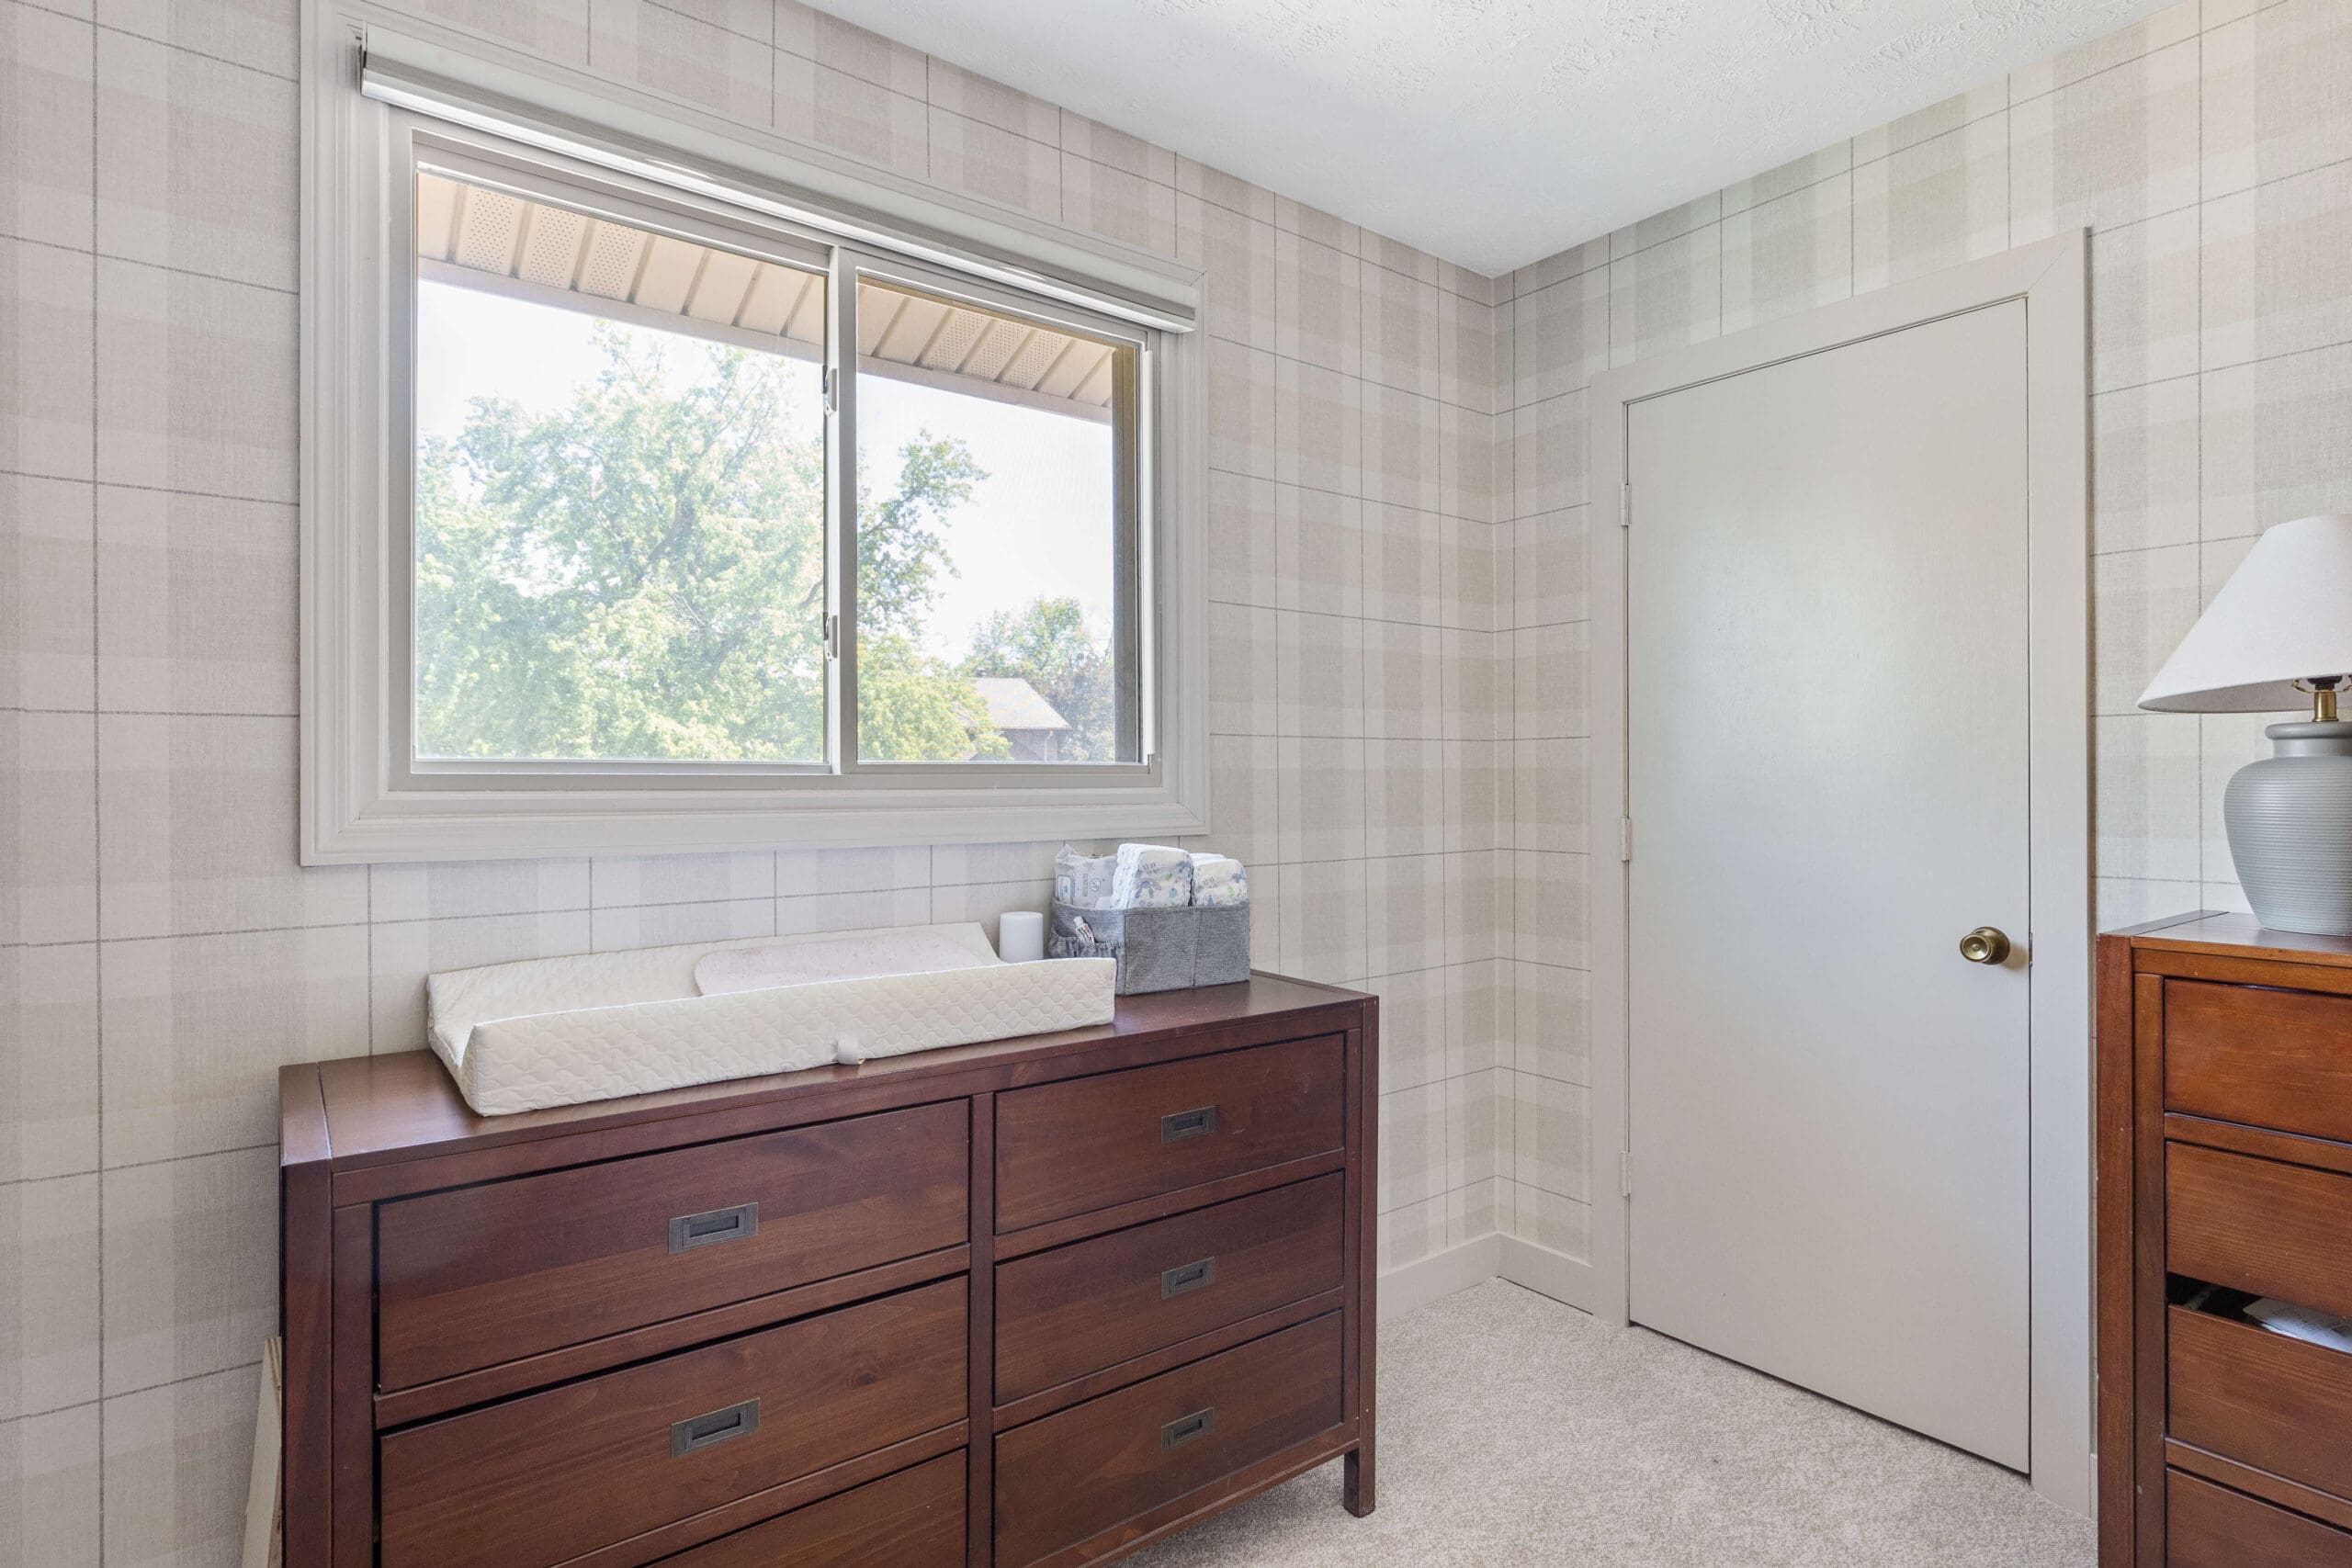
Finished Peel and Stick Wallpaper Project: Final Thoughts
Peel and stick wallpaper can seem intimidating at first, but don’t be scared. After you get that first panel up, the rest falls into place. And honestly? It’s pretty forgiving. If you mess up, just peel it back and reposition—it’s way more forgiving than it looks (thank goodness).
Let me know in the comments if you give it a try, or tag me on Instagram. I love seeing your projects come to life!
Want to Build These Nursery Built-Ins?
Check out my full tutorial on how I built this custom headboard nook with storage. It’s sized for a crib now, but could easily fit a bed or a desk later on!

More Wallpaper Tutorials You’ll Love
I’ve tried just about every type of wallpaper out there – from peel-and-stick to prepasted to the traditional kind that uses paste. If you’re curious about the differences or want to see more examples before choosing a method, here are all my full tutorials so you can dive in confidently:
- How to Install Prepasted Wallpaper (Beginner DIY Tutorial)
- How to Install Traditional Wallpaper with Paste
- How to Wallpaper Outlet Covers for a Seamless Look
- Easy Guide on How to Wallpaper a Closet
📌 Pin This Peel and Stick Wallpaper Tutorial for Later

FAQ About Peel and Stick Wallpaper
Use a laser level to mark a perfectly vertical guide before placing your first panel. Start from the top, align with the laser, and smooth downward slowly.
Yes! Peel and stick wallpaper is surprisingly forgiving. If it goes on crooked, gently peel it back and reposition before pressing it down again.
Not usually. Most brands are designed to be removable without damaging paint, especially on smooth, clean walls. Always test a small area first.
Use a sharp utility knife to carefully trim around outlets and baseboards. A fresh blade helps you get clean, precise cuts without tearing the paper.