


Staining Raised Garden Beds the Easy Way


Updated July 13, 2026
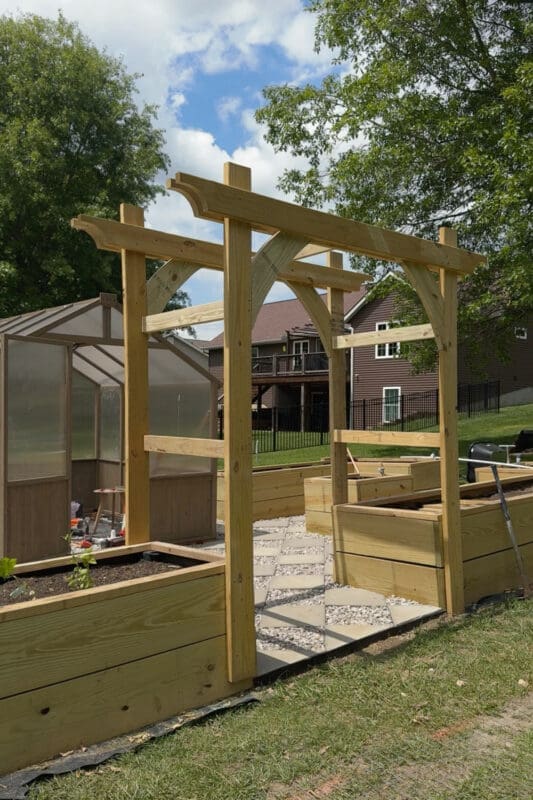
Staining raised garden beds is hands-down the easiest, most budget-friendly way to take your garden from “lumber yard” to “is this a magazine?” Mine started out as plain, orangey pressure treated wood (totally functional, not exactly pretty), and a few cans of stain completely transformed the whole space.
If your raw wood beds are begging for a glow-up, you’re in the right place. I’m going to walk you through exactly how I did mine, including the spray-on shortcut that saved me hours.

Table of Contents
- What You’ll Need to Stain Raised Garden Beds
- First, a Quick Talk About Pressure Treated Wood
- Testing Stain Colors (Don’t Skip This!)
- The Fastest Way to Stain Raised Garden Beds
- Staining the Garden Arbor
- The Finished Garden Beds
- Before & After of My Garden
- More DIY Projects From This Garden
- 📌 Pin Staining Raised Garden Beds for Later
- Staining Raised Garden Beds FAQ
What You’ll Need to Stain Raised Garden Beds
Nothing fancy here, which is part of why I love this project. Here’s the supply list:
- Exterior wood stain: I used this one
- A pump sprayer
- A staining pad
- A cheap throwaway brush: emphasis on cheap
- An orbital sander + sandpaper: (only if you’re testing colors like I did)
- Gloves: unless you want brown hands for a week
- Cardboard or a drop cloth: to protect anything underneath
First, a Quick Talk About Pressure Treated Wood
I built these beds out of pressure-treated wood, and I’d do it again. It’s affordable, easy to find, and holds up beautifully against rot and bugs, which matters a lot when your wood sits in dirt and gets watered all the time.
But here’s the big thing nobody tells you: you can’t stain pressure-treated wood right away. Fresh lumber is still loaded with moisture from the treatment process, so if you stain too soon, it won’t soak in. It’ll bead up, sit on the surface, and peel later.
So you have to wait, anywhere from a few weeks to several months depending on your climate. Easy test: sprinkle a few drops of water on the wood. If it soaks in, you’re good to go. If it beads up, give it more time.
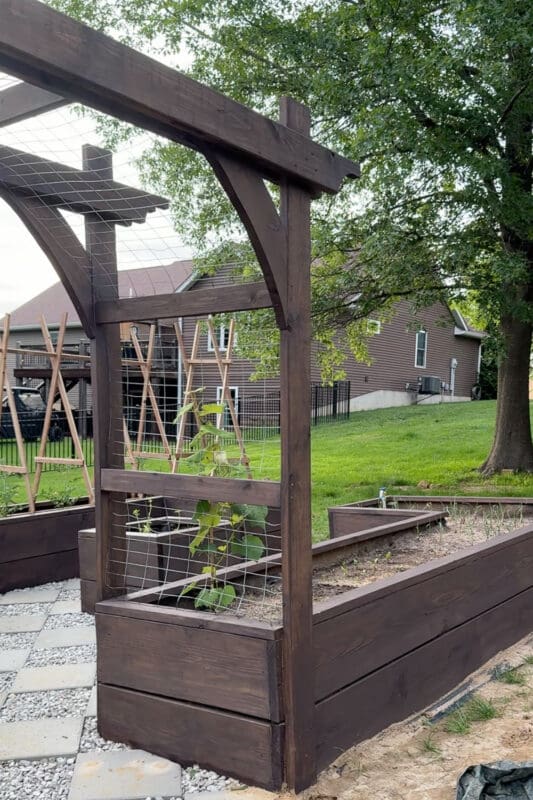
One quick note for my fellow veggie growers: I kept the stain on the outside of the beds and protected the interior, so the soil side stays clean. Want to see the details on how I did that? Go here to see how I lined the beds.
Testing Stain Colors (Don’t Skip This!)
Picking a stain color off a tiny paint chip is a recipe for regret. Wood drinks up color completely differently than a glossy little sample card suggests, so I always test right on the actual beds.
I brushed a few different colors directly onto the wood to see them in real life, in real sunlight. Two of them were an immediate nope for me. Too red, too gray- just not the moody look I was going for.
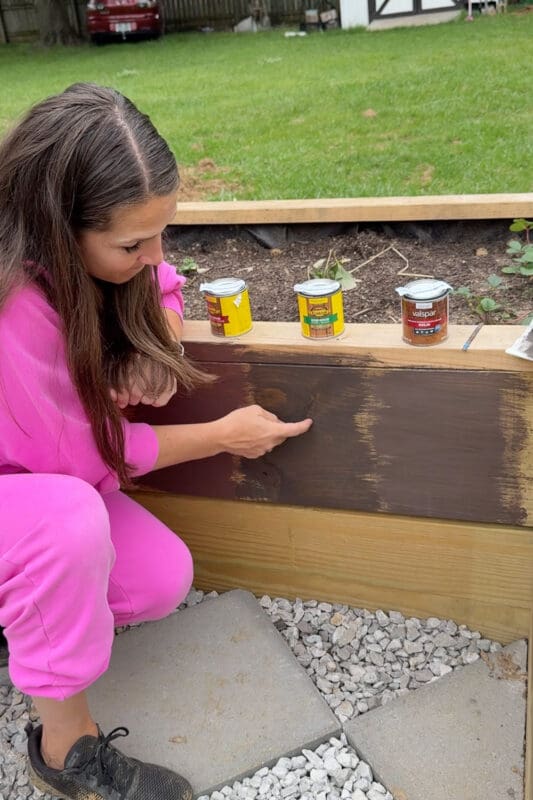
I just sanded off the two colors I didn’t love and stained right over the top with my winner, Cordovan Brown. No harm done, no starting over.

The Fastest Way to Stain Raised Garden Beds
Okay, this is the part I’m most excited to share, because it genuinely cut my project time way down.
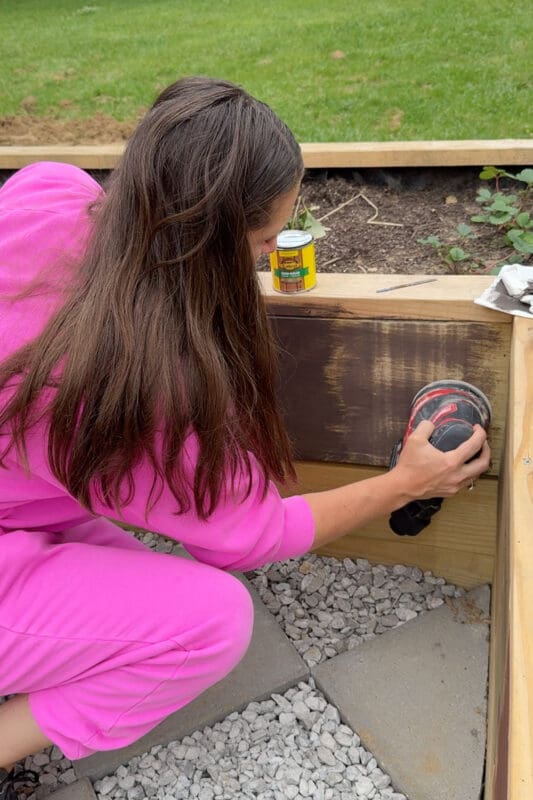
Most tutorials will tell you to brush the stain on, then wipe it off with a rag. And that works! But with this much surface area to cover, brushing every single board by hand felt like it was going to take me the rest of the summer.
So I switched it up. I sprayed the stain on with a pump sprayer, then used a staining pad to spread it around and work it into the wood. So much faster. The sprayer lays the stain down quickly and evenly, and the pad smooths everything out before it can get blotchy.
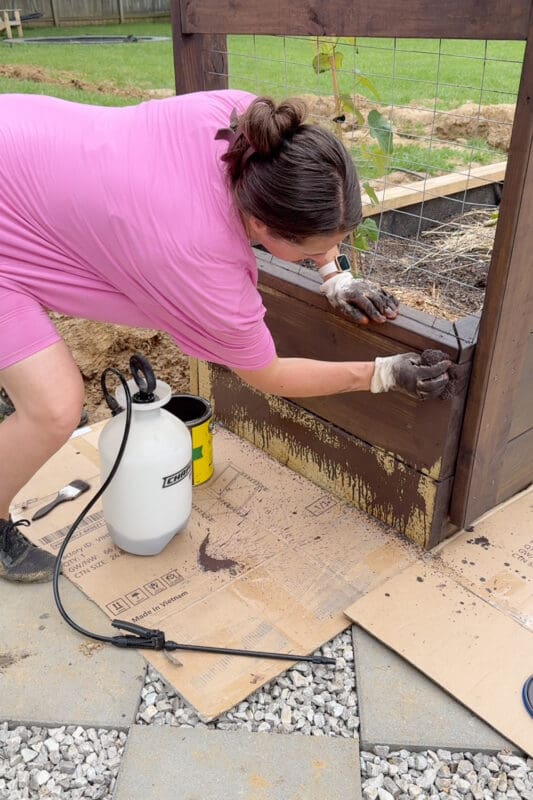
For the little nooks, crannies, and tight edges the sprayer and pad couldn’t reach, I went in with a cheap brush. And I mean cheap on purpose. When you’re working with oil-based stain, cleanup is a pain, so I’d rather just toss the brush in the trash when I’m done than spend twenty minutes wrestling with mineral spirits. Buy the bargain brushes guilt-free.
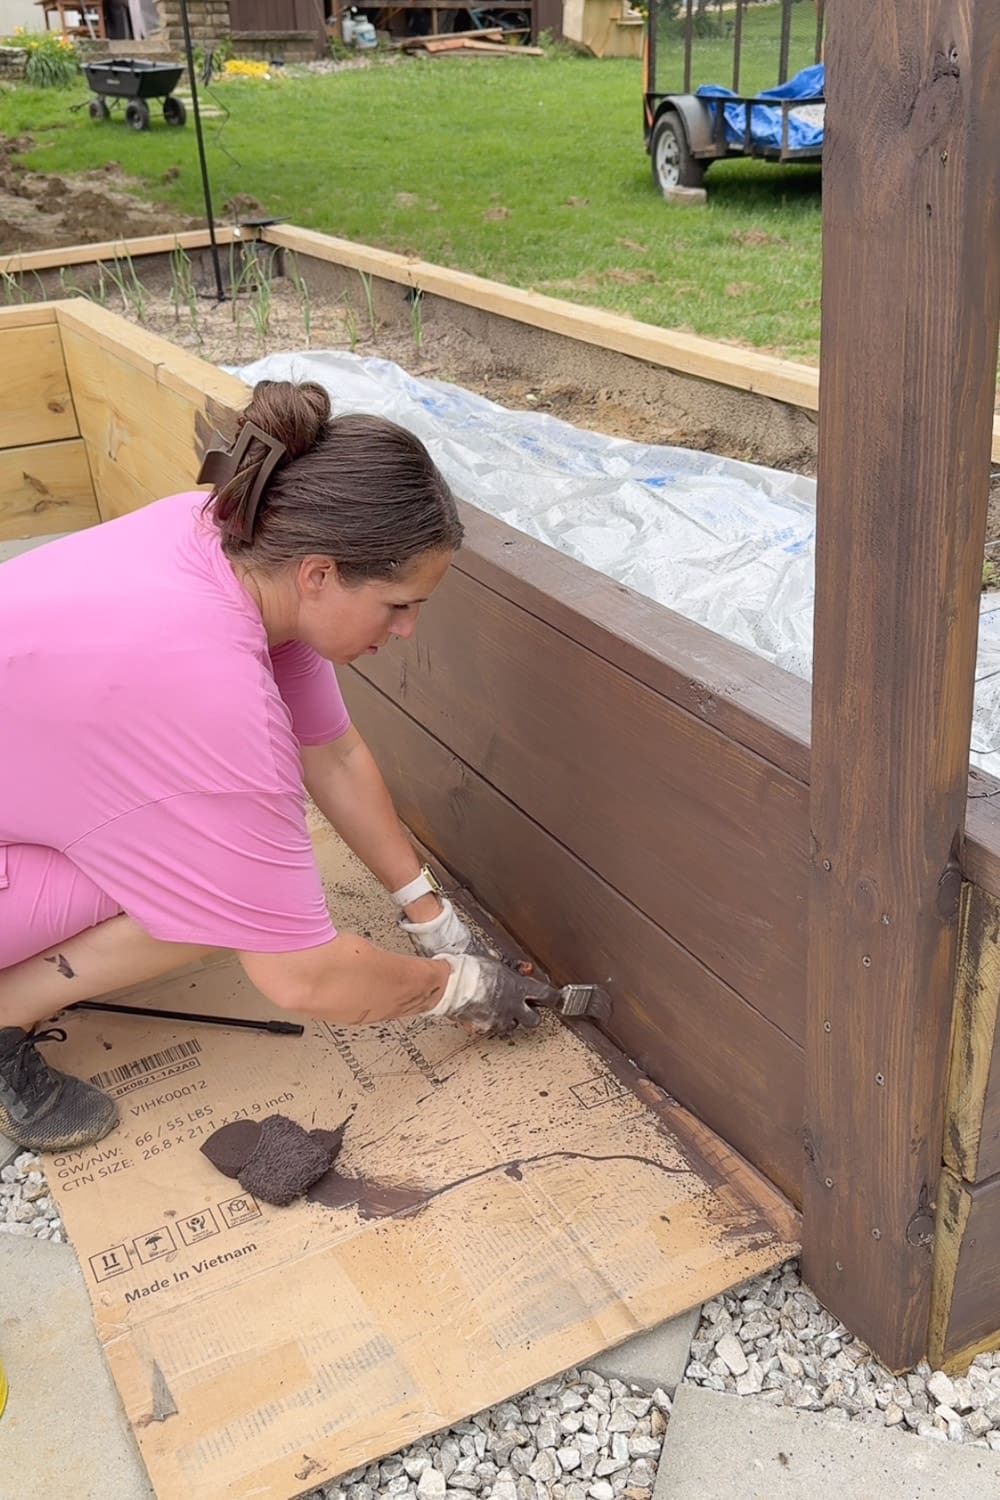
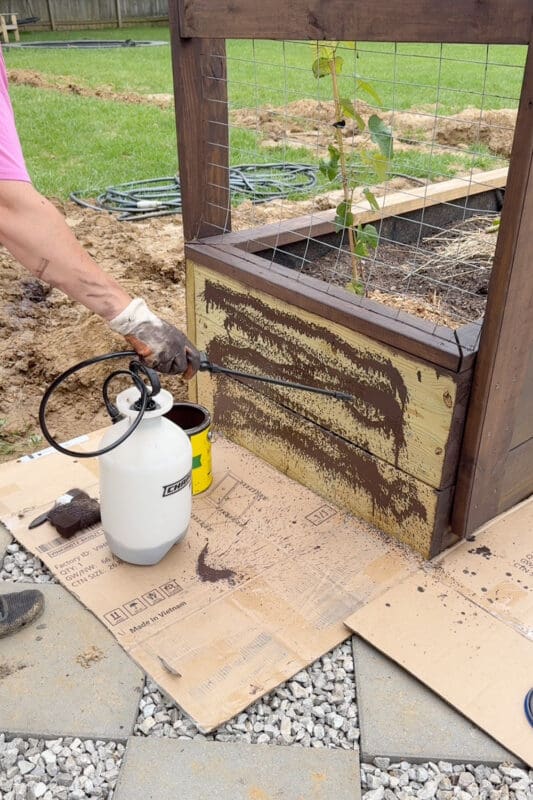
Quick tip: a sprayer is a little messy and drippy, so protect anything underneath you’d be sad to ruin. Over dirt or grass, I wouldn’t bother, but I’d just finished laying my pavers, so I put cardboard down to catch all the drips.
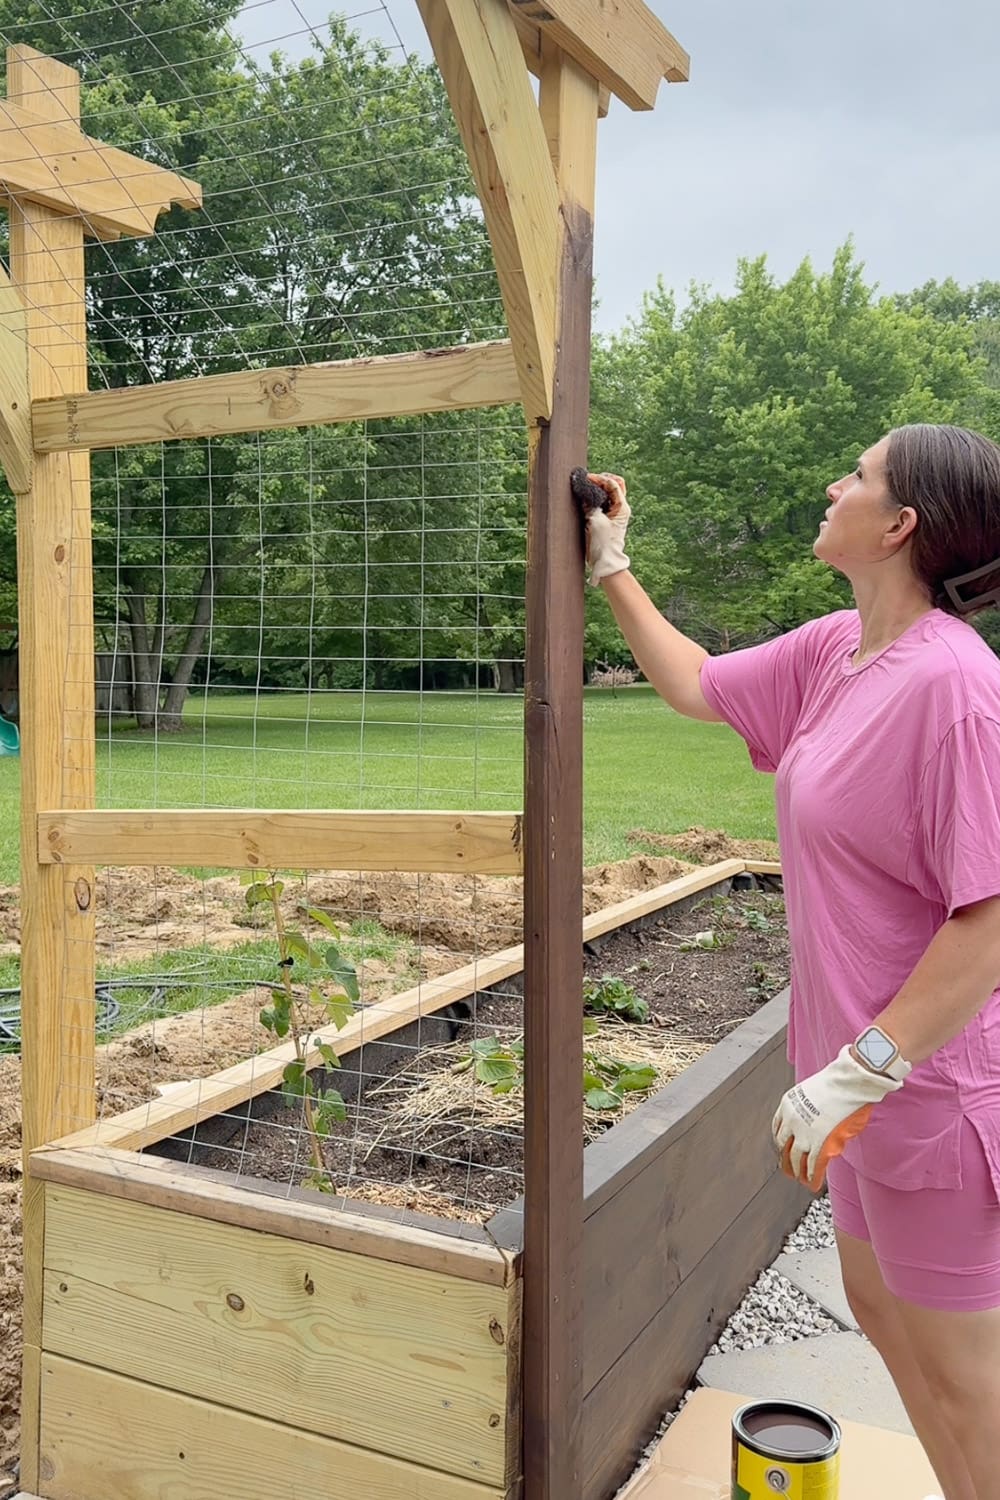
Staining the Garden Arbor
The arbor was a whole different animal. With all those posts, angles, and detailed little joints, spraying would have been a messy disaster. Way too small and detailed to justify the sprayer.
So for the arbor, the staining pad and brush were perfect. I could get nice control on the flat parts with the pad and reach into all the corners and edges with the brush. A little slower than spraying, but exactly the right tool for the more delicate work.
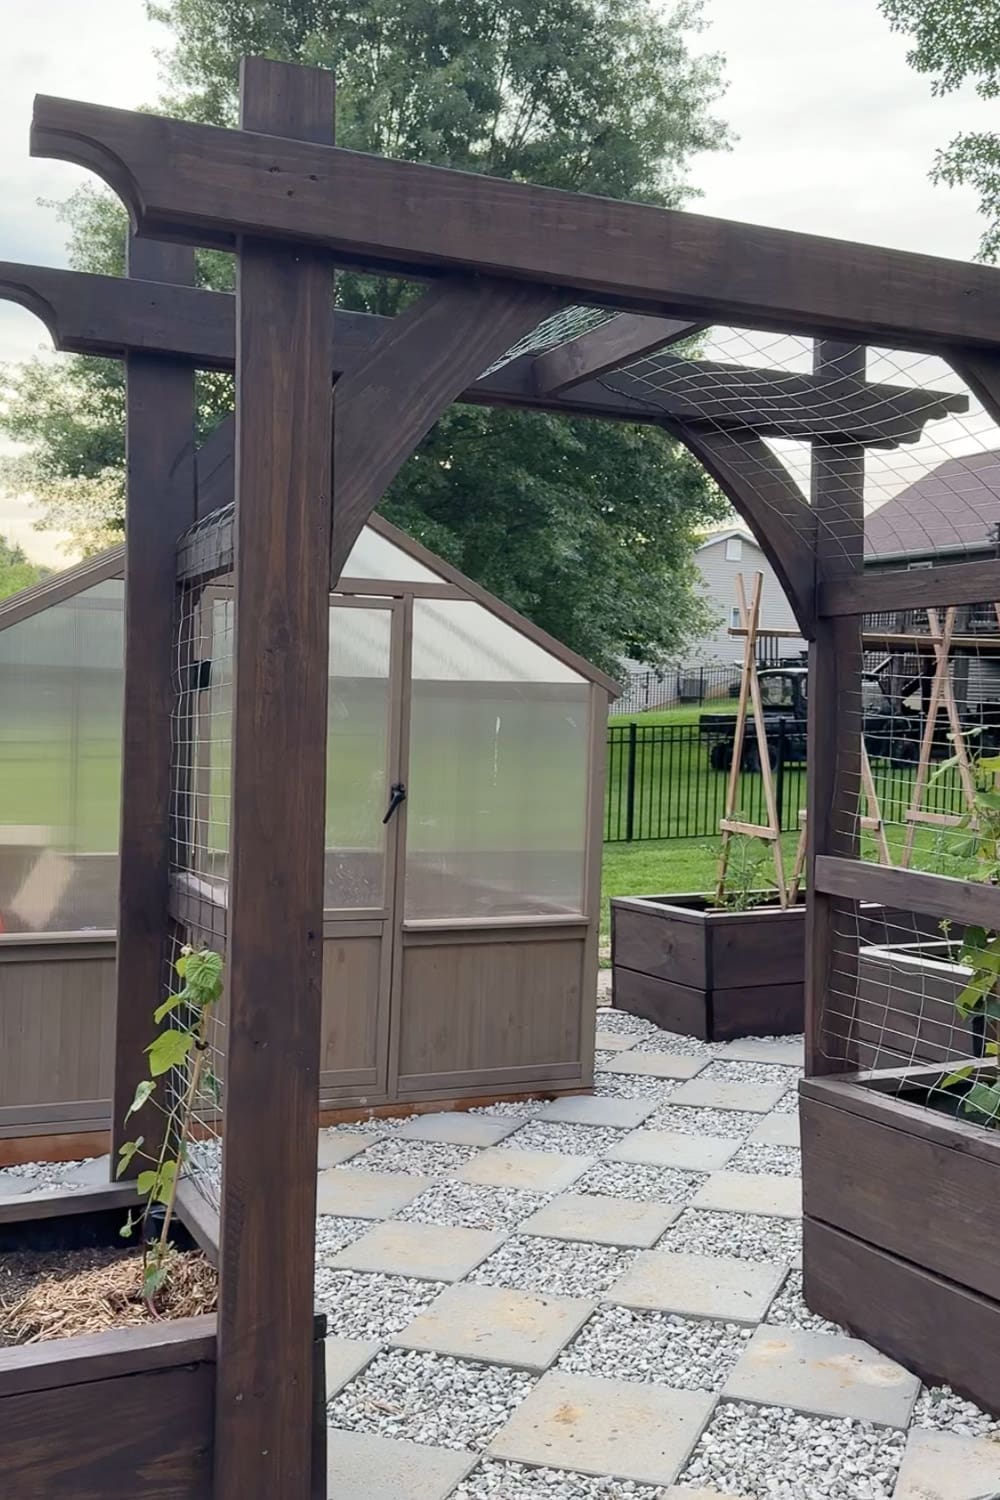
The Finished Garden Beds
And now… the good part. 😍
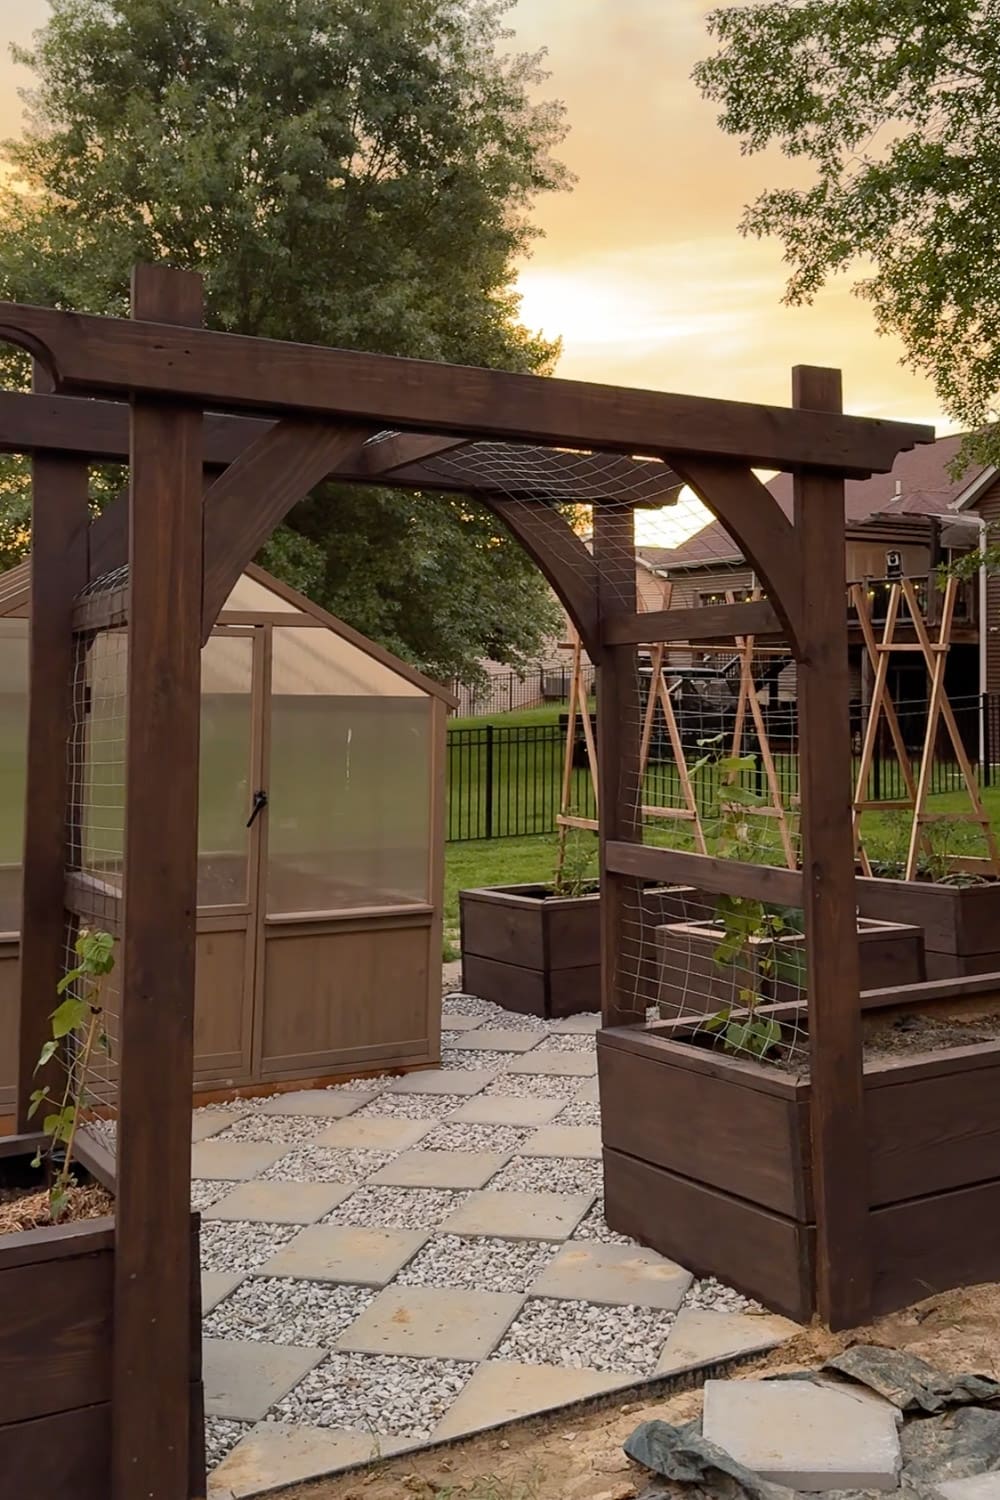
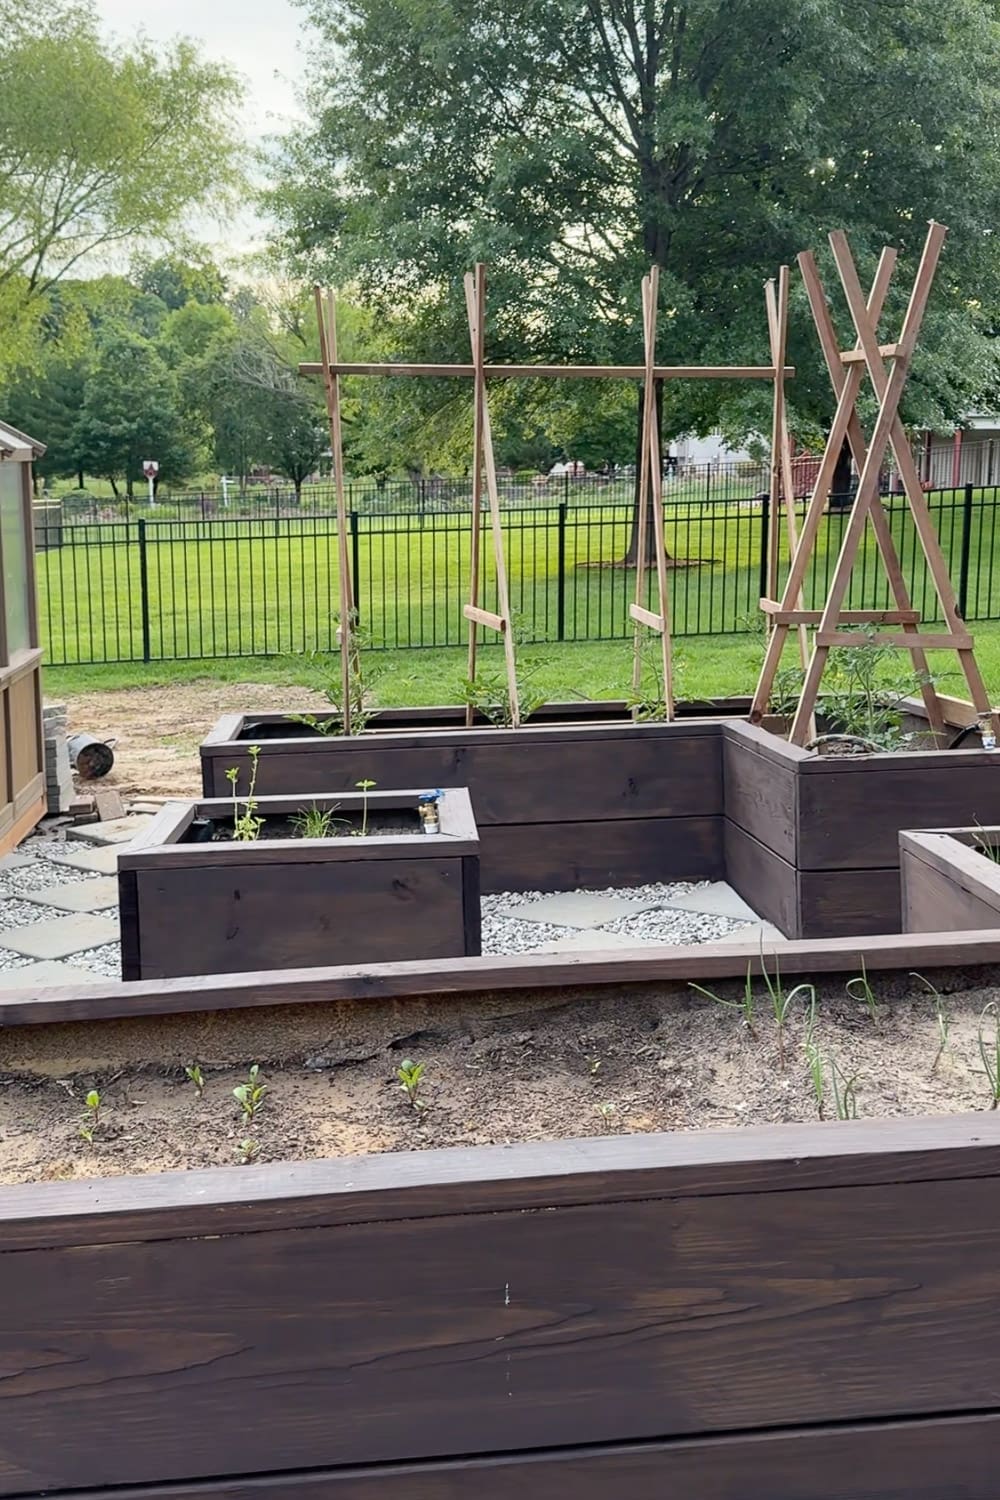
That deep, rich Cordovan Brown completely transformed the space. The beds look custom, the arbor looks like it cost a fortune (it didn’t), and the whole garden finally feels like the cohesive, cozy little retreat I’d been picturing in my head the entire time.
Before & After of My Garden
If you ever doubt whether that gallon of stain is worth it, let this be your sign:
Same beds. Same bones. The dark stain is the only thing that changed, and it took the whole garden from builder-basic to “wait, is this a magazine?” Never underestimate what color can do.
More DIY Projects From This Garden
This stained beauty is just one piece of a garden I’ve been pouring my heart (and a lot of weekends) into. If you’re planning your own backyard garden, here are some of the other projects that brought this whole space together, so go check them out:
- How to Build DIY Raised Garden Beds (Step-By-Step)
- DIY Paver Walkway: Diamond Pattern with Gravel
- DIY Irrigation System for a Raised Bed Garden
- Easy DIY Garden Trellis: Build a Beautiful Wooden Arbor Entrance
- DIY Tomato Trellis: Build One This Weekend
📌 Pin Staining Raised Garden Beds for Later
Loving this look? Don’t lose it! Pin the image below so you can come back to this guide on staining raised garden beds when your wood is dried out and ready. Hover over the image and hit the Save button to add it to your gardening or DIY board.
Staining Raised Garden Beds FAQ
Anywhere from a few weeks to several months, depending on your climate and how wet the lumber was to start. The wood needs to dry out so the stain can actually soak in. Do the water-drop test: if a few drops soak into the wood, it’s ready. If they bead up on the surface, give it more time.
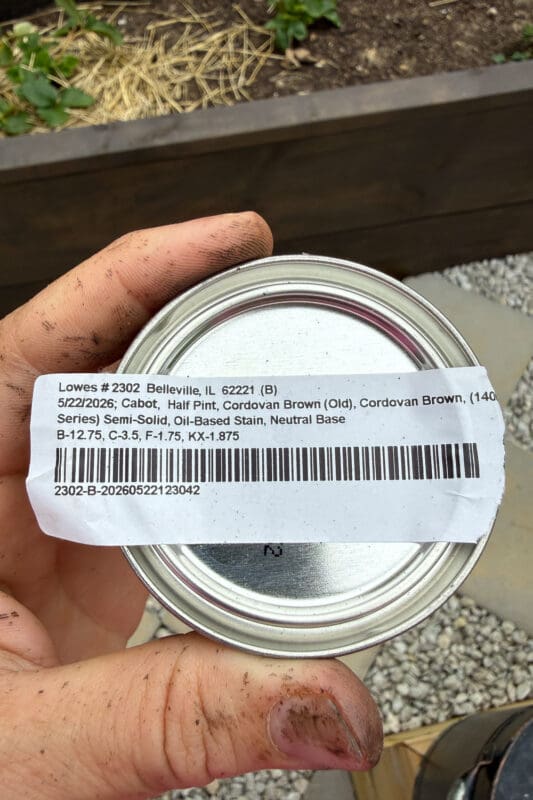
An exterior wood stain made to stand up to weather and UV. I used a semi-solid oil-based stain (Cabot in Cordovan Brown), and a darker color gives you better sun protection, plus that rich, moody look. Semi-transparent and solid stains work too; it just comes down to how much wood grain you want to show through.
Not necessarily. Many exterior stains, including the one I used, are a stain-and-sealer in one, so they protect as they color. If yours is a stain only, you can add a clear exterior sealer on the outside for extra durability.
It depends on your weather and sun exposure, but most exterior stains hold up for a few years before they need a refresh. When the color starts looking faded or worn, a quick coat brings it right back to life.