


Soaker Hoses for Raised Beds: Easy Watering Setup


Updated July 13, 2026
If you’ve got raised garden beds and you’re tired of standing out there every morning with a watering can like it’s your part-time job, let me introduce you to your new best friend: soaker hoses for raised beds. This little setup has been a total game-changer for me. I water my whole garden now without lifting a finger (okay, I lift one finger, just to set the timer), and my plants have never been happier.
In this post, I’m walking you through exactly how I set up soaker hoses with a timer in my raised beds, including a few things I learned the hard way so you don’t have to. Spoiler: it involves a grapevine and a slightly regrettable carrot decision. We’ll get there.
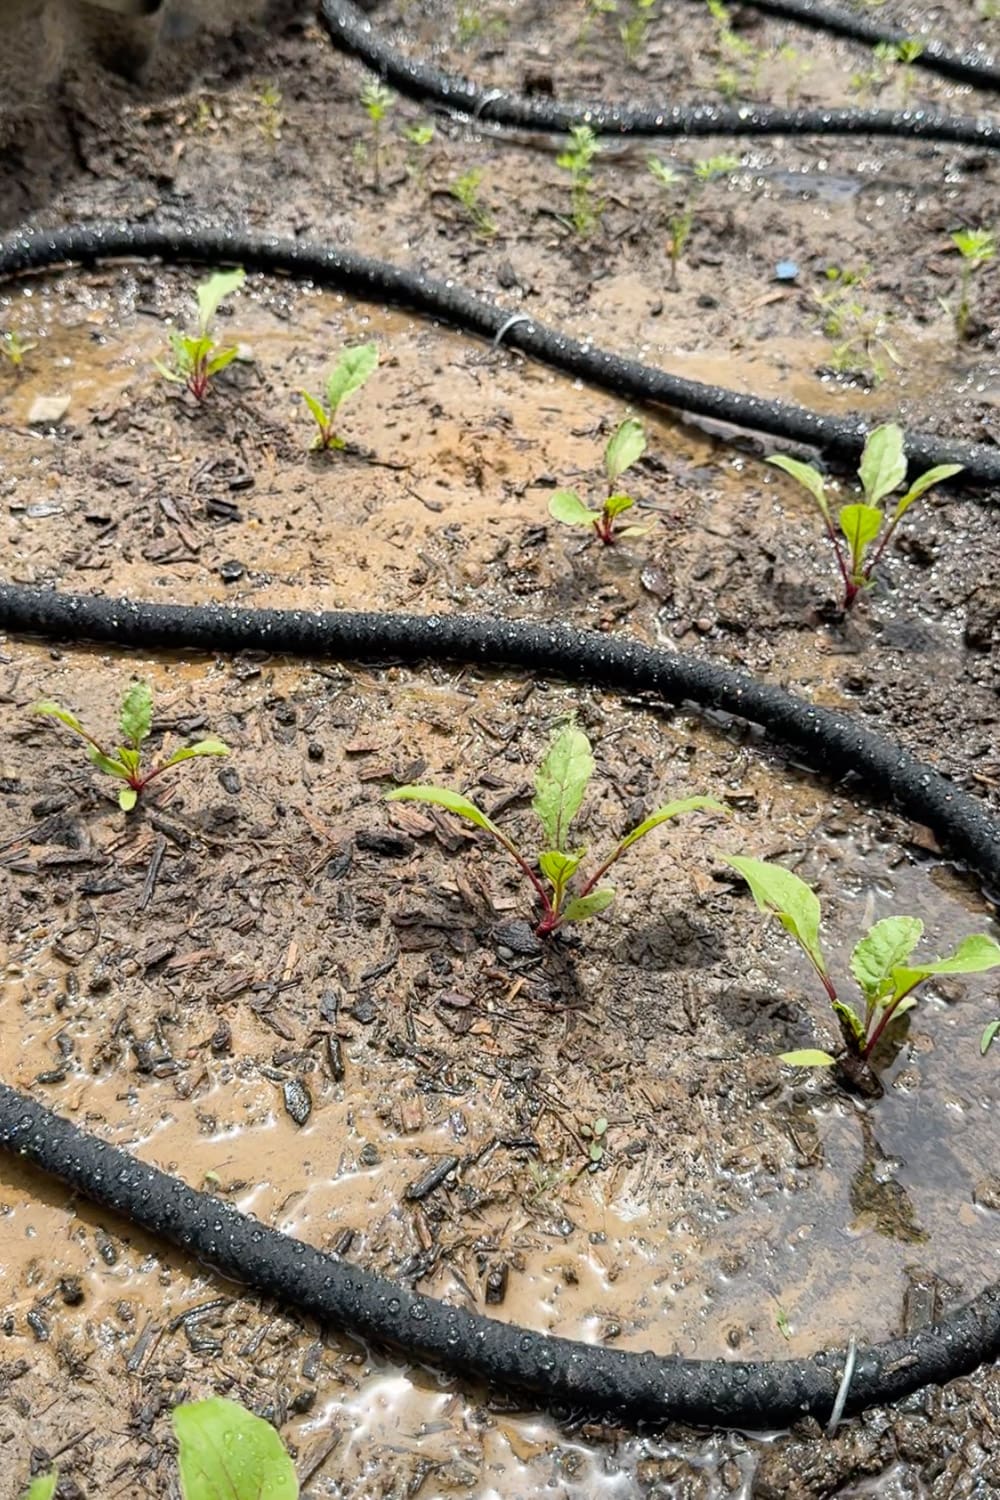
Table of Contents
- What You’ll Need for My Soaker Hose Setup
- Setting Up a DIY Irrigation System for Our Raised Beds
- Why Soaker Hoses Are the Way to Go (Spigot or Not)
- Cut Them to Fit: Soaker Hoses Are Super Customizable
- Adding the Timer and Attaching Your Hose
- Lay It Out in an S-Curve Around Your Plants
- Want to Water Two Areas Separately?
- The Finished Setup in Action
- One Last Thing: My Grapevine Situation
- Ready to Set Up Your Own Soaker Hoses for Raised Beds?
- 📌 Pin This Soaker Hose Setup for Later
- Soaker Hose FAQs
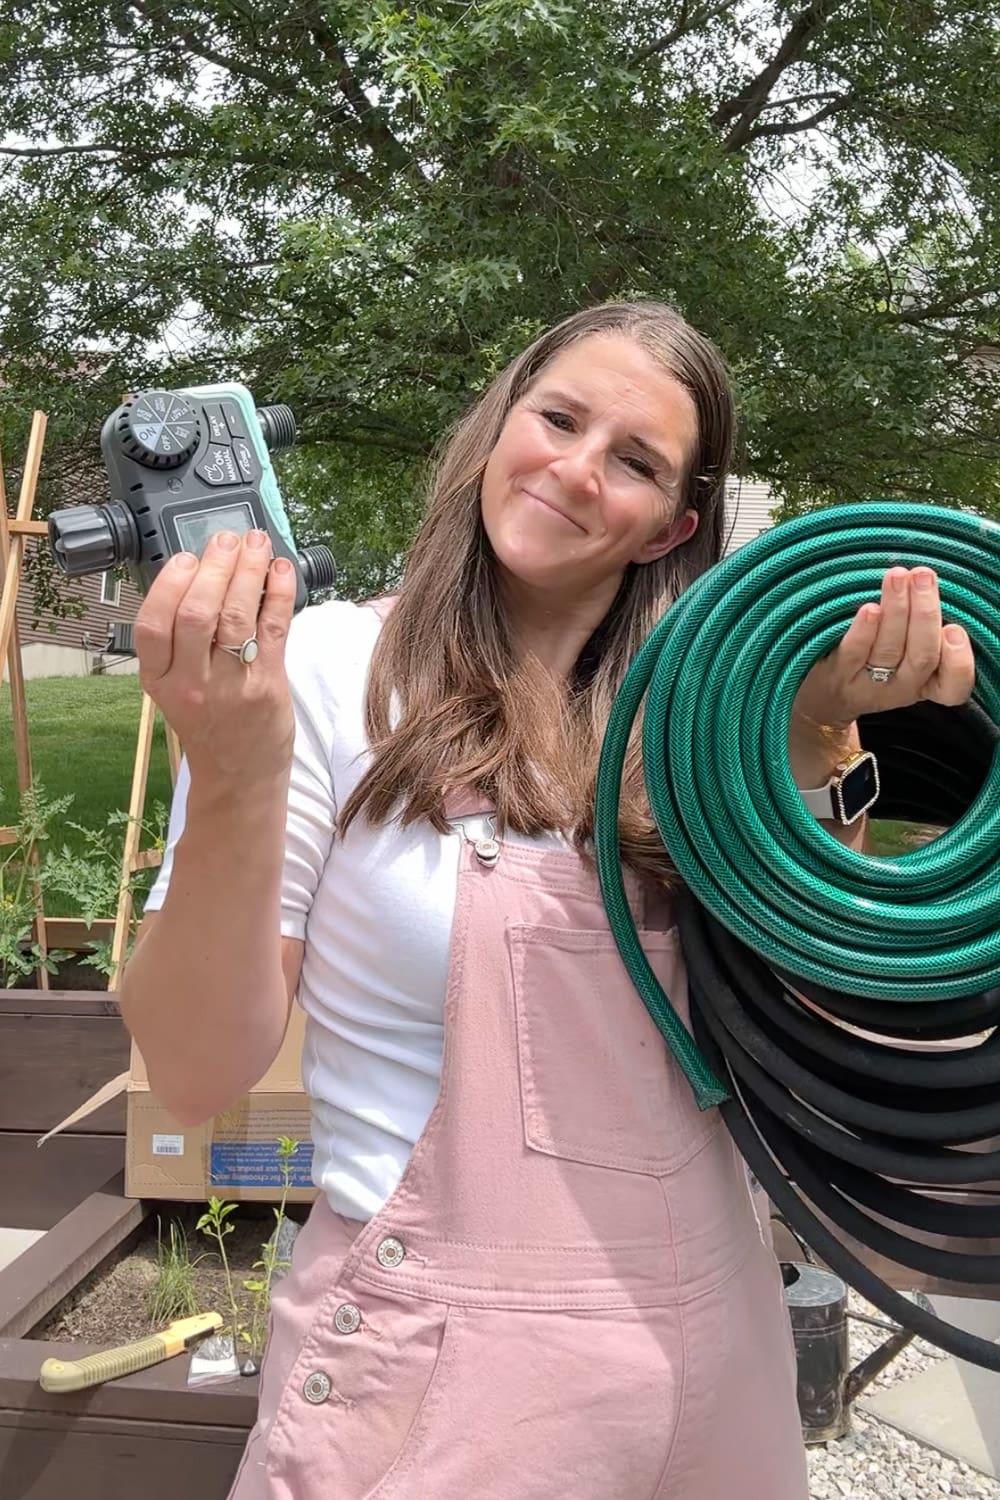
What You’ll Need for My Soaker Hose Setup
The beauty of this project is that it’s budget-friendly and doesn’t require any fancy plumbing skills. Here’s the short list of what I used:
- Soaker hoses (I bought this giant one and cut it. More on that in a sec).
- A regular garden hose (for connecting things up)
- A digital water timer (two-zone or single-zone)
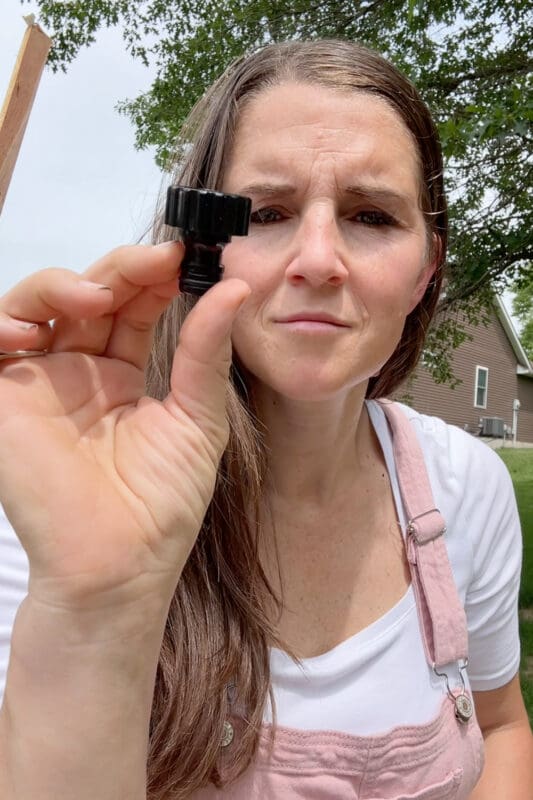
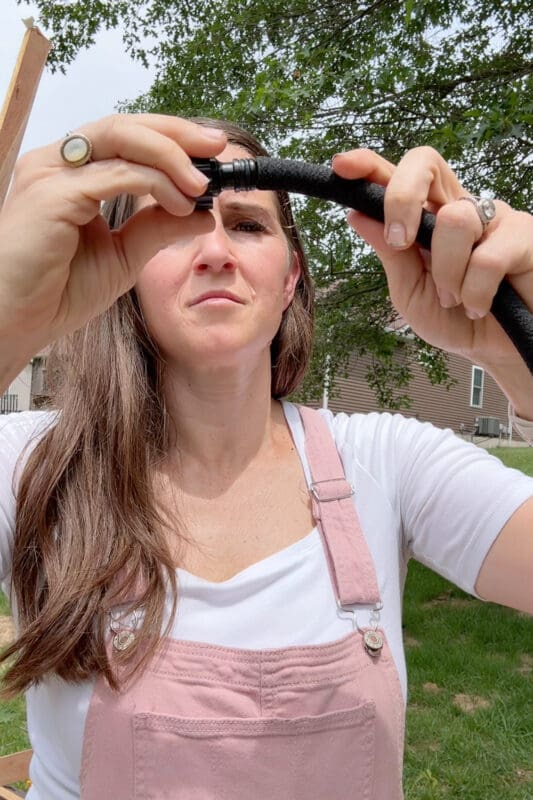
- Hose fittings
- End caps for soaker hoses
- Scissors
- Garden staples to hold everything in place
Setting Up a DIY Irrigation System for Our Raised Beds
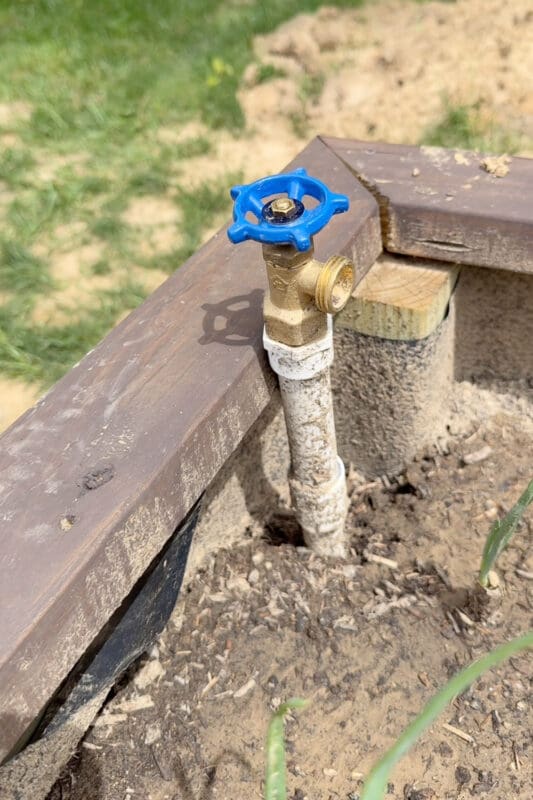
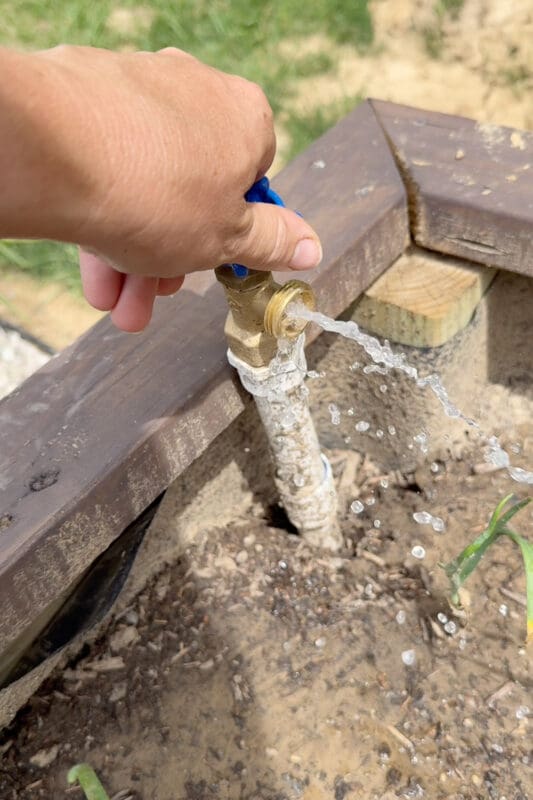
Before we get into the hoses, here’s a little backstory. When we built our raised beds, we went all in and set up a full irrigation system with water piped right into each individual bed. So I’ve got a spigot sitting at the corner of every single bed, which makes hooking up soaker hoses ridiculously easy.
If you want all the nitty-gritty details on how we ran that irrigation system, I broke the whole thing down in a separate post – DIY Irrigation System for a Raised Bed Garden. Go read that one if you’re starting from scratch and want water piped into your beds too.
But here’s the thing: you do not need a fancy piped-in system to make soaker hoses work.
Why Soaker Hoses Are the Way to Go (Spigot or Not)
Whether you’ve got a spigot right in each bed like me, or your nearest water source is 20 feet away across the yard, soaker hoses are absolutely the way to go. You can run a regular hose from wherever your water is over to your beds, hook up your soaker hoses, and you’re in business.
Here’s why I’m such a fan of soaker hoses for raised beds:
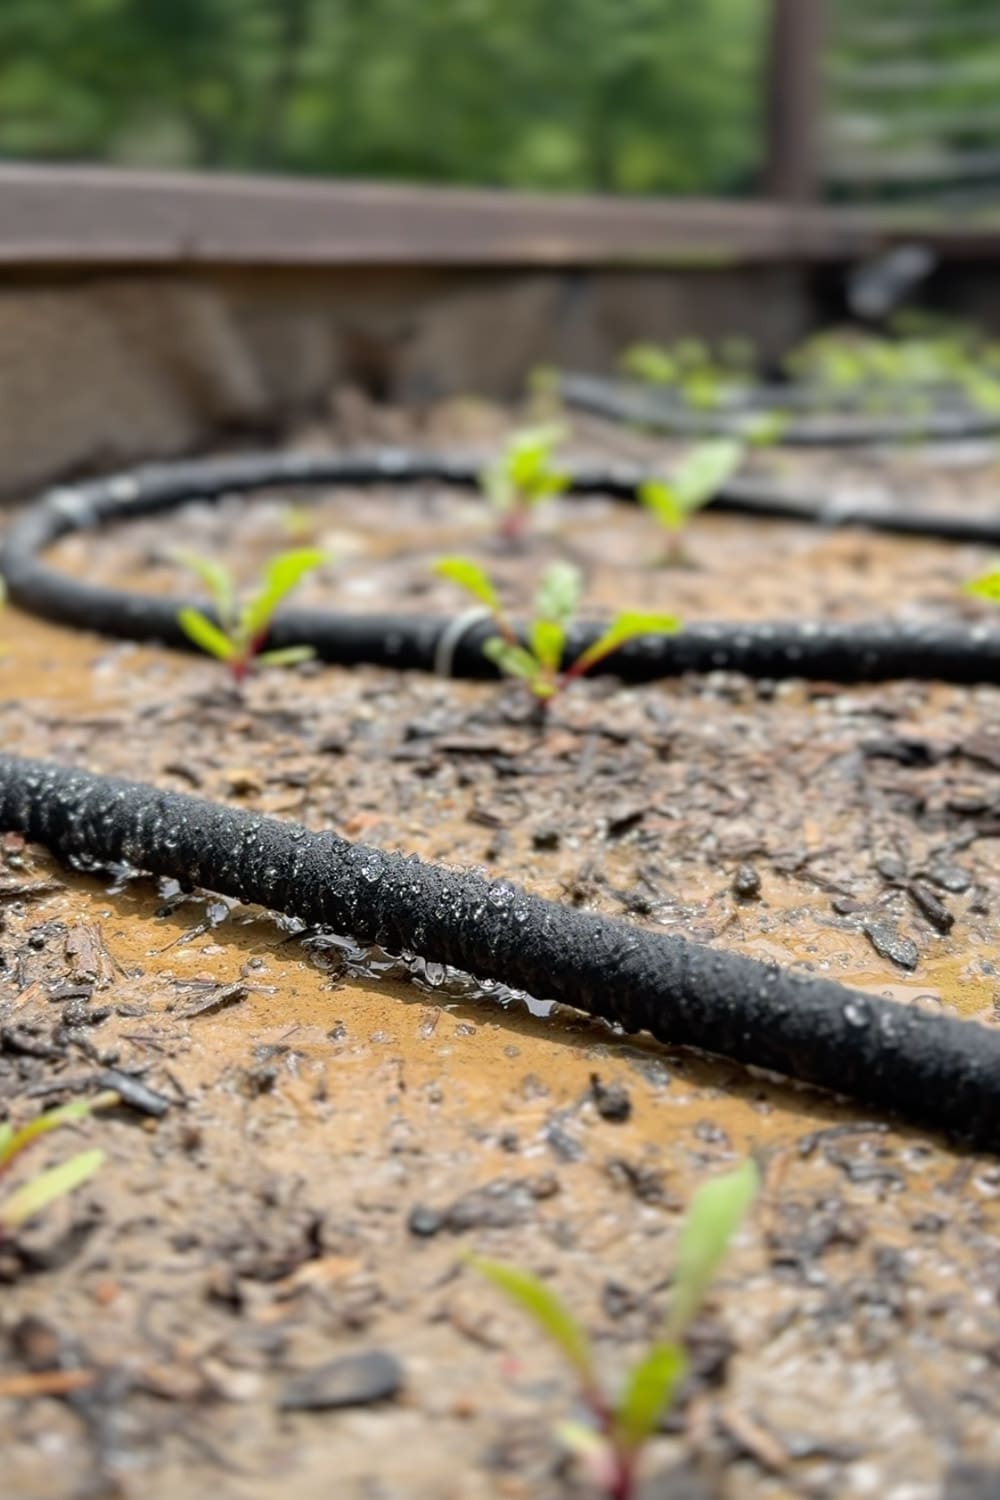
- They water slowly and deeply, right at the soil level where your plants actually need it. No more water splashing all over the leaves (which honestly just invites disease and wastes water).
- They’re efficient. Because the water seeps out right at the roots, you lose way less to evaporation than you would with a sprinkler.
- They’re gentle. No blasting your delicate little seedlings out of the dirt.
- They’re hands-off, especially once you add a timer. Set it and forget it.
- They’re cheap. This is one of the most budget-friendly garden upgrades you can make.
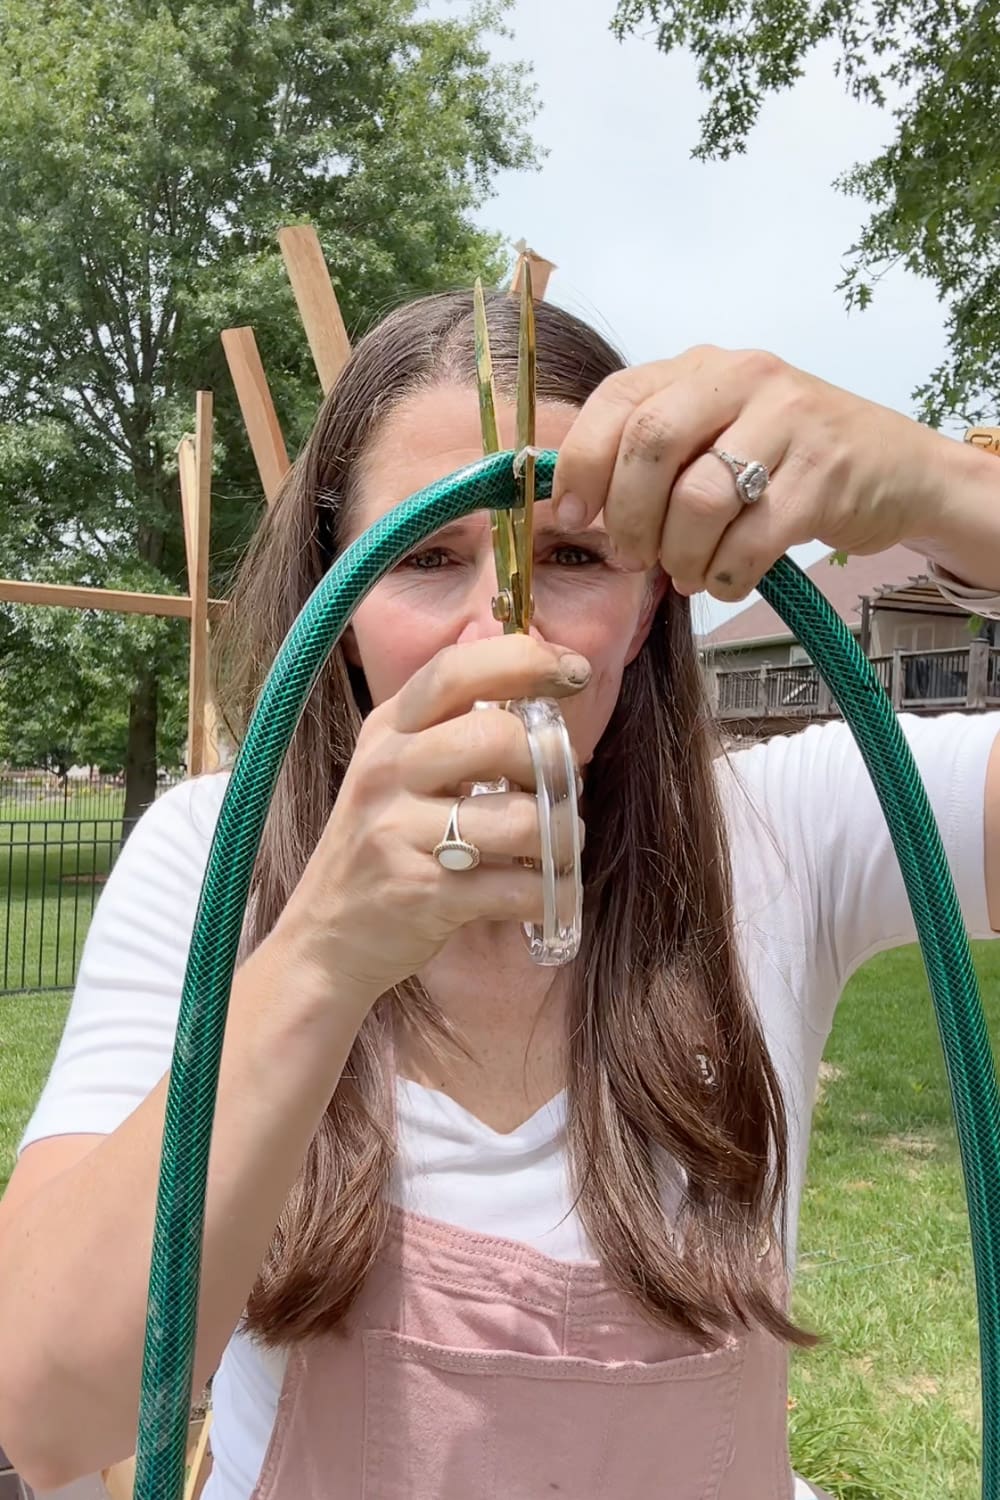
Cut Them to Fit: Soaker Hoses Are Super Customizable
Here’s something not everyone knows: soaker hoses are incredibly customizable. You can literally cut them to whatever length you need with a pair of scissors. No special tools, no stress.
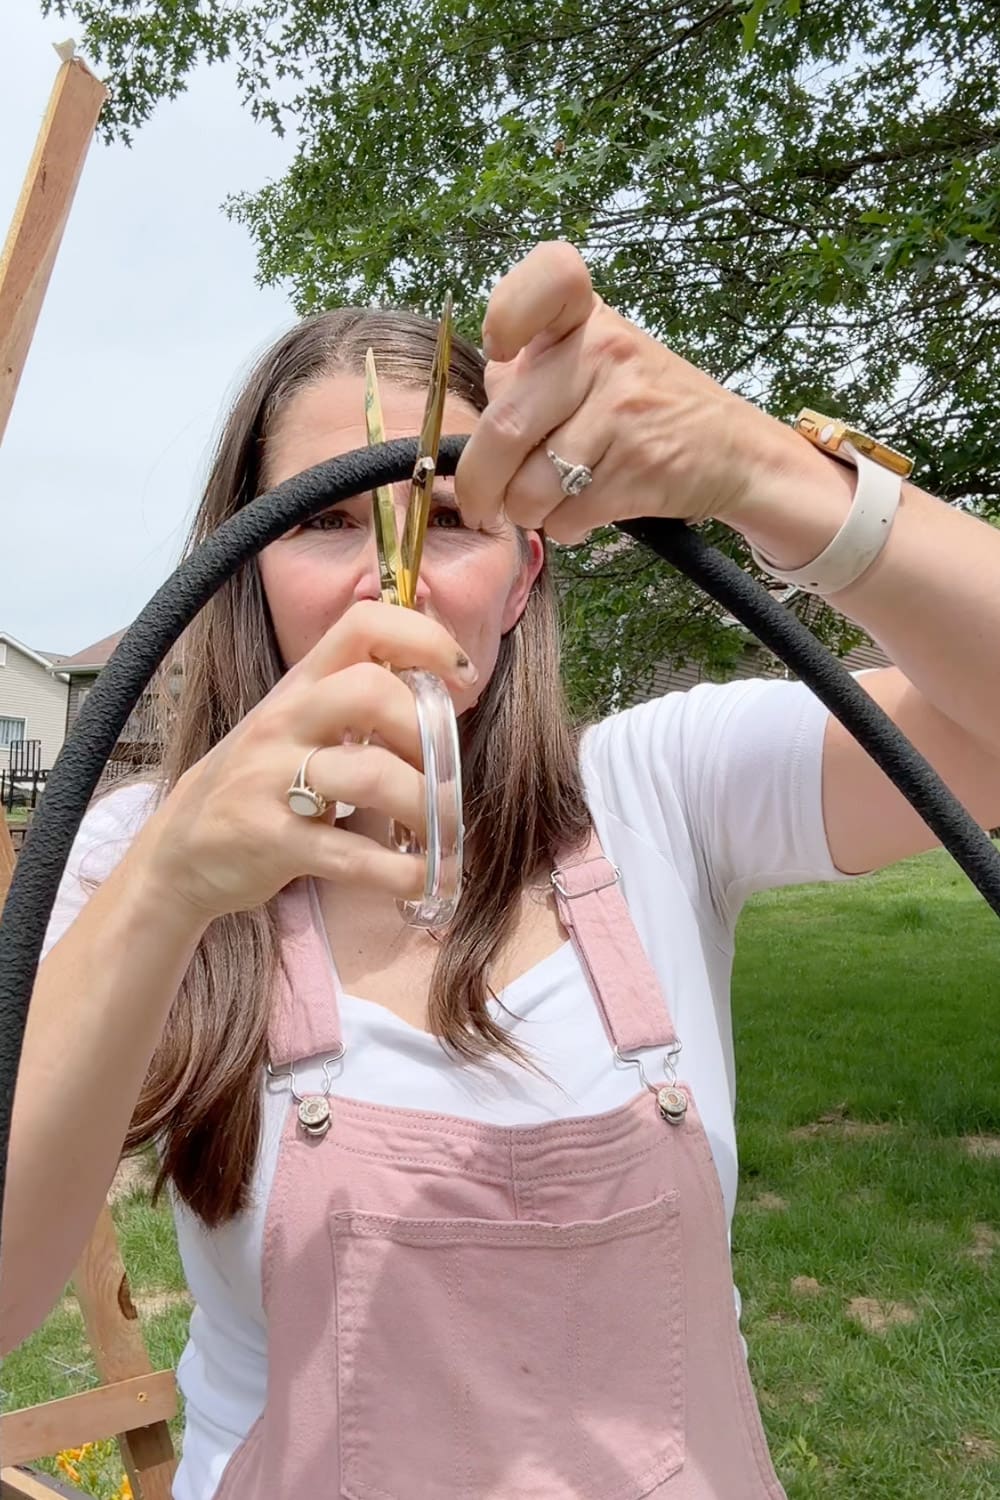
Once you’ve cut your hose to size, you’ll just need to add hose fittings to either connect to the valve or to twist an end cap onto it.
This is what makes soaker hoses work for any size or shape of bed. Long bed, short bed, weirdly shaped bed, whatever. You can make the hose fit. Don’t want to put in all that extra work of cutting and fitting? No problem. Just buy the soaker hoses in the length that you need them to be.
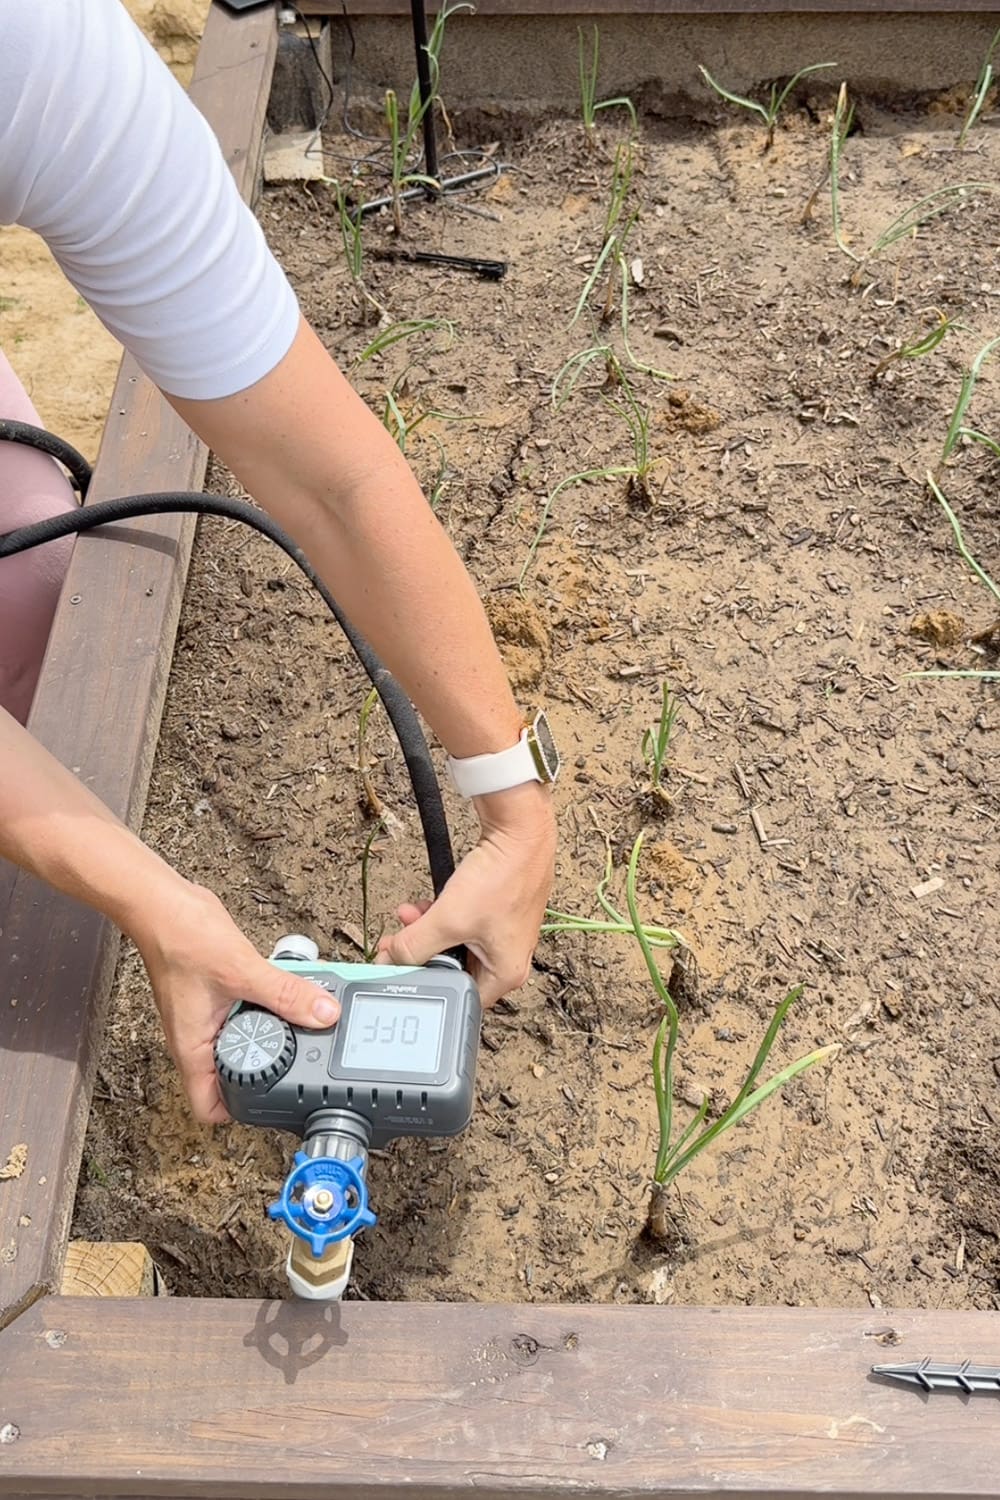
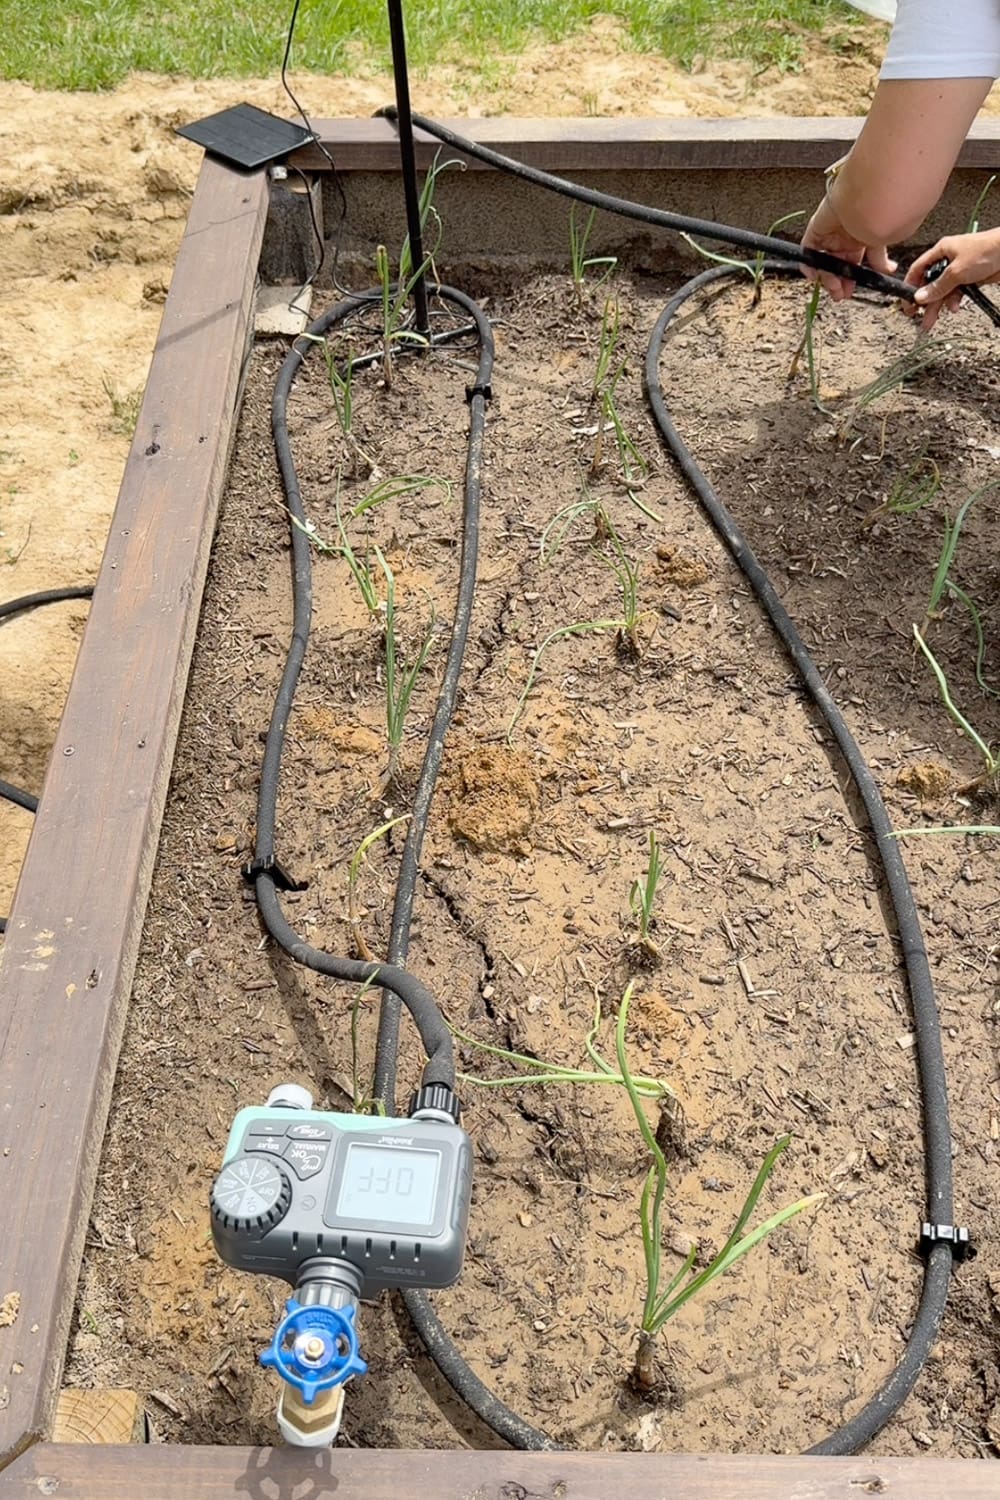
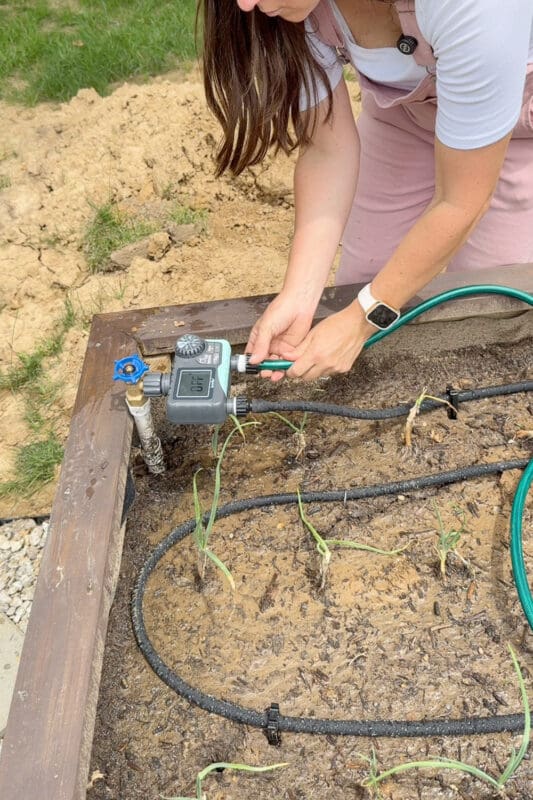
Adding the Timer and Attaching Your Hose
This is the part that takes the whole thing from “nice” to “life-changing.” I added a digital timer right to my valve, and then attached a soaker hose straight to the timer.
Once the timer’s on, you set your watering schedule and your garden waters itself. You can go on vacation, sleep in, run errands, forget what day it is, and your plants are still getting exactly what they need, right on schedule.
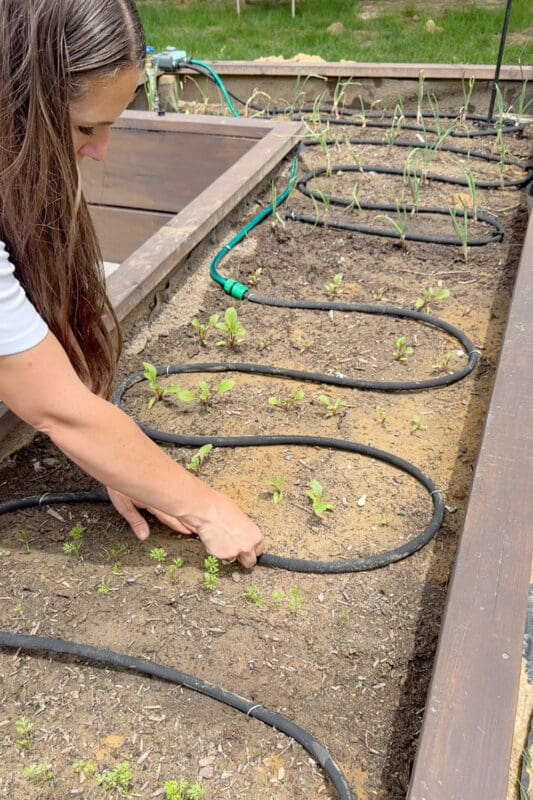
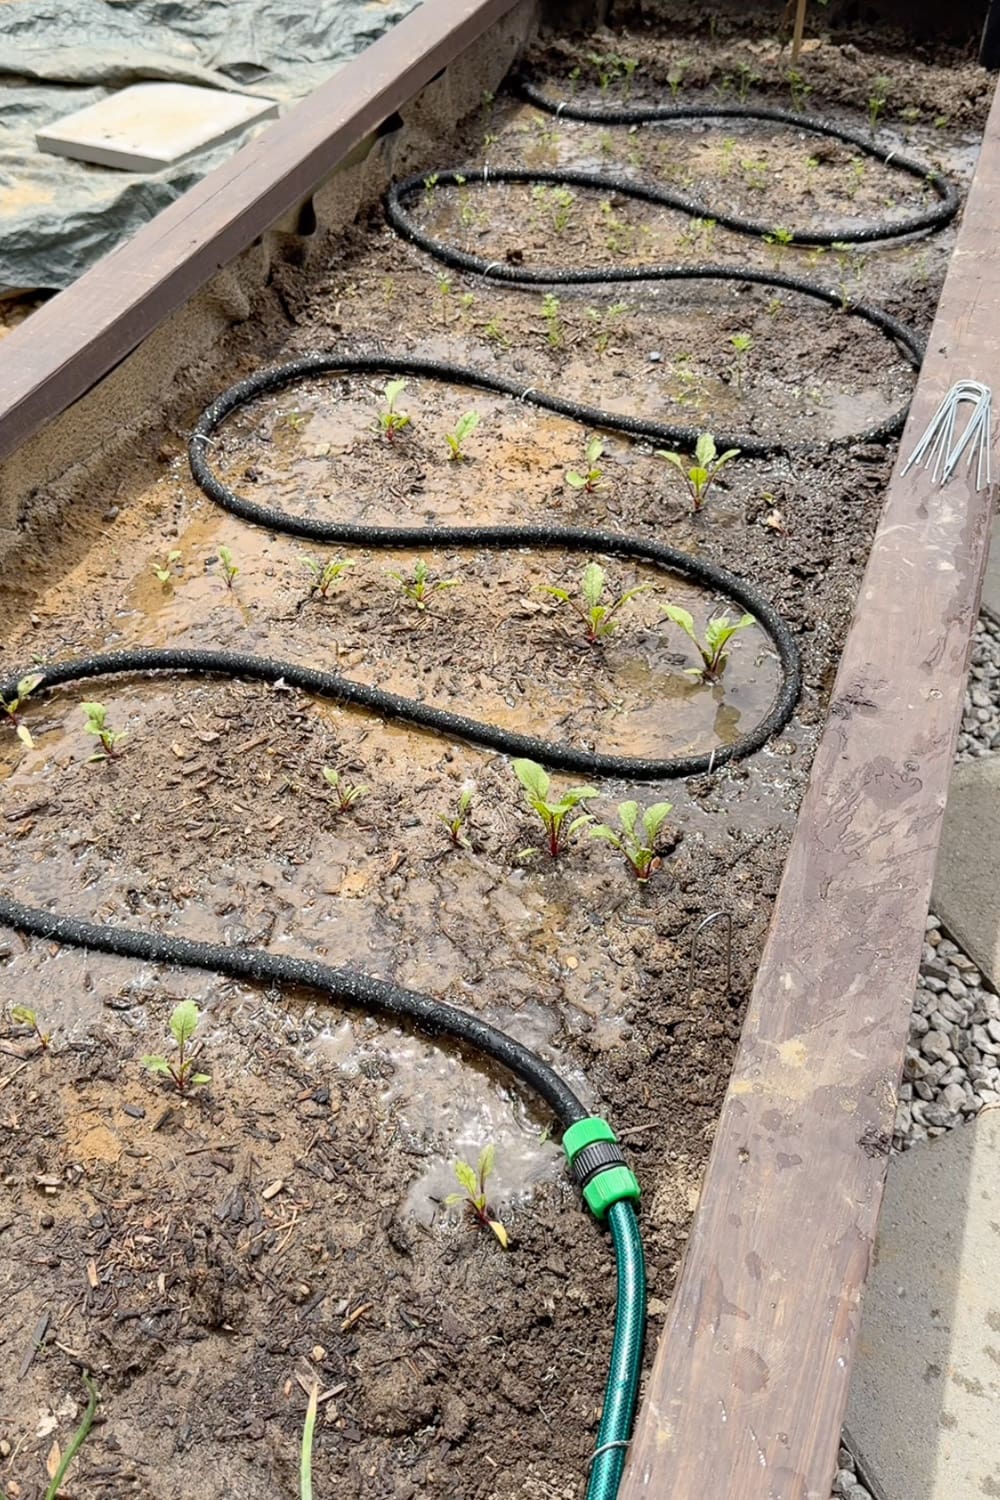
Lay It Out in an S-Curve Around Your Plants
Now for the fun part. I lay my soaker hose out in an S-curve that weaves its way back and forth around all my plants, so every single one gets some love.
Take your time with this part and snake it nice and close to your plants. Use a few garden staples to hold the hose down so it stays put and doesn’t wander off when the water’s running. Add an end cap to the end of your soaker hose, and you’re done.
Want to Water Two Areas Separately?
Here’s the thing: not every plant wants the same amount of water. I try to group plants with similar needs in the same bed, but let’s be honest, that doesn’t always happen. When two plants on different schedules end up sharing a bed, the fix is easy: give them their own soaker hoses.
This timer has two valves and can set two watering zones, so I hooked a regular garden hose up to the second valve, ran it to that section, and connected a second soaker hose. Now I’ve got two hoses on two separate schedules, all from one timer.
Quick tip: Just like the soaker hoses, your regular garden hose can be cut to length too! So if your connecting hose is way too long, trim it down to exactly what you need, then add hose fittings at the end.
The Finished Setup in Action
And here she is, doing her thing! There is something so satisfying about watching that water seep out slowly along the whole length of the hose, soaking right down into the soil where the roots can drink it up.
No standing water, no runoff, no wasted water. Just slow, deep, even watering right where my little beet seedlings need it. This is the good stuff.
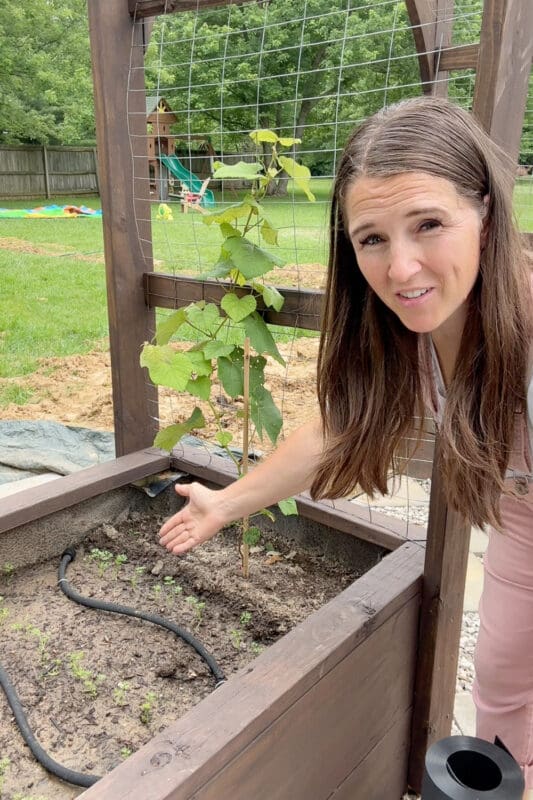
One Last Thing: My Grapevine Situation
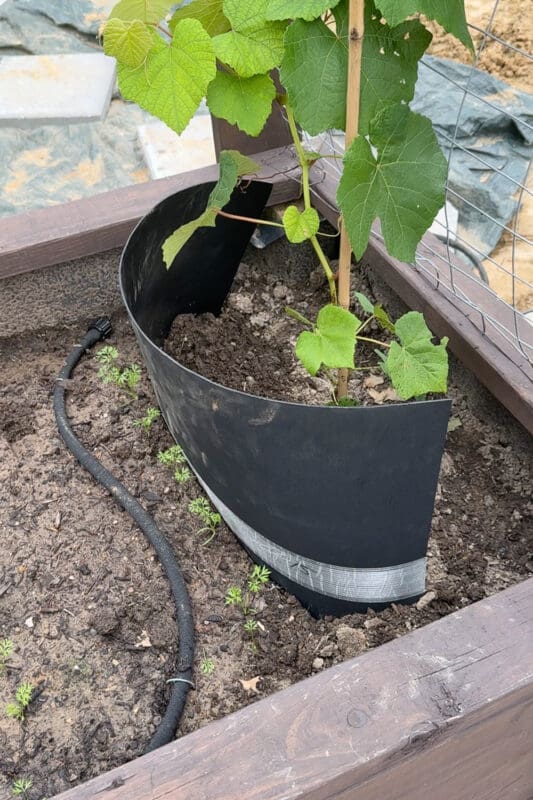
Confession time: I planted this grapevine to climb up and over my gorgeous arbor – no regrets there. What I should not have done was plant carrots right next to it. But I did! The problem: my grapevine needs water about once a week, while my carrots want it every single day. Same bed, very different needs.
Next year, my carrots will go somewhere else. But for now, I came up with a quick fix: a tree root barrier around the grapevine. It keeps all that daily carrot water from creeping over and drowning my poor grapes.
Ready to Set Up Your Own Soaker Hoses for Raised Beds?
If you’ve been hand-watering all summer, I promise this setup will change your gardening life. It’s affordable, it’s customizable, and once that timer’s running, your garden basically takes care of itself.
📌 Pin This Soaker Hose Setup for Later
Loved this project and want to come back to it when you’re ready to tackle your own beds? Pin the image below so it’s waiting for you when you need it. Happy gardening, friends!
Soaker Hose FAQs
It depends on your soil, your plants, and your weather, but a good starting point is around 30 minutes a few times a week. The best way to know is to run it, then dig down an inch or two and see if the water reached the roots. Adjust from there. That’s the beauty of a timer: once you find the sweet spot, you’re set.
Yes! Soaker hoses are super customizable. Cut them to length with scissors, then add an end cap or a connector piece. Your regular connecting hose can be trimmed down too.
You don’t need one, but I’d never go back. A watering timer turns this from “one more chore” into a set-it-and-forget-it system. It waters while you sleep, while you’re on vacation, while you’re wrangling kids. Worth every penny.
They’re one of my favorite budget-friendly upgrades. They water slowly and deeply right at the soil, waste less to evaporation than sprinklers, and keep water off the leaves, where it can cause problems. For raised beds, they’re hard to beat.