


Easy DIY Garden Trellis: Build a Beautiful Wooden Arbor Entrance


Updated July 13, 2026
If you’ve been wanting to add some serious charm to your garden entrance, this DIY garden trellis is exactly what you need. I built this wooden arbor in an afternoon to mark the entrance to my raised bed garden, and it completely transformed the space. Not only does it look like something straight out of a storybook, but it’s also functional. Perfect for training climbing plants like grapes, cucumbers, beans, or roses.
The best part? You can totally customize the size to fit your own garden opening, and the build itself is way more approachable than it looks. If you can use a drill and a jigsaw, you can build this trellis arbor.
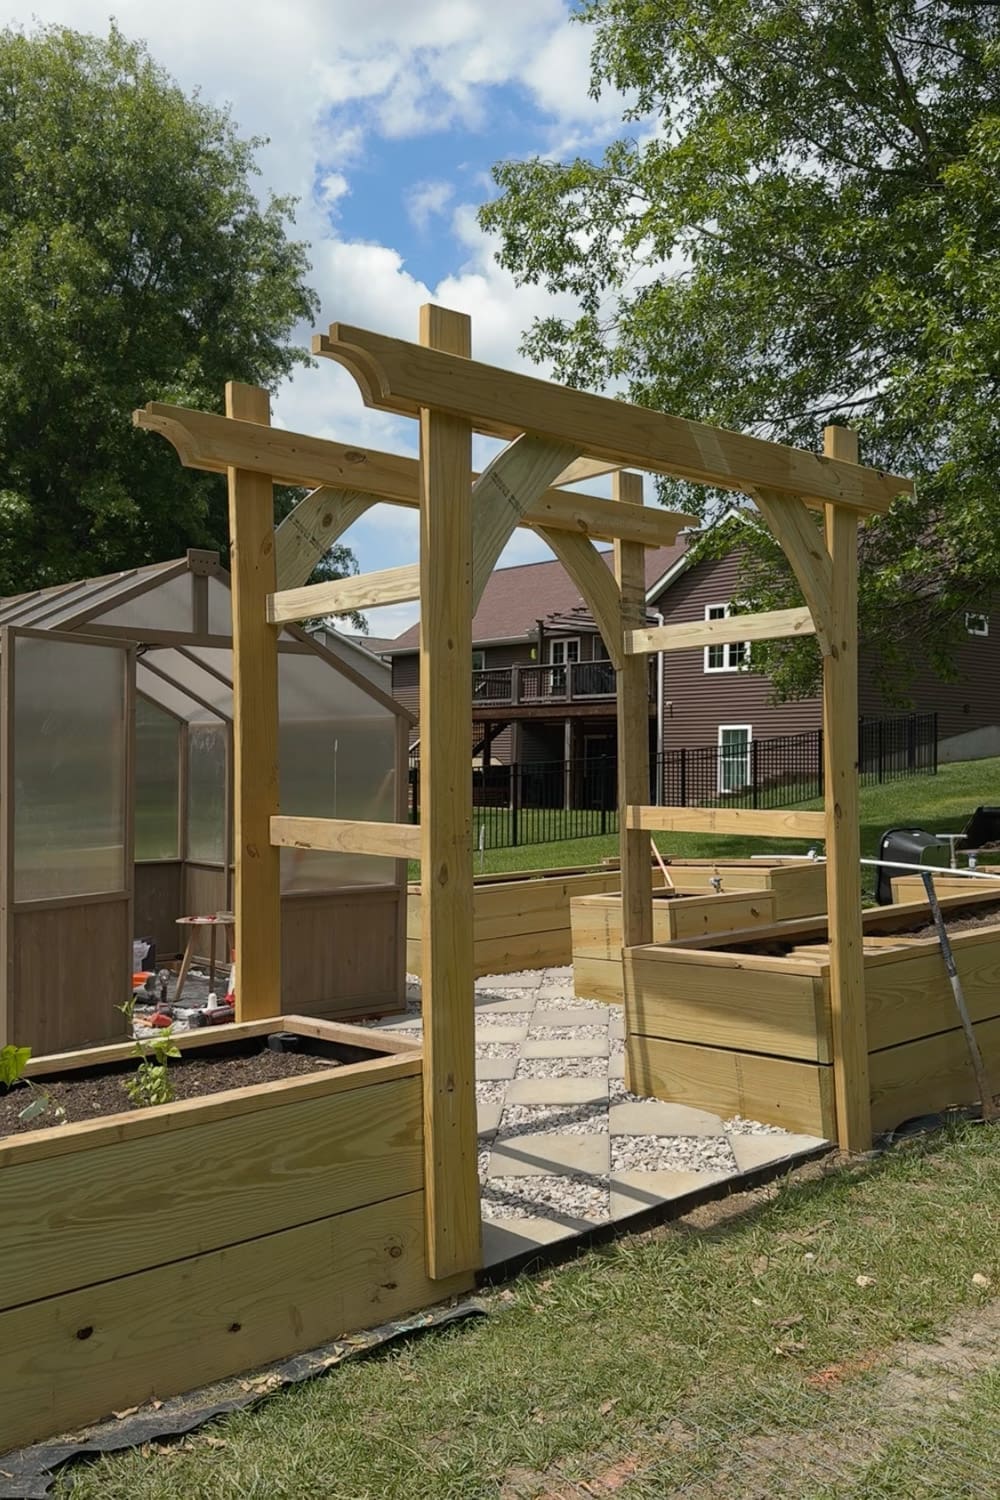
Table of Contents
- Why I Love This DIY Garden Trellis Arbor
- What You’ll Need for a DIY Garden Trellis
- Sizing Your DIY Garden Trellis Arbor
- How to Build a DIY Garden Trellis Arbor
- Finishing Touches to My Garden Arbor Entrance
- Final Thoughts on Building a DIY Garden Trellis
- More Garden Projects You’ll Love
- 📌 Pin This DIY Garden Trellis for Later!
- DIY Garden Trellis FAQs
Why I Love This DIY Garden Trellis Arbor
Before we jump into the how-to, let me tell you why this project is worth every minute of your afternoon:
- It’s budget-friendly. Mostly 2×6 boards and some welded wire.
- It’s customizable. Build it to fit your exact garden opening.
- It’s functional AND pretty. A garden arbor entrance does double duty as a trellis for climbing plants.
- It’s beginner-friendly. No fancy joinery, no complicated cuts, just measure, cut, and screw together.
What You’ll Need for a DIY Garden Trellis
Here’s everything I used to build this DIY garden trellis:
Lumber (all pressure treated):
- 2×6 boards (the bulk of the build: posts, top beams, cross supports)
- One 2×12 board (just for cutting out the curved corner braces)
- Welded wire (for the trellis sides)
Hardware:
- Exterior wood screws
- Staples (for attaching the welded wire)
Tools:
- Cordless drill / impact driver
- Jigsaw (for the curved cuts)
- Circular saw or miter saw (for straight cuts)
- Tape measure
- Speed square
- Level
- Pencil
- Safety glasses and ear protection
- Staple gun
- Ladder
Sizing Your DIY Garden Trellis Arbor
Since this build is based on the size of your garden opening, your dimensions will be totally unique to your space. Here are a few things to keep in mind:
- Height: I’d recommend a minimum height opening of 7 feet so you can comfortably walk under it without ducking. Once you add climbing vines hanging down, you’ll be glad you went tall.
- Width: Match the width to the gap between your raised beds (or wherever you’re placing it). Mine is sized to fit perfectly between two of my raised beds.
- Depth: I made mine deep enough to feel like a true entrance, not just a flat archway. The depth gives it that gorgeous tunnel effect when plants start climbing up the sides.
How to Build a DIY Garden Trellis Arbor
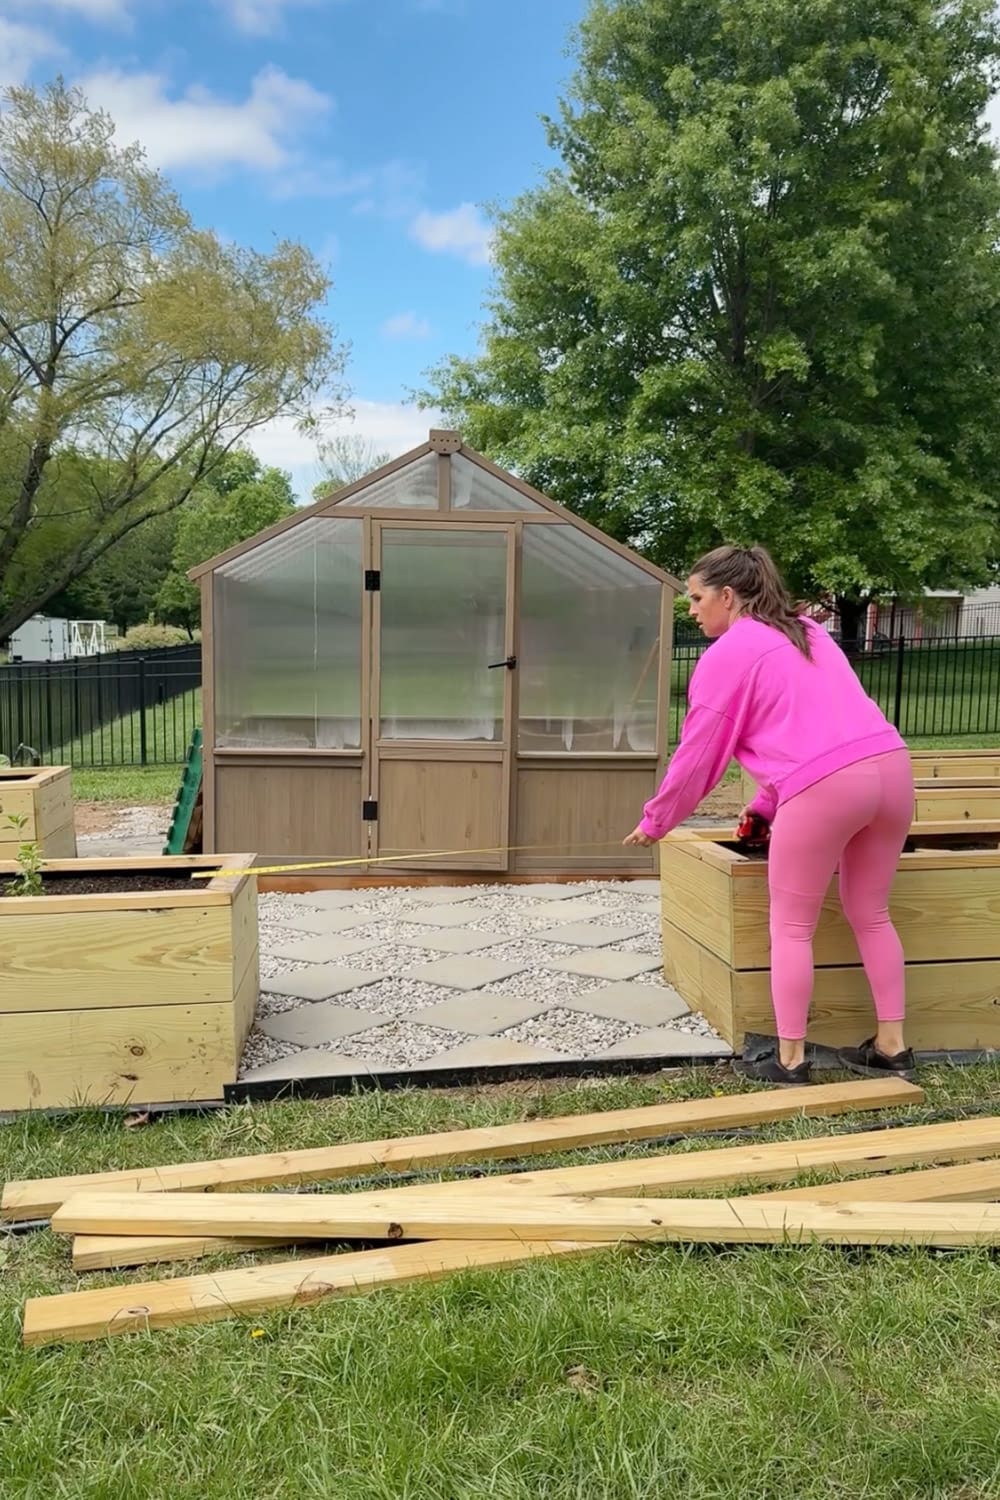
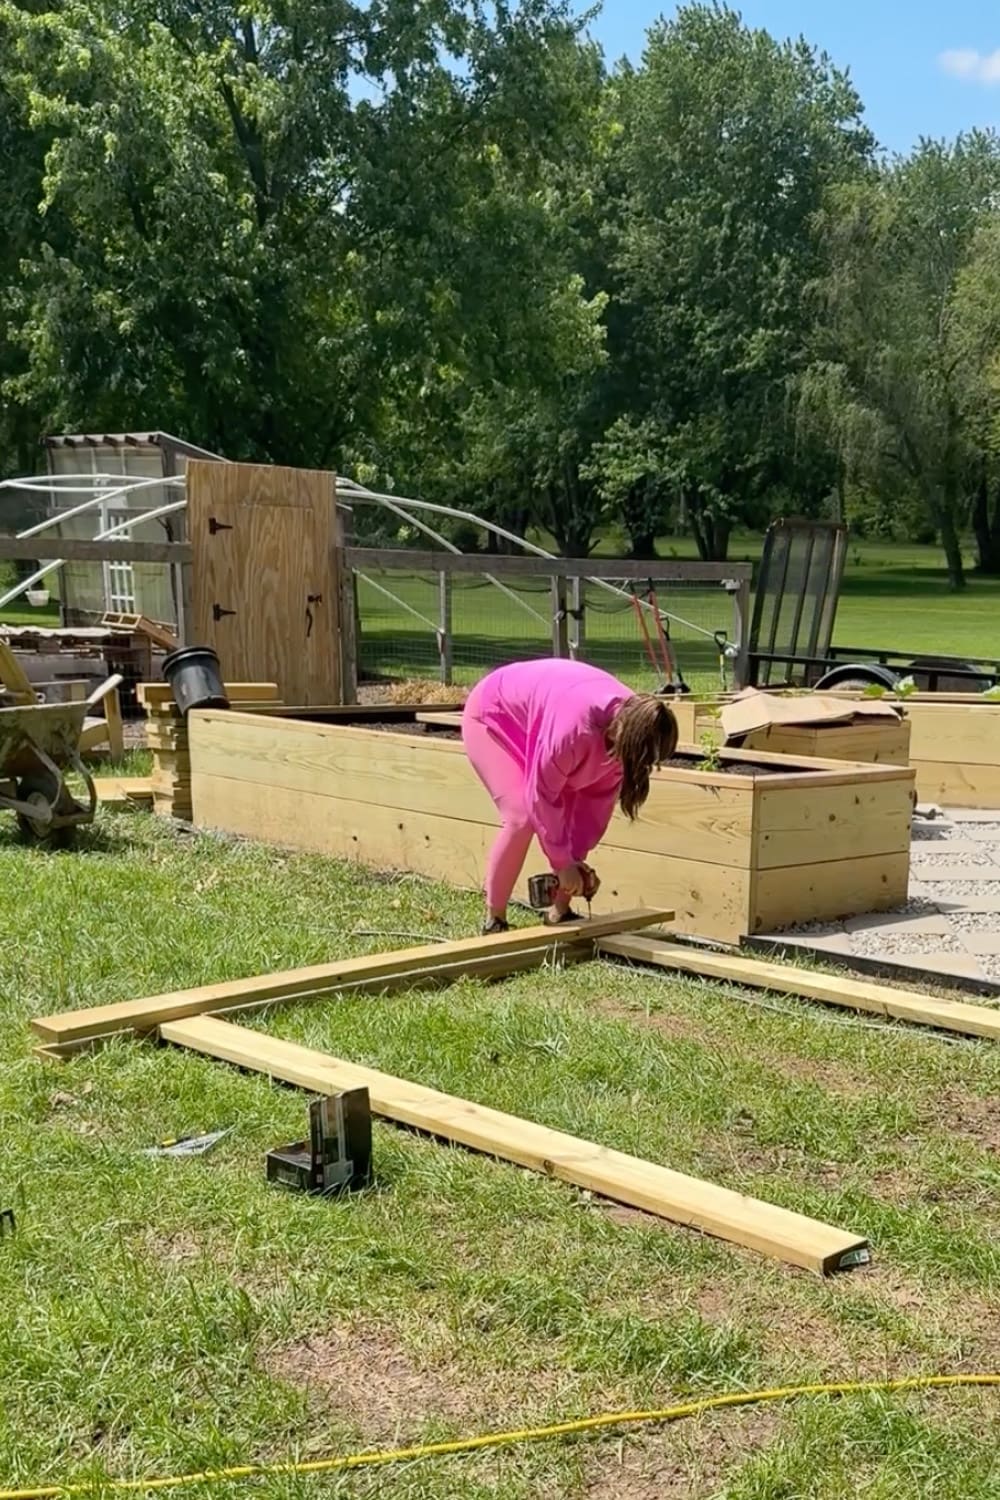
Step 1: Measure and Cut Your Posts and Beams
Start by measuring the space where your arbor will go. I measured the gap between my raised beds to determine the width of my arbor.
Cut your 2x6s to length based on your measurements. You’ll need:
- 4 vertical posts (these create the four corners of the arbor)
- 4 shorter top beams (these go across the top, perpendicular to the long beams, 2 in the front and 2 in the back)
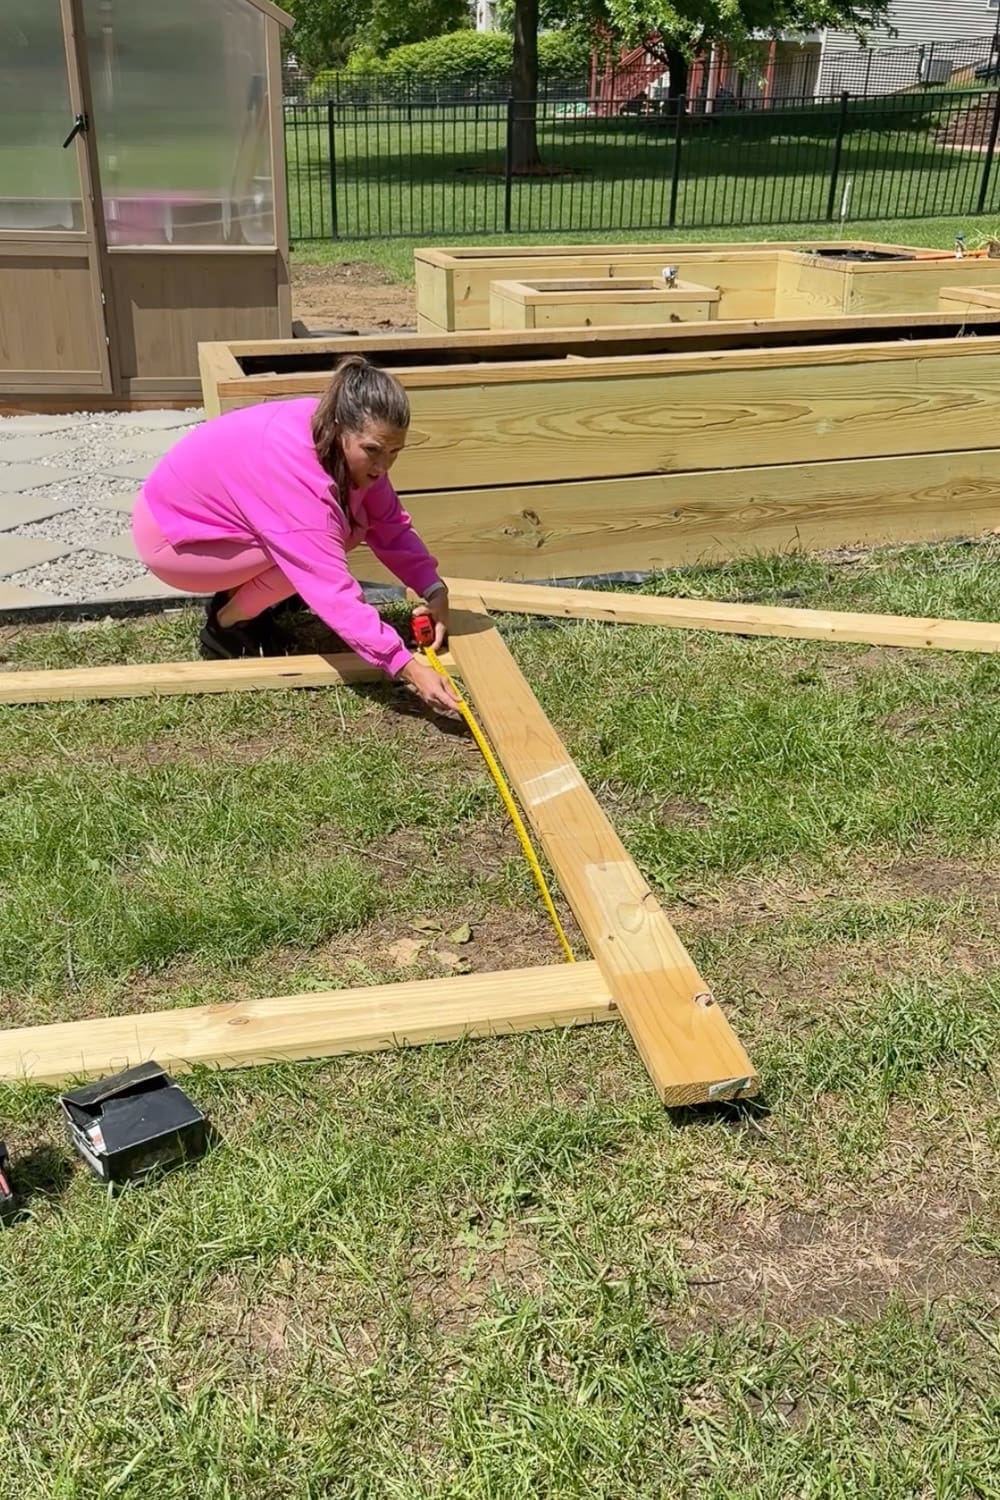
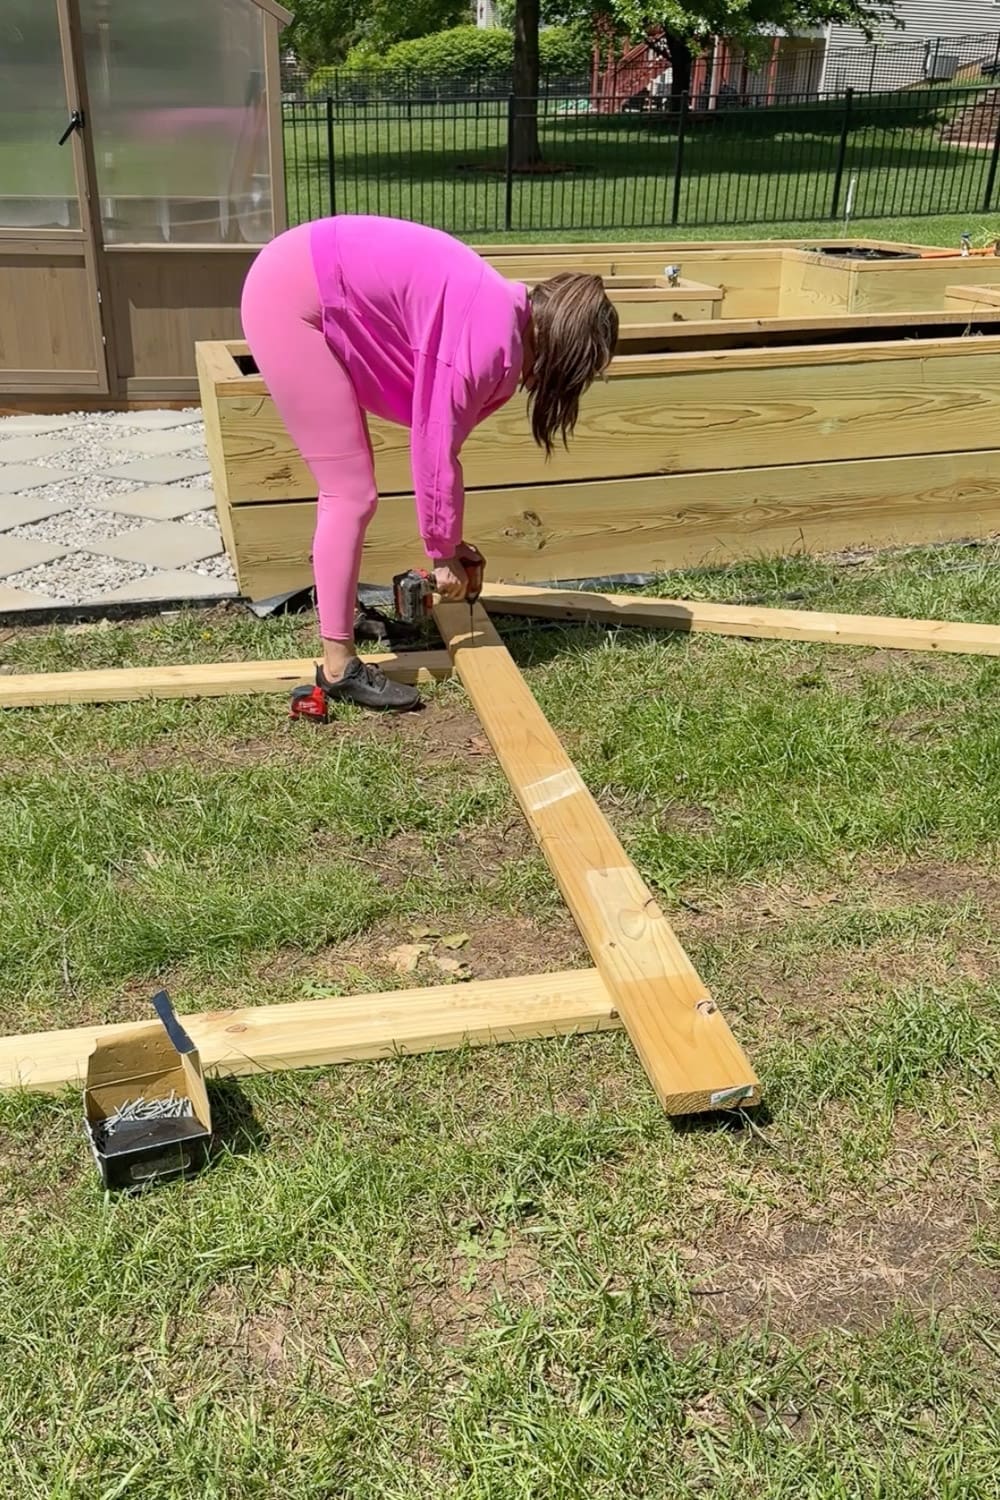
I’m building these side frames flat on the ground, then raising them up once they’re assembled. So much easier than trying to wrestle everything together vertically!
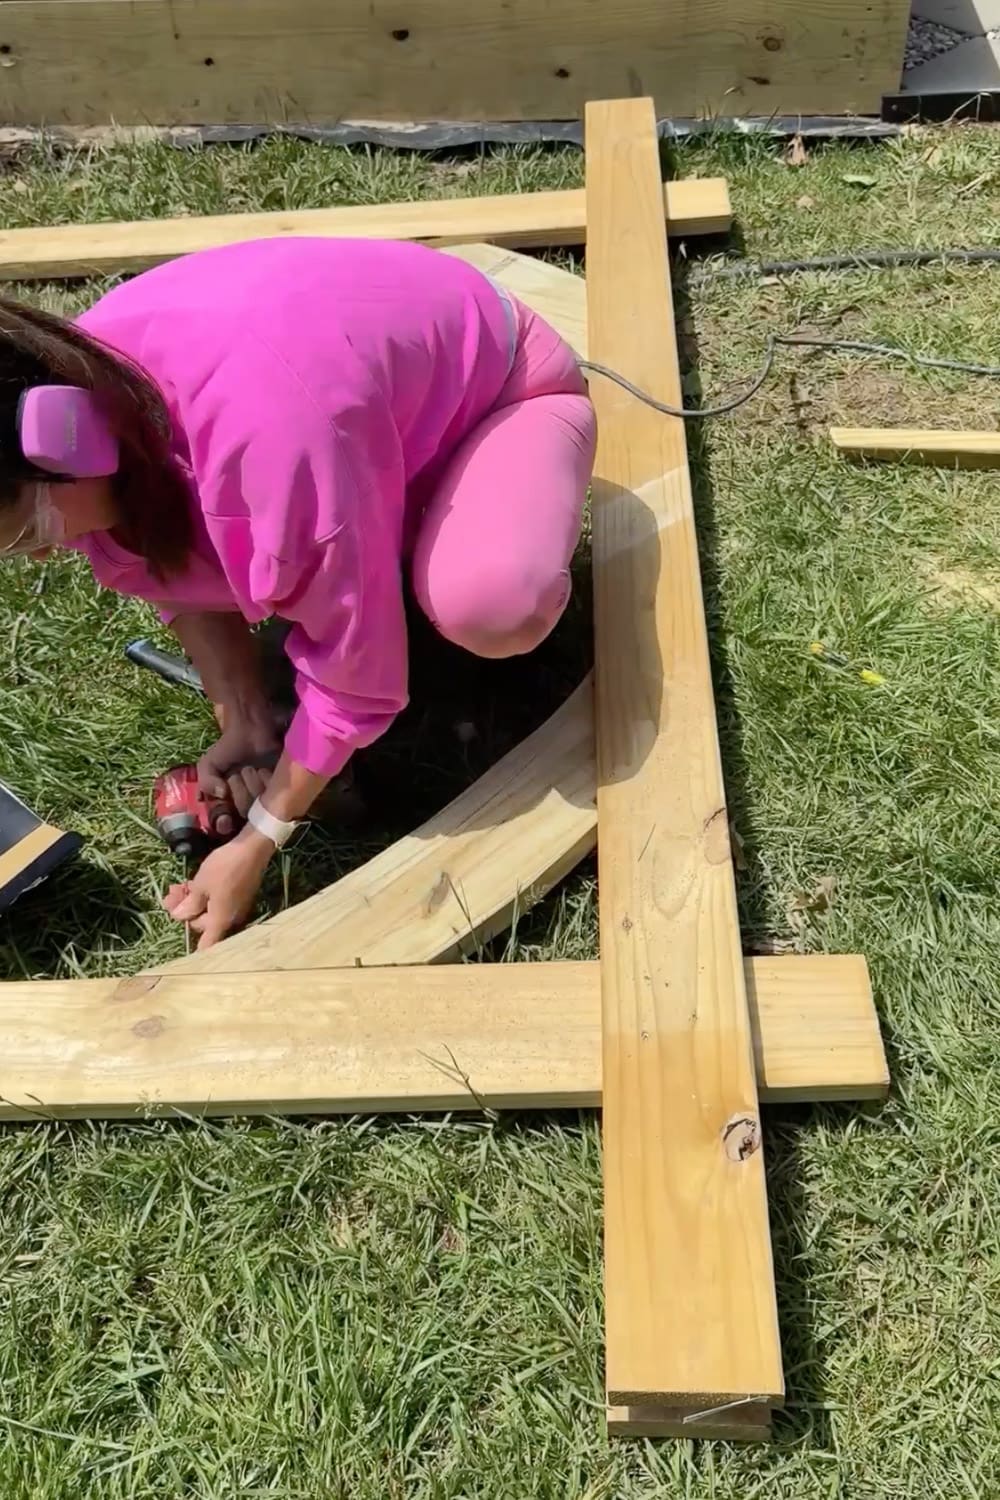
Leave about a foot of overhang on each side of what will be the opening of your garden trellis, then attach the cross beam to your vertical posts using exterior wood screws. Once that first side is attached, flip the whole thing over and add another cross beam to the back. Your vertical posts should end up sandwiched between the two cross beams, which gives the arbor that beefy, substantial look and adds a ton of strength.
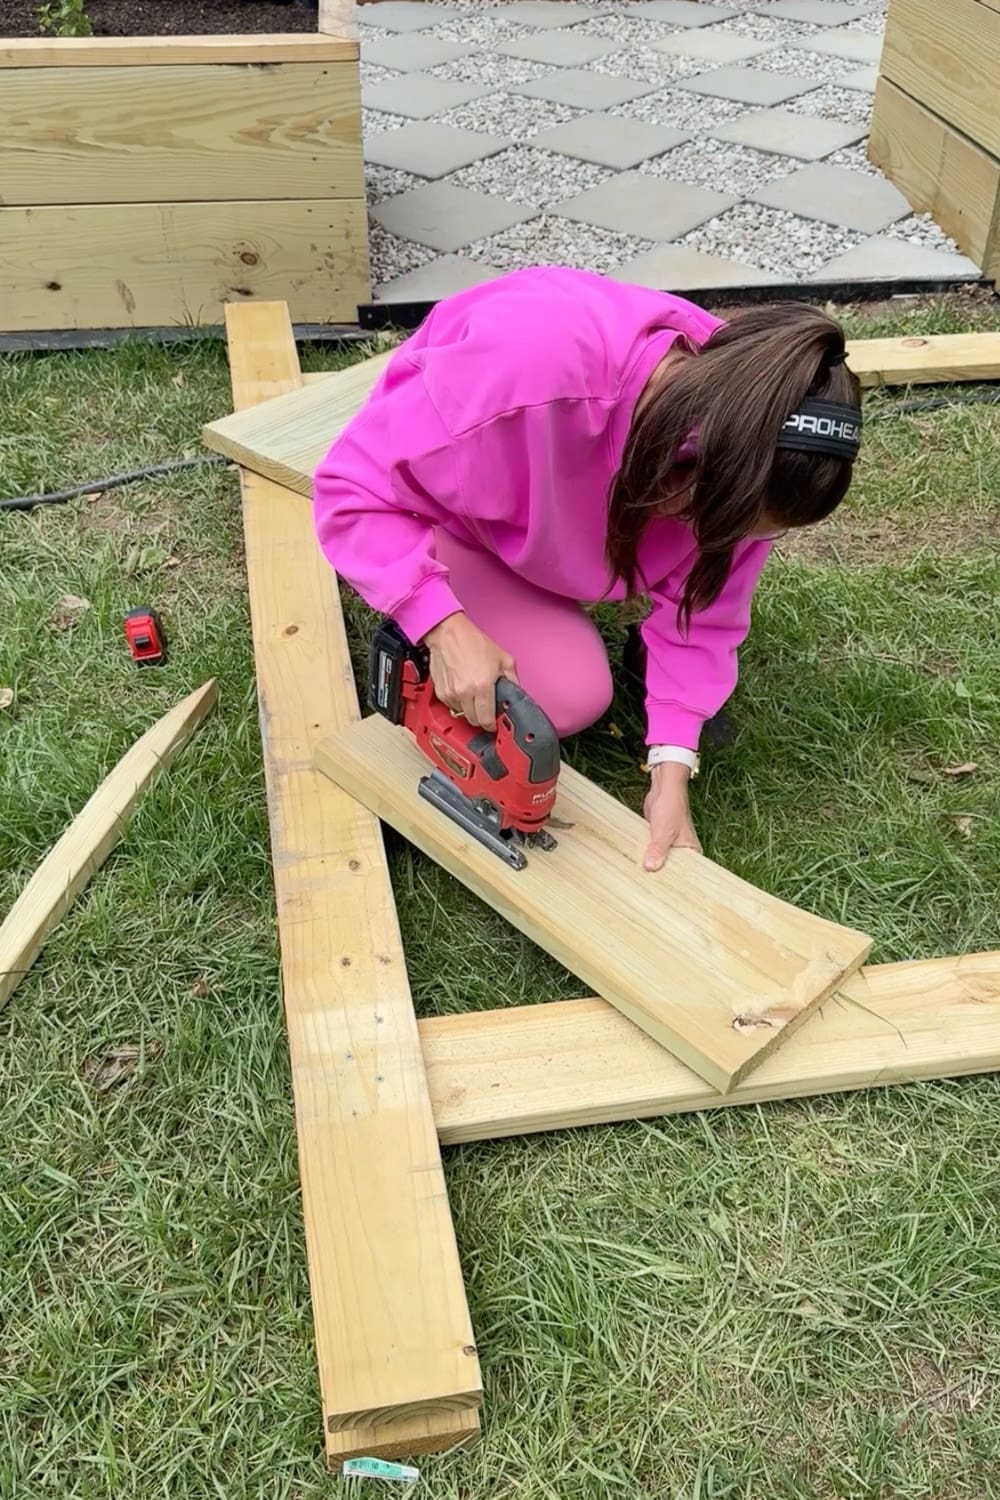
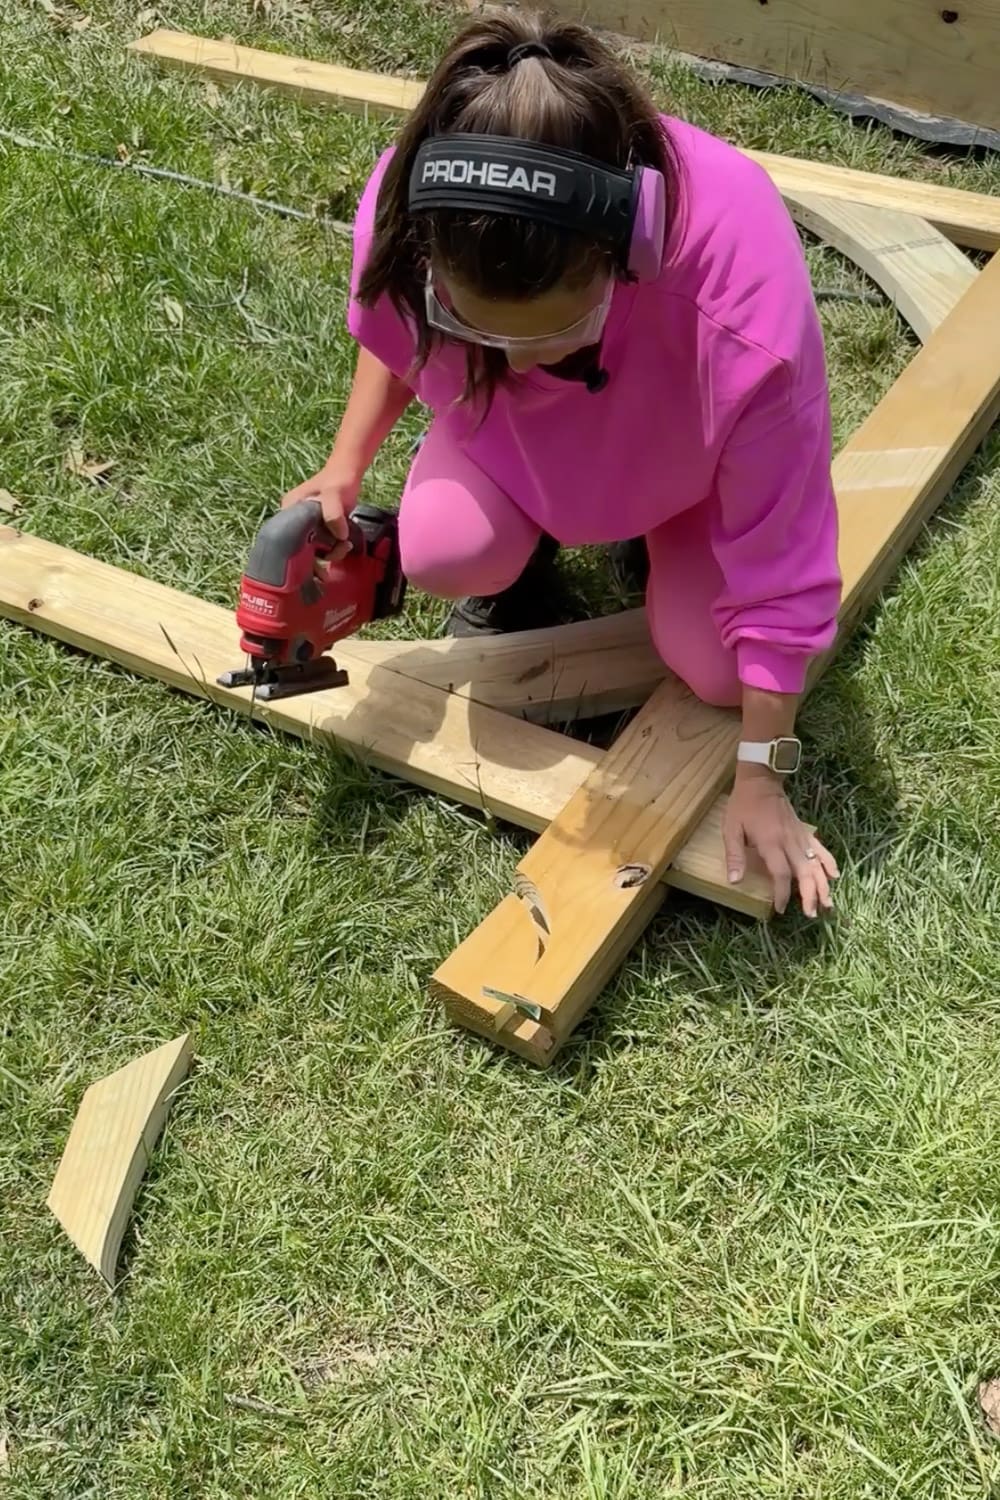
Step 2: Cut the Curved Corbels
This is the step that takes your arbor from “basic” to “WOW.” Using a 2×12 board, mark out a curved brace shape (I just freehanded a curve that looked good). You’ll need 4 of these corbels (one for each corner where the post meets the top beam).
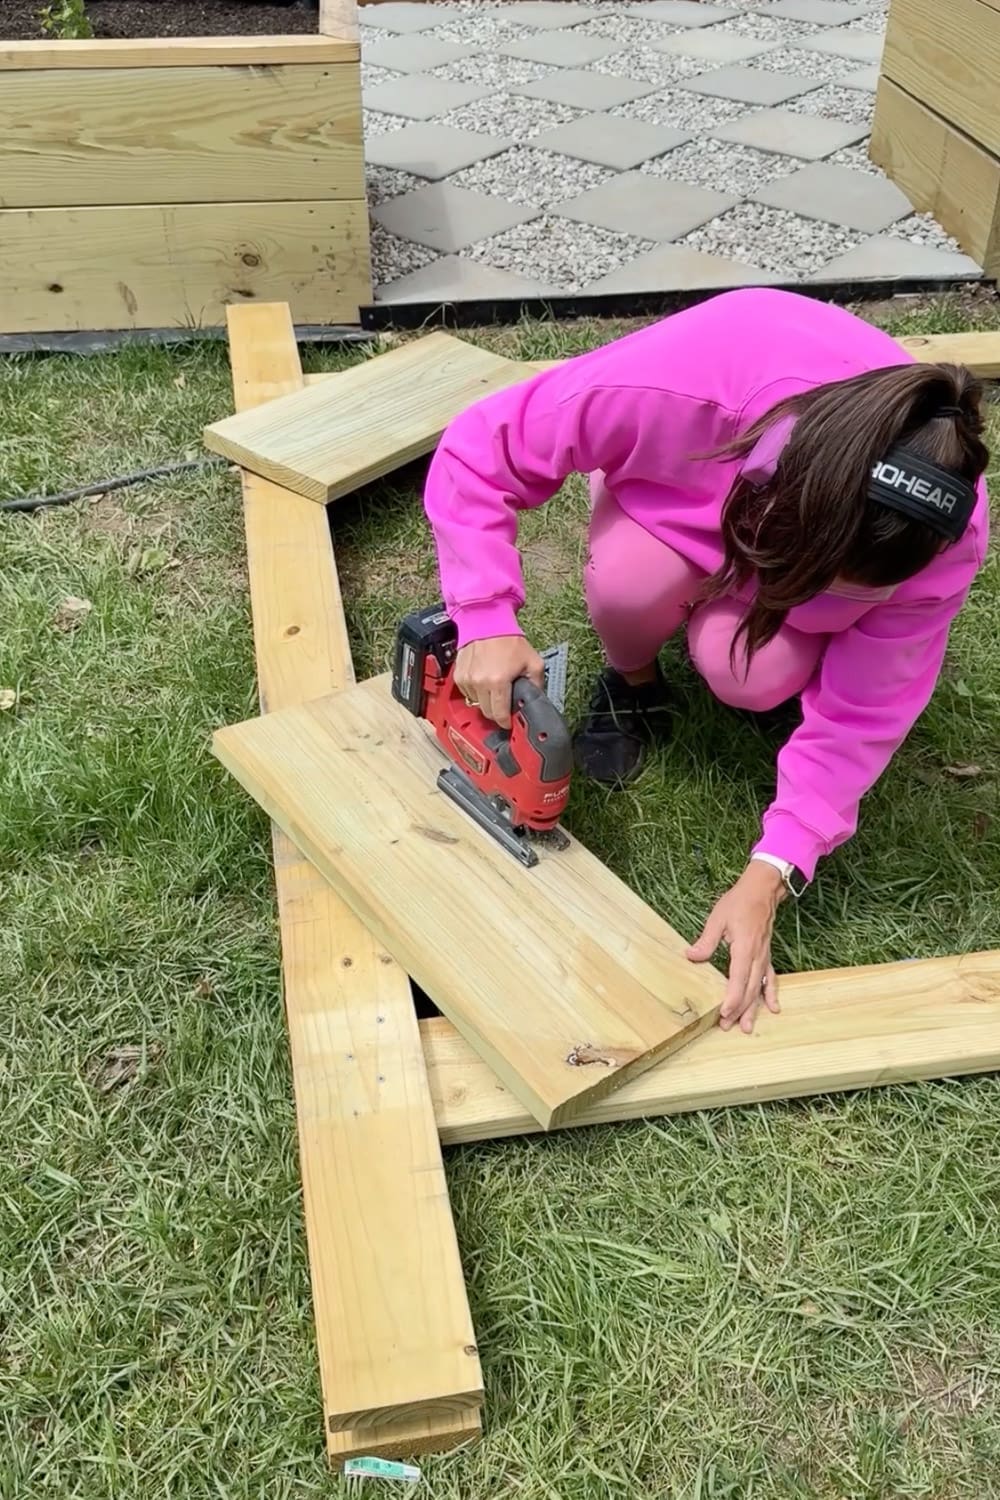
Once you’ve drawn your curve, use a jigsaw to cut along the line. Take your time here. Don’t rush the curve, and let the saw do the work.
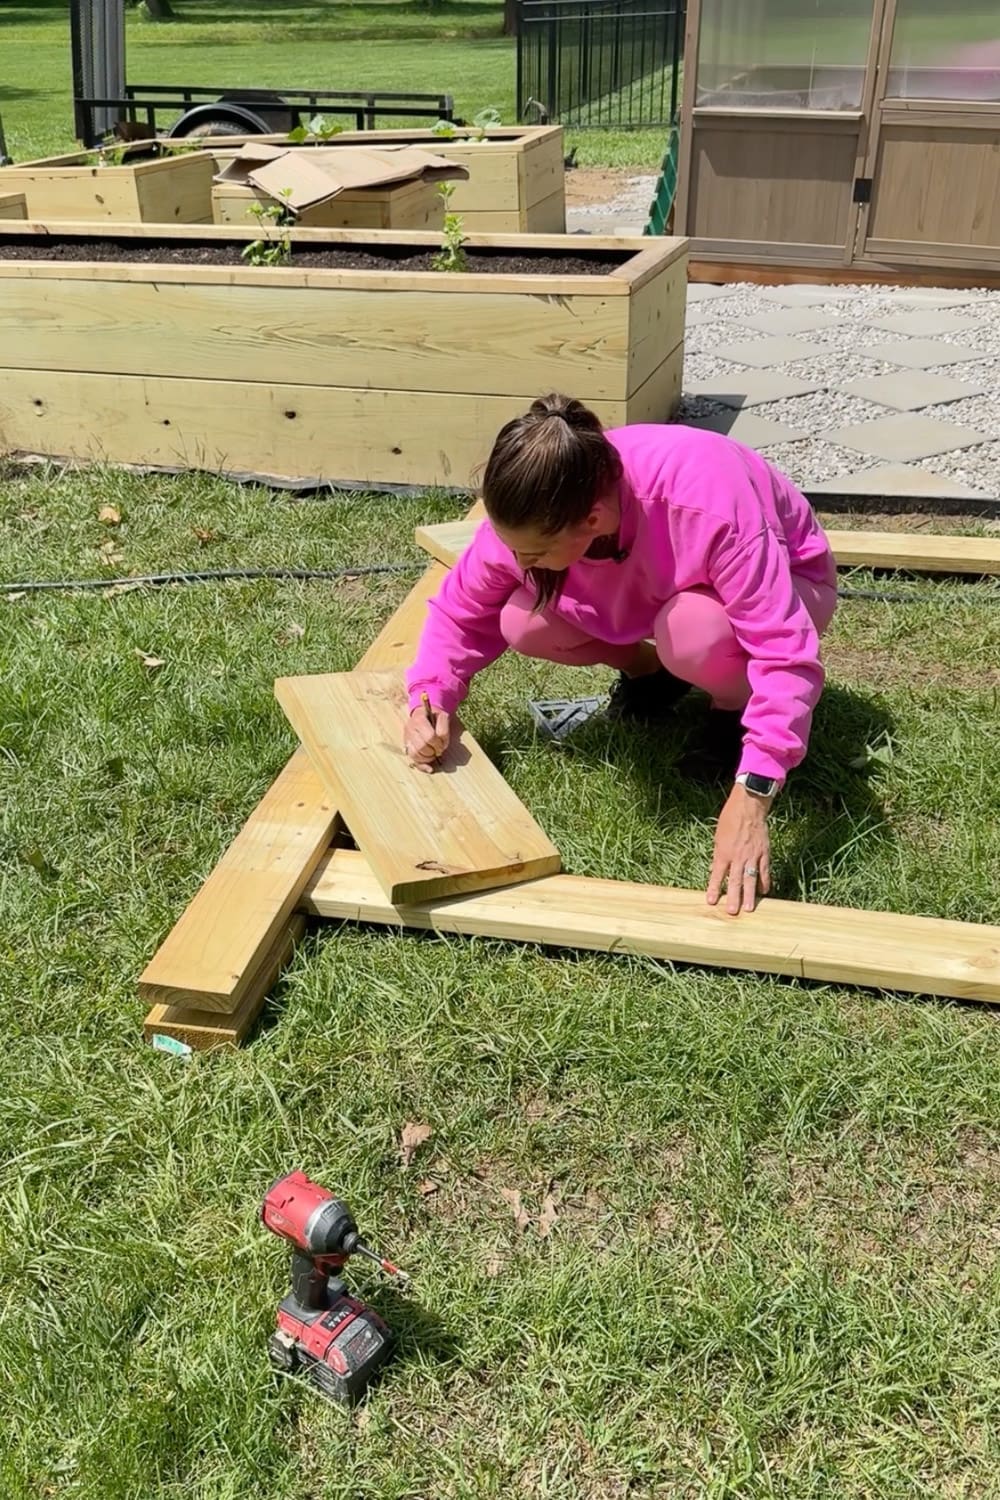
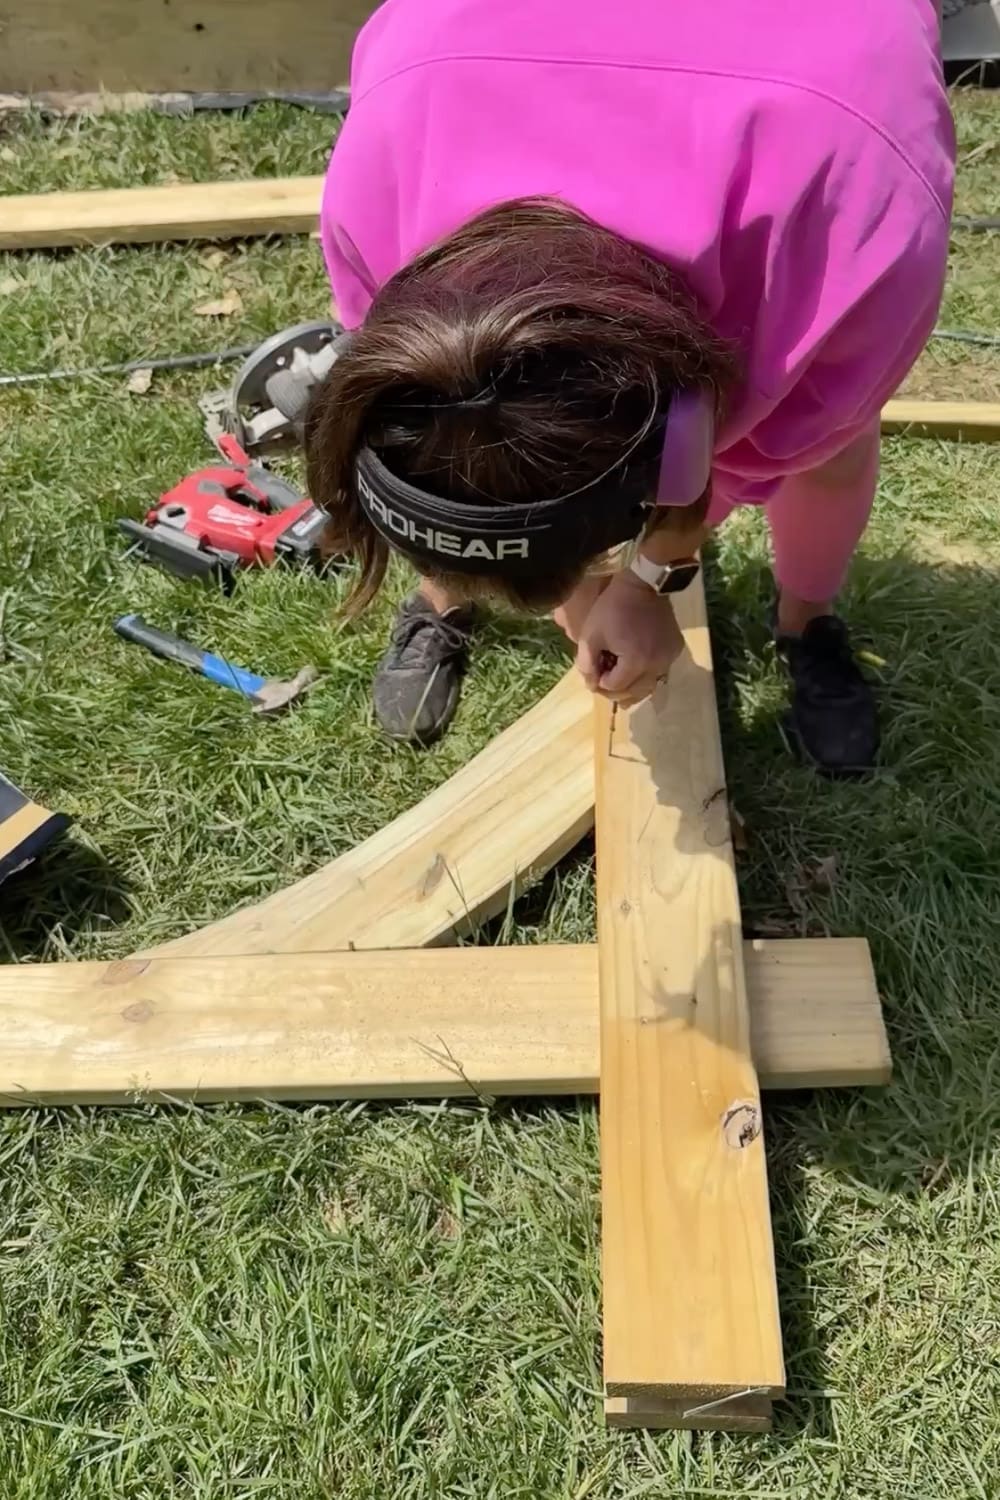
Once you’ve cut off the bottom of the curve, hang onto that cut-off piece! You can use it as a template to mark the top part of the curve so everything stays nice and even.
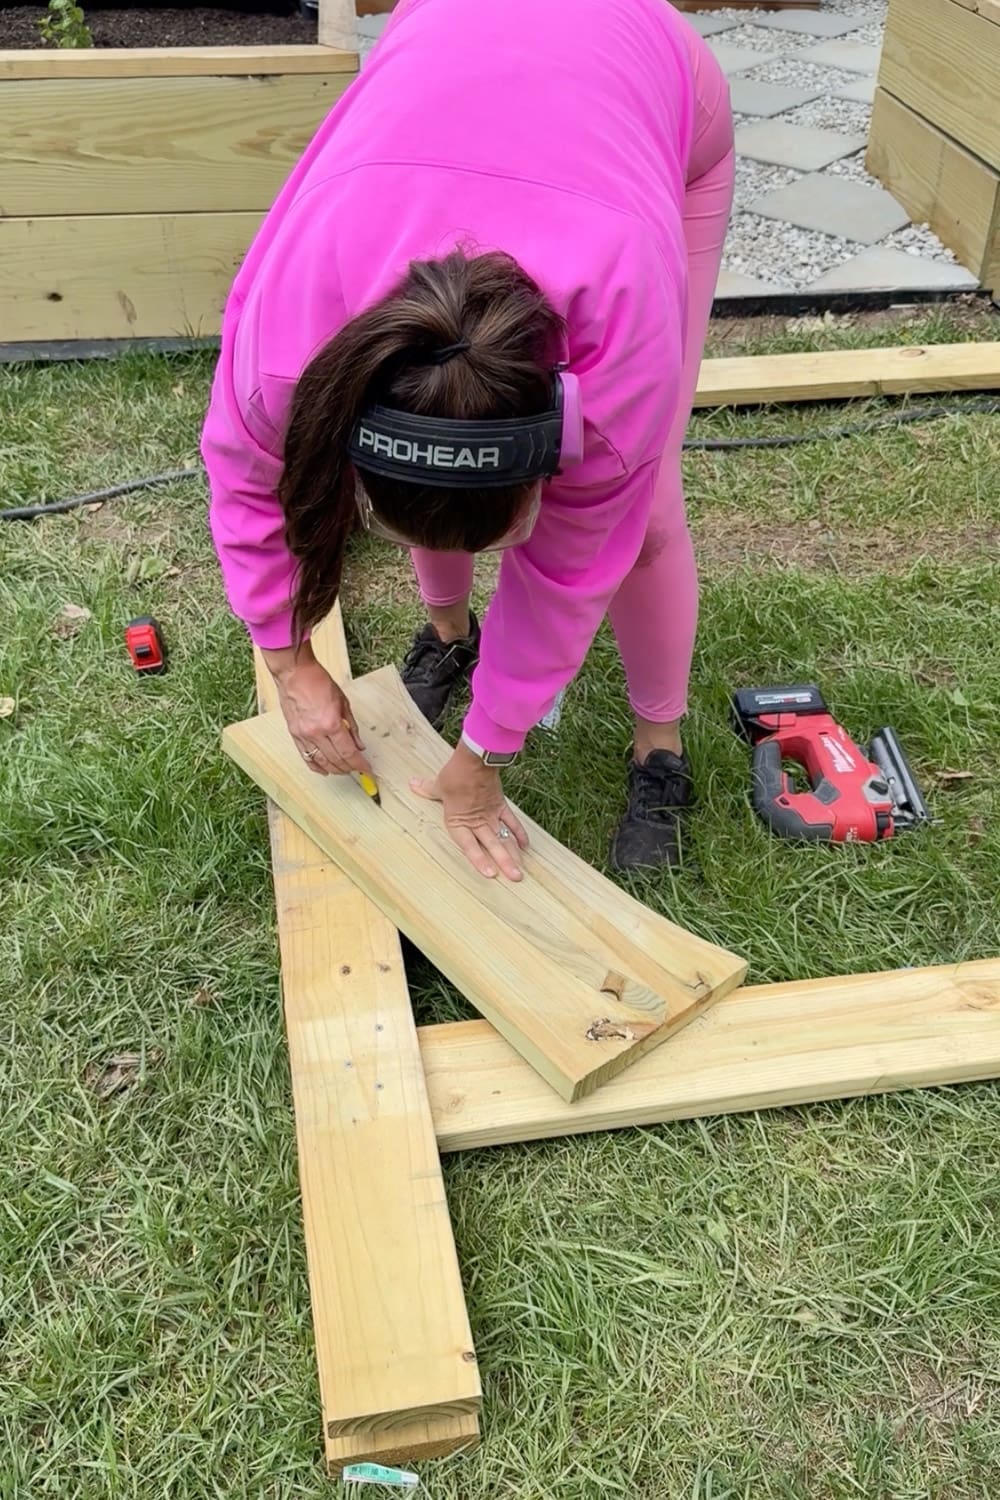
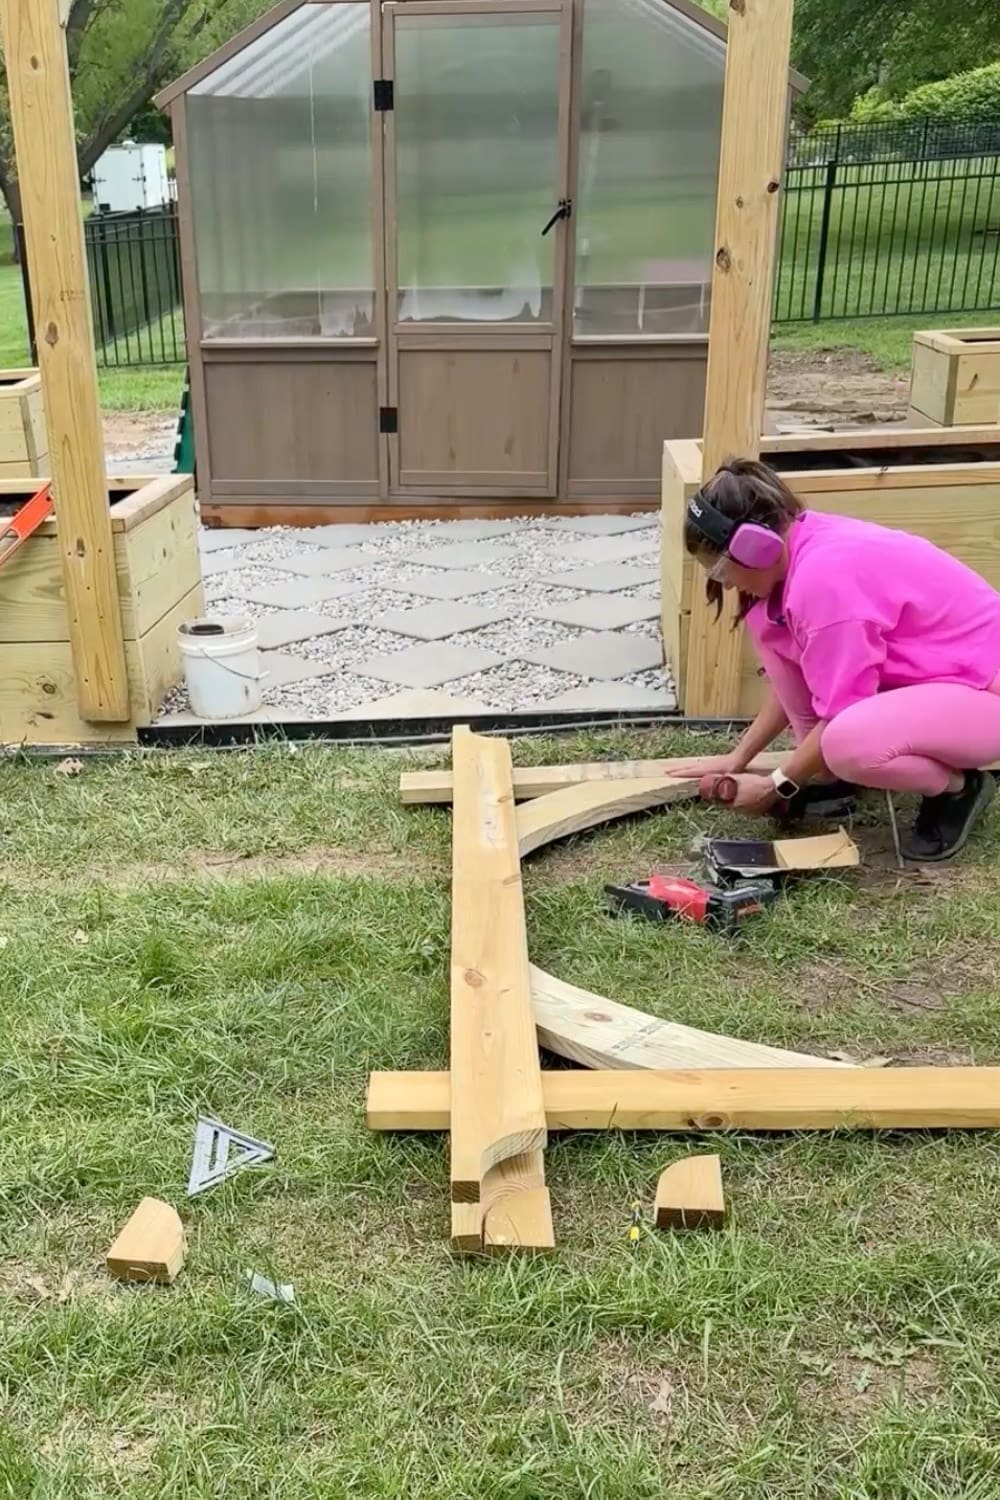
Last step for these corbels! You’ll need to cut off the edge that meets your vertical post so it can sit flush against it. Line your curved corbel piece up with how you want it to sit inside your garden trellis, then grab your speed square and use your level as a straight edge to mark what needs to be cut off. You don’t need to cut anything off the top end since it’ll sit right in the gap between your two cross beams.

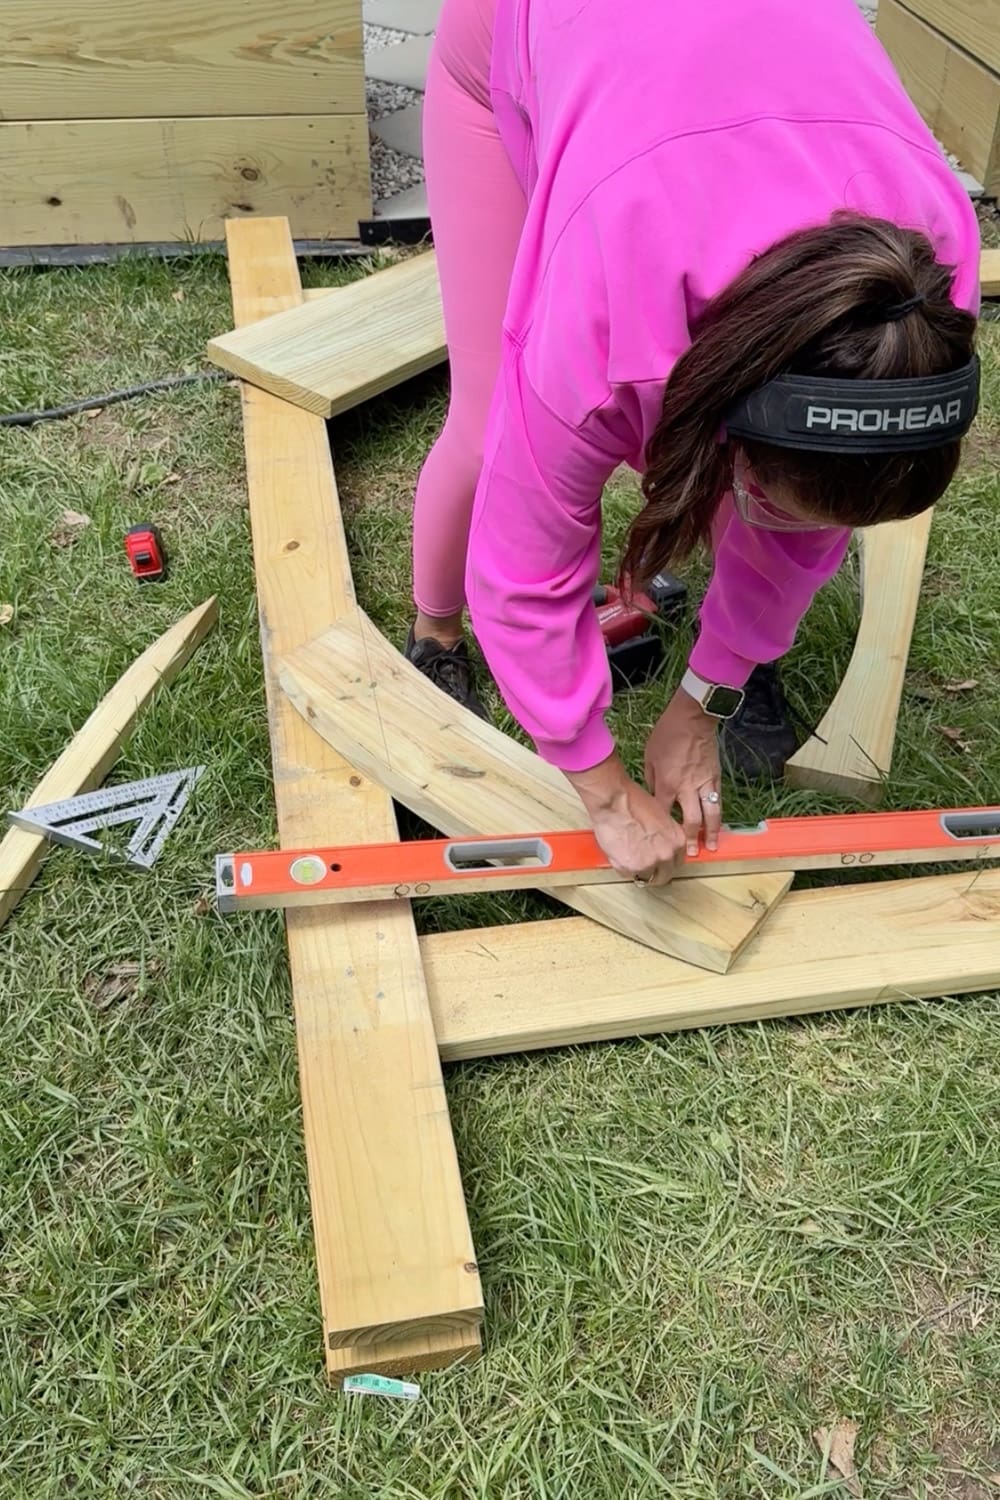
After I had the perfect curved piece cut out, I traced it as my template for the other three that I needed, then I attached it to the vertical post and to the cross beams. The curve inside looks really good, but they will also brace the corners and make my DIY garden trellis stand firm and solid.
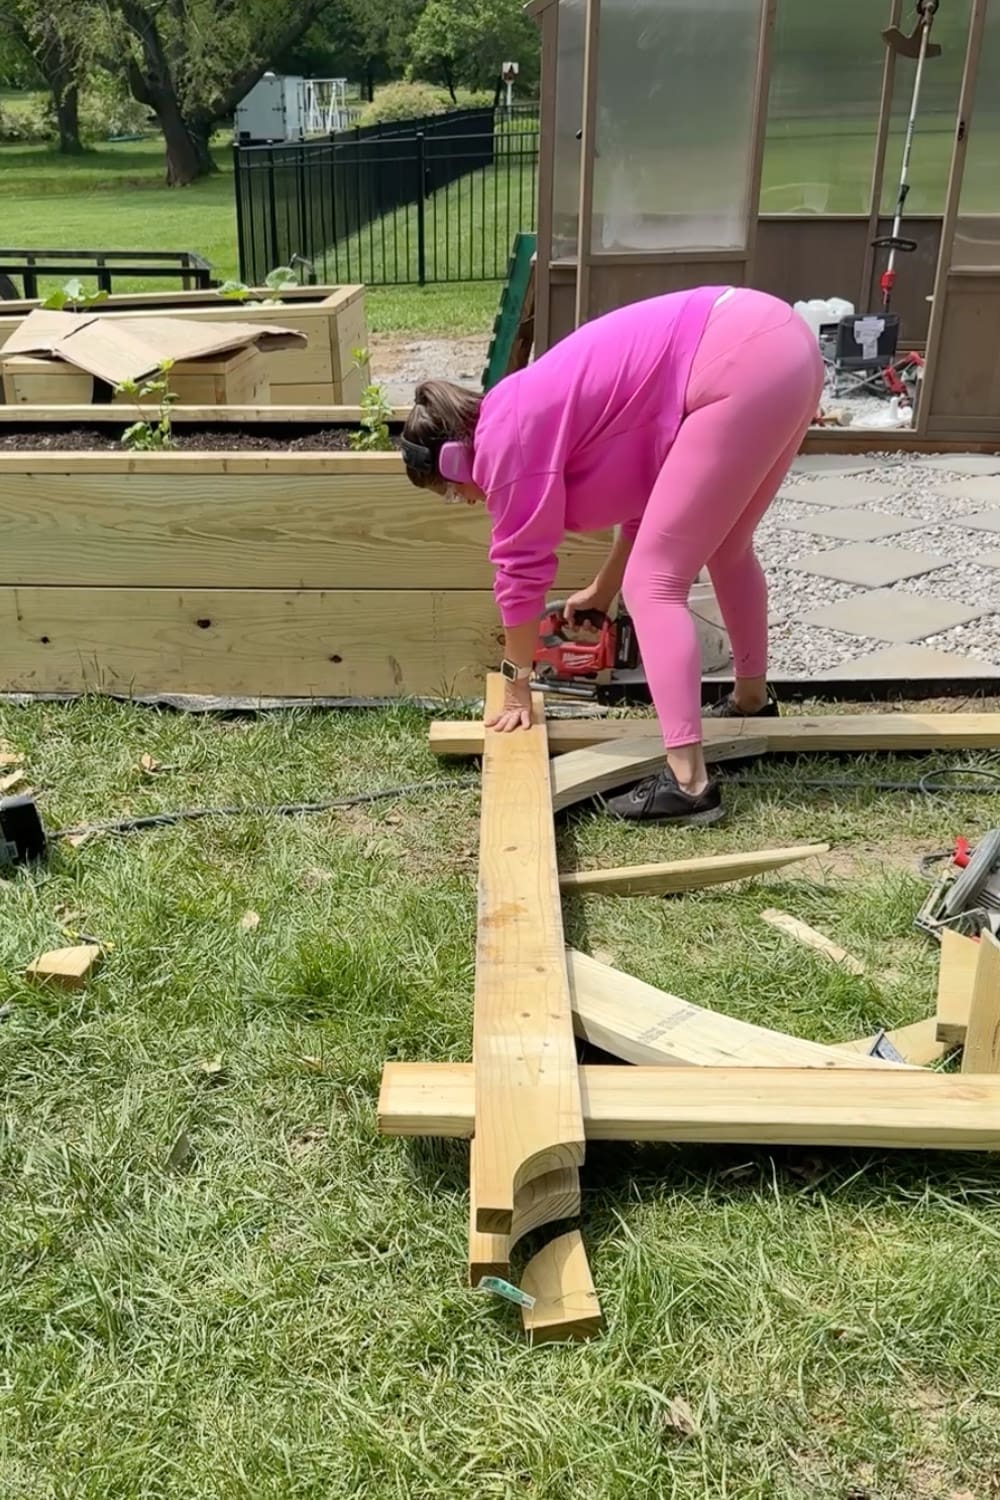
Step 3: Cut the Decorative Beam Ends
To give the top beams that pretty finished look, mark a curve on each end (I traced a bucket) and cut it with your jigsaw. This little detail adds so much character.
Once you have the cut-off piece on the first end, save it… and use it as the template for all the rest of your cuts.
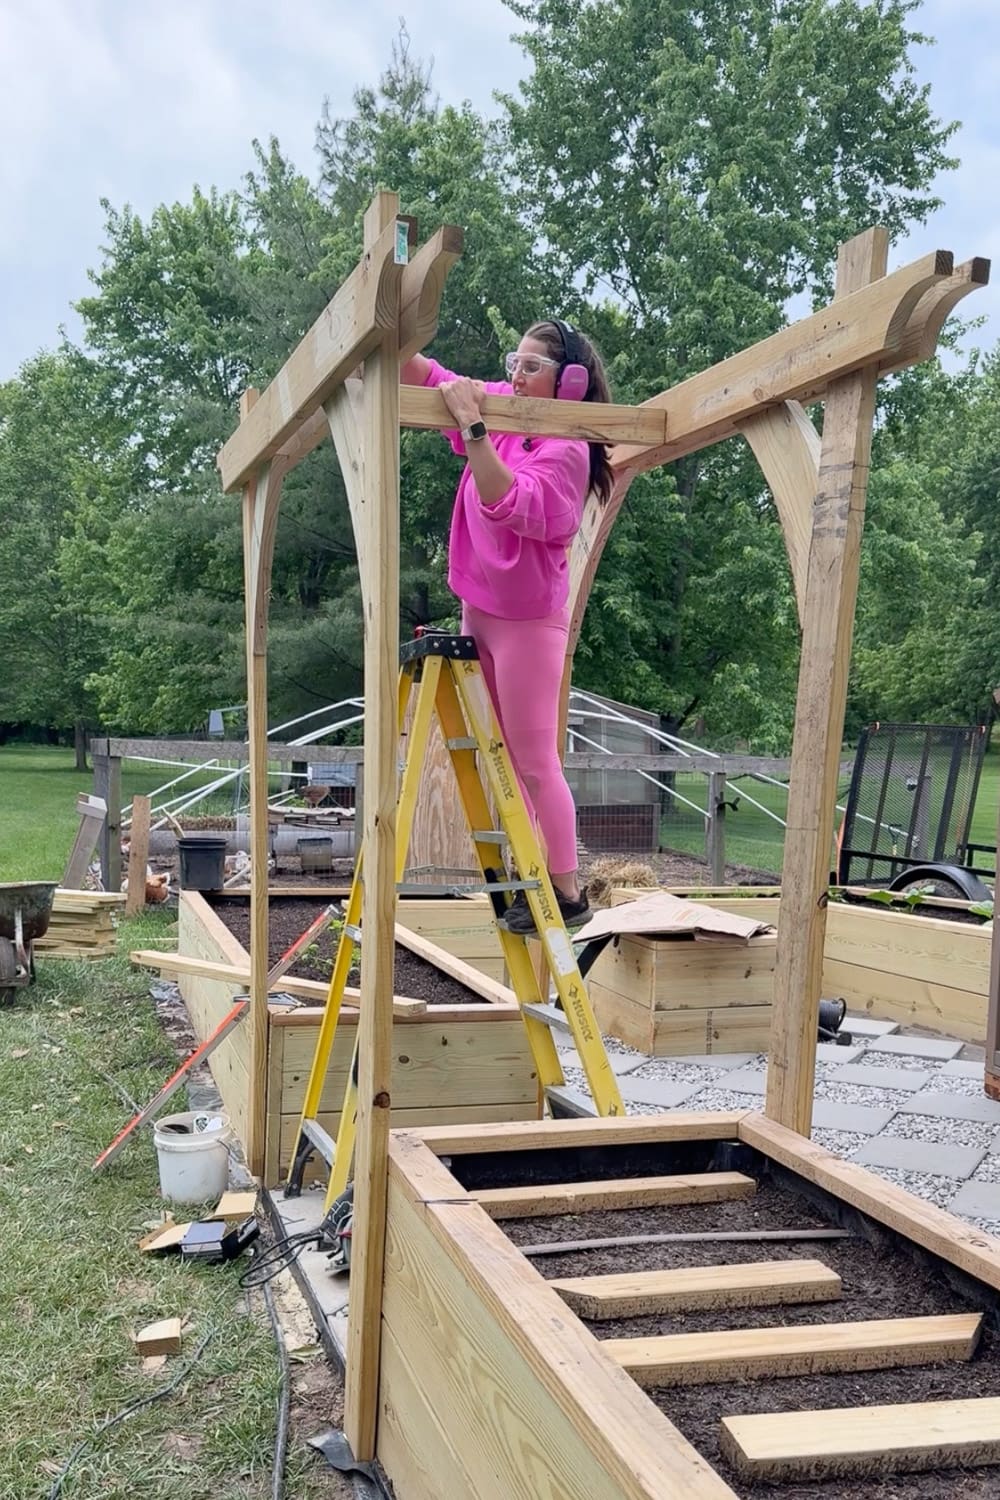
Step 4: Stand Up and Attach the Face Frame
This is where having a helper is nice, but not totally necessary. If working alone, you’ll want some clamps for holding the frame up. Stand the face frame upright in position next to your raised beds. Use a level to make sure the posts are plumb, then attach them to the raised garden beds with long exterior screws. This is what anchors the whole arbor in place.

I built a similar garden arbor at the entrance of the garden at our last home! Instead of anchoring it to the beds like I did this time, we anchored that one to posts dug into the ground. If you want the full details on how to build it that way, you can read it here – DIY Garden Arbor – How to Build a Beautiful Backyard Arbor.
Step 5: Build and Anchor the Second Frame
Lay out the pieces for the second side of the arbor on the ground and build a second frame identical to the first.
- Attach the vertical posts to the crossbeams
- Attach the curved corbels
- Cut the decorative curve at the end of the crossbeam
- Mount the back face frame to the other side of the garden box.
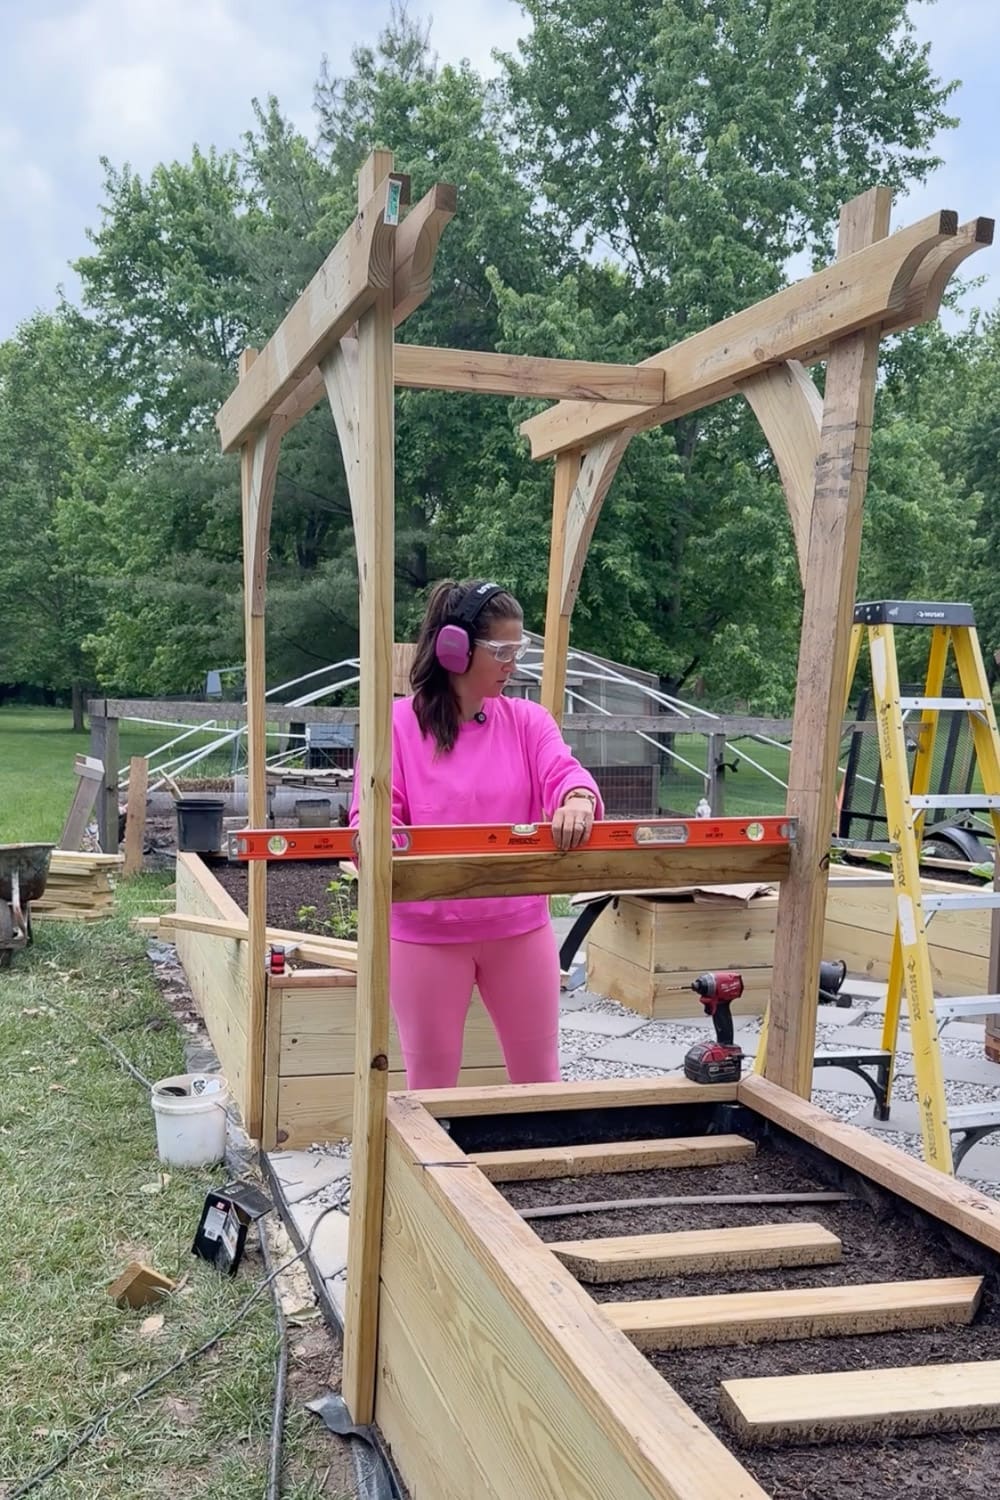
Step 6: Add the Cross Beams
For extra strength and stability (and to give your climbing plants something to grab onto), you’ll want to add 5 cross beams to this DIY garden trellis. Start at the top center, attaching the short cross beam across the top to connect the two face frames to each other. Then add two more cross beams to each side. For the side pieces, I set them flush with the inside of the arbor.
Use your level to make sure everything sits evenly before you drive in the screws.
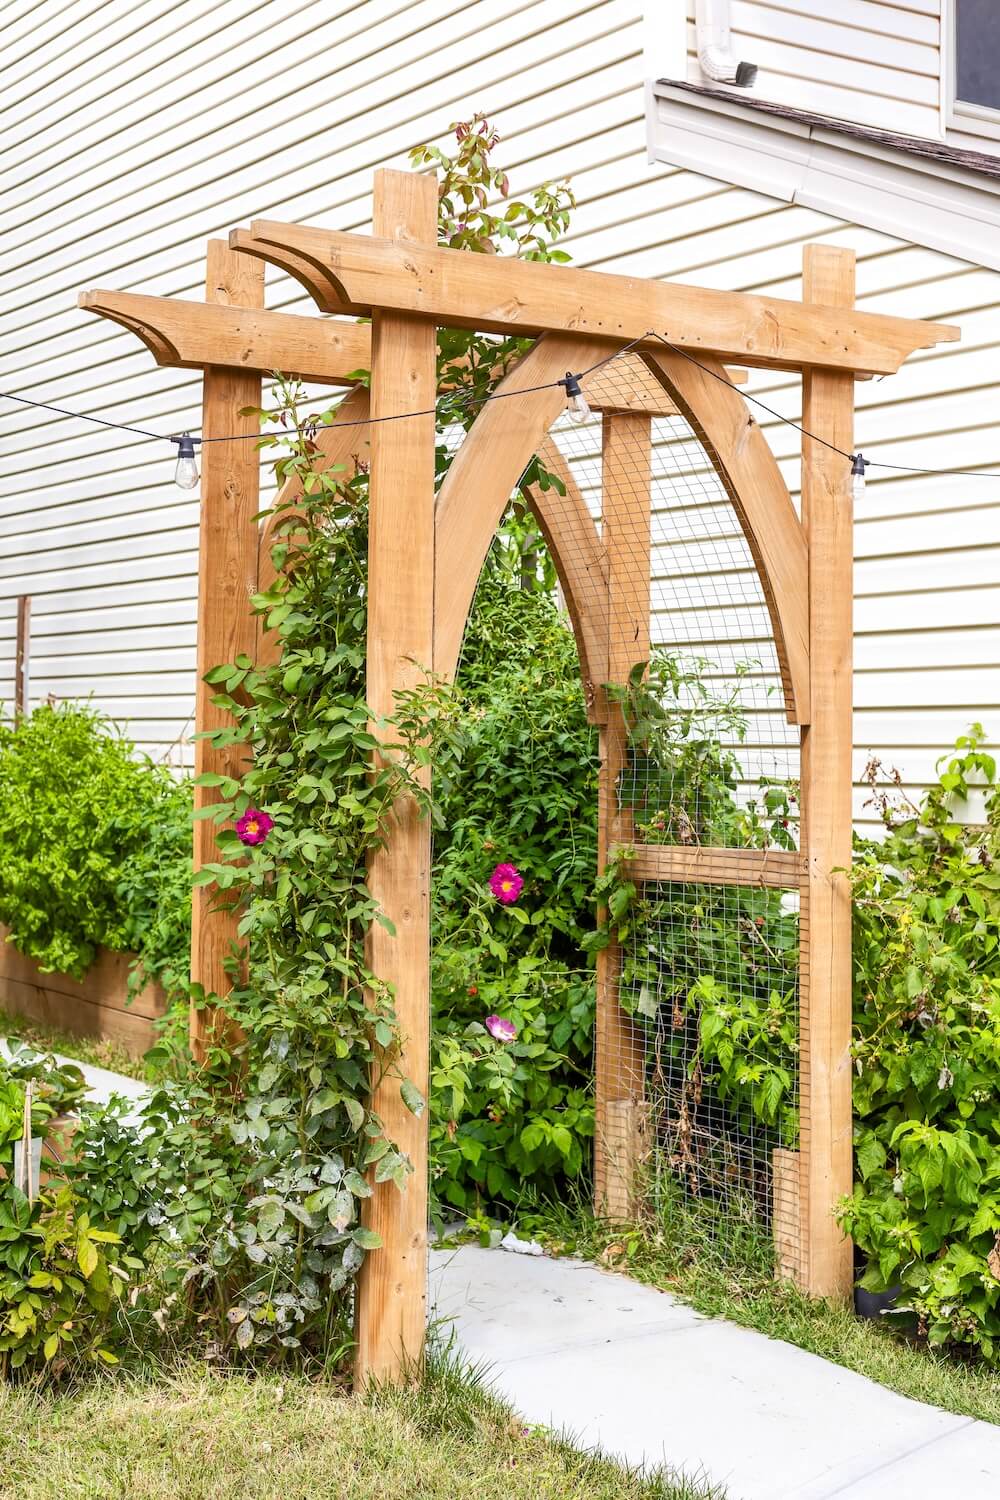
It looks so good here. This DIY garden trellis is a gorgeous and practical addition to our garden entrance. One last step… we need to add the wire for our climbing plant.
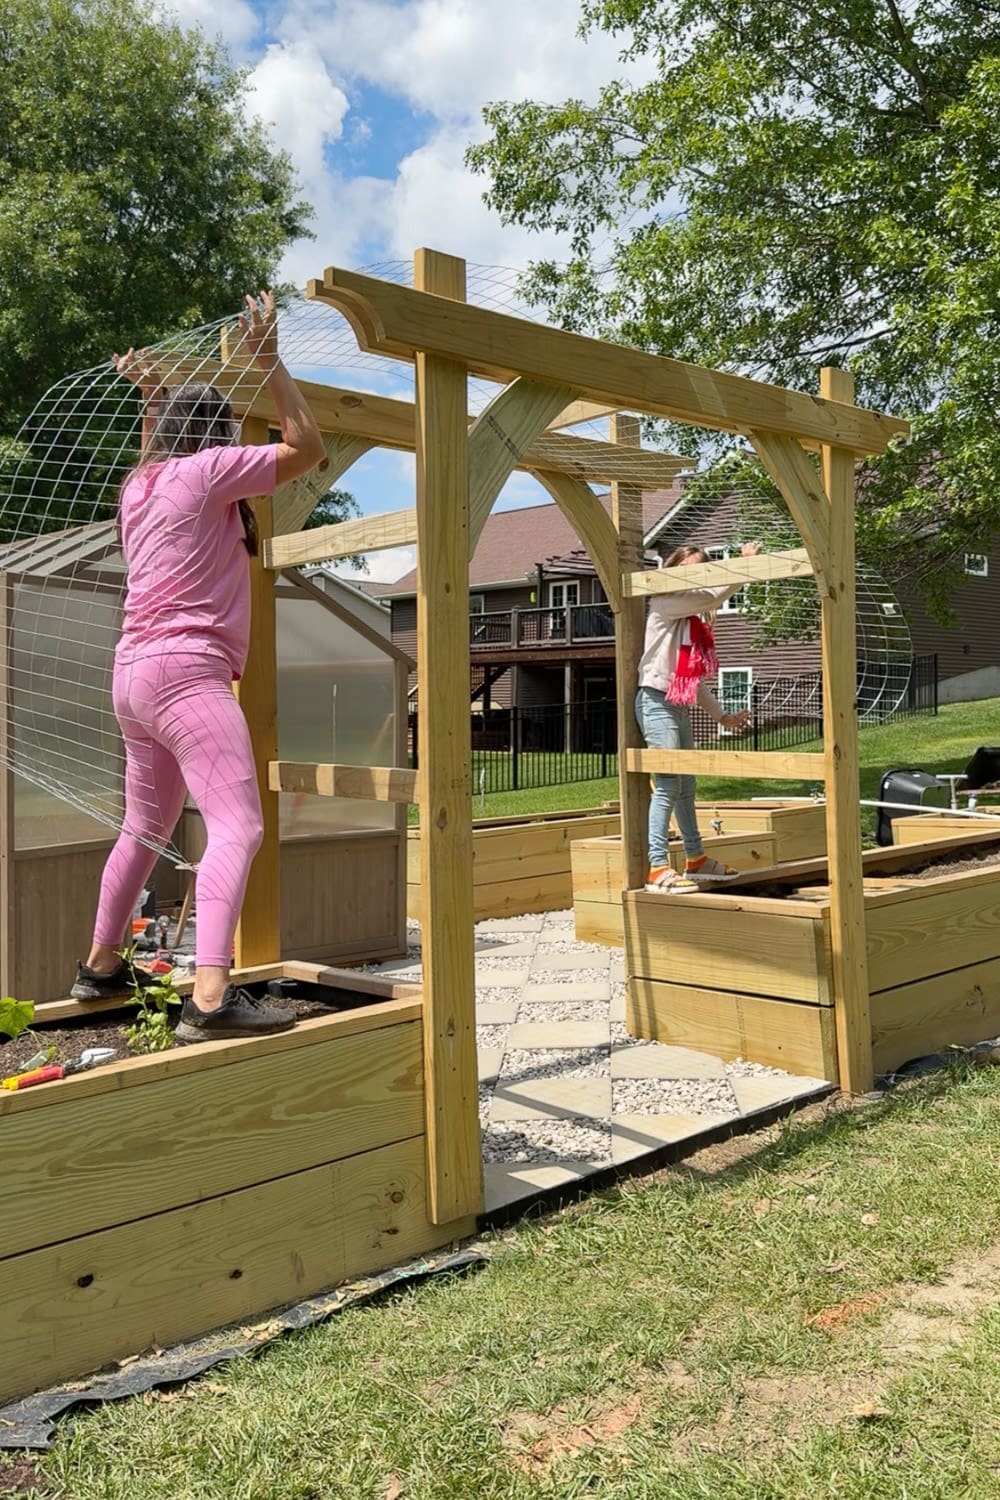
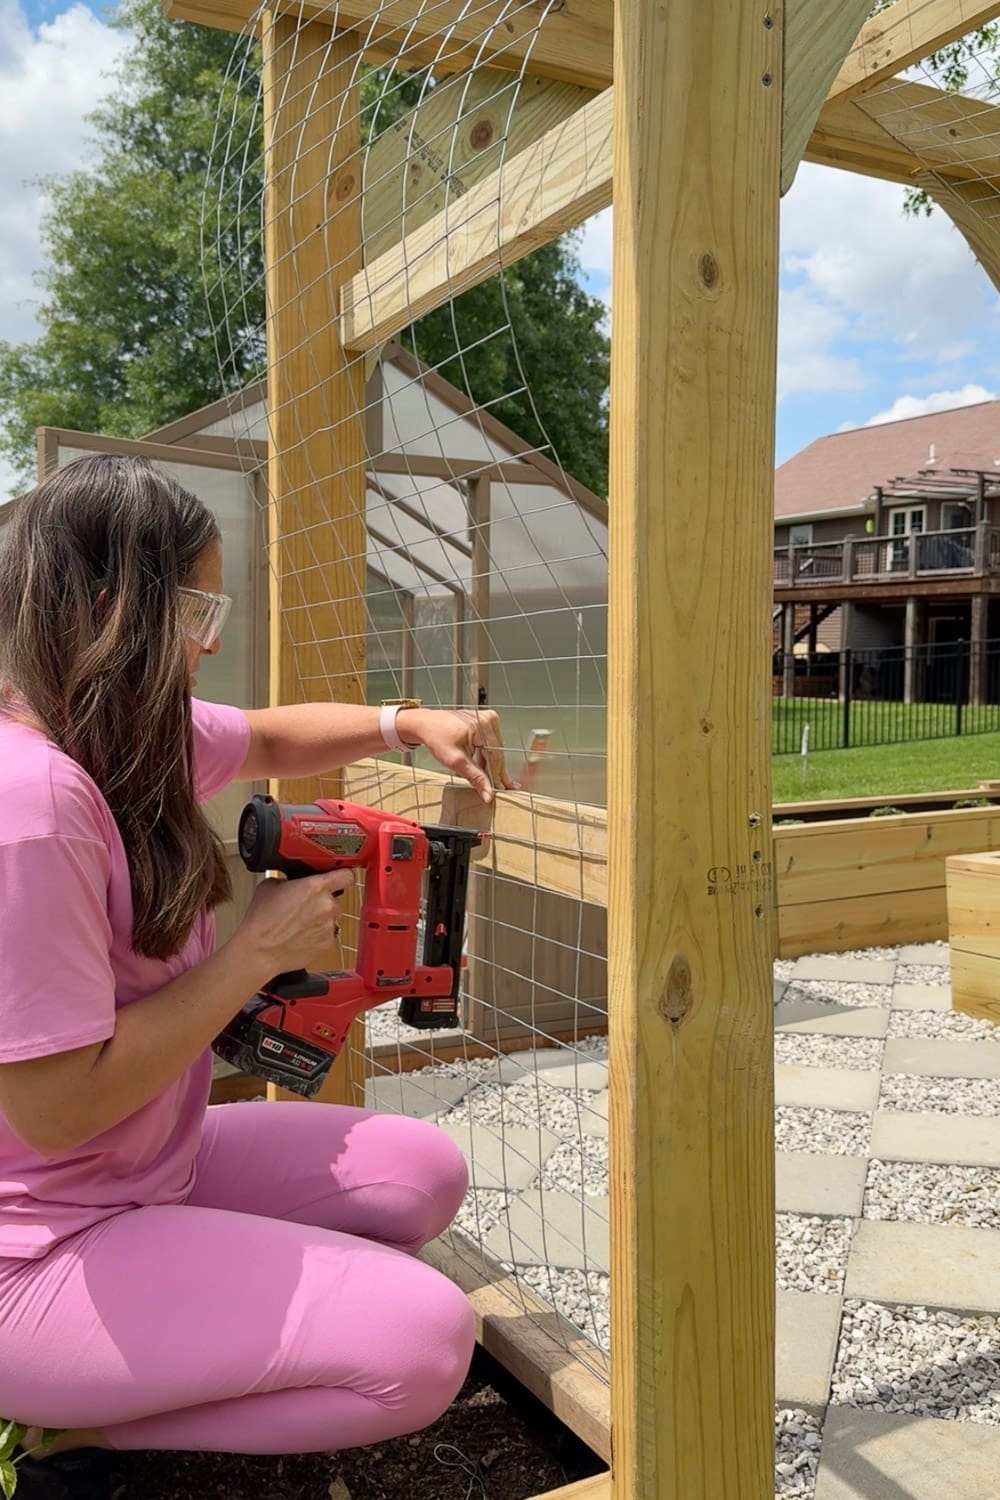
Step 7: Attach the Welded Wire Trellis Panels
Welded wire comes in a roll and is typically used for fencing, but it’s perfect for supporting climbing plants on this garden trellis. Cut your welded wire to fit the side width of your arbor, position it against the wood frame, and secure it using a staple gun. If you don’t have a staple gun, you can hammer in fencing staples instead; it just takes a little more elbow grease! The welded wire gives climbing plants something to grab onto, and it disappears beautifully once your vines fill in.
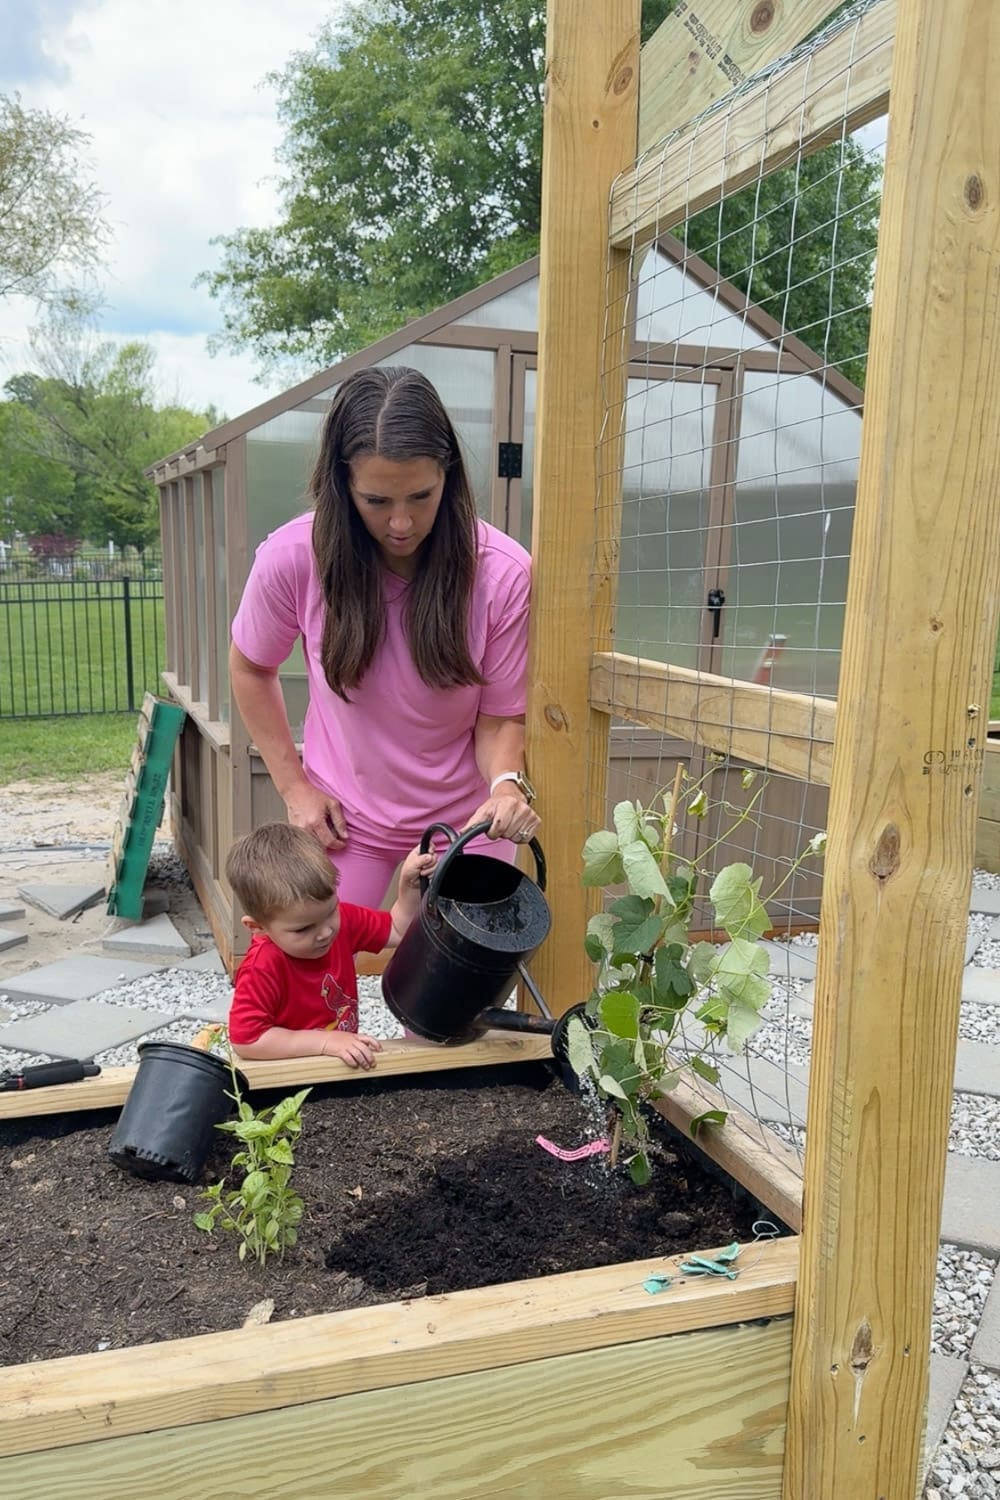
Step 8: Plant Your Climbing Vine
Now for the fun part. I planted a grape vine at the base of my arbor, and I cannot wait to see it fill in over the next few seasons. Other great options include:
- Climbing roses
- Clematis
- Honeysuckle
- Cucumbers (for an edible garden)
- Pole beans
- Morning glories
Plant your vine as close to the wire as possible, and gently train the new growth onto the welded wire as it grows.
Finishing Touches to My Garden Arbor Entrance
I’m planning to stain this DIY garden trellis arbor and the garden boxes, once the pressure-treated wood has had a chance to dry out. Pressure-treated wood needs a few months (sometimes longer) to release the moisture from the treatment process before it can properly accept stain or sealant. In the meantime, the natural wood tone is already so pretty.
Final Thoughts on Building a DIY Garden Trellis
Building this DIY garden trellis was one of those projects that makes you stand back at the end of the day with a huge smile on your face. It’s a statement piece, it’s functional, and it’s something you built with your own two hands.
If you tackle this build, I’d love to see how yours turns out! Tag me on Instagram so I can cheer you on.
Happy building, friends!
More Garden Projects You’ll Love
If this DIY garden trellis got your wheels turning, you’re going to love the rest of my garden projects! From raised beds to a backyard greenhouse to that gorgeous diamond paver pathway, here are all the other DIYs that brought this space together:
📌 Pin This DIY Garden Trellis for Later!
Loved this project? Pin it to your favorite gardening or backyard board so you can come back to it when you’re ready to build your own DIY garden trellis arbor. And if you build one, I’d love to see it — tag me so I can cheer you on!
DIY Garden Trellis FAQs
Pressure treated lumber is a great budget-friendly option because it’s designed to hold up against moisture and ground contact. Cedar and redwood are also excellent choices and naturally resist rot, but they come with a higher price tag. I used pressure treated wood for mine and plan to stain it once it’s had time to fully dry out.
Nope! Pressure treated wood needs time to dry out before it’ll properly accept stain or sealant. Depending on your climate, this can take anywhere from a few months to a year. A good test is to sprinkle water on the wood — if it beads up, it’s not ready. If it soaks in, you’re good to stain.
So many options! I planted a grape vine on mine, but here are some other great climbing plants:
Climbing roses
Clematis
Honeysuckle
Wisteria (just be aware it gets HEAVY)
Cucumbers
Pole beans
Morning glories
Sweet peas
I built mine in an afternoon. Depending on your experience level and how detailed you get with the decorative cuts, plan for 4 to 6 hours from start to finish.