


How to Fill a Raised Garden Bed for Healthy, Thriving Plants


Updated July 13, 2026
If you’ve ever stood next to a brand-new, empty raised garden bed and thought, “How on earth am I going to fill this thing without spending a small fortune?” friend, you are not alone. Learning how to fill a raised garden bed the smart way was honestly a game-changer for me, and today I’m walking you through the exact layered method I used to fill our beds without draining the bank account.
The secret? You don’t need to fill the entire bed with expensive garden soil. Nope. We’re going to layer it like a lasagna (a very dirty, very glorious lasagna), using stuff you probably already have lying around your yard. By the time we get to the top, you’ll only need a fraction of the good soil, and your plants are going to thrive.
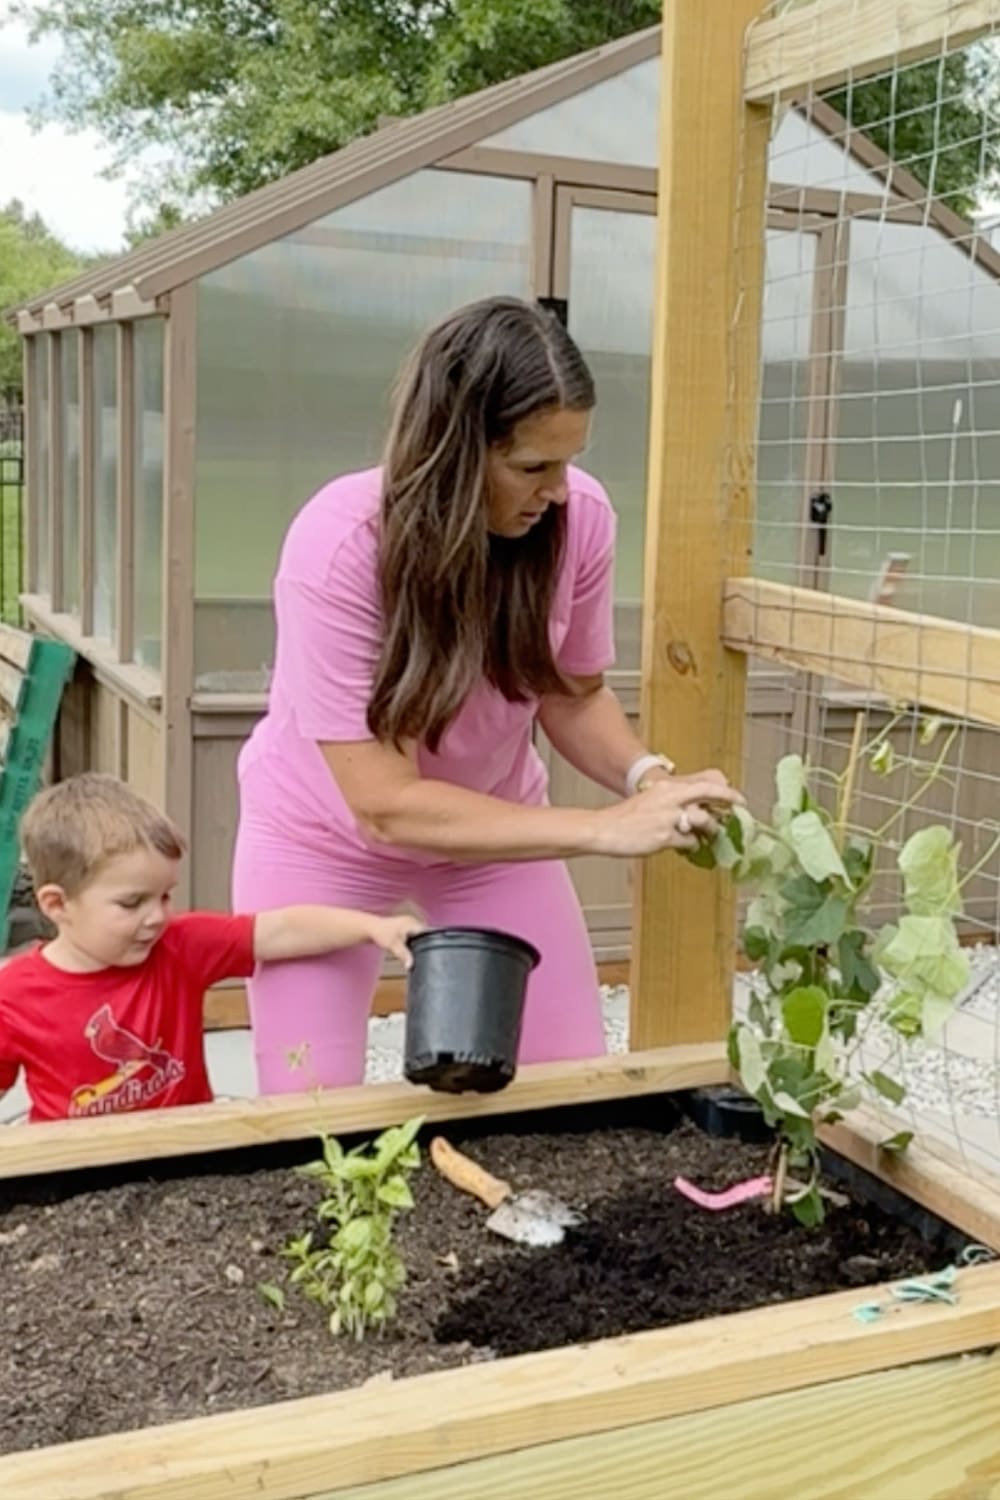
Table of Contents
- A Quick Note Before We Start: The Beds Themselves
- Step 1: Line the Bottom of the Raised Garden Bed
- Step 2: Add a Layer of Sticks, Branches, and Logs
- Step 3: Add Greens, Yard Waste, and Aged Mulch
- Step 4: Top It Off With Quality Garden Soil
- My Best Tip for Saving Money on Soil
- Step 5: Plant and Watch It Grow
- Final Thoughts on How to Fill a Raised Garden Bed
- 📌 Pin This: How to Fill a Raised Garden Bed for Later!
- FAQs About Filling a Raised Garden Bed
A Quick Note Before We Start: The Beds Themselves
Before we get into filling, I want to mention that I built these tall, gorgeous wooden raised beds myself, and yes, I have a full tutorial walking you through every step of that build. If you’re still in the building phase, head over to How to Build DIY Raised Garden Beds (Step-By-Step) for all the details, materials, and step-by-step photos.
Now, on to the fun part: filling them up!
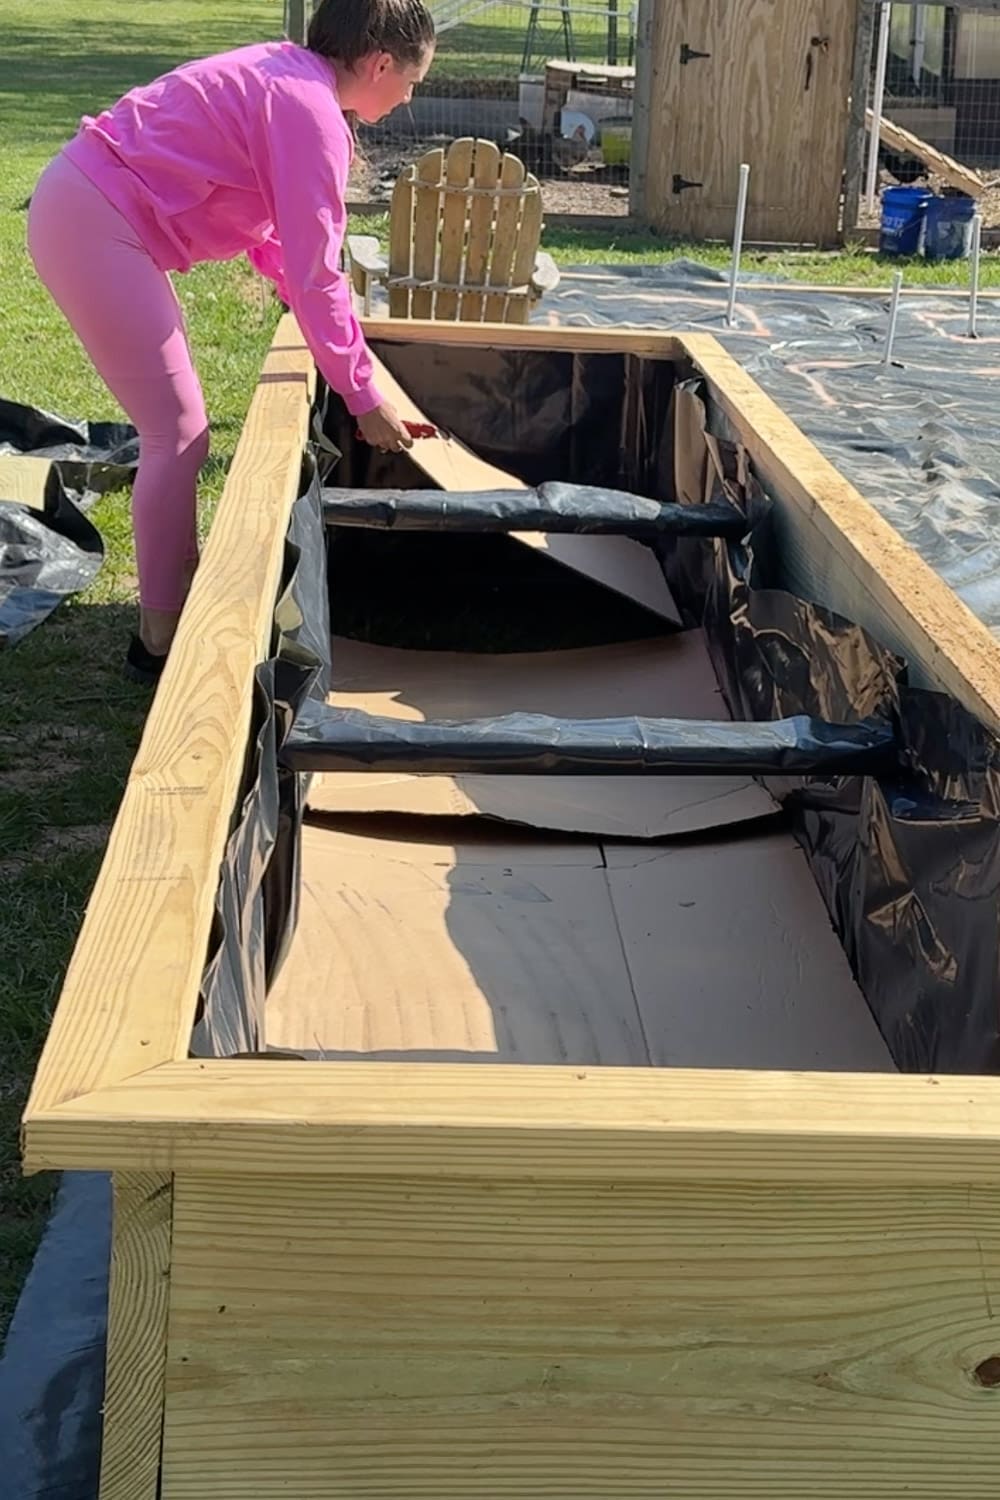
Step 1: Line the Bottom of the Raised Garden Bed
Before any layers go in, I lined the bottom and sides of each bed with two things: cardboard and black plastic sheeting.
The cardboard creates a natural weed barrier that will eventually break down and add to your soil. The black plastic along the sides helps protect the wood from constant moisture, which extends the life of your beds (and we worked too hard building these to let them rot out in two seasons!).
Step 2: Add a Layer of Sticks, Branches, and Logs
This is where the magic happens. The bottom layer of your raised garden bed should be filled with sticks, branches, small logs, and yard debris. This method is sometimes called hugelkultur, and it’s amazing for a few reasons:
- It takes up a TON of space, so you need way less soil
- As the wood breaks down over time, it slowly feeds your plants
- It helps with drainage and water retention
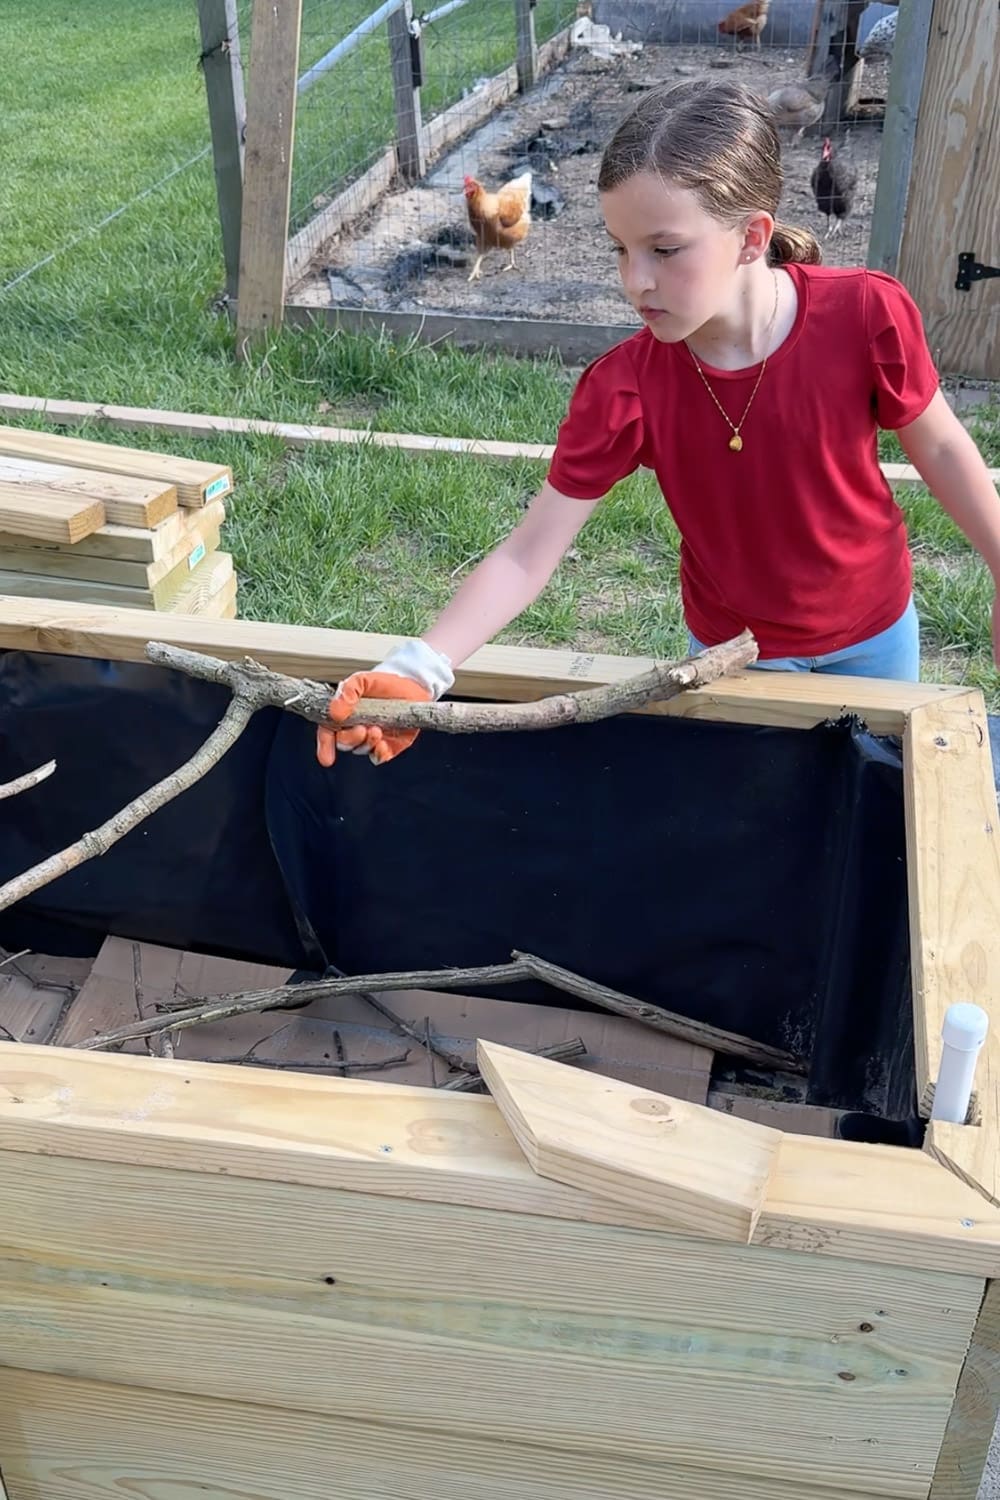
We had plenty of branches on hand from regular yard cleanup, plus a big stash leftover from a tree we had taken down when we first moved in. If your yard isn’t exactly overflowing with sticks and logs, don’t sweat it! Hop on Facebook Marketplace or the Nextdoor app and put out a quick post. Chances are, someone in your neighborhood would be thrilled to let you haul some off their property. One person’s yard waste is another person’s free garden bed filler!
Step 3: Add Greens, Yard Waste, and Aged Mulch
On top of your sticks, you’re going to layer in leafy greens, grass clippings, garden trimmings, leaves, and aged mulch or wood chips. Honestly, anything organic that will eventually break down works beautifully here.
We were lucky enough to have piles of wood chips left over from that same tree removal, plus a big mound of junk dirt from when we buried our trampoline in the ground a while back (yes, really, and the kids LOVE it). Both were perfect for bulking up this middle layer of our raised beds without spending a dime.
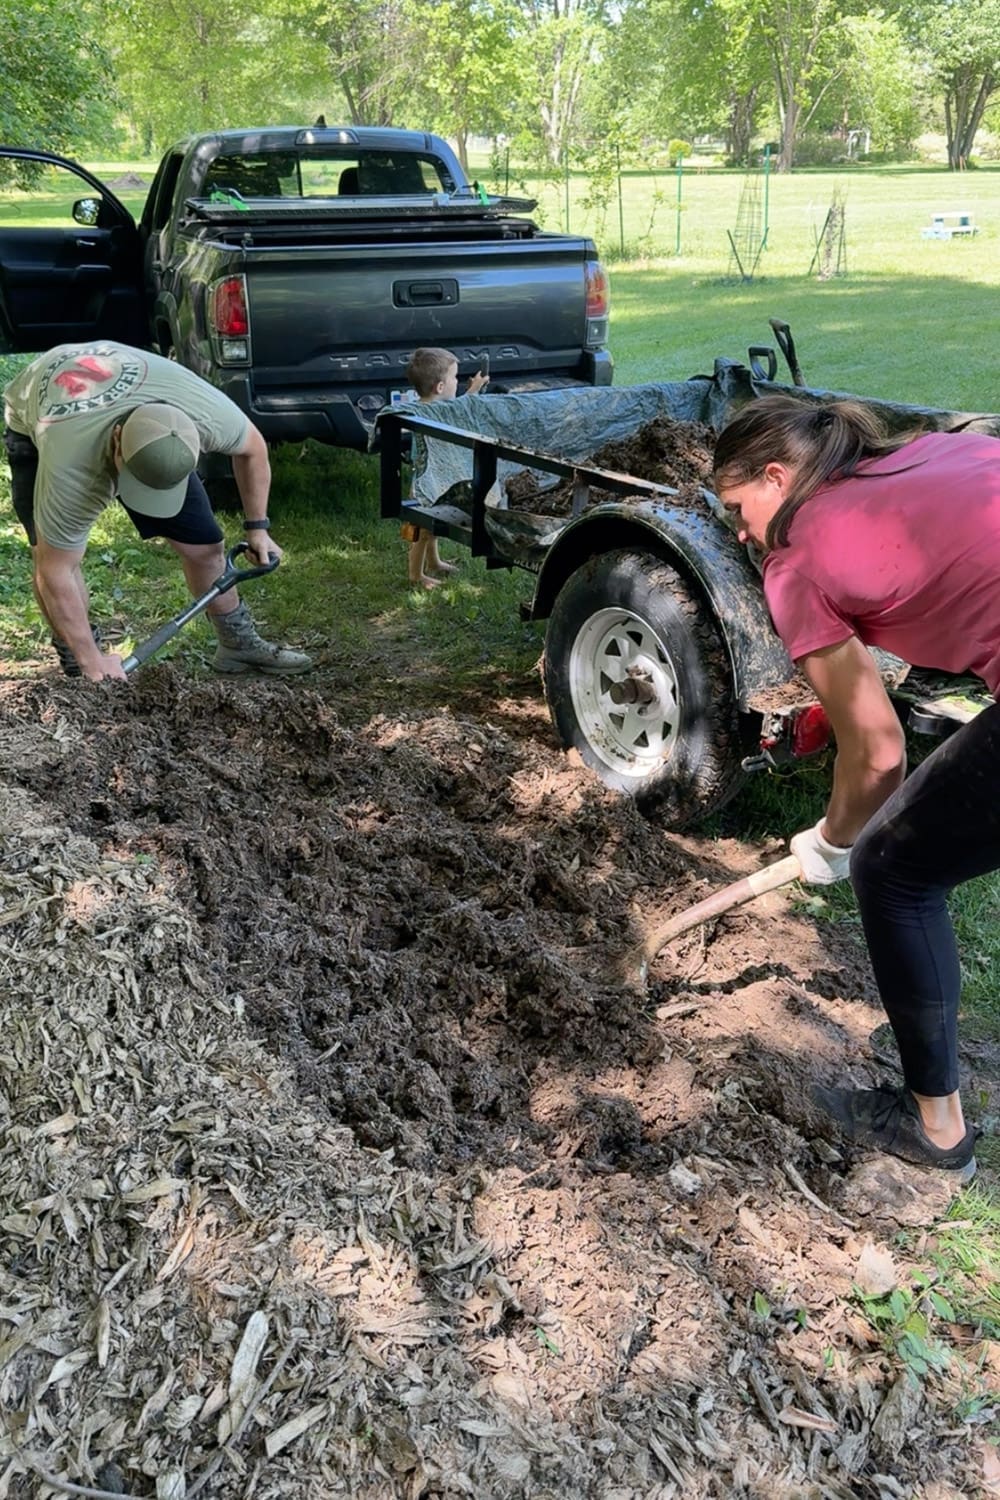
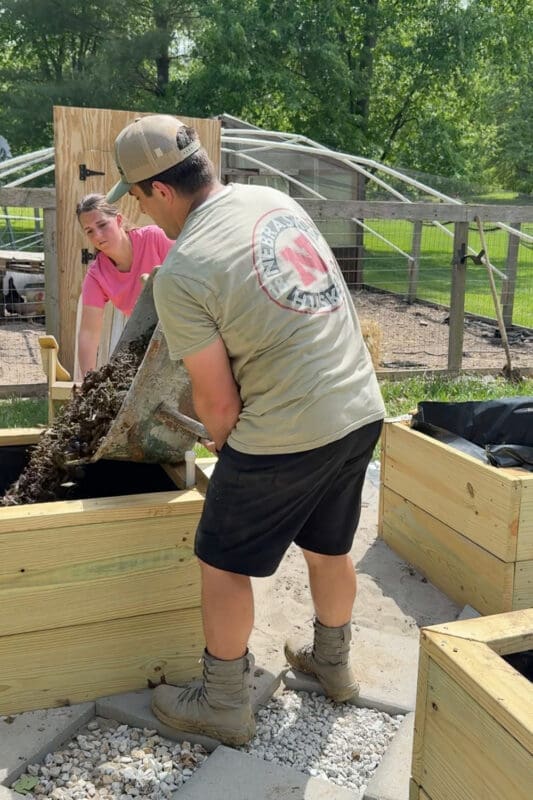
Real-life tip: For the beds that were close enough that we could park our trailer right next to them, we just shoveled the mulch and organic material straight in. Easy peasy, took no time at all.
But for the beds that were tucked further away from where we could park the trailer? A wheelbarrow is an absolute must. We’d fill the wheelbarrow up, and then it took TWO of us to lift it and dump it over the side of the bed (these beds are TALL, friends). If you don’t have a wheelbarrow, filling and dumping 5 gallon buckets is an economical option, but will take longer.
Keep layering until you’re about 6 to 8 inches from the top of your bed.

Step 4: Top It Off With Quality Garden Soil
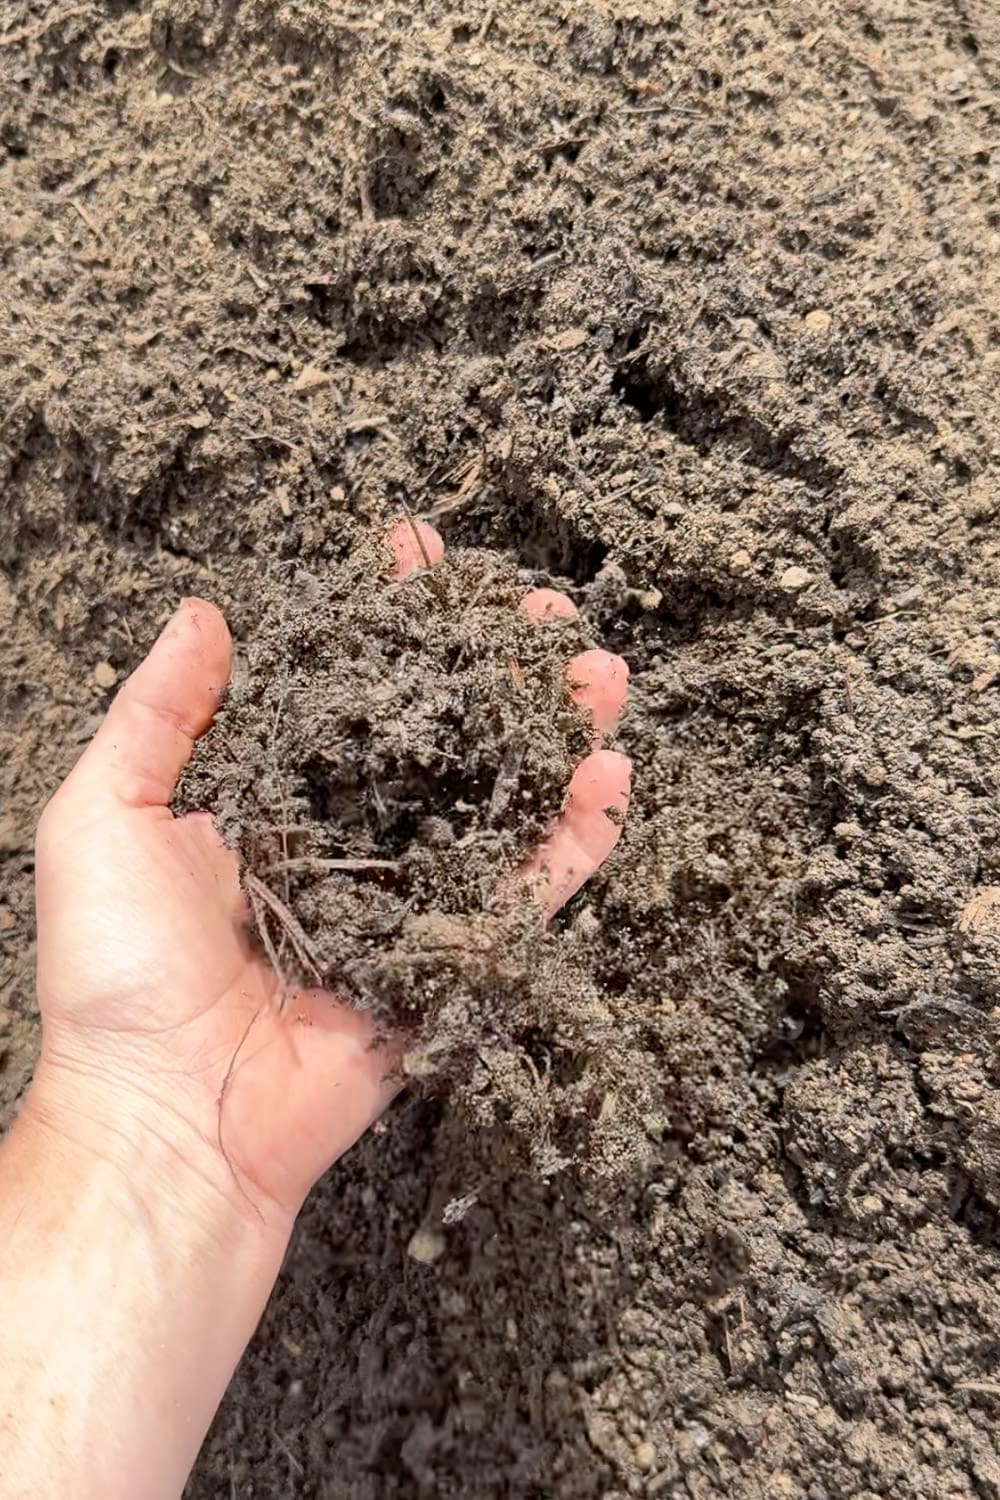
Now we’ve reached the most important layer, the good stuff that your plants will actually root into.
I always use a high-quality garden soil that’s pre-mixed with compost, and I cannot recommend this enough. Every single time I’ve used this soil for filling beds in the past, my plants have absolutely thrived. We’re talking lush, green, productive plants that make me look like a way better gardener than I actually am, ha!
My Best Tip for Saving Money on Soil
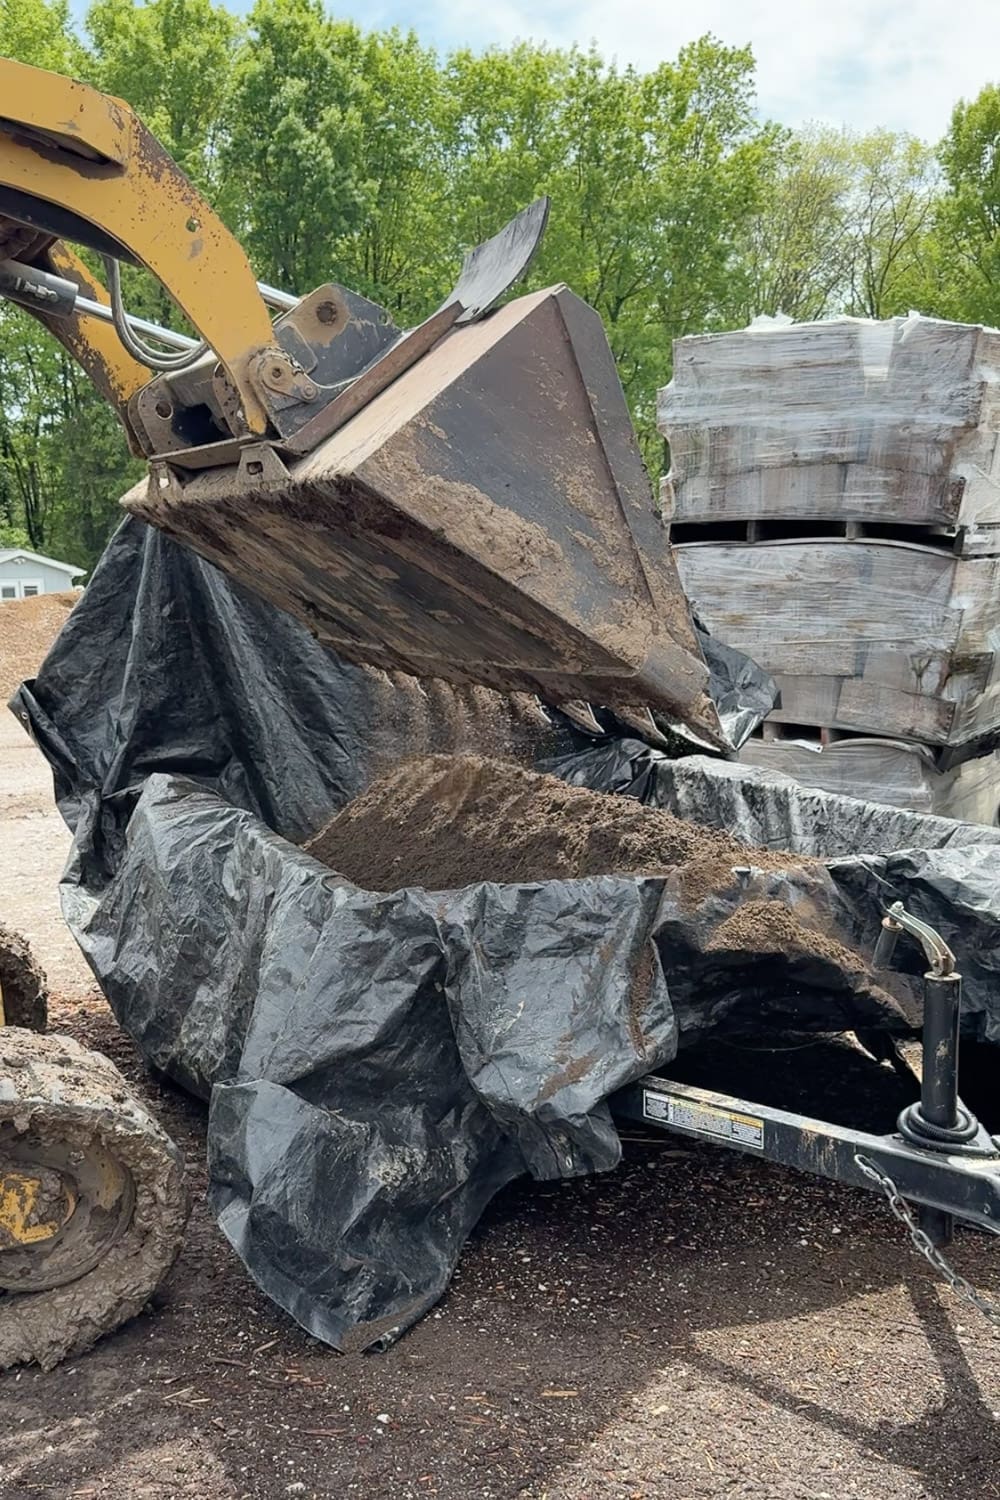
Listen up, because this tip alone could save you hundreds of dollars: buy your garden soil from a local landscape supply yard, NOT from the big home improvement stores.
I know, I know. It feels easier to just toss a bunch of bags into your cart at the store. But if you have more than a couple of beds to fill, buying soil in bulk from a landscape supply place is so much cheaper than buying multiple individual bags. We’re talking a fraction of the cost.
Don’t have a truck or trailer to haul it home? No problem! Most landscape supply yards will deliver right to your yard for a small extra fee. Even with delivery, you’ll still come out way ahead compared to bagged soil from the home improvement store. Just give them a call and ask. It’s almost always worth it.
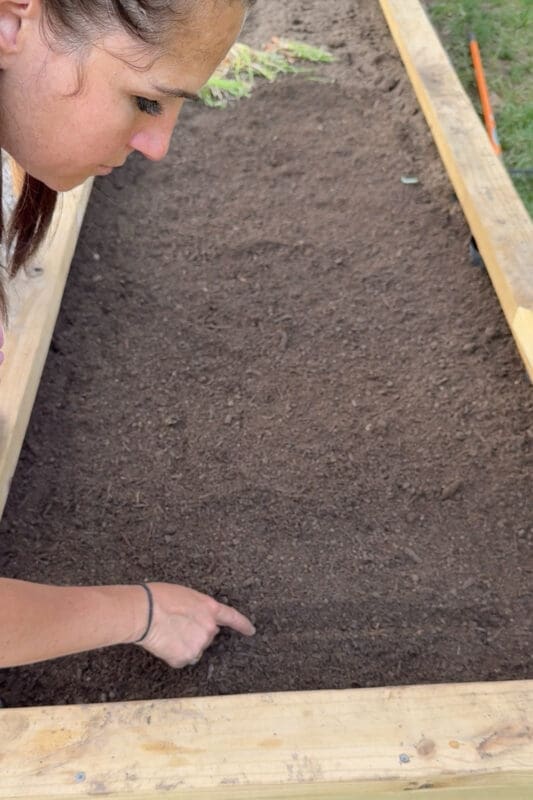
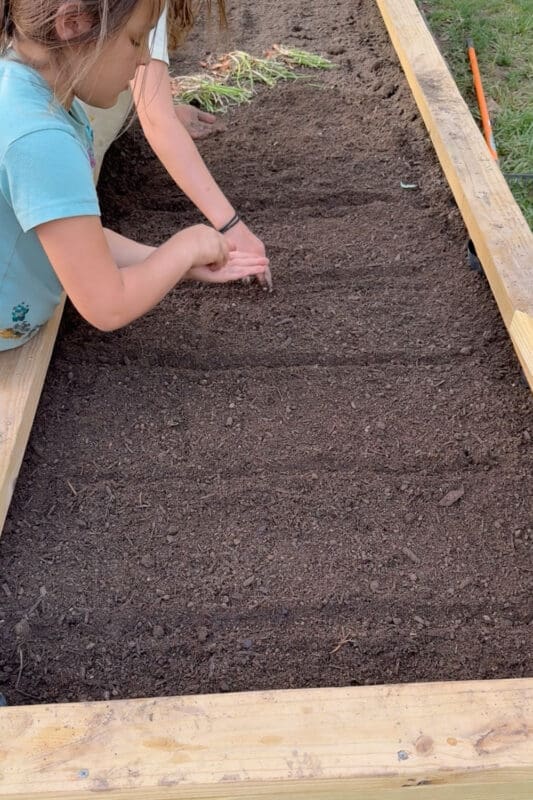
Step 5: Plant and Watch It Grow
Once your raised garden bed is filled and topped with that beautiful, rich garden soil, you’re ready for the best part: planting!
I love getting my kids involved in this step. There’s just something about little hands pressing seeds into fresh soil that feels like pure magic. Plus, they’re way more invested in watching the garden grow when they helped plant it.
Final Thoughts on How to Fill a Raised Garden Bed
Filling a raised garden bed doesn’t have to be expensive or overwhelming. With the layering method, you’re using natural materials you probably already have, saving a ton of money on soil, and building beds that will only get better and richer over the years as those bottom layers continue to break down.
Here’s a quick recap of the layers from bottom to top:
- Cardboard and plastic liner
- Sticks, branches, and logs
- Leaves, grass clippings, and aged mulch
- Quality garden soil mixed with compost
That’s it! Now grab your gloves, recruit some helpers (or bribe them with snacks, works every time), and let’s get those beds filled.
If you try this method, I’d love to hear how it goes! And don’t forget to check out [my raised garden bed build tutorial] (insert link) if you’re still working on the bed itself.
Happy gardening, friends! 🌱
📌 Pin This: How to Fill a Raised Garden Bed for Later!
Loving this layering method? Save this post to your gardening Pinterest board so you can come back to it when you’re ready to fill your own raised beds!
FAQs About Filling a Raised Garden Bed
A high-quality garden soil that’s pre-mixed with compost is my go-to. Look for one labeled as a “garden soil blend” or “vegetable garden mix” at your local landscape supply yard. Skip the cheap topsoil, your plants will thank you!
You don’t HAVE to, but I highly recommend it! Layering with sticks, branches, and organic material saves you a ton of money on soil, improves drainage, and feeds your plants over time as everything breaks down. It’s a win-win-win.
It depends on the size of your bed and how much you fill with the layering method first. Most landscape supply yards sell soil by the cubic yard, and they can help you calculate exactly how much you’ll need based on your bed’s dimensions. Just bring the length, width, and depth measurements with you! Let them help with the math.
Want to get an idea of how much soil you’ll need to buy before you get to the store? Here’s a soil calculator to plug those numbers in and see how many cubic yards of soil you’ll need.
You’ll likely need to top off your beds with a fresh layer of compost or garden soil each spring. As the bottom layers break down, the soil level naturally drops a bit. It’s a good thing! It means your soil is getting richer and richer every year.