


DIY Tomato Trellis: Build One This Weekend


Updated September 18, 2026
If you’ve been searching for a DIY tomato trellis that actually looks pretty in your garden instead of like a sad metal cage from the clearance aisle, friend, pull up a chair. I made one. It’s adorable. My tomatoes are obsessed, and so am I.
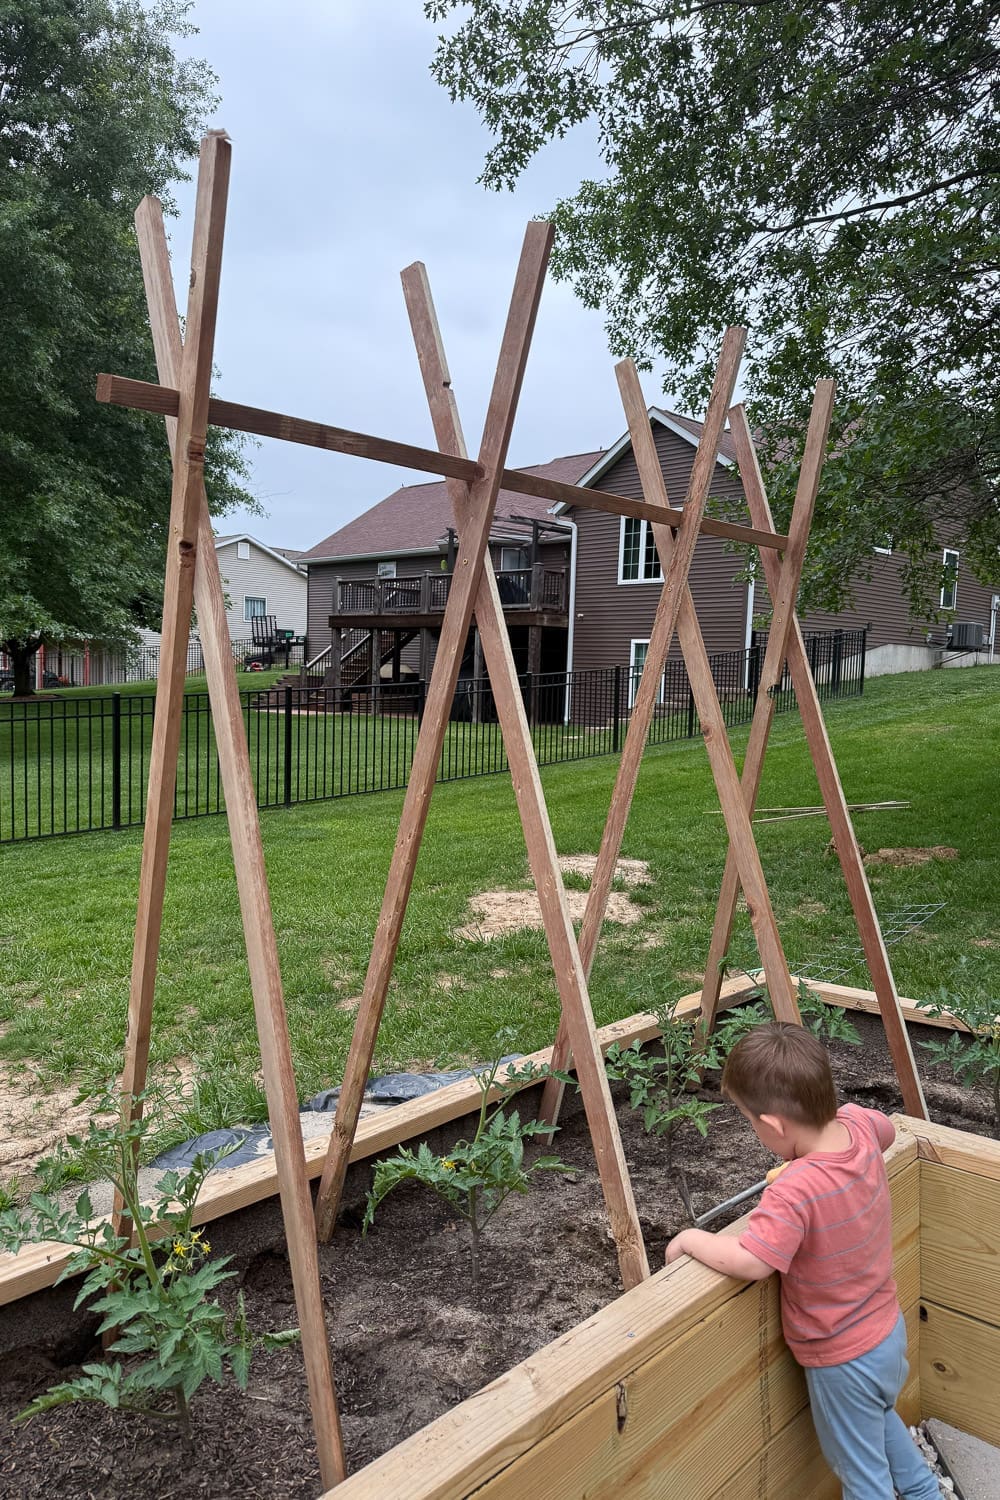
Table of Contents
- Watch me Build a DIY Tomato Trellis for Raised Beds
- Form Meets Fairy Tale in the Garden
- What You’ll Need for This DIY Tomato Trellis
- Building the Triangle Frames (The Secret Is Furring Strips)
- Bracing the Trellis Together
- My Finished DIY Tomato Trellis
- More From My Cottage Garden
- 📌 Pin This DIY Tomato Trellis for Later!
- DIY Tomato Trellis FAQ
Watch me Build a DIY Tomato Trellis for Raised Beds
Form Meets Fairy Tale in the Garden
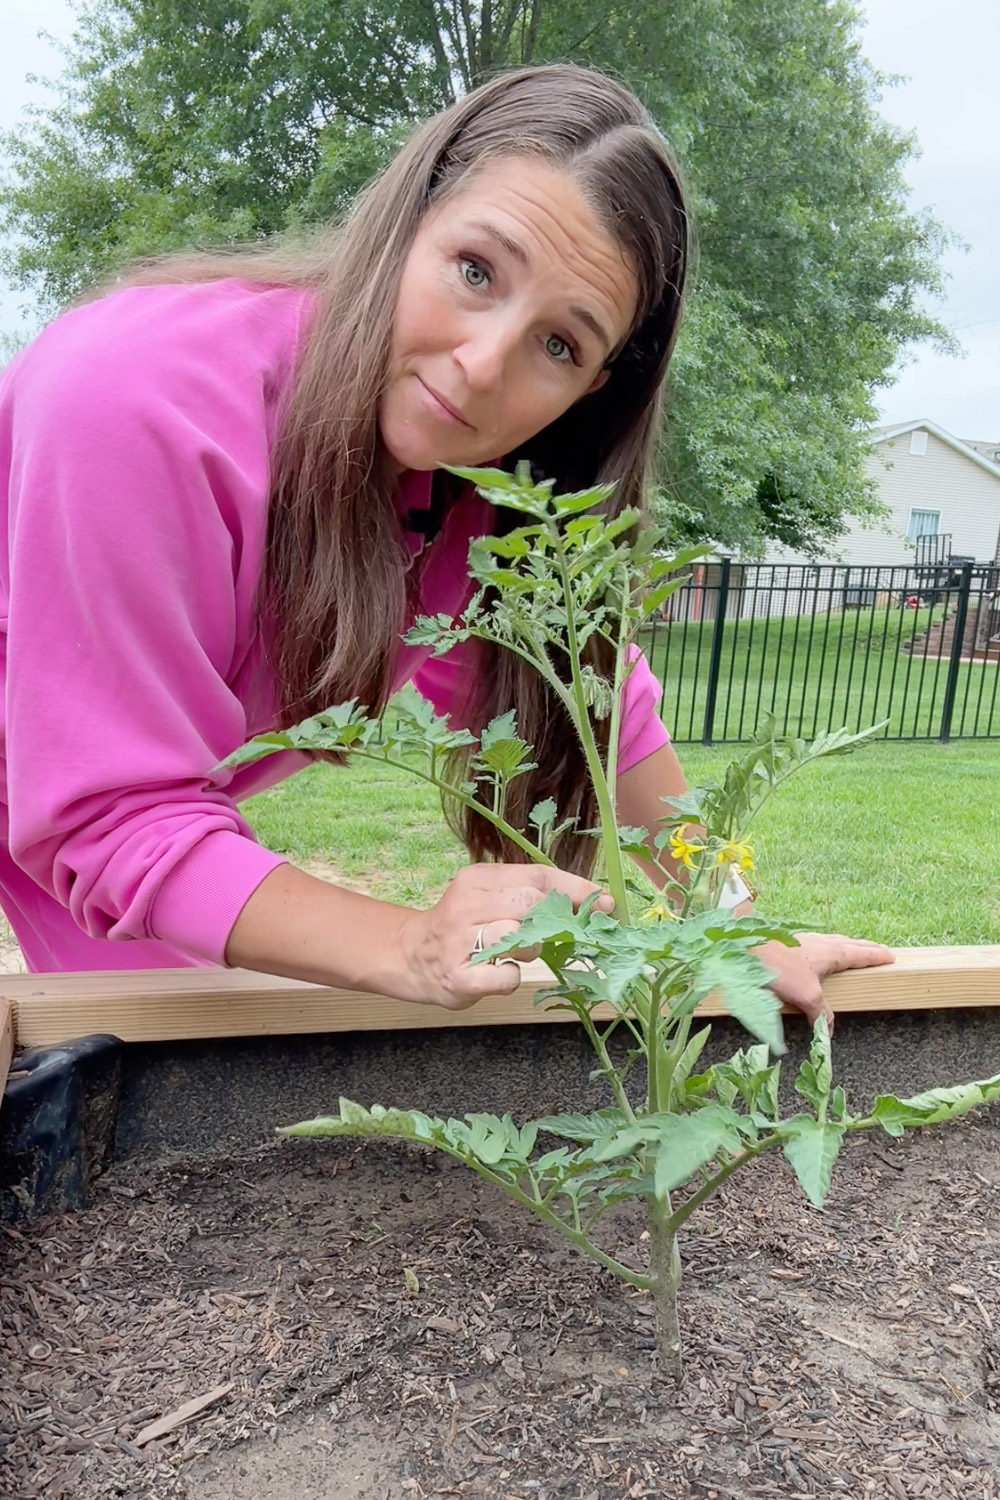
The last few weeks have been one big DIY project after another in this garden. I built raised beds from scratch, laid pavers, hauled in dirt, and planted all the things. And now my tomatoes have officially hit that gangly teenager stage: tall, floppy, and very much in need of support before they faceplant into the dirt.
Now, I could have grabbed a pack of those wire tomato cages. But I’m going for a whole fairy-tale cottage garden vibe back here, and ugly, basic tomato cages do not fit the assignment. So instead, I’m building a DIY tomato trellis that’s actually cute enough to be part of the garden’s whole look. Function and fairy tale, and we can have both. And the best part? It’s budget-friendly, beginner-friendly, and you can knock it out in an afternoon. Let’s build it.
What You’ll Need for This DIY Tomato Trellis
Here’s everything you’ll need to build your own DIY tomato trellis. Nothing fancy, I promise. Most of this you may already have rattling around the garage.
Materials:
- 1×2 furring strips (the main structure, so grab a bundle, they’re cheap)
- 2×2 boards (for the top brace)
- 1×3 boards (for the bottom brace)
- Exterior wood screws
- a few extra 1x2s for horizontal bracing
Tools:
- Cordless drill
- Speed square (so handy for marking your angles)
- Tape measure
- Pencil
- Saw (if you need to cut anything down to size)
- A cute little helper, if you’ve got one (mine is non-negotiable and works for snacks)
Building the Triangle Frames (The Secret Is Furring Strips)
Here’s my big budget secret for this DIY tomato trellis: I’m using 1×2 furring strips for most of this trellis. They’re one of the cheapest pieces of lumber you can buy, they’re lightweight, and they’re shockingly sturdy once you brace them together. Perfect.
Here’s how I made each triangle frame:
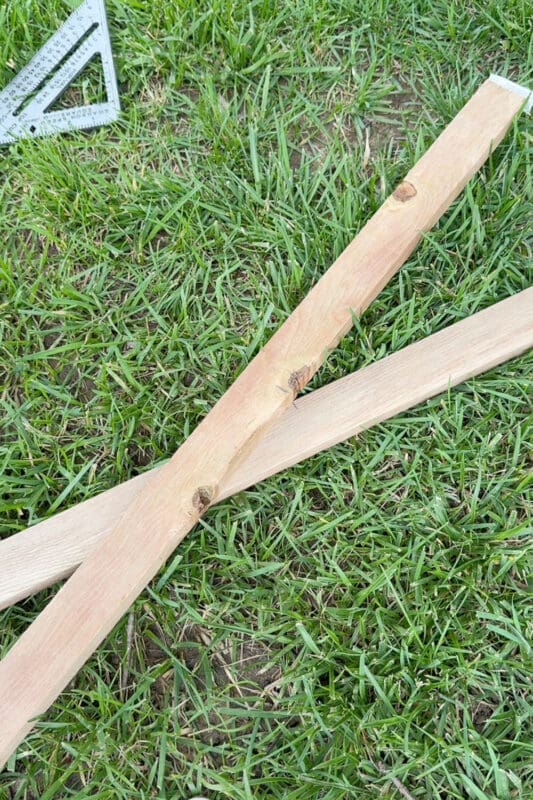
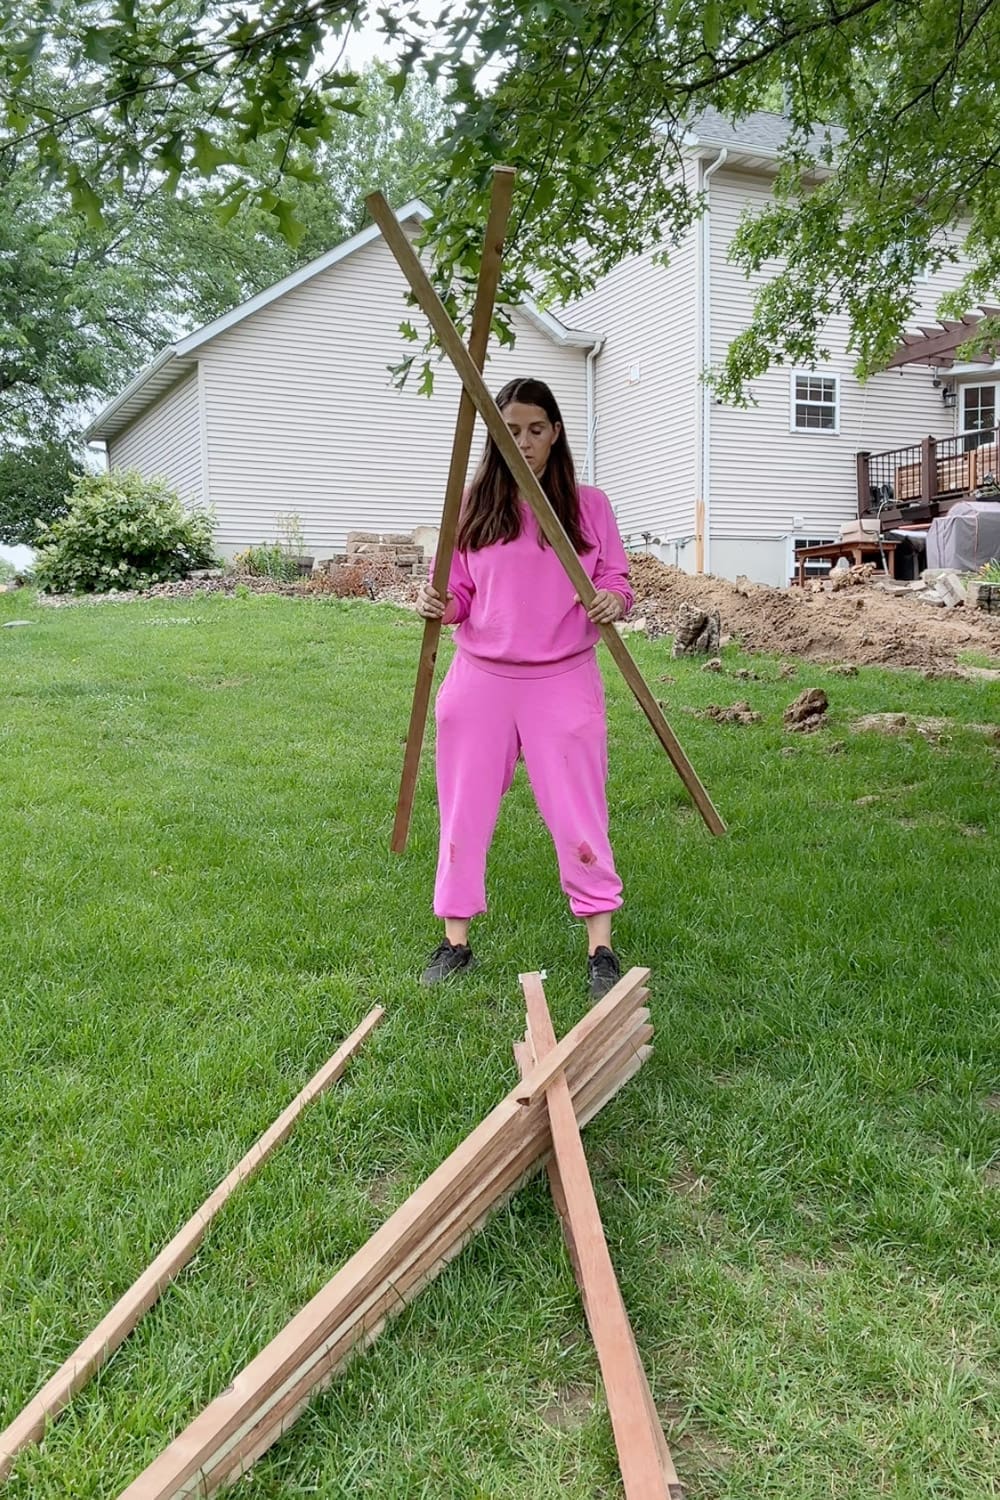
- Start with two 1x2s. On each one, measure down 14 inches from the end and make a mark.
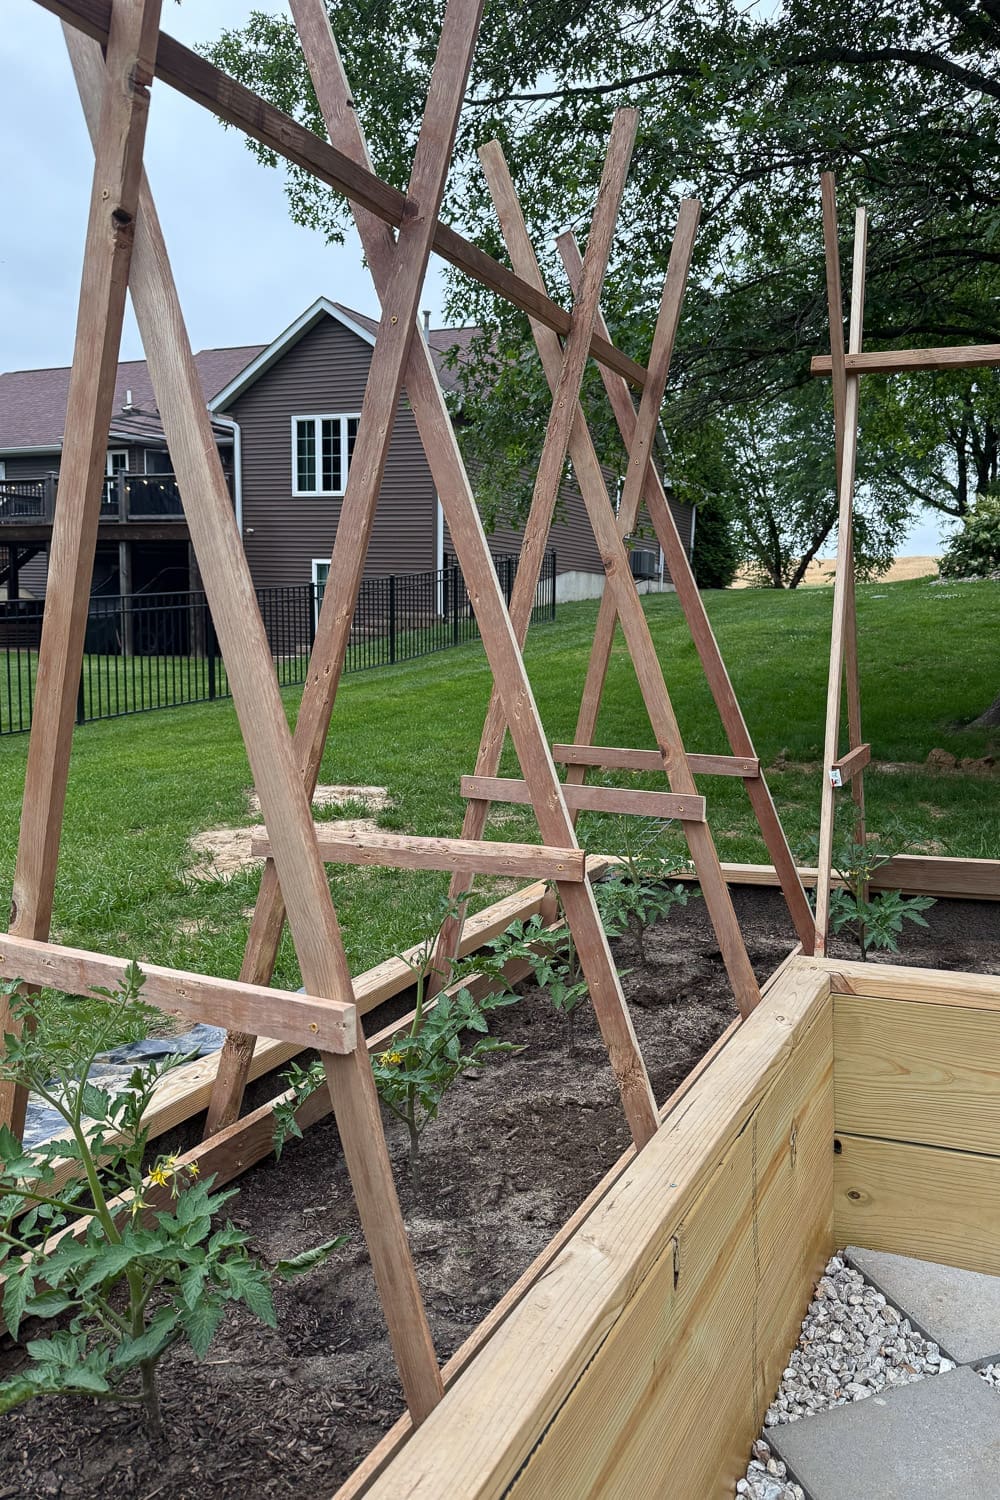
- Cross the two pieces over each other, lining them up so the 14-inch marks meet. This creates a triangle (or really, an X with long legs, like a tall, skinny letter A).
- Where the two pieces overlap, drive a screw through to attach them together.
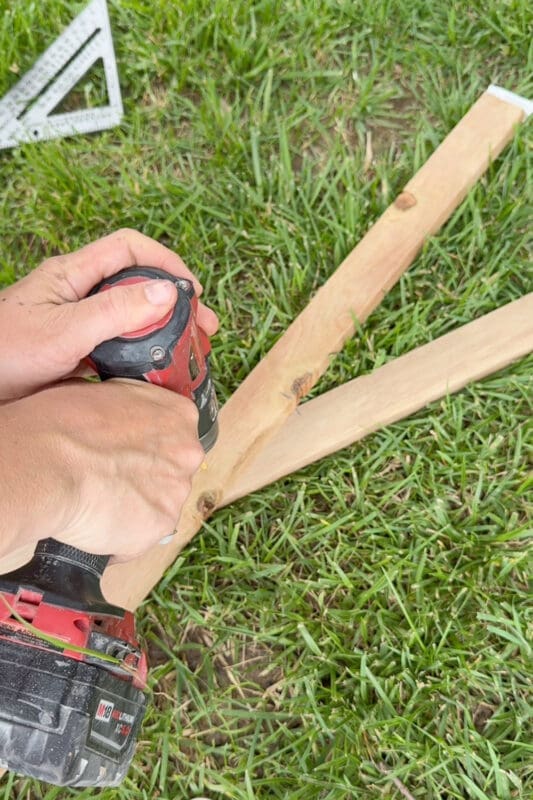
Don’t stress about the angle just yet. With only one screw holding them, the pieces still pivot easily, so you can fine-tune the spread later when you set them in the bed.
I made 6 of these triangle frames for my bed.
How many you’ll need depends on how big your raised bed is. A good rule of thumb is to space a triangle frame every 2 feet or so down the length of your bed. Measure your bed, do a little math (or guess like I do), and make as many as you need.
Setting the Frames in the Bed
Once all my triangles of my DIY tomato trellis were framed up, it was time to place them in the bed.
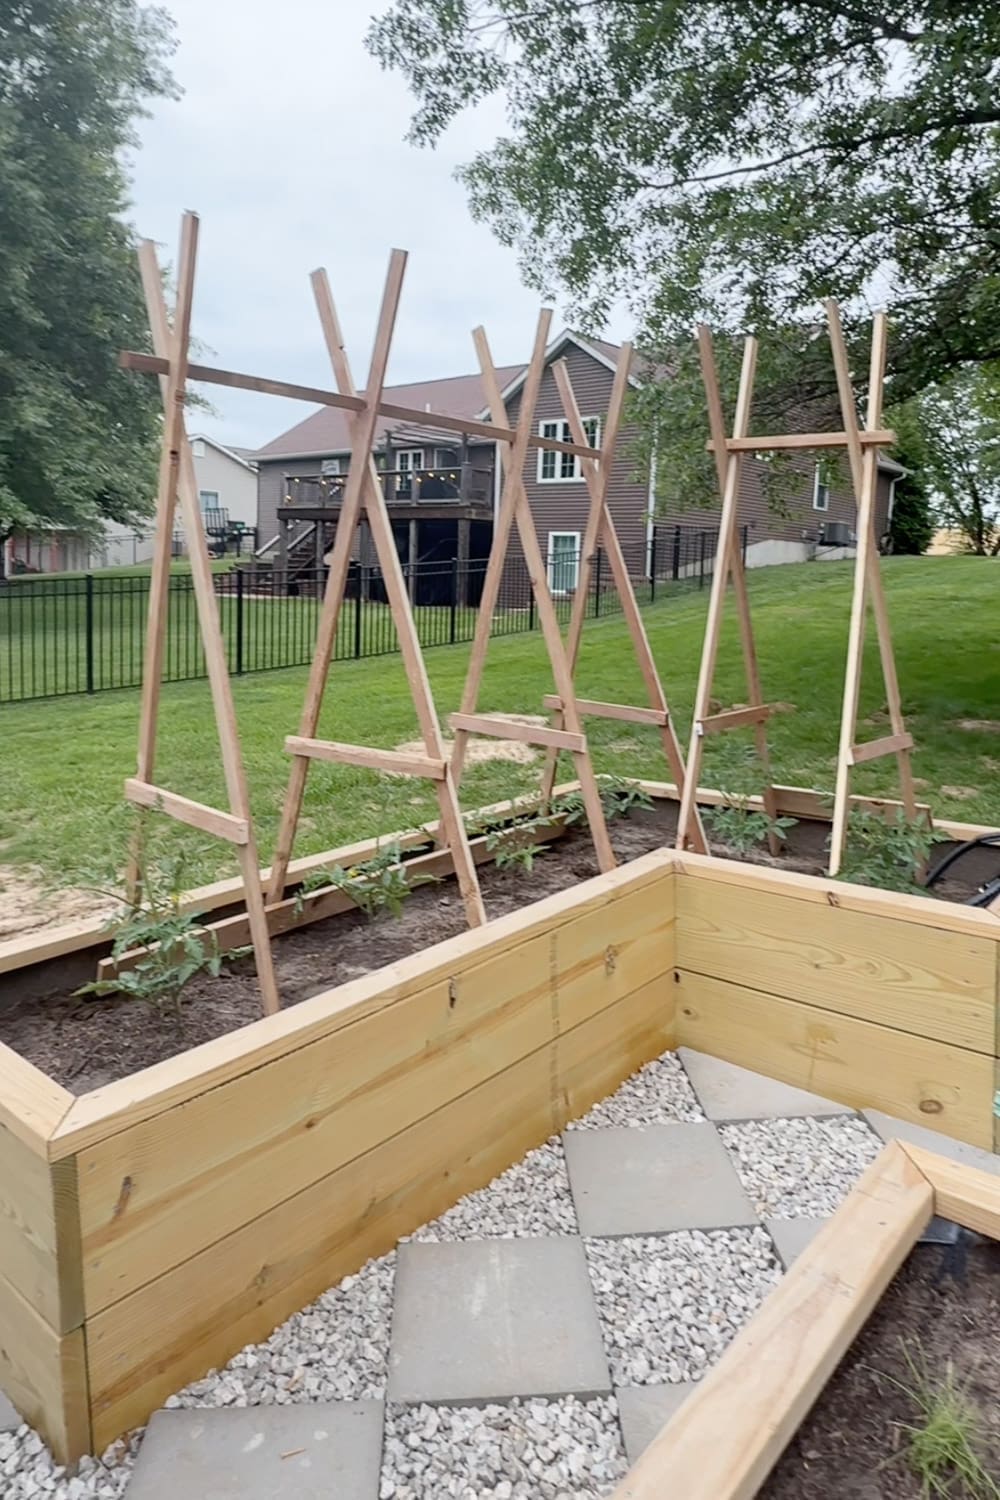
I just opened up the angle of each triangle until the bottom of each leg rested against the inside walls of the bed on both sides. When it’s fully opened up, each frame braces itself nicely against the bed. Space them out evenly down the length of your bed (remember, roughly every 2 feet), and you’ll start to see your trellis take shape.
Bracing the Trellis Together
Right now your triangle frames are standing up, but they’re still a little wobbly and independent. We need to connect them so the whole thing becomes one strong, stable structure. Bracing is what takes this from “cute idea” to “this’ll survive a Midwest thunderstorm.”
Here’s what I did:
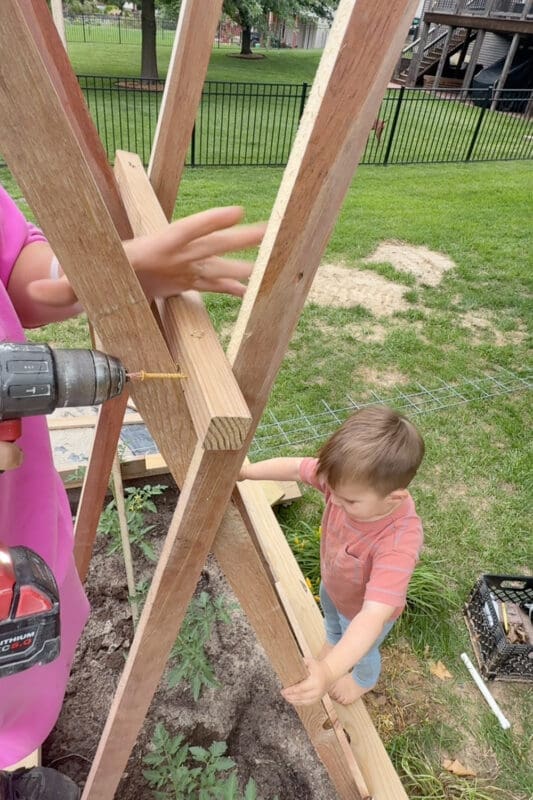
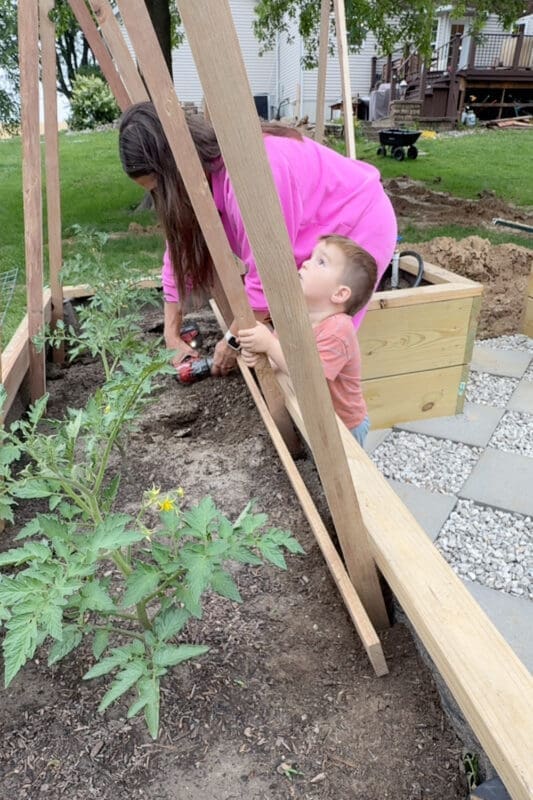
- I ran a 2×2 along the top, connecting all the frames at the peak.
- Then I added a 1×3 along the bottom to lock everything in at the base.
Use a drill to screw those into each triangle frame as you go. The second you get that top brace on, you’ll feel the whole structure tighten up and go solid. It’s a very gratifying moment.
Don’t Forget the Horizontal Bracing
Last step for this DIY tomato trellis, and this is the one that really makes it secure: horizontal bracing.
I added horizontal 1×2 pieces running across the frames. This adds even more strength and keeps everything square. And honestly? It’s also the detail that gives the whole thing that charming, latticed, cottage-garden look I was after. Function and fairy tale, just like I promised. 🍅
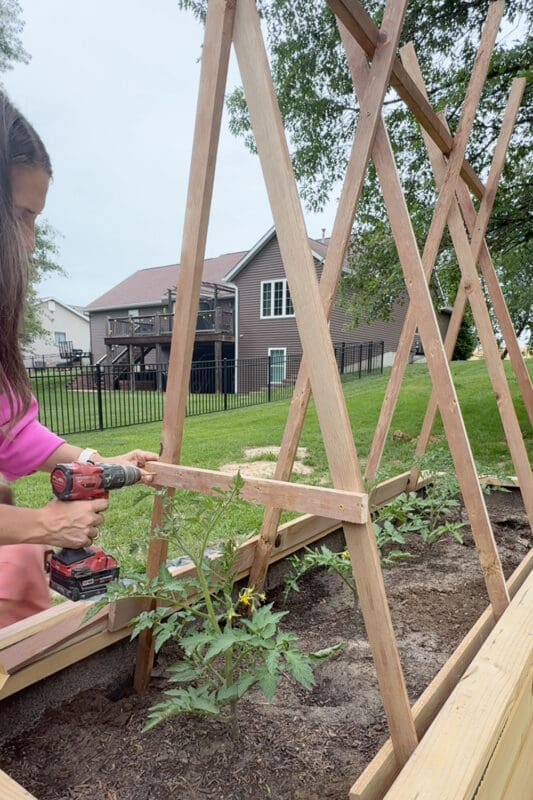
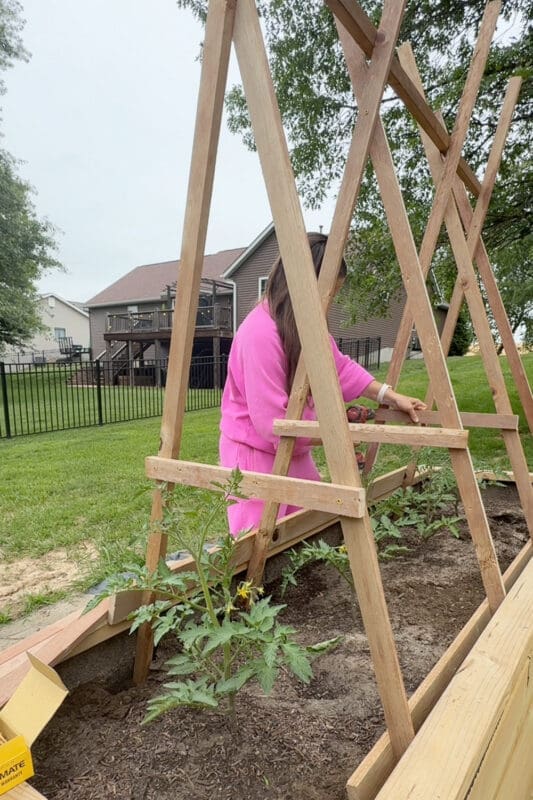
My tomato bed is L-shaped, so two of these sections meet right in the corner. No problem at all! That’s the beauty of this DIY tomato trellis: it’s totally customizable to fit any bed shape or size.
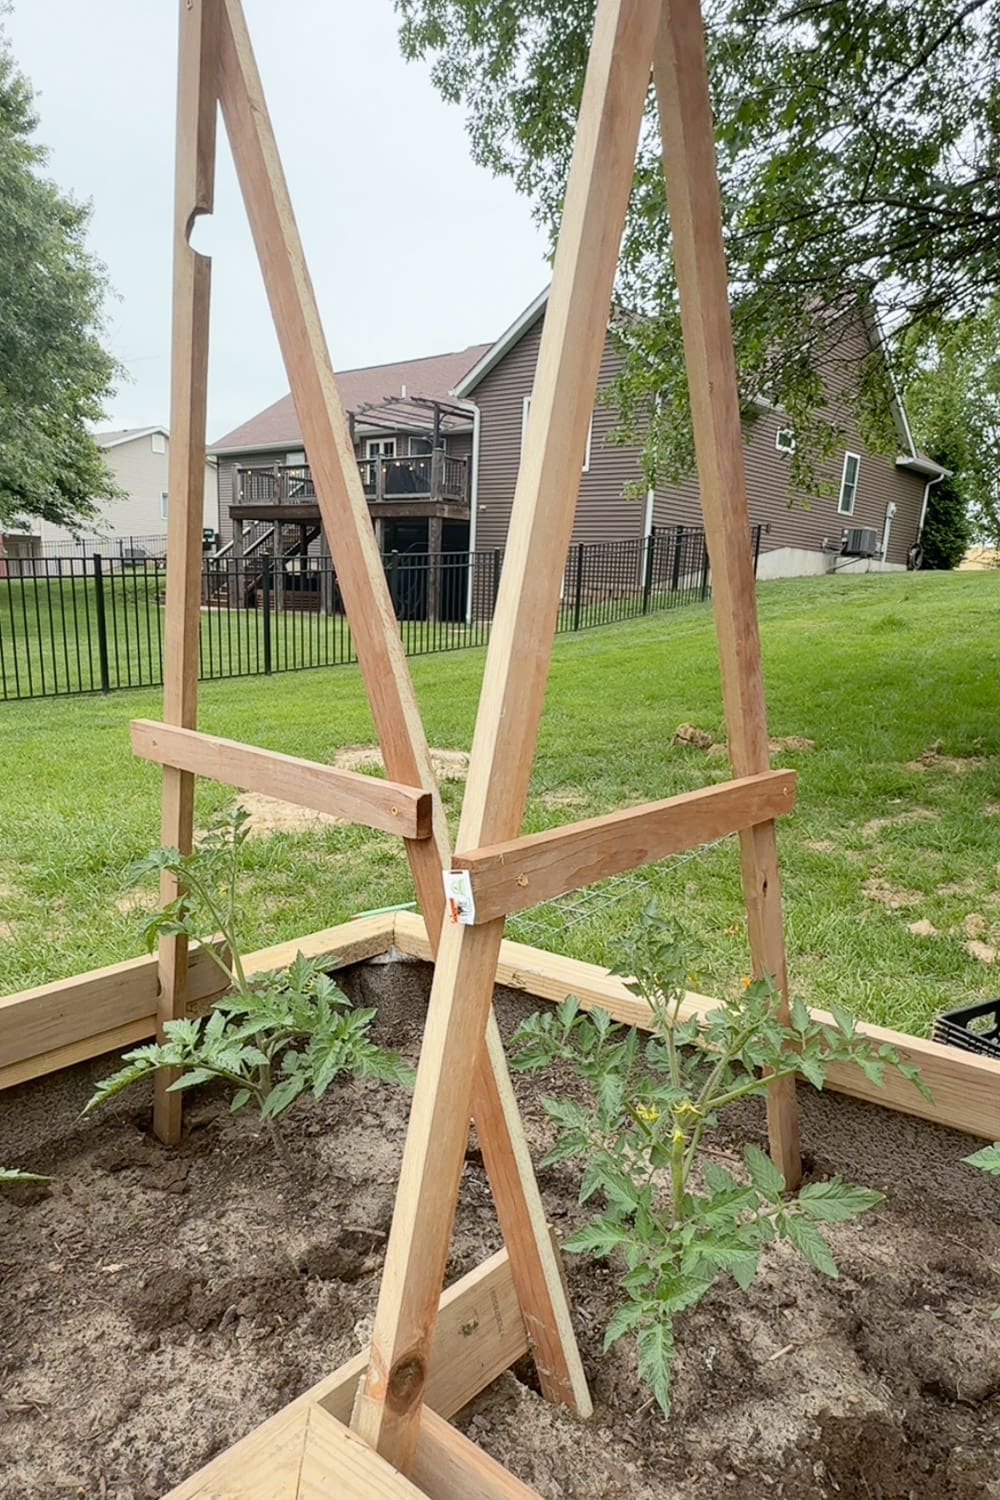
My Finished DIY Tomato Trellis
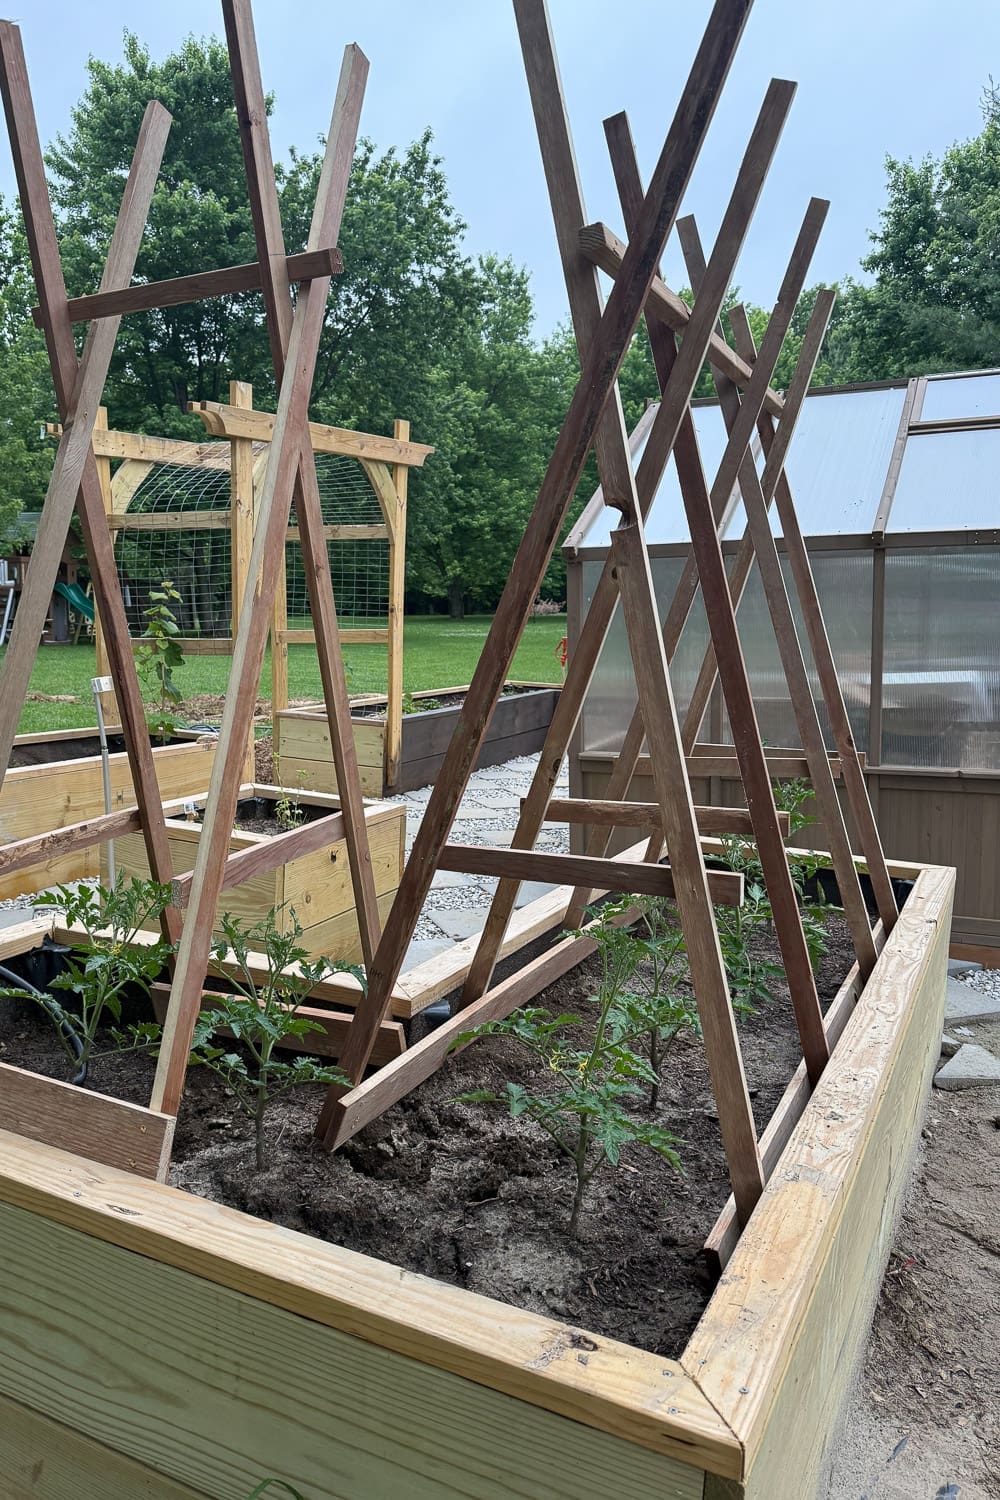
And that, my friends, is a DIY tomato trellis you’ll actually be proud to have in your garden. Stand back, admire it, pat yourself on the back, and get ready to see this thing filled with giant tomato plants.
More From My Cottage Garden
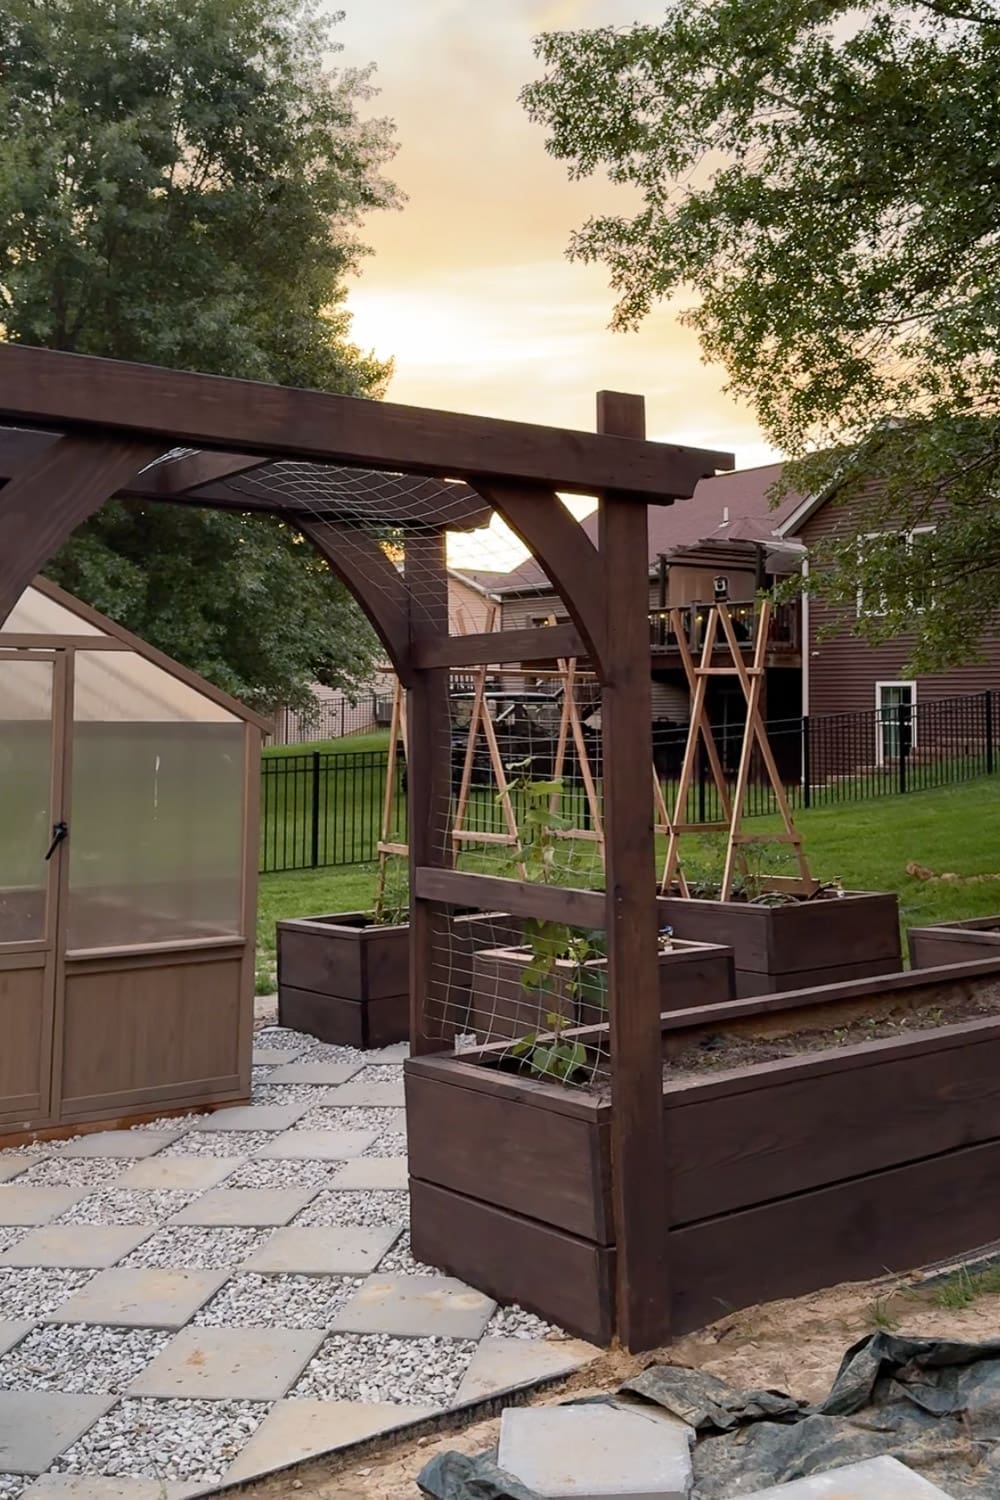
This little DIY tomato trellis is just one piece of the bigger garden puzzle! I’ve been slowly transforming this whole space into the cozy, fairy-tale cottage garden of my dreams, one project at a time. If you’re feeling inspired, here are the other projects that brought this garden to life:
- How to Build DIY Raised Garden Beds (Step-By-Step)
- DIY Paver Walkway: Diamond Pattern with Gravel
- Easy DIY Garden Trellis: Build a Beautiful Wooden Arbor Entrance
📌 Pin This DIY Tomato Trellis for Later!
Loving this project, but not quite ready to build? I get it, so save it for when you are! Pin this DIY tomato trellis to your gardening board so it’s waiting for you when those tomatoes start getting tall.
DIY Tomato Trellis FAQ
For most tomato varieties, you’ll want a trellis that’s at least 5 to 6 feet tall, since indeterminate tomatoes can get really leggy. The beauty of this furring-strip design is that those long 1×2 legs give you plenty of height to work with.
They sure do! Tomato plants get heavy and floppy as they grow and fruit. Without support, the vines sprawl on the ground, which can lead to rot, pests, and a sad, tangled mess. A trellis keeps them upright, improves airflow, and makes harvesting so much easier.
Not at all! This is a great beginner project. If you can measure, cross two boards, and drive a screw, you can build this. No fancy joinery, no perfect angles required. You can finish it in an afternoon.
Absolutely! This same design works beautifully for cucumbers, pole beans, peas, and other climbing veggies. It’s a versatile little workhorse for the whole garden.