How to Plant a Raised Bed Garden: My Best Tips


Published May 22, 2026
You guys, I finally got my garden planted, and I’m SO excited about it this year. If you’ve ever wondered how to plant a raised bed vegetable garden without it turning into a total disaster, pull up a chair. I’ve got you. There is just something about putting little plants and seeds in the dirt. Makes me so happy.
I shared a ton of planting tips over on my Instagram stories the other day, but stories disappear after 24 hours, and y’all kept asking me to put it all in one place. So here we are. Let’s walk through exactly how I plant tomatoes, carrots, beets, onions, berries, and perennials the way that has actually worked for me.
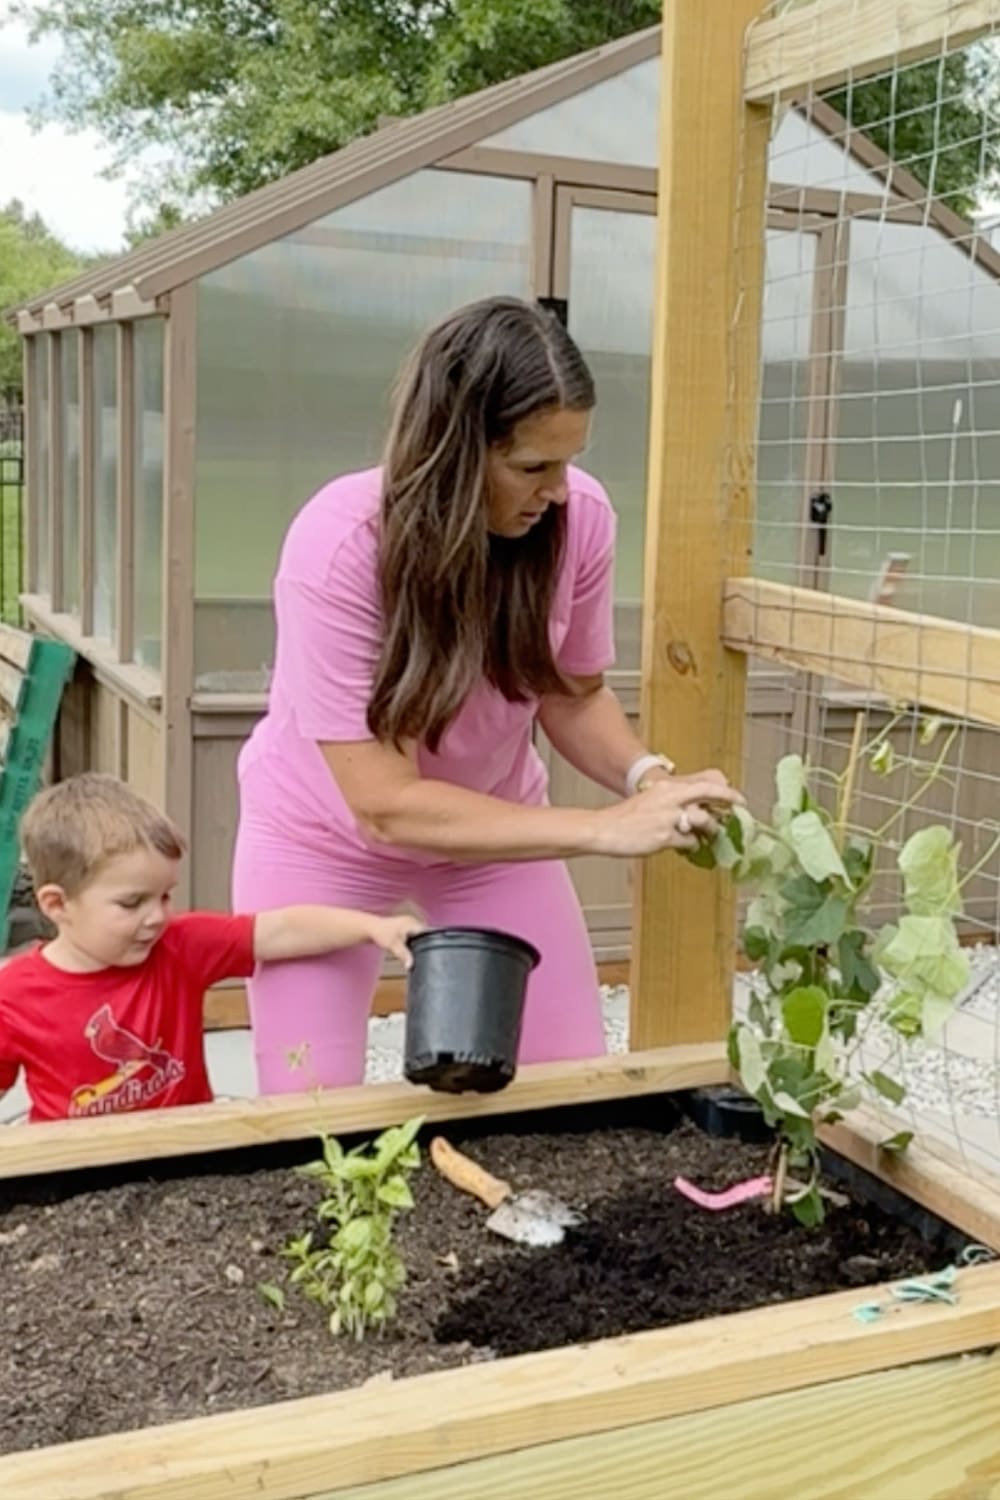
Table of Contents
- Tip #1: Use Quality Soil in Your Raised Bed Garden
- Tip #2: How to Plant Tomatoes in a Raised Bed Garden
- Tip #3: How to Plant Carrots and Not Lose those Tiny Seeds
- Tip #4: How to Plant Beets in a Raised Bed
- Tip #5: How to Plant Onions (Including Rehydrating Old Bundles)
- Tip #6: Set Aside a Raised Garden Bed for Perennials
- Tip #8: How to Plant Strawberries for a Big Harvest
- Tip #9: Don’t Forget to Fertilize Throughout the Season
- Final Thoughts on Planting Your Raised Bed Garden
- 📌 Pin This: How to Plant a Raised Bed Garden
- Raised Bed Vegetable Garden FAQ
Tip #1: Use Quality Soil in Your Raised Bed Garden
Okay, before we even talk about what to plant, we have to talk about what you’re planting it INTO. This is the part that most people want to rush through, but I promise you it matters more than anything else. Your soil is basically the food, the water, and the home for everything you’re trying to grow. If your soil is junk, your raised bed garden is going to be junk. Sorry, I don’t make the rules.
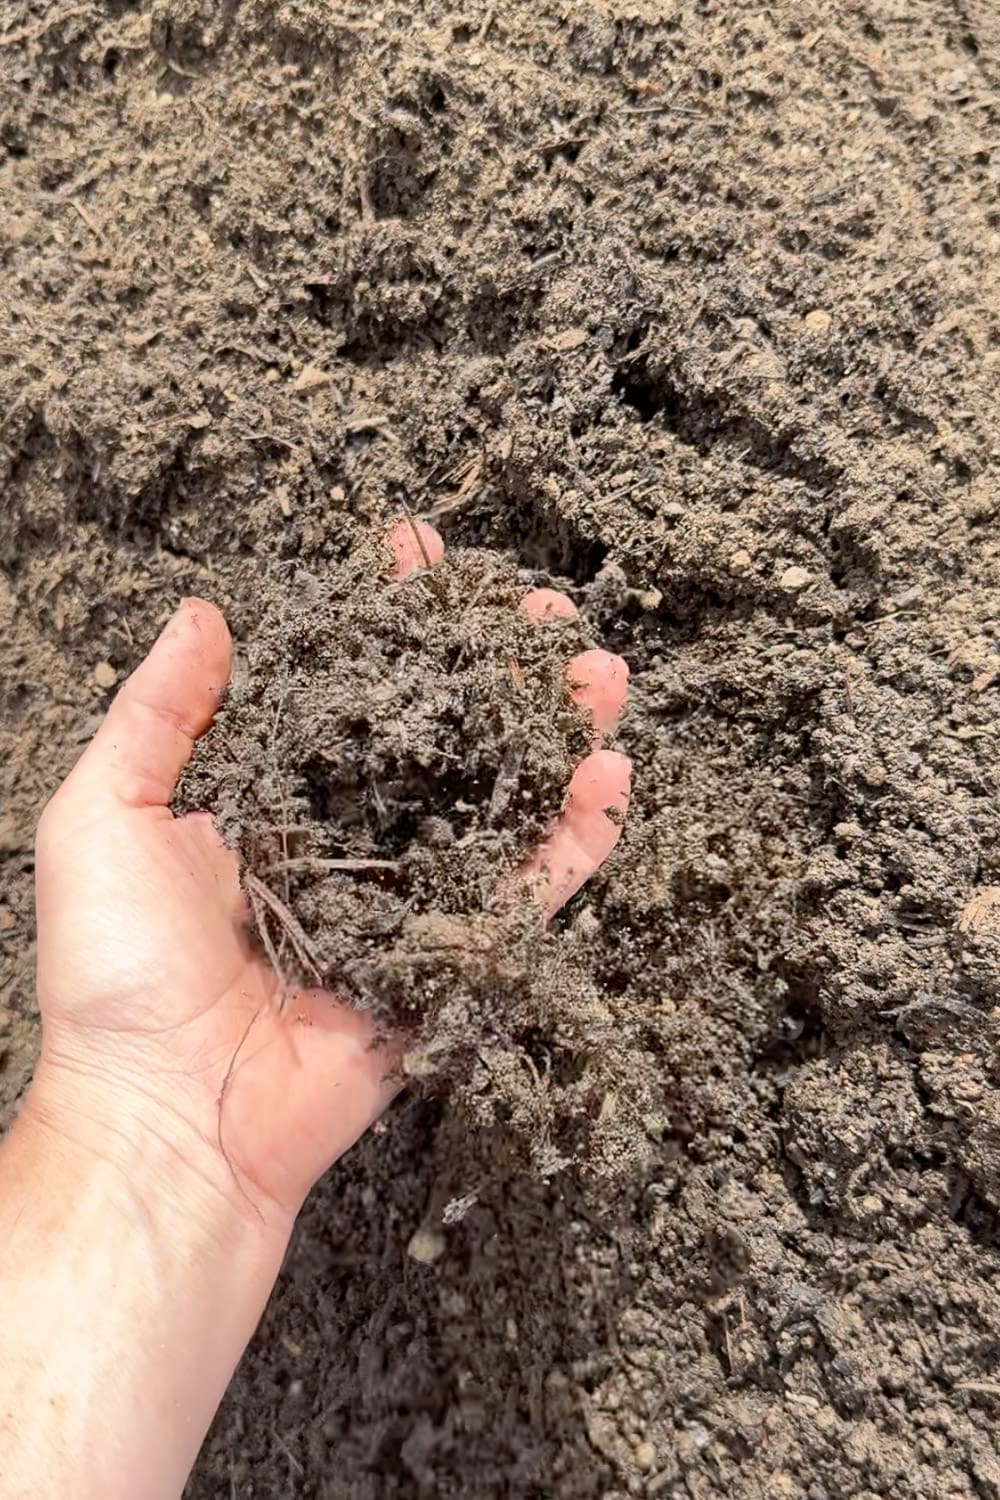
I always use a soil and compost mix that I’ve had really great success with. It drains well, holds moisture when it needs to, and has so many good nutrients in it. My garden grows like crazy.
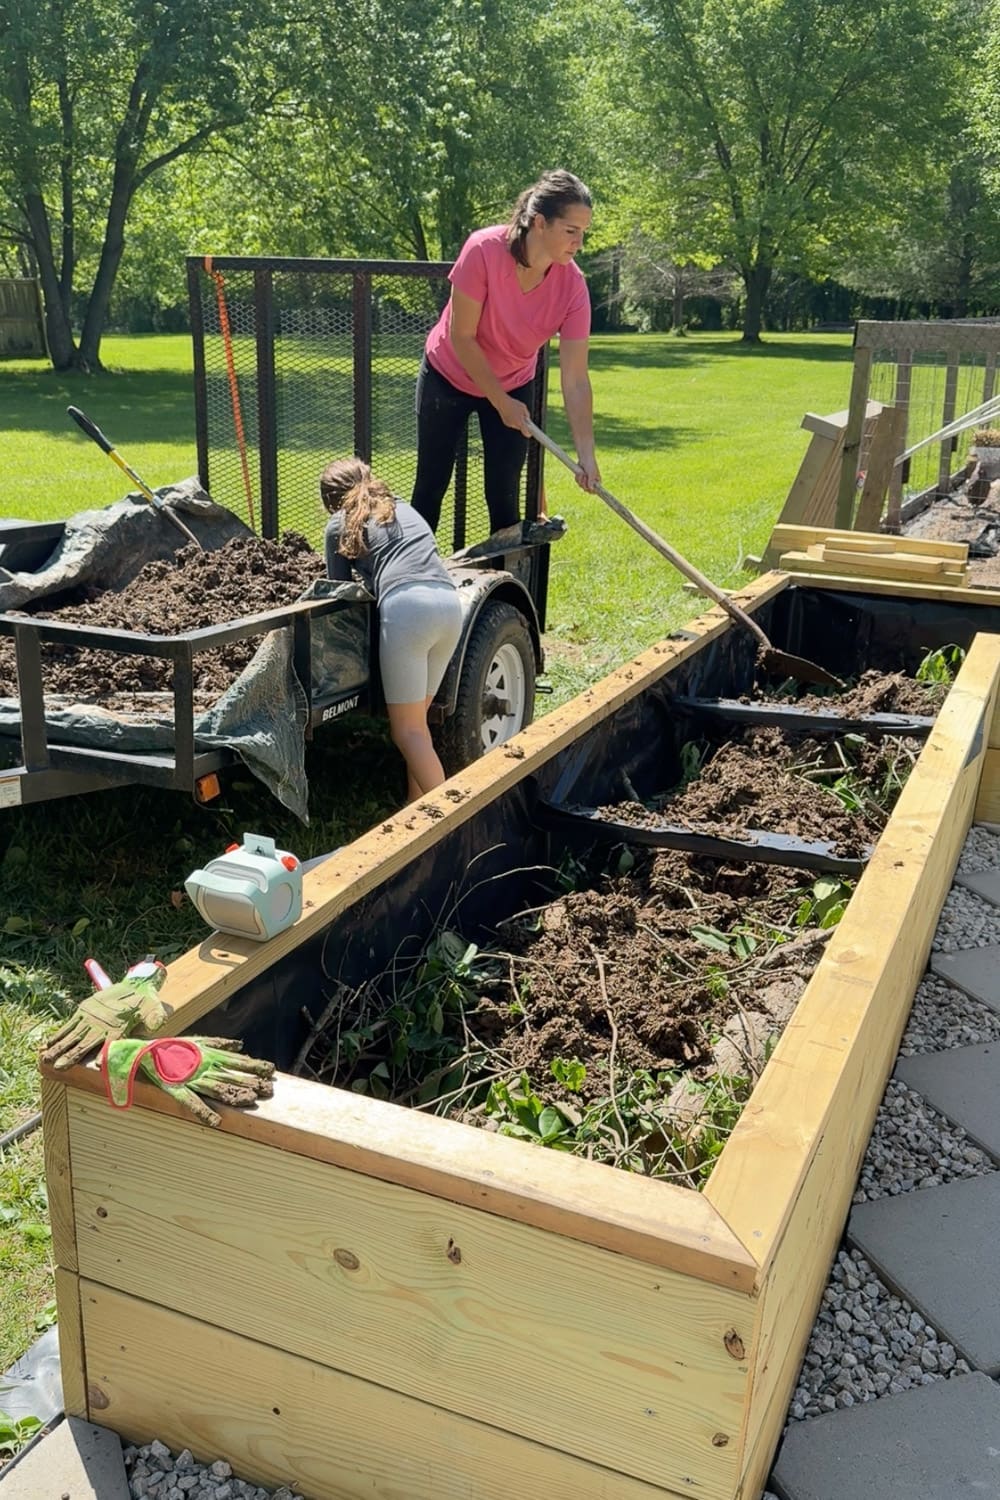
If you’re just getting started and need the full how-to, I’ve got two blog posts that are a must-read for you:
- How I Built My Raised Garden Beds for all the construction details, materials, and build instructions
- How to Fill Raised Garden Beds (Without Spending a Fortune) for the exact soil mix and layering method I use
Go check those out first if you haven’t built or filled your beds yet, and then come on back here for the planting party.
Tip #2: How to Plant Tomatoes in a Raised Bed Garden
I planted Big Beef tomatoes this year and they are my workhorse tomato. They’ll need to be staked eventually because they’re indeterminate, which is a fancy way of saying they will just keep growing up and up and up like little tomato Jacks-and-the-Beanstalks.
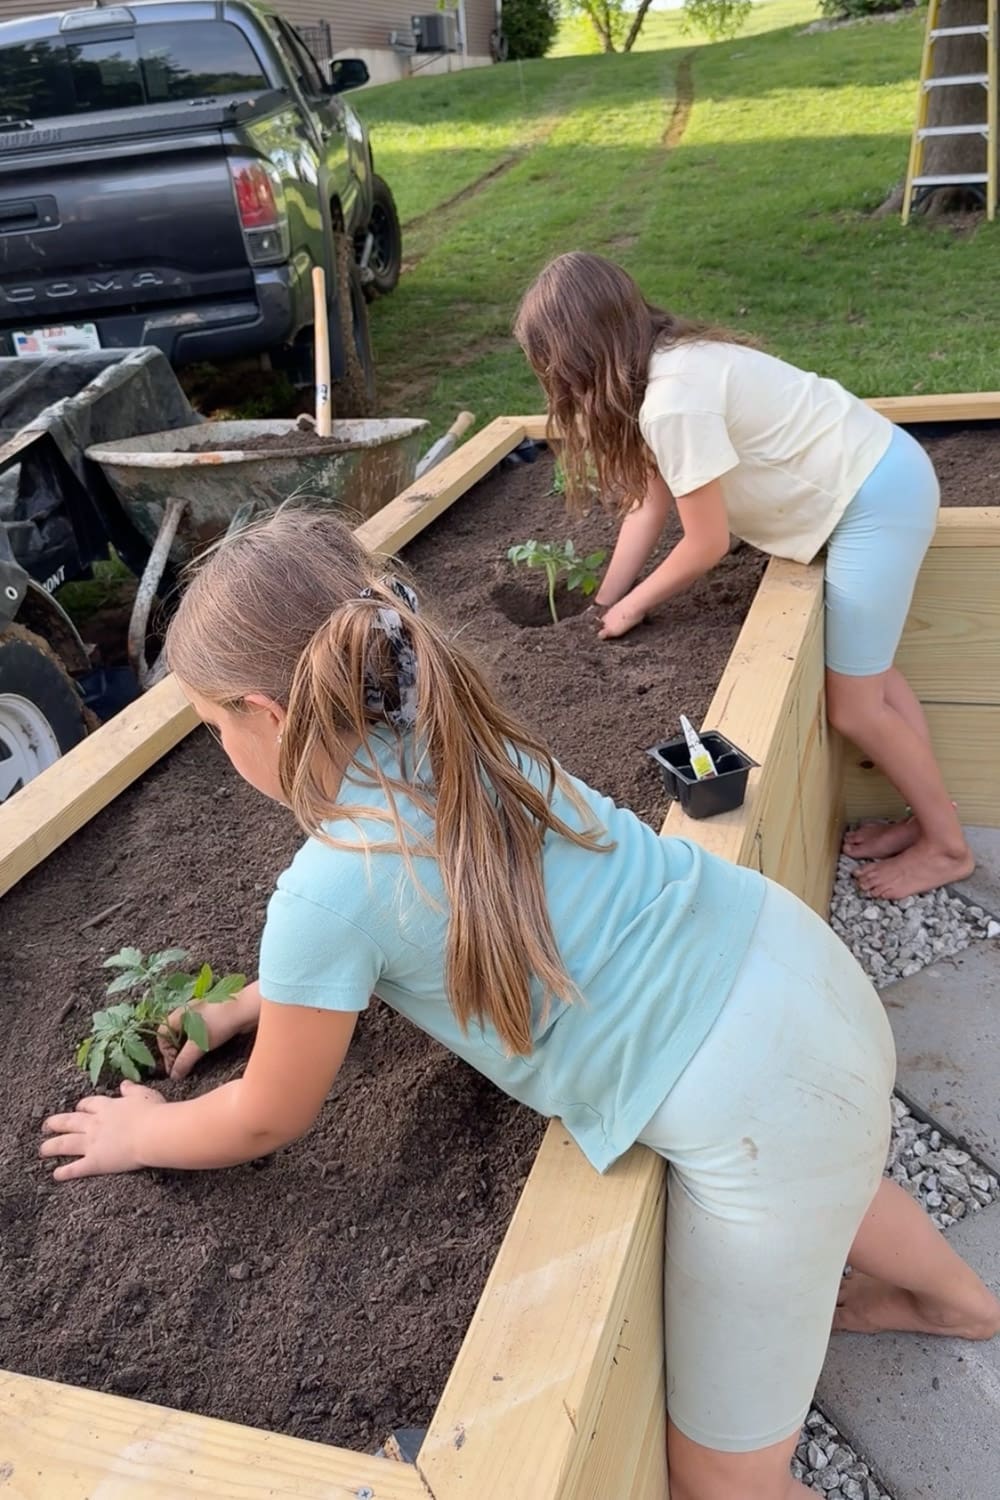
Here’s how I plant tomatoes for the best harvest:
- Space them 20 to 24 inches apart. Tomatoes hate being crowded. They need airflow or they get diseases.
- Remove any leaves or lower foliage on the stem before planting. This sounds harsh but trust me.
- Bury them DEEP. This is the secret. Any part of the stem you bury becomes a root, which means a stronger root system, which means a healthier, more productive plant.
- Add fertilizer. I love Tomato-tone for this. It’s specifically formulated for tomatoes and it has never let me down.
- Water immediately after planting to help them settle in.
That’s it. Big Beef tomatoes are pretty forgiving if you give them sun, water, and good support.
Tip #3: How to Plant Carrots and Not Lose those Tiny Seeds
I have to give a shoutout to my friend Breaunna for teaching me this method back when I lived in Omaha. It changed my whole carrot game. Carrots are tricky because they’re picky little vegetables, but once you know the trick, they’re actually really easy.
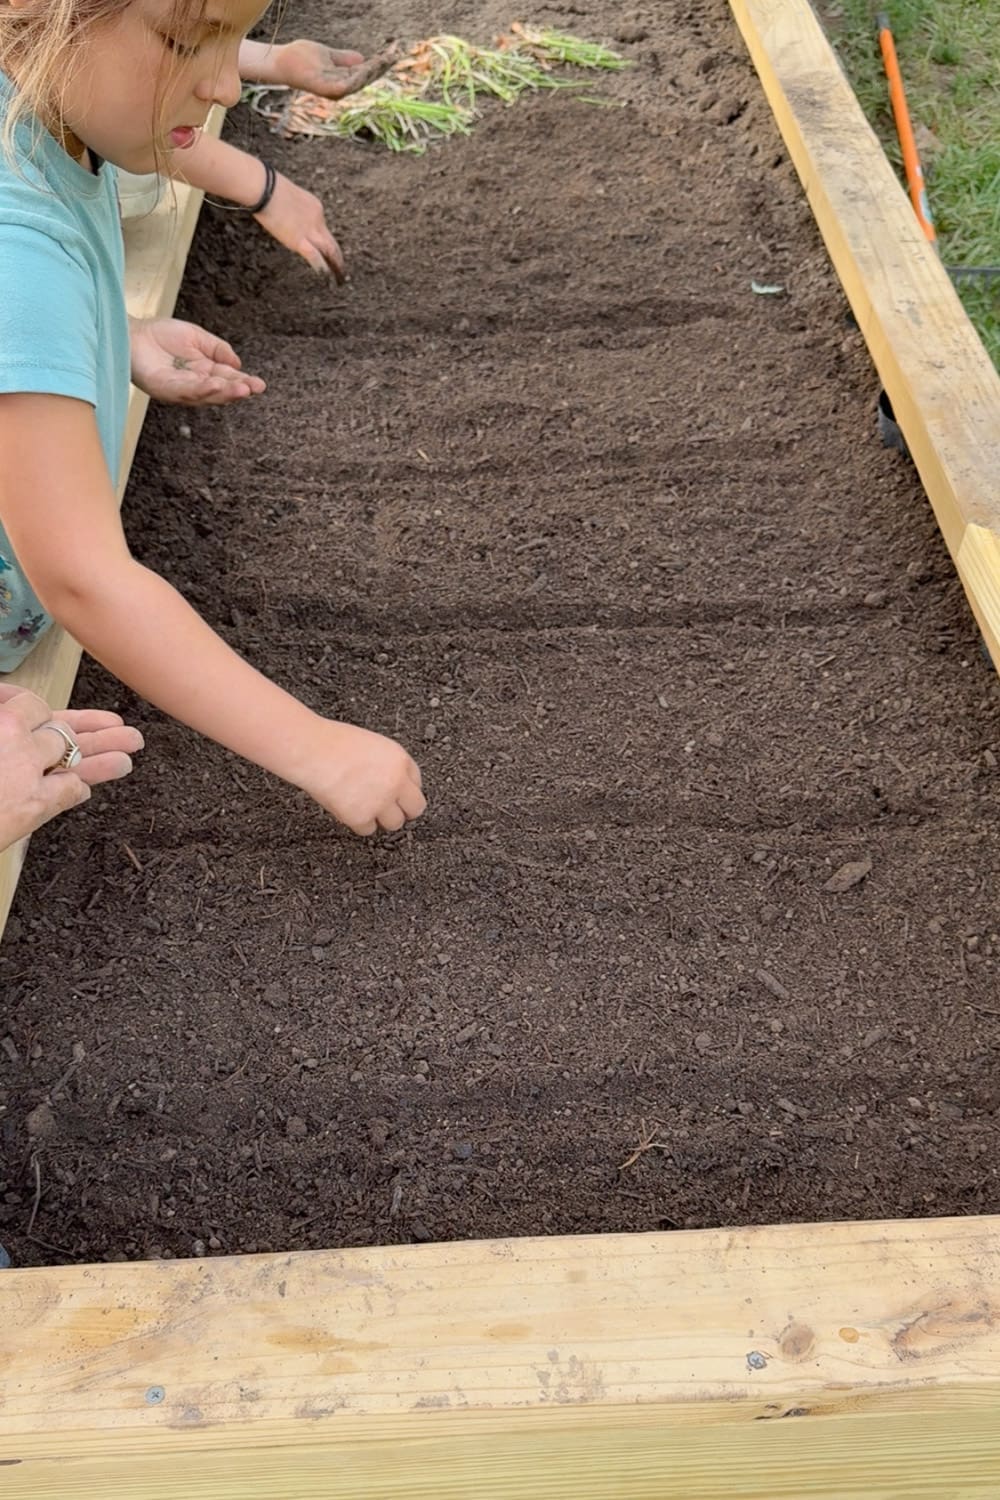
- They need very loose soil. This is non-negotiable. Compacted soil equals weird, forked, sad carrots.
- Dig a very shallow trench, about 1/2 inch deep. Carrot seeds are TINY and they don’t need to be buried deep.
- Sprinkle the seeds down the trench. Don’t worry about being precise.
- It’s okay if they’re close together because you’ll thin them out later once they sprout.
- Cover with a thin layer of soil.
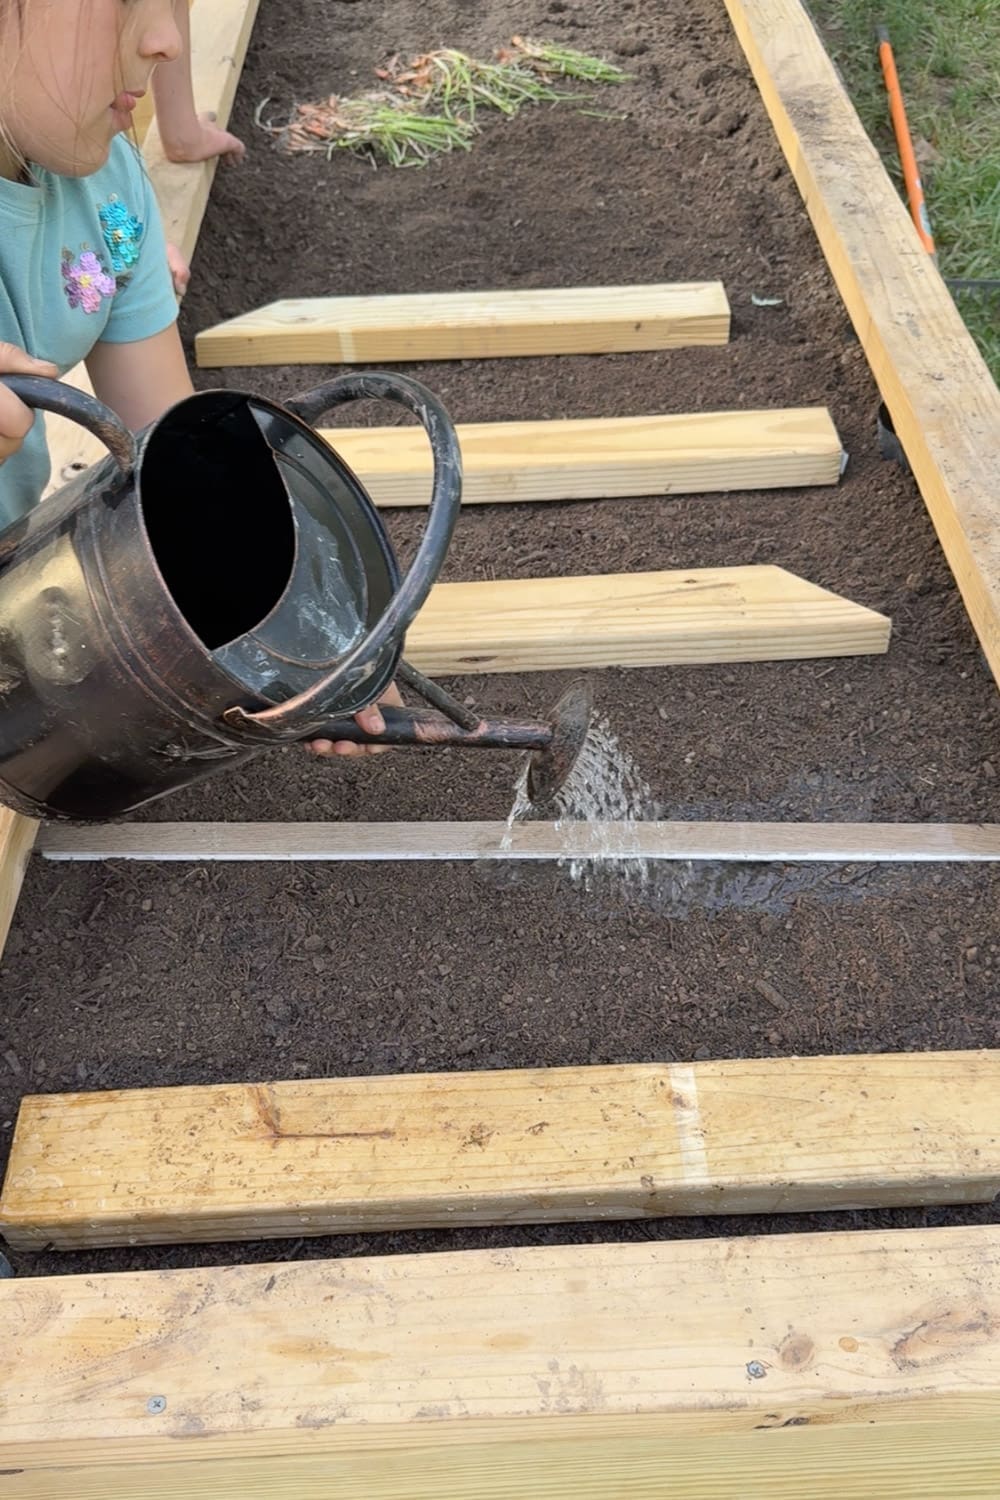
- Put a board on top of the trench. This is the magic step. The board helps them germinate by keeping the moisture in AND keeps the rain from washing all your tiny seeds away.
- Keep the soil moist for about a week. Once you see them starting to pop through the soil, remove the boards so they can get sunlight.
I promise this method works. I have grown some of the best carrots of my life using this trick.
Tip #4: How to Plant Beets in a Raised Bed
Beets are similar to carrots, but they’re more tolerant of dry soil, which is great news for those of us who occasionally forget to water for a day. (Just me?)
Here’s how I plant beets:
- Plant 1/2 inch deep.
- One seed every 2 to 4 inches.
- Space your furrows 12 inches apart.
- Press down after covering for more soil contact (this helps germination).
- Beet seeds form clusters, so you’ll need to thin them out later just like carrots.
- Keep the soil mostly damp until they sprout.
A little pro tip: soak the beet seeds in water for a couple of hours before planting. It can speed up germination by as much as a week.
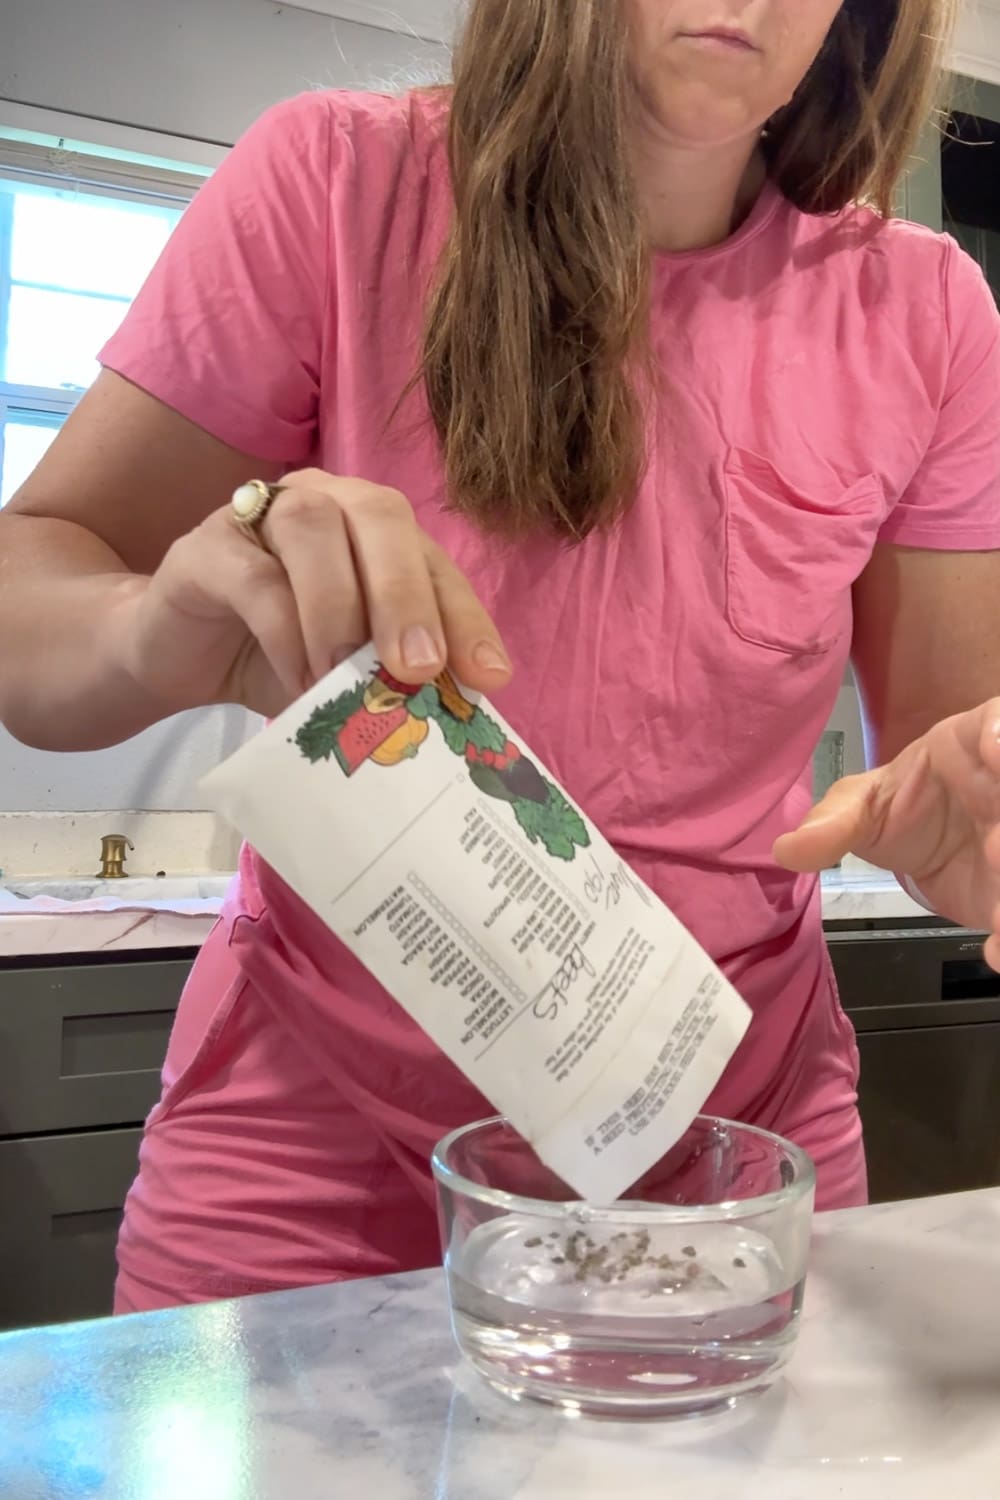
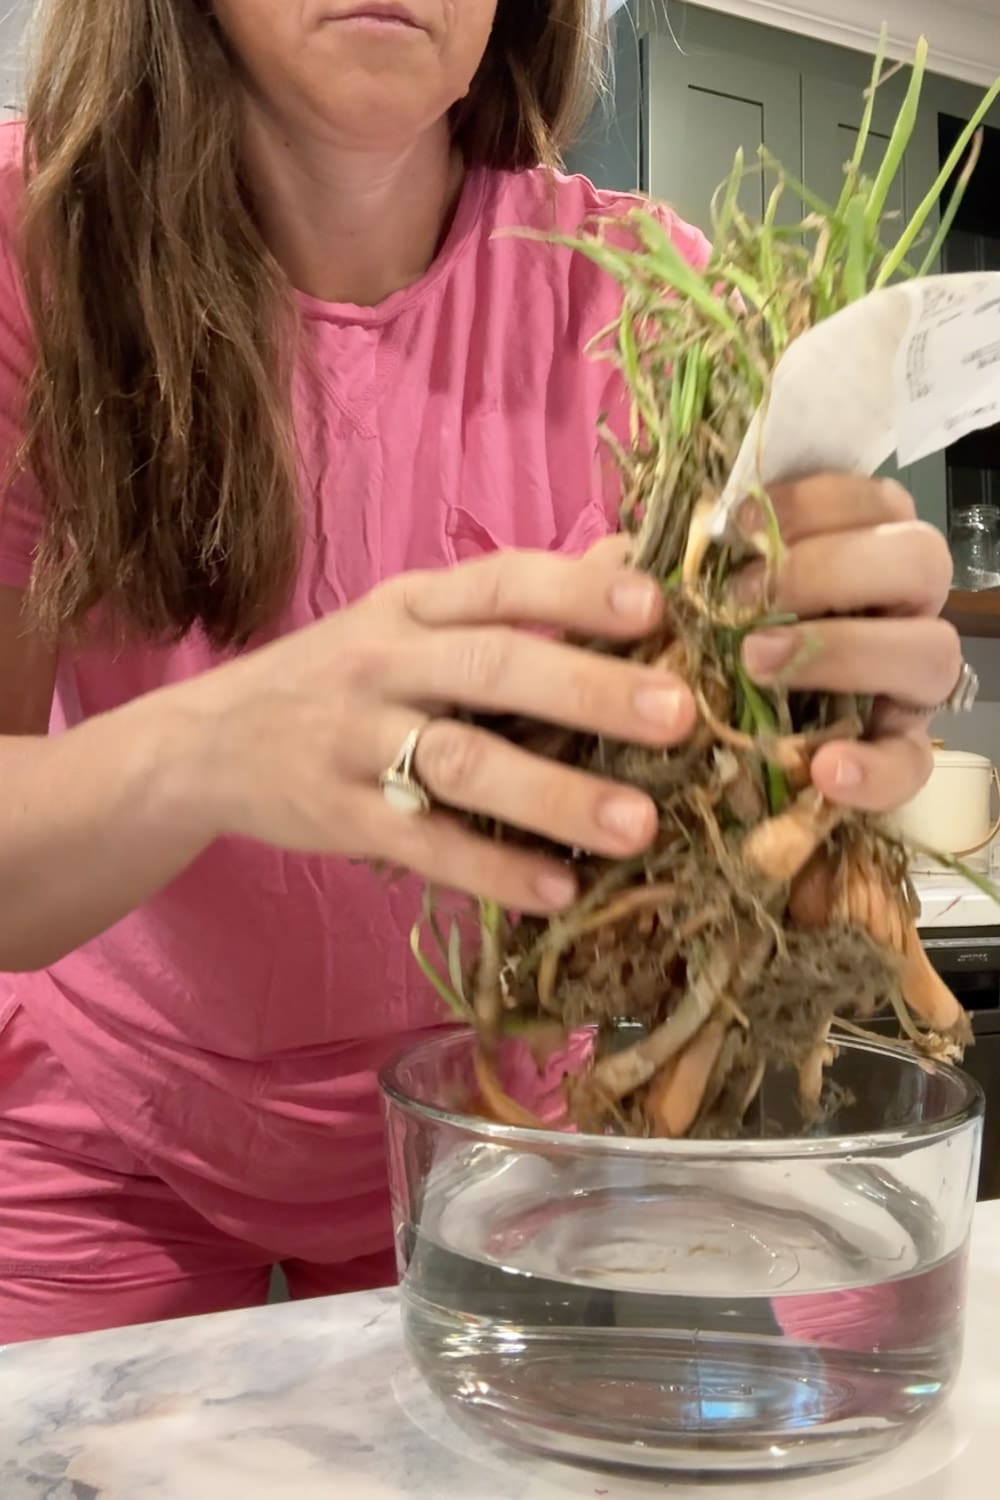
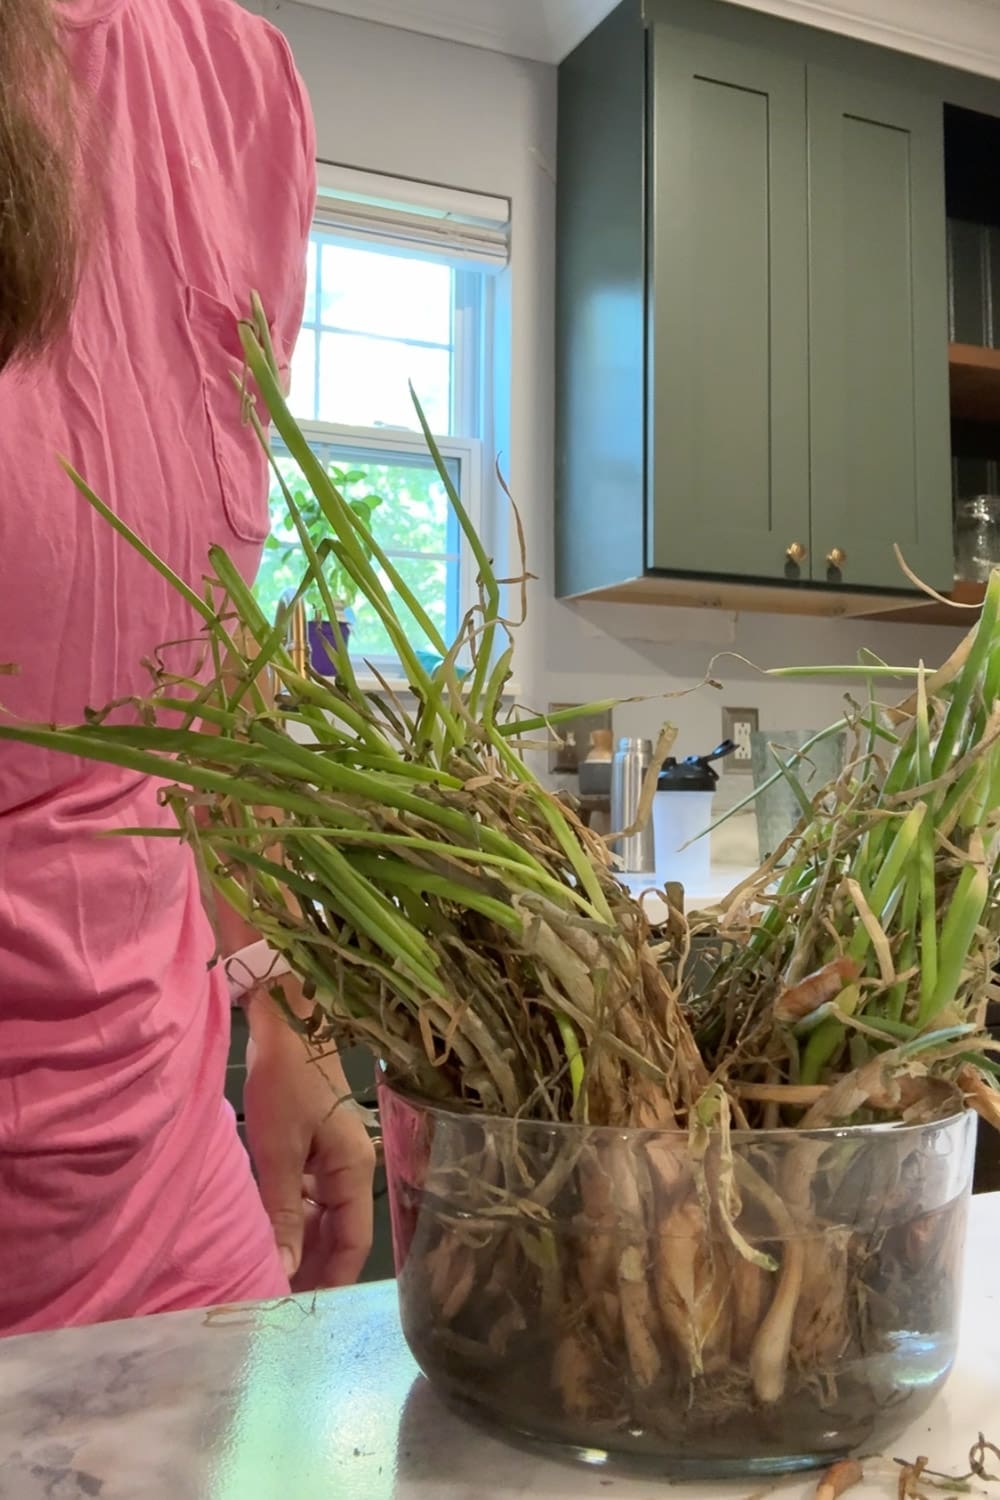
Tip #5: How to Plant Onions (Including Rehydrating Old Bundles)
I got my sweet onion bundles 2-for-the-price-of-one this year because the bundles were a little old. Total win for the budget. Here’s the trick when you score deals on older bundles: rehydrate them for a couple of hours in a bowl of water before planting. It jumpstarts their root growth and they take off way faster.
Here’s how to plant the onions themselves:
- Plant 4 to 6 inches apart in furrows 12 inches apart.
- Bury only the bulb, about 1 inch down. Do not bury the green tops. The green part needs sunlight.
- Water about an inch a week consistently.
- Stop watering when the tops start flopping over. This is the onion’s way of saying, “I’m done, I’m full, leave me alone.”
- Let them dry in the ground for about a week, then harvest.
Onions are honestly one of the most low-maintenance crops once they’re in the ground. Plant them, water them, ignore them, harvest them.
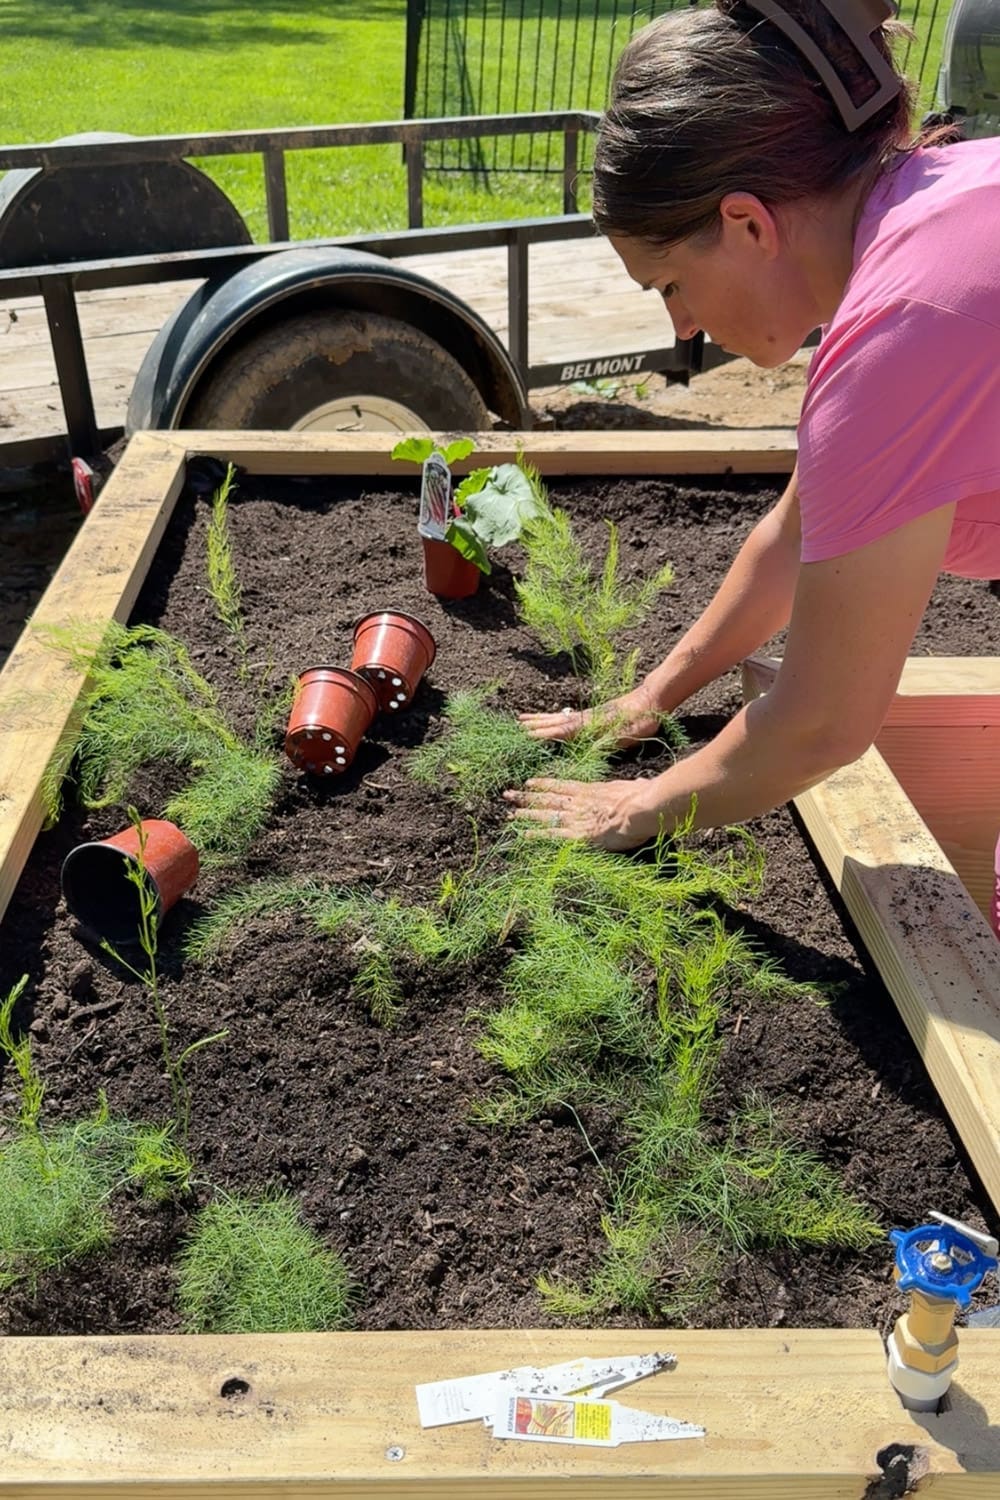
Tip #6: Set Aside a Raised Garden Bed for Perennials
Okay, this might be my favorite tip of the whole post because it is the laziest. (And I am all about lazy garden wins.)
Perennial vegetables are plants that come back year after year all on their own. You plant them ONE TIME and then they just… keep showing up. No replanting, no starting from seed every spring, no buying new plants. Just free food every year for the rest of your gardening life. It is honestly the closest thing to magic in the vegetable garden.
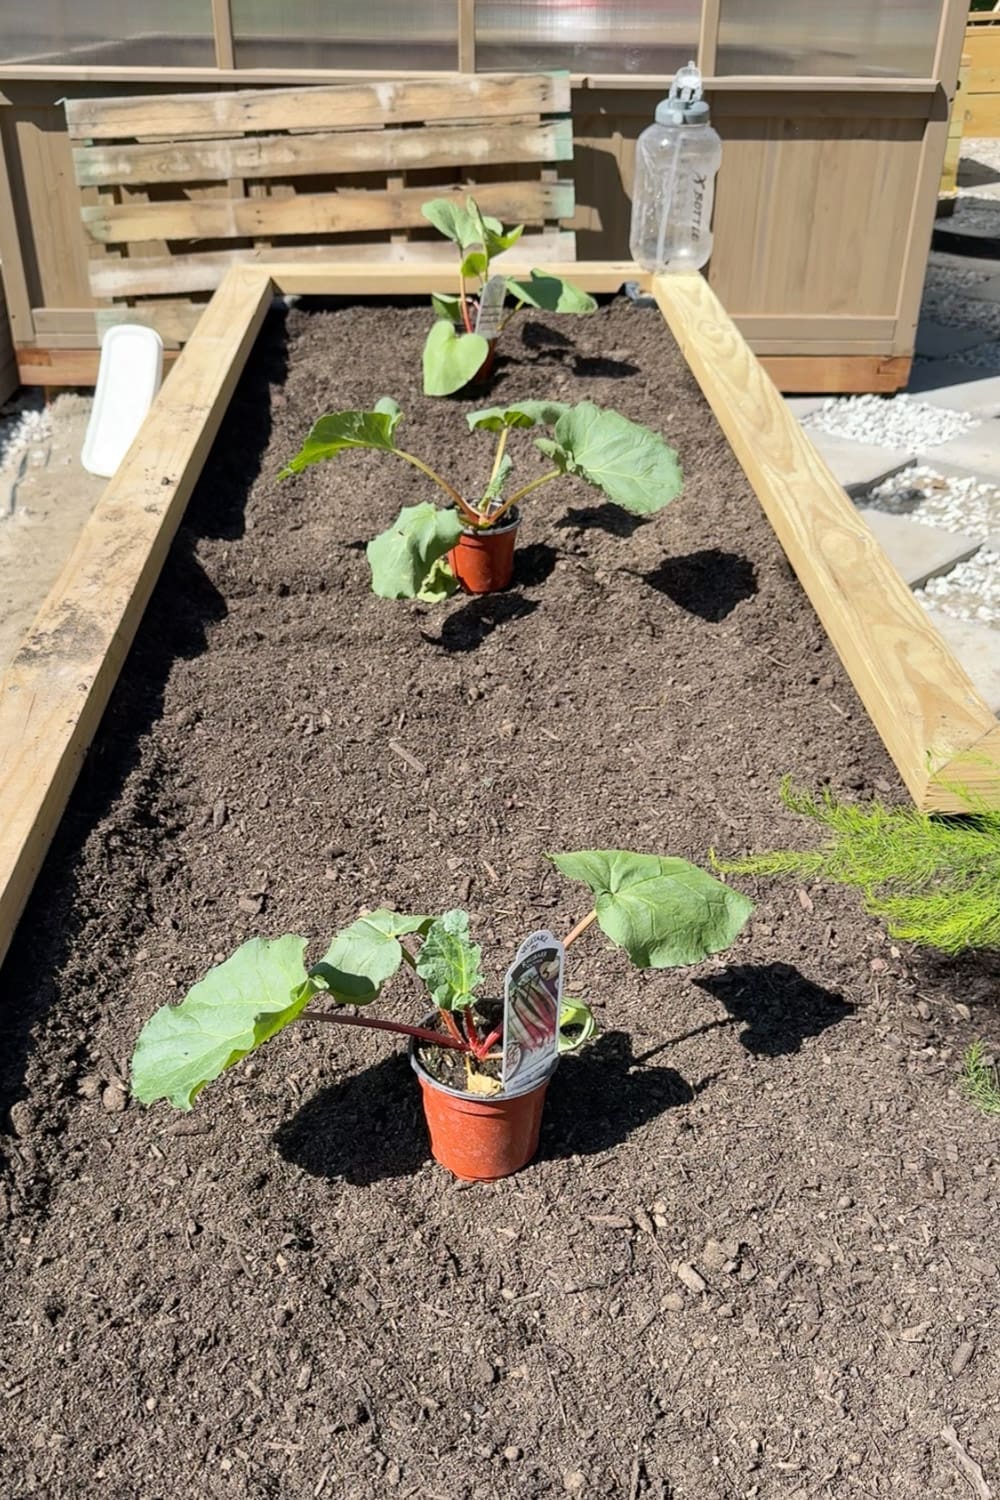
I set aside two whole raised beds just for perennials this year. In one, I planted rhubarb, asparagus, and in the other strawberries. Here’s why those three are such a great place to start:
Strawberries are the gift that keeps on giving. They send out runners that turn into new plants, so one little strawberry bed can become a whole strawberry patch over a few years.
Rhubarb is basically indestructible. Once it’s established, it’ll come back every spring and give you stalks for pies, jams, crumbles, and sauces for the next 10 to 15 years. Just plant it, mulch it, and walk away.
Asparagus takes a little patience because you don’t really harvest much for the first 2 to 3 years (you have to let the roots get strong). But once it’s going, an asparagus patch can produce for 15 to 20 years. That’s a whole childhood of asparagus, friends.
A Few Tips for Planting Perennials
- Pick the spot carefully. Since these plants are going to live there for years (or decades!), you don’t want them in the middle of your annual veggie rotation. Give them their own bed or a dedicated corner.
- Amend the soil well before planting. You only get one shot at preparing the ground, so add plenty of compost up front.
- Mulch generously. A thick layer of mulch each year keeps weeds down and feeds the soil as it breaks down.
- Be patient the first year. Most perennials spend year one focused on building strong roots, not producing food. Resist the urge to harvest too early.
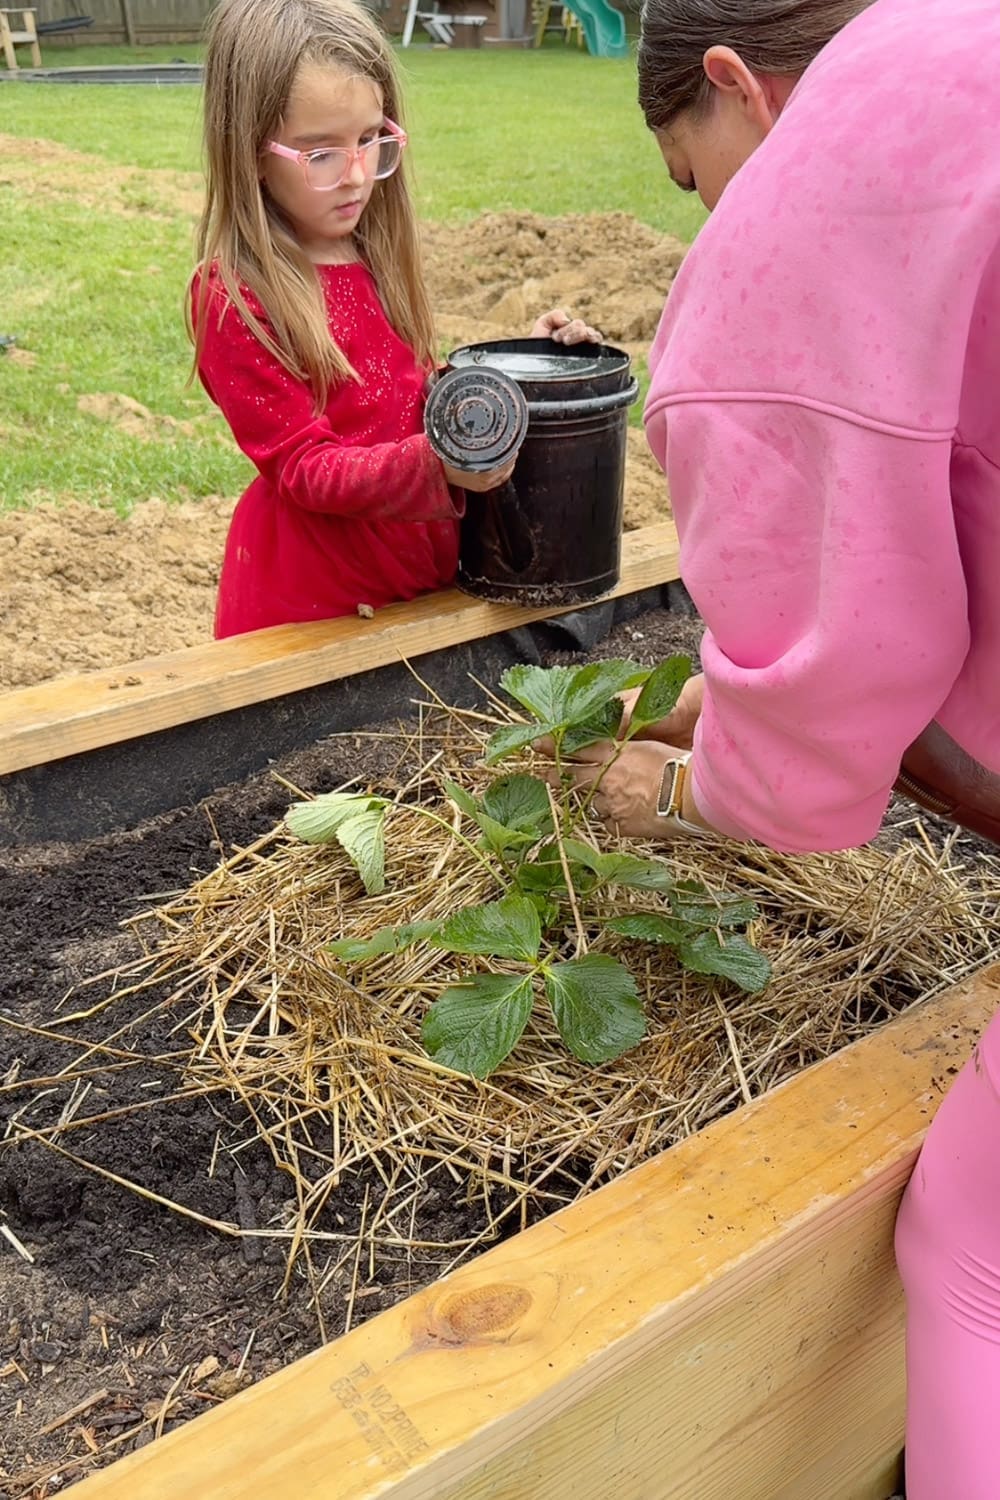
Tip #8: How to Plant Strawberries for a Big Harvest
Strawberries deserve their own spot on this list because they have a few rules that are different from everything else in the garden, and getting them right the first year sets you up for YEARS of berries.
Here’s exactly how I planted my strawberries this year:
- Sprinkle Berry-tone fertilizer and bone meal in the hole before planting. The Berry-tone is specifically formulated for berries, and the bone meal gives them a phosphorus boost for strong root development.
- Don’t bury them too deep. This is the big one. The crown (where the leaves meet the roots) needs to sit right at soil level. If you bury the crown, the plant will rot. If you plant too shallow, the roots dry out. You want it juuuust right.
- Pinch off all runners the first year. I know, it feels wrong. But this lets the plant put all its energy into building strong roots instead of making baby plants.
- Pinch off all flowers and fruit the first year, too. Same reason. I won’t be harvesting any strawberries this year, but next year I’ll have a much stronger, more productive patch because of it.
- Mulch with straw around the plants. Straw helps keep the soil moist, suppresses weeds, and (next year, when you actually have berries) it keeps the fruit from touching the dirt so they don’t rot or get eaten by bugs. Fun fact: this is actually where strawberries got their name!
It’s hard to be patient when you can SEE little flowers turning into fruit, but trust me, this is the strawberry investment plan. A little sacrifice now for years of strawberry shortcake later.
Tip #9: Don’t Forget to Fertilize Throughout the Season
Planting your garden is just step one. Once everything is in the ground, your plants are going to be hungry, and giving them a regular boost of nutrients makes a HUGE difference in the size and quality of your harvest.
GS Plant Foods Organic Liquid Fish Fertilizer
This one is a powerhouse, and it’s currently my go-to. It’s a cold-processed fish hydrolysate fertilizer with a 2-3-1 NPK ratio, which basically means it has a good balance of nitrogen (for leafy growth), phosphorus (for roots and flowers), and potassium (for overall plant health). Plus a bunch of trace minerals you can’t get from synthetic fertilizers.
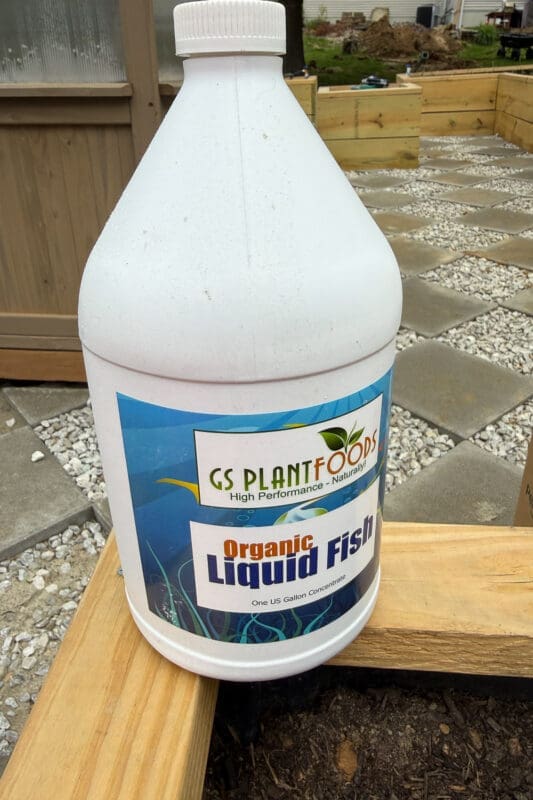
What it’s good for: Pretty much everything! It works on vegetables, fruits, herbs, flowers, ornamentals, shrubs, lawns, and even houseplants. It’s truly an all-purpose fertilizer.
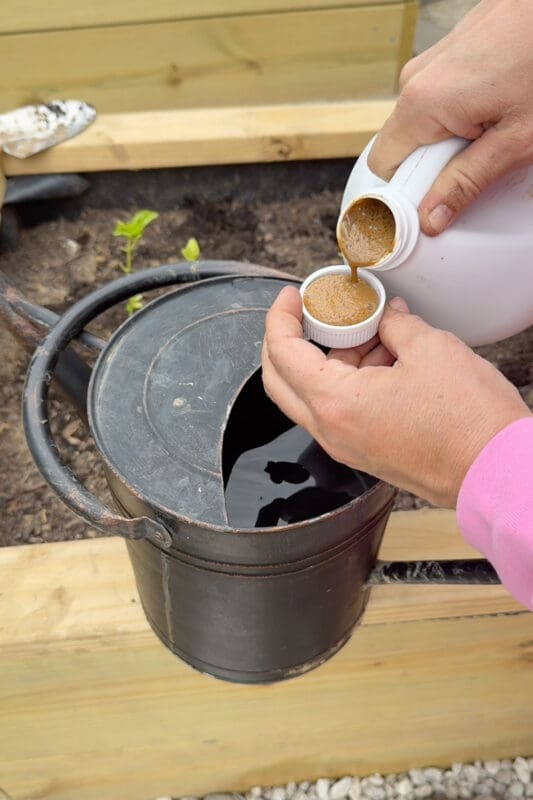
How often to use it: Every 2 to 4 weeks throughout the growing season.
How I apply it: I just add a capful to my watering can, fill it with water, and water my plants like normal. That’s it. The plants soak up the nutrients through their roots and you get steady, consistent feeding without any extra steps. Easy peasy.
A quick heads-up: it smells like, well, fish. Outside in the garden you won’t even notice, but maybe don’t mix it up in your kitchen sink.
Final Thoughts on Planting Your Raised Bed Garden
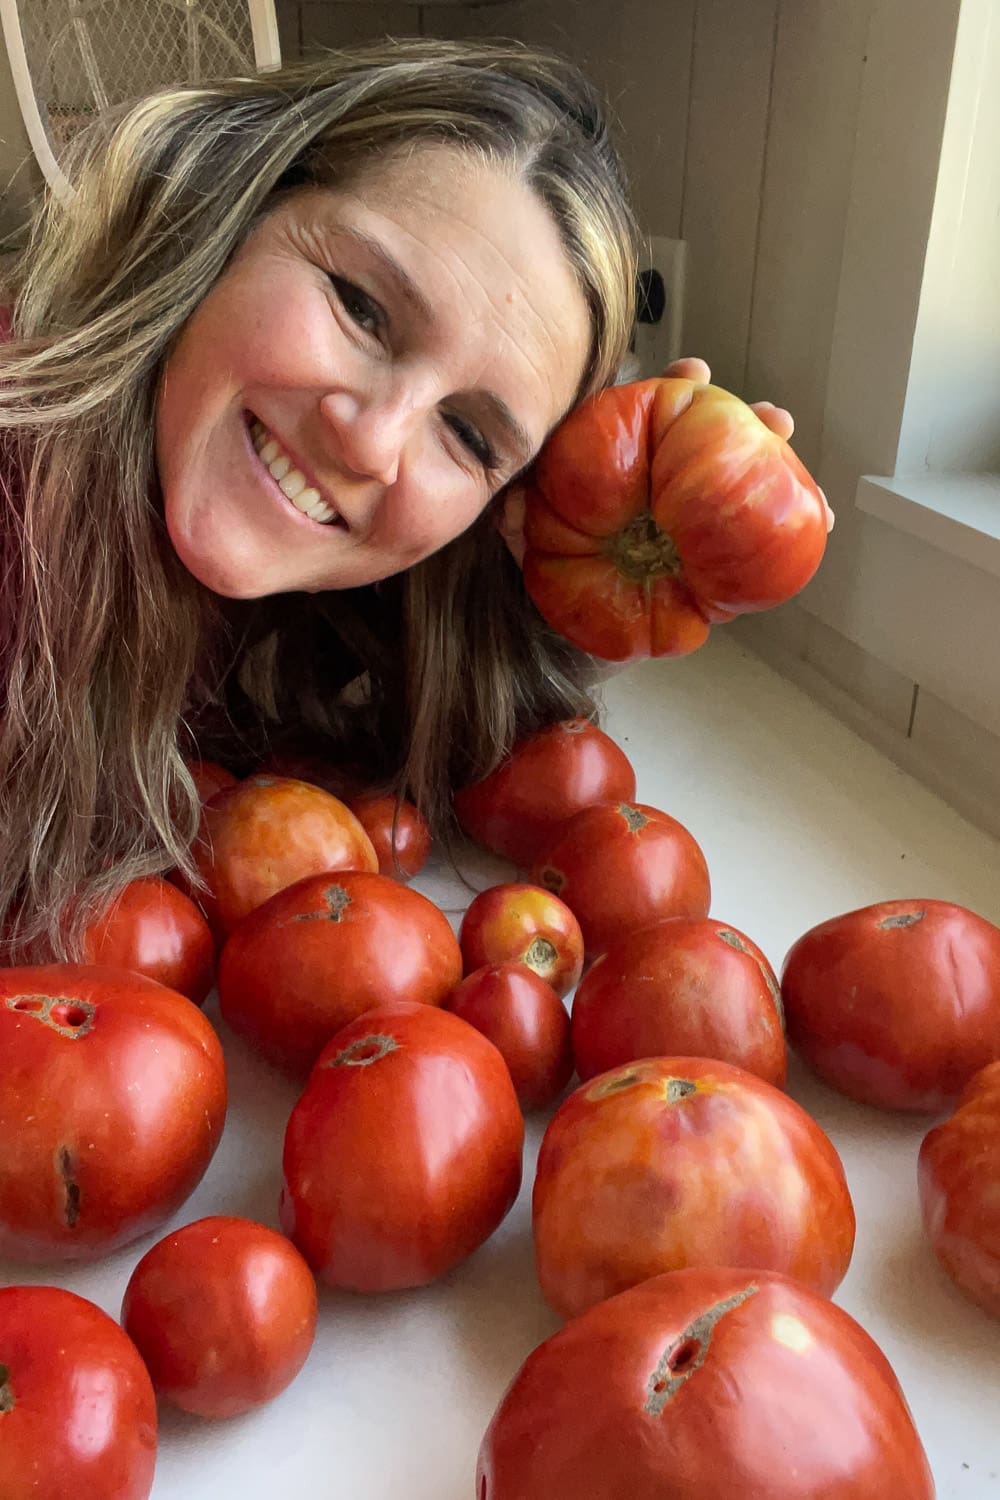
Listen, I’m not a master gardener. I’m just a mom who loves growing food for her family and figuring things out one season at a time. Some things will work. Some things will be a disaster. But the joy of stepping outside in July and grabbing a tomato off the vine for dinner? Makes it all worth it!
If you have questions about any of this, drop them in the comments. And if you try any of these tips, I want to see your garden! Tag me on Instagram so I can cheer you on.
Happy planting, friends.
📌 Pin This: How to Plant a Raised Bed Garden
Loved these tips? Save this post for later! Pin the image below to your favorite gardening or backyard board so you can come back to it next planting season. And while you’re at it, follow me on Pinterest for more budget-friendly DIY, garden, and home ideas!
Raised Bed Vegetable Garden FAQ
A quality soil and compost mix is the best soil for a raised bed vegetable garden. You want something that drains well, holds moisture without getting soggy, and has plenty of nutrients. Avoid cheap topsoil from a bag, it usually doesn’t have enough organic matter to actually feed your plants. (I cover this in detail in my How to Fill Raised Garden Beds post.)
For most vegetables, a raised bed should be at least 12 inches deep. If you want to grow root vegetables like carrots, beets, or potatoes, aim for 18 inches or more so they have room to grow down. I made my raised garden beds 24 inches deep to save my back. Full details in this post – How to Build DIY Raised Garden Beds (Step-By-Step)
Plant your raised bed garden after your last frost date in the spring. Raised beds actually warm up faster than in-ground gardens, so you can usually plant a week or two earlier than your neighbors with traditional gardens. Check your USDA growing zone to find your specific frost date.
Yes, especially after the first year. Raised beds don’t get the same natural nutrient cycling that in-ground gardens get, so you’ll need to add fertilizer or compost throughout the growing season. I like Tomato-tone for tomatoes, Berry-tone fertilizer for the strawberries, and this organic liquid fish fertilizer for everything else.
