


Entryway Decor Ideas: Entryway Table & Wall Styling


Updated July 13, 2026
Entryway decor sets the tone for your entire home, and after almost a year of living in our house mid-renovation, I finally have one space that feels done. Our entryway is officially finished, and I am OBSESSED. It’s the first thing I see when I come downstairs each morning, and let me tell you, walking past a beautifully styled gallery wall and a vase full of peonies is a much better start to the day than tripping over a paint bucket. If you’ve been searching for entryway decor ideas that feel warm, collected, and a little vintage (without the antique store price tag), grab a snack and stay a while. I’m walking you through every single step.
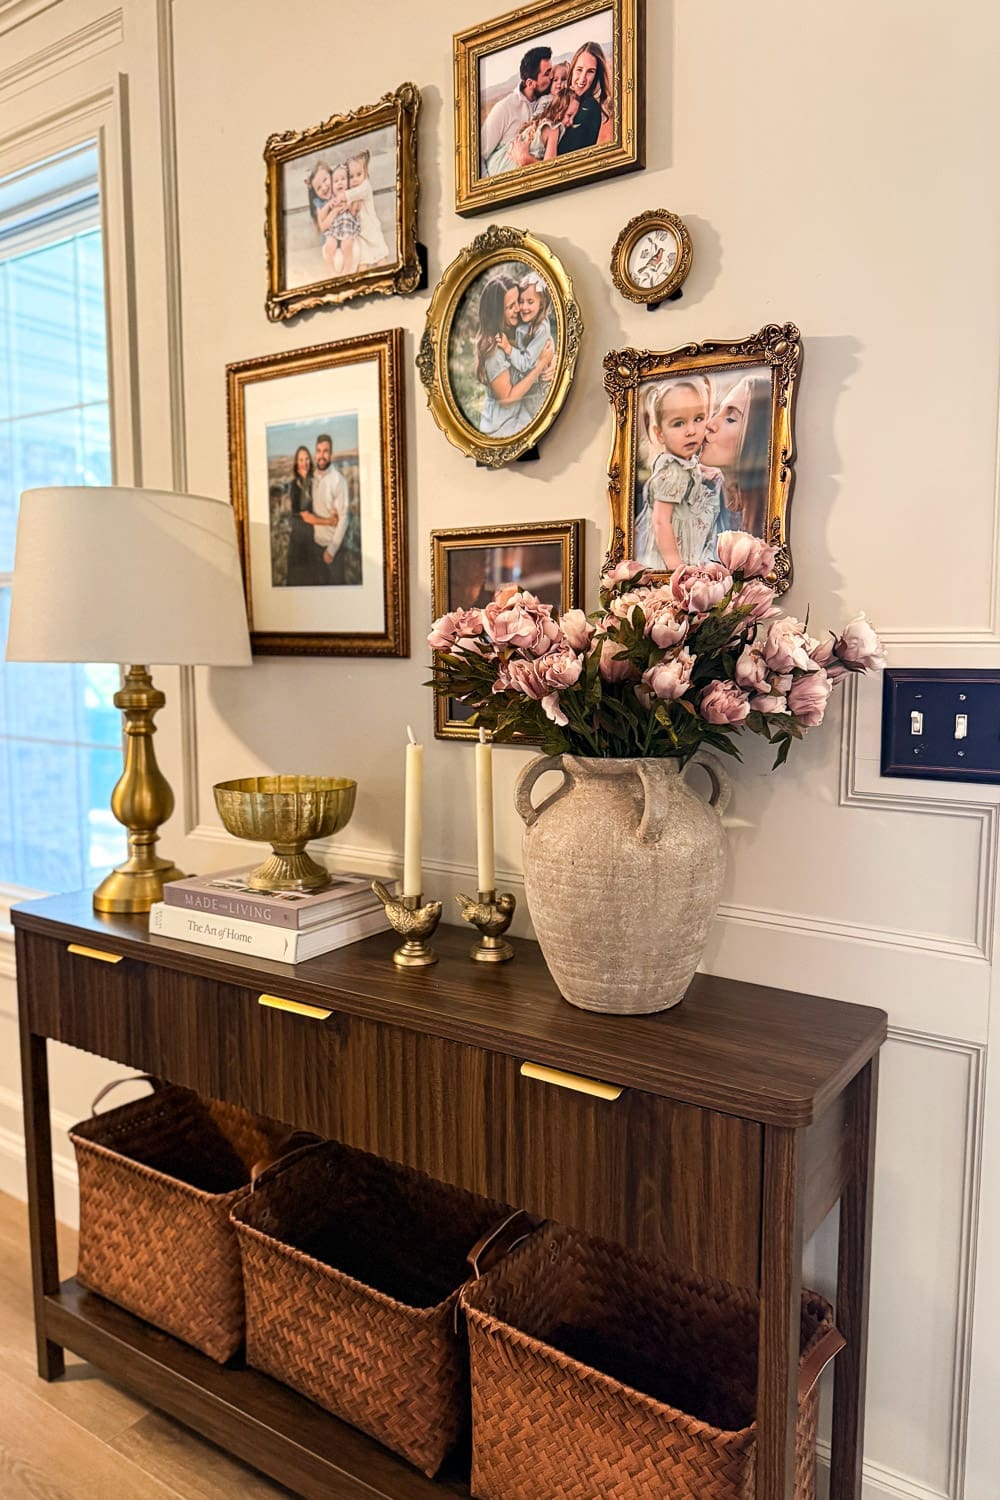
Table of Contents
Shop My Entryway Decor
Before we get into the how, here’s the what. I’m linking everything I used for my entryway decor so you can shop the look! Almost everything is from Amazon, which still shocks me because it all looks so high-end in person.
- Dark wood console table
- Vintage style gold picture frames
- Stone vase
- Faux pink peonies
- Brass table lamp
- Brass bird candle holders
- Gold pedestal bowl
- Woven storage baskets
- Battery-operated taper candles
- Coffee table books (Made for Living + The Art of Home)
- Command picture hanging strips
- Keyless entry door lock
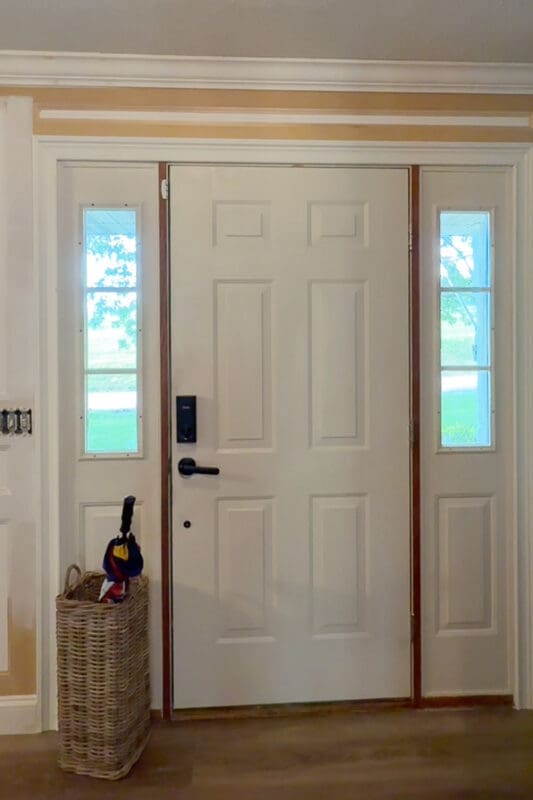
The Entryway Before
When we moved in, this entryway was a blank slate in the worst way, an empty front door area with zero personality. We’re renovating the entire first floor of our house at once (yes, all of it, while living here with five kids! Pray for me).
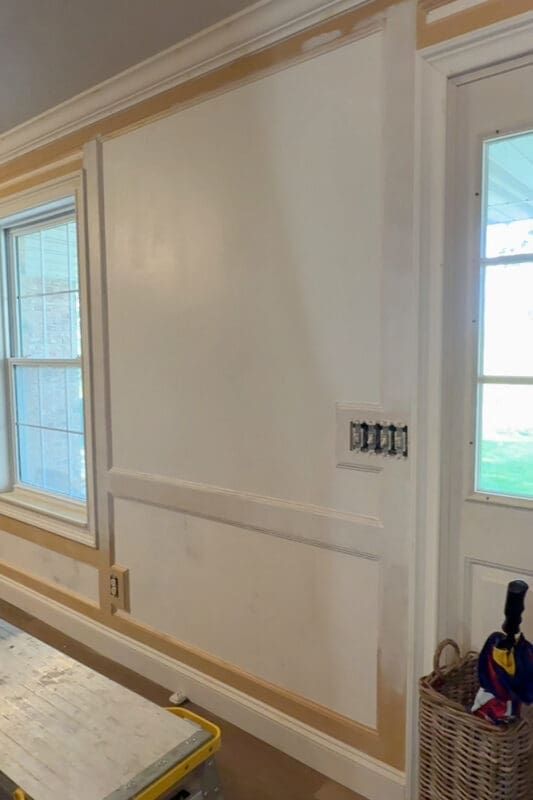
Two big projects had to happen before I could even THINK about decorating:
- Skim coating the walls to get rid of that orange-peel texture. If you’ve never done this, it’s life-changing but extremely messy. I shared my full tutorial here: [How to Skim Coat a Wall to Remove Texture (No Sanding Mess)]
- Adding the trim work. We added board and batten and picture frame molding to give the walls that custom, classic look. Here’s exactly how we did it: [DIY Box Molding Wall Trim Tutorial (Step-by-Step Guide)]
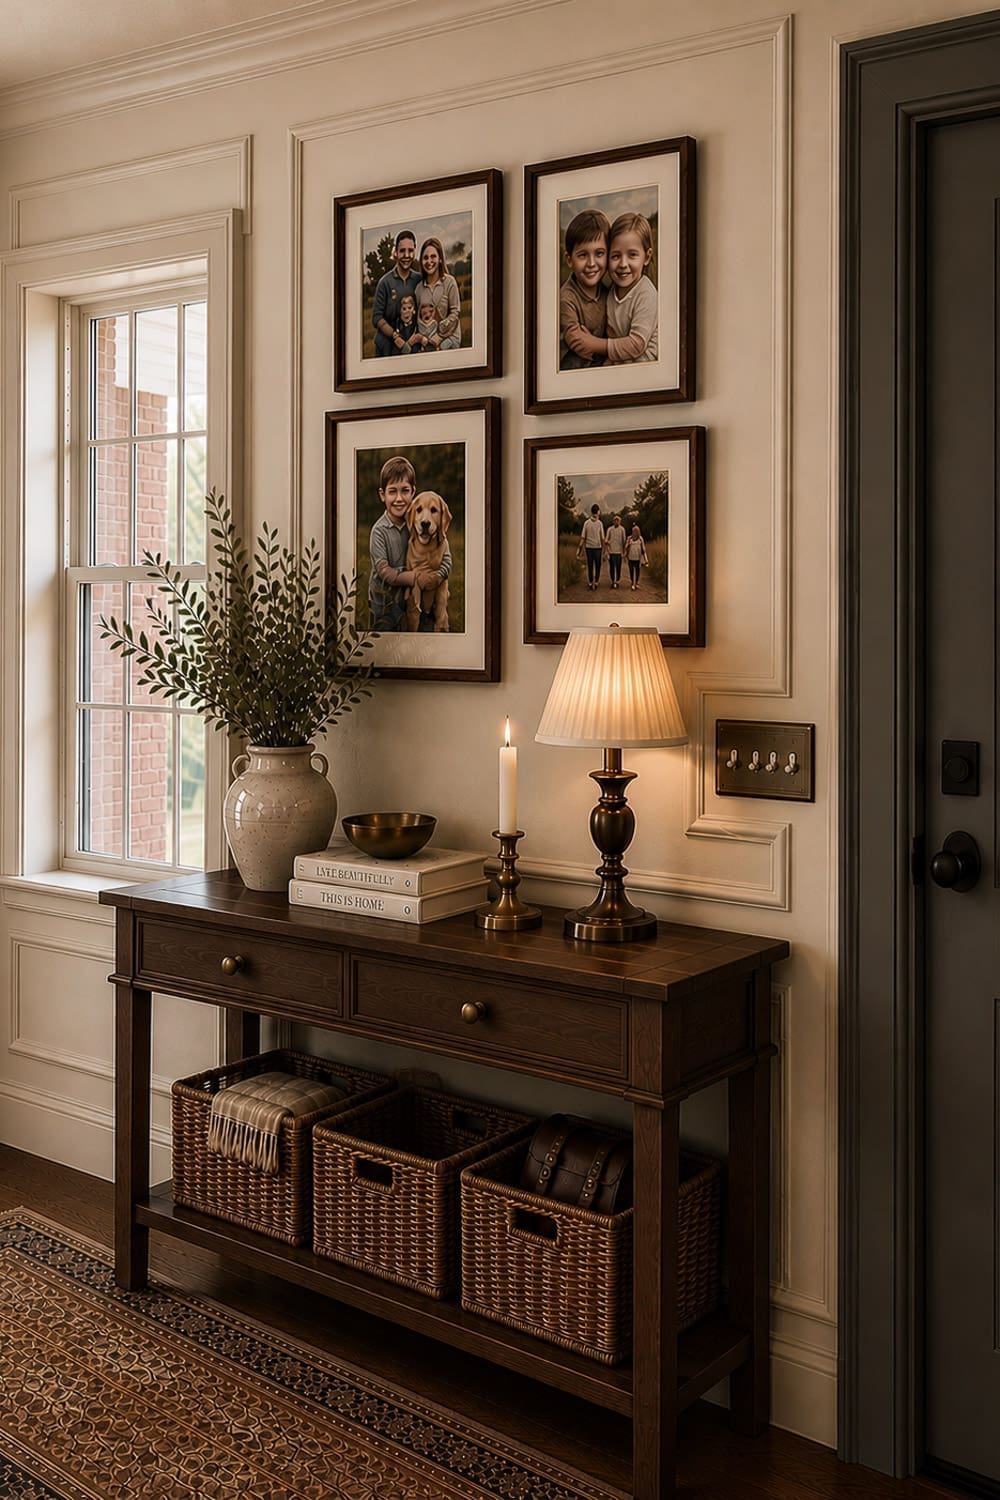
My Entryway Decor AI Mockup (Yes, Really!)
Before I bought a single piece of entryway decor, I designed the space first. Lately, I’ve been using AI to help me visualize my rooms before I commit, and it’s amazing!
Here’s the mockup I created for this entryway:
It’s not exactly what the final space looks like (real life is always a little different), but it helps me visualize a space. If you want to try this for your own home, I have a full step-by-step here: [Using ChatGPT for Interior Design Help]
Painting the Entryway Wall
Once the trim was up, the prep work began. ALL of the new trim has to be primed before painting. Once that’s dry, you can move on to paint.
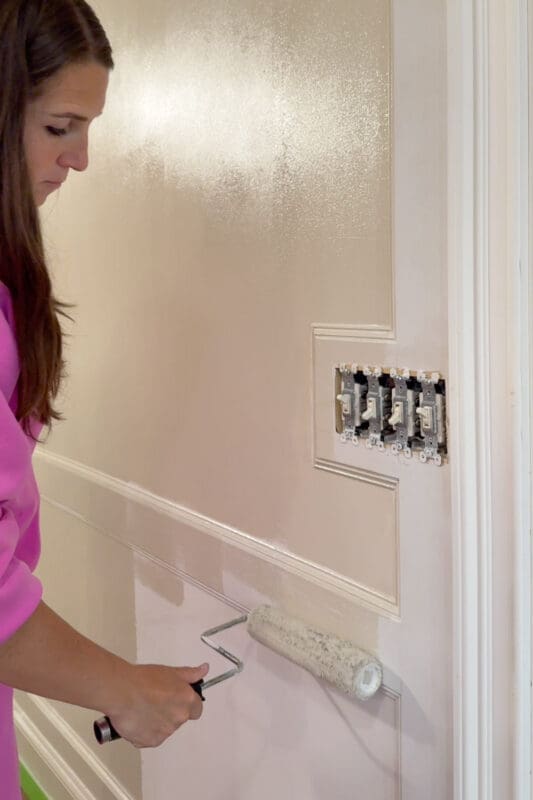
For the wall color, I went with my most-used paint color of all time: Accessible Beige by Sherwin-Williams. It’s the warm, creamy neutral I use everywhere. It plays nicely with every other color in our home and it’s the perfect backdrop for layered, collected decor.
Here are the tools I swear by for painting a wall like this with trim work:
- A standard 9″ roller frame for the large open wall sections
- A small foam roller for the face of the trim (gets you a glass-smooth finish)
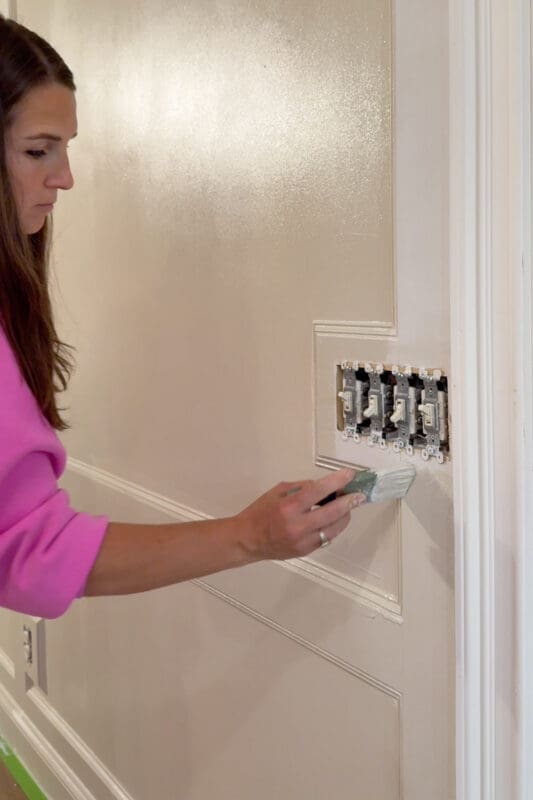
- My favorite angled paintbrush for cutting in around the edges of the trim
That combo gets you crisp, professional-looking results without spraying. Which isn’t worth all the setup and prep when you’re doing small sections at a time.
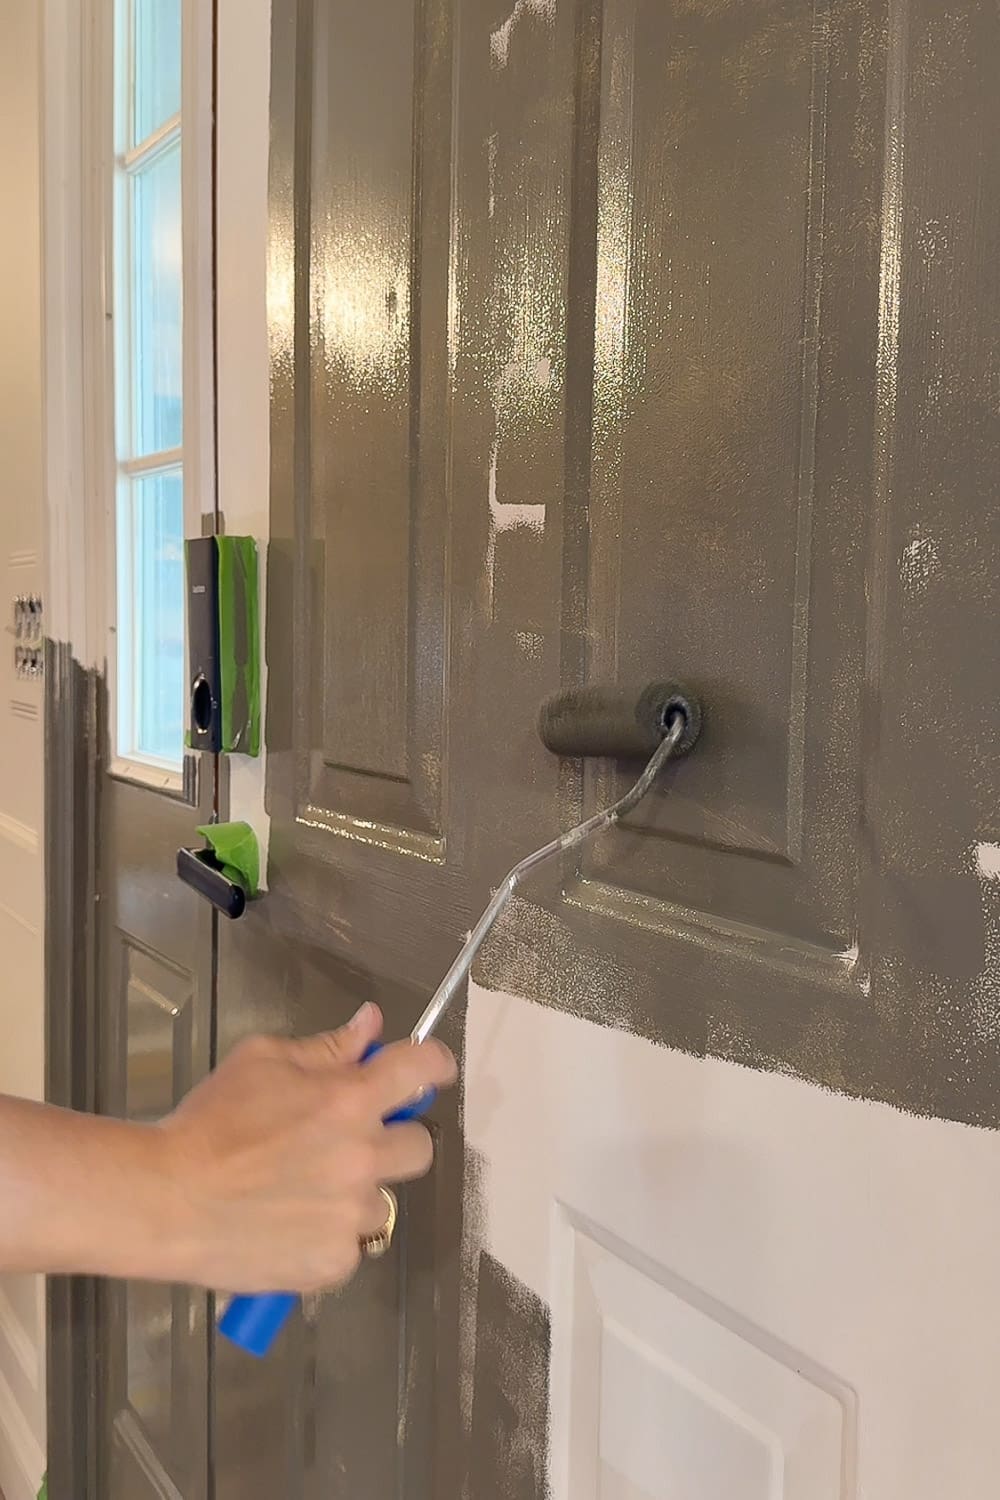
Painting the Front Door (and a Little Trim Trick!)
After the wall was done, it was time to tackle the door, but first, a little problem to solve.
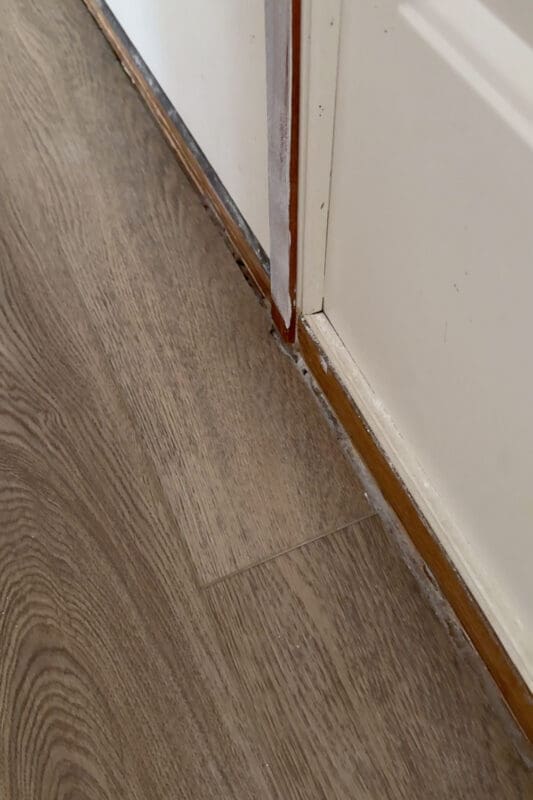
When we replaced the downstairs floors, we installed floating floors, which require an expansion gap between the flooring and the wall. Baseboard covers that gap everywhere… except in front of the door. Cue the unsightly gap staring at me every time I walked in.
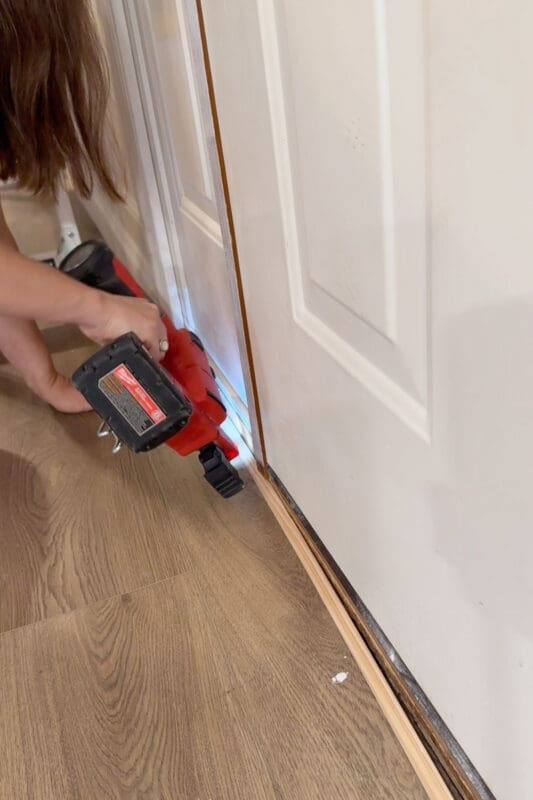
The fix? A small piece of shoe molding attached with my brad nailer. Then I caulked along the top and painted to match the door. Once it’s dry, it will disappear completely.
For the door color, I chose Sherwin-Williams Hidden Trail, a gorgeous, moody green. Our entryway wall runs right into our home library, where all the built-in shelves are painted Hidden Trail, so using the same color on the front door ties the whole first floor together. If you want my full step-by-step for painting a front door, here’s the tutorial: [How to Paint a Front Door in 3 Easy Steps]
While you’re at it, it’s the PERFECT time to upgrade your door hardware. We added this keyless entry lock, and I cannot recommend it enough. No more digging for keys with a baby on my hip. Game changer.
The Best Part: Decorating!
Okay, paint is dry, trim is caulked, door is gorgeous. Now for the fun part, actually adding decor to the entryway!
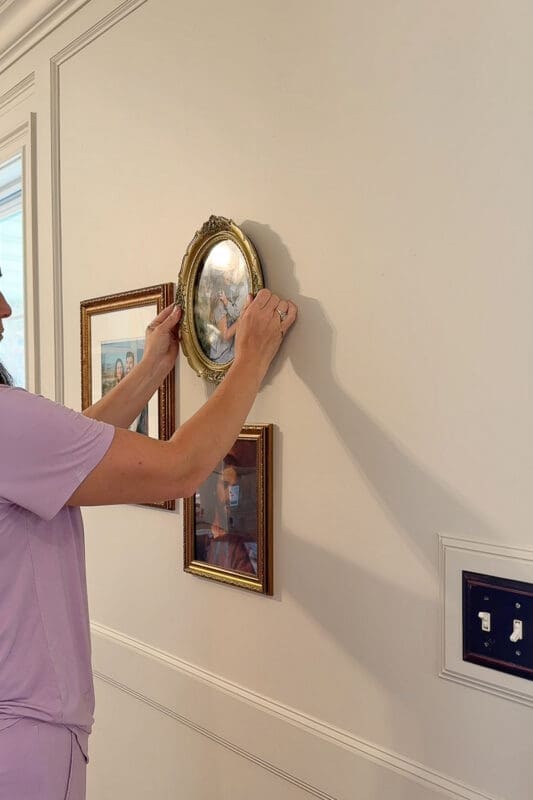
The Gallery Wall
I started by hanging the gallery wall, and I’m honestly obsessed with how it turned out. I used a mix of ornate vintage-looking frames in different sizes and shapes. They look like I spent months hunting for them at antique stores, but plot twist: they’re all from Amazon.
Instead of putting a million holes in my freshly painted wall, I used Command picture hanging strips. If you’ve never tried these for a gallery wall, do yourself a favor. They hold beautifully, come off cleanly, and let you adjust without committing to nail holes.
A few tips for arranging a gallery wall like this one:
- Lay it out on the floor first to play with placement before you commit
- Mix frame shapes and sizes: perfectly matched frames feel less collected
- Vary the photo styles too (family portraits, candid moments, a meaningful piece of art)

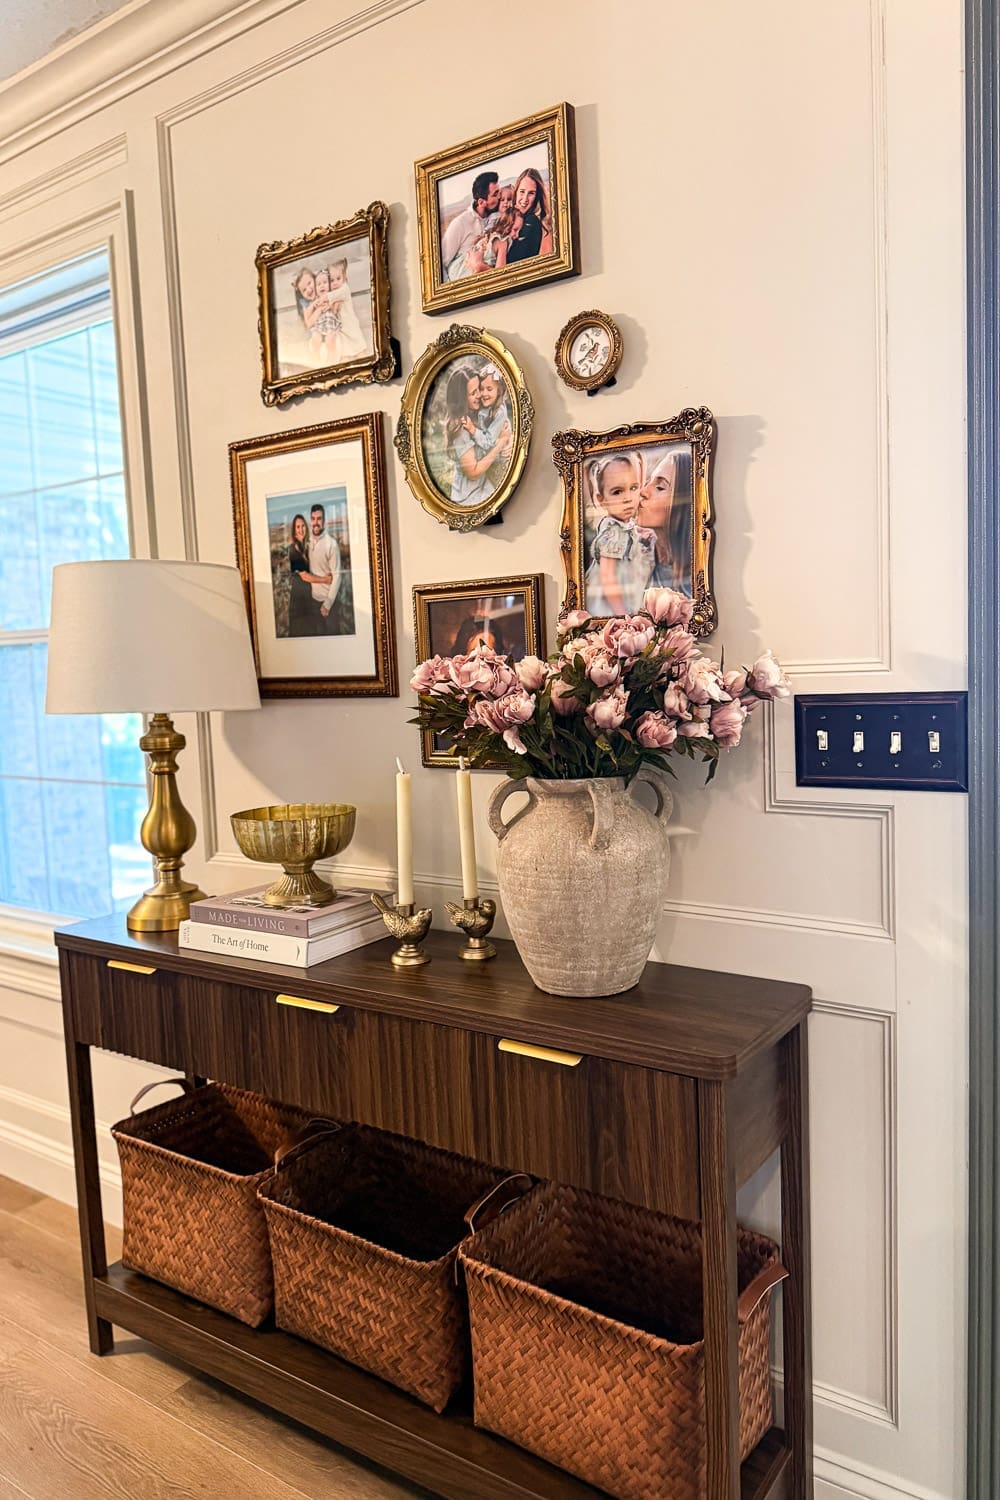
Styling the Entry Table
Underneath the gallery wall, I placed a dark wood console table. The rich, almost espresso tone grounds the whole wall and balances the lighter neutrals.
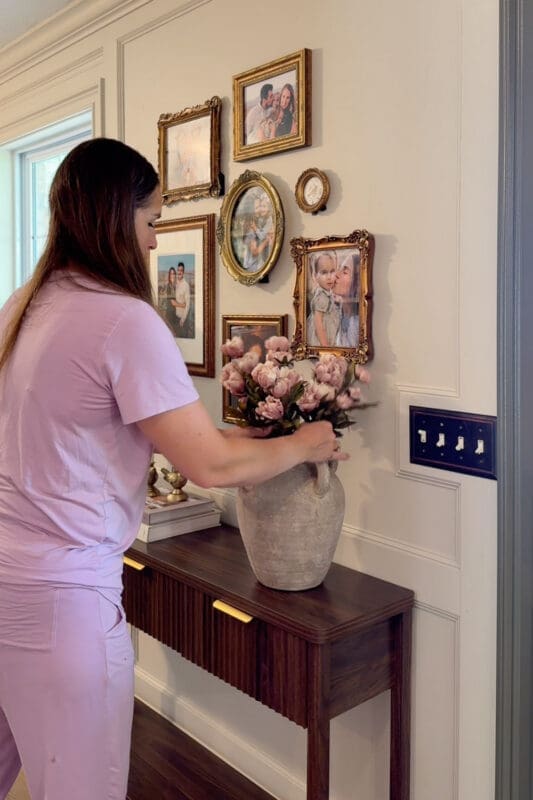
For entryway table decor, the rules I follow are simple: vary your heights and your textures. Here’s what that looked like for me:
- A tall brass lamp on one side for height and warm lighting
- A stack of coffee table books (Made for Living and The Art of Home) to add a little lift to the smaller pieces
- A gold pedestal bowl for textural interest
- Two sweet brass bird candle holders with battery-operated taper candles for a little whimsy
- A stone vase filled with faux pink peonies – the showstopper of the whole table
The gold tones in the lamp, candle holders, and bowl pull the gold frames on the gallery wall down to the table so everything feels connected.
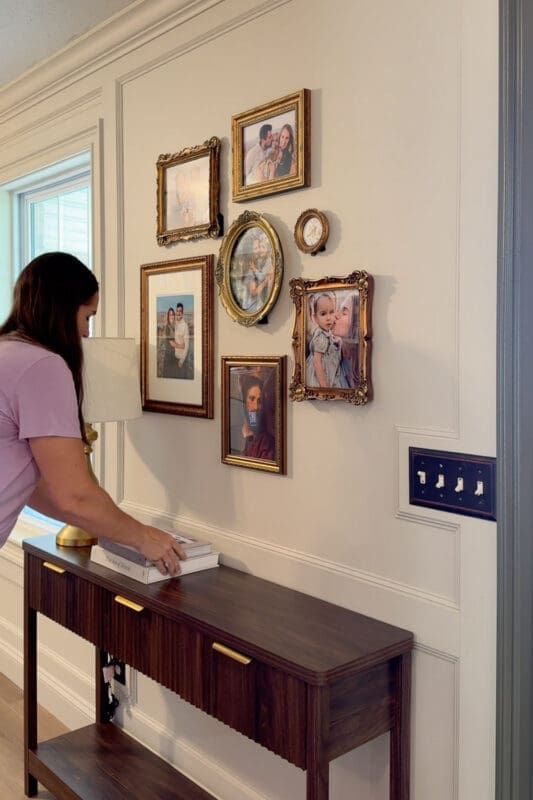
Functional Decor (My Favorite Kind)
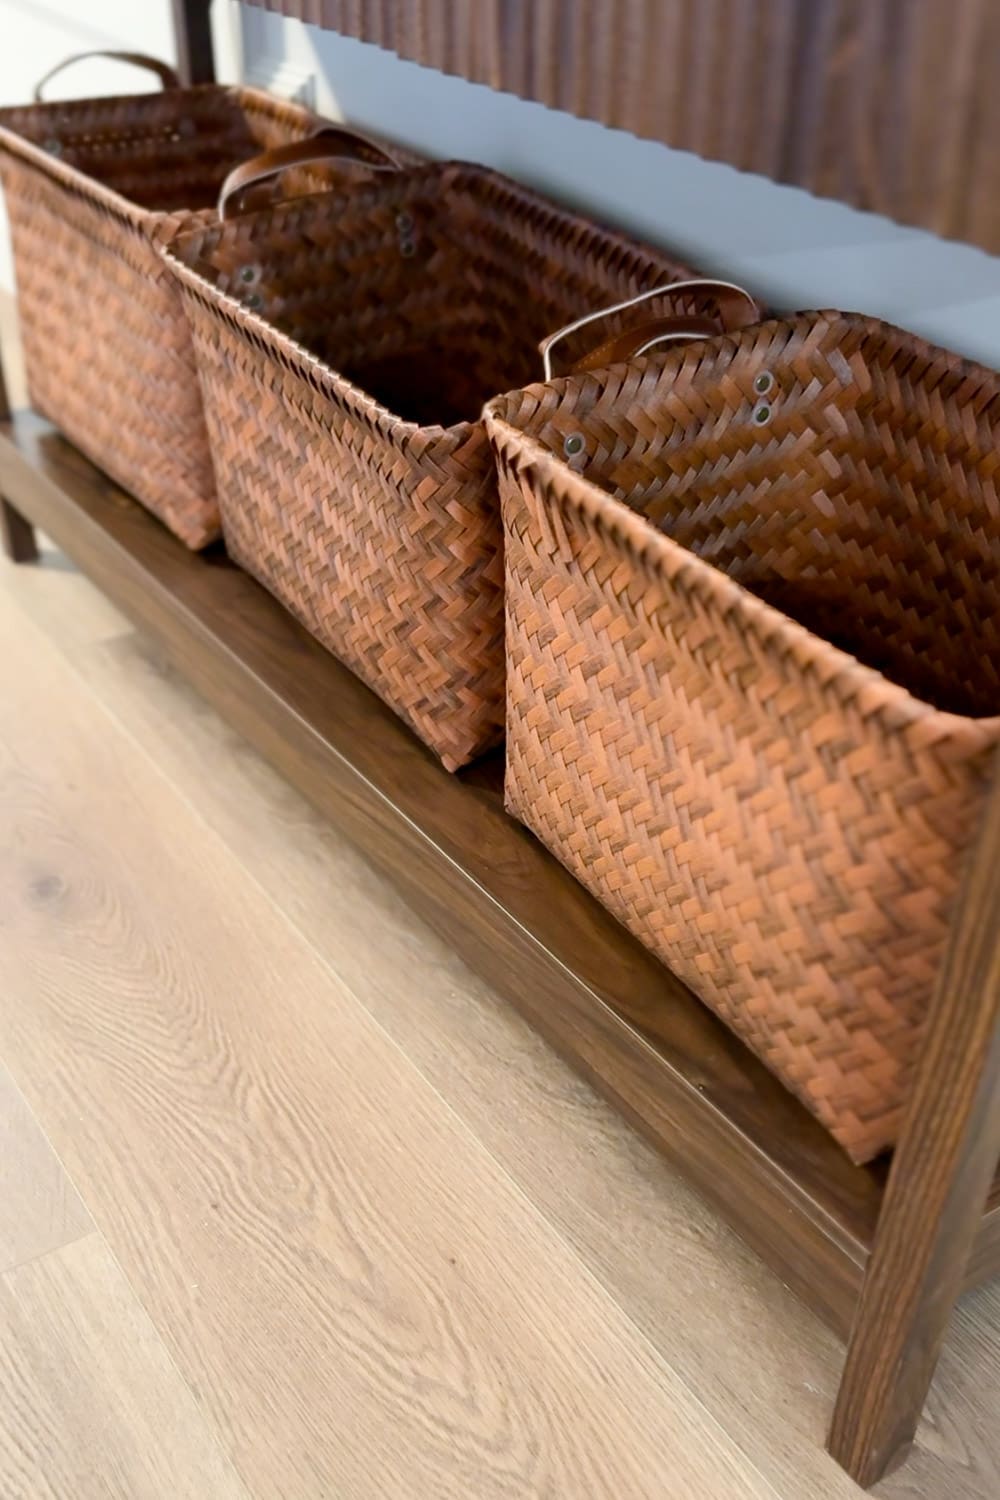
On the bottom shelf of the console table, I could have added more decor. But honestly? I have five kids. What I needed more than another decorative object was storage.
So I added three gorgeous woven baskets. They’re beautiful, they bring in another natural texture, and they’re going to be PERFECT for stashing shoes, hats, and whatever else gets dropped at the door. Decor should be pretty, but I love when it also serves a purpose and works for my family.
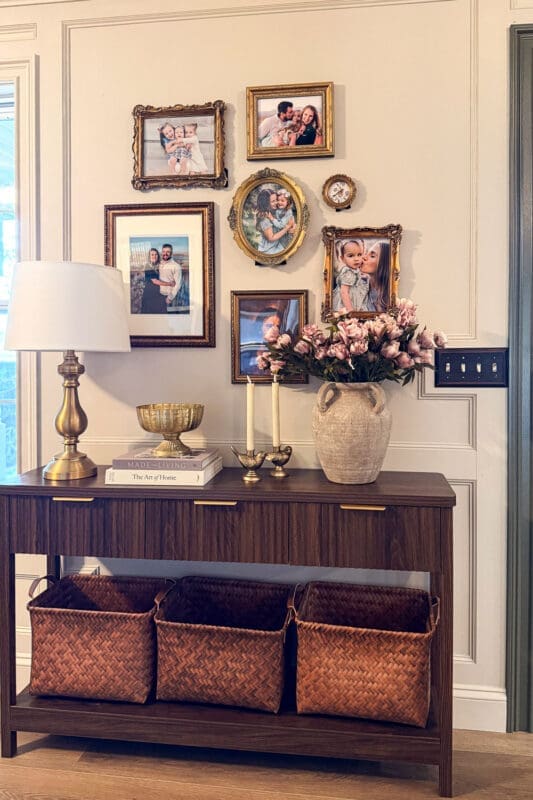
The Finished Entryway Decor
And just like that, my entryway is DONE.
The rest of my first floor might still be a disaster zone (don’t look behind me at any given moment), but this one little spot is officially the first finished space in our home, and I am so, so happy. We’ve been here almost a year, and let me tell you… DIY renovations done while living in the home are NOT fast. But they’re worth it.
I love how the pink in the flowers, the gold in the frames, and the dark wood of the console table all play off of the deep green front door. Every single element of my entryway decor pulls from another, and the whole space feels intentional and collected.
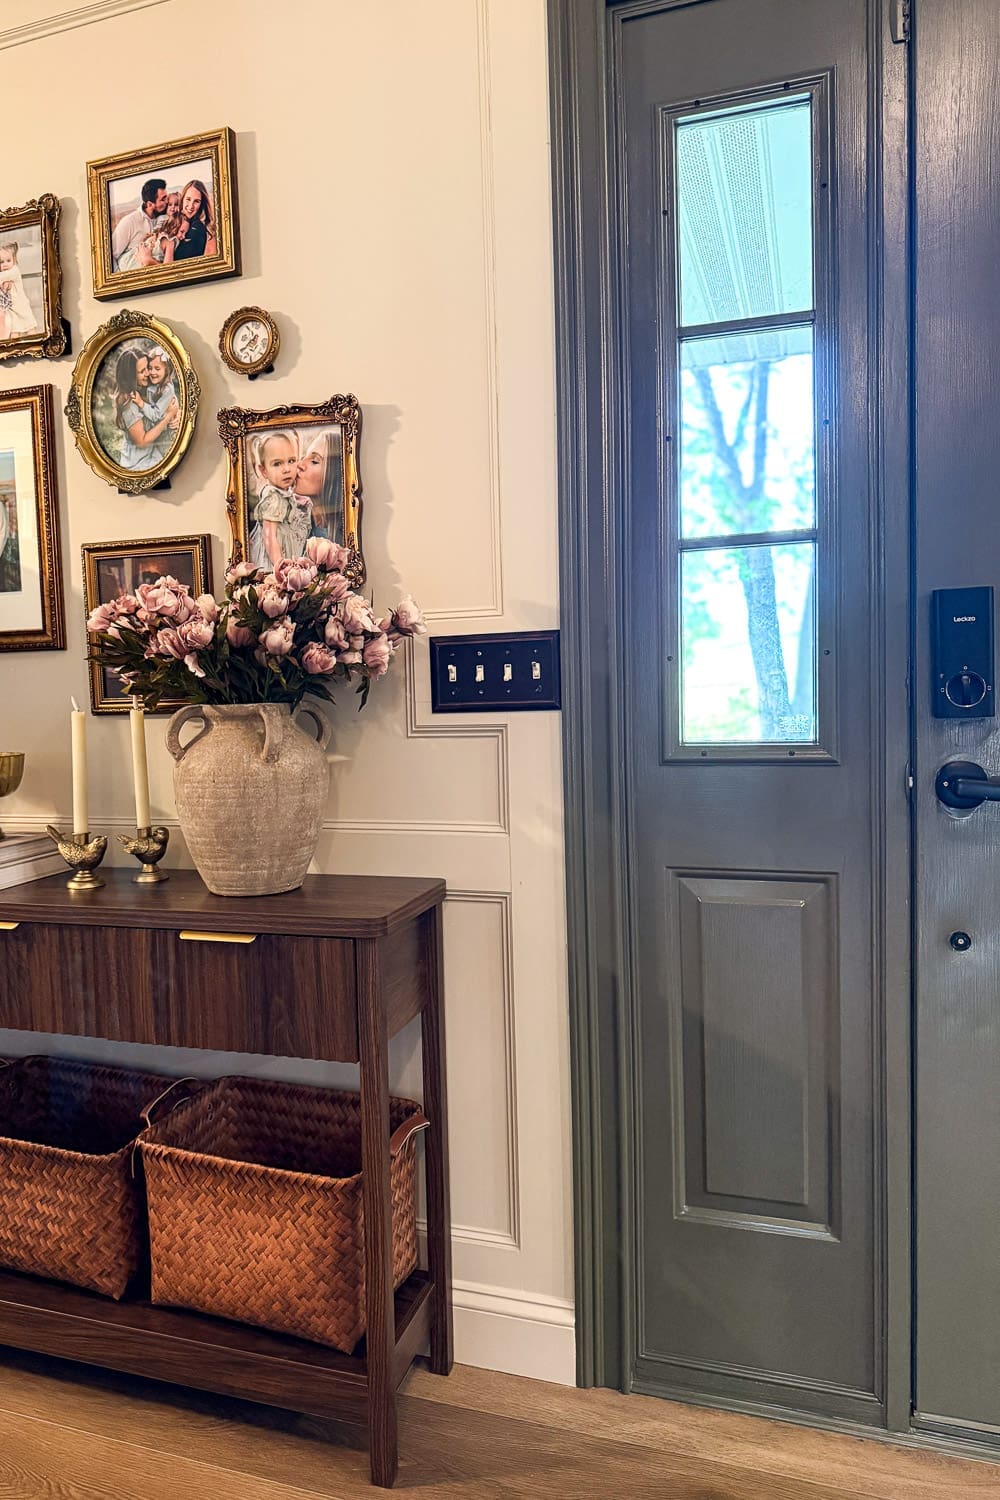
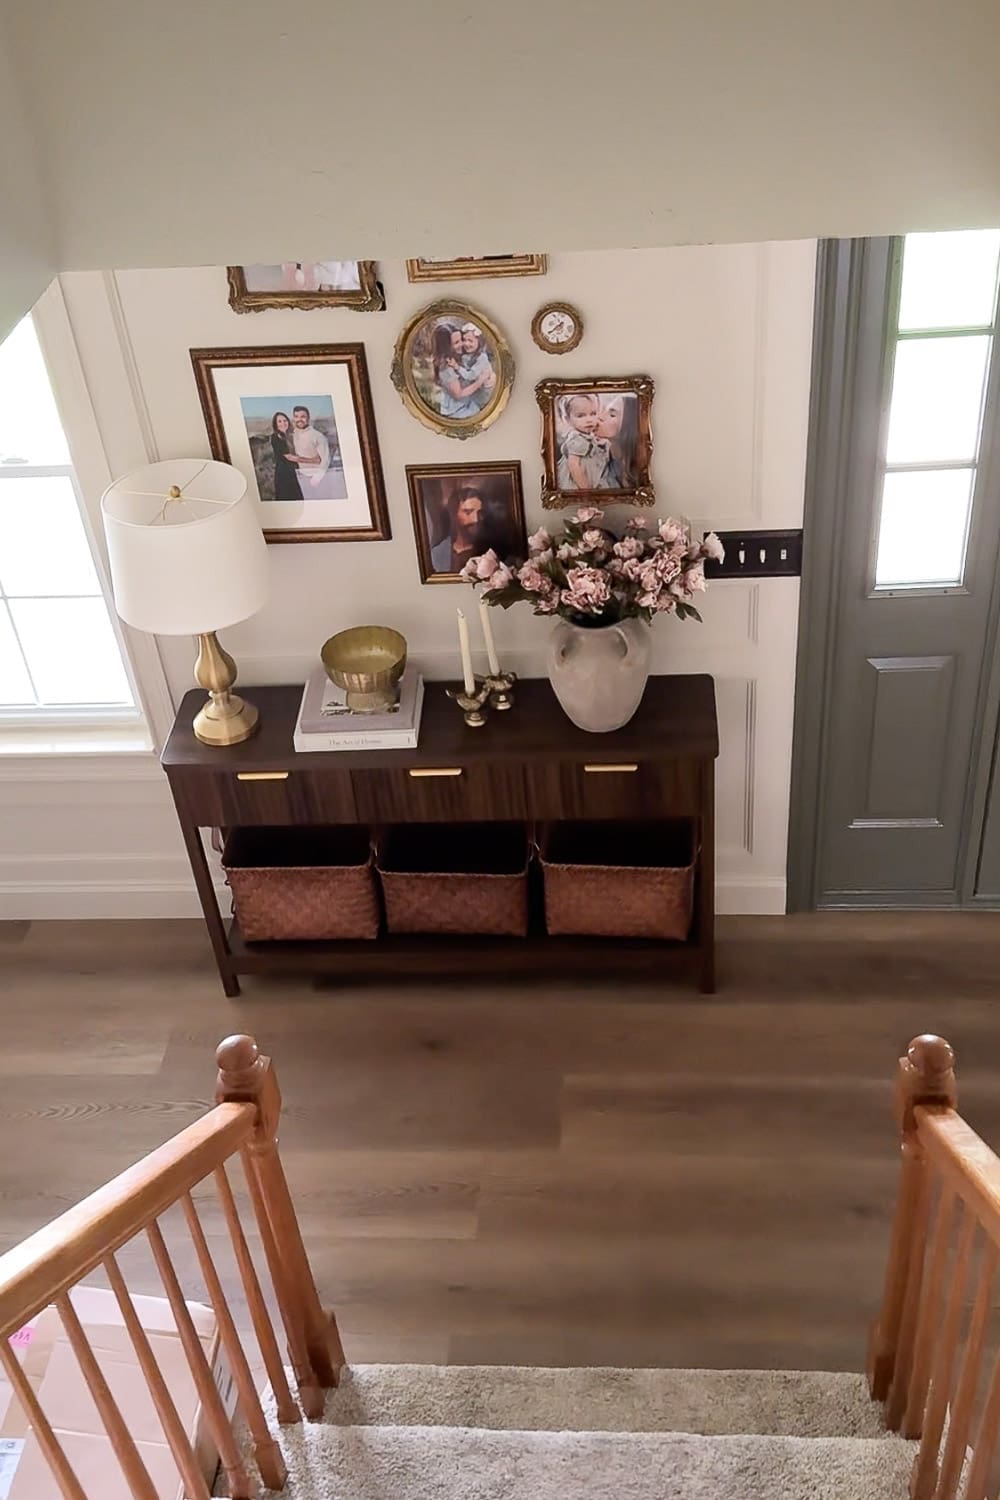
My Favorite View
This right here? This is my view every morning when I come down the stairs, and it gives me so much hope for the rest of the remodel. Some days, when I’m covered in joint compound or stepping over a circular saw to get to the kitchen, I just stop and look at this little finished corner and remember: it’s all going to get there eventually.
I cannot WAIT until the rest of our house looks this good.
If you want to follow along with our DIY remodel (chaos, five kids, and all), come hang out with me on Instagram! I share all the in-between moments, the small wins, and the “what were we thinking” days too.
📌 Pin This Entryway Decor Inspiration for Later
Loving this entryway decor makeover? Save it to your home decor or DIY board on Pinterest so you can come back to it when you’re ready to style your own space!
Entryway Decor FAQs
Stick with light, neutral wall colors (Accessible Beige is my favorite), use vertical gallery walls to draw the eye up, and choose furniture with legs to keep the floor visible. A lamp adds warm light, which instantly makes a space feel larger and more inviting.
Measure your wall and aim for a console table that takes up about two-thirds of the available wall space. You also want it to sit comfortably below your gallery wall or mirror without crowding it. Mine is a slim console, which works perfectly for a narrow entryway.
The best entryway table decor includes a mix of heights and textures. Start with a tall anchor piece like a lamp or a vase with greenery, then layer in a stack of books, a decorative bowl or tray, and small accents like candle holders. Aim for three to five items so the table feels styled, not cluttered.
A gallery wall is one of the easiest ways to add personality to an entryway wall. Mix frame shapes, sizes, and finishes for a collected, vintage feel. Lay everything out on the floor first to find the arrangement you love, then use Command picture-hanging strips to avoid putting too many holes in your wall. Also great for renters!