How to Build Porch Steps (a Simple Box Step)


Published July 3, 2026
Ready to learn how to build porch steps without wrestling with stringer math? Good, because this is the easy way. My little front porch only needed one step down to the walkway, so I built a simple box step, basically a sturdy wood frame that sits on the ground and gets a redwood tread on top. No fancy angles, no stair calculator, just a box.
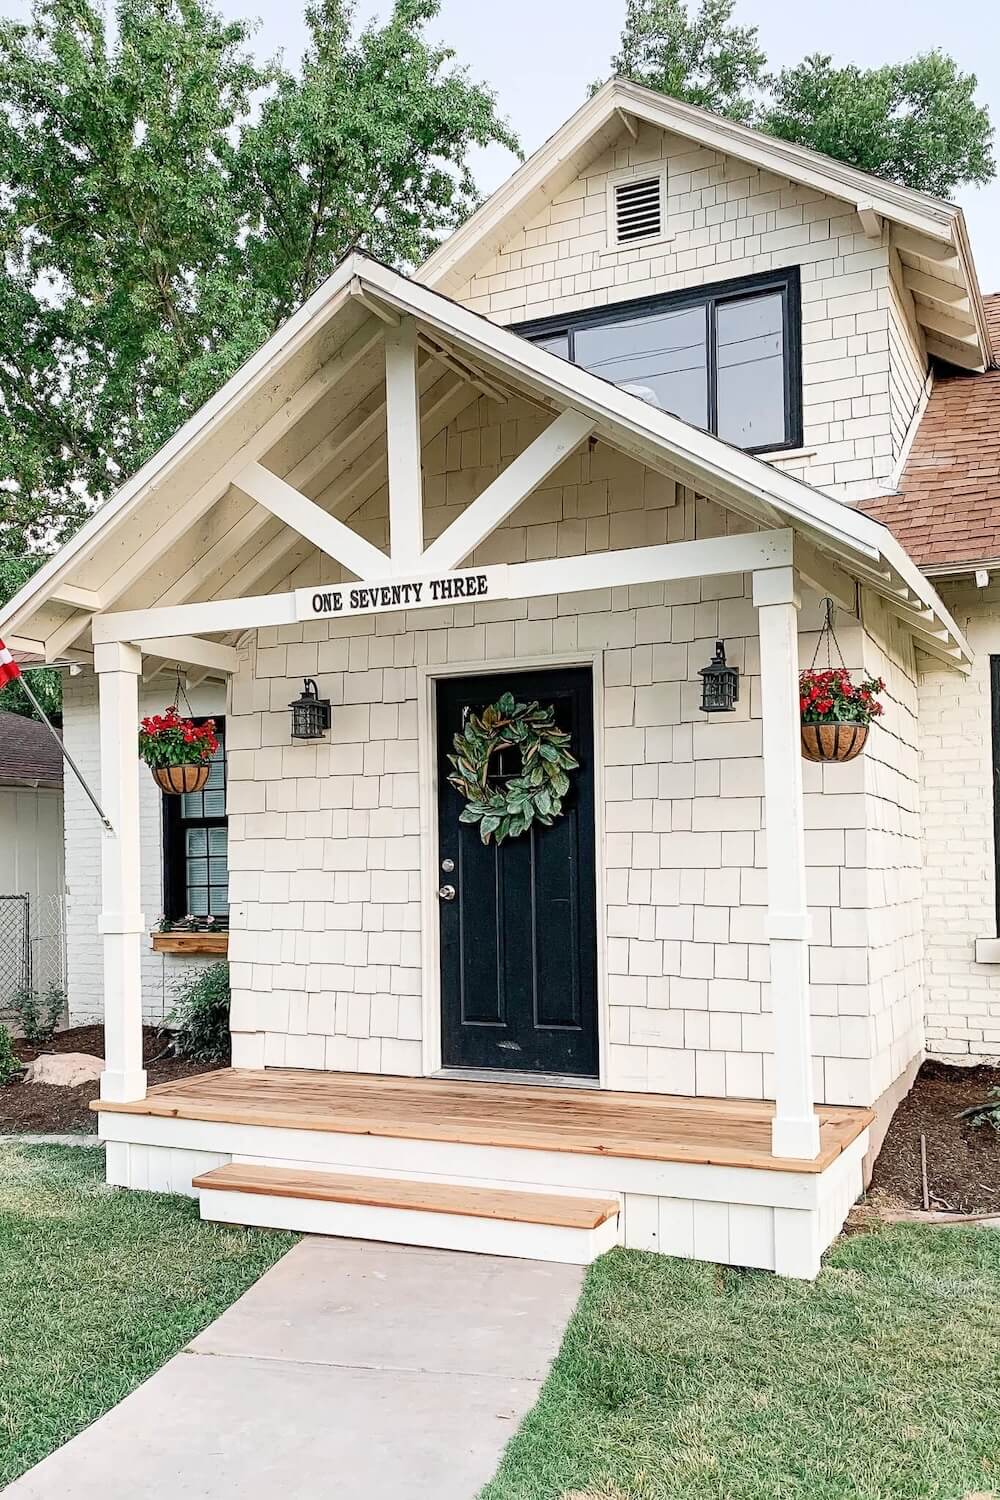
If you’re following along with the series, this is the finishing touch that made the porch feel done. In Part 1 I built the foundation and frame, and in Part 2 I trimmed it out and laid the deck boards. Now we’re adding the step (and skirting the base so you don’t see under the porch).
DIY Front Porch Series, Part 3: Building the Step. New here? Start with Part 1: Foundation and Frame and Part 2: Trim and Deck Boards. (Part 4: Roof and Finishing is coming soon.)
How do you build porch steps?
The simplest way to build porch steps is the box method. You build a three-sided wood frame (a box) sized to your step, set it on solid footings in front of the porch, attach it to the deck, then cap it with deck-board treads. For a porch less than about 18 inches tall, a single box step is usually all you need.
Table of Contents
- How do you build porch steps?
- Watch the Full Front Porch Build
- How to Build Porch Steps: At a Glance
- Materials and Tools to Build Porch Steps
- Step-by-Step: How to Build a Porch Step (the Box Method)
- Step 1: Measure Your Step and Plan the Rise
- Step 2: Cut the Box Frame Pieces
- Step 3: Assemble the Box Frame
- Step 4: Give the Step Something Solid to Attach To
- Step 5: Set the Box on Footings and Screw It to the Cleats
- Step 6: Add the Tread With a Slight Overhang
- Step 7: Skirt the Base of the Porch and the Step
- How Much Does It Cost to Build Porch Steps?
- Do Porch Steps Need Footings?
- Should You Seal a Redwood Porch Step?
- More Front Porch and Outdoor Projects to Try
- 📌 Save These Porch Steps for Later
- How to Build Porch Steps FAQs
Watch the Full Front Porch Build
Want to see the whole thing come together? Watch the full video of the front porch build, from framing to deck boards to this final step. 👉
How to Build Porch Steps: At a Glance
Here’s the whole build, so you can see where this step fits:
- Part 1: Foundation and frame covers the ledger board, posts, footings, and joists.
- Part 2: Trim and deck boards covers the mitered border trim and decking.
- Part 3 (you’re here): Building the step plus skirting the base.
- Part 4: Roof and finishing (coming soon) covers the porch roof, columns, paint, and styling.
Materials and Tools to Build Porch Steps
Here’s what I used to build the step. It’s a short list, and most of it is left over from the rest of the porch build.
- 2×6 lumber for the step box frame
- 2x4s for the cleats behind the border board
- Redwood deck boards for the tread
- Picket fence boards for skirting
- Concrete pavers and cinder blocks for the footing pads
- 3-inch star bit wood screws
- Miter saw or circular saw
- Drill or impact driver
- Level
- Tape measure and pencil
- Speed square
- Safety glasses
Want more of my go-to gear? Browse my favorite DIY tools and supplies on my Amazon storefront.
Step-by-Step: How to Build a Porch Step (the Box Method)
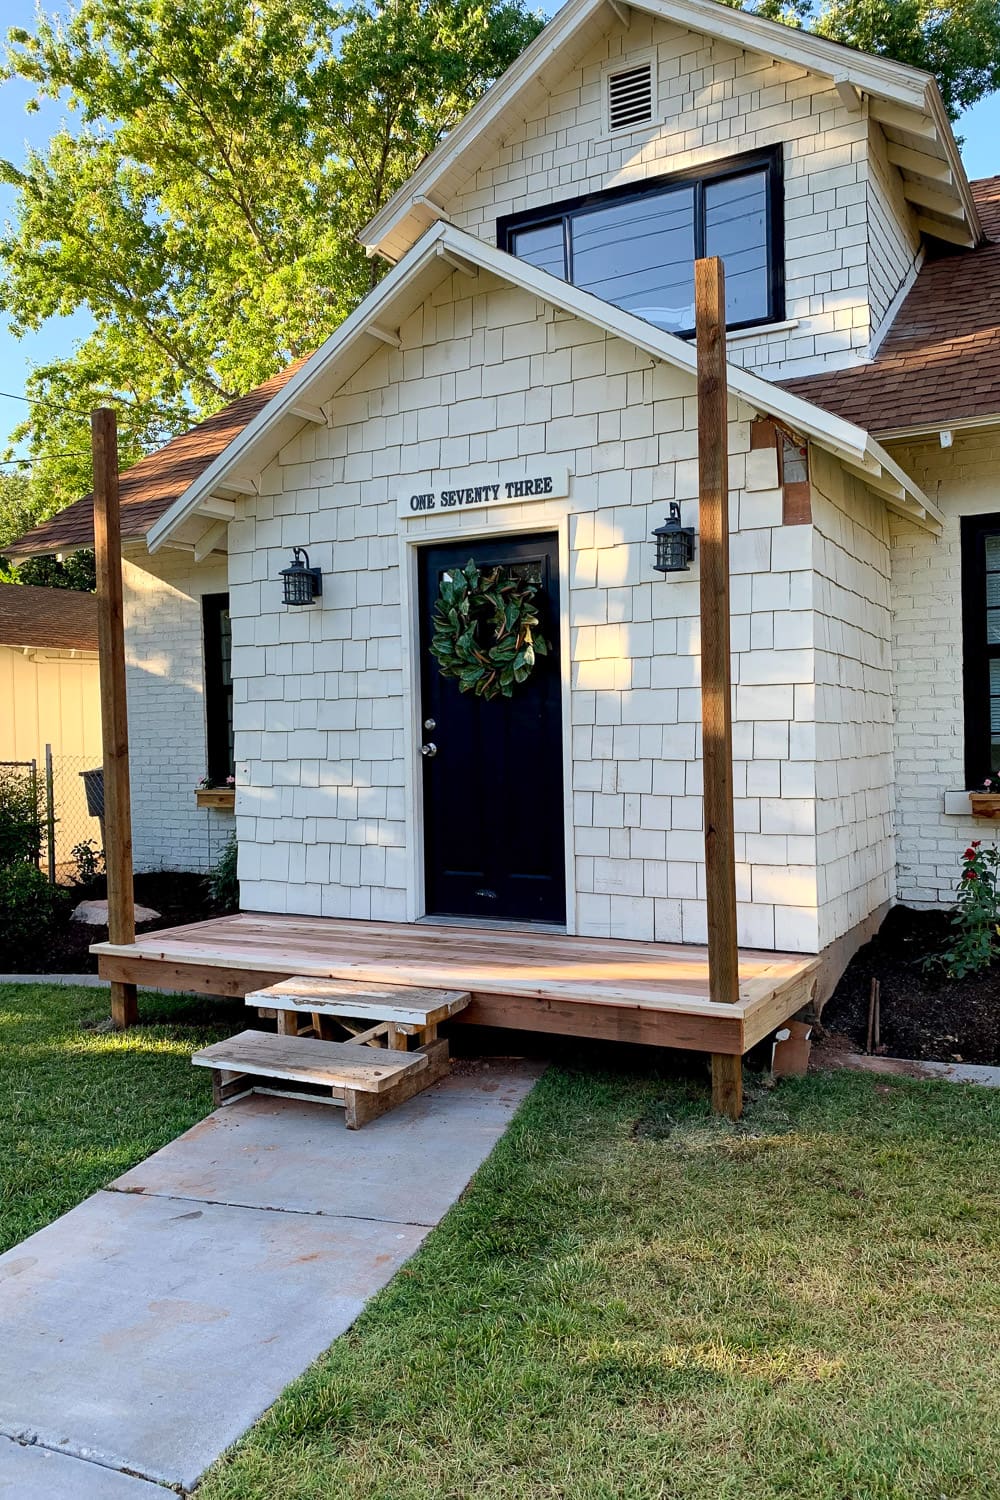
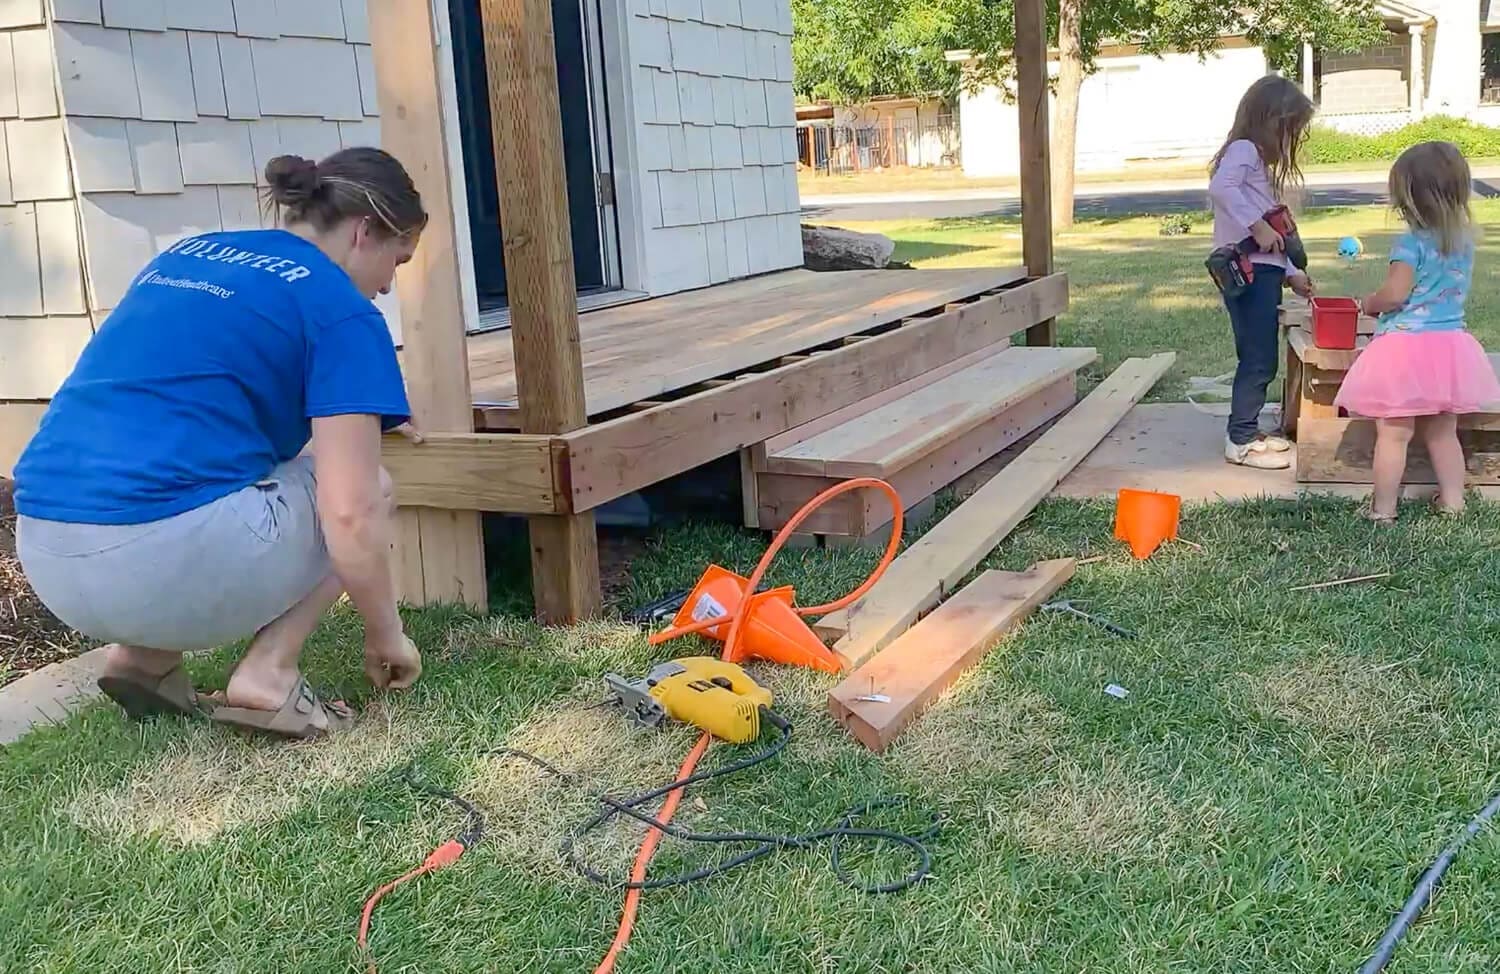
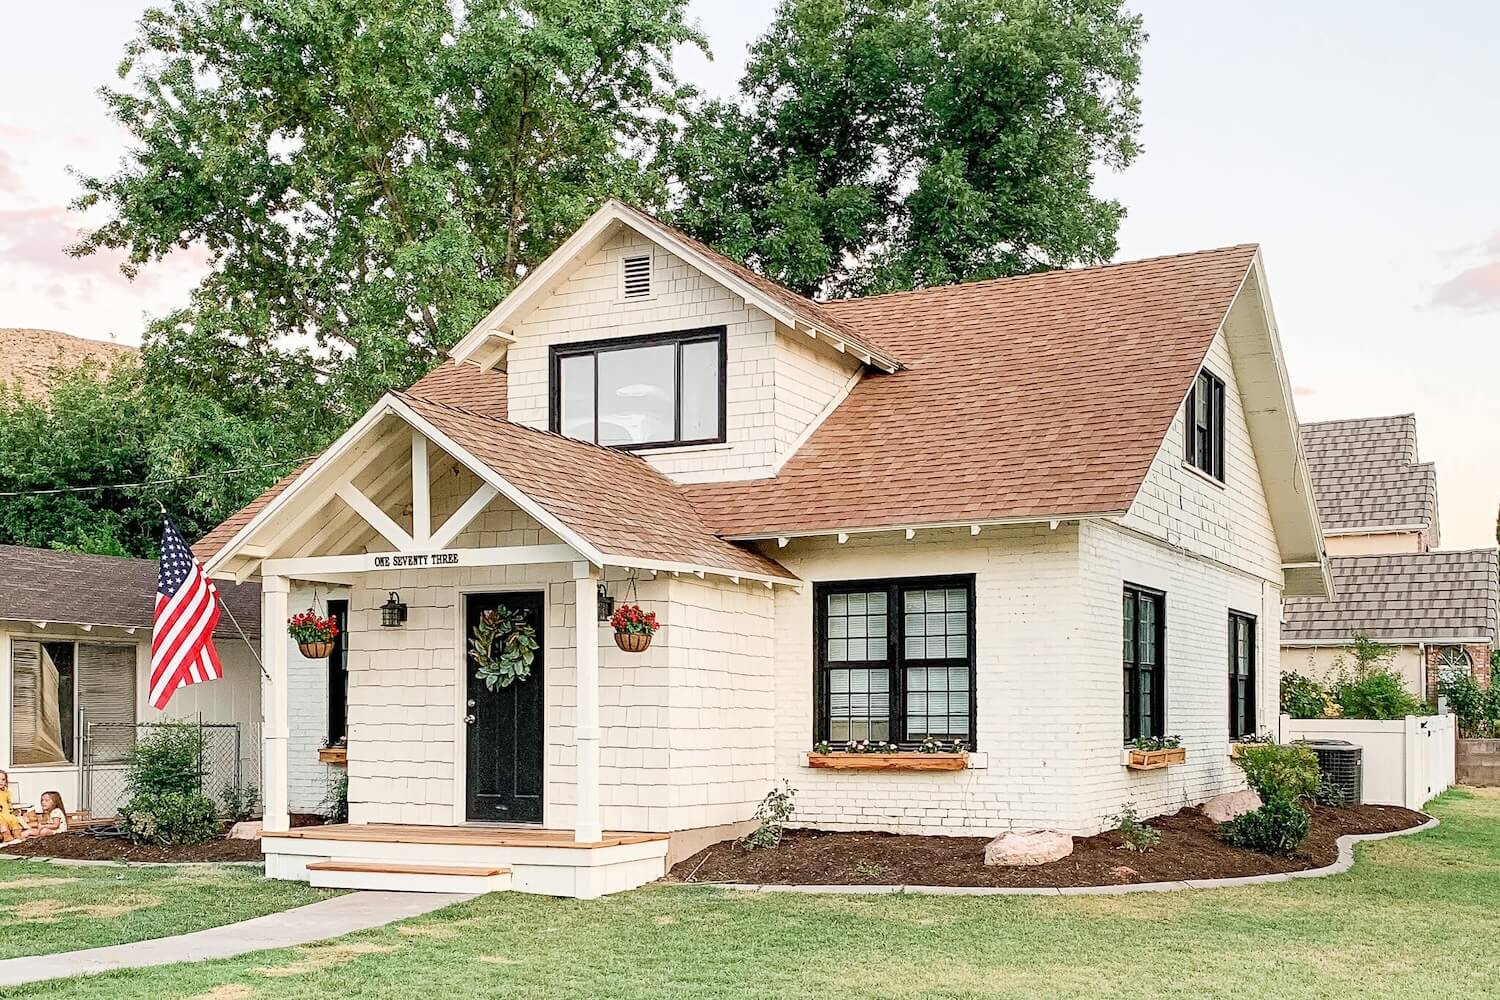
We left off with the deck boards down and the porch base still open underneath.
And see those little steps in the photo? Those were just temporary. We threw them together so we could get on and off the porch without face-planting into the yard while we sorted out the real thing. Here’s how I built the permanent box step.
Step 1: Measure Your Step and Plan the Rise
Measure the height from the top of your deck down to the ground or walkway. You want each step to be a comfortable, even height. Building code caps a riser at about 7 3/4 inches, and for a porch under roughly 18 inches tall, one step usually does it. My porch sits low to the ground, so a single step, about 7 to 8 inches tall, was all it needed.
Plan for the footings while you’re at it. Your box will sit on pavers or cinder blocks to keep it up off the wet ground (more on that in Step 5), and those add height too. So measure so the blocks, the frame, and the tread together land at your rise, not the frame by itself. If you build the frame to the full height and then set it on blocks, your step ends up taller than you planned.
Also decide how wide and deep the step should be. A tread, the part you walk on, should be at least 10 inches deep, and mine runs about 5 feet wide, centered on the walkway.
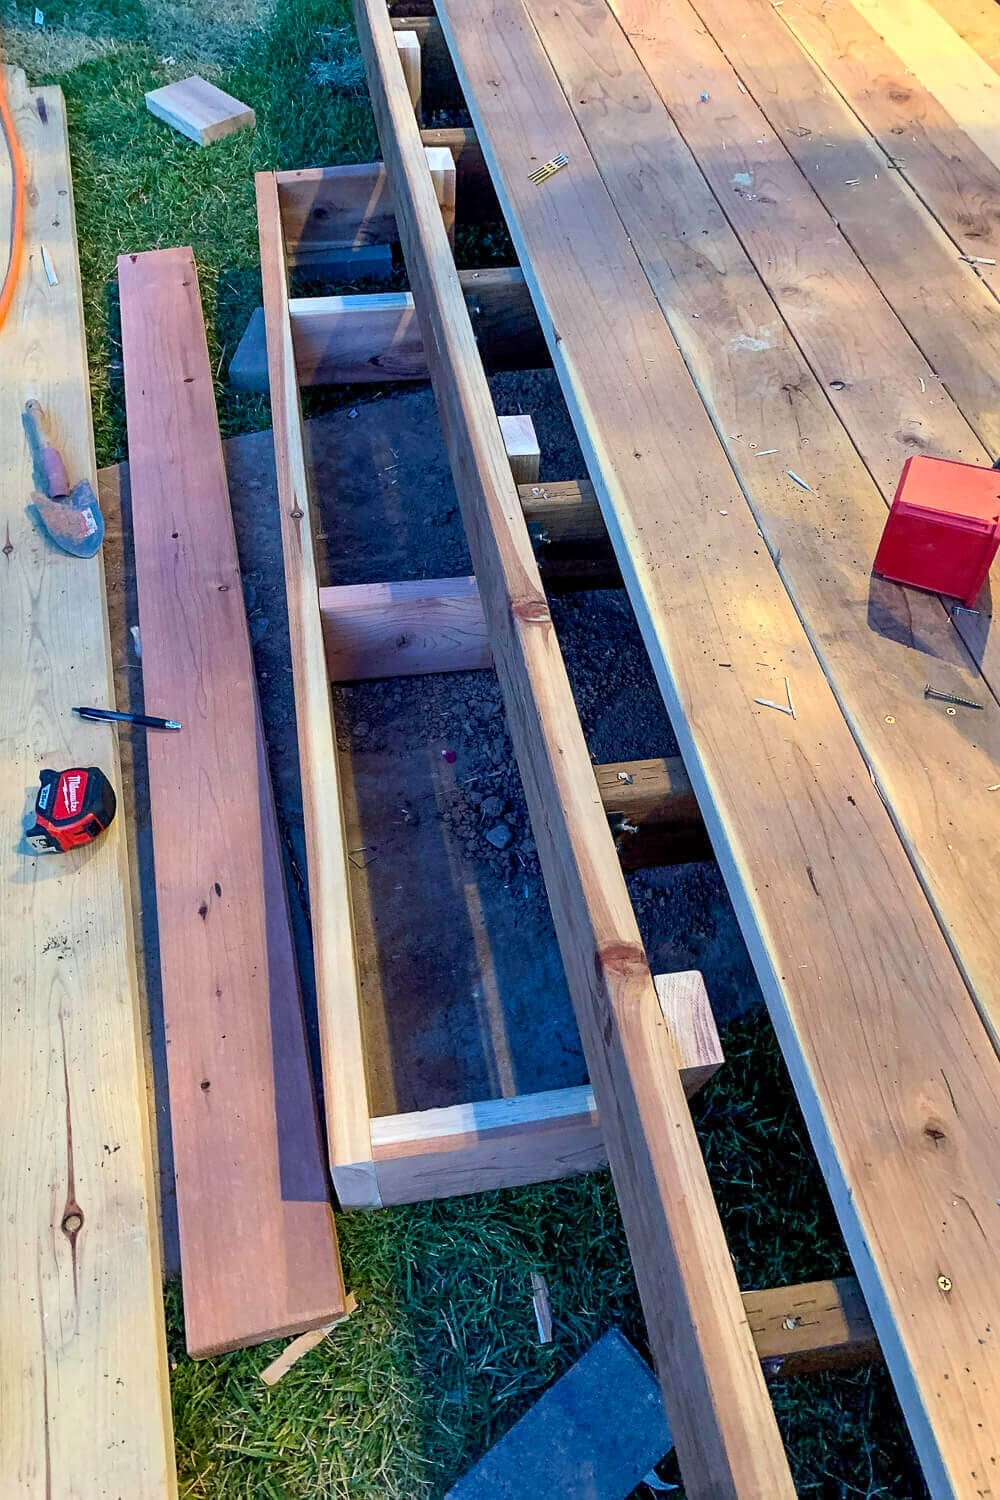
Step 2: Cut the Box Frame Pieces
For a single box step you’re building one simple rectangle out of 2x6s: a front board, a back board, and a handful of short cross pieces (I call them supports) that run between them like ladder rungs.
Start with the front and back boards. Cut both to your finished step width. Mine ran about 5 feet, so I cut two 2x6s to 5 feet.
Then cut the inner supports. These sit between the front and back boards, so they have to be shorter than your step is deep, by the thickness of both boards. A 2×6 is actually 1 1/2 inches thick, so subtract 3 inches total. If your step is 12 inches deep, cut your supports to 9 inches. Cut one support for each end, then add one every 16 inches or so down the length so the tread has solid backing underneath and never feels bouncy.
Pro tip: Cut all your same-length pieces at once, and use the first one as a template to mark the rest. Even a quarter inch off and your frame won’t sit square or your tread won’t lie flat.
Step 3: Assemble the Box Frame
Stand the front and back boards on edge, space the short support pieces evenly between them like ladder rungs, and screw everything together into a rectangle with 3-inch screws. This box is the guts of your step.
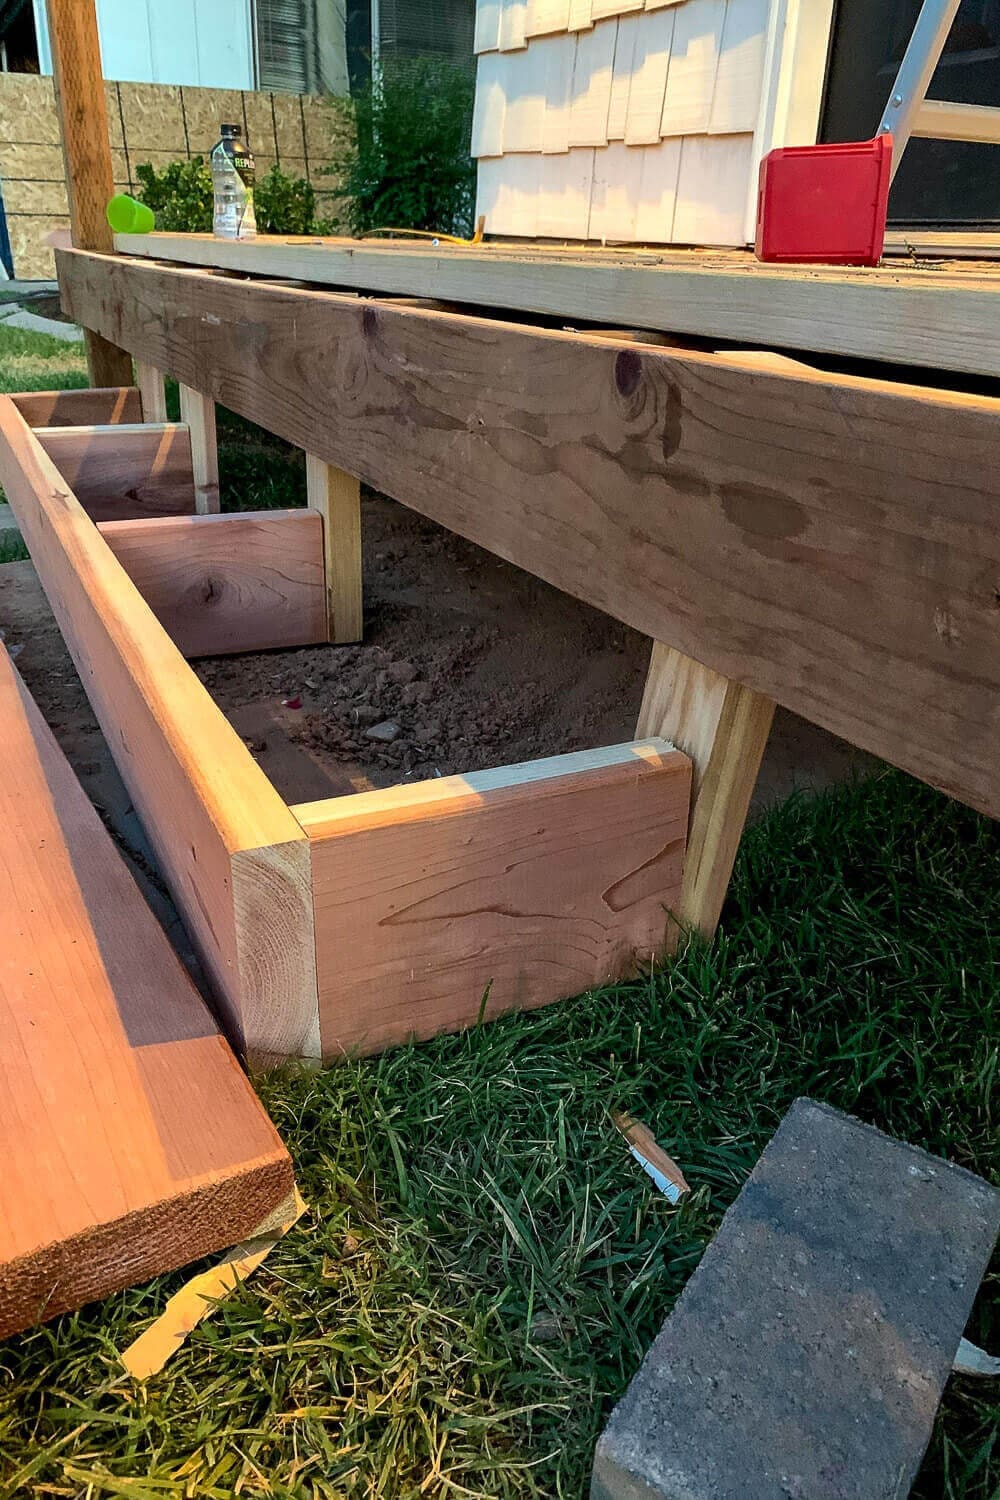
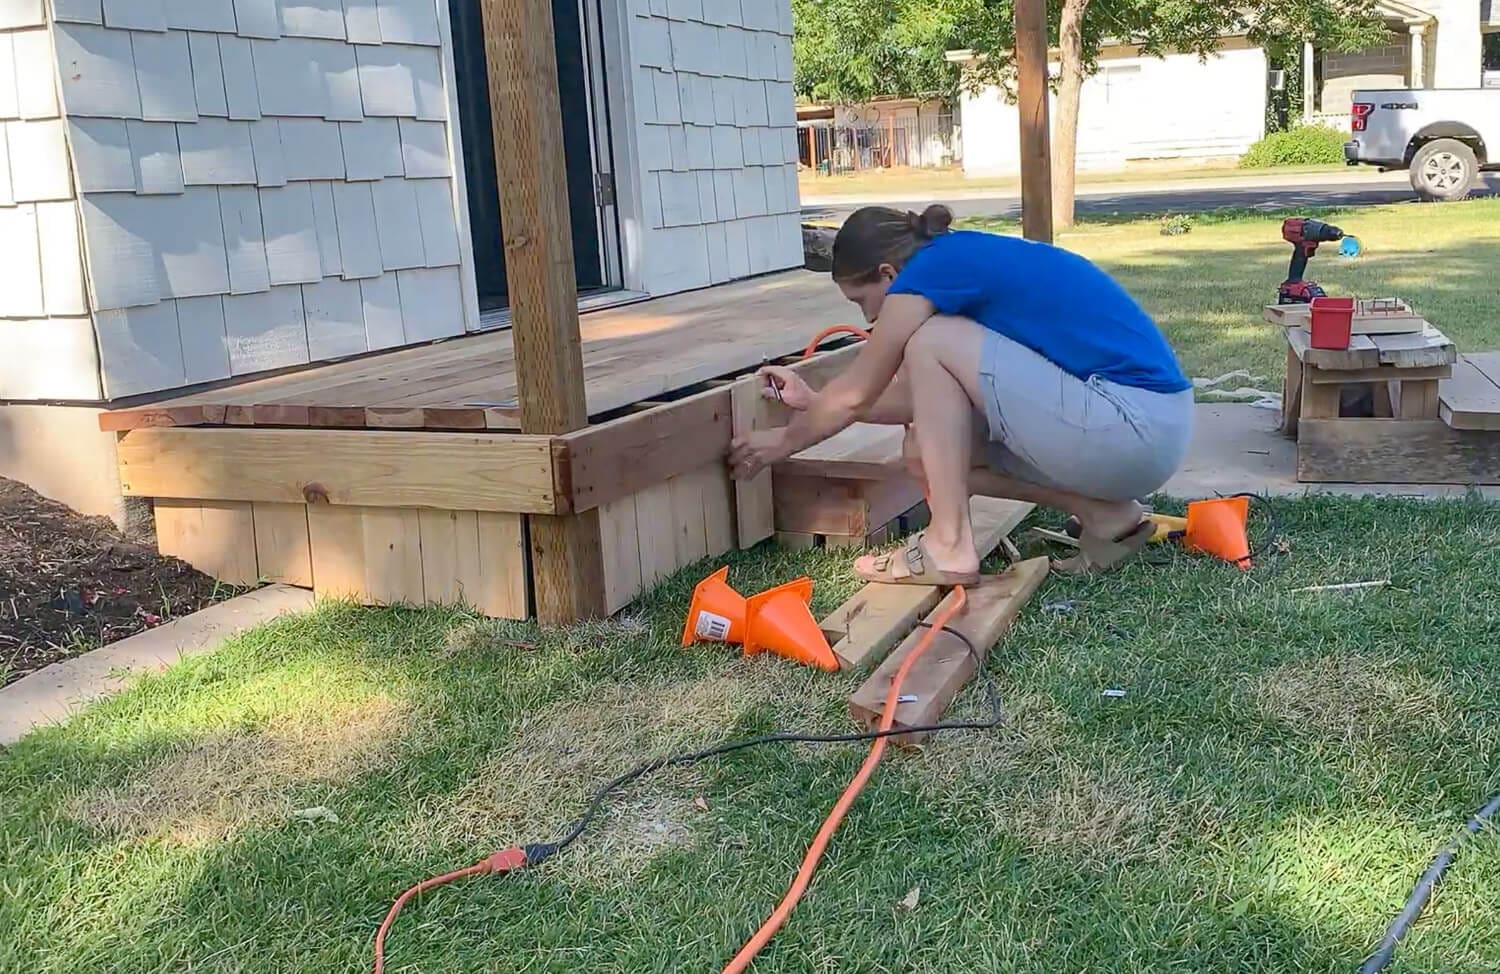
Step 4: Give the Step Something Solid to Attach To
Here’s the trick that made this feel sturdy instead of wobbly. I unscrewed the front border floorboard, the skirt board running along the front edge of the porch, and set it aside. Taking that one board off opens up the porch frame behind it, so you can actually get to solid framing to attach to. Then I screwed a couple of 2x4s to that exposed frame.
Those 2×4 cleats give the step a solid place to grab onto, so it’s anchored to the porch instead of just floating in front of it. Once the step is in, the border board goes right back on and hides all of it.
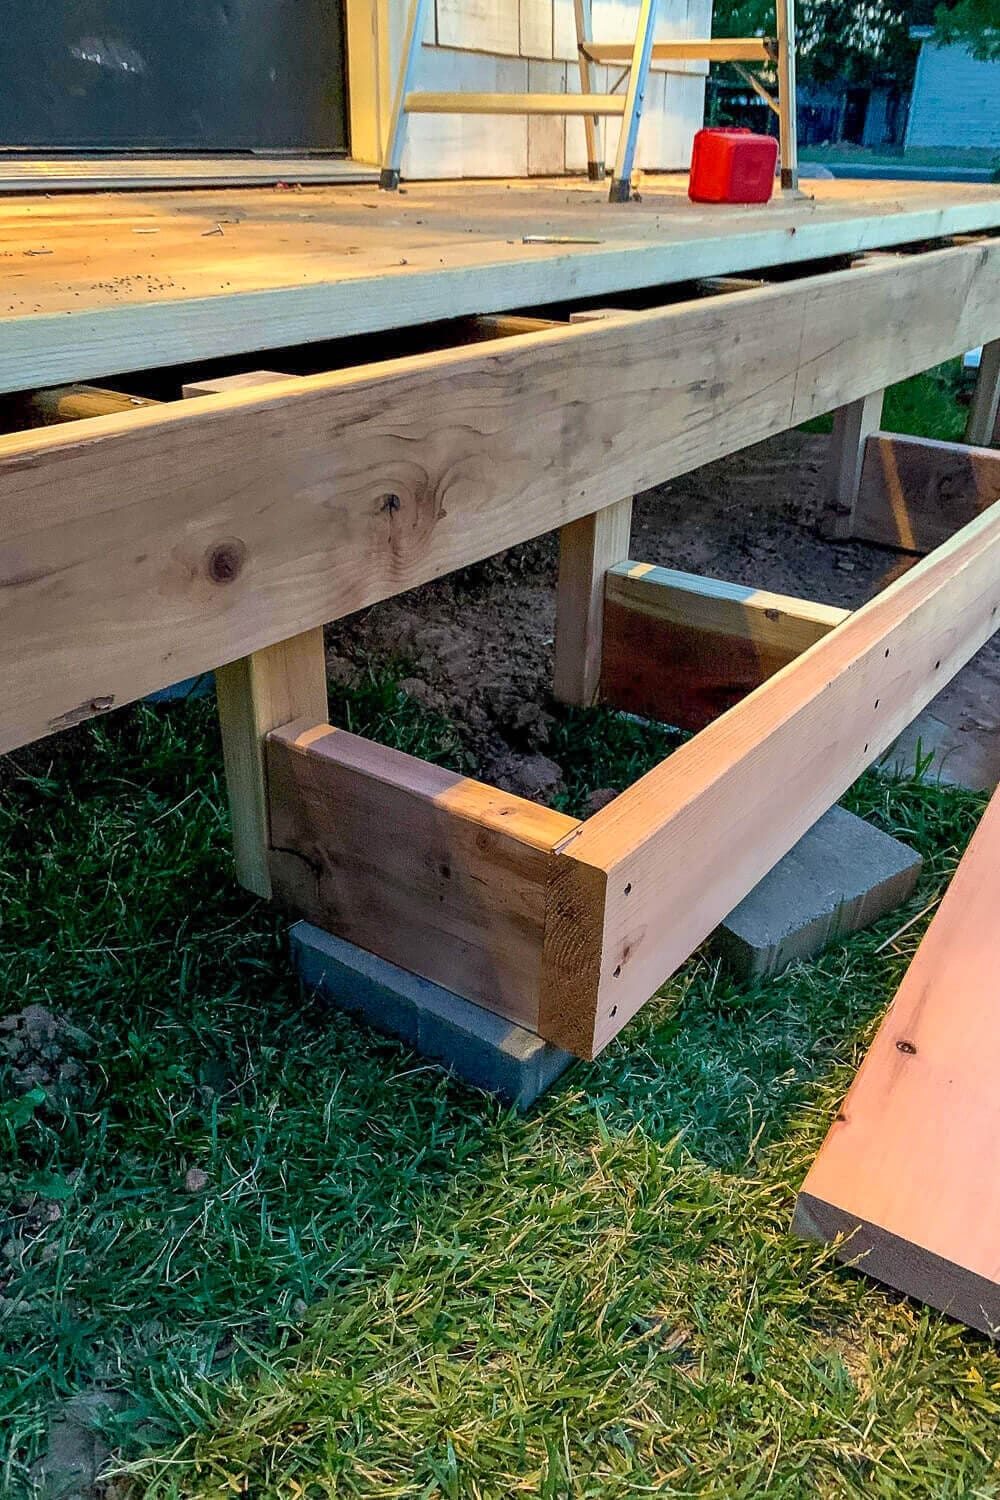
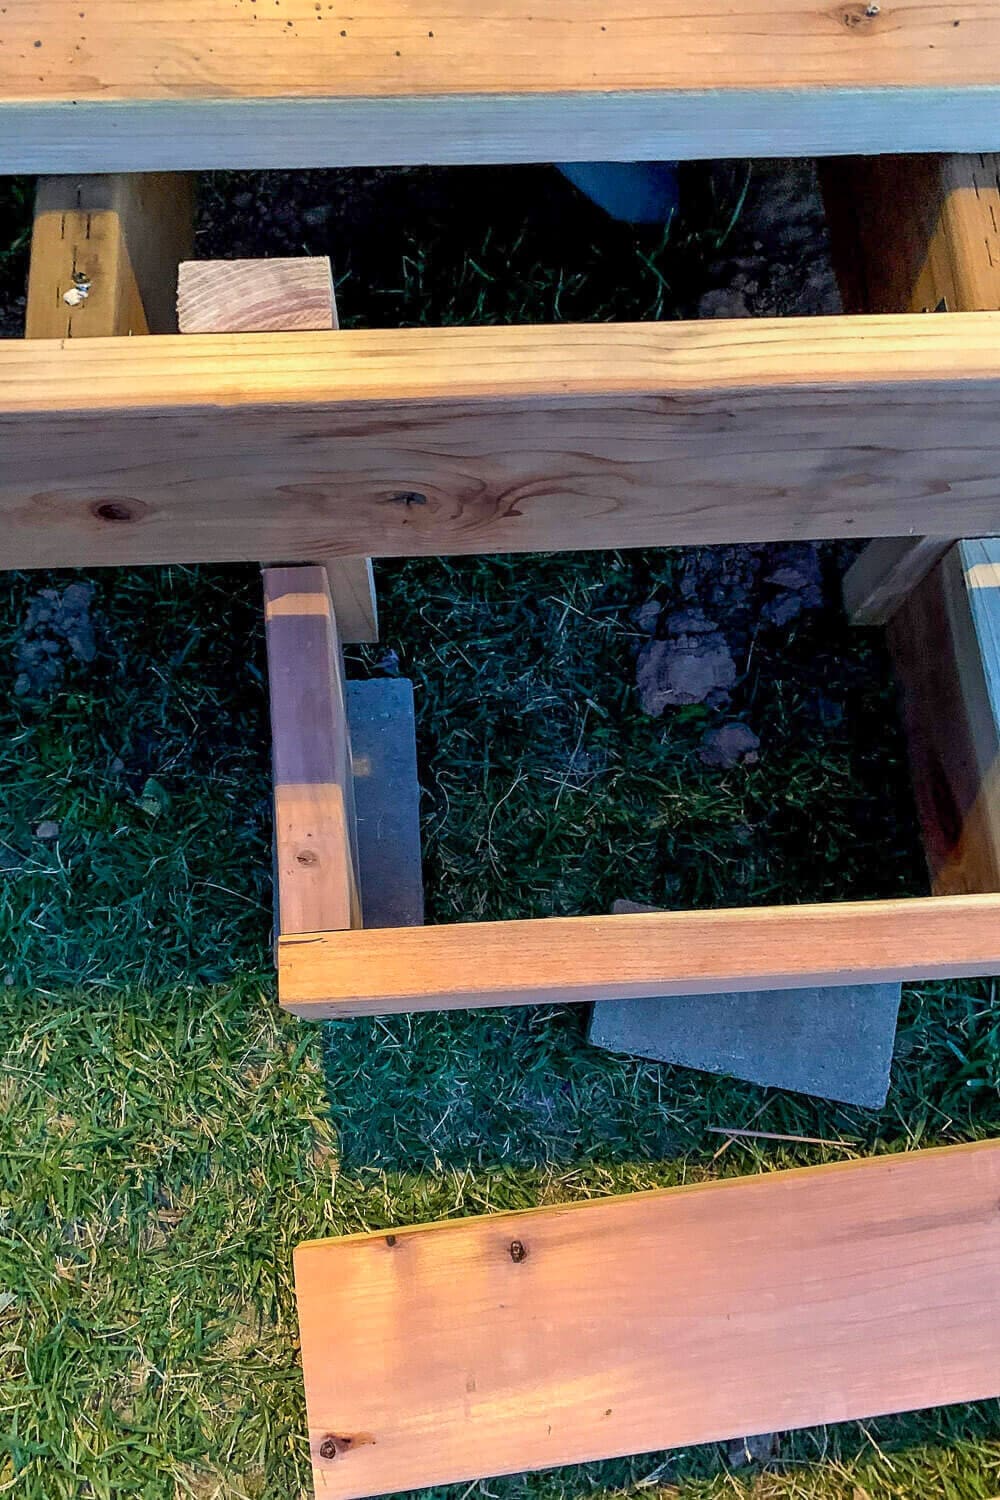
Step 5: Set the Box on Footings and Screw It to the Cleats
Set the frame on something solid so it won’t sink or rot into the dirt. I rested mine on concrete pavers and cinder blocks and leveled it up. Then I pushed it tight to the porch and screwed the step into those 2×4 cleats from behind, so the fasteners stay hidden and the step can’t wander.
Pro tip: Check level front-to-back and side-to-side before you fasten. A step that tips forward feels wrong the second you walk on it.
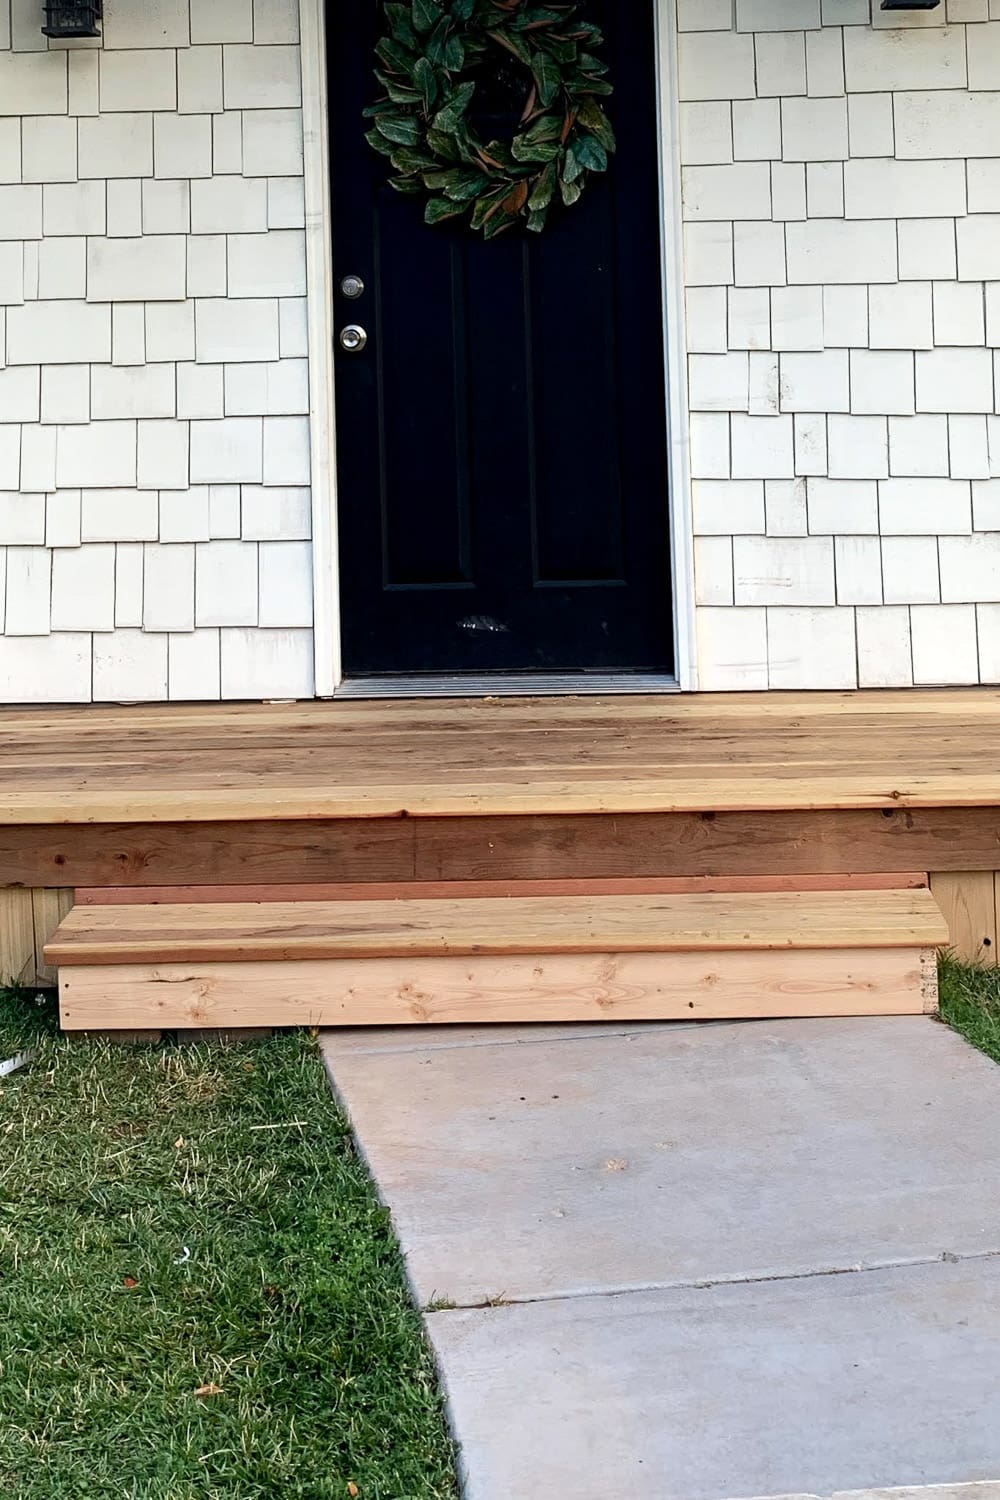
Step 6: Add the Tread With a Slight Overhang
Cap the step with your redwood deck boards. Let the front edge hang over the riser by about 3/4 to 1 1/4 inch, which gives it that clean, finished stair look and sheds water away from the riser. Screw the treads down into the box frame.

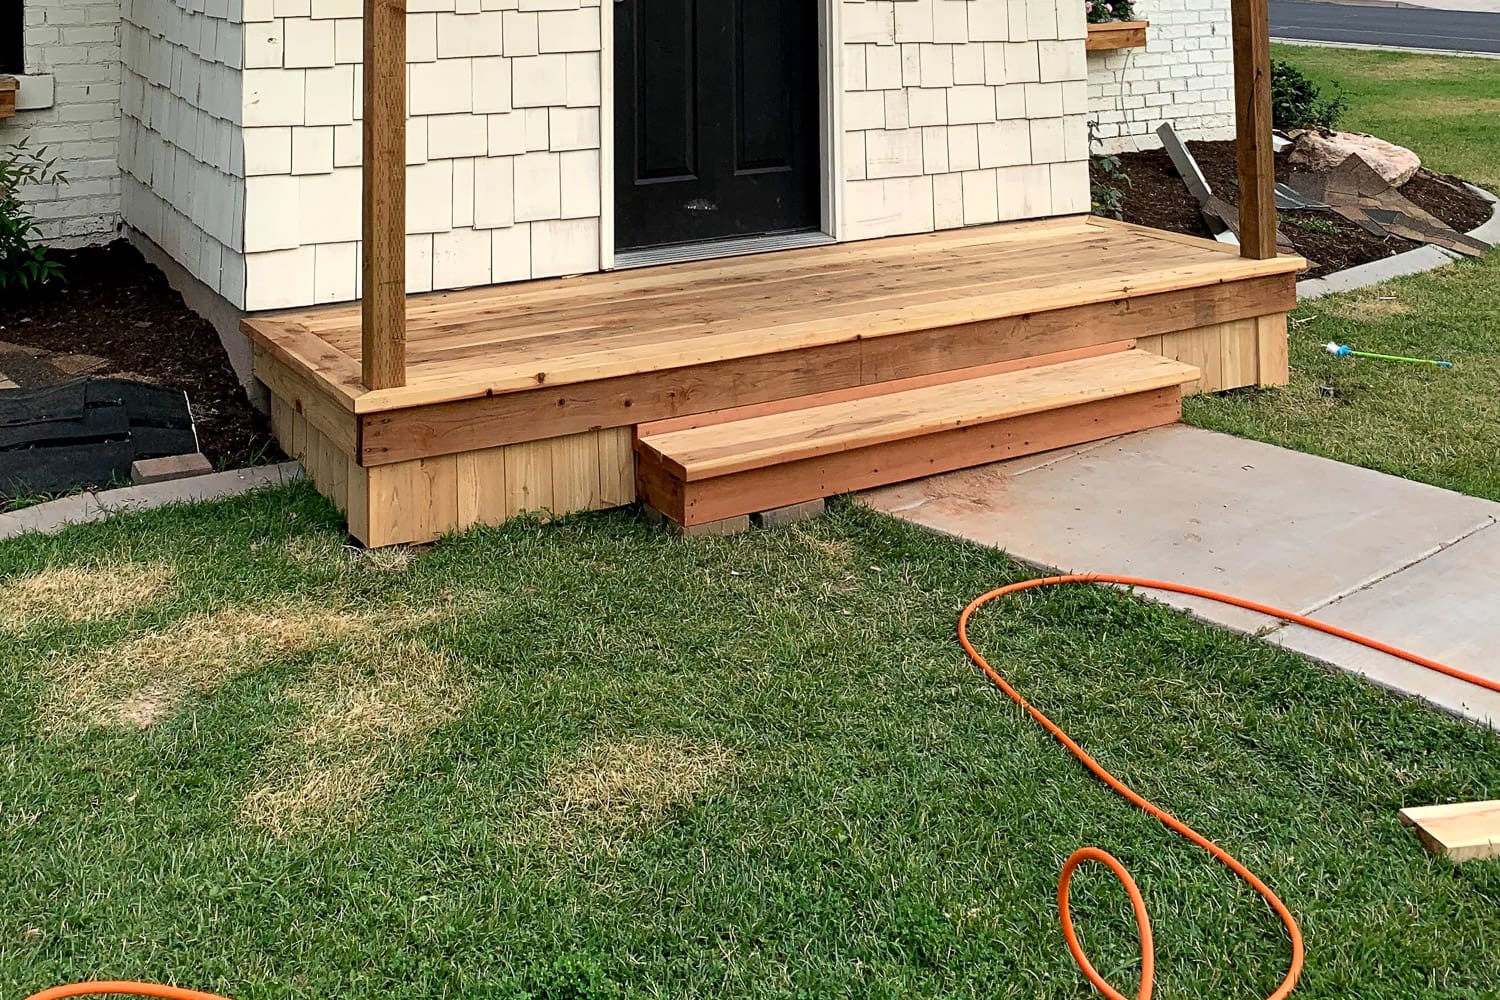
Step 7: Skirt the Base of the Porch and the Step
This is the part that made the whole porch look finished. With the tread already on, I wrapped the exposed base of the deck and the step with vertical boards so you can’t see the framing or the gap underneath. On the step itself, that means wrapping all three exposed sides, the front face plus both ends, so the box completely disappears and it reads like a solid stair instead of an open frame.
Cut each board to height so it tucks up under the tread overhang, butt the corners together, and screw them to the frame. Fence pickets work great here since they’re thinner and cheaper than deck boards and cut fast.
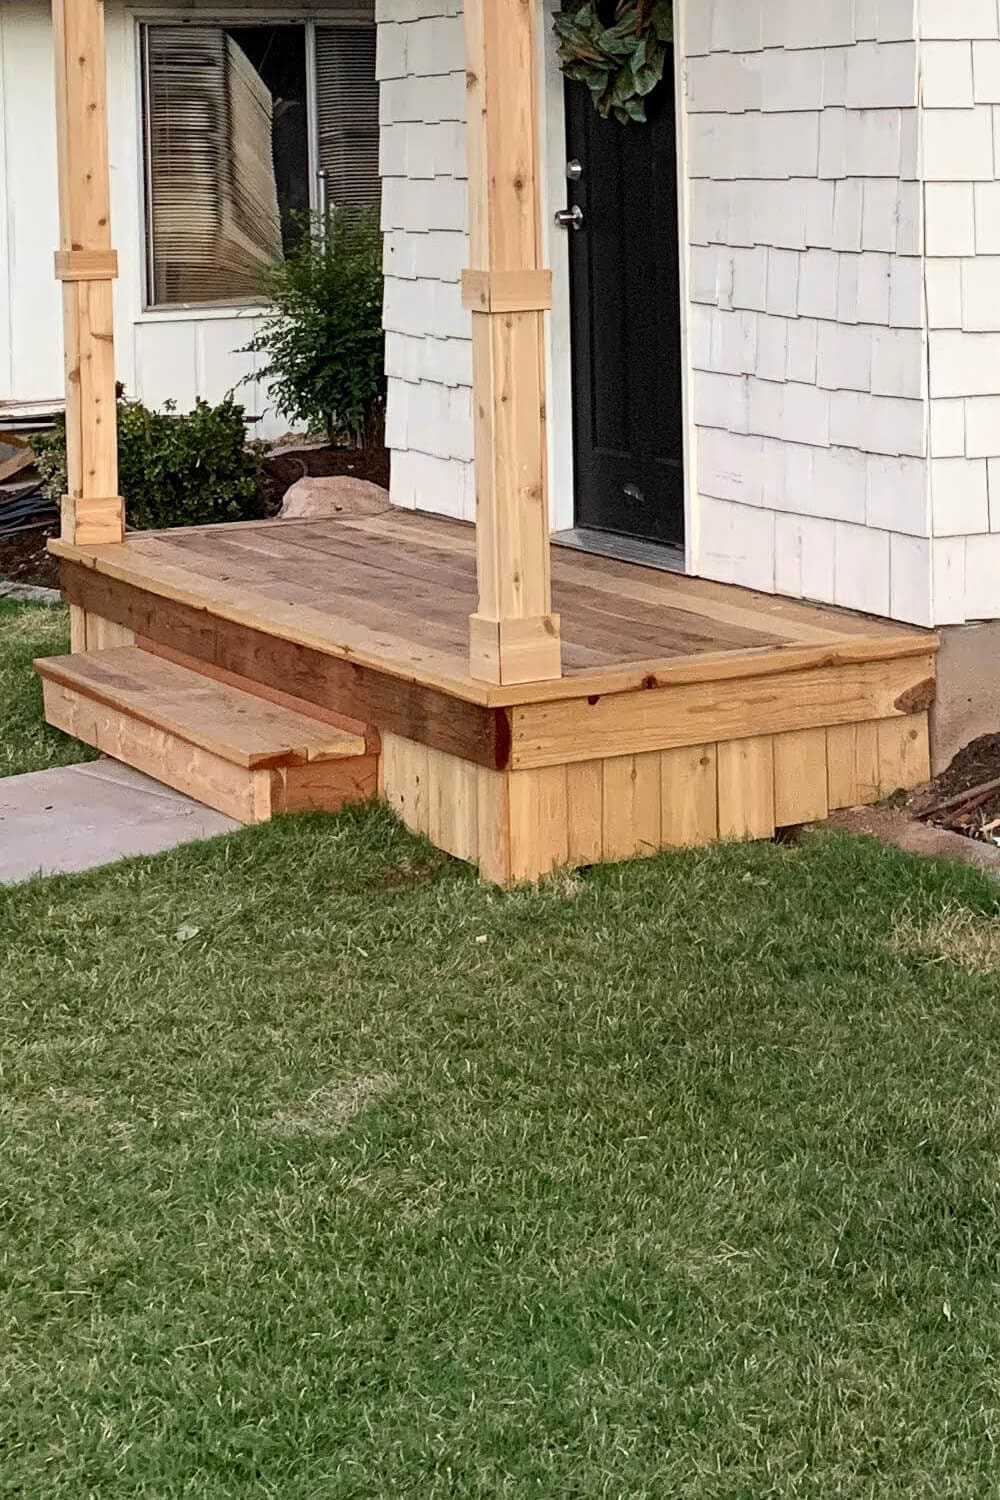
And that’s it, a solid step you’d never guess is just a box.
How Much Does It Cost to Build Porch Steps?
A single DIY box step is one of the cheapest upgrades in this whole build. Expect roughly $50 to $150 in lumber and screws for one step like mine, especially since it reuses the same redwood and screws from the rest of the porch. A full run of stairs costs more.
Doing it yourself skips the contractor labor, which is usually the biggest chunk of any step project.
Porch Step Timeline
| Phase | Active time | Notes |
|---|---|---|
| Measure and plan the step | 30 min | Check your rise and tread depth |
| Cut the frame pieces | 30-45 min | Cut matching lengths together |
| Build and set the box | 1 hr | Level it on pavers, attach to the porch |
| Skirt the base and riser | 1-2 hrs | The part that makes it look finished |
| Add the treads | 30-45 min | 3/4 to 1 1/4 in overhang |
| Total | Half a day | Not counting stain or sealer |
Do Porch Steps Need Footings?
Your step needs something solid under it so it stays put and doesn’t rot. It doesn’t need deep poured footings like the porch posts do. I set mine on concrete pavers and cinder blocks, which keeps the wood off wet ground and stops it from sinking.
This porch is in Hurricane, Utah, where winters are mild, so that was plenty. In a hard-freeze climate, a gravel base or a below-frost footing is smarter for anything permanent.
Should You Seal a Redwood Porch Step?
Redwood is naturally rot and insect resistant, which is exactly why I used it. But sunlight will slowly turn it a silvery gray if you leave it bare. If you want to keep that warm, freshly-cut color, sealing is the way to go.
Let new redwood dry out first. If yours went down damp, give it a few weeks, then do the splash test: sprinkle a little water on the surface, and if it soaks in instead of beading up, the wood is ready for sealer.
Use a penetrating exterior sealer or a semi-transparent stain with UV protection, and brush or roll it on in dry, mild weather. Since a step takes foot traffic and full sun, plan to reseal about every one to two years to keep it protected and looking good. If you’d rather let it age to a natural gray, you can skip sealing, just know the wood will weather faster without that layer of protection.
More Front Porch and Outdoor Projects to Try
- How to Build the Foundation for a DIY Front Porch (Part 1)
- How to Build a Front Porch: Trim and Deck Boards (Part 2)
- DIY Wood Porch Column Wraps
- How to Paint a Concrete Porch
📌 Save These Porch Steps for Later
Pin this now and come back when you’re ready to add a step to your own porch.
How to Build Porch Steps FAQs
The box method skips stringers entirely. Instead of cutting angled stringers, you build a simple rectangular frame (a box), set it on footings, and cap it with treads. It’s the easiest way to build a single porch or deck step.
Aim for a riser height between 7 and 7 3/4 inches, and keep every step the same height. Building code caps a single riser at 7 3/4 inches for safety.
A tread should be at least 10 inches deep so your whole foot lands comfortably. Add a 3/4 to 1 1/4 inch overhang at the front for a finished look.
Match the step to your entry. A comfortable minimum is 36 inches wide, but running the step the full width of the porch looks the most built-in.
Measure your porch height and divide by about 7 inches. A porch under roughly 18 inches usually needs one step; taller porches need two or more.
They need a solid base. Concrete pavers or blocks under the frame keep the wood off wet soil and prevent sinking. Deep footings aren’t required for a single low step the way they are for porch posts.
I used redwood deck boards for the tread and thinner picket fence boards for the skirt, with a 2×6 frame and 2×4 cleats underneath.
A single DIY box step usually runs about $50 to $150 in materials. A full deck staircase costs more, but doing it yourself always saves the labor, which is the biggest expense.
A single low step usually doesn’t require a handrail, but codes vary. Once you have a few steps or more than about 30 inches of drop, a railing is typically required. Check your local code.
Give the step something solid to grab. I unscrewed the front border board, screwed 2×4 cleats to the porch frame behind it, then fastened the step box to those cleats from behind so the screws stay hidden. That anchors the step so it can’t pull away or wobble.
Building the whole thing? This step tutorial is Part 3 of my DIY Front Porch series. Start at Part 1: Foundation and Frame and Part 2: Trim and Deck Boards. Part 4: Roof and Finishing is coming soon.
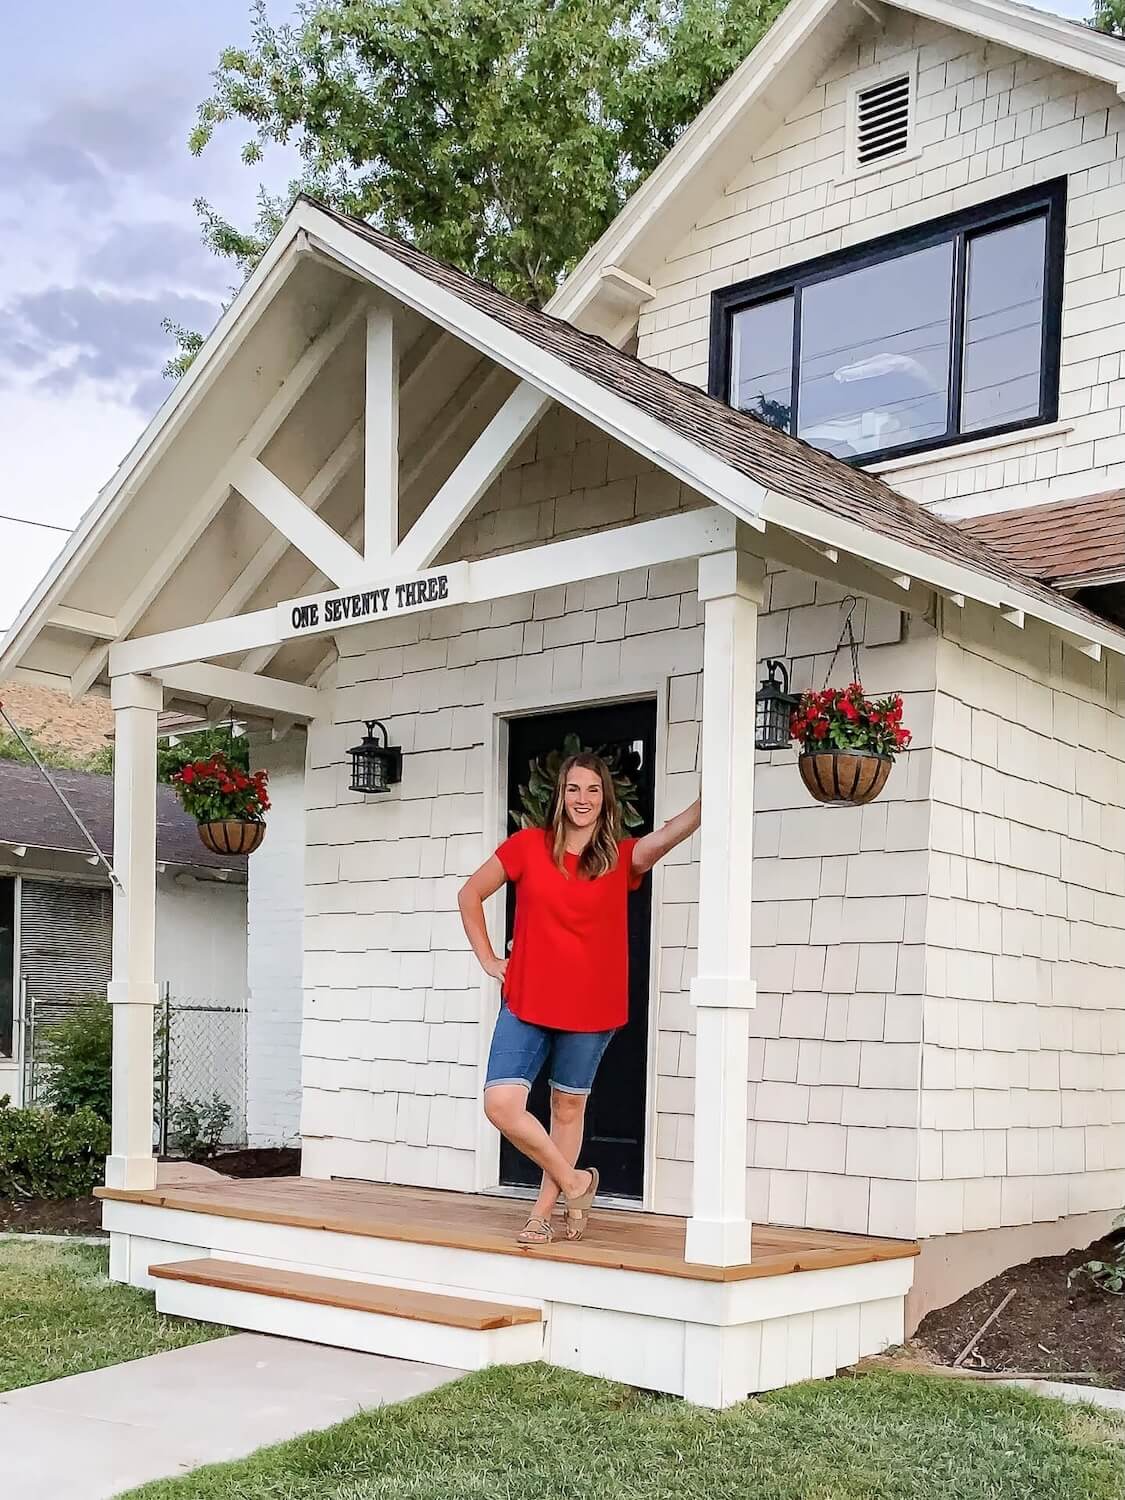
About Crystel
I’m Crystel Montenegro, a stay-at-home mom of five turned home DIY expert. I share budget-friendly DIY projects, home design, garden, recipes, and lifestyle content from my own home, and every project here is one I actually built or made. Read more about me or follow along on Instagram.
