


DIY Wood Porch Column Wraps Made Easy


Updated July 13, 2026
If your front porch columns are looking a little tired, this one-day DIY will completely transform them! These wood porch column wraps instantly upgraded our curb appeal, and they’re way easier (and cheaper!) than replacing your columns. I’ll show you exactly how to wrap your existing porch columns with wood – no major reno required.
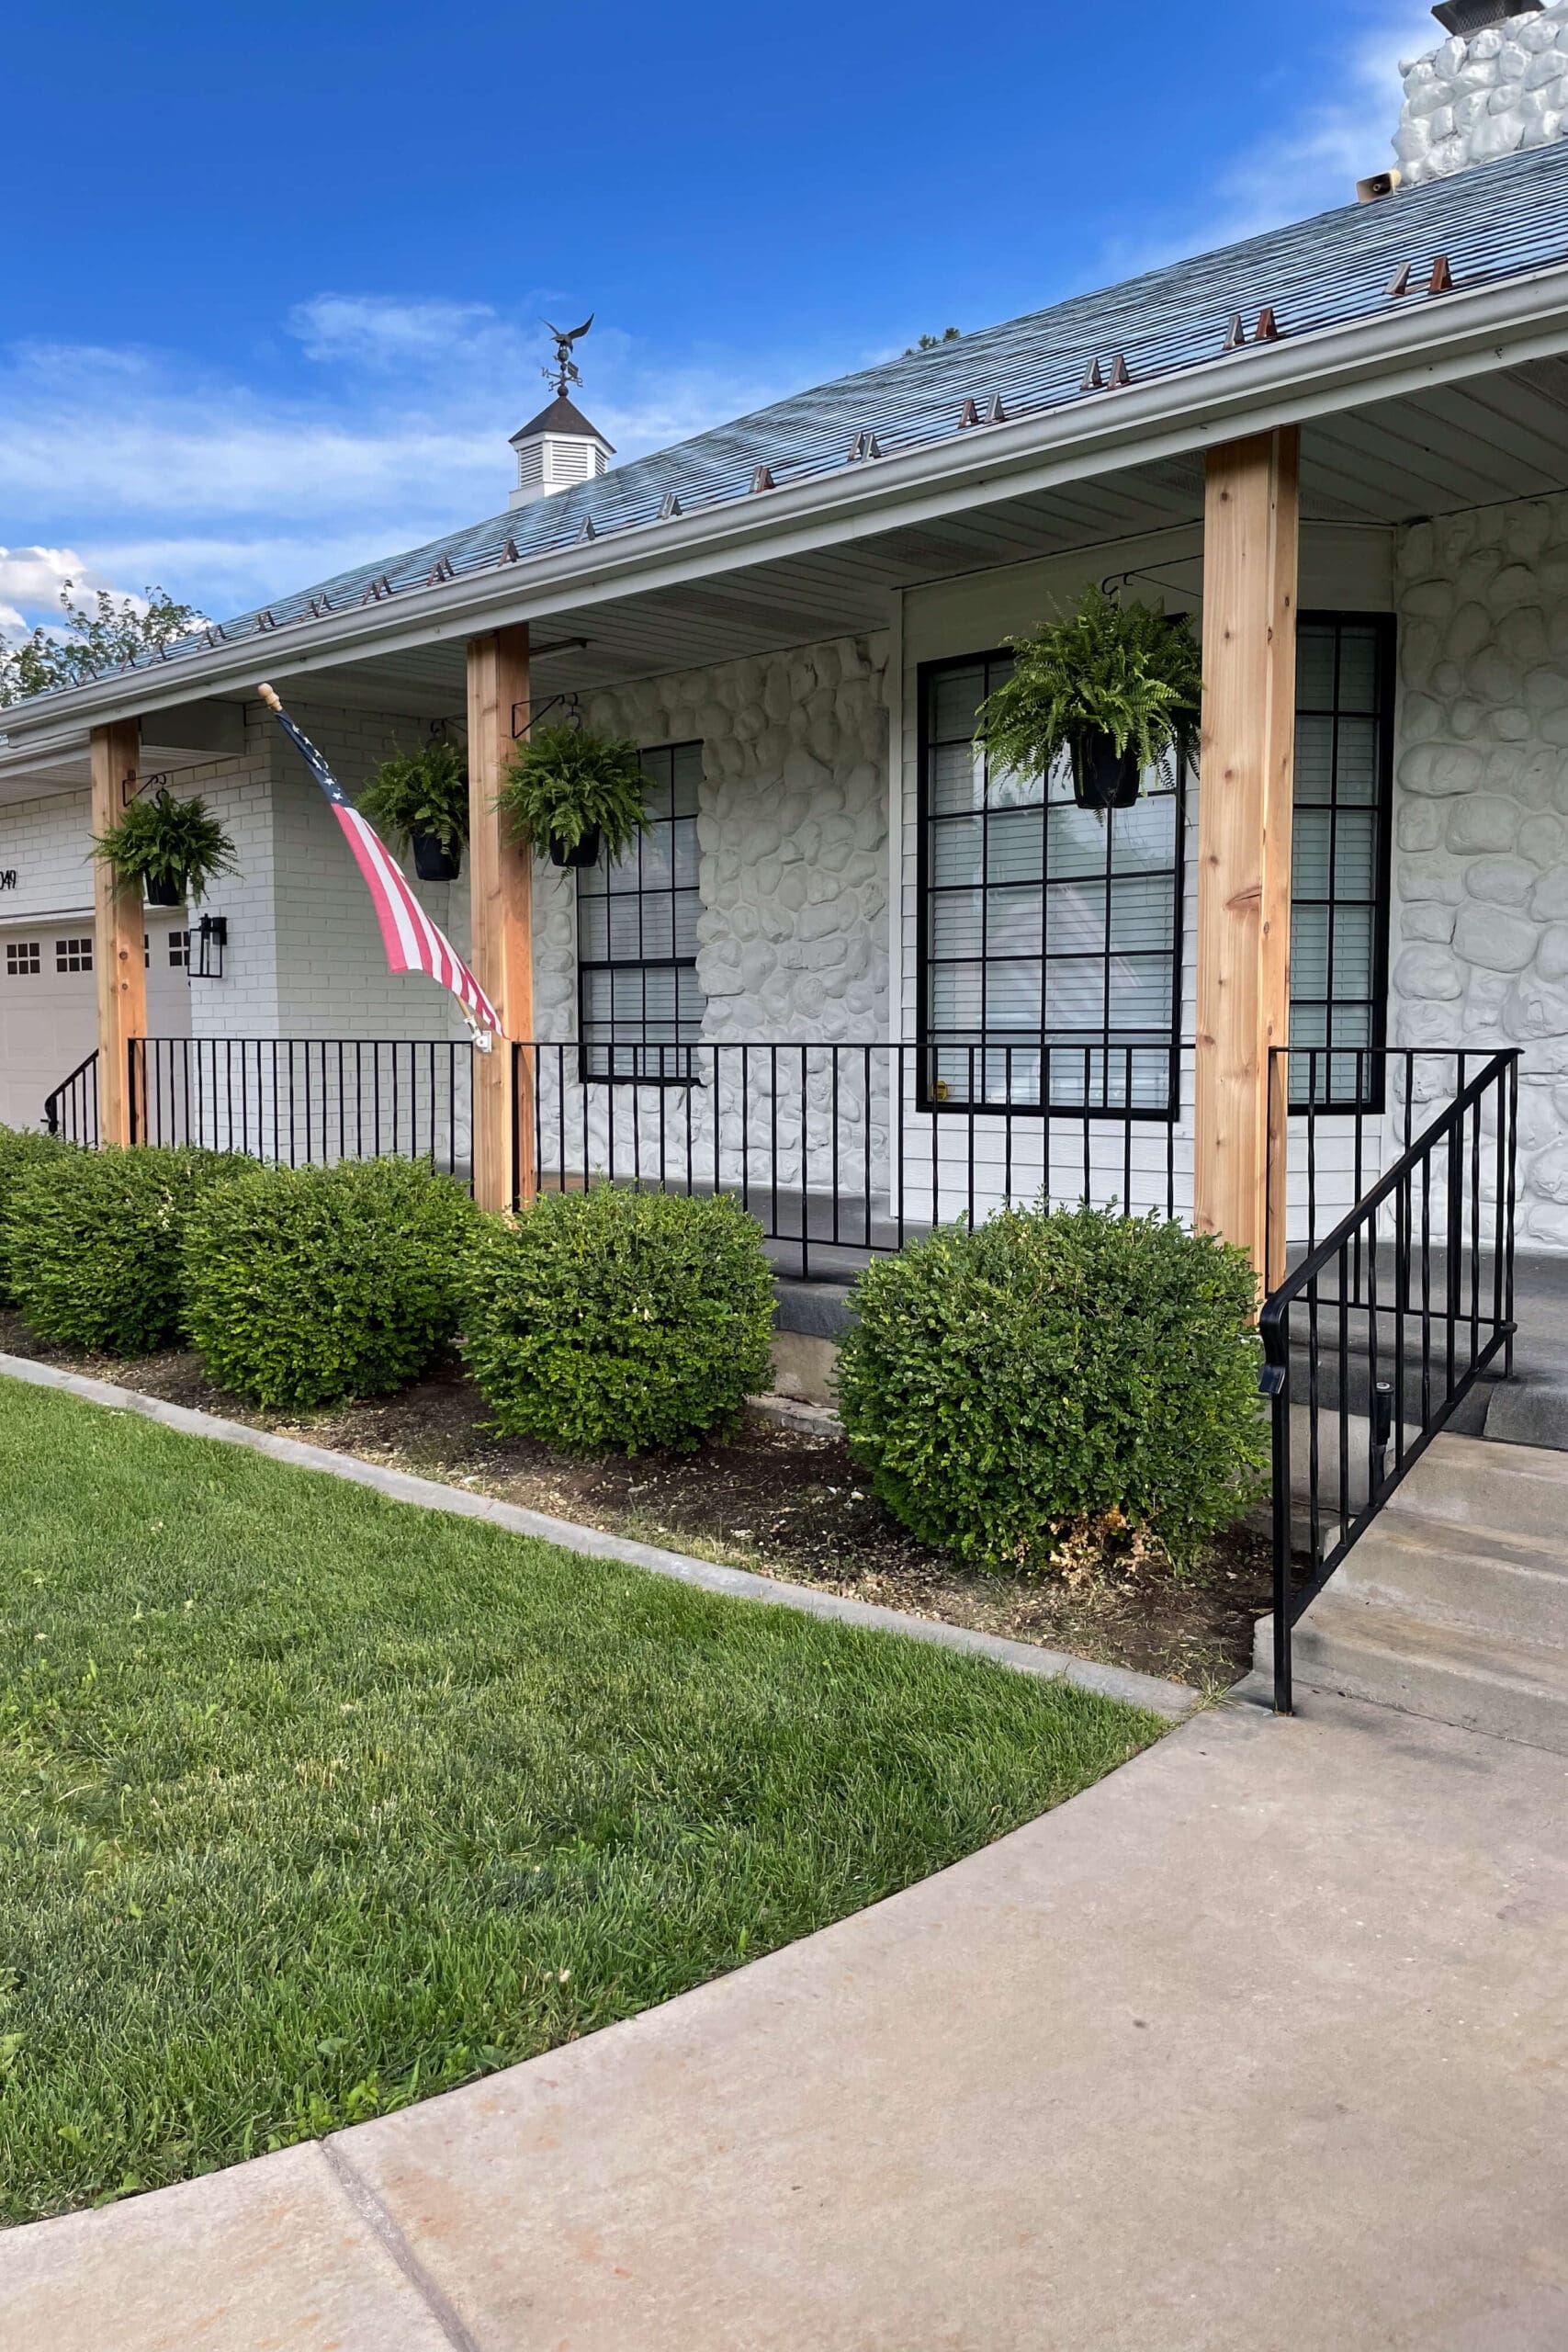
Table of Contents
- Tools and Materials Needed To Wrap a Porch Column
- The “Before”: Outdated Front Porch Columns
- Step 1: Freshen Up the Railing
- Step 2: How to Wrap Porch Columns with Wood
- Step 3: Adding the Front and Back Boards
- Step 4: Stain and Seal Your Porch Column Wraps
- Final Reveal: DIY Wood Porch Column Wrap Before & After
- FAQs About DIY Porch Column Wraps
Tools and Materials Needed To Wrap a Porch Column
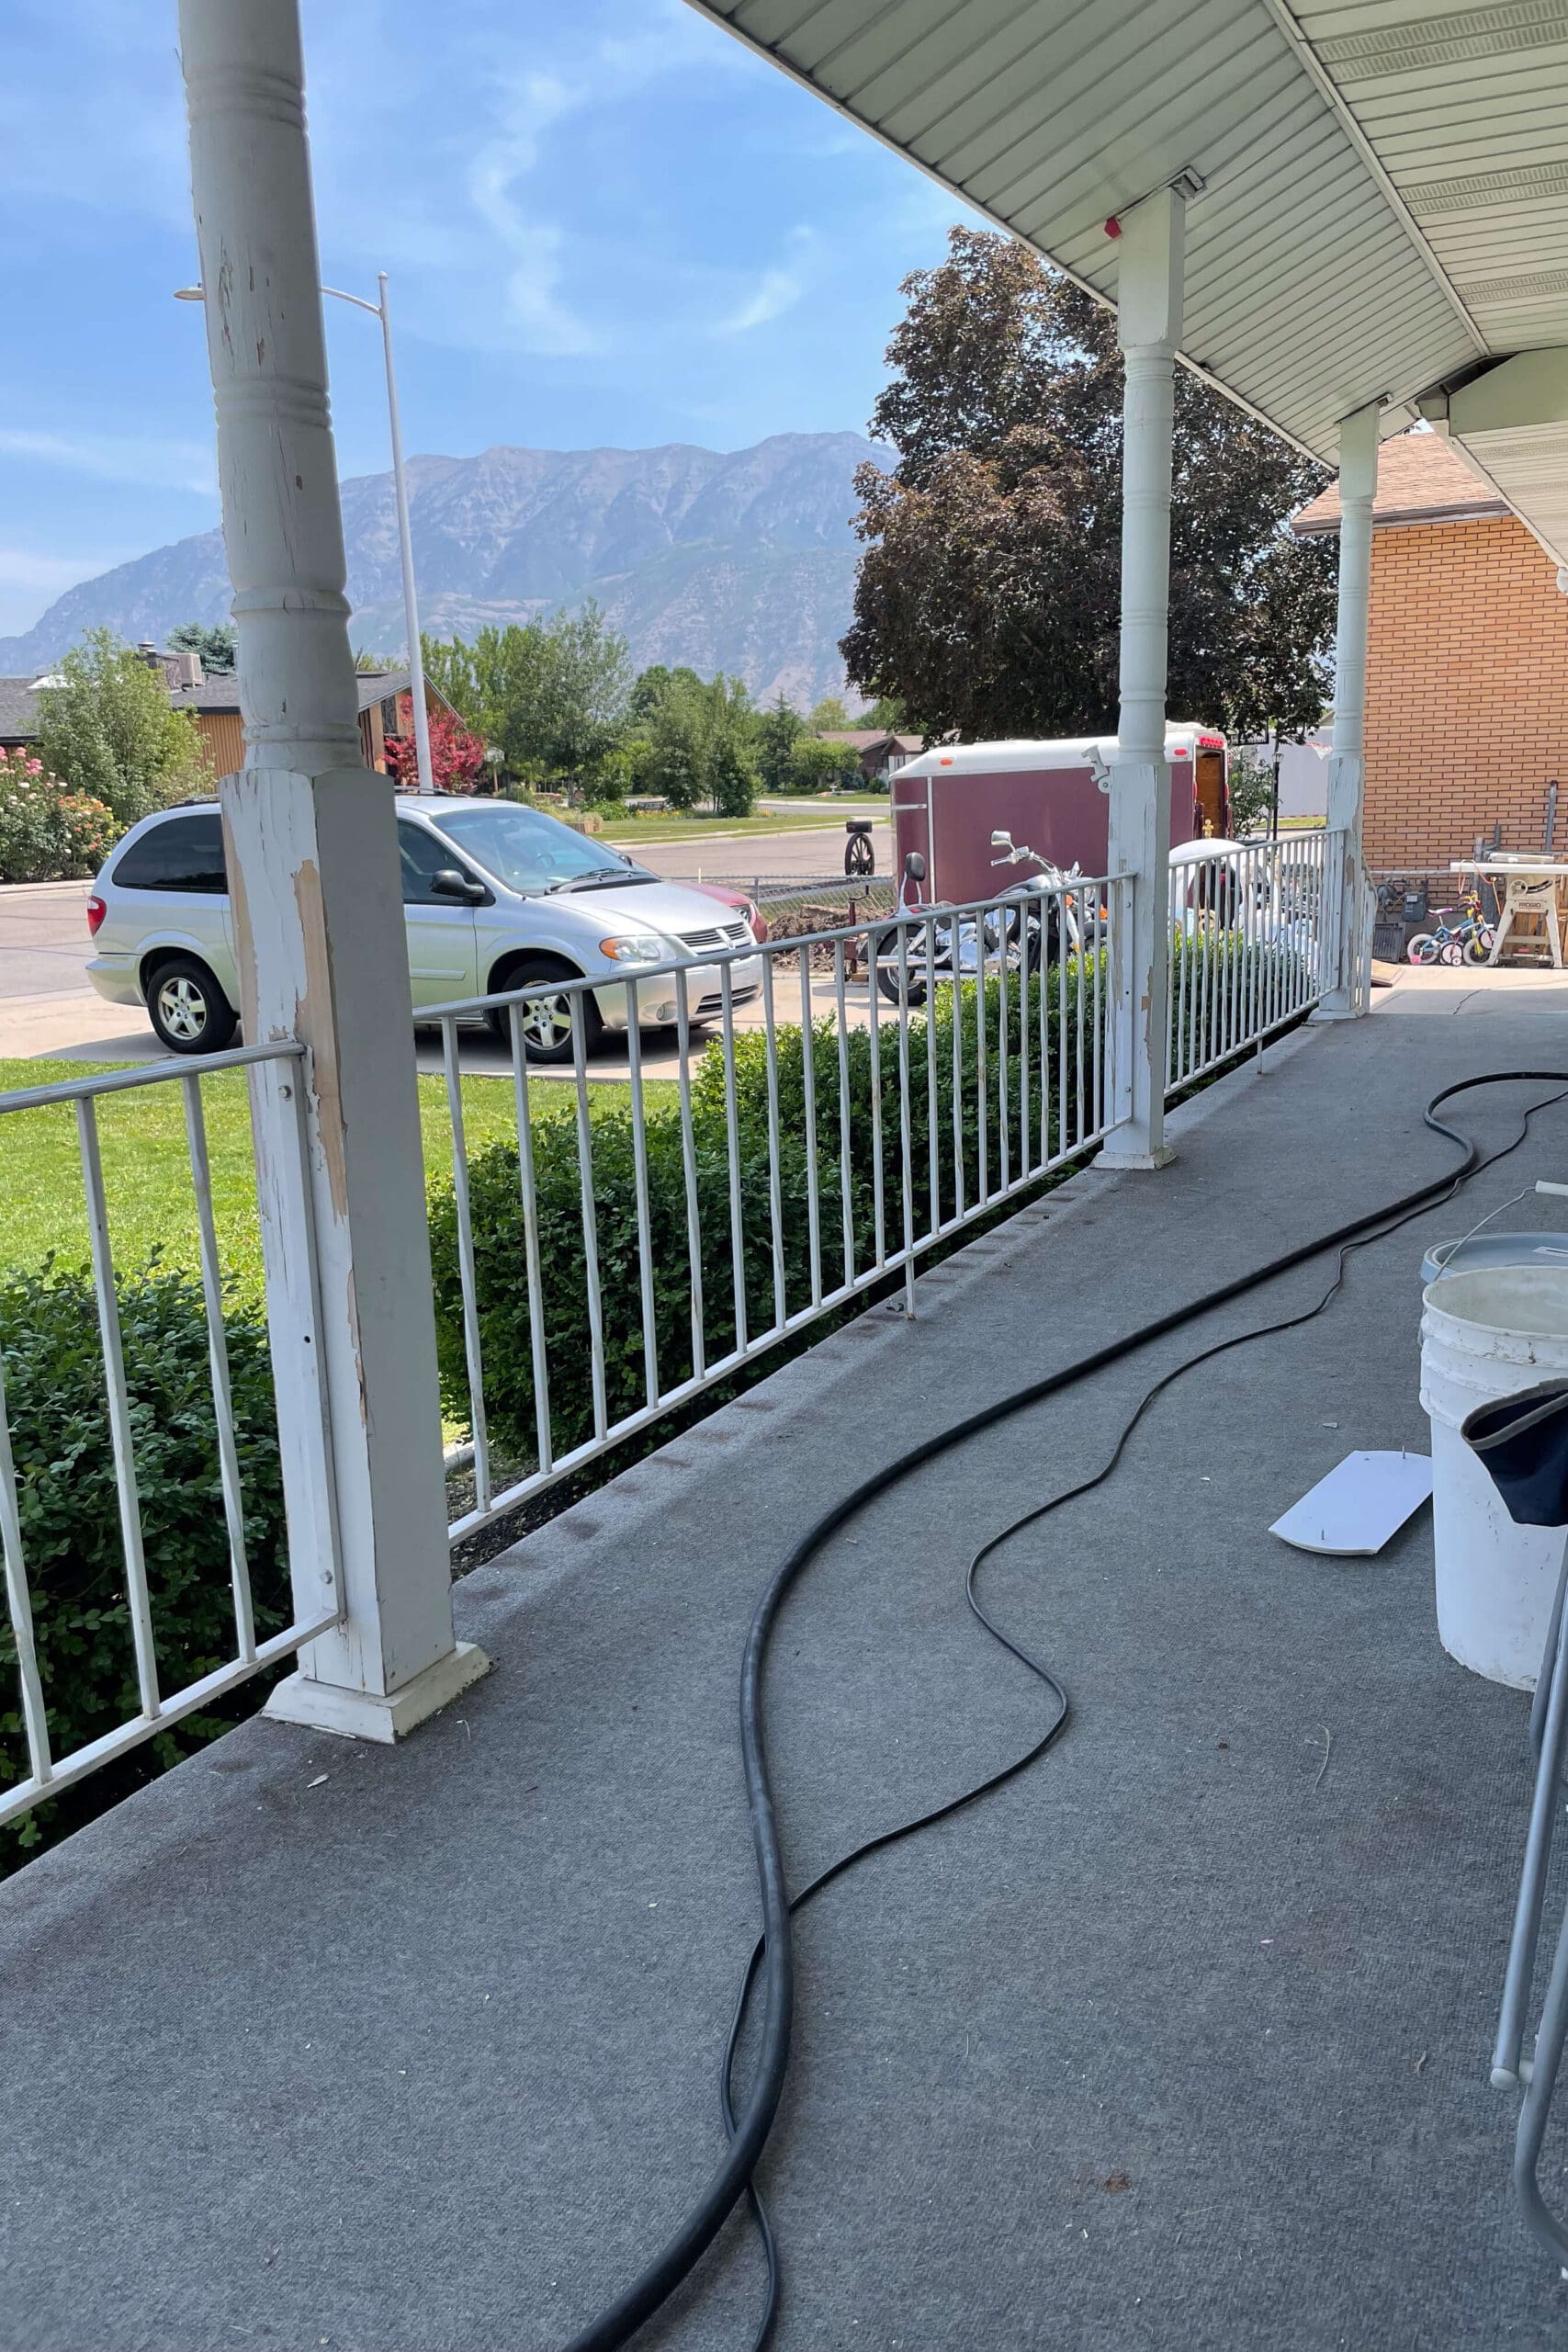
The “Before”: Outdated Front Porch Columns
Here’s where we started: basic white columns that had seen better days. Structurally sound? Yes. Cute? Definitely not. The paint was peeling, and the metal railing screamed builder-basic.
Full porch makeover? Not in the budget. But adding custom wood porch column wraps would give me that updated look I was craving – without the big price tag.
Step 1: Freshen Up the Railing
Before tackling the columns, I grabbed a can of black spray paint and gave the metal railing a quick refresh.

This simple switch immediately tied everything together – moody front door, painted black window frames, and now the freshly painted railing all matched. A little bit of work, but a big impact!
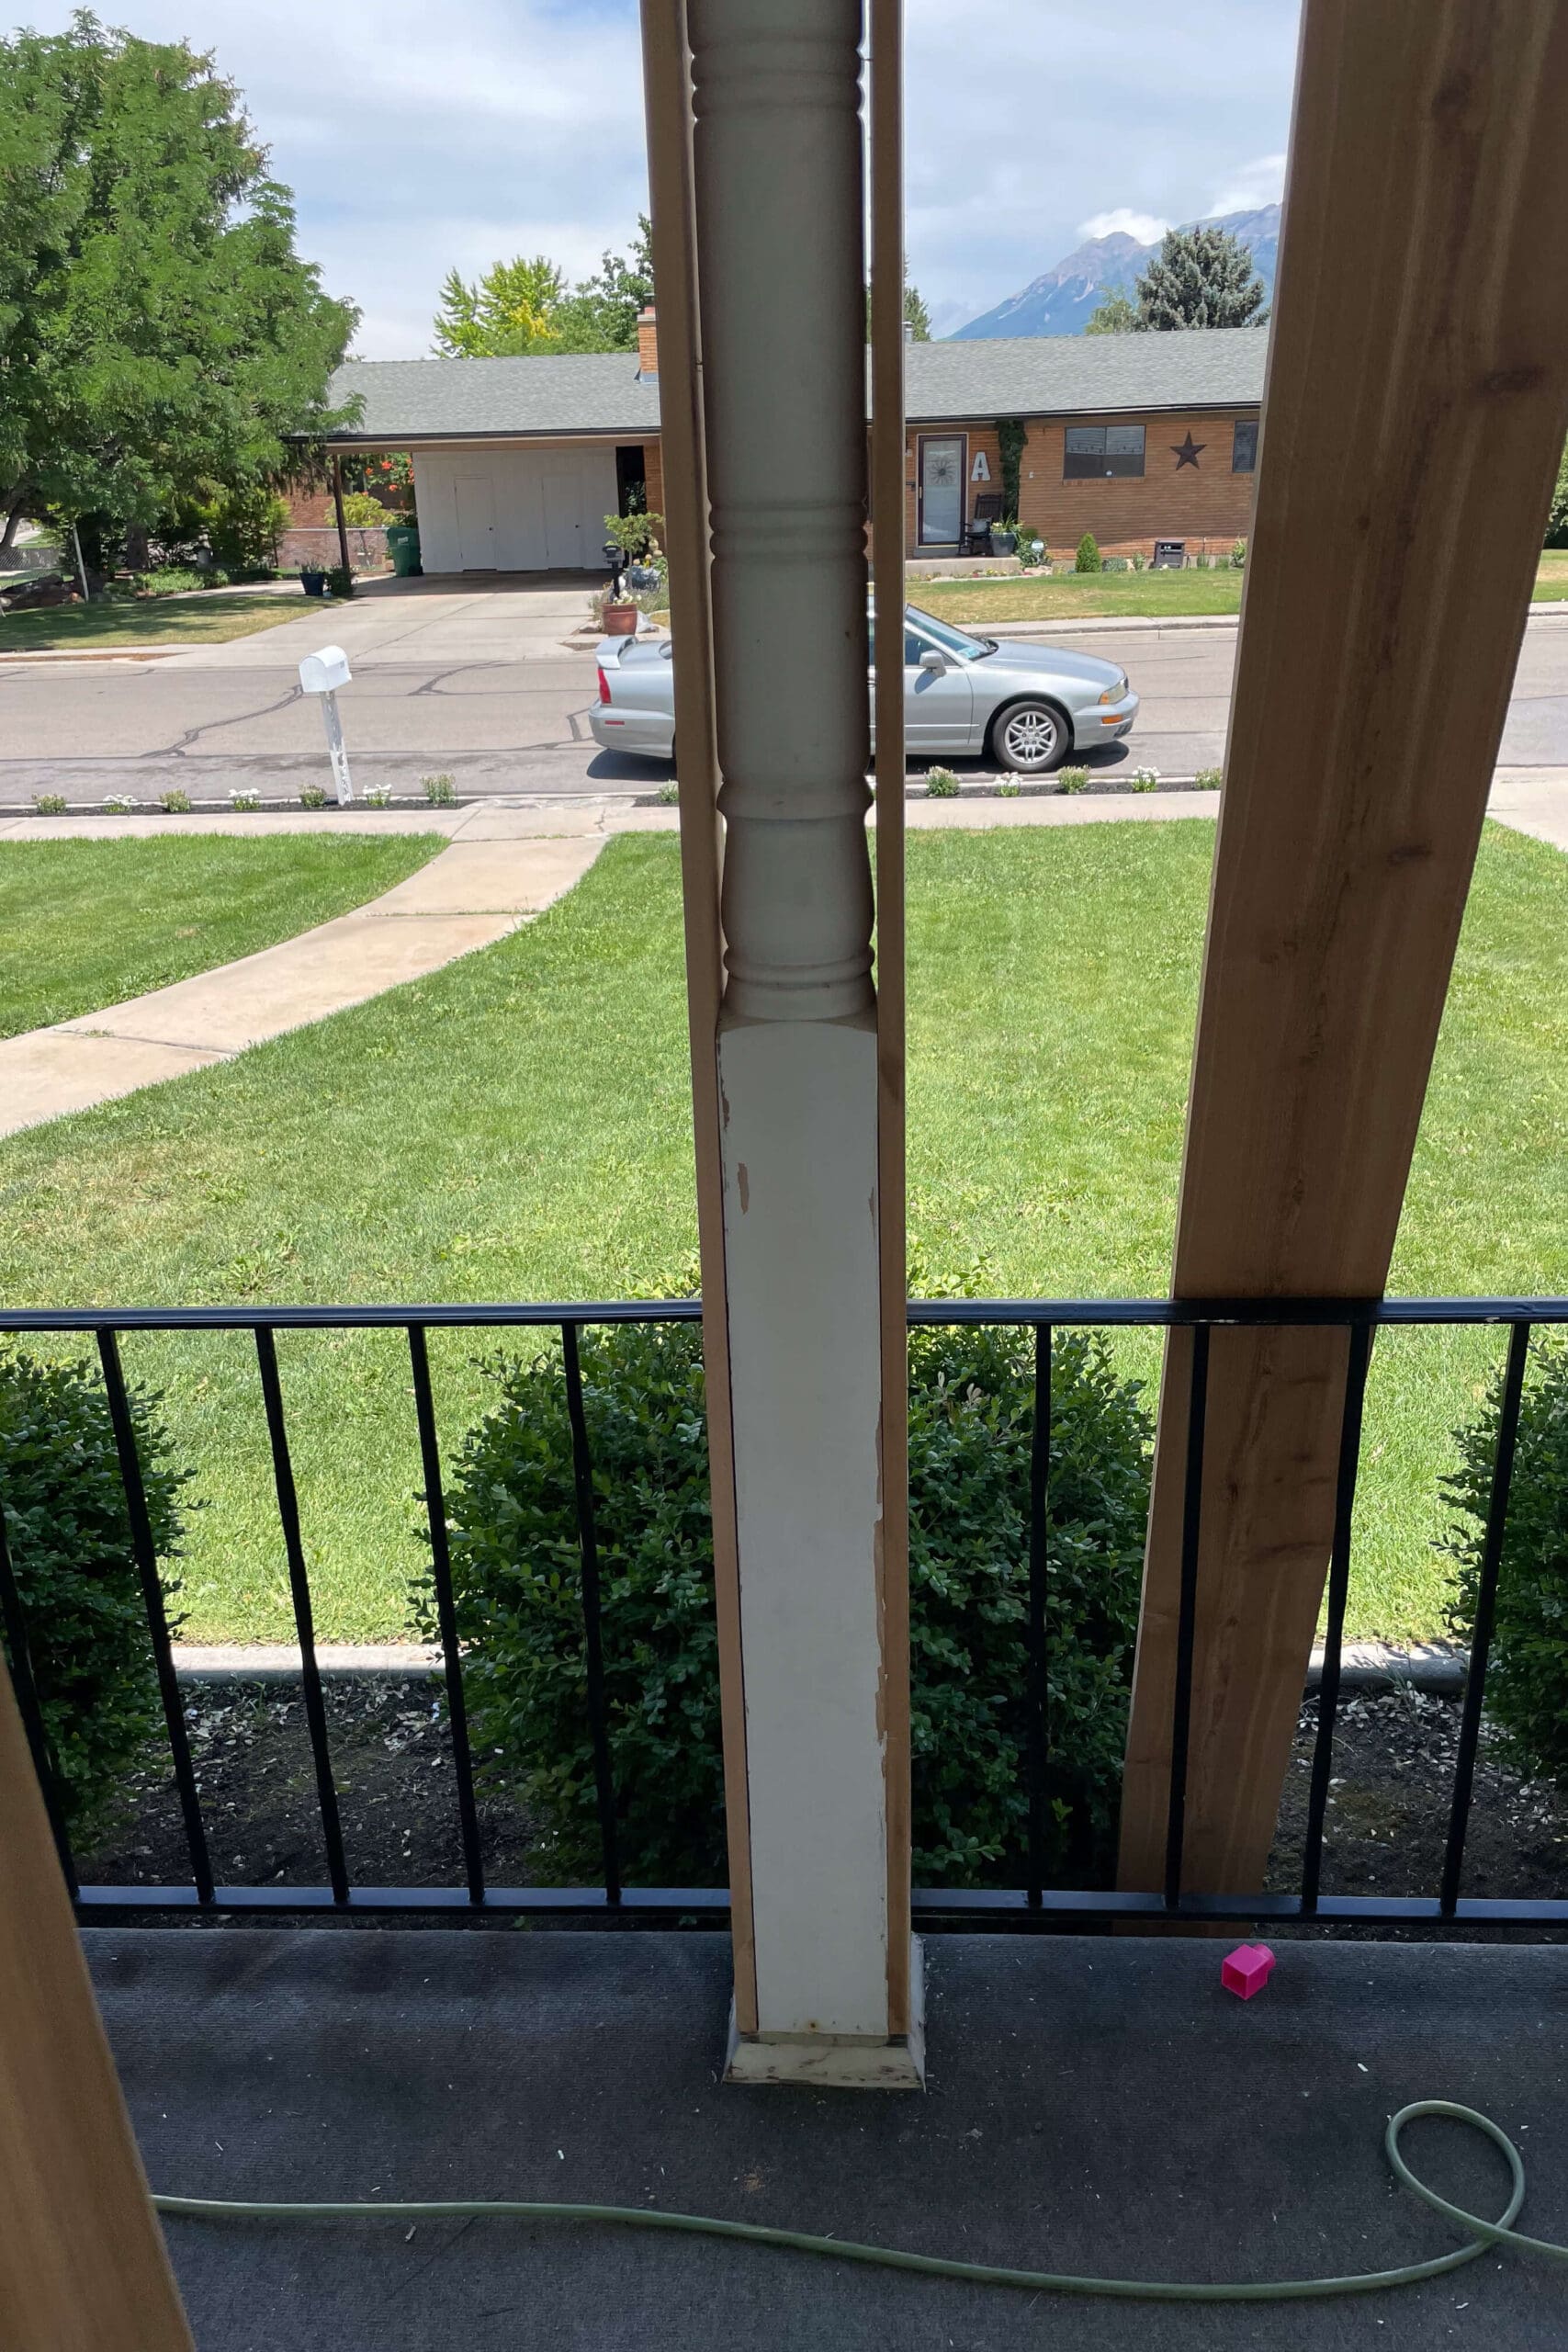
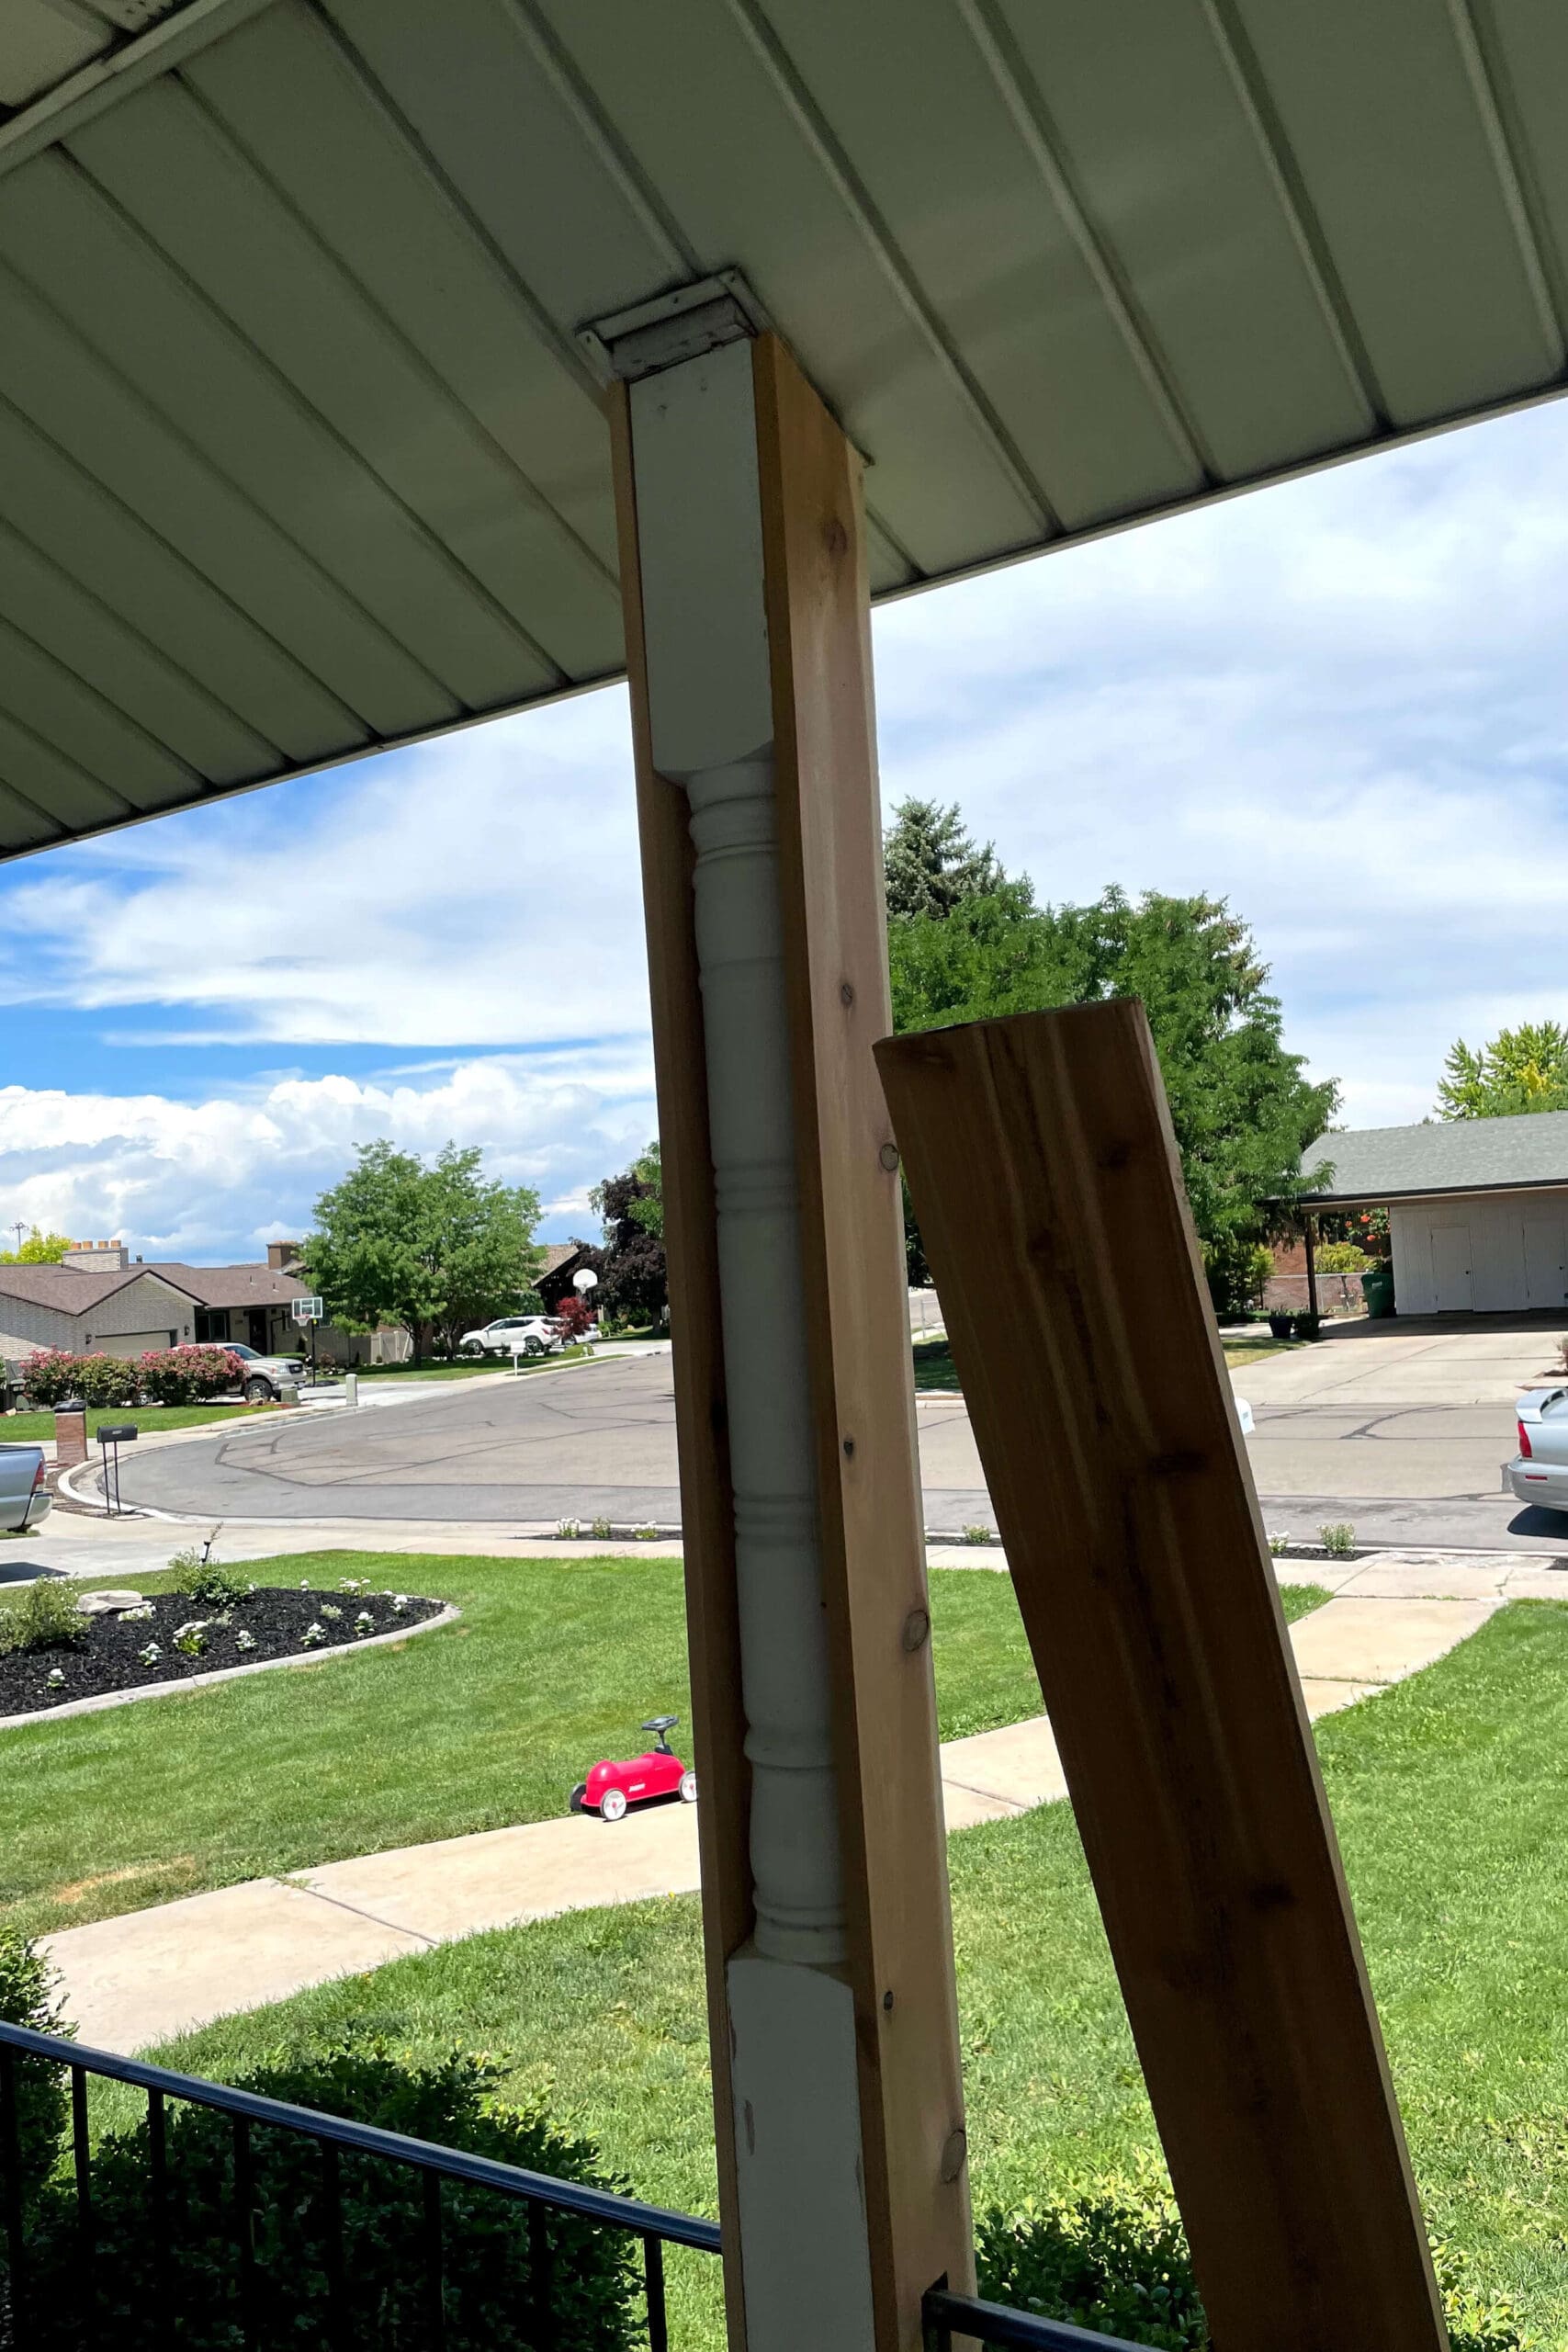
Step 2: How to Wrap Porch Columns with Wood
With the railing looking fresh, it was time to wrap those columns. I used 1×8 boards, but the size you need will depend on the size of the columns you’re covering. Here’s how I did it:
- I ripped the boards down on my table saw to fit the width of my existing posts.
- Then, I used my miter saw to cut the top ends at an angle so they’d sit flush with the porch ceiling.


The one tricky part of these wood column porch wraps… the side pieces had to fit around the newly painted railing. I carefully marked where to notch out the bottom of each board, used my table saw for the long cuts, and a jigsaw for the top of the notch. Then I slid them into place.


Once everything lined up, I used my brad nailer to attach the wood porch column wraps directly to the existing posts. (If your porch has metal columns, swap the brad nails for a heavy-duty construction adhesive like Liquid Nails.)
Step 3: Adding the Front and Back Boards
Next, I added boards to the front and back of the columns. Instead of beveling the edges, I kept it simple: I made sure the front and back boards sat flush with the edges of the side pieces. It’s quick and looks great in my opinion.


Want that seamless, solid beam look instead? I’ve got a full tutorial on that technique in my fireplace mantel post, so be sure to check it out.
Step 4: Stain and Seal Your Porch Column Wraps
After everything was in place, I treated the wood porch column wraps with a waterproofing stain and sealer to protect them from the elements and bring out the beauty of the wood.
And just like that – DONE.
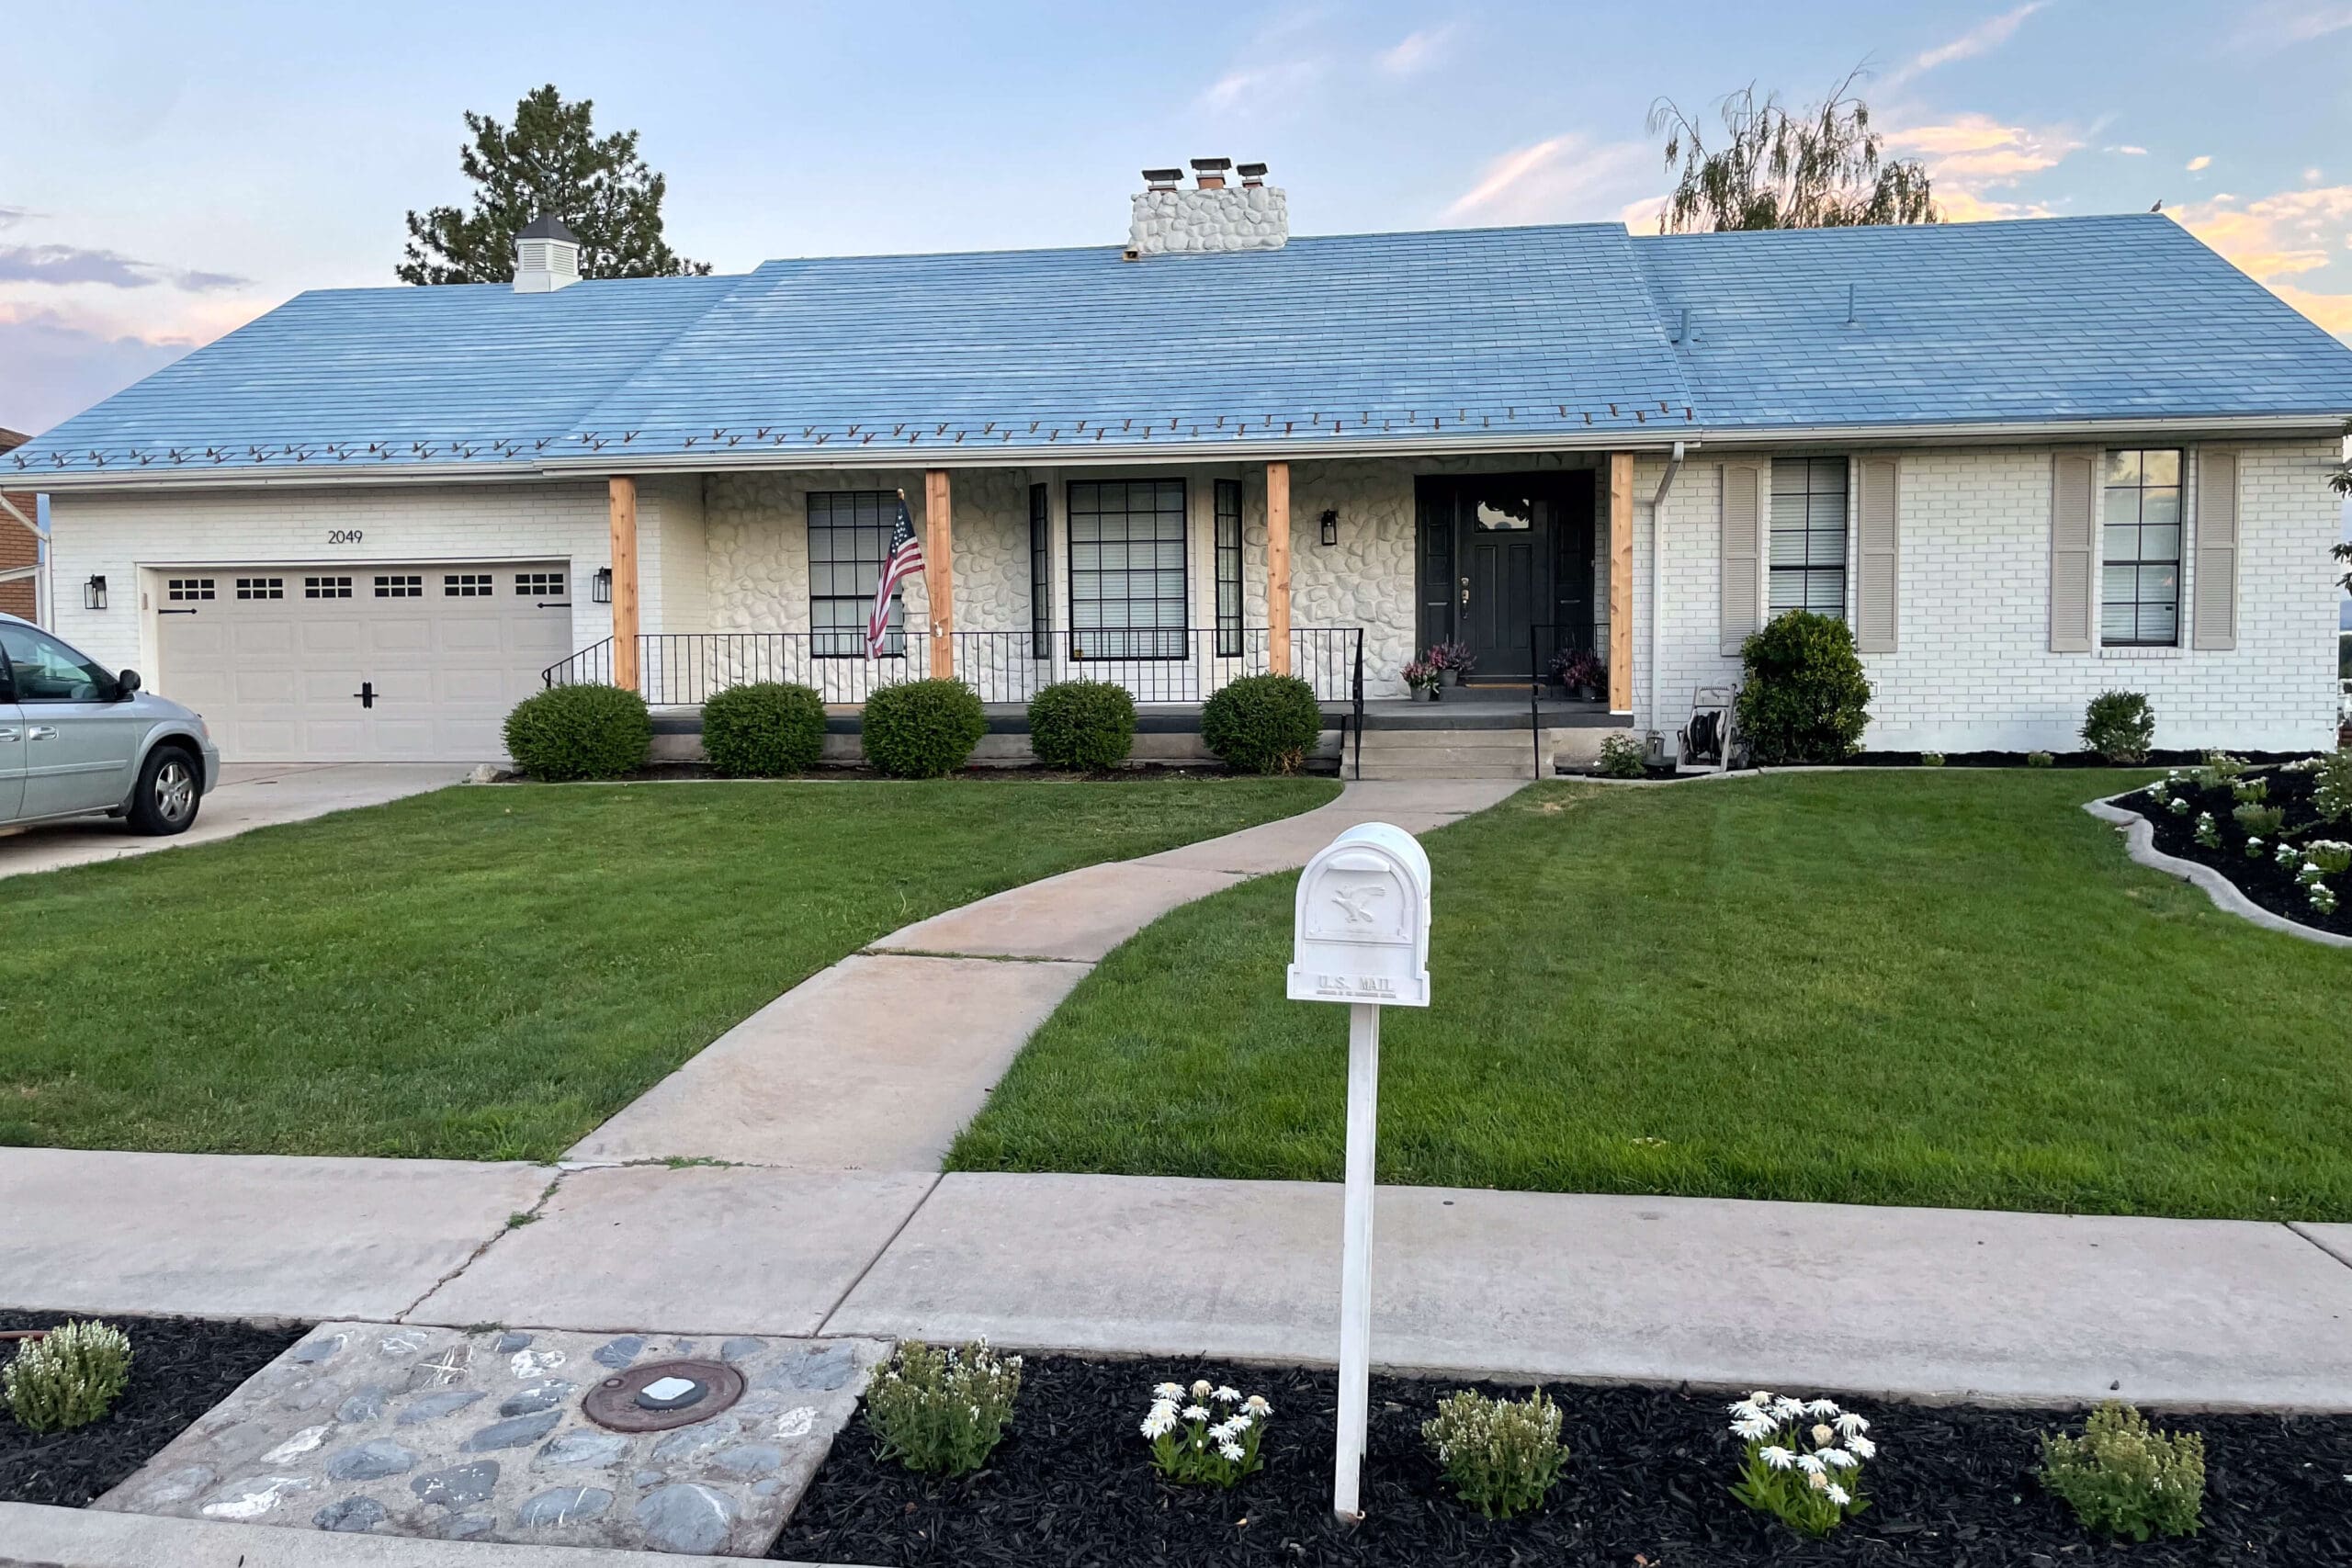
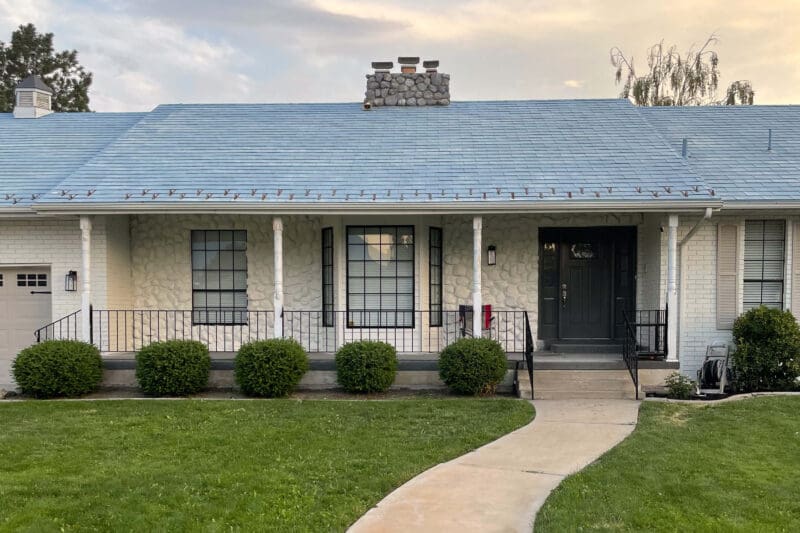
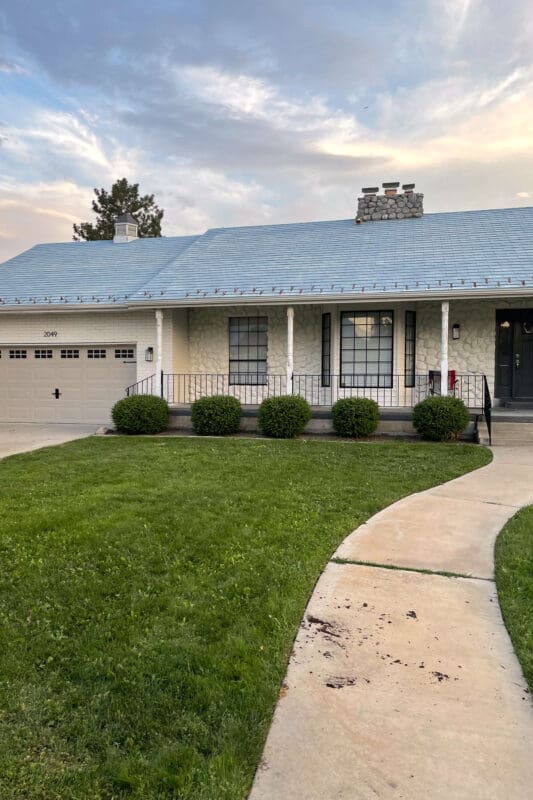
Final Reveal: DIY Wood Porch Column Wrap Before & After
Can you believe the difference? The natural wood porch column wraps instantly modernized our entryway. They bring warmth, texture, and a polished feel to the front of the house.

This project took just one day and made such a huge impact. I couldn’t be happier with how it turned out!
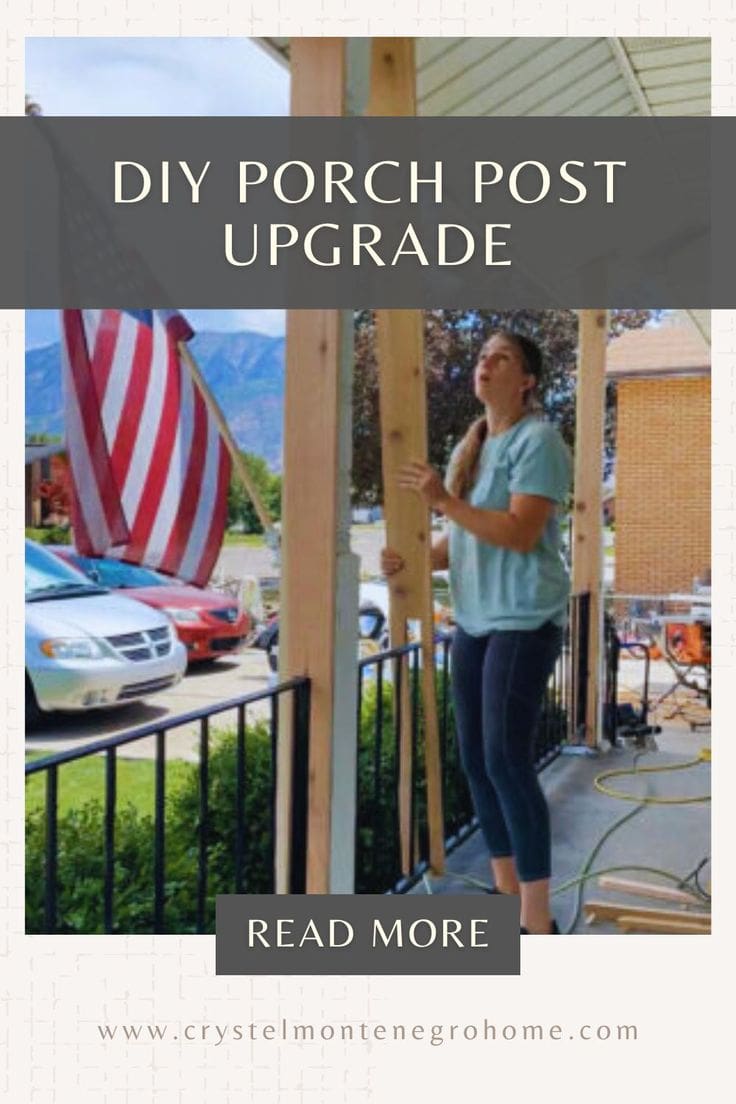
📌 Save this Porch Column DIY for Later
FAQs About DIY Porch Column Wraps
Yes! If your porch has metal columns (like mine), you can absolutely wrap them with wood. Just be sure to use a strong construction adhesive like Liquid Nails if you can’t nail directly into the metal. The wraps are just decorative—so no need to remove the original columns.
I used standard 1×8 pine boards because they’re affordable and easy to work with. If your porch gets a lot of direct rain or sun, cedar is another great option—it naturally resists rot and bugs.
Definitely. Especially for outdoor projects! I used a stain/sealer combo that protects the wood while enhancing the natural grain. Look for one labeled for exterior use so it holds up over time.
Costs will vary depending on how many columns you’re wrapping and what wood you choose, but mine came in under $100 total—including lumber, stain, and fasteners. Way cheaper than replacing the columns entirely!