

Updated May 9, 2026
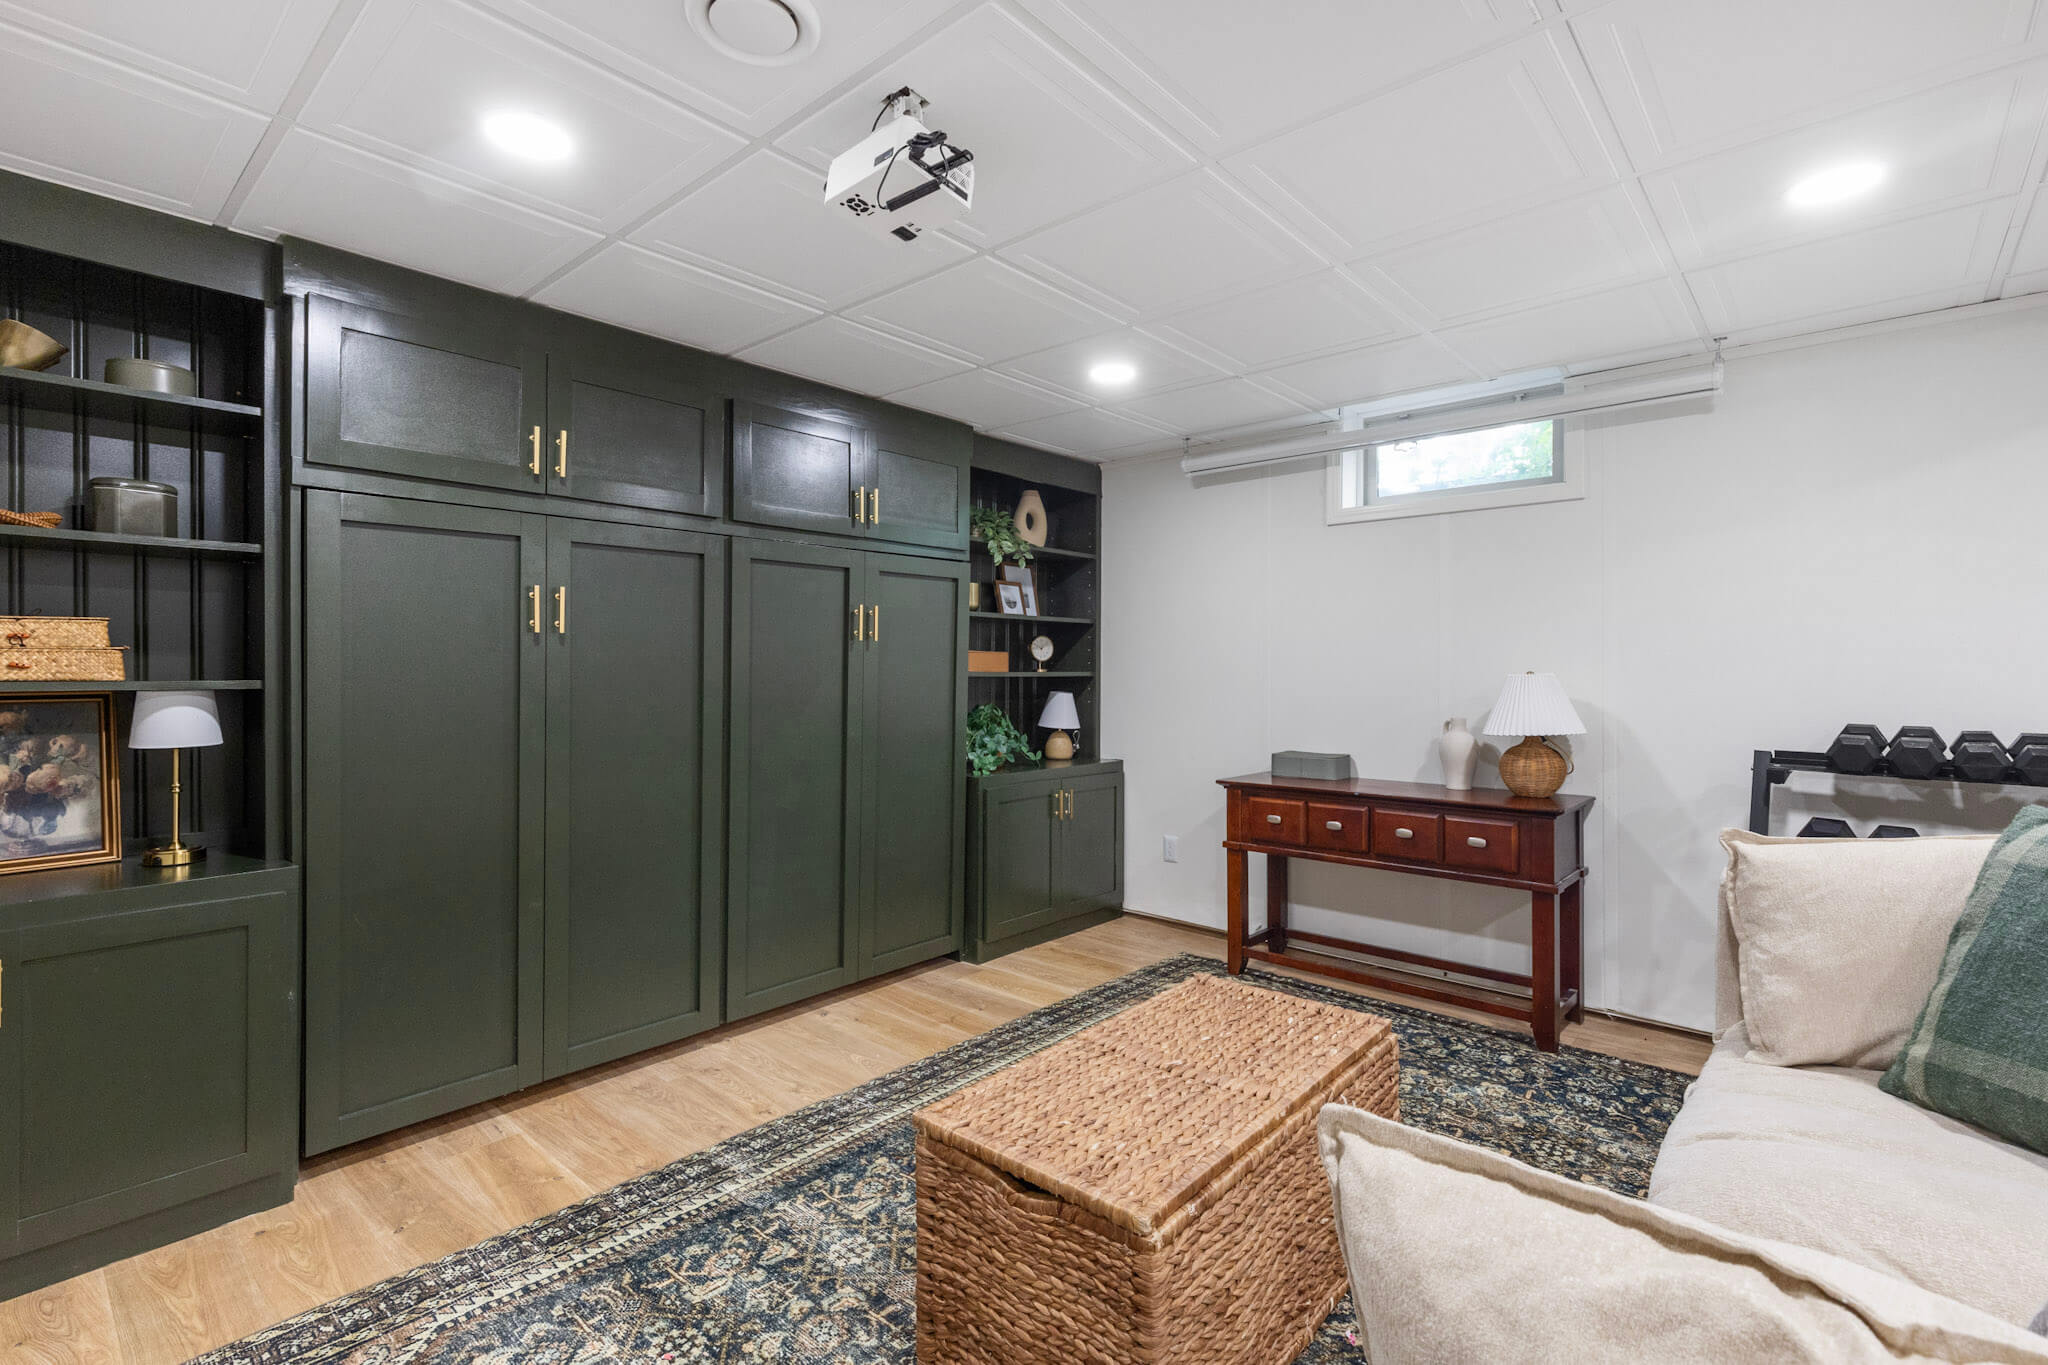
I transformed my basement with a space-saving hack: a DIY built-in Murphy Bed with bookshelves! Now, we can tuck away the bed and enjoy the full basement space when guests aren’t around. The custom shelves add a stylish touch whether the bed is open or closed.
This isn’t my first built-in project. I’ve also done built-ins in our homeschool room and office, which you can check out for inspiration. For a more detailed tutorial on building a DIY built-in Murphy Bed, I recommend checking out my tutorial on the subject.
Tools
Table Saw
Circular Saw
Miter Saw
Sander
Drill
Driver
Straight Edge
Foam Insulation
Graco Paint Sprayer
Carpenter’s Square
Kreg Adjustable Shelving Jig
Stud Finder
Laser Level
Supplies
Wood Glue
Wood Screws
Clamps
Edge Banding
Bondo
Materials
3/4 x 4 x 8 Plywood
Shiplap Panels
2 x 4 Pine
1 x 2 Poplar
1 x 3 Poplar
1 x 4 Poplar
DIY Built-In Murphy Bed Plans
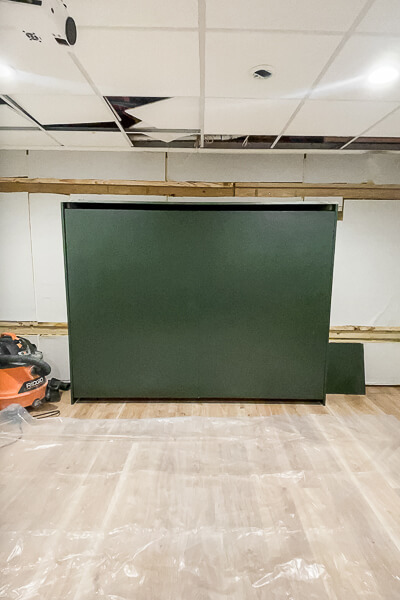
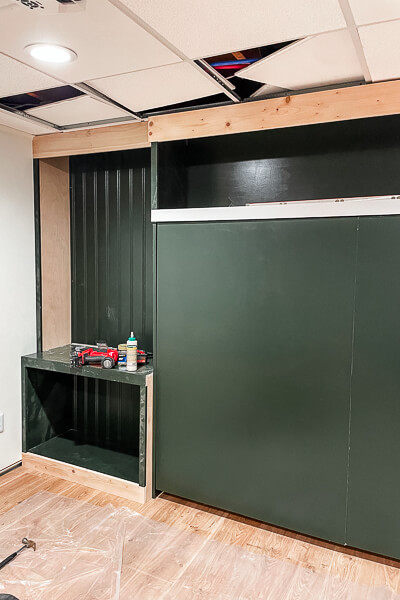
After installing the DIY built-in Murphy Bed, I realized it needed surrounding built-ins to give it a polished look. That big green square looks lonely.
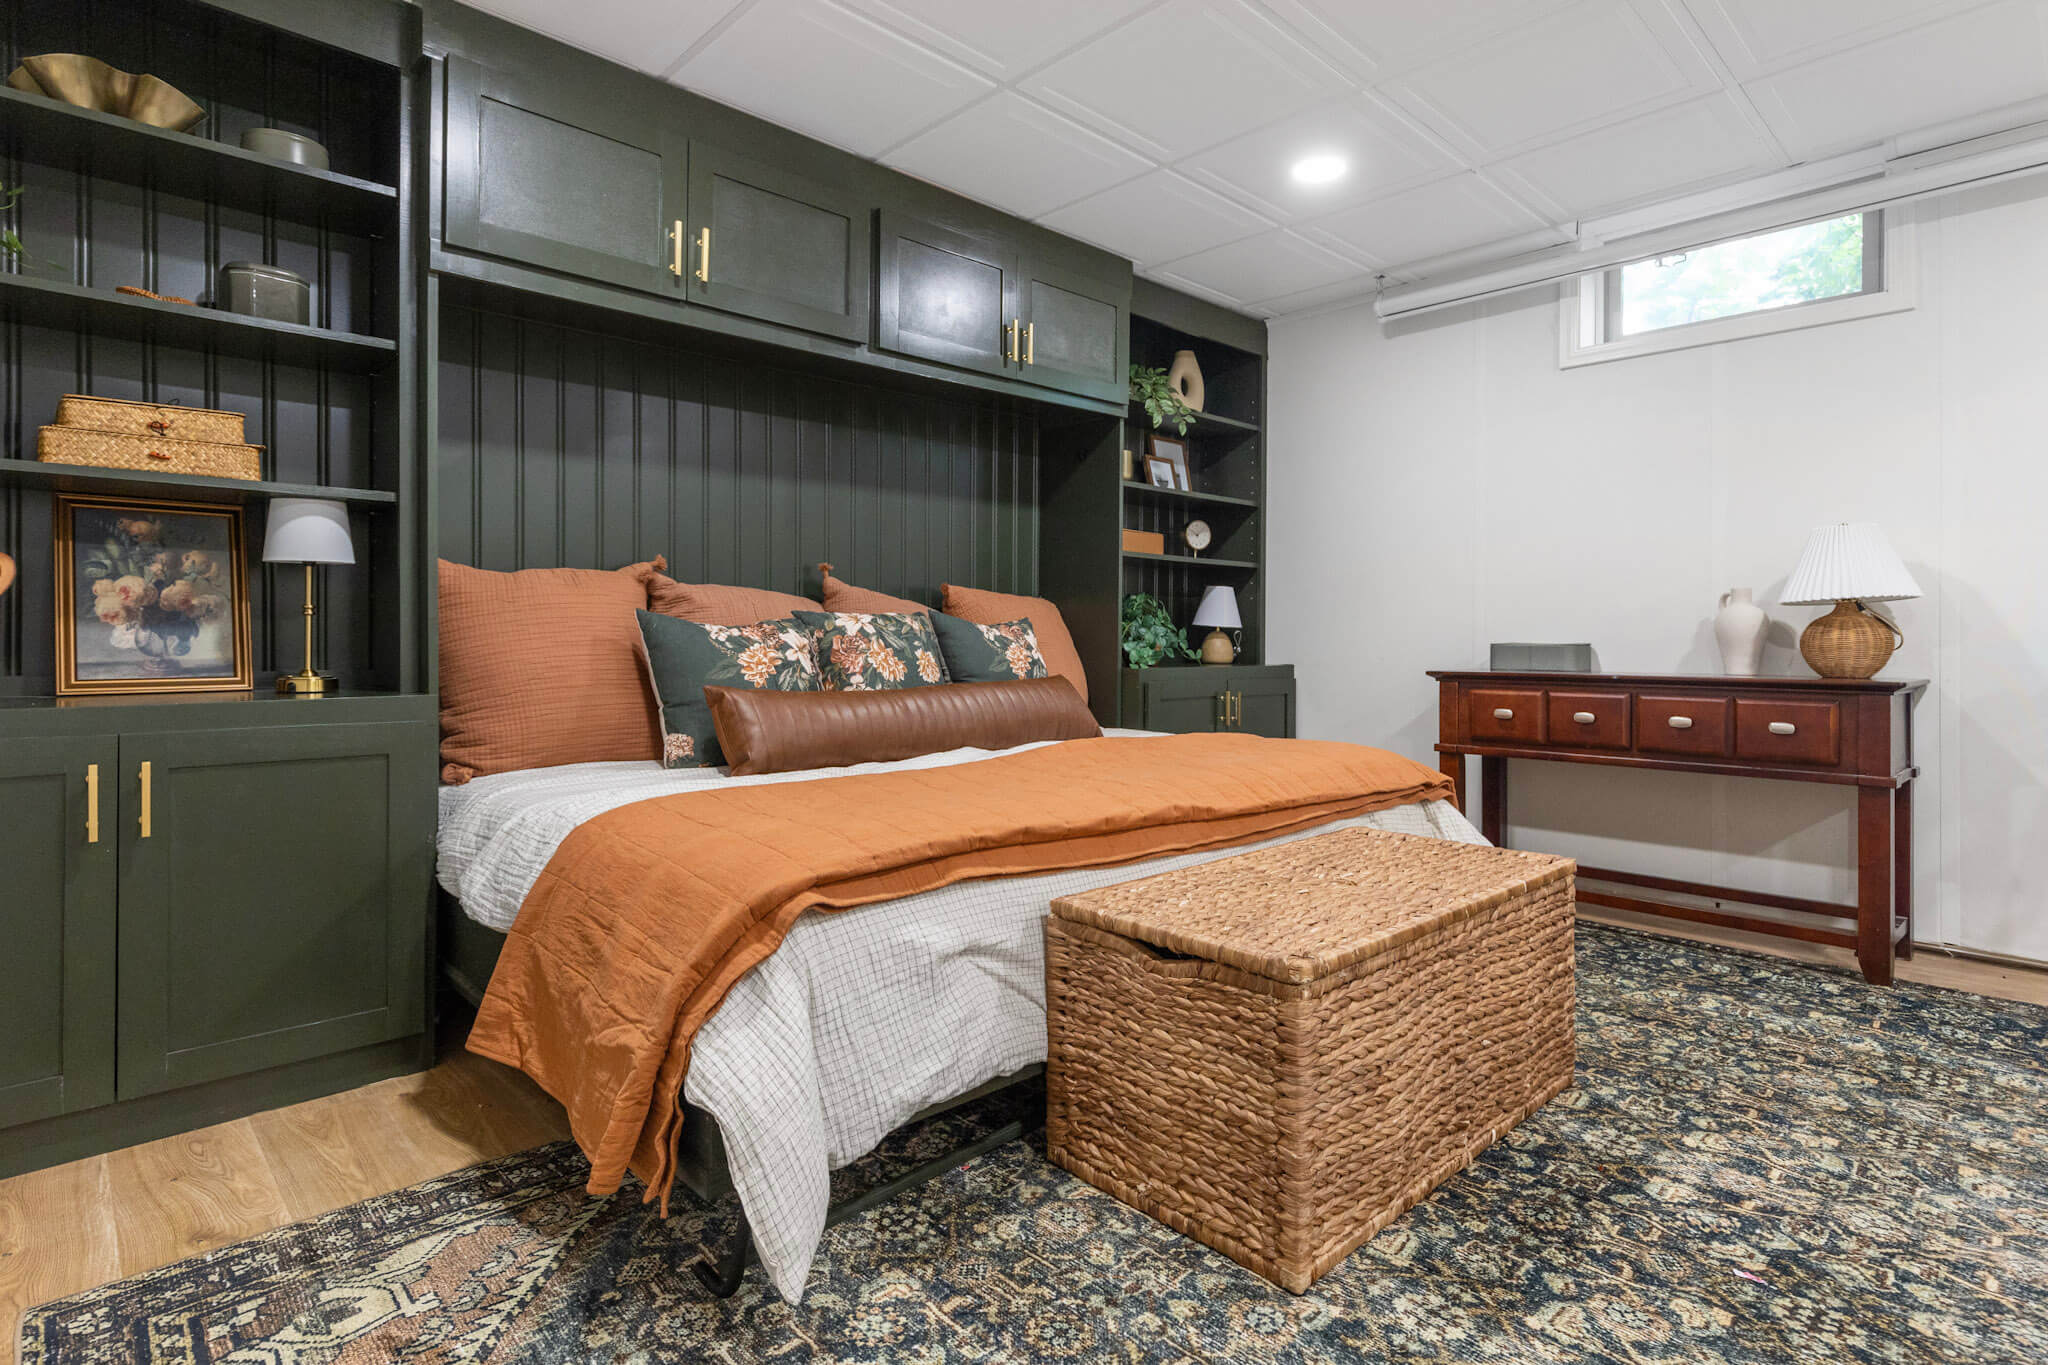
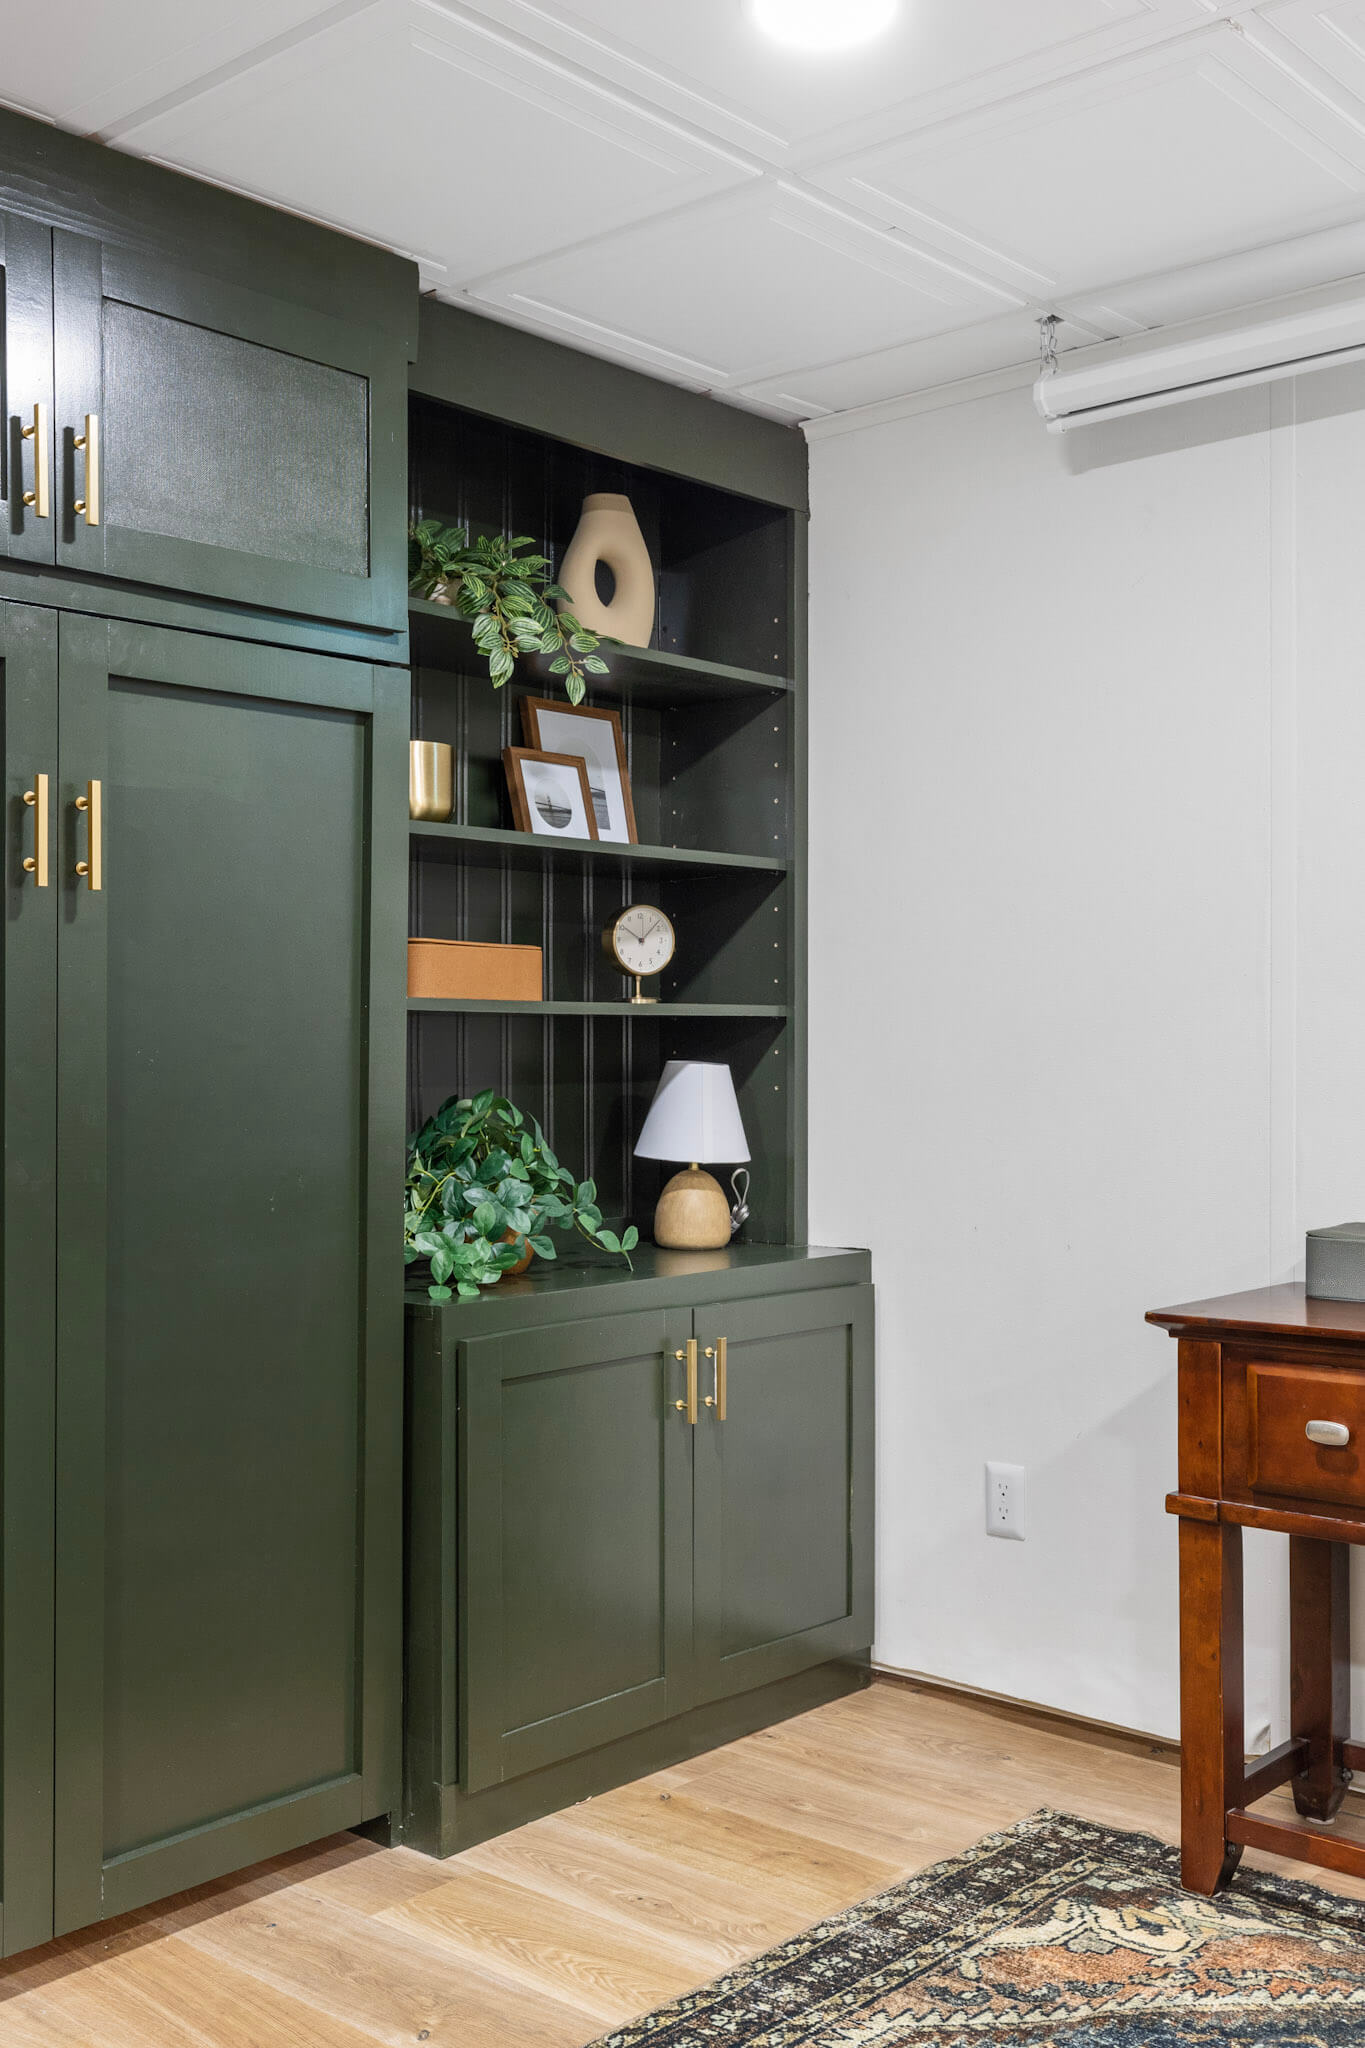
I wanted my DIY built-in Murphy Bed to be pretty, so stylized bookshelves were a must. I added bookshelves and cupboards for extra storage to tuck away spare pillows and blankets, and the entire built in doubles as nightstands for guests.
Usually, I wing my projects, but for this one, I sketched out the plans and calculated the cuts in advance. Although I prefer to work on the fly, pre-planning saved me time and trips to the garage—especially in cold Nebraska winters!
While this approach may seem straightforward to some, it always makes me nervous because one mistake can create a domino effect, potentially throwing off all the cuts. It definitely adds some risk.
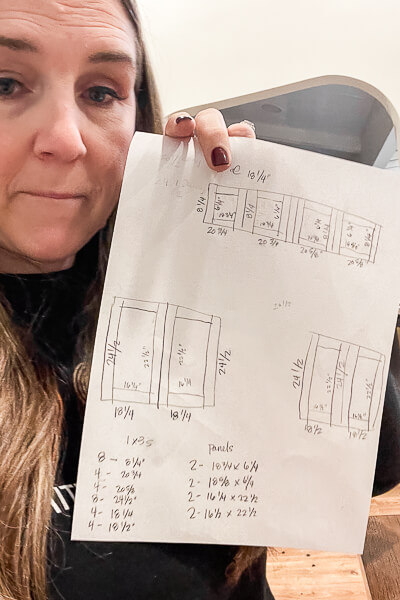
Wood Cuts For My DIY Built-In Murphy Bed
This DIY built-in Murphy Bed project required several large sheets of plywood, which can be tricky to handle on a table saw. Instead, I used a circular saw with a straight edge to cut the sheets into manageable pieces. A handy trick is to place foam insulation underneath the plywood while cutting to avoid damaging the floor or other surfaces.

In addition to cutting, I pre-painted the wood using my favorite Graco paint sprayer. This worked out well since painting feels overwhelming when I leave it for the end. This is the green color I used if you want the formula to mix yourself up a gallon.

Assembling The Cabinet Boxes
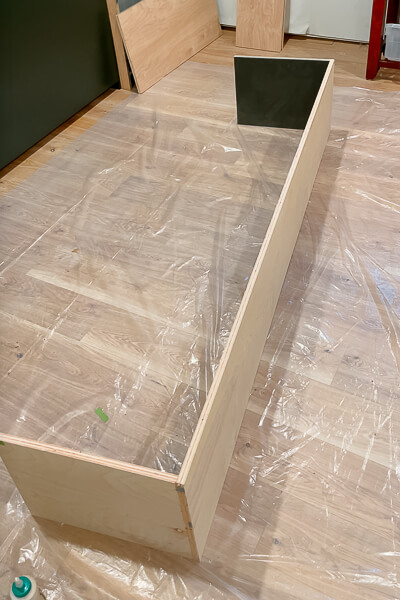
Everything must be square and perfect, so working on a flat surface is best. Check out my wood flooring install tutorial for the details on my floors. I laid down plastic sheeting to protect the new floors
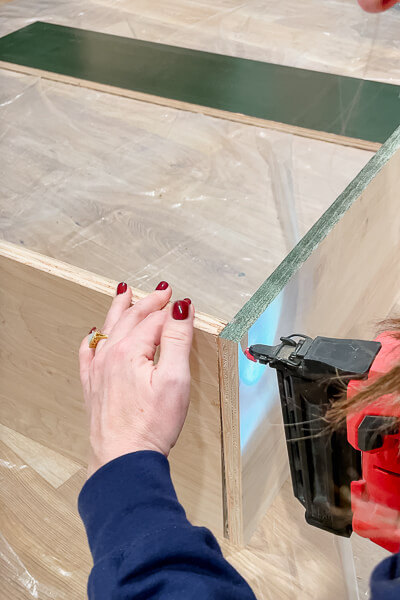
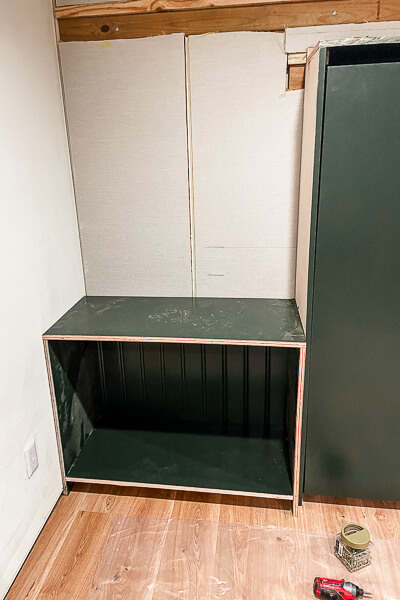
For the cabinets flanking the DIY built-in Murphy Bed, I cut the wood pieces to 18 inches wide and assembled them with wood glue and screws. Although I usually prefer pocket holes, I opted for screws since the cabinet sides and backs would be hidden.
To prevent the DIY built-in Murphy Bed pieces from shifting during assembly, I used a brad nailer to hold everything in place before securing it with screws. A carpenter square came in handy to ensure the boxes stayed straight.
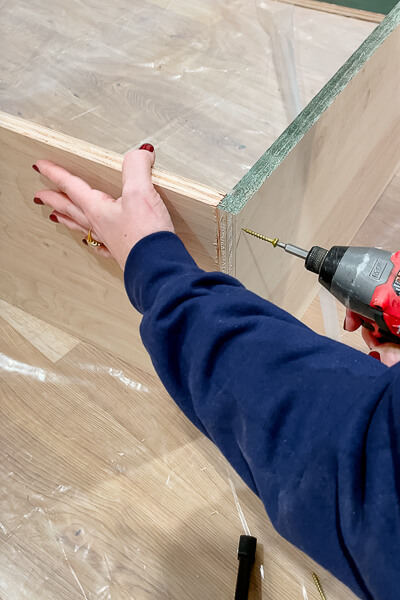
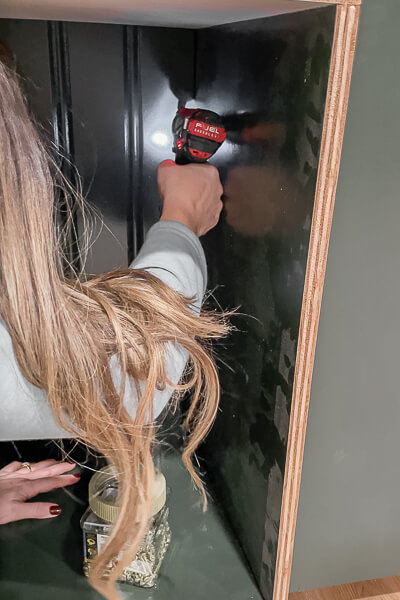
The key tip here is to countersink your screws where they’ll be hidden—like under shelves or behind trim—so they don’t show in the finished product. I attached the cabinets to the wall and Murphy Bed, ensuring everything was sturdy.
I attached the bottom shelf 4 inches from the ground, then secured a sheet of shiplap to the back of the cabinet. Last, I anchored the box to a stud in the wall and connected it to the side of the DIY built-in Murphy Bed.
Once the first cabinet box was finished and fit perfectly, I repeated the process for the other side, essentially a copy/paste job.
Assembling the Shelves of the DIY Murphy Bed Built-In
Next up were the shelves for the DIY built-in Murphy Bed.
These were built similarly to the cabinets but without a bottom shelf. Since the shelf spans 40 inches wide, it’s important to add bracing to prevent bowing, especially with wider shelves like mine. Ask me if I added a brace. I didn’t, but thanks for asking.
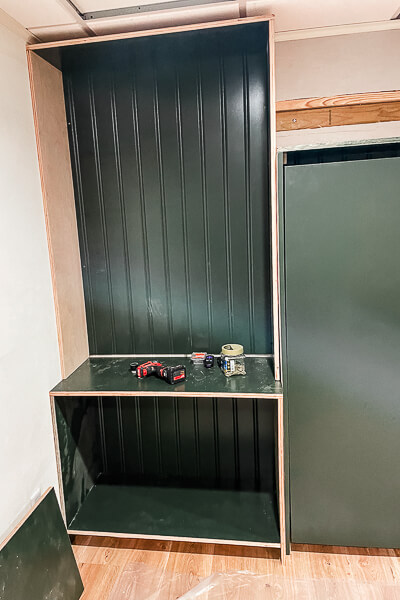
For the section over the DIY built-in Murphy Bed, I plan to add a brace over the actual bed since it’s much longer and will hold four doors, making it heavier.
Adding Trim to the Built-In Murphy Bed
Trim is my favorite part of any built-in project. It gives a custom, high-end look, and this DIY built-in Murphy Bed was no exception. I used pine for the middle section and poplar for the bookcases.
If you don’t mind some wood grain showing through, pine is fine, but poplar gives a smoother finish if you prefer that. I regretted not using Poplar for all of it, but I wanted to save a trip to the store, so I felt good about it then. Sigh and slow head shake.
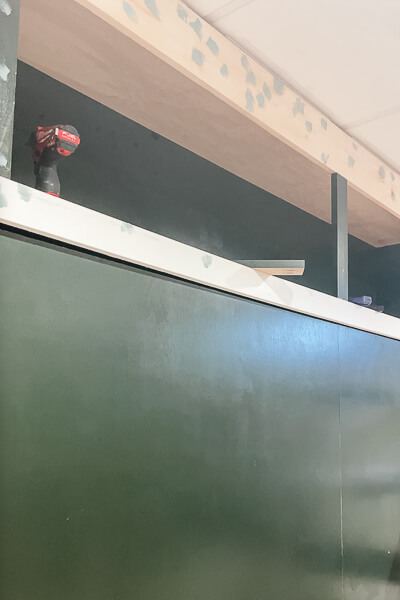
I started with the horizontal trim pieces and then measured for the vertical trim to ensure everything fit perfectly.
The horizontal trim at the bottom of the cabinets is 4 inches tall, matching the height of my future baseboard, and I made sure it was flush with the bottom shelf.
The trim on the top of the lower cabinet is a 1×3, aligned flush with the cabinet top.
Lastly, the vertical trim consists of 1x2s, which are actually 1 ½ inches wide. It’s much easier to measure the vertical trim after installing all the horizontal pieces.
Adding Adjustable Shelving to the DIY Built-in Murphy Bed
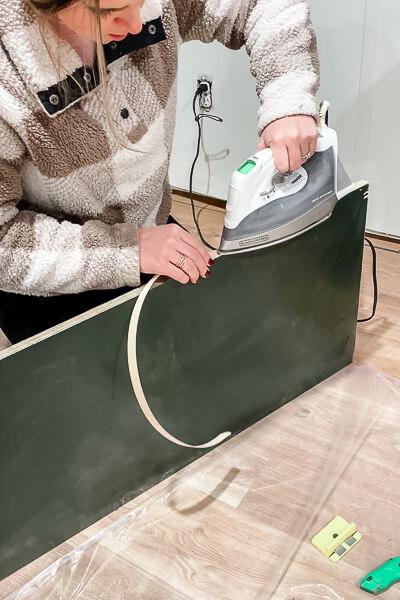
Next, I cut the plywood shelves 1/4″ shorter than the width of the opening so they could move and be adjusted rather than stuck in place. I used my Kreg Adjustable Shelf Jig to create my holes for the adjustable shelving. It’s very user-friendly, and I talk about it in depth in this blog post.
I added edge banding to cover the raw plywood edges, applying it with an iron for a clean finish.
Fixing All The Imperfections
Did I mention that I’m so glad I painted most of the DIY built-in Murphy Bed pieces beforehand? Pre-painting saved me time, but I still needed to touch up imperfections. I used Bondo to cover knots in the pine, sanded it down, and then applied a final coat of paint.
After the Bondo was rock hard, I sanded it using my orbital sander. Since I was indoors, I attached the hose of my shop vac to the sander to help minimize the dust.
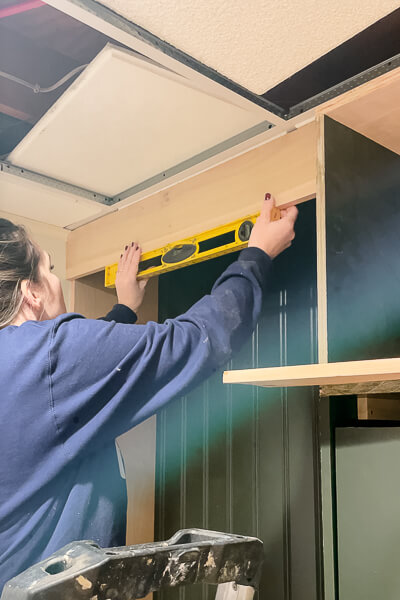
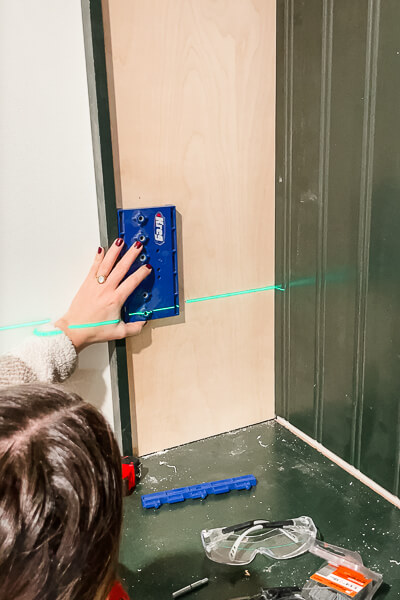
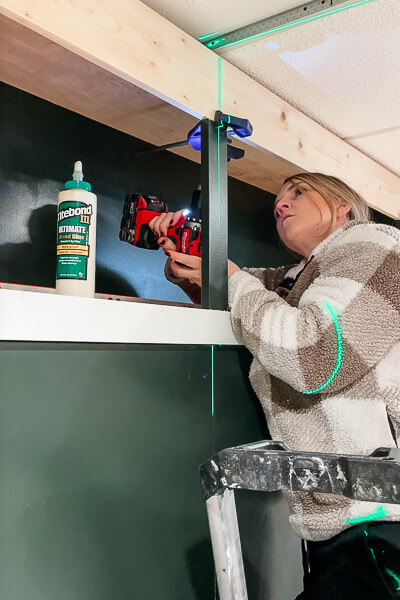
I also added that vertical piece in the middle of the built-in because I needed something to attach the four doors on the top section. It’s the only part where I used pocket holes. Since the piece had to be perfectly centered for the doors to align properly, my laser level was essential in finding the exact middle.
The Finishing Details of My DIY Murphy Bed Built-In
After assembling and painting, the DIY built-in Murphy Bed with bookshelves was complete! If you’re unsure about building shaker doors, check out my step-by-step guide. Alternatively, you can purchase custom doors (which I’ve done and discussed in this blog post) if that’s more your style.
Here’s the blog post with the details on how to paint cabinet doors so you’ll achieve a beautiful finish.
In addition to finishing the built-ins, I updated the basement by replacing the old ceiling tiles—an easy and affordable upgrade that made a big difference.
Here’s what the basement looked like when we first moved in –
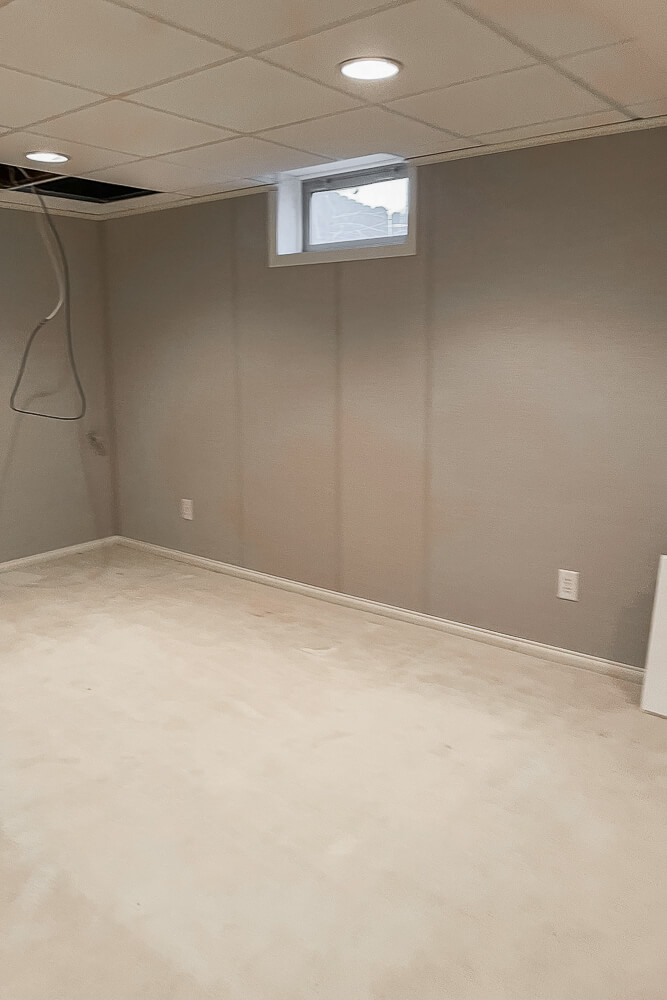
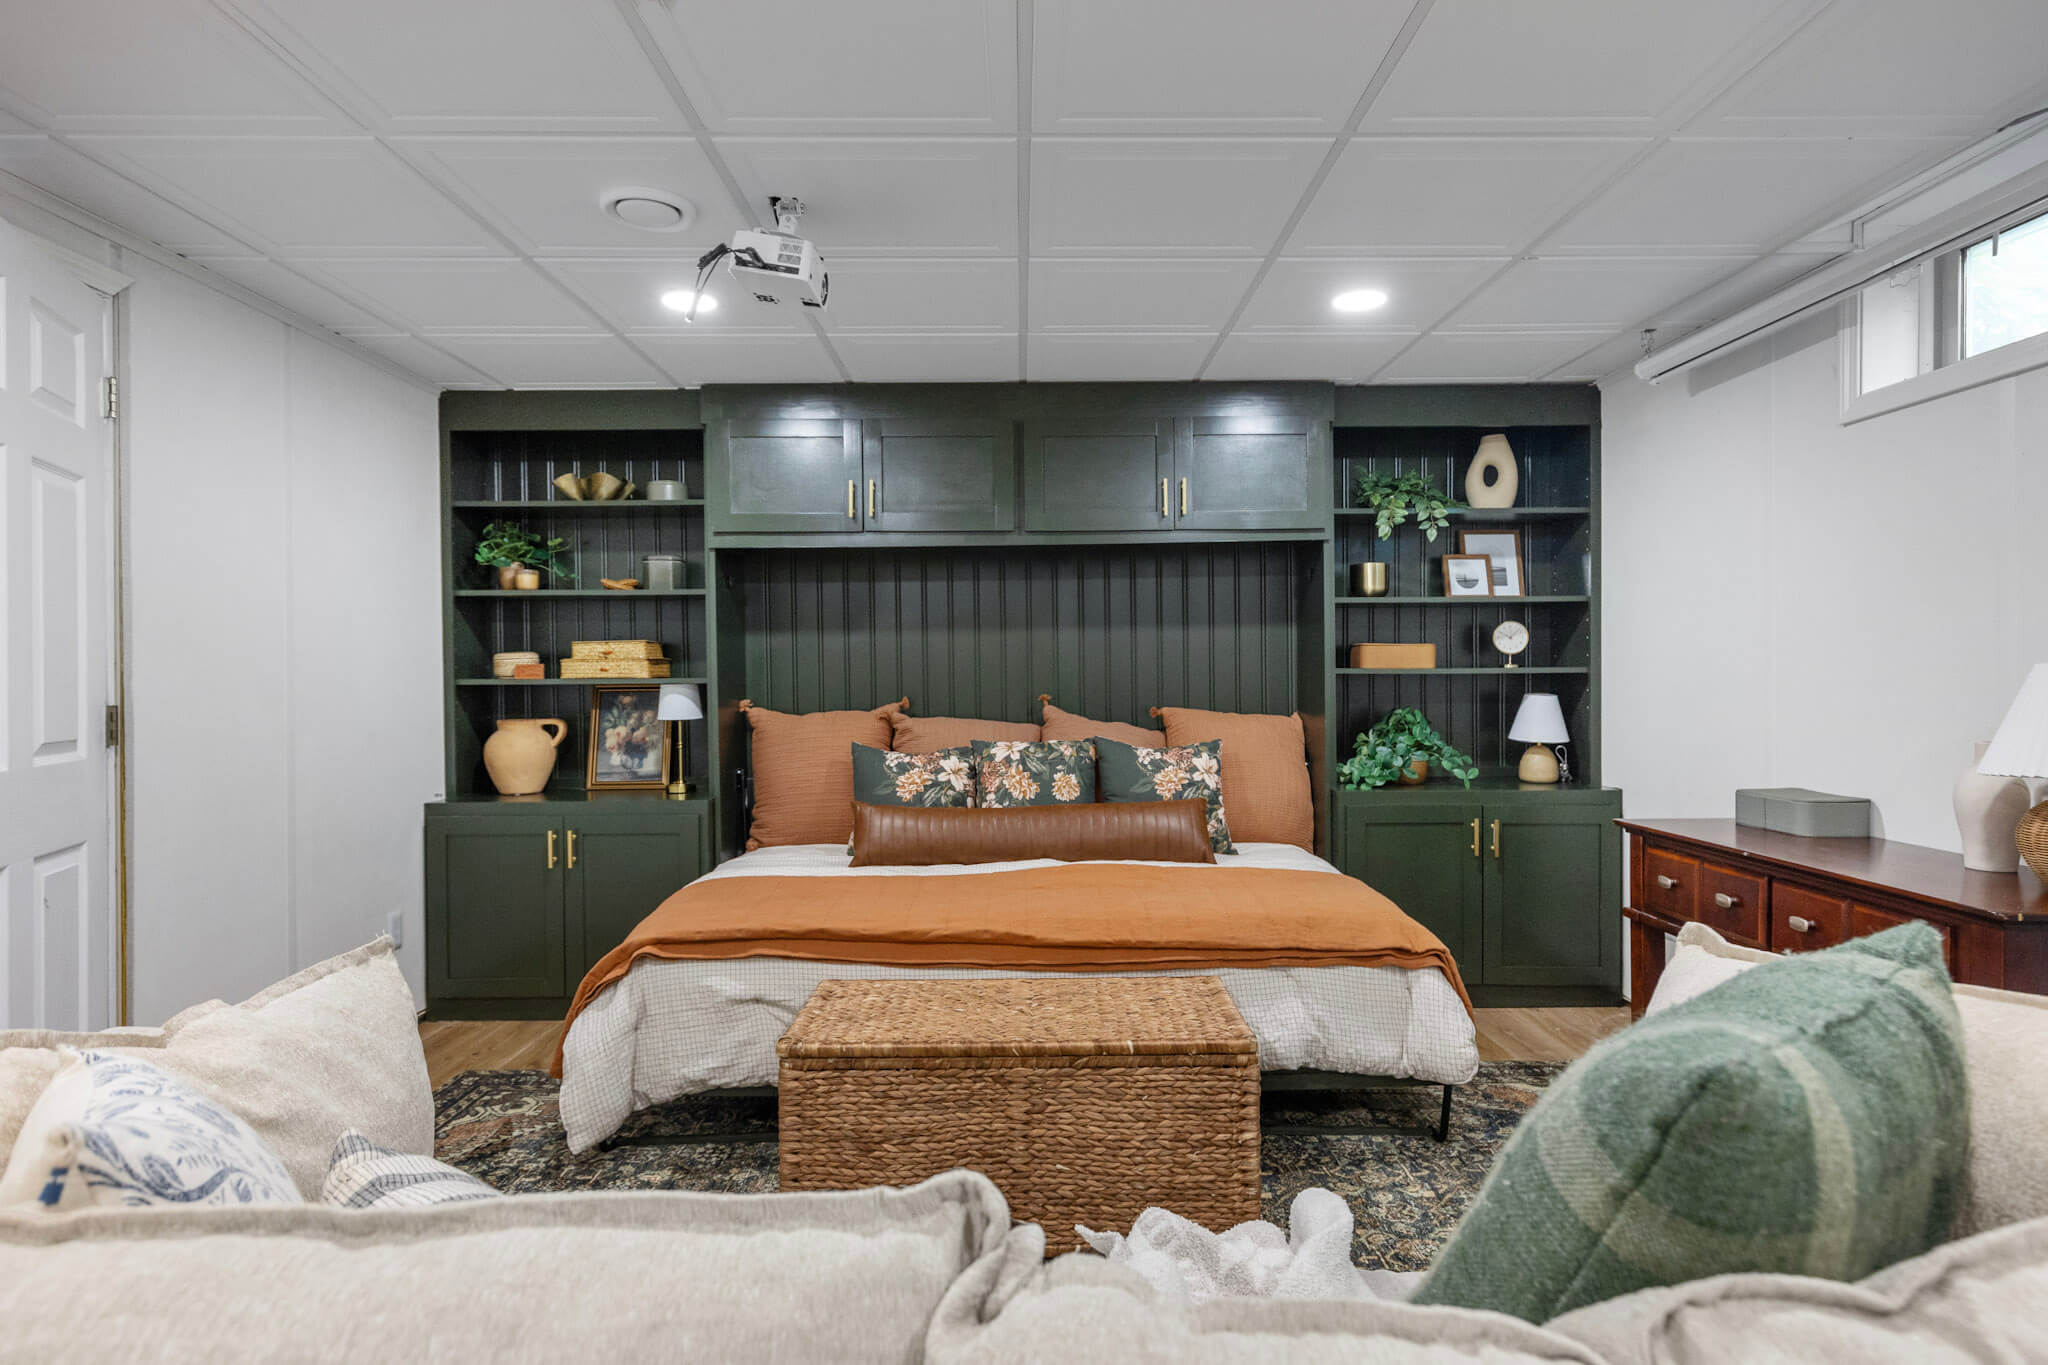
And here’s what it looks like now!

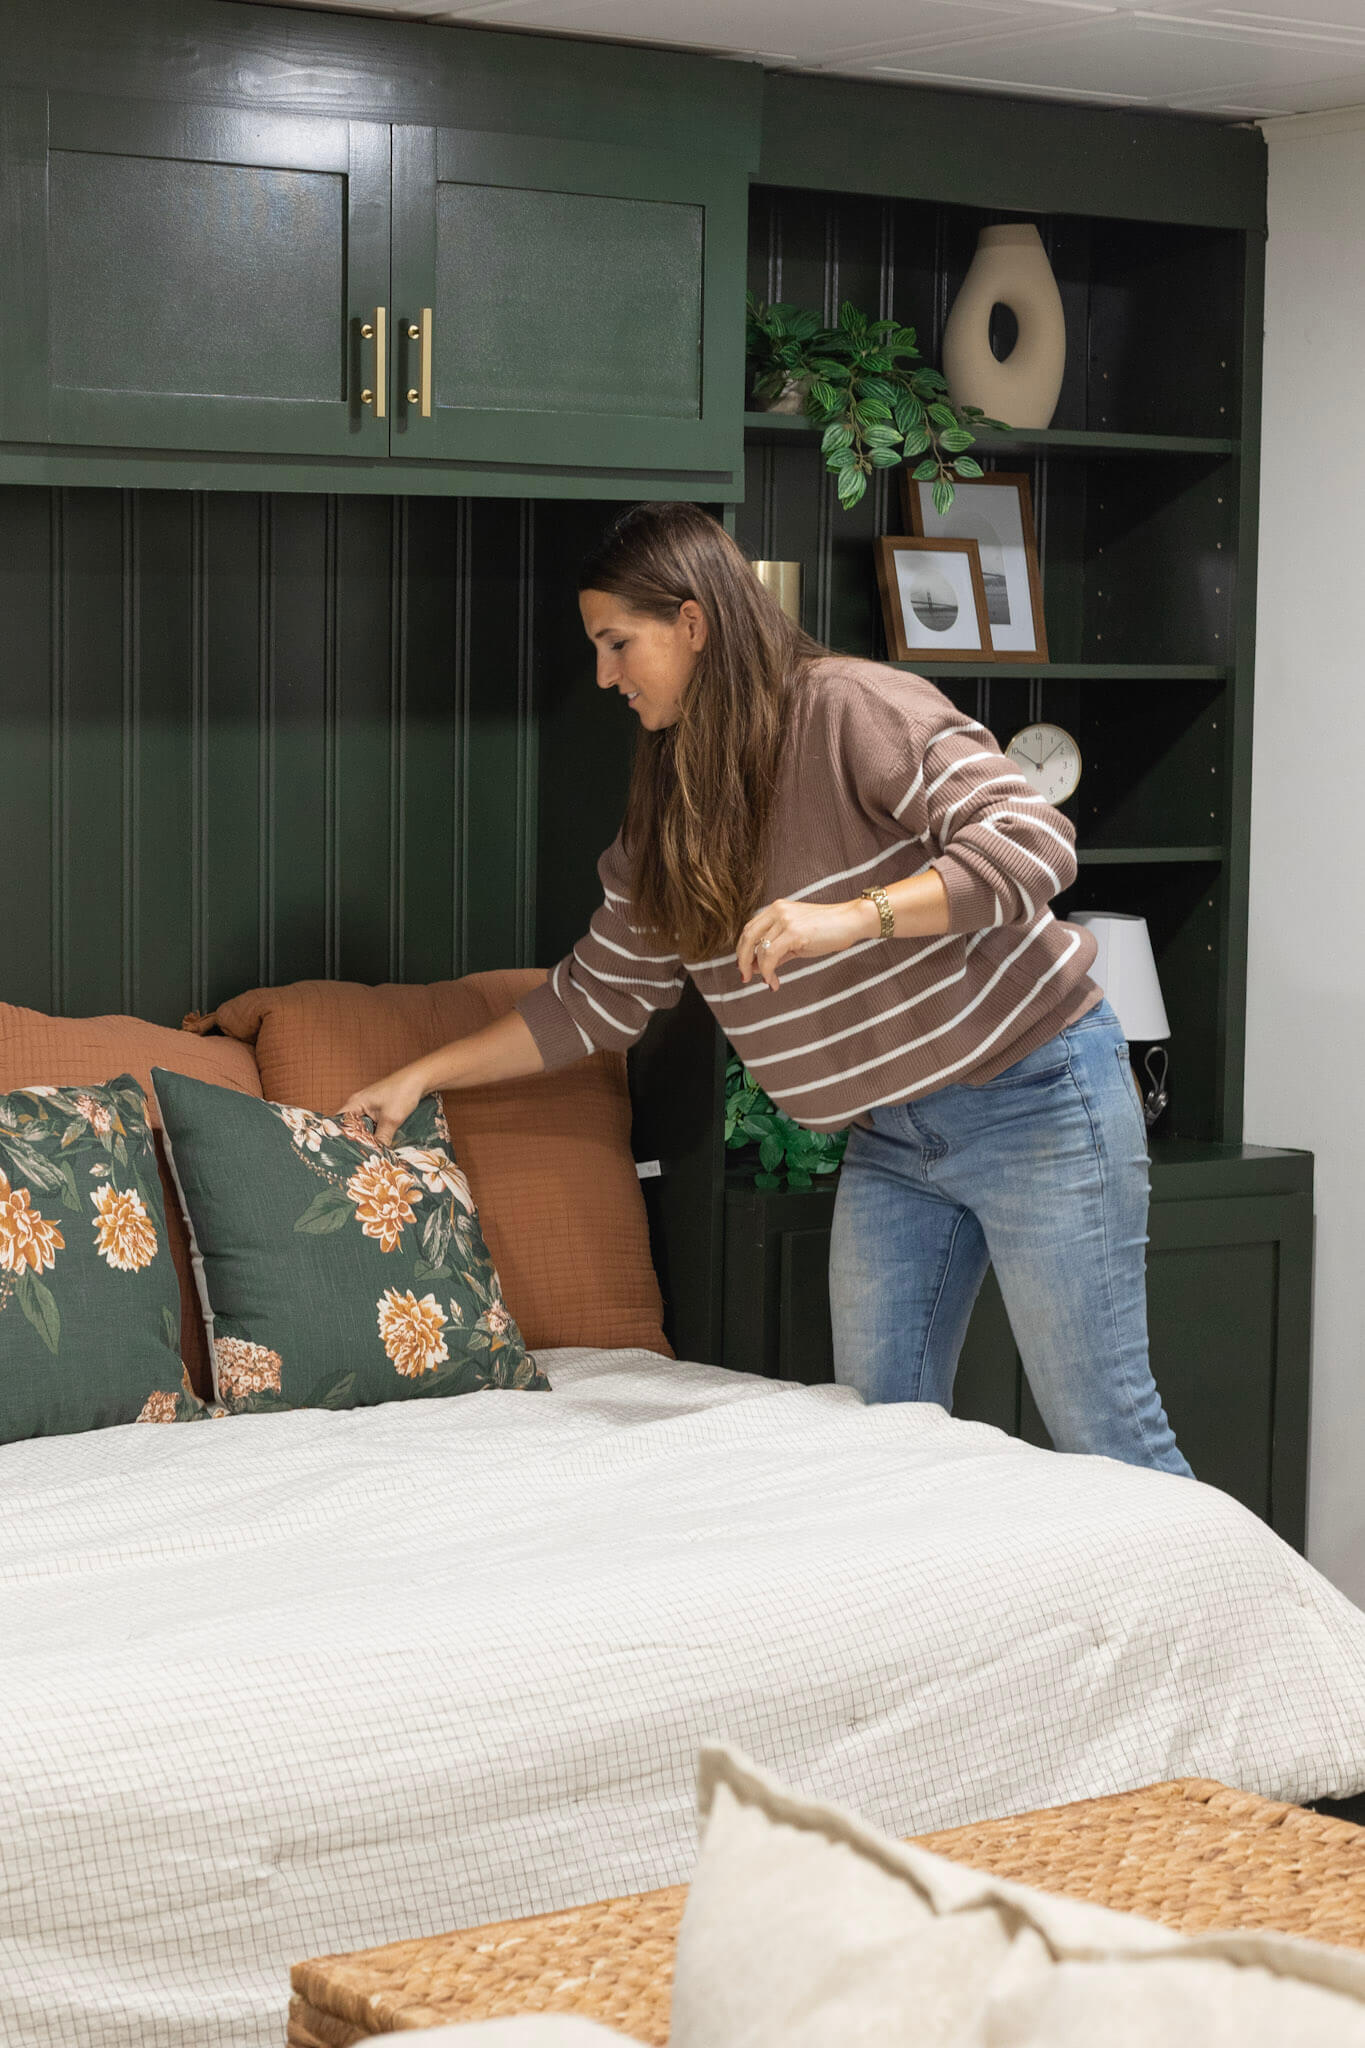
Styling My DIY Murphy Bed Built-In
I really love a good DIY, and bonus points if it includes the option to add decor. I had a lot of fun at Target finding all the bedding and shelf decor, and I’ve linked everything below.
Sources
Murphy Bed Kit by Create-A-Bed
Satin Gold Bar Drawer Pulls
24″ x 24″ Drop Ceiling Tile Panels
Duravana Hybrid Flooring
Large Plastic Game Organizer
Small Plastic Game Organizer
Schwinn IC4 Indoor Cycling Exercise Bike
Dumbell Rack
Love Seat
Accent Pillow
Accent Pillow
Orange Linen Quilt
Orange Decorative Throw Pillow
Faux Leather Lumbar Throw Pillow
Printed Floral Throw Pillow
Green Knit Throw Blanket
White Comforter
Area Rug
Woven Storage Bench
Antique Floral Framed Canvas
Green Glazed Ceramic Box
Gold Metal Wavy Bowl
Round Leather Links
Woven Basket with Lid
Ceramic Vase with Handle
Faux Ribbon Fern Plant
Faux Trailing Tropaeolum Plant
Brass Pedestal Table Clock
Leather Box with Lid
Small Brass Planter
Circle Mat Table Frame
Arch Mat Table Frame
Faux Hoya Plant
Ceramic Modern Ring Vase
Mini Wooden Table Lamp
Terracotta Ribbed Jar Candle
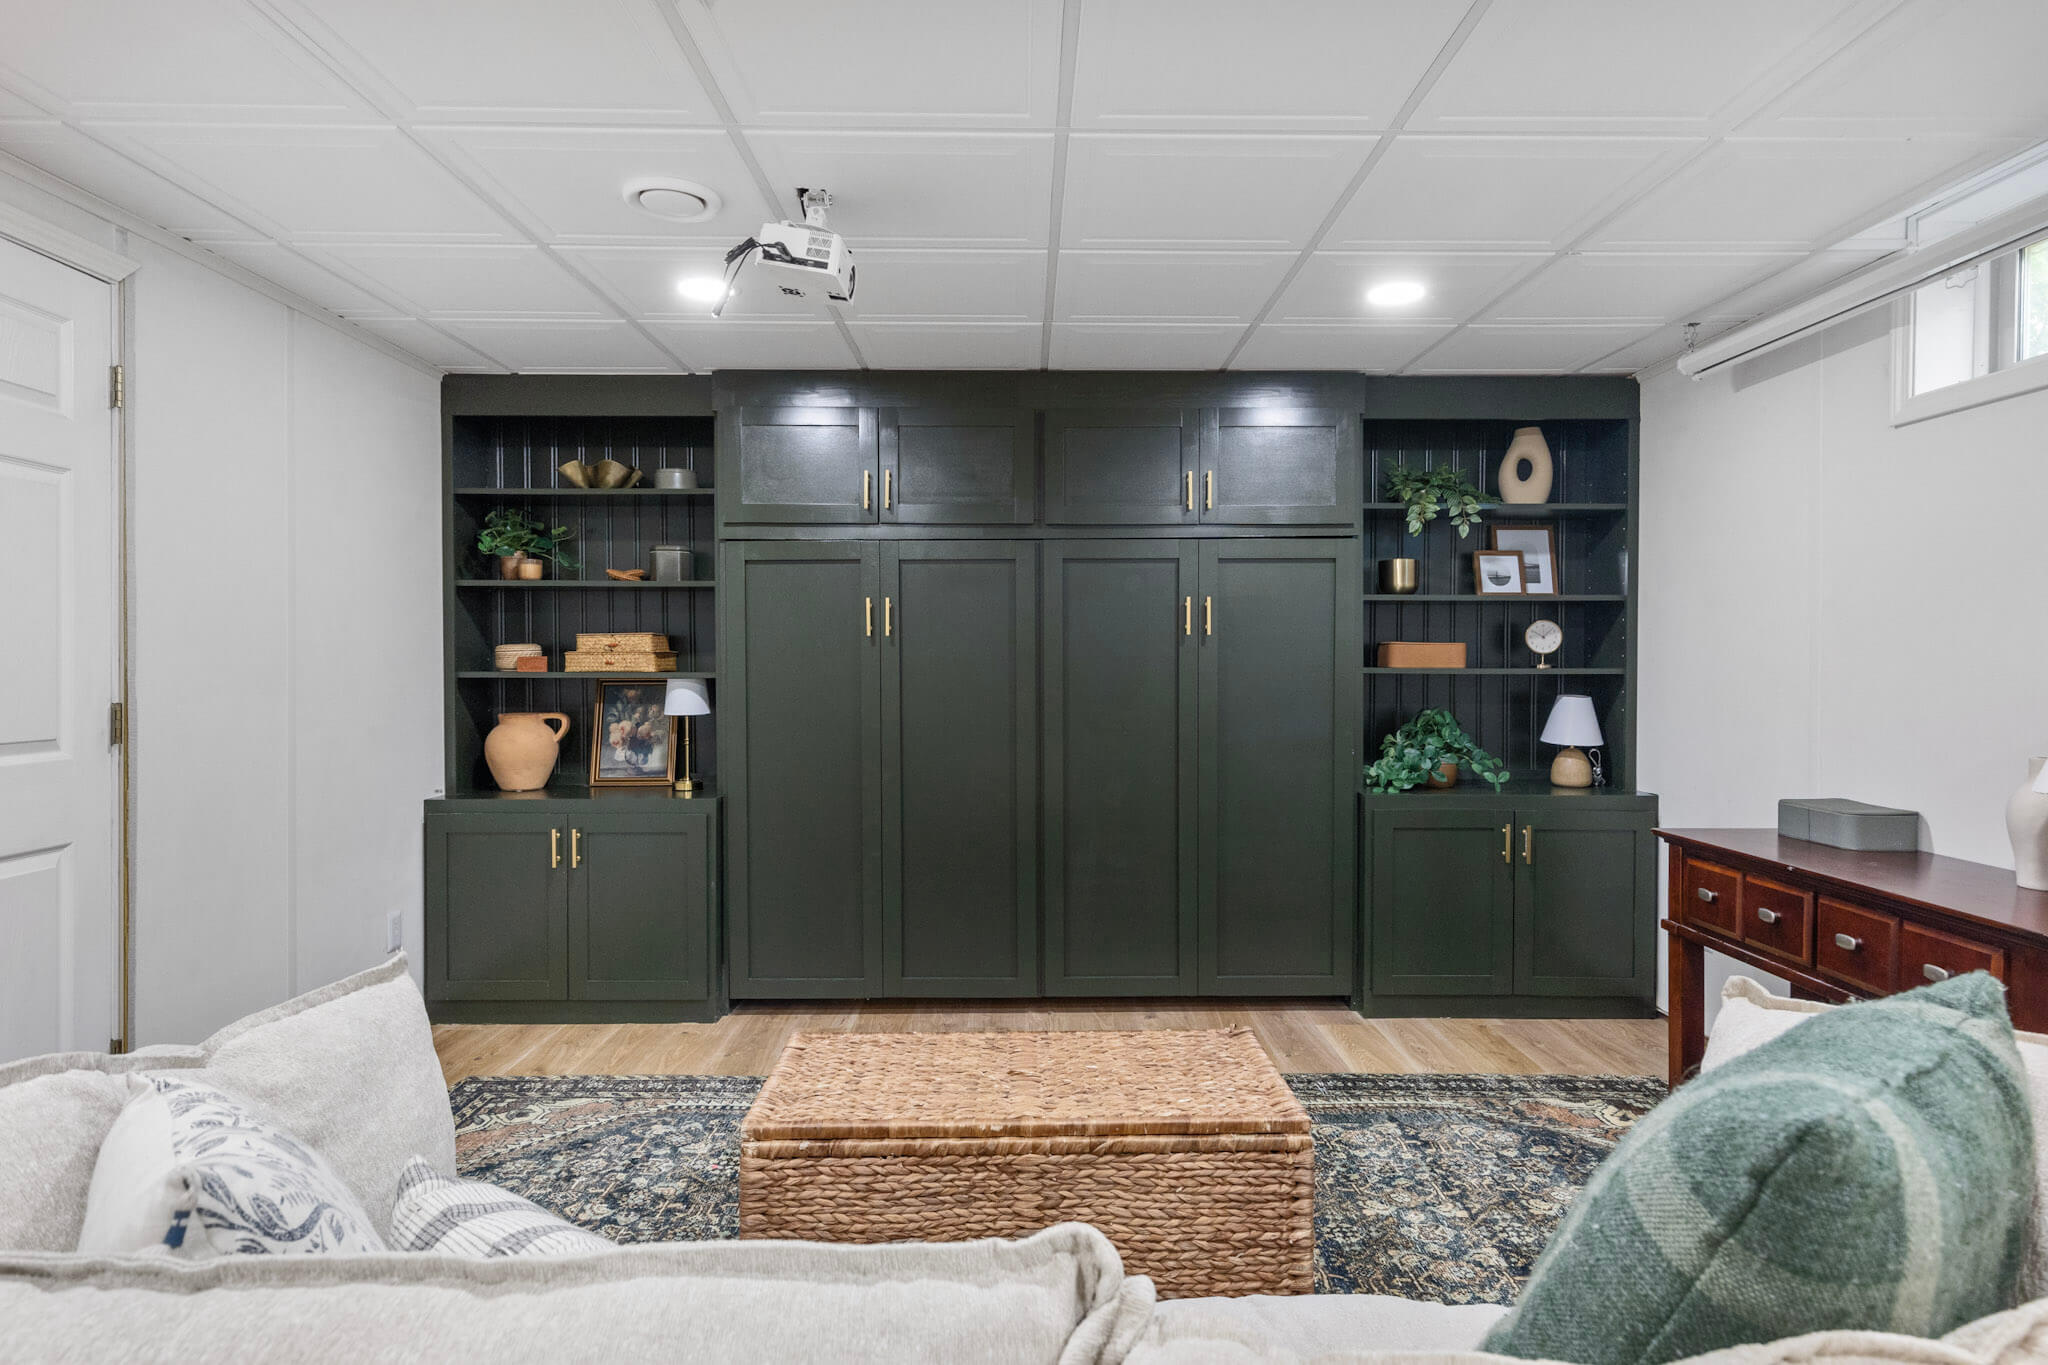
And there you have it, my fresh new built-ins, complete with a Murphy Bed! It’ll be so nice to be able to use this area as a guest bedroom when we need it, but we can also put the bed away and use it for our exercise/theater room. Three cheers for multi-functional spaces when you live in a small home!


Such a great read! I’m looking forward to more content.
What mattress did you use for your Murphy bed?
I just used a normal queen mattress