Building Shaker Cabinet Doors DIY


Updated May 9, 2026
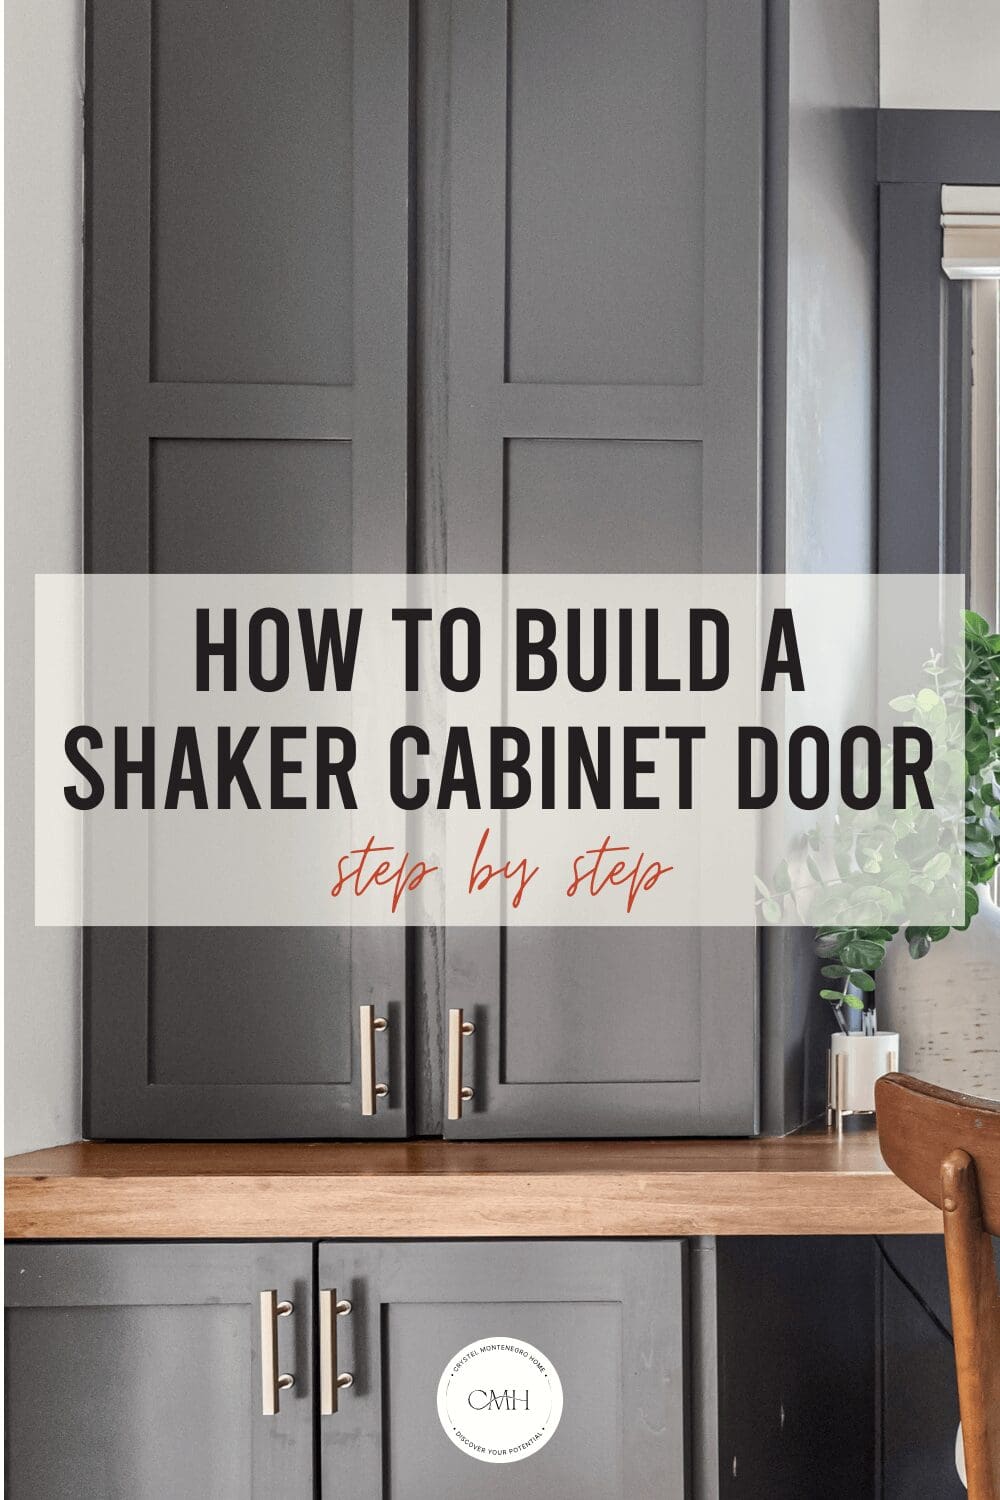
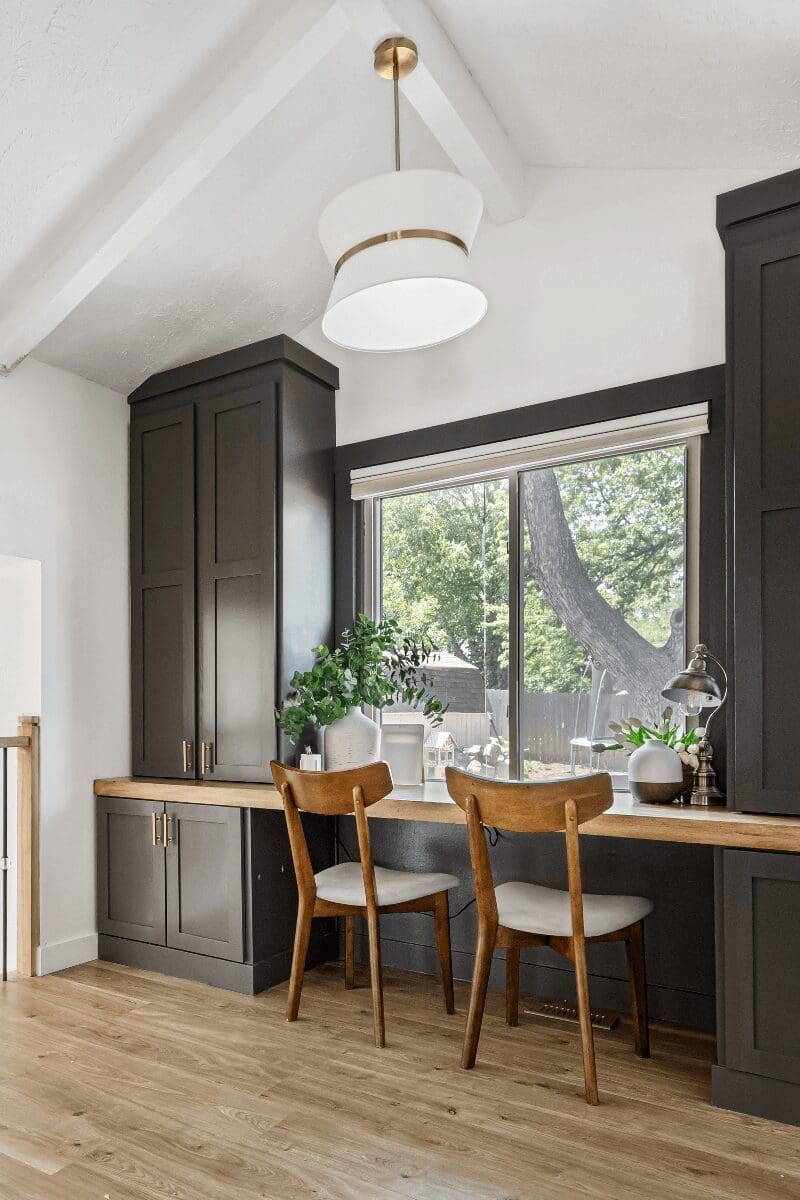
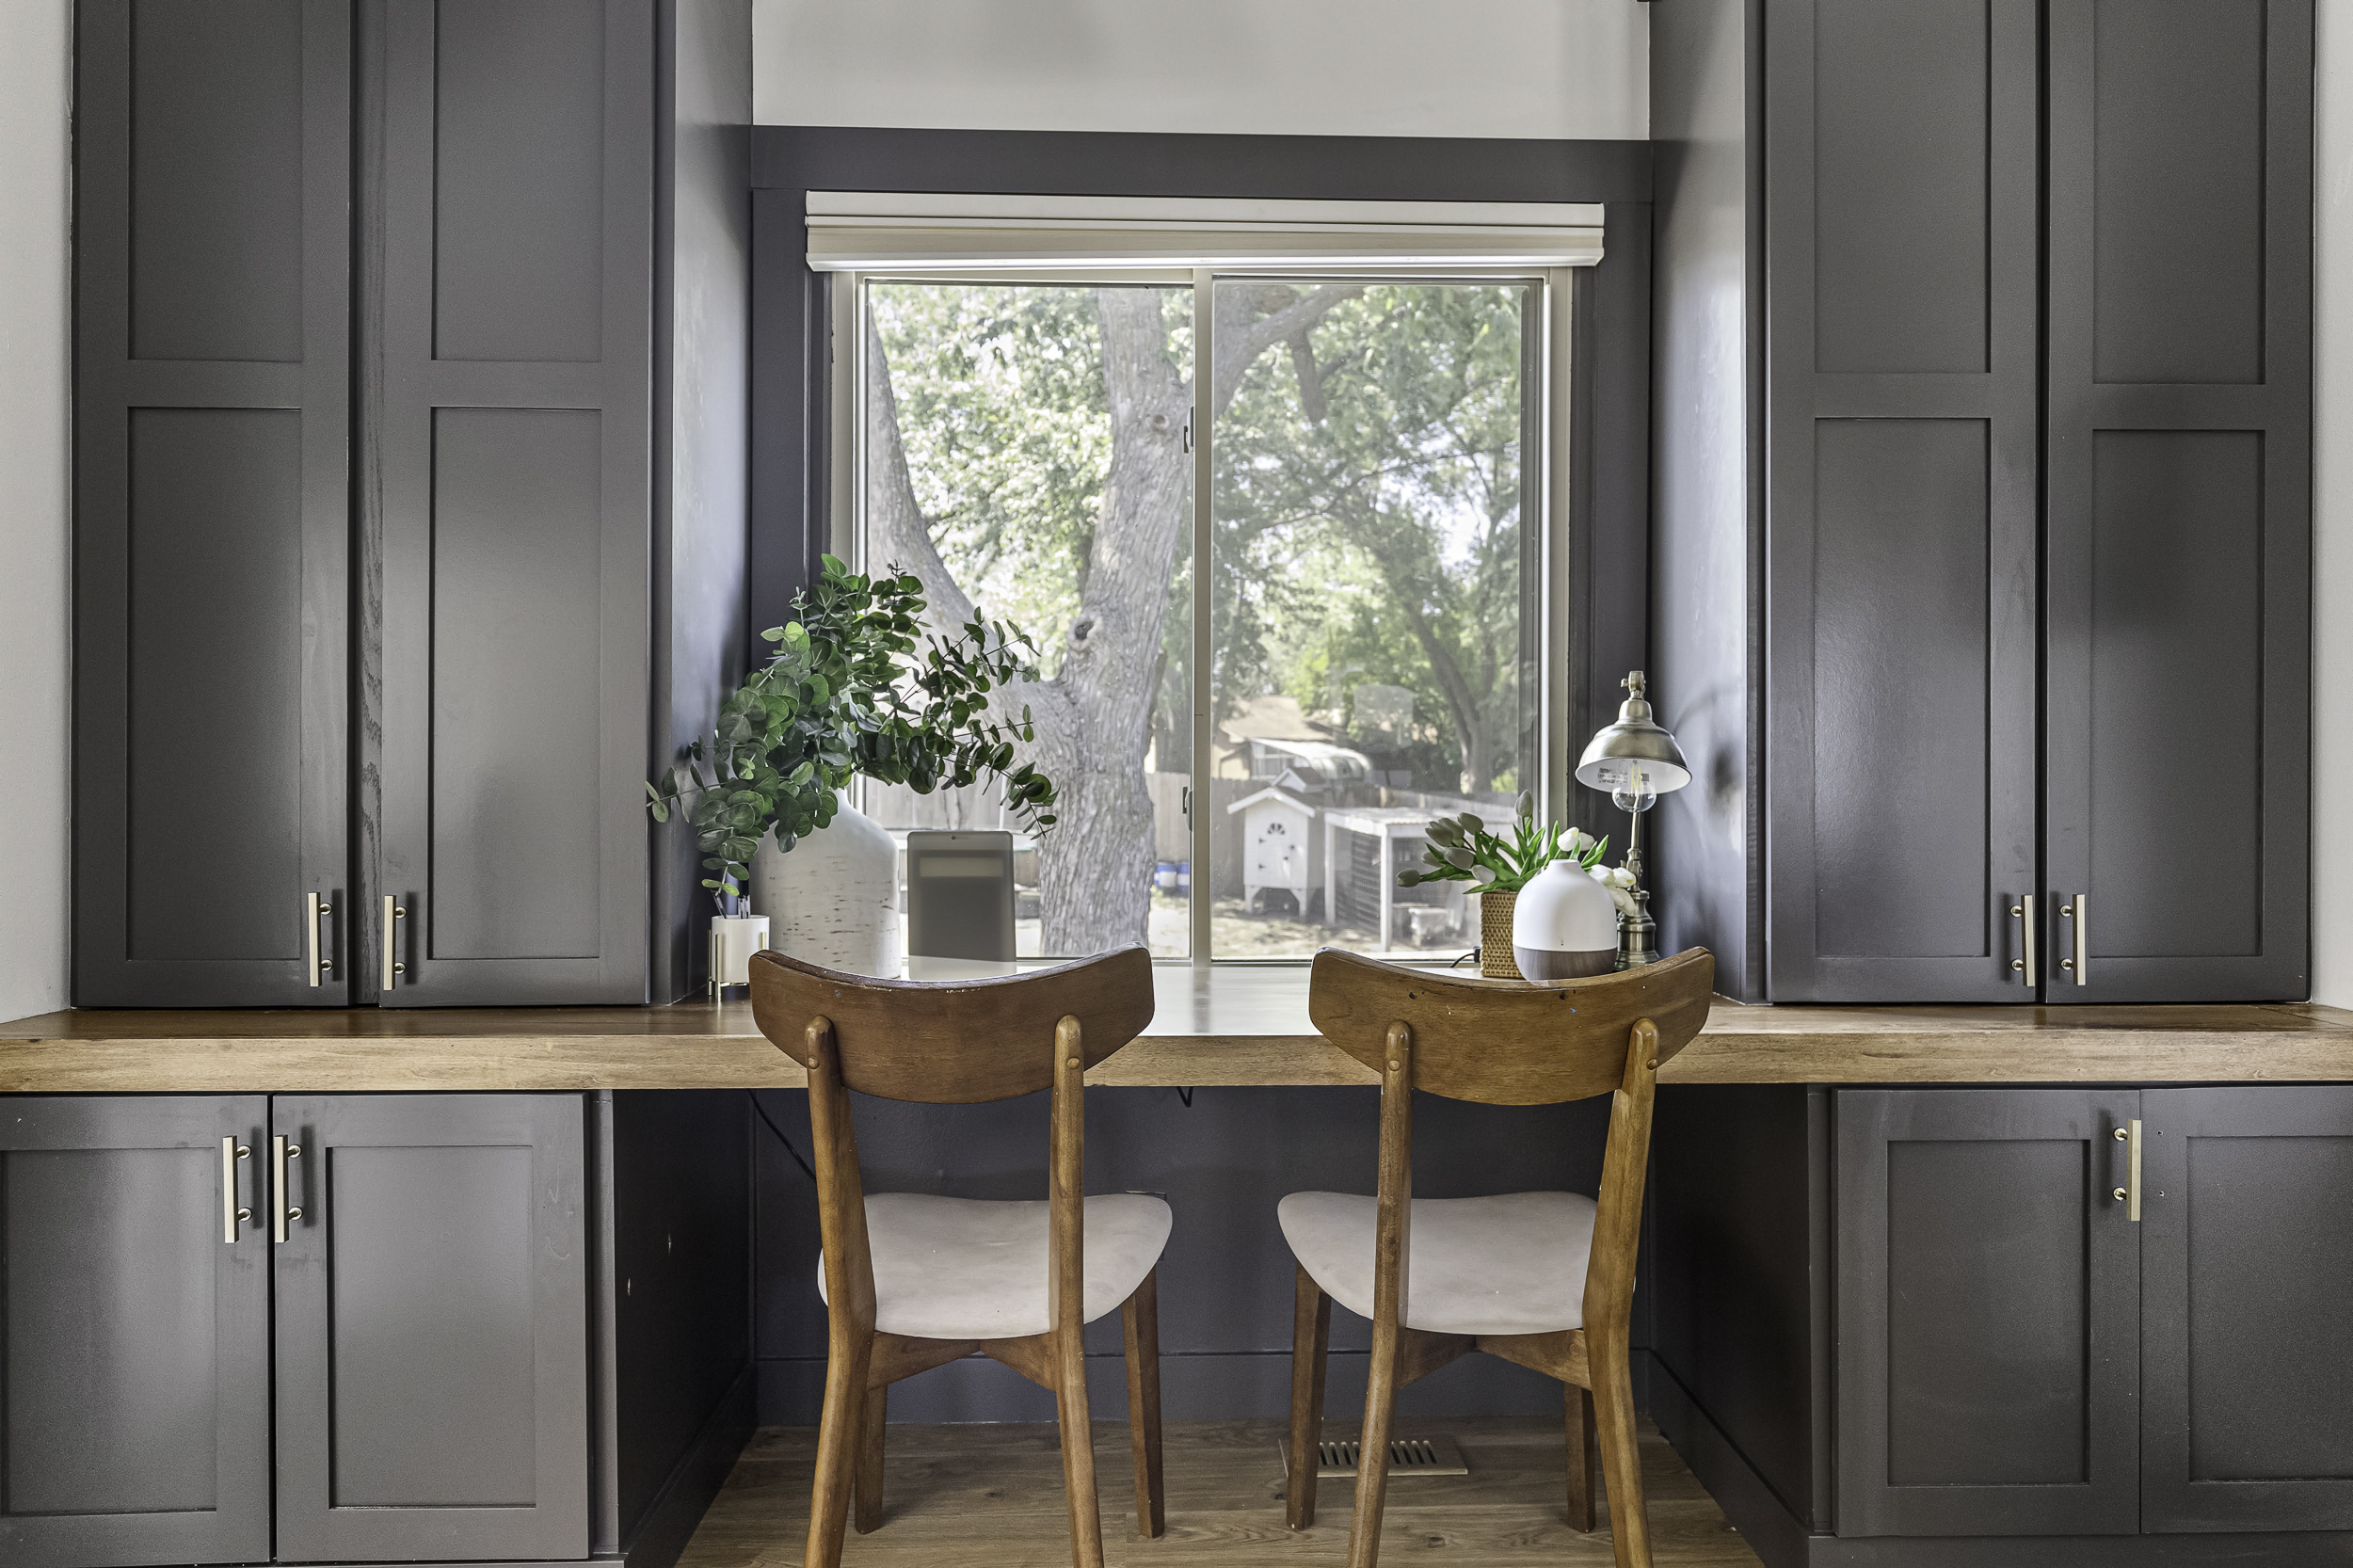
Ready to start building shaker cabinet doors? I’ll show you how to take your woodworking skills to the next level and build shaker-style doors like a pro! I built these doors for the office built-in I created to hide all our homeschool supplies, and I chose the shaker style because it’s such a classic and timeless design, and as a result, I’ve added it all over my house! As you can see, those doors hide all my junk very well!
I have built doors in many ways, including using a router to create a tongue and groove or adding thin poplar to the top of a single sheet of plywood. This method I’ve landed on is the easiest way to do things without sacrificing the quality of the doors. Building shaker cabinet doors isn’t as intimidating as people think!
LUMBER SHOPPING LIST
TOOLS
SUPPLIES
- 1 ¼-in Pocket Hole Screws
- Titebond Wood Glue
- Pocket Hole Plugs
- DAP Wood Filler
- Bondo Wood Filler
- Primer and Paint
- 1/2 inch overlay hinges
What Materials Do I Use When Building Shaker Cabinet Doors?
My preferred materials for building shaker cabinet doors are 1 x 3 inch poplar wood and 1/8 inch tempered hardboard for the core. Poplar wood because poplar is a hardwood that will give you the straightest doors without fuss, it’s the least expensive of all the hardwoods, and it paints up beautifully. I used tempered hardboard for the core because it paints nicely, is inexpensive, durable, and is only 1/8 inch thick, which just so happens to be the same thickness of a table saw blade. I’ll show you why that’s important in a minute.
If you want to stain these doors rather than paint, you can use 1/4 inch plywood using this method, but you may have to run your stiles and rails a few more times through the table saw to widen the gap so the plywood will fit. That will be explained further down as well.
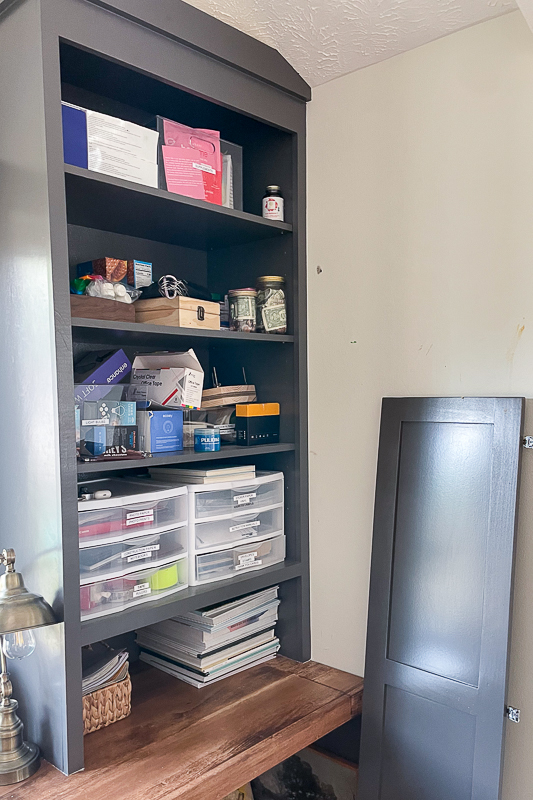
Step 1 – Calculating the Size of the Shaker Style Doors
The first thing I did was measure the inside edges of the opening of my cabinet. It’s 33 x 60 1/4 inch, but obviously, yours might be different depending on the size of the space you’re working with.
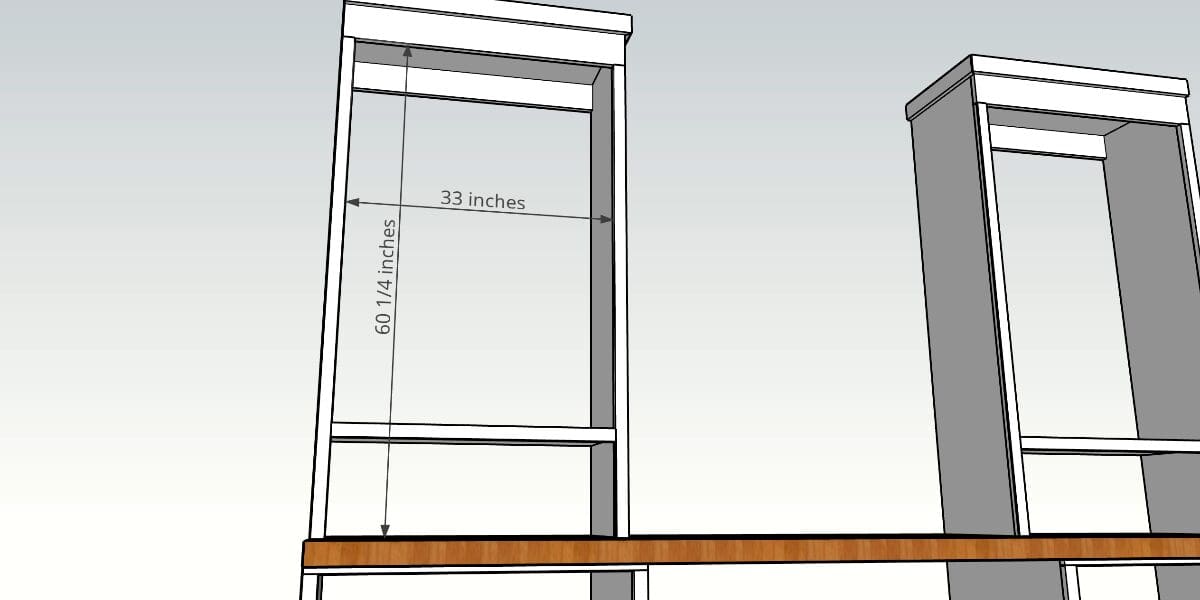
When I measured for my doors, I took into account that I would be using 1/2″ overlay hinges. This means that the doors should overlay the cabinet frame ½ inch on the top and sides, and I kept that in mind when calculating my measurements for building shaker cabinet doors.
So, I added 1 inch to the total width and ½ inch to the total height, and now needed to cover an area measuring 34 x 60 ¾ inch. Because I’m using two doors to cover the opening, I split the width dimension in half, making each door 17 inch x 60 ¾ inch.
Step 2 – Calculating the Size of the Rails and Stiles for Shaker Style Doors
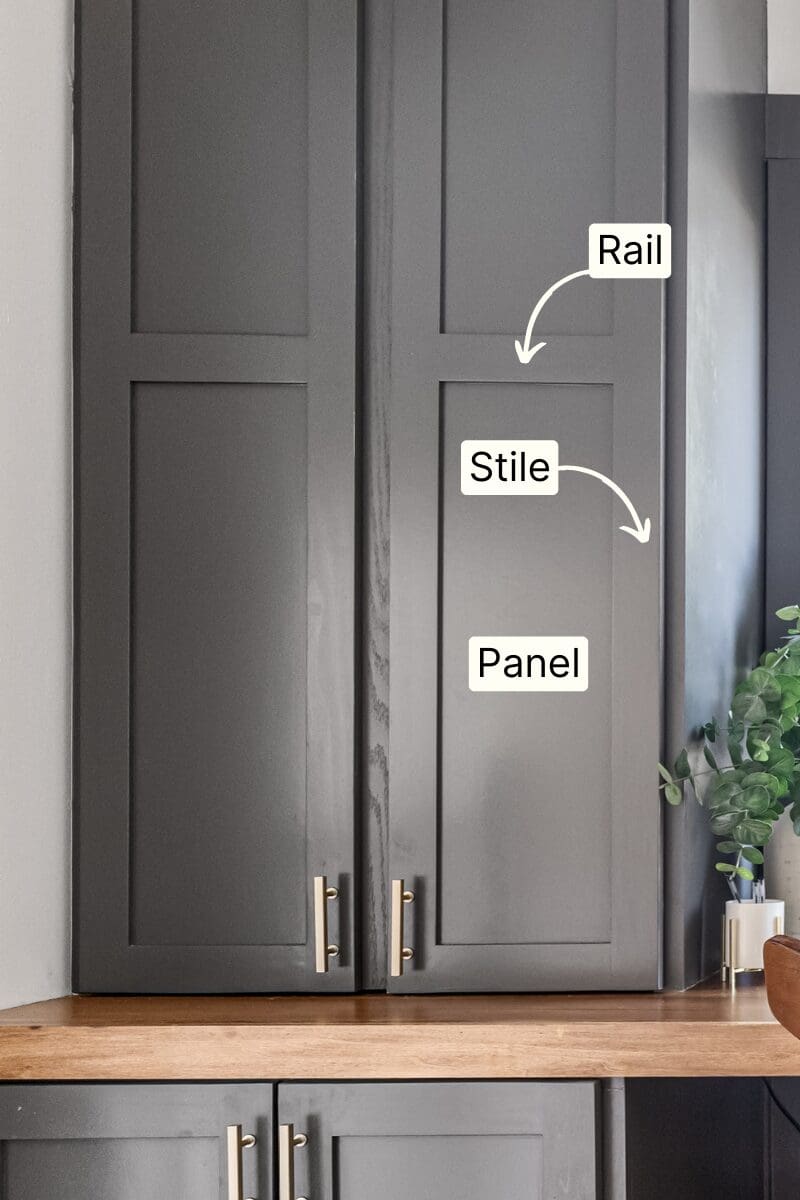
Shaker doors consist of three parts: the stile, which is the vertical piece; the rail, which is the horizontal piece (think handrail); and the panel, or core, which doesn’t need much explanation.
The length of the stile is the total height of the door. Easy.
To determine the length of the rail, I had to account for the width of both stiles, which totals 5 inches.
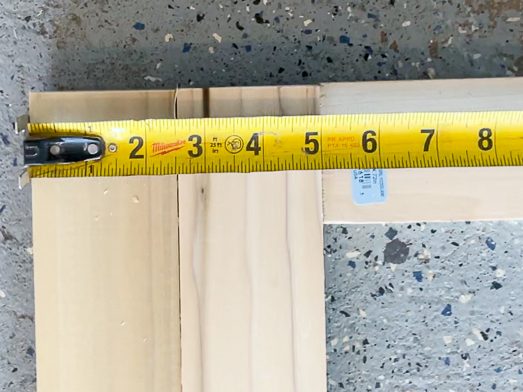
I needed each door to be a total of 17 inches, so I calculated that my rails needed to be 12 inches long since adding those 5 inches from the stiles brings me to the 17 inches I needed. 12+5=17.
Step 3 – Cutting Grooves in the Stiles and Rails
The next step in building shaker cabinet doors is to cut grooves in the rails and stiles to accommodate the 1/8-inch hardwood I used.
If you’re looking to use a thicker material for your core, a Dado blade works best for this, but I don’t have one, so I’m going to use the next best thing, which is a regular blade on my table saw.
I set the blade height to 1/2-inch high because that’s how deep I want the groove to be. The blade of my table saw is already 1/8-inch wide, which, as I pointed out before, is why I like the 1/8″ tempered hardboard.

I made a mark on the exact center of the board.

Because the blade is exactly 1/8-inch, and so is the hardboard, the groove would be just a hair too small to fit the hardboard. So, to fix this, I set my fence so the blade hits that line exactly in the middle and then moved it 1/16-inch over to the right.
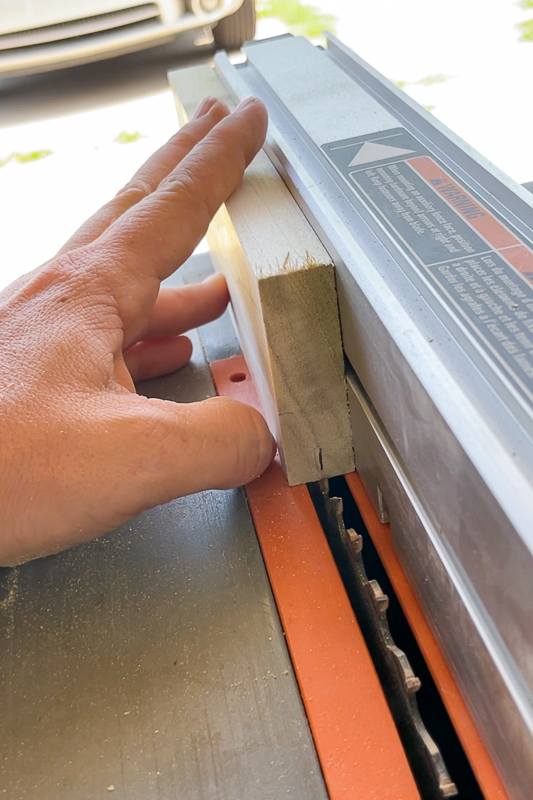
I ran the board through once, turned it around, and ran it through again. This helps make the groove to be exactly center. A tip to help you keep all your fingers is to use a scrap piece of wood to help keep the board aligned and pushed up against the fence. You can buy an actual push block, but the scrap wood and a push stick work just fine.
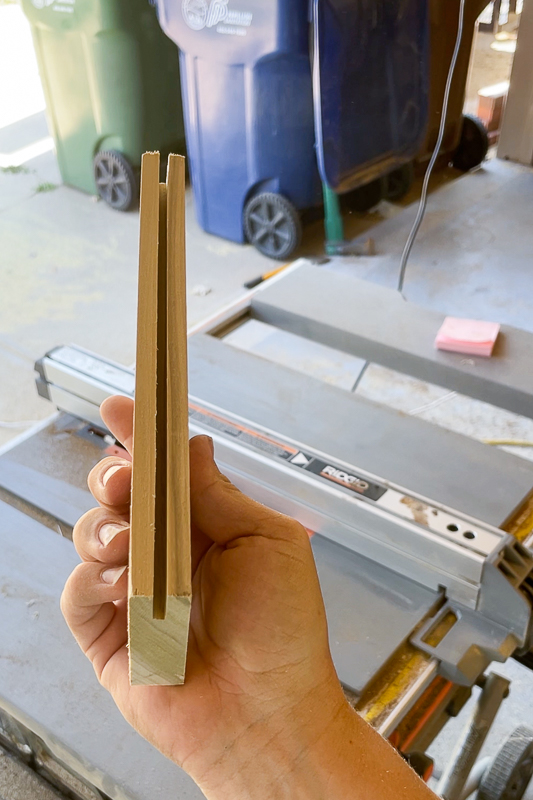
Now, you can check if the hardboard fits inside your groove. If it fits snuggly, you’re golden. If not, either run the boards through a few more times or adjust your fence a smidge. FYI it helps to run a test piece through first so you can adjust your fence to the perfect setting before making all your final cuts when building shaker cabinet doors.
Step 3 – Calculating the Size of the Center Paneling
Once the grooves are cut in all the boards, it is time to figure out the size of the panels.
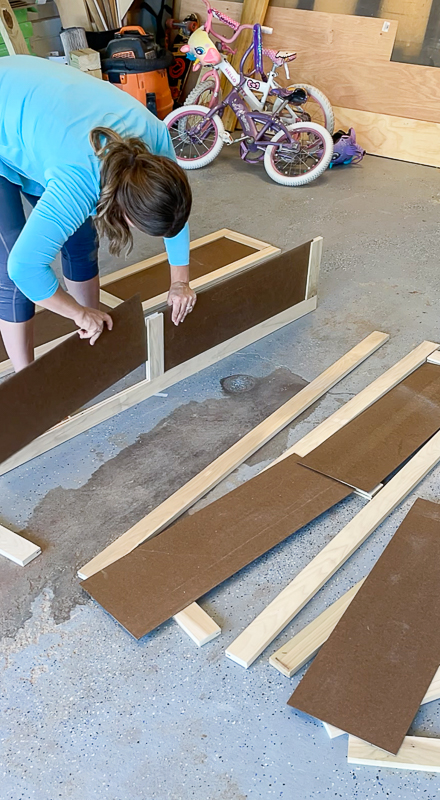
I did a dry fit and put all the rails and stiles in place. Side note: if my doors are going to be taller than 50 inches, I like to add an extra brace in the middle for added support.
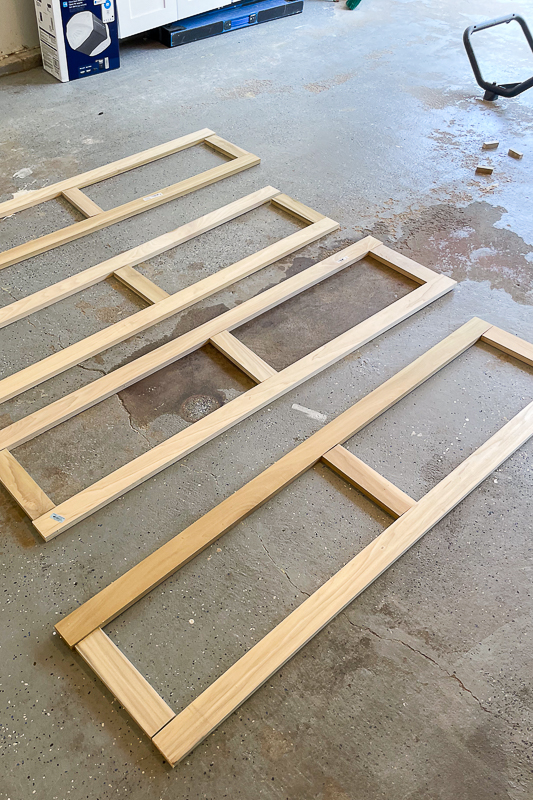
Then I measured the inside opening of the frame and added 1-inch to both the width and height (because that’s how much disappears into the grooves we just cut).
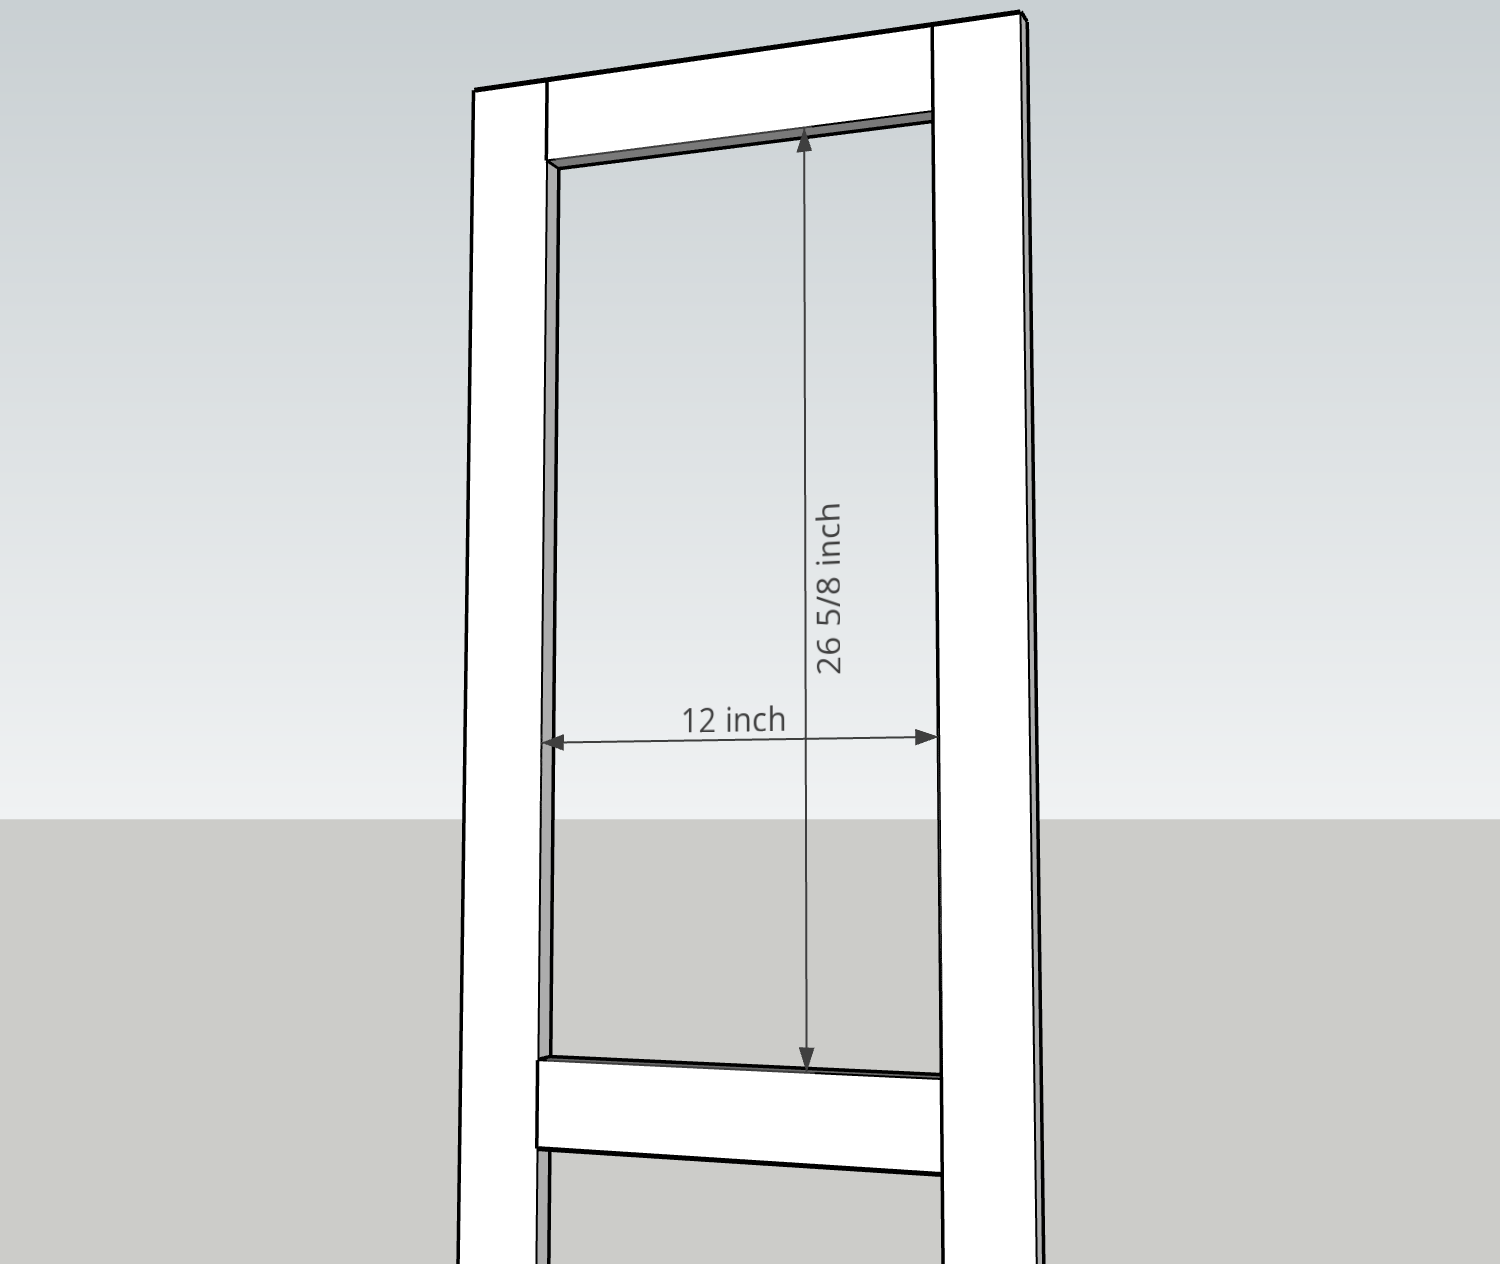
So, my panel should measure 13 x 27 5/8 inch.
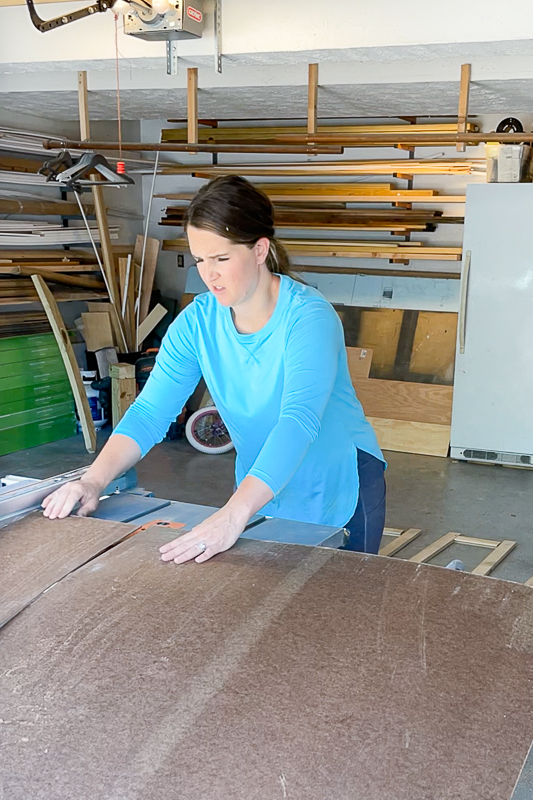
Step 4 – Cutting the Center Paneling
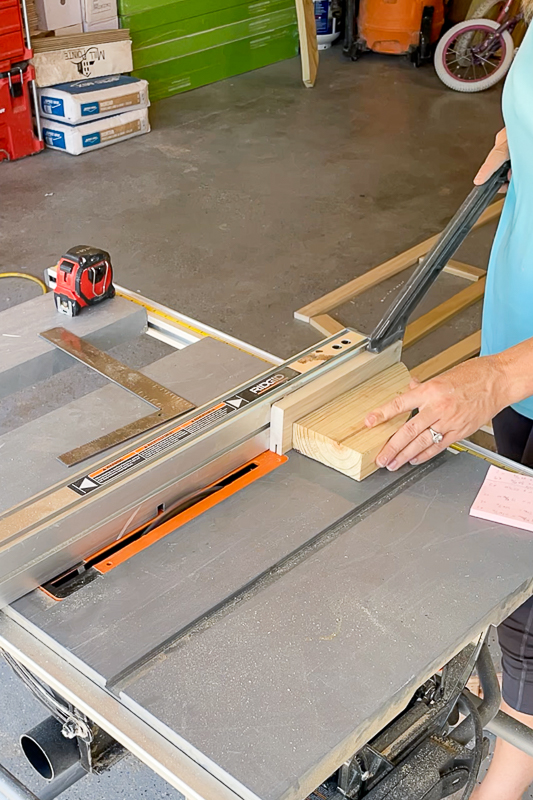
After calculating the size I needed for all my panels, I cut them out using a table saw. A circular saw and a straight edge with clamps also work well when building shaker cabinet doors.
Then I did another dry fit to make sure all the panels fit and everything looked good before I started the next step of securing them together.
Step 5 – Securing Everything Together
After you’re sure your panels, stiles, and rails all fit perfectly, you’re ready to start building shaker cabinet doors.
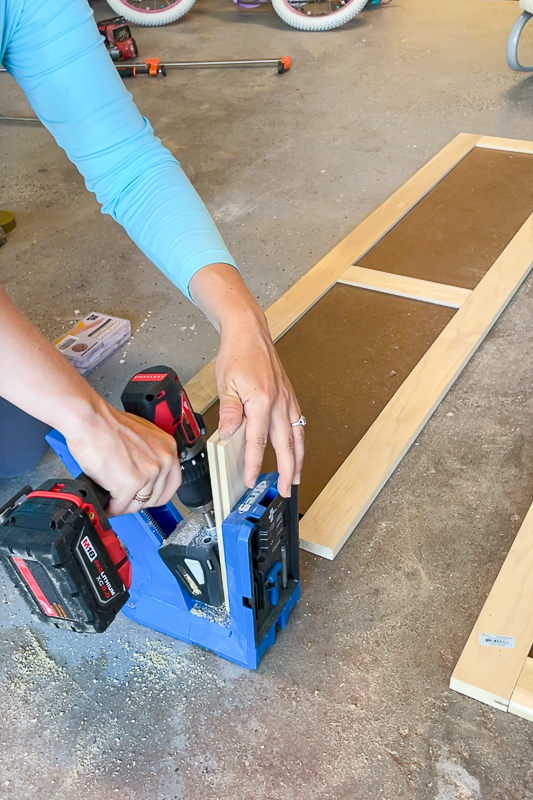
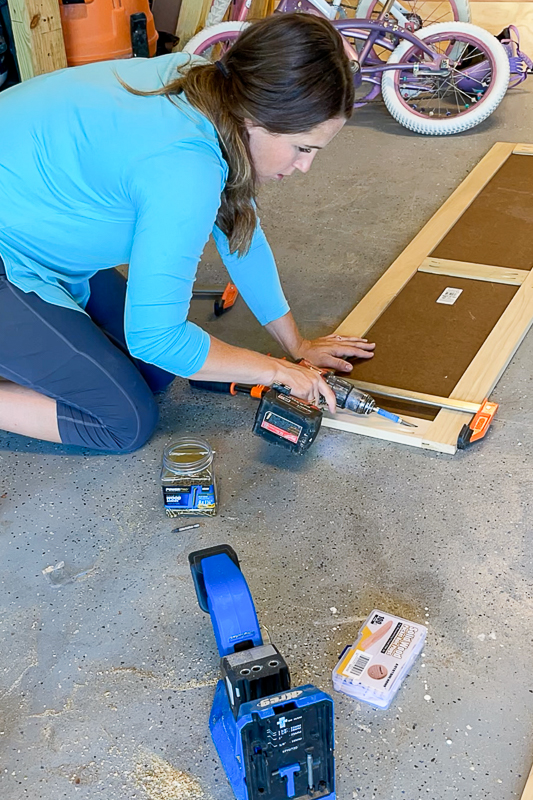
I’m using a combo of pocket holes and wood glue.
First, I drilled two sets of pocket holes into each rail.
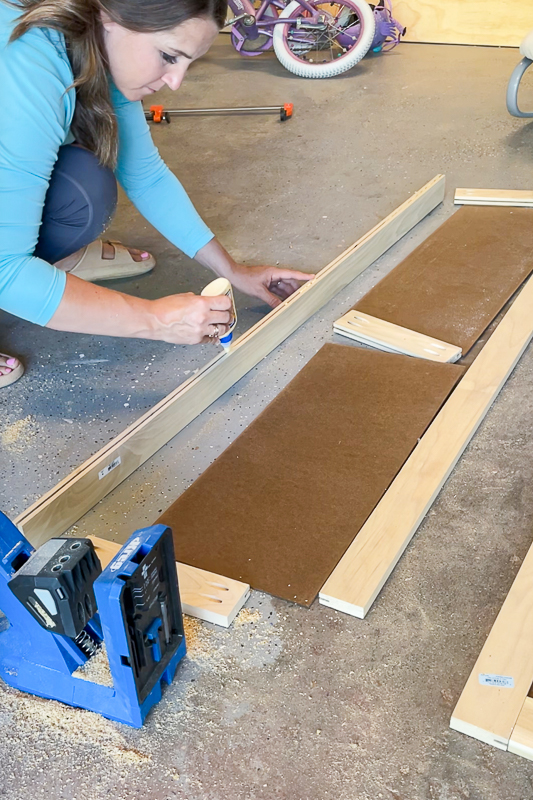
Next, I applied wood glue into the grooves and slid in the hardboard. Using a rubber mallet helps with snug fits.
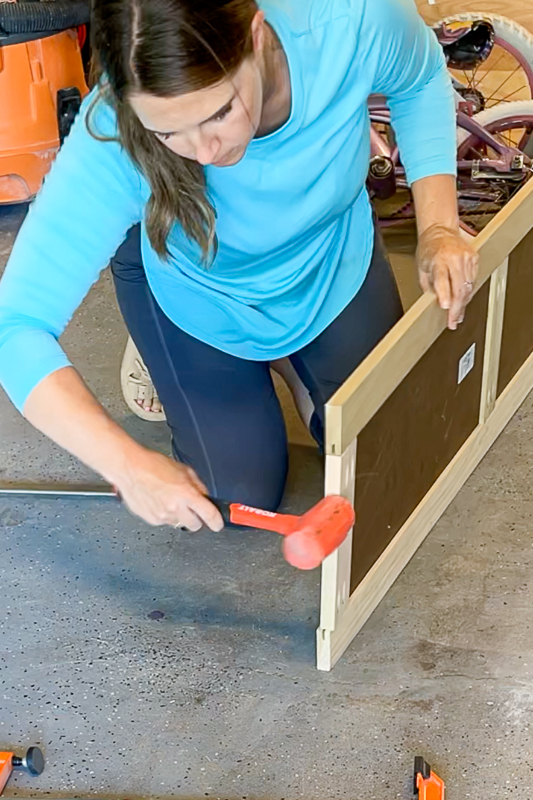
To finish off building shaker cabinet doors, I used pocket hole screws to screw everything together. Clamps help keep everything secured since the drill vibrates the wood and can shift things around. Last, I placed pocket hole plugs and wood glue into all the pocket holes to hide the screws.
Step 5 – Hiding the Seams
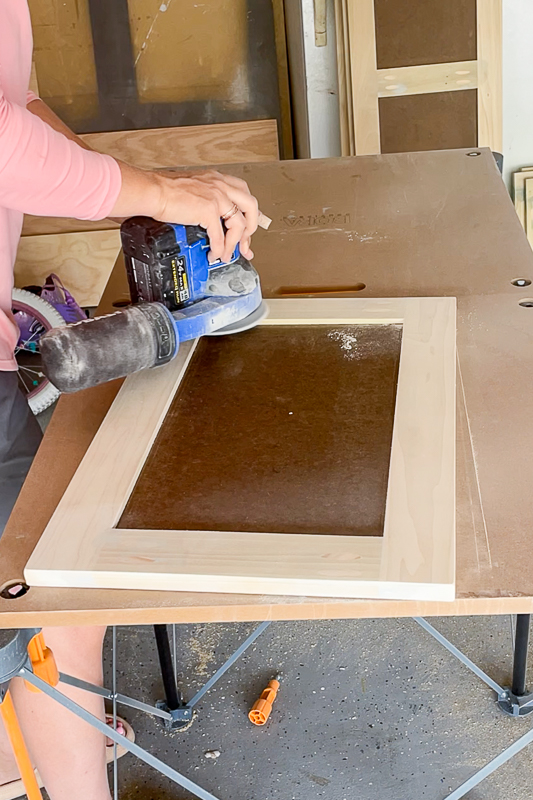
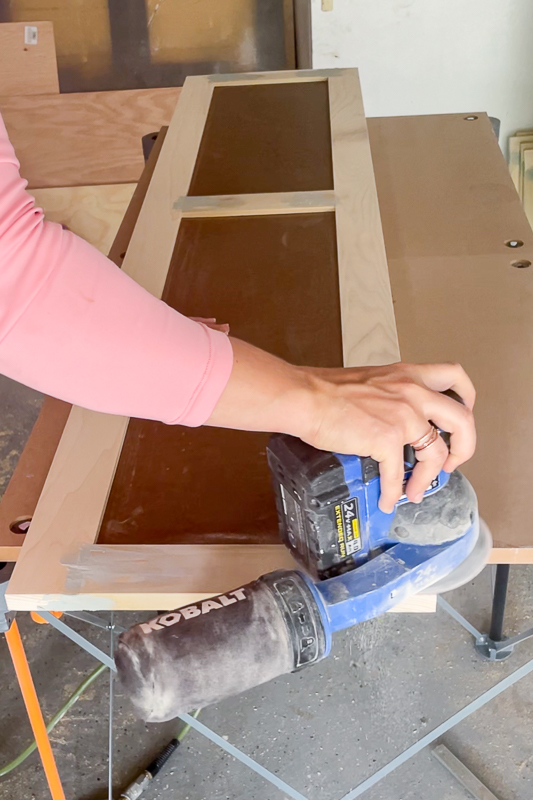
After you have given the wood glue 24 hours to cure and harden, you can start working on making your door look seamless. First, I sanded down the pocket hole plugs using 150 grit so the surface would be smooth.
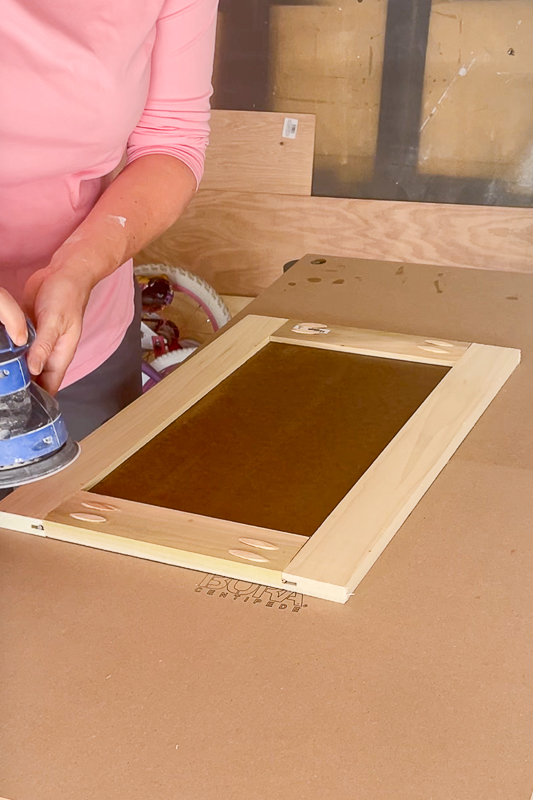
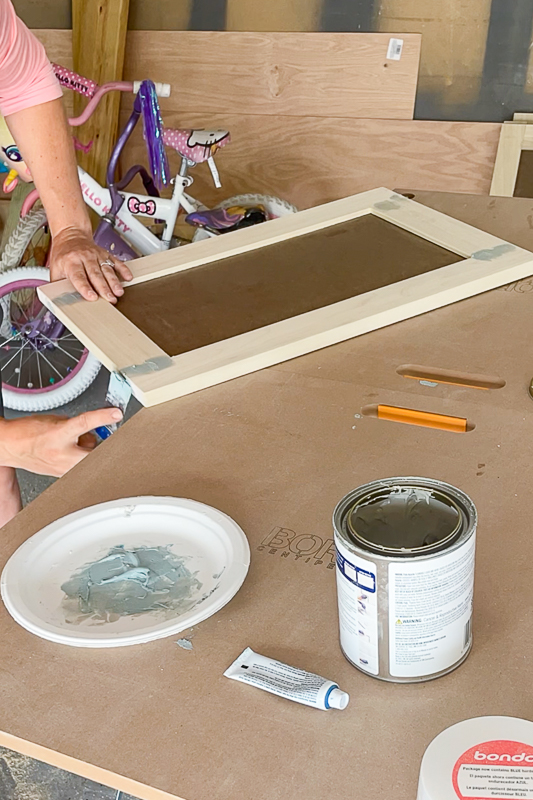
Then, I used Bondo to fill in the seams on both sides of the door. I prefer Bondo over traditional wood filler just because it dries harder and sands smoother, but make sure you follow the directions carefully. The downside is that it is a two-part system, which is more work and is very stinky. It does dry quickly, however, which can be both good and bad.
After the Bondo hardened, I sanded it down using 150 grit sandpaper until all the rails and stiles were smooth to the touch. Then, I gave both sides of the doors a good sanding using 220 grit.
Step 6 – Painting the Doors
After you’ve sanded everything down, it’s time to start painting your doors.
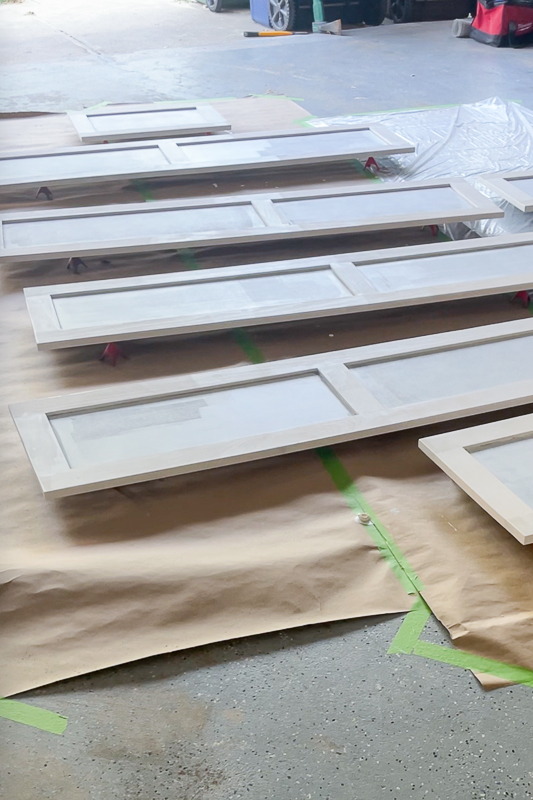
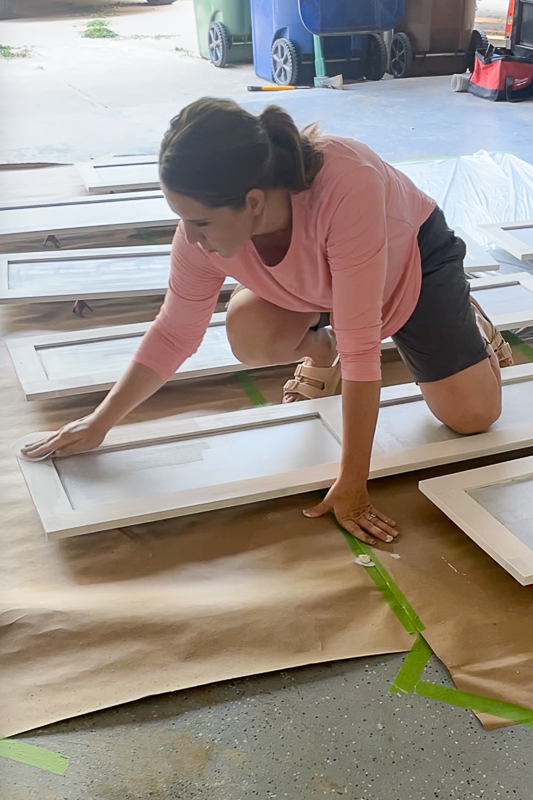
I just did this on my garage floor and used these nifty painter’s tripods. The point is so tiny that it doesn’t leave a mark when I flip over the doors to paint the other side, which means you can flip it while it’s still wet.
First, I primed both sides of the doors using my favorite Bin Primer and a mini foam roller. After they were dry, I gave each side a light sanding with 220 grit sandpaper.
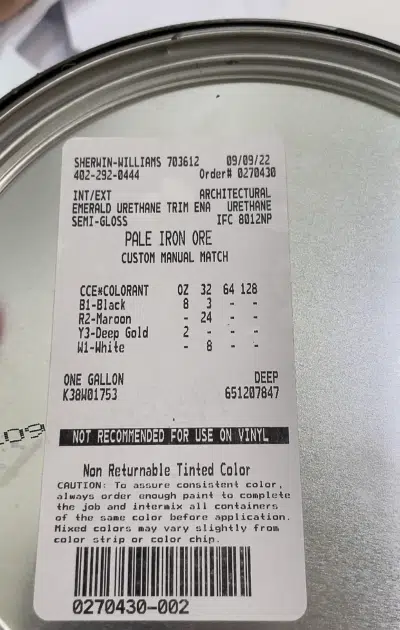
After I made sure the doors were free of primer dust, I used Sherwin Williams Emerald paint. This paint is the best non-commercial paint for cabinetry, in my opinion. It’s durable and has self-leveling properties that give the best finish. I made my own custom color at Sherwin Williams for my island and office. You can bring this picture into any Sherwin-Williams, and they will match the color.
Using a paint sprayer will give you the best finish. I used my trusty Graco Paint Sprayer to apply two coats, which turned out beautiful!

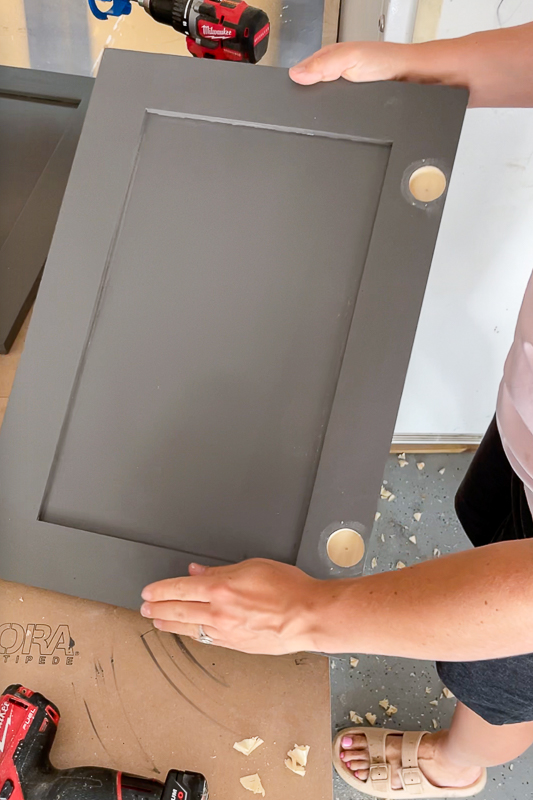
Step 7 – Installing the Cabinet Hinges
The first thing you’ll want to do is buy this Kreg Hinge Jig. It makes drilling hinge holes so easy.
I used the jig to drill out the holes in each door.
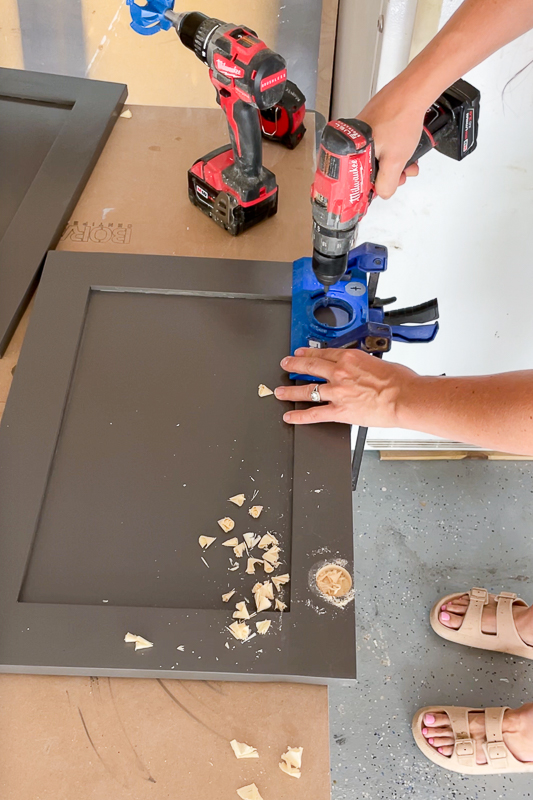
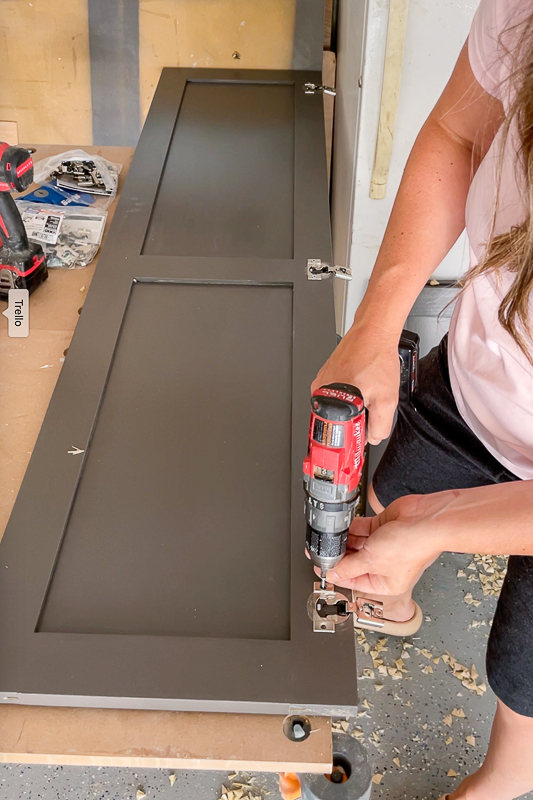
Then I screwed in these soft-close hinges and hung up the doors.
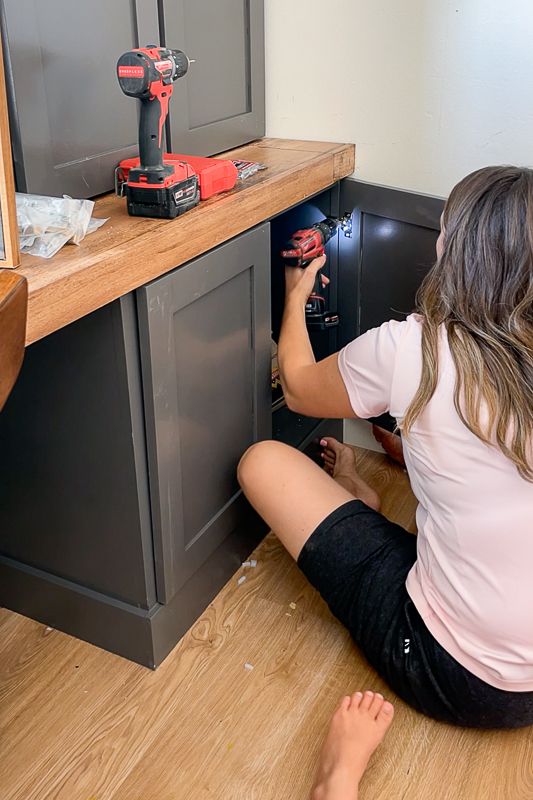
Stand Back and Admire!
The Shaker style door design is both functional and timeless.
If you’d like to see another built-in office idea, check out this built-in office I DIYed in our old house in Utah. And if you like this homeschool built in, you can read the tutorial here.
Be sure to Pin this blog post and save it to read later when you’re building shaker style cabinet doors!