


Updated May 9, 2026
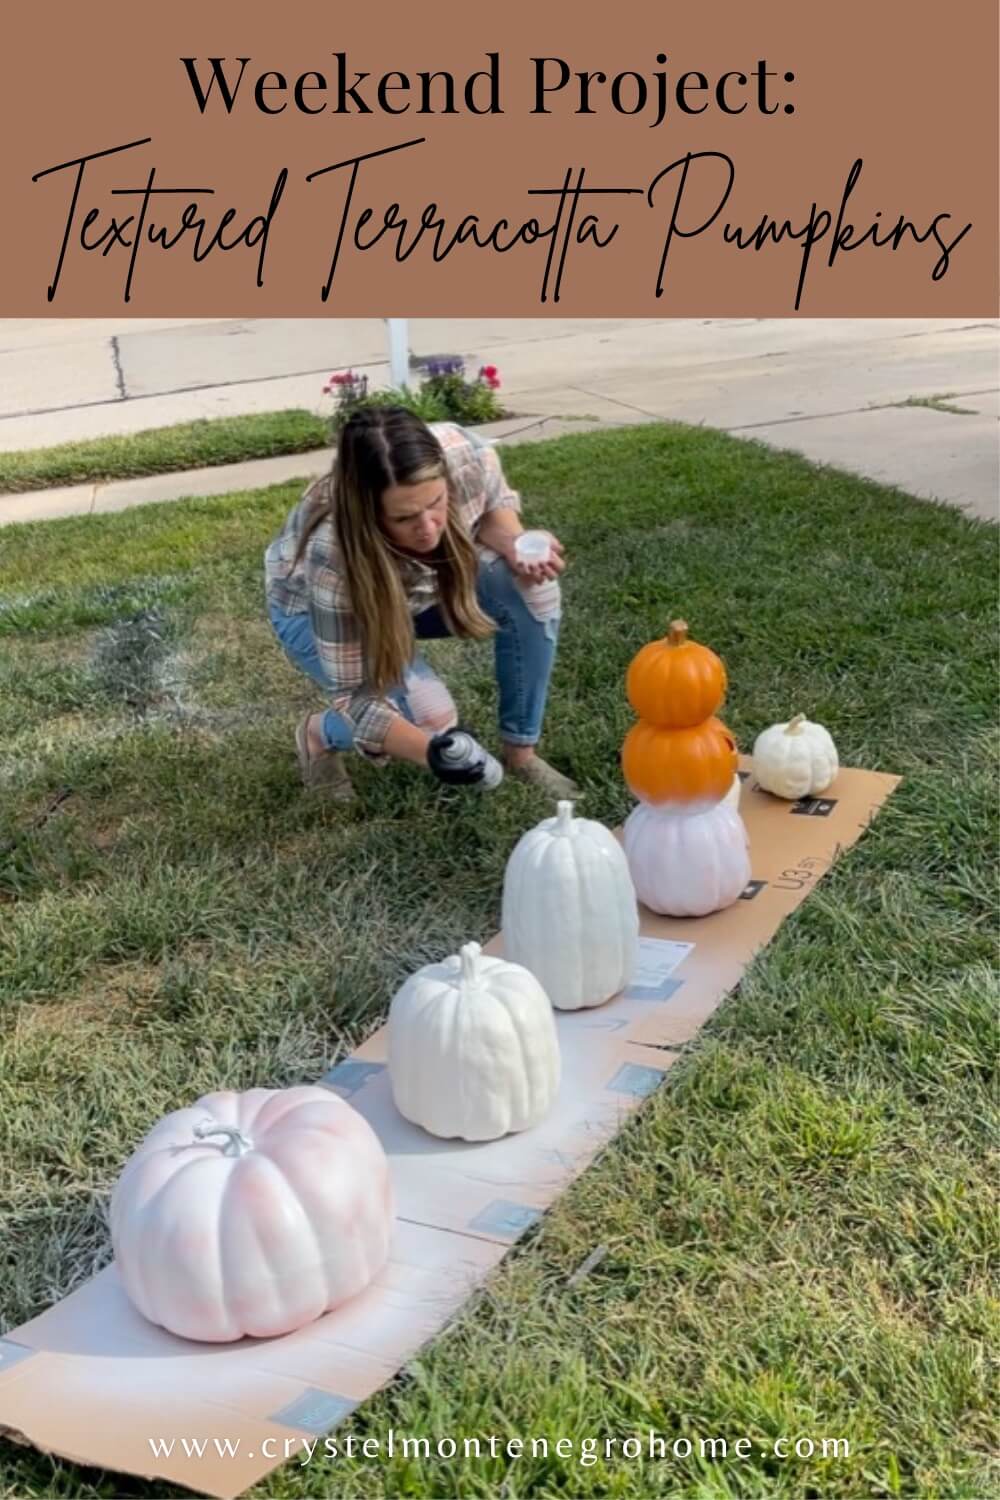
If you’re looking for a budget-friendly fall project, these faux terracotta pumpkins are the perfect DIY. With some paint and baking soda, you can transform basic store-bought pumpkins into rustic, clay-inspired decor that looks high-end but costs just a few dollars.
This textured pumpkin craft is quick, beginner-friendly, and the longest part is simply letting the pumpkins dry.
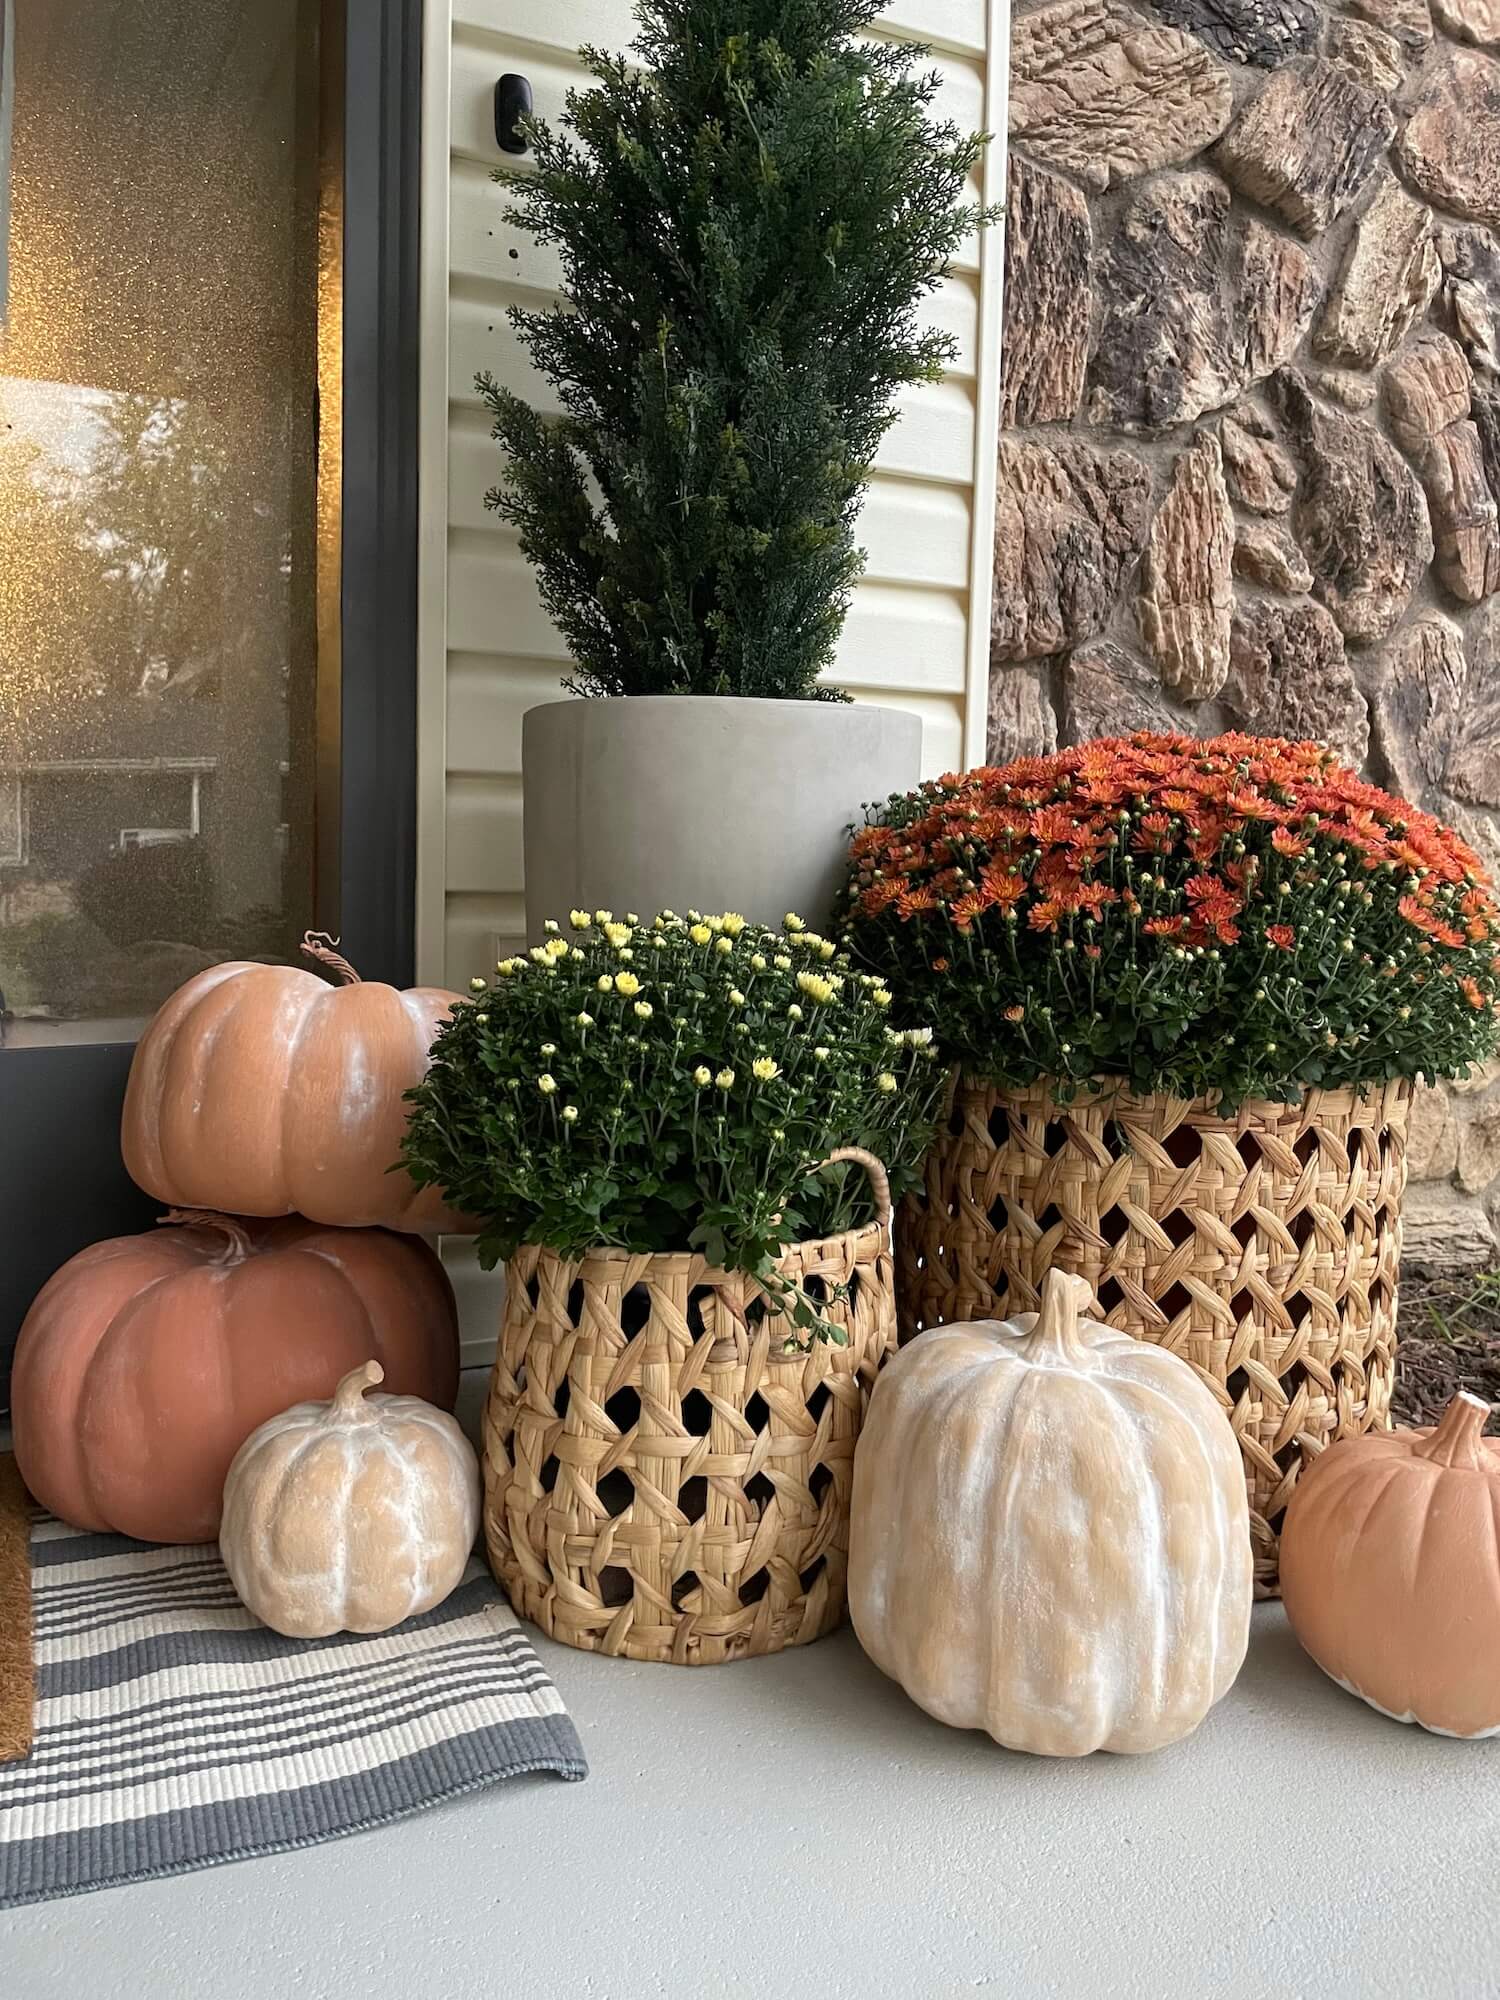
Table of Contents
Supplies For Faux Terracotta Pumpkins
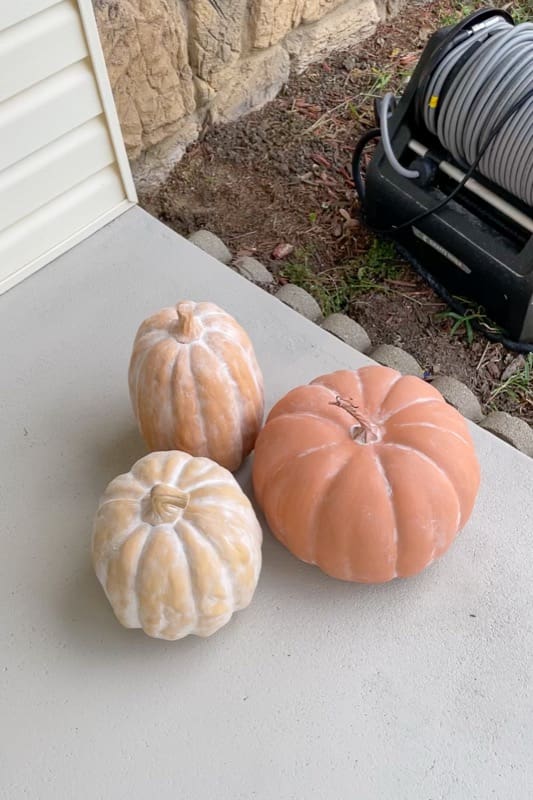
Foam or plastic pumpkins in various sizes
Paint – I used Sherwin Williams sample paints in Totally Tan and Chrysanthemum
Baking soda – the secret to creating that clay-like texture
Spray primer – helps the paint stick evenly
Gloves (a must if you don’t want messy hands!)
Paintbrush
Step 1: Prime the Pumpkins
First, let’s prep your pumpkins! Give each one a thin, even coat of primer. This is an important step because it helps the paint and baking soda stick perfectly, giving you a smooth, long-lasting finish. Hold the can about 8-10 inches away from the pumpkin and use light, sweeping motions to avoid drips. Let the primer dry completely before you move on.

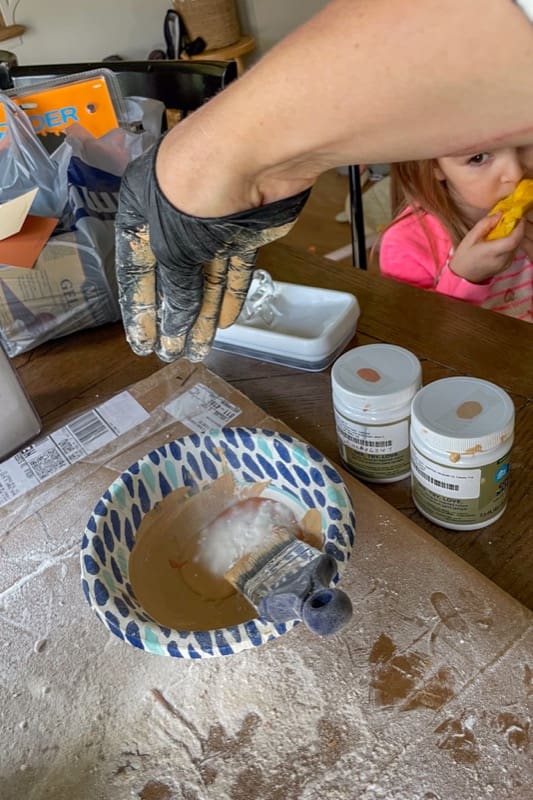
Step 2: Paint And Add The Terracotta Texture
Now for the magic! In a small bowl, mix your paint and baking soda together in a 1:1 ratio. The baking soda is what gives the paint that amazing, gritty texture that mimics real clay.
Brush the mixture onto your pumpkin, making sure you get every inch of the surface.

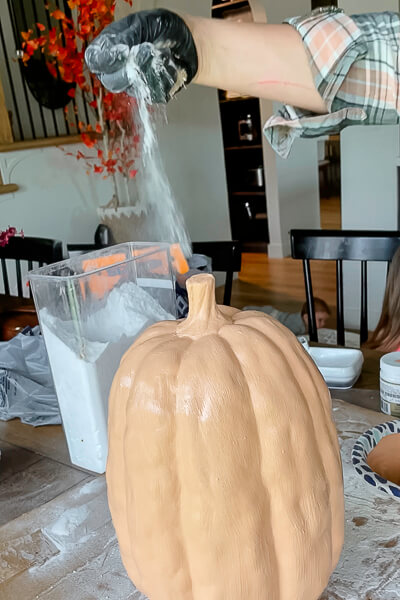
While the paint is still wet, sprinkle a little extra baking soda onto the sides and gently pat it into the paint with your gloved hand. This creates even more depth and makes your pumpkins look truly authentic. Be sure to work on one pumpkin at a time so the paint doesn’t dry too quickly.
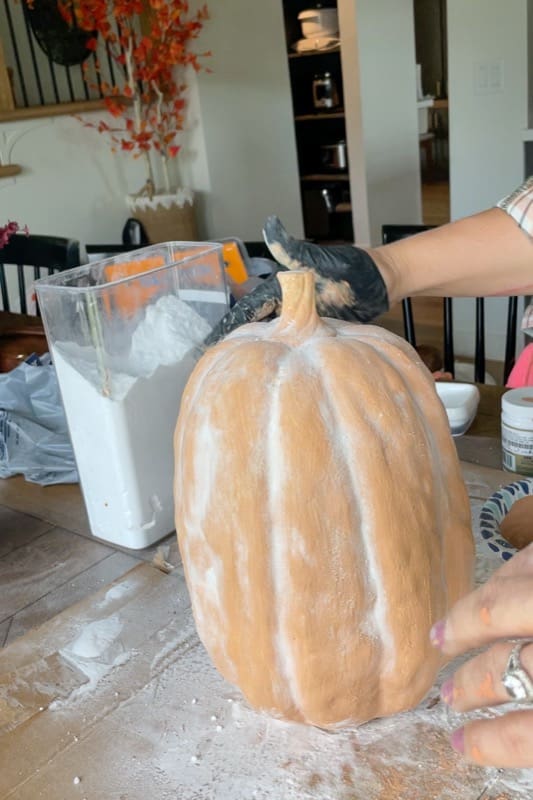
Pro tip: For a more natural, varied look, try mixing two different paint colors together. I used Totally Tan and Chrysanthemum to create pumpkins with subtle, unique shades.

Step 3: Let Your Faux Terracotta Pumpkins Dry
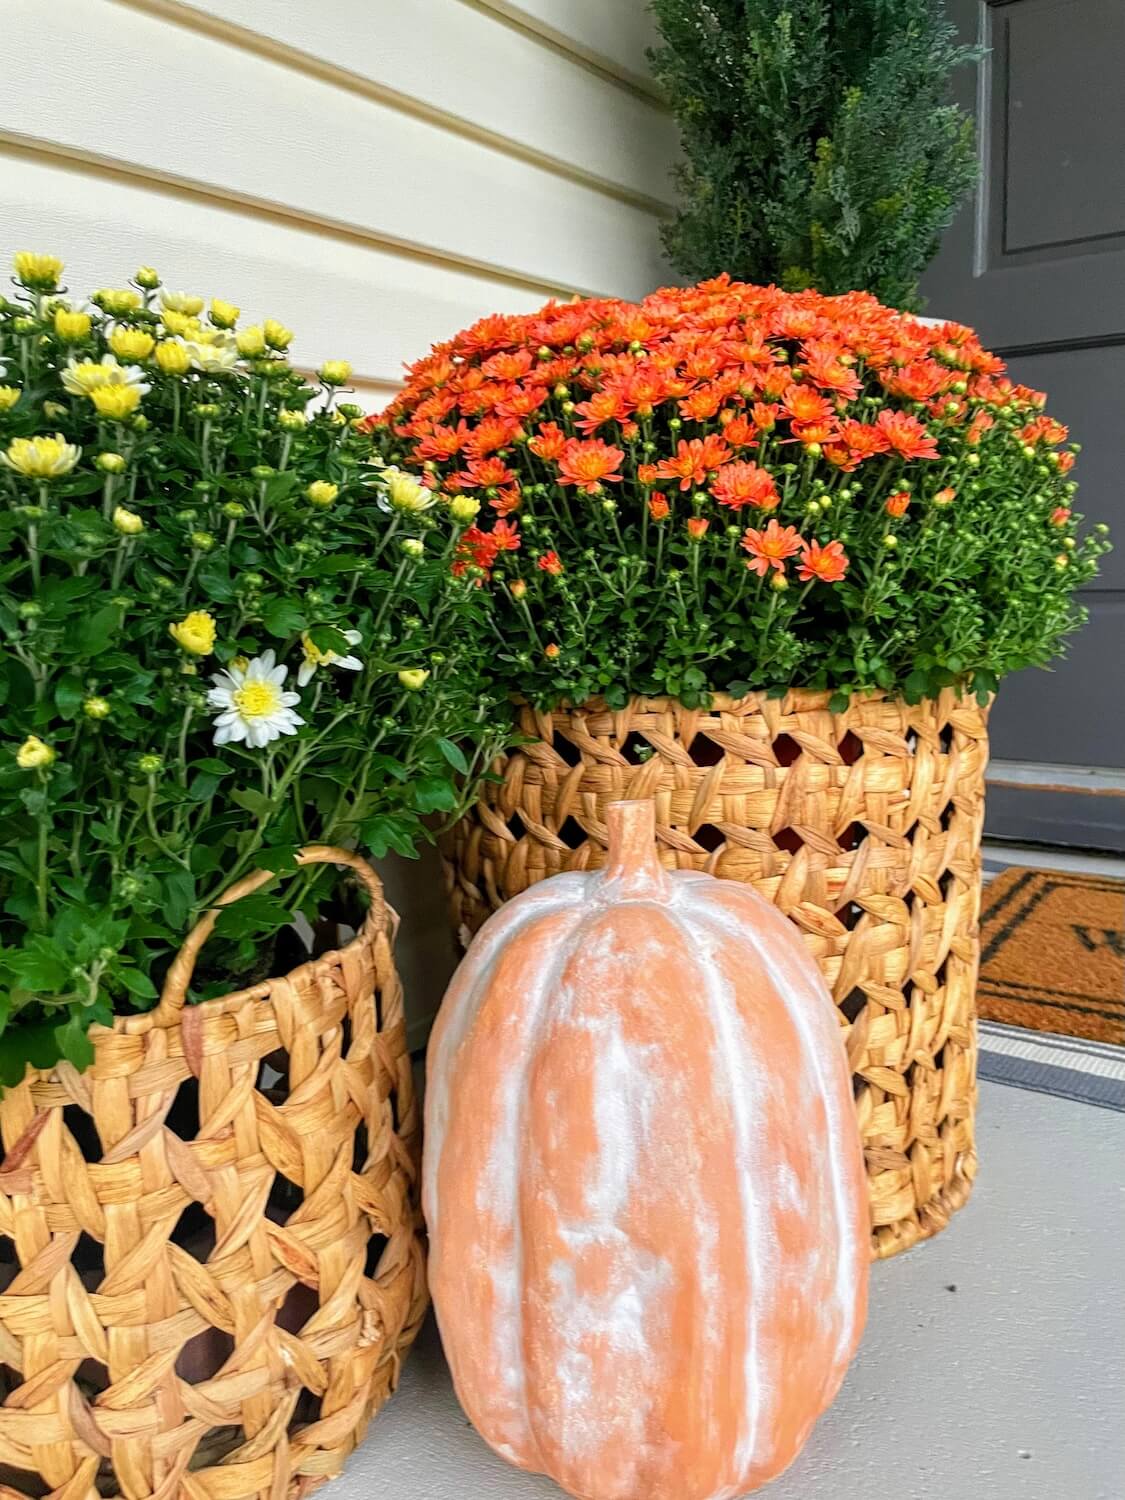
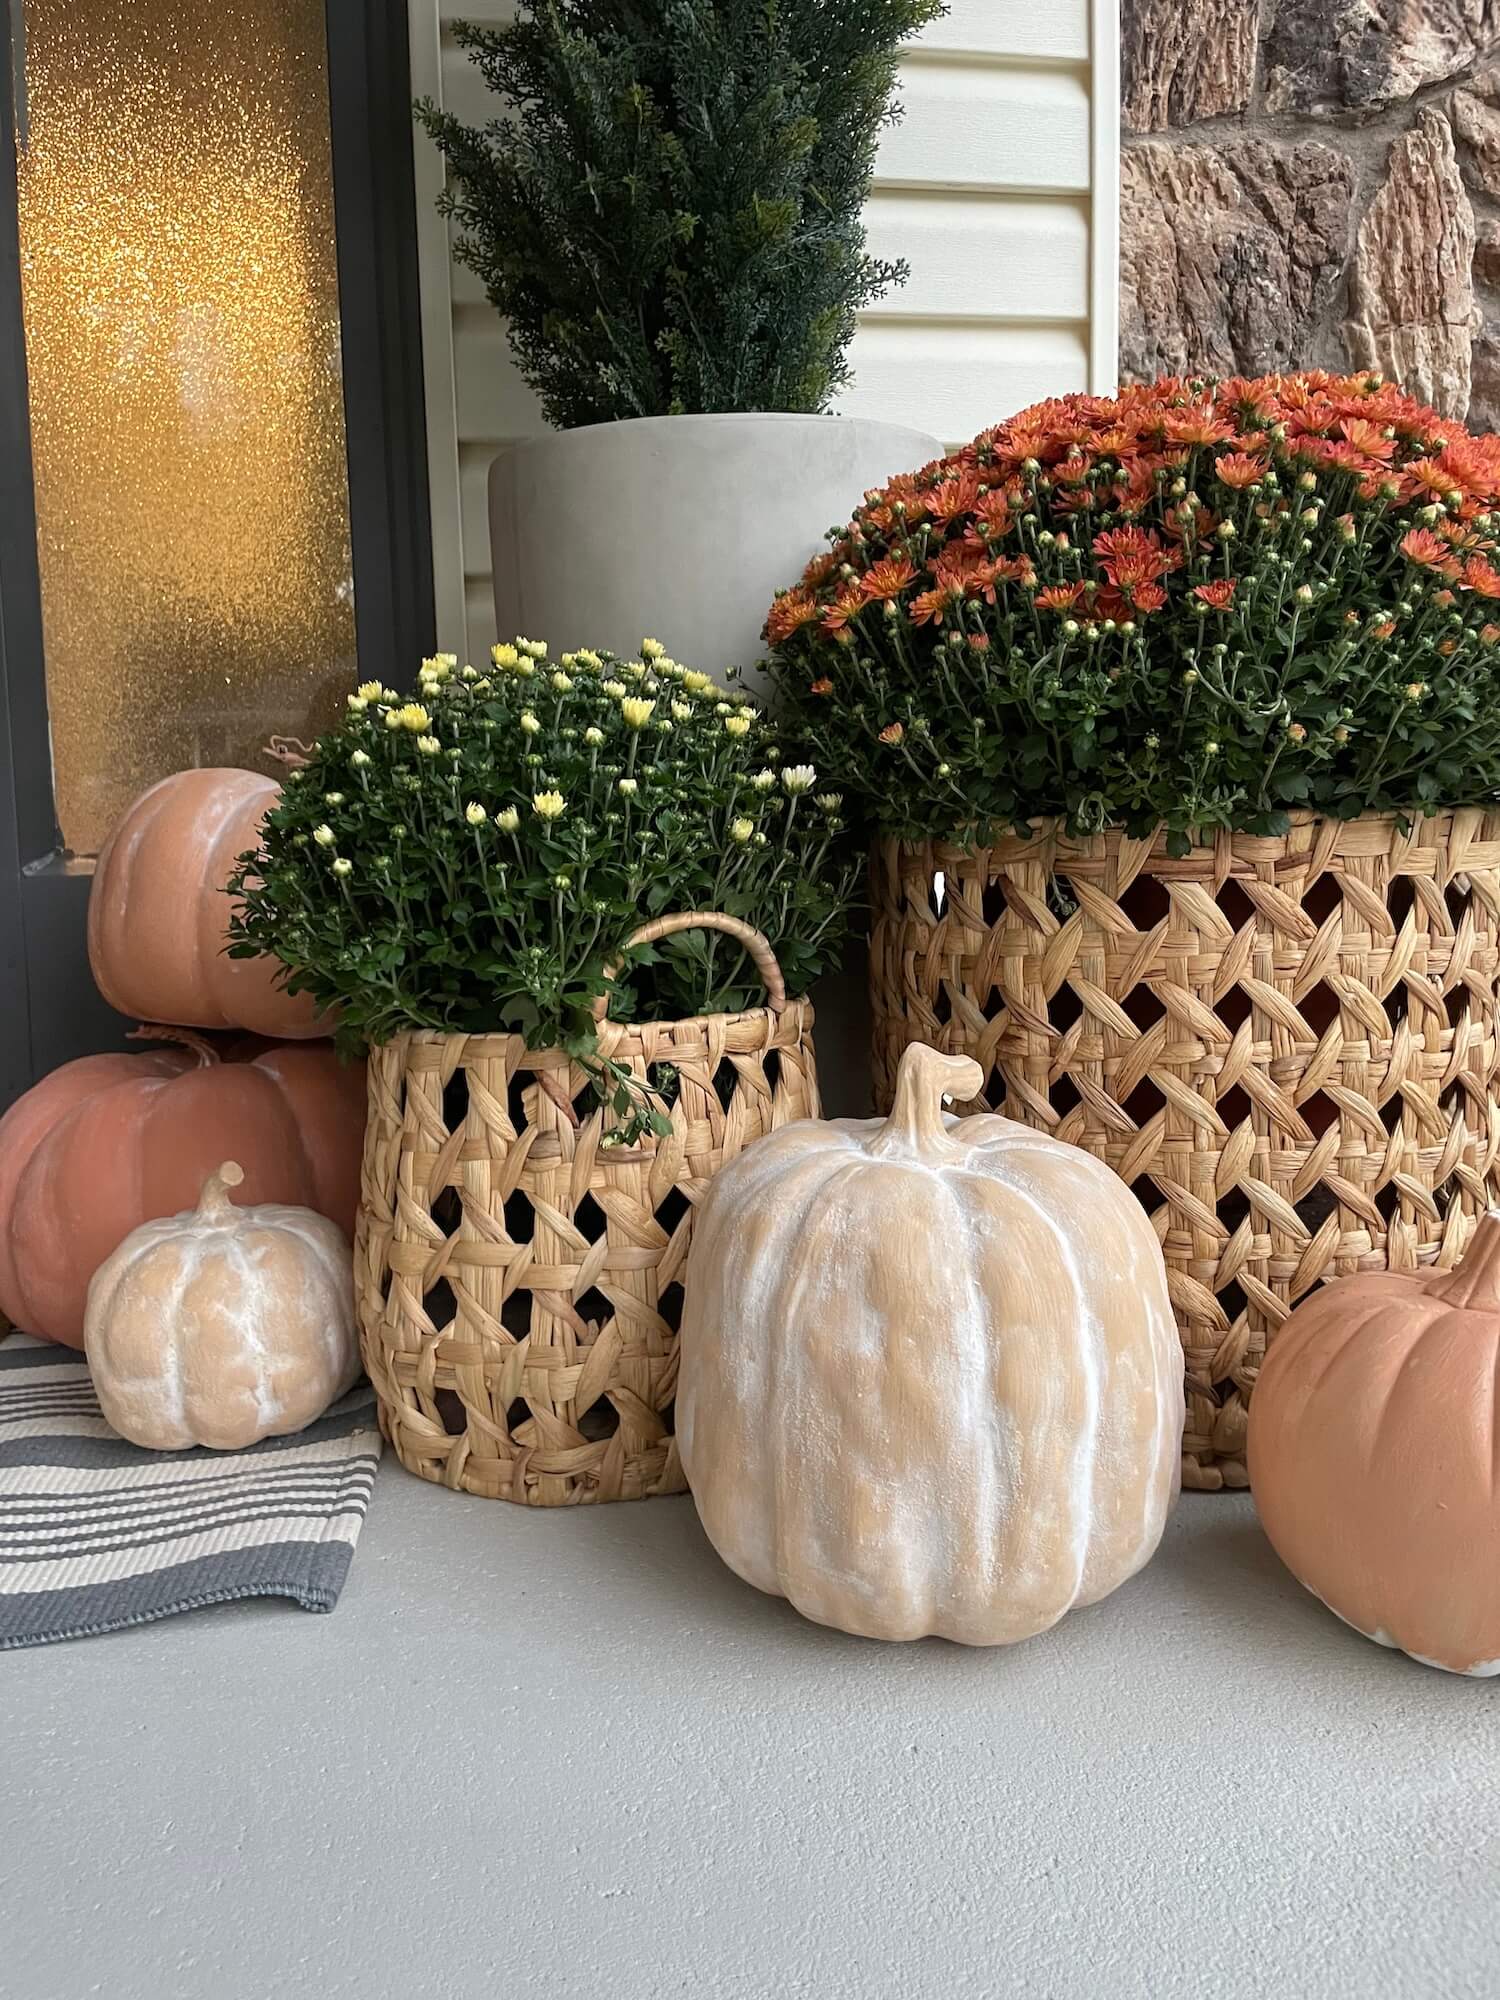
That’s it! Now, all you have to do is let your beautiful faux terracotta pumpkins dry completely. Depending on how thick your paint is, this could take a few hours. Once they’re dry, you’ll have pumpkins that look like they’re made from real clay – without all the weight and expense.
Step 4: Time to Decorate Your Porch!
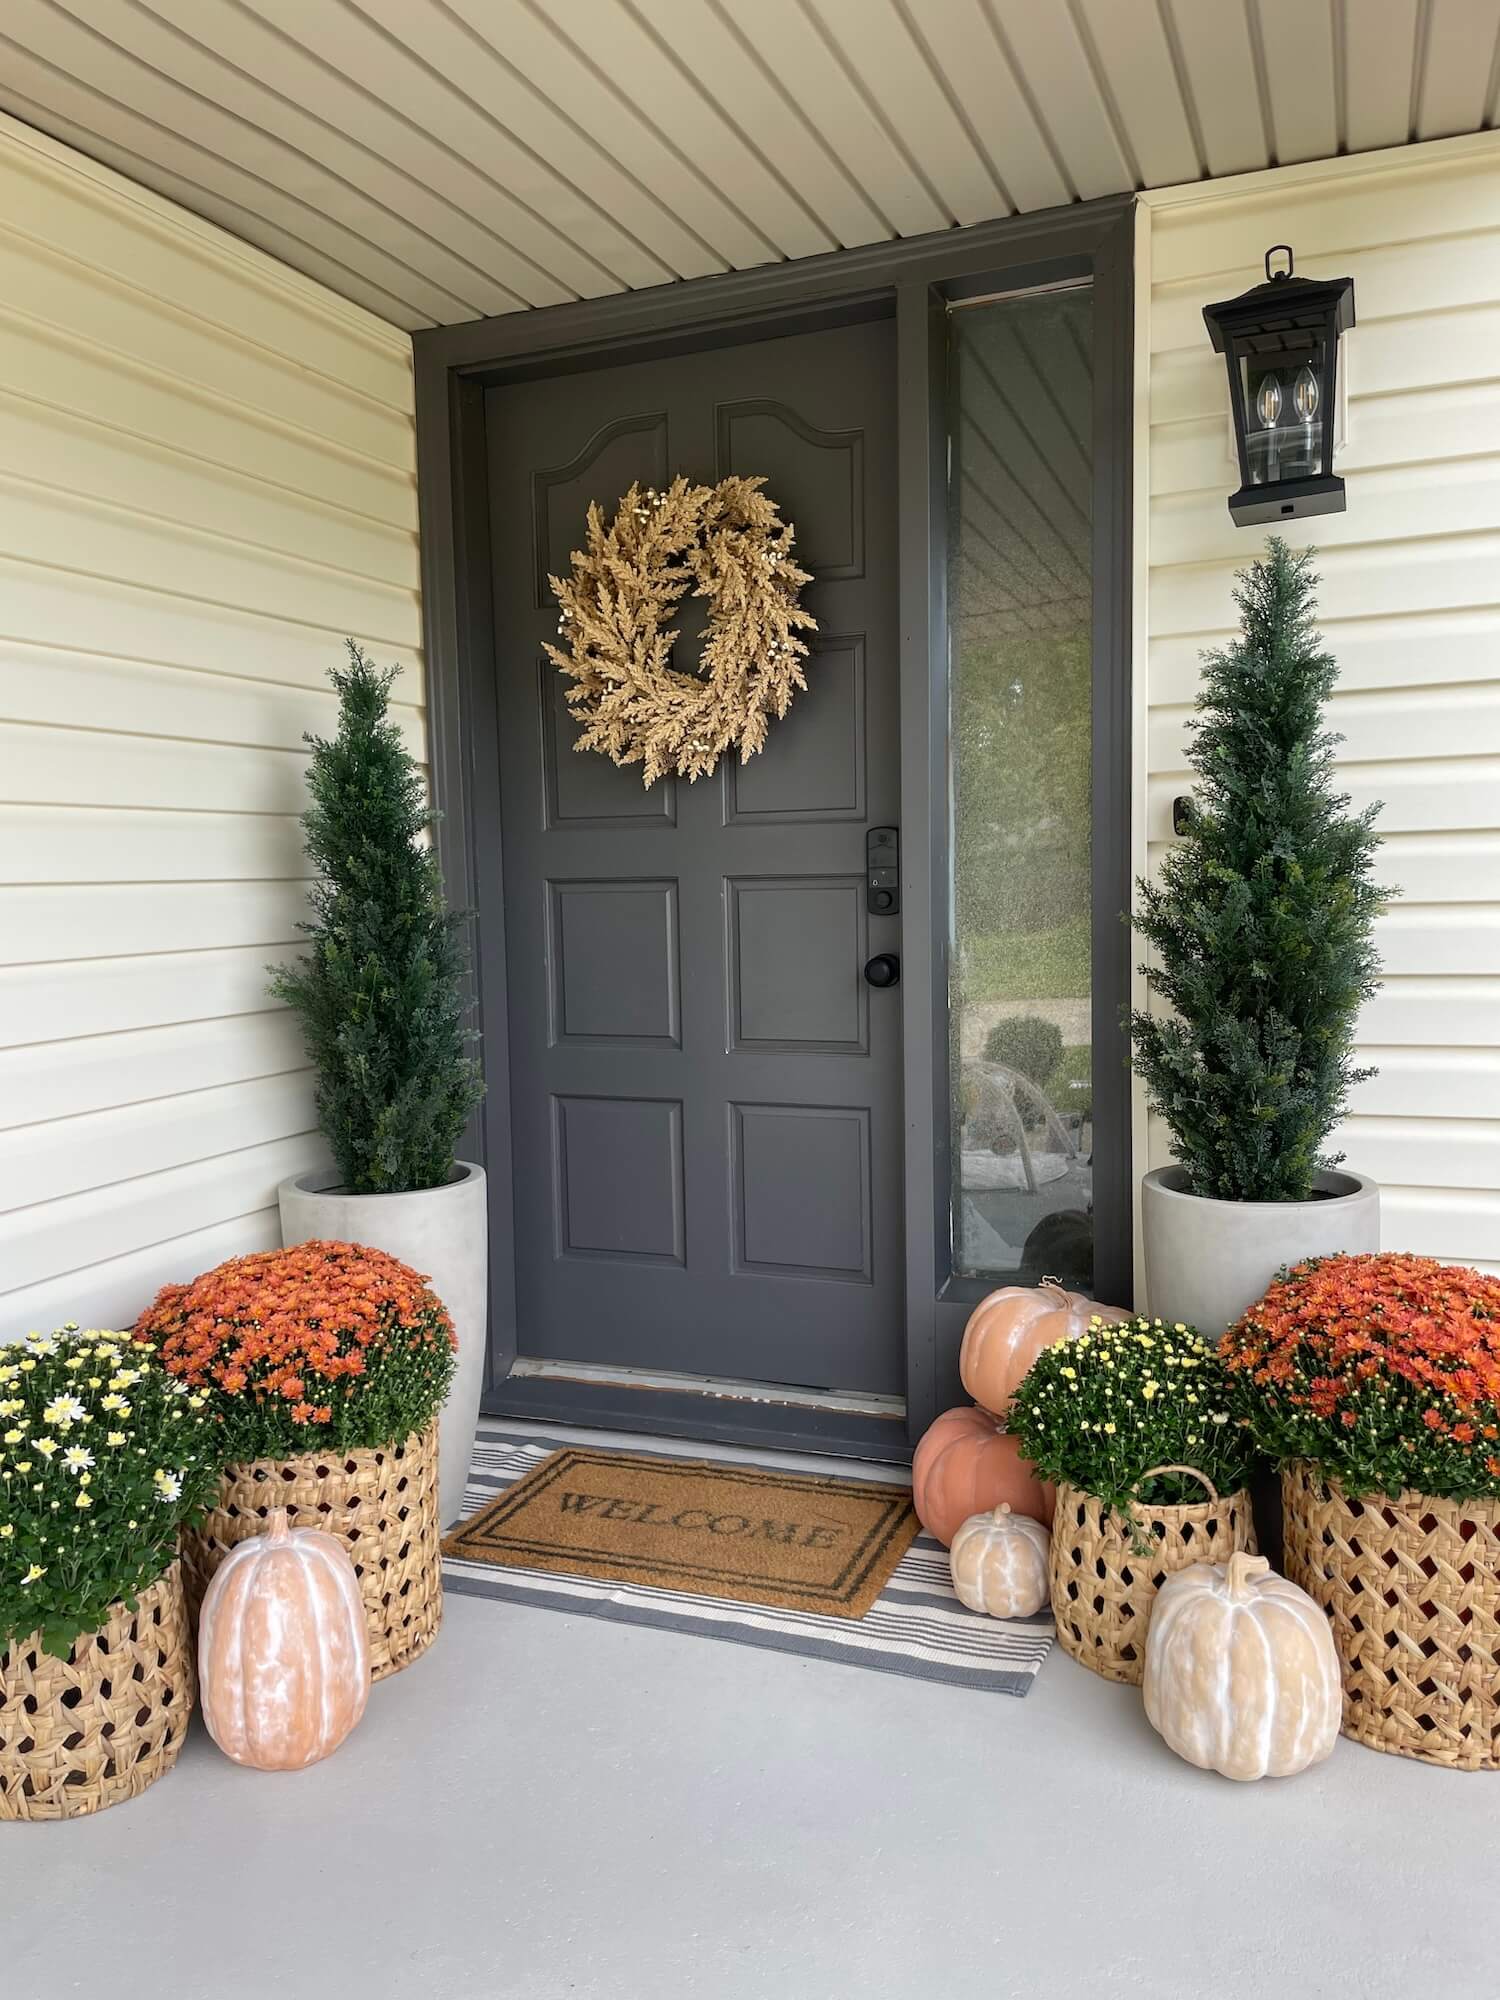
Now that your pumpkins are prepped and ready, it’s time for the fun part: decorating! Your new faux terracotta pumpkins are perfect for adding warmth and texture to your porch or entryway.
If you’ve been eyeing that deep gray door in my photos, I’ve got you covered! I shared the full tutorial on How to Paint a Front Door in 3 Easy Steps. It’s one of the easiest, most budget-friendly ways to give your entryway an instant refresh and it pairs perfectly with these faux terracotta pumpkins for a cohesive fall look.
Love the look of my front doorstep? You’re in luck! I wrote a whole blog post about it. You can get all the details and styling tips in my post on How I Decorated My Fall Front Porch. And if you want to shop the exact items, you’ll find all the product links below.
📌 Save This Fall Pumpkin DIY For Later
FAQs About Faux Terracotta Pumpkins
Mix paint with baking soda and brush it onto foam or plastic pumpkins. Sprinkle extra baking soda on while wet for a textured look.
Acrylic craft paint or wall paint samples both work well when mixed with baking soda.
If you’re keeping them indoors, no sealant is needed. For outdoor use, spray them with a matte clear topcoat to protect from weather.
It’s best for faux pumpkins since real ones eventually rot. Stick with foam or plastic if you want to reuse them every fall.
