


Affordable Kitchen Remodel Using Stock Cabinets and DIY Doors


Updated July 13, 2026
If you follow me on Instagram, you’ve probably seen how we turned a basic kitchen setup into a custom-looking space—without breaking the bank. In this tutorial, I’m walking you through our affordable kitchen remodel, step by step. From installing stock cabinet boxes to ordering custom doors, painting everything, and even fixing rough plywood sides, this DIY project made a huge impact on both style and budget.
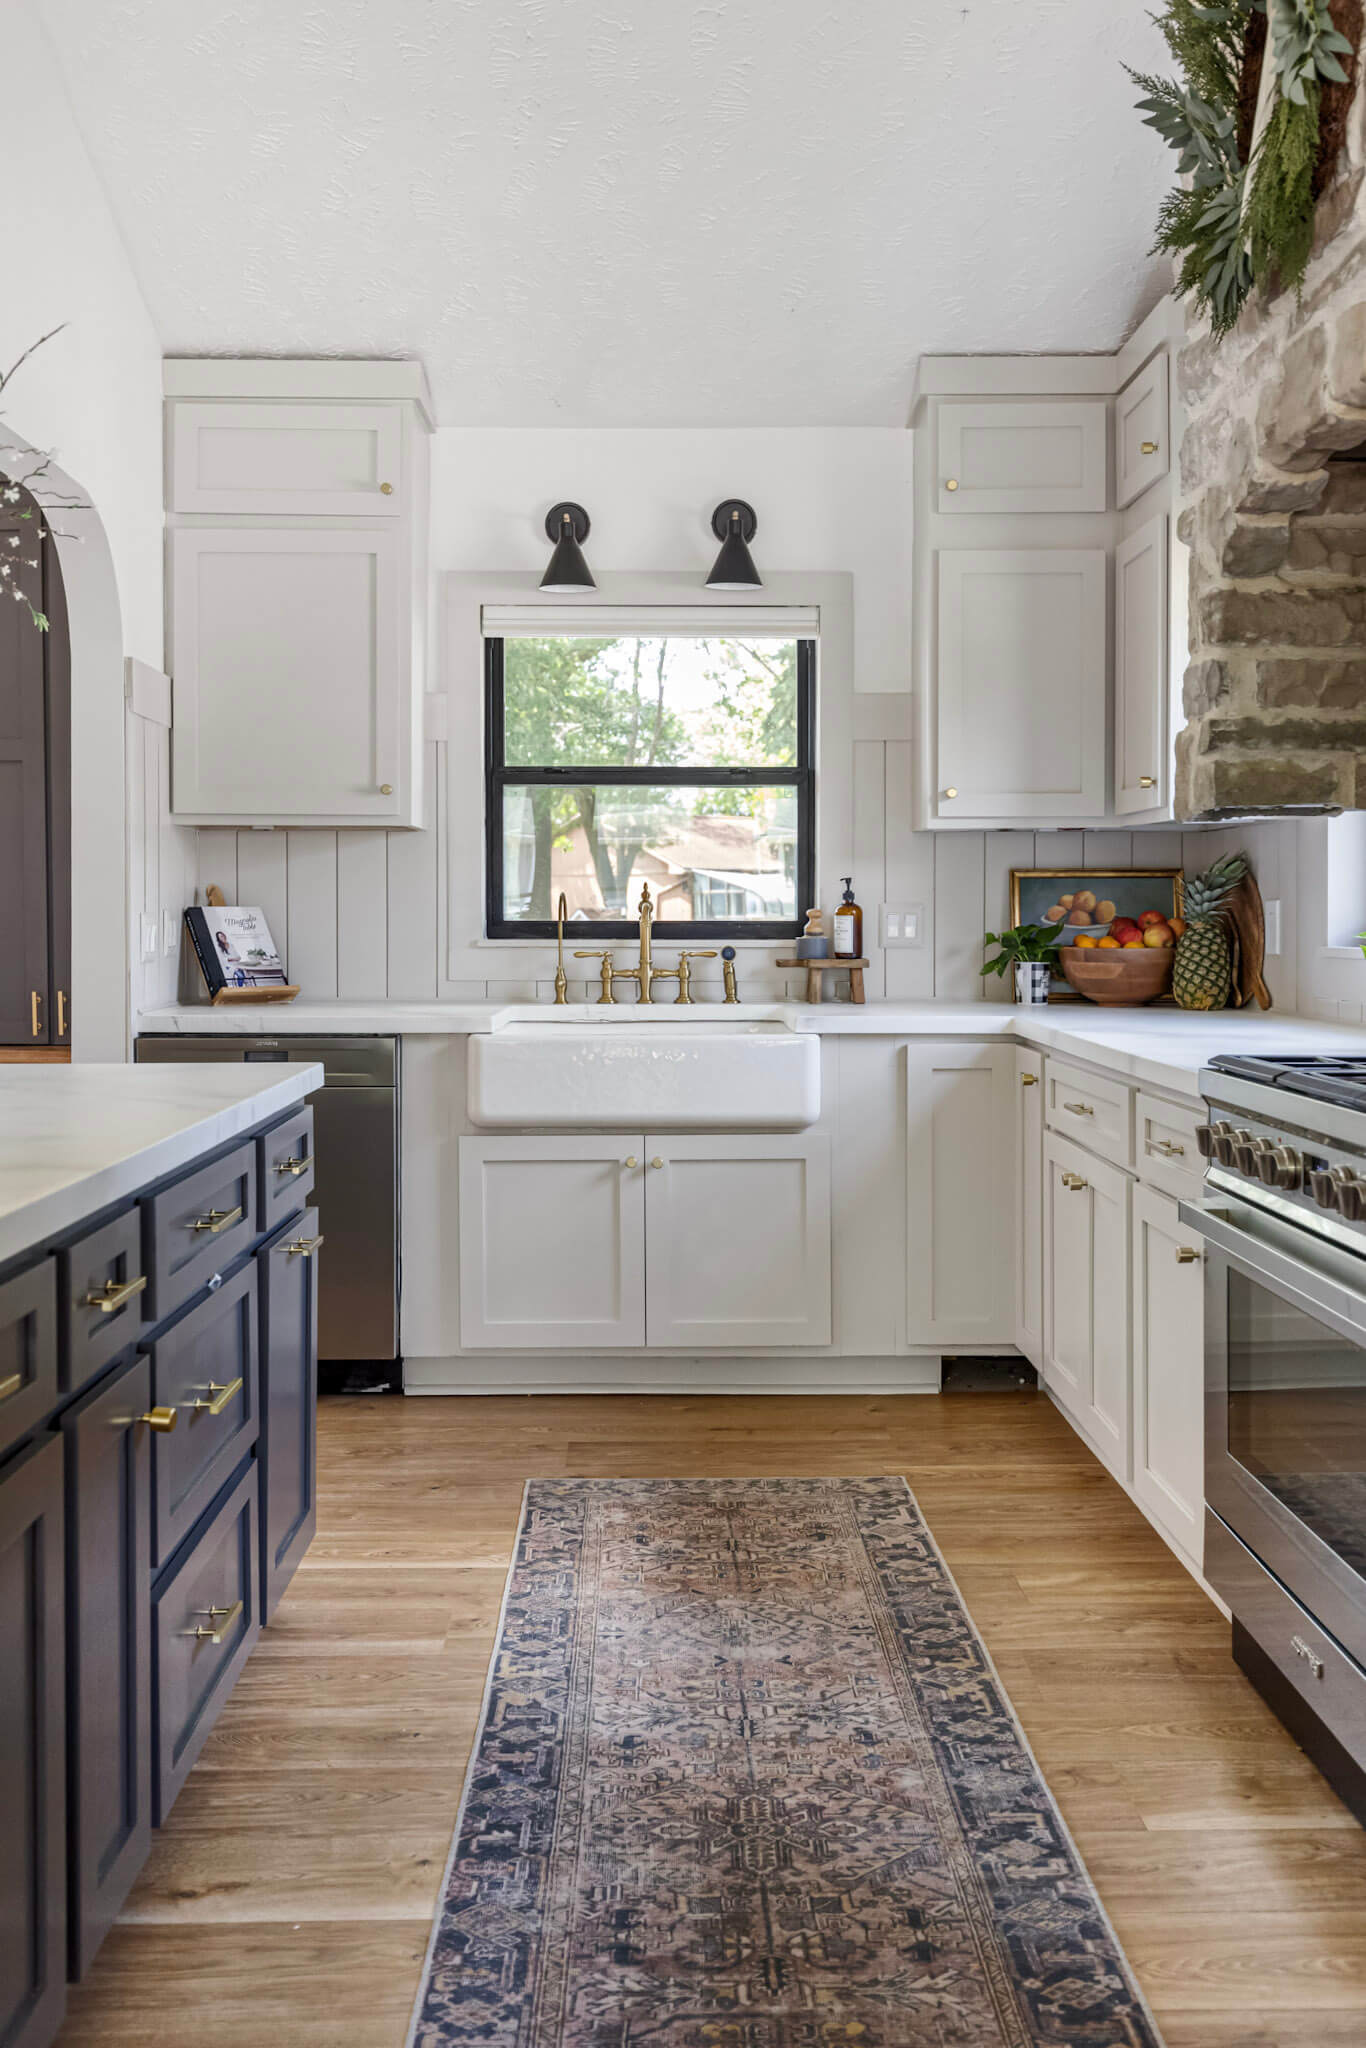
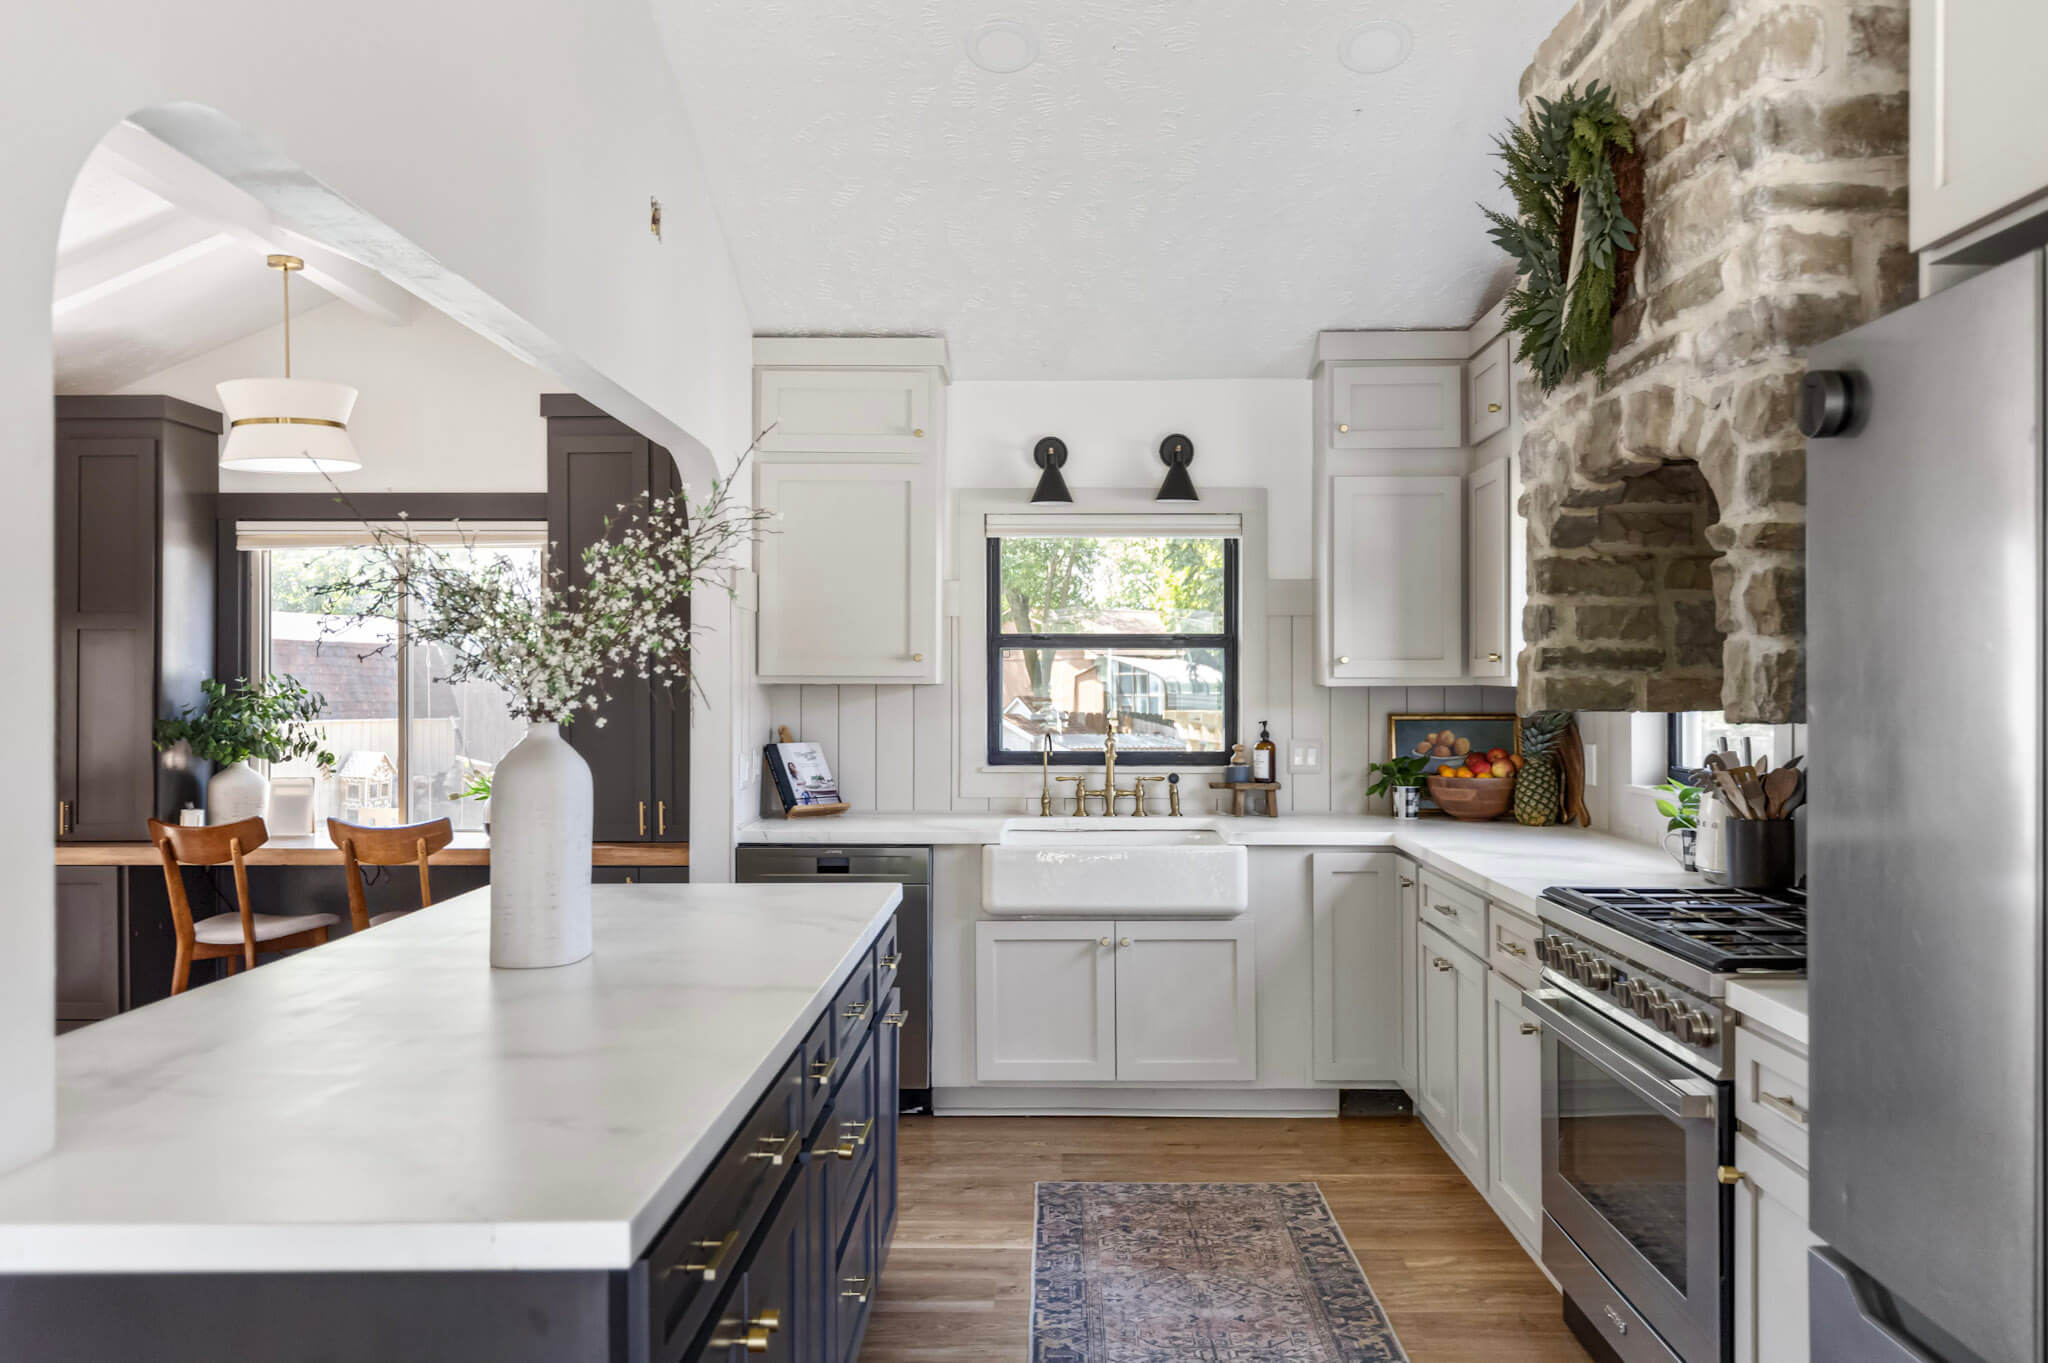
Table of Contents
- DIY Strategy for an Affordable Kitchen Remodel
- Tools and Materials for an Affordable Kitchen Remodel
- Step 1: Measuring for New Cabinet Doors
- Step 2: What You’ll Receive from Fast Cabinet Doors
- Step 3: My Method for Painting Cabinet Doors
- Not Sure About Spraying? Watch This
- Step 4: Installing the Doors and Drawers
- Attaching My Affordable Kitchen Cabinet Drawer Fronts
- Step 5: Fixing Rough Cabinet Sides
- Step 6: The Big Reveal
- FAQ: Affordable Kitchen Remodel Tips
DIY Strategy for an Affordable Kitchen Remodel
We were working on a tight budget (hello, Army life and constant moves), and since we had so many DIY projects lined up, we knew we needed to save where we could. Doing about 90% of the labor ourselves made this remodel way more affordable—and honestly, more satisfying too. Fun fact: our current kitchen used to be a formal dining room!
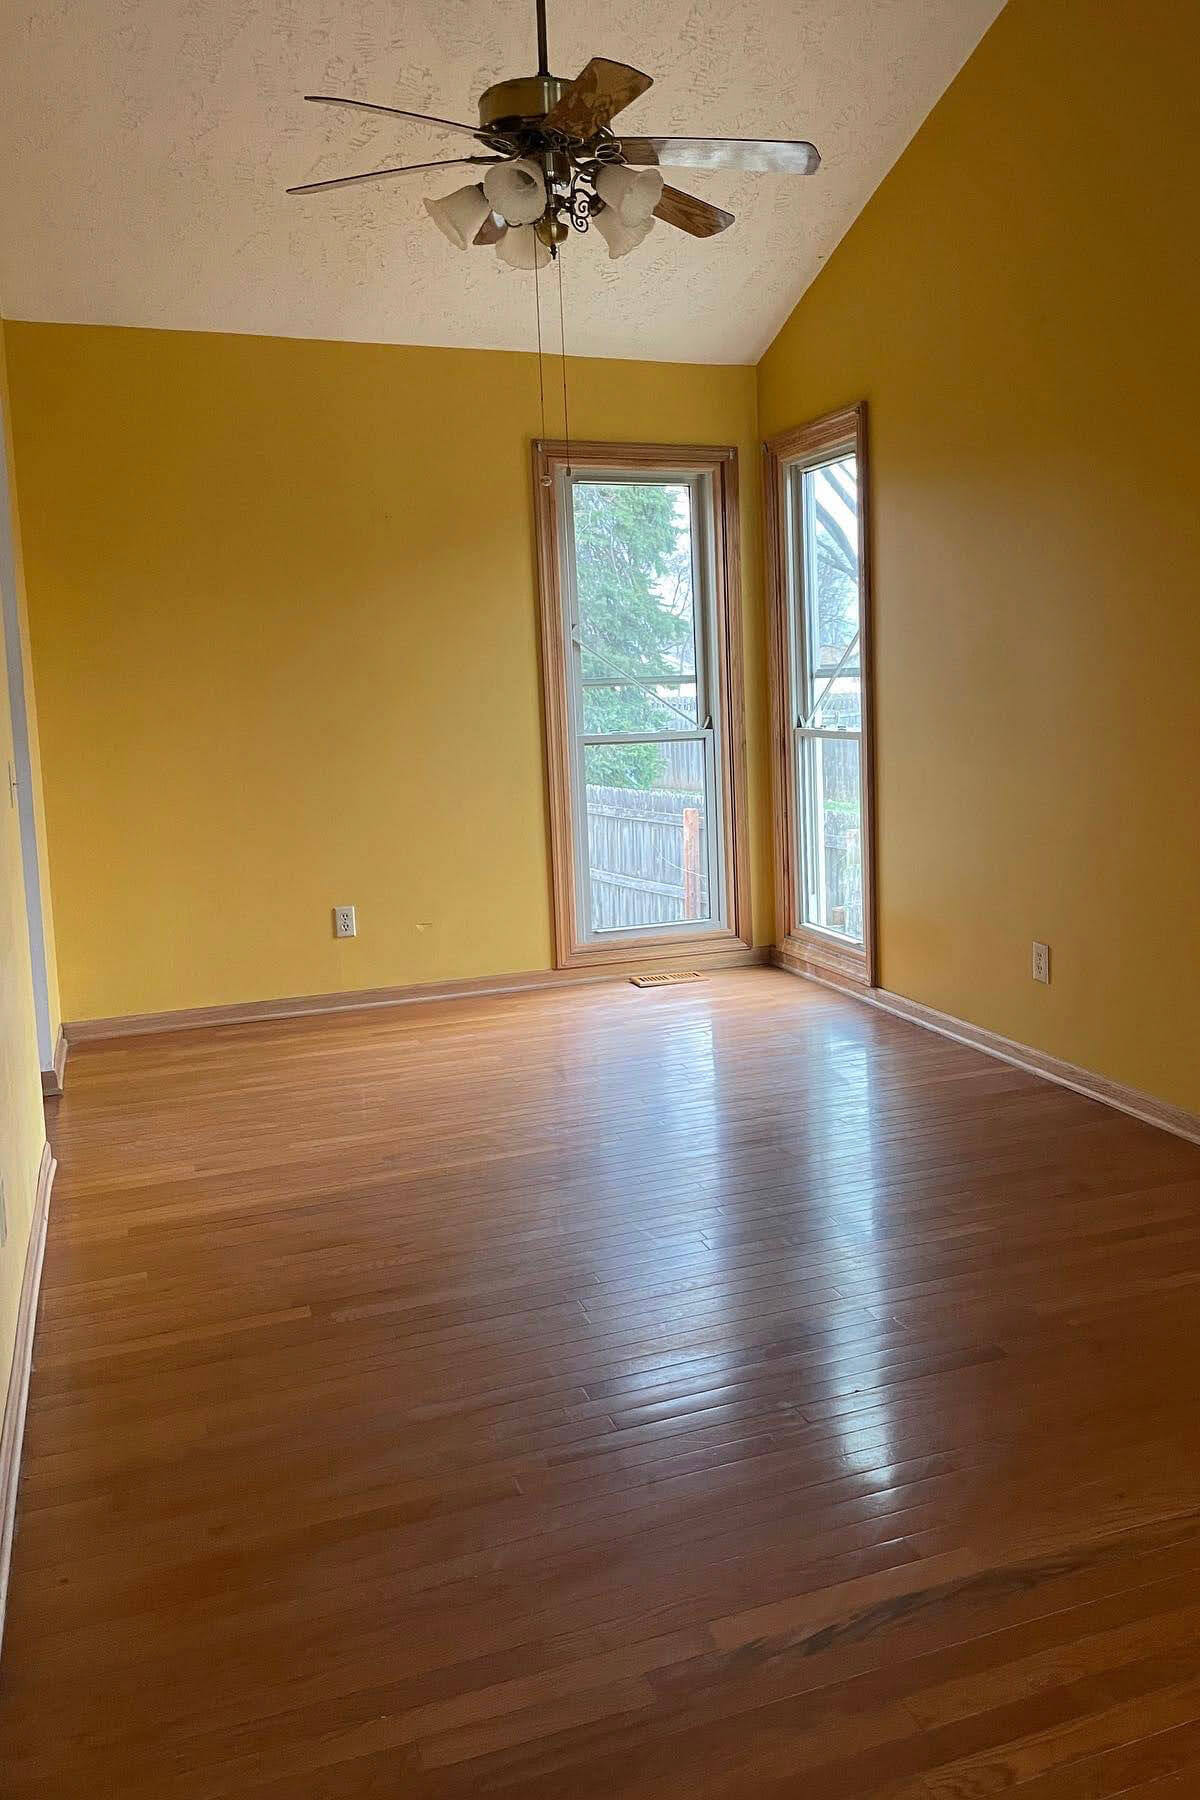
We started by removing the old kitchen setup and reconfiguring a few walls. From there, we installed budget-friendly stock cabinets from Home Depot. I chose the cheapest cabinet boxes available since I planned to upgrade the doors myself.
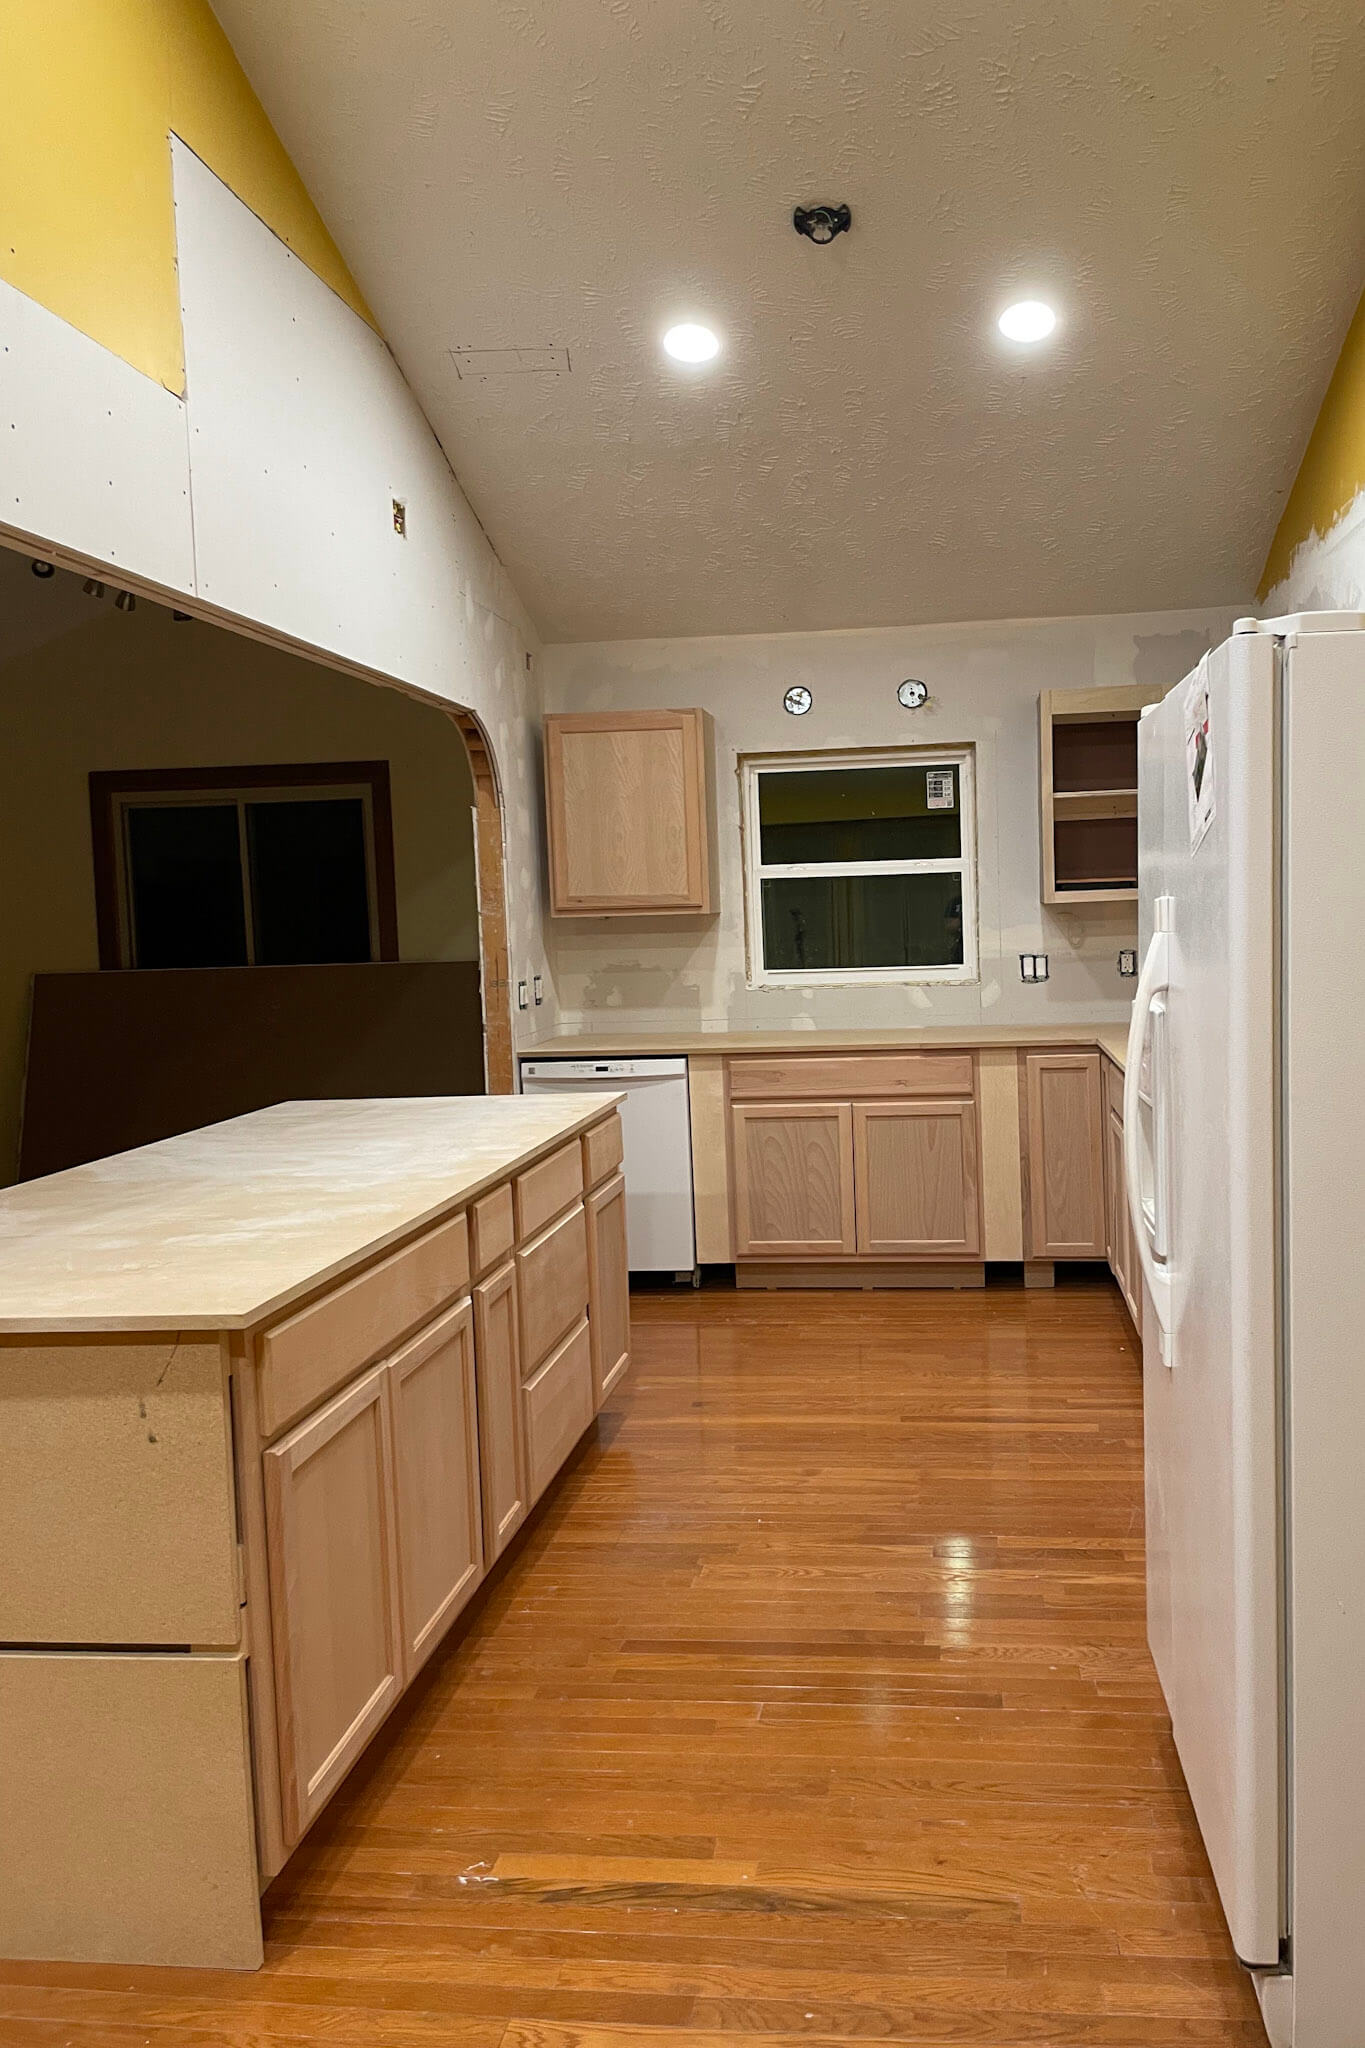
The real game-changer? Ordering new shaker-style cabinet and drawer fronts from Fast Cabinet Doors. It saved us thousands and gave the kitchen a clean, custom feel.
Tools and Materials for an Affordable Kitchen Remodel
- Hooks
- Sturdy Hangers
- Primer
- My All Time Favorite Graco Paint Sprayer
- Tack Cloth
- Paint Color of Your Choice
- 180 grit sanding sponge
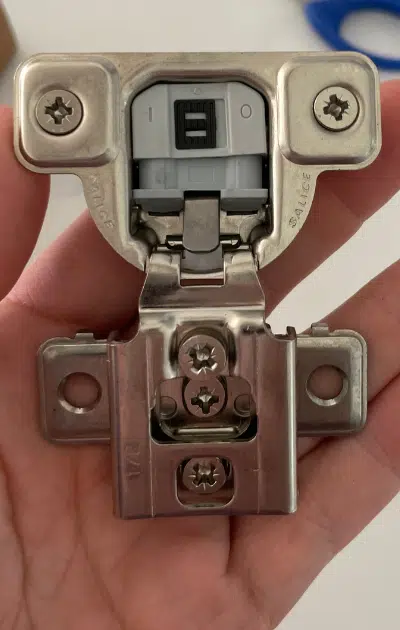
- Soft-Close Hardware
- Drill
- Nail Gun
- Paint Tent
Step 1: Measuring for New Cabinet Doors
The first thing you need for an affordable kitchen remodel is to figure out how many doors and drawers you’ll need, along with their measurements. Most of my cabinetry already had doors and drawer fronts, so I just used those measurements.
However, I built a custom corner cabinet so I measured the cabinet opening and added ½ inch on all sides.
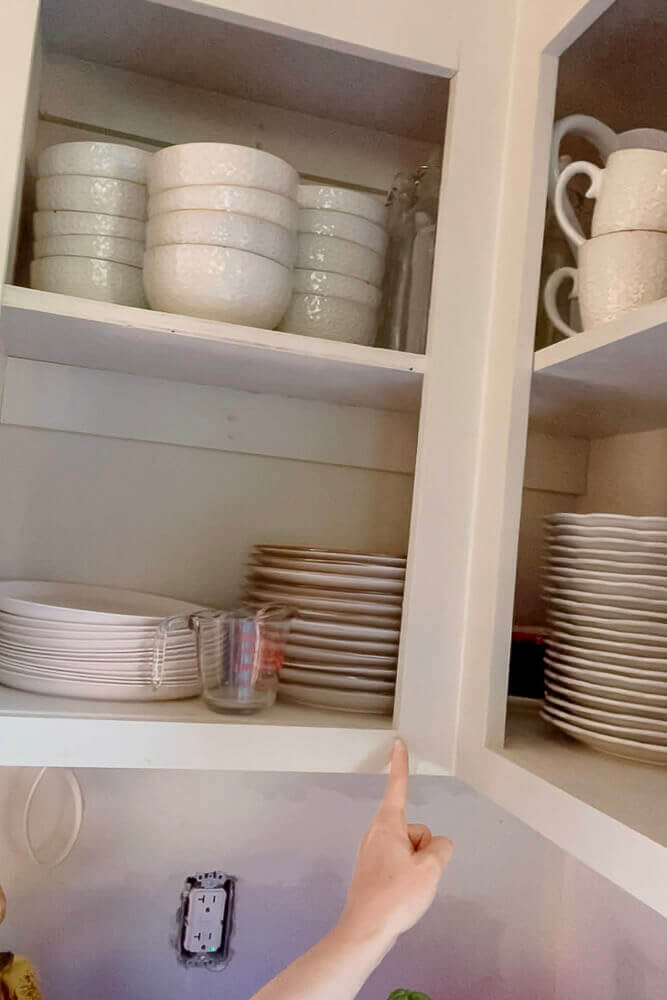
Why add the ½ inch? There are three types of cabinet doors: ½ inch overlay, inset, and full overlay. Most kitchen cabinet doors and drawers are ½ inch overlay, meaning the door is ½ inch larger than the cabinet opening. Here’s a handy guide with some visuals.
I measured the horizontal distance (16 inches) and the vertical distance (22 inches), which meant my final door size needed to be 16½ inches by 22½ inches. It was that simple.
I ordered 27 doors and 9 drawer fronts for my affordable kitchen remodel.
Step 2: What You’ll Receive from Fast Cabinet Doors
Delivery day feels like Christmas for us weirdo DIYers!
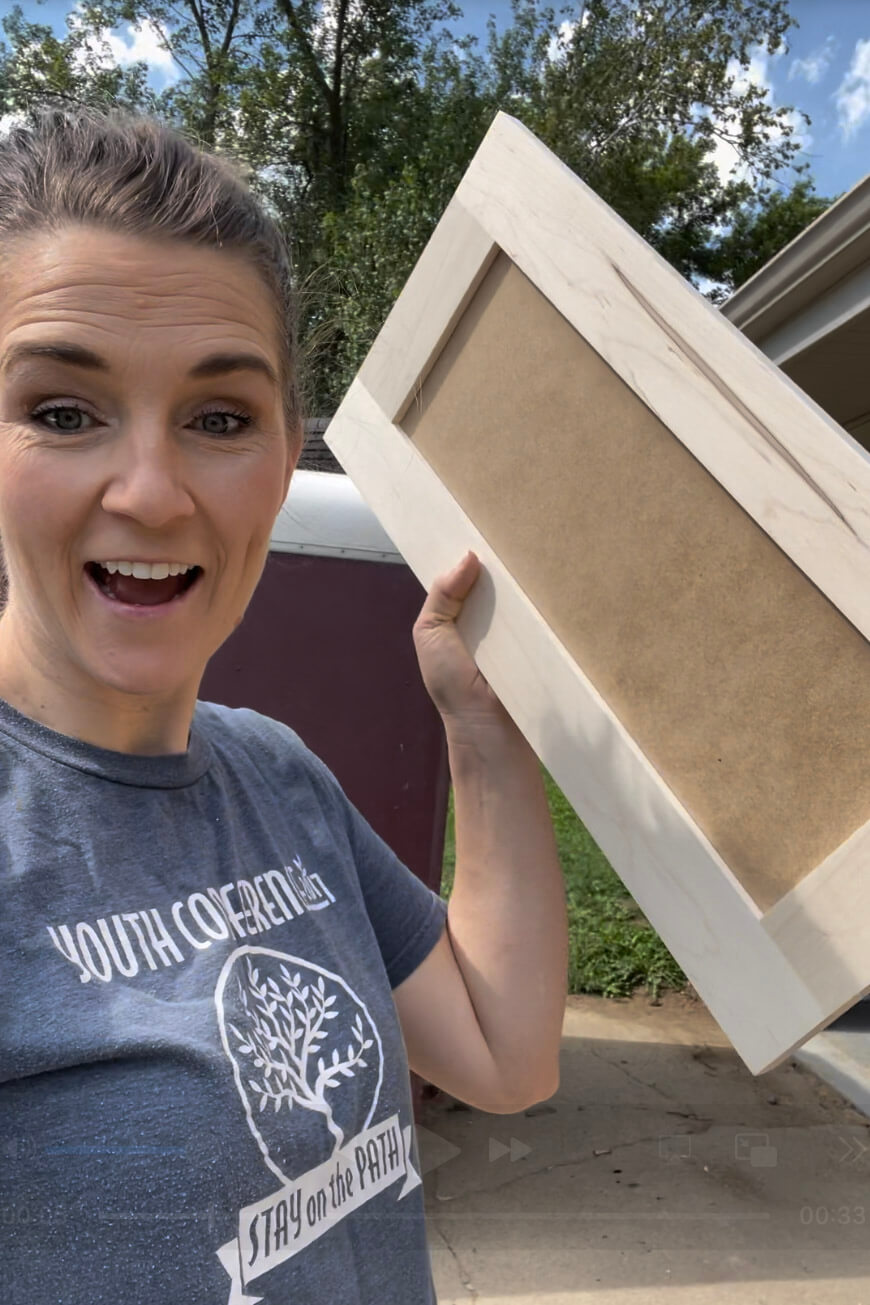
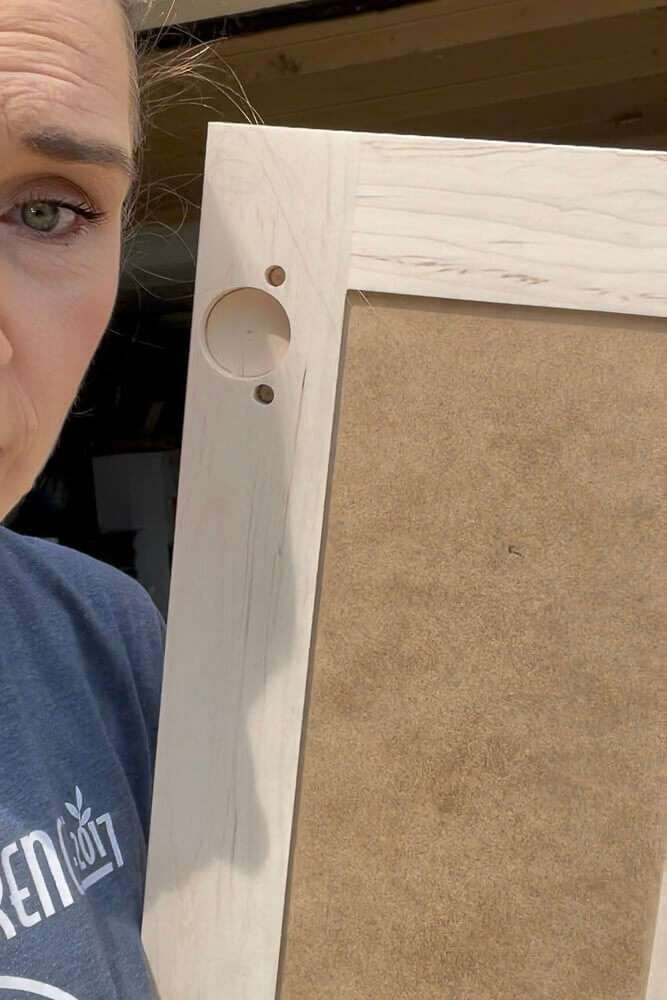
I chose unfinished, paint-grade shaker-style cabinet doors. They arrived pre-bored for inset soft-close hinges, which were also included. Fast Cabinet Doors truly is a one-stop-shop for an affordable kitchen remodel!
Step 3: My Method for Painting Cabinet Doors
After my DIY Christmas morning (aka delivery day), it was time to prep for painting. I’ve tested a lot of techniques over the years, and this one finally feels dialed in.
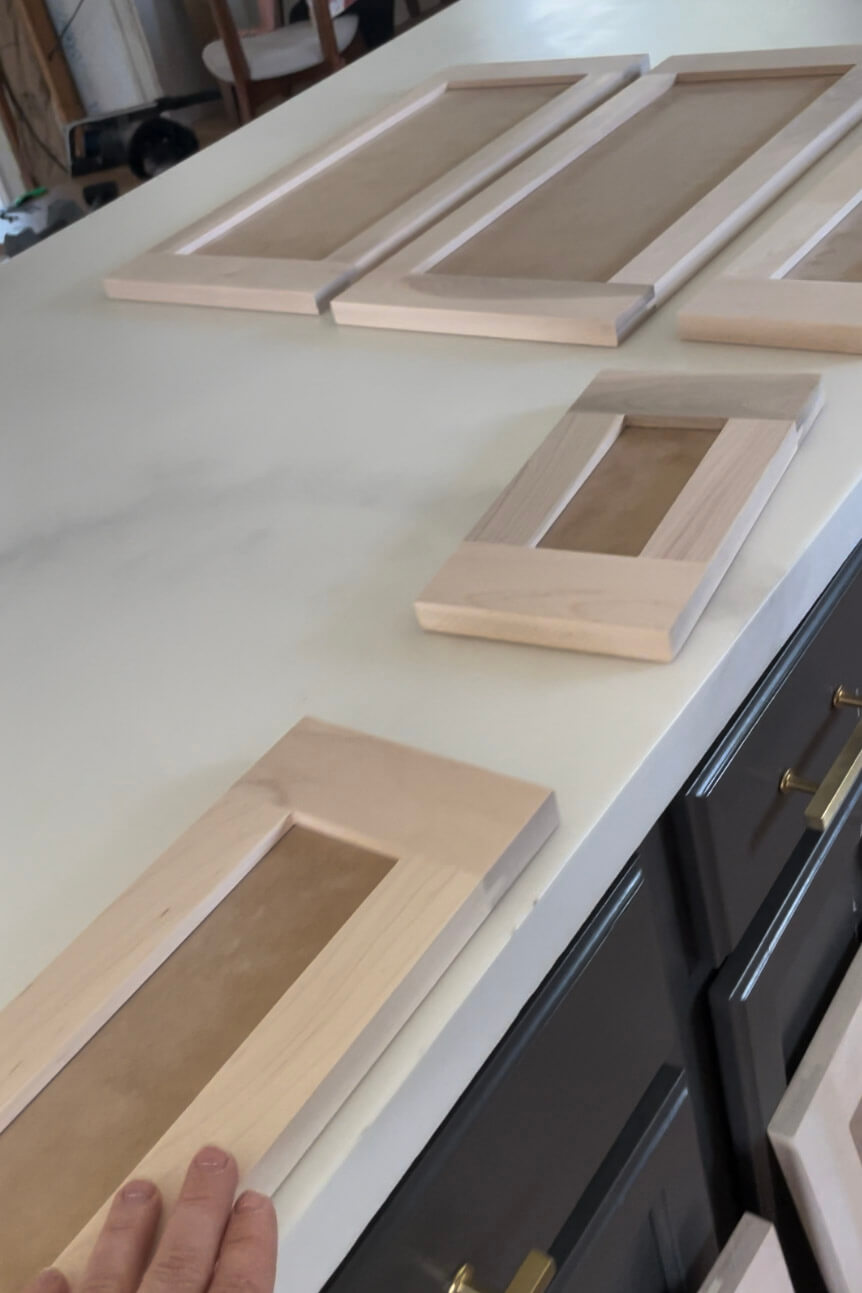
Identifying Cabinet Doors Before Painting
First, I laid out every door and drawer front in its correct location. Make sure they’re facing the right way—top and bottom matter! This helps avoid mix-ups later and ensures all hardware and hinges end up on the correct side.
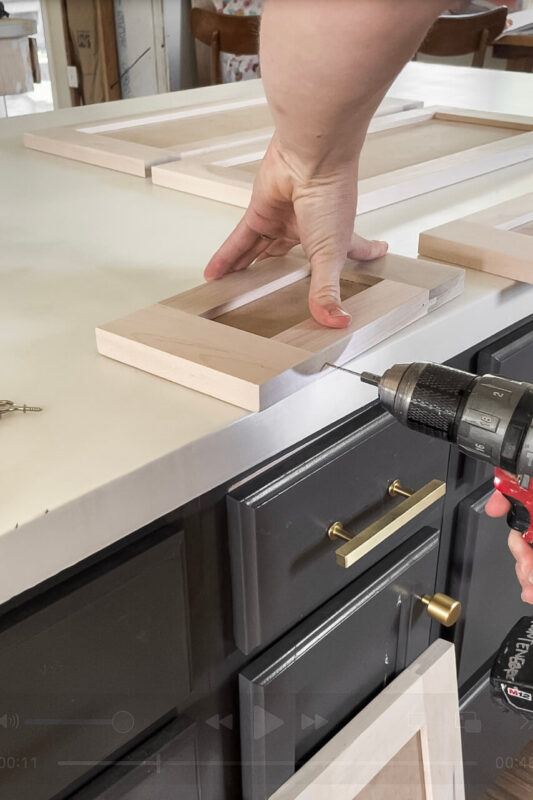
Drilling Hidden Holes for Hanging
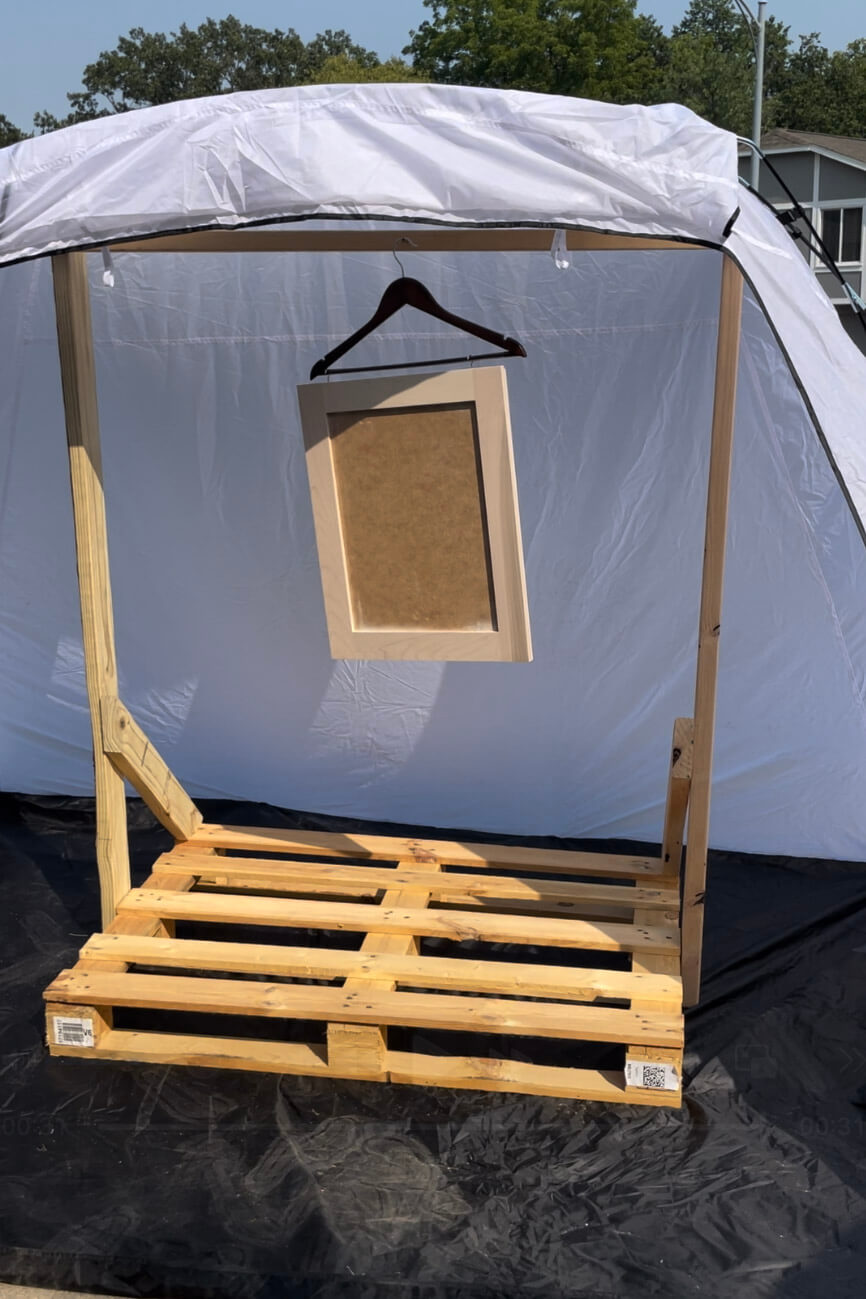
Next, I drilled tiny holes—on the bottom edge of lower cabinet doors and the top edge of upper doors—so the hooks would be hidden after install. I screwed in small hooks to each door, double-checking alignment so they’d hang evenly from my DIY paint stand.
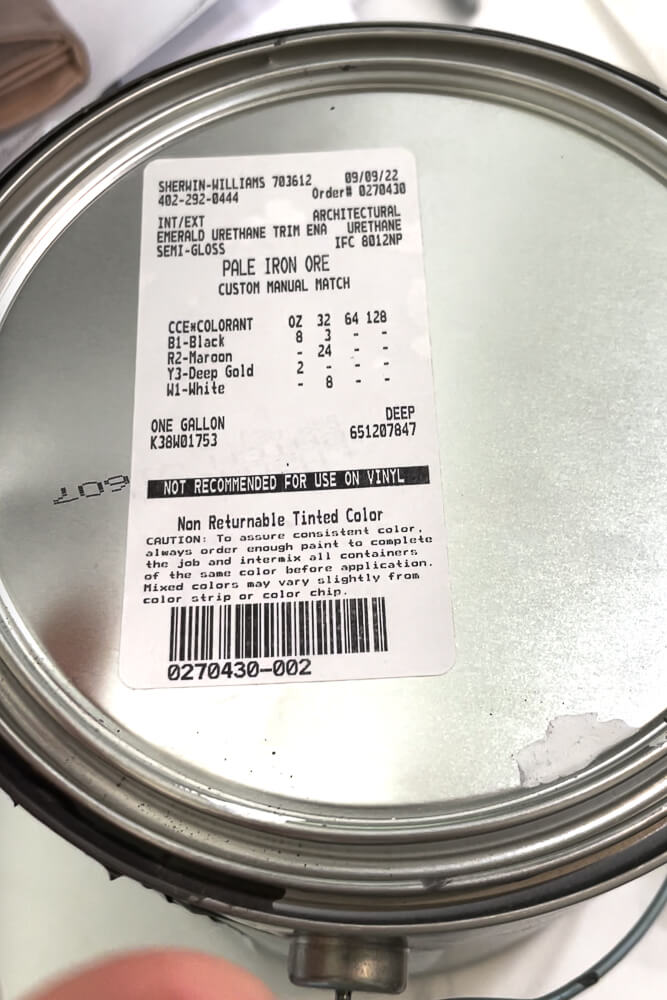
Choosing Cabinet Paint Colors
My go-to cabinet paint color is Accessible Beige by Sherwin Williams—a perfect warm neutral that pairs beautifully with white walls. For the island, I created a custom darker color. You can take a photo of my island to Sherwin Williams and they can color match it for you.
Before I ordered new doors, I painted the existing stock cabinets just to test the color—and I was immediately sold. Even with the basic Home Depot doors, the fresh paint made a difference.

If you don’t want to paint your cabinet doors yourself, Fast Cabinet Doors offers painted options in 35+ wood species with tons of finishes. Just another great way to personalize your affordable kitchen remodel.
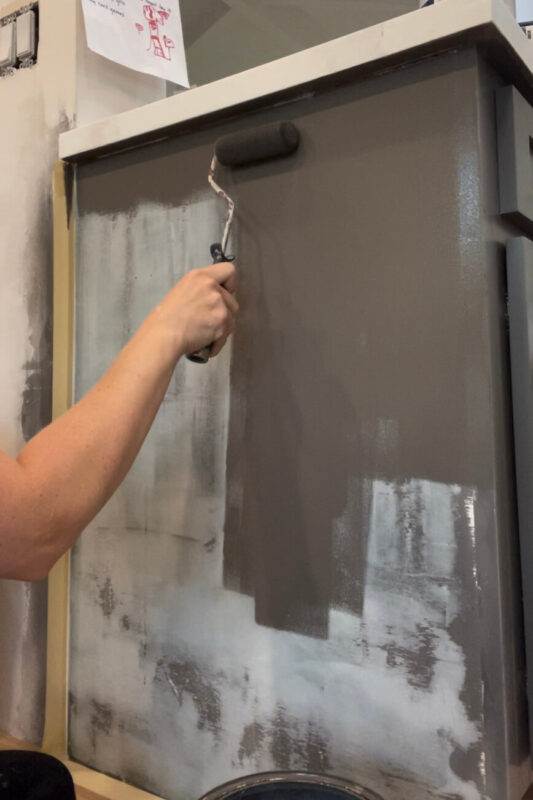
Paint Sprayer vs. Foam Roller for Cabinets
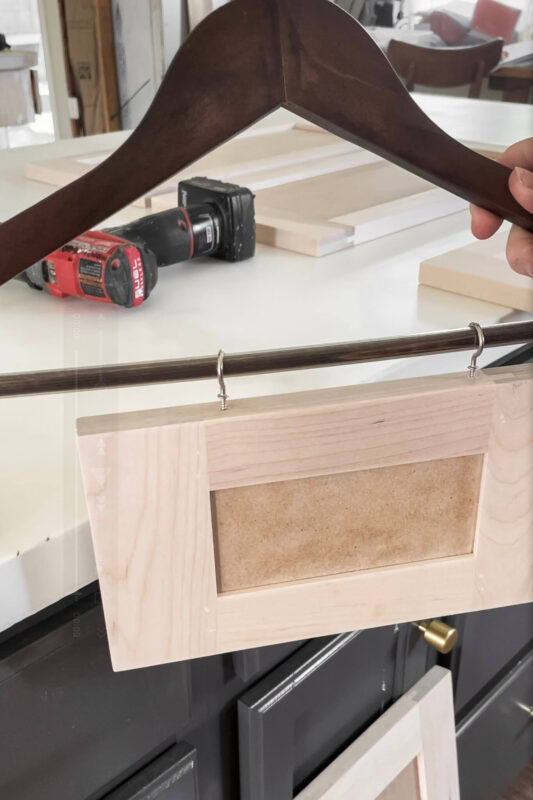
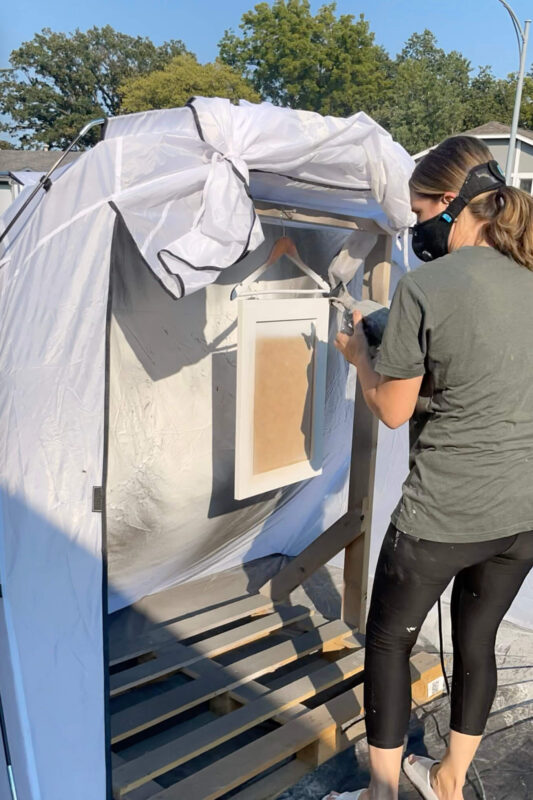
Okay, here’s the secret sauce. When painting, I highly recommend investing in a paint sprayer—I’ve linked my favorite. I also used a spray tent to prevent overspray and set up a DIY stand for hanging the doors. By hanging the doors on screws on the stand, I’m able to spray both sides without waiting for one side to dry before continuing.
My Full Cabinet Painting Process
- Start with primer – I always use BIN Zinsser Primer. Never skip this step!
- Test your sprayer – Use cardboard or scrap wood to adjust flow and settings.
- Spray off the wood – Start and stop each spray pass off the surface to avoid splatter or drips.
- Spray edges first – Then spray at an angle under the lip. Move in smooth lines from top to bottom, side to side.
- Rotate and repeat – Flip the hanger to spray the back side.
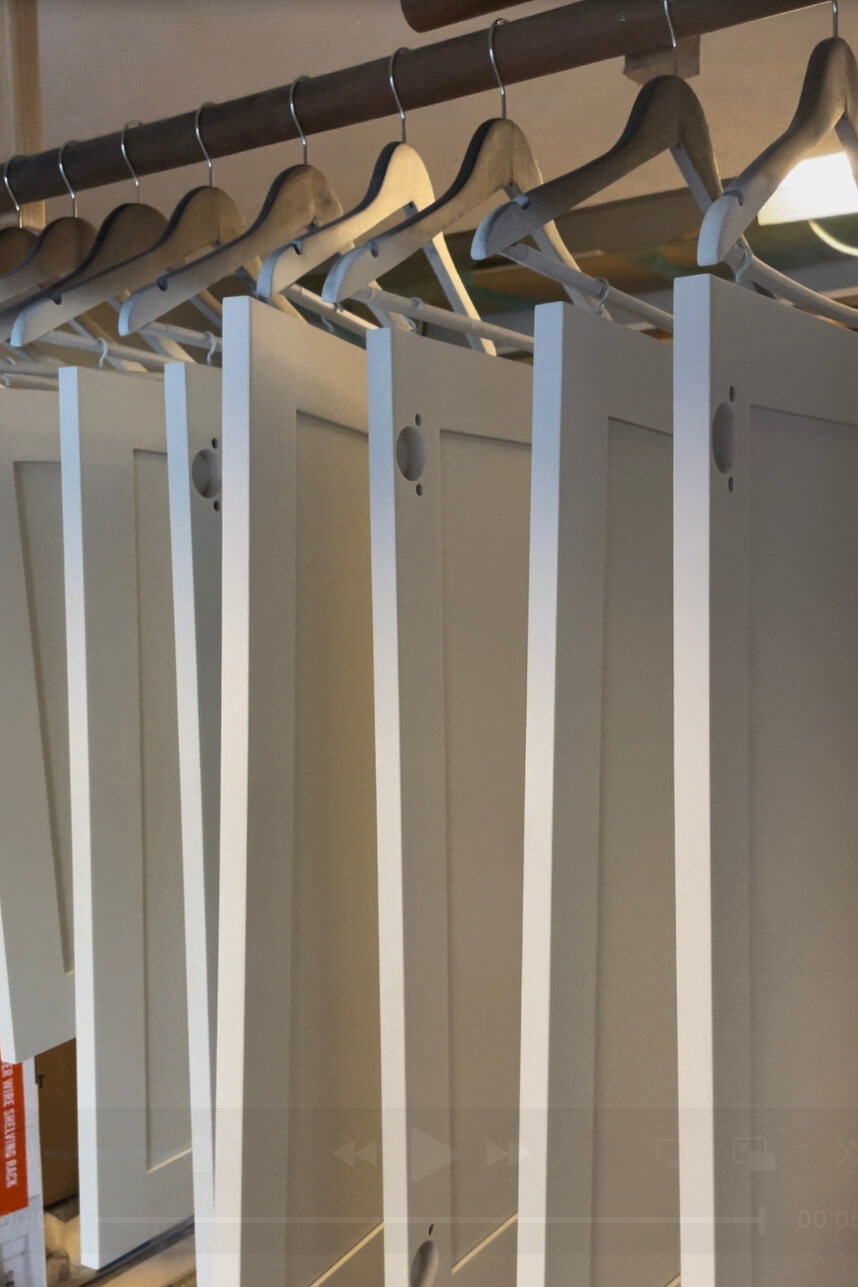
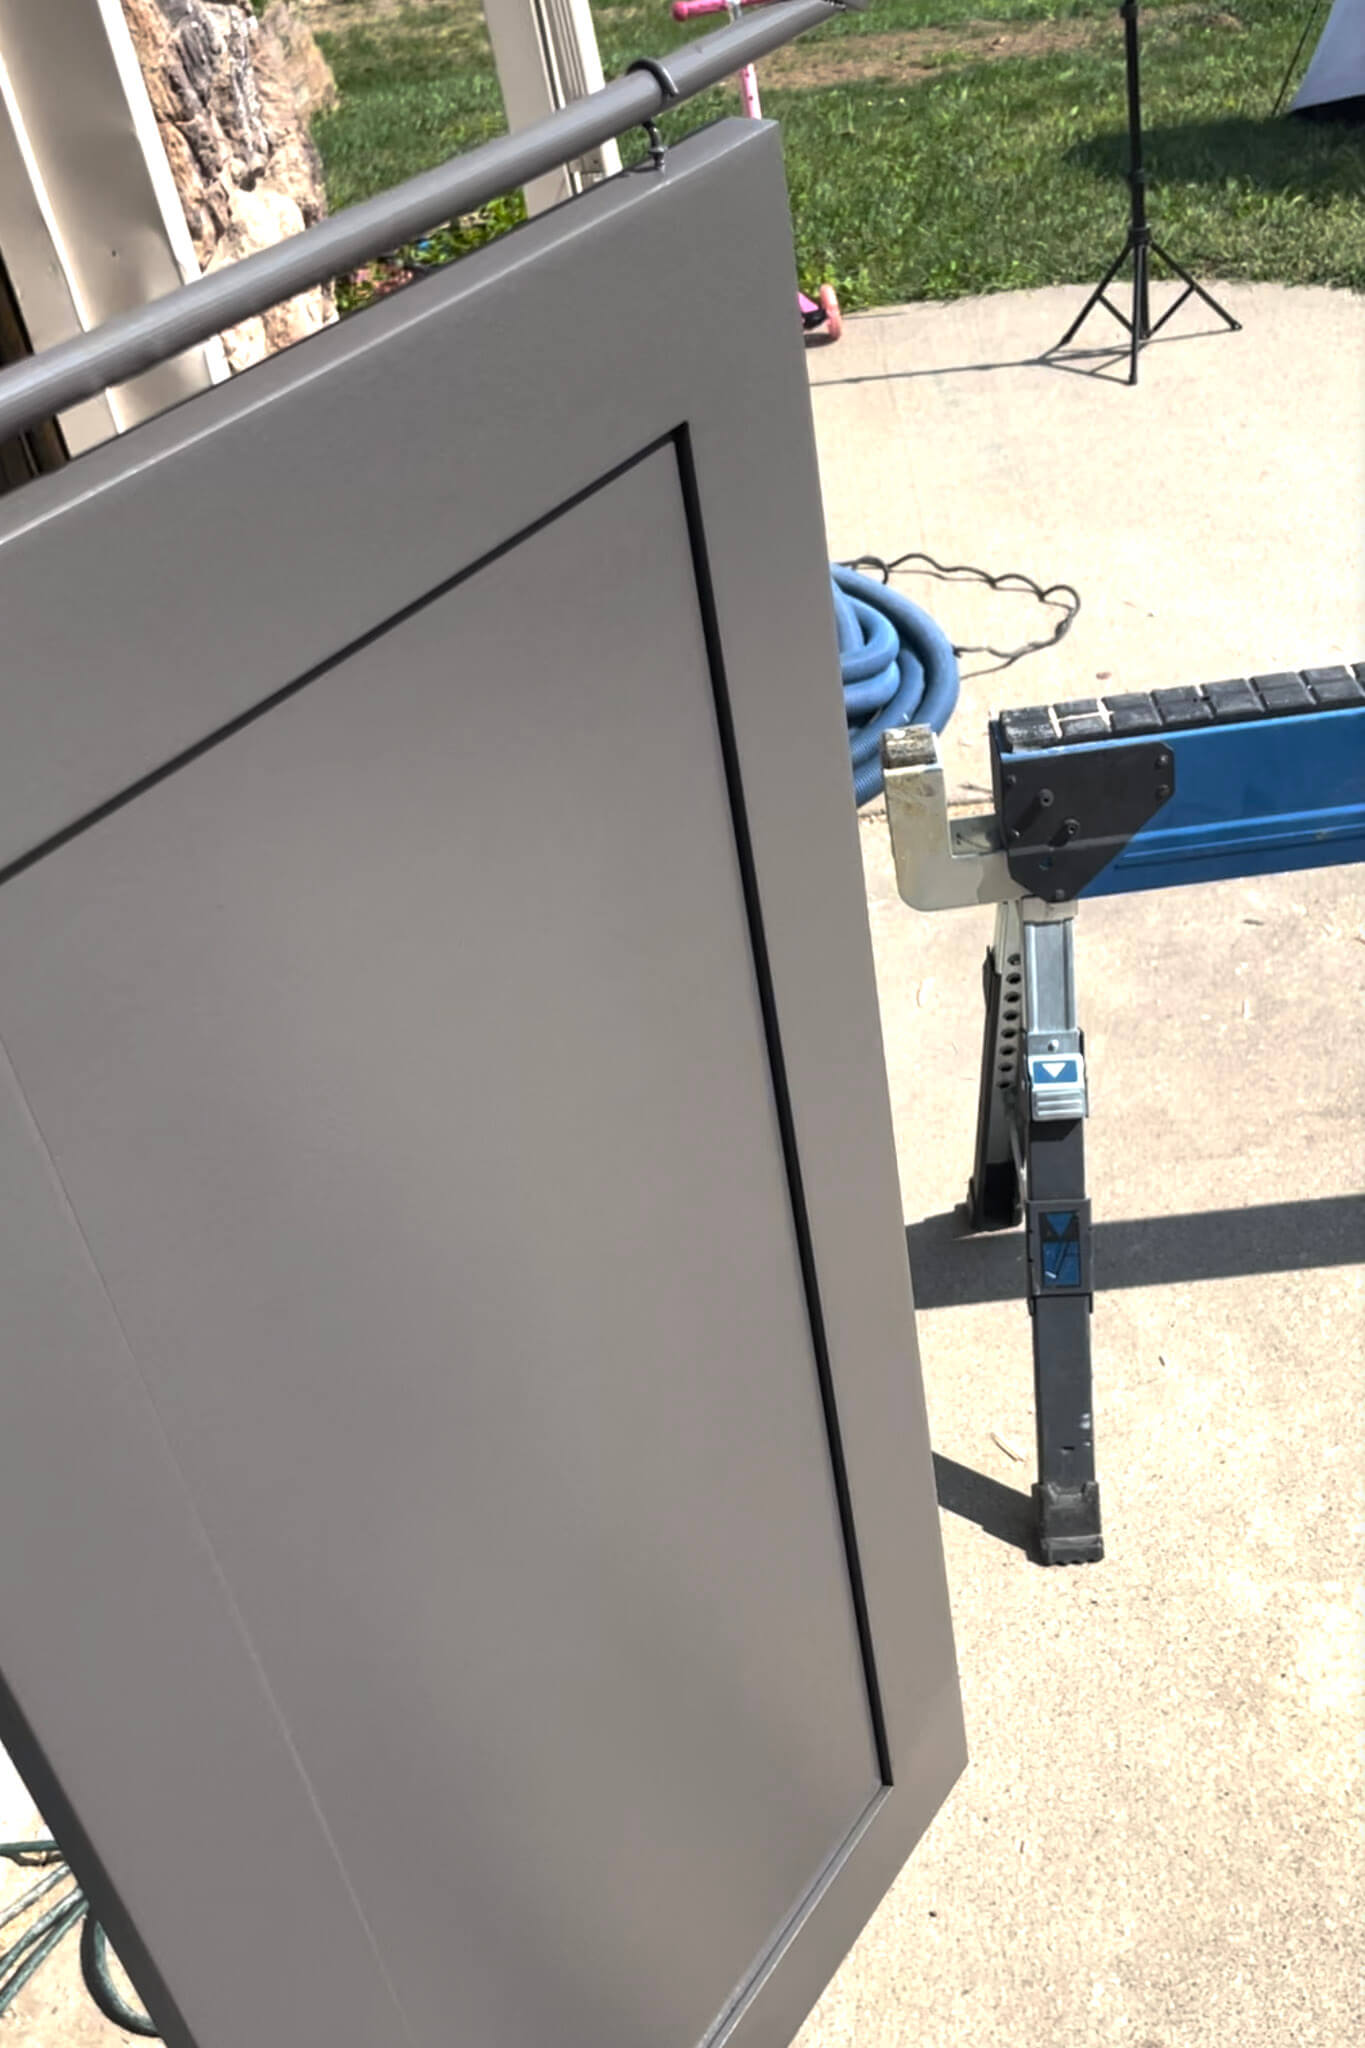
After priming, I hung the doors on a rod in the garage and let them dry overnight.
Drying and Sanding Between Coats
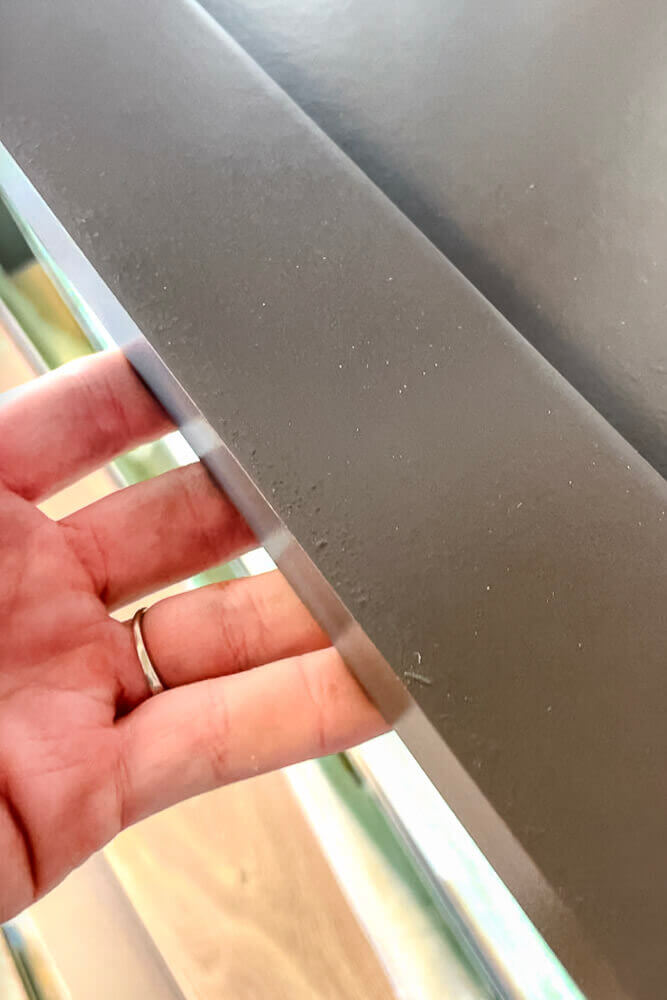
The next morning, I used a 180-grit sanding sponge to lightly sand the primer. Primer leaves a bit of texture, and sanding smooths it out beautifully. I blew off the dust with an air compressor (but a tack cloth works too).
Applying the Final Paint Color
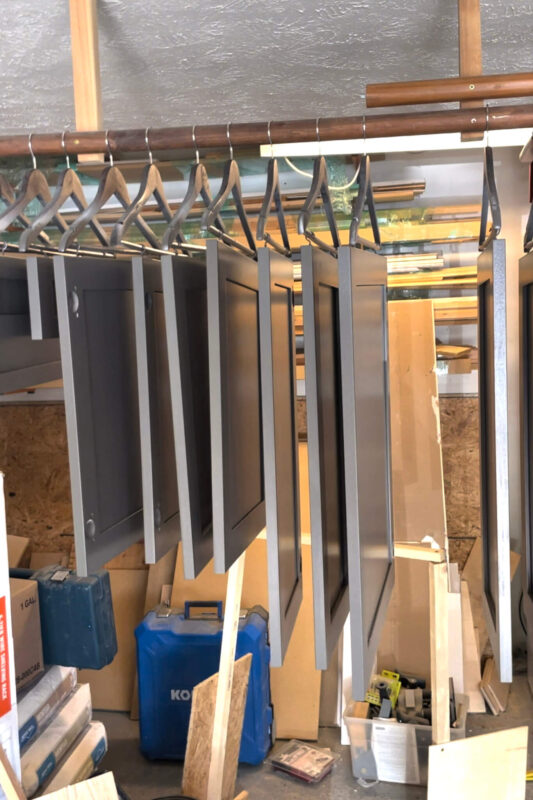
Once everything was prepped, I used the same sprayer technique to apply the final cabinet color. Again, I let them dry overnight.
The next morning, I found a few minor drips. No big deal! I lightly sanded those areas and sprayed a super thin touch-up coat. The result? A flawless, factory-like finish on my DIY cabinet doors.
Not Sure About Spraying? Watch This
If you’re still nervous about using a paint sprayer, this YouTube video might help. It walks through exactly how to use one and shows how easy it is to get a smooth, pro-level finish.
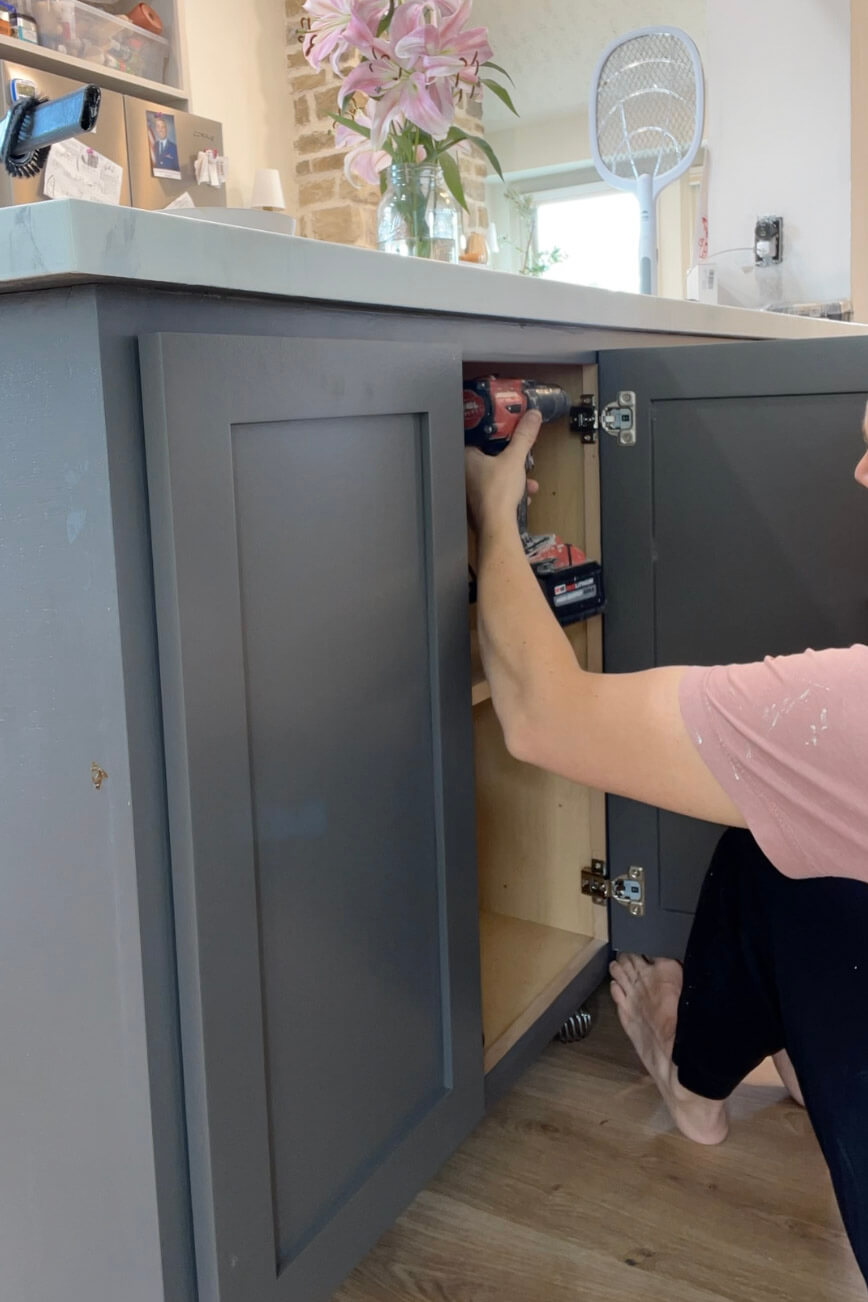
Step 4: Installing the Doors and Drawers
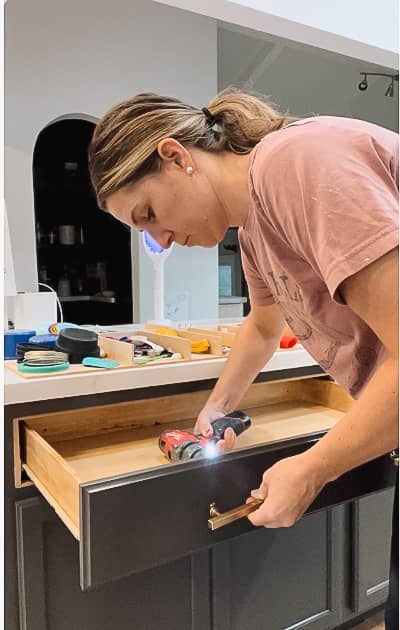
Attaching the doors is simple and might be easier with a second set of hands, though I managed it alone. The soft-close hinges fit snugly into the pre-bored holes, and the hinges were then screwed into the cabinets.
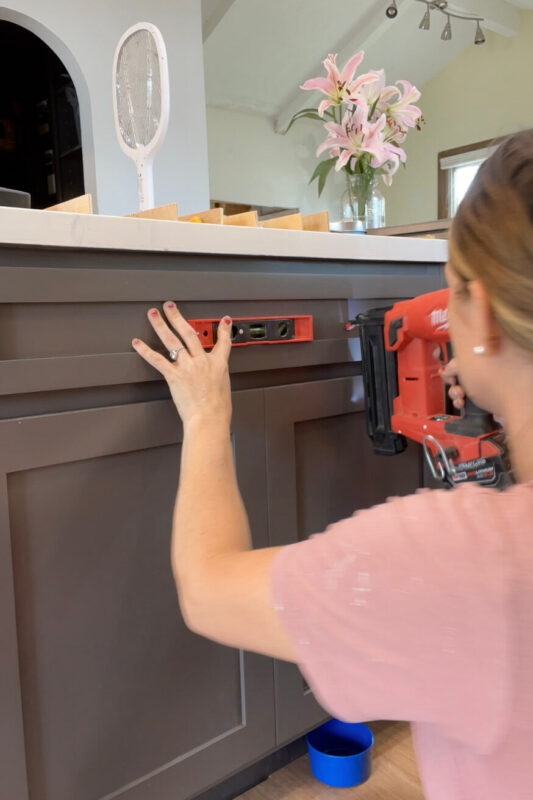
Attaching My Affordable Kitchen Cabinet Drawer Fronts
For the drawer fronts in my affordable kitchen remodel, I lined them up with the edge of a door below, using a level to ensure they were perfectly straight. I temporarily secured the fronts with two brad nails, placing the nails where the hardware would later cover the holes to avoid using wood filler.
From the back of the drawer front, I screwed in two screws on each side of the thickest part of the drawer front, like the frame around a shaker door. I made sure the screws were positioned so they wouldn’t poke through. Once secured, I removed the un-needed nails from the back.
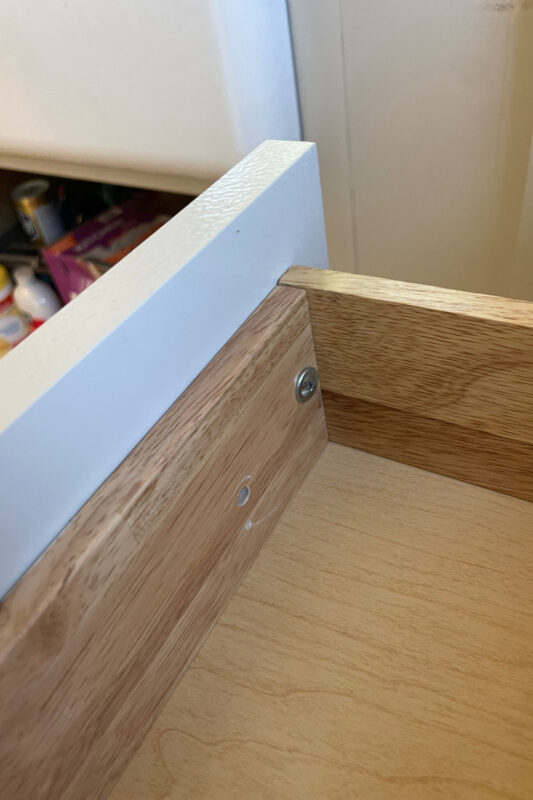
Finally, I attached the hardware, which was a simple process. For the drawers, I just inserted screws into the preexisting holes. You can see where one nail hole wasn’t covered by the hardware, but I’ll touch that up with a bit of paint.
I didn’t use any fancy hardware installation tools—just a tape ruler, pencil, and my own judgment. Because this is an affordable kitchen remodel, I decided to just use knobs, so I didn’t have to worry about alignment.
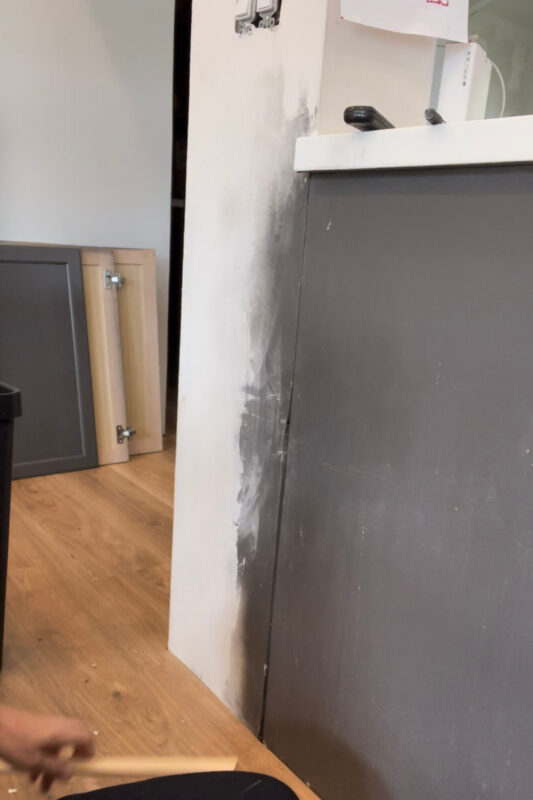
Step 5: Fixing Rough Cabinet Sides
The side of my cabinet was rough plywood, and after painting it with a foam roller, it still looked uneven.

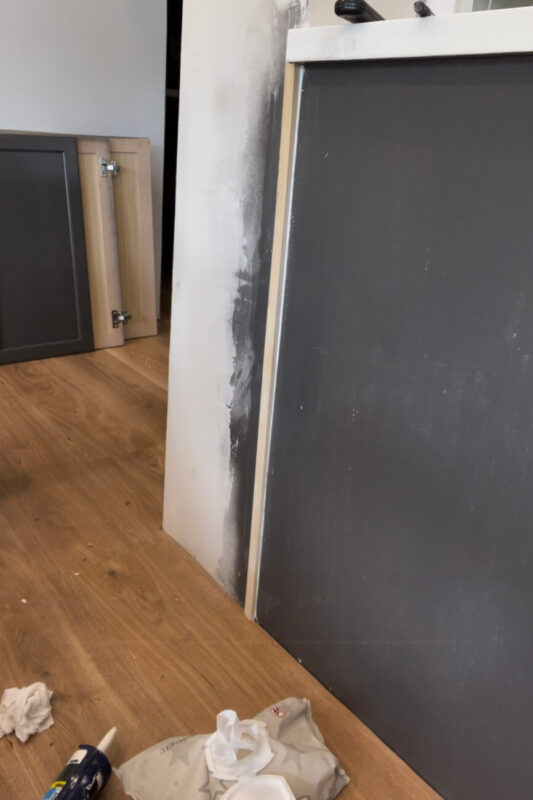
My secret weapon to fix that is stinky, messy, but incredibly effective—Bondo. I’ll never go back to wood filler again. I mixed up some Bondo and, using a putty knife, spread it across the entire side, making sure to push it into every hole and groove. I let it dry, gave it a decent all over sanding, and rolled on the paint. The results were amazing! My affordable kitchen remodel is almost done!
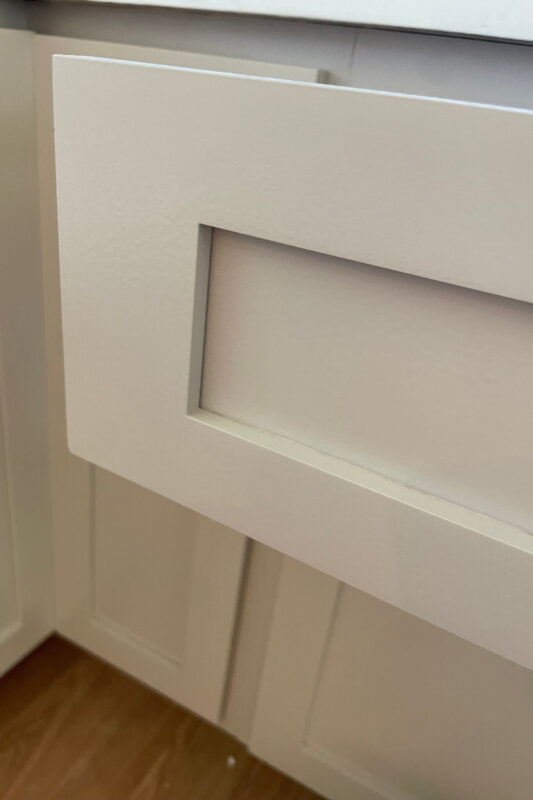
I also had a gap between my wall and cabinet, so I nailed up a strip of shoe molding to cover the crease and painted it the color of the wall, not the cabinet because that would have looked funky.
Step 6: The Big Reveal
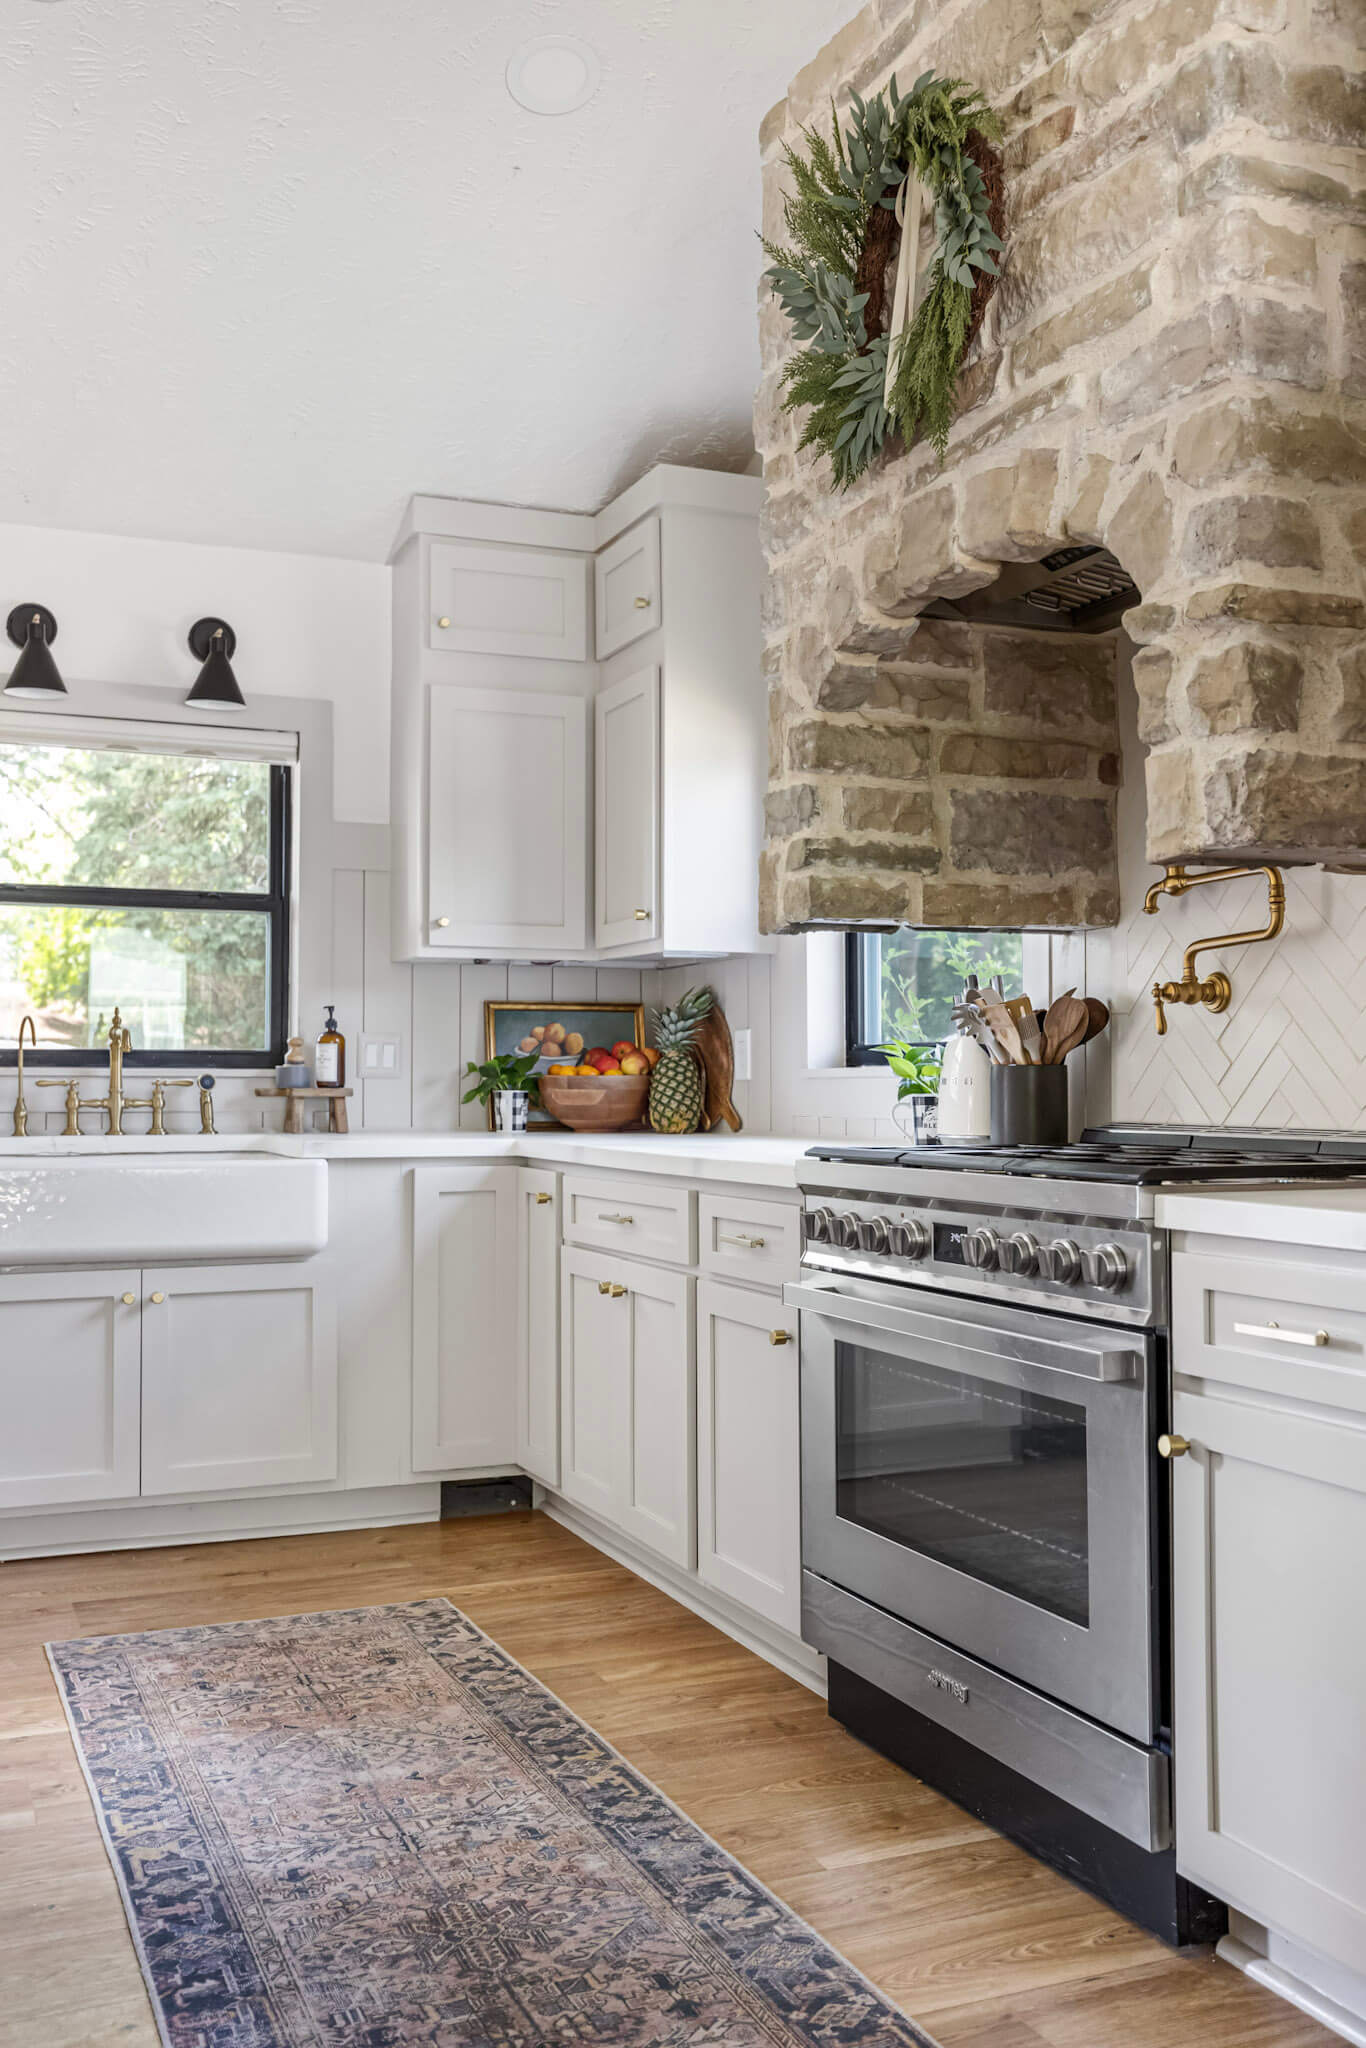
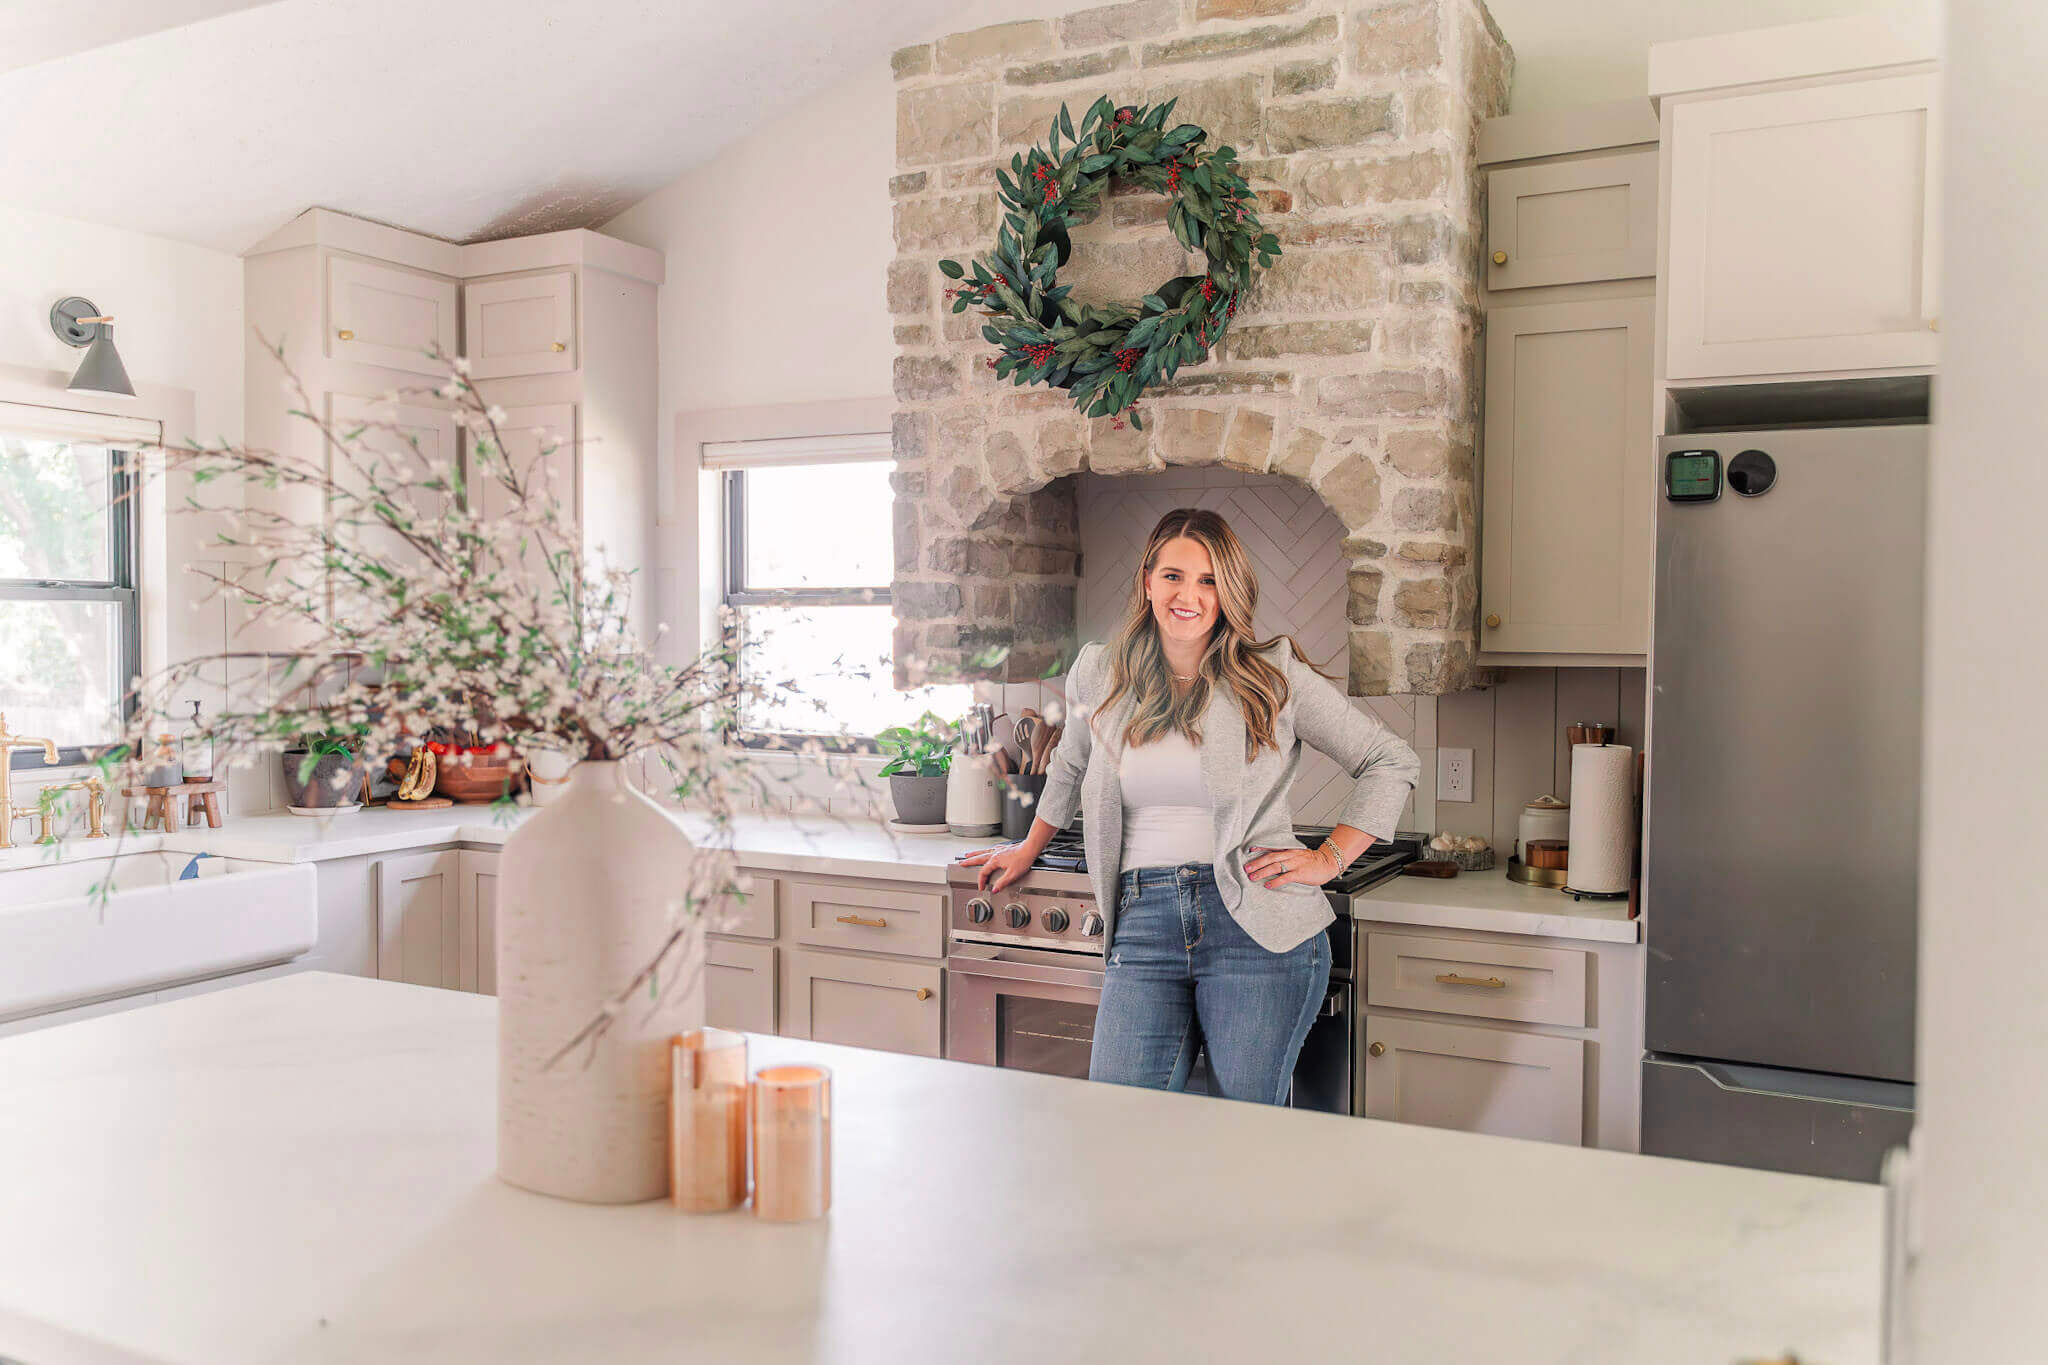
New doors from Fast Cabinet Doors were an easy and inexpensive way to achieve an affordable kitchen remodel as well as a beautiful upgrade to our existing cabinetry. If your cabinets are in good shape, and you’re okay with the layout, seriously consider just refacing them. Honestly, everyone will think they’re brand new!
If you’re a visual learner, all of my stories for my projects can be found in my highlights on my Instagram account.
Please leave a comment and let me know if you’ve ever attempted to re-face your kitchen cabinets. I’d love to hear what worked for you, and what you wish you’d have known.
Save This Kitchen Remodel for Later
📌 Want to remember these painting tips and cost-saving tricks?
Pin this project to your Kitchen DIY board!
Related Kitchen DIY Projects You’ll Love
- DIY Guide for Extending Kitchen Cabinets to the Ceiling
- How to Build a DIY Refrigerator Cabinet
- Making Unfinished Kitchen Cabinets Look Custom
- ALL the Details of Our DIY Kitchen Remodel
FAQ: Affordable Kitchen Remodel Tips
I used Sherwin-Williams Emerald Urethane Enamel. It dries hard and wipes clean—no top coat needed.
You can! Use this roller, thin the paint with Floetrol, and apply light coats with sanding between.
Yes. Painting, sanding, and sprayer cleanup only took me about 3 hours total—not including dry time (I was asleep for that part!).

I love, love your kitchen! Would you happen to have a more detailed video/post about your cabinet upper cubbies that you built? I have 12 ft space above my cabinets that I want to fill in but thought it was too small to add open shelving and do crown but you’ve done it and with the flat molding that I wanted to do which looks awesome and not scrunched up like I thought it would at all.
If you check out my instagram account, I have everything about my kitchen cabinets saved to several highlights.
https://www.instagram.com/crystelmontenegrohome/?hl=en