How to Build a DIY Refrigerator Cabinet


Updated July 13, 2026
Get ready to elevate your stock kitchen cabinets with this DIY refrigerator cabinet project! In this post I will show you how to build a refrigerator cabinet that will add a custom touch to your kitchen. Let’s roll up our sleeves and get to work!
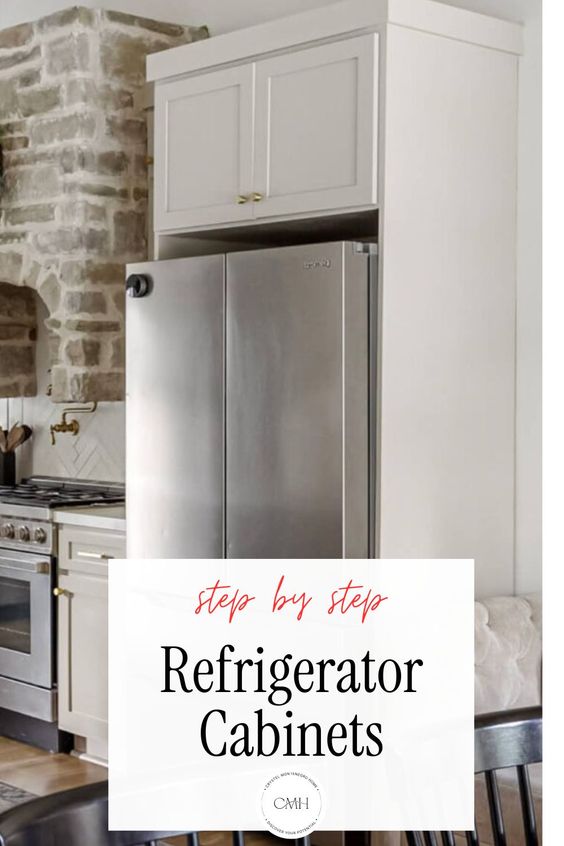
For my kitchen remodel I started the project with stock cabinets that I purchased from Home Depot. They were an affordable option that was readily available for my kitchen, but since they are not custom, there was no option for a refrigerator cabinet. Although a refrigerator cabinet is not a necessity, having it in place really makes the kitchen look finished and complete. It’s also nice to not see the sides and back of the fridge from my dining room. Instead, everything looks cohesive, clean, and custom. I am so happy with how my DIY refrigerator cabinet turned out!
Tools
- Circular Saw
- Clamps
- Tape Measure
- Kreg Pocket Hole Jig
- Drill and/or Impact Driver
- Stud Finder
- Brad Nailer
- Caulk Gun
- Handheld Electric Sander
- Paint Sprayer
Materials
- 2 – 4 x 8 sheets of plywood
- Wood Glue
- Wood Screws
- Trim
- Brad Nails
- Caulk
- Bondo
- Painter’s Tape
- Pre-Taped Painter’s Plastic
- Primer
- Paint
Cutting Out Plywood for the DIY Refrigerator Cabinet
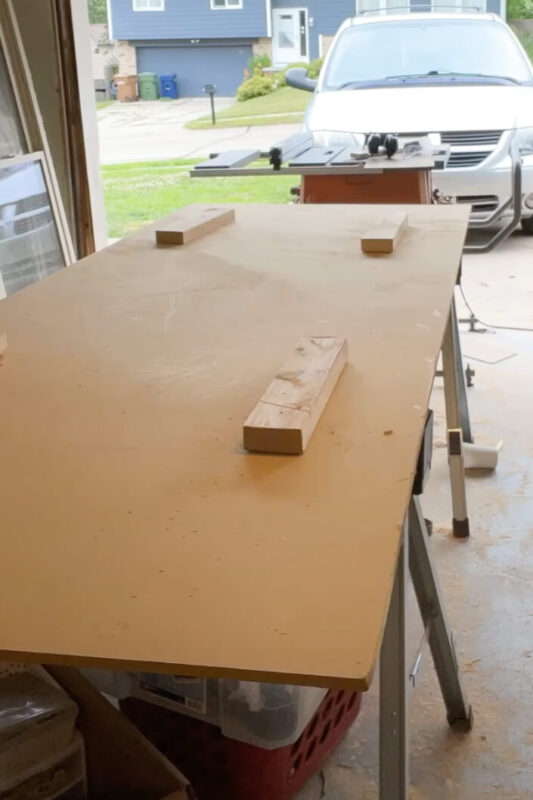
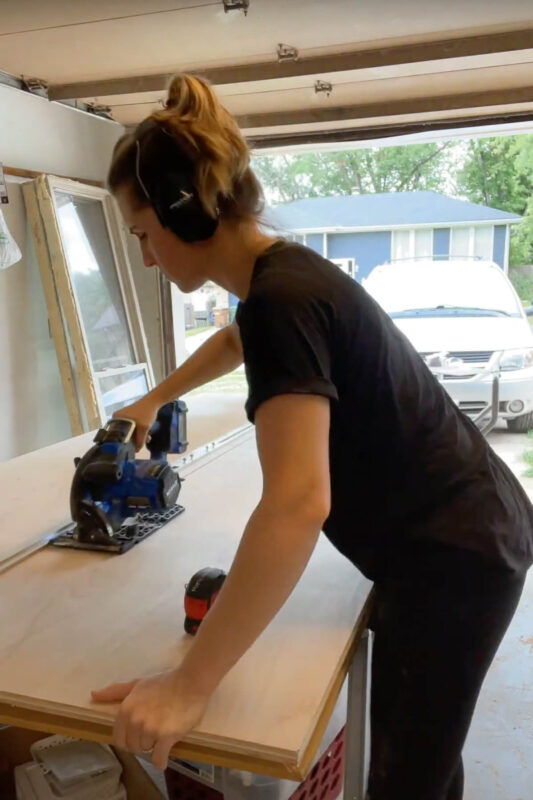
For this project I used 4×8 sheets of plywood. These sheets are heavy. A table saw would totally work for cutting these sheets down into the sizes that I need, but big pieces like this can be difficult to maneuver onto the saw by myself.
When I find myself in this situation, I like to use this little trick in order to cut these large sheets with my handheld circular saw. I started out by putting down some scrap pieces of 2x4s, then laying my 4×8 sheet of plywood on top of the 2x4s. The scrap pieces of wood lift up my sheet of plywood off of my work table just enough, so that when I run my circular saw through it, my worktable underneath will not be cut.
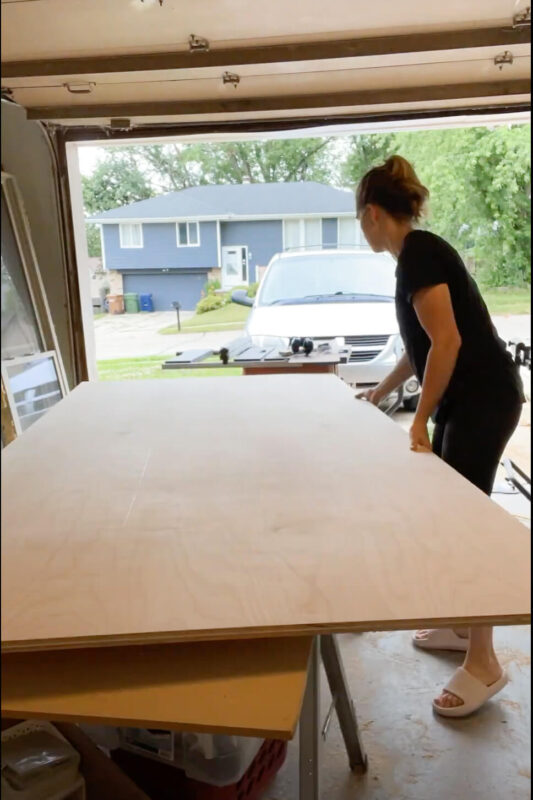
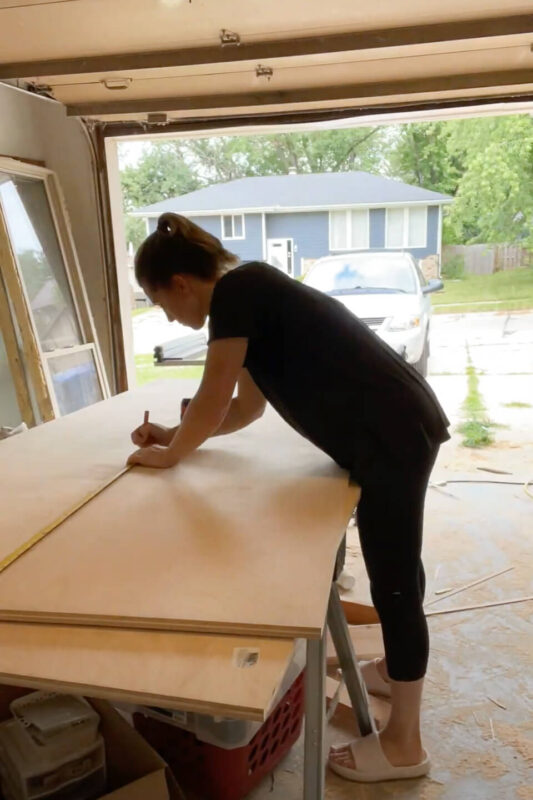
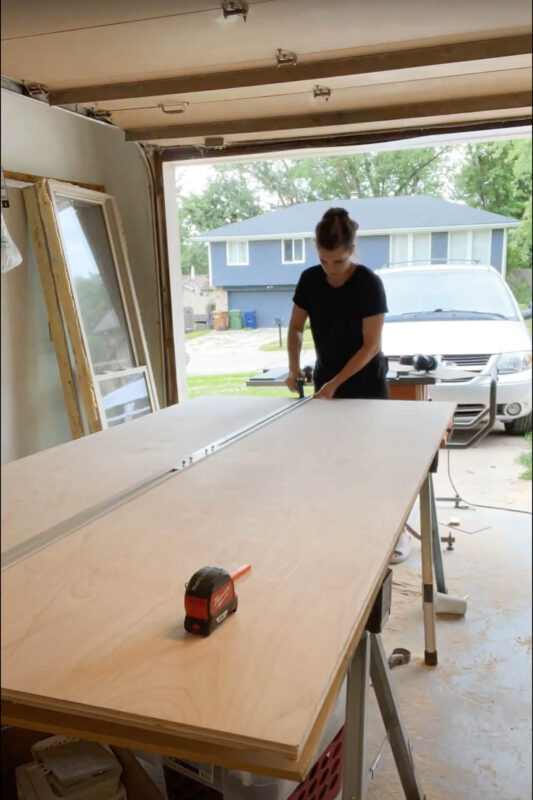
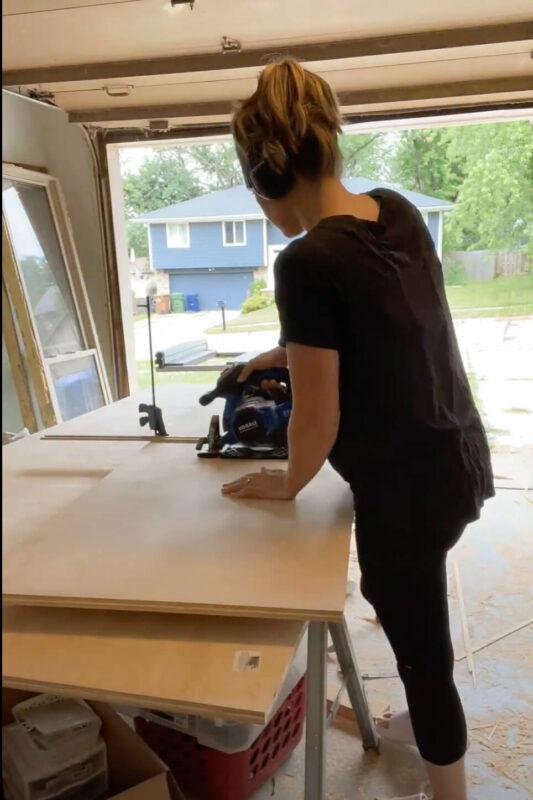
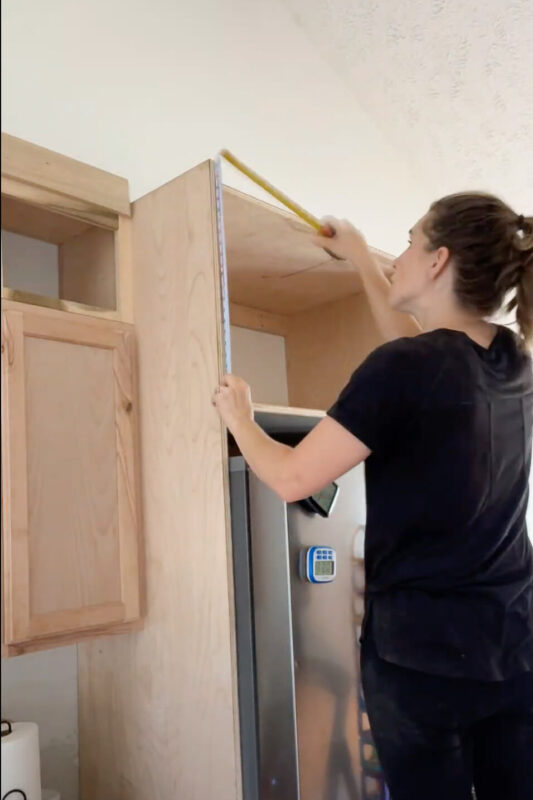
Next, I measured out for the longer side panel pieces that I would be cutting for my refrigerator cabinet. Then I measured the distance between my saw blade and the edge of my saw. For me this distance was 1 1/2 inches. So, using clamps I attached a long straight edge to the plywood 1 1/2 inches away from the line I wanted to cut. This straight edge will work as a guide for my saw giving me a nice, straight cut.
After that was all set up, I simply ran my circular saw the length of the plywood.
To cut the appropriate height off, I used the same technique of measuring, clamping a straight edge as a guide, and then cutting with my circular saw.
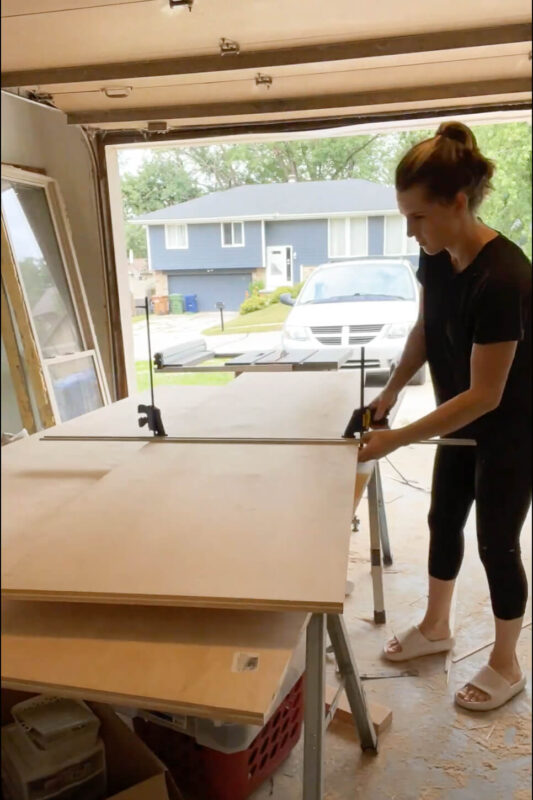
Once I had both of my side panel pieces cut, I moved onto cutting out both the top and bottom pieces for my above the refrigerator cabinet using the same steps as above. These two pieces will be the exact same size, they should be the same depth as your side panels, and will be whatever width you want your DIY refrigerator cabinet to be.
Building the DIY Refrigerator Cabinet
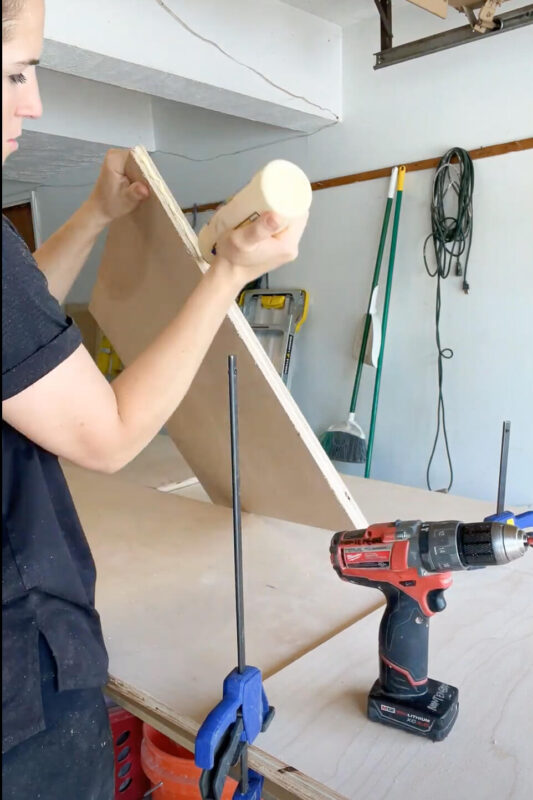
Now that I have all of my plywood cut, it was time to build the refrigerator cabinet box. I attached all of these pieces together using pocket holes.
If you do not have a pocket hole jig, you really need to get one. Pocket holes are the best way to attach pieces together in projects like this. Not only will the screw head be set down into the wood, it also creates a stronger, better hold then just attaching from the edge. I often use pocket holes in my projects around my house. From smaller projects like this DIY Marble Coffee Table to bigger ones like this Home Office Built In.
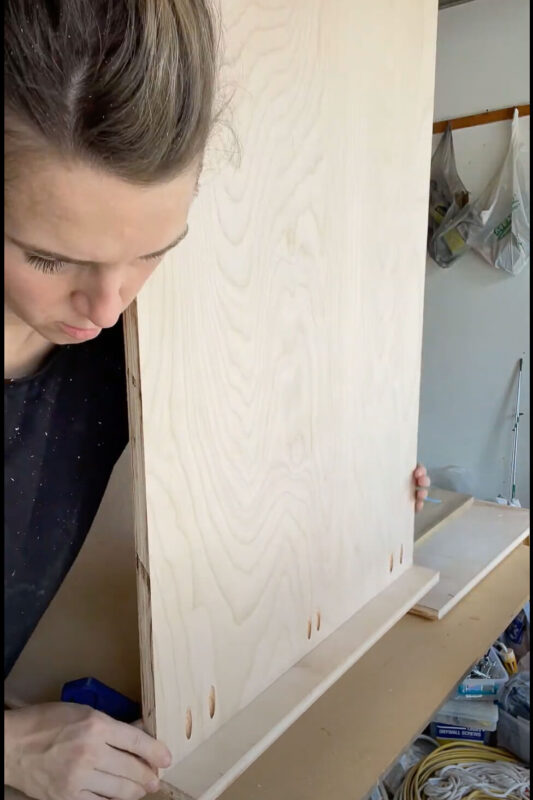
For this DIY refrigerator cabinet, I added three sets of two pocket holes to each end of the shorter panels that I had cut, making sure to put the pocket holes on whichever side would be facing up, so that they won’t be visible once the cabinet is done and set in place in my kitchen.
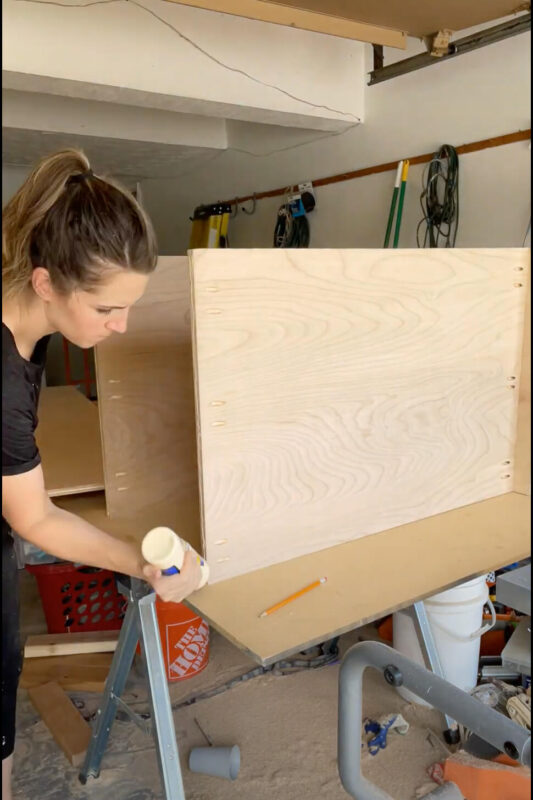
I wanted a really secure bond, so I also added some wood glue to the edge of my lower cabinet piece, before pressing it against the side panel. Using wood screws, I secured the cabinet piece to the side panel through all of the pocket holes I had made earlier. Then I repeated these same steps of wood glue and screws for the upper piece of the cabinet.
Pro tip: You can attach a scrap piece of wood with clamps to your side panel to act as a guide for where to attach your cabinet piece. It’s helpful for keeping everything straight. Once your piece is secured with the wood glue and screws, just remove your clamped guide.
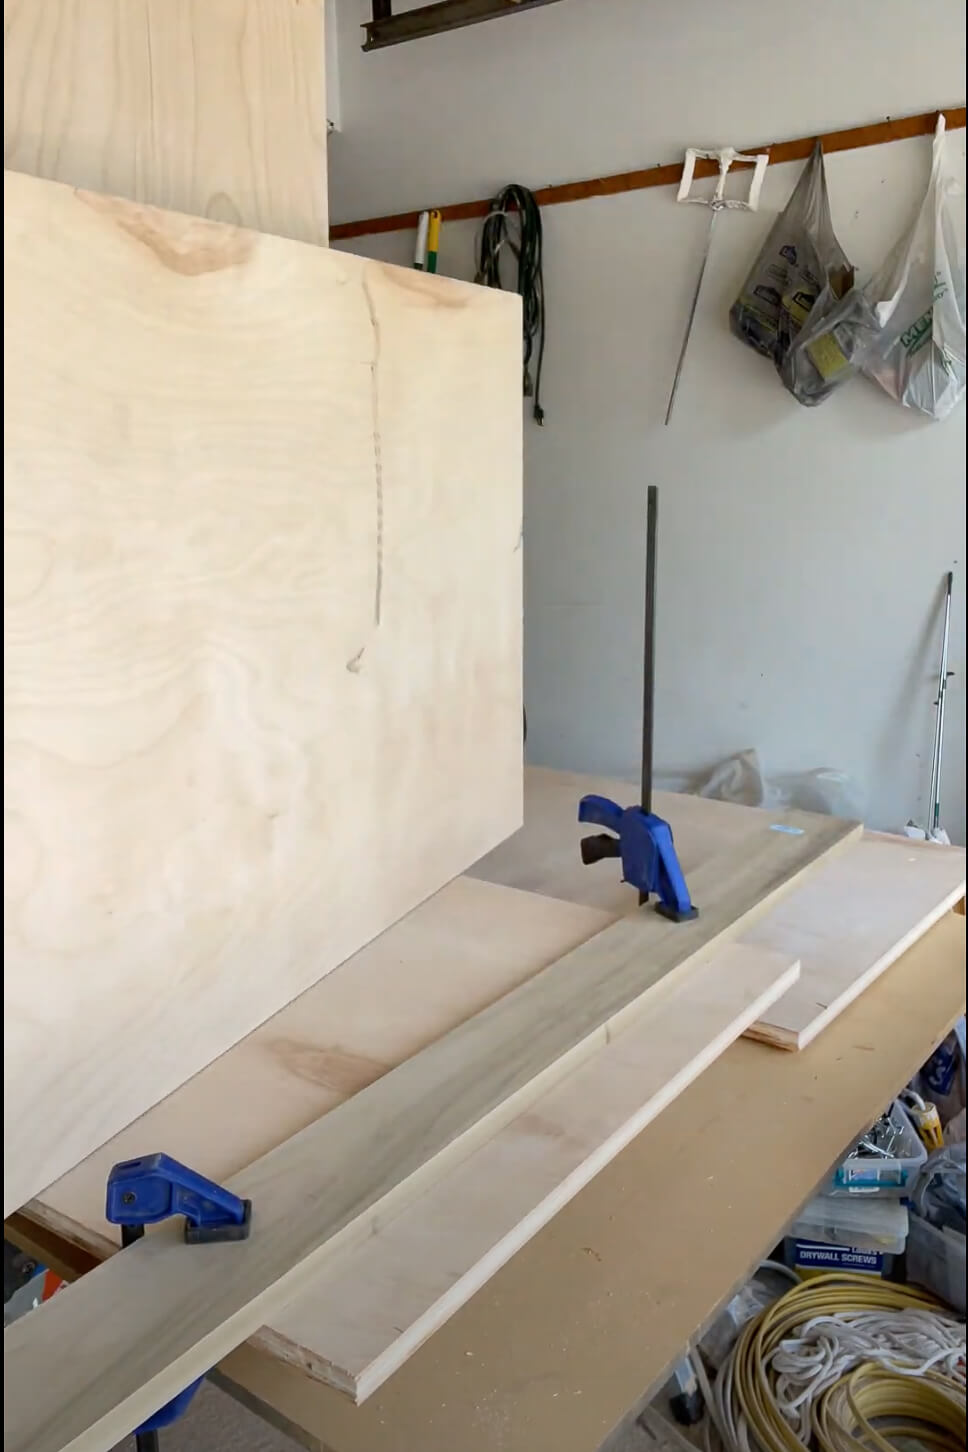
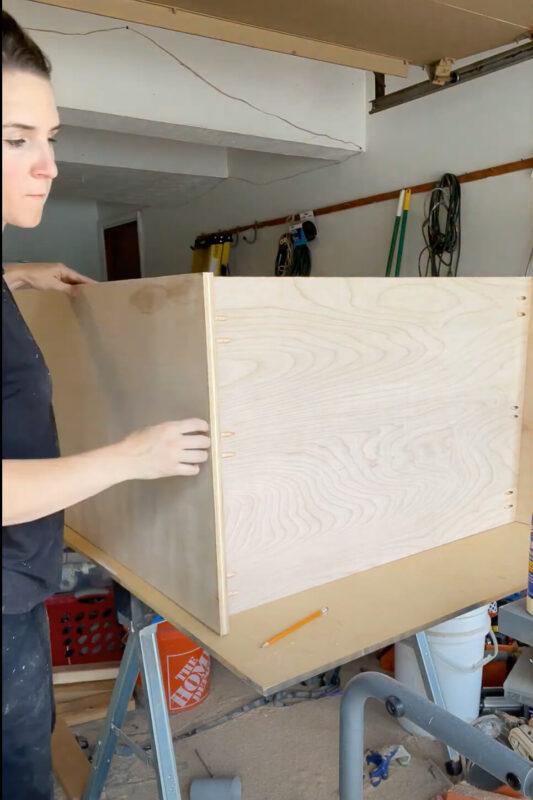
Now at this point in the project you can start to see the shape of your DIY refrigerator cabinet coming together. I had one side panel attached to both the upper and lower sections of my over the fridge cabinet. Now I just need to get the other side panel on.
To attach the other side panel, I repeated the same steps as above using the wood glue where the pieces would meet, and then screwing into the pocket holes I had already made.
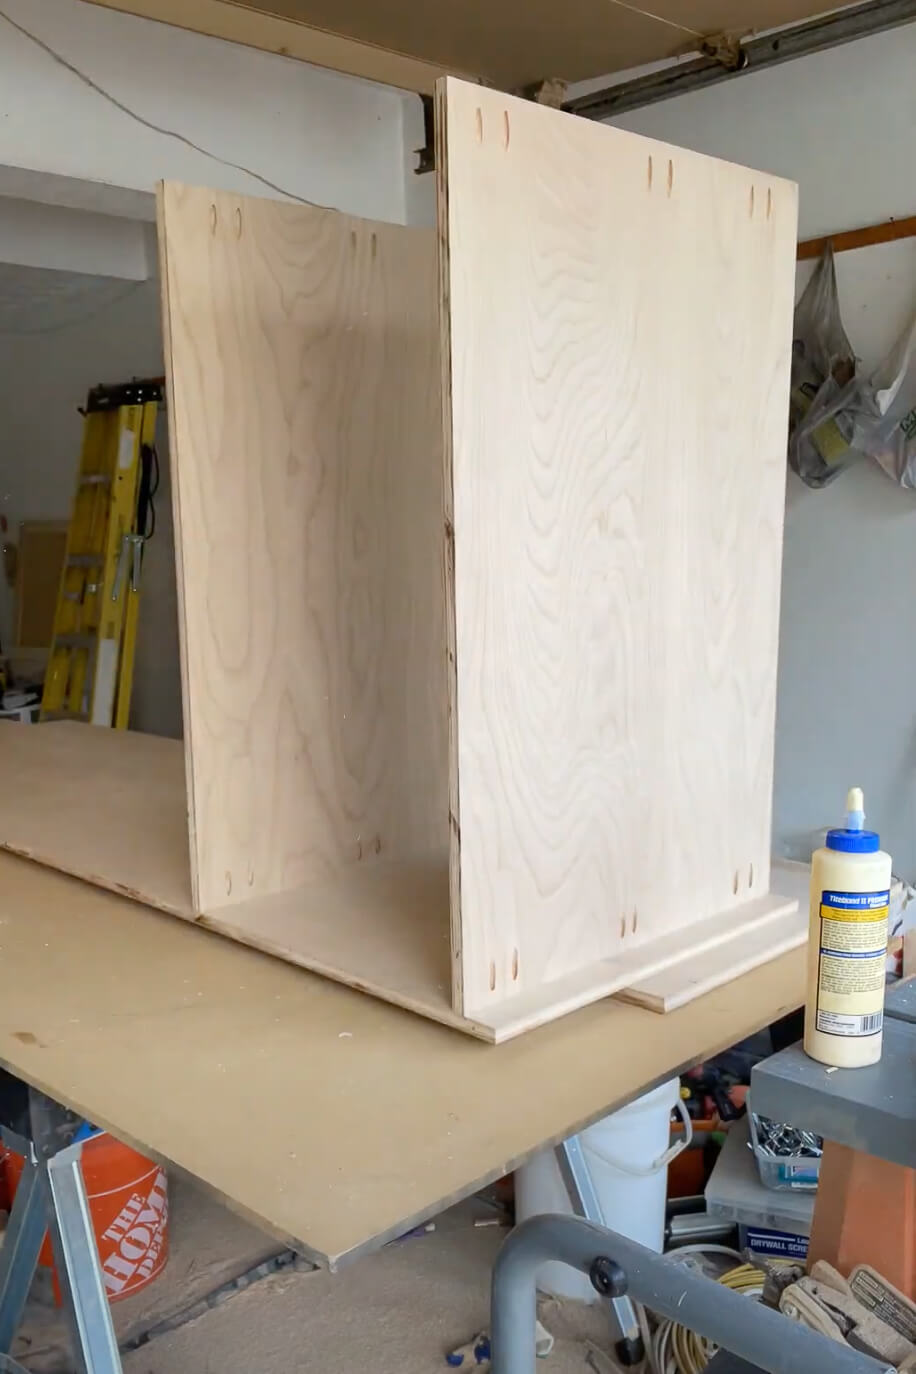
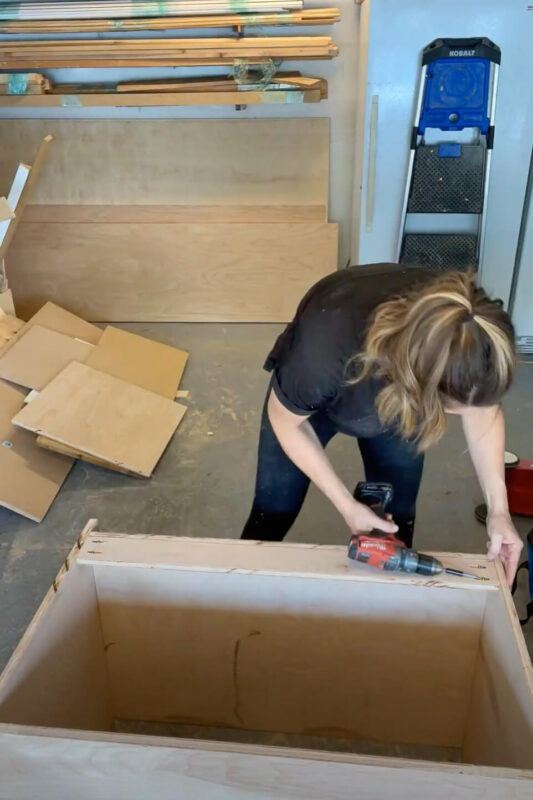
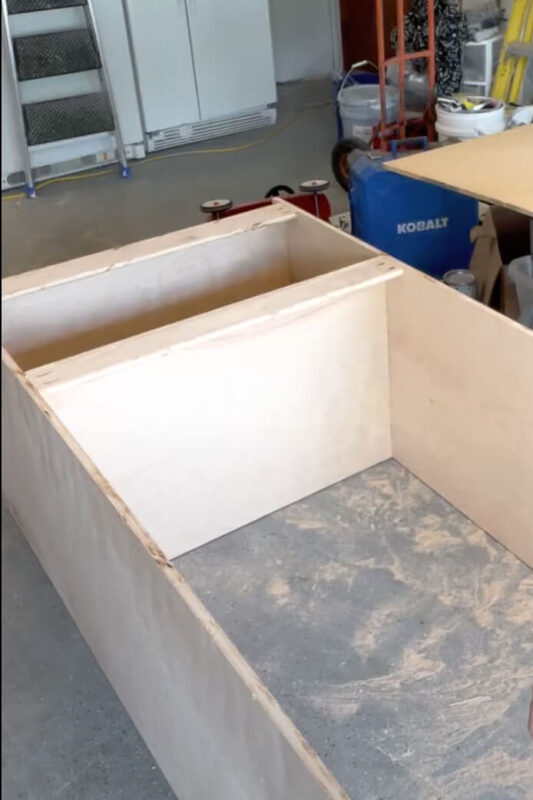
Now that the basic shape of the box is done. You can see the section where my refrigerator will go, and a section above that for an above the fridge cabinet. But before I take this big boy inside, I just need to add a couple support pieces to the back.
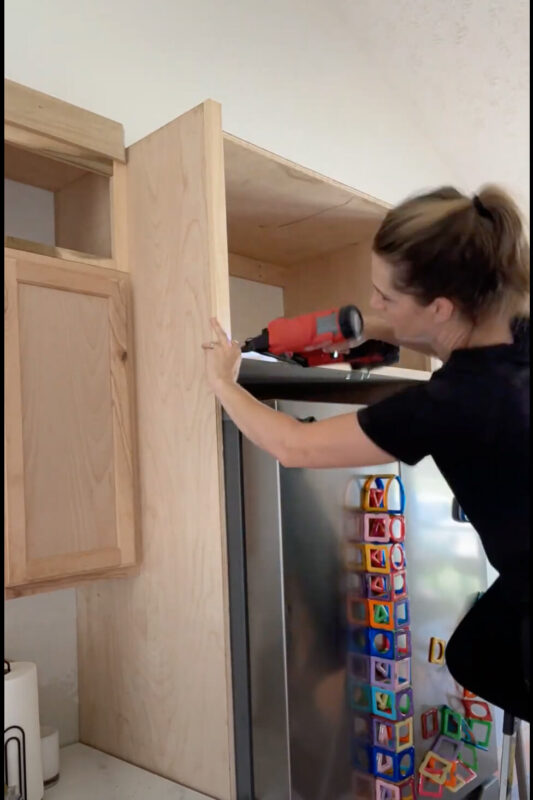
I measured and cut out two more pieces from my plywood sheet, and added two pocket holes at each end on the back side. To attach it to my cabinet box, I added a little wood glue to each end, then placed the piece on the back side of my cabinet, just underneath that very top piece. Using screws I attached it with the pocket holes, and also ran a couple screws though the top of the cabinet down into the back support piece.
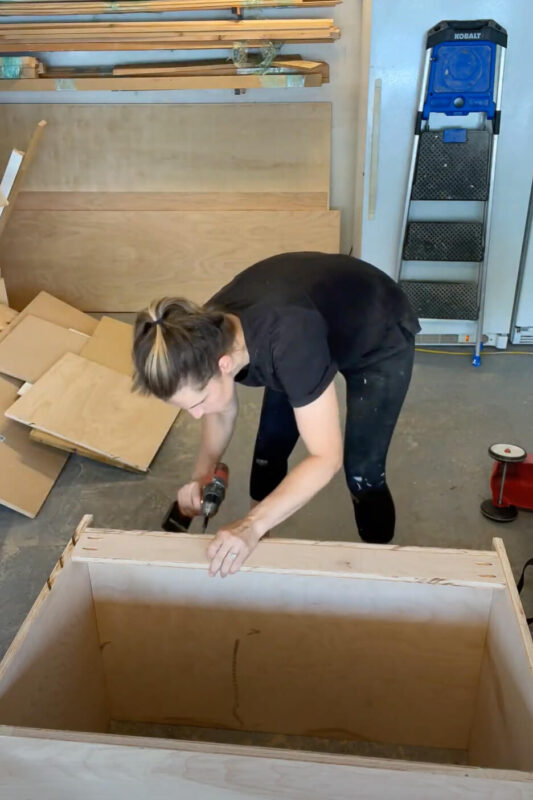
To finish the building portion of your DIY refrigerator cabinet, just repeat these last few steps by adding one more back support piece just underneath the lower cabinet section. The last photo shows what your cabinet box should look like from the back when you are done with this step.
Installing the DIY Refrigerator Cabinet in your Kitchen
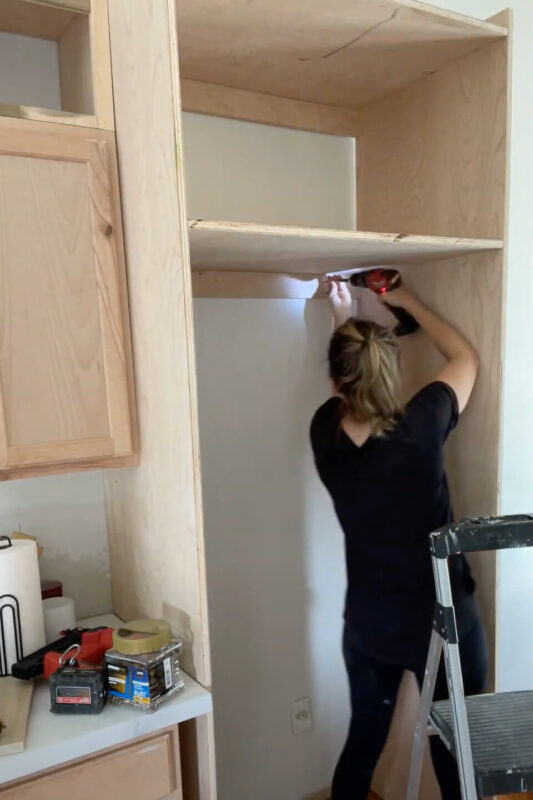
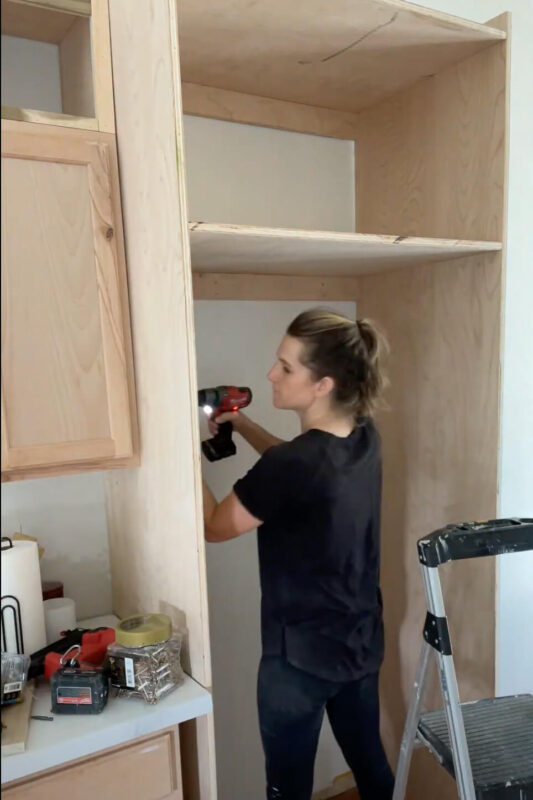
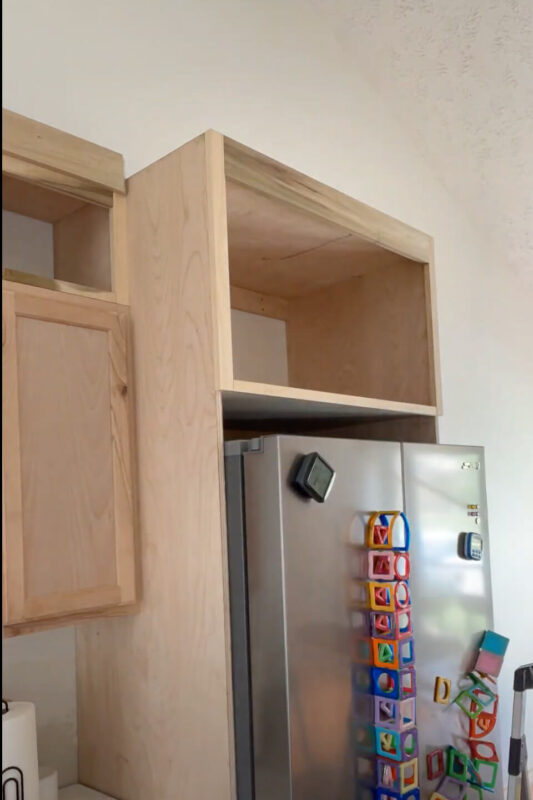
Yay! I was done out in the garage, and I could now take this cabinet box inside. (Which sounds way easier than it actually was since I was working solo). I moved my refrigerator out of the way, and placed the refrigerator cabinet on the wall, being sure to set it nice and flush up against the other cabinet that it would be touching and against the wall. I know it does not look like much right now, but just wait.
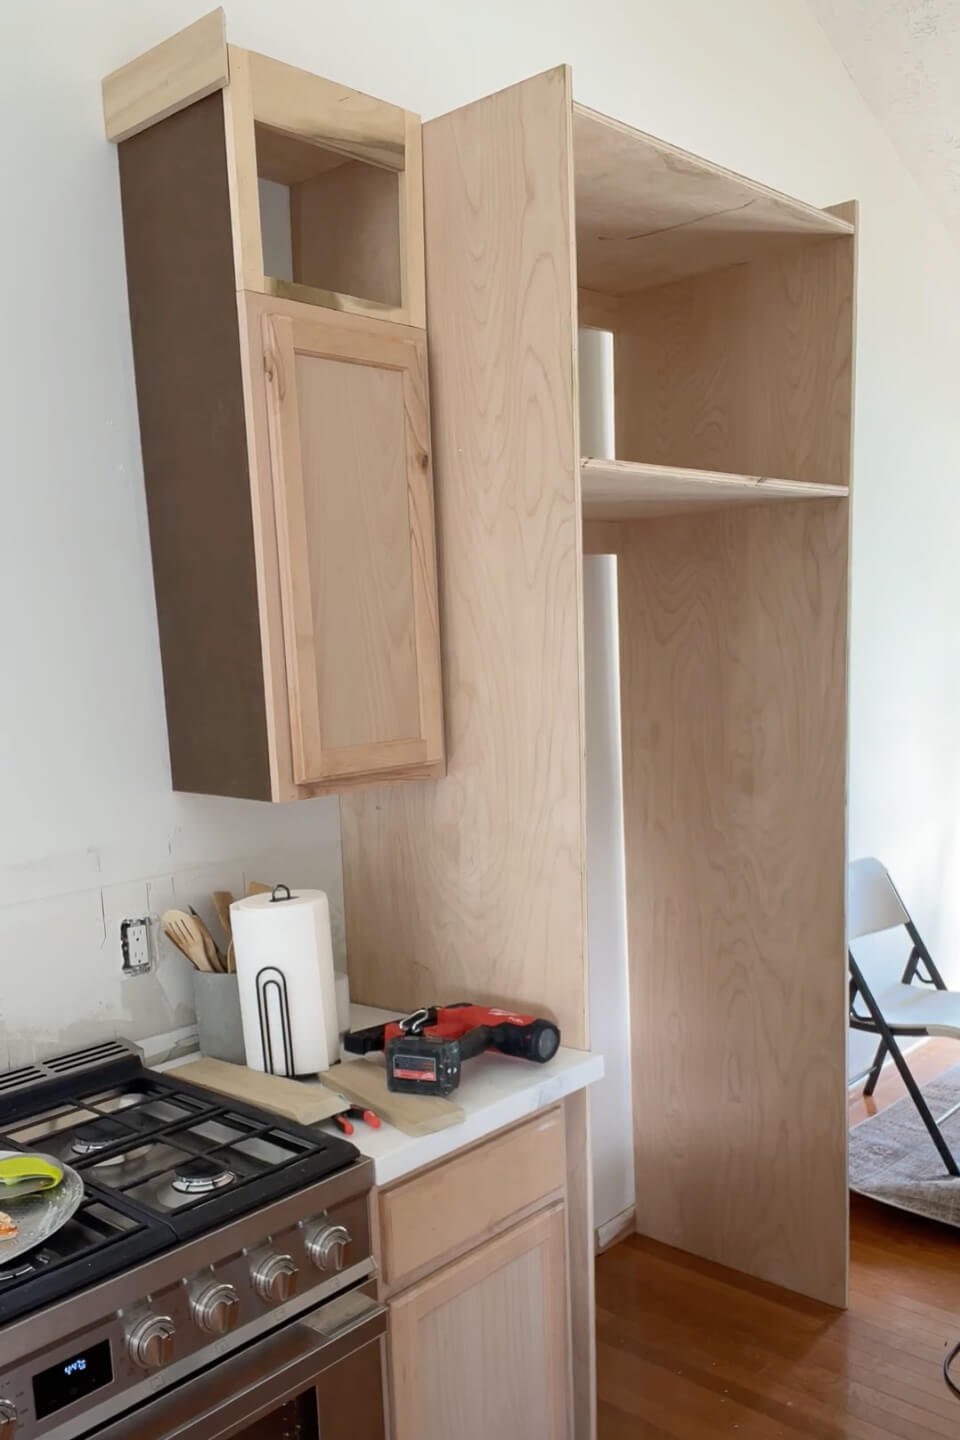
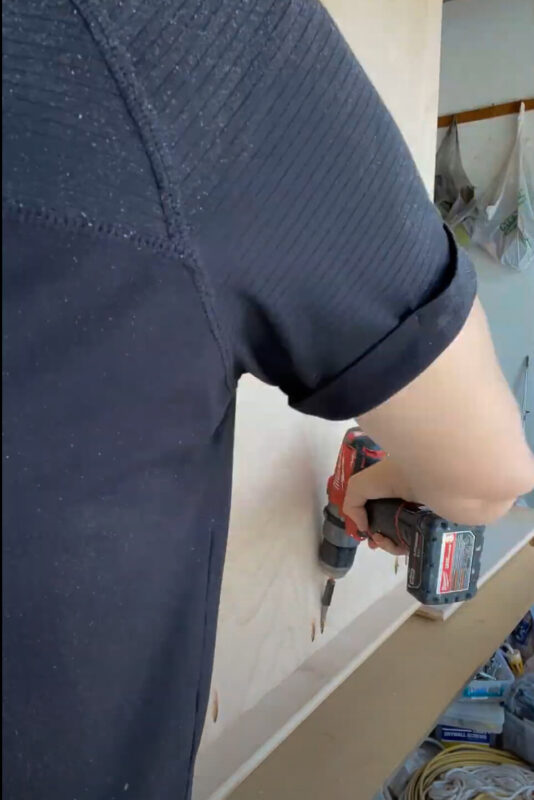
Using screws and my cordless drill, I attached the refrigerator cabinet to the wall by screwing through both of the back support boards into the wall studs. Use a stud finder to find those studs, as you cannot just attach your cabinet to the drywall. It simply won’t hold.
I also secured my refrigerator cabinet to the cabinet next to it by using screws that were the perfect length to bite into the wood of the smaller cabinet, without poking all the way through to the other side.
Adding Trim and Crown Molding
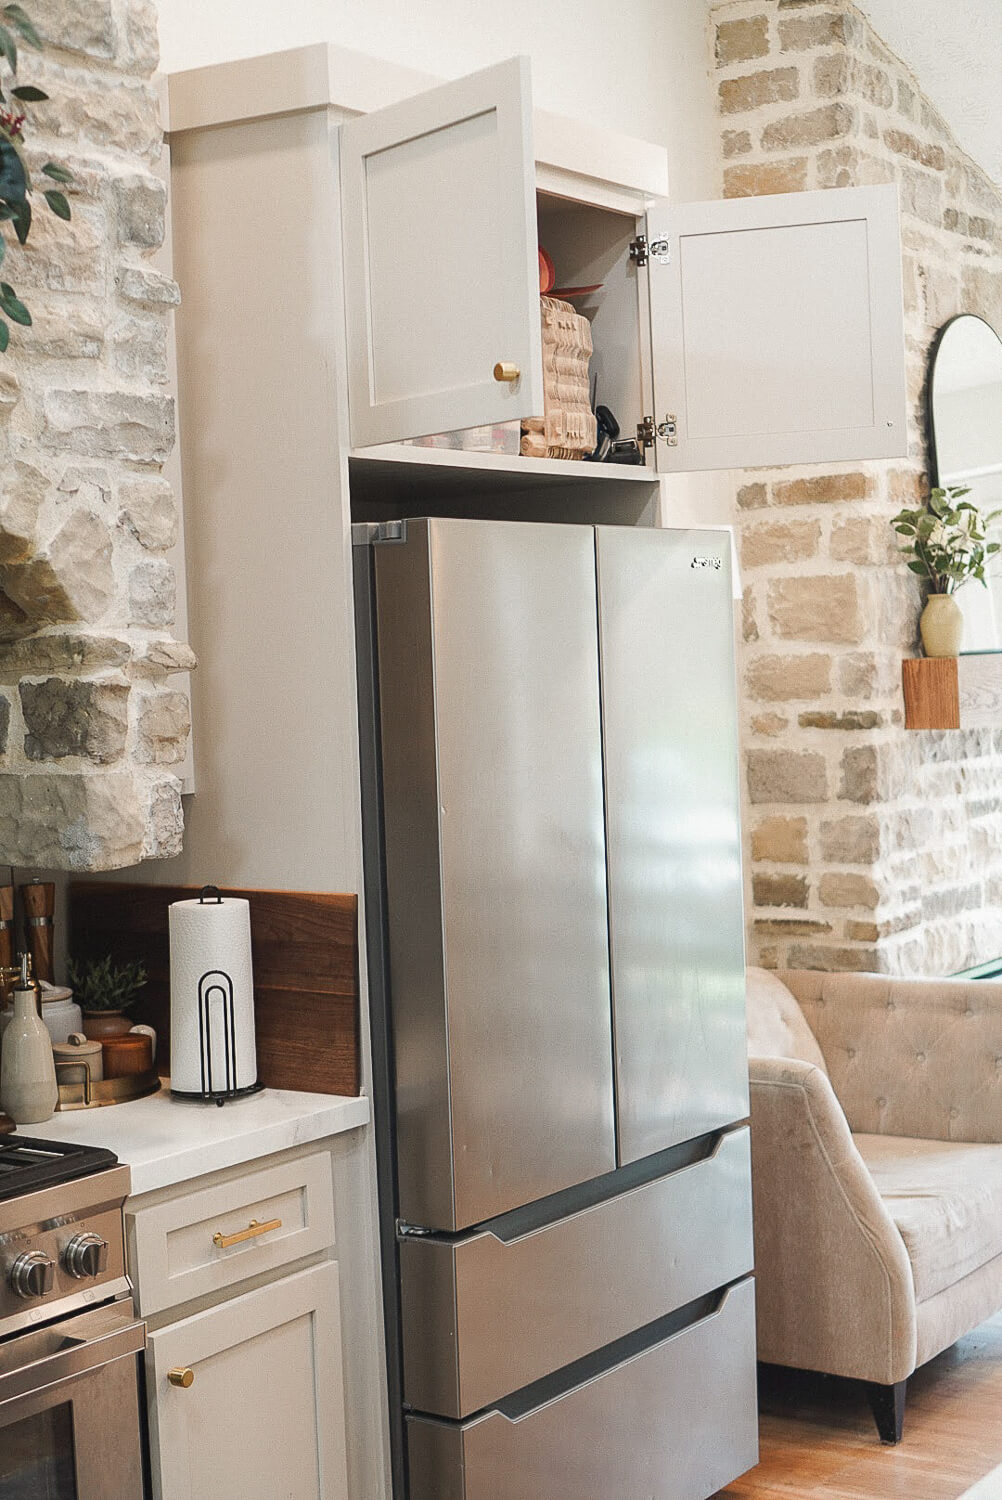
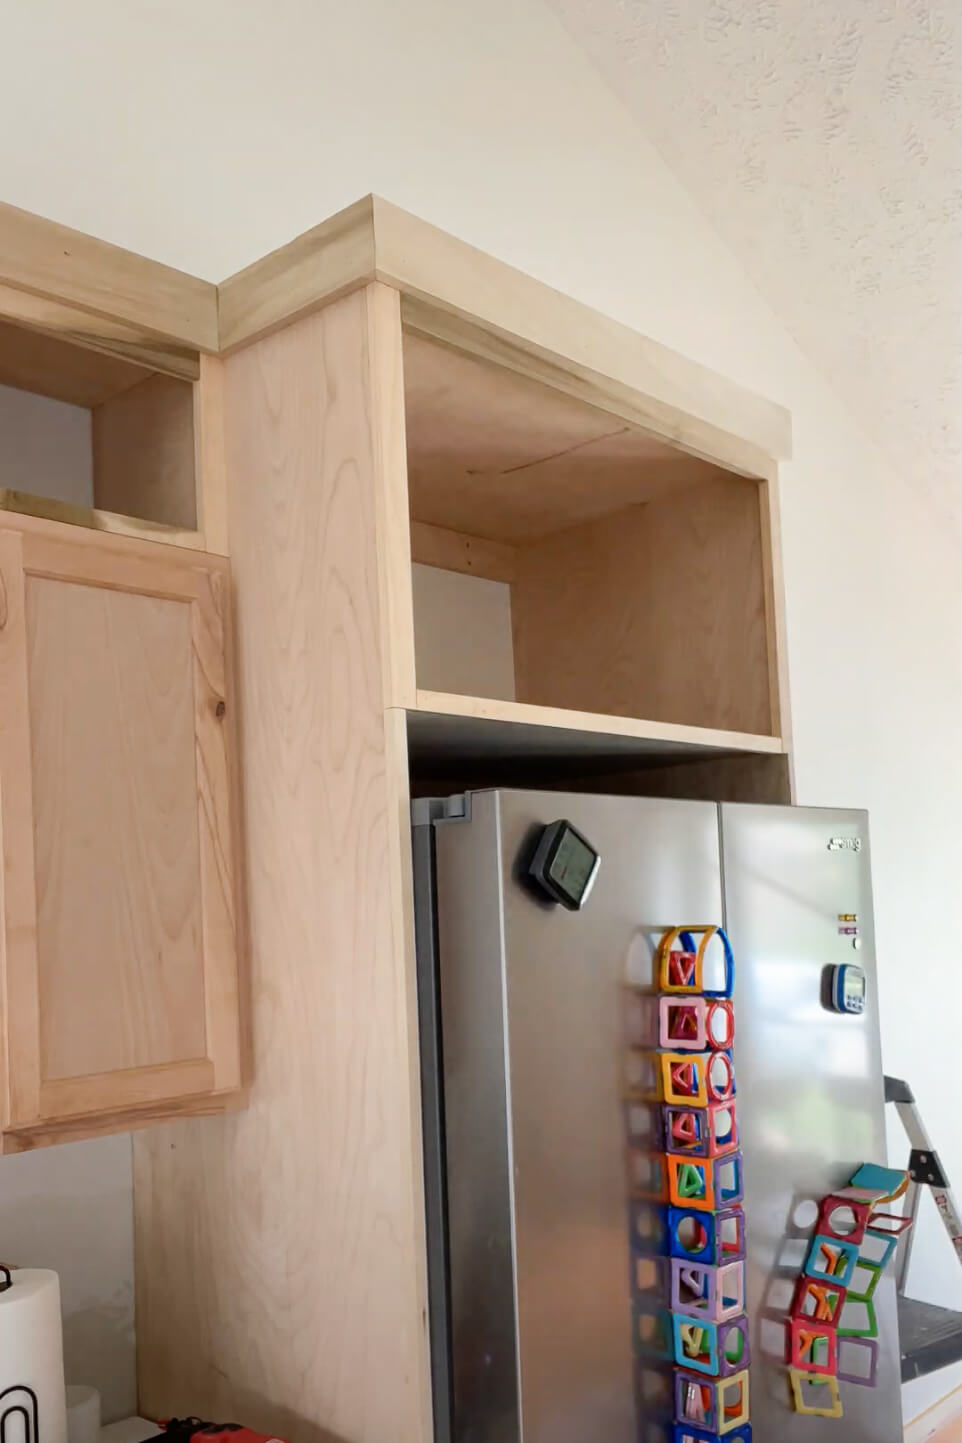
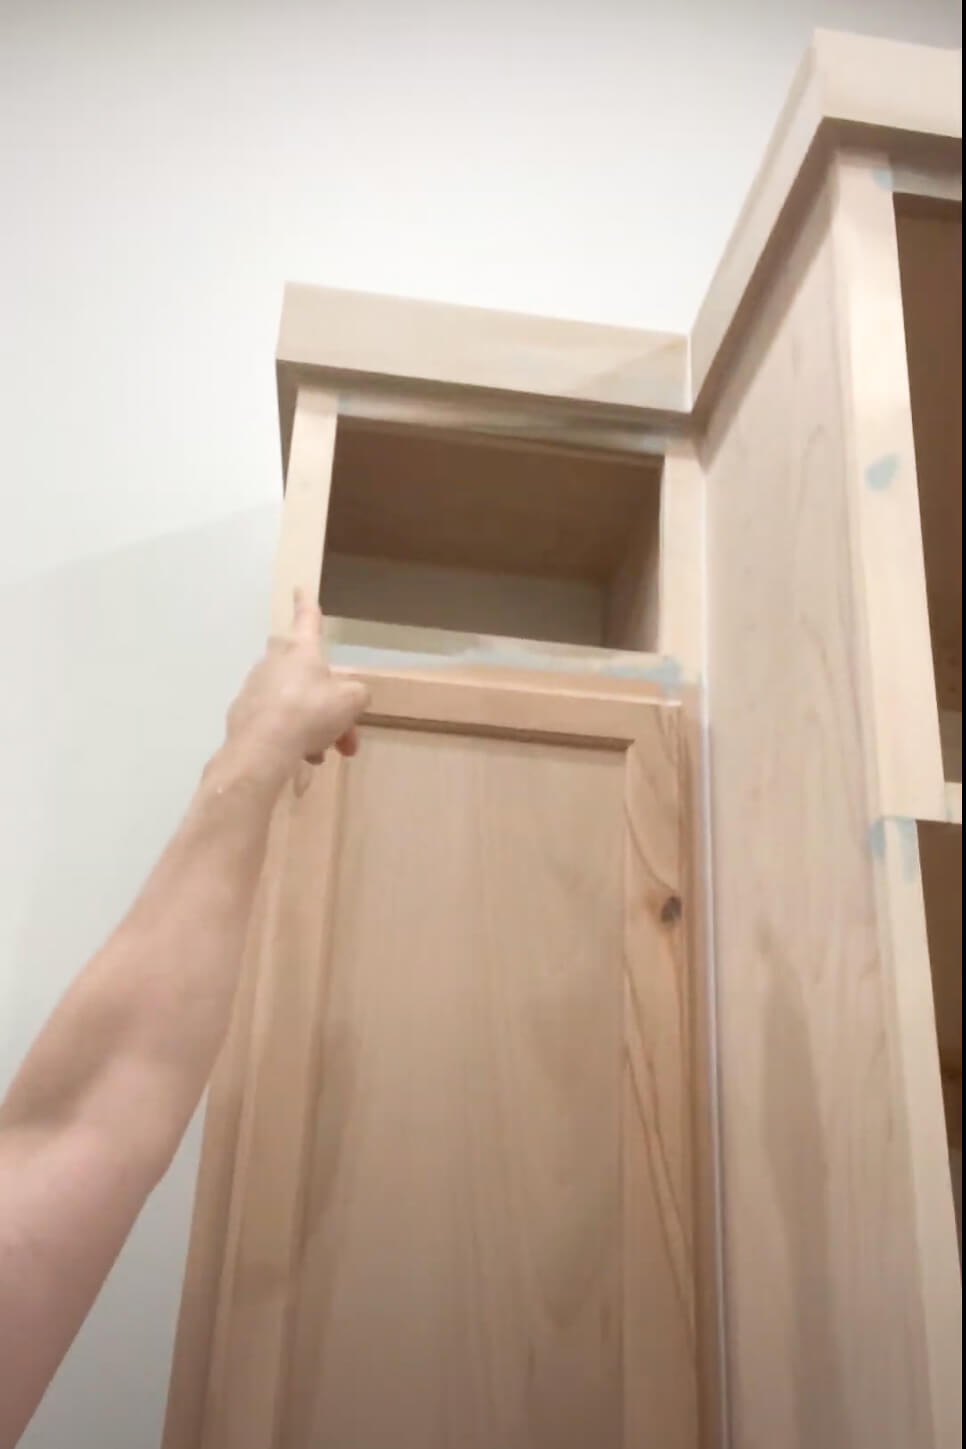
Now that the refrigerator cabinet is in place, I am going to attach trim pieces to finish it off. Simply measure, cut, and attach with a brad nailer. The last photo shows the smaller pieces that I added to the sides and bottom of the over fridge cabinet area, and the wider piece that I added to the very top. It already is starting to look so clean and finished.
During my kitchen remodel I added crown molding to the top of all of the upper cabinets, so I also added that same crown here for a cohesive look. It is absolutely amazing what trim will do to make your cabinets look professional and custom. See how it now looks like the small upper cabinet and my DIY refrigerator cabinet are one built in place piece?
Filling Gaps Between Cabinets
When you are dealing with stock cabinets, which is what I used for my kitchen remodel, they unfortunately only come in certain sizes, which means that you sometimes are left with these gaps that need to be filled.
To take care of this gap that I had between my lower cabinet and refrigerator cabinet, I used a piece of the same plywood I had been using to build my cabinet box. I measured it out then cut it to fit perfectly in the gap that I had. Then using clamps to hold it in place, I attached with screws through the inside of my lower cabinet and the inside of the refrigerator cabinet. One at the top of each side and one near the bottom of each side is plenty to hold it in place.
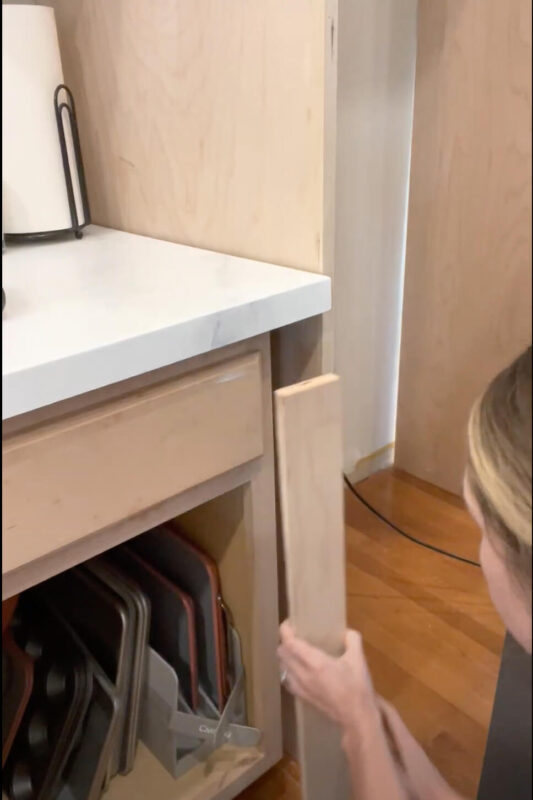
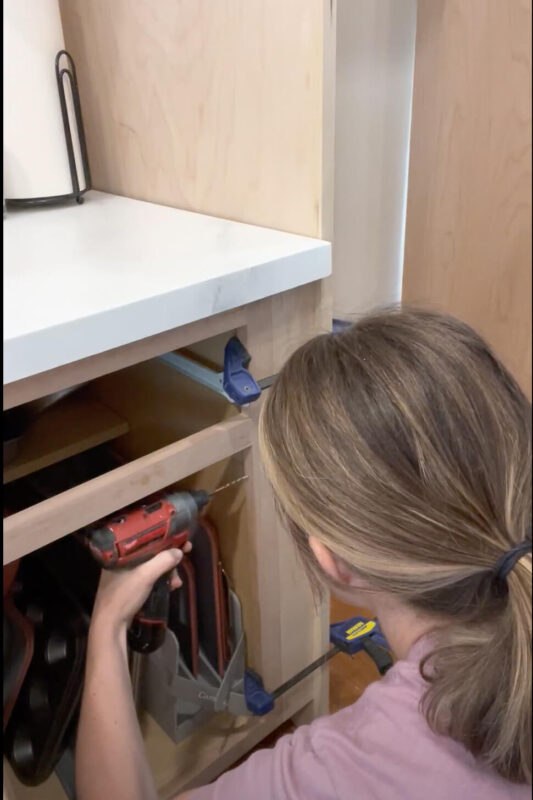
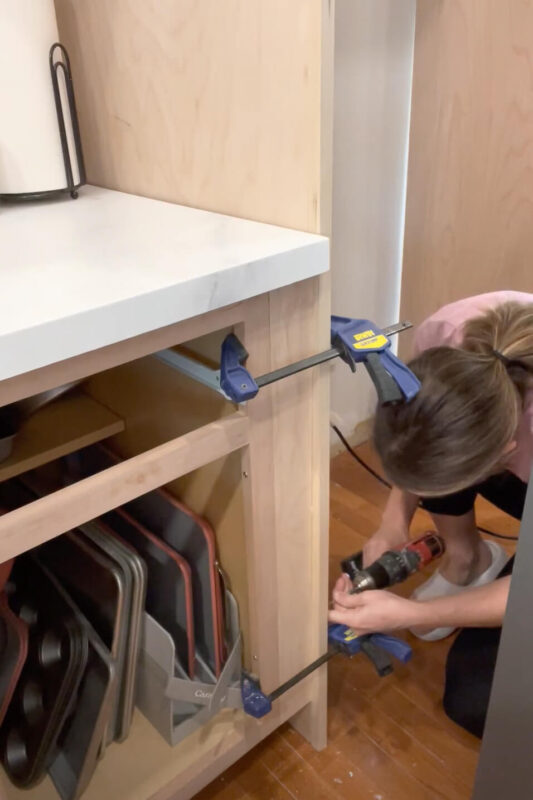
Pro Tip: Before drilling into plywood like this, drill a pilot hole that is smaller than your screw. This will keep your wood from splitting when you add the screw.
Prepping to Prime and Paint my Kitchen Cabinets
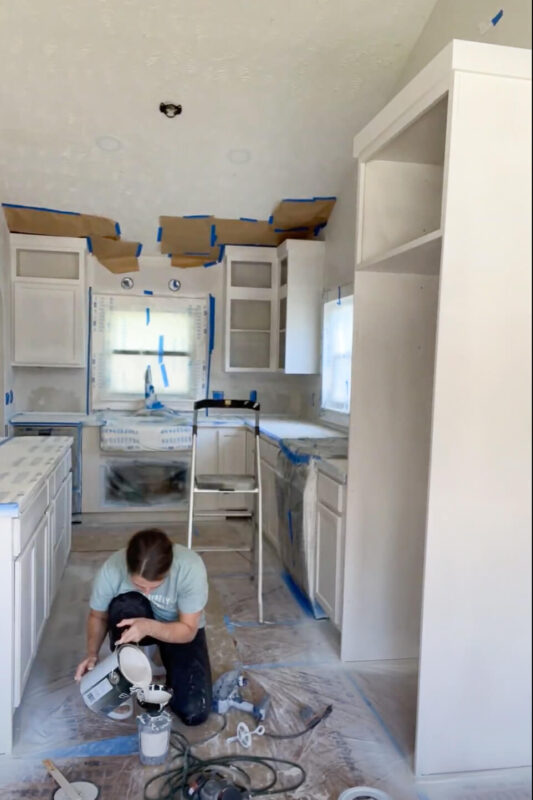
Before I could move onto prime and paint, I needed to fill all of the seams, gaps and nail holes. For the seams, such as where the cabinets meet together, or where trim meets the cabinet, I used caulk. For filling all of the larger gaps and the nail holes I used bondo. Everything that you see in this picture that is white is caulk, and all of the gray is bondo.
Once all my holes and seams had been filled and the sanding was done, I gave everything a good wipe down and prepped to prime.
For this project I will be using a paint sprayer, which means I will have a beautiful, smooth finish, but it also means that I have to mask everything. My sink, my windows, my floor, the walls around the cabinets… anywhere that you do not want primer or paint to go, you have to mask.
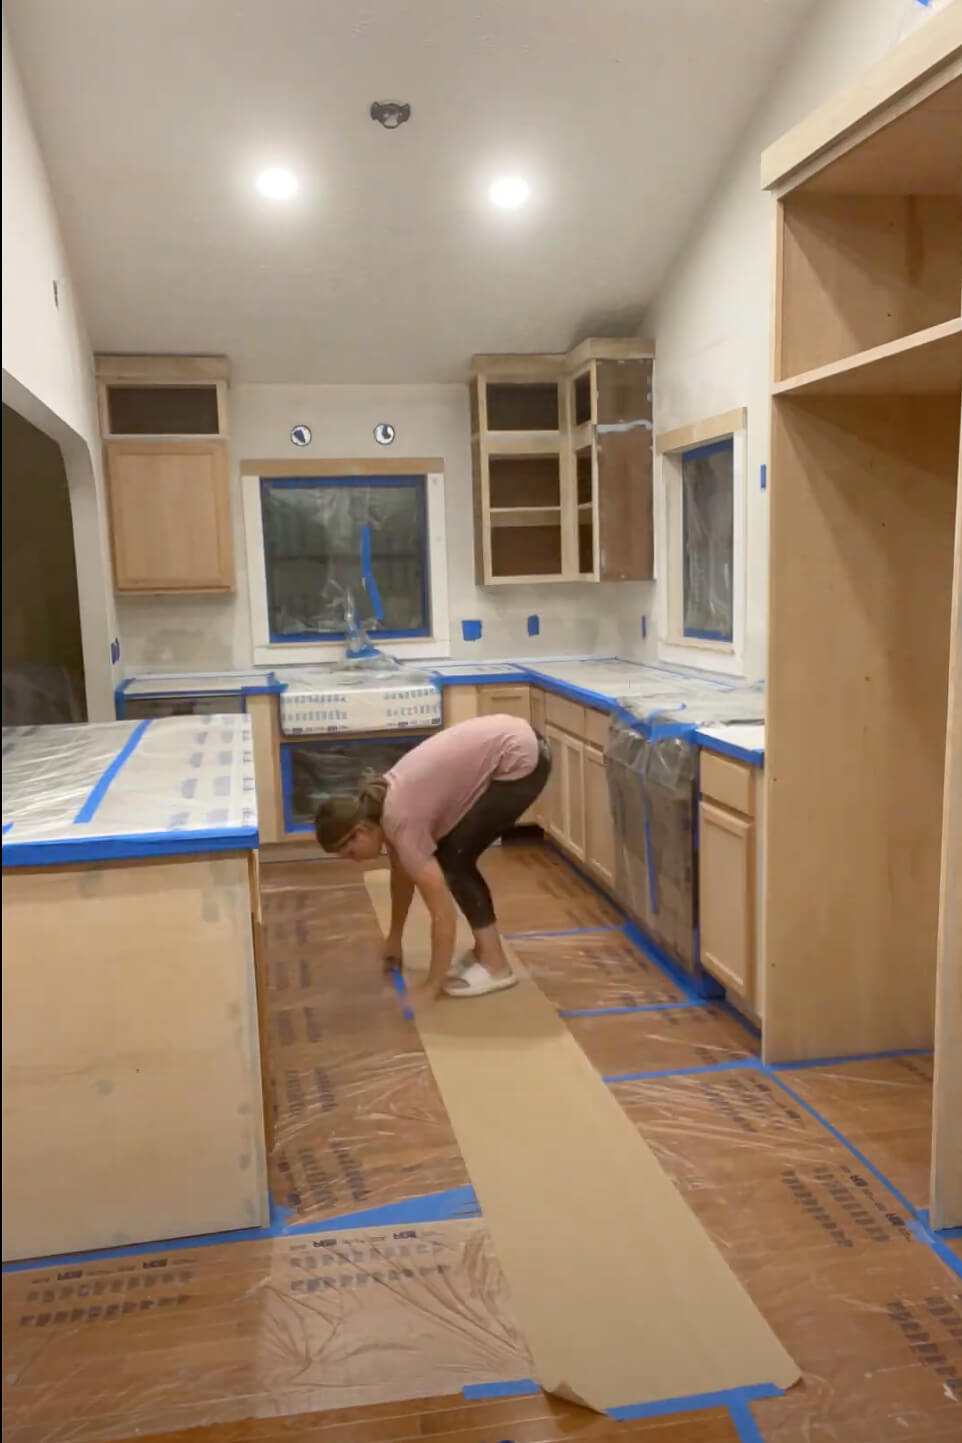
If you have never used this pre-taped painter’s plastic you really need to try it. It makes masking large jobs like this so much easier.
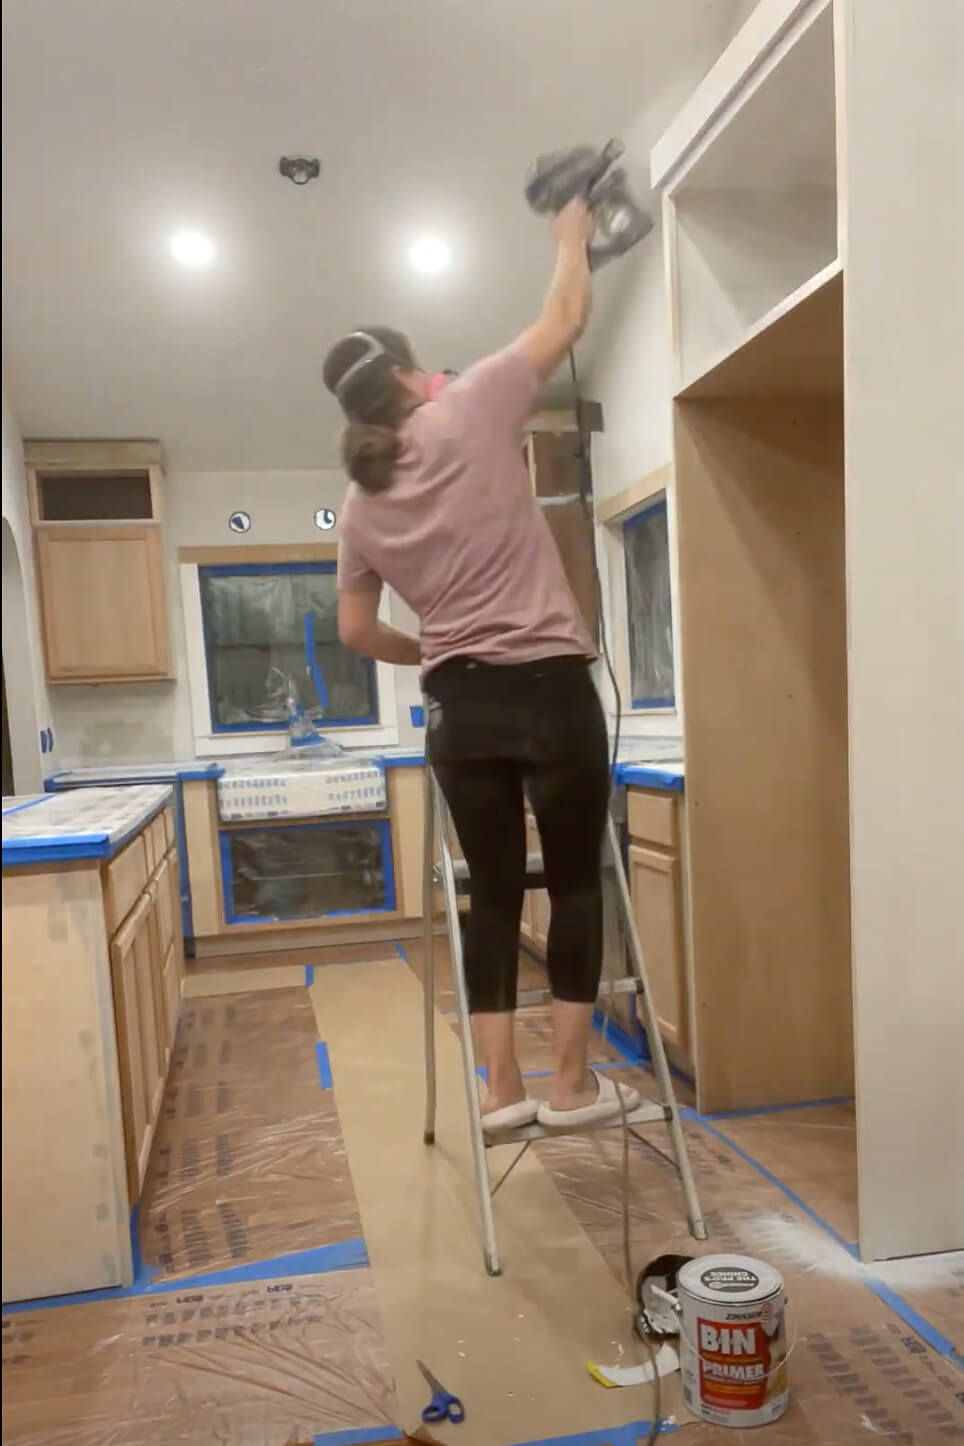
Priming and Painting my Kitchen Cabinets
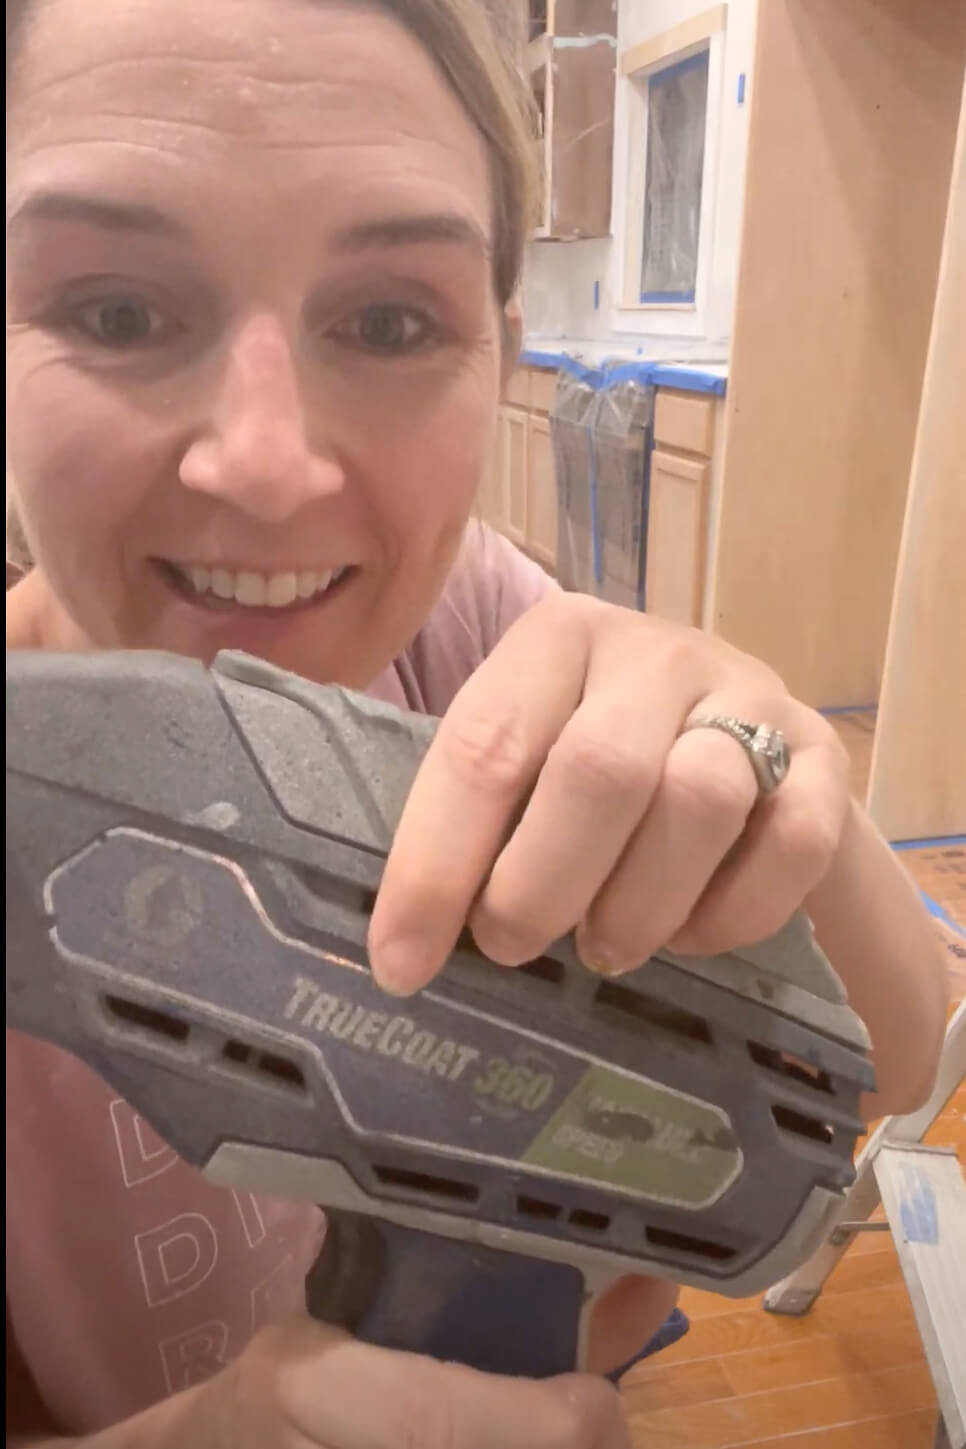
I love my paint sprayer. It is a TrueCoat 360 paint sprayer. You do not have to thin the the paint, just strain it with the strainer provided. It is airless so I can spray in any direction. I have used it for so many different projects including this DIY Murphy Bed I built in my basement.
The type of primer you use is very important and will affect how well your paint adheres to your cabinets. I applied the Zinsser B-I-N Shellac Based Primer to not only my DIY refrigerator cabinet, but to all of my kitchen cabinets, as this was my last cabinet project and I was preparing to paint all of them.
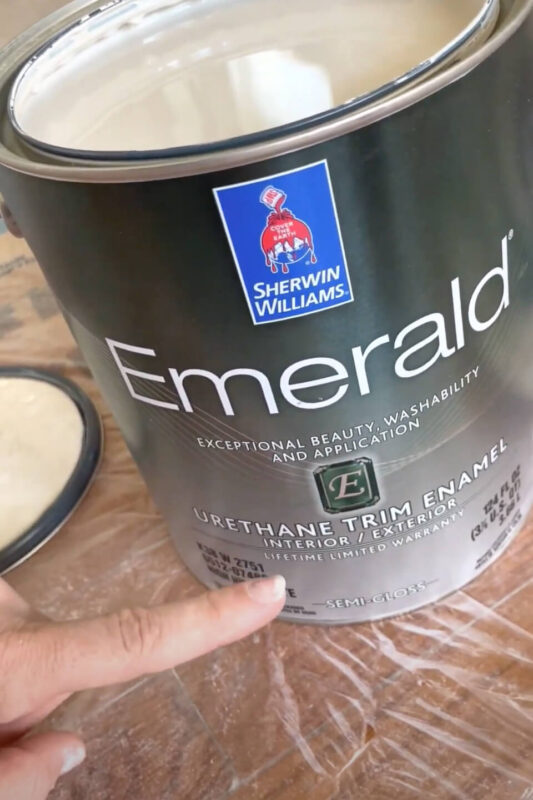
After the primer had time to dry, it was time to paint. For my kitchen I used Sherwin Williams Emerald Urethane Trim Enamel in the color Accessible Beige. This paint is definitely more on the expensive side, but so worth it in a high traffic area like the kitchen. It has been durable and really held up for me.

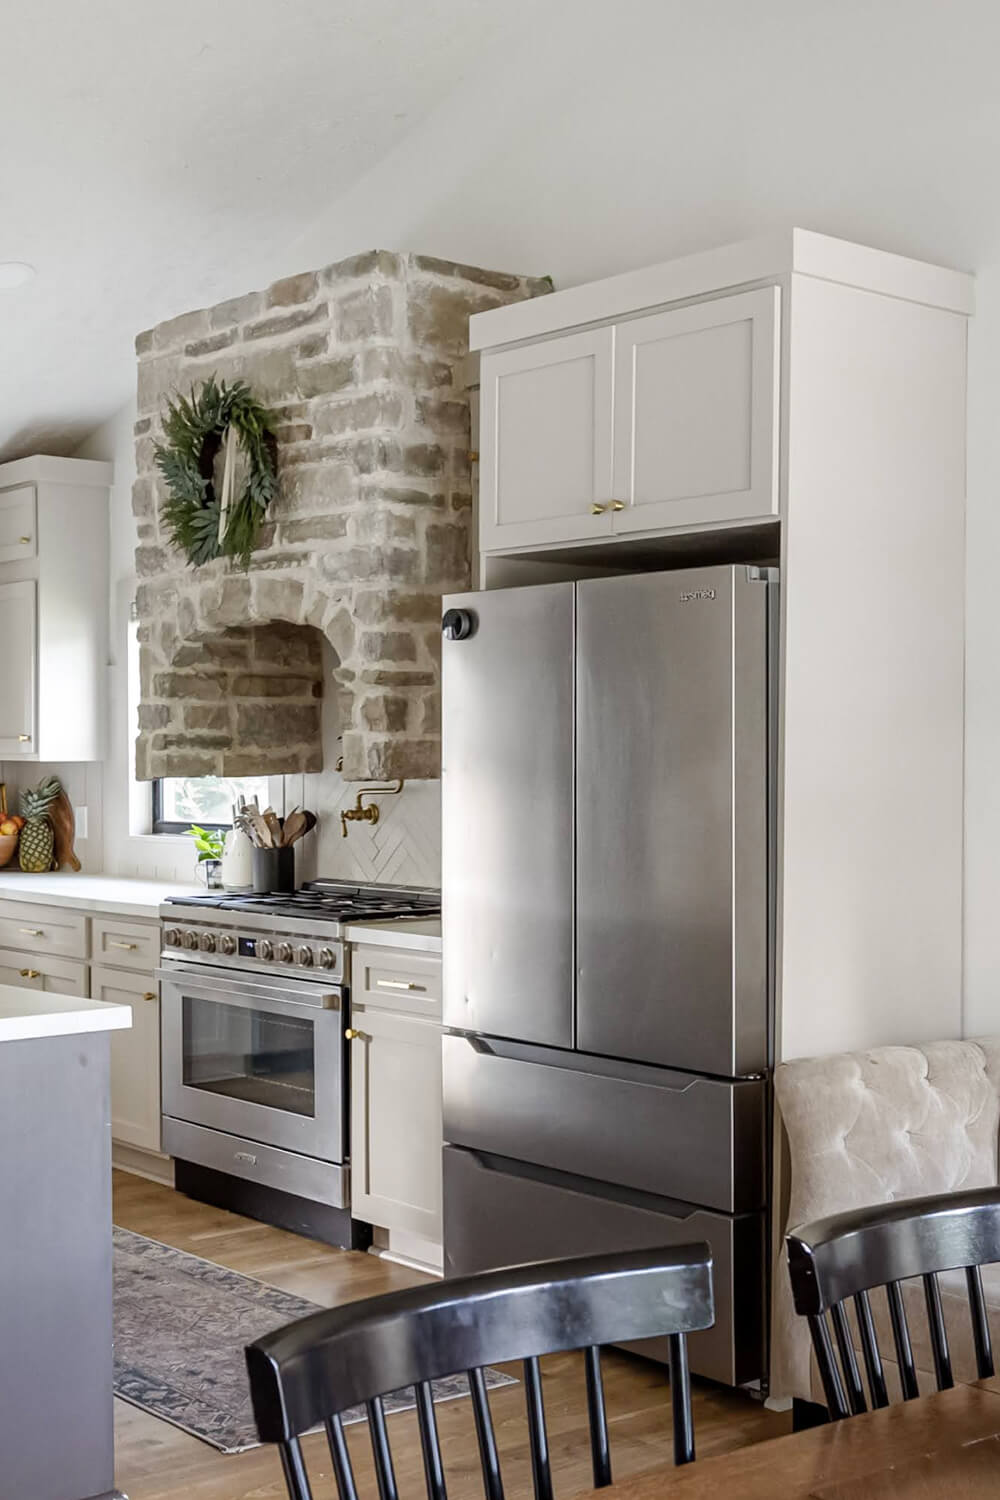
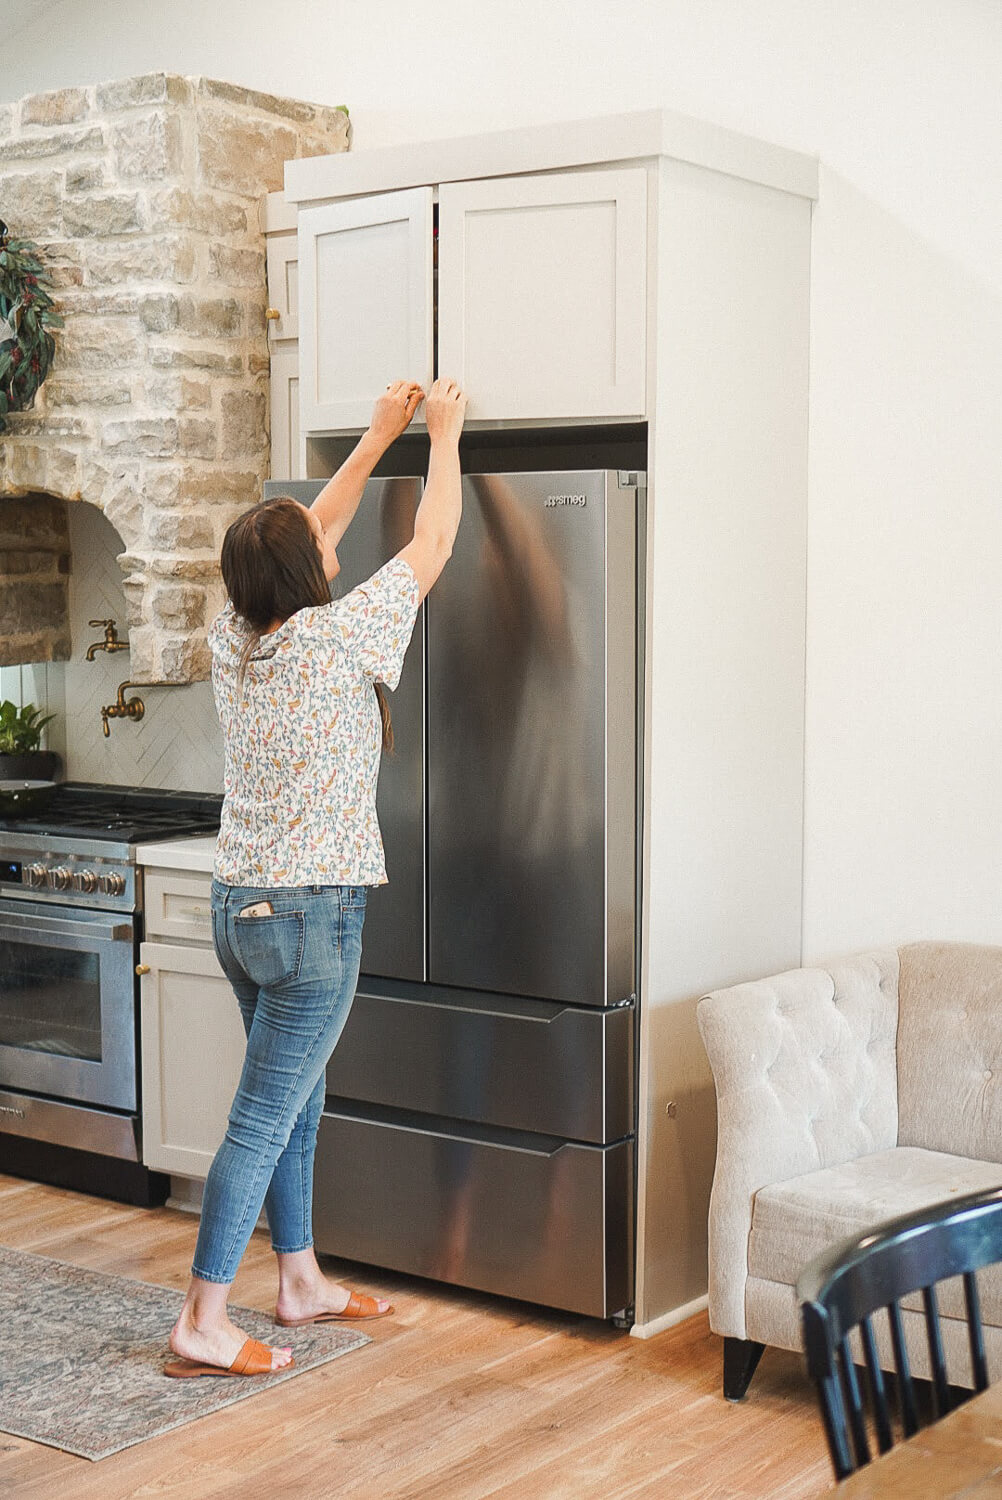
Now here it is! This photo of my DIY refrigerator cabinet was taken right after painting, but before I had built doors for the above the refrigerator cabinet. Even without the doors, doesn’t it already look great?!
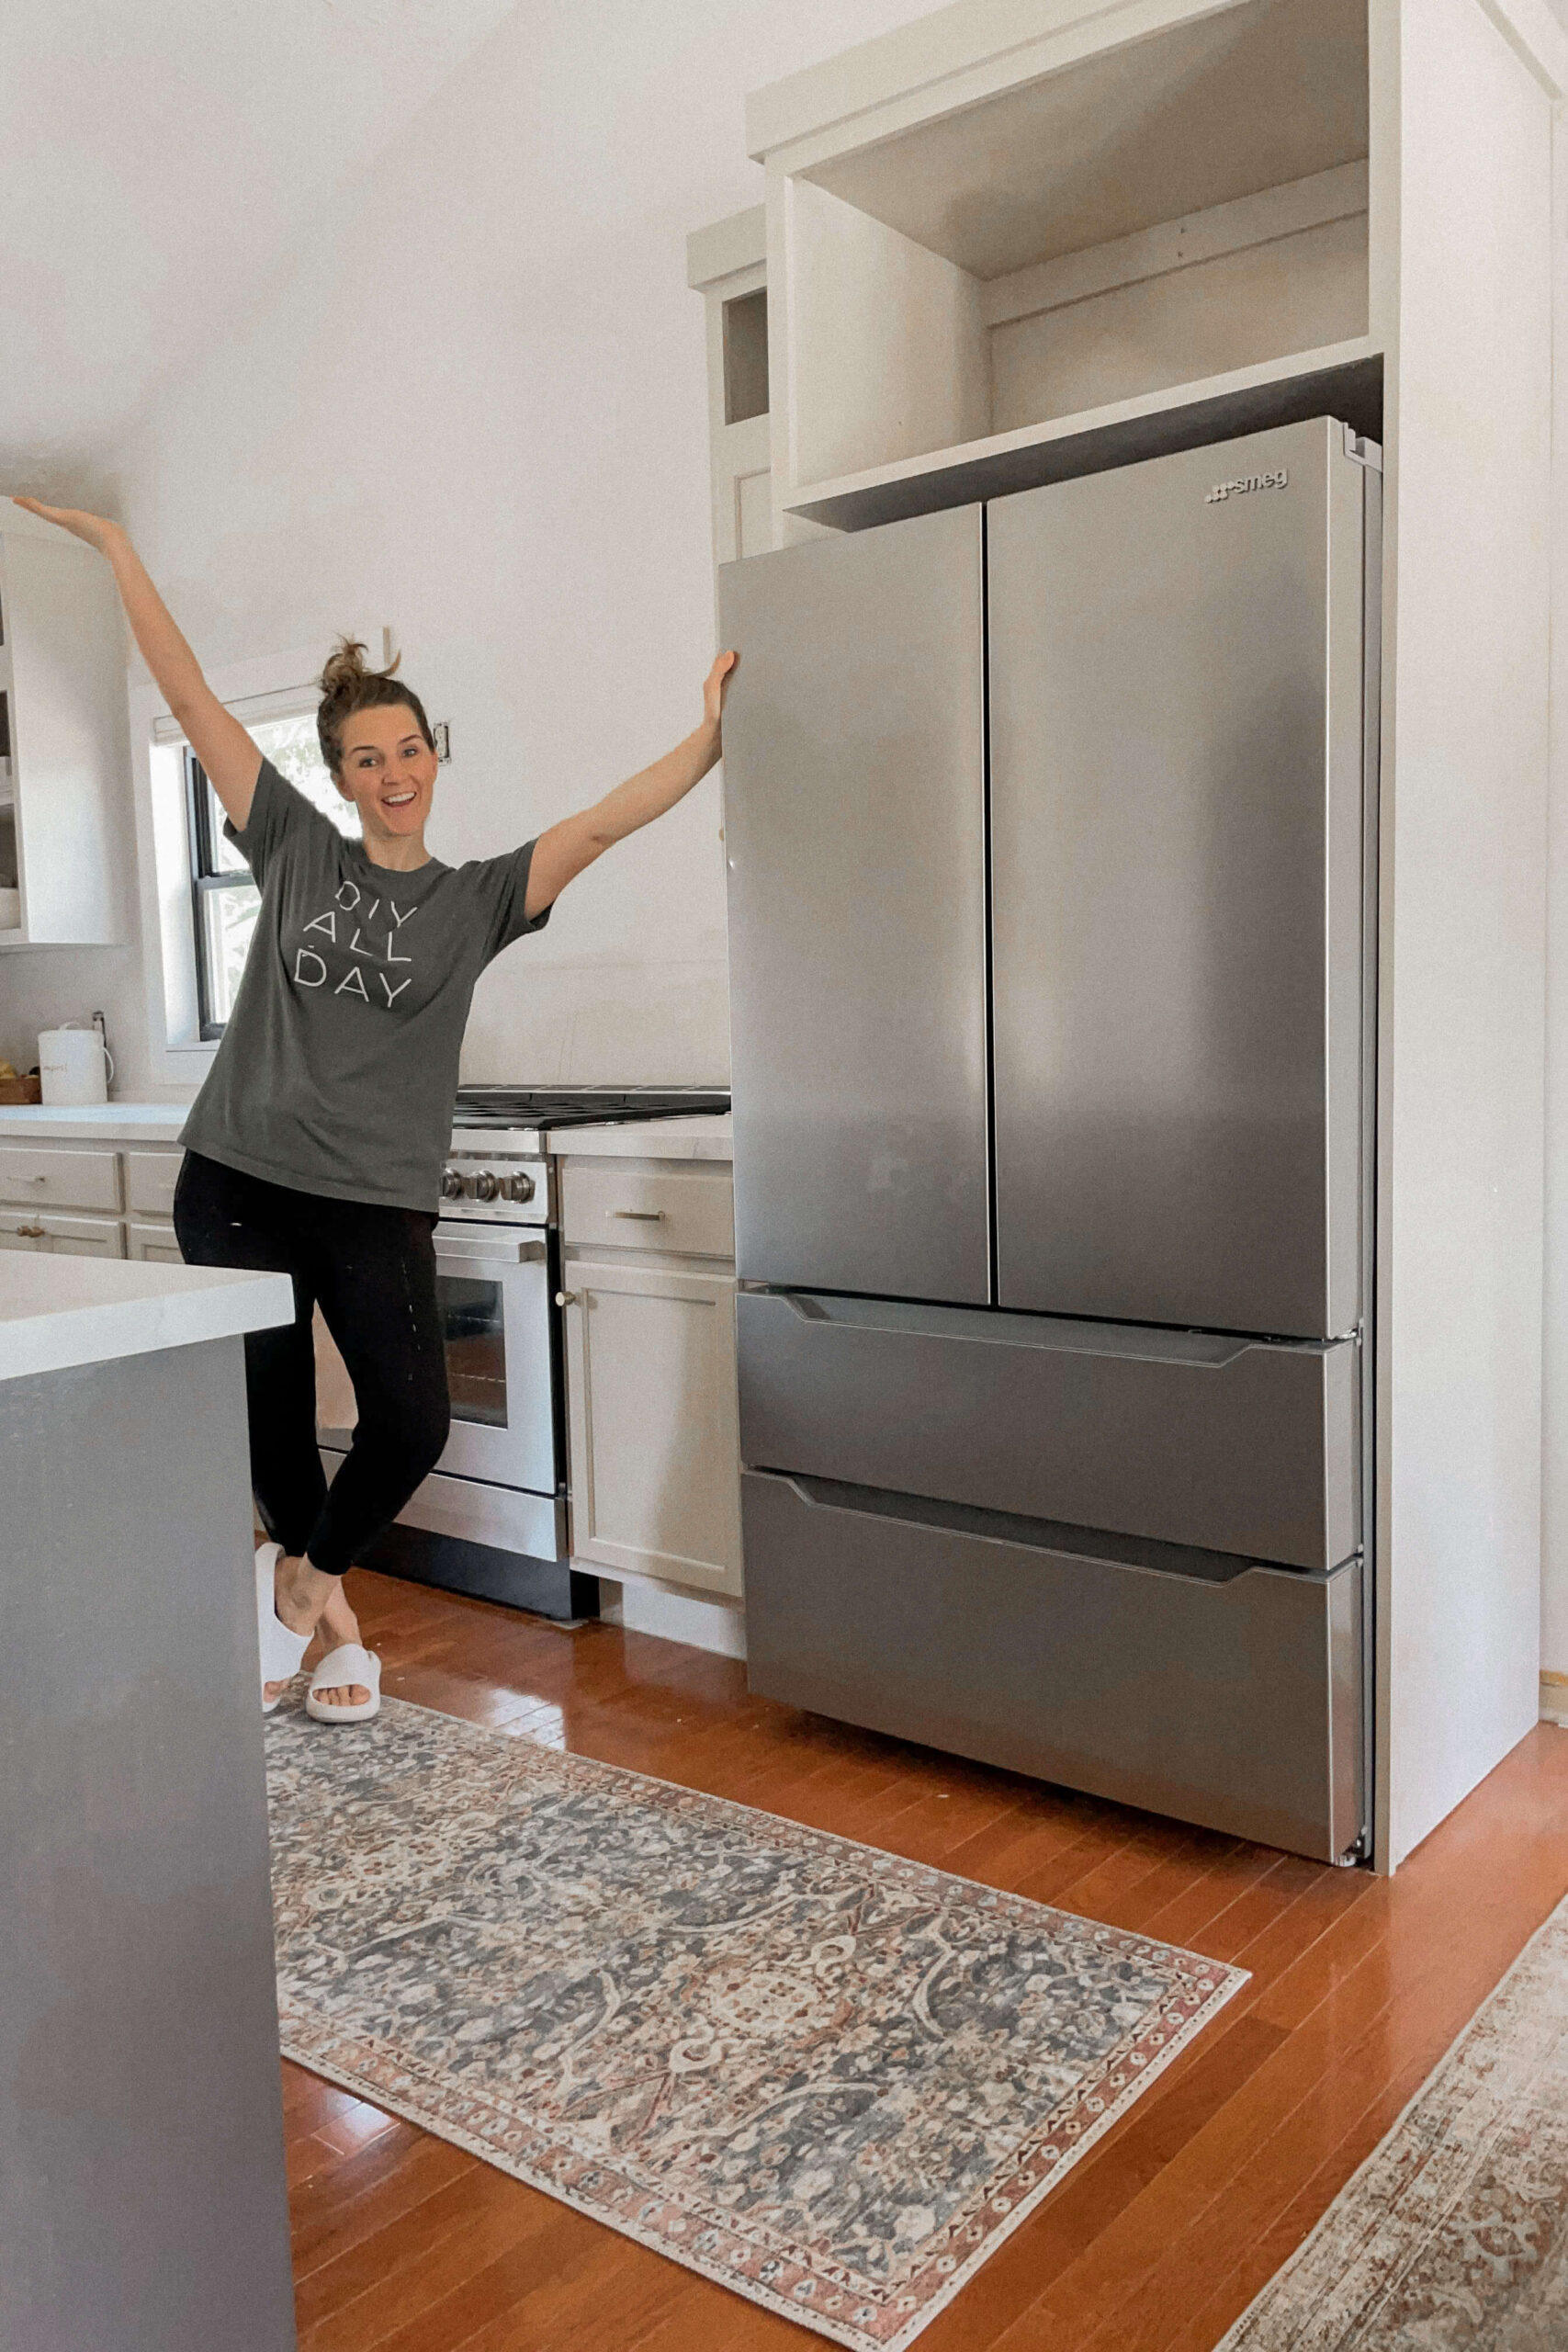
And now this is how it looks in my kitchen today after I built the doors and did some other projects like this over the range hood. Isn’t it beautiful?! If you want to see how I built these shaker doors, I have a full tutorial here.
I hope that you find this post helpful and that it gives you the courage to know how to build a refrigerator cabinet of your own. It is a great upgrade to add to stock kitchen cabinets to give your home a high end and custom feel.