


Home Depot Laundry Room Makeover


Updated July 13, 2026
You’ve got to see this laundry room makeover! Have you ever seen the before picture where you think “good luck because that’s not even a room”? This is one of those projects.
This laundry room makeover is sponsored by The Home Depot.
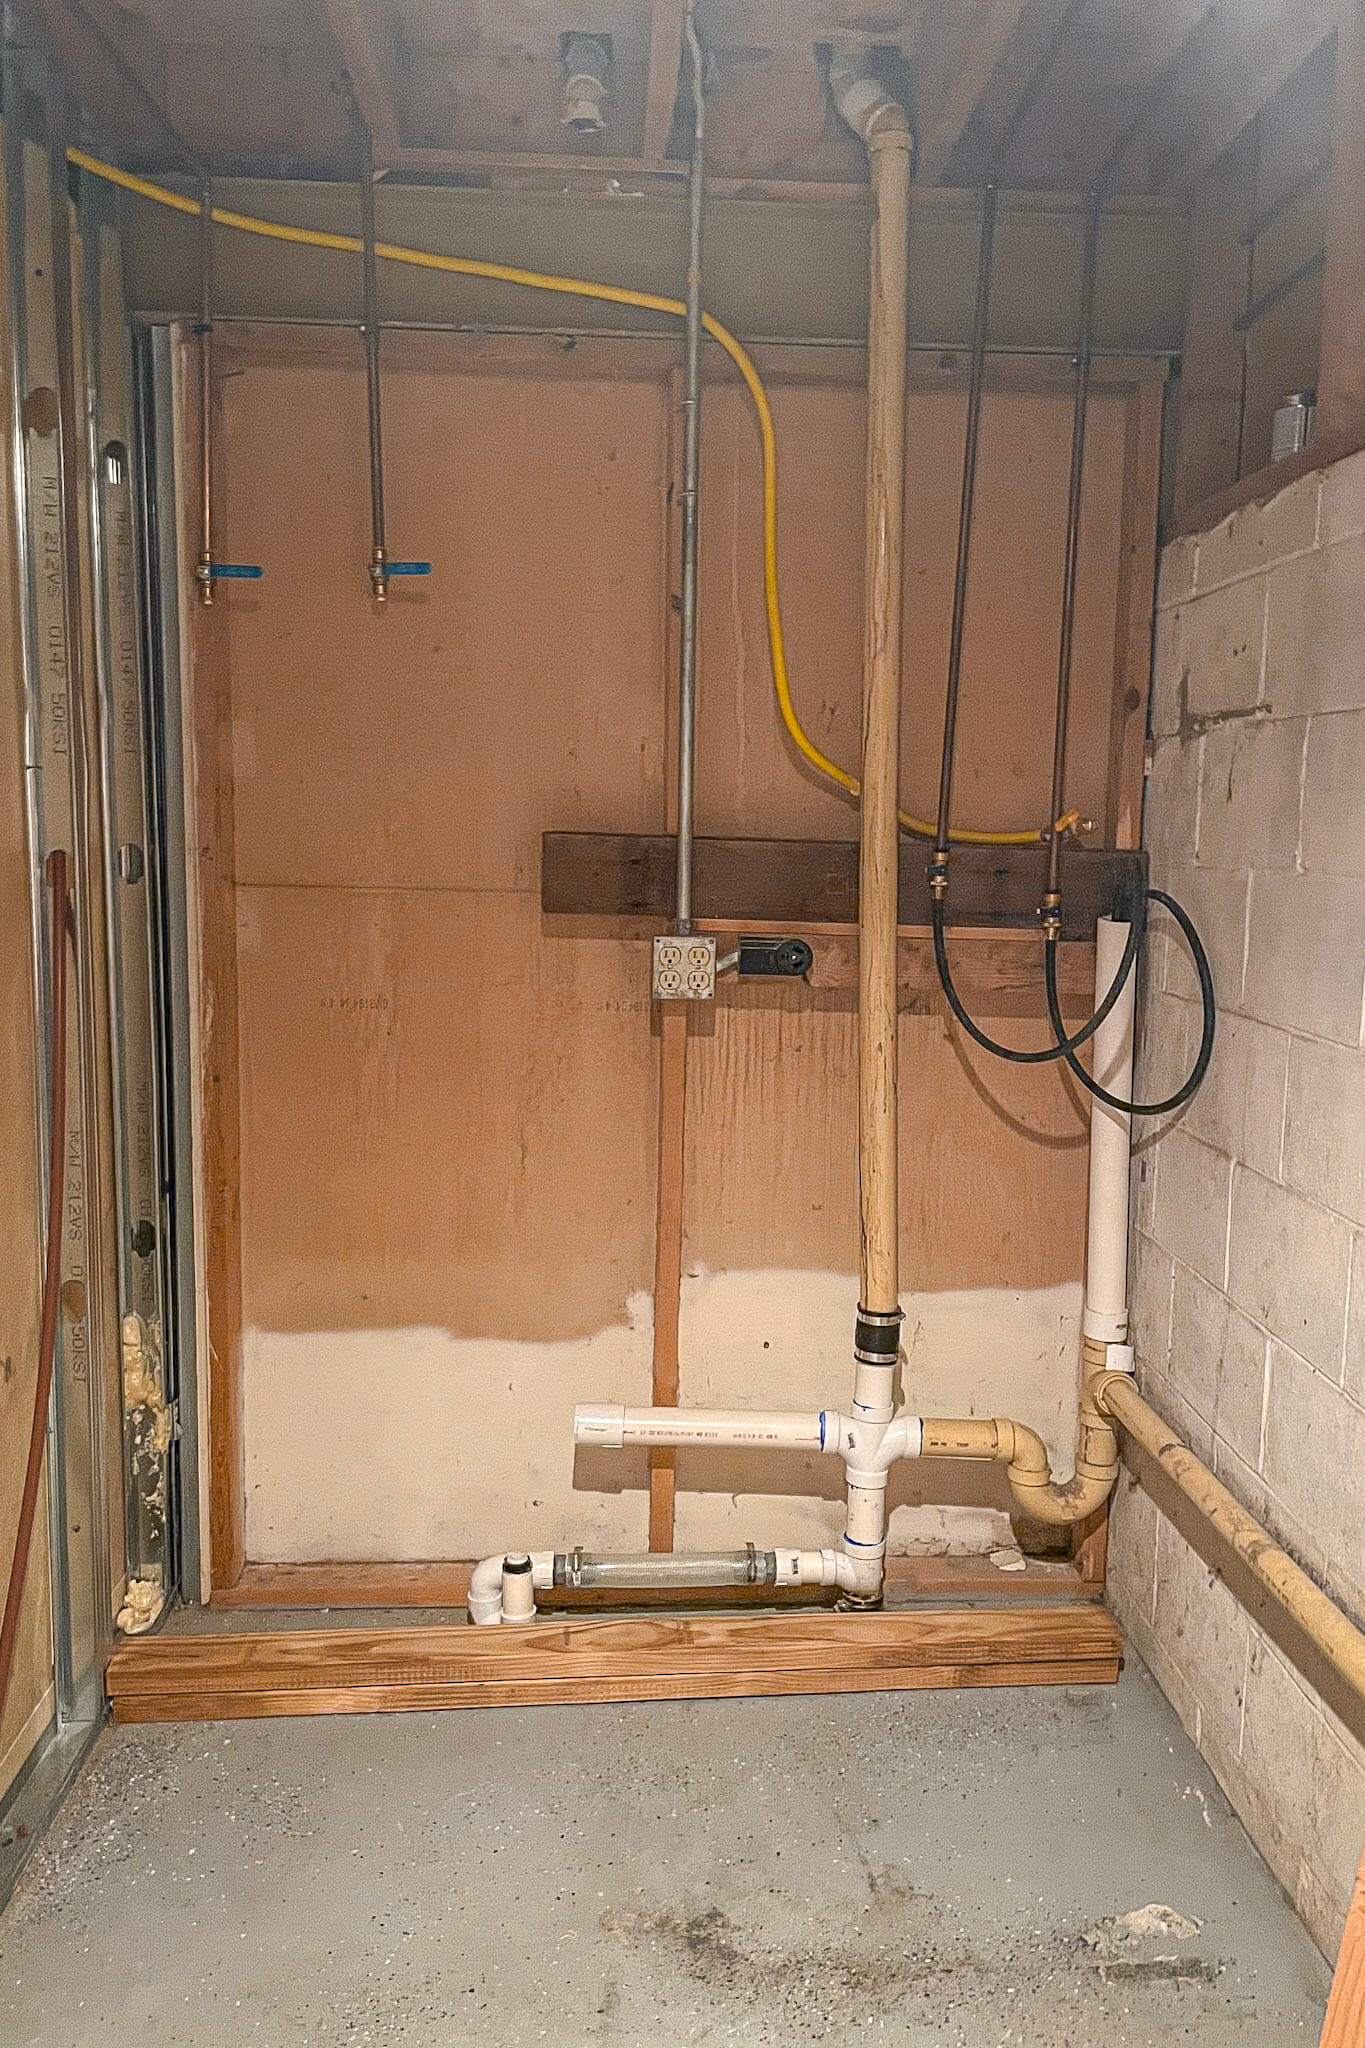
Technically, this is my laundry room. Well, maybe saying “room” is too generous; “spooky, dreary hovel” is more fitting. Thankfully, Home Depot generously offered to help me turn this scary corner into a beautiful, functioning space through a full laundry room makeover.
Washer & Dryer
Samsung Stainless Steel Bespoke 5.3 cu. Washing Machine
Samsung Stainless Steel Bespoke 7.6 cu. Dryer
Tools & Materials
Mold/Moisture Resistant Drywall
Washing Machine Drain Pan
Metal Corner Bead for Drywall
Washing Machine Outlet Box
GFCI Outlet
Mold Resistant Drywall Tape
Joint Compound
1 x 12 inch Poplar Board
Wood Glue
Liquid Nails
Utility Sink
Pull-Out Faucet
Drop Ceiling Tiles
Drop Ceiling Installation Kit
Miter saw
Table saw
Drill
Tile Saw
Grout
Thin Set
Wall Tile
Floor Tile
Floating Shelf Brackets
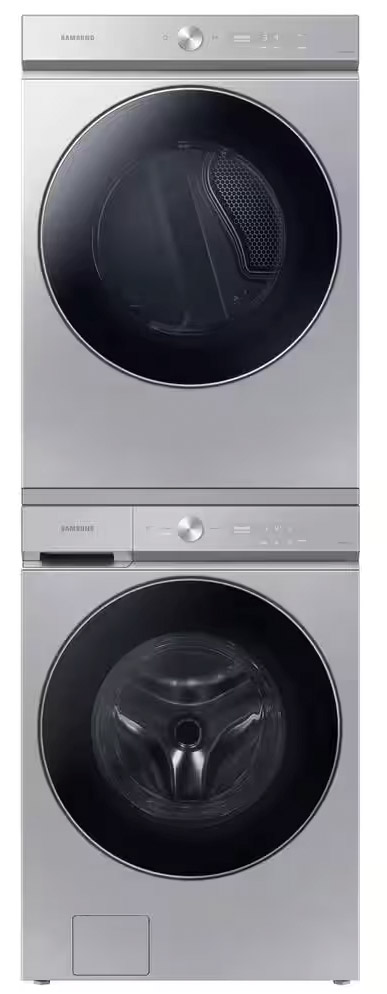
My New Samsung Stackable Washer & Dryer!
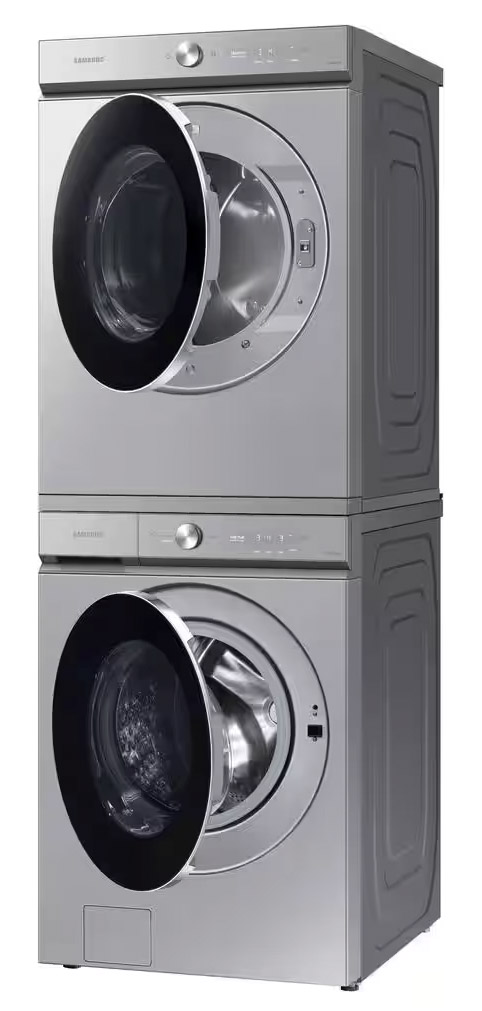
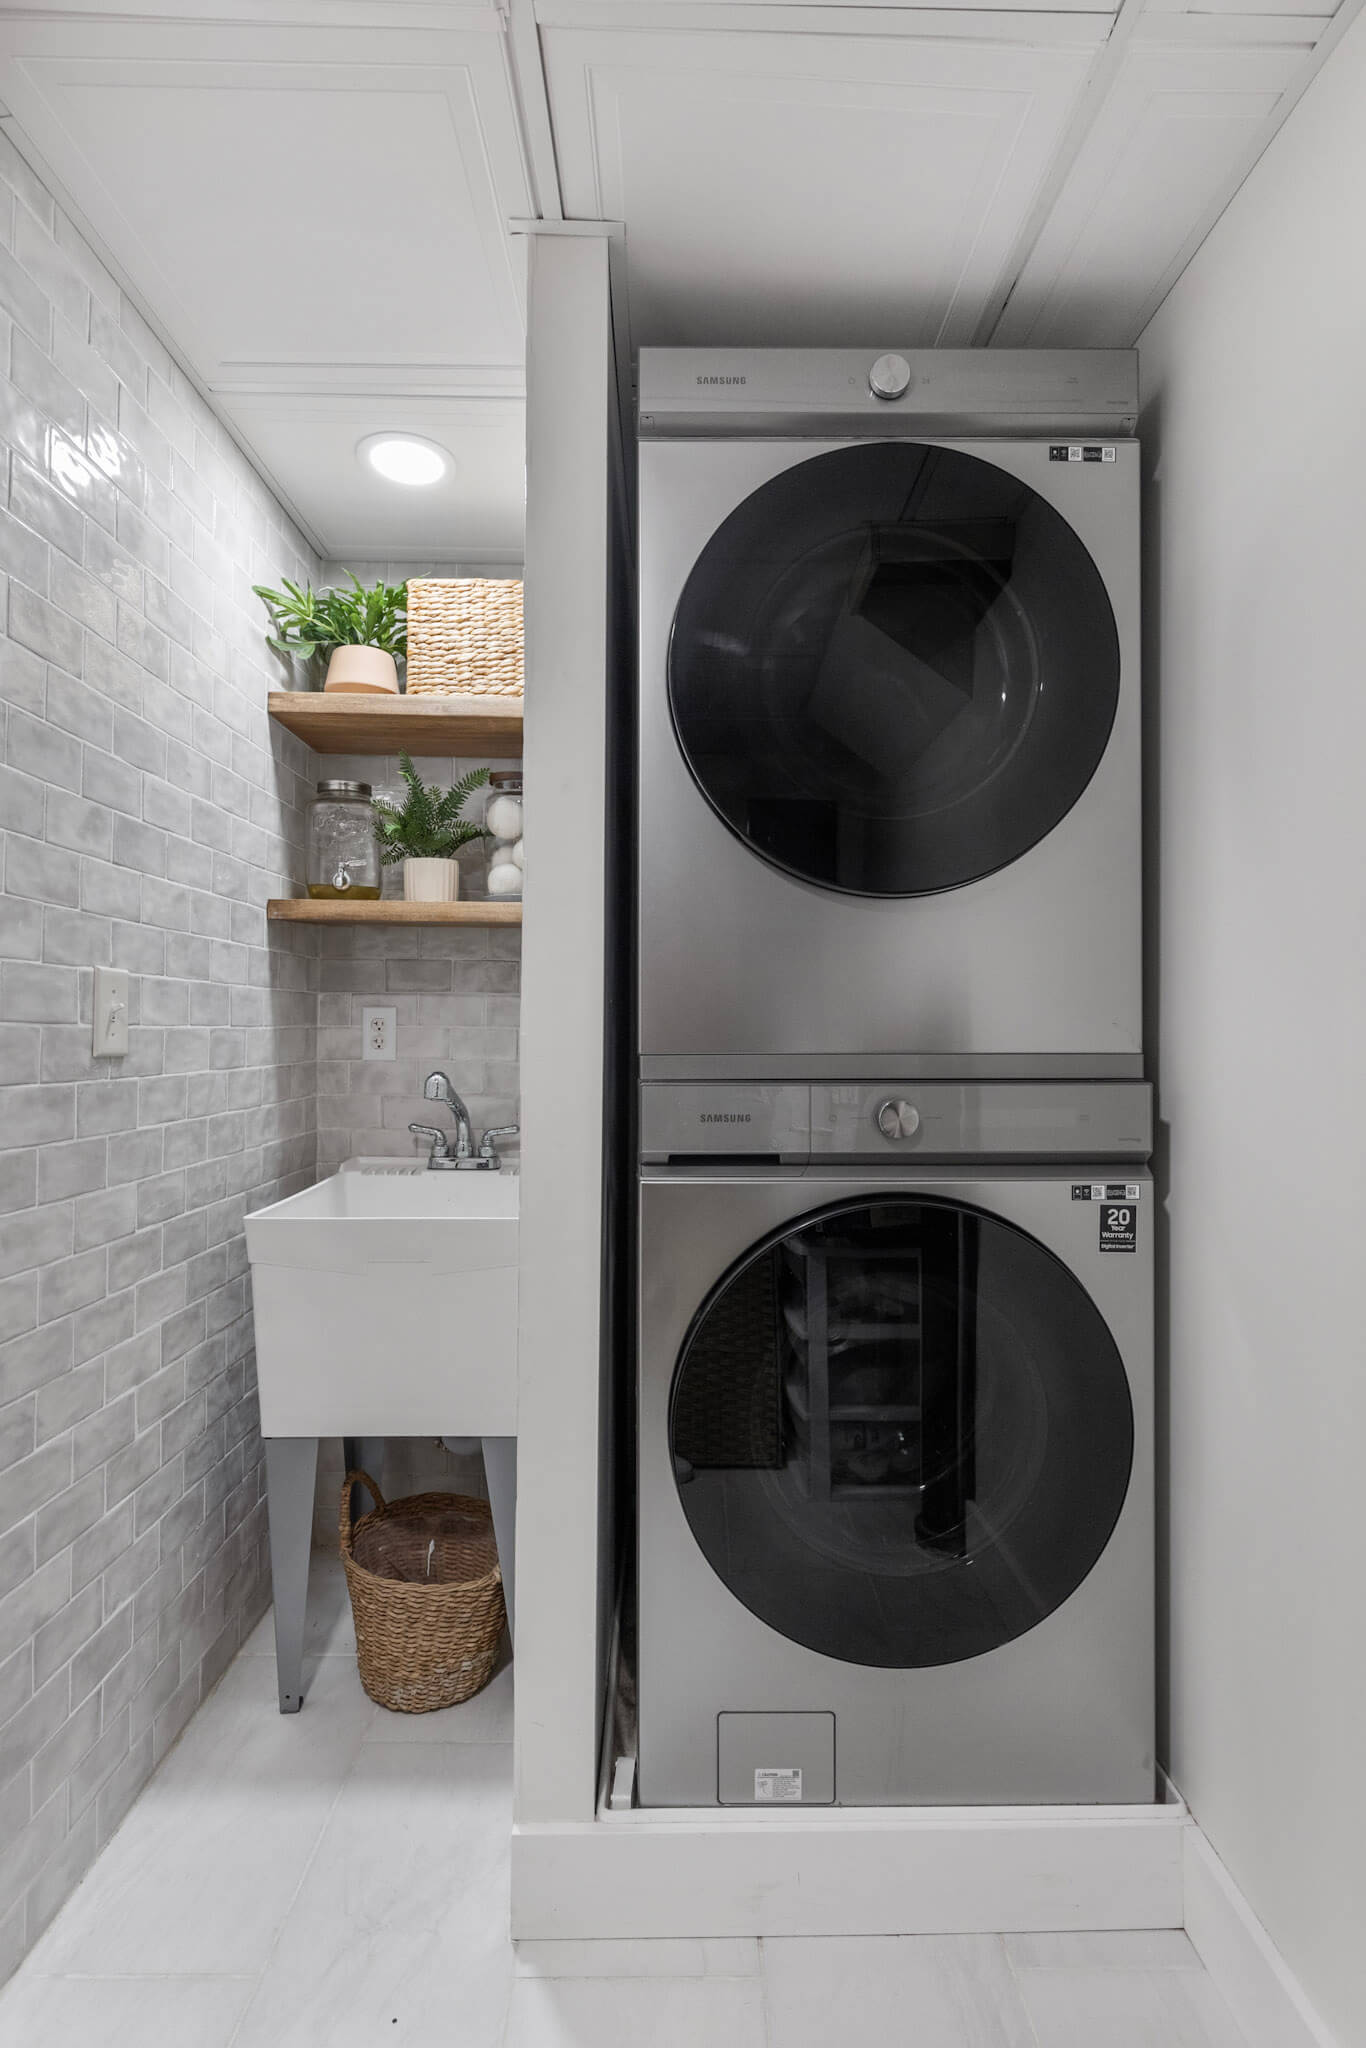
When planning my laundry room makeover, I literally built the design around the coolest washer and dryer ever. We got the Stackable Samsung Bespoke Washer and Dryer from Home Depot, and they are the fanciest, highest-tech appliances we’ve ever owned. These babies are the real deal, I tell ya!
This washer and dryer have a speed cycle that washes a normal load in under 28 minutes, and when combined with the dryer’s speed cycle, you’ve got a fully washed and dried load of laundry done in under an hour.
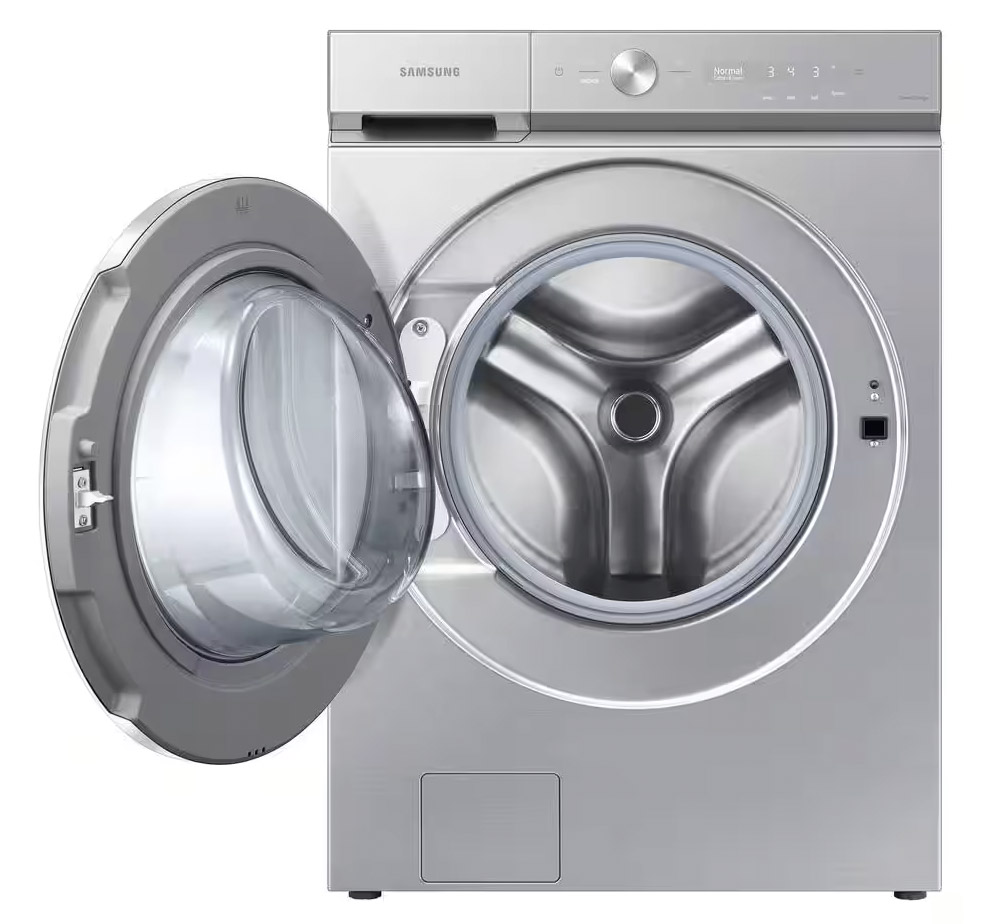
It can also be hooked up to Wi-Fi, so you can receive notifications when the cycle is done. Yes, please! And, this washer has a 5.3 cu capacity drum which means you can wash a REALLY BIG LOAD if you want.
Design For a Small Laundry Room
I chose stackable units to maximize the space during this laundry room makeover, and I really wanted a utility sink nearby. Not for laundry—no, that’s what my washer and dryer are for—but for cleaning my paint sprayers.
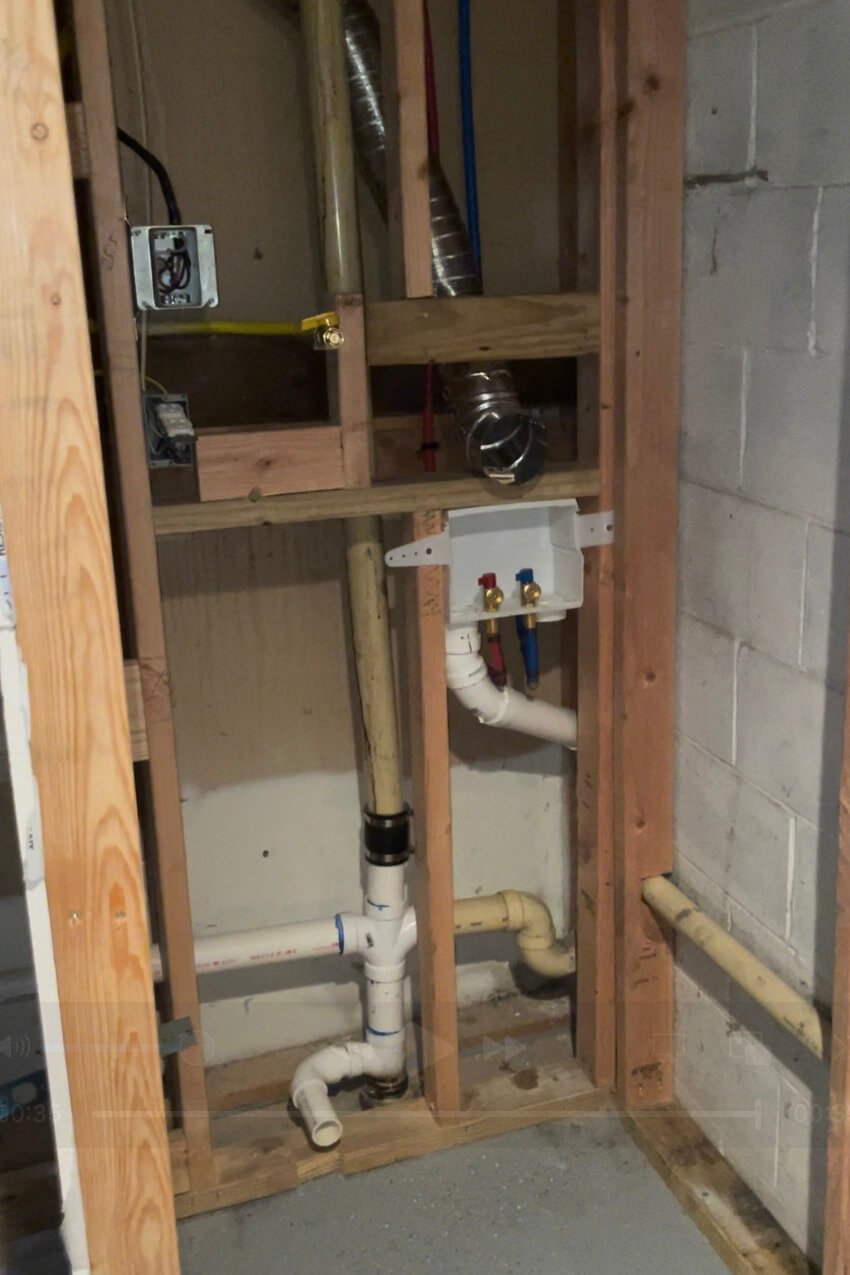
When we bought our house in Nebraska, the basement was unfinished. In the laundry room, we needed to move some pipes around. Enter Grandpa—my father-in-law and contractor—who helped us reconfigure the plumbing and electrical to get the laundry room makeover underway.
He even installed hookups for our washer, dryer, and GFCI outlet next to the sink.
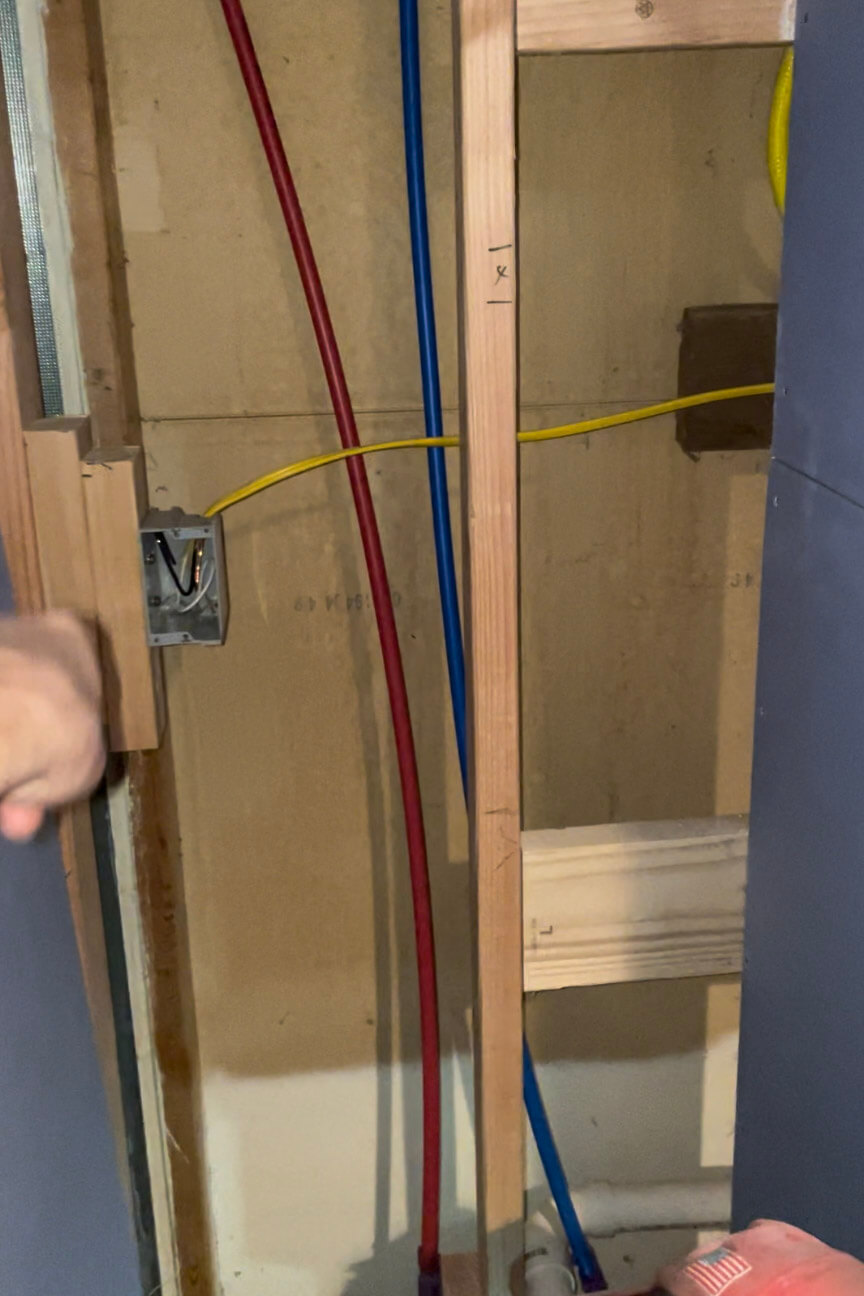
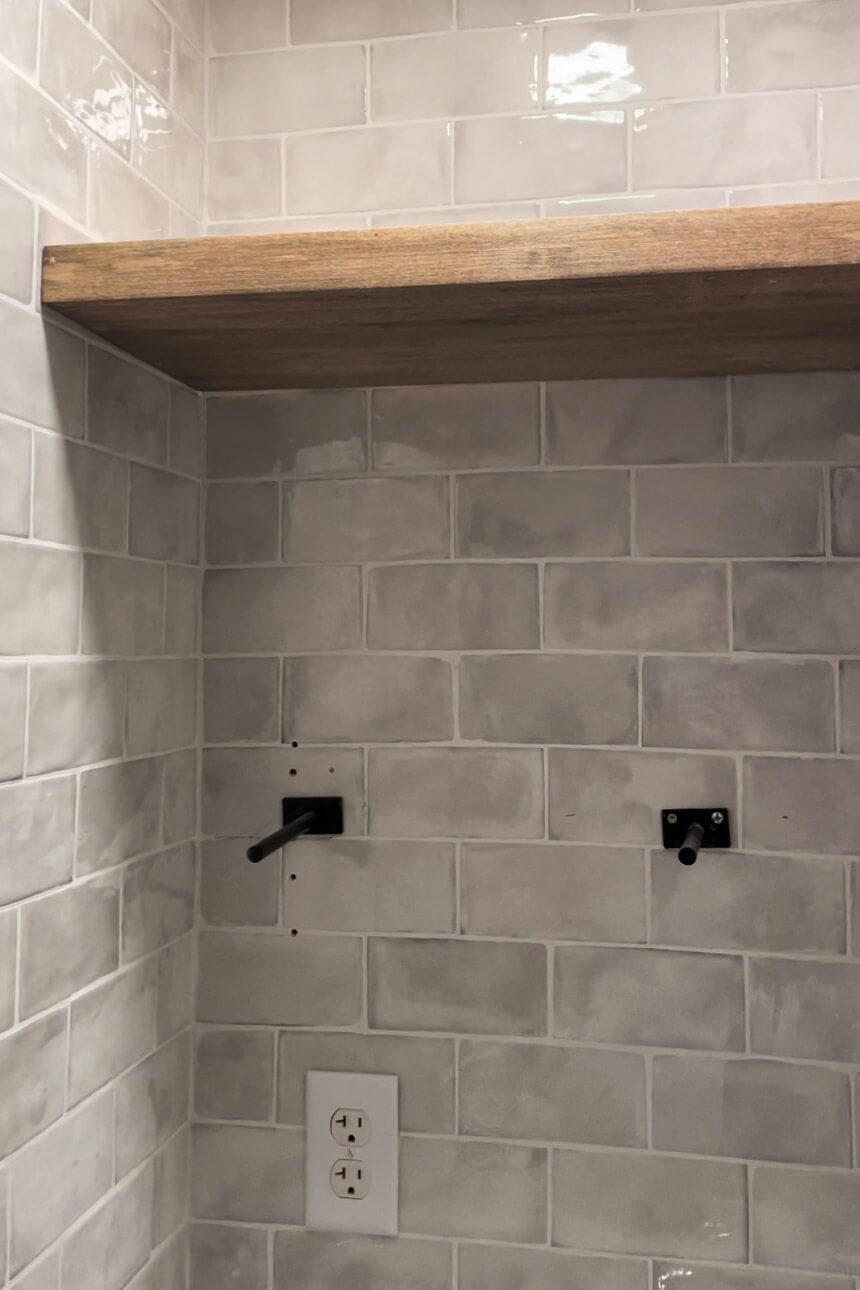
I also built a wall beside the washer and dryer to finish off the sides and allow me to tile all three sides around the utility sink for easy cleaning.
This made it a bit tricky to install the washer and dryer, but we solved it by swapping the shorter gas vent hose and electrical cords for longer ones. This allowed us to hook everything up while the units were slid out, then easily slide them back into place.
Alternatively, we could have slid them into position first and then cut a hole in the wall behind to make the connections, but that would have required more drywall repair.
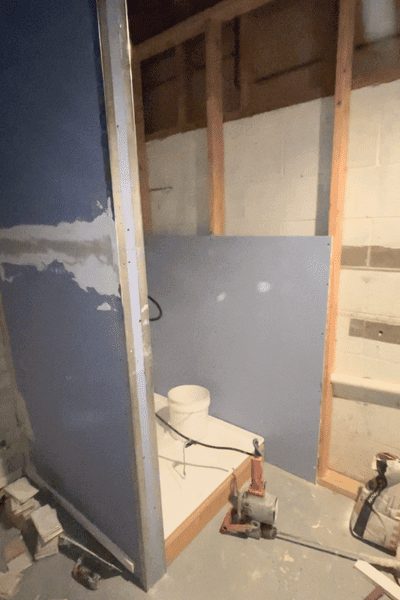
Laundry Room Makeover is Ready for Drywall
Grandpa built the wall to separate the washer and dryer from the sink area and then installed mold and moisture resistant drywall. Our spooky corner was looking more like a functional laundry room!
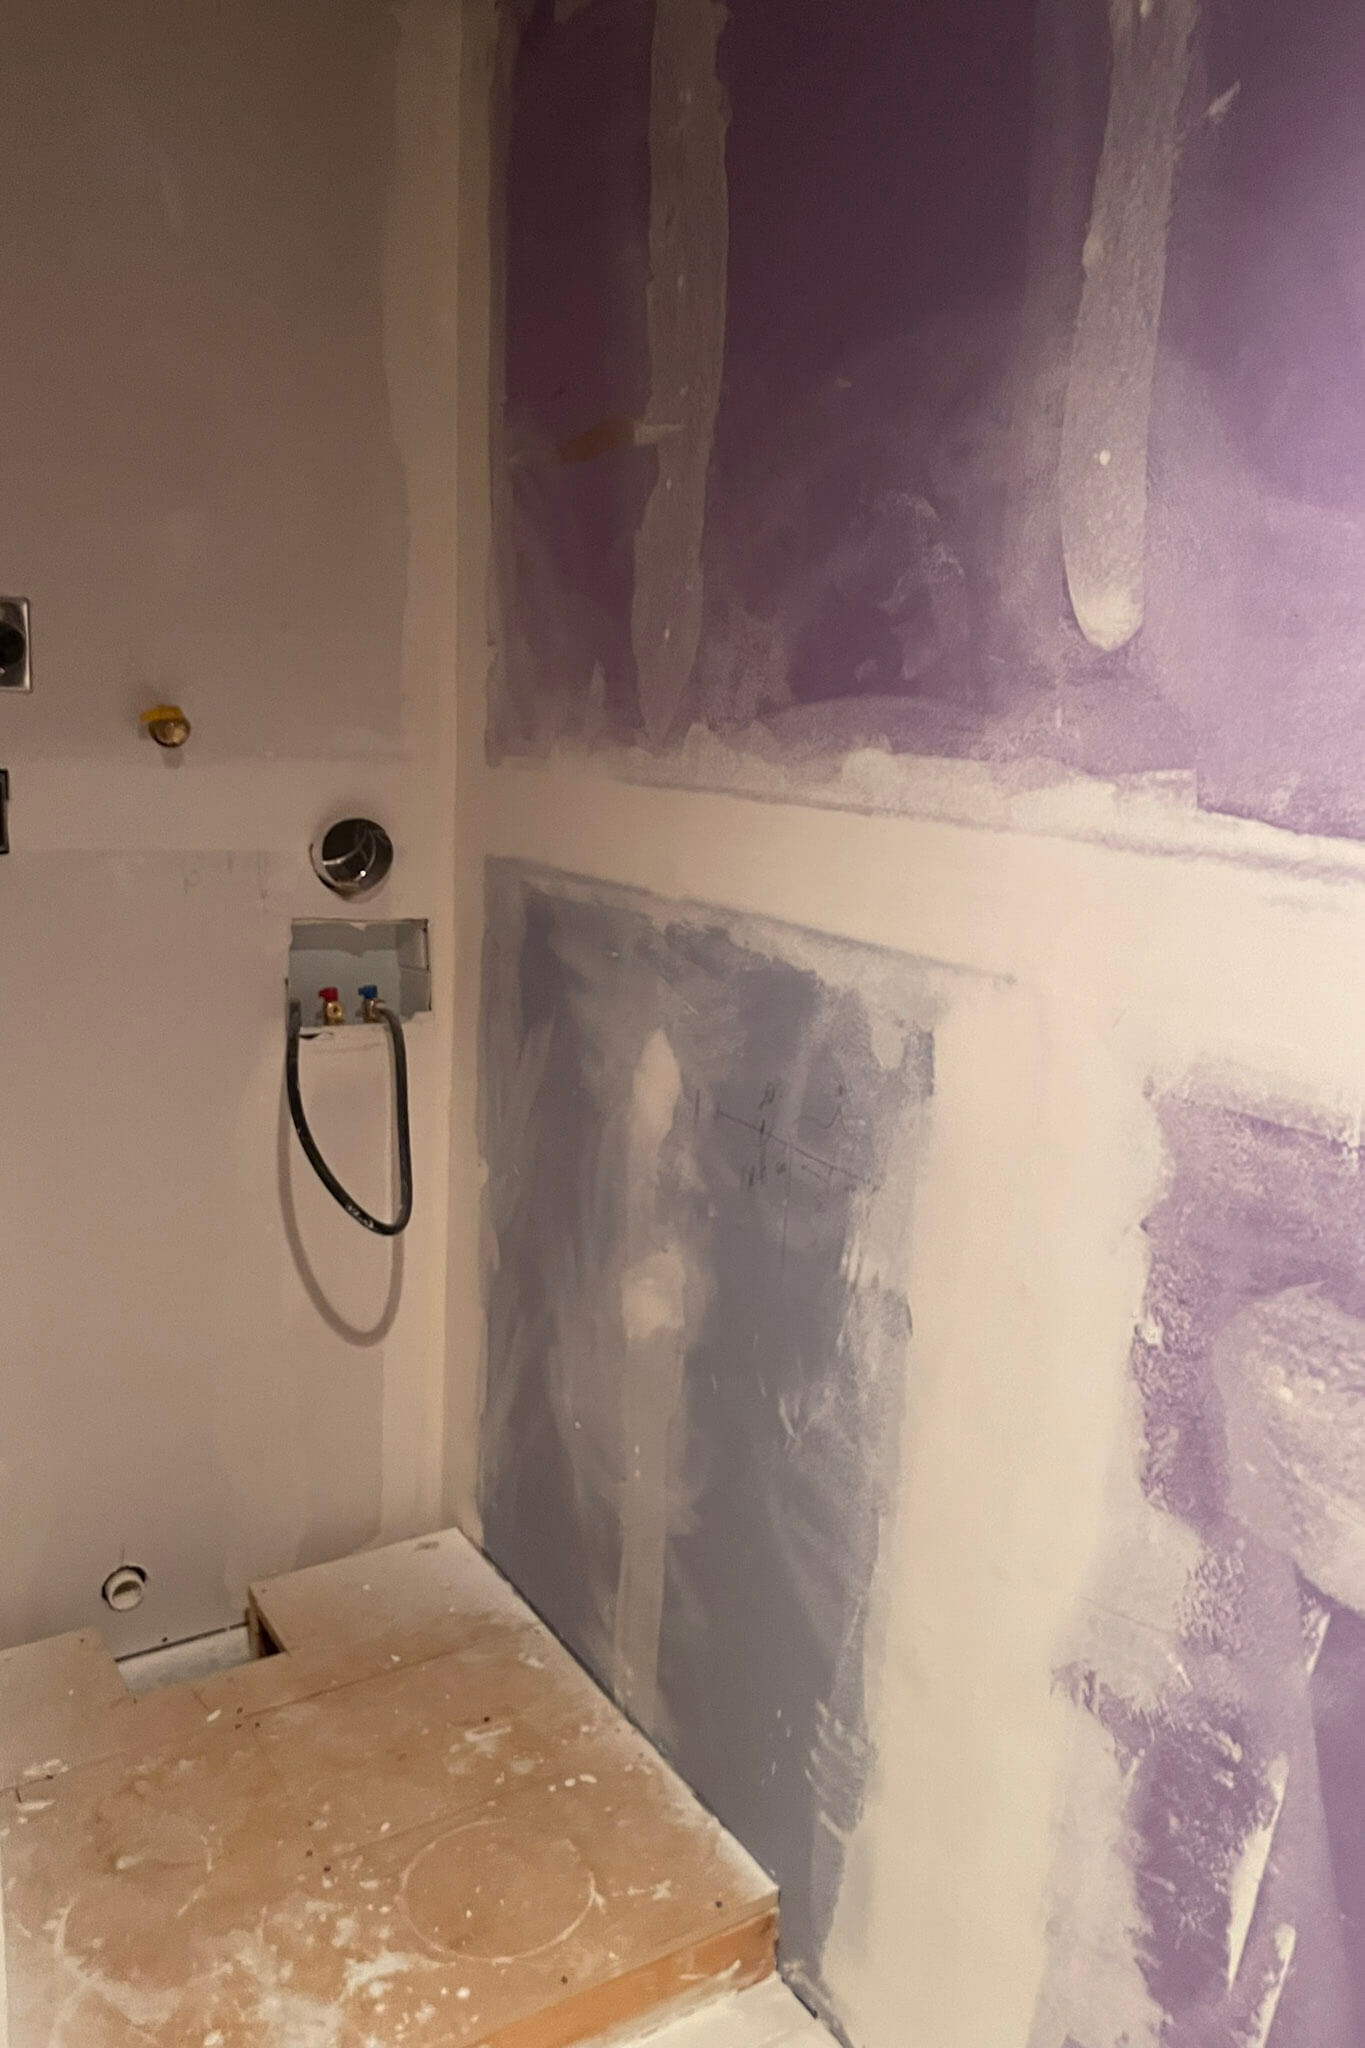
It’s Finally Looking Like a Laundry Room!
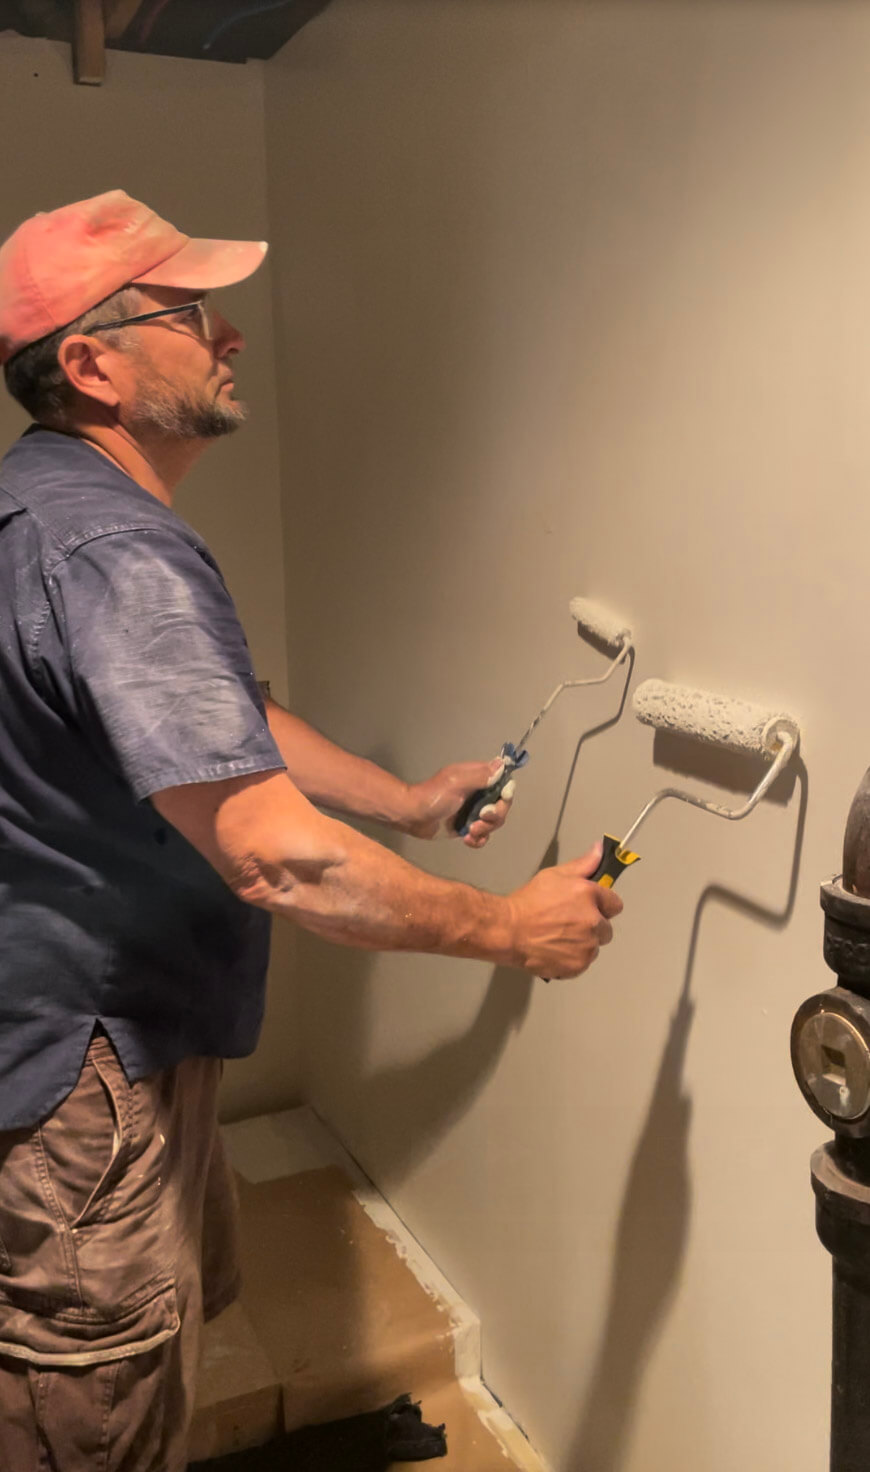
Next, we primed and painted the walls surrounding the washer and dryer. Grandpa, with his two-handed painting technique, was so efficient!
We’re finally ready to close the area up and stop looking at PVC piping above our heads. Drop ceilings are fairly common in basements. They’re a quick and easy way cover up infrastructure, while still allowing access to all the plumbing and wires above the tiles.
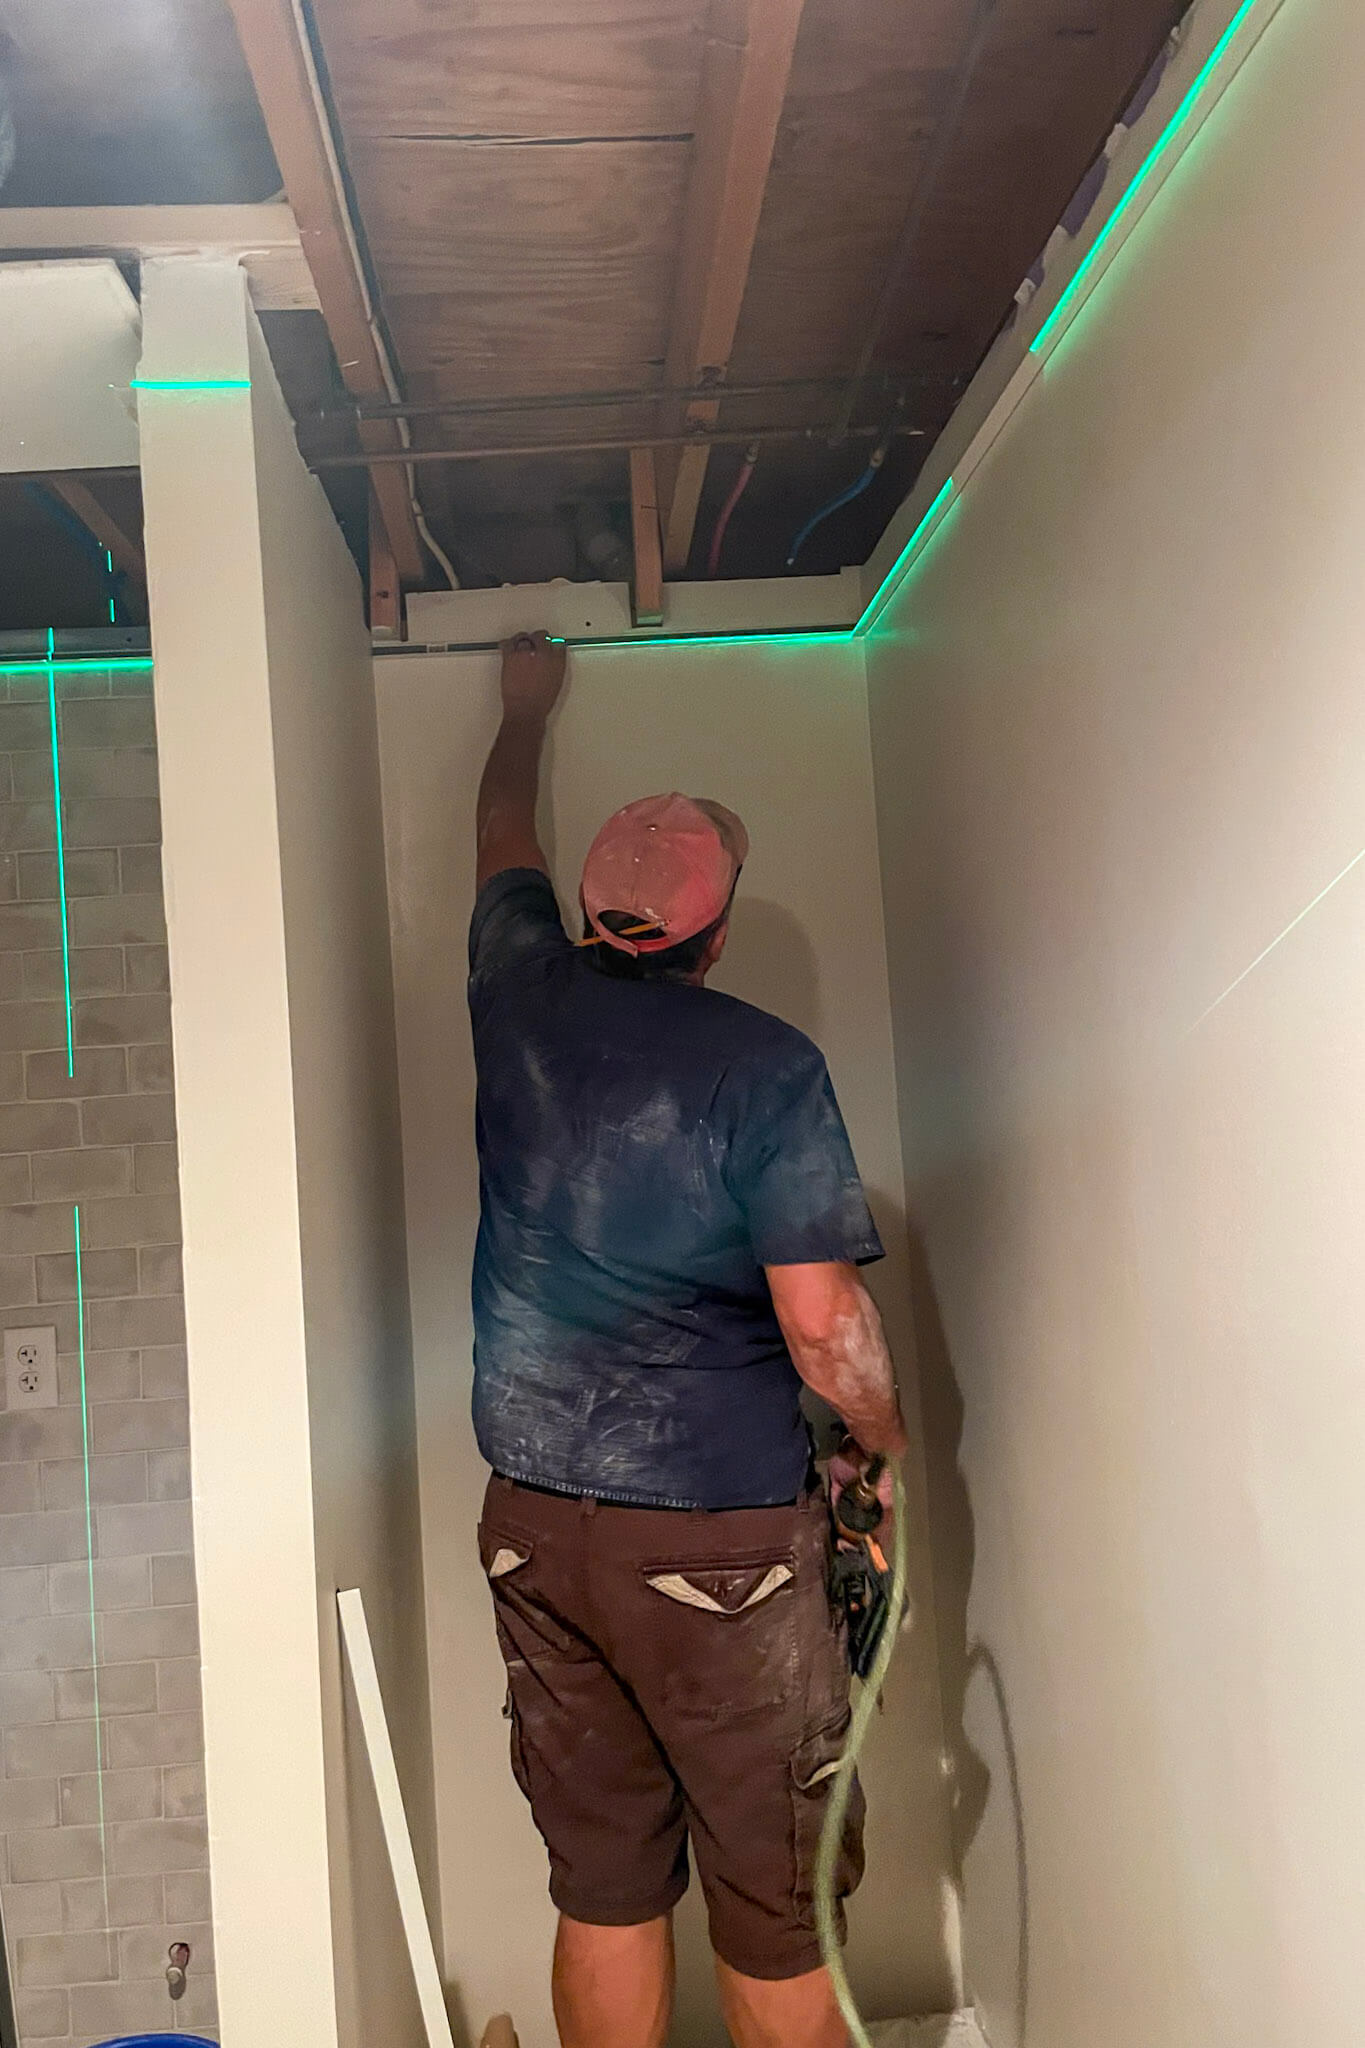
Although I initially wanted to replace the drop ceiling with drywall, remodeling our kitchen made me appreciate its convenience. Popping out a tile to fix something and putting it back—no drywall patching required—was a dream.

Preventing Water Damage During Our Laundry Room Makeover
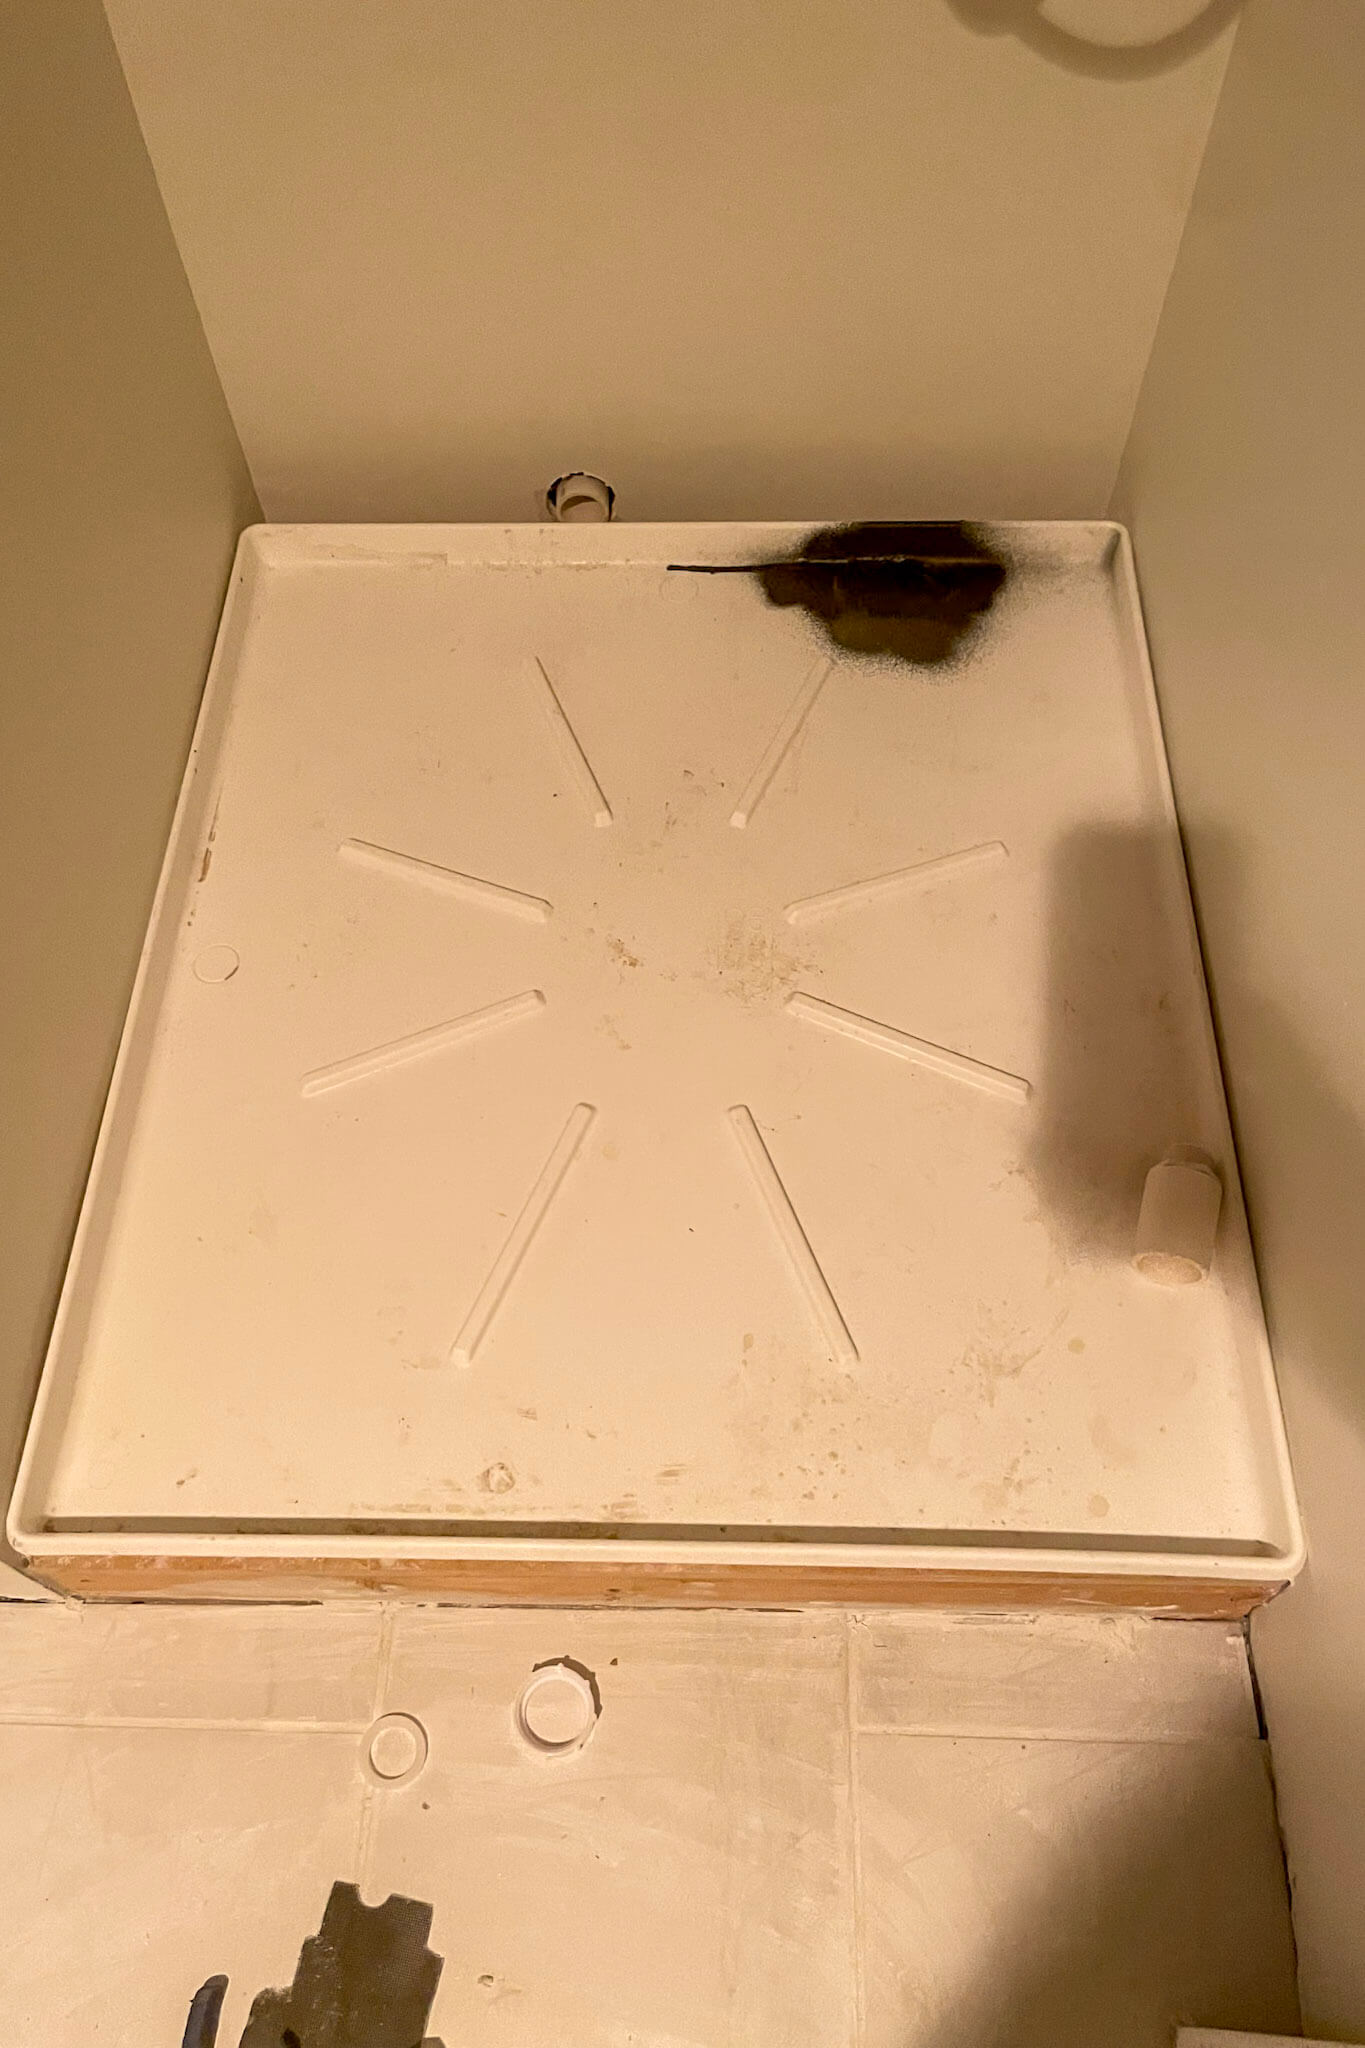
As part of this laundry room makeover, we built a platform to raise the washing machine off the floor. The pan sits on top of the platform, and if the washing machine leaks, the water drains away, preventing damage to our laundry room floor.
Choosing Tile For Our Laundry Room Makeover
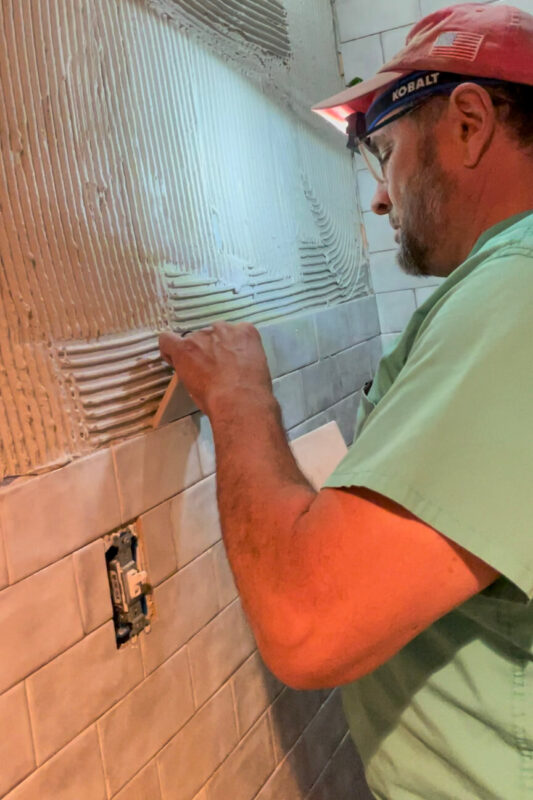
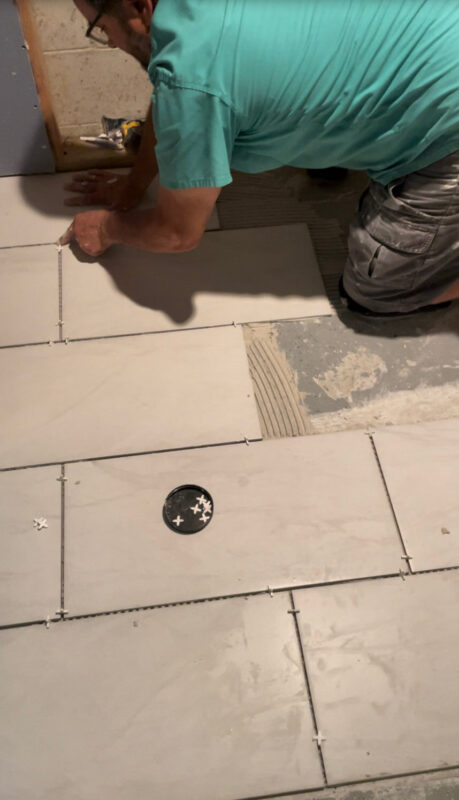
Since our basement is dark and the laundry has no windows, I chose lighter wall and floor tile to combat the shadows.
Grandpa installed the wall tile first, and then the floor tile.
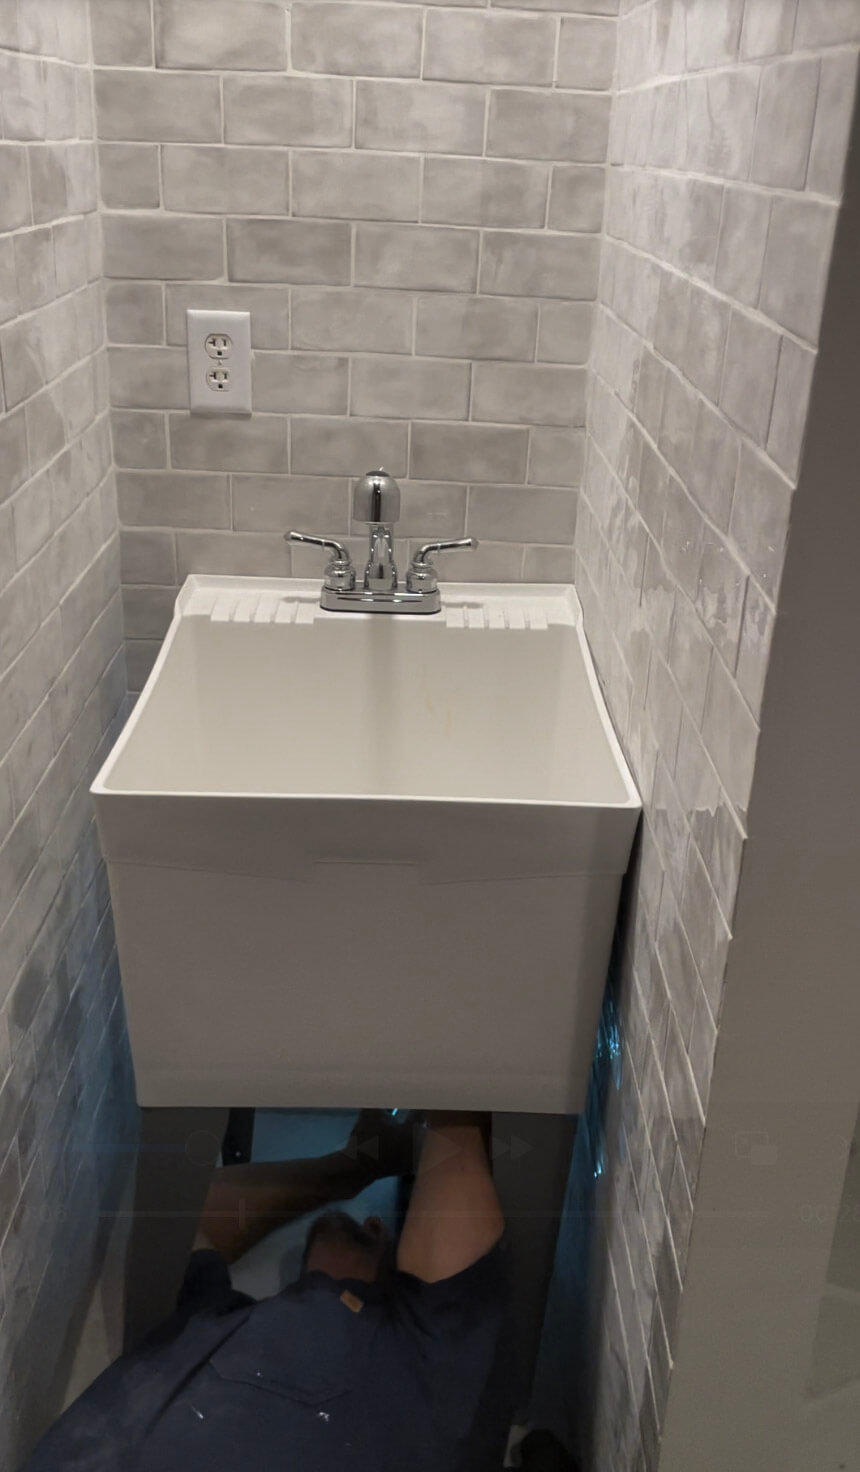
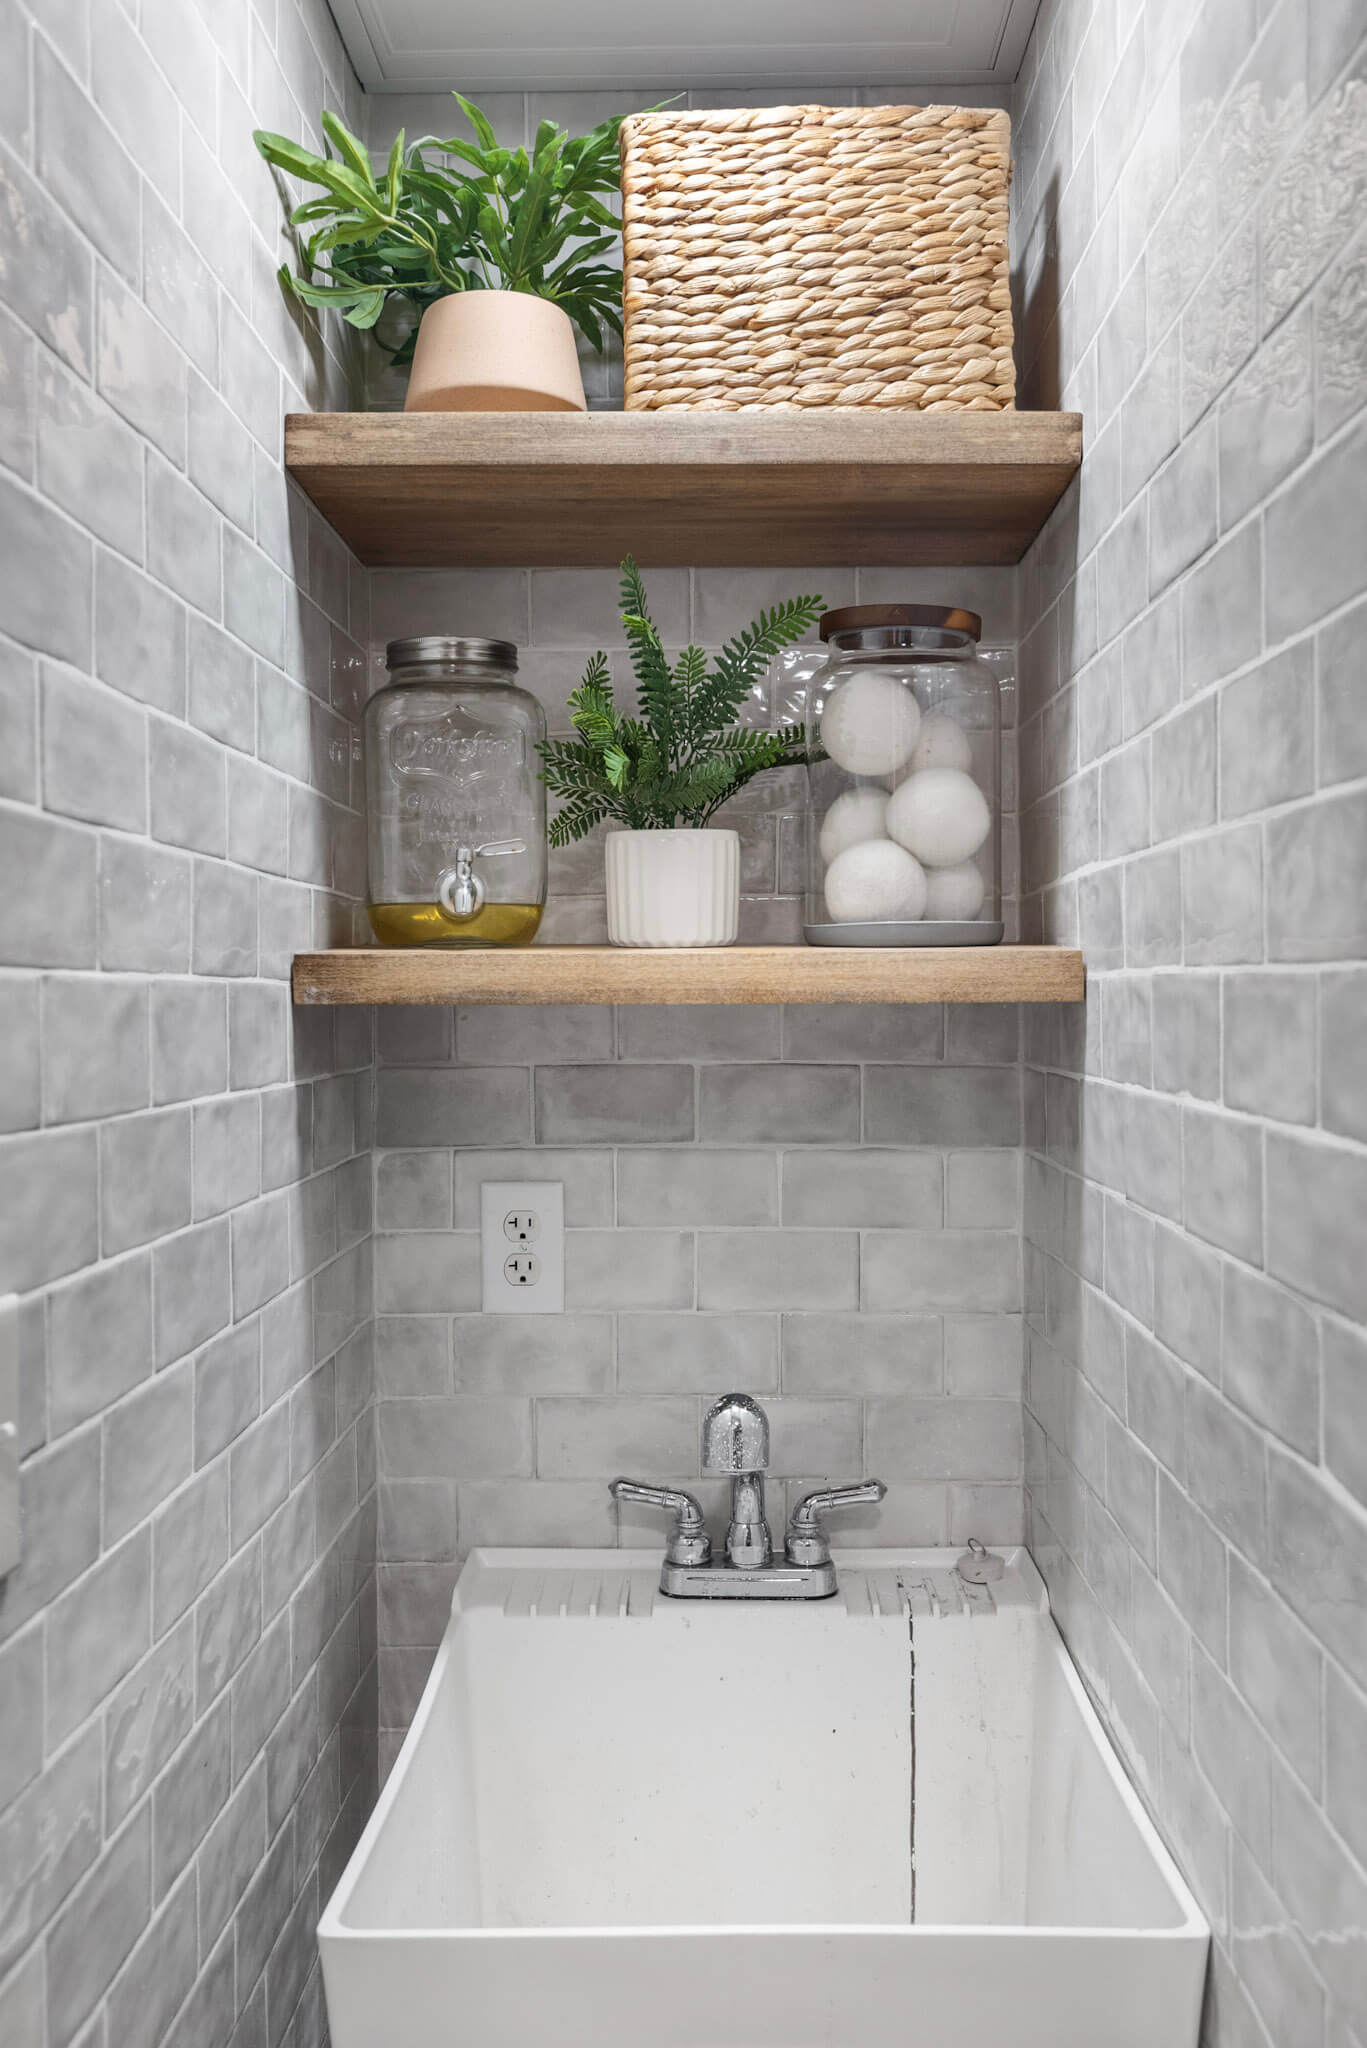
This utility sink fit perfectly and is just the right size for the space. I chose to position it off-center to leave room for a small countertop on the left wall. Even a little counter space will make a big difference when washing out my paint sprayers. Trust me, a little counter space is better than none!
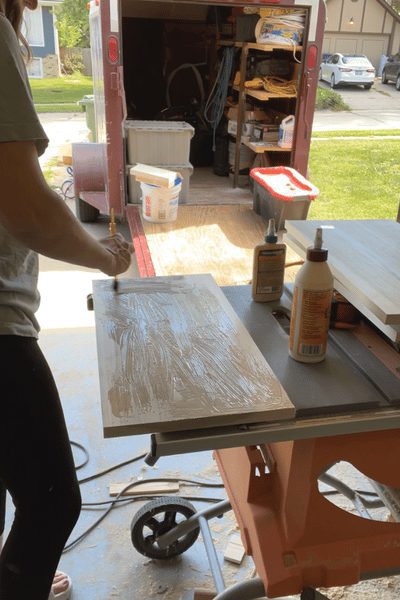
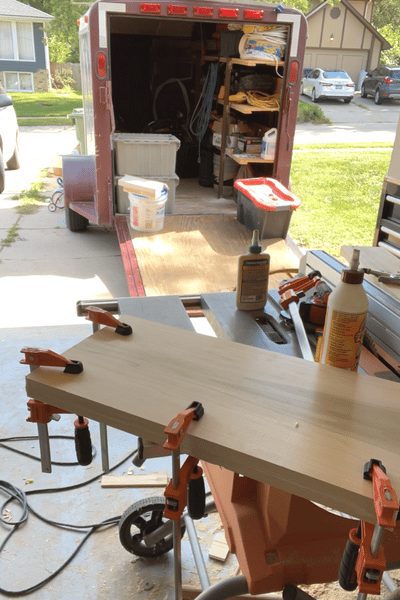
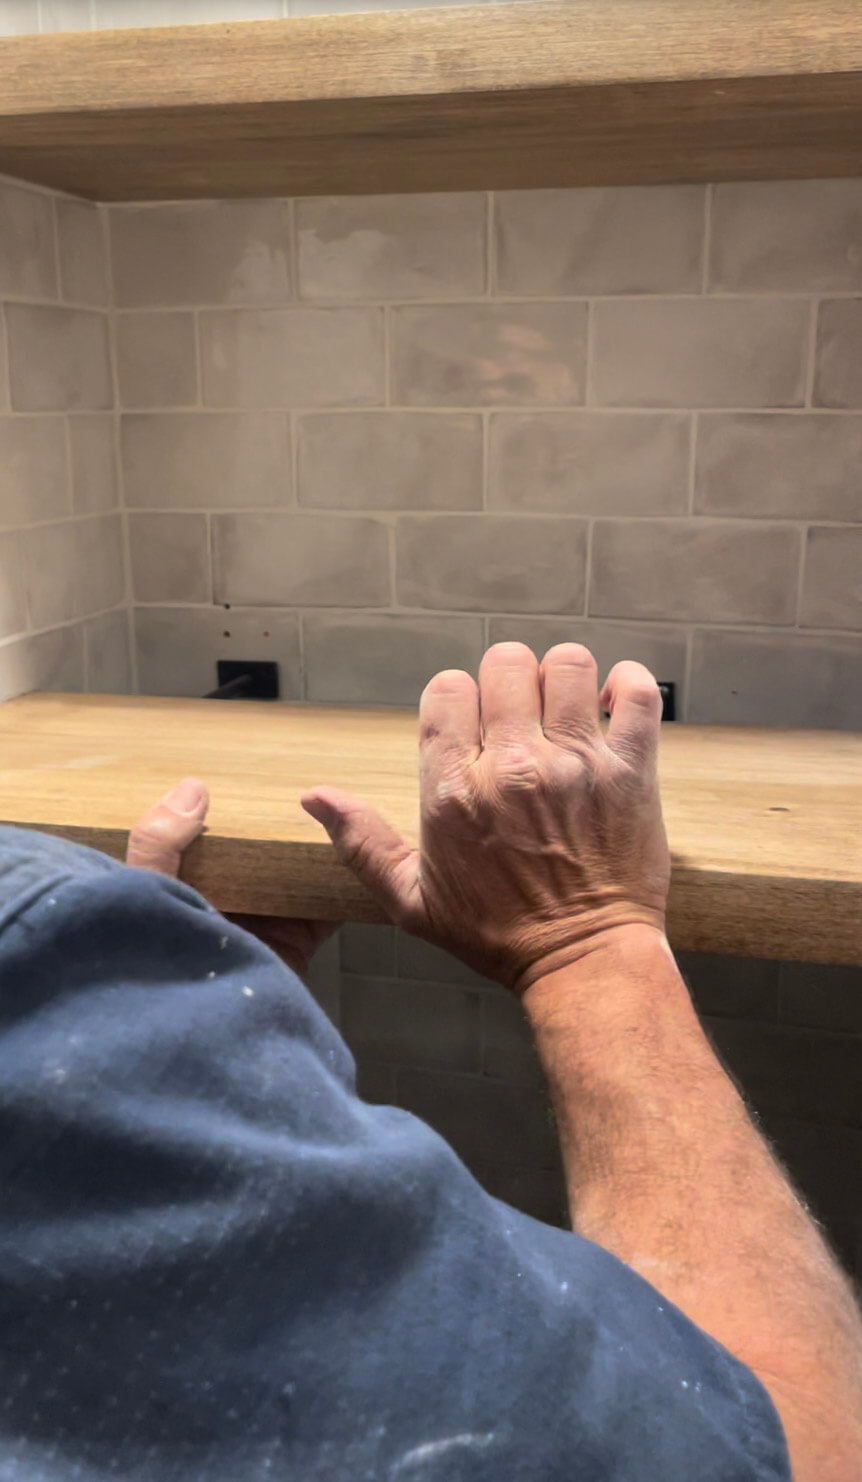
Time for the floating shelves
For the floating shelves, I used a 1 x 12 inch poplar board from Home Depot, glued two pieces together for thickness, and sanded and stained them. Wood glue is even stronger than nails, so these two boards are now basically one.
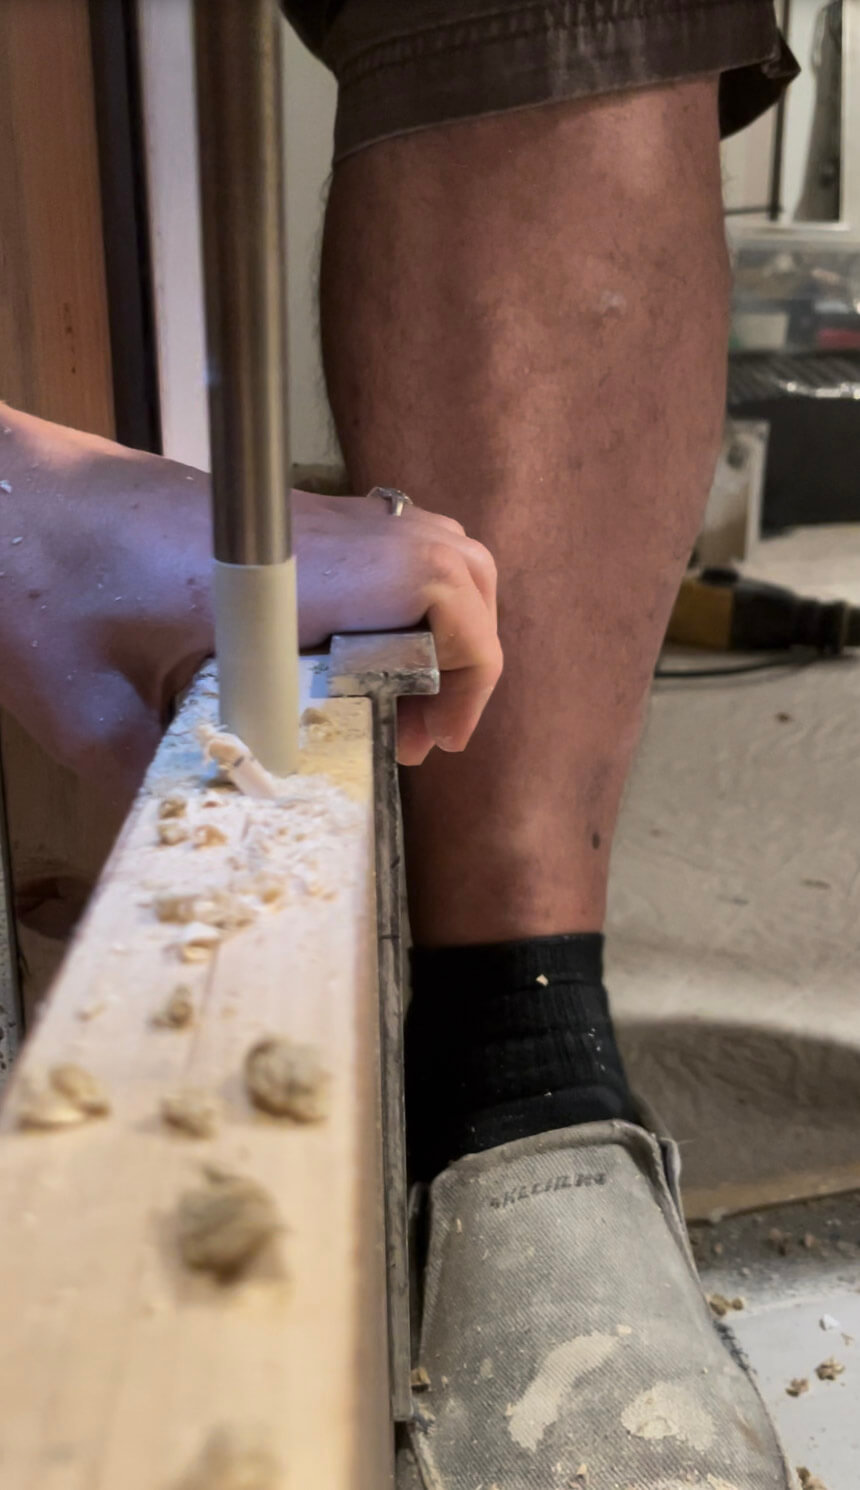
We screwed the brackets into the tile above the sink, and Grandpa marked where to bore holes in the back of the floating shelf.
It was important to drill the holes perfectly straight, or the shelf wouldn’t sit right. I made sure Grandpa stayed plumb while he ensured the drill bit didn’t go too far forward or backward. After adding some liquid nails to the holes, we slid the brackets into the shelves’ holes.
Approaching Laundry Room Makeover Finish Line
After all this hard work, it was finally time to install the pièce de résistance: our new Stackable Samsung Bespoke Washer and Dryer.
The sleek, modern design, combined with the easy-to-use digital interface, really completes the laundry room makeover. The center control panel is also perfect for those who are, ahem, vertically challenged like me!
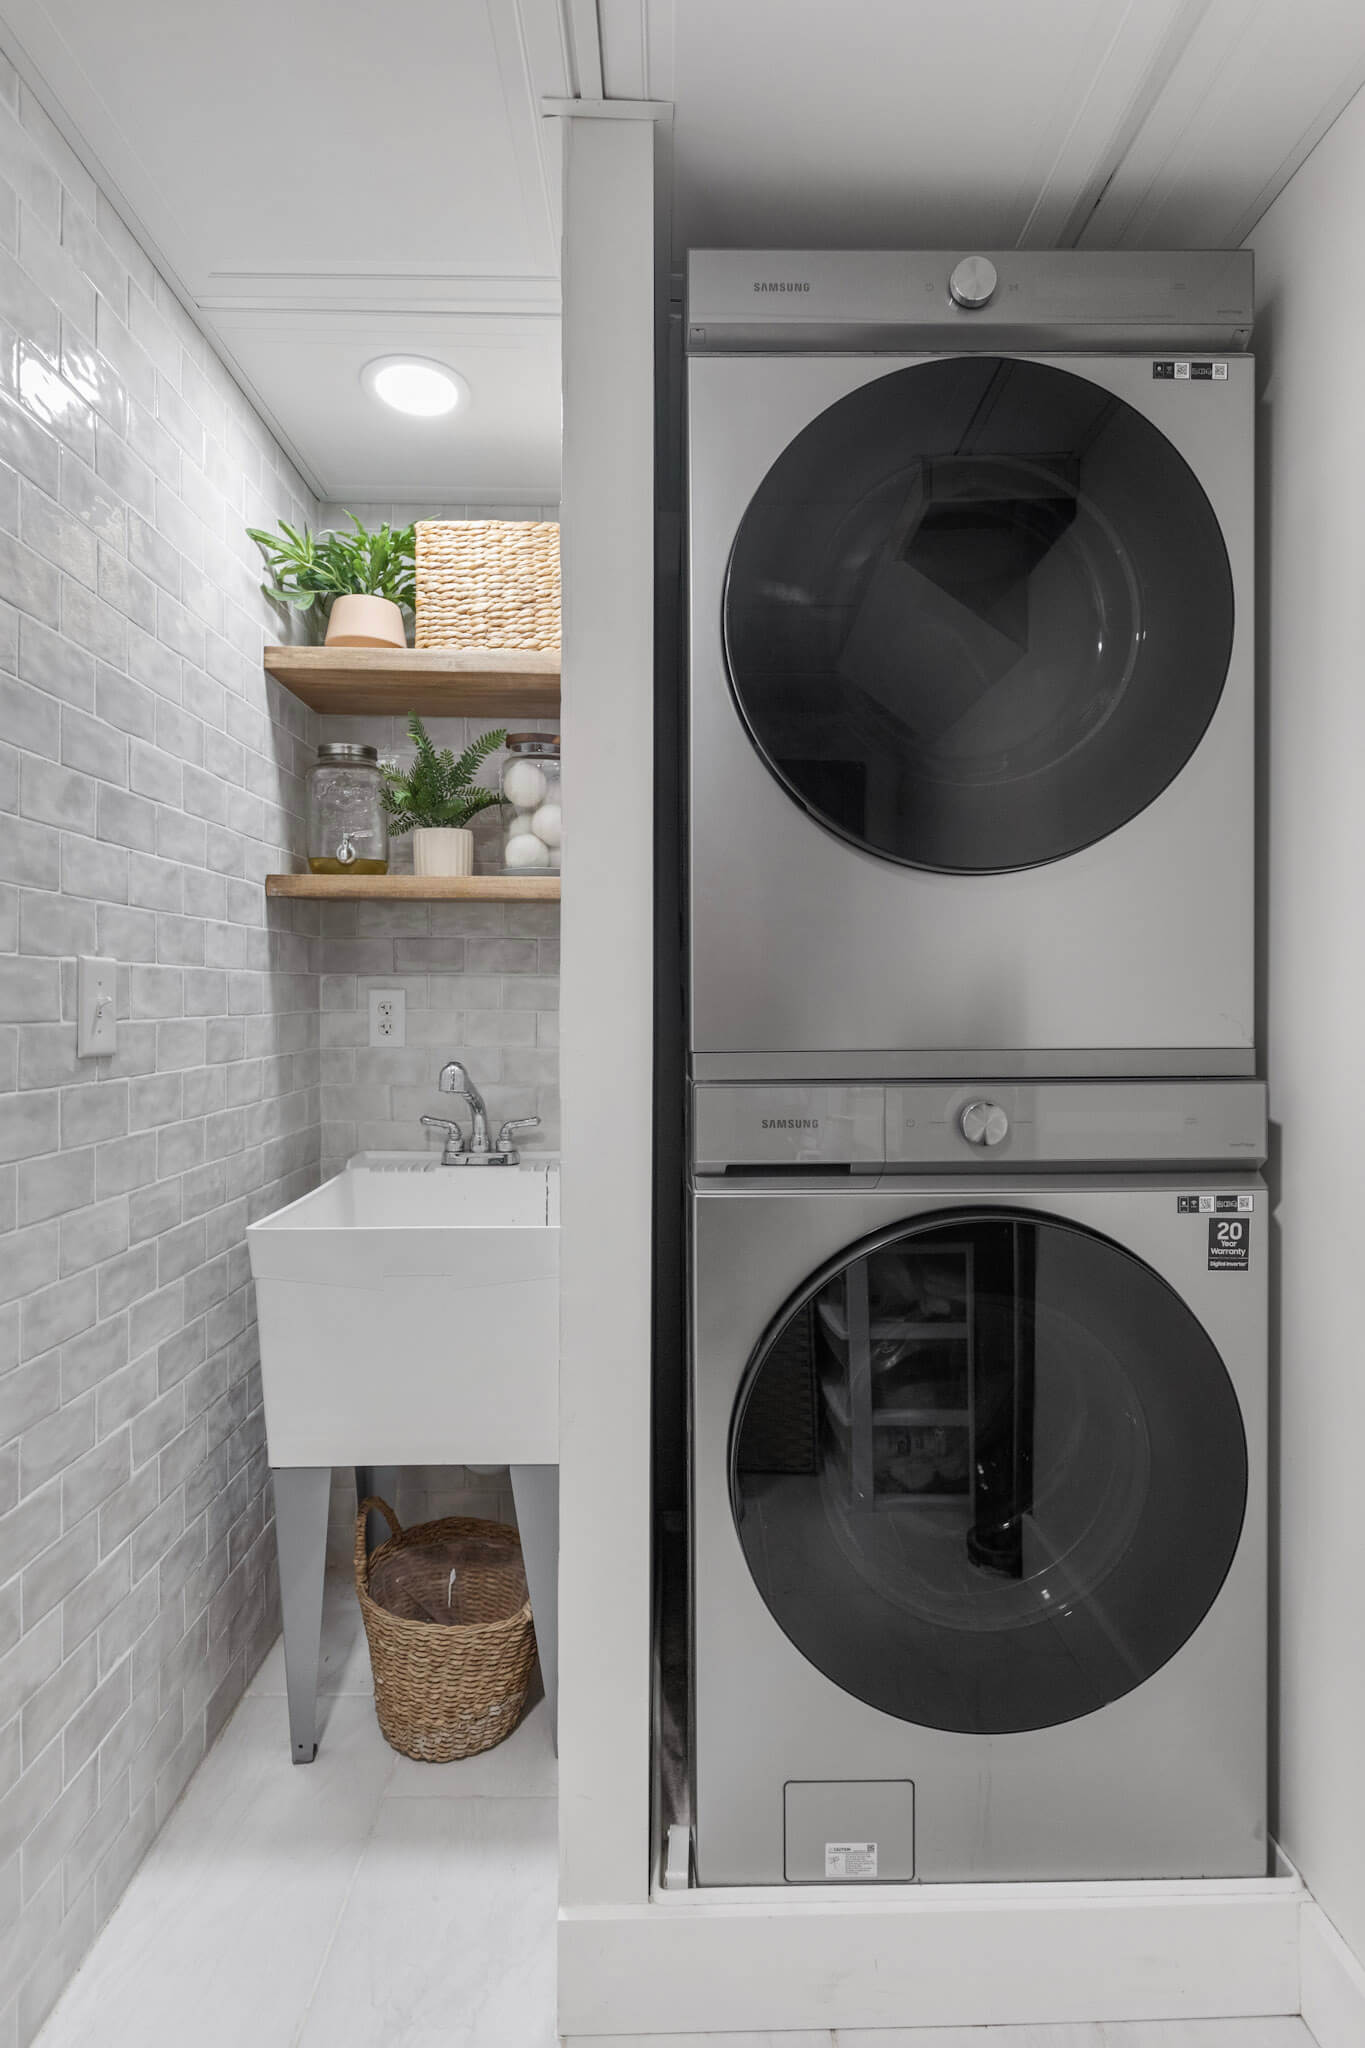
Finally, after all that hard work, I added some cute decor and here she is!
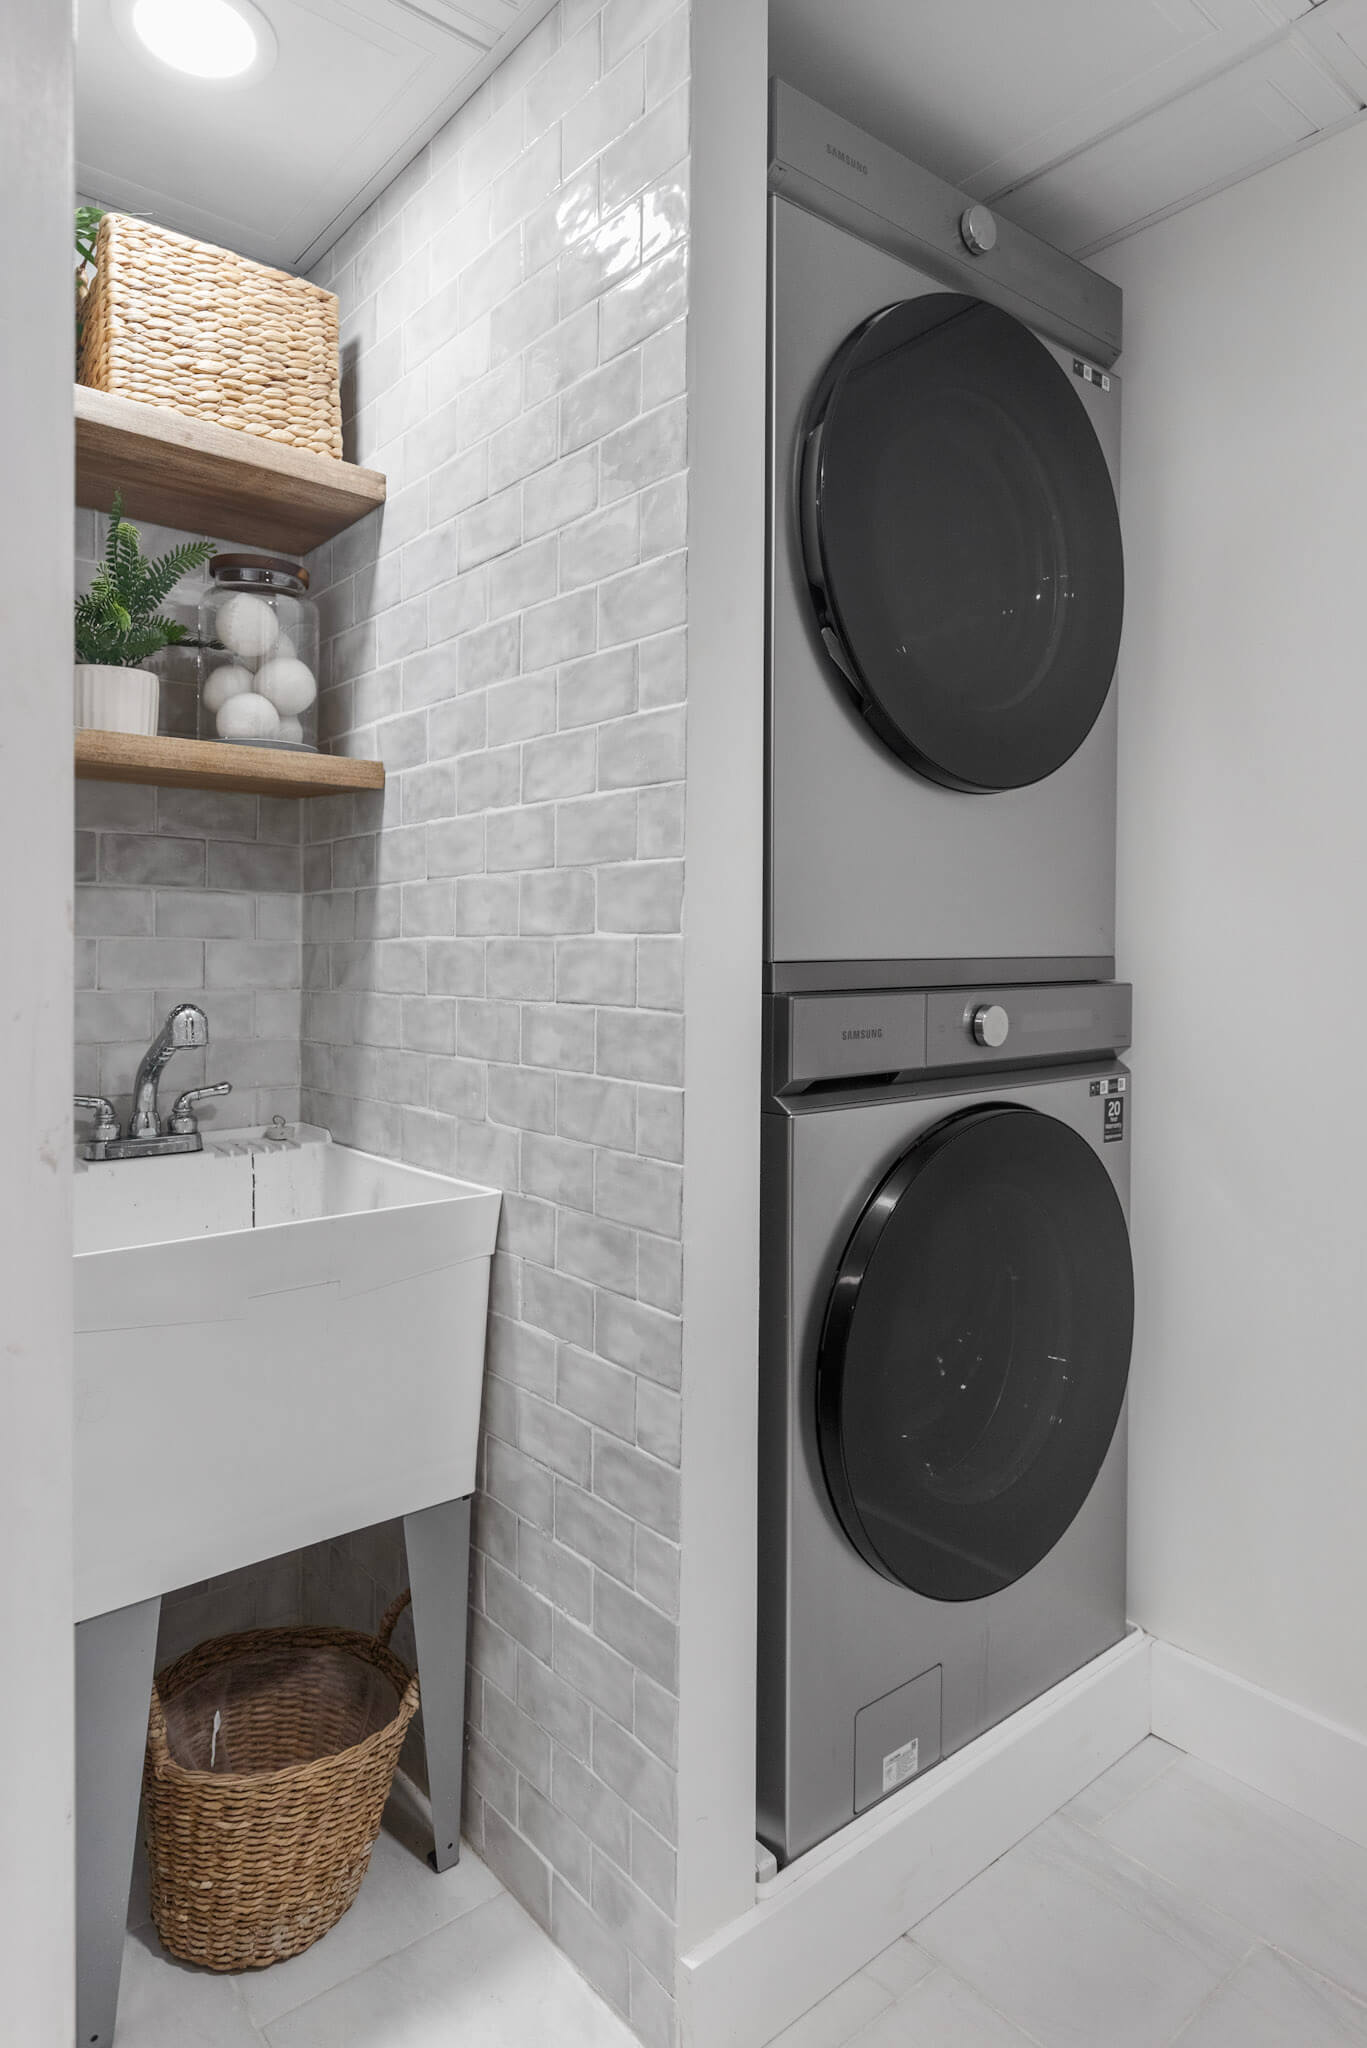
Whaddya think?! Between the beautiful space and the fancy washer and dryer, laundry might just become a semi-enjoyable experience!
Thank you Home Depot for making this makeover possible!
If you want to see other projects I completed in my basement, check out this Murphy Bed I built!
Decor Sources
3 Piece Glass Canisters
Laundry Soap Dispenser
Wool Balls
Boston Fern
Wicker Storage Basket
