Build a Trash Can Fence and Hide Your Garbage


Updated August 7, 2025
Tired of looking at your outdoor garbage cans? I built a simple DIY trash can fence to hide ours – and it made a huge difference in our curb appeal. This outdoor trash enclosure is an easy, affordable way to keep your bins out of sight while upgrading the look of your yard.
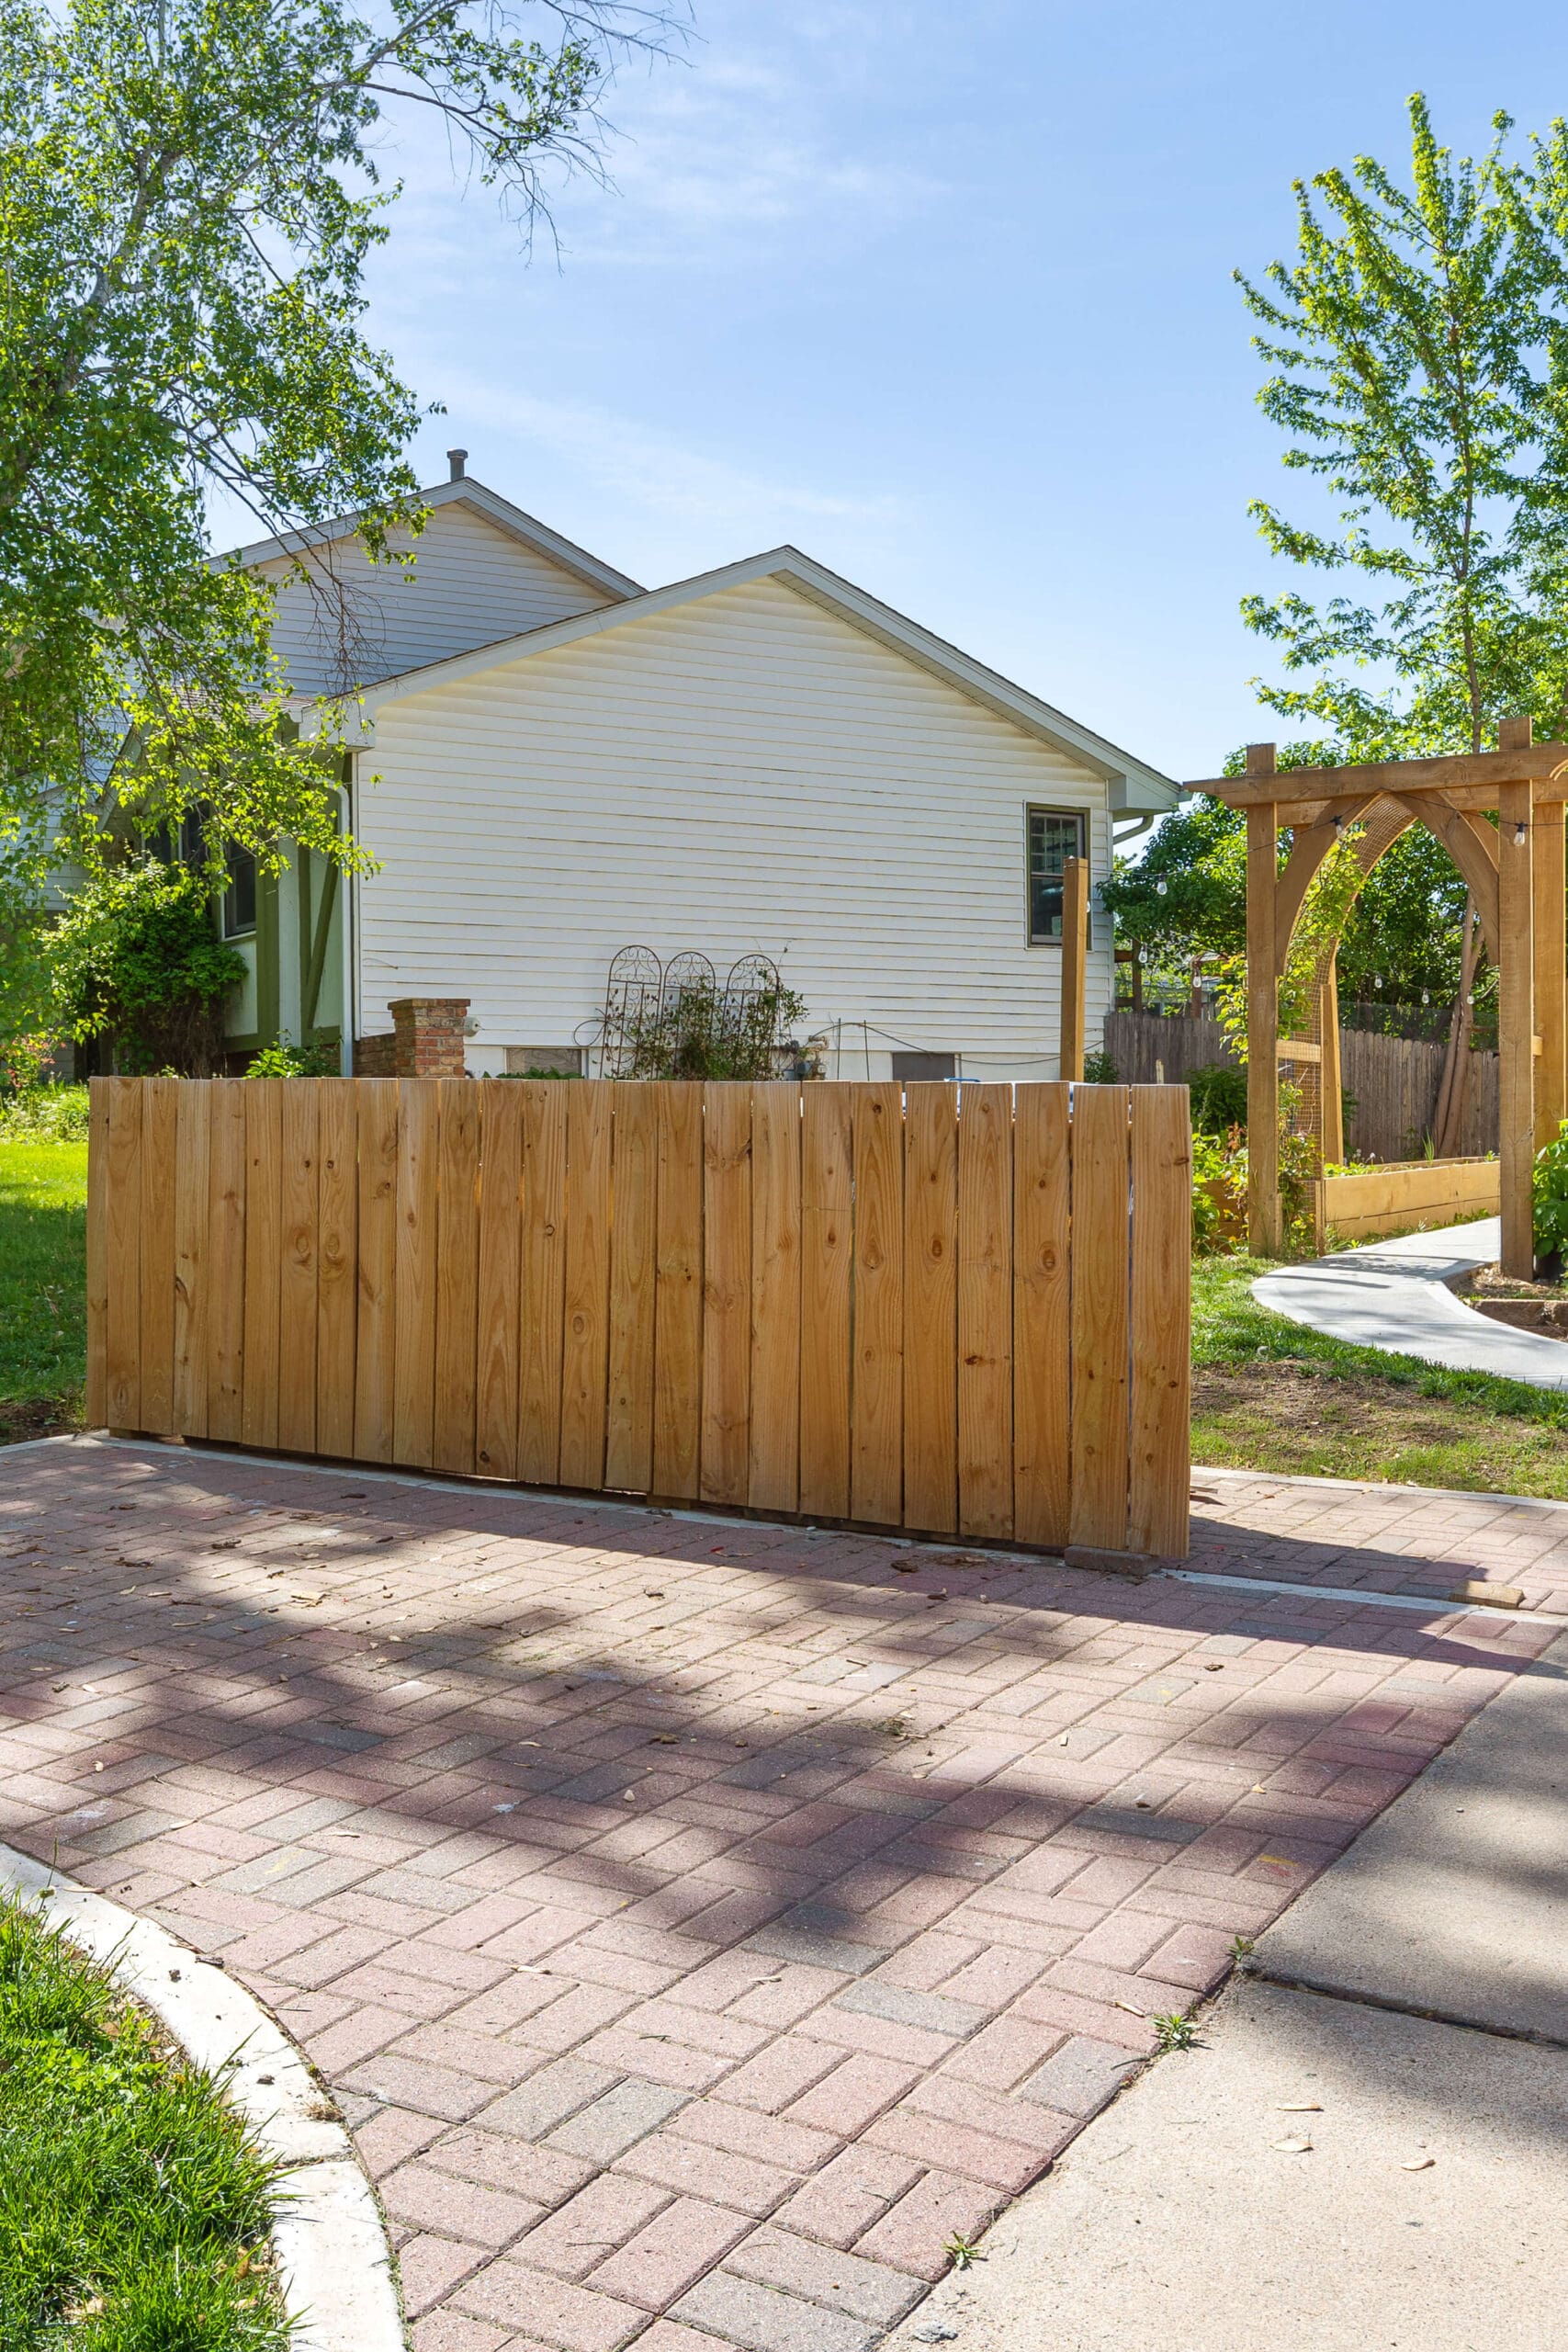
Table of Contents
- Tools for a Trash Can Fence
- Materials for a DIY Trash Can Fence
- Why You Should Build a Trash Can Fence
- How to Build a Base for Outdoor Trash Cans
- Setting Posts for the Trash Can Fence
- Adding Concrete Curbing and Laying Pavers
- Step-by-Step: Building a DIY Trash Can Fence
- Assembling the Fence Panels
- Final Reveal: Our Outdoor Garbage Can Fence
- Would I do anything differently?
- FAQs About DIY Trash Can Fences
Tools for a Trash Can Fence
Before you dive into building, make sure you’ve got the right tools on hand. Some of these might already be in your garage, while others (like the post hole digger or post level) are worth borrowing or buying if you don’t have them. The right tools will make every step easier – from digging straight holes to getting that polished, pro-looking finish.
- Tape measure
- Shovel
- Wheelbarrow
- Post hole digger
- Post level
- Circular saw
- Speed Square
- Brad nailer
- Drill
Materials for a DIY Trash Can Fence
I went with pressure-treated lumber for all the framing and pickets because it holds up so well outdoors. If you want a slightly fancier look, you could swap the pickets for cedar – they’re naturally rot-resistant and have a beautiful color. Just don’t forget to seal everything, no matter what type of wood you use!
- Pressure treated 4×4’s
- Pressure treated 2×4’s
- Pressure treated fence pickets
- Concrete
- Waterproofing stain/sealer
Why You Should Build a Trash Can Fence
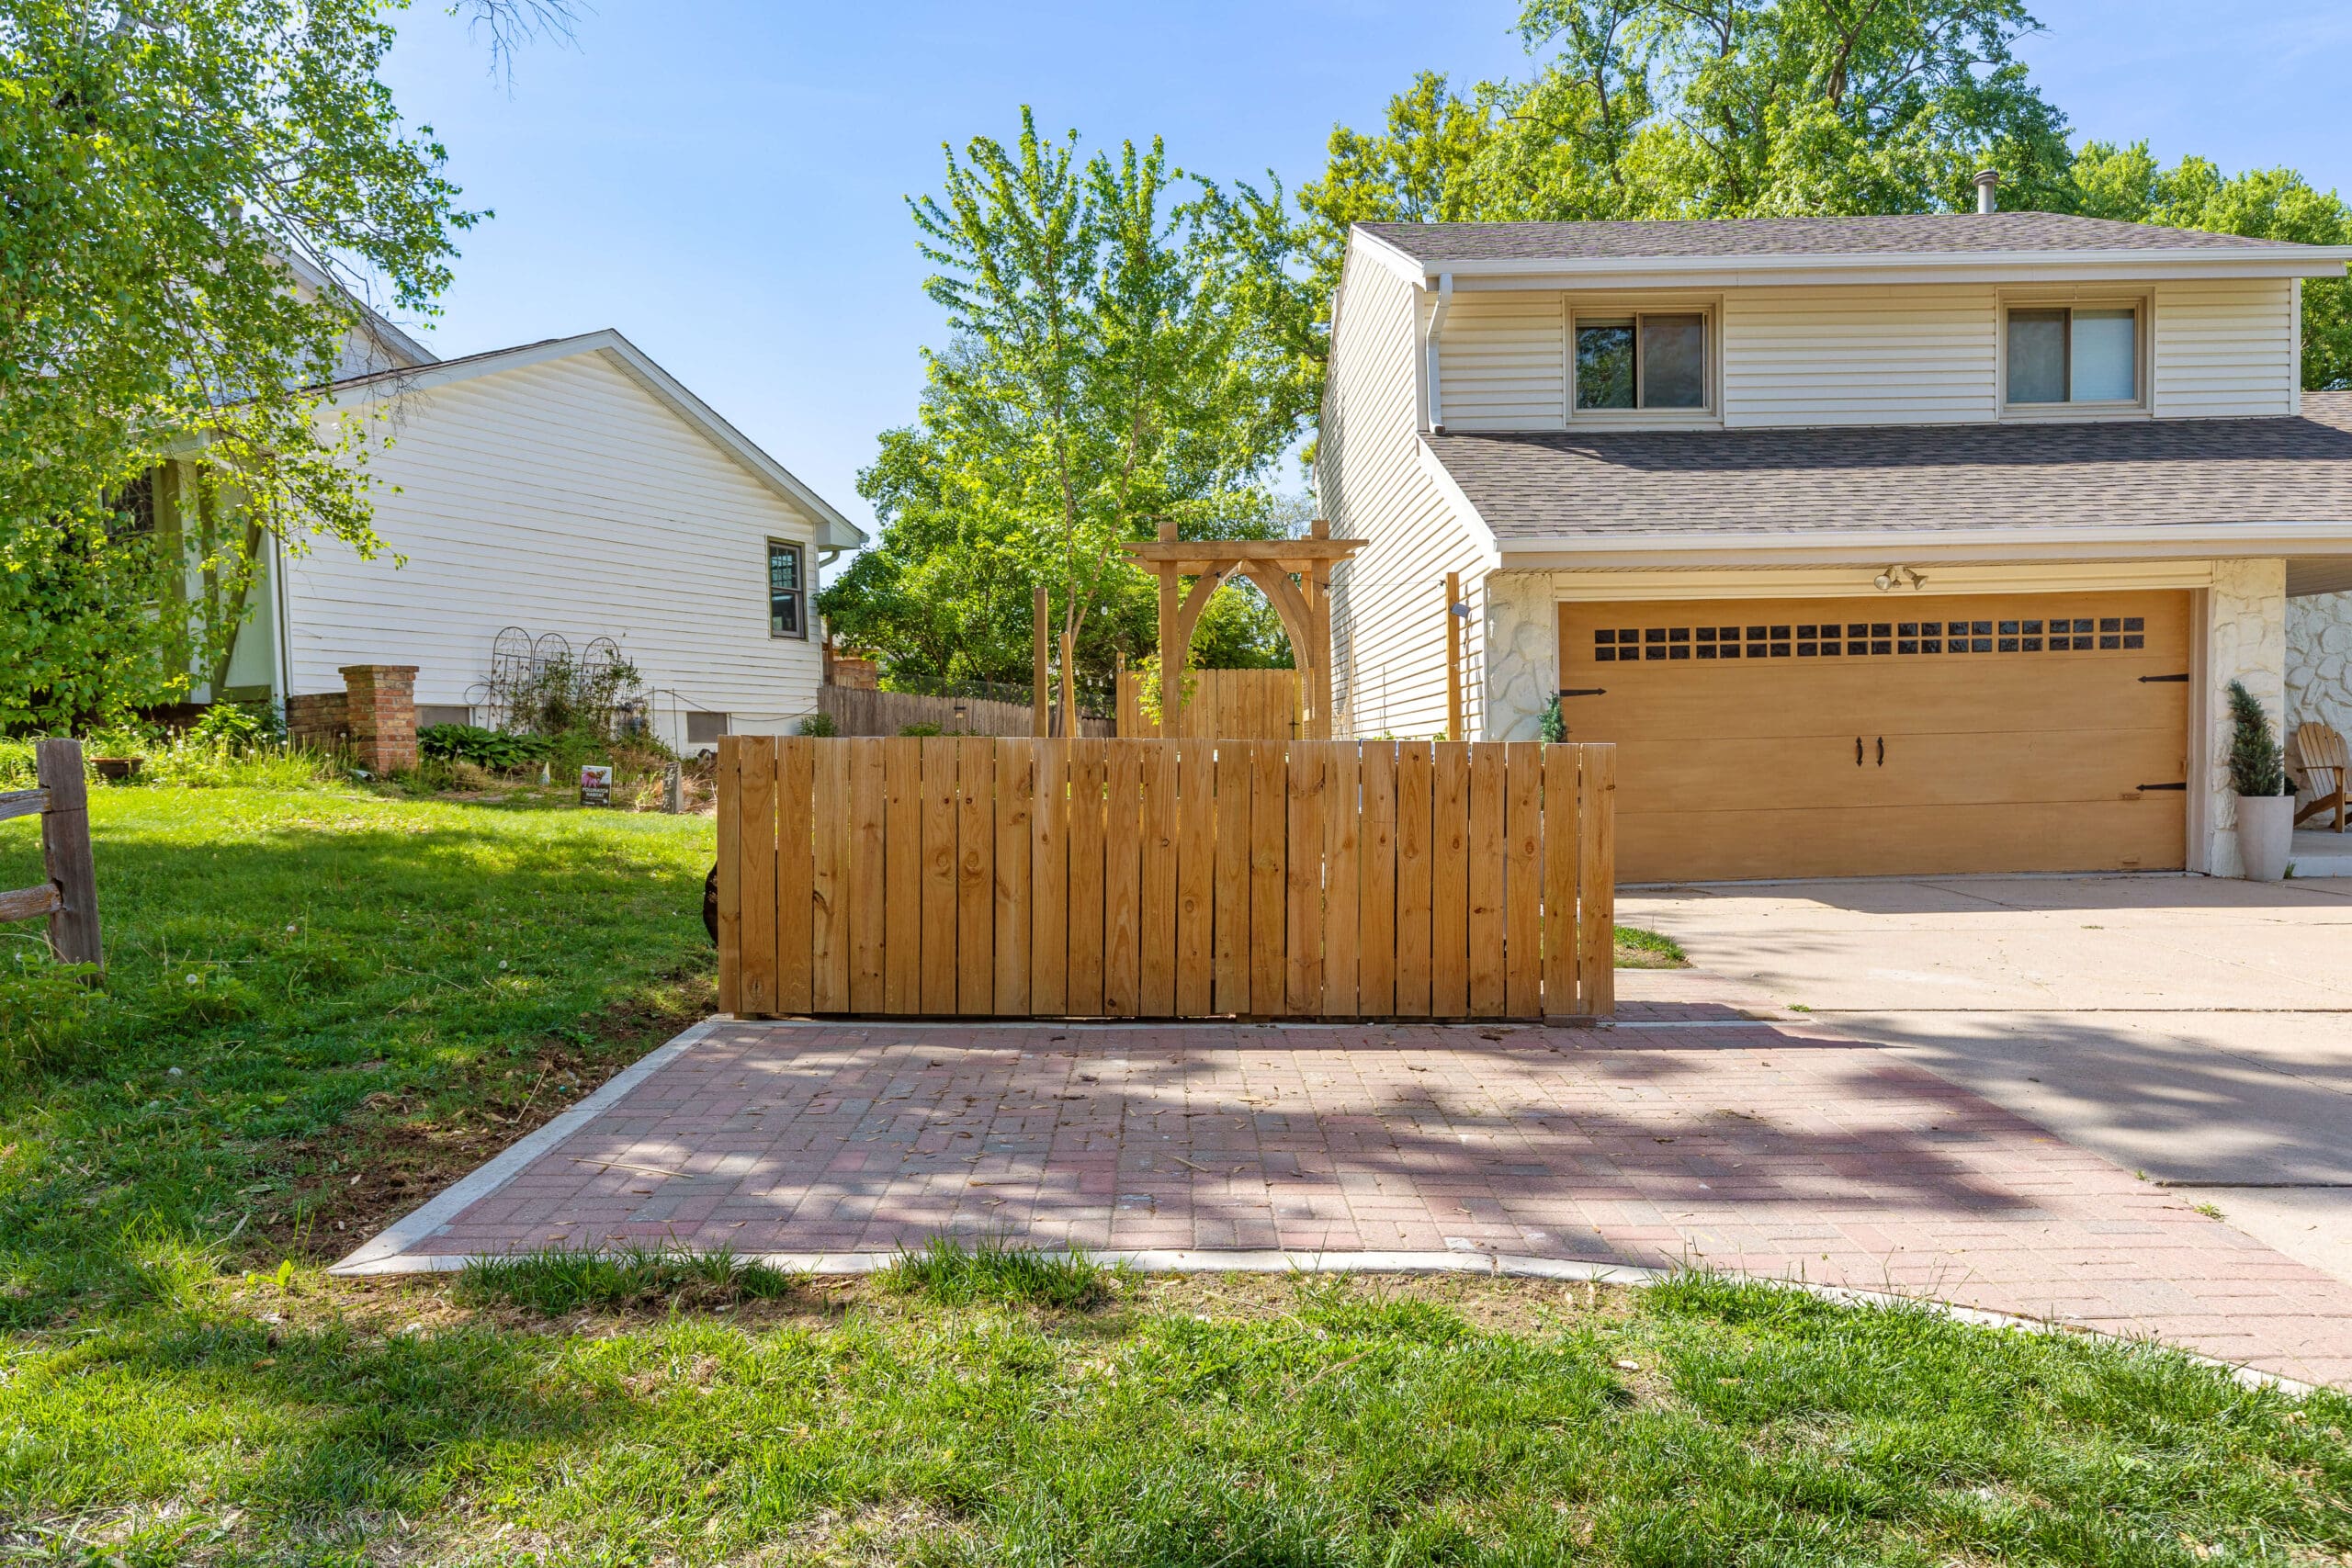
Over the last couple of summers, I’ve put so much energy into updating the front of our house. New landscaping, putting in sod, a gorgeous garden arbor, and more – but those big, ugly trash cans? Still sitting out front, totally stealing the spotlight (in the worst possible way). We had a small patch of grass next to the paver trailer pad, and it hit me—that would be the perfect spot for a trash can fence.

Quick tip:
If you’re not quite ready to build a full fence, even a simple screen made from leftover wood can help hide your bins until you’re ready to tackle the full project. I kept putting this one off, but once it was done, I couldn’t believe I waited so long!
How to Build a Base for Outdoor Trash Cans
First, I wanted to extend the pavers to give our garbage cans a nice, solid surface to sit on. Sure, we could’ve just plopped the trash can fence right onto the grass, but I knew a little paver pad would look so much more polished – and hold up better long-term.
We grabbed the shovel and my trusty garden tiller, then got to digging, removing several inches of dirt to prep for the pavers.


Setting Posts for the Trash Can Fence
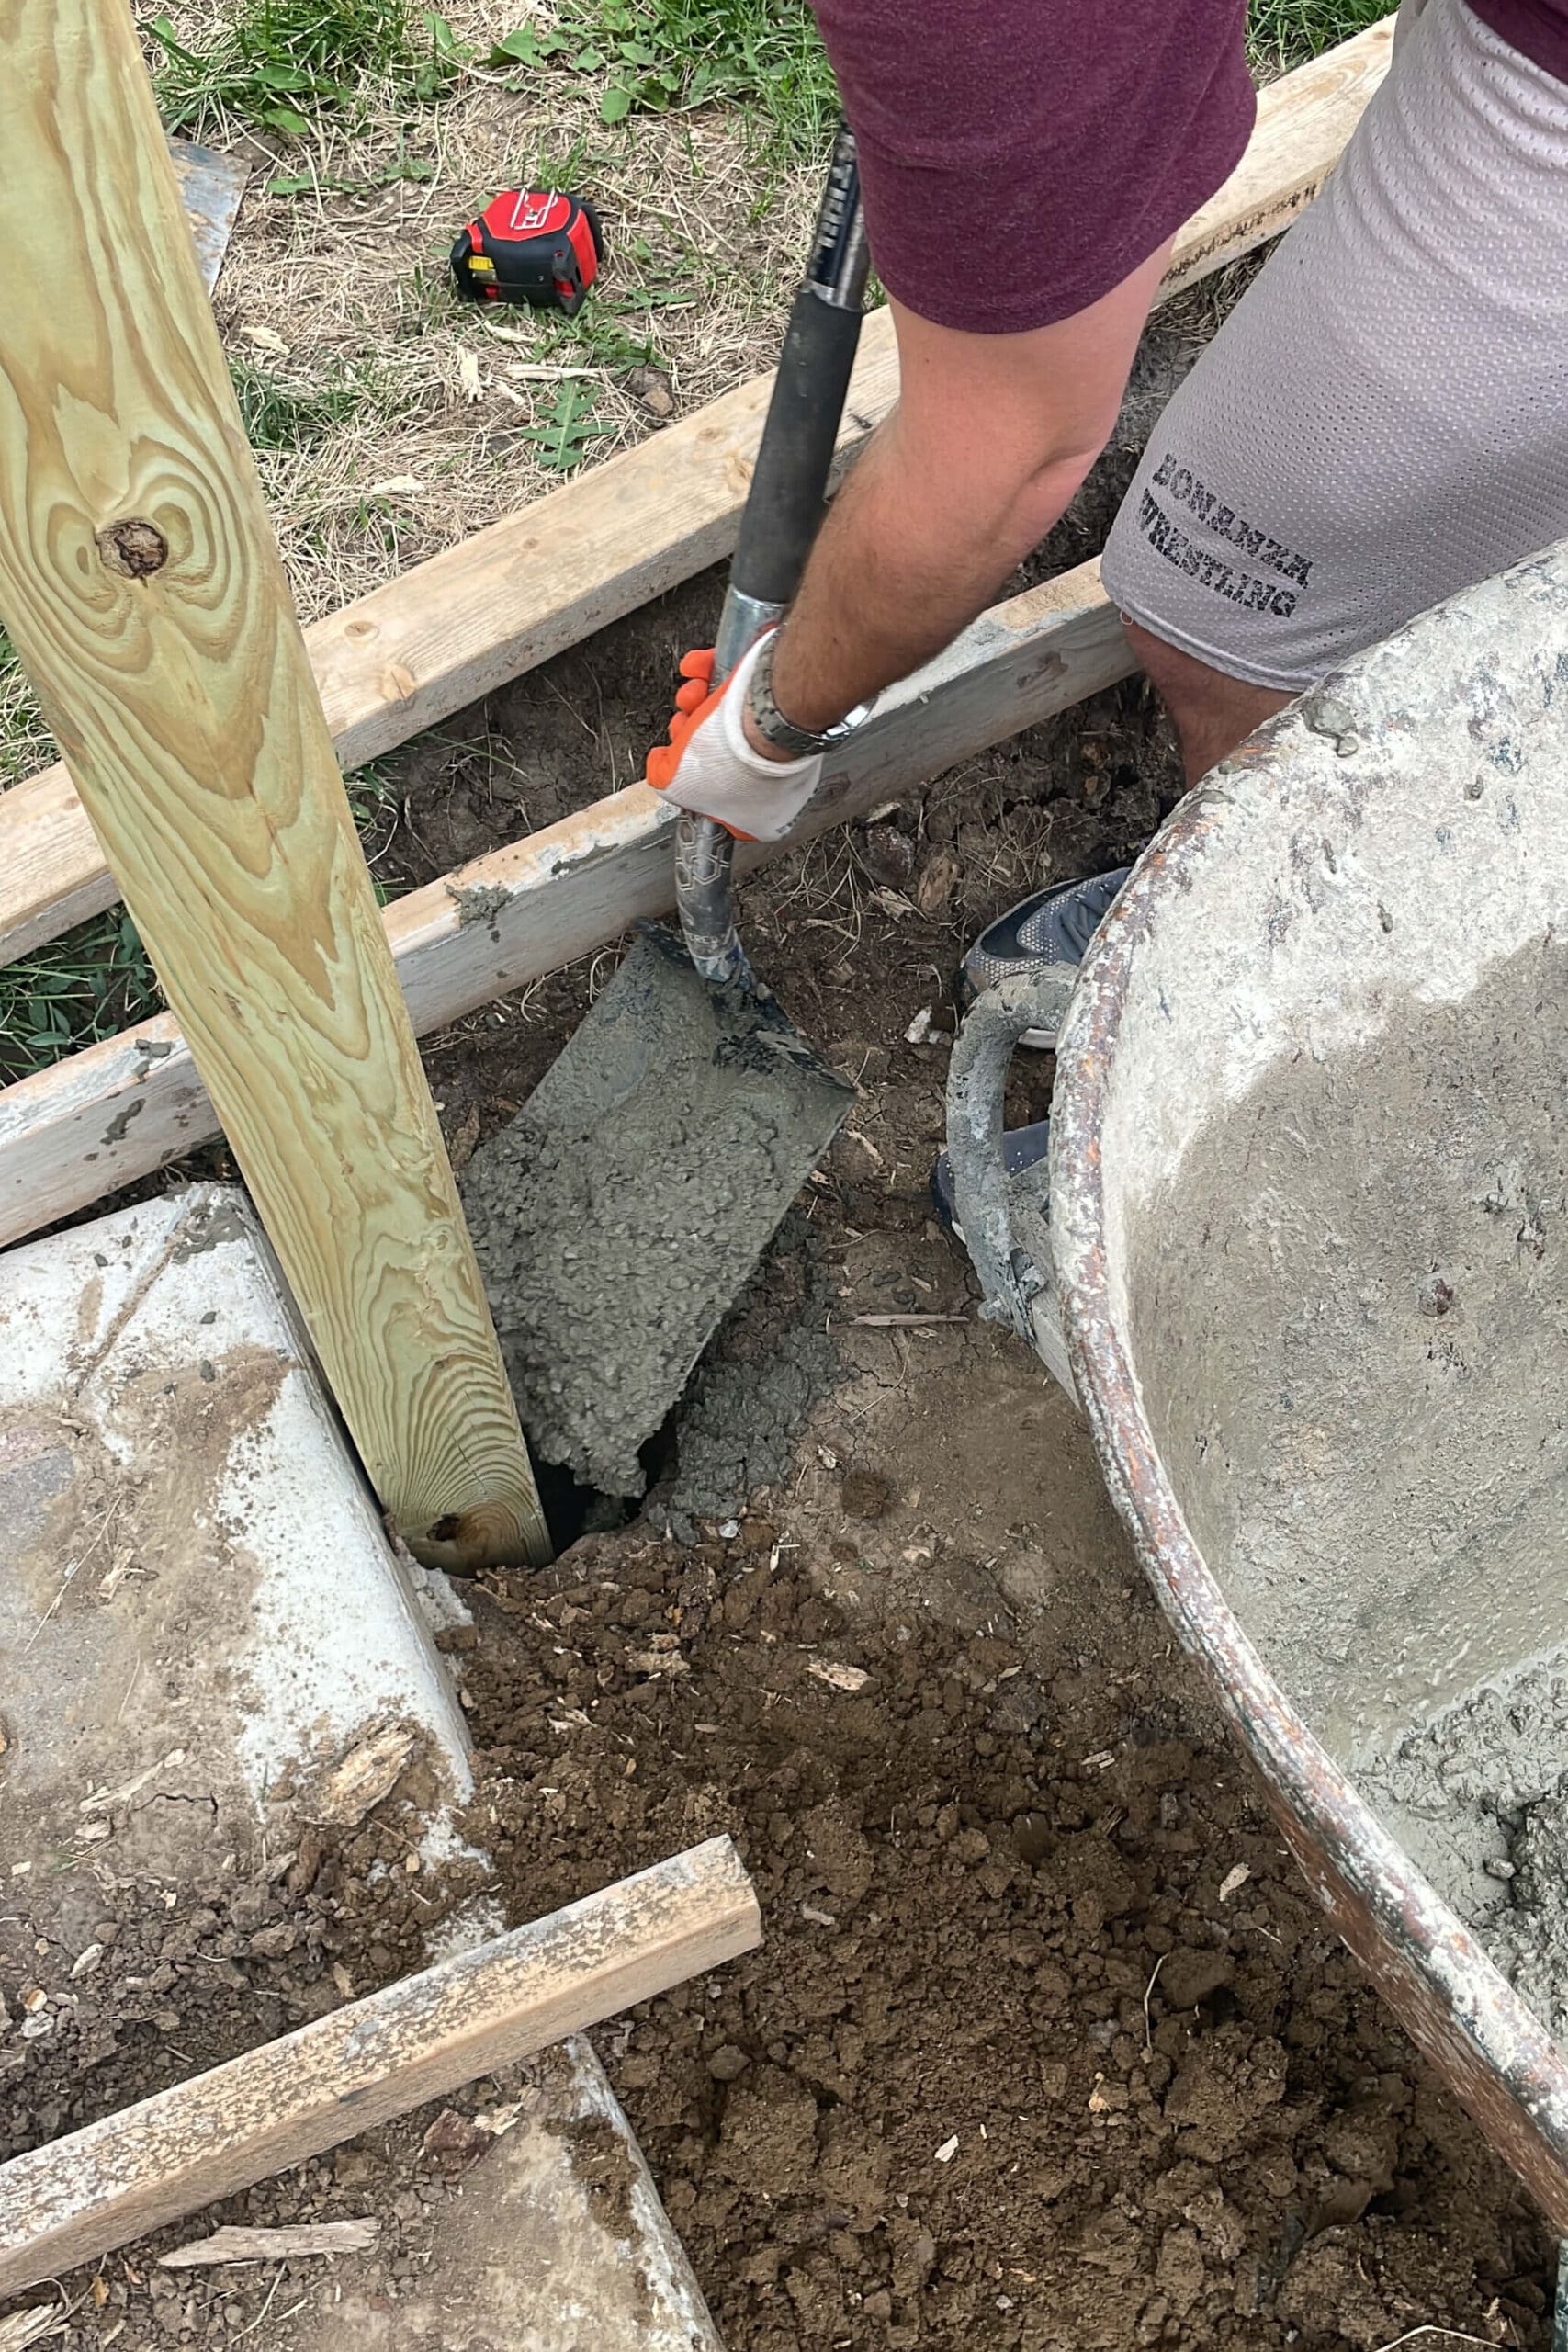
After leveling and tamping down some road base, it was time for posts. We used a post hole digger to dig three holes right along the edge of the trailer parking pad, then set pressure-treated 4x4s in place.

To keep those fence posts rock solid, we mixed up some concrete and shoveled it into the holes. Don’t skip using a post level—crooked posts mean a crooked trash can fence, and no one wants that.

Pro tip for setting posts:
If it’s hot out, work quickly with your concrete. I used fast-setting mix and made sure to brace the posts for a few minutes while it cured. You don’t want them shifting even slightly because it’ll throw off the rest of your build.
Adding Concrete Curbing and Laying Pavers
Once the concrete had set, I started on the concrete curbing to border our new paver pad. If you’ve been around here a while, you know I went a little concrete curbing crazy last summer. (I’ve got a full tutorial on that process right here if you want step-by-step instructions.)


After the curbing was set and the forms were removed, I added sand and laid the pavers. If you’re planning to lay pavers behind your trash can fence too, I’ve got a super detailed post to walk you through the whole paver process.


Step-by-Step: Building a DIY Trash Can Fence
With the paver pad done, it was finally time to build the actual trash can fence!
First, I tackled the fence posts. The pressure-treated lumber had some overspray from my DIY murphy bed project (oops!) that needed to be sanded off, and the posts were too tall. I measured just a few inches higher than our garbage cans, marked straight lines using a speed square, and trimmed them down with my circular saw (tip: cut the front and then the back since the blade won’t get through in one cut).


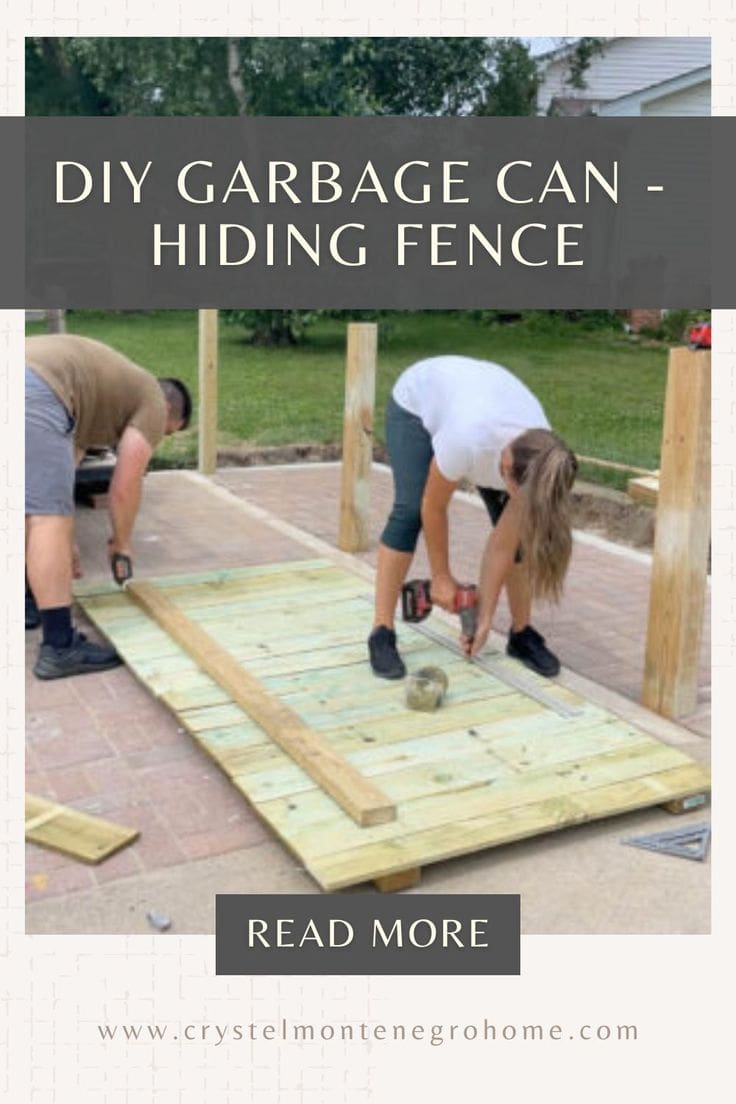
Assembling the Fence Panels
We built the trash can fence in two separate panels. First, we laid down 2×4 cross beams, then placed vertical pickets on top. I tacked them in place with a brad nailer, then secured everything with screws for long-lasting durability.
Pro Tip: Use a straight edge (or a 2×4) as a guide to keep your screw lines straight – it makes a big difference in the final look!


Once both panels were built, we attached them to the posts using a drill and exterior wood screws. And just like that, my trash can fence was almost done, and it already looked 1000x better.


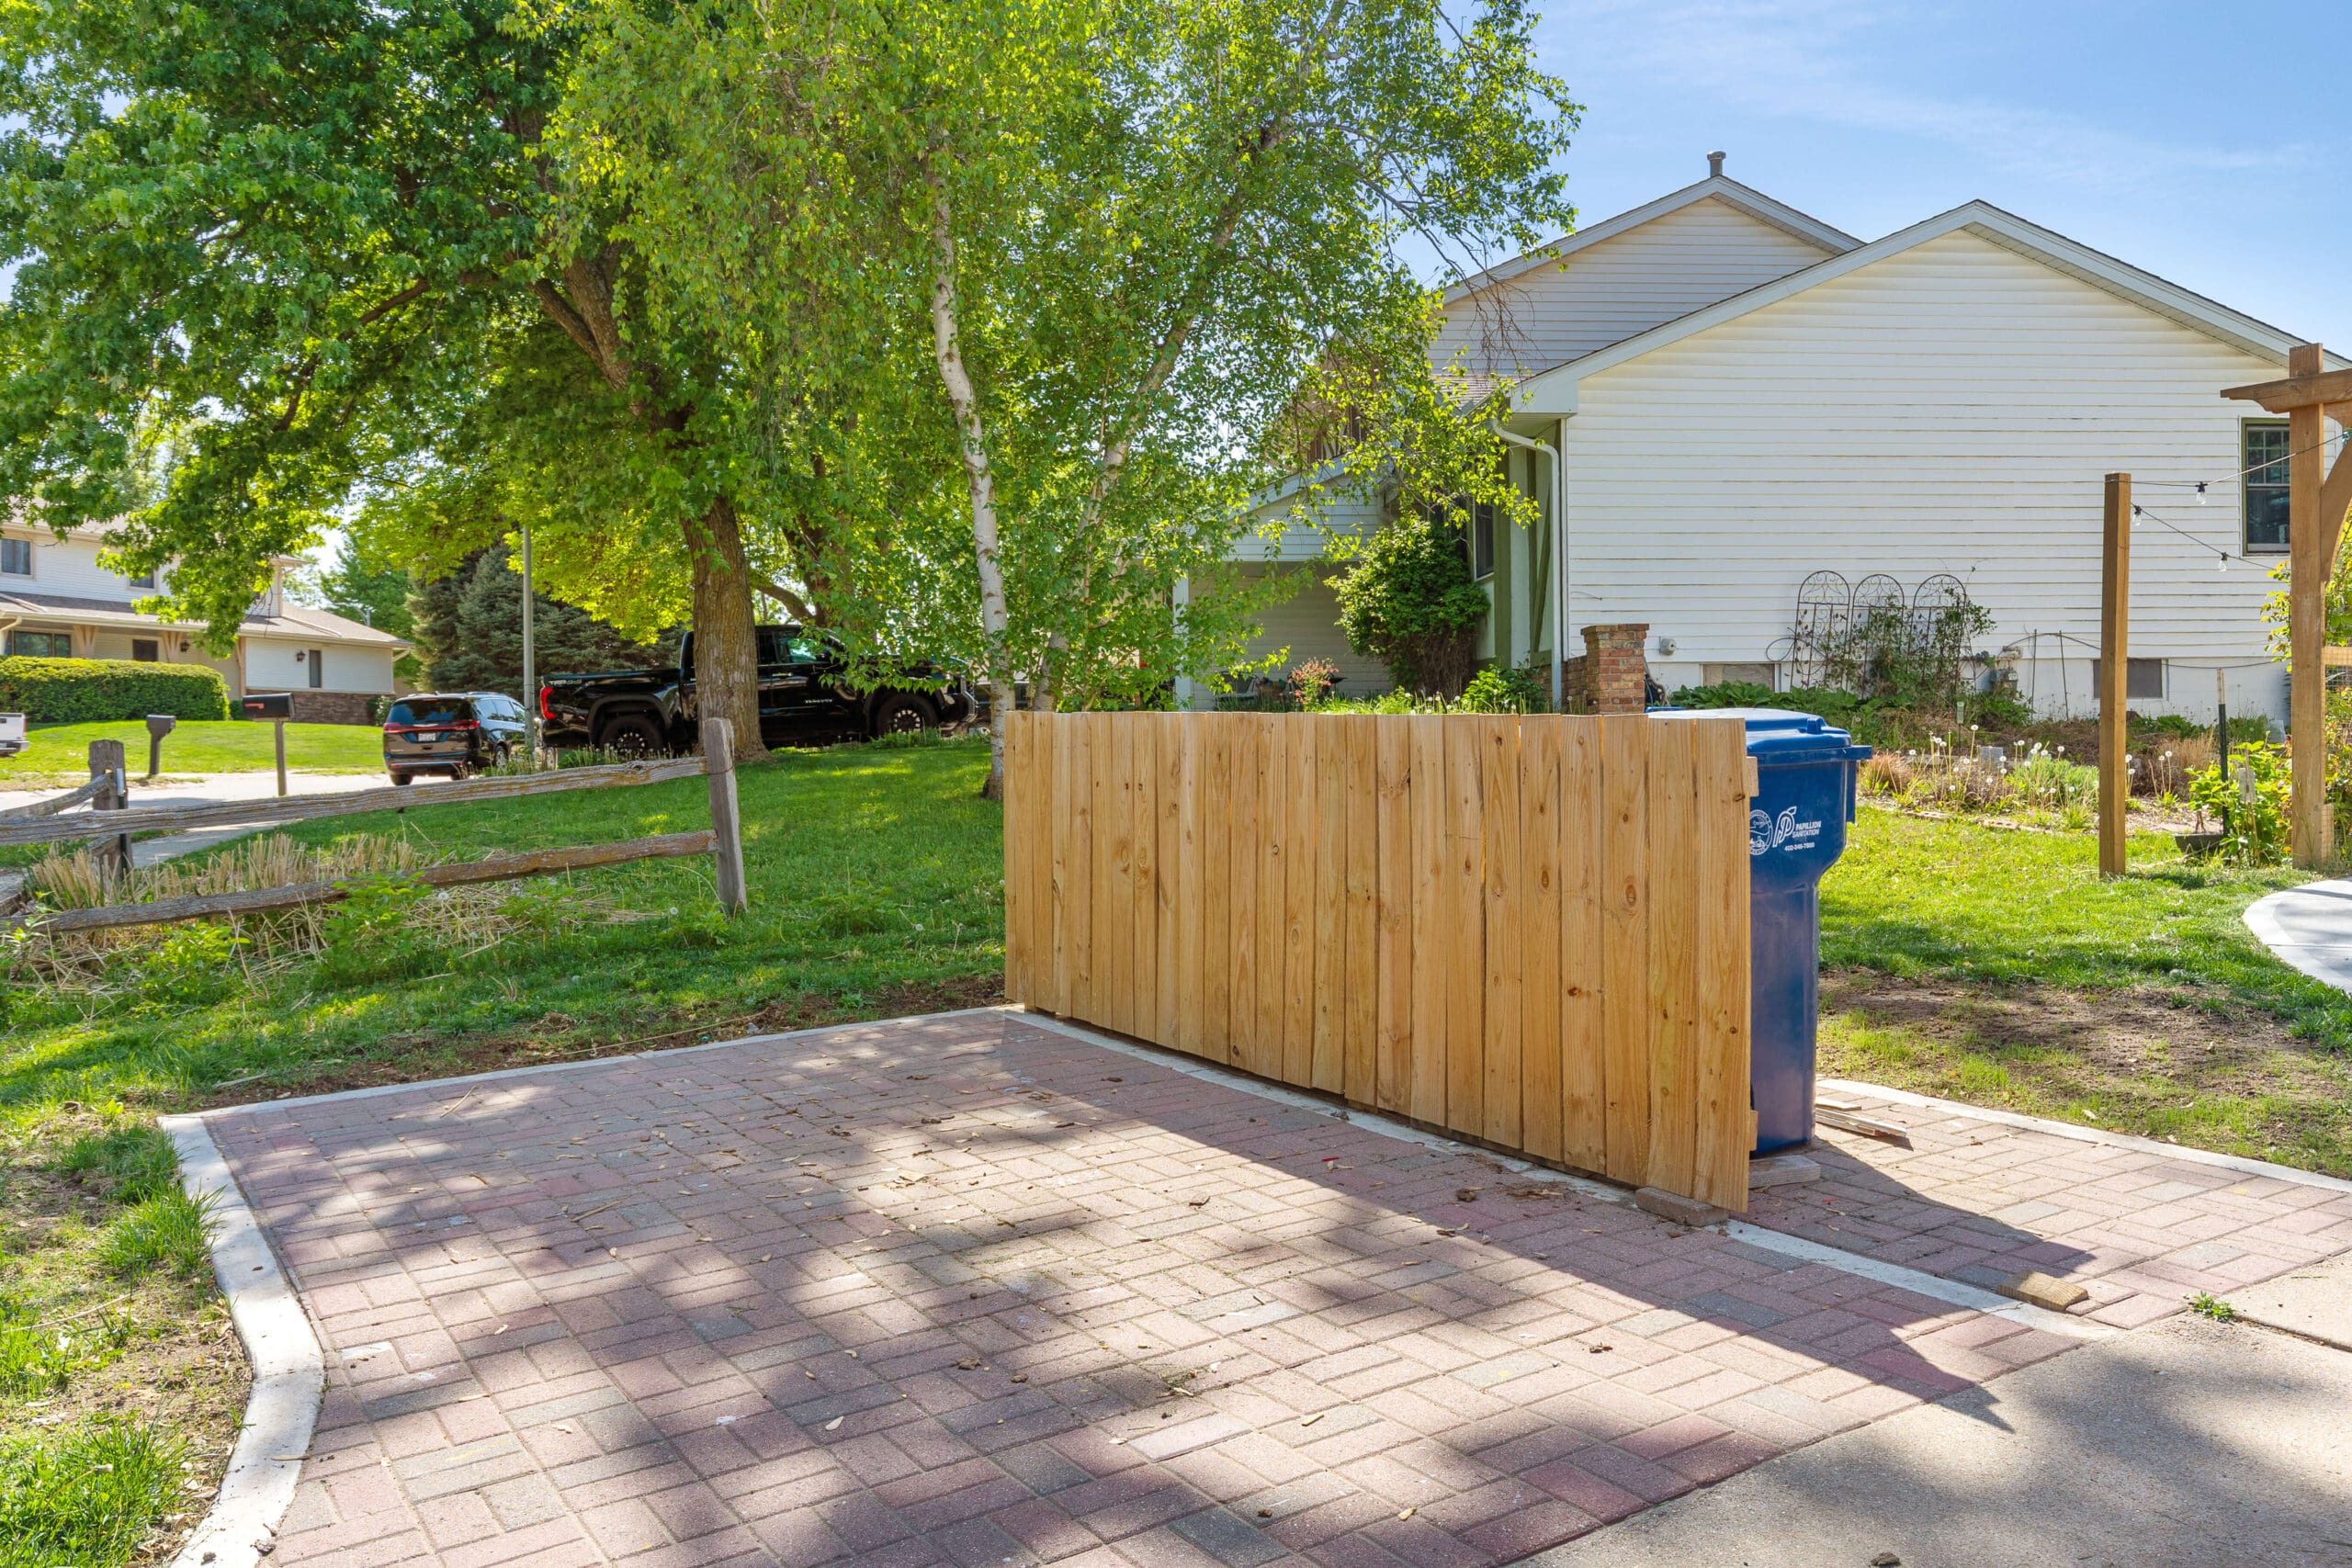
Here’s a peek from the back – you can see there’s plenty of space for our garbage cans. And even though the trash can fence isn’t a full enclosure, it does exactly what I wanted: keeps our trash cans hidden from street view in a simple, stylish way.

Final Reveal: Our Outdoor Garbage Can Fence
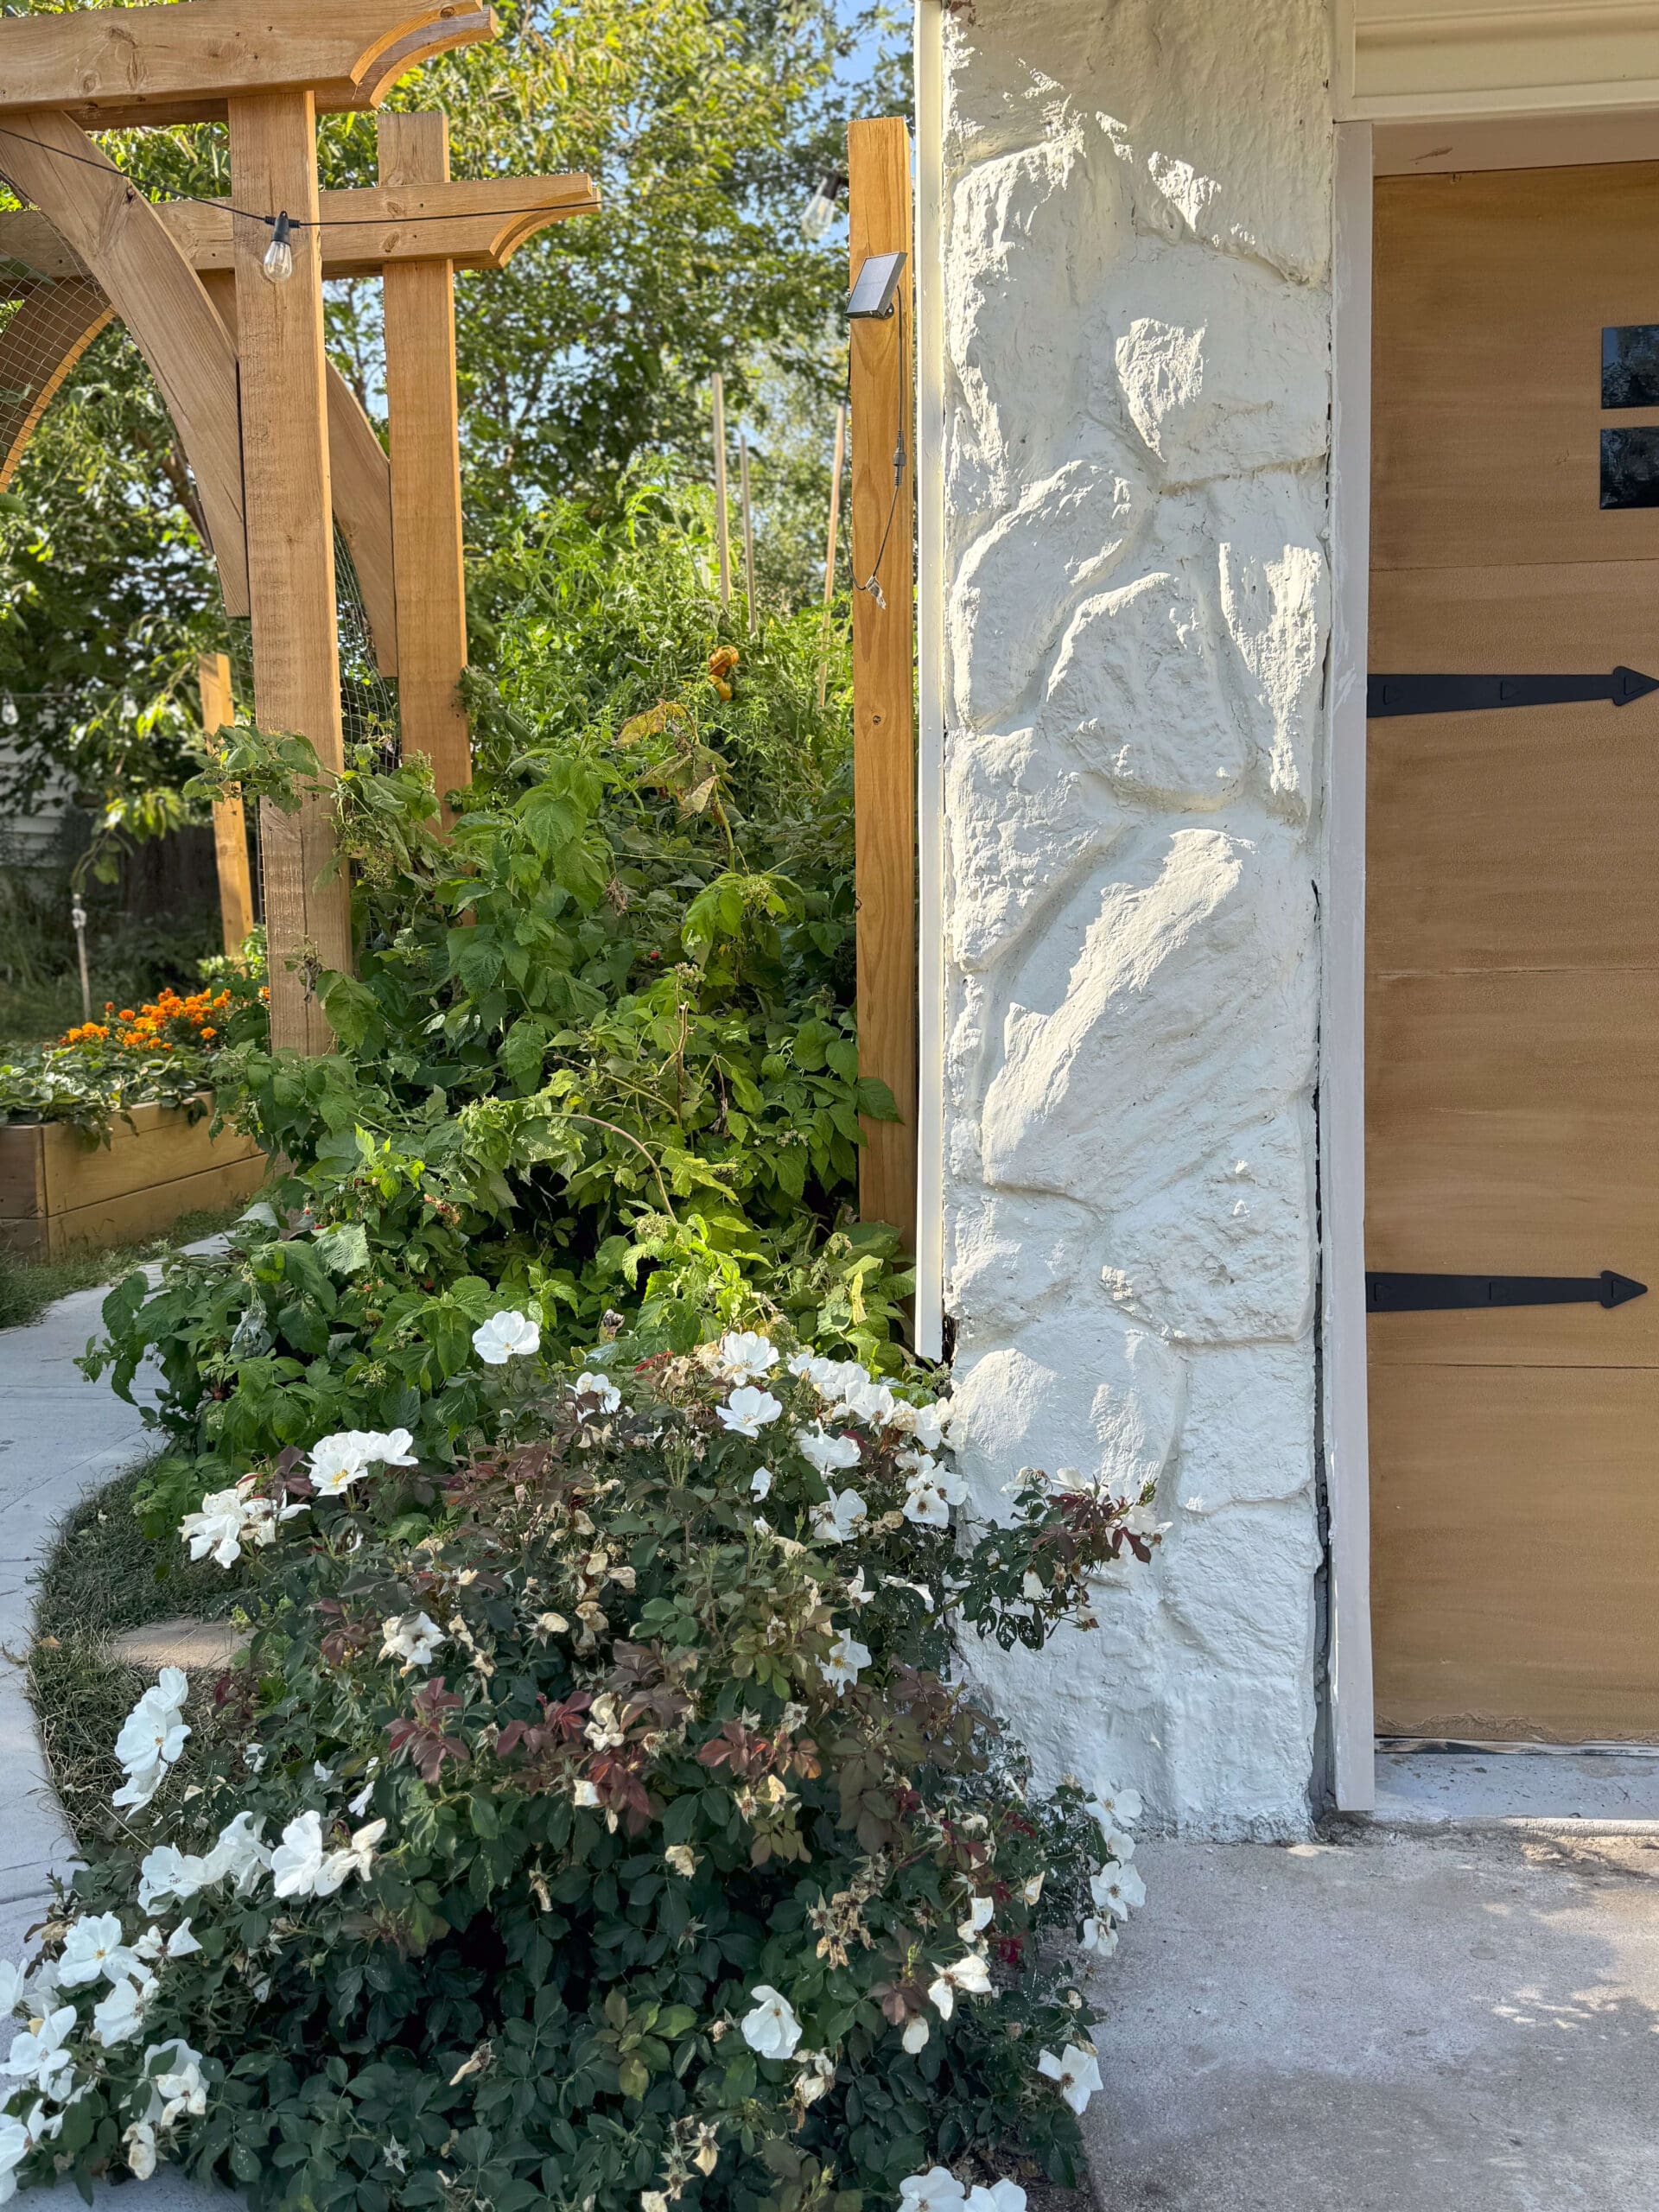
After the pressure-treated wood had time to dry out, I gave the entire trash can fence a coat of the same stain/sealer I used on our garden arbor and backyard fence. I love keeping the outdoor elements cohesive, and this tied everything together perfectly.
This trash can fence was such a simple project, but it made a huge difference in cleaning up the front of our home.
Would I do anything differently?
The only thing I might’ve done sooner is build this! It was one of those projects that sat on my to-do list forever, but once it was done, it pulled the whole front yard together. If you’re unsure where to start with curb appeal, hiding your bins is such a good first move – it’s small, but it changes everything.
Last year was packed with outdoor DIYs – raised garden beds, our garden arbor, exterior rock painting, that DIY faux wood garage door – and this little fence was the cherry on top. No more garbage cans ruining the view. Just clean lines, good design, and way better curb appeal.
📌 Save this DIY Trash Can Fence Idea
FAQs About DIY Trash Can Fences
A trash can fence is a small enclosure or screen that hides your outdoor garbage and recycling bins. I built one to seriously level up our curb appeal – it keeps the eyesores out of view and makes our front yard look way more polished.
You can, but I wouldn’t skip it if you want long-lasting results. I used concrete to secure the posts and keep everything sturdy, especially with wind and weather in mind. You could also use post anchors if you’re attaching to a deck or patio.
Mine is just a few inches taller than our garbage cans – enough to fully hide them from the street but still easy to access on trash day. Measure your bins first and then add 2–4 inches for good coverage.
I used pressure-treated lumber for the posts and pickets since it holds up well outdoors. If you want a more decorative look, cedar is also a great (but pricier) option that naturally resists rot and bugs.