How I Built Custom Mudroom Lockers (And You Can Too!)


Updated May 9, 2026
If you’ re struggling with a small entryway that’s overflowing with coats, shoes, and bags, these DIY mudroom lockers are the perfect budget-friendly storage solution. I’ll show you exactly how I built our custom mudroom cubbies – from tools and materials to paint and trim – for a high-end built-in look that adds serious organization (and style) to your home.
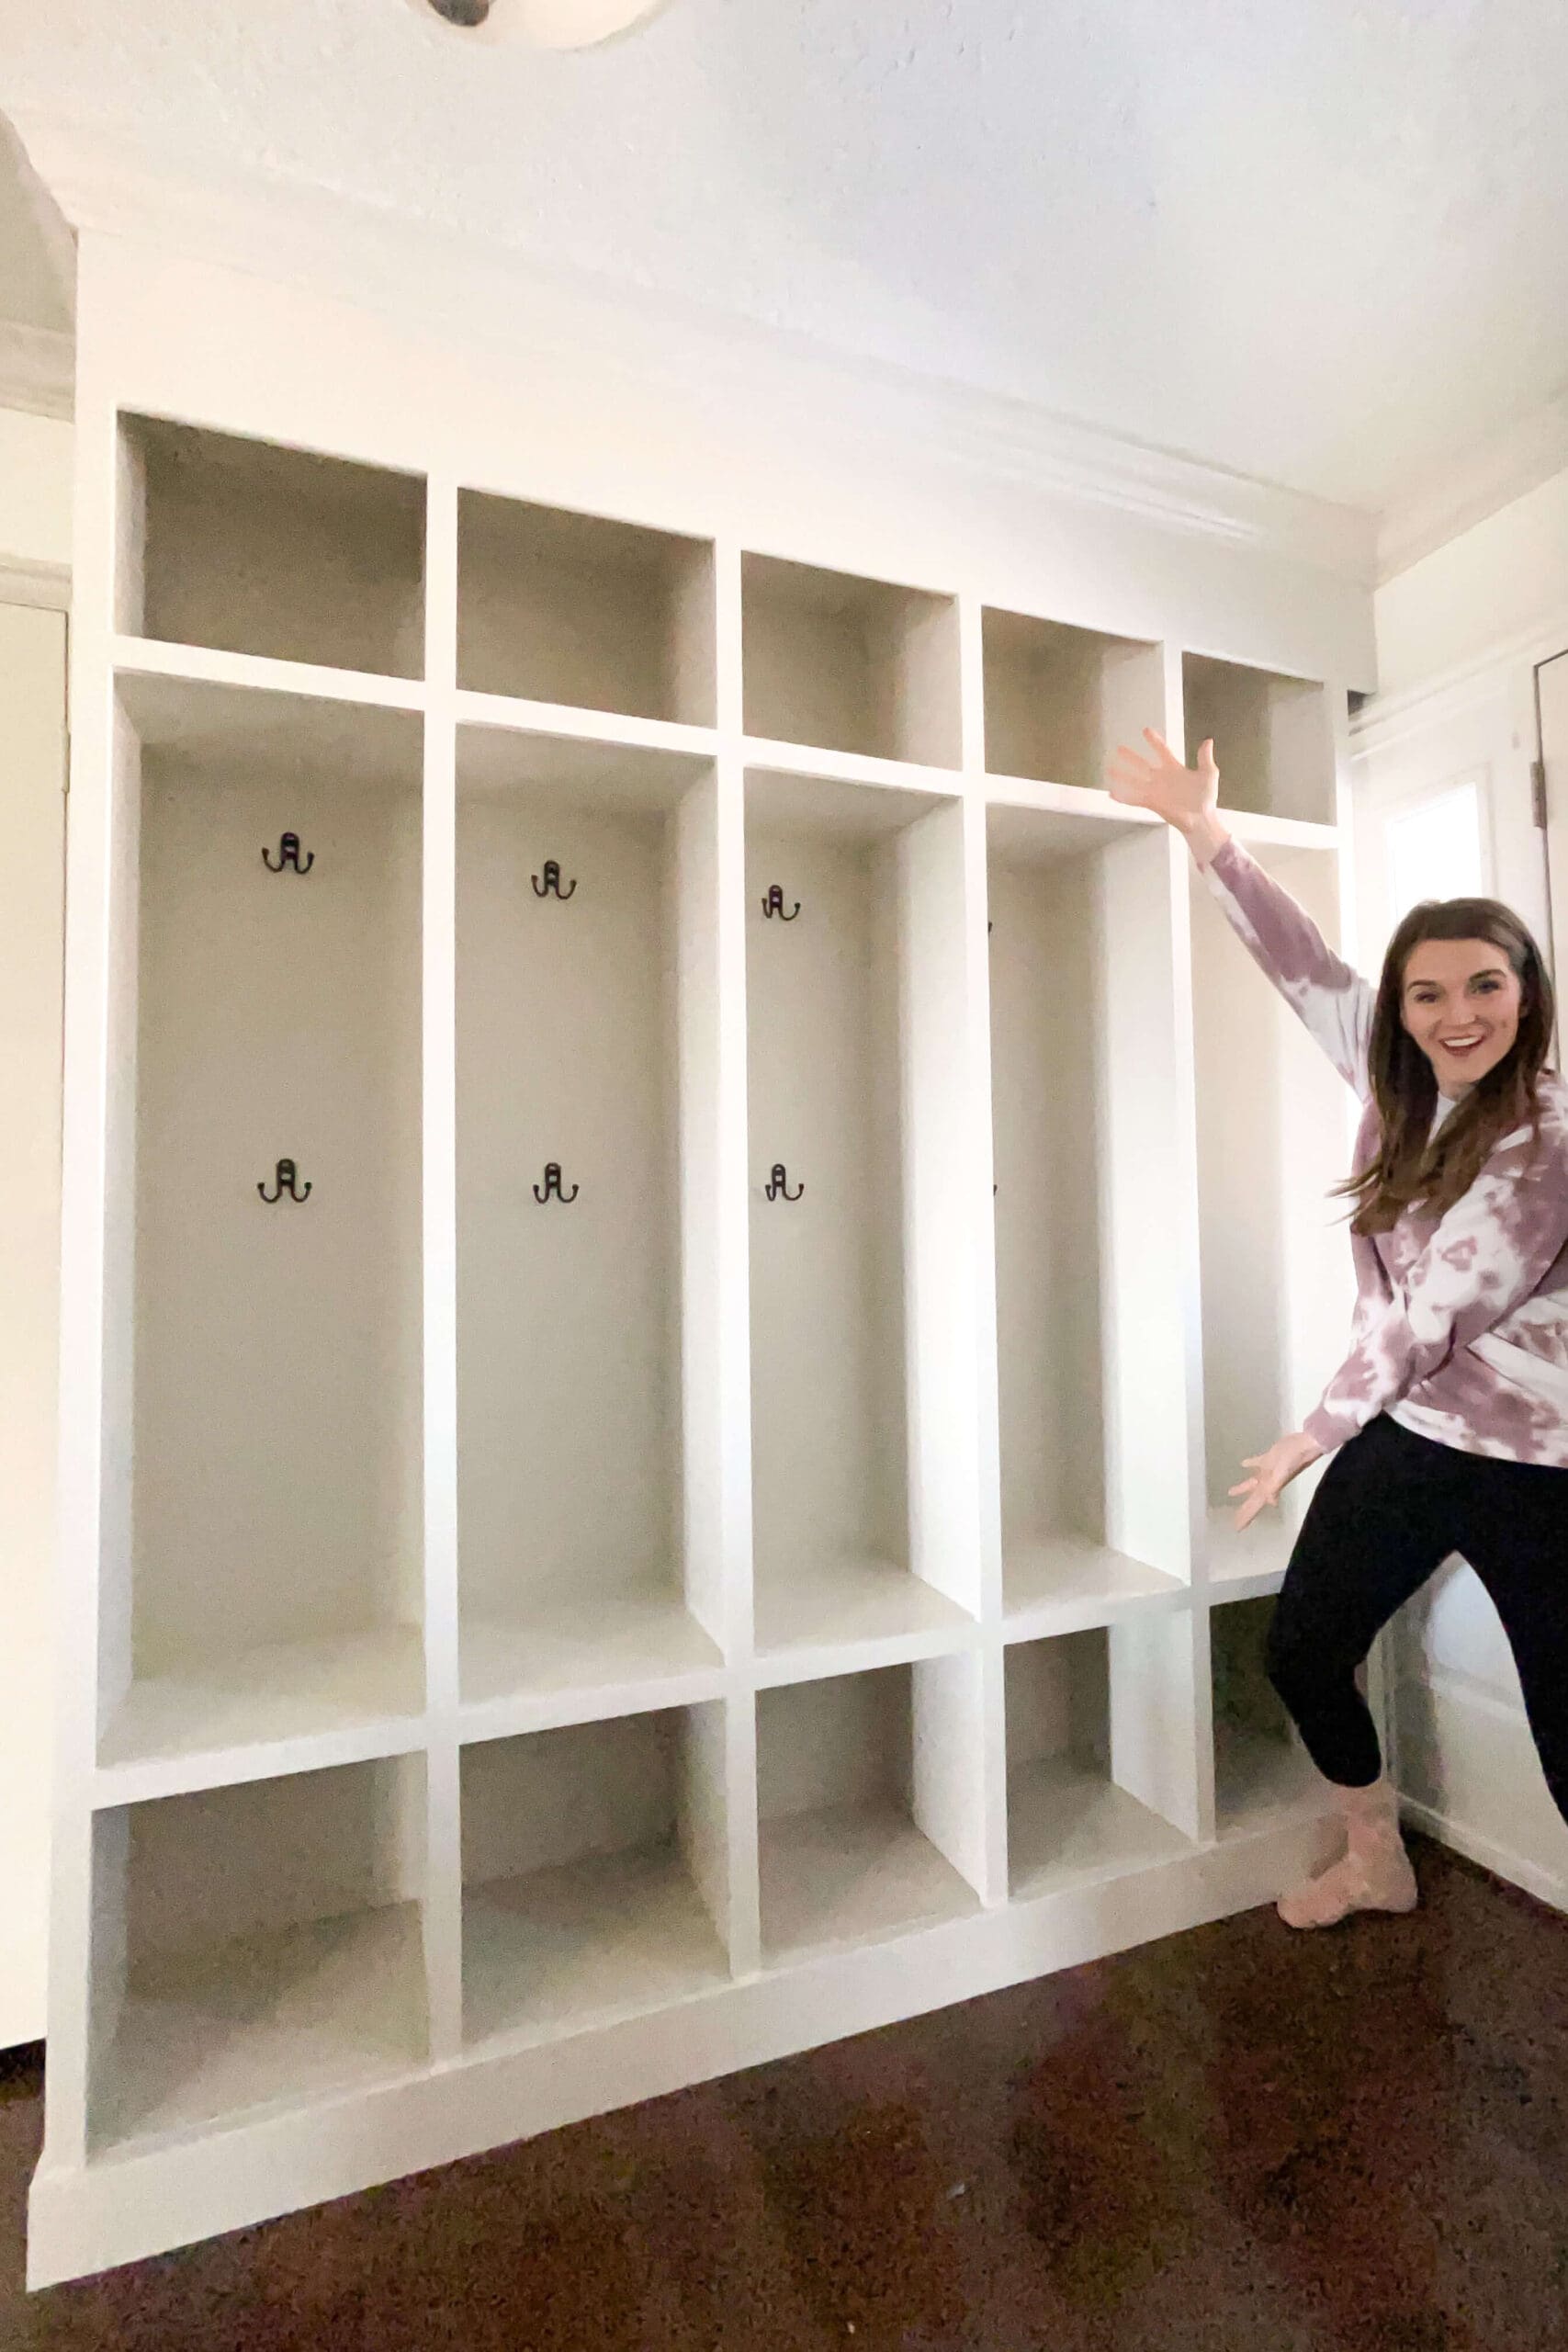
Table of Contents
- Tools for Building DIY Mudroom Lockers
- Materials to Build Custom Mudroom Lockers
- Why DIY Mudroom Lockers Are a Game-Changer for Small Entryways
- How to Assemble the Mudroom Locker Frames
- Adding Back Panels to the Locker Frame
- How to Build a Stable Base for Your Mudroom Lockers
- Installing Top and Bottom Shelves for Maximum Storage
- Trim Details That Make Lockers Look Built-In
- How to Prep and Paint DIY Mudroom Lockers
- Finished Mudroom Locker Reveal: Stylish, Functional, and Built to Last
- 📌 Save This Project for Later
- Frequently Asked Questions About Building Mudroom Lockers
Tools for Building DIY Mudroom Lockers
- Tape measure
- Brad nailer
- Drill
- Chalk box
- Multi-tool
- Stud finder
- Level
- Pocket hole jig
- Caulk gun
- Paintbrush
- Roller frame
Materials to Build Custom Mudroom Lockers
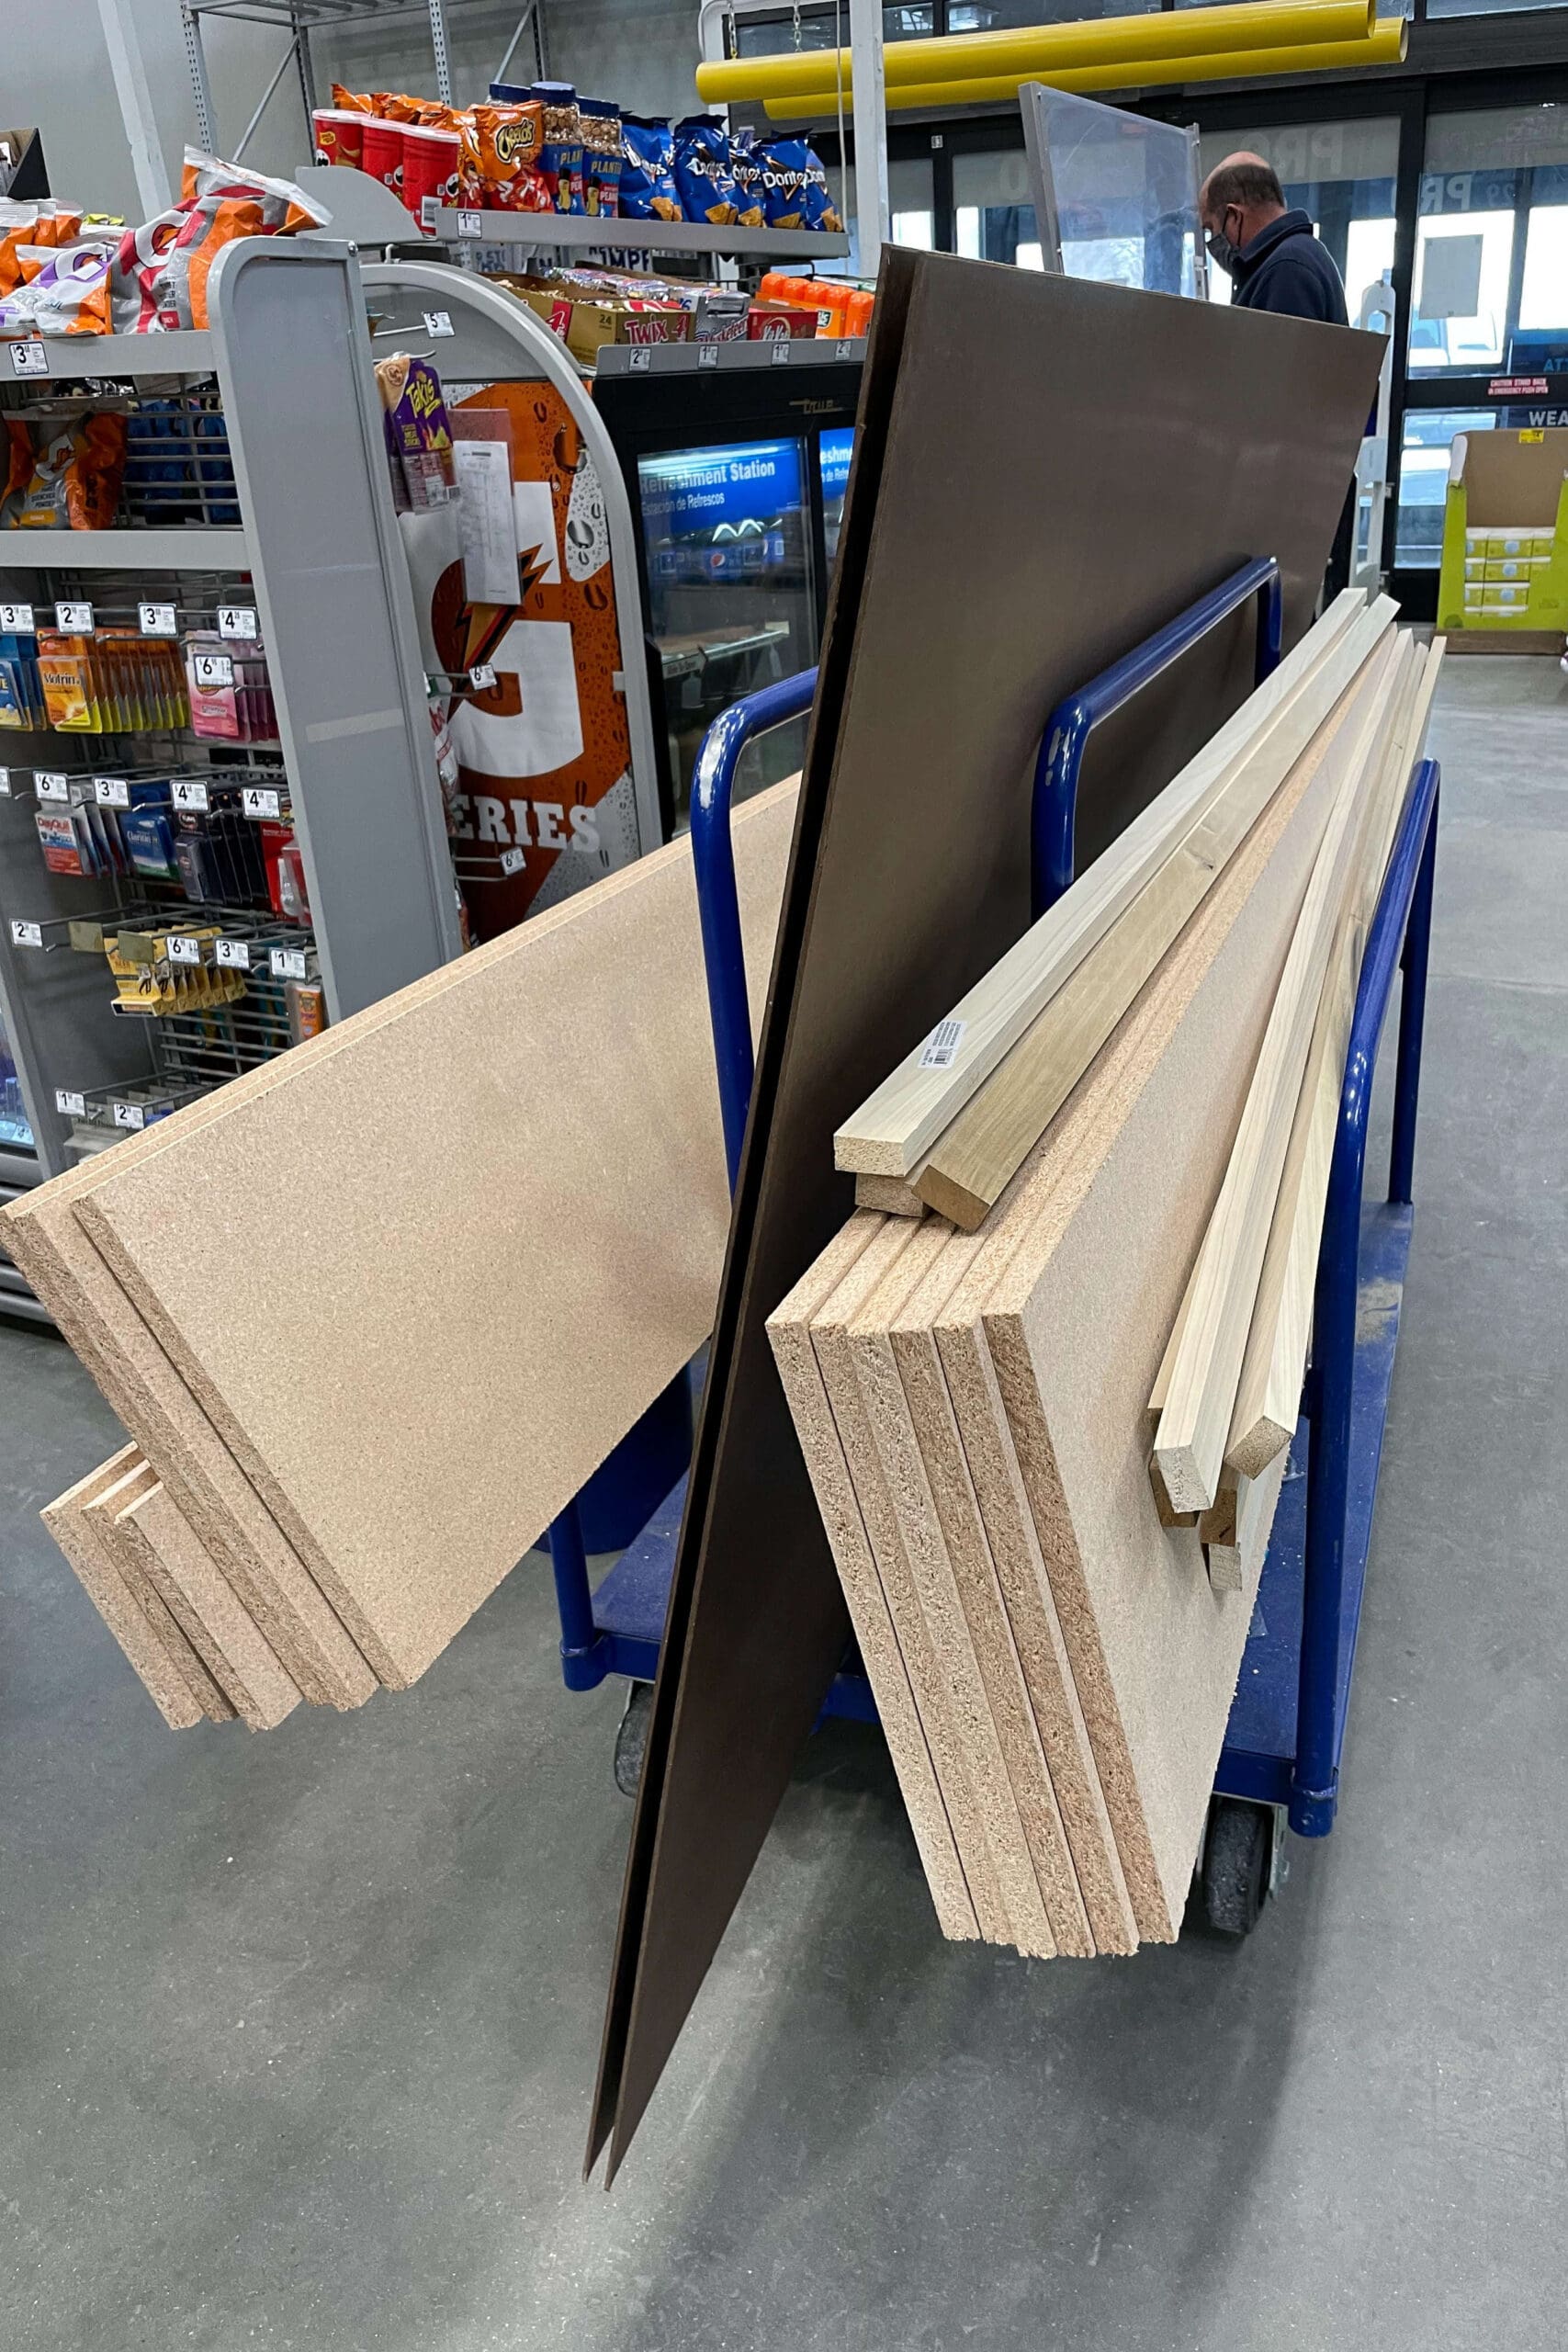
- MDF
- Wood glue
- Hardboard
- 2x4s
- Wood shims
- 1x2s
- Baseboard
- Crown molding
- Wood filler
- Caulk
- Primer
- Paint
- Roller sleeves
- Coat hooks
Why DIY Mudroom Lockers Are a Game-Changer for Small Entryways
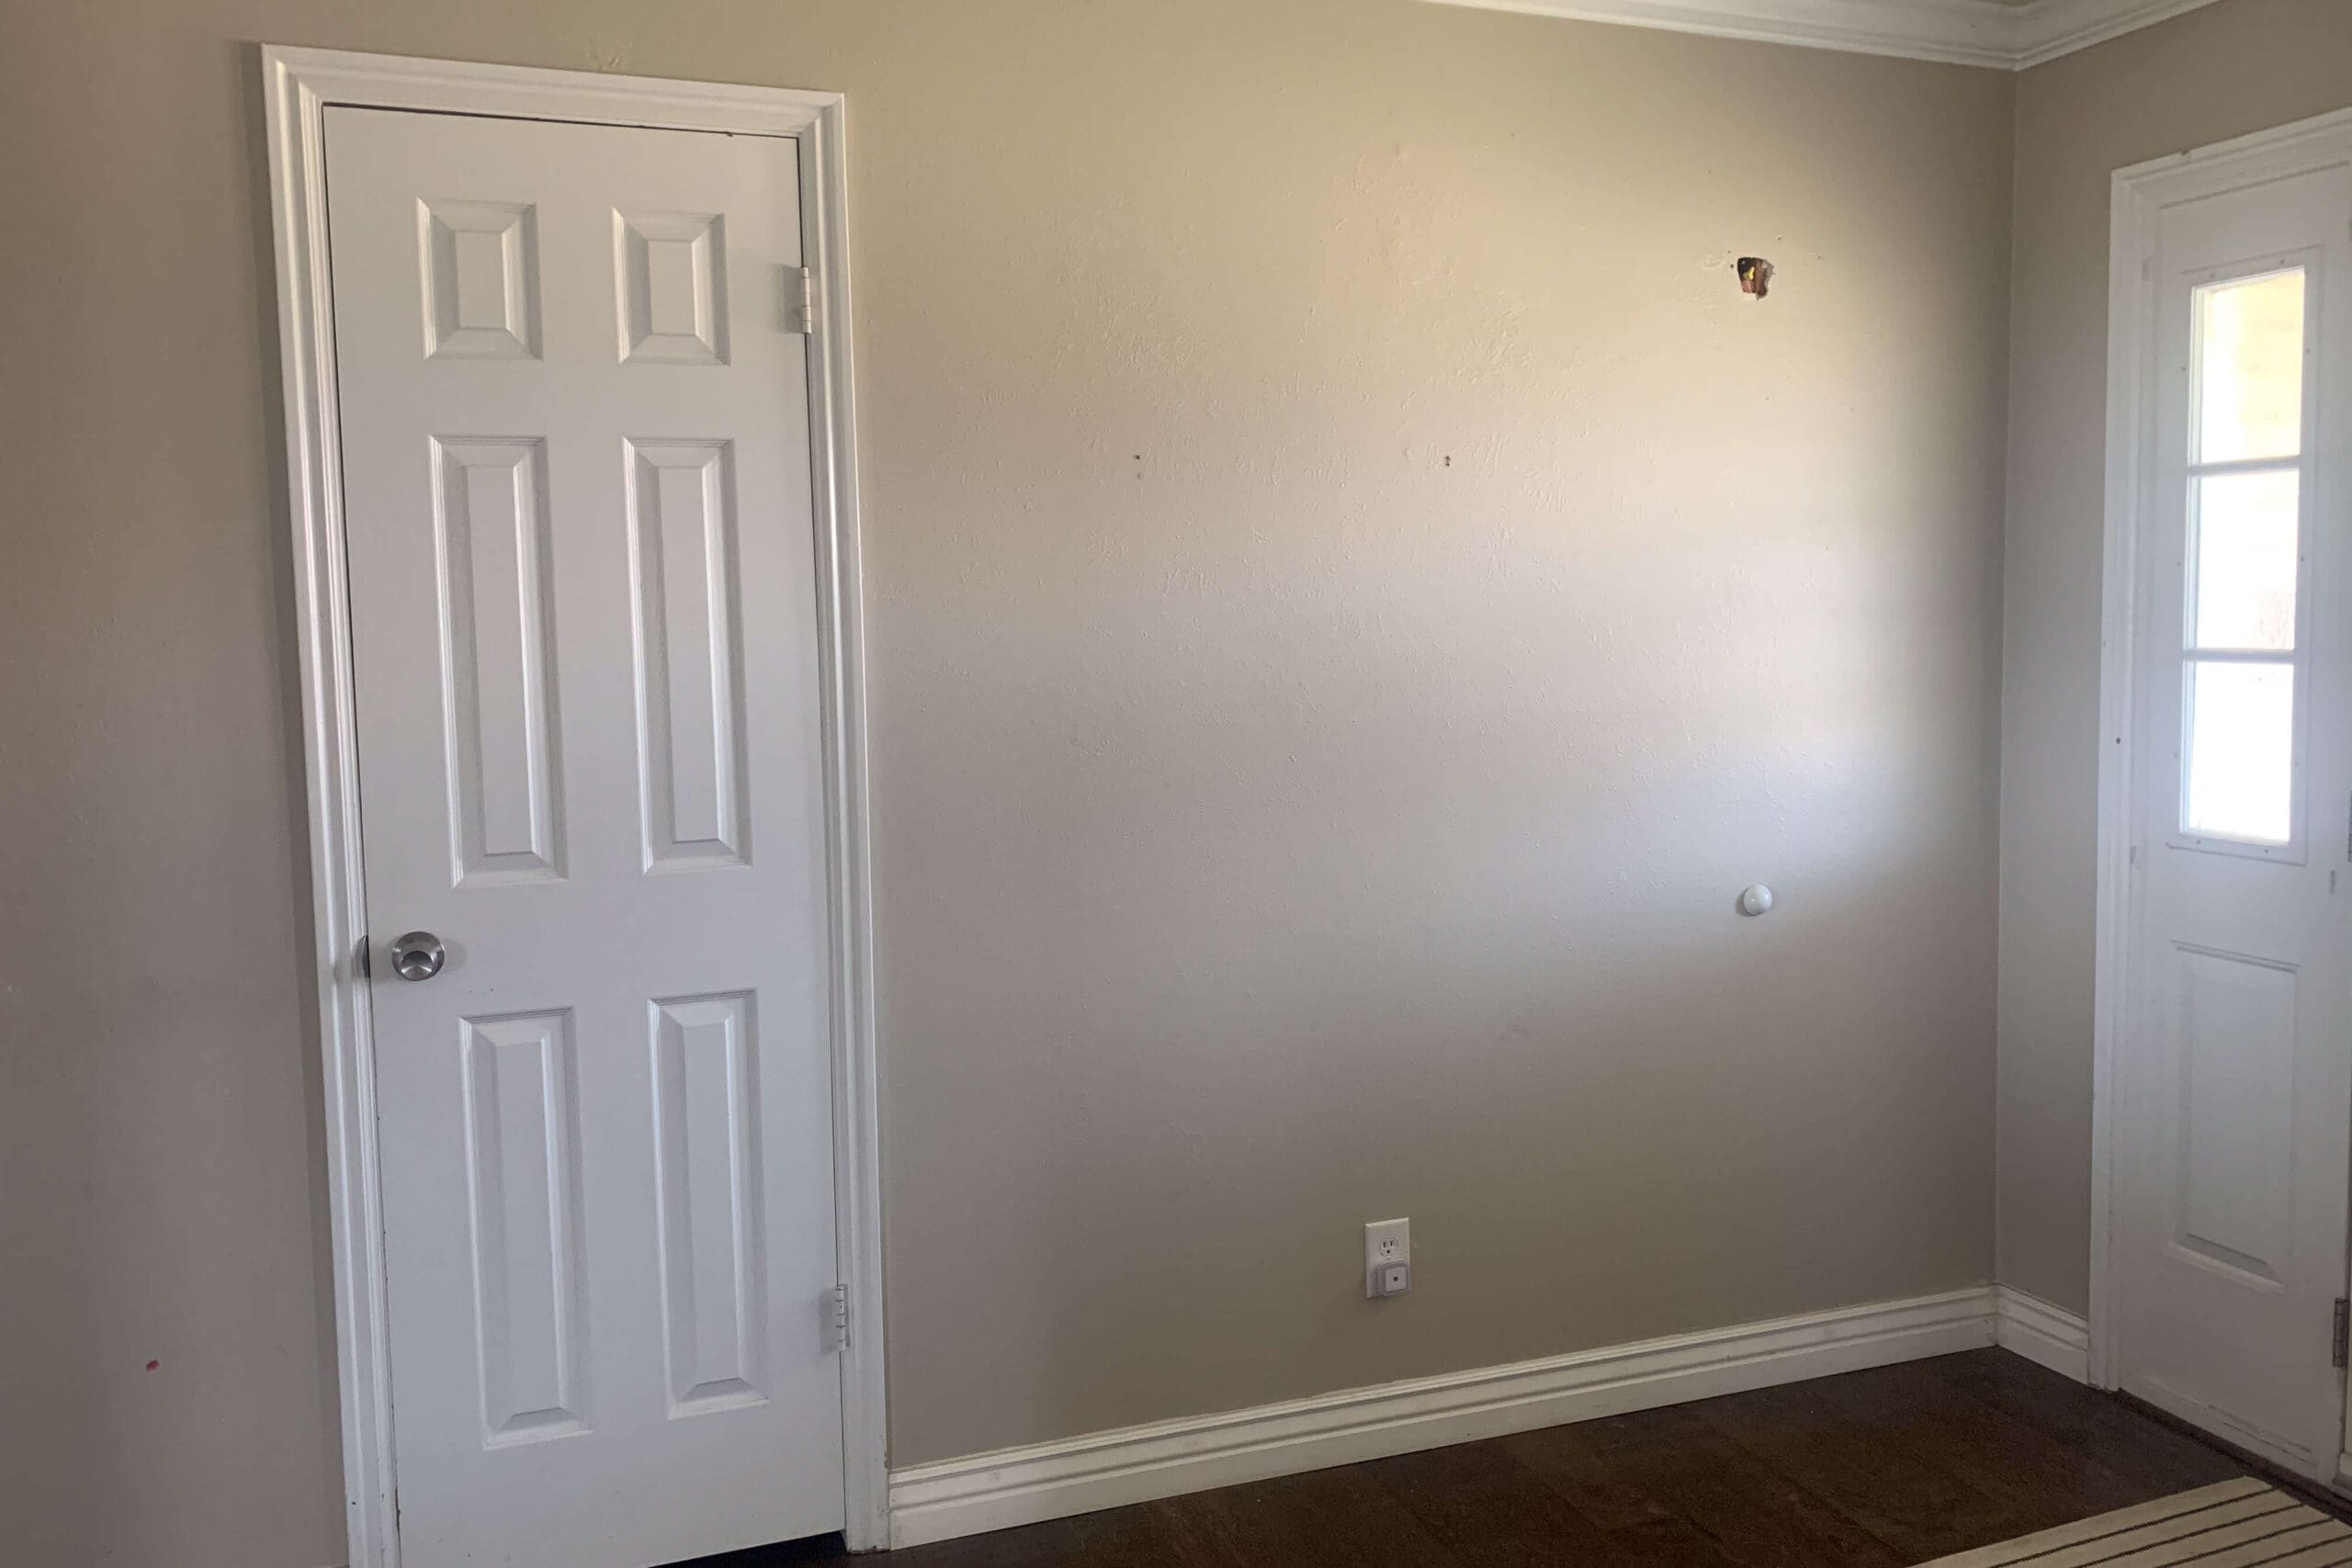
That little door on the left? That was our so-called coat closet – way too small for our big family (I actually turned it into a linen closet). I needed a more spacious entryway storage solution, even though my space was tiny, but that’s the beauty of DIY – you can customize these mudroom lockers to fit anywhere!
Don’t worry if you don’t own a table saw. For this project, I had most of my lumber cut for me at the hardware store – super convenient!
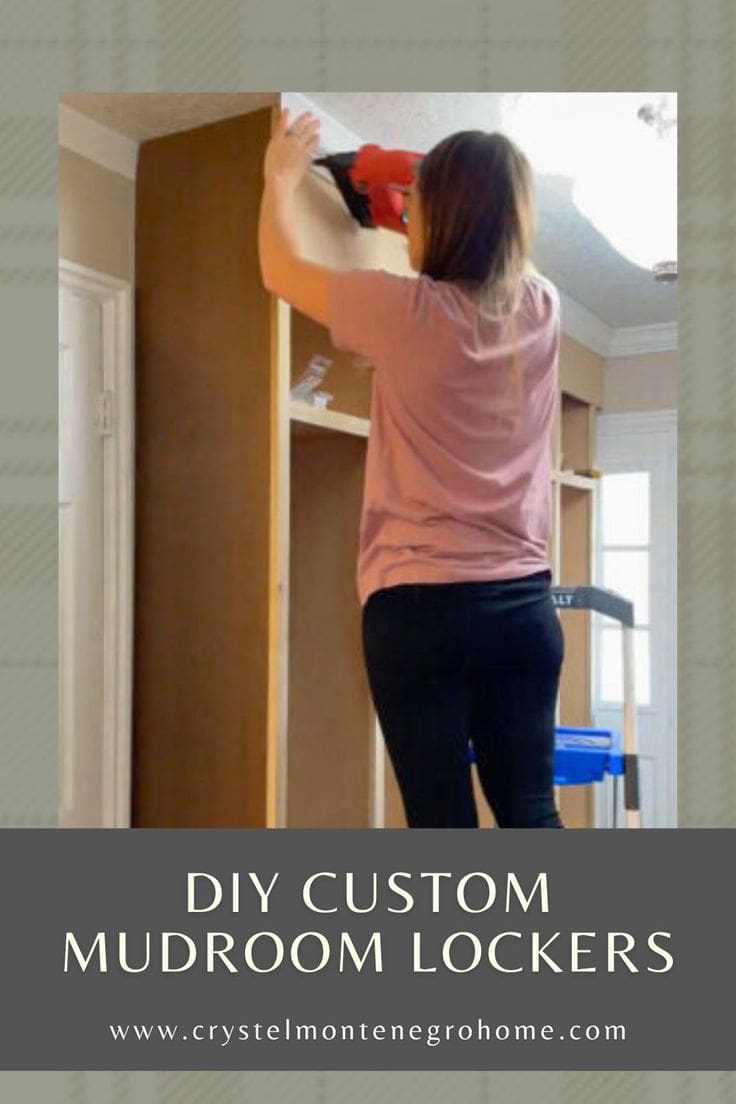
How to Assemble the Mudroom Locker Frames
After unloading all the lumber from the minivan, I got to work assembling the lockers right in my living room. To keep everything aligned, I used an extra piece of MDF as a spacer, applied wood glue, and temporarily held it together with my brad nailer. Then, I followed up with my drill and wood screws for a sturdy build.
Once the top board was attached to the vertical pieces, I repeated the process with the bottom board.


Adding Back Panels to the Locker Frame
For the backing, I used hardboard – it’s thin, affordable, and perfect for this project. Since the board was slightly longer than my lockers, I nailed it in place, marked my cut line with a chalk box, and trimmed off the excess with my multi-tool. Easy-peasy!


How to Build a Stable Base for Your Mudroom Lockers
I wanted my mudroom lockers to sit off the floor, leaving room for baseboard, so I built a simple base from 2x4s and placed it where the lockers would sit. My floor wasn’t level (because, of course!), so I used shims to even things out. Don’t skip this step unless you want wonky lockers!
After leveling, I secured the base to the wall studs with screws, then lifted the mudroom lockers onto the base and attached them. To ensure stability, I also screwed the unit into the wall studs at the top.


Installing Top and Bottom Shelves for Maximum Storage
To maximize storage, I added cubbies at the top and bottom of the mudroom lockers. Using a pocket hole jig, I added three pocket holes on each side of the shelf, applied wood glue, and secured the shelf with screws.
Pro Tip: Use scrap wood as temporary supports while attaching the shelves – it makes keeping everything level so much easier!


I screwed the lower shelves in from the bottom and the upper shelves in from the top, making the screws less visible. These mudroom lockers were really coming together!

Trim Details That Make Lockers Look Built-In
Now for the details that make these mudroom lockers look high-end! First, I enclosed the sides and front up to the ceiling, using hardboard for the sides (to keep it thin) and MDF for the front. Then, I added a face frame to the front with 1x2s, which gave the lockers a more substantial look and also covered the unfinished MDF edges.


Next, I wrapped the entire unit with the same baseboard and crown molding used in the rest of the room – this is what really made it look built-in!


How to Prep and Paint DIY Mudroom Lockers
Before painting, I filled all the brad nail holes with wood filler and caulked every single seam. This step is tedious but so worth it for a professional-looking finish.

To ensure a durable paint job, I started with quality primer – essential for a high-traffic piece like this. I used my favorite paintbrush to get in all the nooks and crannies of these mudroom lockers.


Once the primer dried, I applied two coats of paint. A brush worked best for corners, while a roller made for smooth surfaces is best for larger areas. You could use a sprayer, but for such a small project, I skipped the extra prep work.

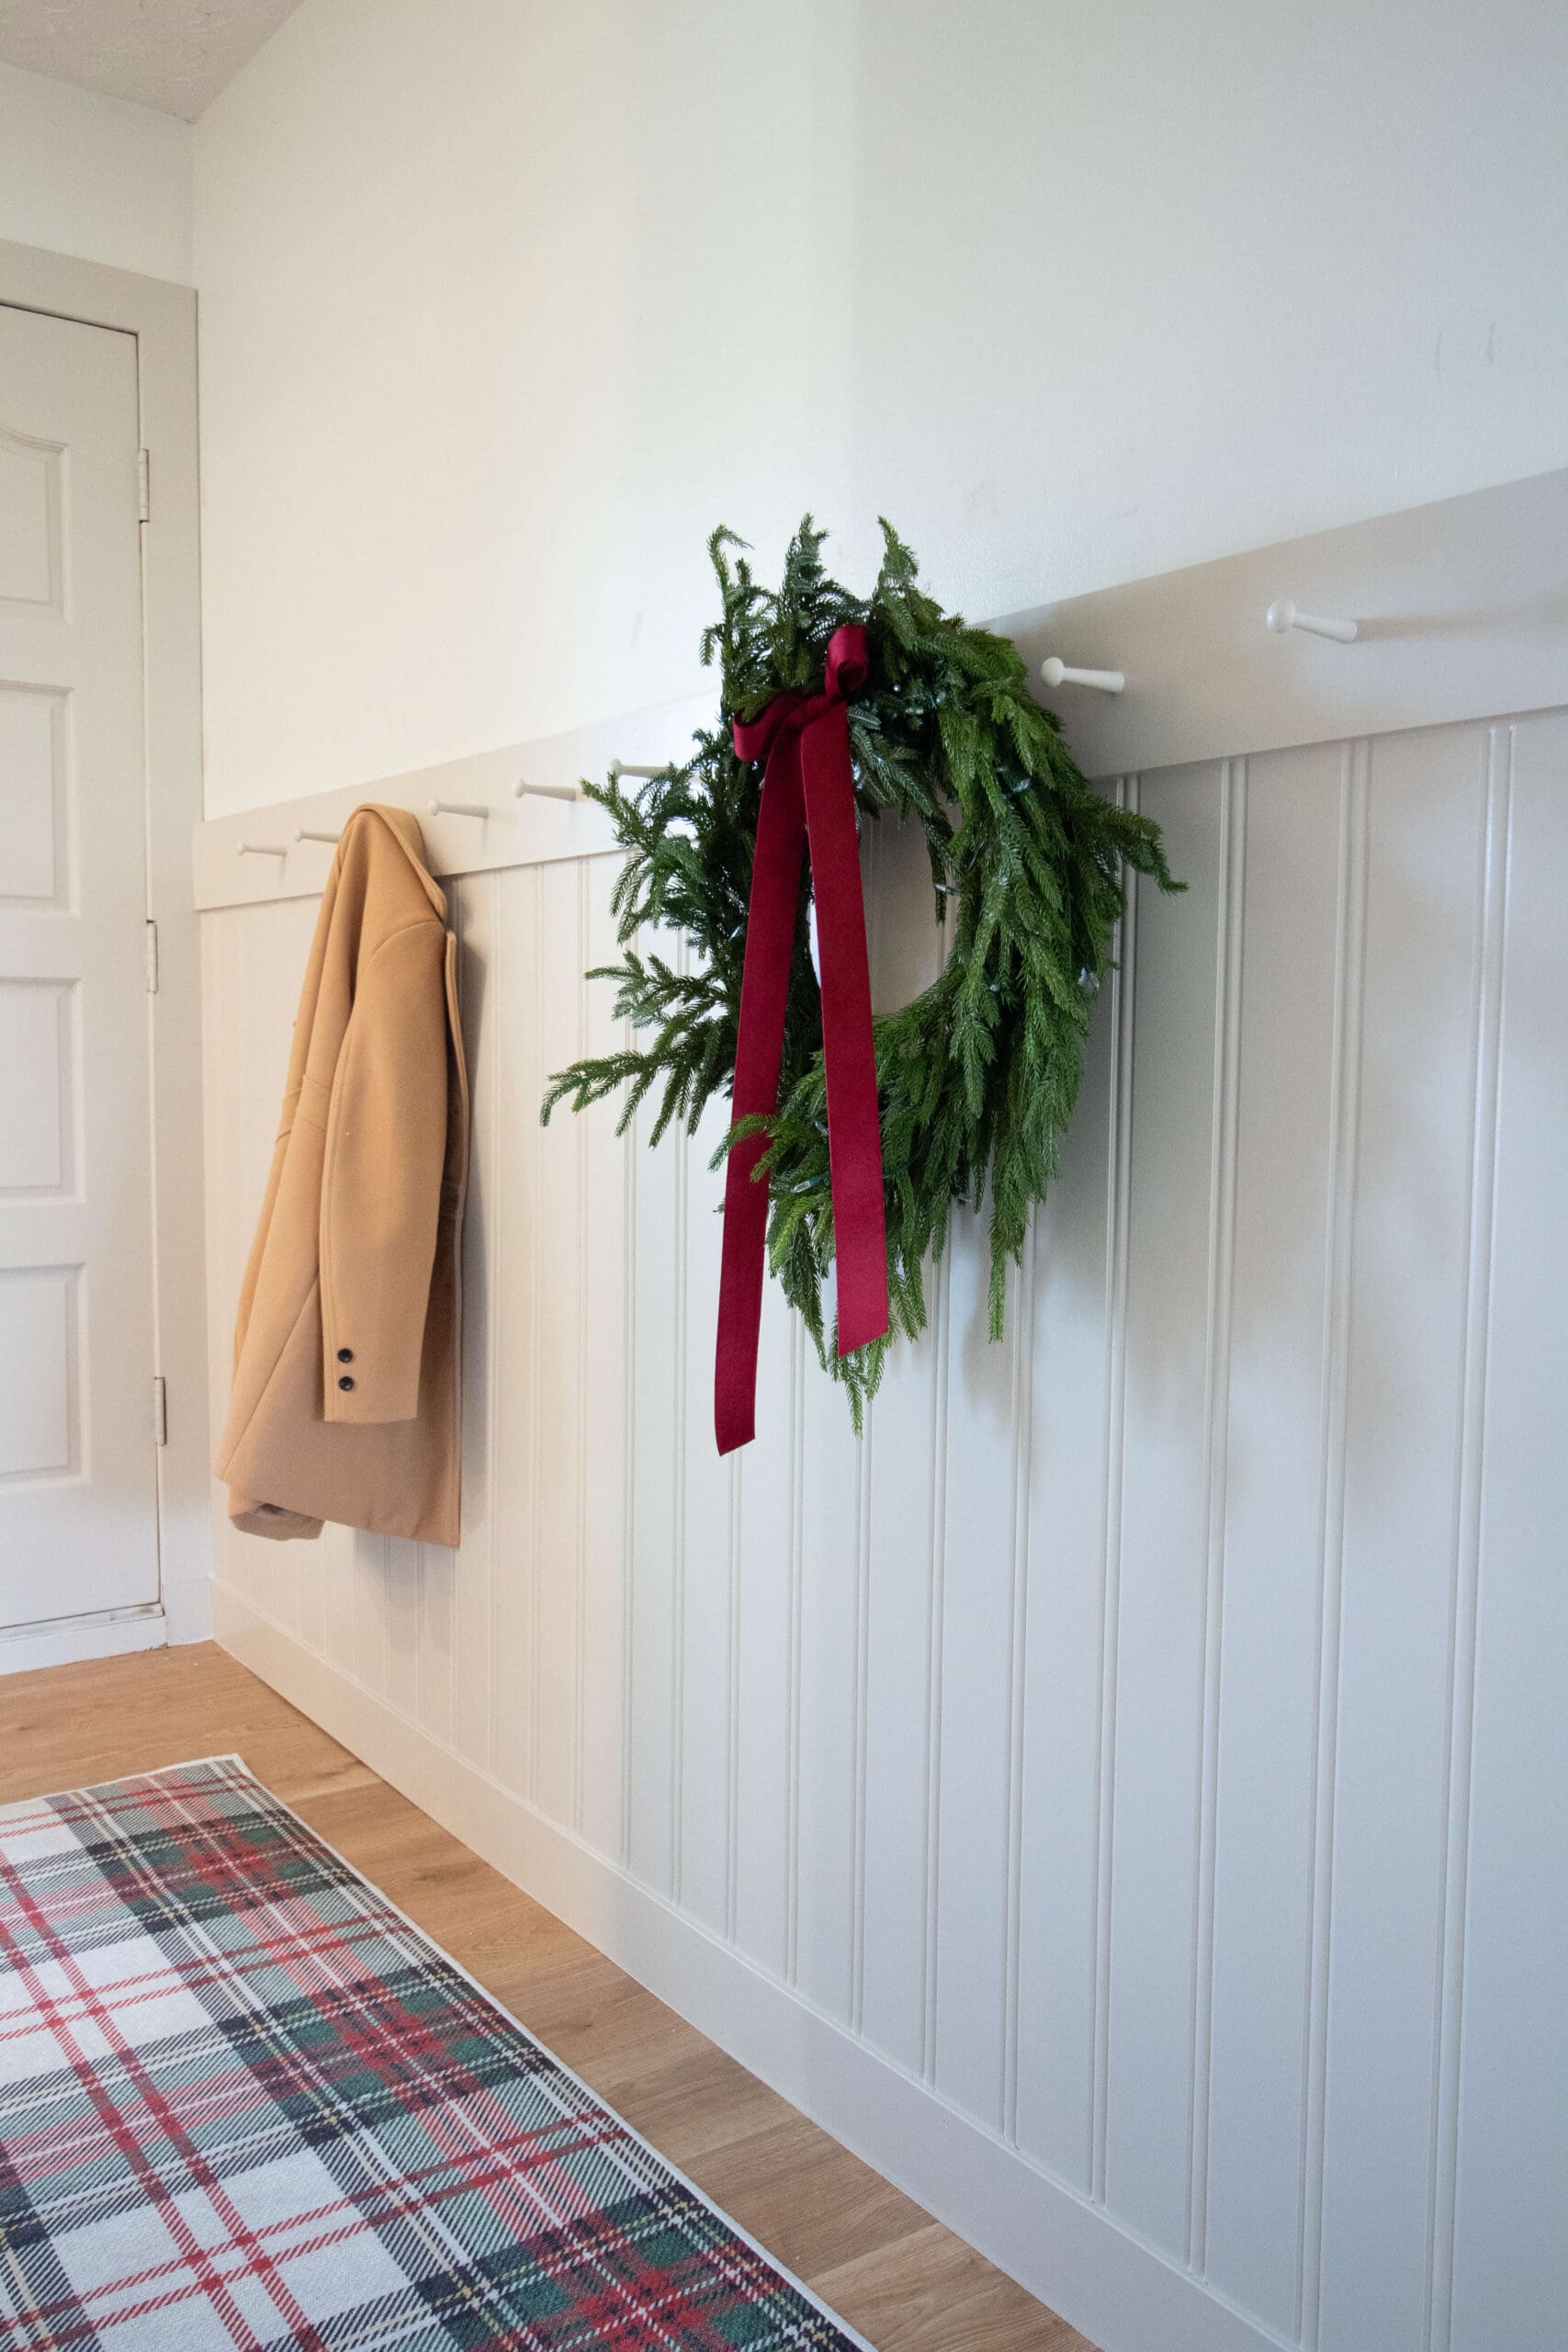
Finished Mudroom Locker Reveal: Stylish, Functional, and Built to Last
With a few hooks added for coats and jackets, these mudroom lockers were officially complete! This setup is so much more functional than that tiny coat closet ever was. Plus, with the extra cubbies, I have tons of storage – perfect for baskets to corral shoes and other essentials. The possibilities are endless!
If your space is even smaller, check out my DIY wall coat rack from our Omaha home. And if you have more room to work with, my quick and easy mudroom storage bench is another great option!

📌 Save This Project for Later

Frequently Asked Questions About Building Mudroom Lockers
Not necessarily! I used a few tools I already had (like a brad nailer and drill), but most hardware stores will cut your lumber for you. You can totally pull this off with basic tools and a little patience.
I used MDF for most of the build because it’s budget-friendly, smooth, and easy to paint. For trim and accents, I used 1x2s and other lightweight boards. If you’re planning to stain instead of paint, go with plywood or real wood boards.
I built a base from 2x4s, secured that to the studs with screws, then attached the lockers to the base and directly into the studs at the top for extra stability. Nothing’s tipping over on my watch!
100%! I customized mine to fit in a narrow entryway. That’s the beauty of DIY—whether you’ve got three feet or ten, you can build something that fits your space perfectly.