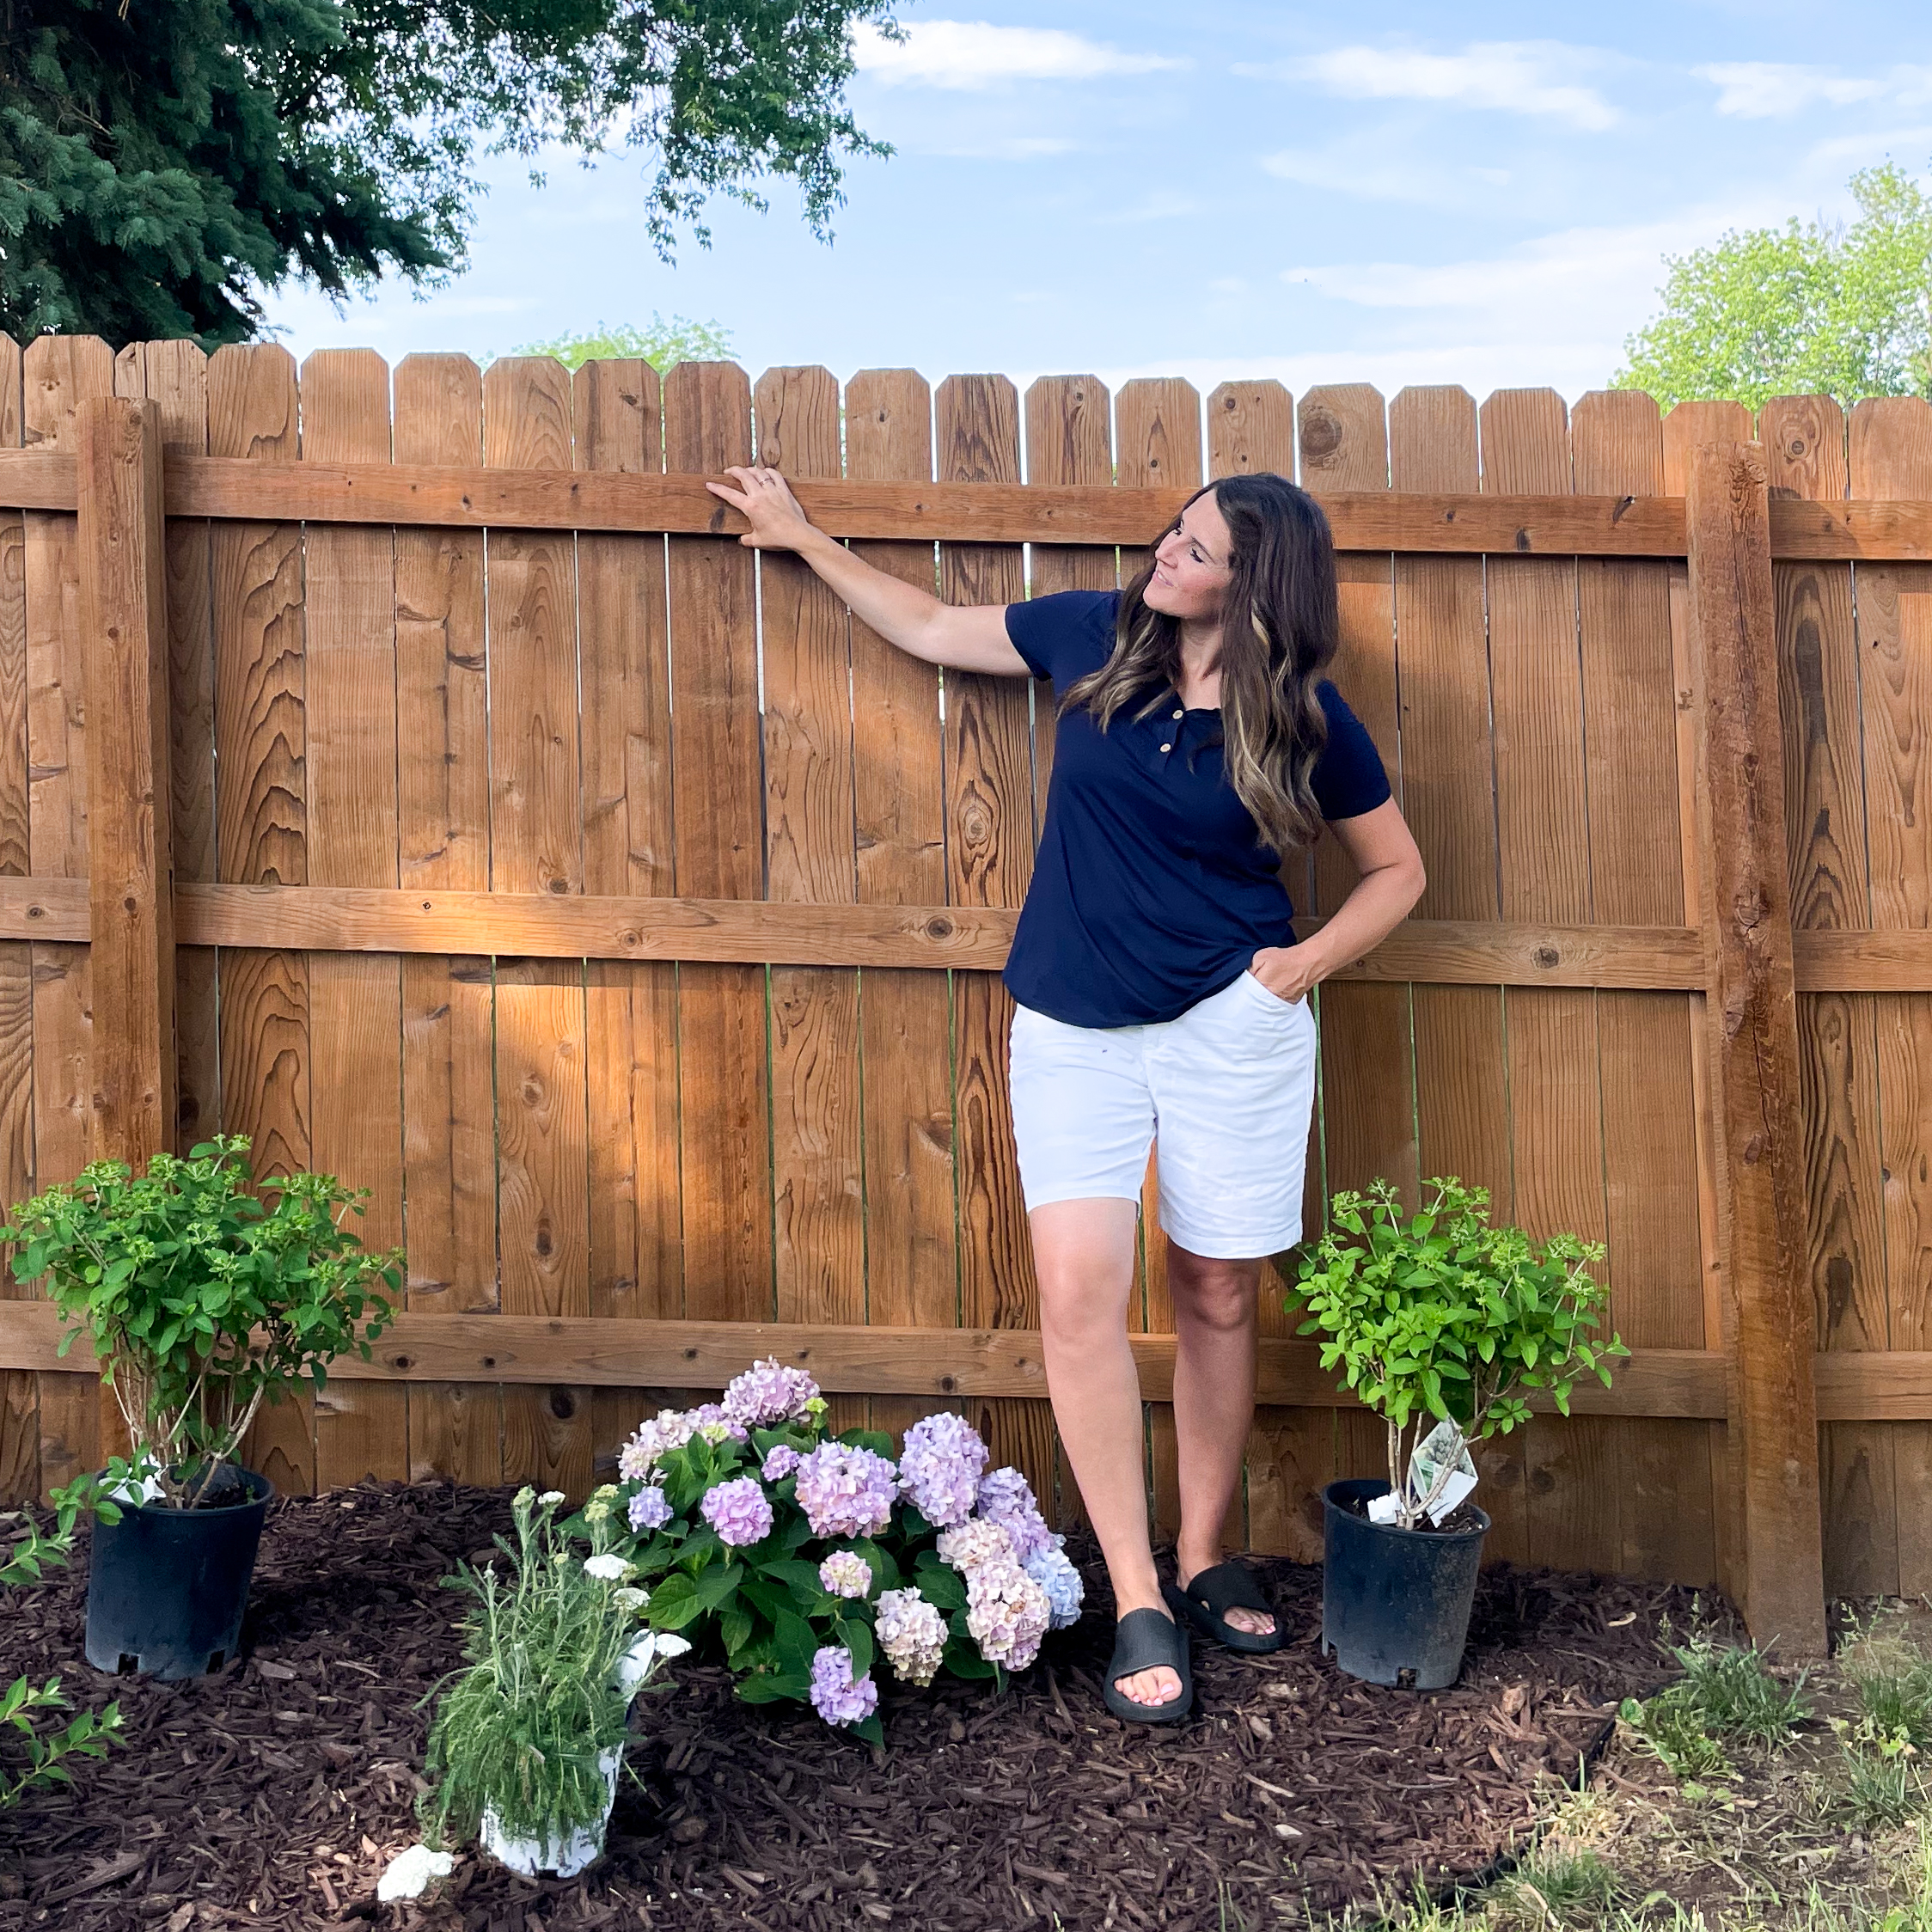
Do you have an old wood fence that has seen better days? I did, too, until I completely revived it with a little bit of elbow grease, a pressure washer, and some stain. My fence is now looking better than ever.
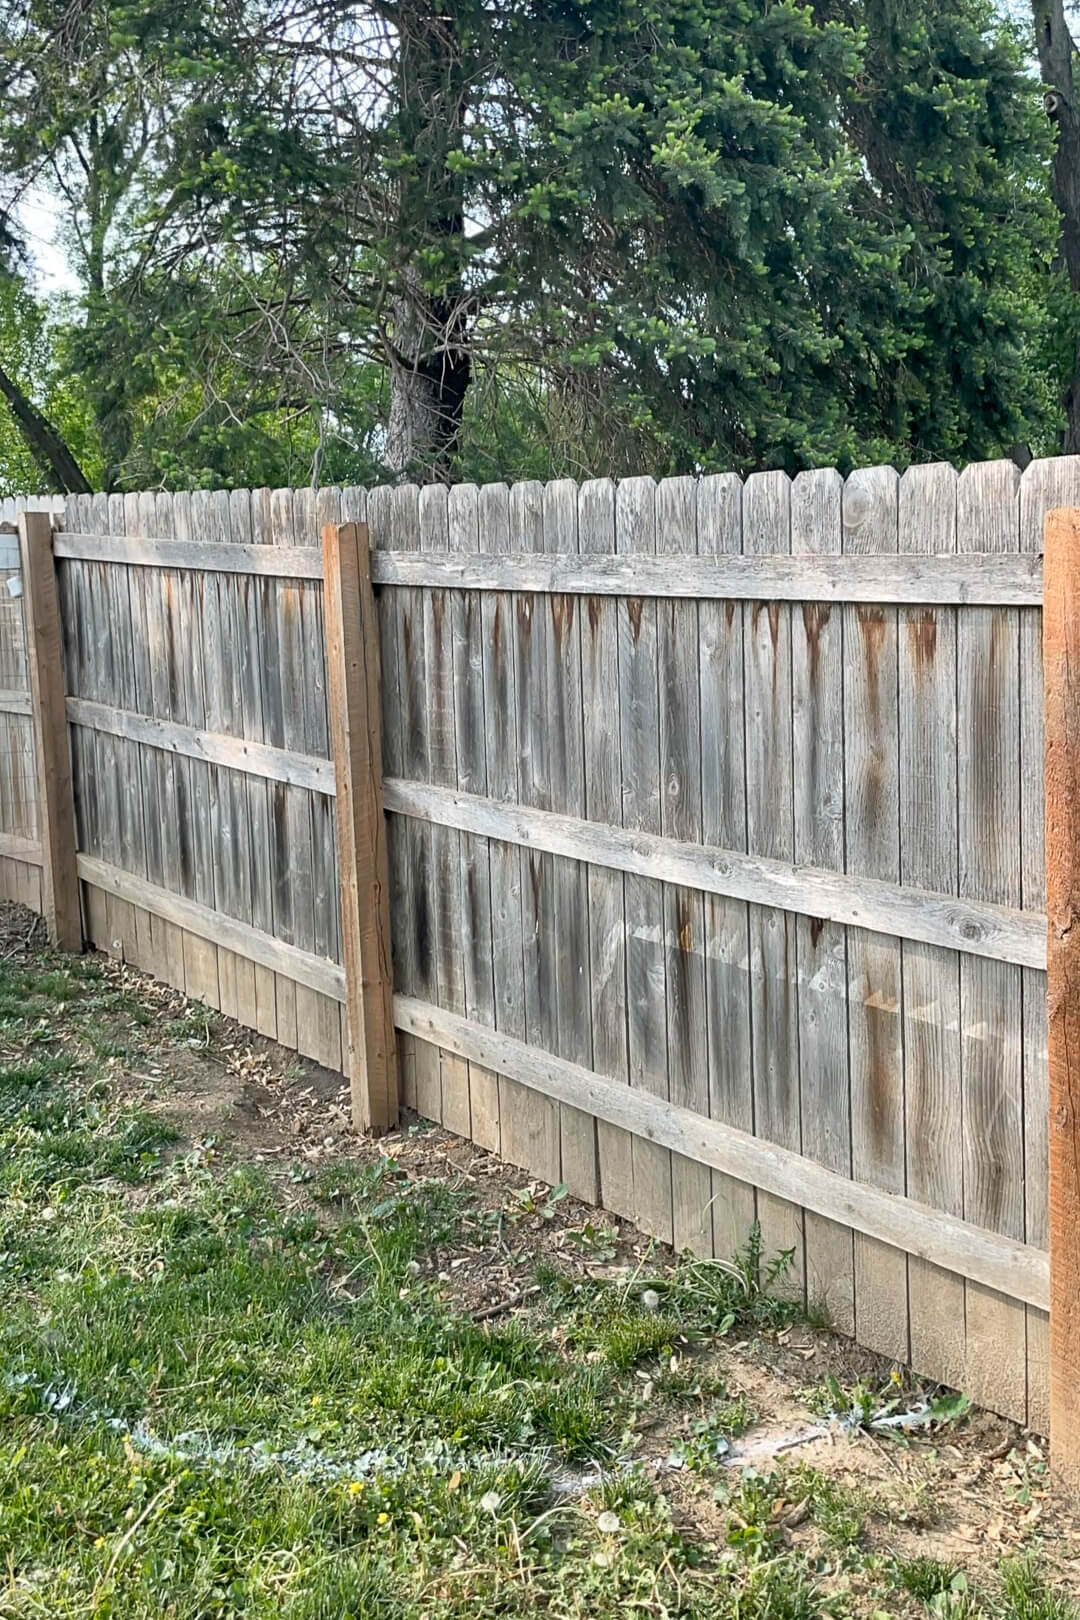
Here’s what my wood fence was looking like before I tackled this project.
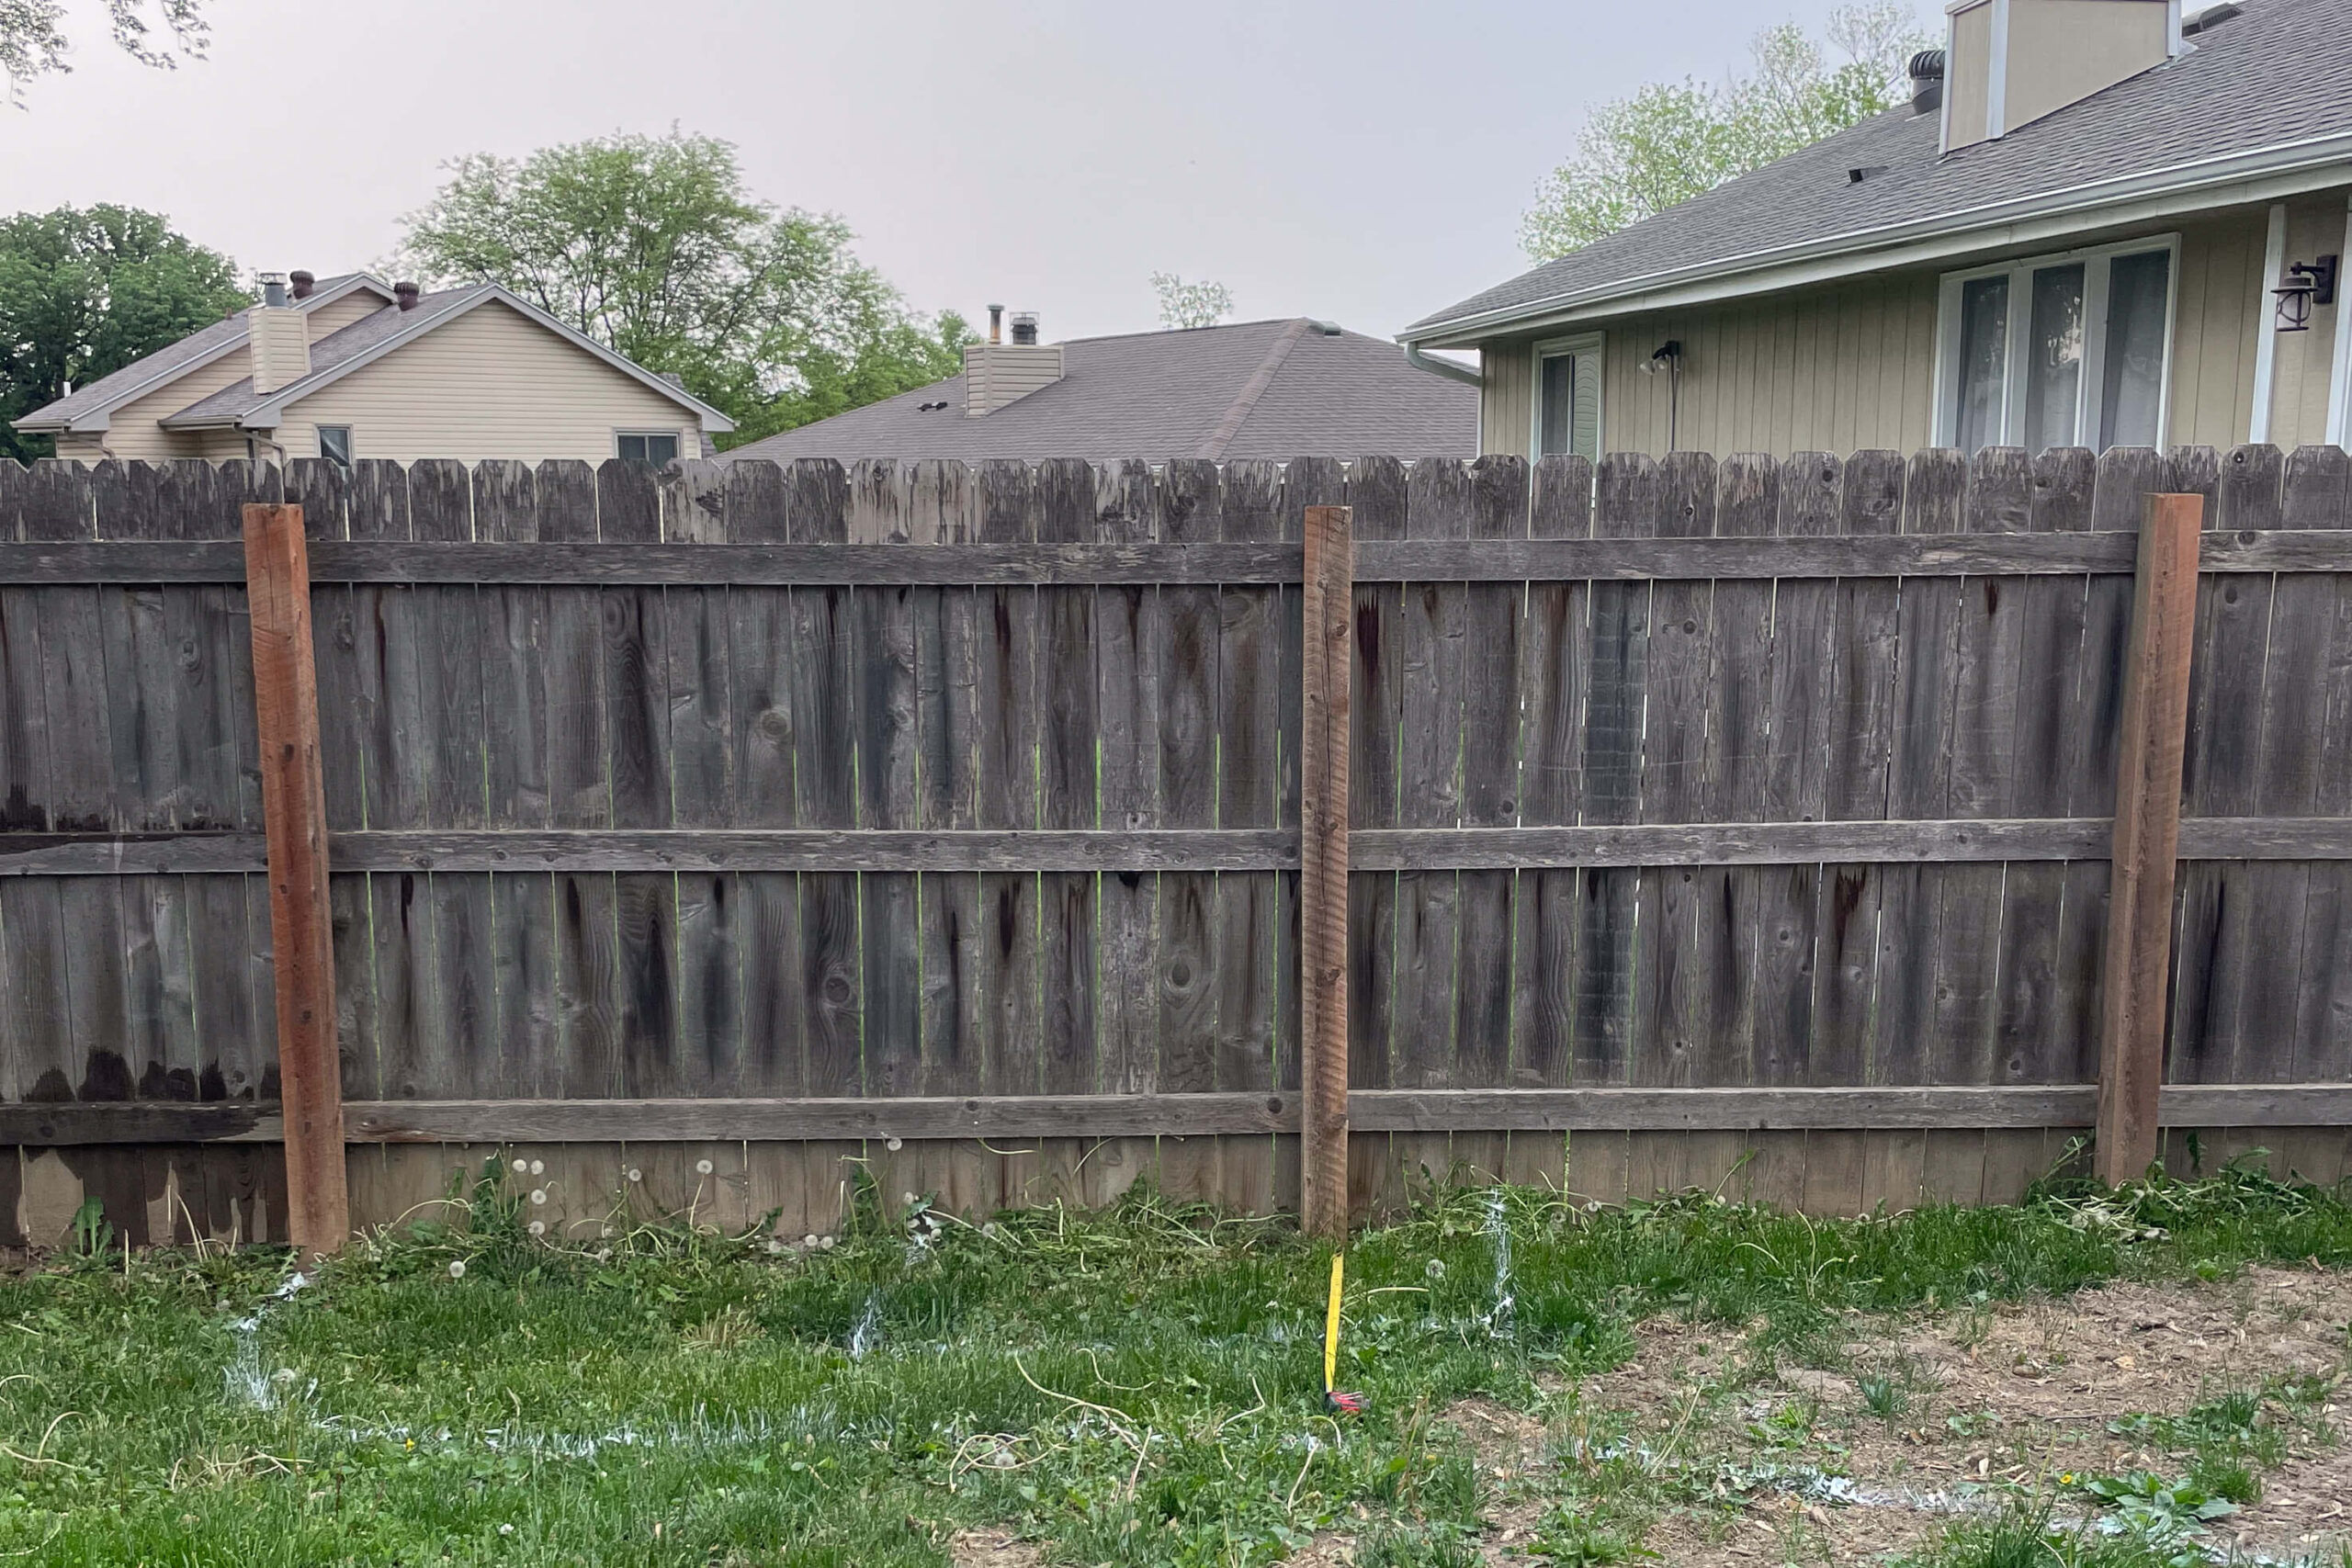
Structurally the fence was just fine. The boards themselves were all in good shape. It was just looking old and had definitely seem some life. It didn’t need replacing, it just needed some updating.
Reviving your old, weathered wood fence is an easy and satisfying project that you can tackle in a weekend.
What You Need to Update Your Wood Fence
You don’t need much for this project at all.
Step One: Pressure Wash the Fence
If you don’t have a pressure washer you will definitely want one for this project. You will see in the photos below that it makes a huge difference to the fence right away. I use my pressure washer all the time around the house. It’s great for cleaning the driveway or spraying off my patio furniture. Seriously, you won’t regret getting this one.
Pressure washing the fence takes a little bit of time, but it is so satisfying. It’s really simple. Start at one end and work your way down the fence.
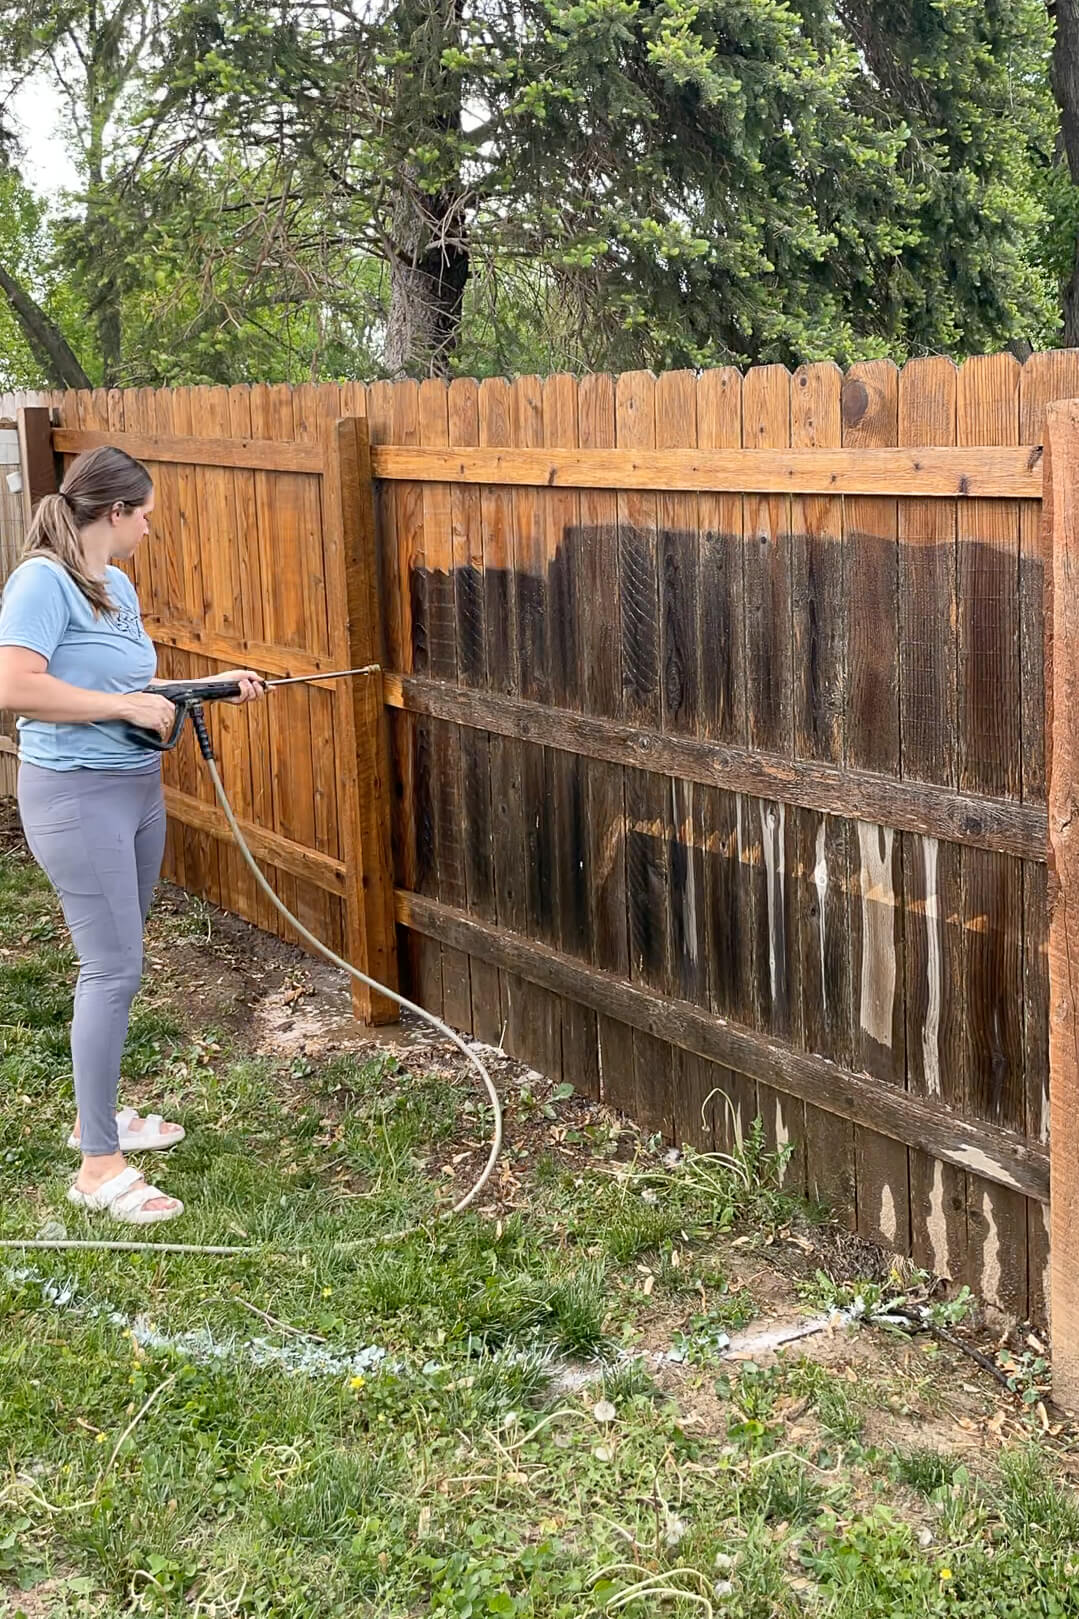
Here is an up-close picture so you can see that weathered, grey drabness magically blasted away by the pressure washer.
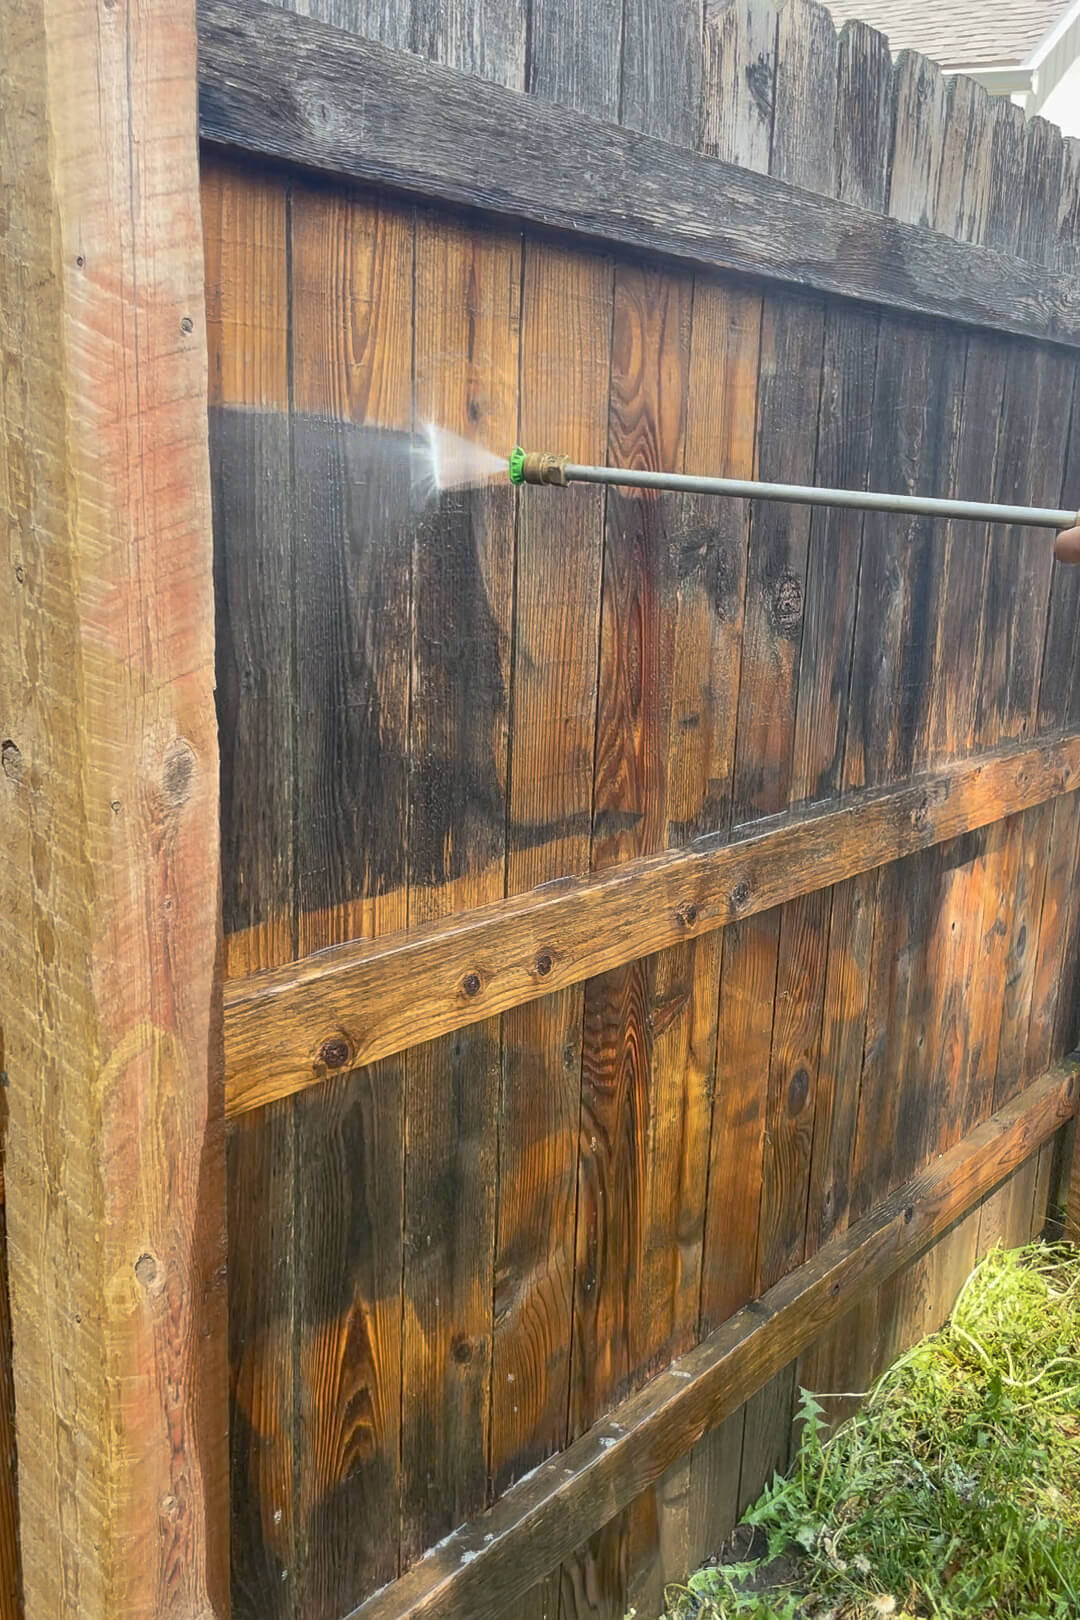
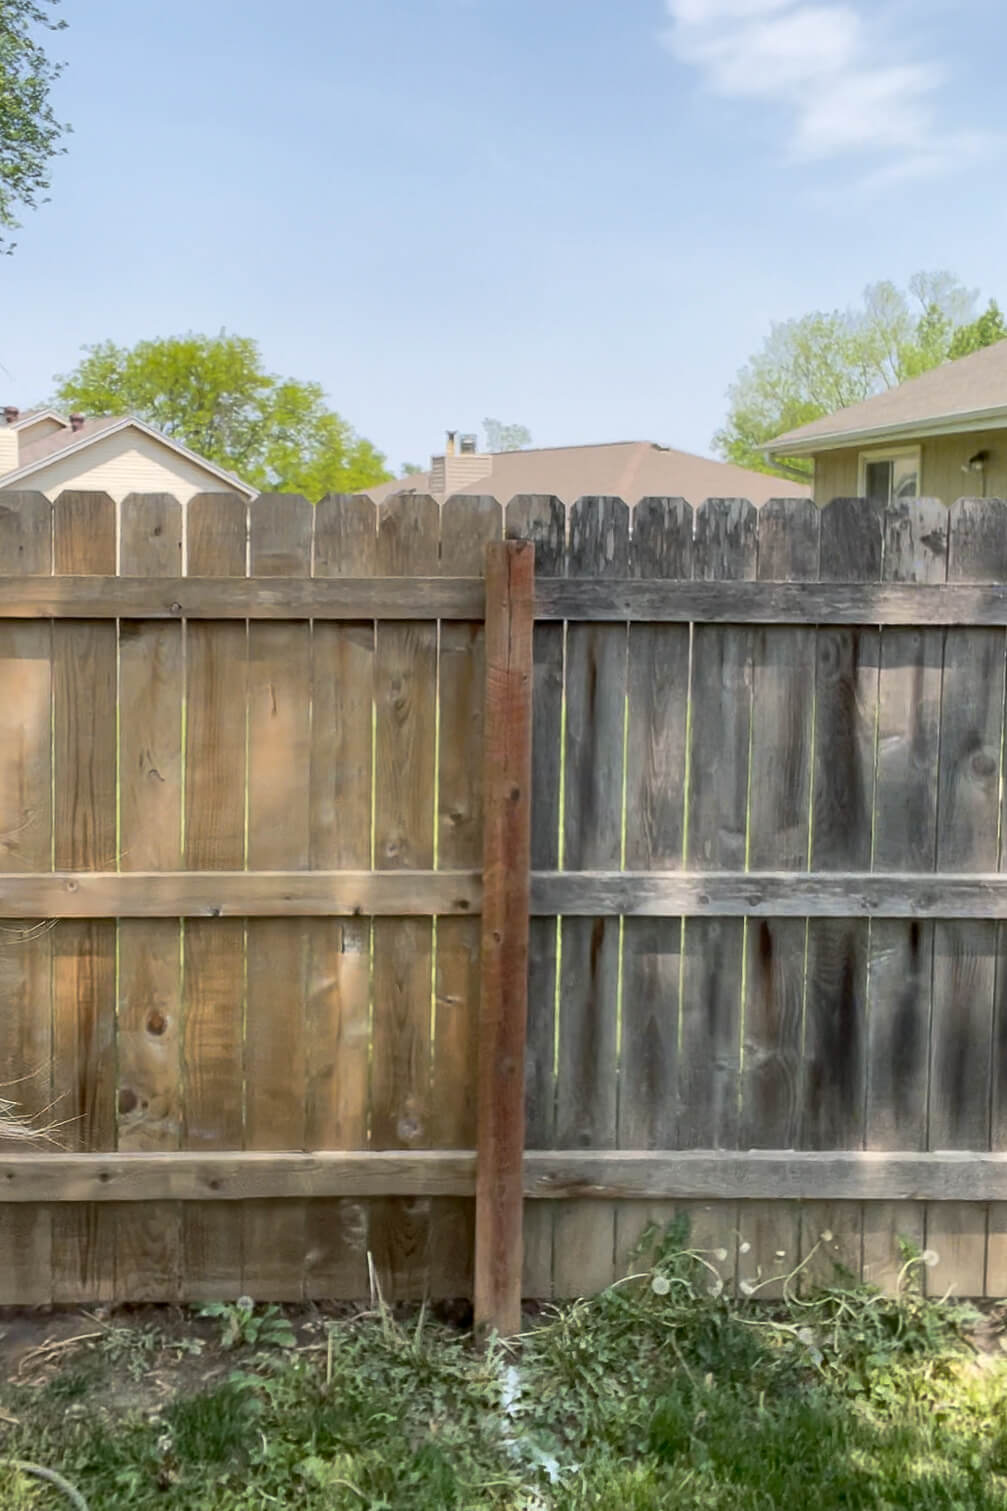
The next day, after the panels I had pressure washed had a chance to dry, I couldn’t wait to head outside and take a look at the progress. On the left is after using the pressure washer, and the right is a section I still needed to do. Such a huge difference!
Step Two: Staining the Wood Fence
Once we had pressure washed all of the wood and given it a chance to dry, we needed to protect it. If you don’t apply some sort of sealant/protectant, it won’t take long for your fence to start looking like those before photos again.
For this project, I used Behr Waterproofing Stain & Sealer. This is the same product that I used on my garden arbor and that I will also use on my hammock stand that I built in the backyard. It not only protects the wood but will also stain the fence and change the color slightly. It comes in a few different colors. I am using the Cedar Natural Tone.
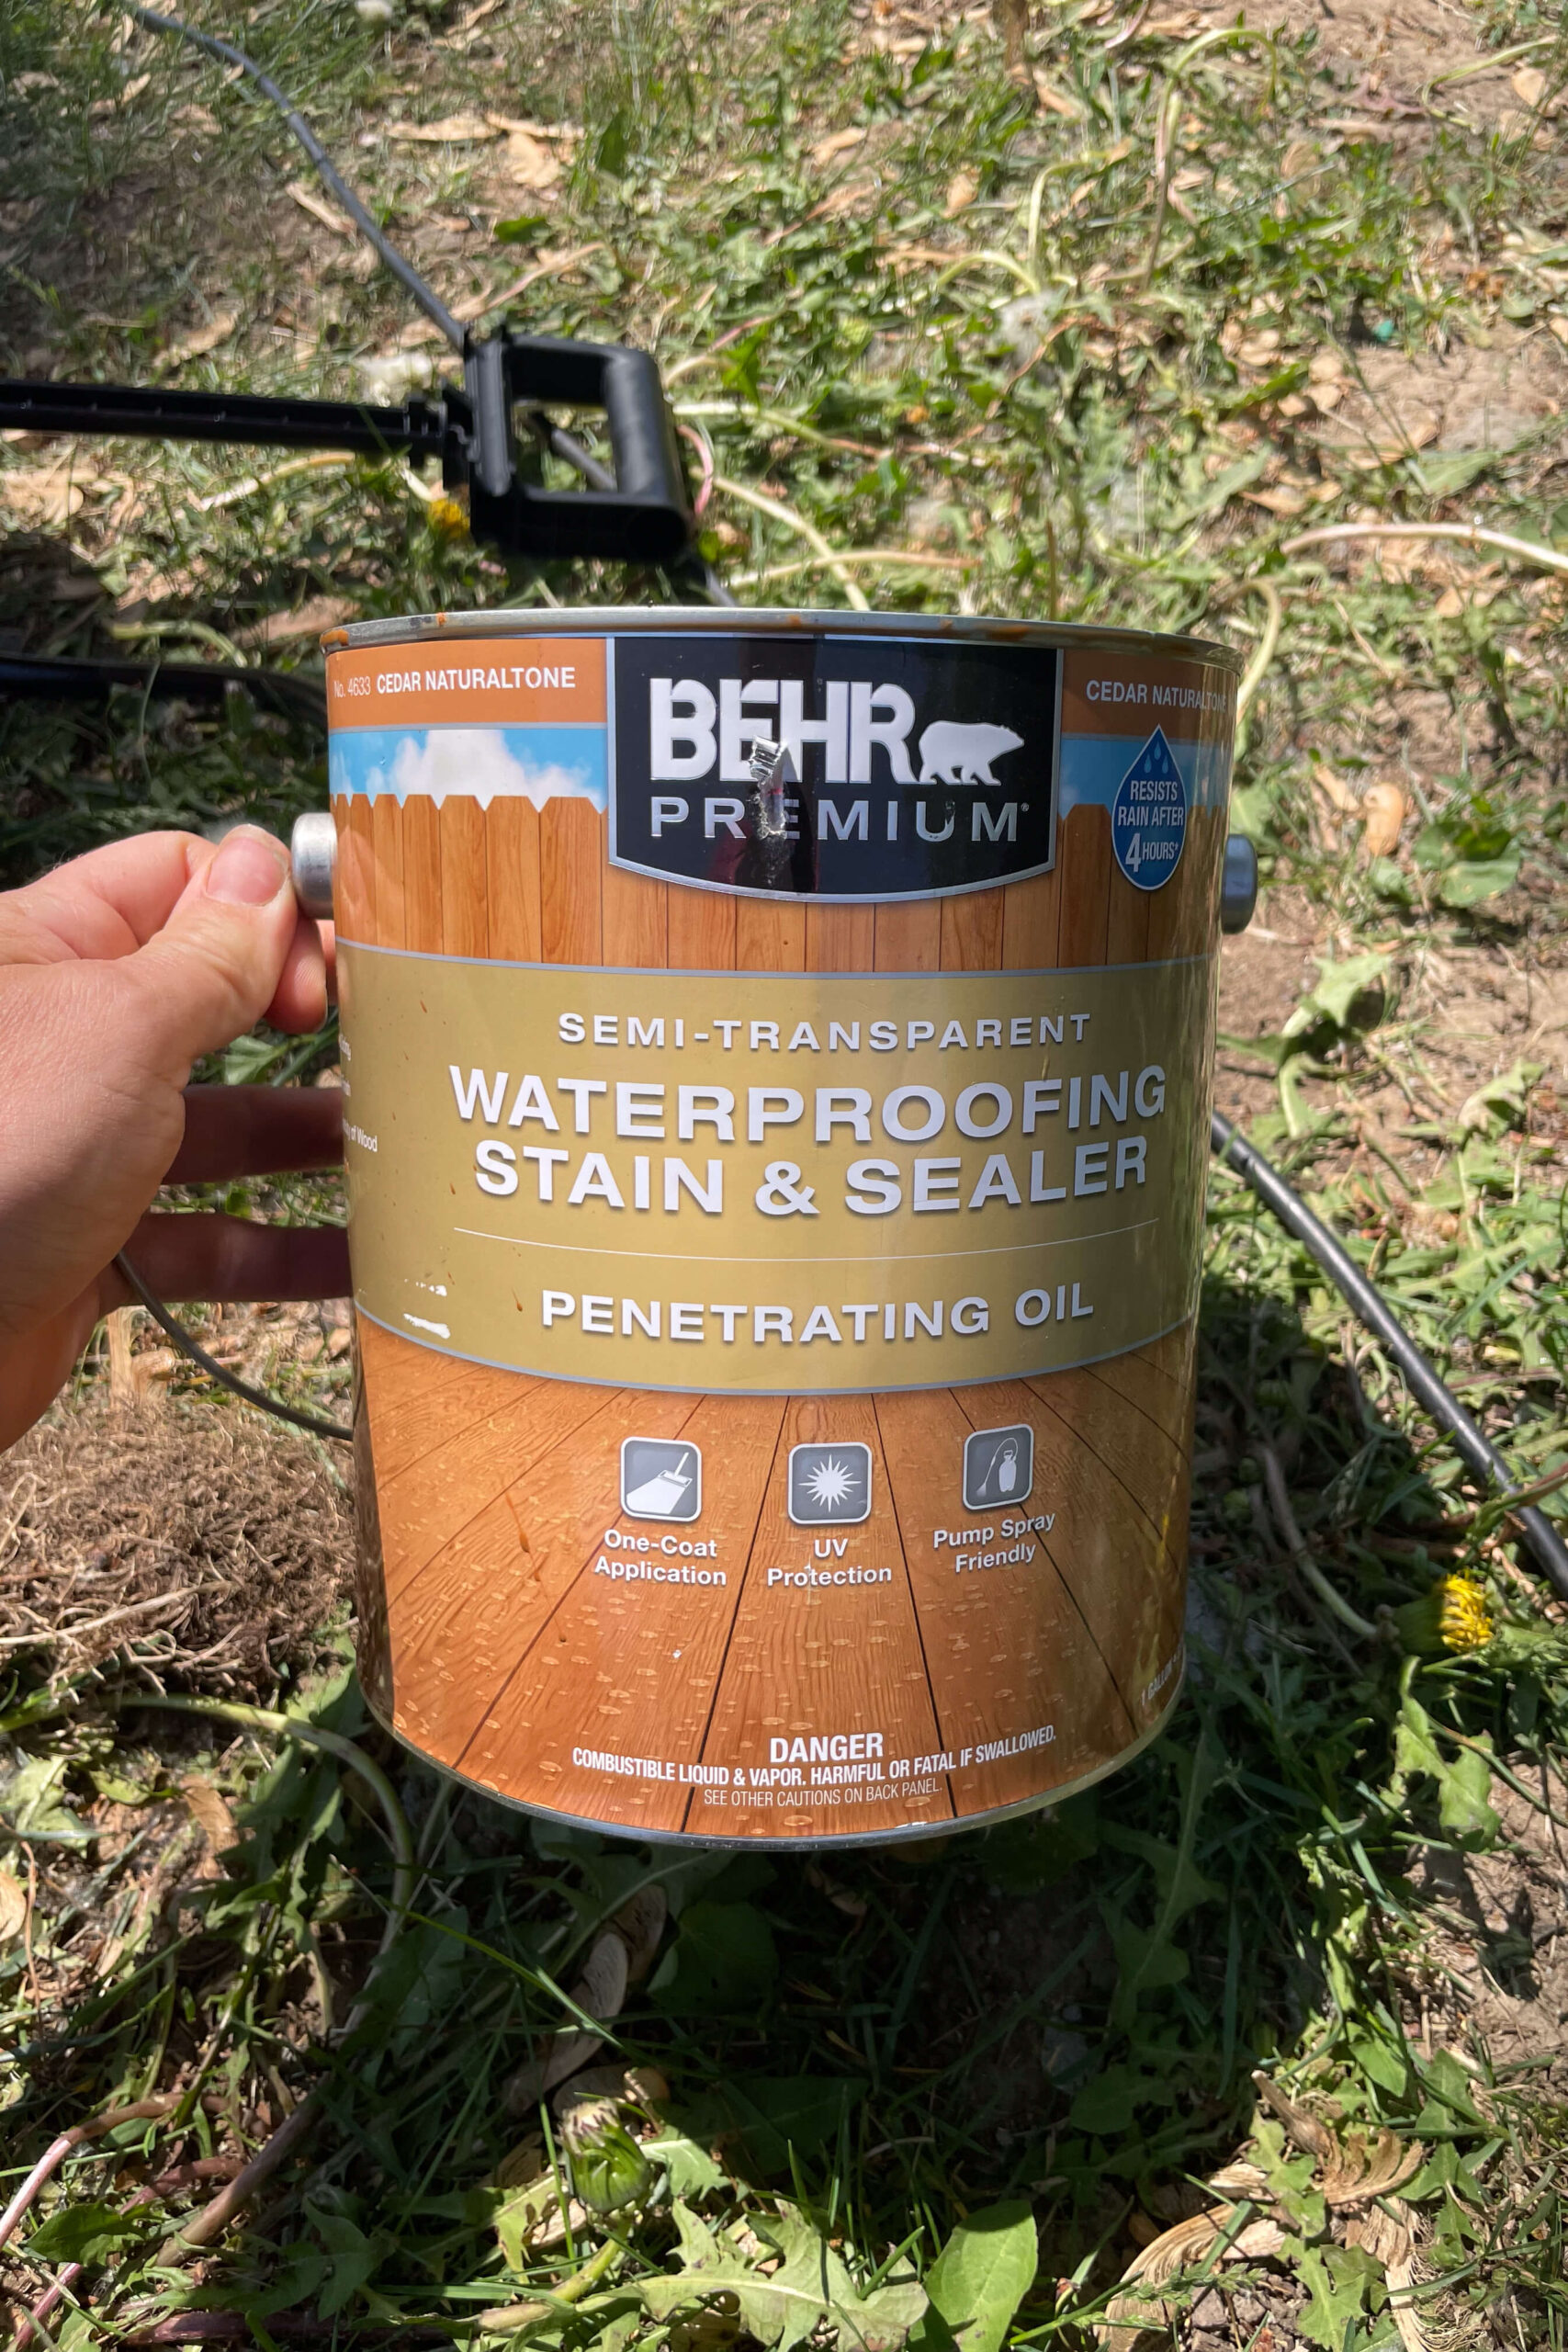
If you don’t want to change the color of your fence you will want to use a clear sealant. In that case I would recommend Thompson’s WaterSeal Clear Exterior Sealer . That’s what I used on my patio furniture, because I did not want the color to change, and it worked great.
The quickest way that I have found to apply the sealant is to use a basic garden sprayer. It is so fast and easy, and there really is no wrong way to do it. The sealant is very liquid, not thick like paint, so it sprays on easily.
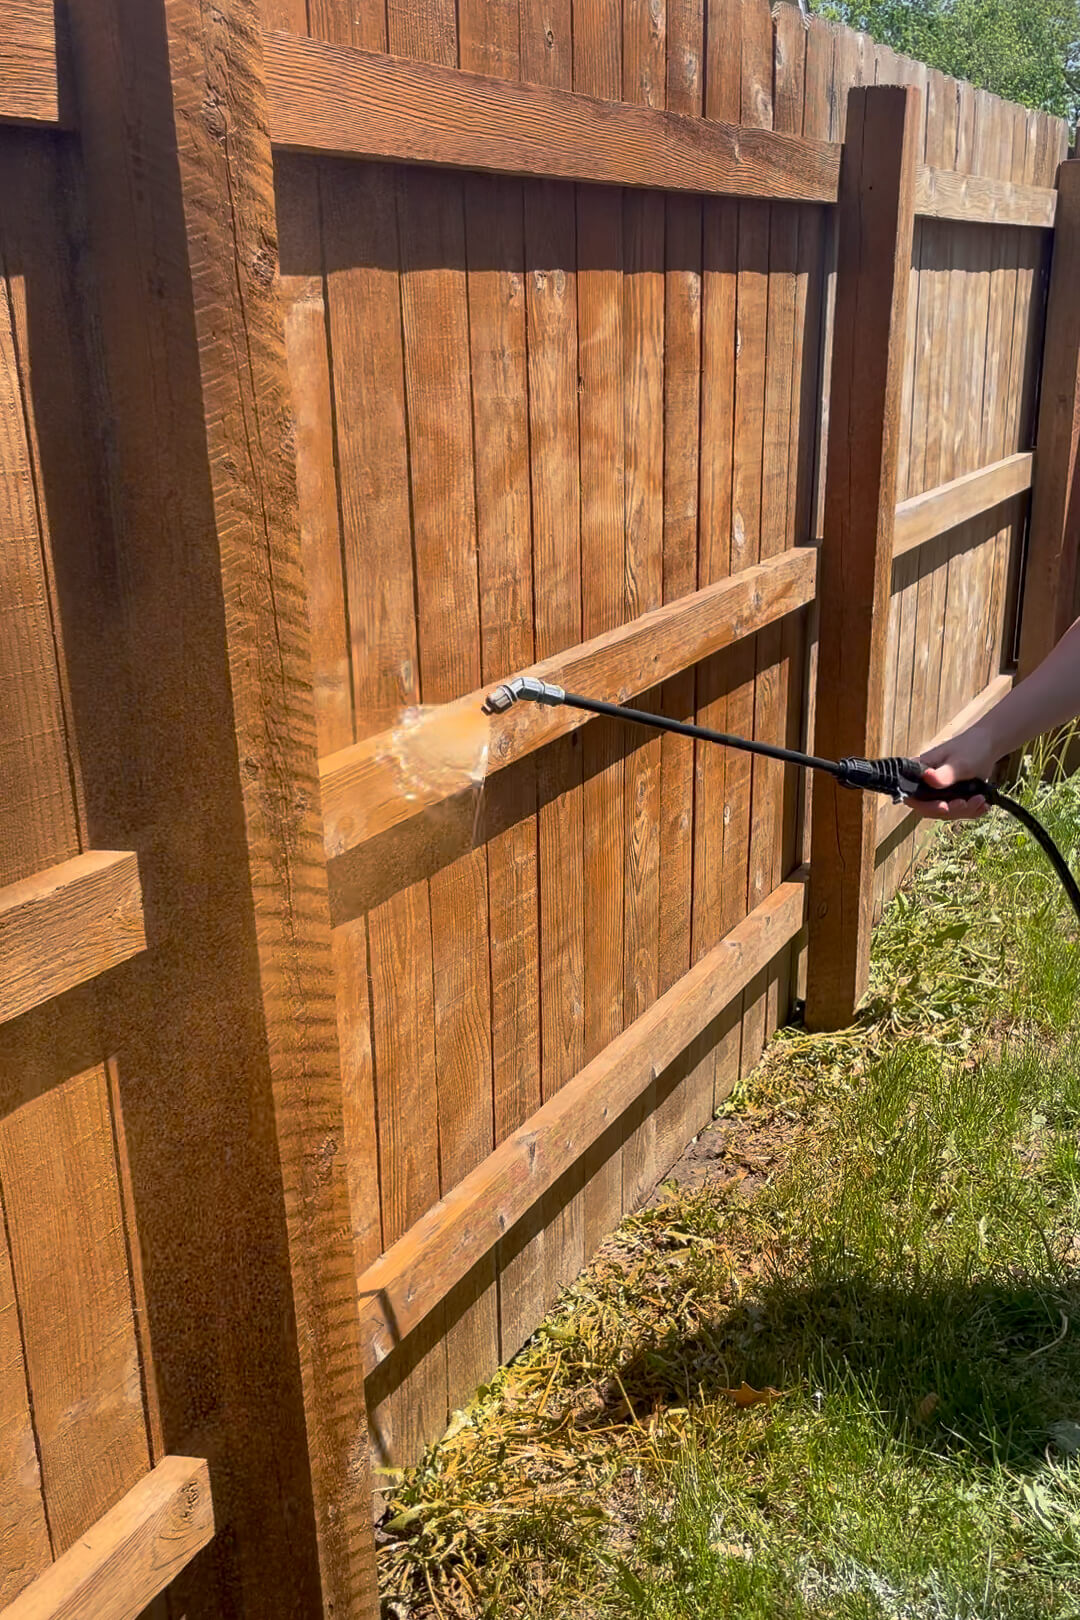
Just be sure to get in all the nooks and crannies, along the posts, on the top and bottom sides of your cross beams. You don’t want to miss any spots as you work your way down your wood fence.
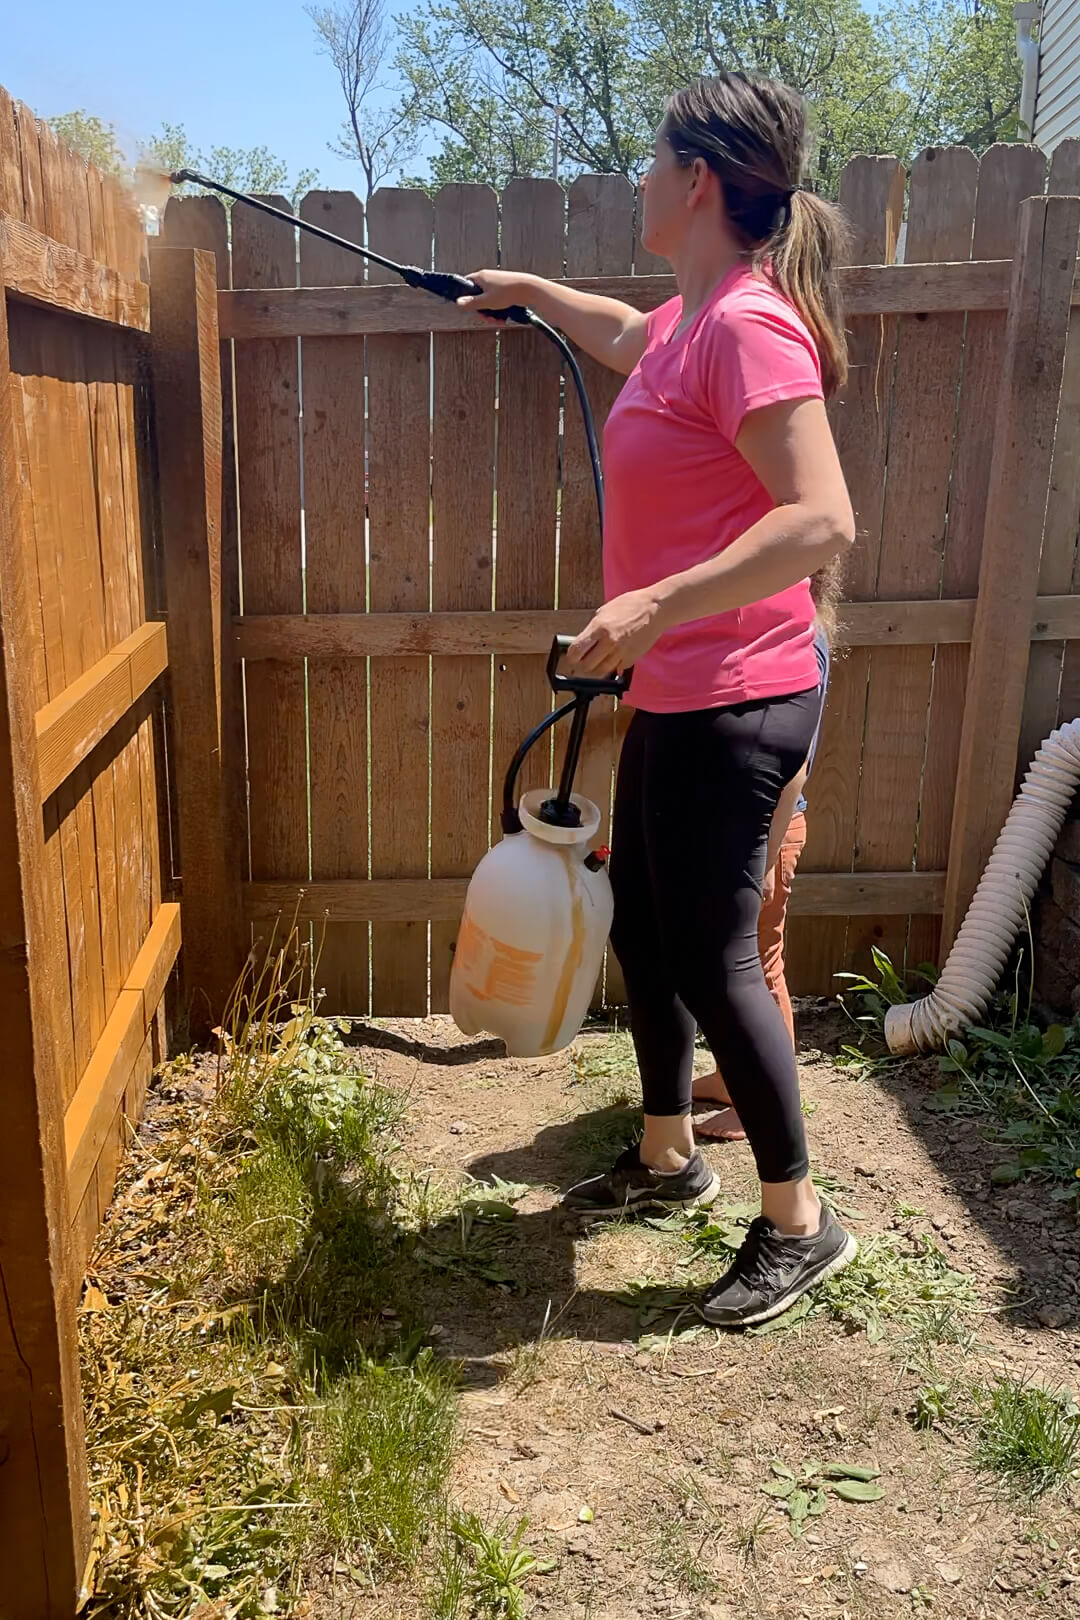
My daughter wanted to help, and this is totally a project the kids can get in on. Have I mentioned yet how easy the sprayer is to operate? It makes short work of staining and sealing your wood fence.
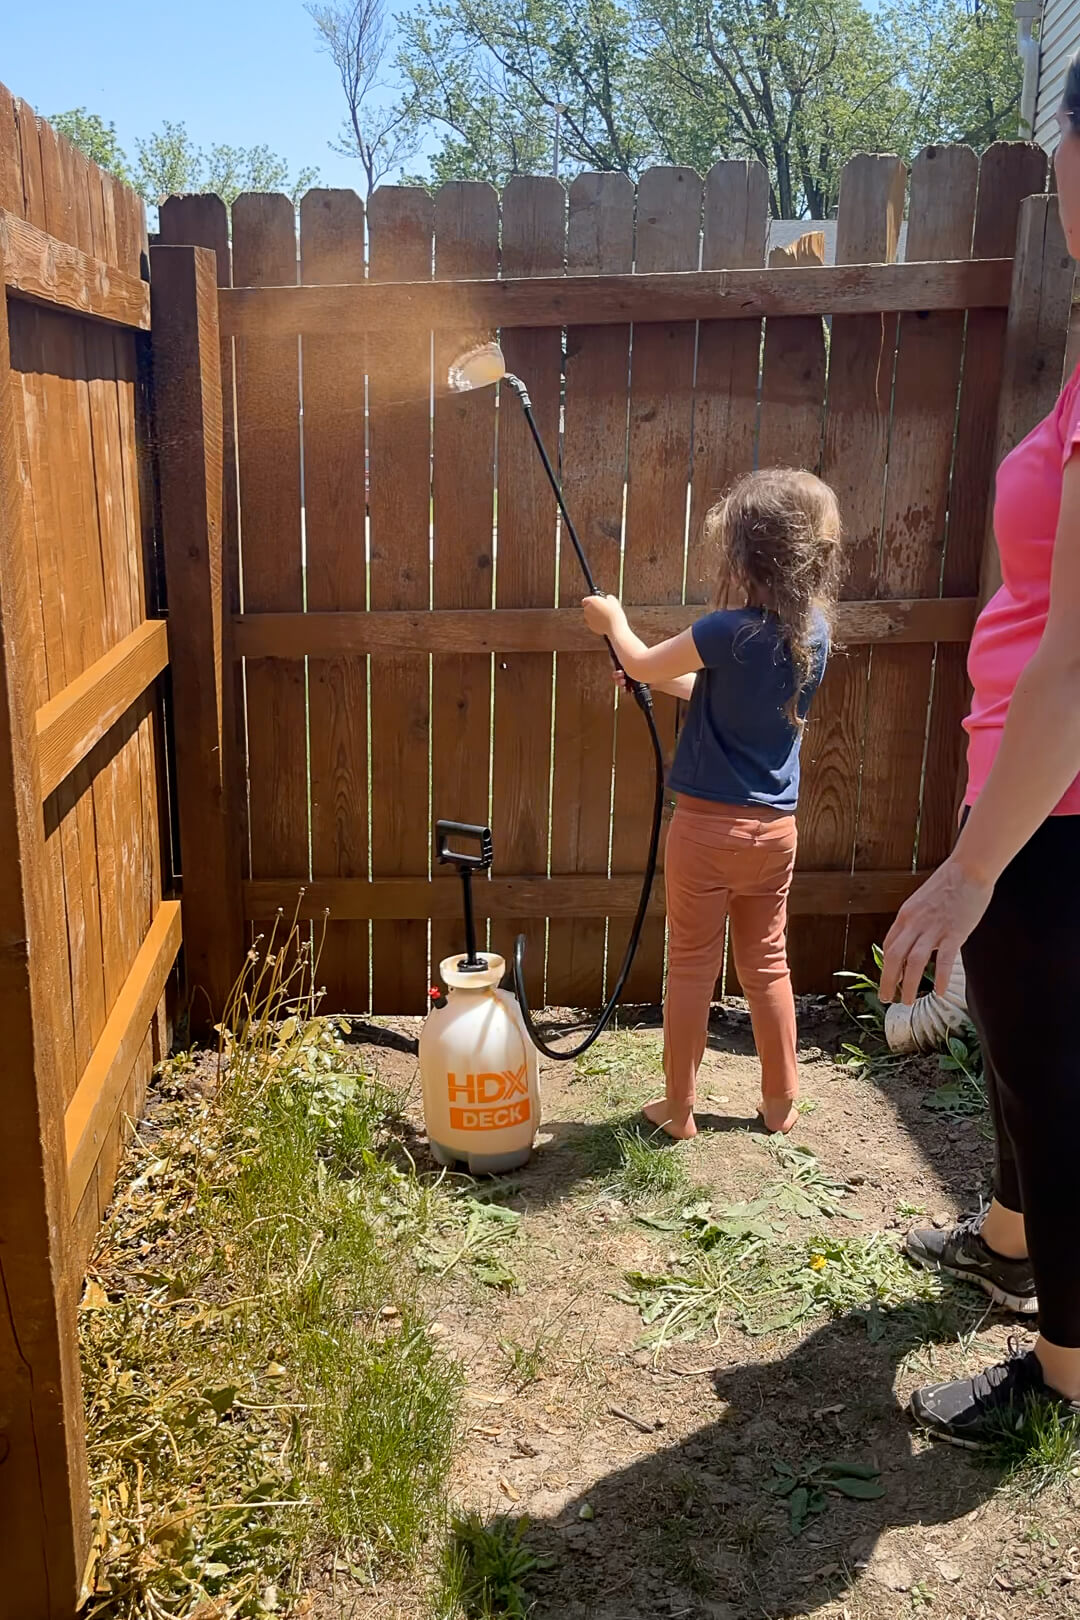
The only thing I should have done first was mask off the house with some plastic. Fortunately we do plan on painting the exterior of our house in the near future, but be aware as you spray so you don’t end up with stain anywhere that you would have rather not.
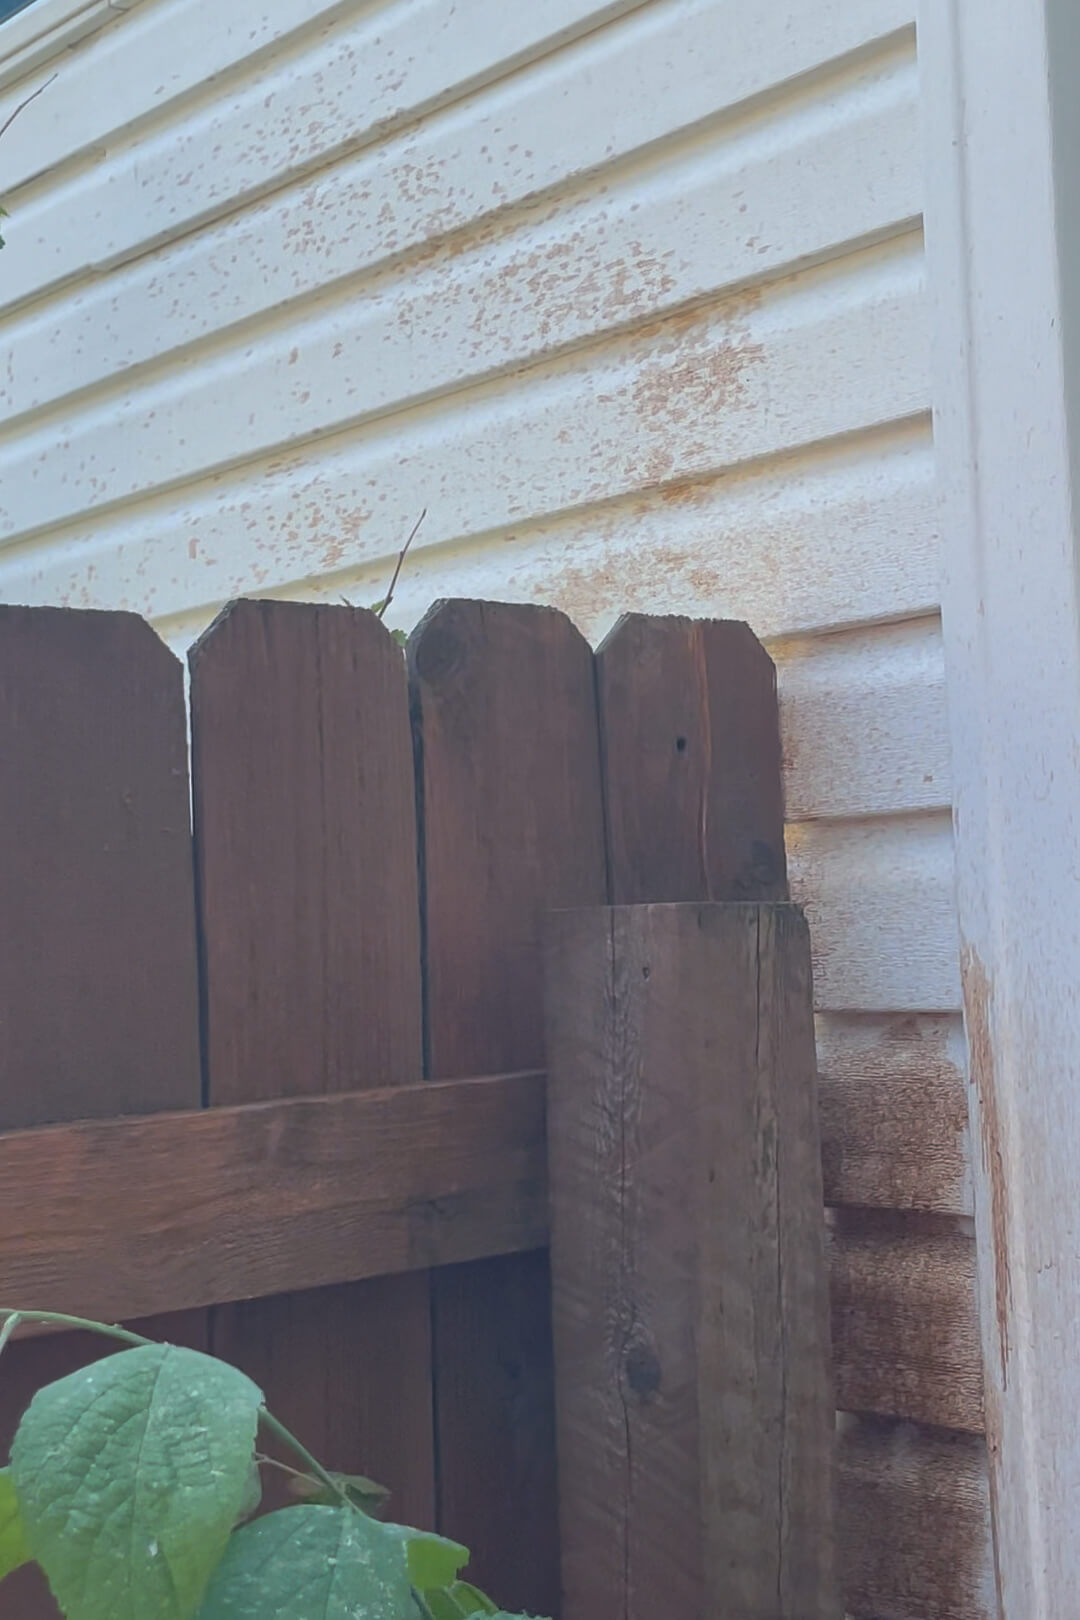
And that’s it! A lot of pressure washing, then protecting your wood fence with a good sealer, and you are done.
Take another look at the before of this old, wood fence.
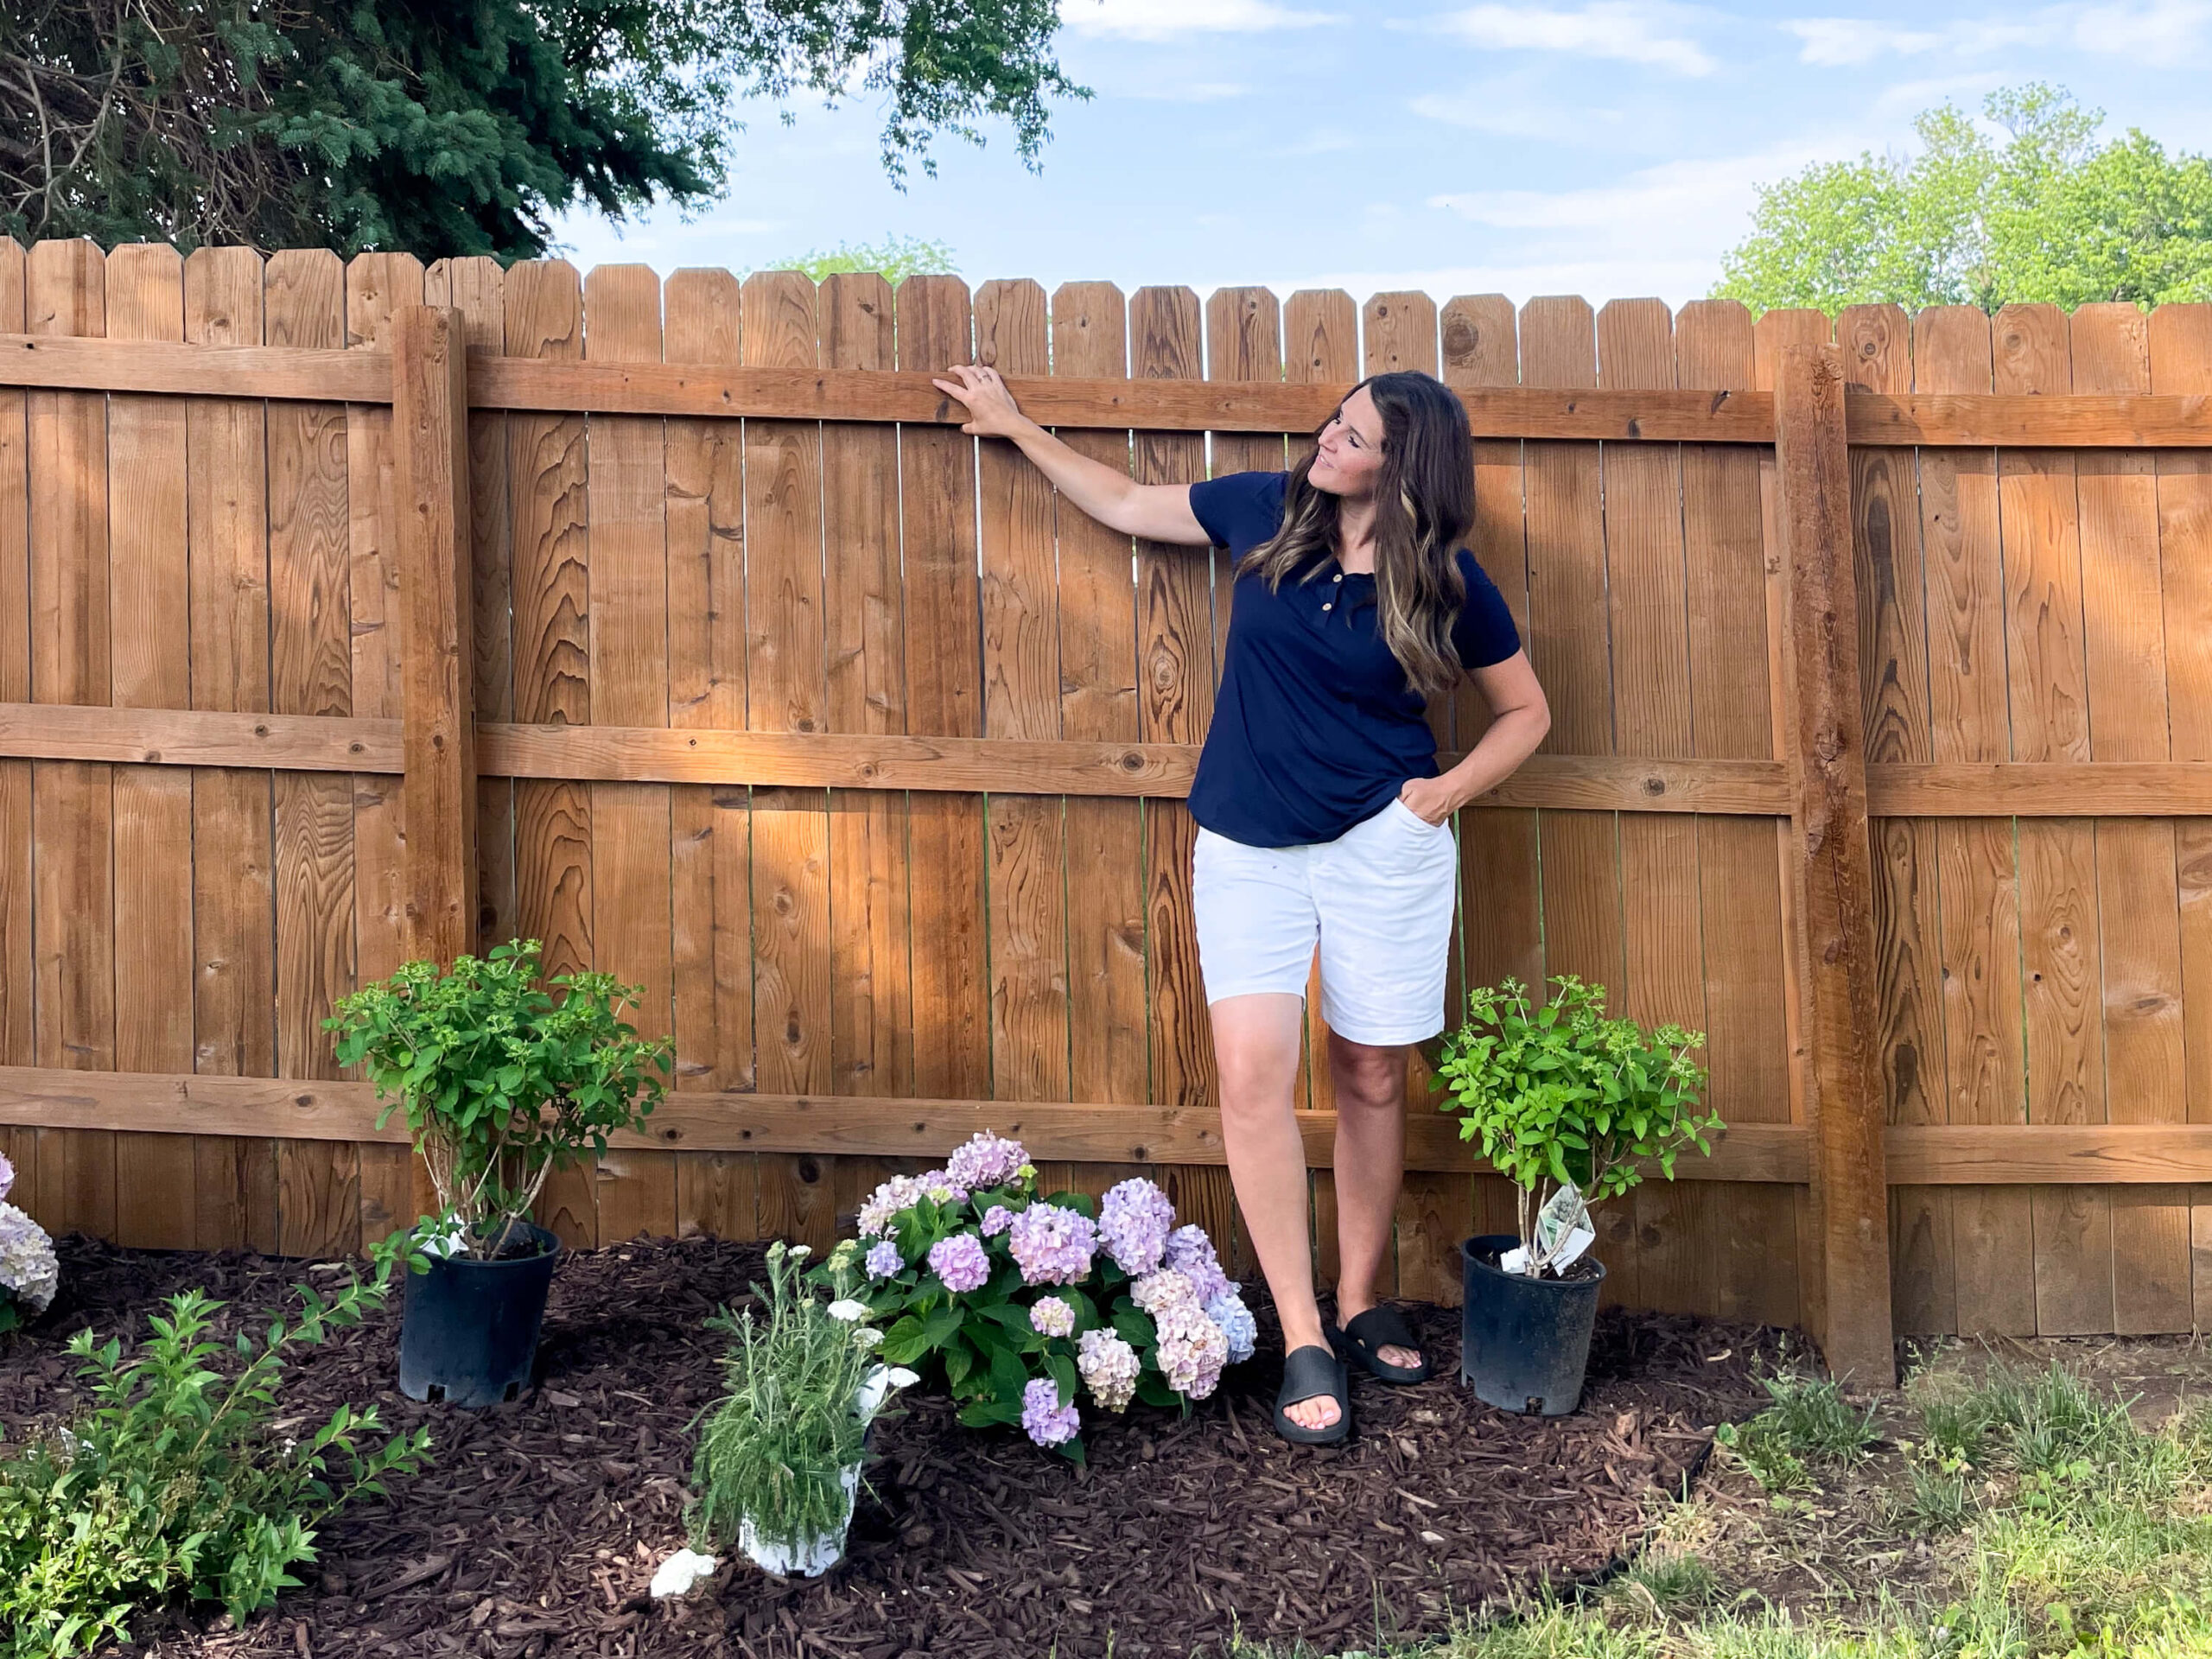
And now the after. It seriously looks brand new!
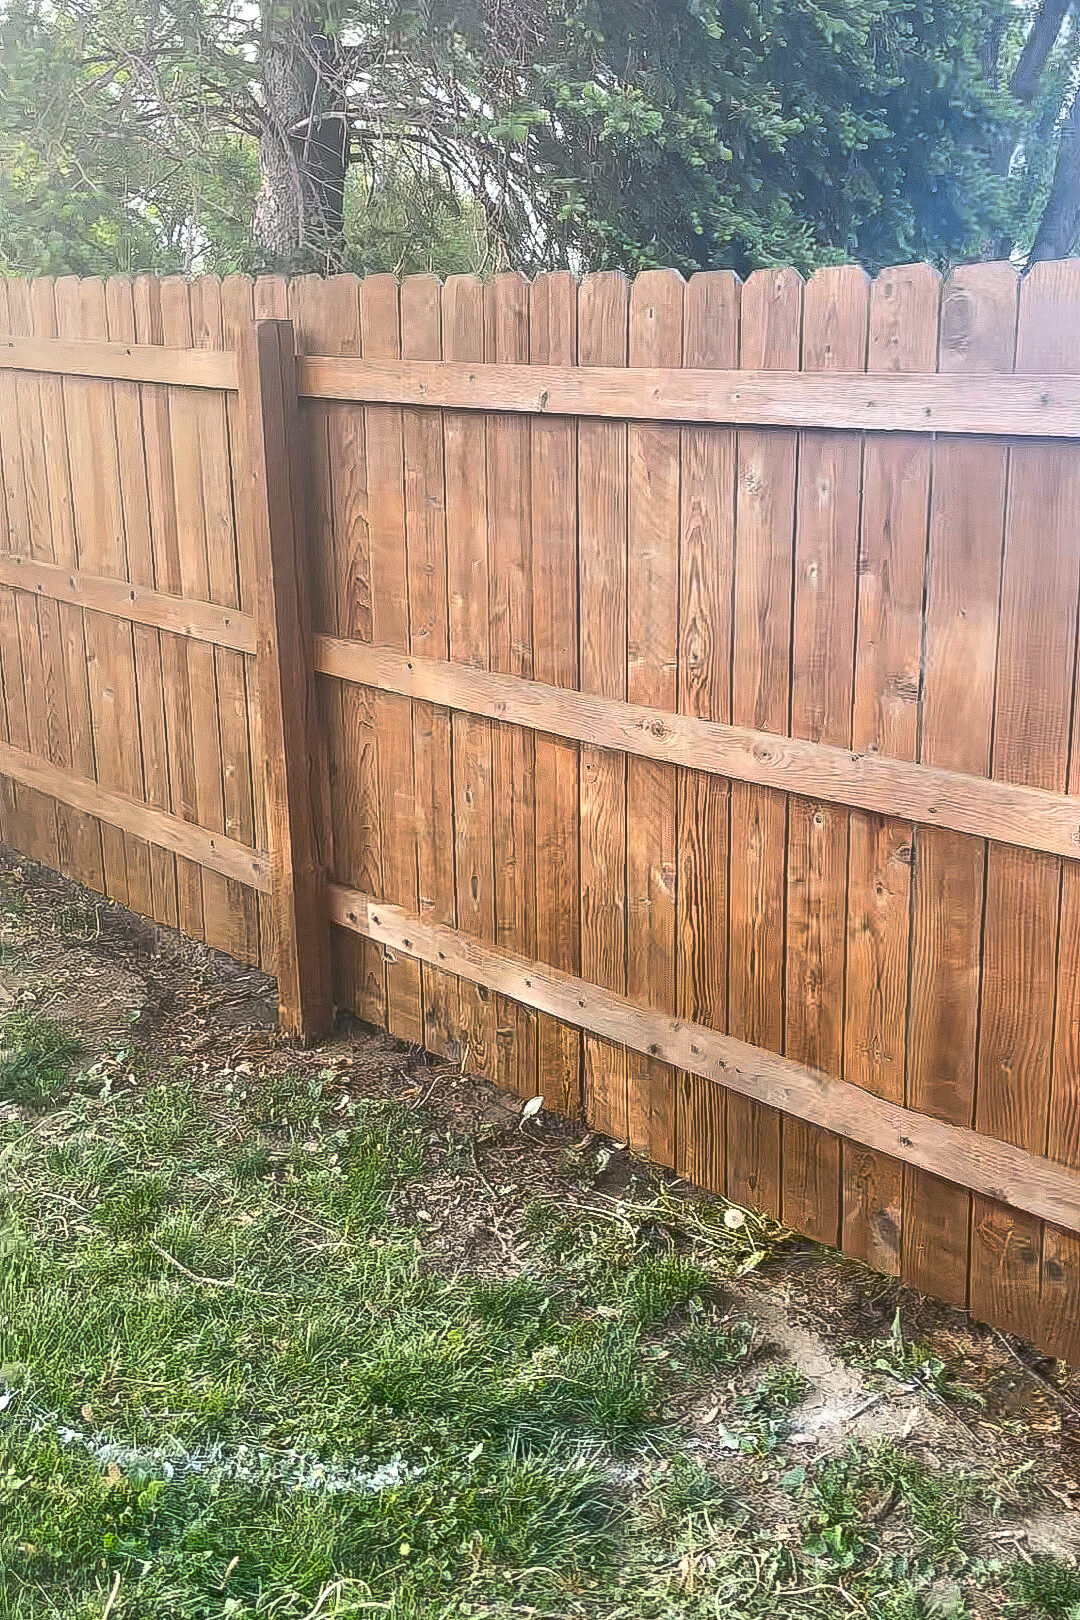
This was a simple and very satisfying project. I have been doing all kind of projects in our backyard from putting in flower beds, to setting up a gorgeous patio, but it wouldn’t look nearly as good as it does now with an old, weathered wood fence in the background. This project elevated the whole feel of my backyard.
Want to see more outdoor projects to update your yard space? Check out the Garden and Yard section of my blog. I have instructions for all kinds of projects, from building a hammock stand to adding a drip system to your garden. And I’m always adding more as I complete projects around my home.
