How to Make a Flower Bed Like a Pro


Updated March 4, 2025
Want to learn how to make a flower bed that will totally transform your outdoor space? Then you are in the right place. I am going to show you exactly how to make a flower bed from start to finish, showing you what to do to have a beautiful, low-maintenance flower bed that enhances the look of your yard. It’s a dirty job and a fair amount of work, but the results are absolutely worth it.
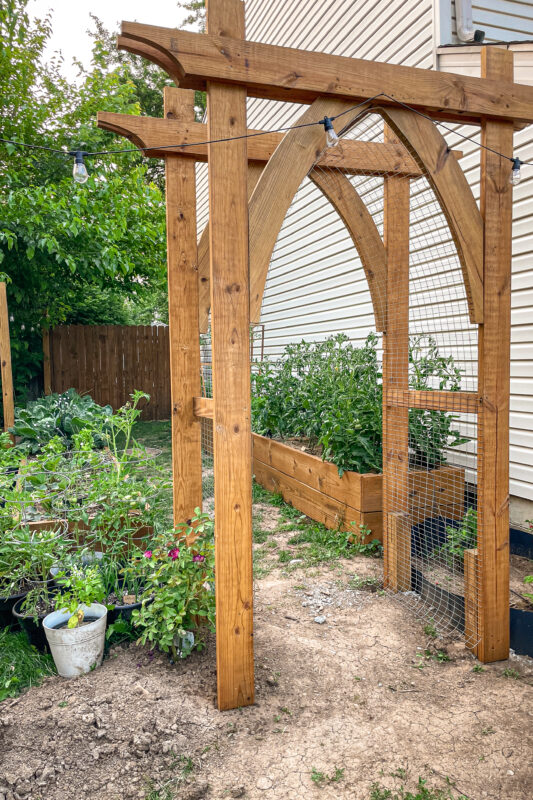
I have been doing all kinds of projects around my yard to elevate our outdoor living area. Everything from DIYing a hammock stand to building a raised veggie garden. The flower beds that I have put in add some greenery as well as pops of color, but also really pull the yard together giving it the feel of a professionally landscaped space.
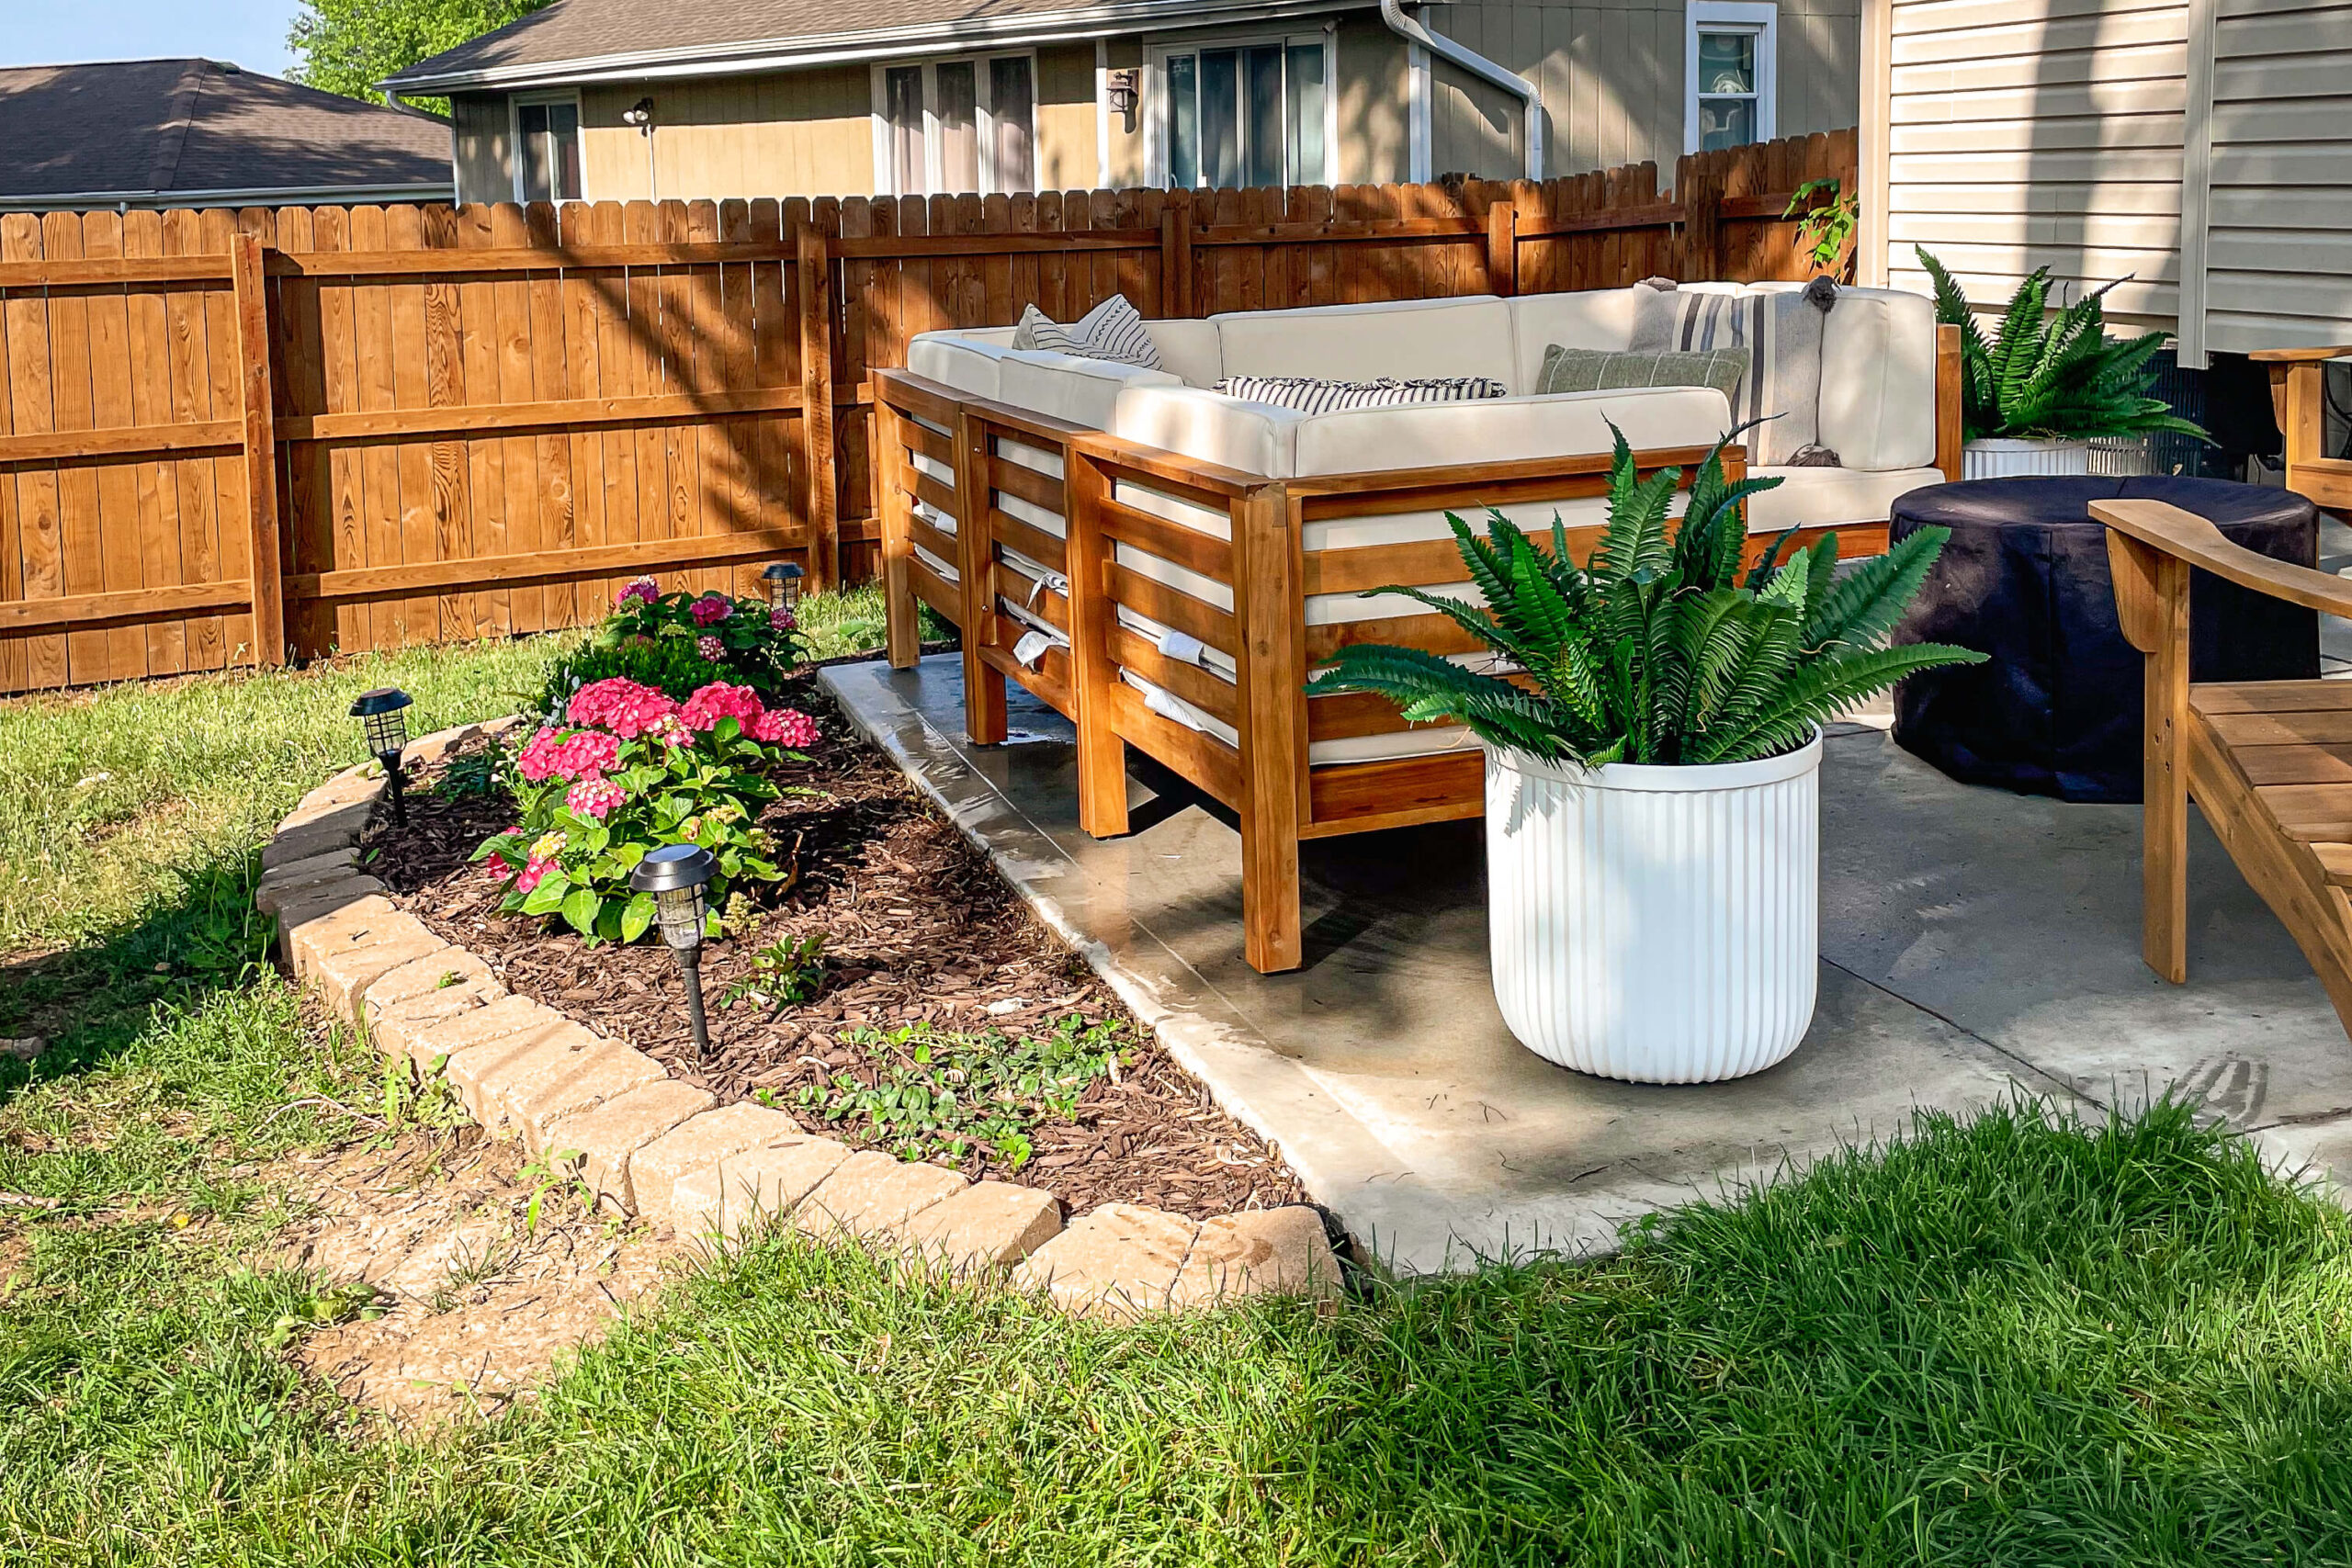
As soon as I finished setting up my new patio, I knew that I had to make a flower bed right next to it. I had this new, gorgeous concrete patio complete with comfortable furniture and a fire pit, but the area around it was just dirt and weeds. It was ugly and boring.
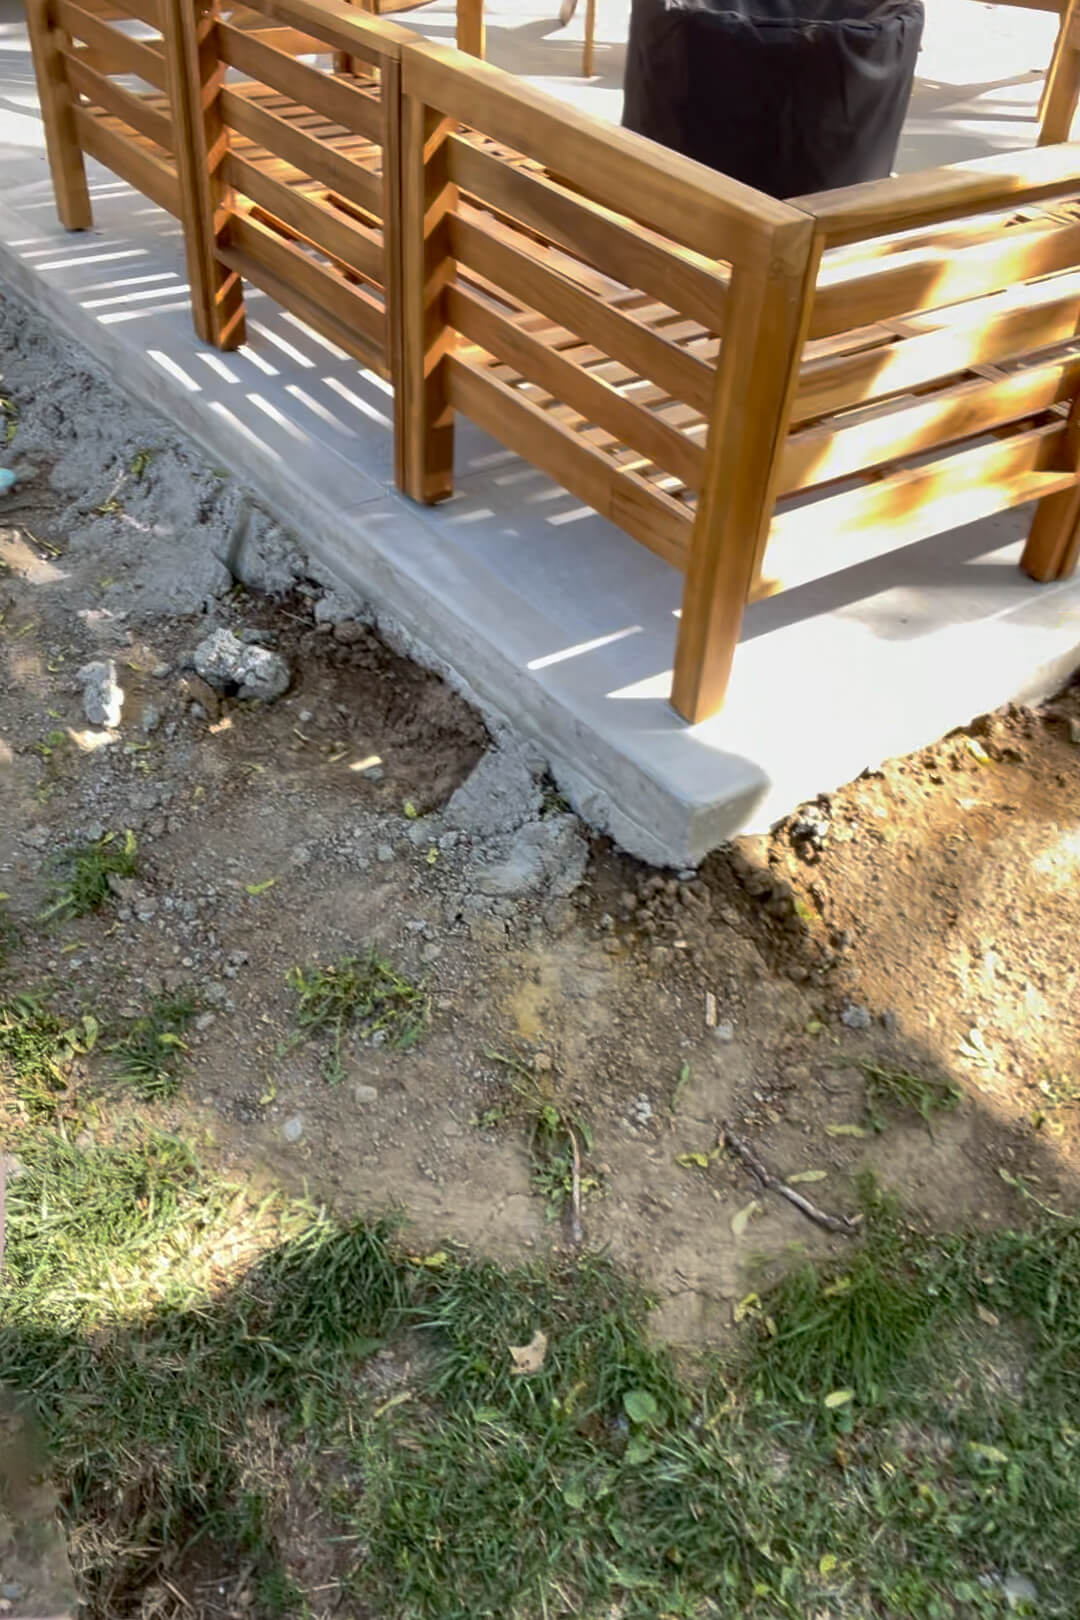
In order to make my patio feel as pretty and inviting as possible, I wanted to make a flower bed around it. Landscaping with flower beds is partly for aesthetics. Of course they look amazing, but on the practical side, choosing to make a flower bed in my backyard means that I do not have exposed bare dirt (which always turns to a muddy mess when it rains). Unlike a lawn that needs to be mowed, a flower bed is really low maintenance when done the right way.
What Do You Need to Make a Flower Bed?
To make a flower bed, you don’t need much at all. Just some basic gardening tools and a few materials readily available online, at a home improvement store, or at your local nursery/landscape supply.
Tools
Materials
Step One: Preparing the Ground
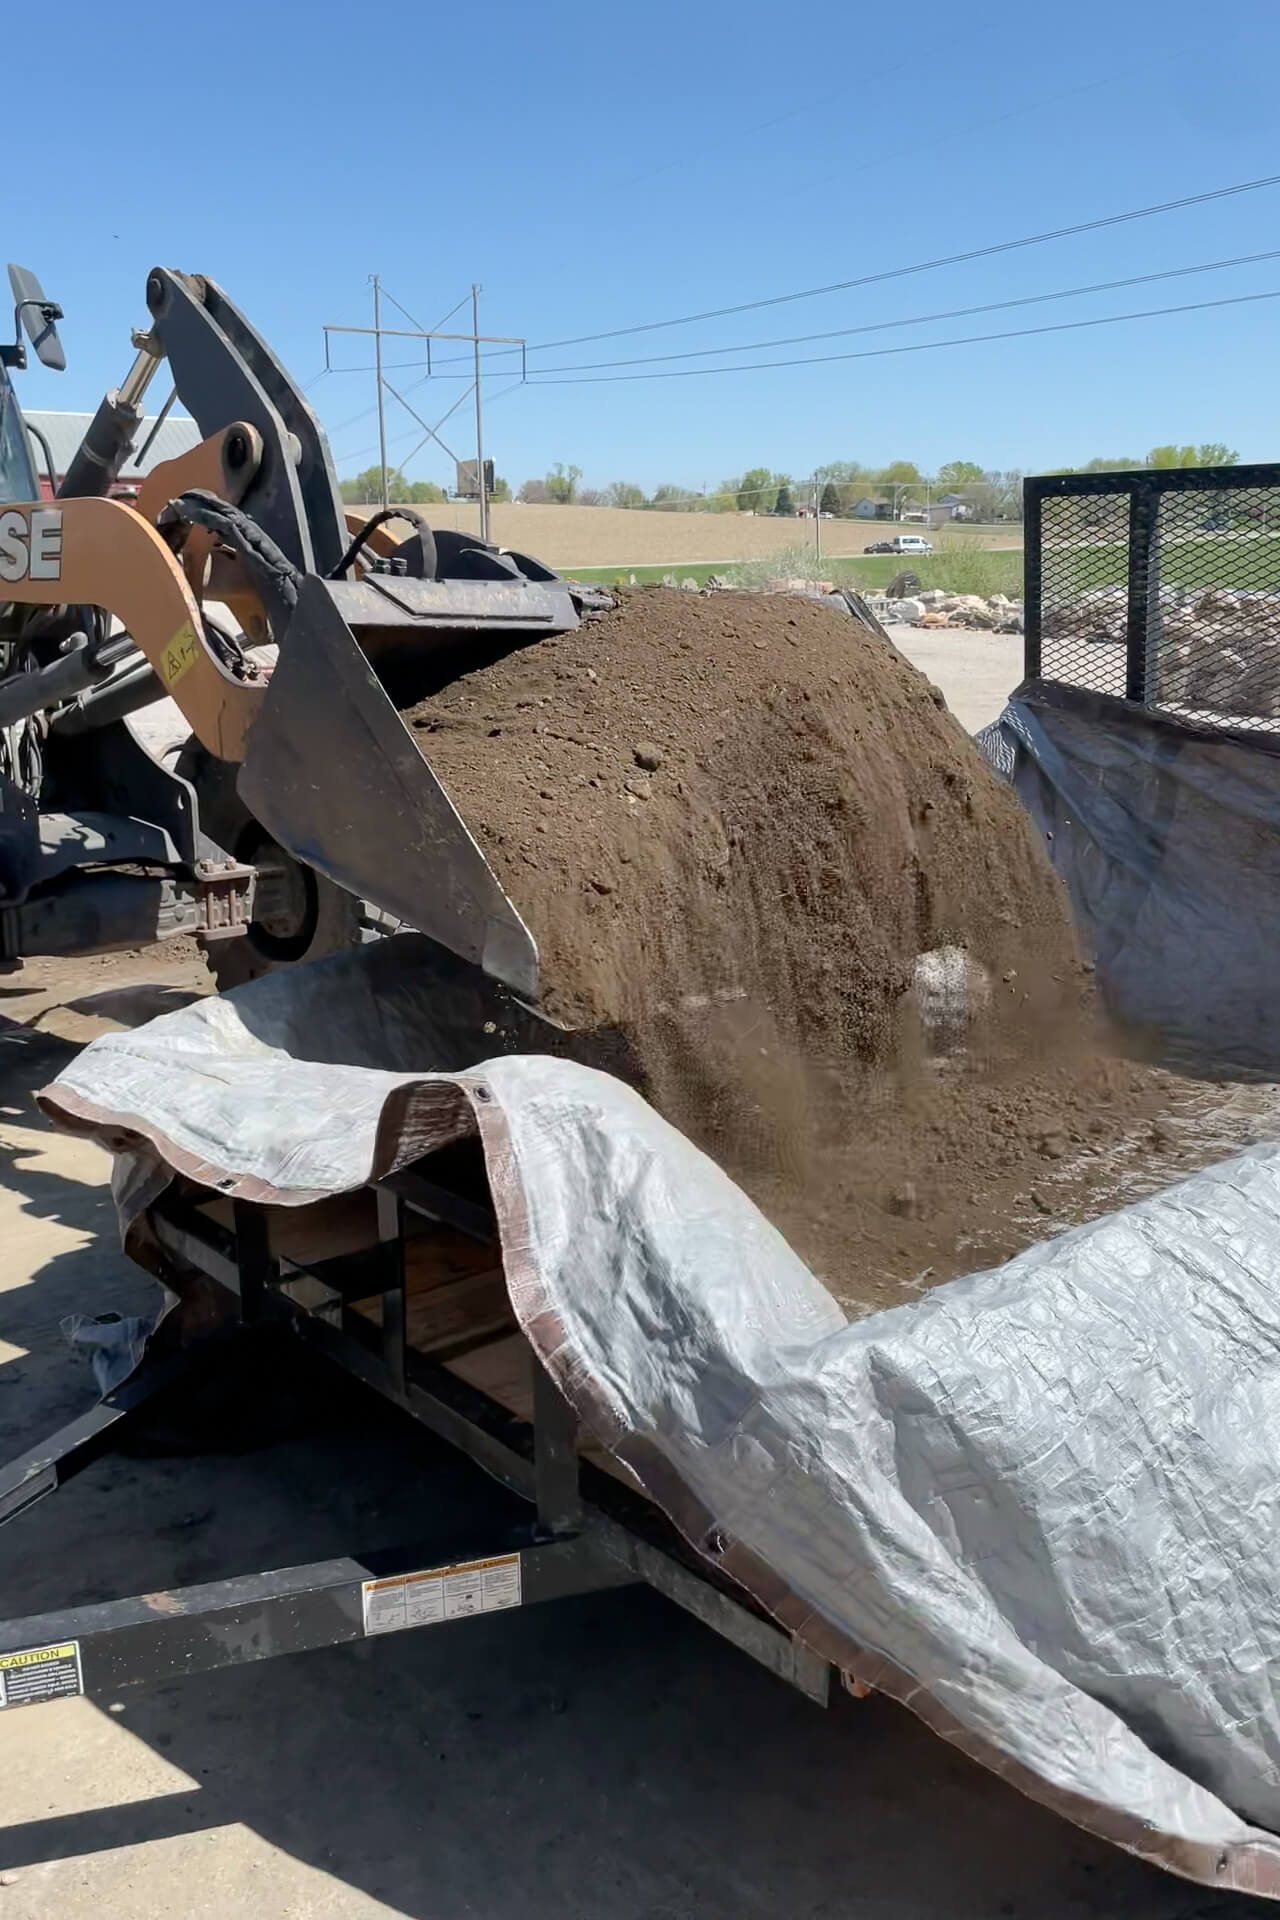
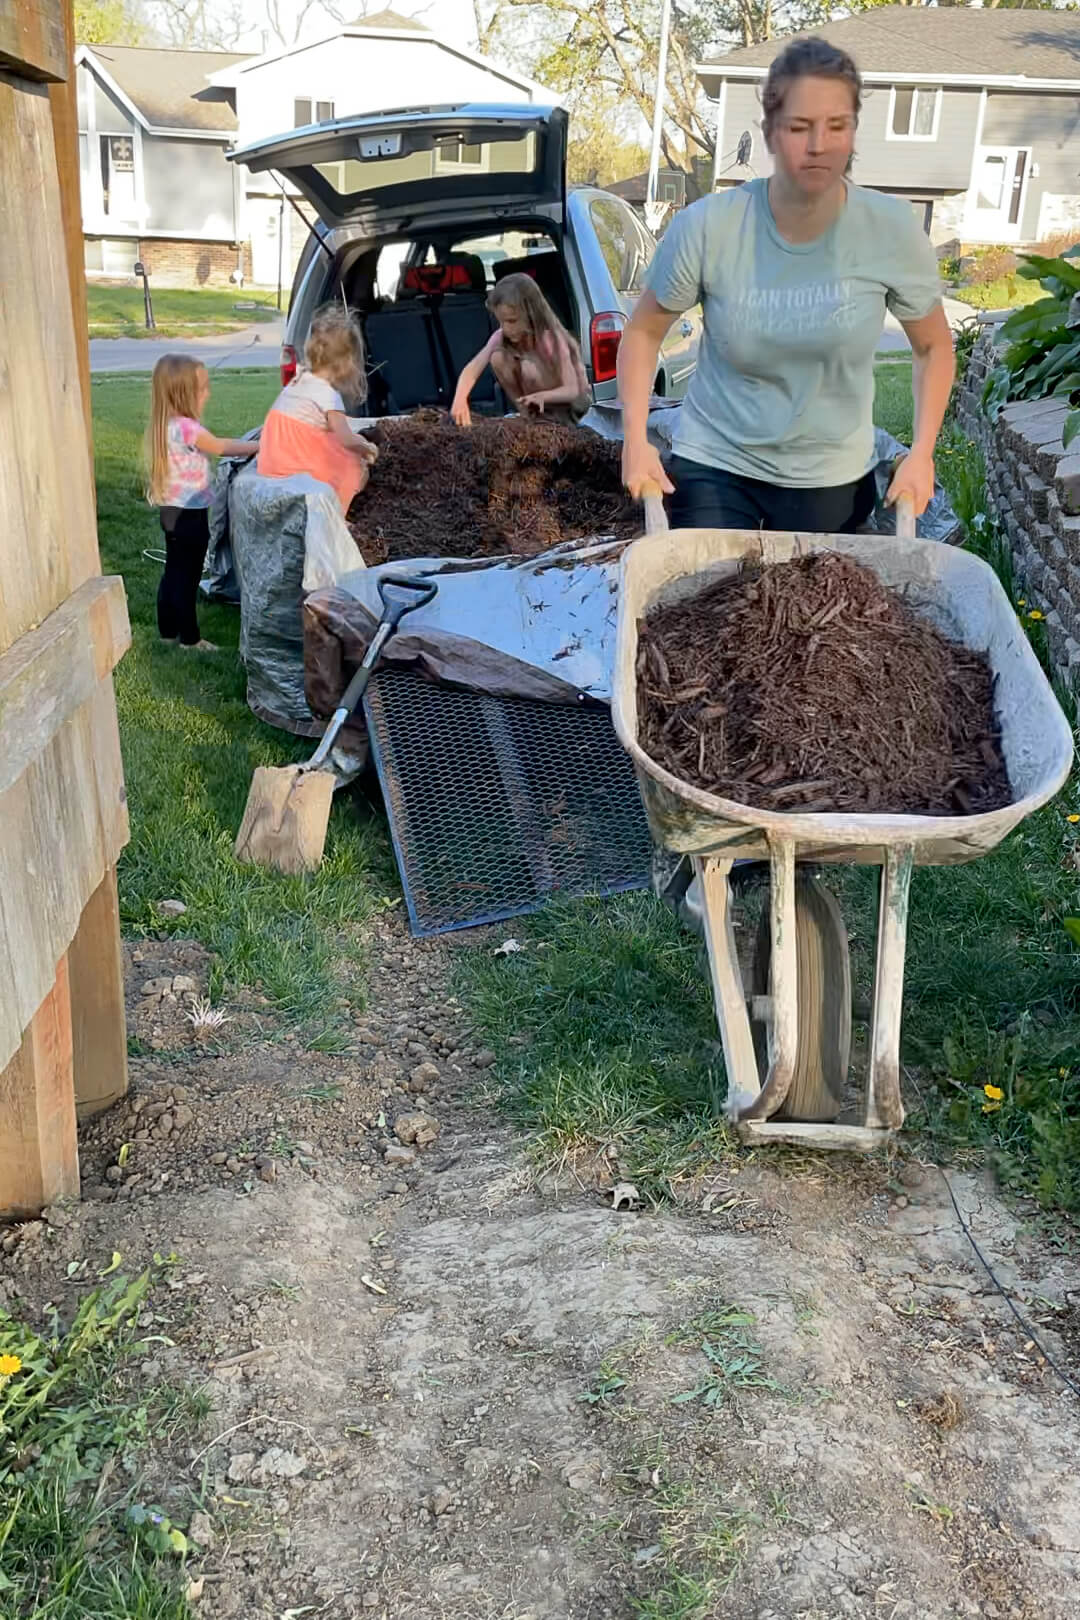
When you need some dirt, you can buy bags of soil at your local store. But when you need a lot of dirt, I recommend visiting a local landscape supplier. It will be much cheaper than buying multiple bags of soil. Plus, if you have kids, they will love watching the front loader fill up your truck or trailer for you.
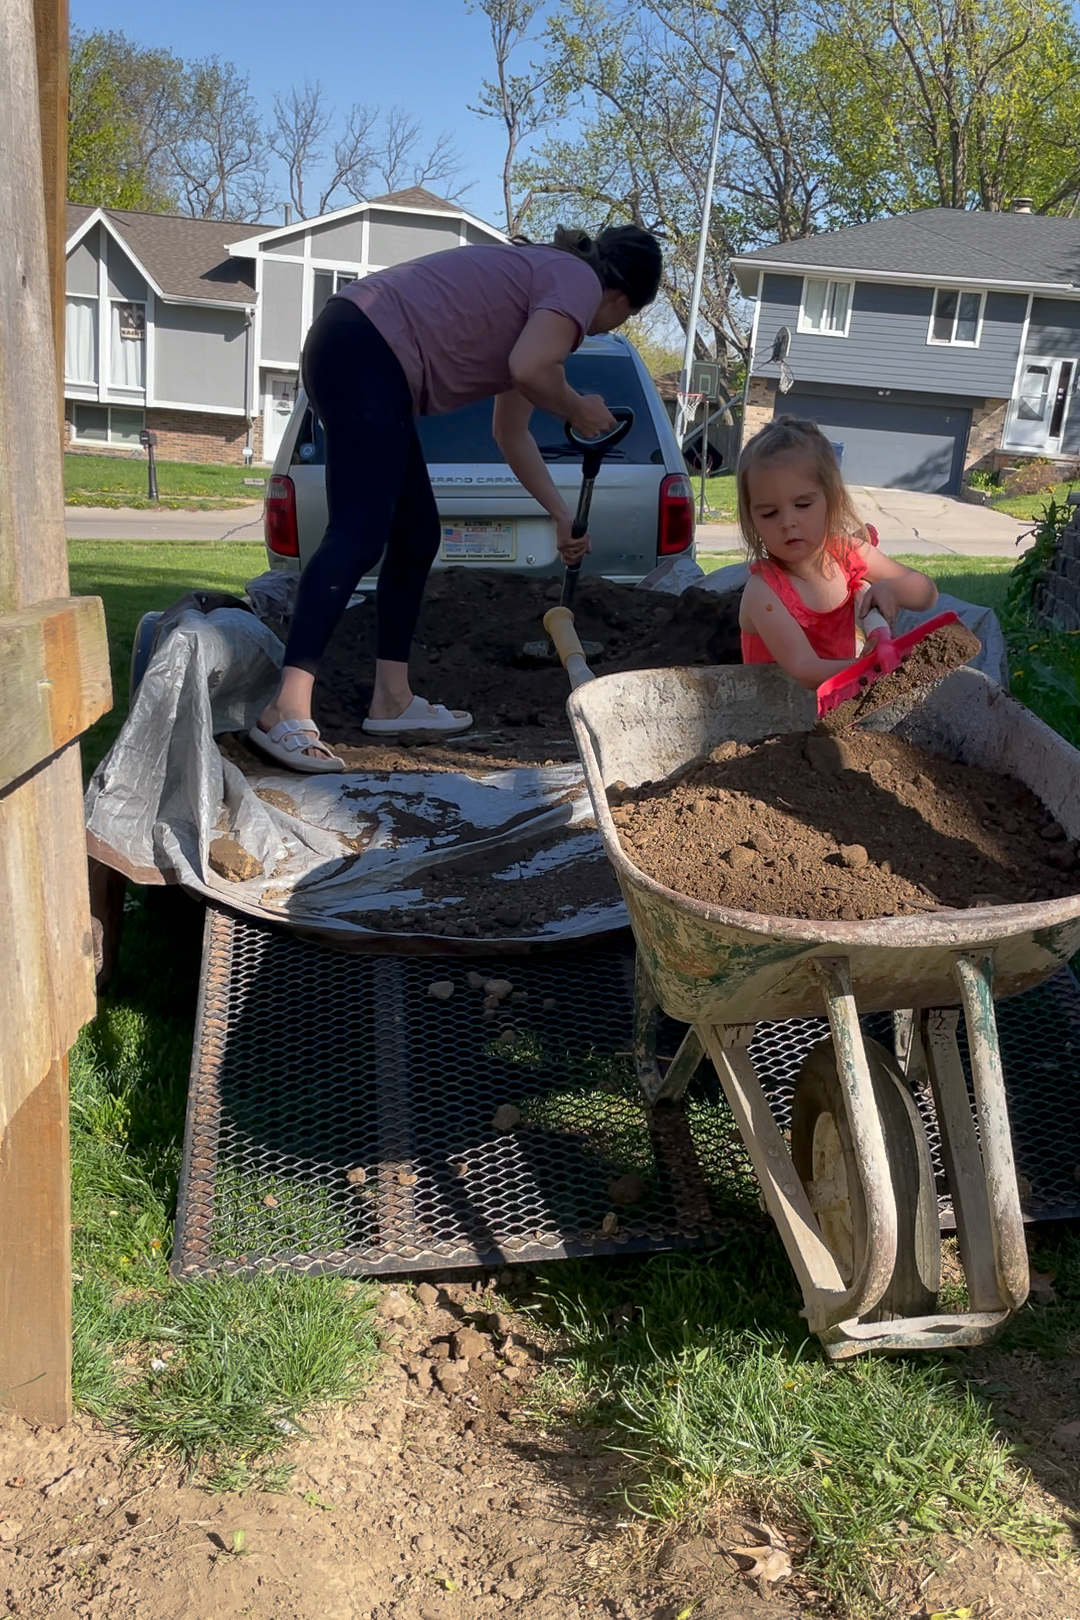
Once you have your soil back home, it’s time to unload it. Shoveling it into a wheelbarrow is going to be the fastest way to move all this dirt. The kids pitched in and helped with this part using their very own, kid sized gardening tools.
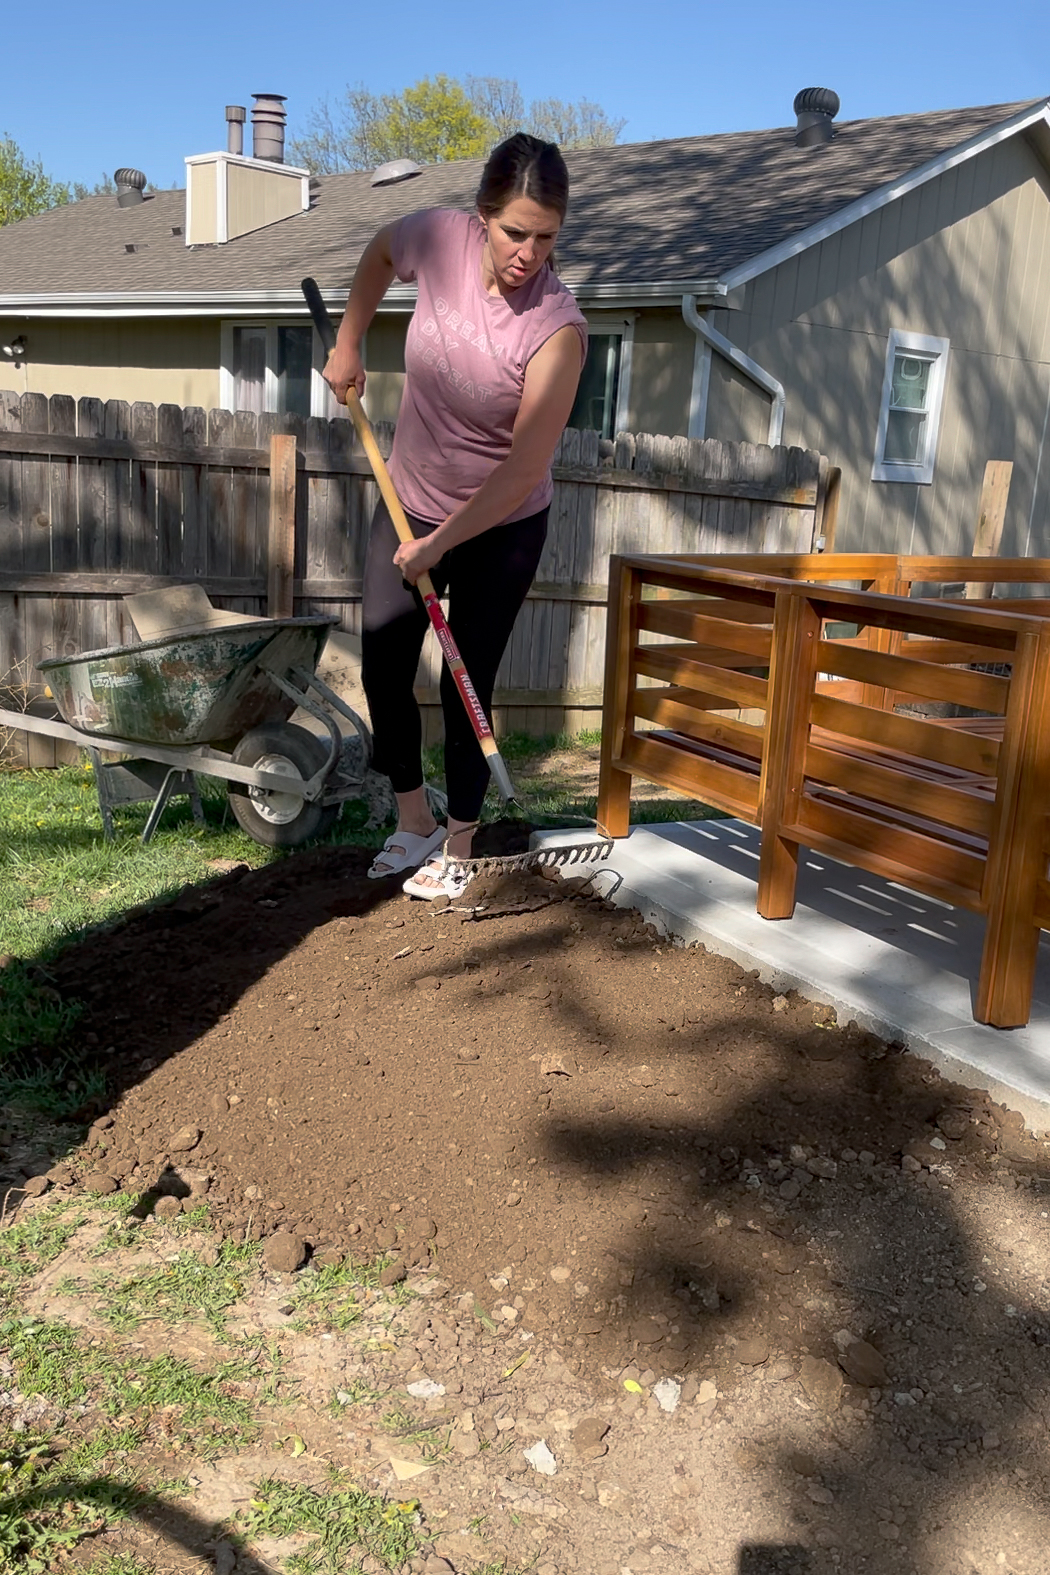
Next, using a stiff rake, you’ll move the dirt around the area you want it, smoothing it out, and making a nice, level flower bed.
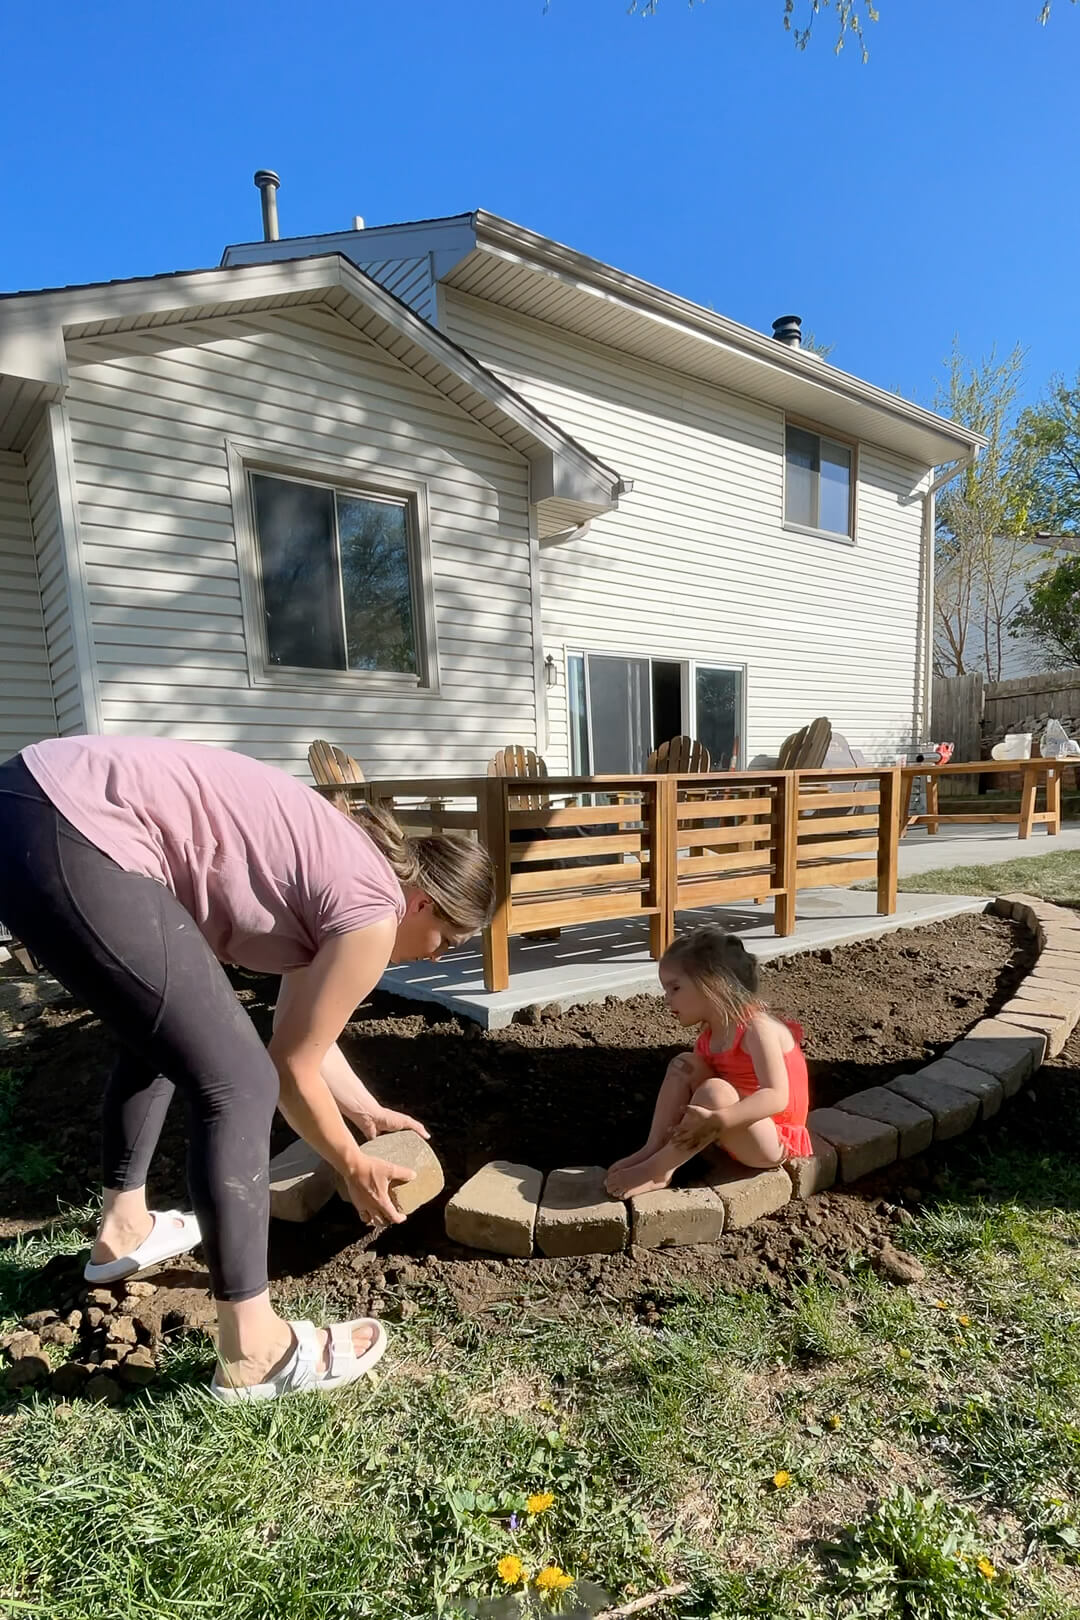
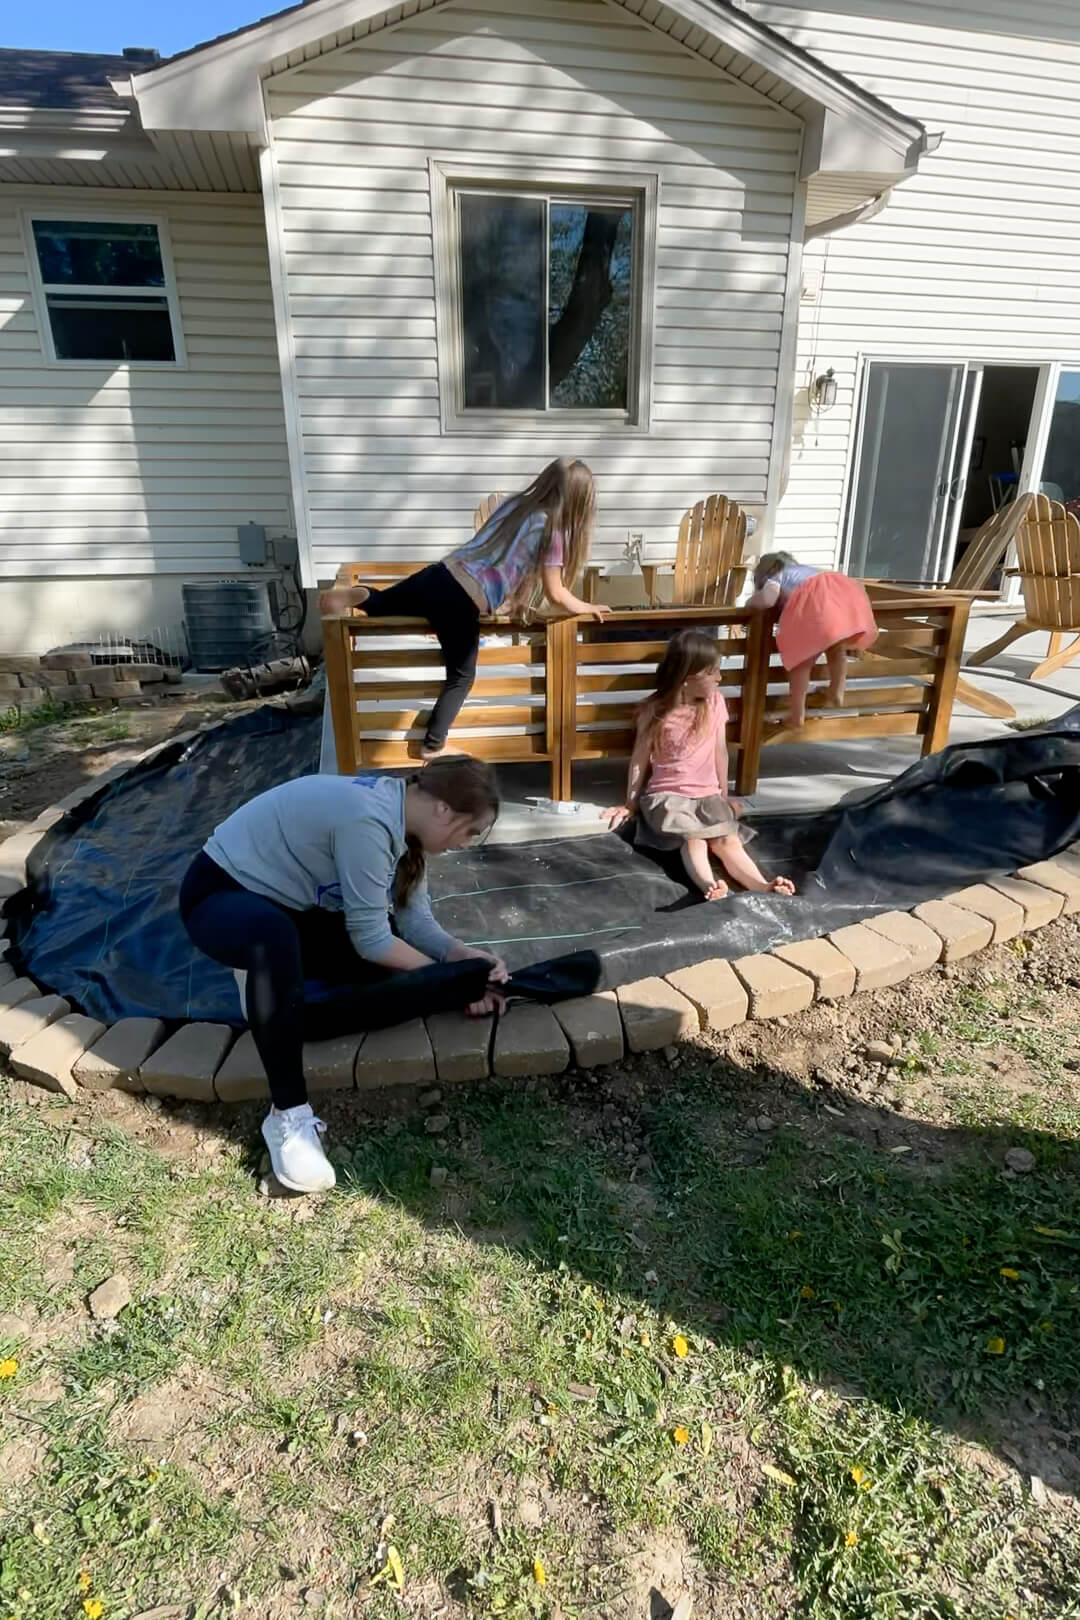
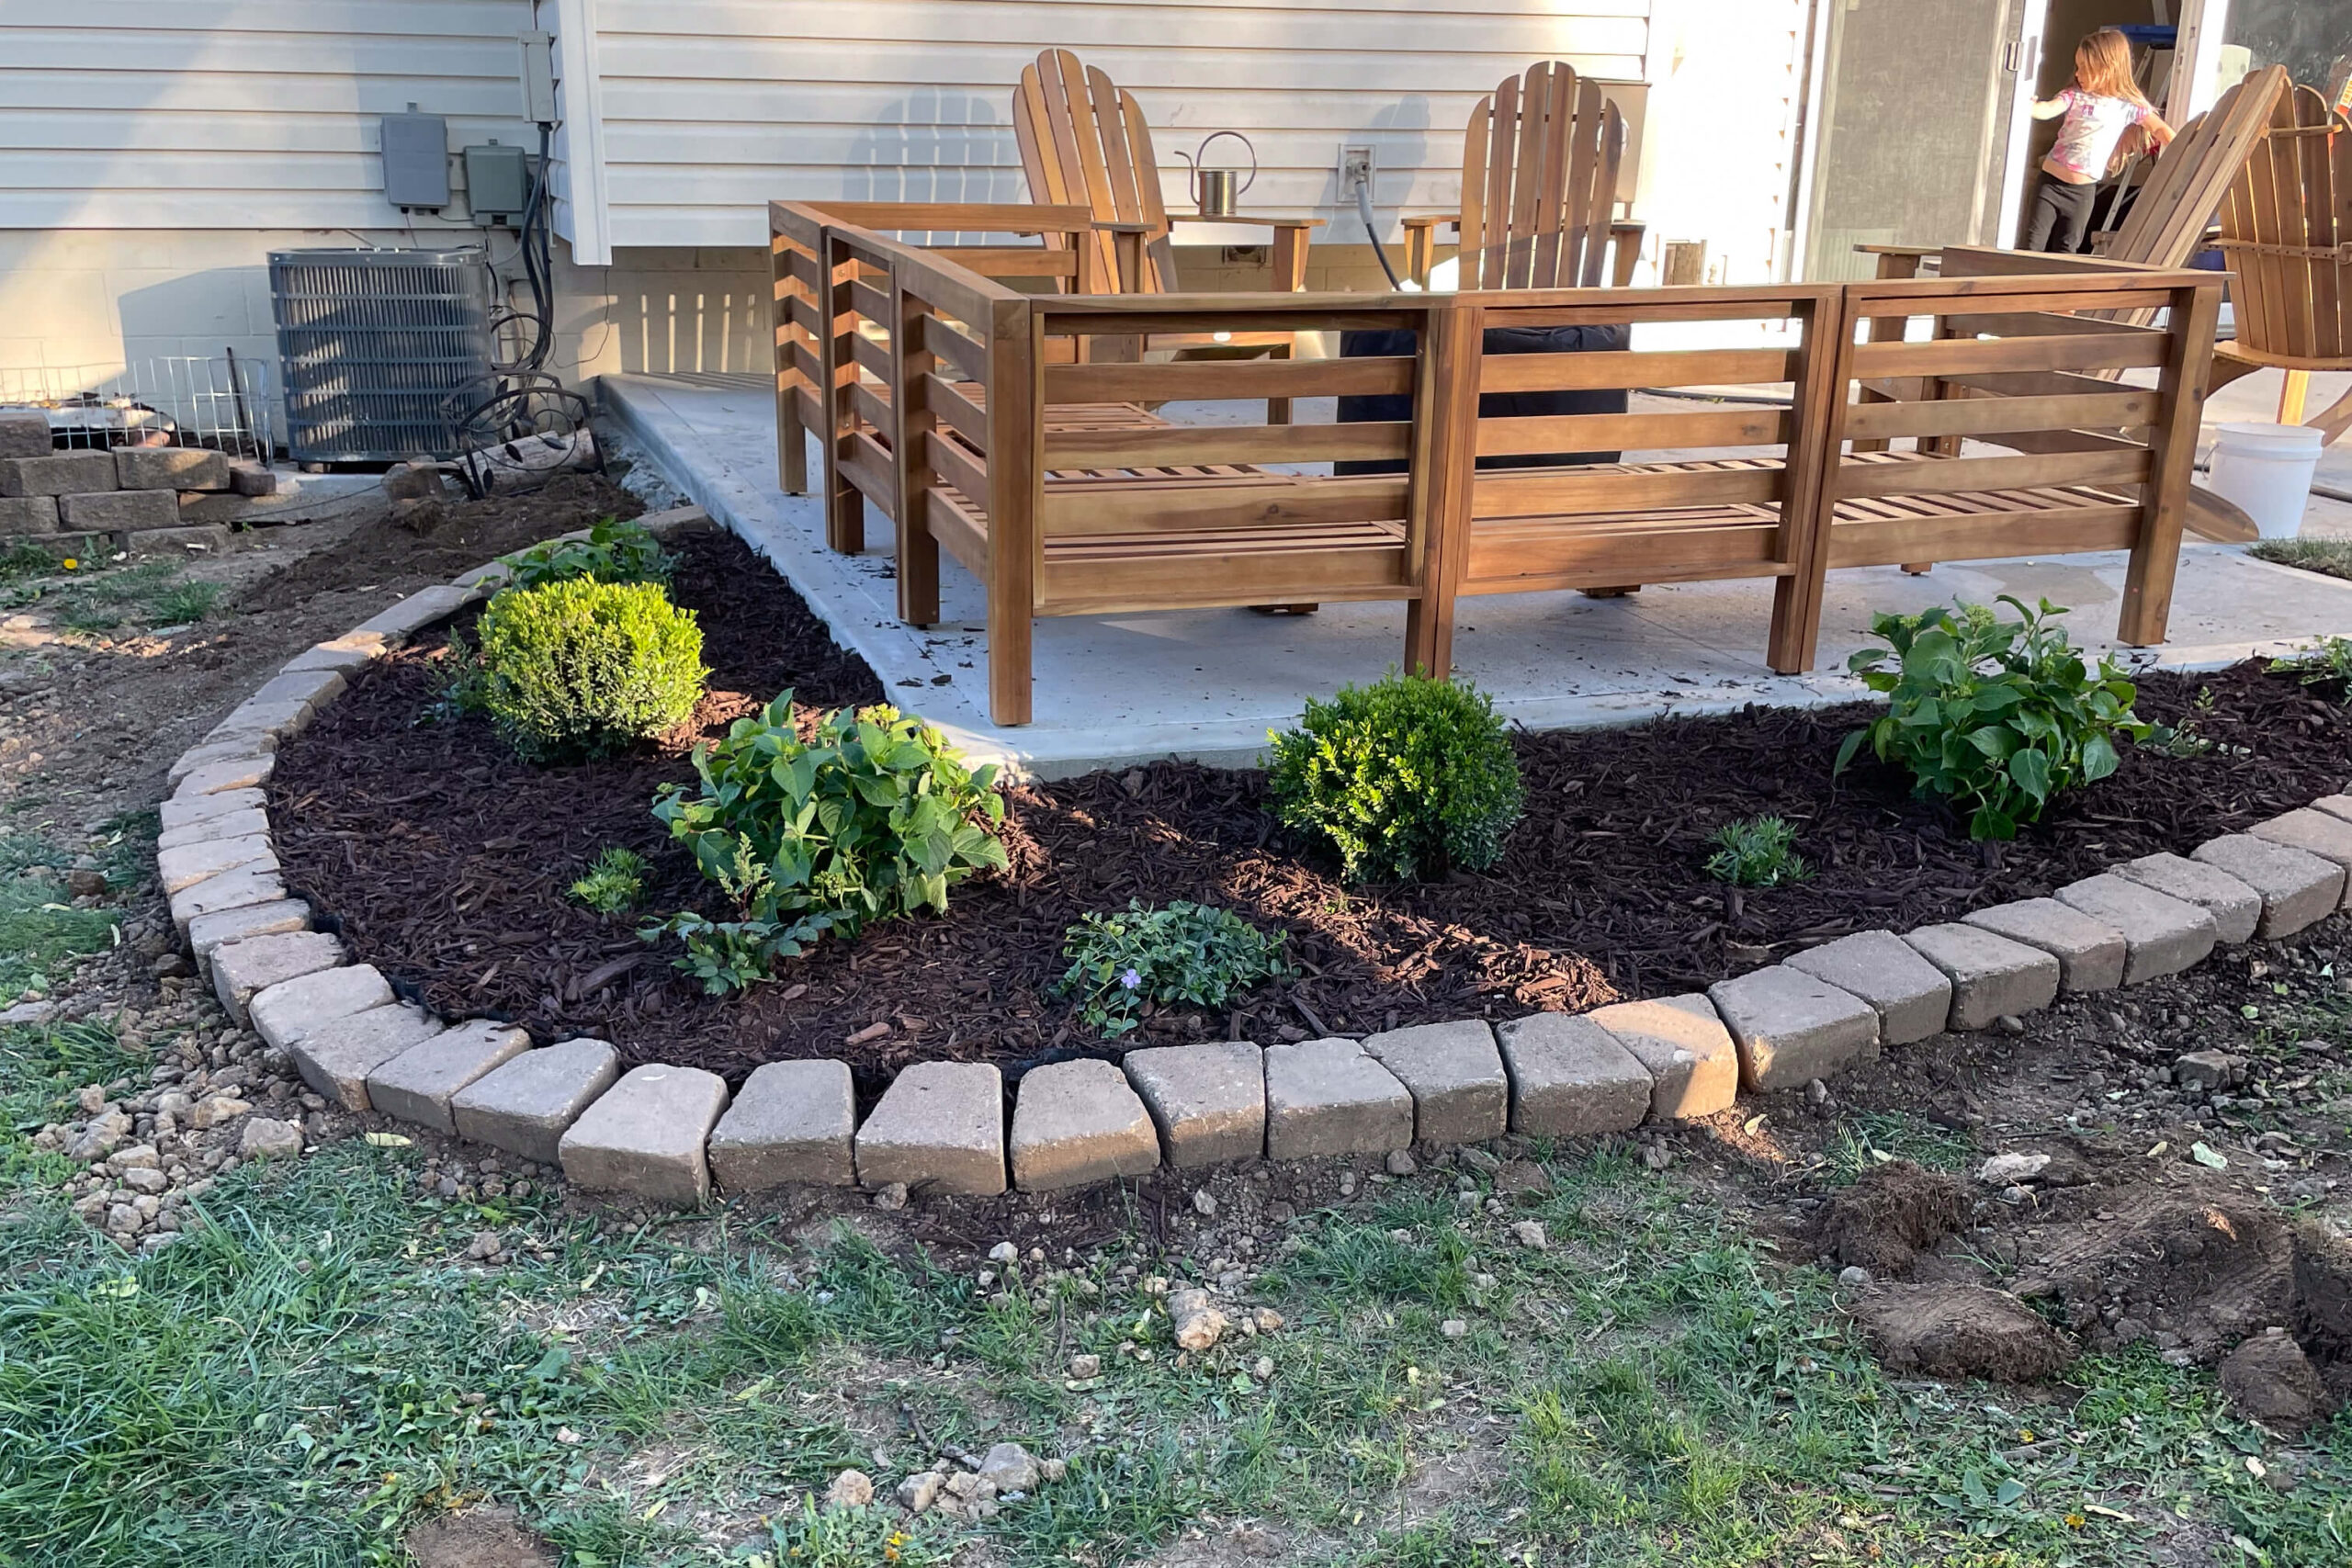
Now that I had prepared the soil for my bed, I wanted to give it a border with pavers. Before we put in our concrete patio, our house originally had a patio made of pavers. When we tore out the old patio I saved all of the pavers, just to reuse for projects like this.
Adding a border not only looks good, but the pavers will help define the edge of the flower bed and keep it tidy.
To make a flower bed as low maintenance as possible, you have to add a weed barrier. It comes on a large roll, and it’s easy to fit into any flower bed. Simply cut it to size with scissors.
I even used a weed barrier underneath my trampoline just to keep unwanted weeds from growing underneath. It works so well and is essential in making a flower bed easy to care for.
Step Two: Planting Your Flower Bed
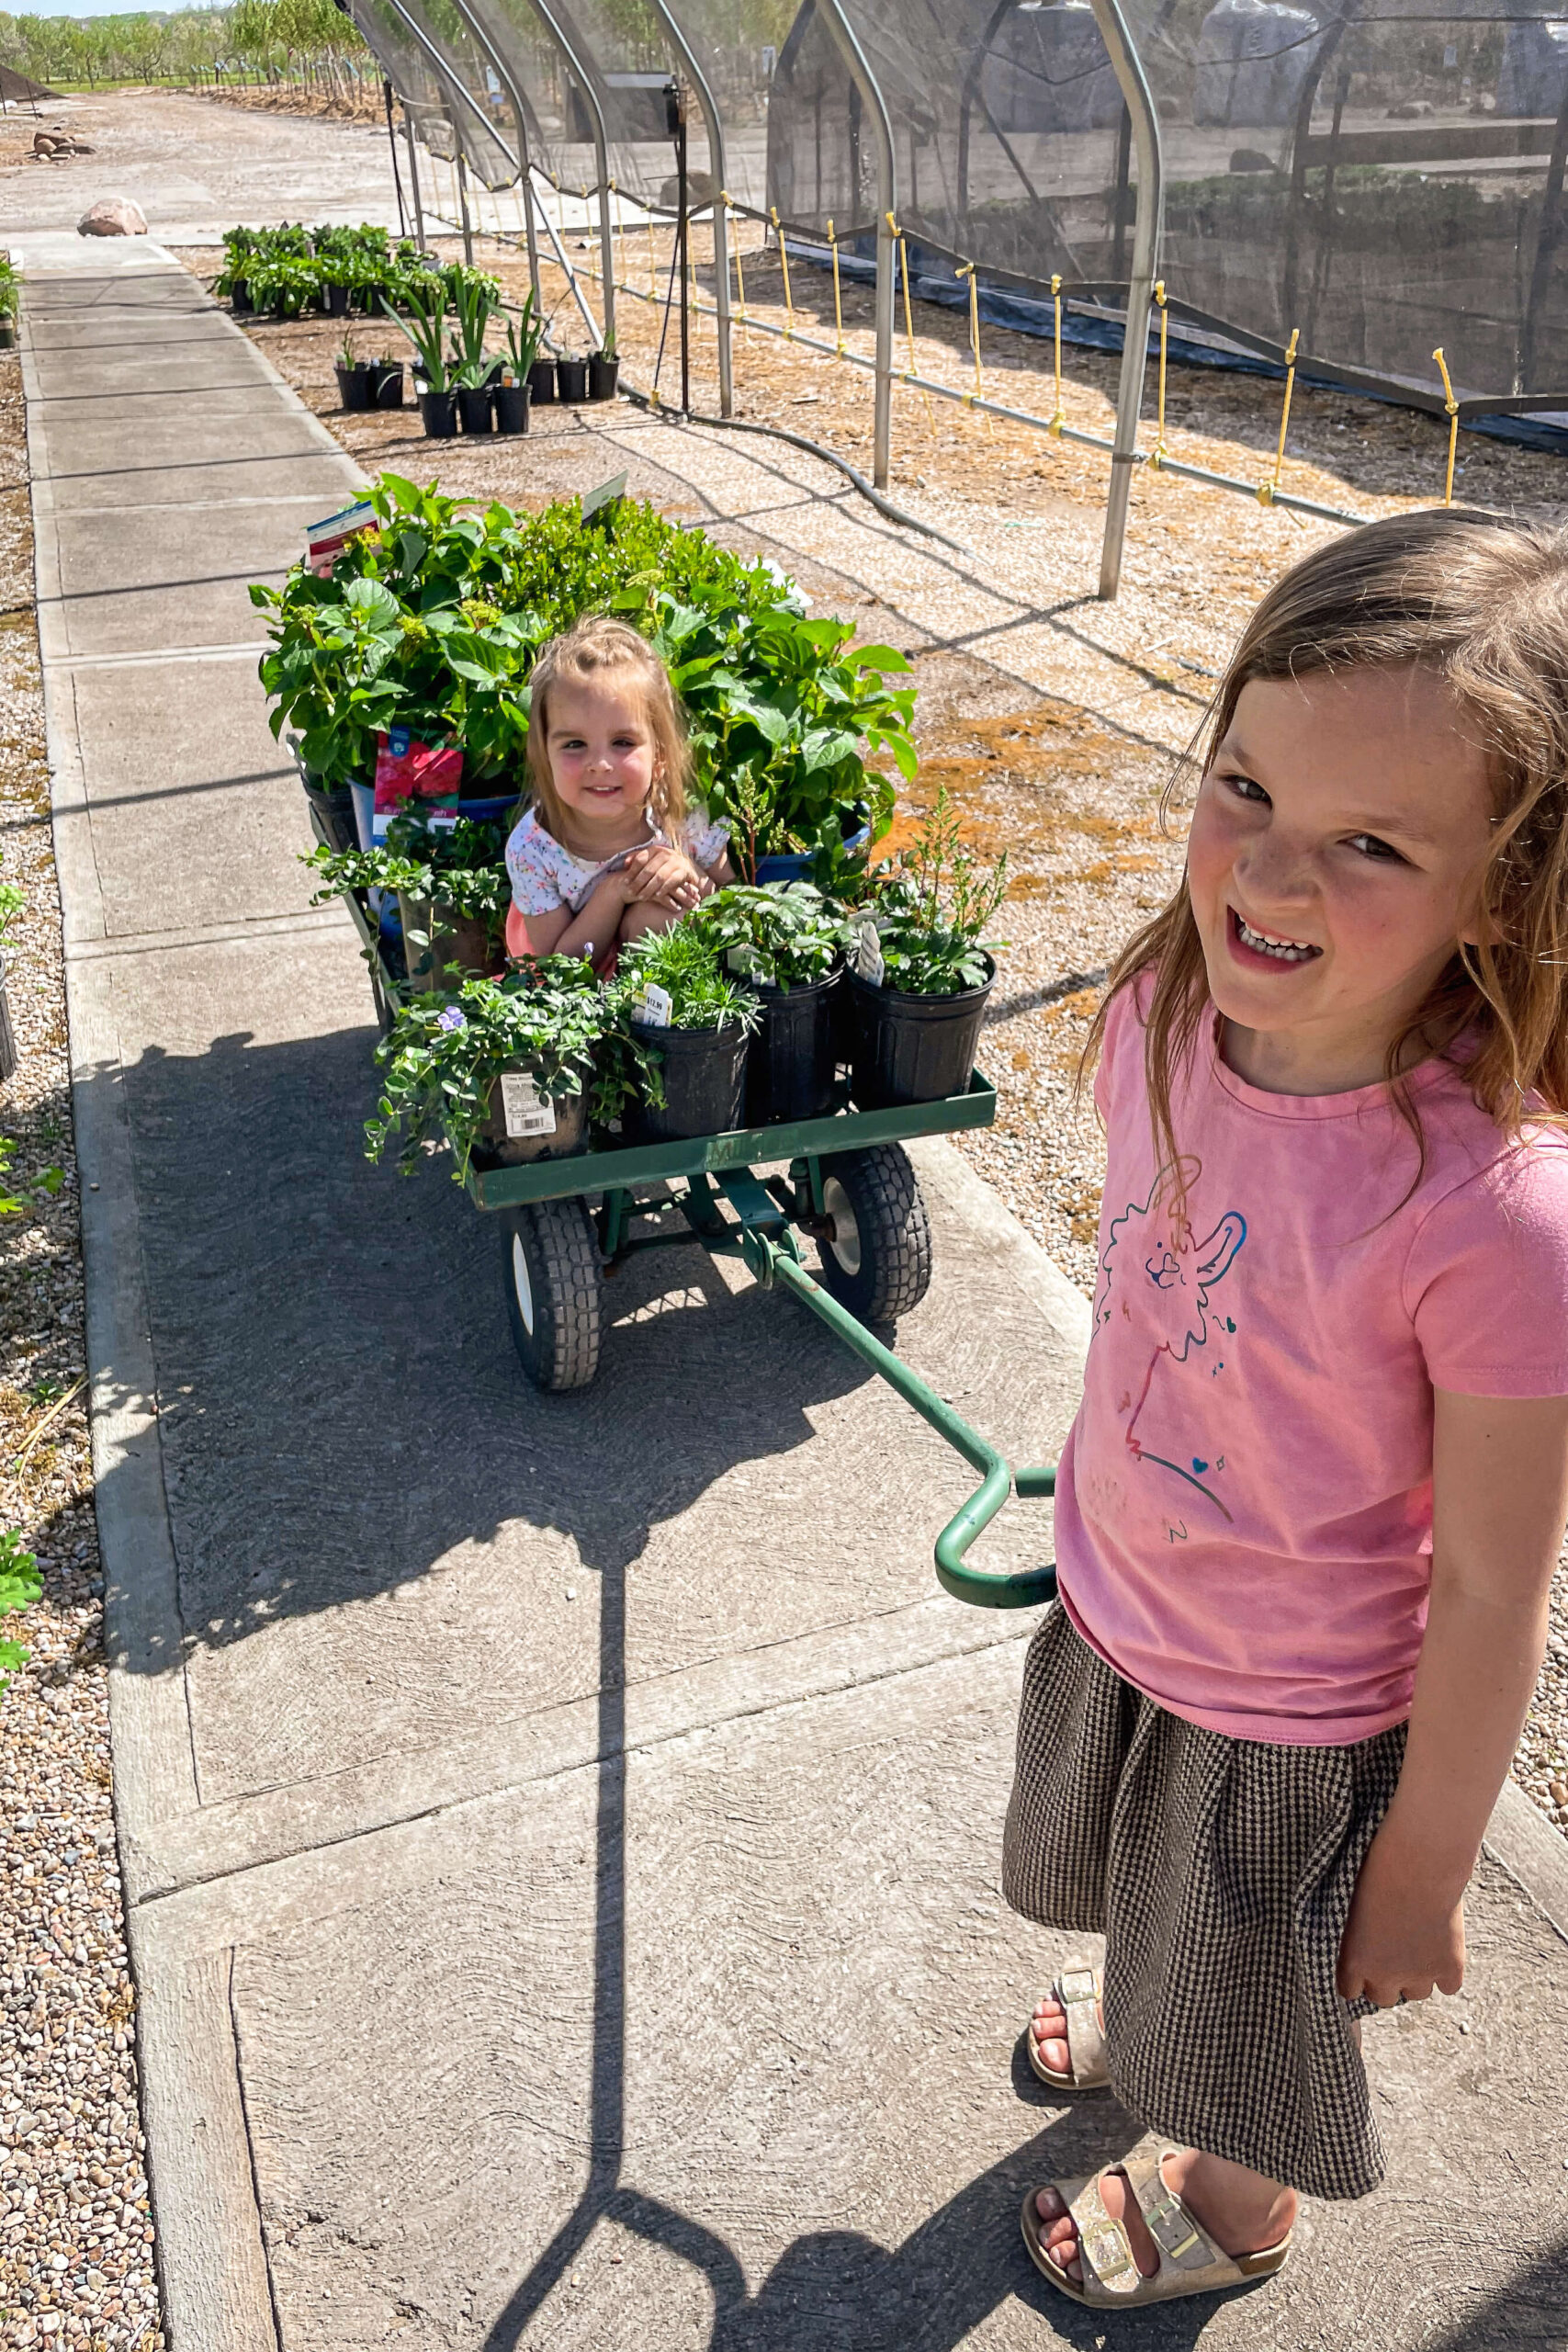
Now that we had done all that prep work, it was time for the fun part – plant shopping! To make a flower bed, we need flowers right?
The girls and I headed to our local nursery to buy an assortment of plants in different sizes for our new bed. The section of my backyard where I was working had partial shade throughout most of the day, so I chose plants that would thrive in that environment. The staff at your local nursery can be a wealth of information in helping you choose plants that will work best in your yard.
Before planting, I find it very helpful to lay out the potted plants and rearrange everything until I like the arrangement. I put taller, bigger plants in the back and shorter ones in the front, and I tried to spread out the flowering shrubs from the non-flowering.
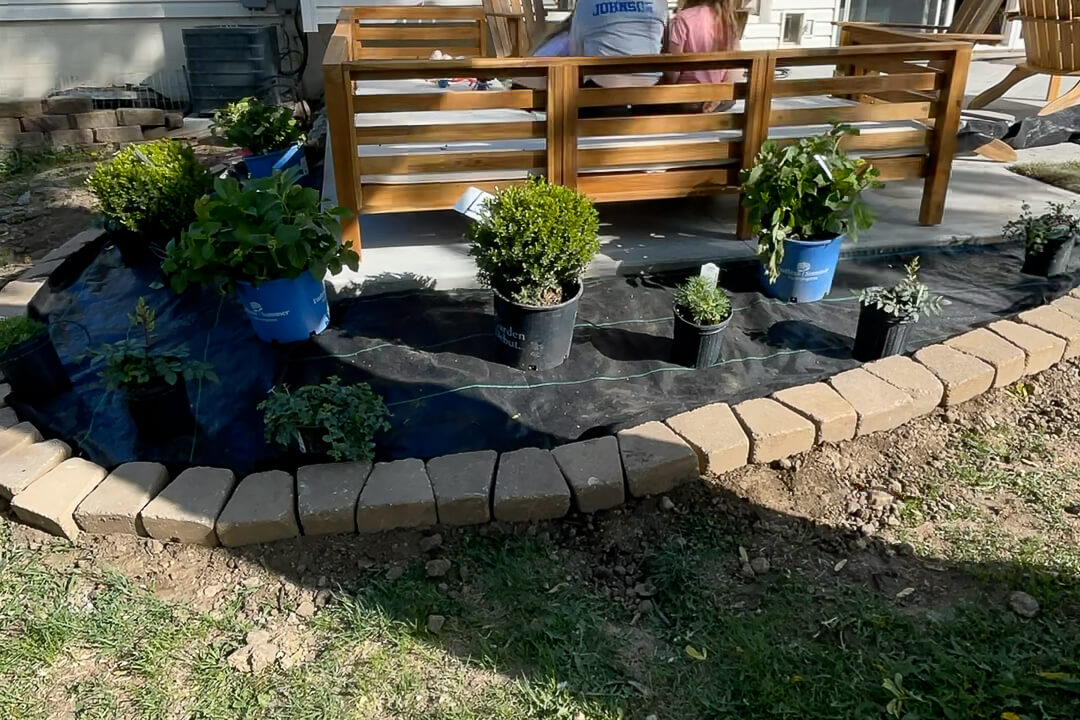
After you have an arrangement you are happy with, it is time to plant.
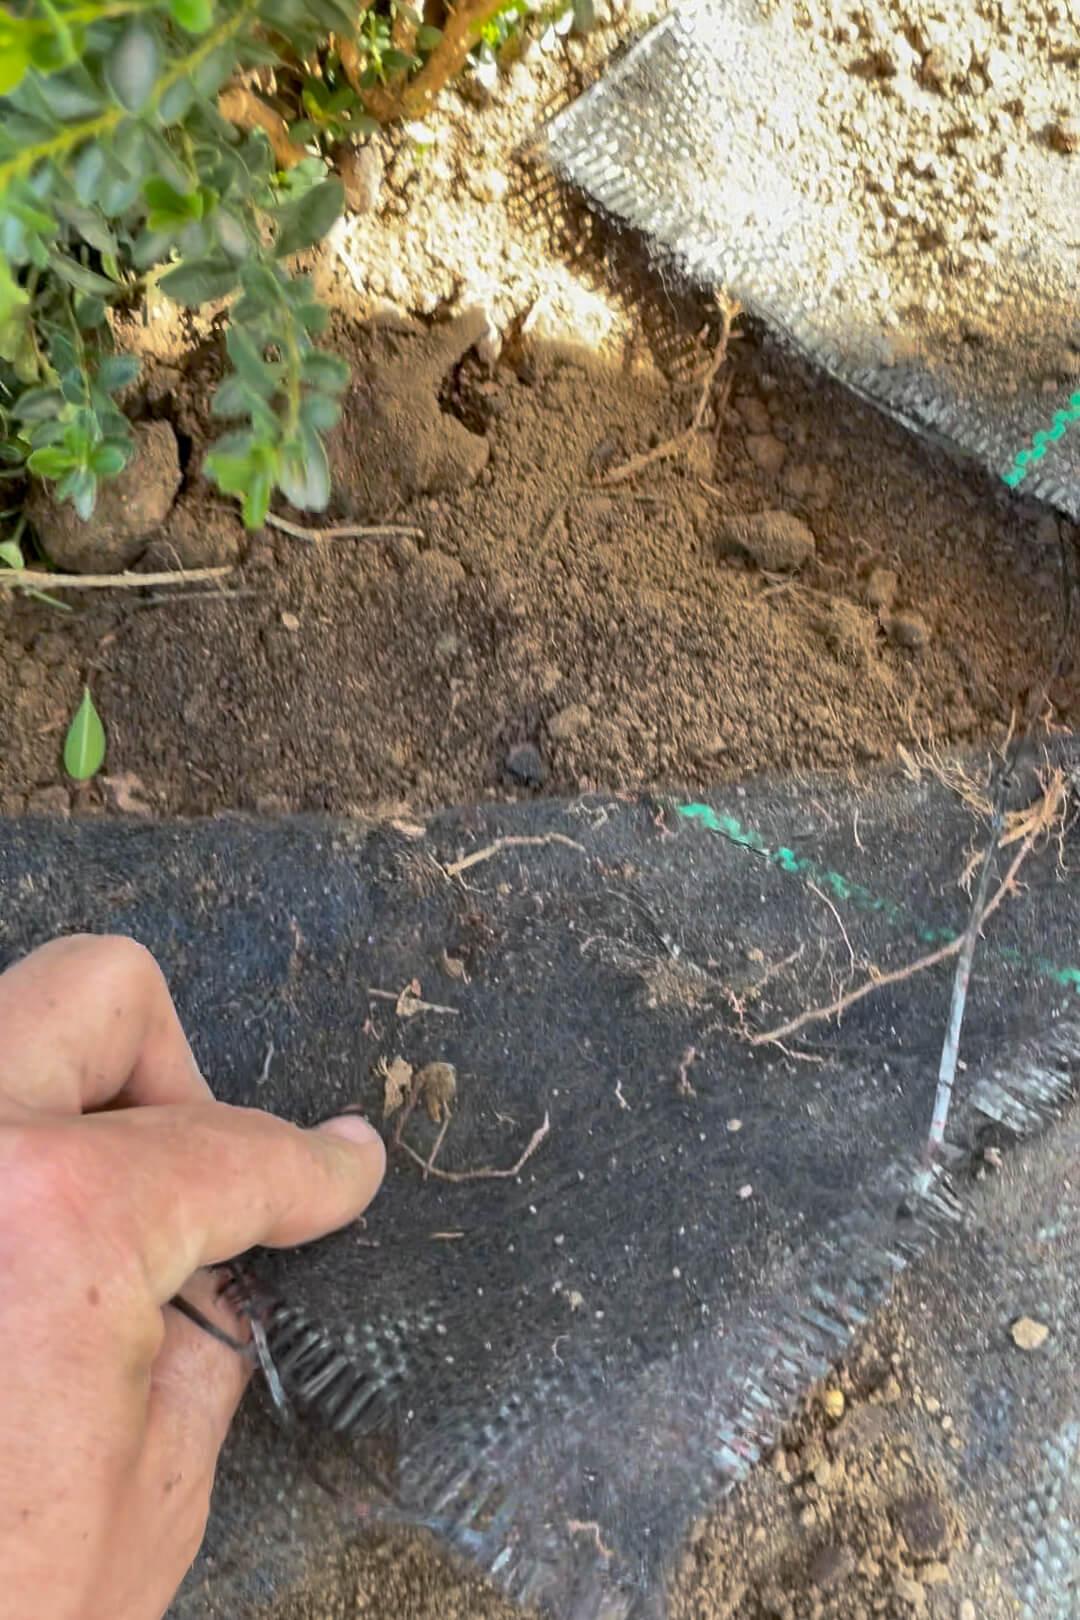
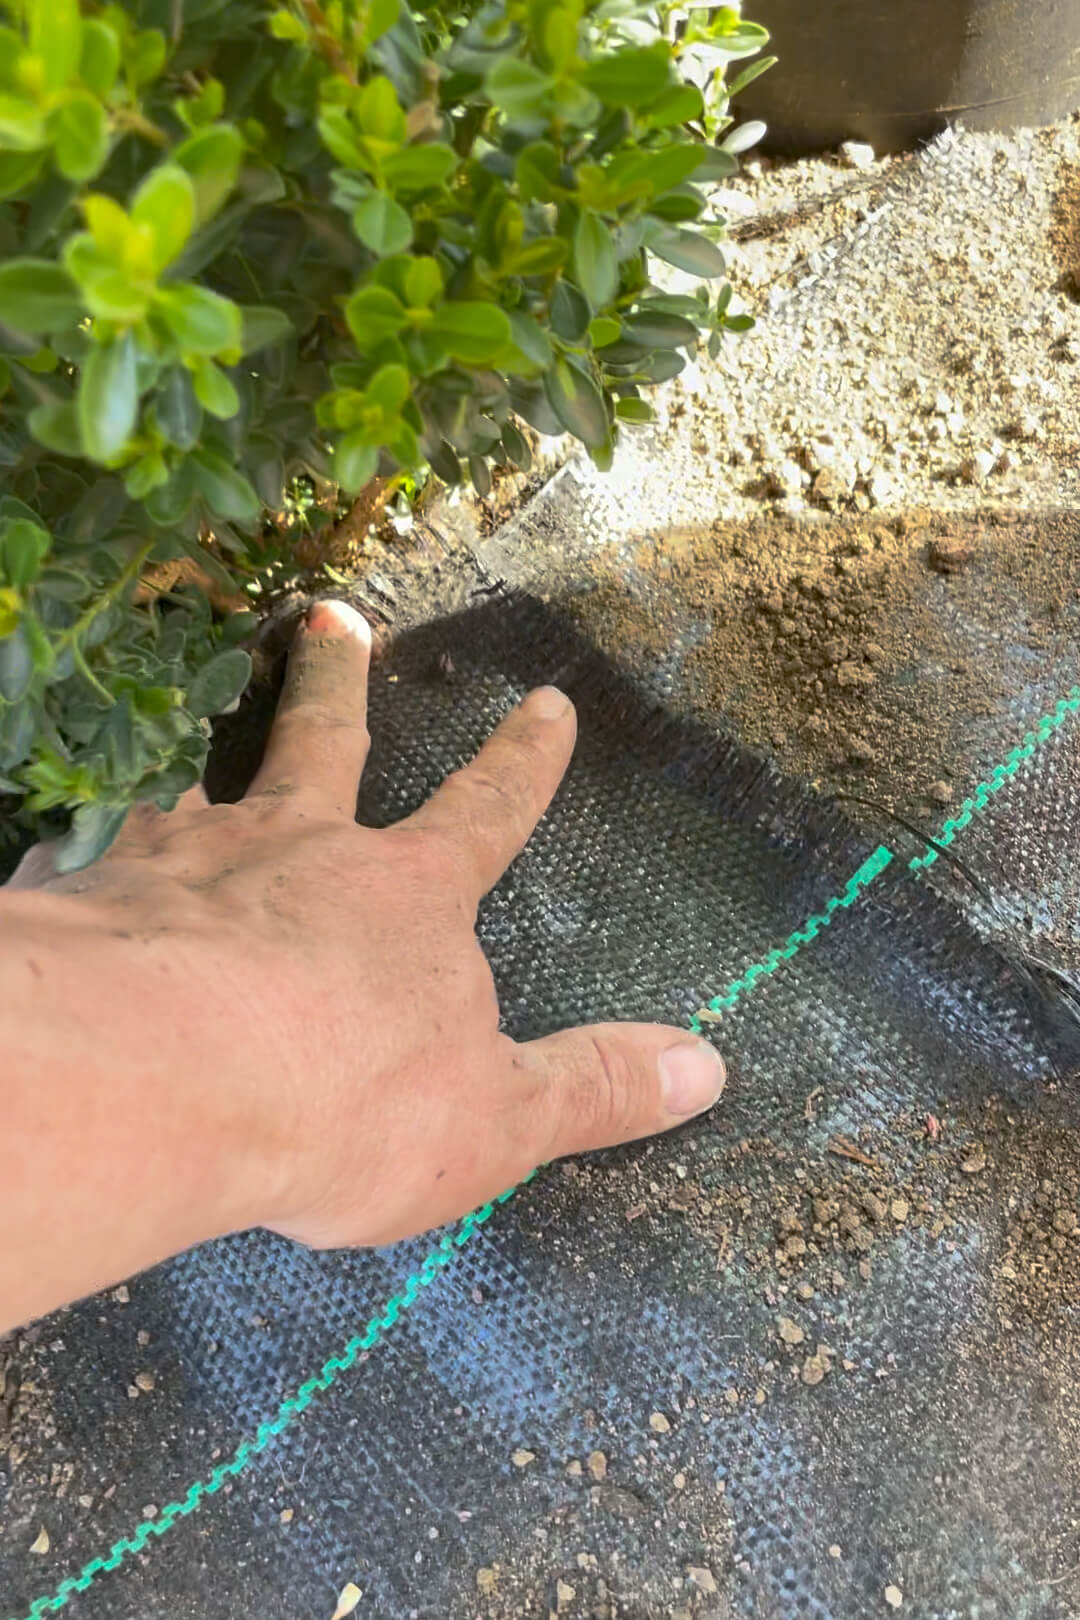
I start by cutting two intersecting slits in the weed barrier in the shape of a plus sign (“+”), then fold back the flaps exposing the dirt underneath and giving you a nice, square shaped hole to work in.
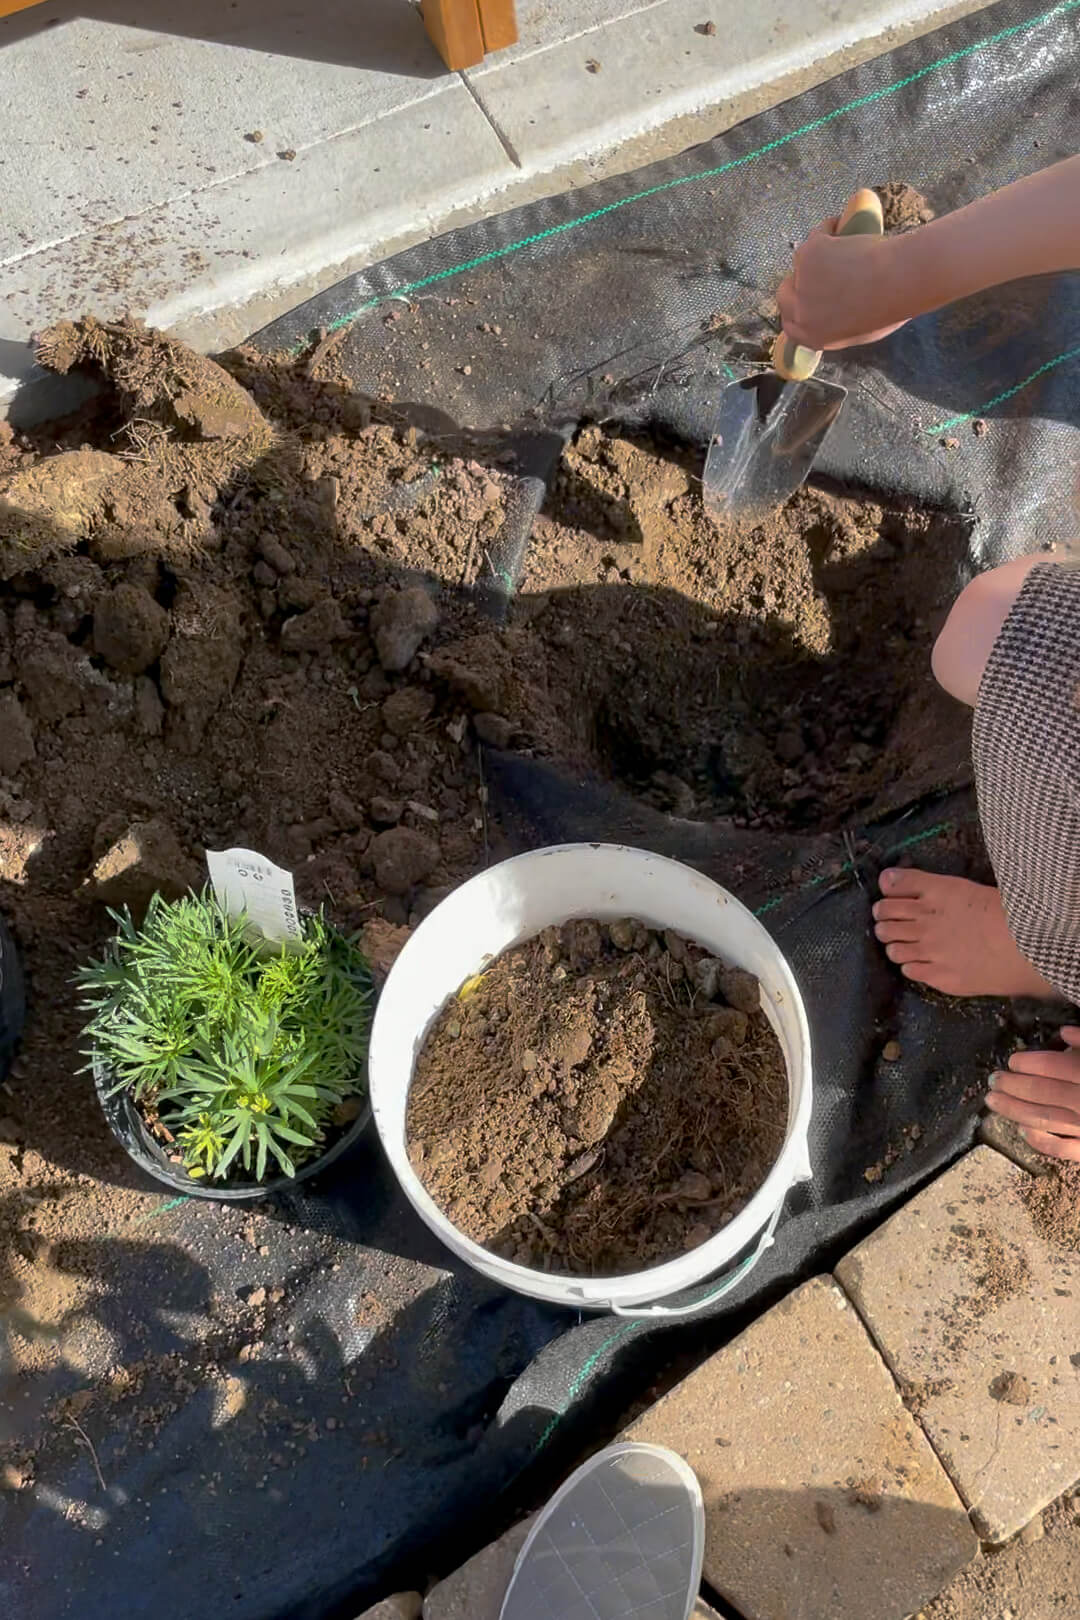
The reason that I cut a “+” in the weed barrier rather than just a circle, is it makes it easier to replace the weed barrier after planting. As shown in the photos below, the flaps fold right back up around the base of the plant leaving very little dirt exposed, which means that weeds have less of an opportunity to get in and take over your flower bed.
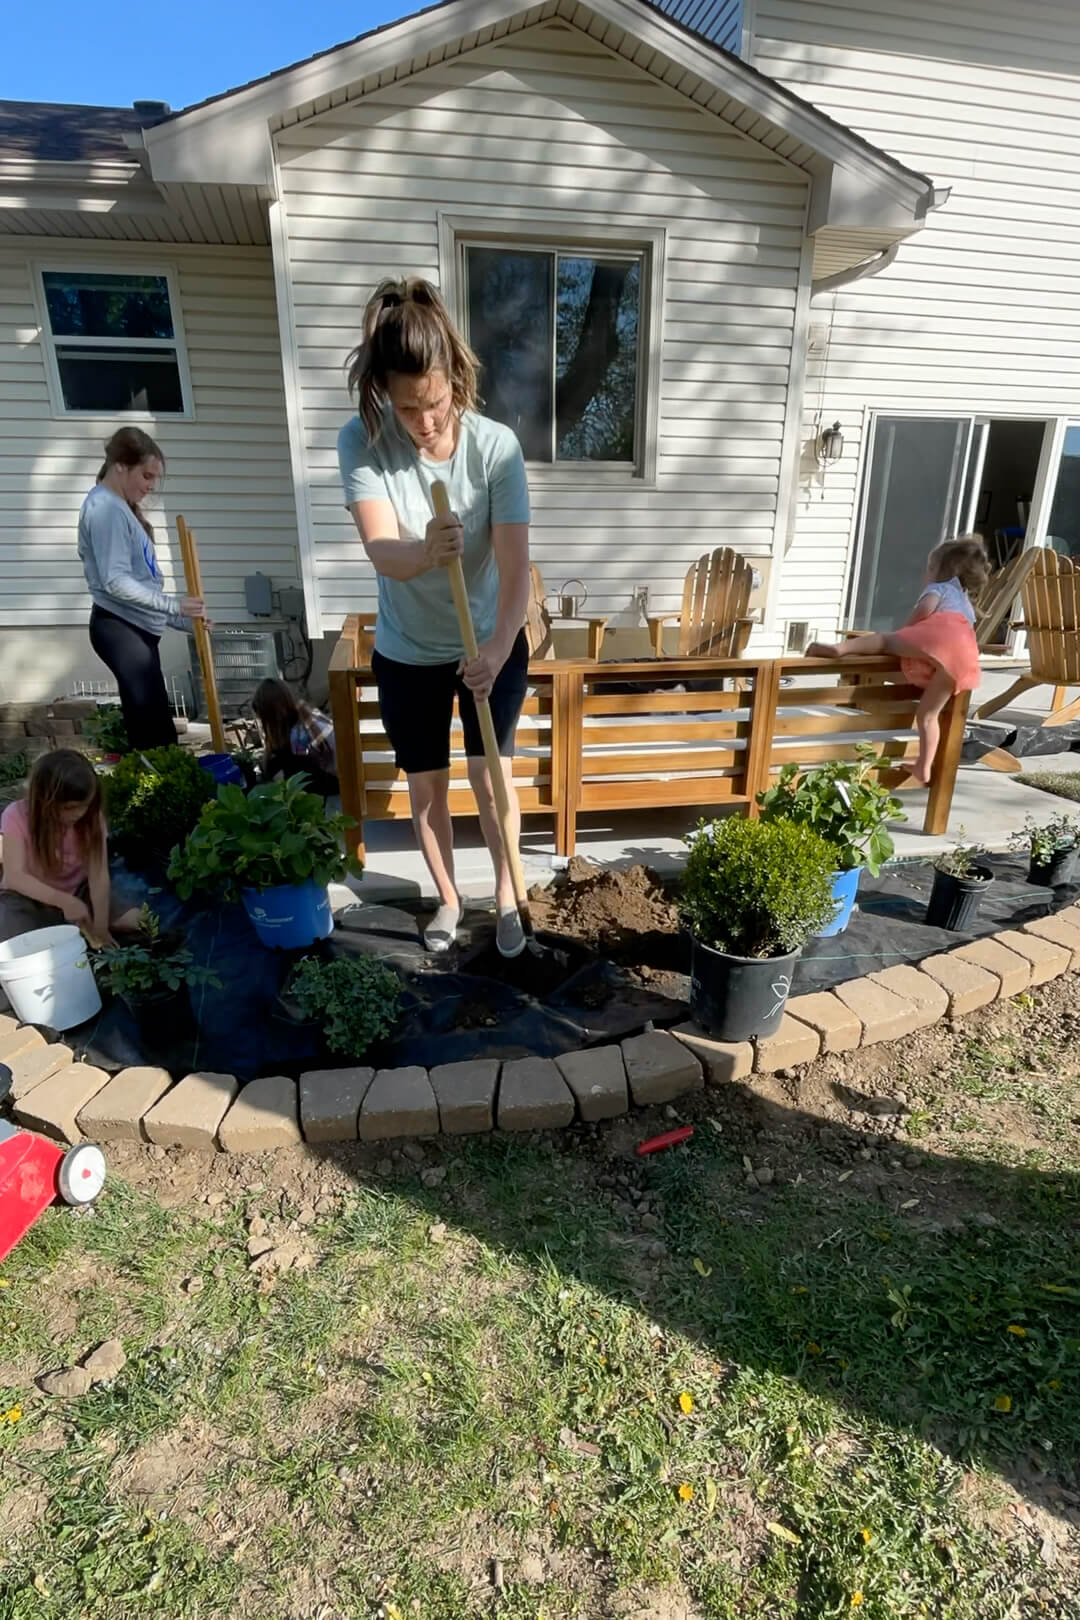
When digging holes for your plants, a digging shovel works excellent. I also reached for my post hole digger quite a bit for this job. And, of course the girls got involved using their kid sized digging spades.
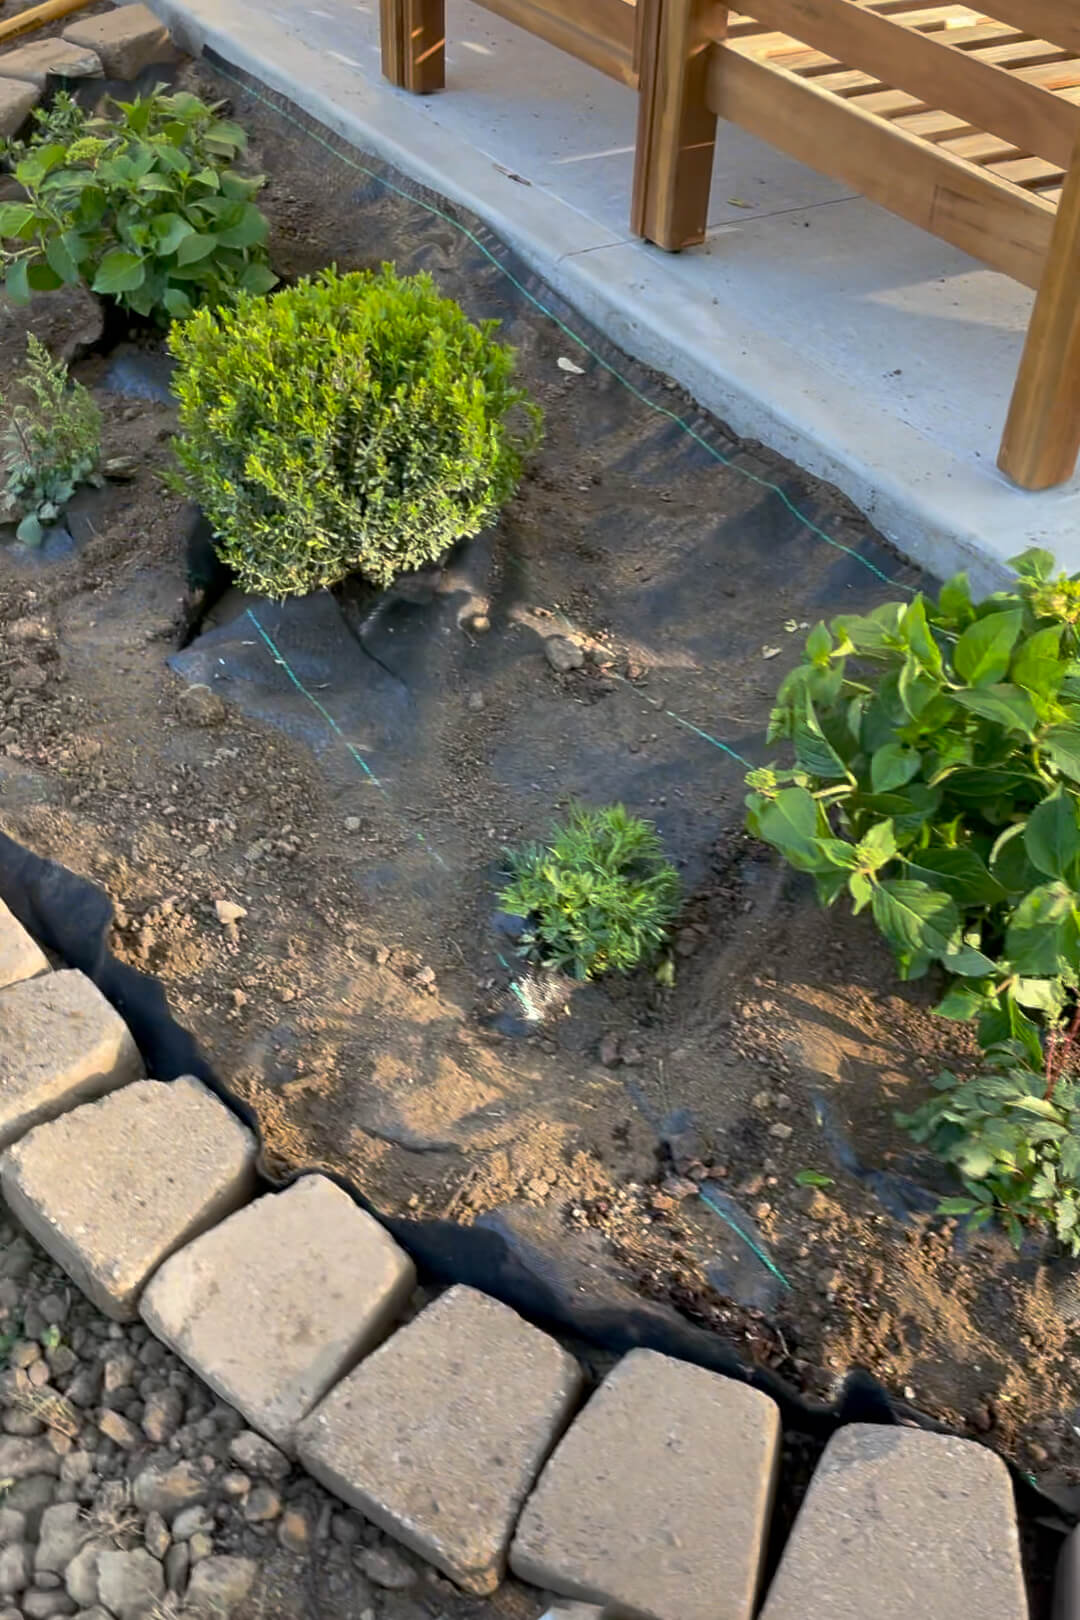
Once the plants are happy and in the ground, we can move onto the finishing touches to make a flower bed that looks complete and professional.
Step Three: Finishing Your Flower Bed
Just like with the soil, you can buy mulch in bags, which I have done for smaller projects like my mailbox makeover. But, if you are going to be using a lot of mulch, you might as well go to your local landscape supply store and buy it in bulk. It will save you some money for sure.
I got my exercise in on this project. Once again, unloading with a shovel and using a wheelbarrow to get it to the backyard is the way to go. You can scoop it and move it by the bucketful, but it’ll take a little longer.
When adding the mulch, just use your hands to spread it around and evenly cover all of the weed barrier because no one wants to see that stuff.
Mulch isn’t just for looks though. It will help the ground stay cooler in the summer and warmer in the winter. It also helps your plants retain moisture and acts as a weed barrier.
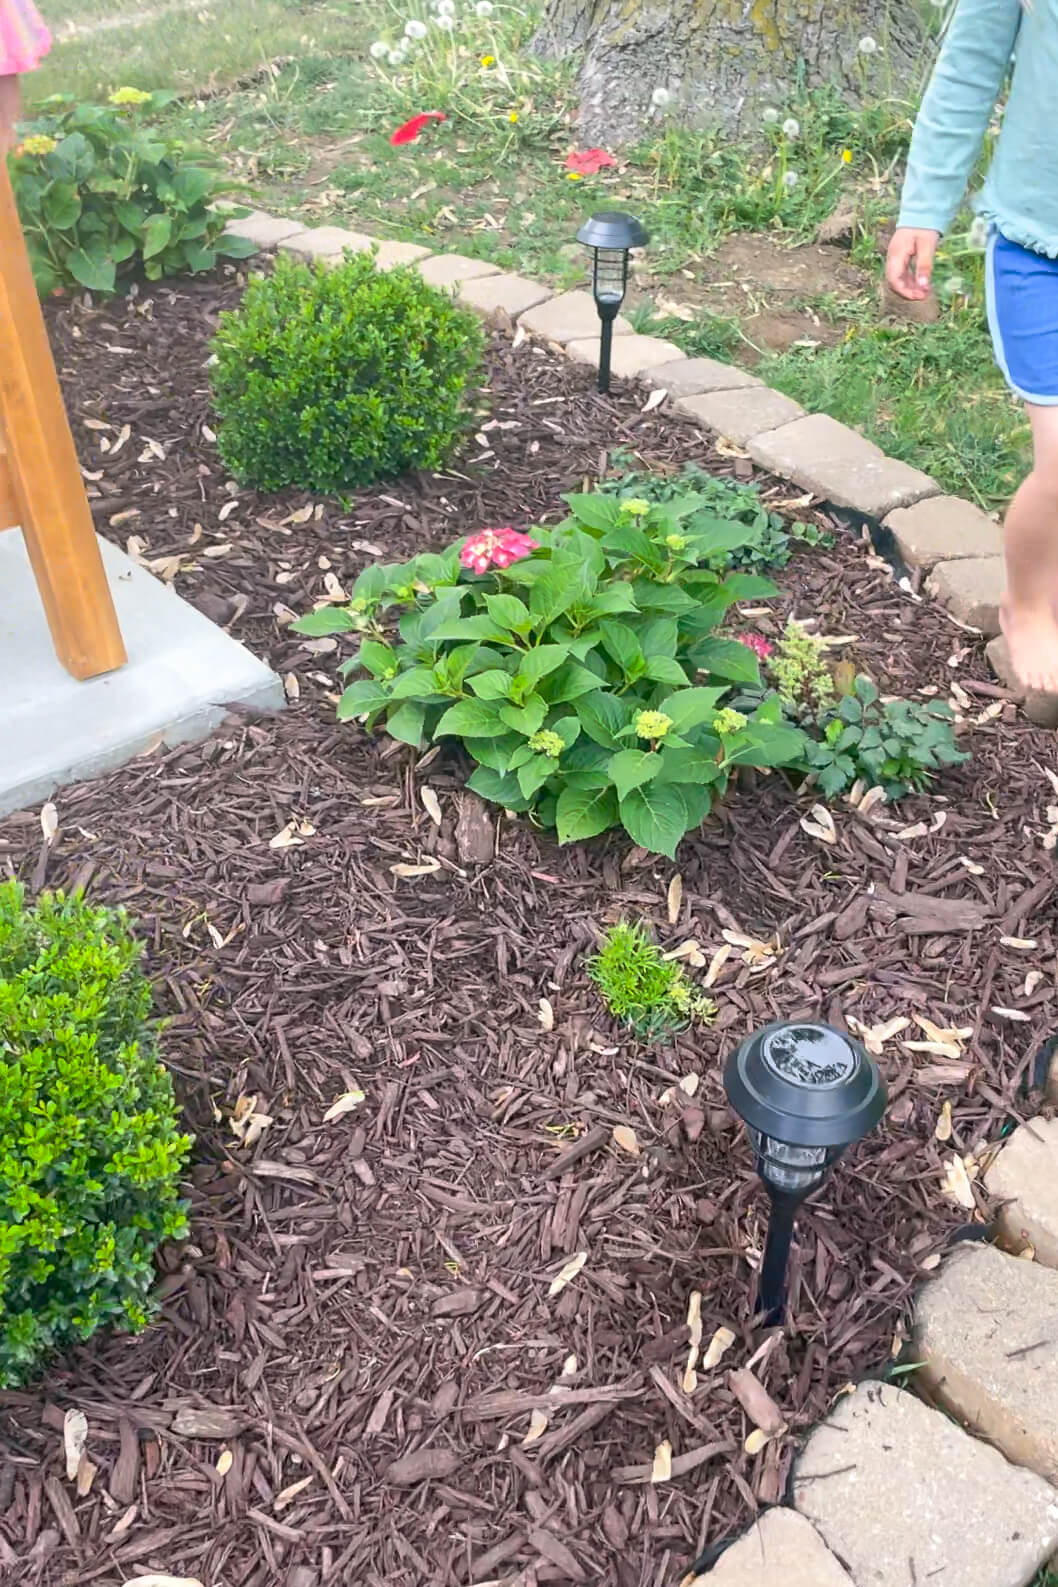
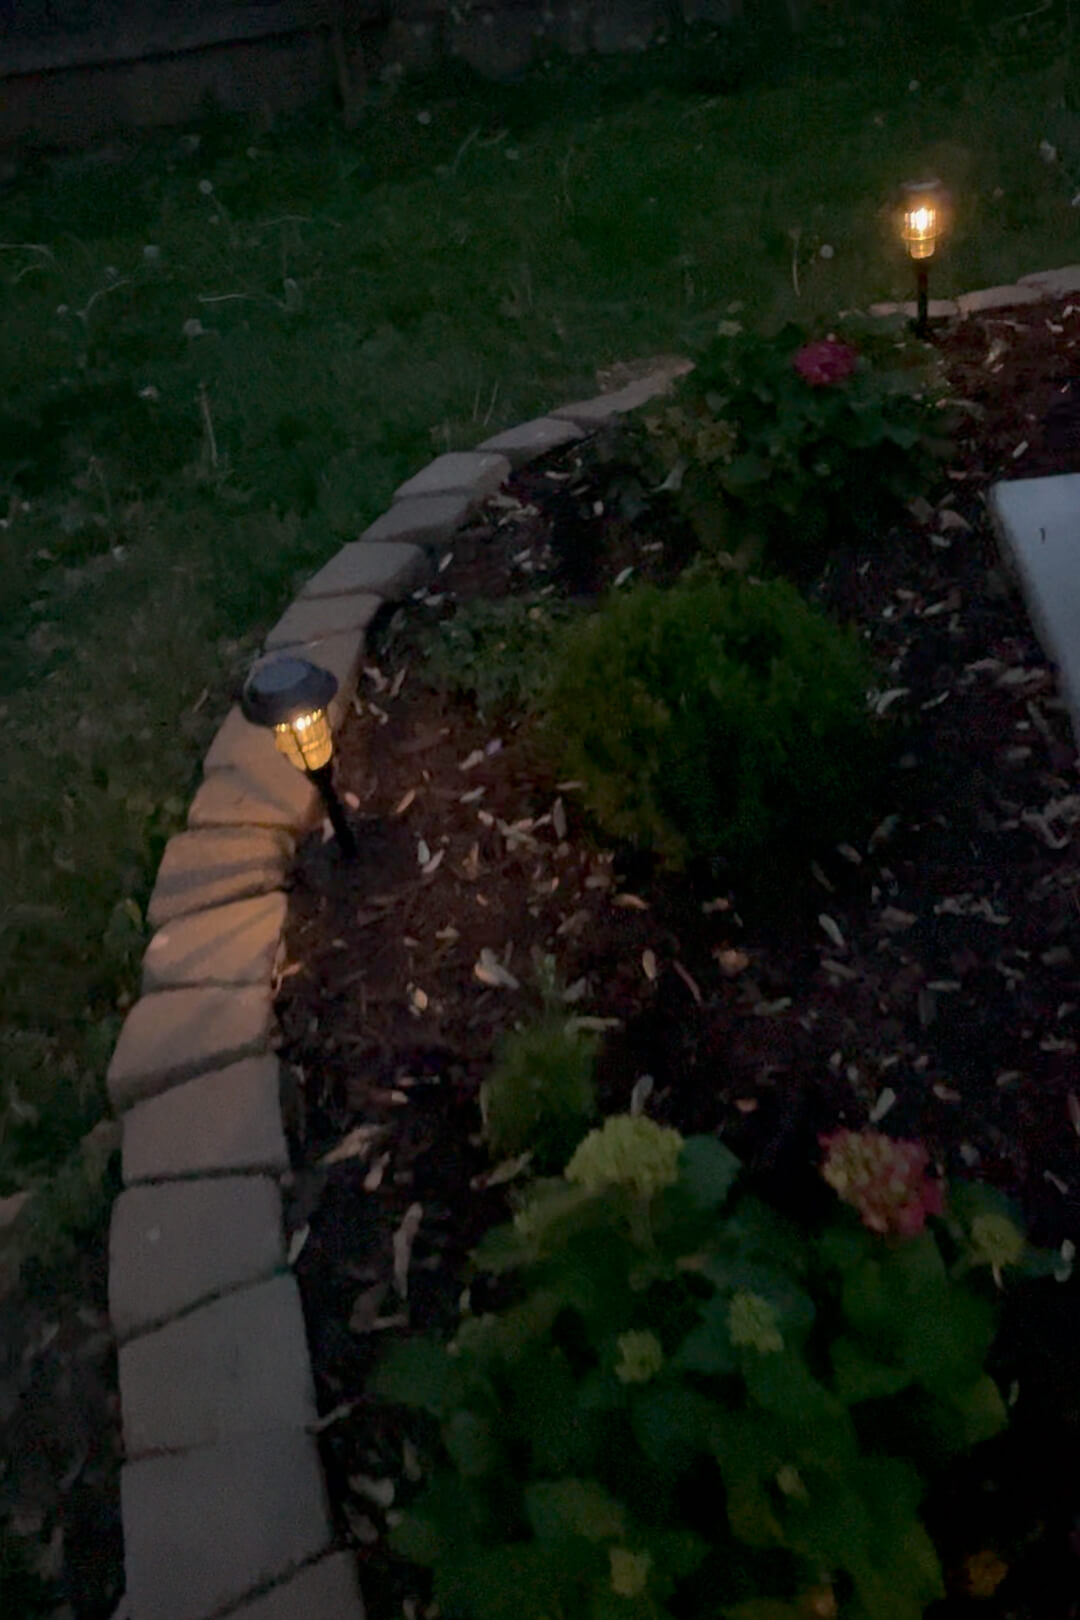
The last thing I added to my flower bed is these beautiful solar lights. They look great in the day and give off a perfectly, warm glow in the evenings. It’s amazing what a bit of lighting will do to add some style and warmth.
How to Make a Flower Bed Without a Border
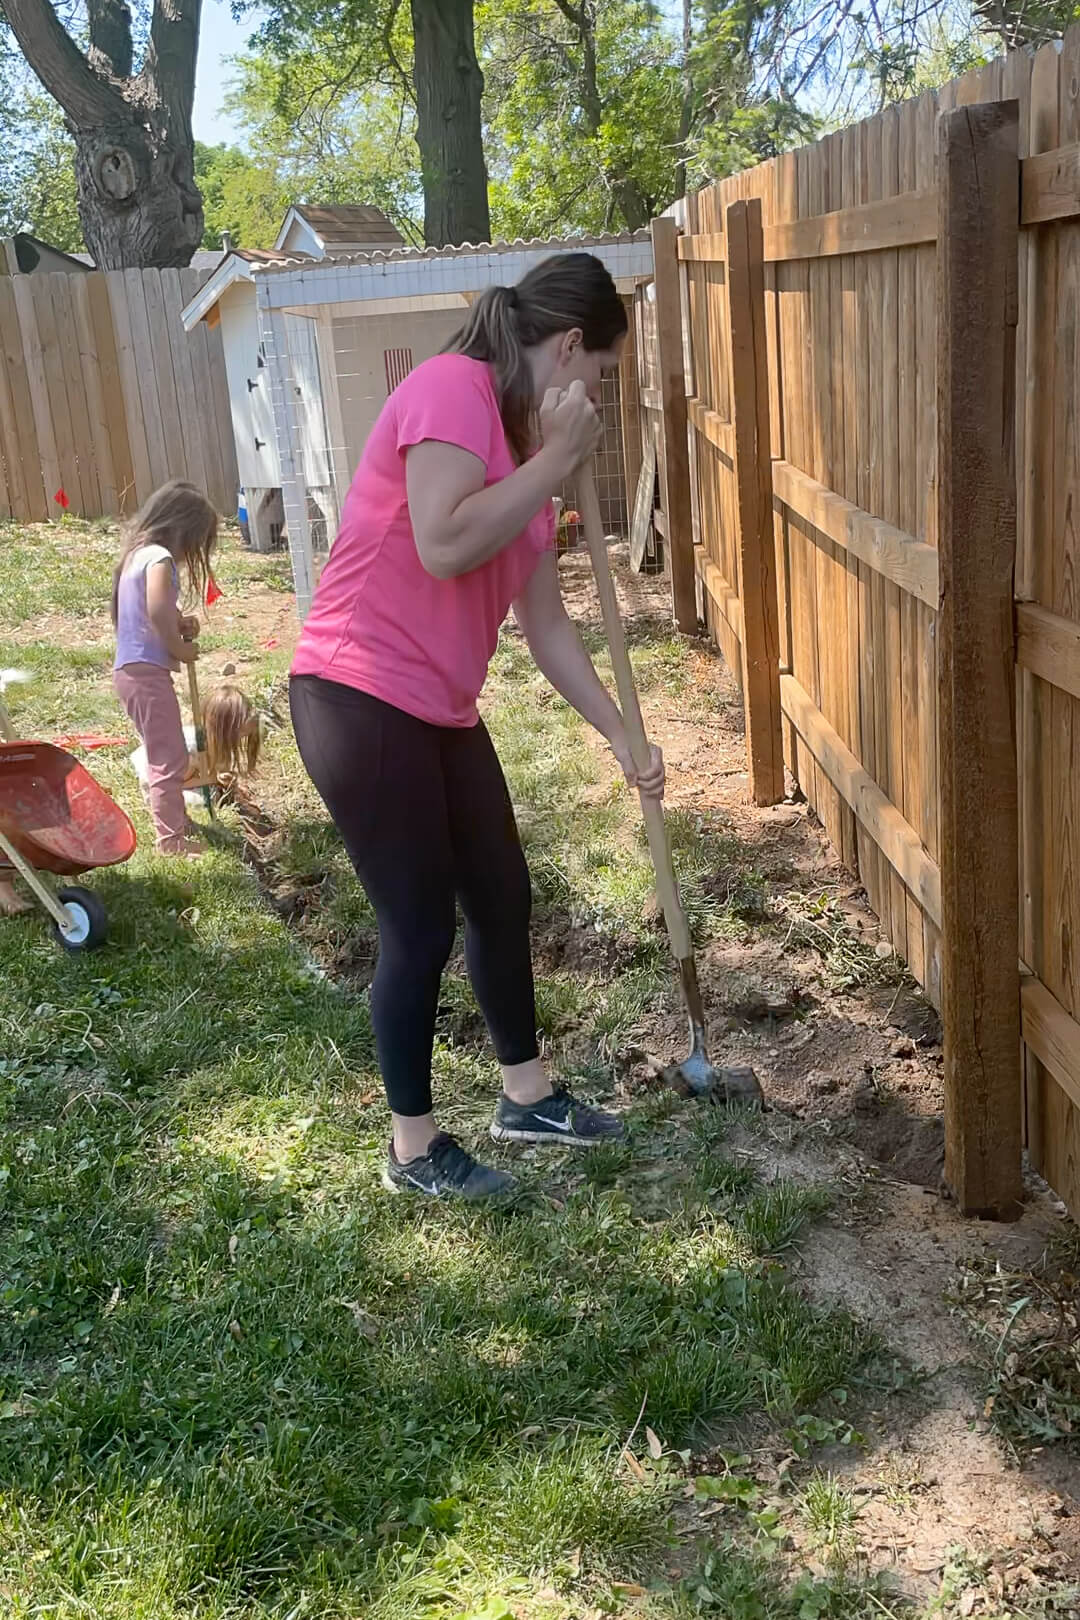
After making the bed next to my patio, I had this other yard area over by my chicken coop where I wanted to make a flower bed. For this one, I am not doing a border with pavers.
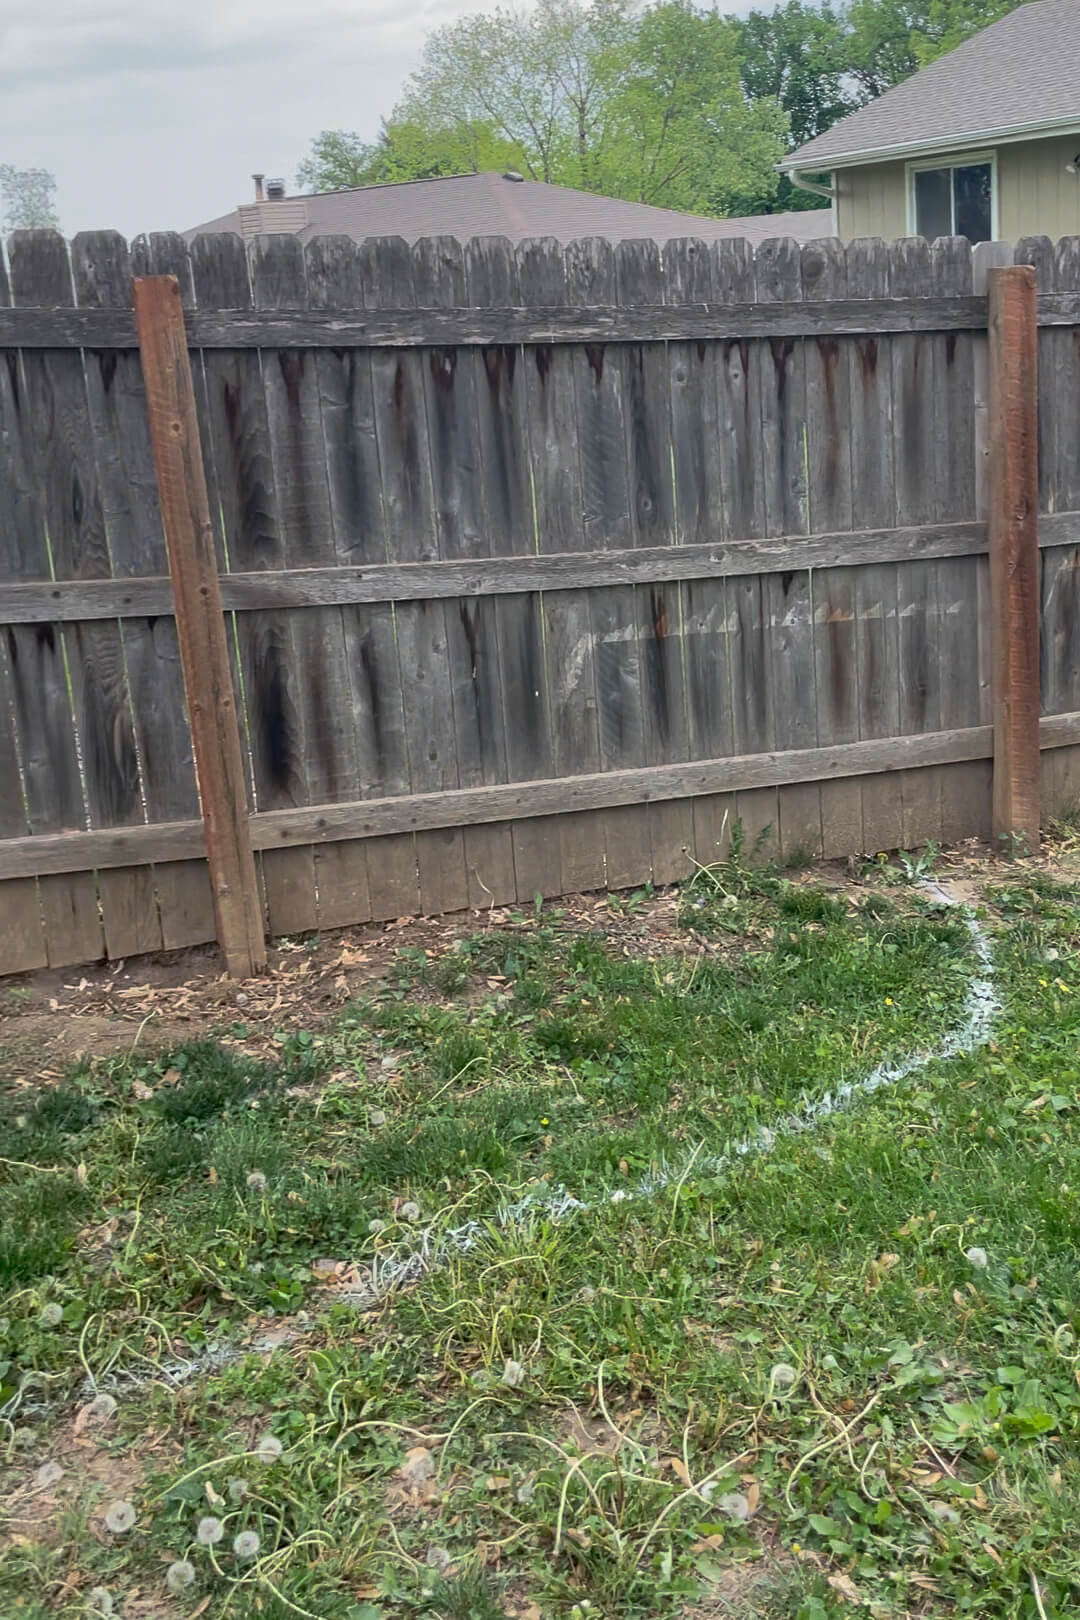
I began the project by using some marking paint to draw a basic border where I wanted to make a flower bed. Then I got to work getting the ground ready with my shovel and stiff rake.
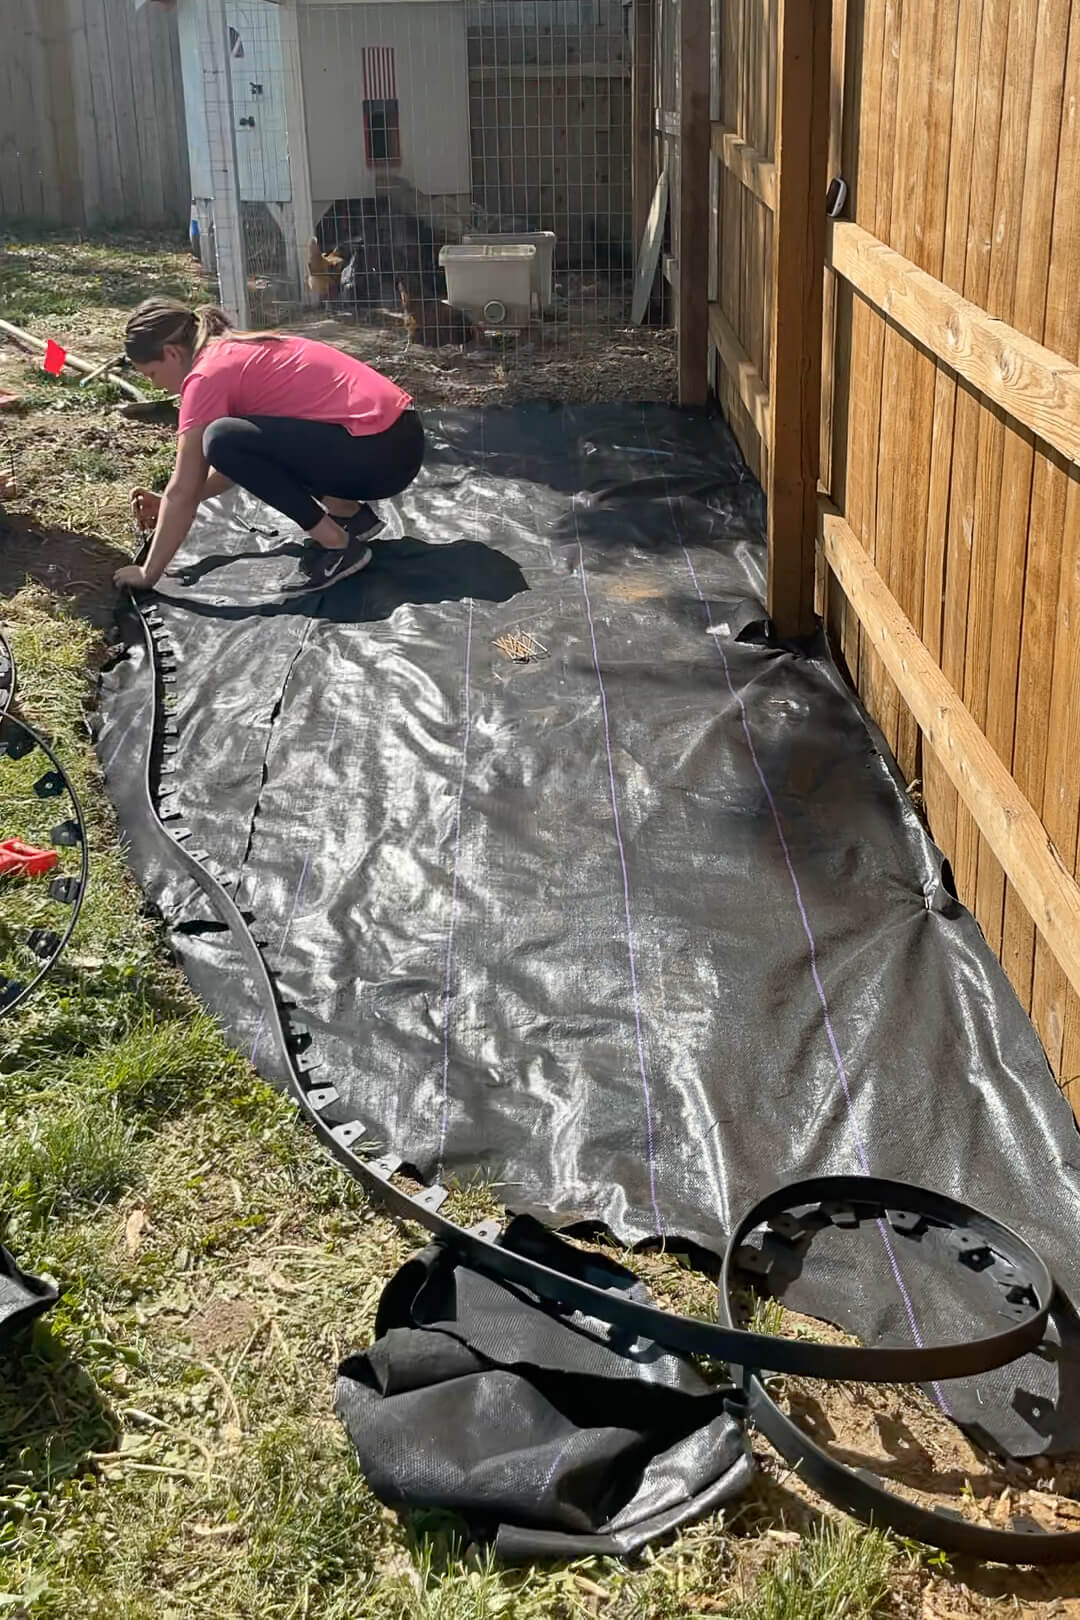
After adding weed barrier and pinning it down with these landscape spikes, I began to install this landscape edging. The edging was very easy to use, and will define the edge of my bed from the grass, keeping the mulch out of my lawn. It’ll also keep the lawn out of my flower bed, but will have a more seamless look than the other bed I made using pavers as a border.
The rest of the steps for making this flower bed are the same. I planted some gorgeous hydrangeas, added mulch, and now enjoy my beautiful flower bed whenever I head out to the coop to collect eggs from our chickens.
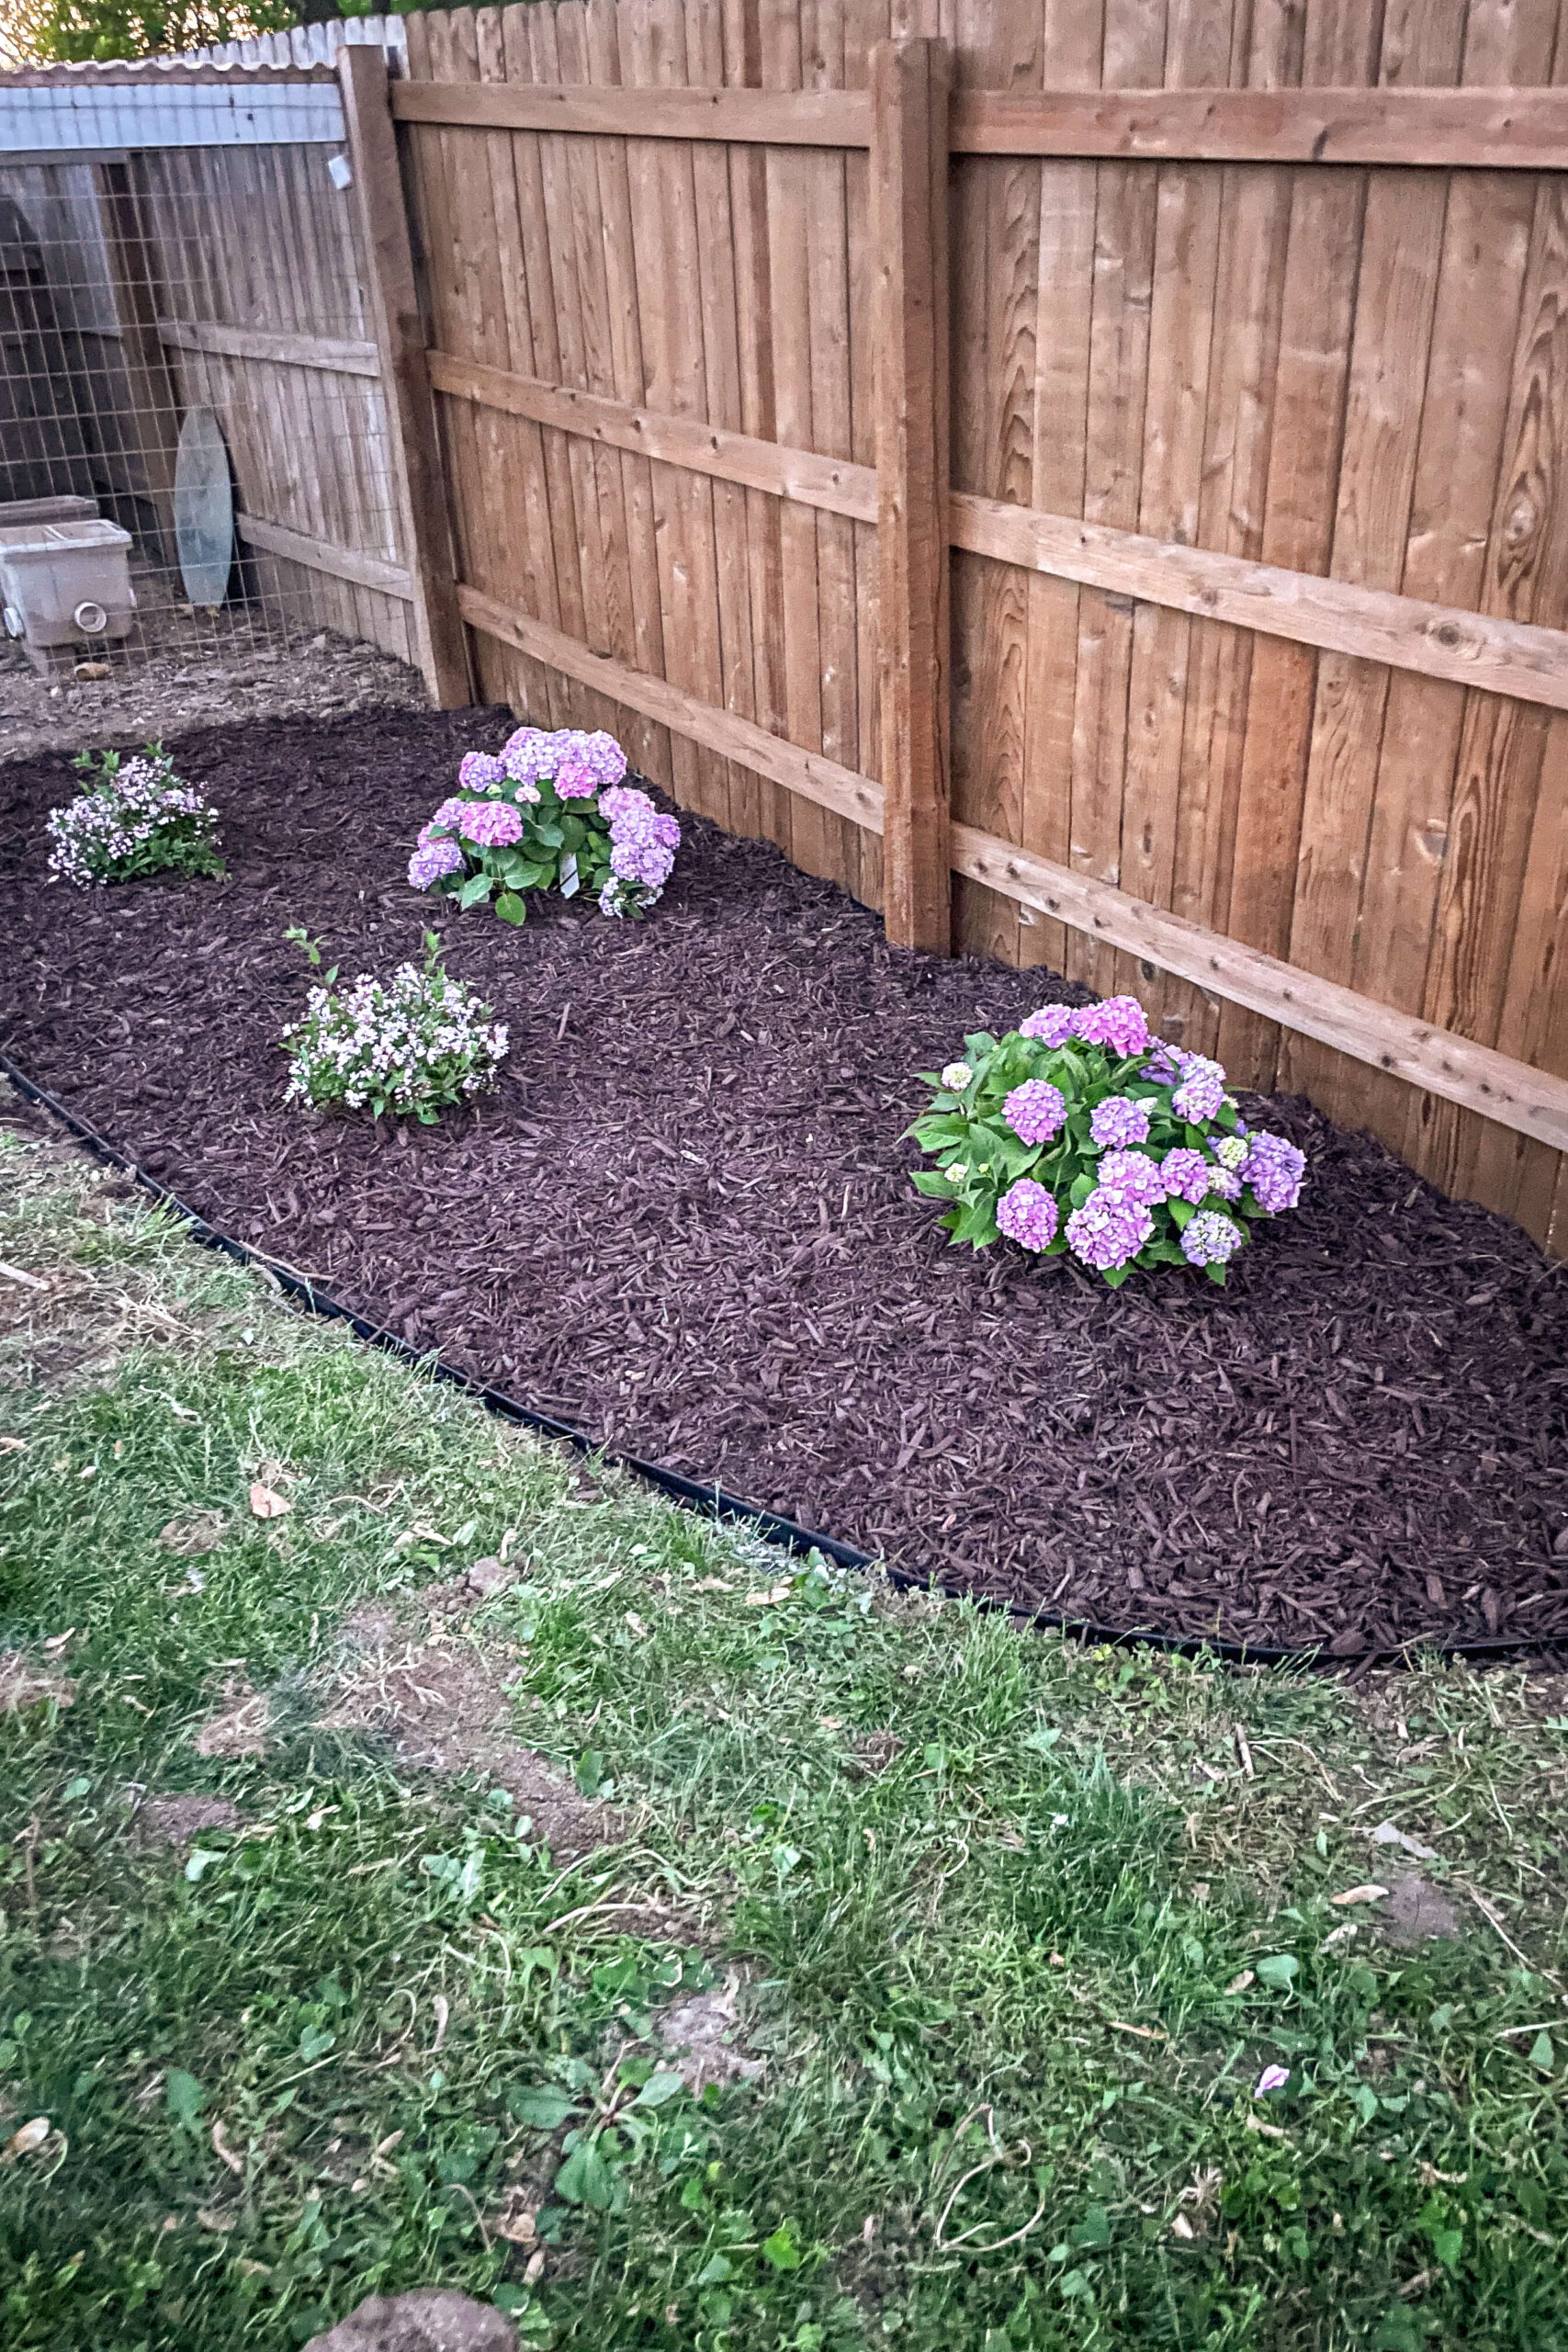
Also, can you even believe how much better my fence looks in the photo above vs. the one with the marking paint?! Scroll up if you didn’t notice! I wrote up a blog post about reviving your old fence that will be very helpful if you have something similiar.
I truly can’t believe the transformation! Adding the flower beds to my yard makes my patio feel so much more inviting and makes my backyard feel more finished. As the plants grow and mature, these beds will just keep getting better and better for years to come.
I hope you have been inspired to make a flower bed of your own. No matter where in your yard it is going or how big you are making it, the steps and principles are still the same, and the results are totally worth all the hard work.
Looking for more outdoor projects? I have a full tutorial on how I made my backyard hammock stand, as well as a post showing you how we transformed our unused side yard into a veggie garden.