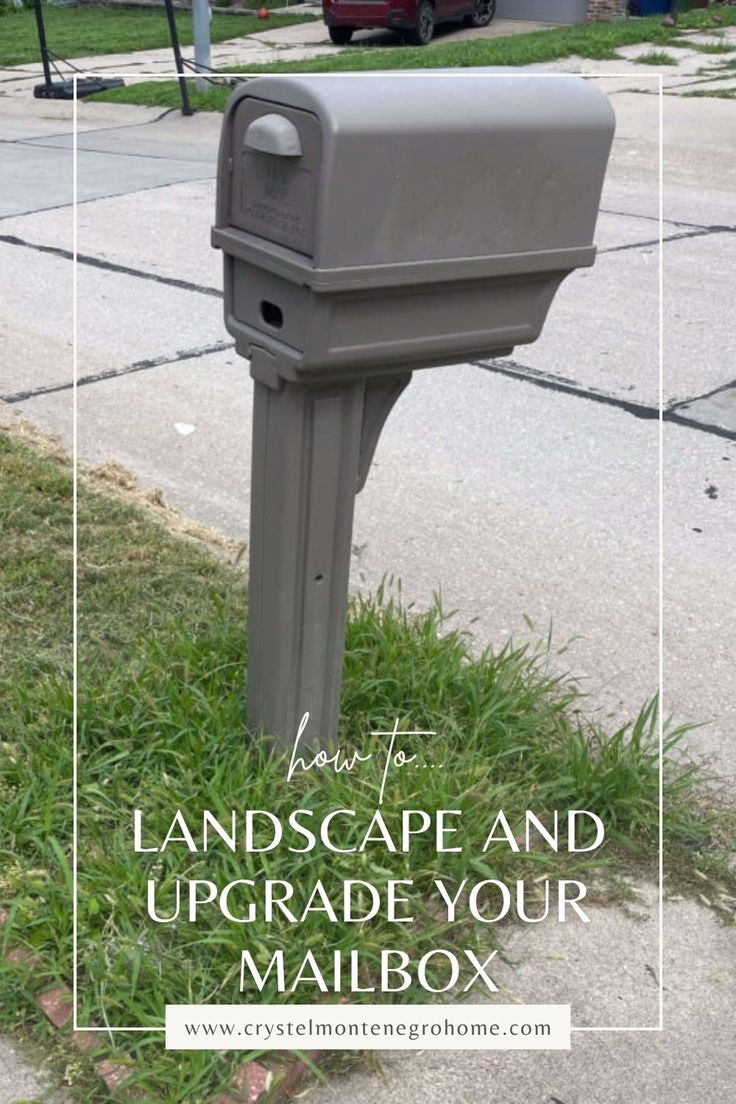
Upgrade Your Curb Appeal With a DIY Mailbox Makeover


Updated May 9, 2026
Give your curb appeal an instant upgrade with a DIY mailbox makeover. Your mailbox doesn’t have to be boring or basic. This is a budget friendly project that uses supplies you may already have on hand, as well as some basic tools. Following my guide as inspiration, you can easily upgrade your mailbox into a neighborhood showstopper.
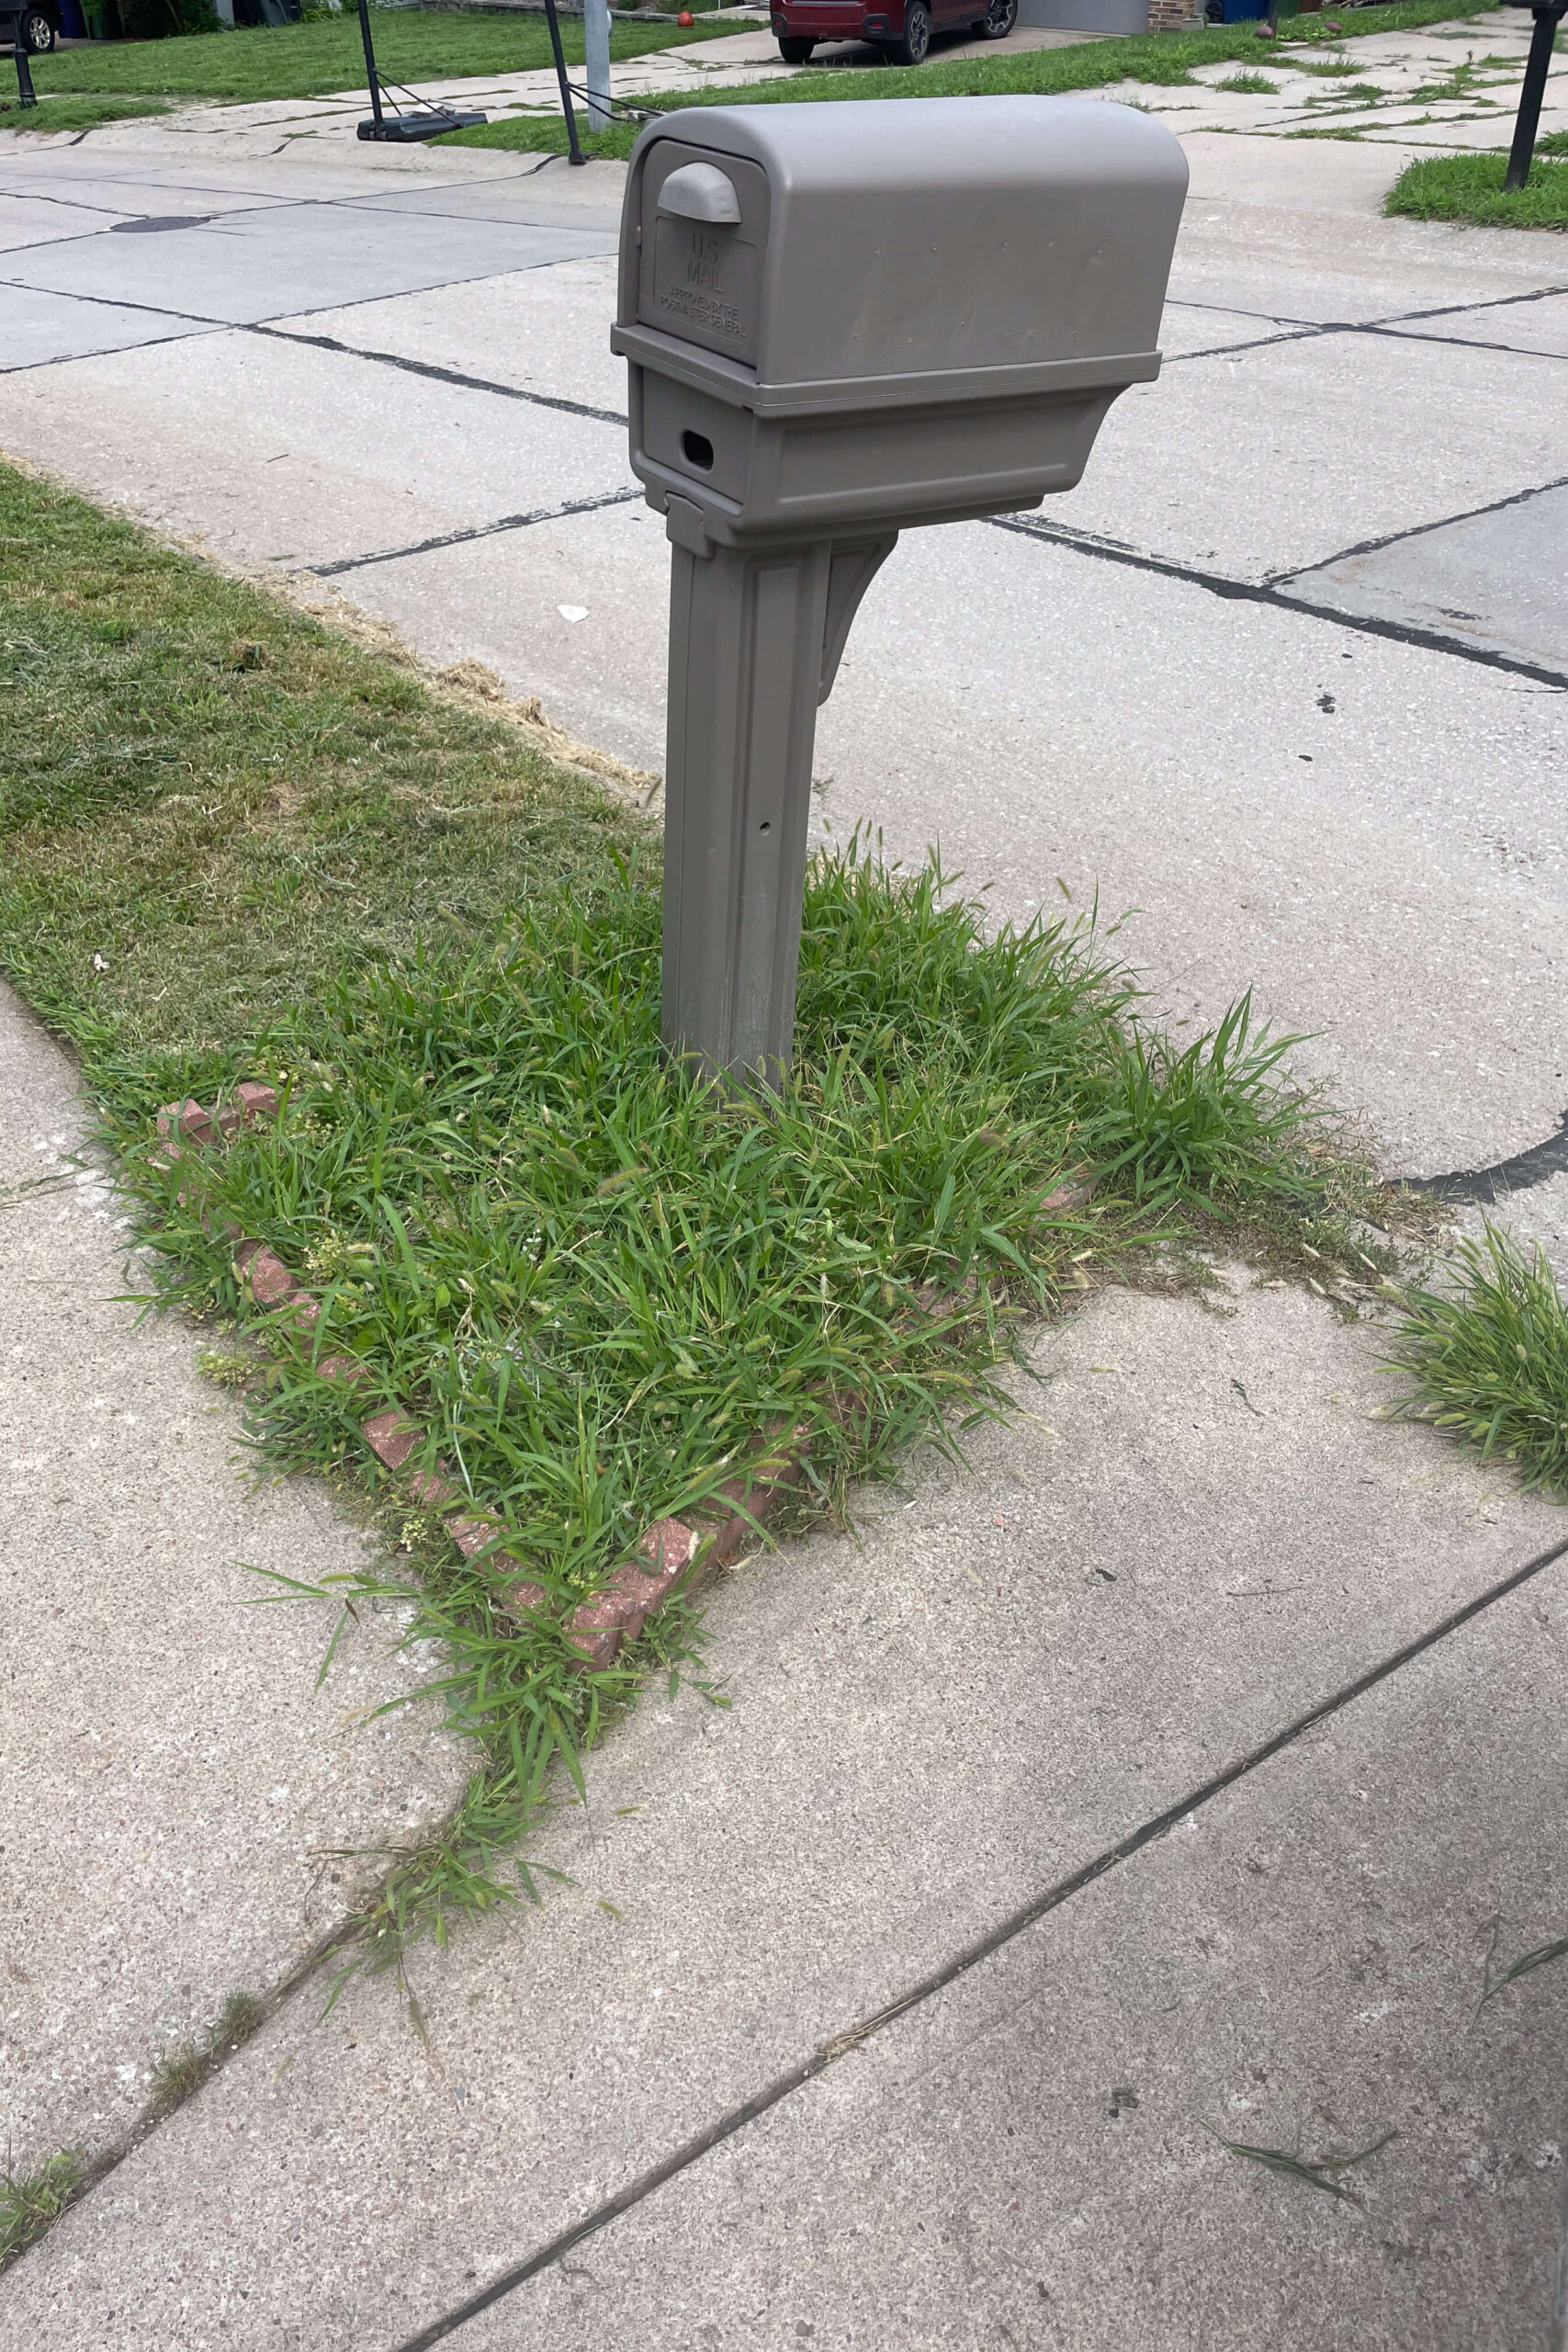
When you get back home from being on vacation there is always the usual stuff… laundry, unpacking, catching up with mail and packages, picking up the dog from the sitter. However, after taking a trip to visit family, I was not expecting to come home to a citation from my city. And especially not a citation over a lawn that needs mowing and overgrown weeds around my mailbox.
My initial plan here was to clean up the weeds in response to that letter from the city, but you know me. I couldn’t stop there. The need to clean up this weed situation led me to a complete DIY mailbox makeover.
Watch Me Turn a City Citation Into a Full DIY Mailbox Makeover
What You Need for a DIY Mailbox Makeover
This DIY mailbox makeover uses a few basic tools and minimal materials. If you have pressure-treated lumber, primer, and paint leftover from other projects, you may only have to buy a mailbox.
Tools
Materials
- Pressure treated 4×4
- Pressure treated scrap wood
- Fast setting concrete
- Post cap
- Mailbox
- Exterior Screws
- Roofing nails
- Planting mix
- Weed barrier
- Plants
- Mulch
- Primer
- Exterior Paint
Removing the Old Mailbox
First, I removed the old brick edging that had been here since before we moved in. It’s dated and old, and you can’t even see it with all the overgrown weeds. Next, I got to removing the offending weeds that inspired the whole DIY mailbox makeover to begin with. It was far easier to just remove the whole top layer of soil using my shovel than to try and pull these weeds out a handful at a time.


Now that I had everything cleared out of the way, I could remove the old mailbox. Mine was attached with just a few screws. My drill made short work of those, and then the mailbox lifted right off the post.


The mailbox I will be creating during this DIY mailbox makeover will require a much taller post, so this old one, unfortunately, just had to go. A little digging and much muscling got it right out of there.


Adding a New Post and Landscaping
Now that the old post was out of the way, we could set a new, taller one.
First, make sure that your new hole is deep enough and clear of any debris. You can use a pointed shovel, but a post hole digger is the ideal tool for this job.

Now, we can set in this new post for our DIY mailbox makeover. Fortunately, I had this pressure treated 4×4 left over from building my garden arbor.
I poured one bag of fast setting concrete into the hole around the post, used my Giraffe hose reel to get the concrete wet, and mixed it all up with a shovel while my niece held the post nice and straight. The post level is a game changer for this type of project. It sits right on the corner of your post and makes it easy to know that your post is actually straight. So much simpler and less awkward than holding a regular level up against the post.


Once the concrete had set, I dumped out a bag of planting mix. A good amount of dirt had been removed with all the weeds and such, so I needed to build the bed up just a bit and wanted some fresh soil for the new plants I would be putting in. I used my shovel to stir the new soil with the old dirt that was already there.


Remember the start of this DIY mailbox makeover was a citation over our weeds, so I wouldn’t let that happen again. Using a weed barrier is a great way to keep those pesky weeds from coming back, and keeps your yard looking polished. Using scissors I cut a hole for the post, and also cut the weed barrier down to the size of the bed that I’m covering.


Now we could add all of the pretty greenery. Wherever we wanted to place a plant in the bed, I cut a hole through the weed barrier, removed the plant from the nursery pot, and planted it right down into the soil.

No one wants to see the ugly weed barrier, so for a finished look we spread mulch around anywhere that the barrier was exposed.

A quick sweeping of the stray mulch, and a little bit of water for our newly landscaped bed, and this is already looking so much better.


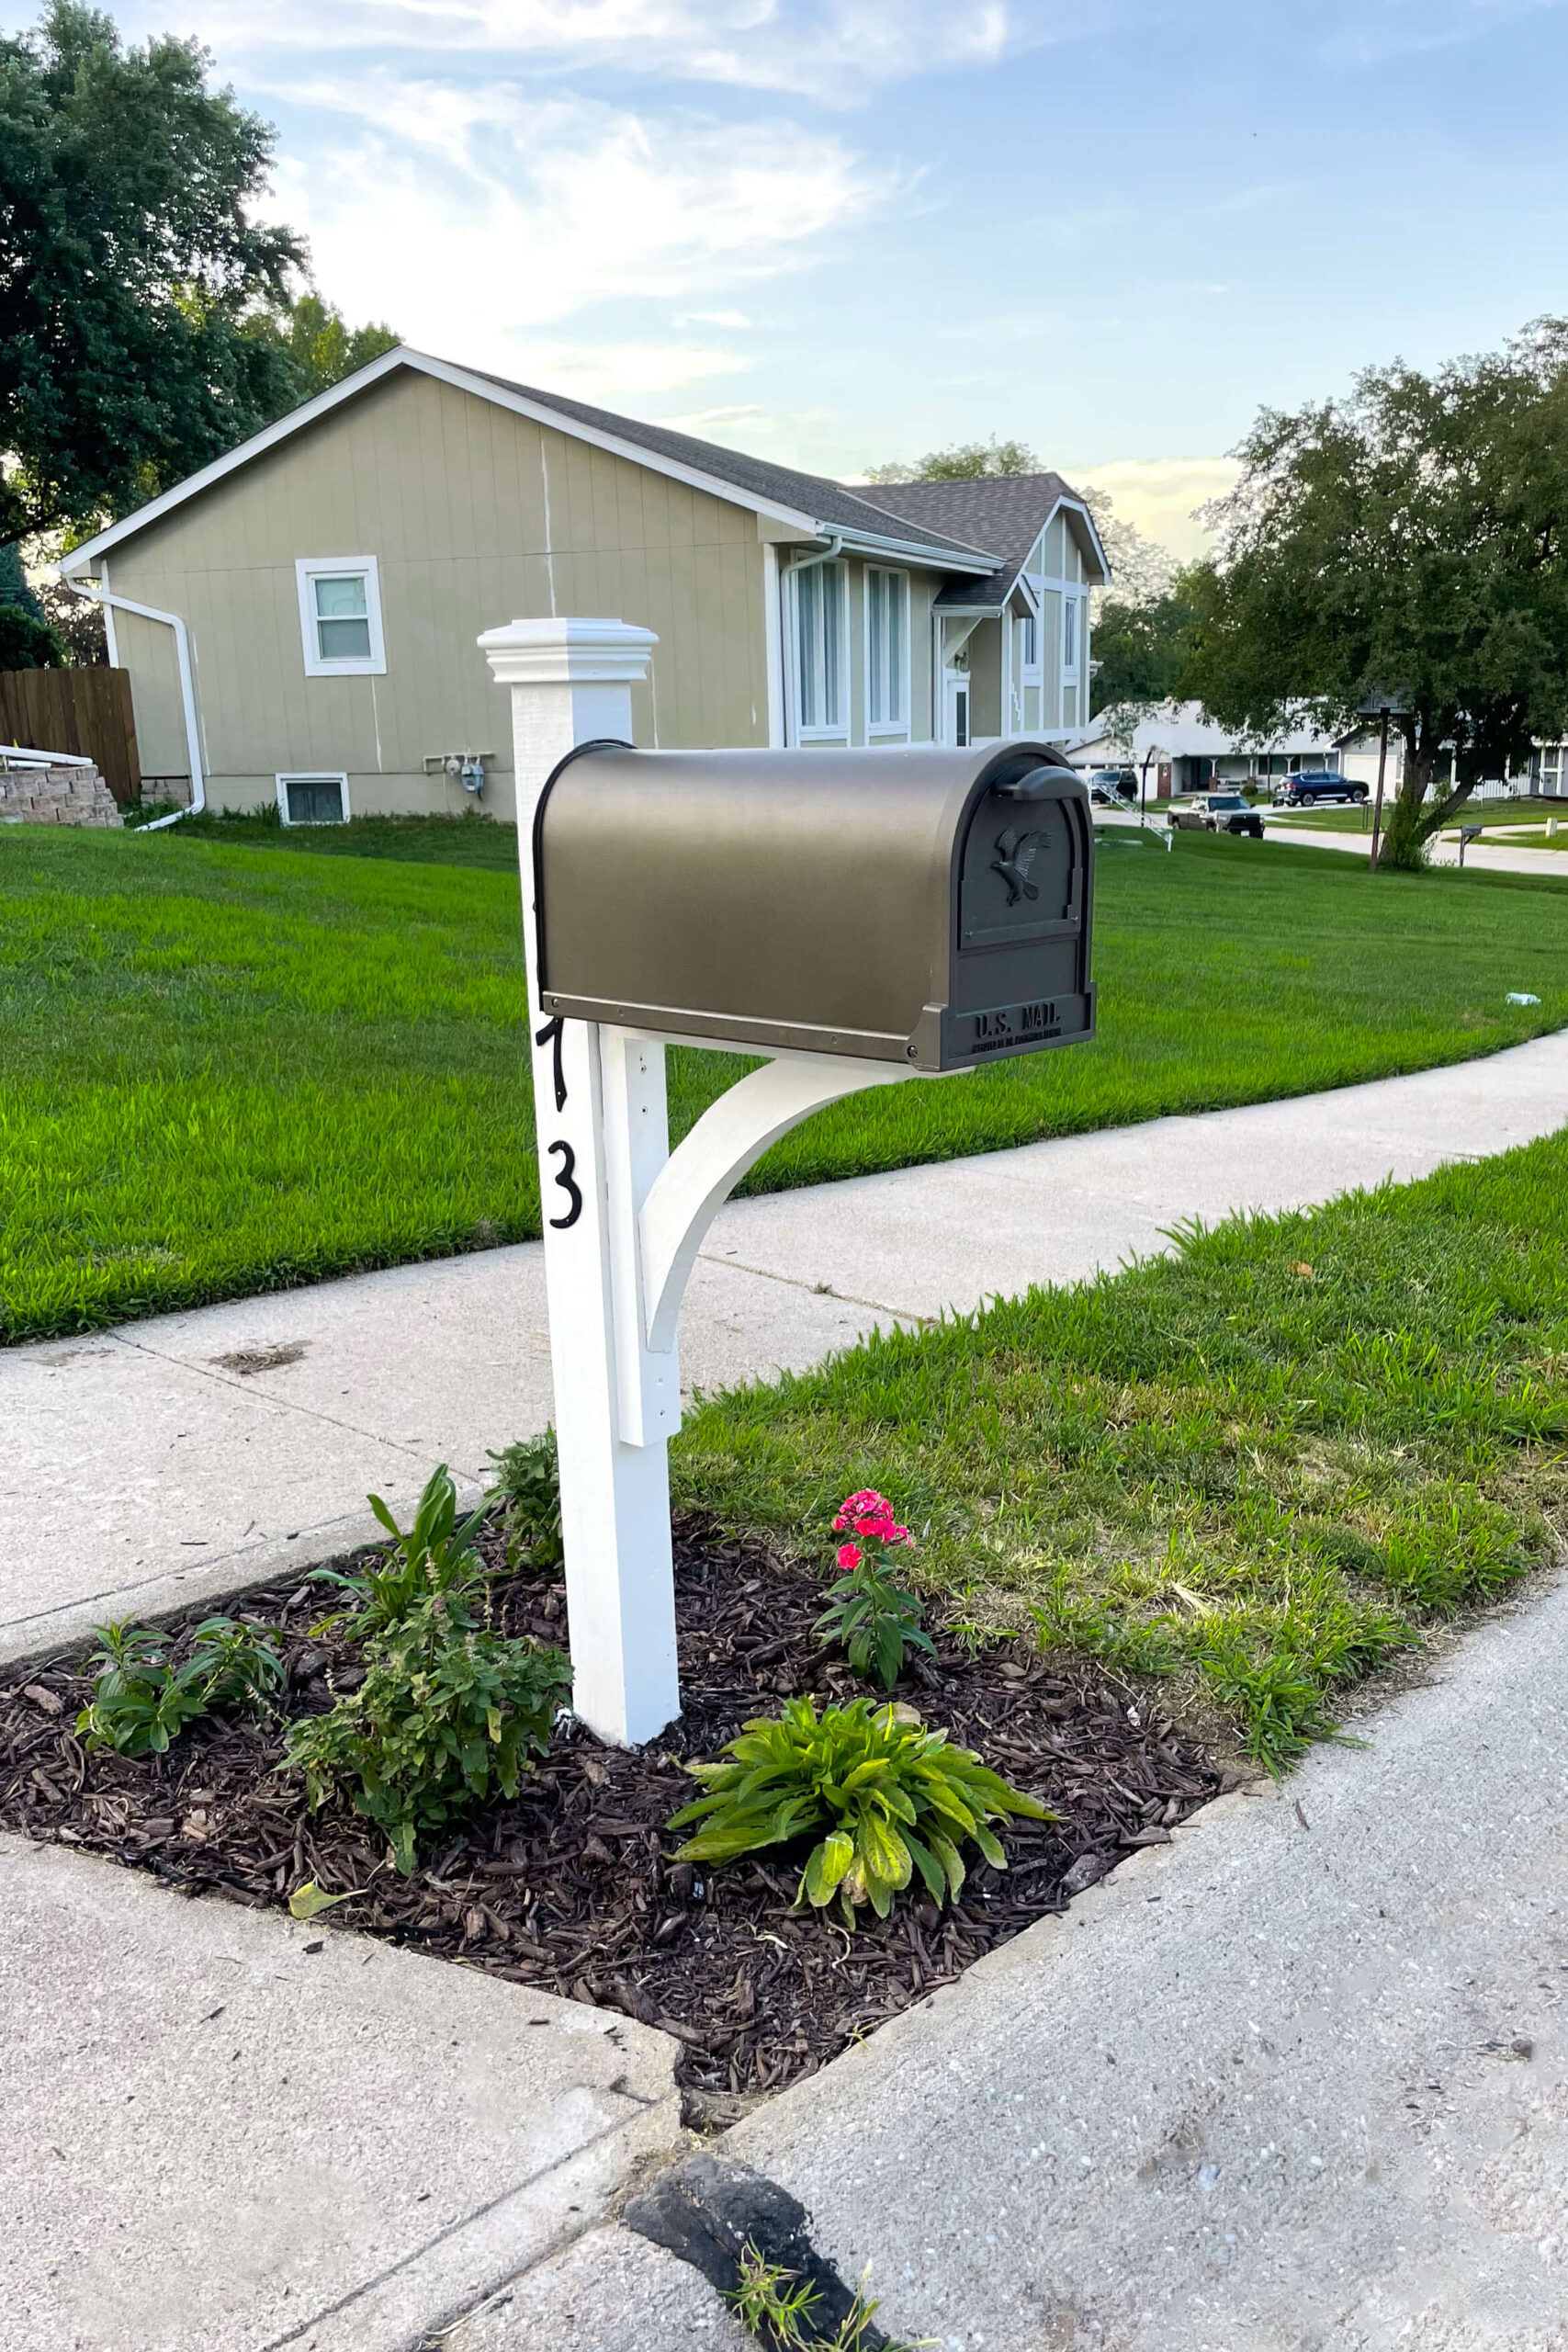
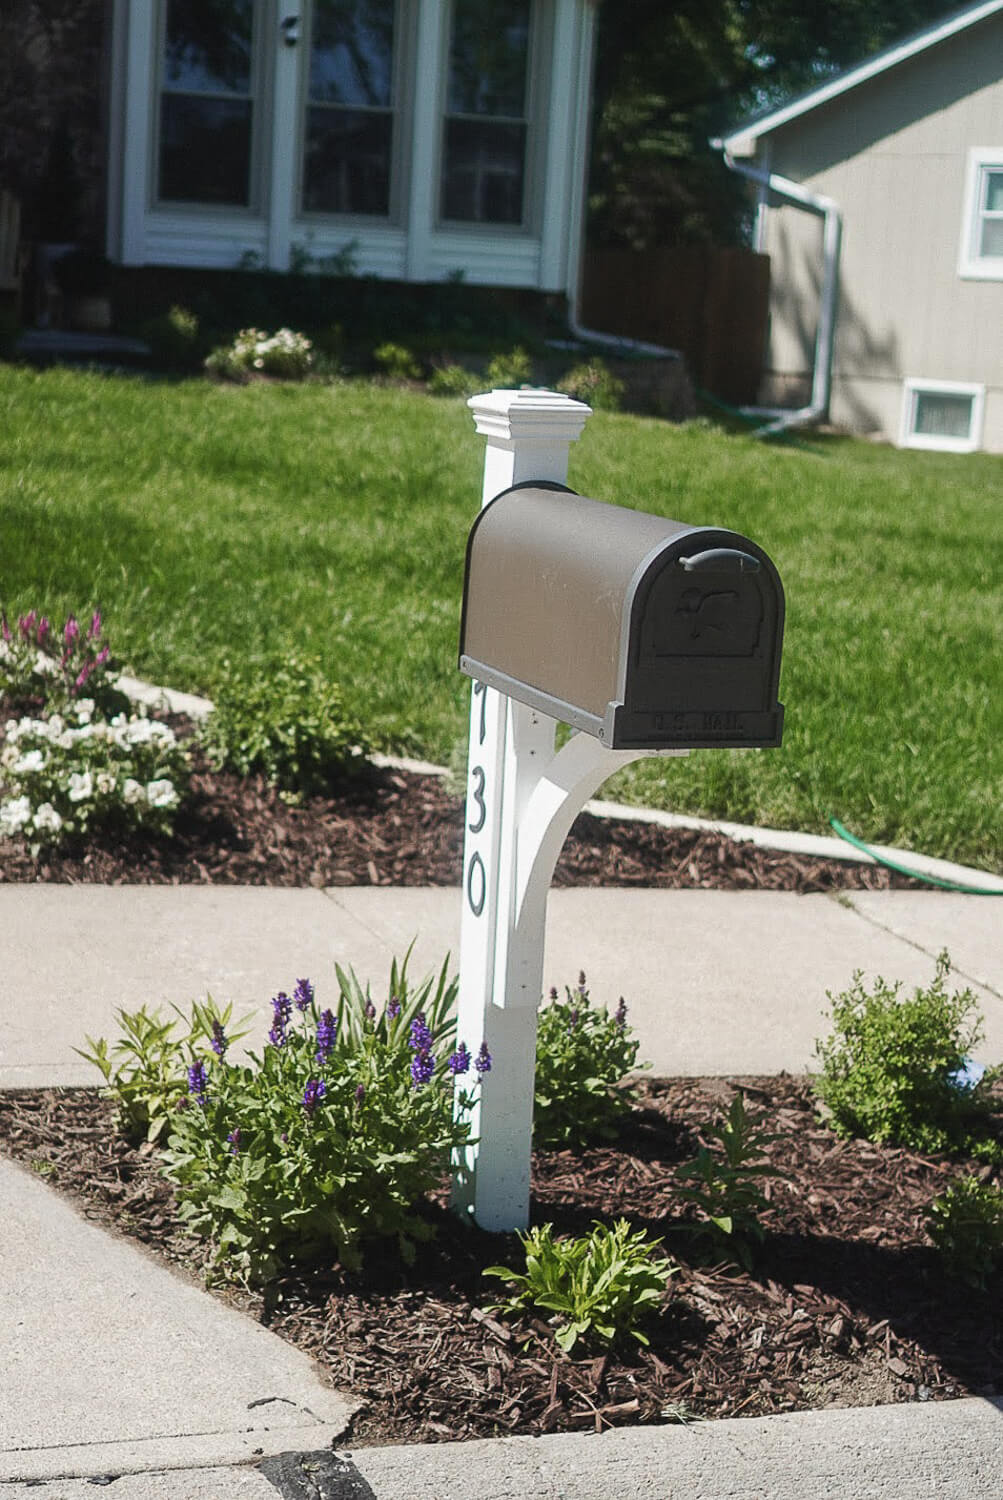
Building a Corbel and Mounting Plate for the Mailbox
For my DIY mailbox makeover, I built a very simple corbel to attach to the post for the mailbox to sit on. It will be structural as well as decorative and is built entirely with scrap pressure treated wood that I have lying around from other projects like this hammock stand that I built in my backyard.

First, I ripped down some of the wood to make pieces for the back and top of the corbel. I used my table saw, but a circular saw would also work if you do not have a table saw. These woodworking push sticks are great for keeping your fingers away from the blade.

Next, I needed to cut out an arched piece for the center. First, I traced how much I needed to cut off the edges of my piece to fit into the center of my corbel. I used my miter saw to make those quick, angled cuts off of the edges.


Then, I used a string and a pencil to help me draw a smooth arc along my piece of wood.


Once the arched design was drawn on, my jig saw was the perfect tool to cut it out.

Then I assembled all the pieces using my drill and some screws to hold it together.


Outside at the post, I measured how high I wanted my mailbox to sit, then attached the corbel straight to the post with exterior screws. This extension piece added on the front of the drill makes it so much easier when you are trying to work in a tight place.


I also added this pretty, wood cap just to finish off the top of the post.

I decided on a very traditional looking, wood cap, but several of my followers on Instagram suggested a solar cap, which would have also been really cool. I could have gotten something like this one that would match my mailbox well, or they even have ones like this that change colors!
When I ordered this mailbox for my DIY mailbox makeover, I didn’t realize that I needed a special mounting plate to go with it. No worries, part of DIY is learning to pivot and troubleshoot your way through a project. I decided to make my own mounting plates.

You can see where these little holes are for mounting the mailbox to the mounting plate. I am marking where the holes are right onto my corbel.


Using more scrap wood, I made these two little brackets for the mailbox to attach to. I first used my brad nailer, just to hold the wood in place and keep it from sliding around on me. Then I added screws to attach the wood pieces to the corbel permanently.


The building portion of our DIY mailbox makeover is done! Now it’s time to paint.
Painting My Mailbox
The first step when painting anything that you want to have last a long time is priming.
Primer is very important, and using a good one is even more important. I am using B-I-N Shellac Based Primer. Using this primer before my paint will increase the life of my paint job, keeping my mail box looking good long after this DIY mailbox makeover.

This is such a small project and it wasn’t worth pulling my beloved paint sprayer out. A simple brush is all you need to get this job done.
Once the primer was dry (which didn’t take long since this was outside on a summer day), I moved on to paint. I chose a simple white for a classic look that will match the exterior of my home now and still look good no matter what color we decide to paint our home in the future.

Finishing My DIY Mailbox Makeover
The landscape around the post was in, the mounting brackets were on, the paint was dry. It was time to attach the mailbox to the corbel.
My go-to would have been screws, but there was no way I was getting a drill, or even a screwdriver, inside of the mailbox at an angle where I could put a screw through the holes, and down into the scrap wood underneath.
Instead, I decided to use roofing nails. They have a little washer on them and were the perfect solution for securely attaching my mailbox to the corbel I built.

It’s a little awkward hammering in such a tight space, but once you are done, you have a completed mailbox ready for your next delivery.


I added some numbers to the side of the post to display our address, which ended up being the perfect finishing touch for my DIY mailbox makeover. It’s such a big difference from where this project started!
It looks so good! I could almost thank the code enforcement officer who got me started on this project. Not quite… but almost.