
Dreaming of a kitchen upgrade without the hefty price tag? Unfinished kitchen cabinets might be just what you need! While custom cabinets can drain your wallet, and ready-to-assemble ones can turn into a DIY headache, there’s a better solution. Let me walk you through how I chose my unfinished cabinets and turned them into stunning, custom-looking pieces that had everyone asking, “Where did you get those?” Let’s dive in!
When we moved into our Nebraska fixer-upper, the first project on the list was the kitchen. We went all in—tearing down walls, moving windows, and even relocating the kitchen! If you want the full scoop on our DIY kitchen remodel, you can read it here.
Today I’ll be focusing on our journey using unfinished kitchen cabinets.
Tools
Materials
- Sink cabinet
- Base cabinets
- Wall cabinets
- Drawer base cabinet
- 1/4 inch plywood
- 1/2 inch plywood
- Caulk
- Bondo or wood filler
- Primer
- Paint
Planning and Purchasing
Before heading to the store, having a clear plan is key! Knowing where your unfinished kitchen cabinets and appliances will go is essential. I started by measuring the space and sketching right on the walls and floors to visualize everything. This step made it much easier to figure out what cabinets I needed.


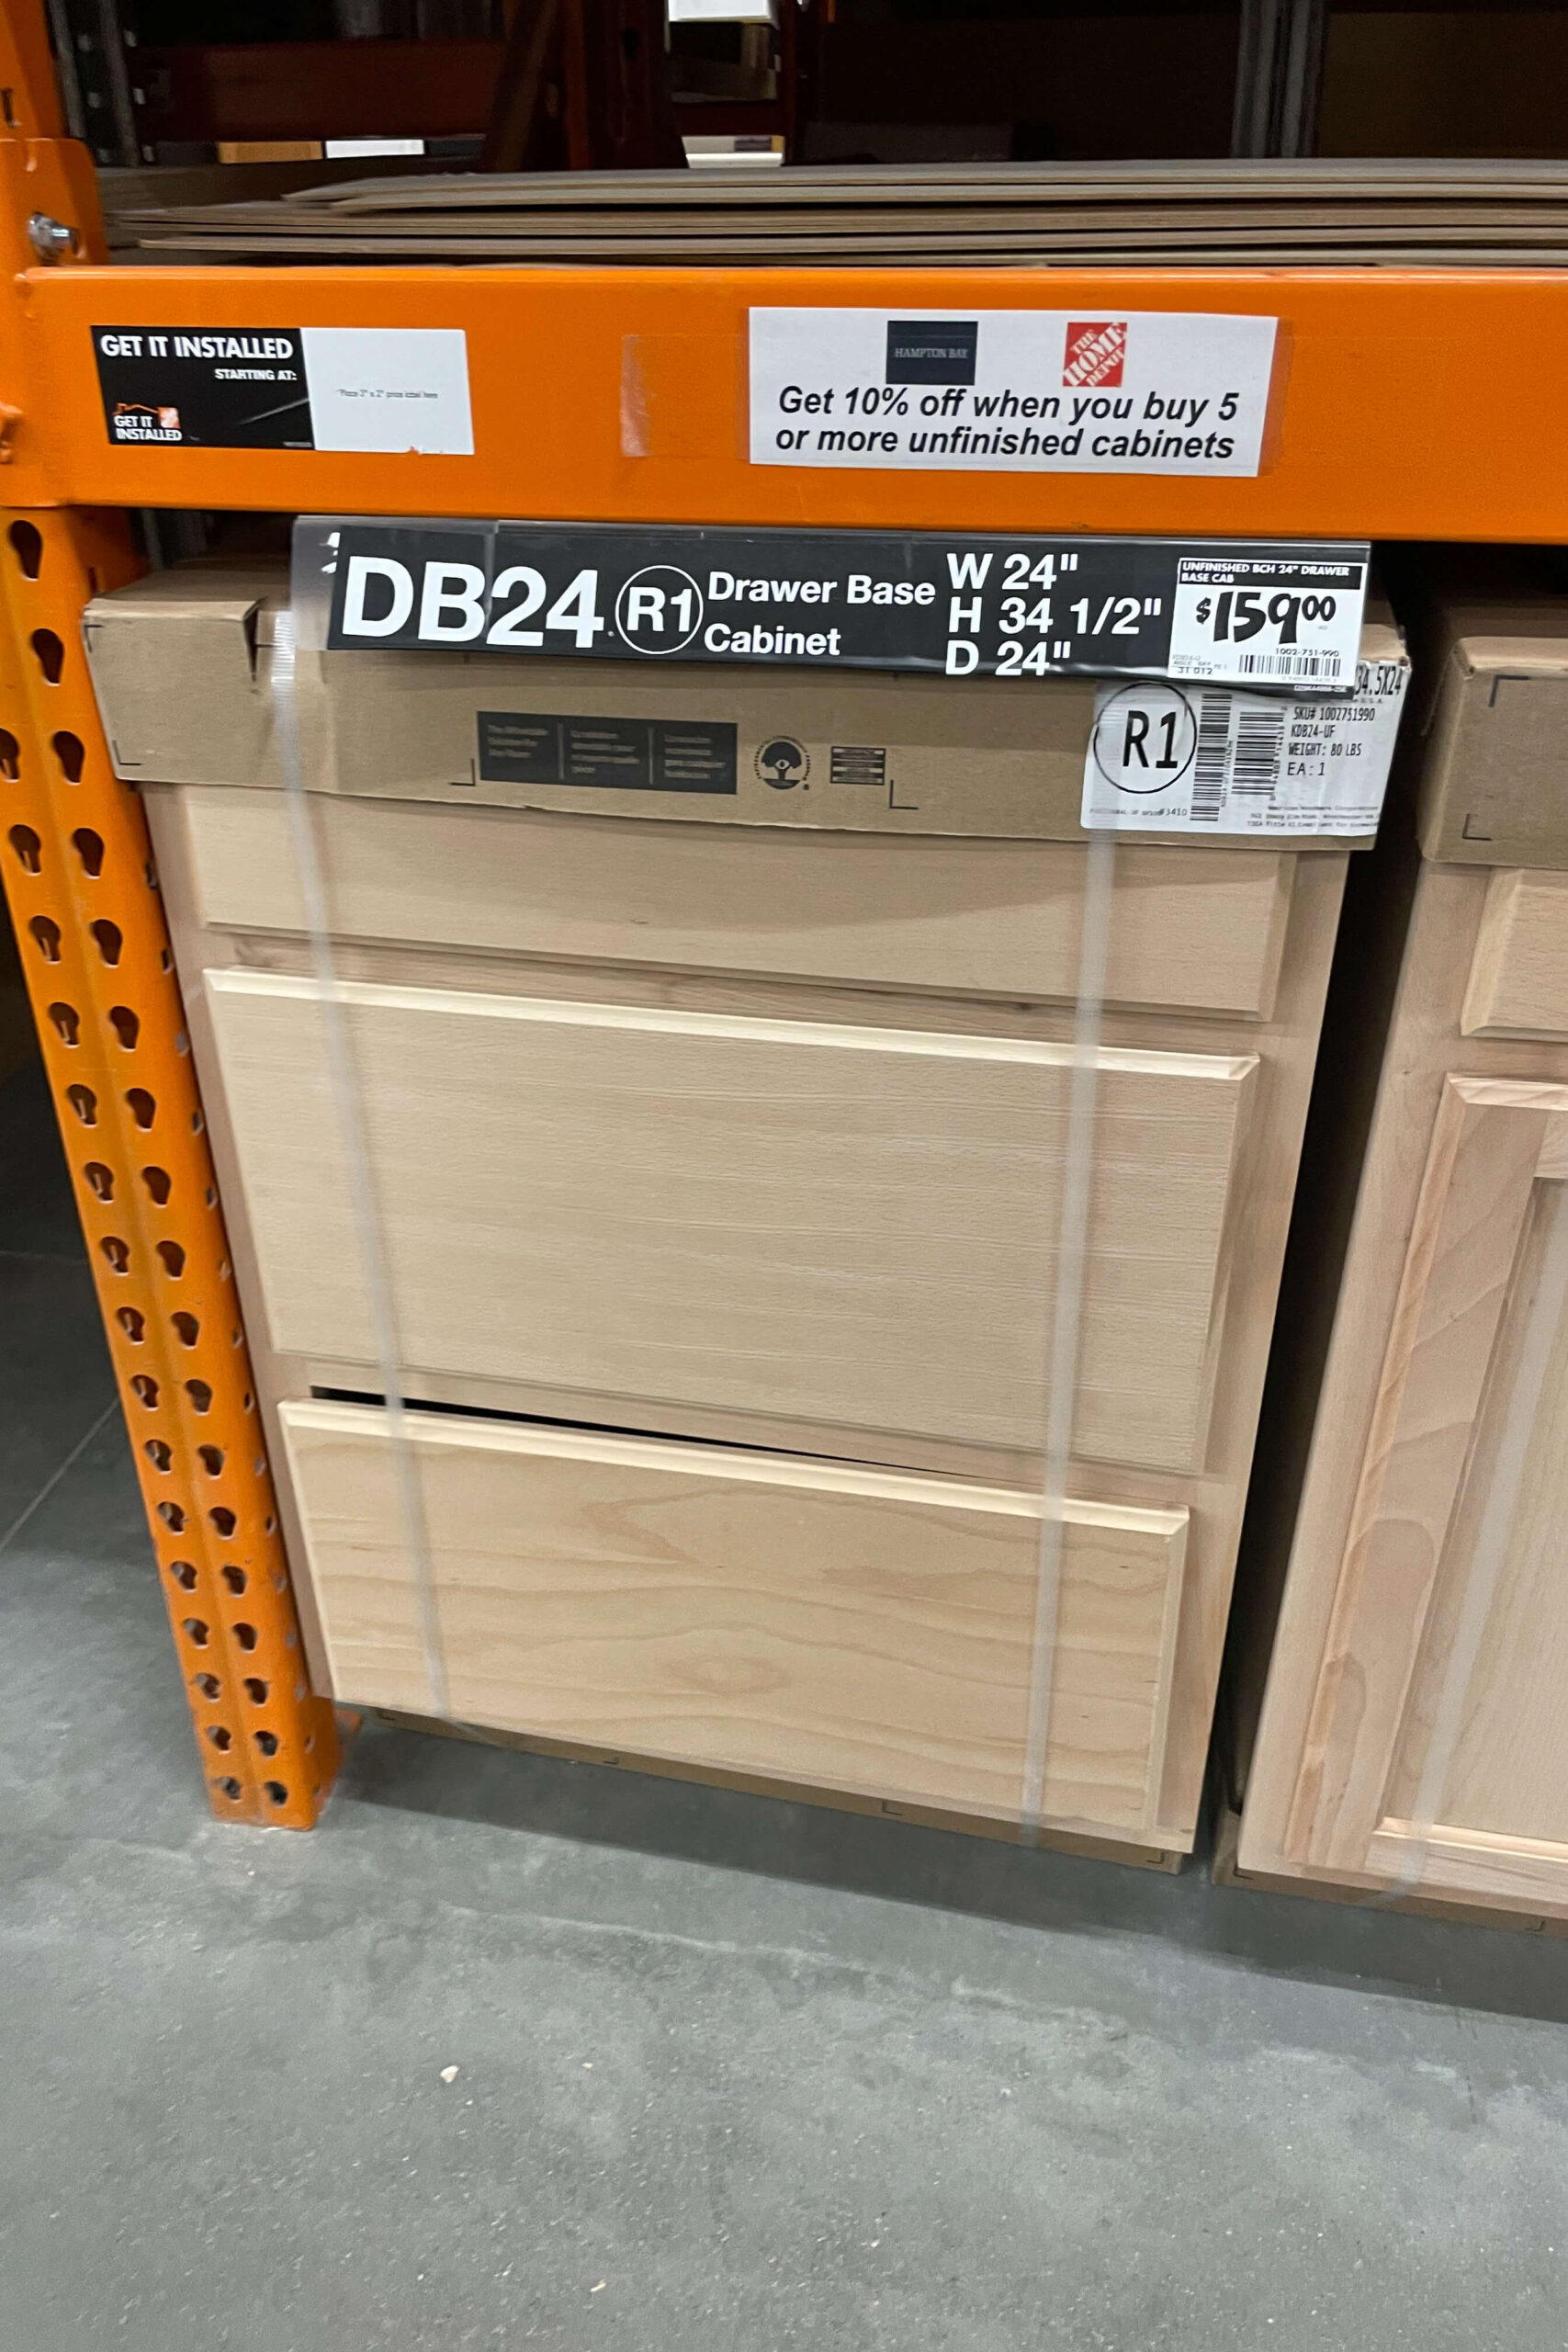
When it comes to stock cabinets, you’ve got options: drawers only, cabinets with a top drawer, wall cabinets, sink cabinets, pantry cabinets —you name it! They come in standard sizes, so I focused on two things: what dimensions fit my layout and how I wanted to organize the space.
At Home Depot, we found a great deal on our unfinished kitchen cabinets, scoring a 10% discount for buying a certain amount, plus stacking a military discount on top. In the end, we only paid $1,000 for all our cabinets—what a steal!

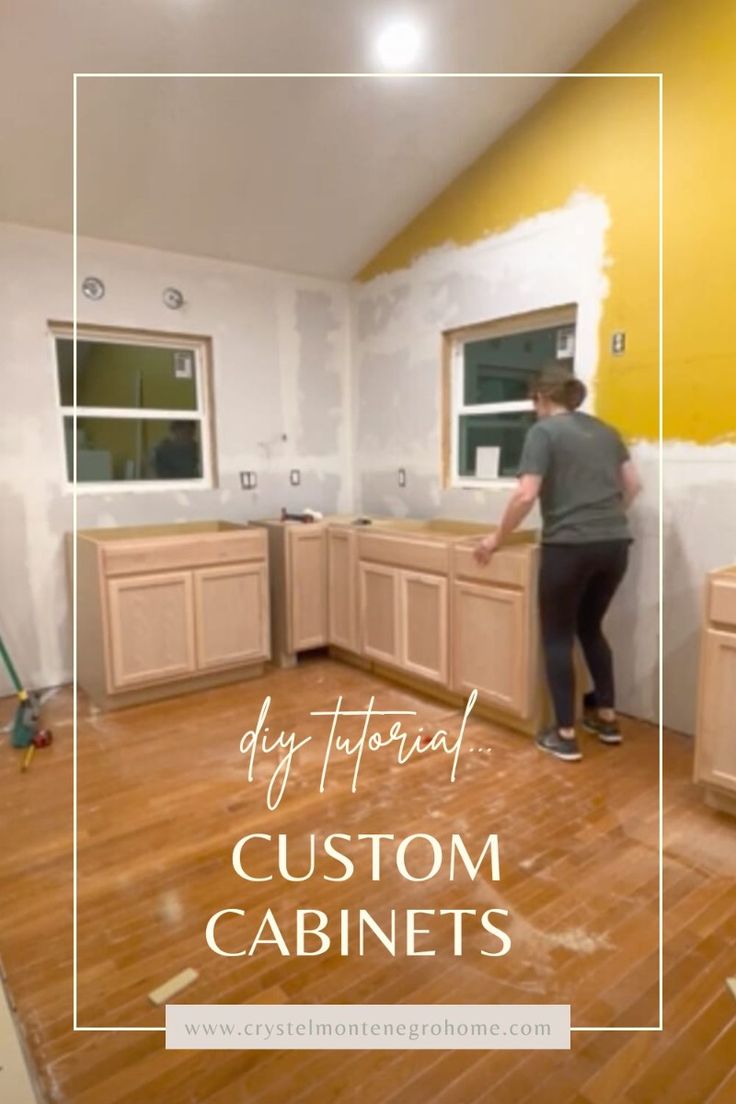
Installing Unfinished Kitchen Cabinets
This is where stock unfinished kitchen cabinets outshine ready-to-assemble ones! They were ready to go straight into the kitchen—no mind-numbing assembly required. Just haul them in and put them where you want them.

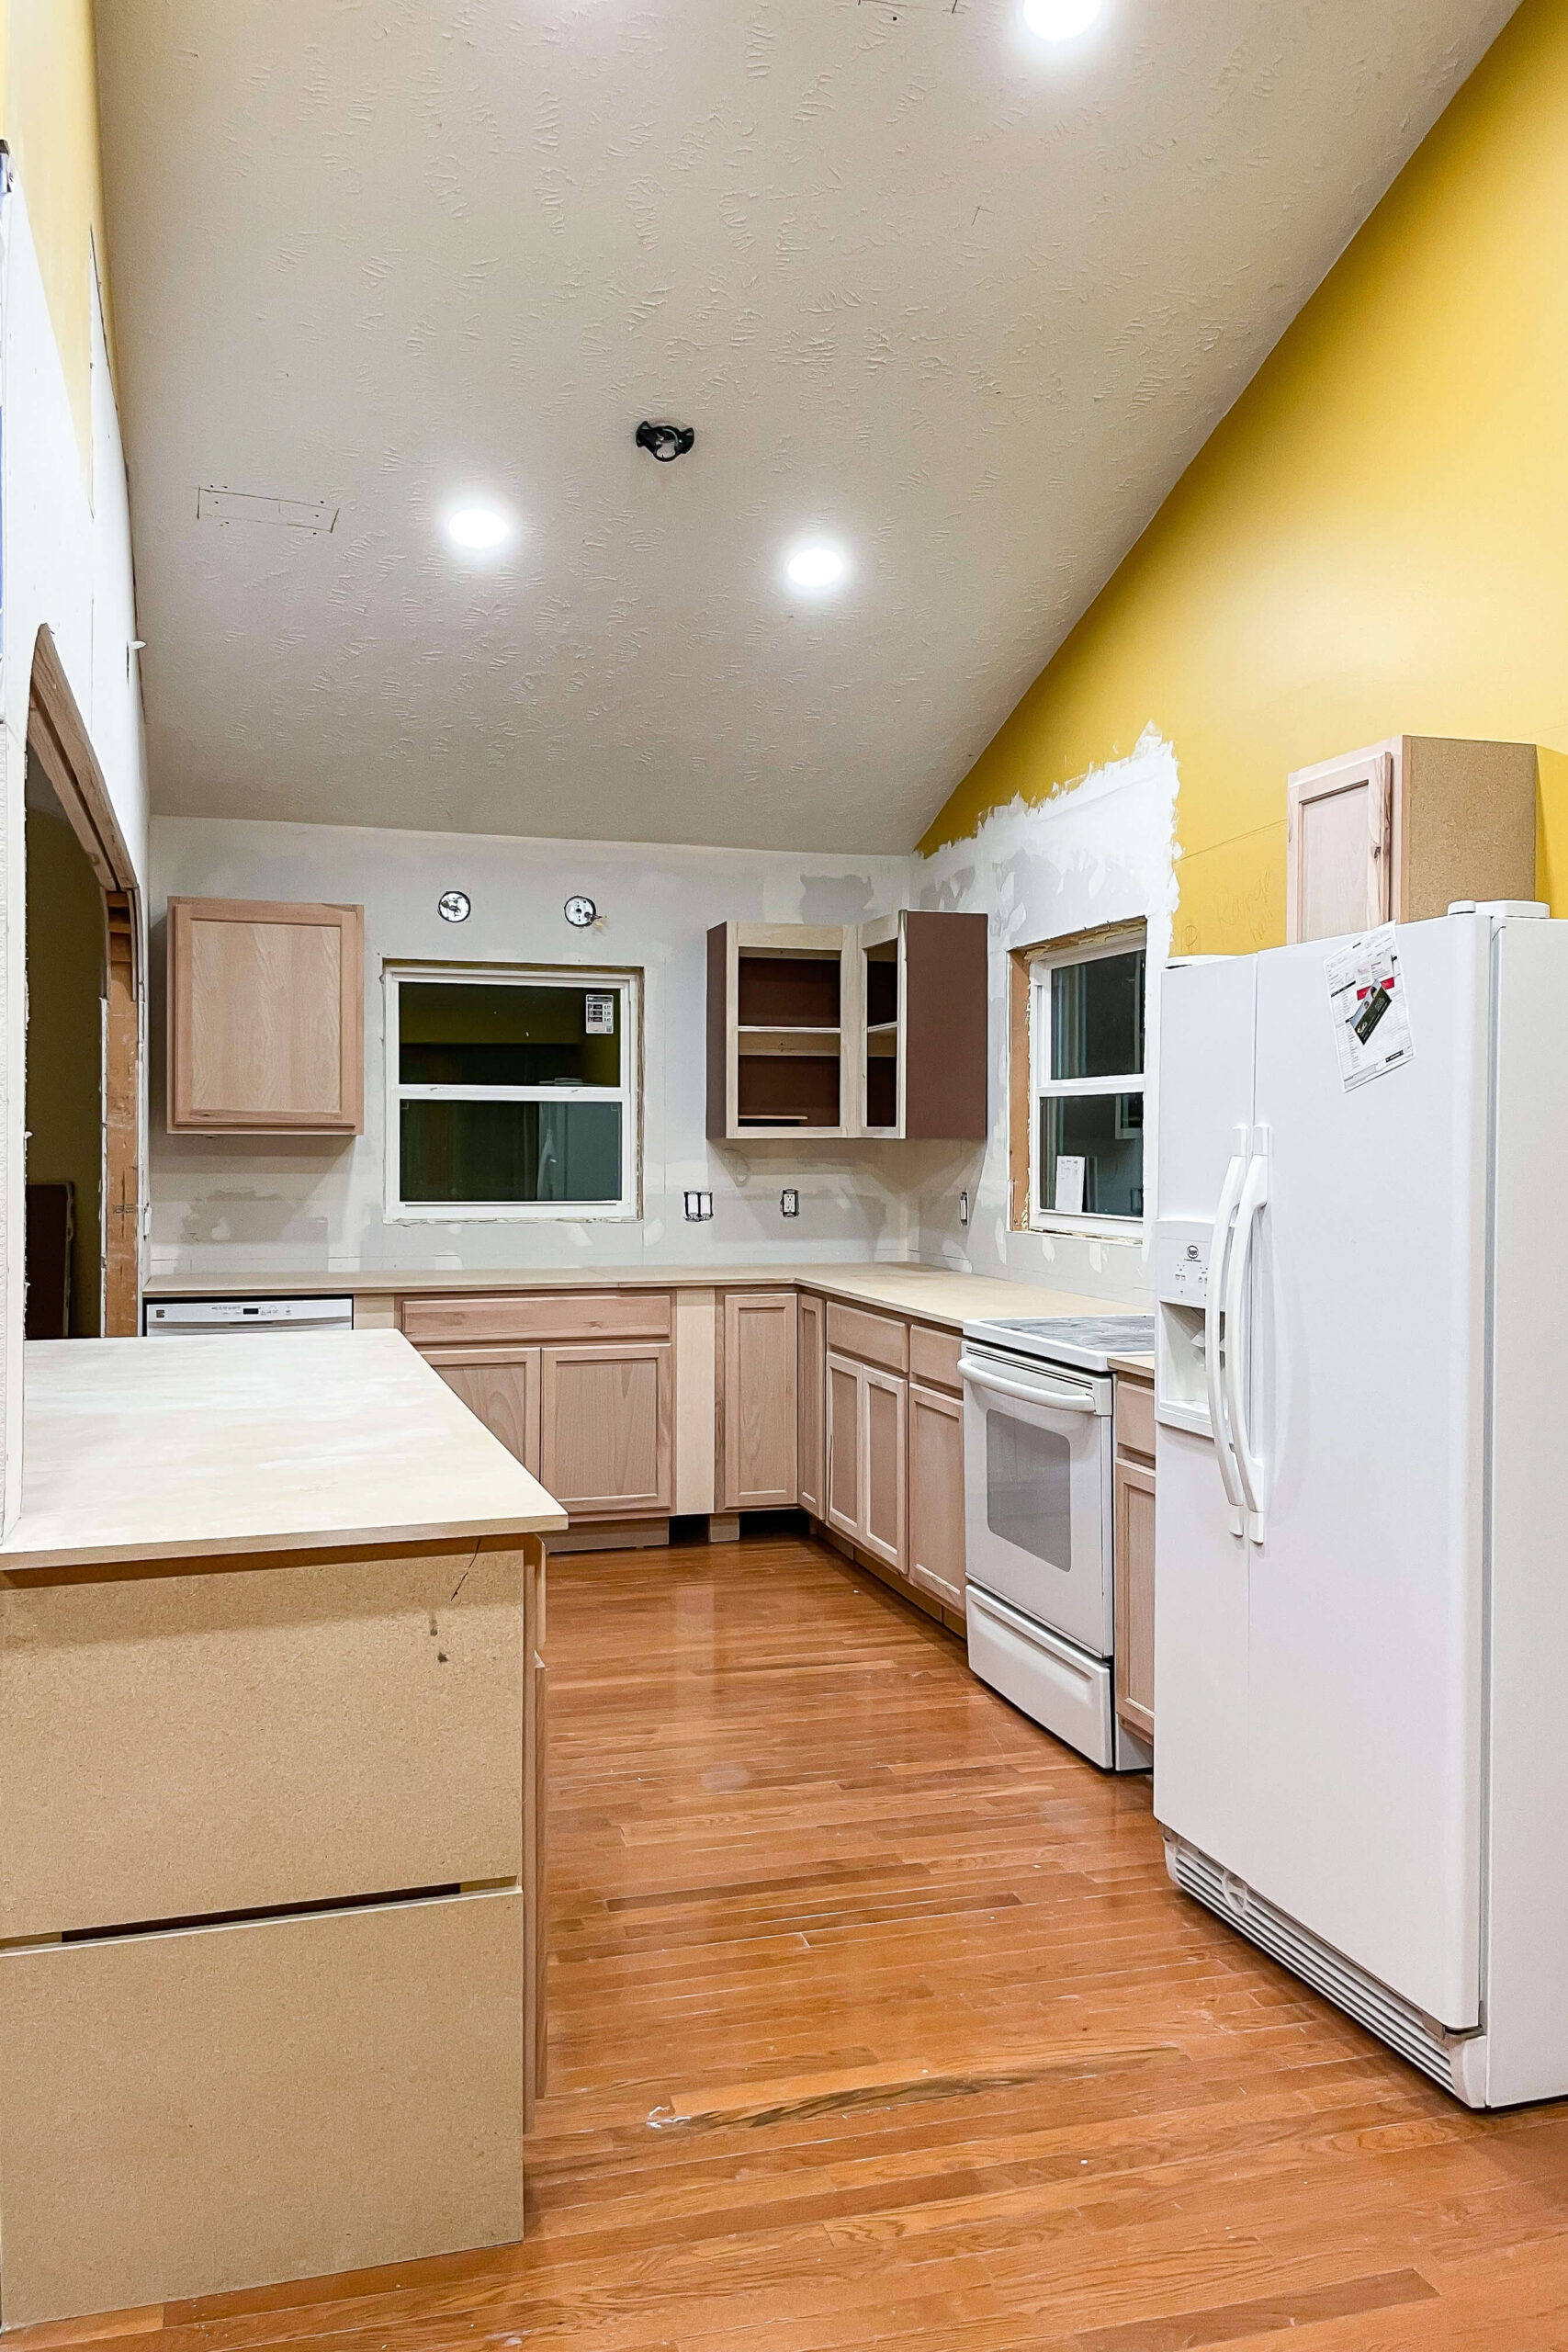
We laid out our cabinets exactly where they needed to go. Installing them was as simple as drilling them into the wall studs through the back of the cabinets. I used a couple of clamps to keep the cabinets snug together, screwed them to each other and boom—installation complete!

I know the kitchen might not look like much right now, but you’ve already seen that ‘after’ photo up top, so you know things are about to get awesome! I’m going to take these simple, budget-friendly unfinished kitchen cabinets and level them up, turning them into gorgeous, custom-looking cabinets!
Upgrading Unfinished Kitchen Cabinets
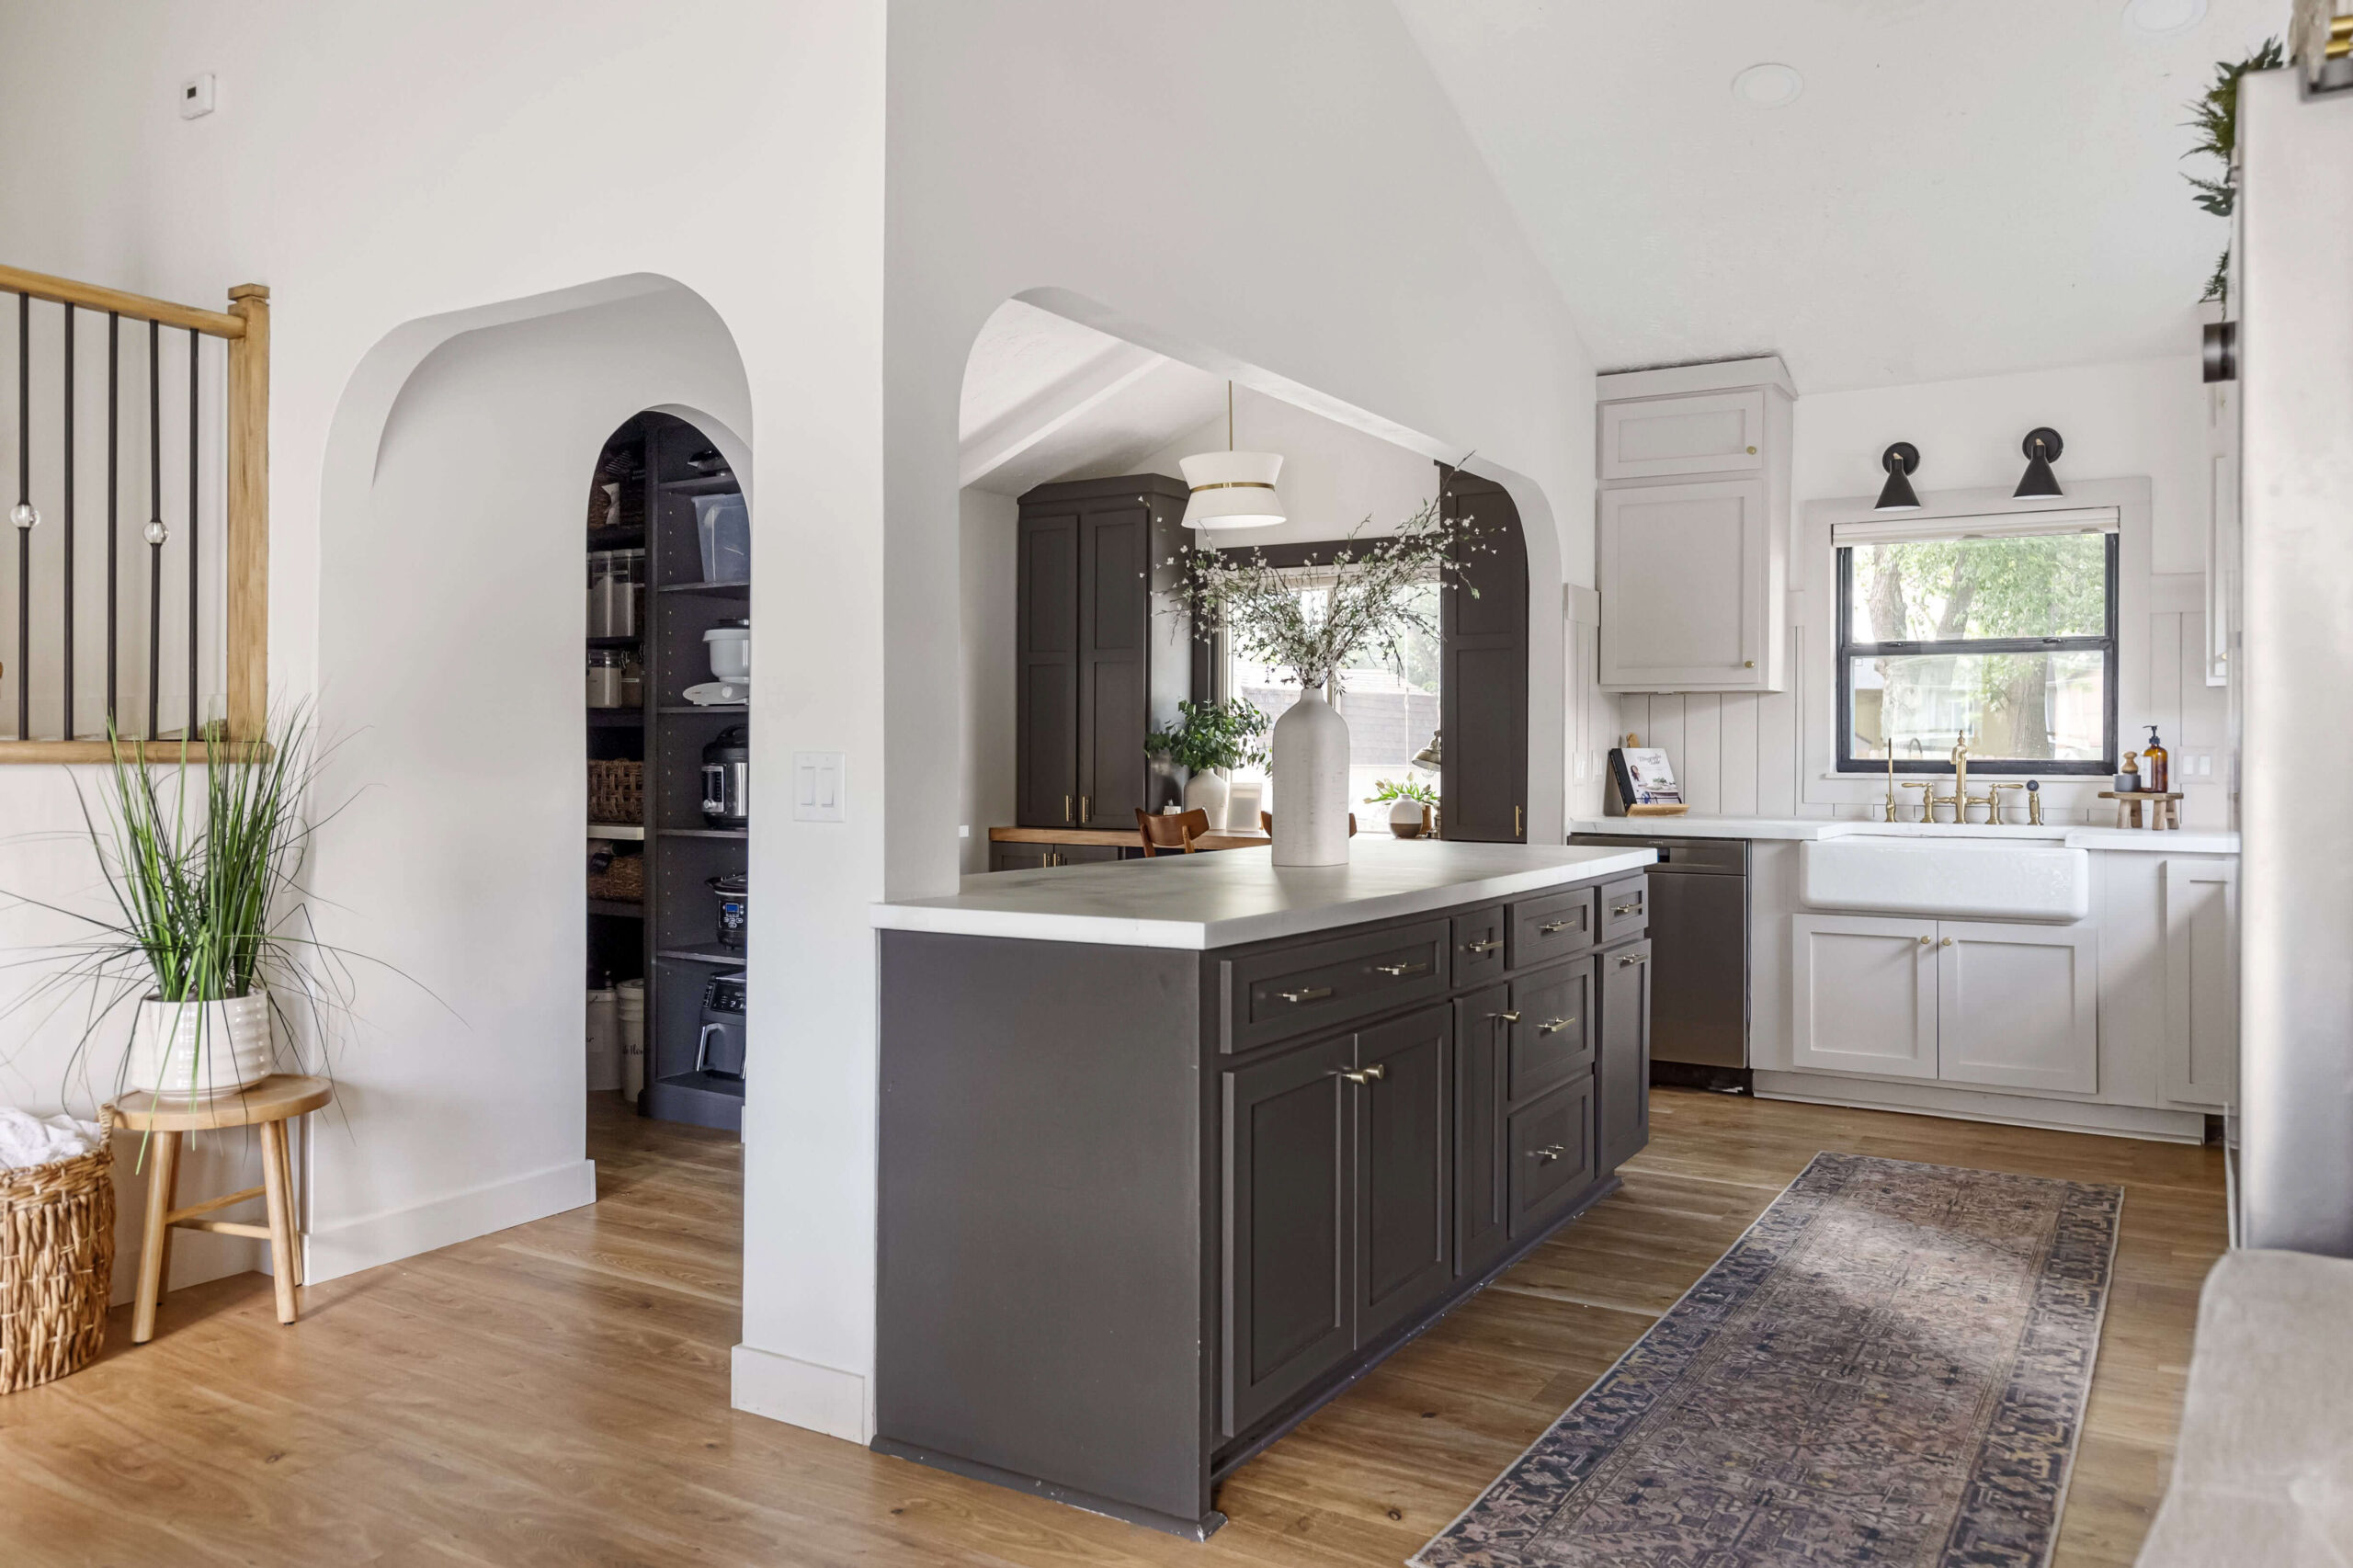
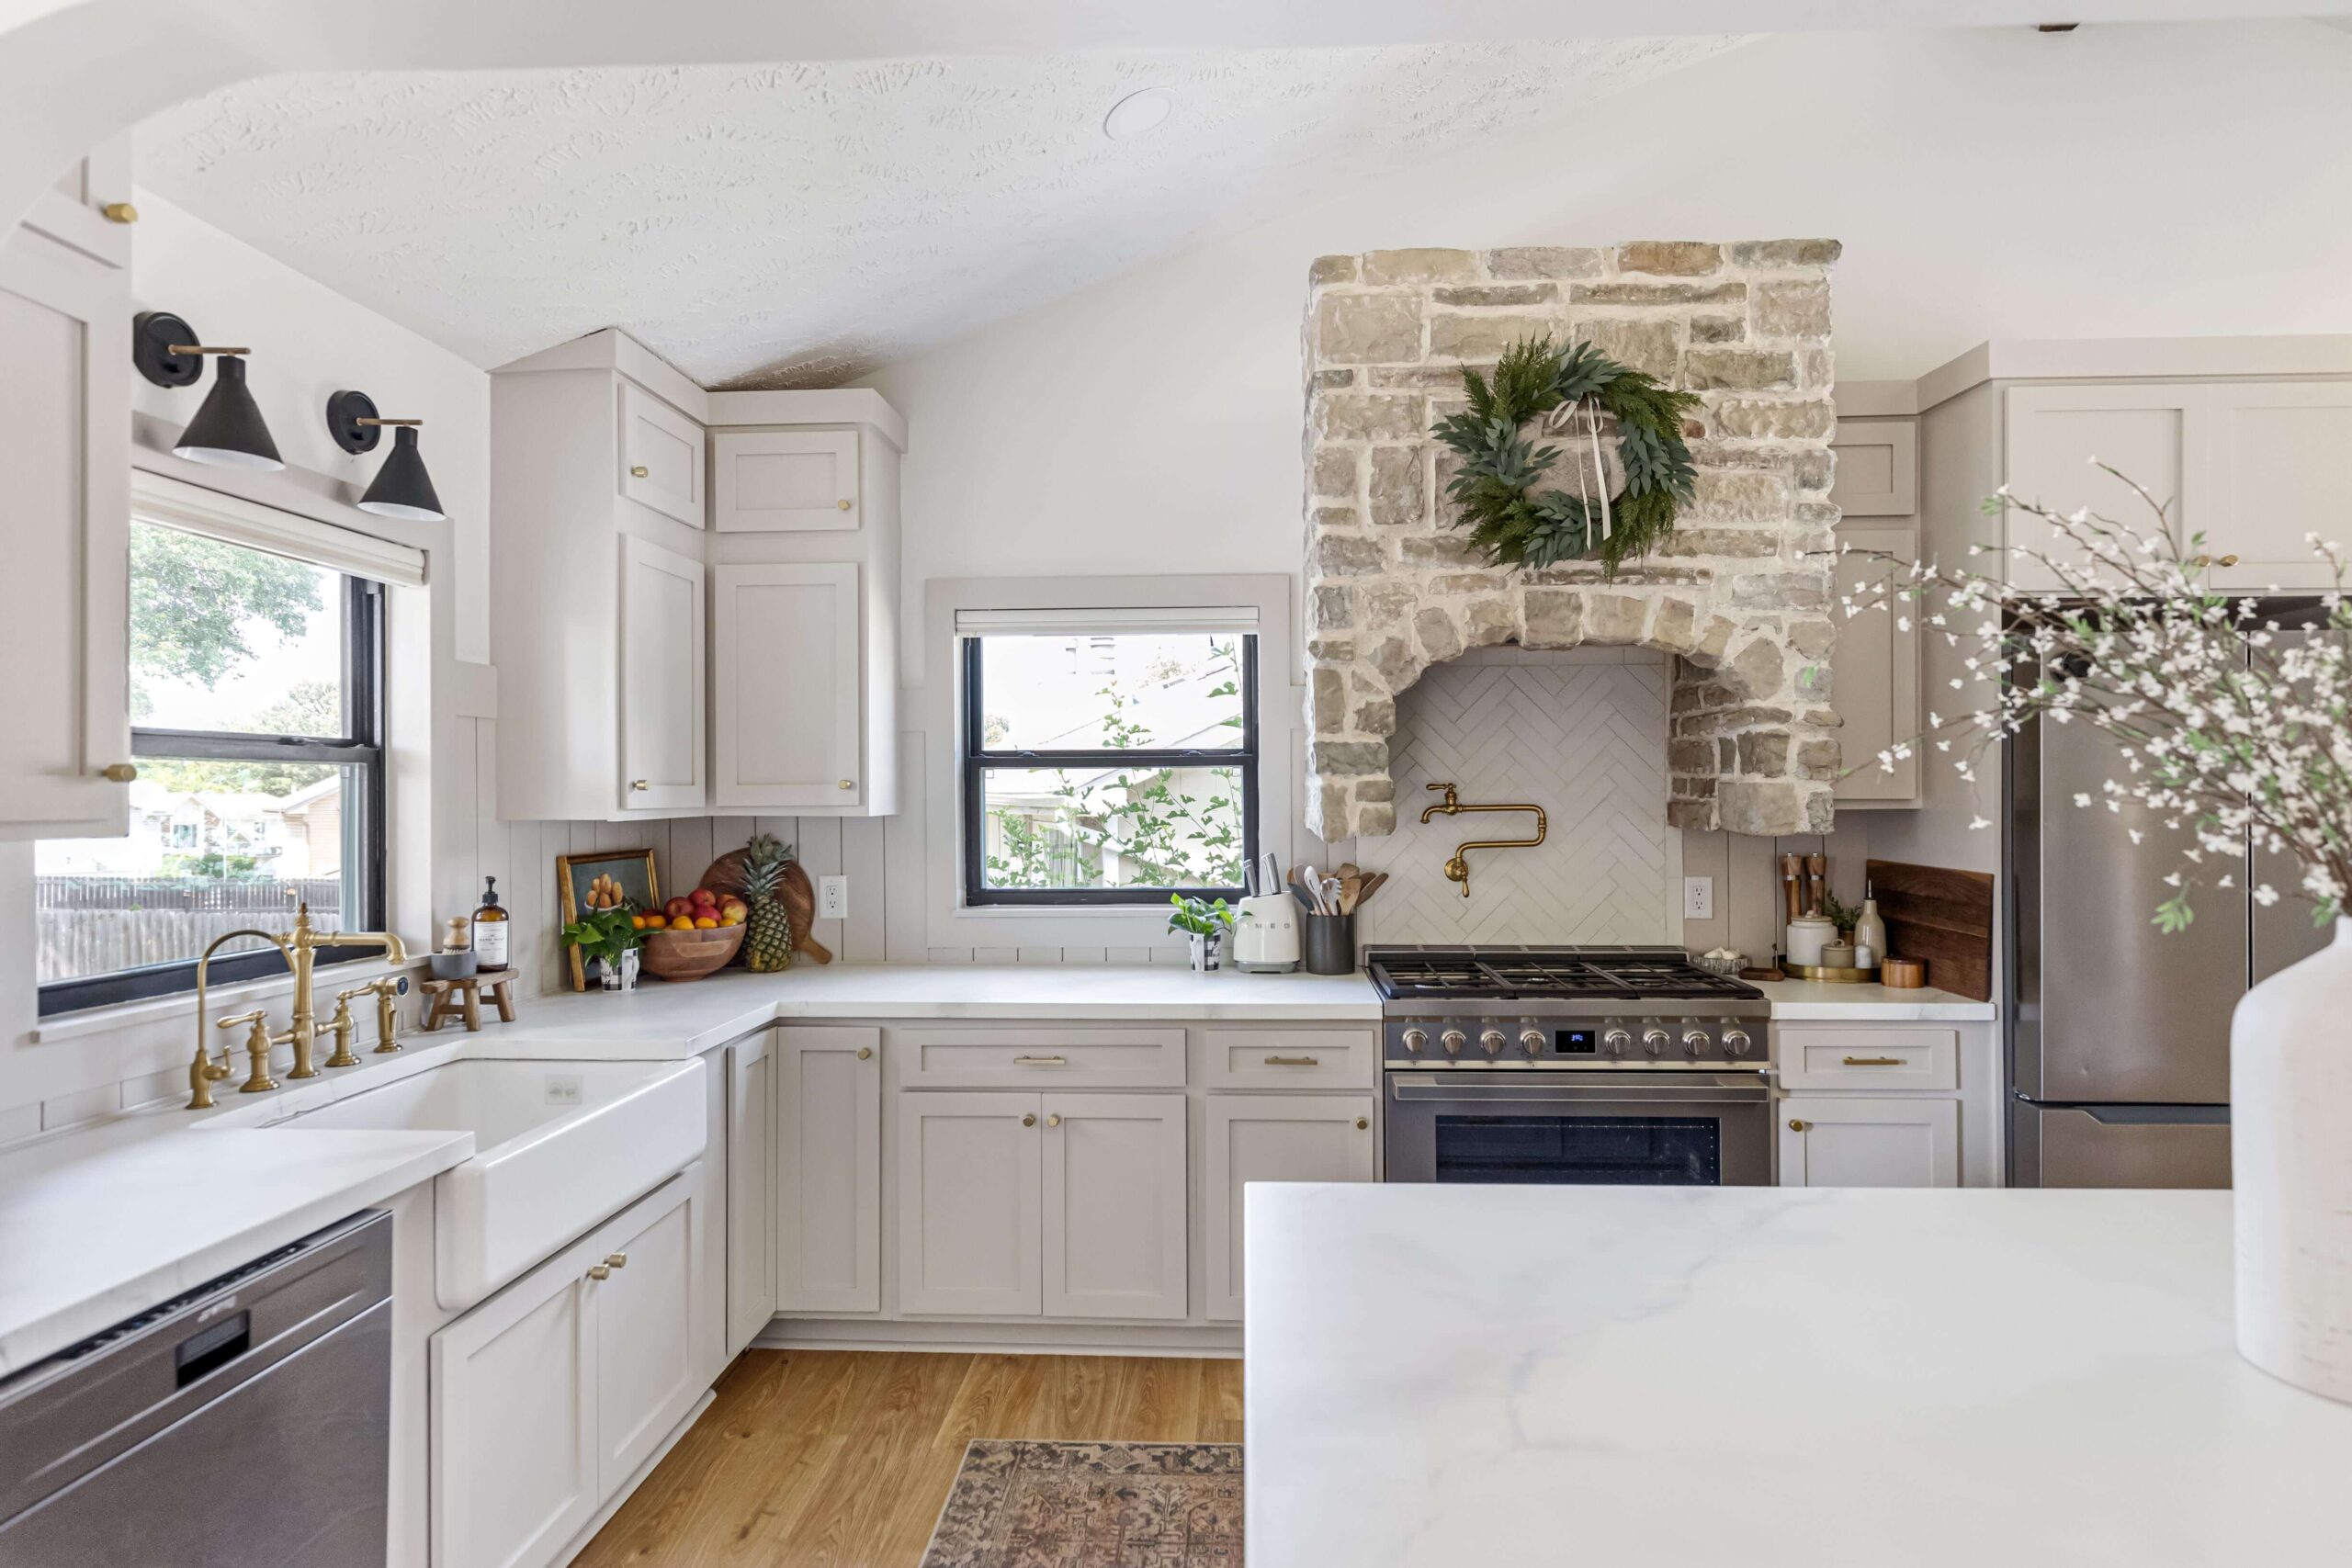
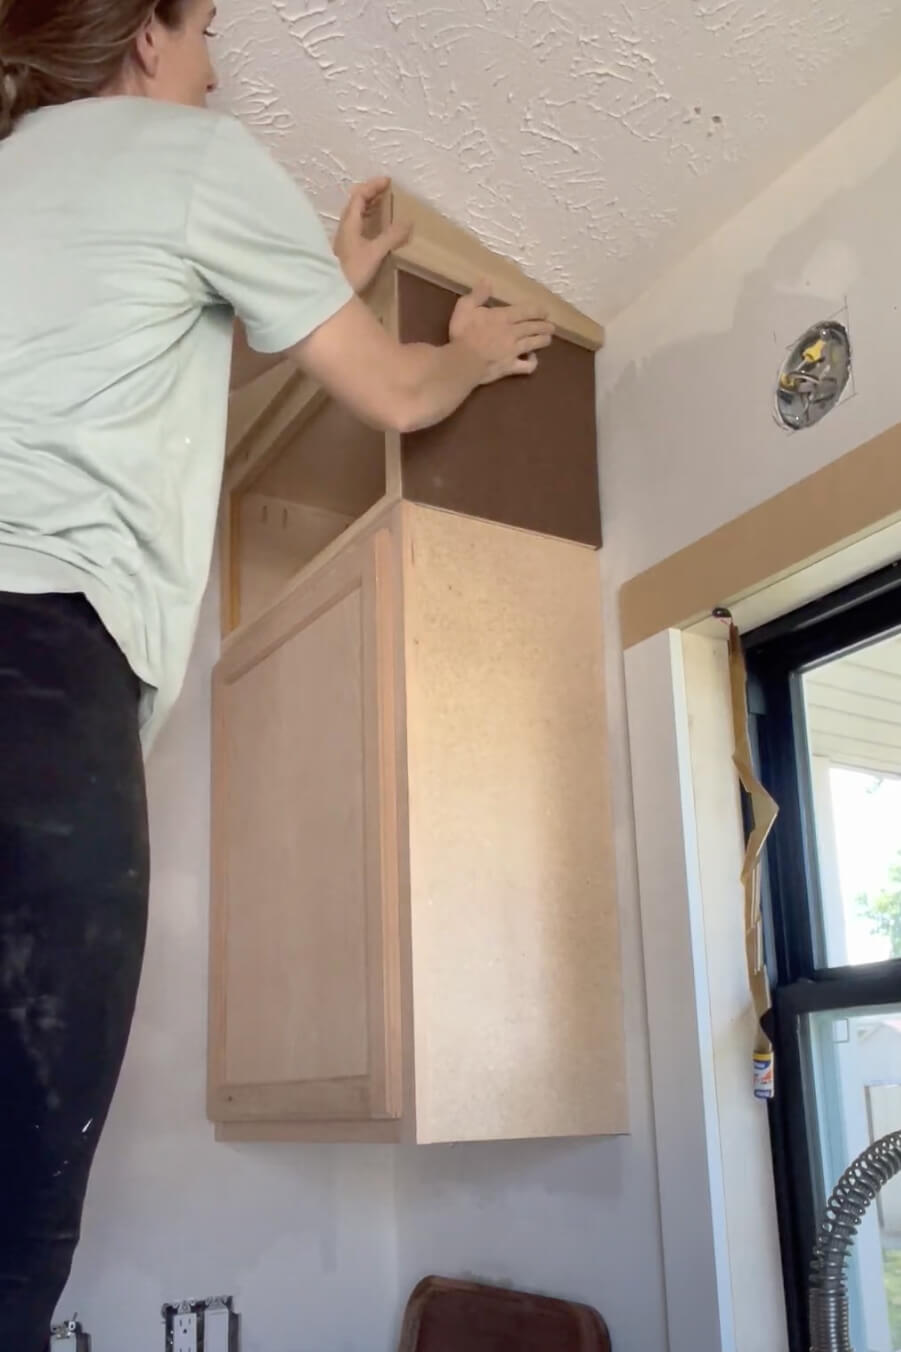
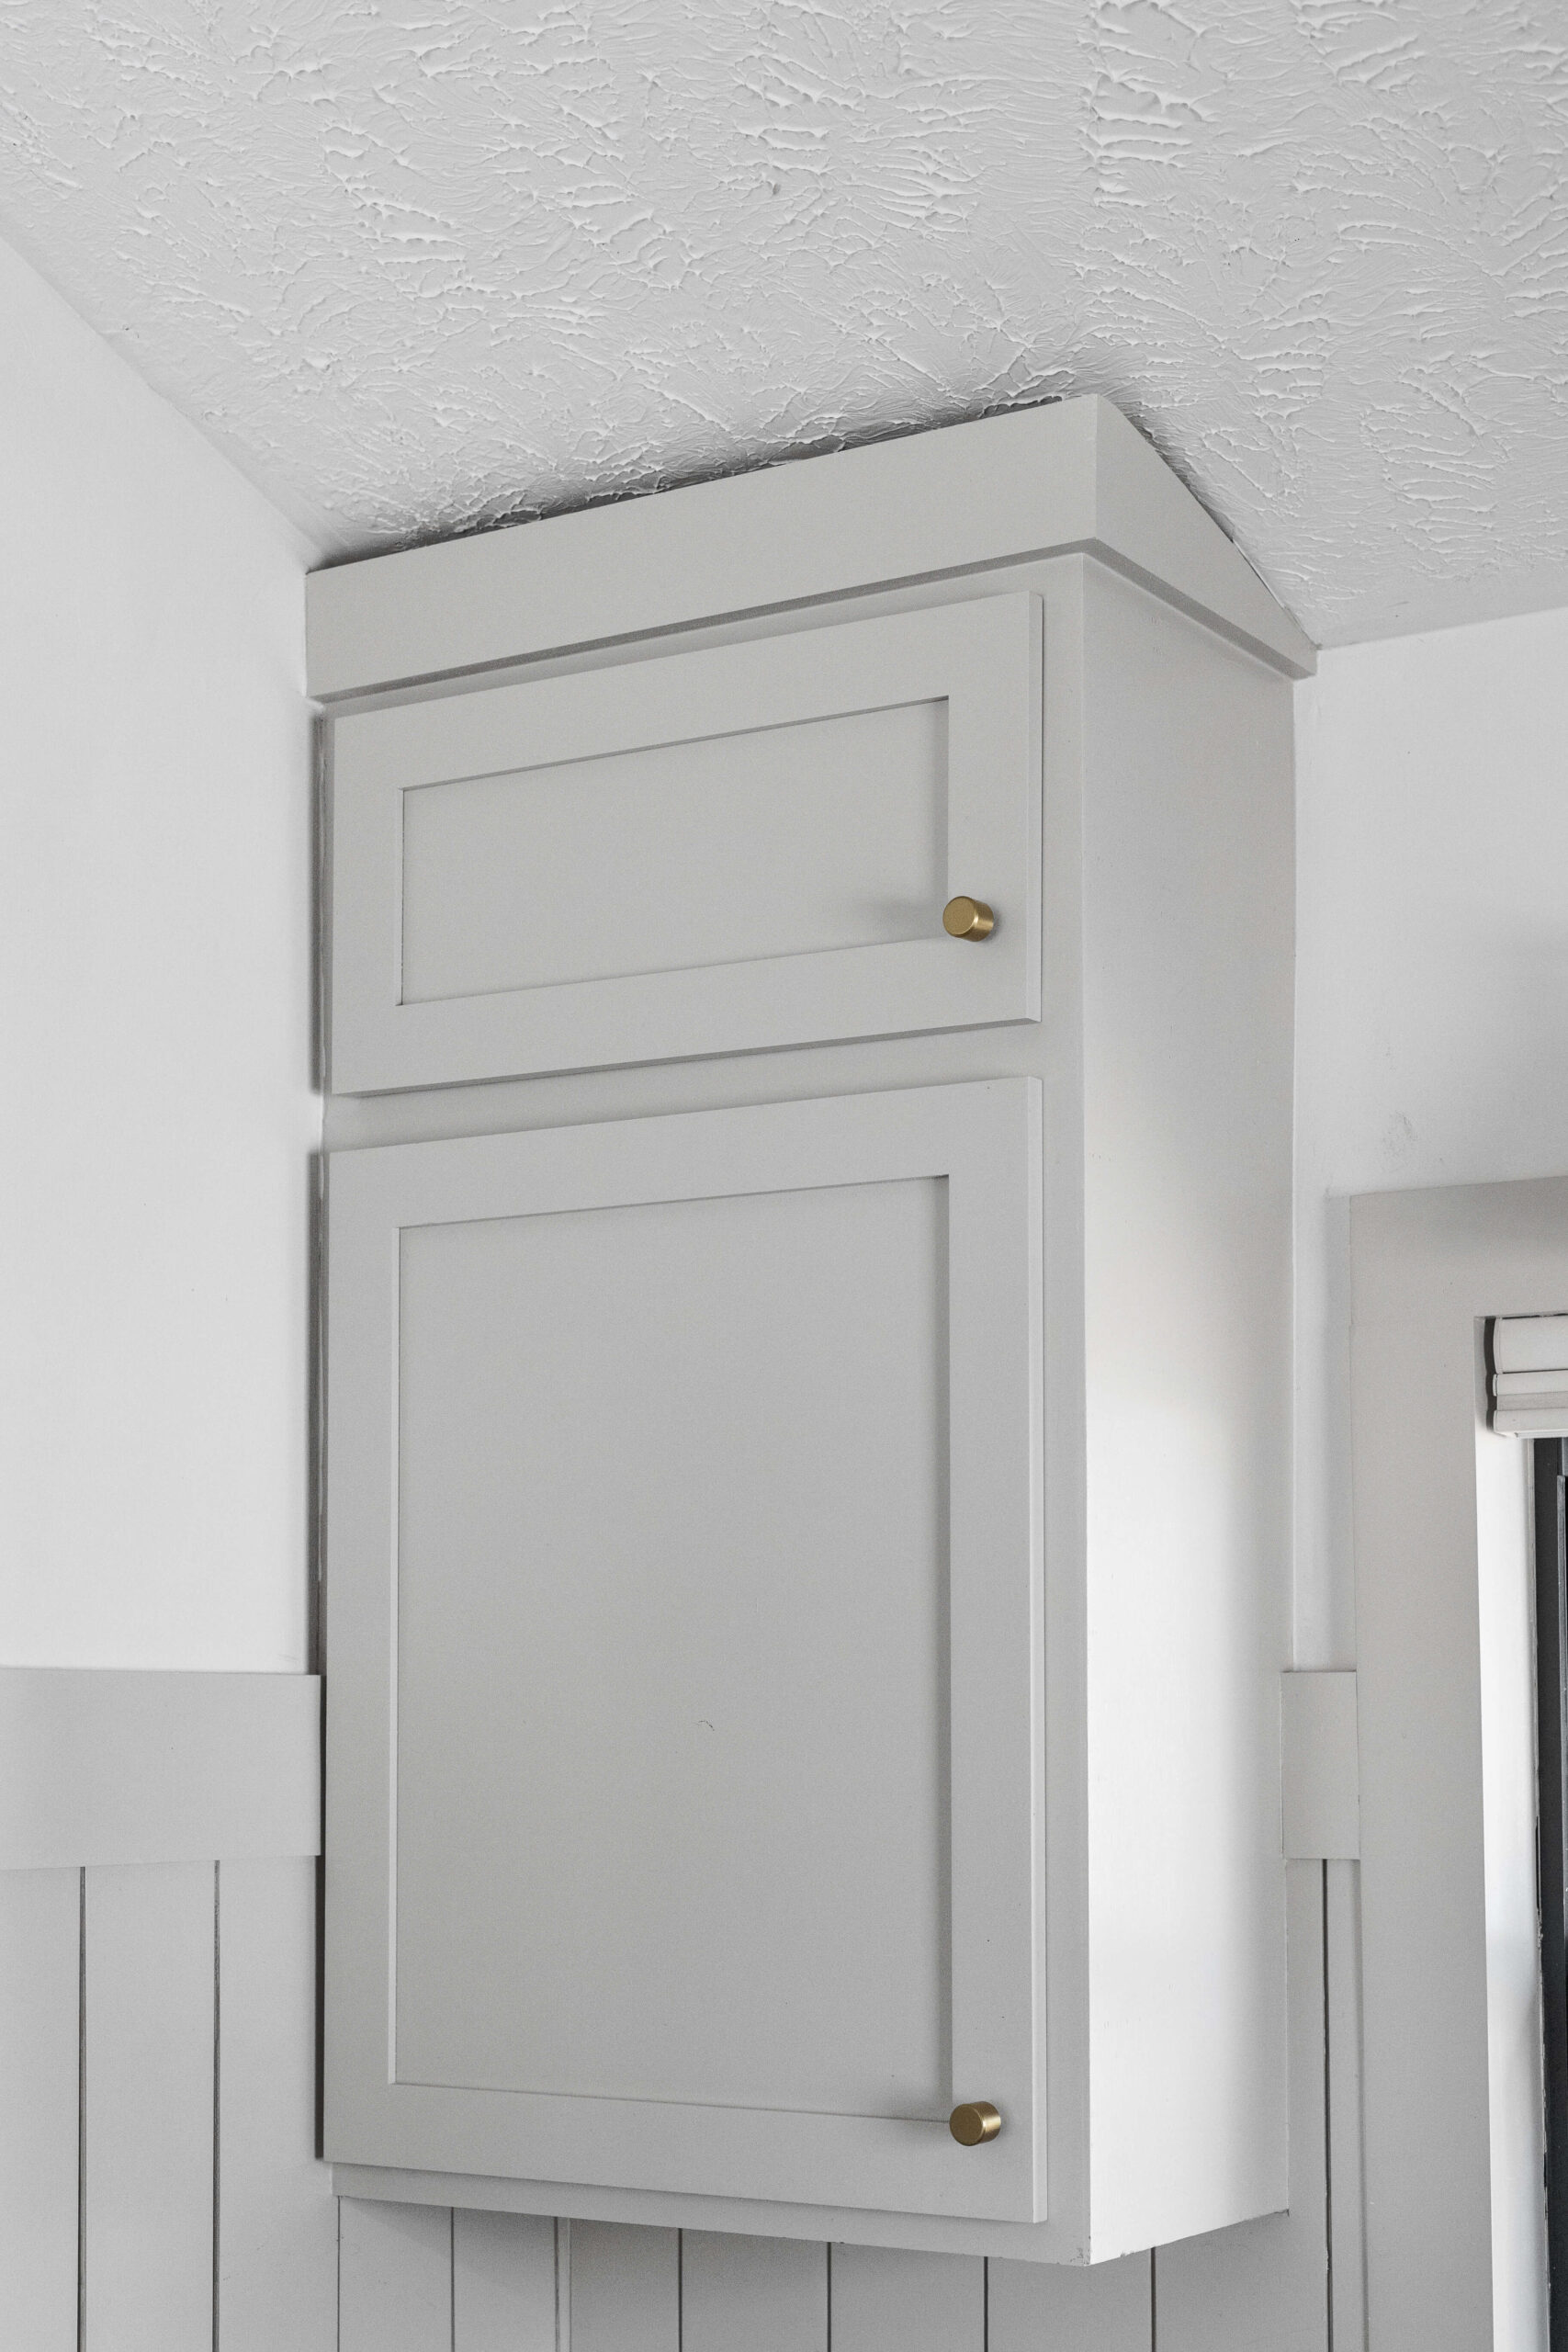
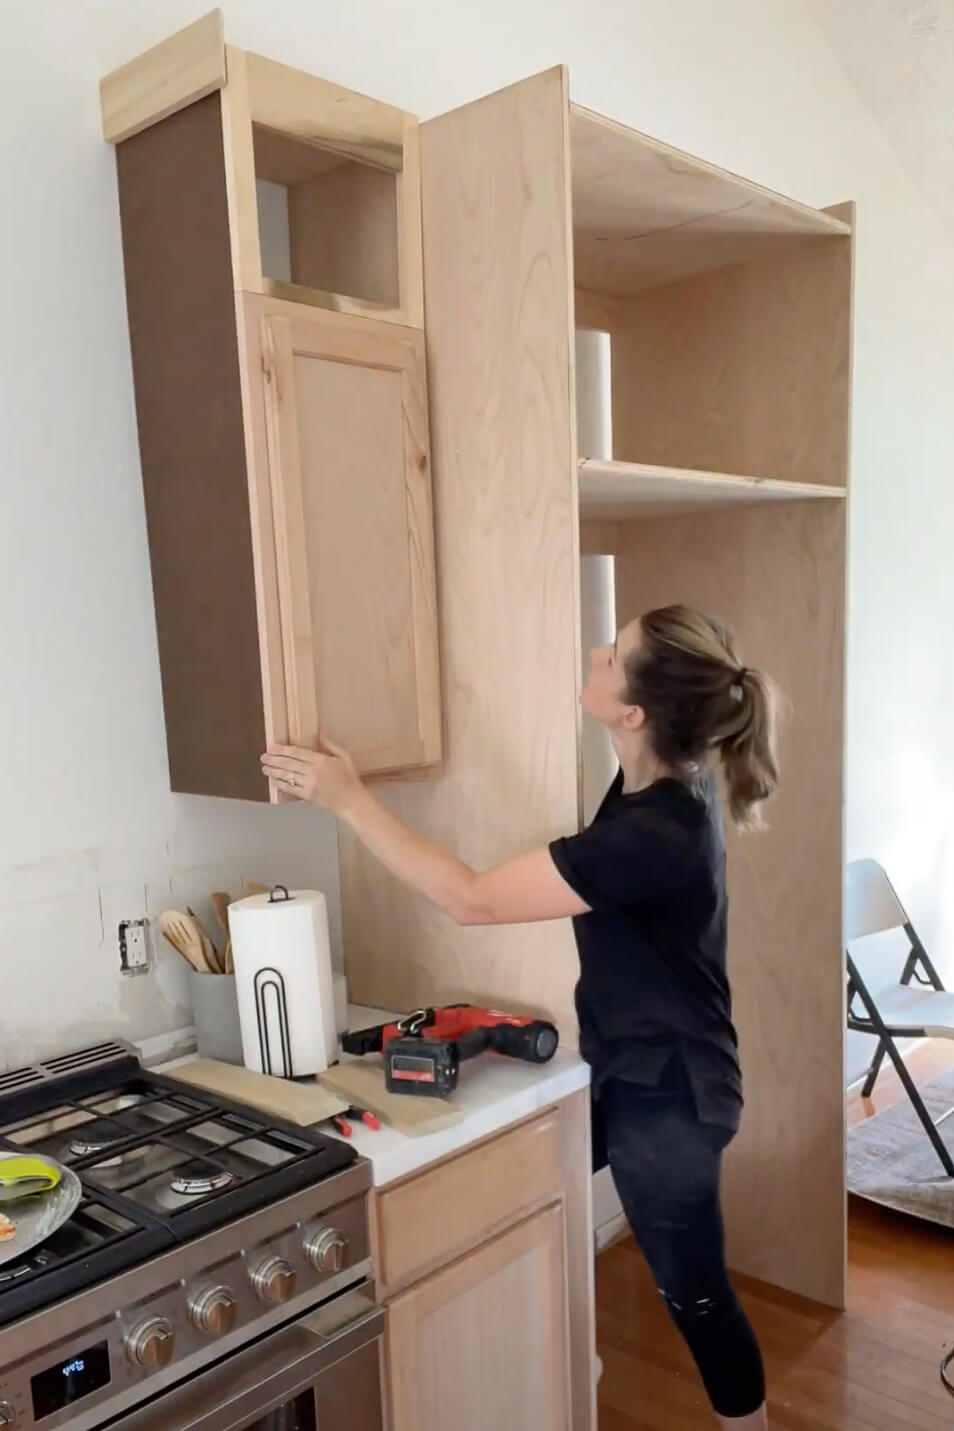
I love our tall ceilings, but the space above the cabinets was wasted. So, I built mini cabinets on top of the stock ones, adding extra storage and giving them a custom look. Adding trim around the tops took things to the next level, making these cabinets feel high-end. I have a full post showing you how I built the extension cabinets and added the crown written for you here.
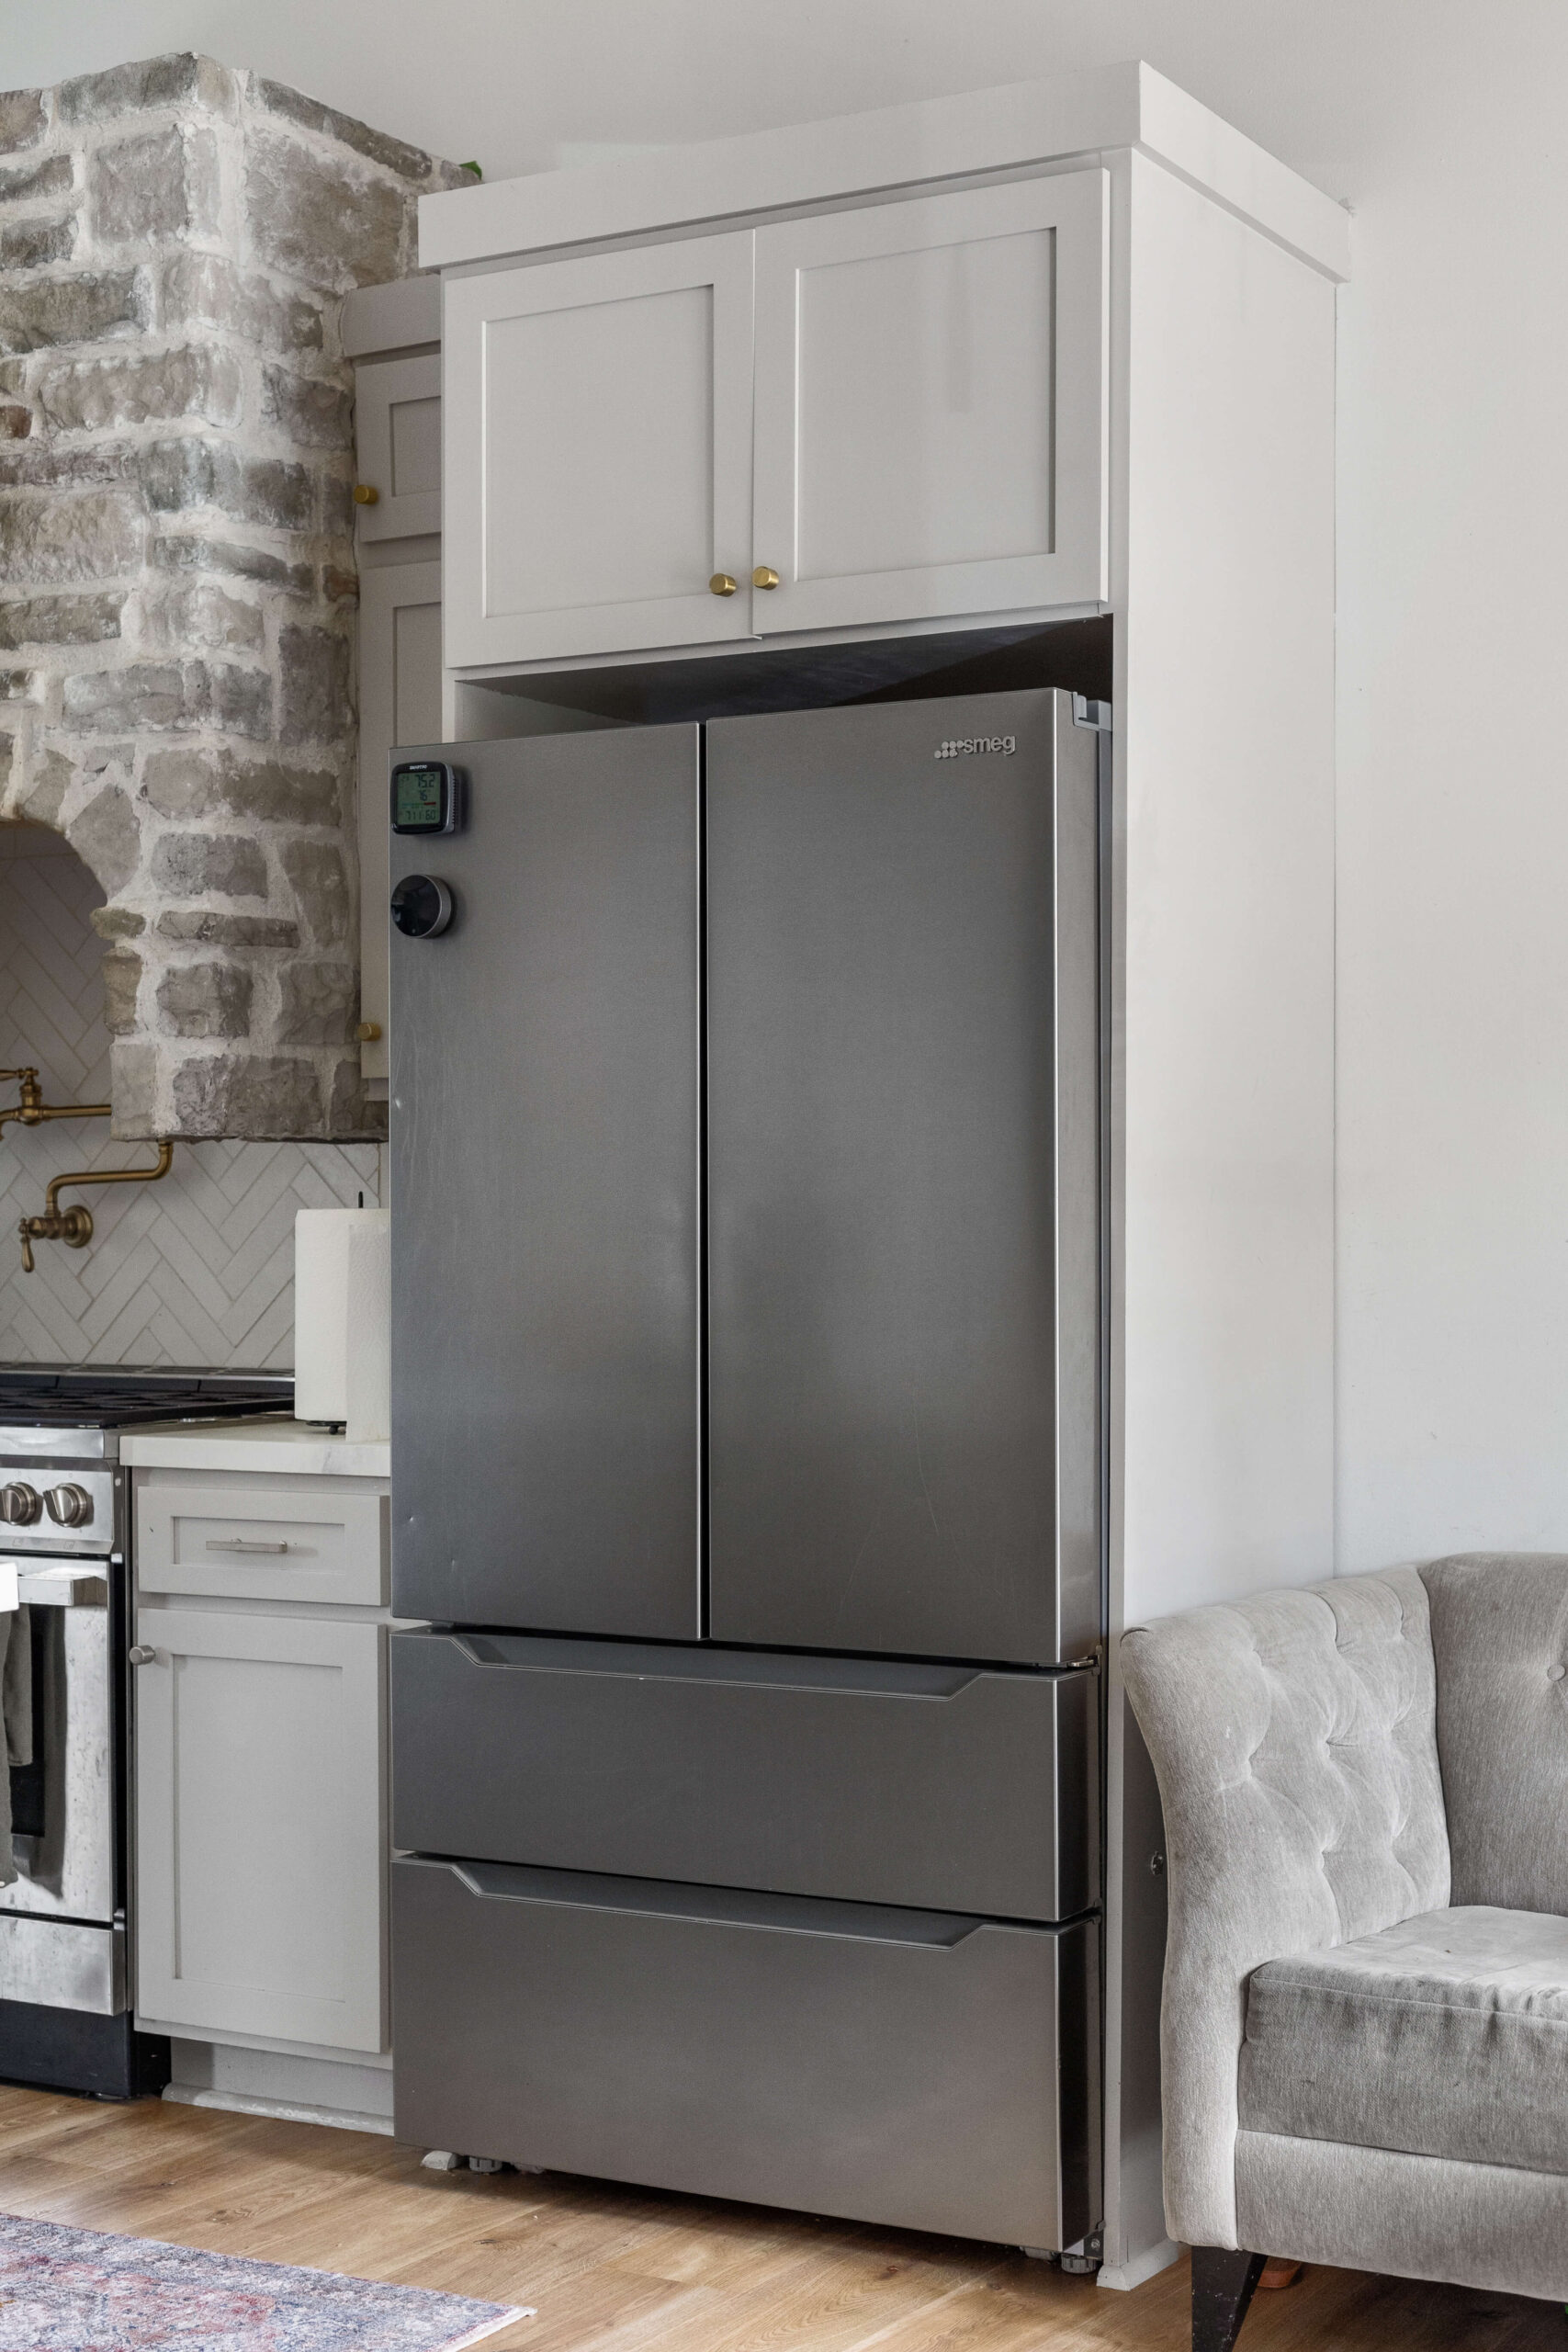
Another thing to note about unfinished kitchen cabinets is that they don’t come with all the bells and whistles. Refrigerator cabinets? Not even a thing. Enclosing the fridge in a cabinet looks amazing, and bonus points for extra storage. I have all the details in a blog post for the step-by-step tutorial on building a refrigerator cabinet.
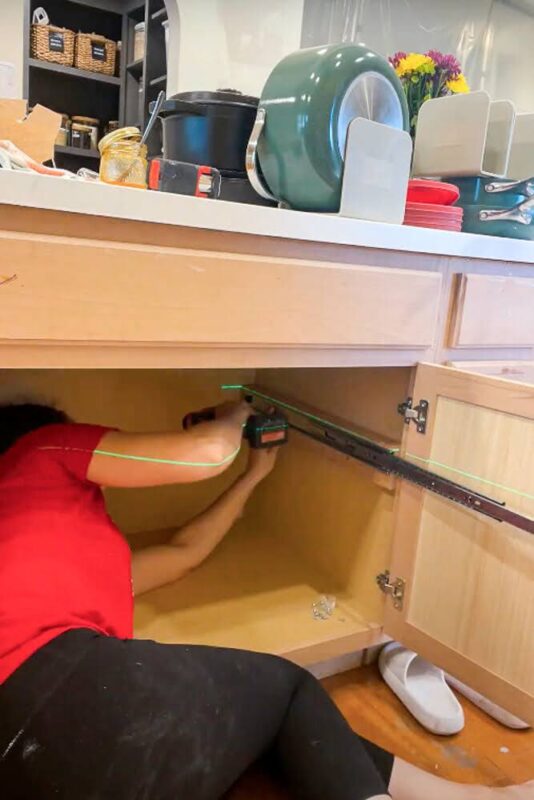
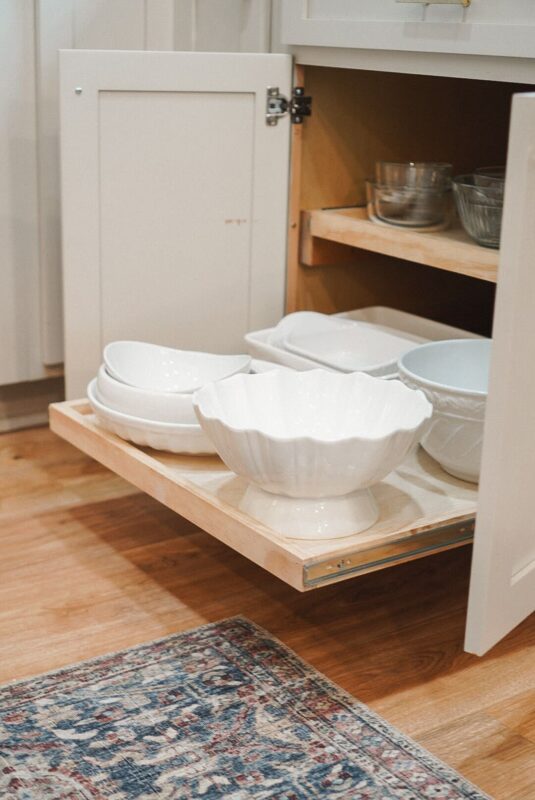
The shelving in stock cabinets isn’t great. Custom cabinets usually have fancy features like pull-out shelves. Adding drawer slides and building your pull-out shelves is an easy upgrade. It maximized my storage and gave the cabinets a custom feel. You can find the instructions for those pull out drawers and shelves here.
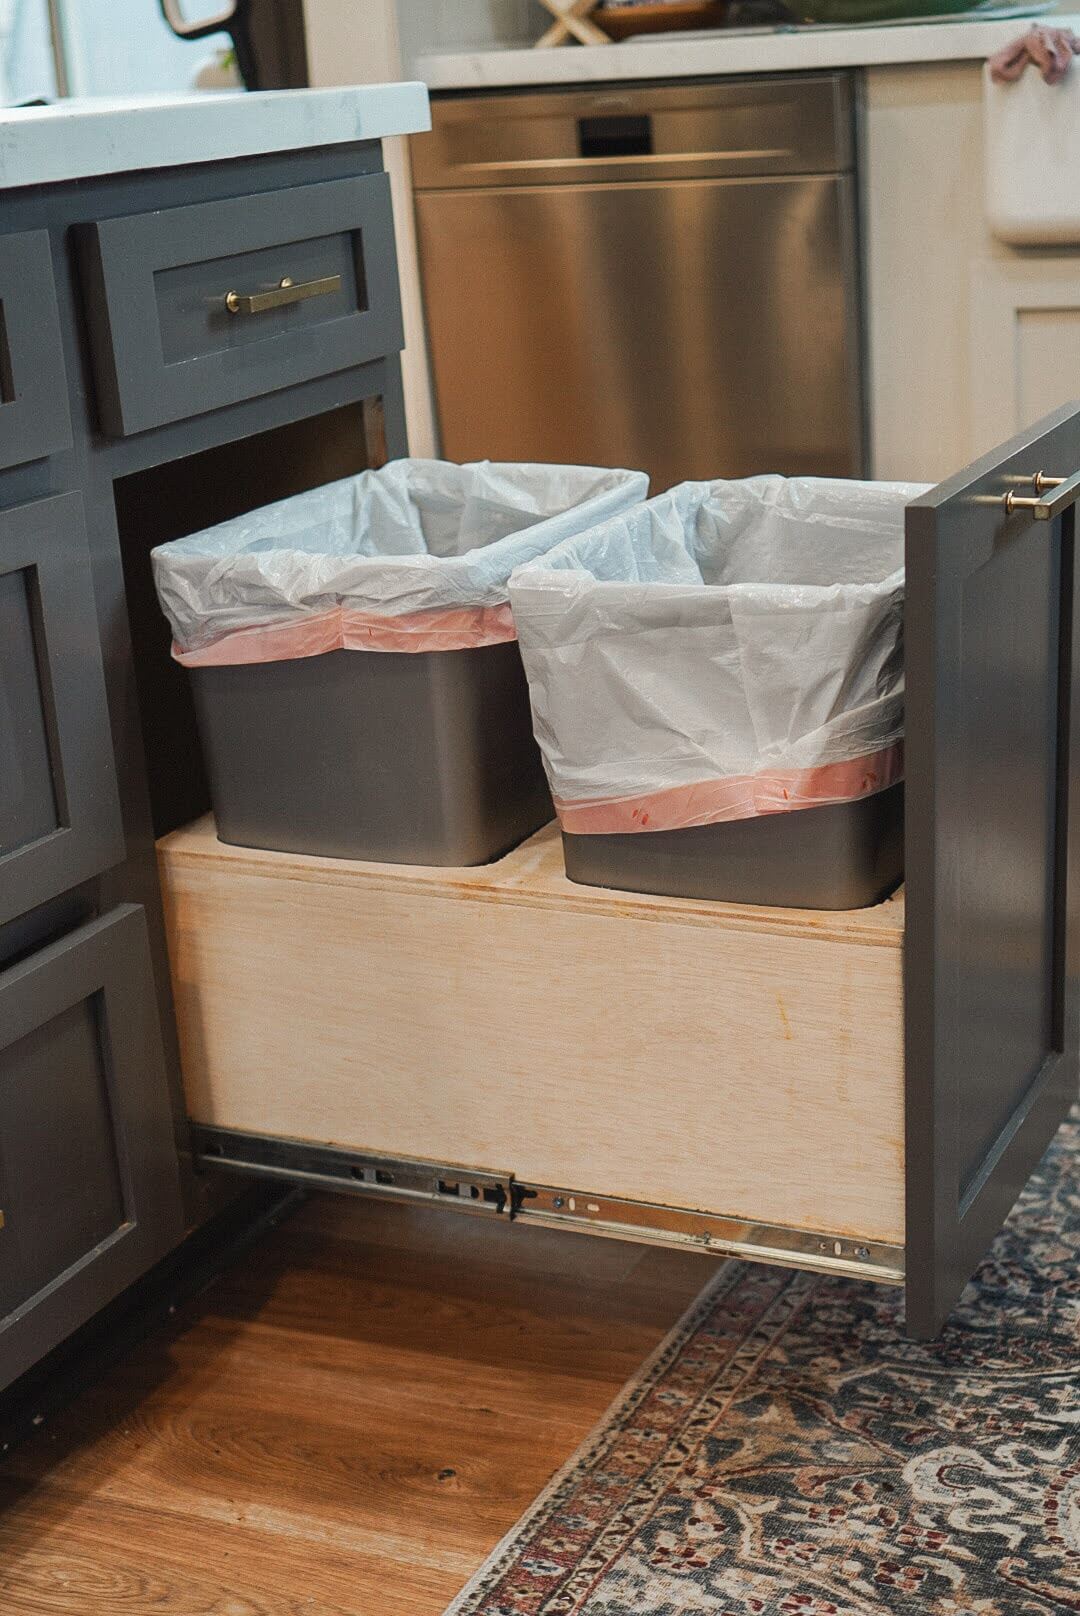
One feature I really wanted but couldn’t get with unfinished kitchen cabinets was a pull-out for the trash cans. So, I got creative and built my own using drawer slides and plywood. If you want to build your own pull-out trash cabinet, I’ve got the details here!

End Panels and Filler Pieces
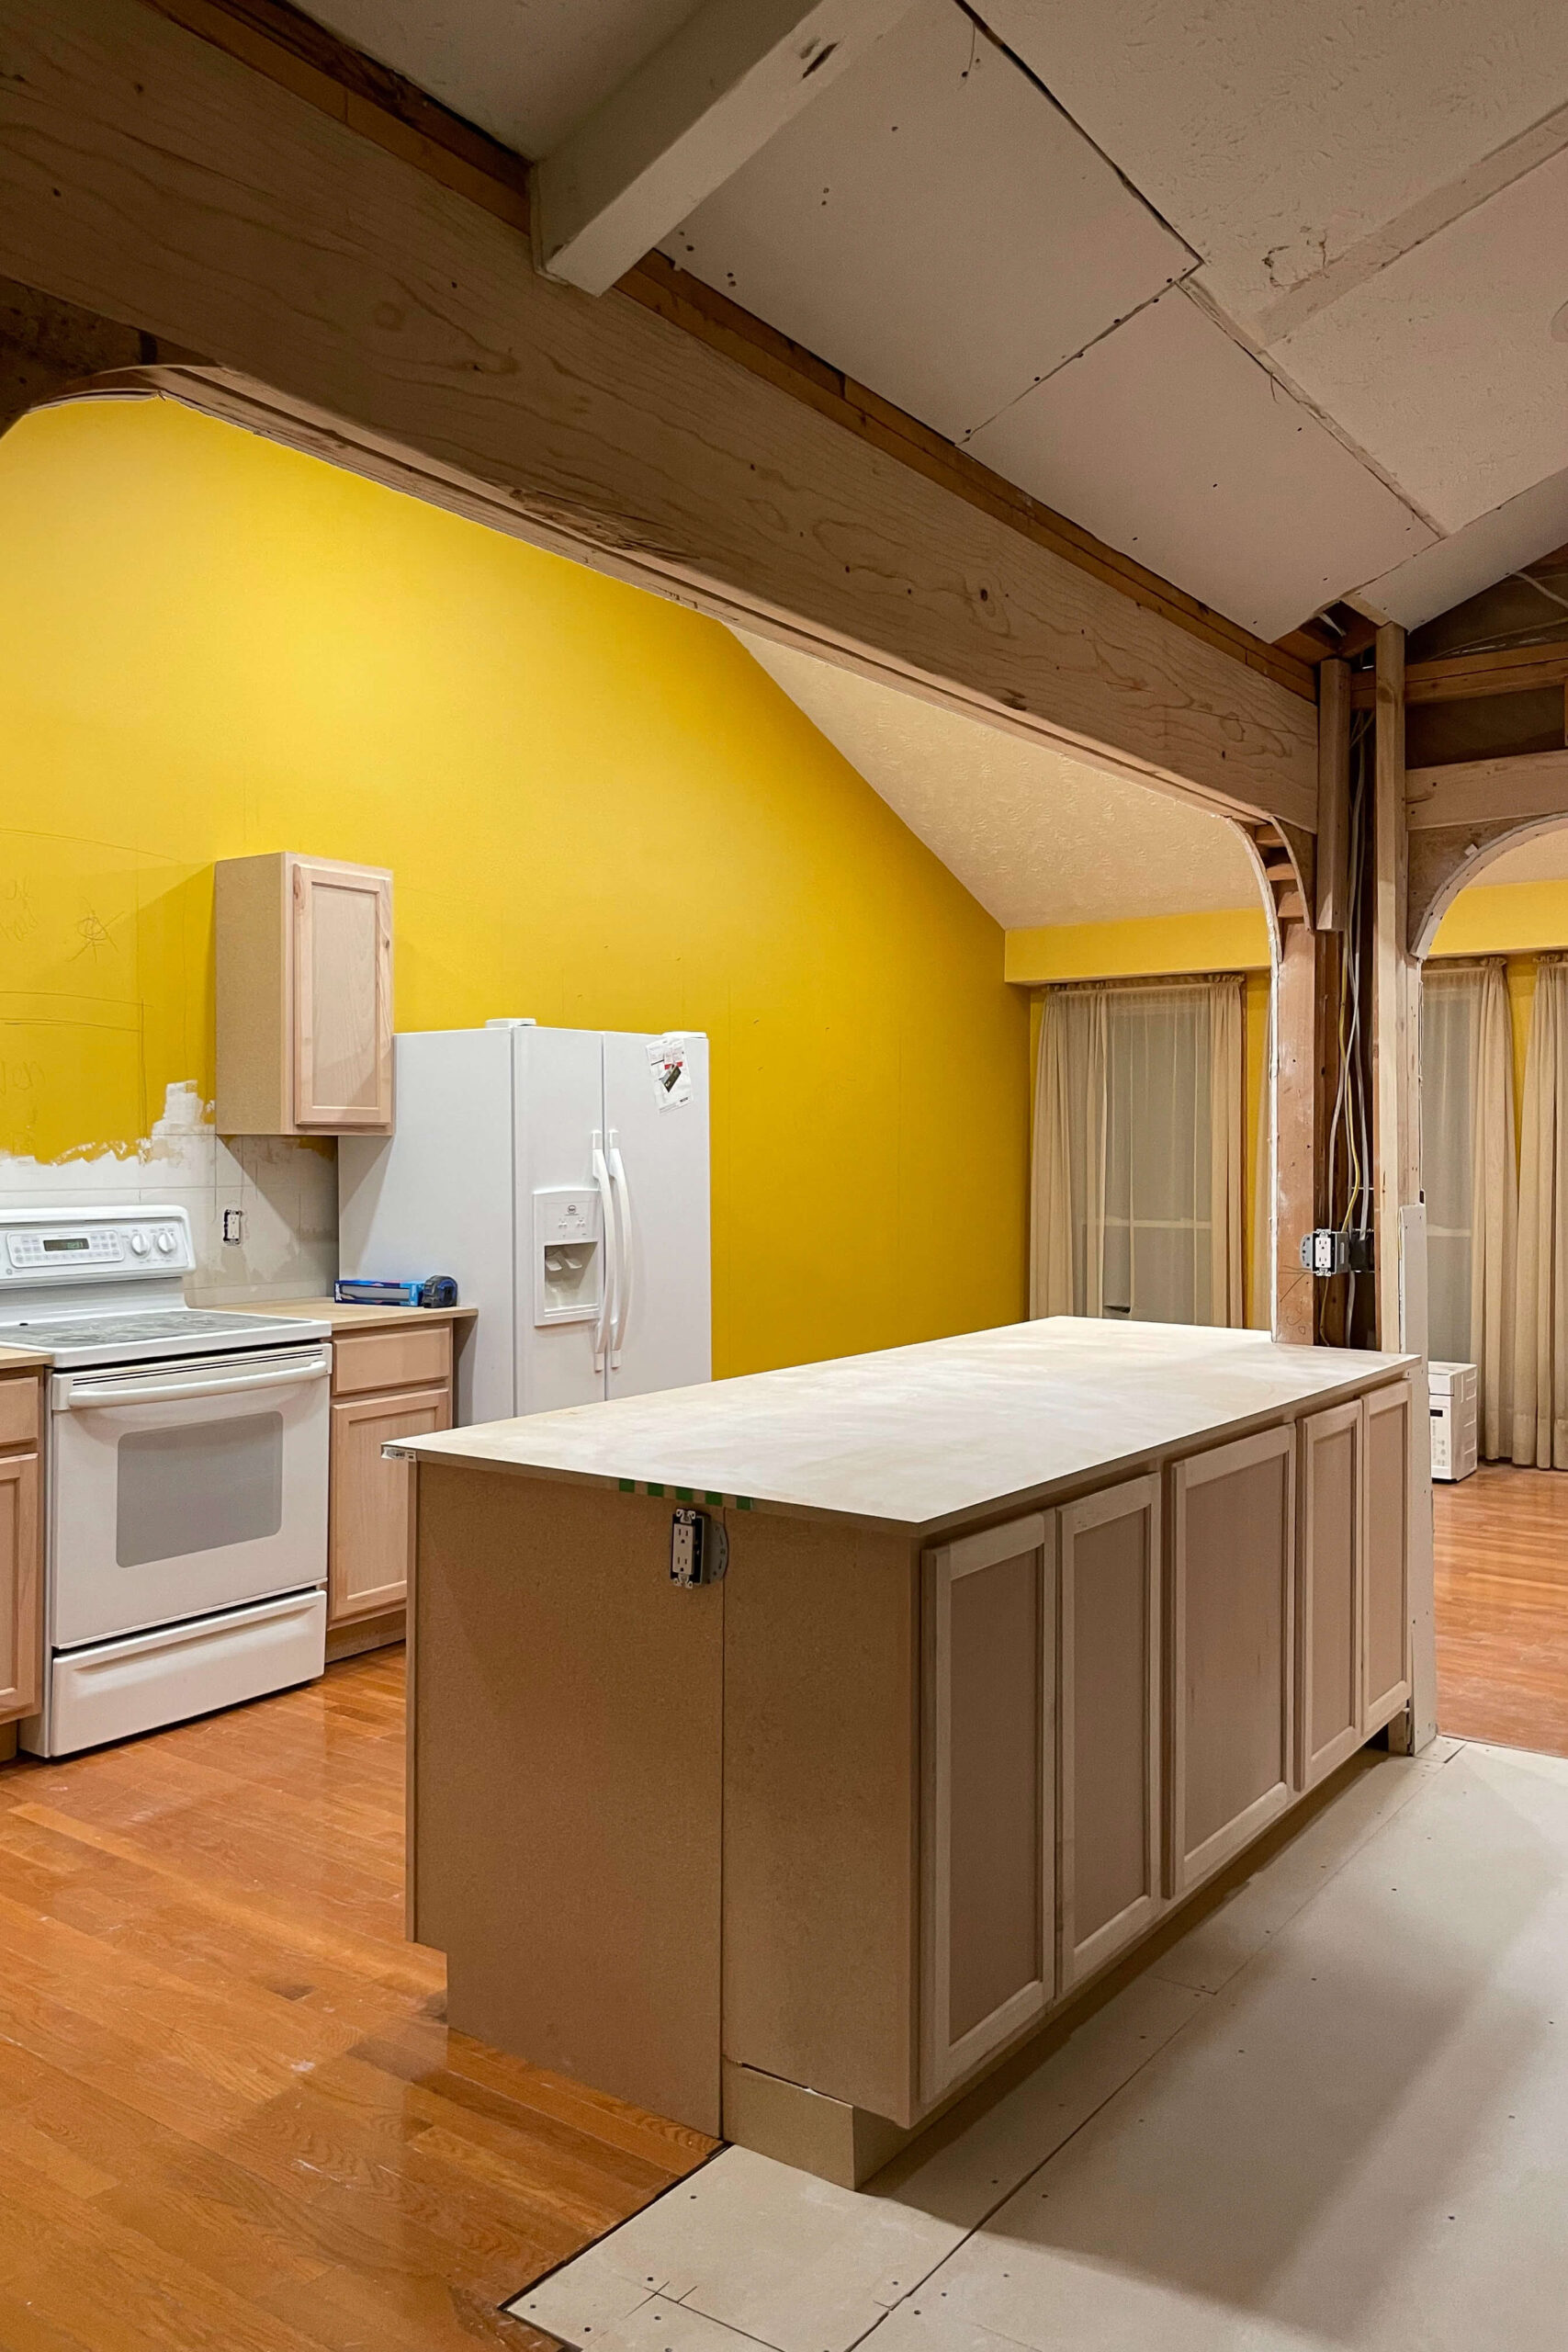
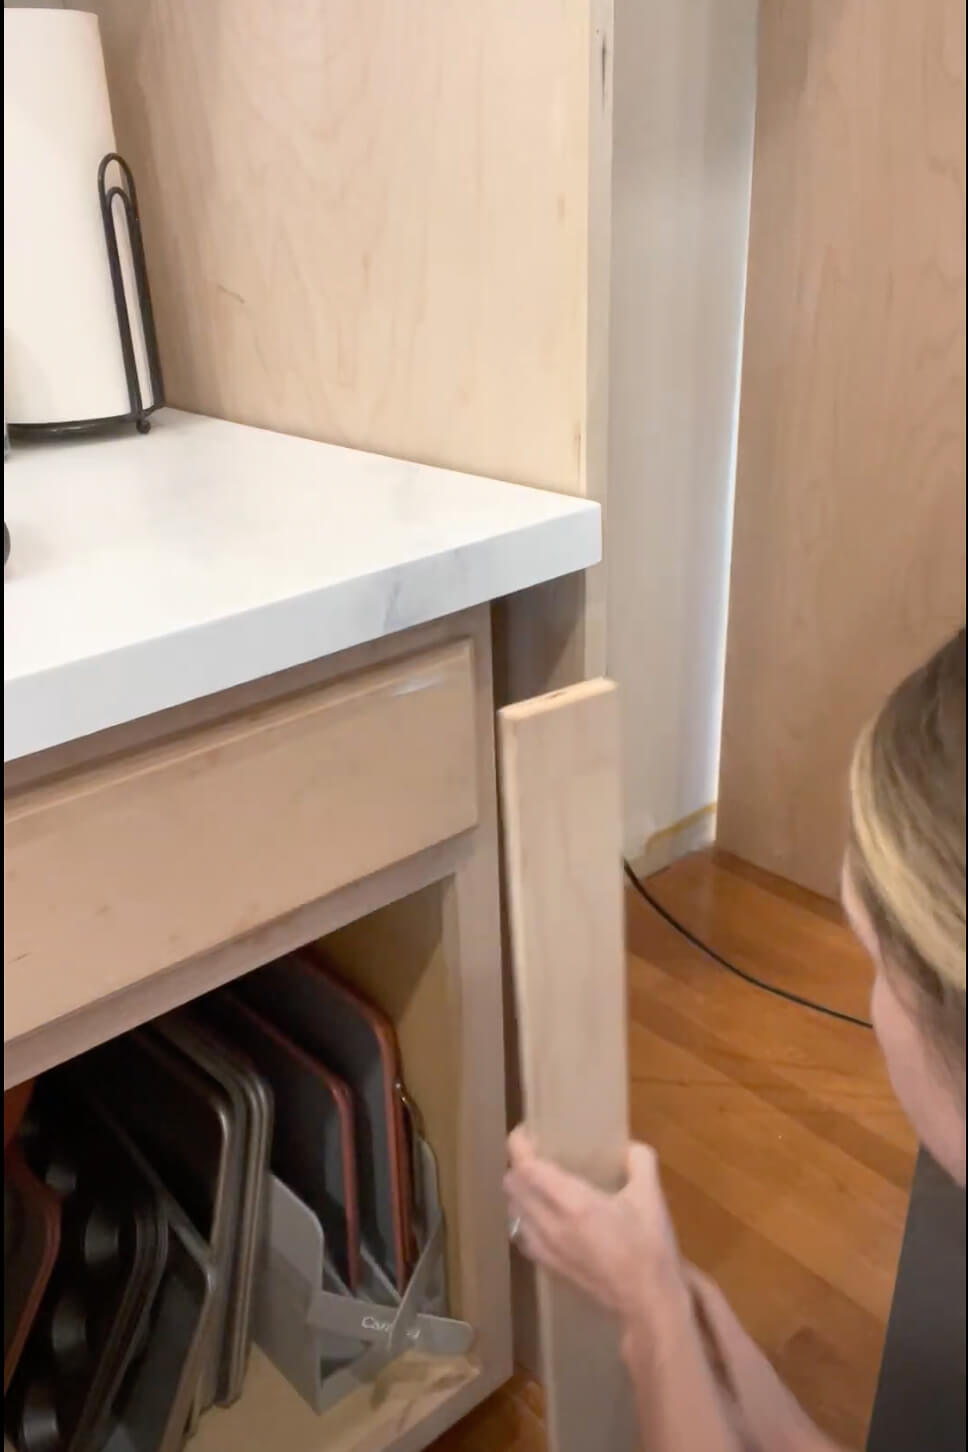
High-end cabinets usually come with finished end panels, and let me tell you, they make a difference! The fronts of my unfinished kitchen cabinets are made from nice wood that’s ready for paint, but the sides are just exposed particle board. If the edges are tucked away against a wall or an appliance, it’s no problem. But if they’re out in the open, like on my island, you’ll want to cover the sides using 1/4-inch plywood and attaching it with a brad nailer. Once painted, they blended perfectly with the rest of the cabinets.


Another key DIY step with unfinished cabinets is adding filler pieces. If your kitchen layout doesn’t match your current cabinet sizes exactly, you’ll need to fill in the gaps. I used 1/2-inch plywood, clamped it in place, and screwed it in from both sides. A quick tip: just be sure to drill a pilot hole first to avoid splitting the wood!

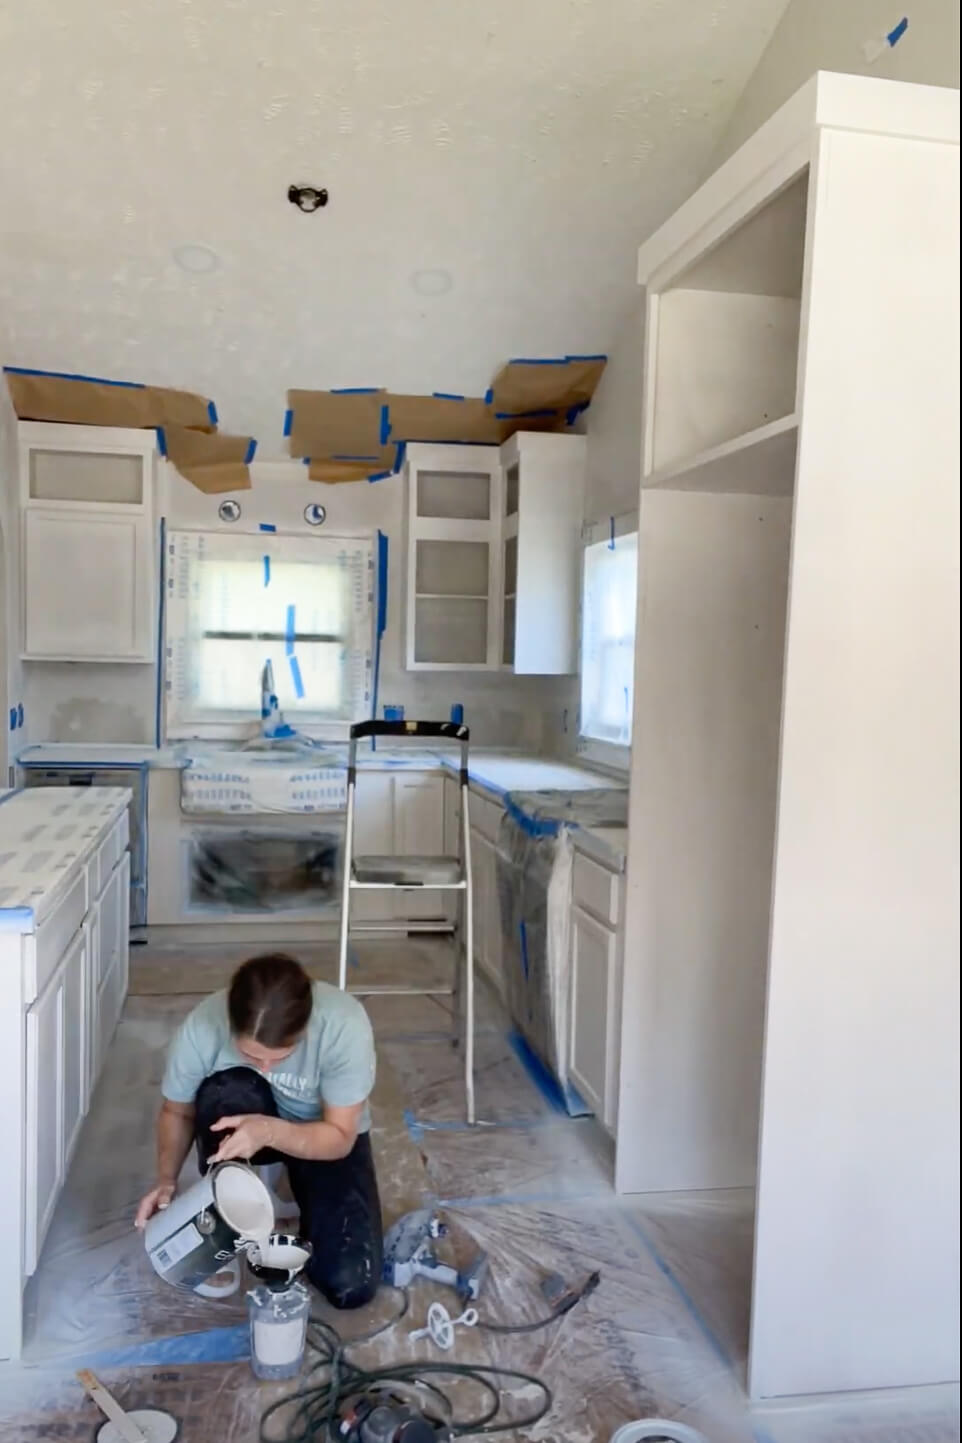
Painting Unfinished Kitchen Cabinets
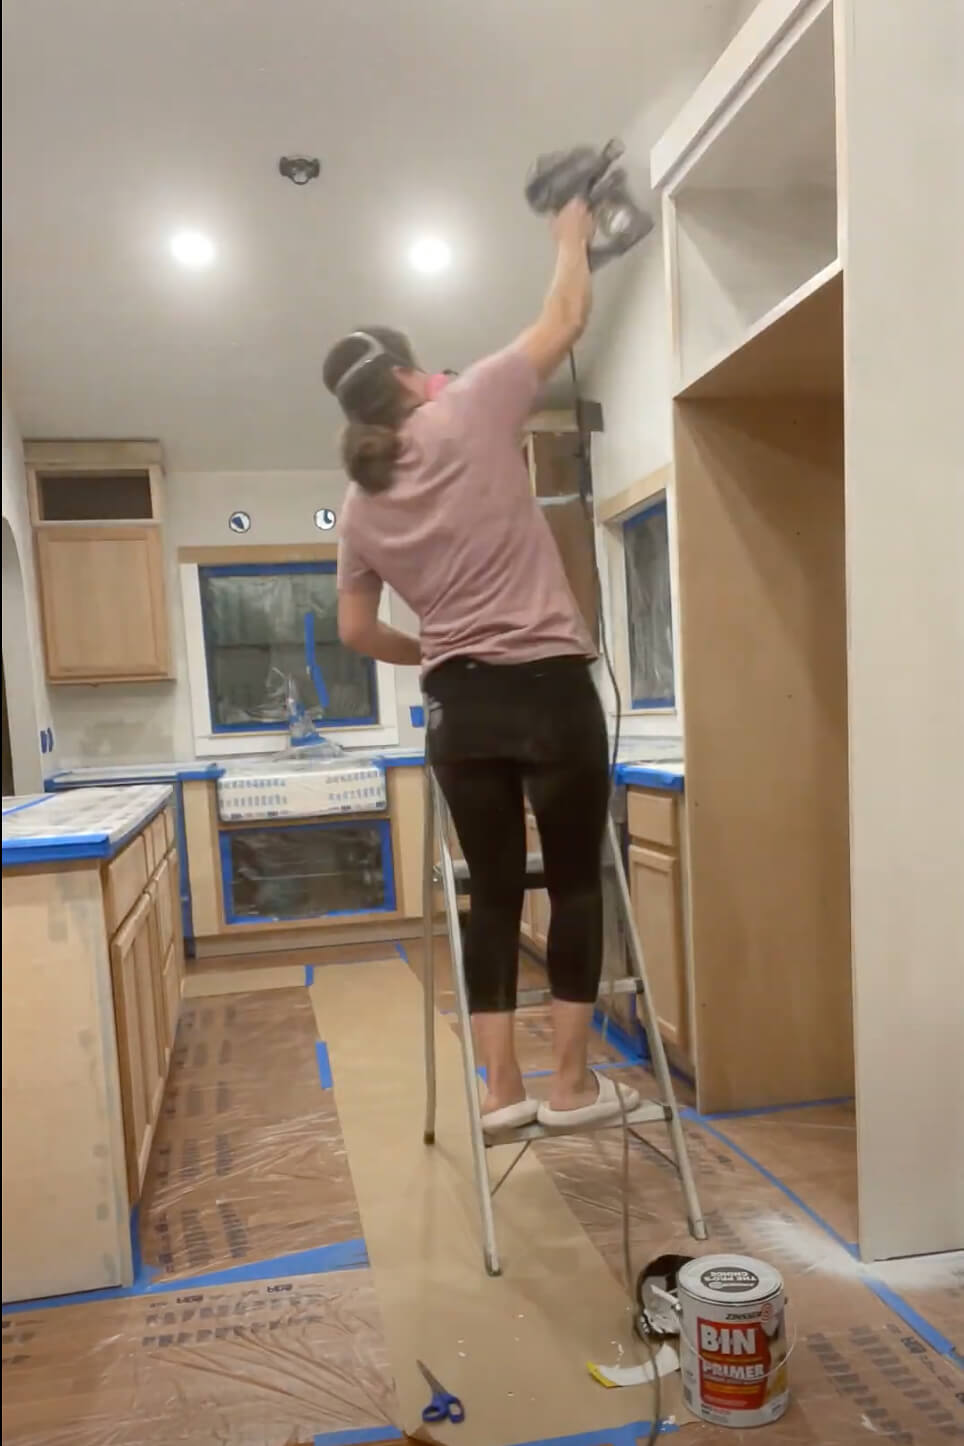
Before painting, I caulked all the joints and filled seams and nail holes with Bondo. After masking everything off, I got out my sprayer and primed all of the cabinets.

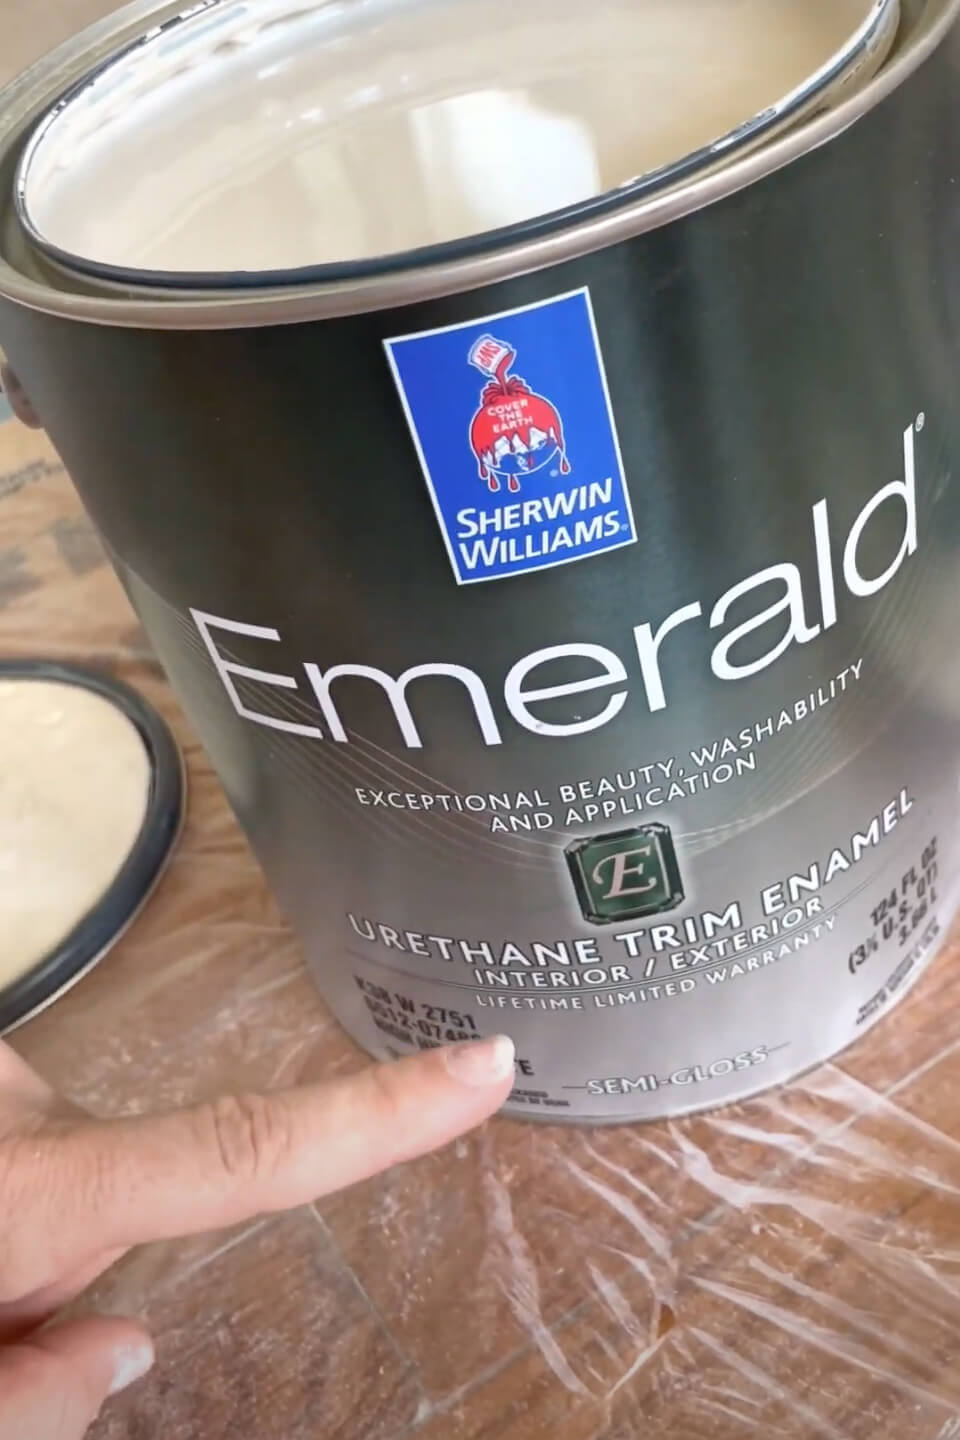
Next, I grabbed some high-quality Sherwin Williams paint. Their urethane trim enamel is my go-to for high-traffic areas like kitchens. Compared to cheaper options, I get better coverage and use less paint. Their urethane trim enamel is absolutely the way to go!
Upgrade the Doors
If you only make one upgrade to your unfinished kitchen cabinets, it should be the doors. New doors can completely transform the look. I’ve written a post with all the details on measuring, buying, and painting the doors.


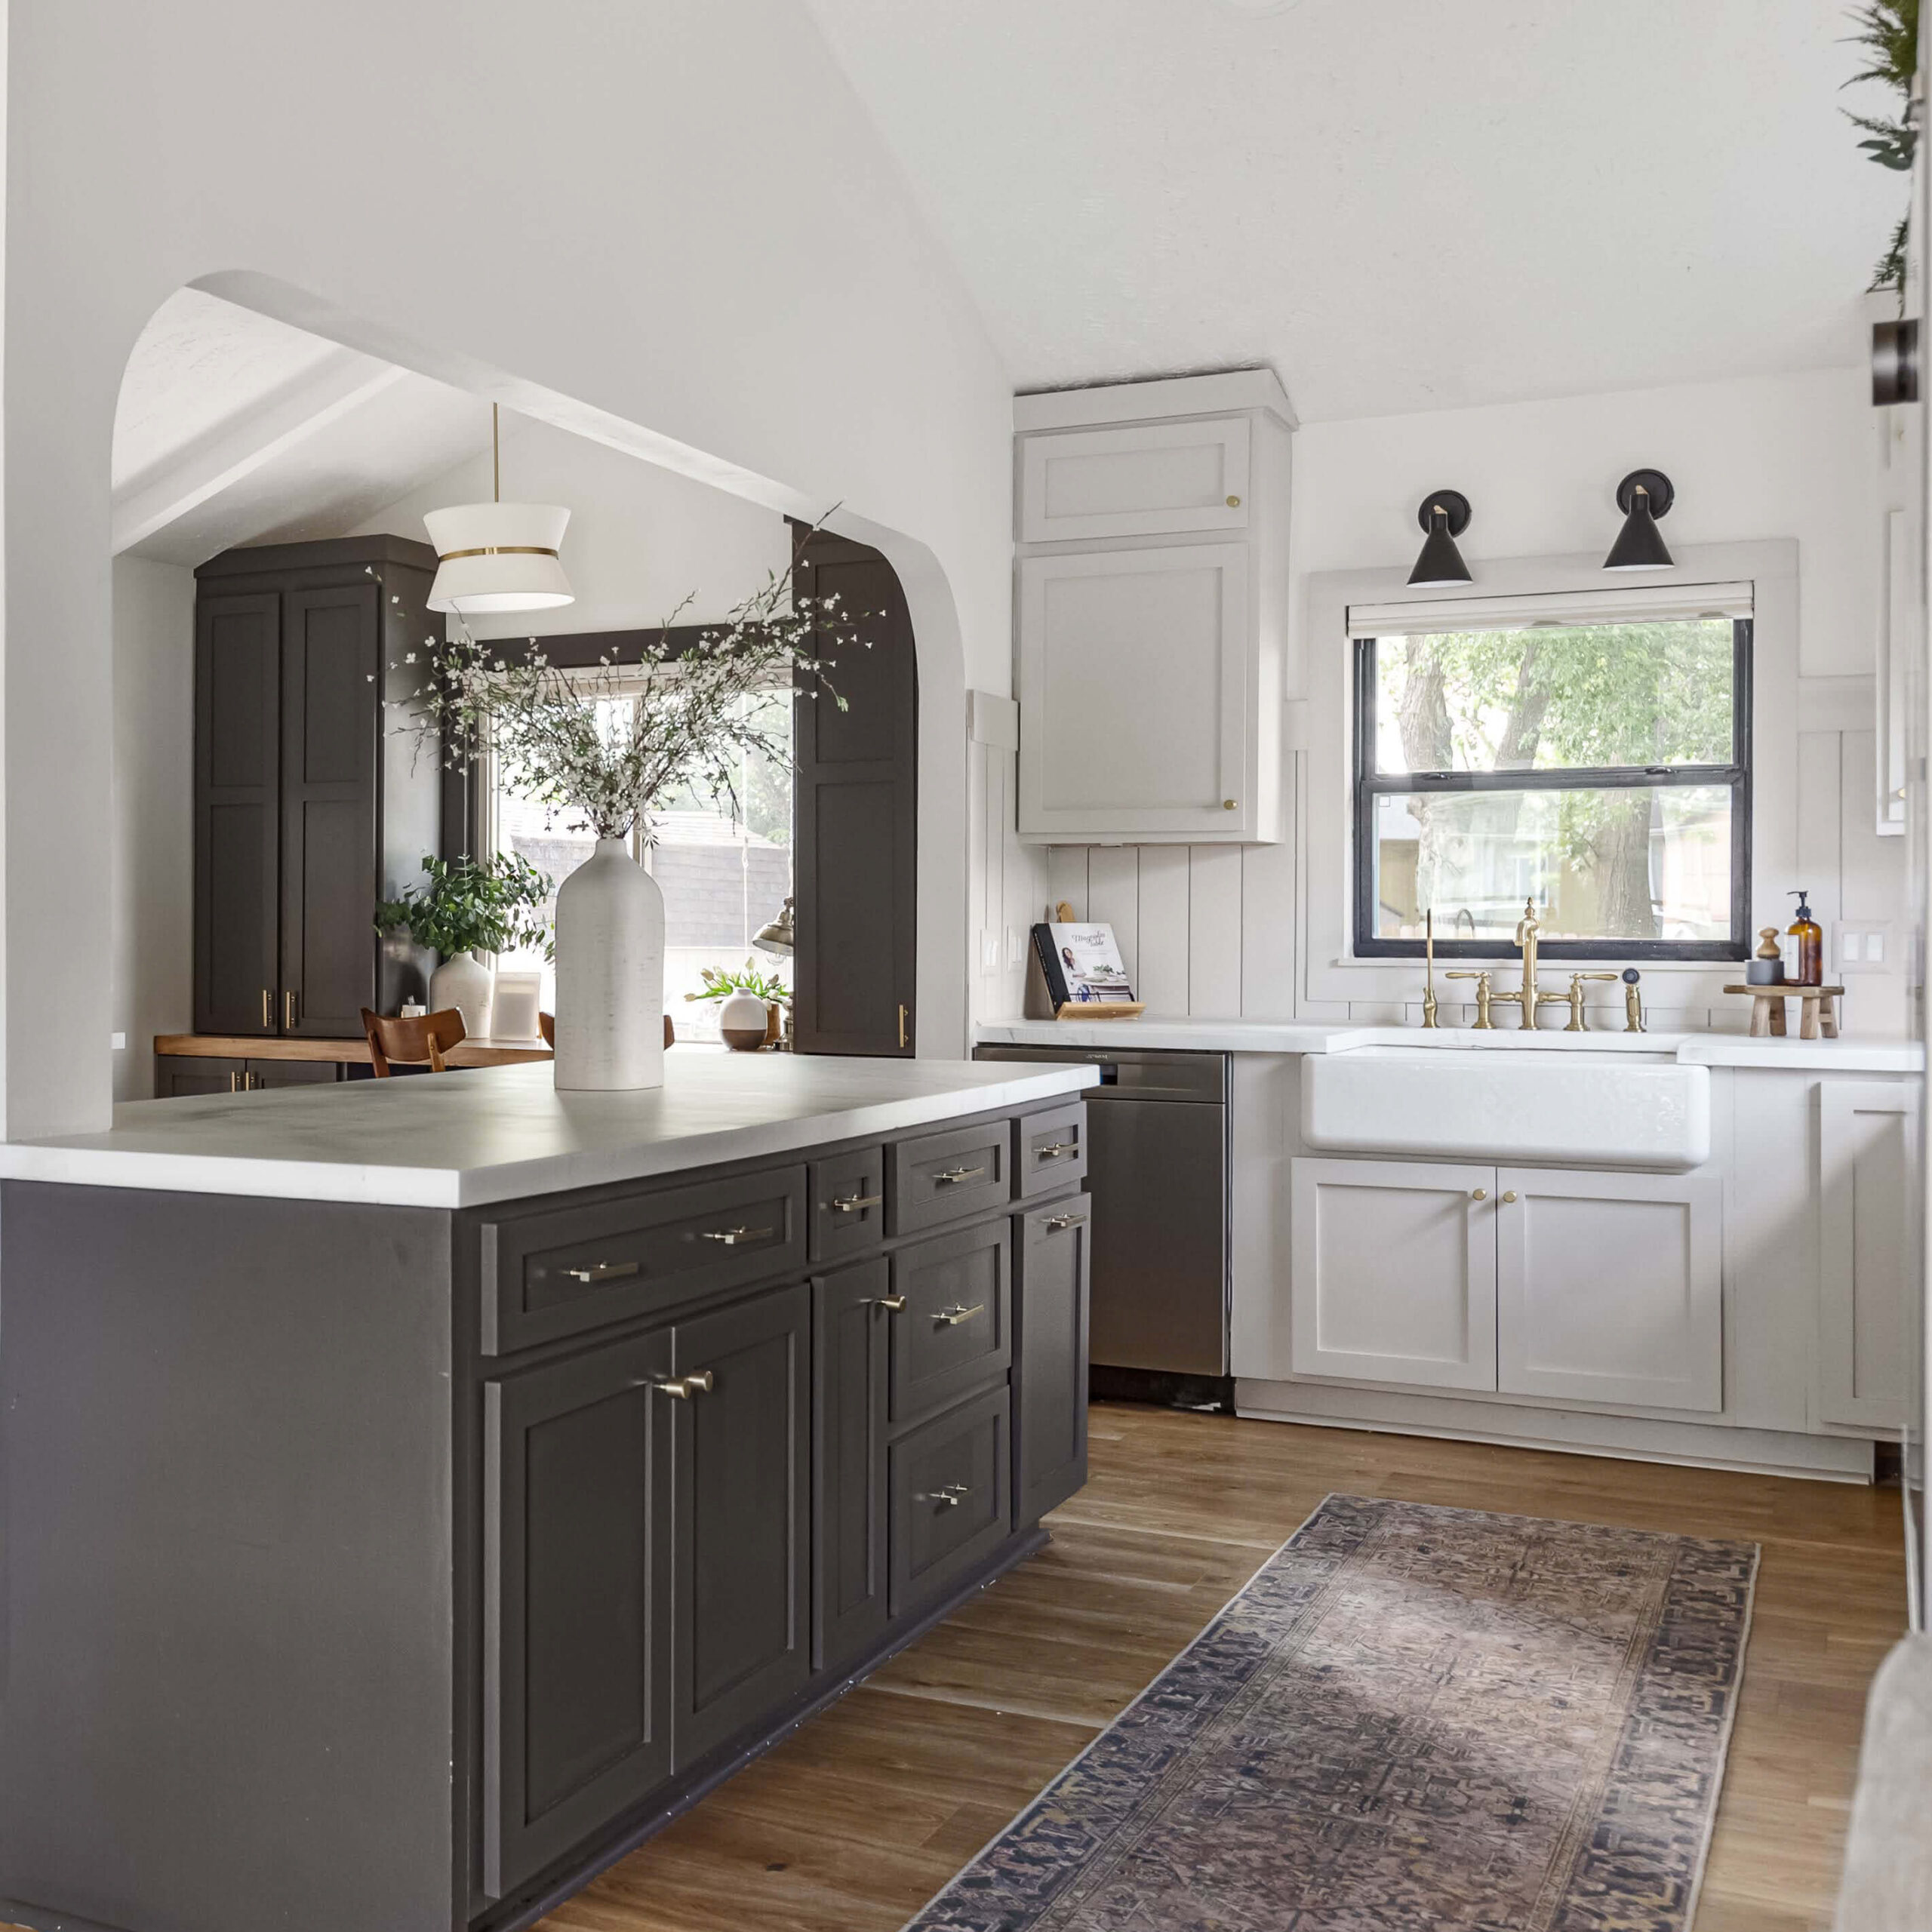
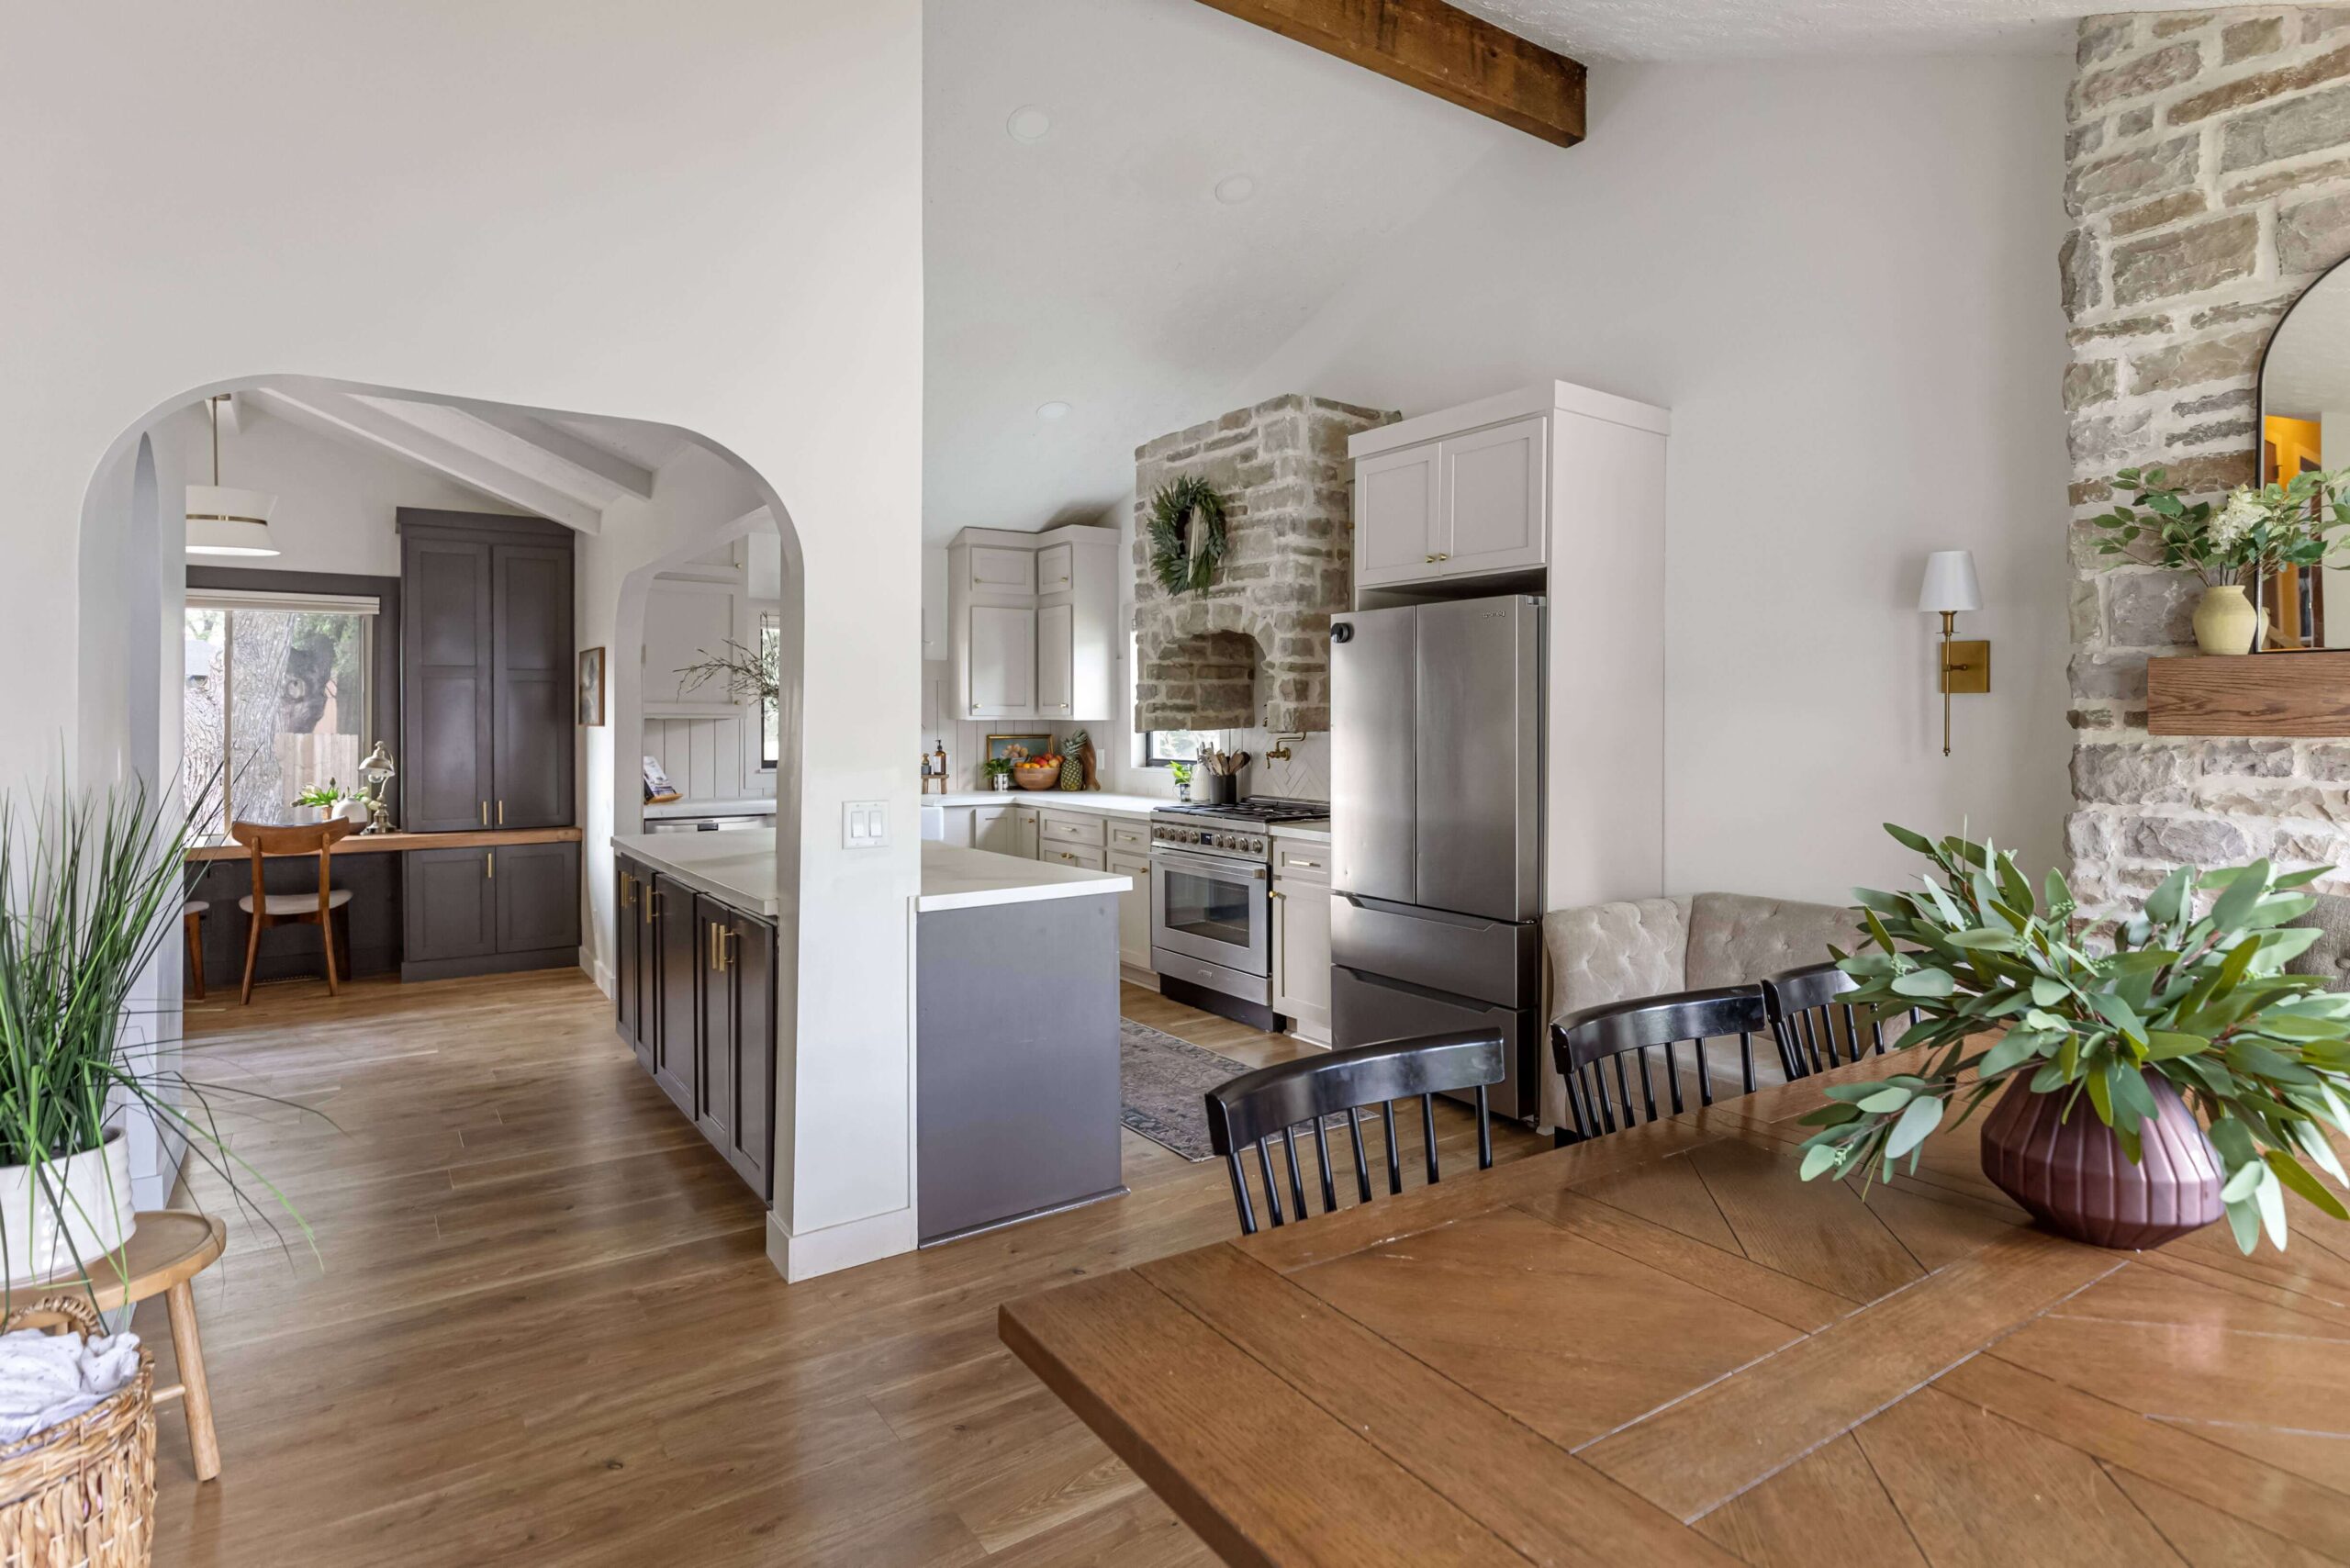
Just take a look at the before-and-after shots. The painted stock cabinets looked nice, but the upgraded doors and drawer fronts took it to a whole new level! They really elevate those unfinished kitchen cabinets without the hefty price tag of custom cabinets!


My kitchen turned out so good! When someone walks into my house, they would never know that these gorgeous, high-end-looking cabinets started out as basic unfinished kitchen cabinets that I grabbed off the shelf from Home Depot.
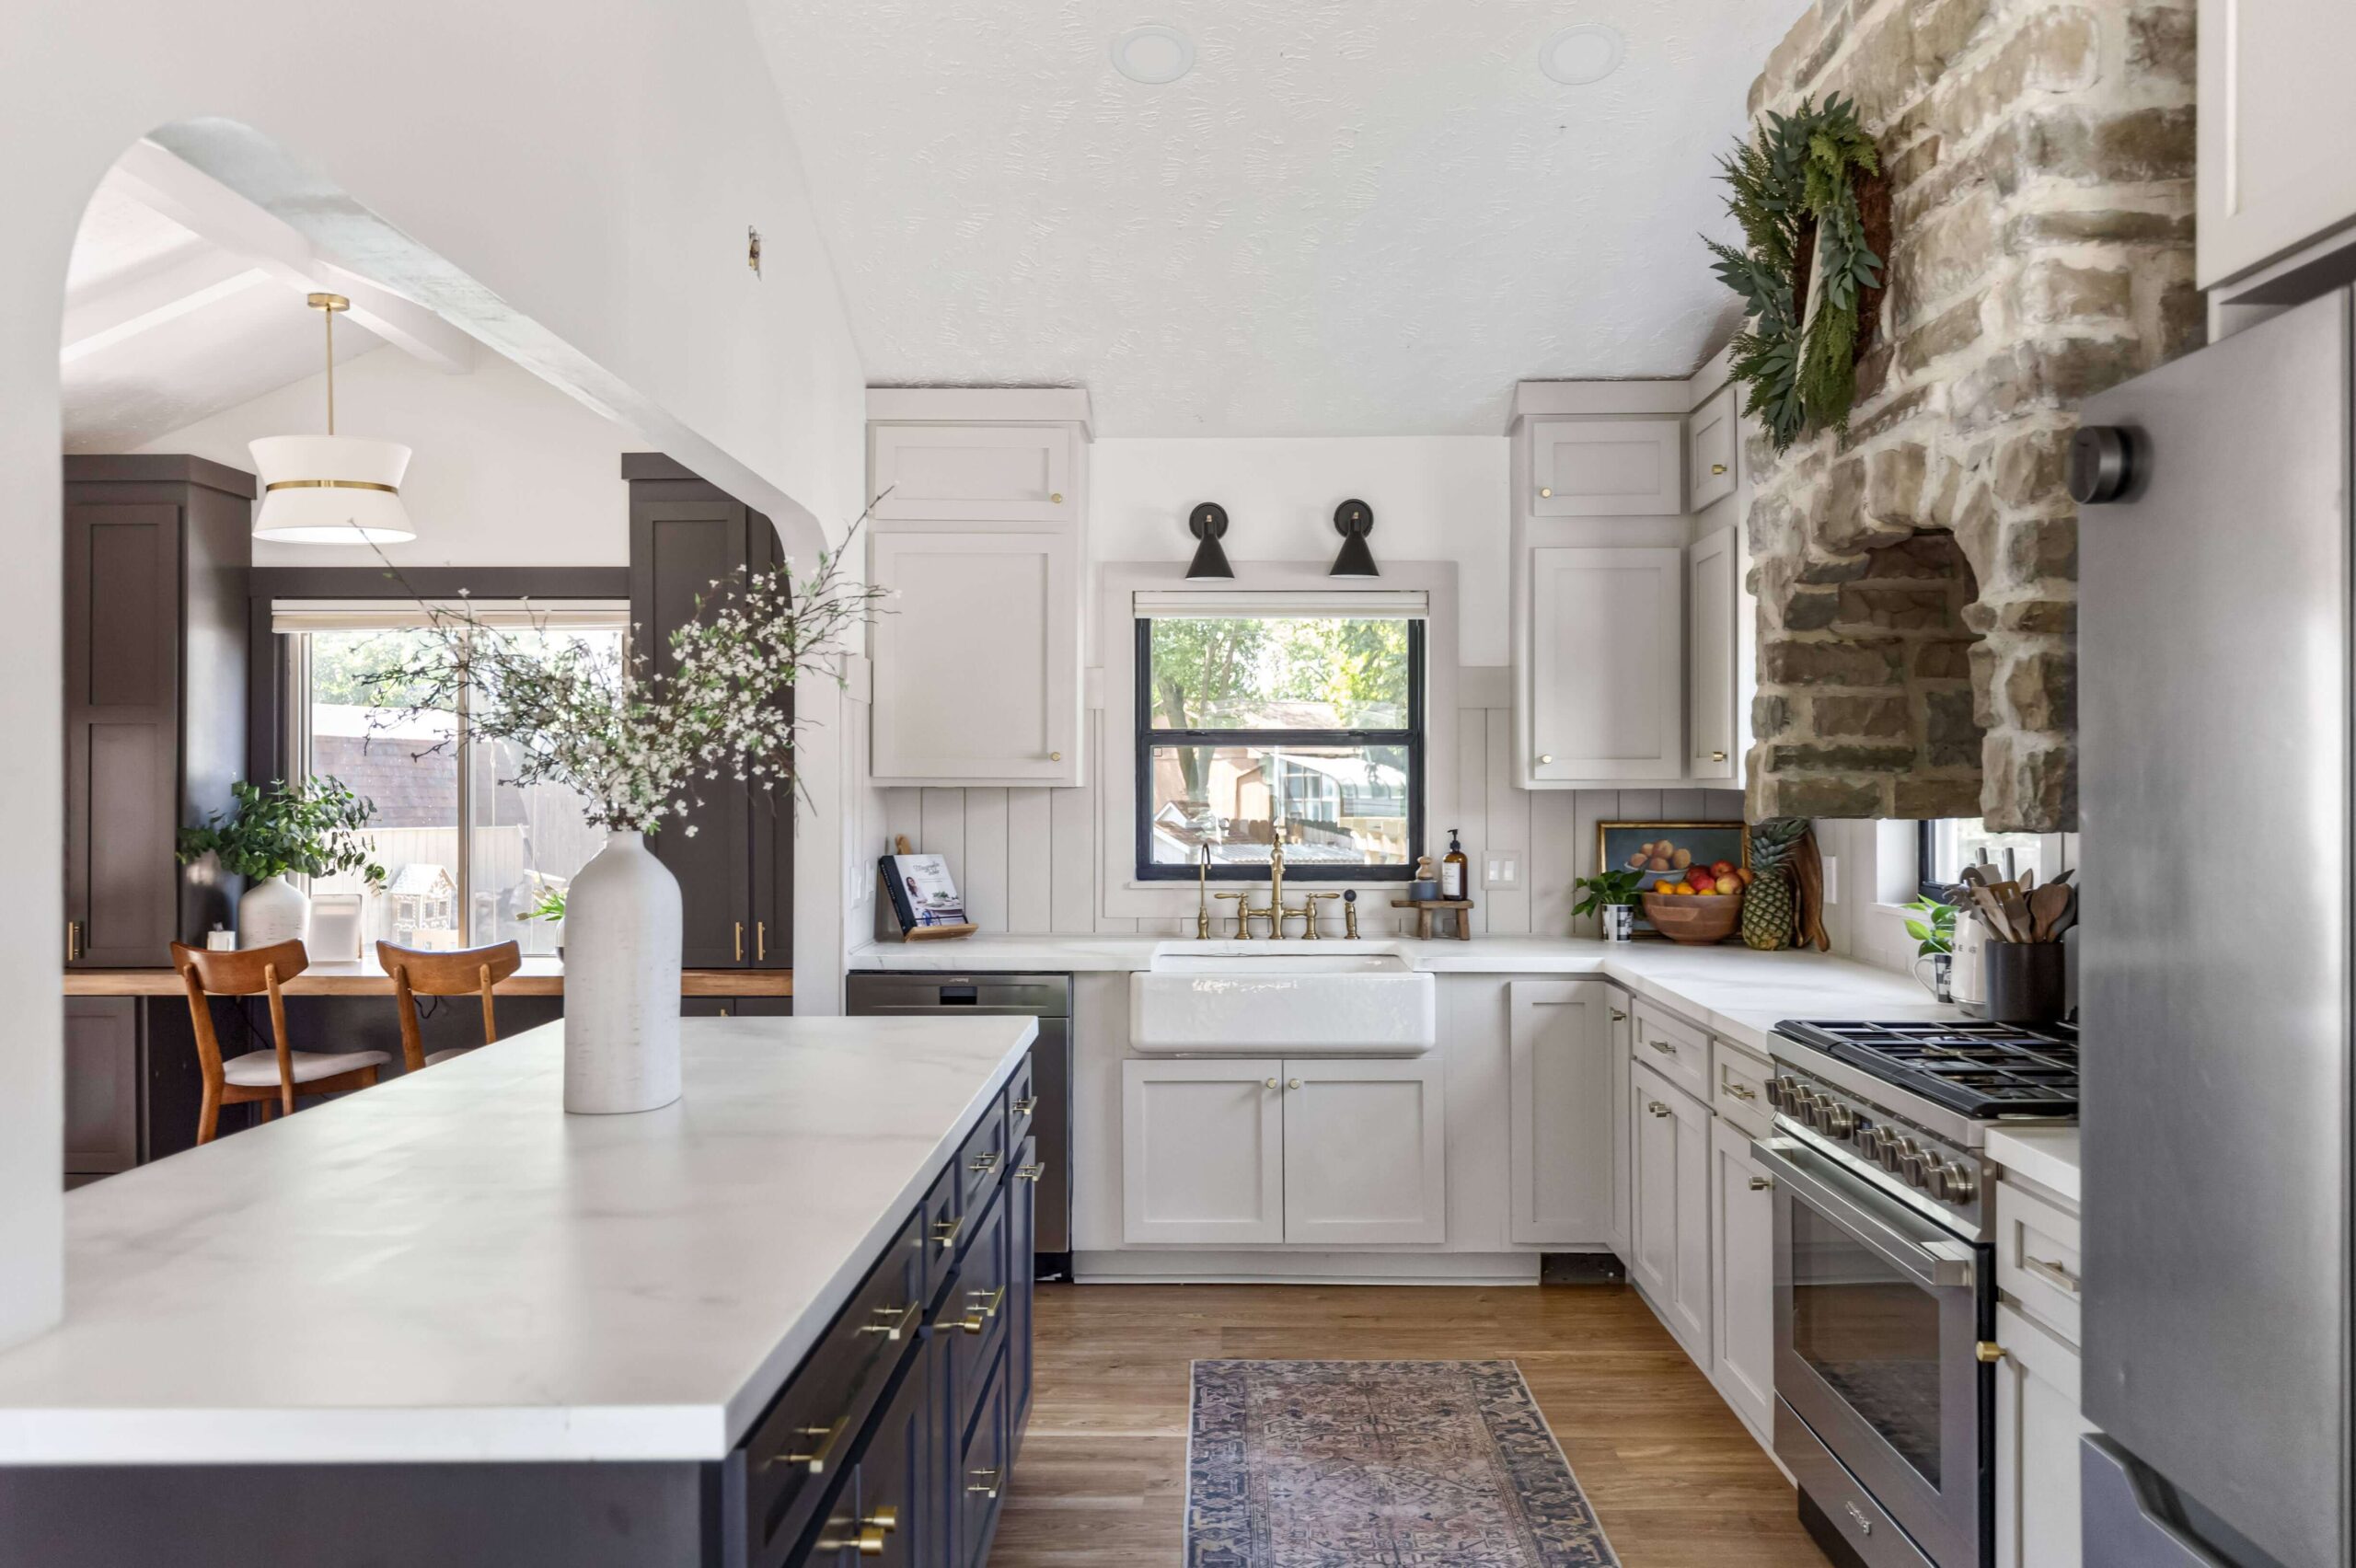

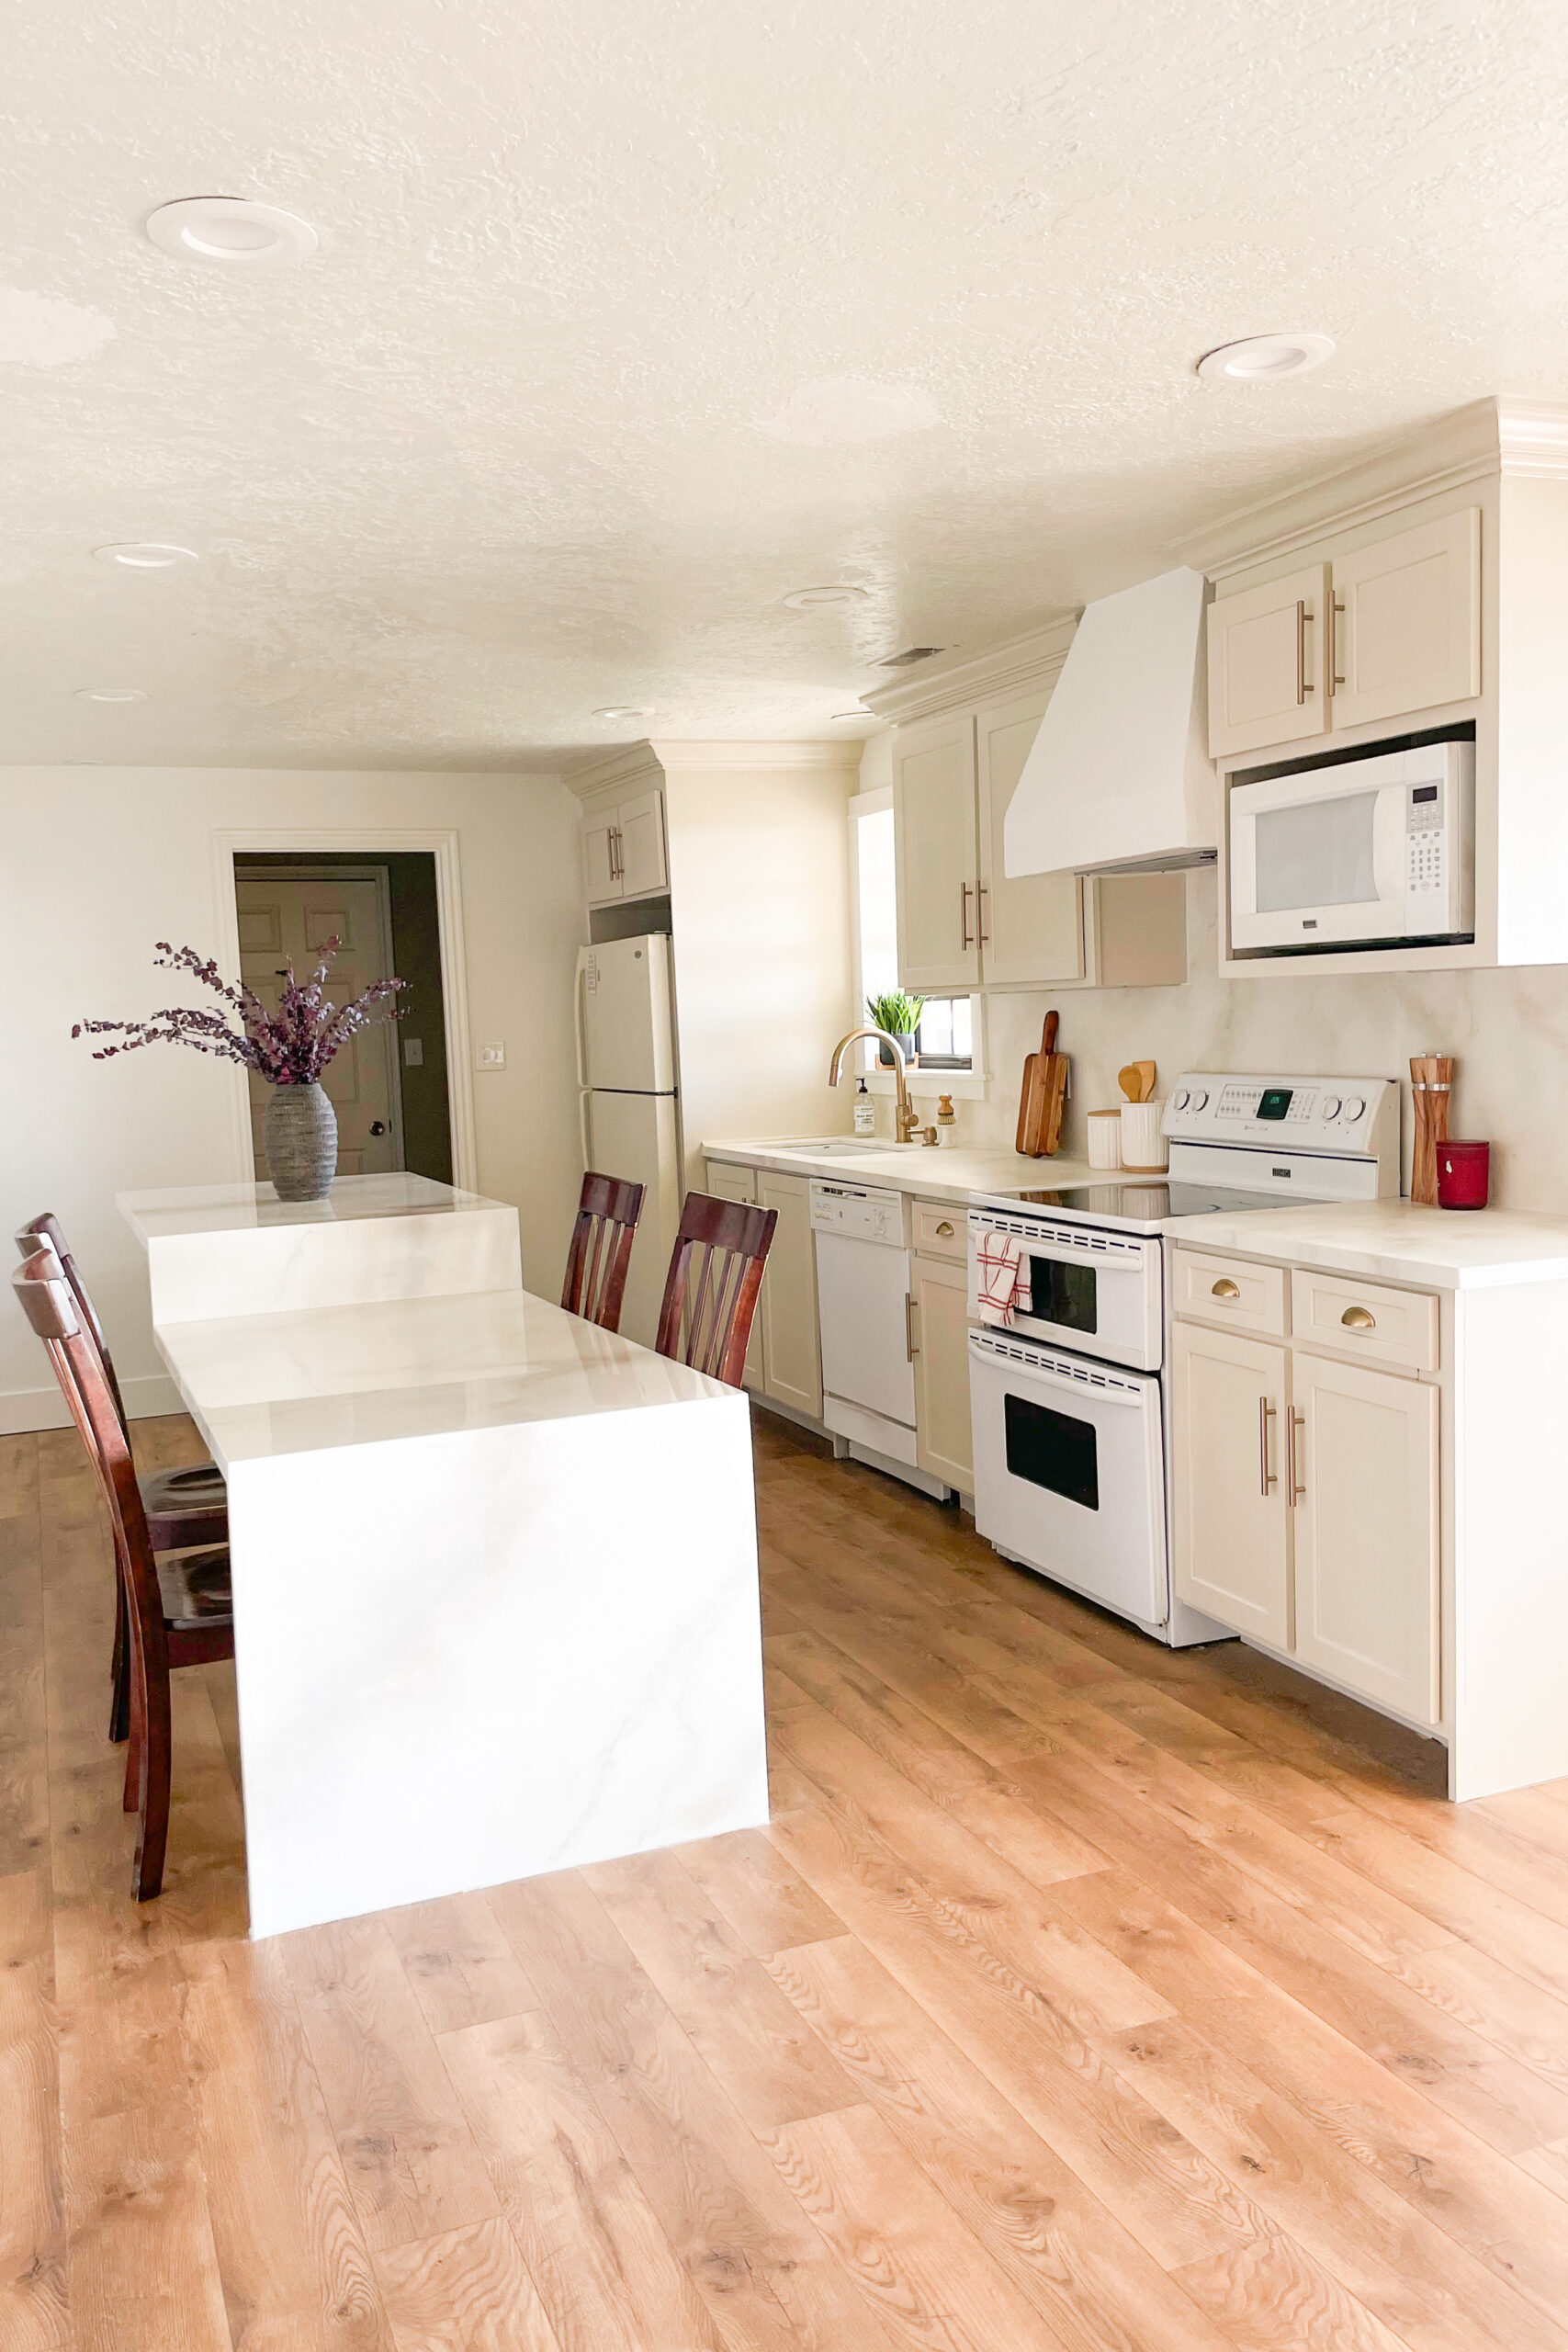
Even though I didn’t get into the whole demo process, I love seeing before-and-after shots! So, here’s a peek of our open-concept kitchen transformation.
When we first moved in, this is what you saw when looking towards the space that’s now our kitchen.
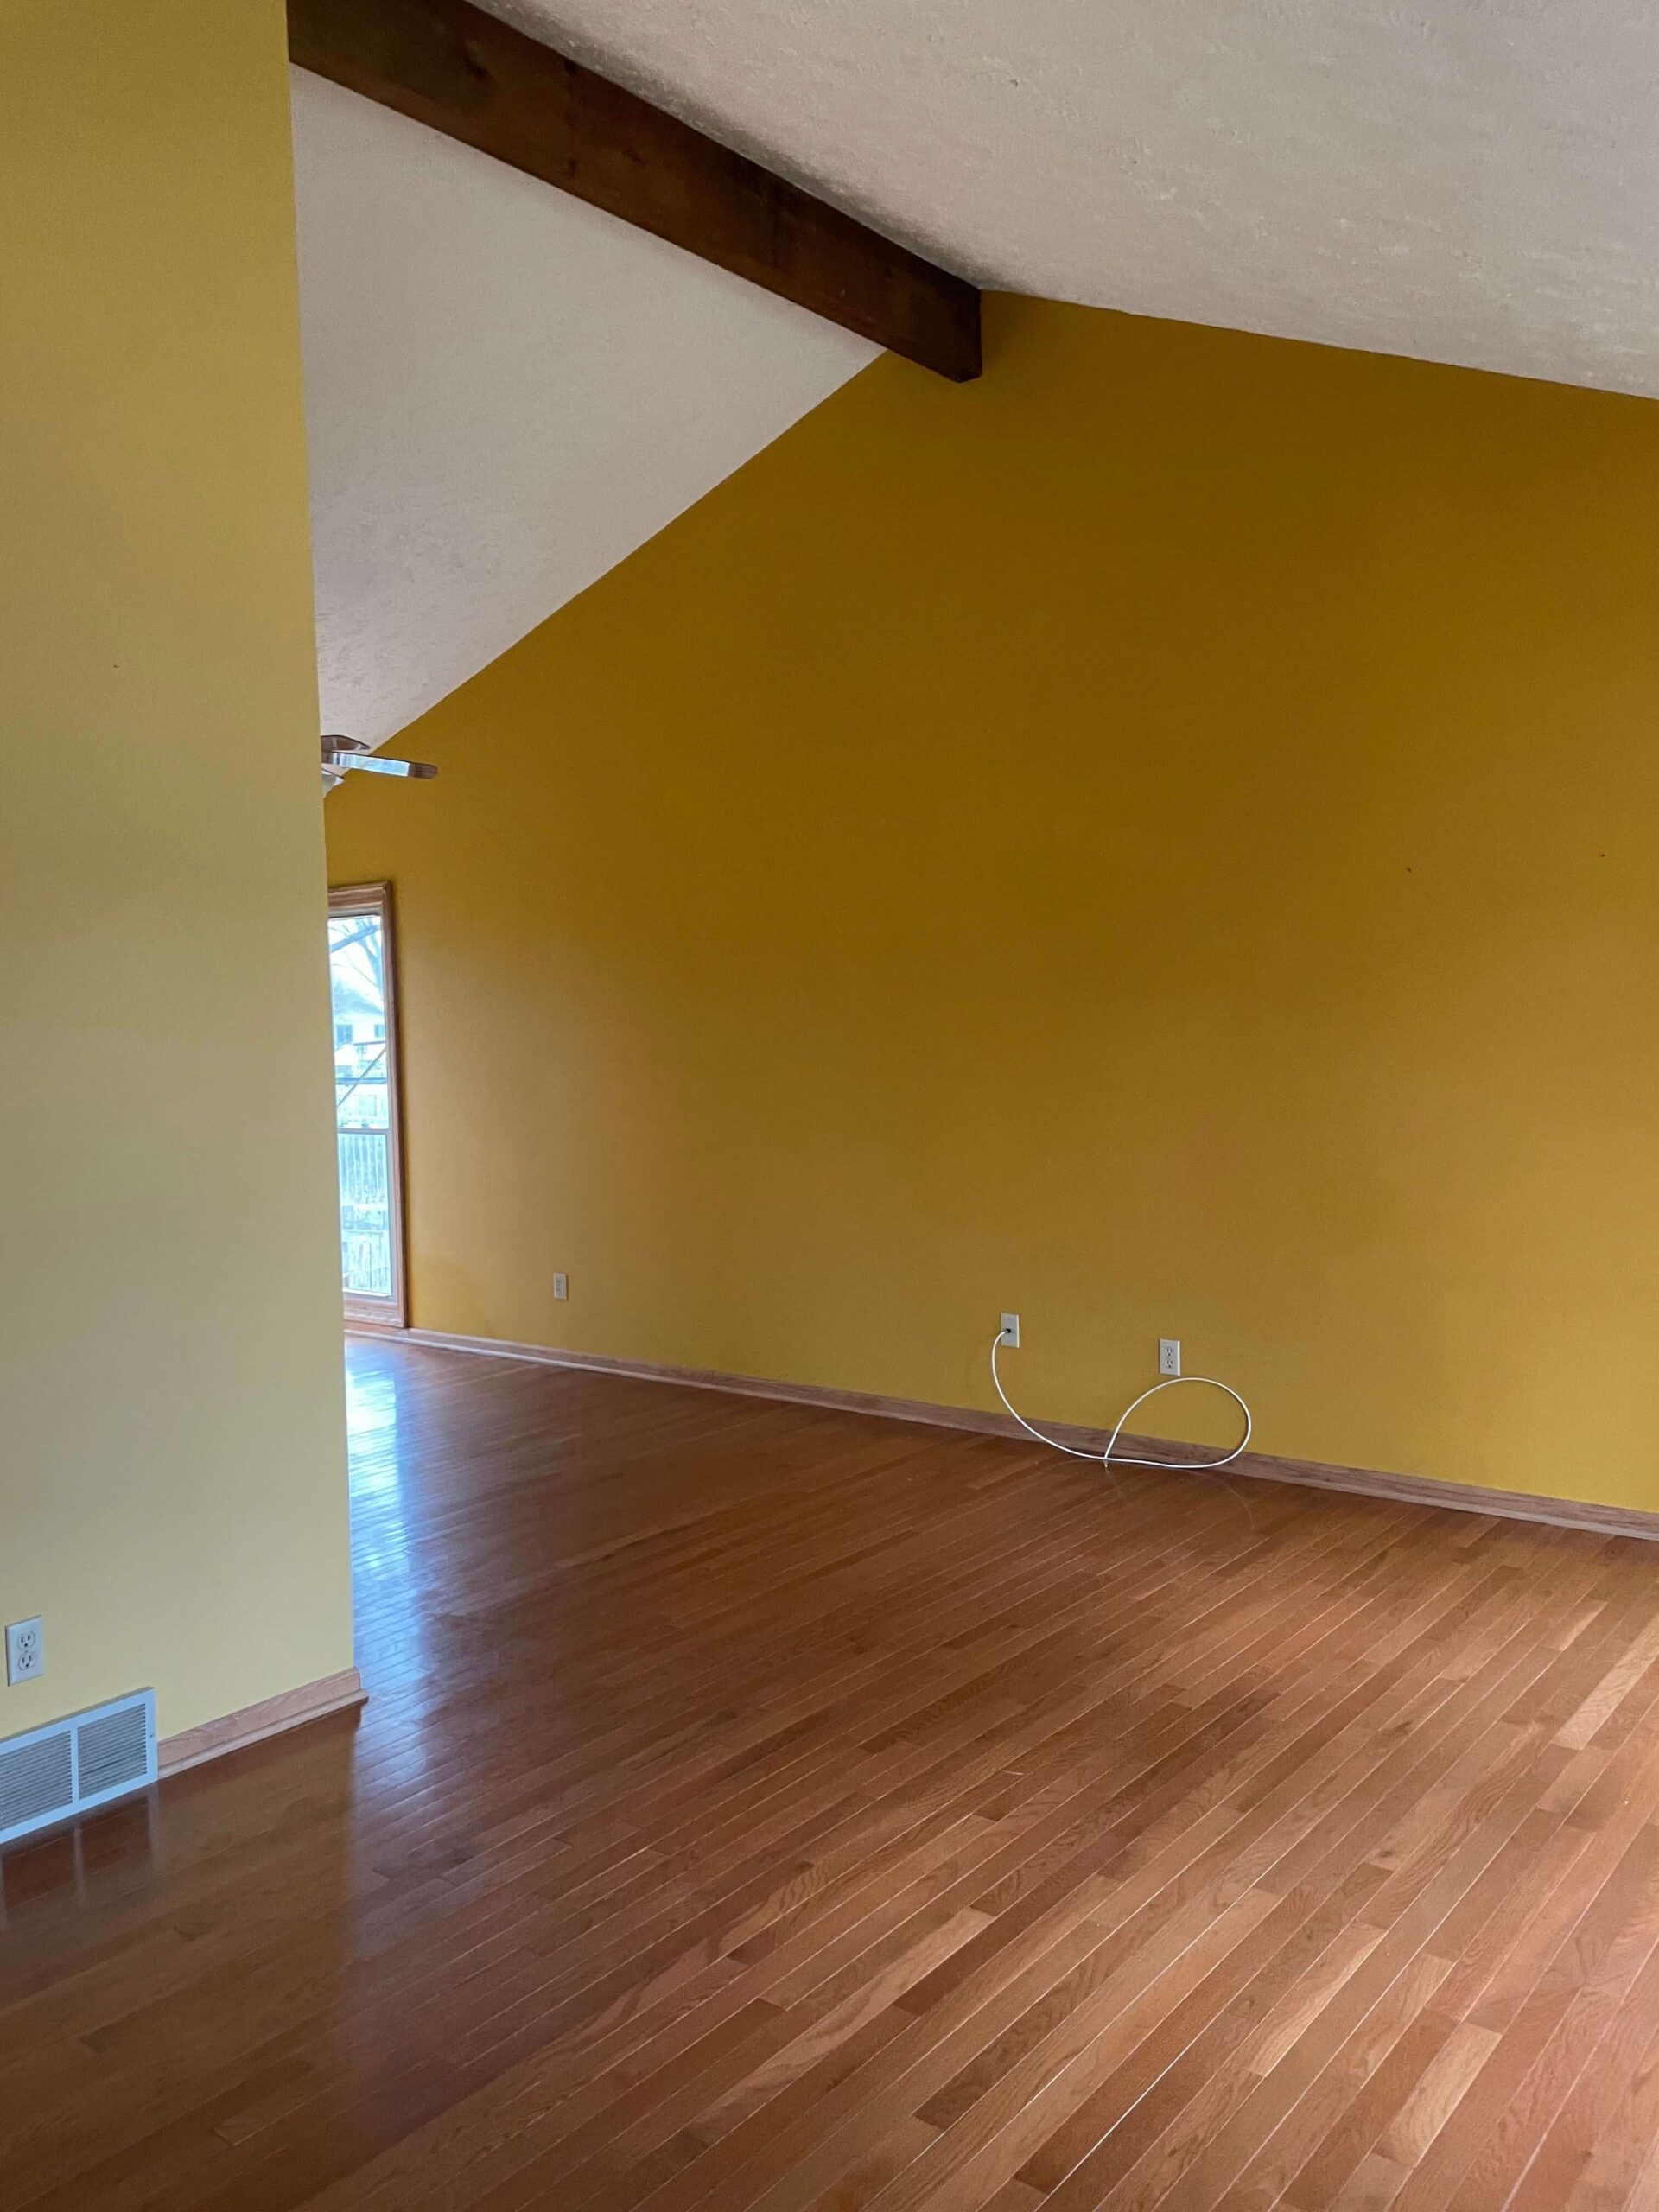
And now, check out that same spot with a completely different view! It’s incredible what some unfinished kitchen cabinets and hard work can achieve!
Thinking about reusing and repurposing the kitchen cabinets you already have? That was our original plan when we moved in, and what we did in the basement kitchen of our last home back in Utah. I have all the details here.
Leave a Reply