


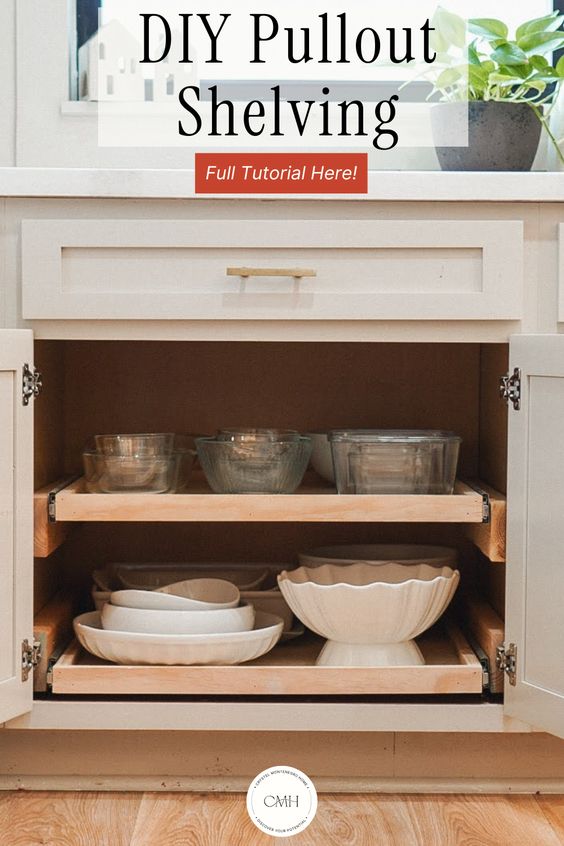
DIY Pull-Out Shelves: The Ultimate Kitchen Upgrade!


Updated July 13, 2026
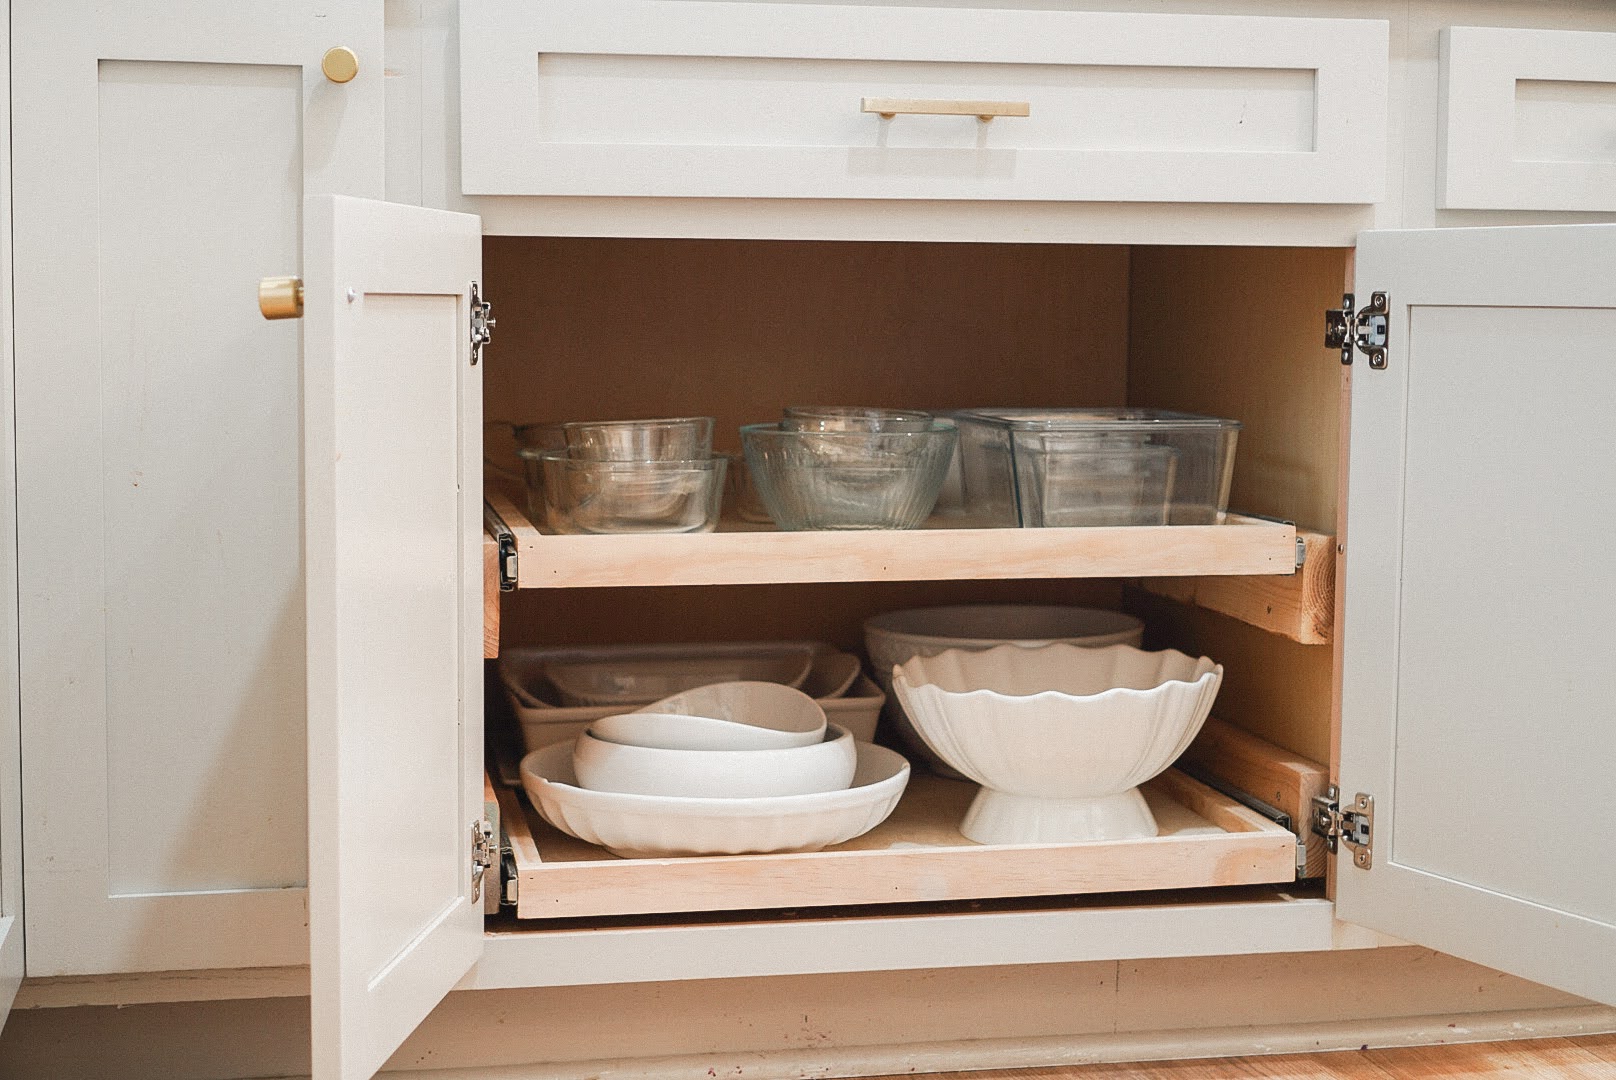
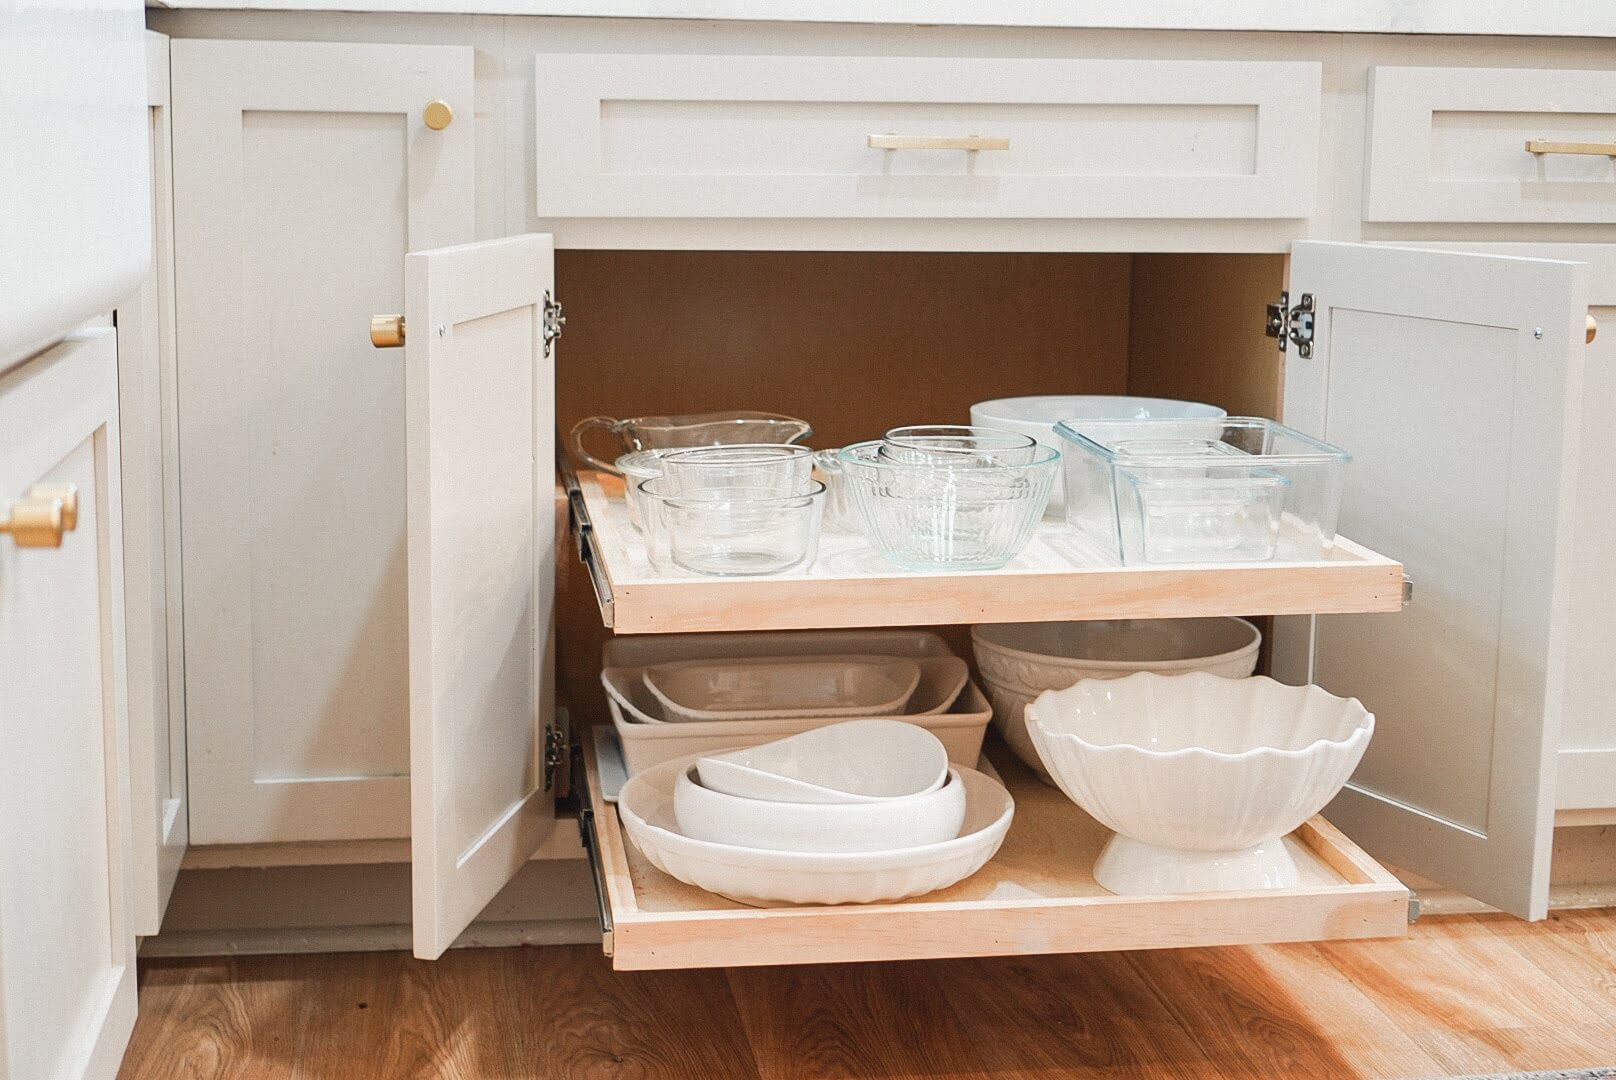
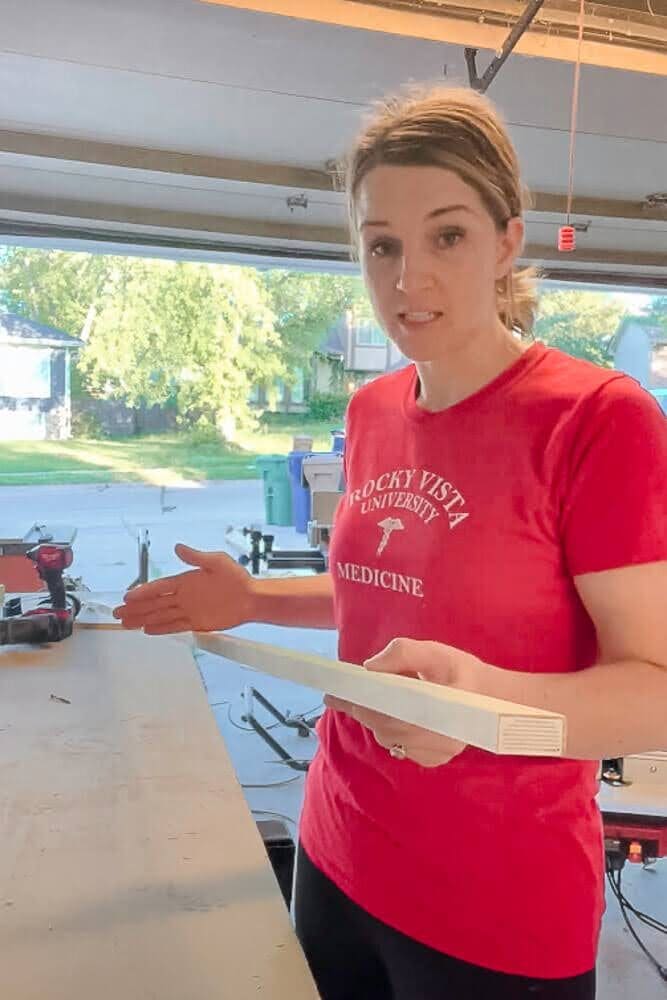
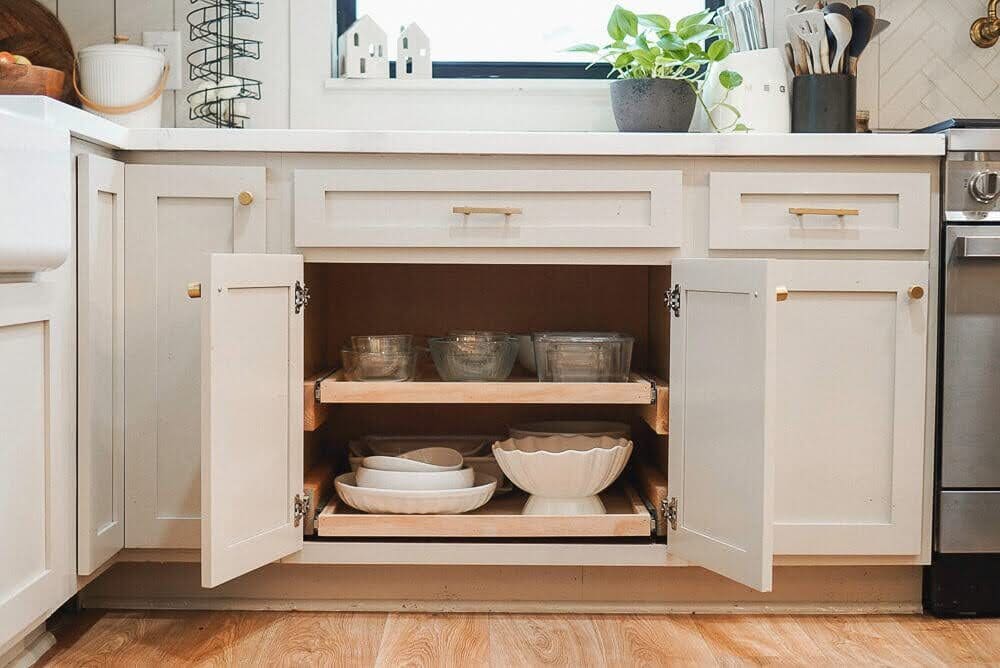
Do you hate those useless half-shelves in kitchen cabinets? I sure do! When we remodeled our kitchen, we installed stock cabinets from Home Depot, and the built-in shelves were hard to reach and not very functional. So, I replaced them with custom pull-out shelves—and let me tell you, it’s a total game-changer! If you’re tired of digging through your cabinets, this DIY project will transform your storage and make your kitchen more efficient.
This post includes affiliate links.
Why Pull-Out Shelves Are a Must-Have
Before jumping into the build, let’s talk about why pull-out shelves are the best upgrade for your kitchen:
- Easy Access – No more bending and reaching for items in the back!
- Maximized Storage – Utilize every inch of your cabinet space efficiently.
- Custom Fit – Build them to fit your kitchen perfectly.
- Aesthetic Appeal – Say goodbye to clutter and mismatched organizers.
Tools Needed for DIY Pull-Out Shelves
To build pull-out shelves, you’ll need the following tools:
Brad Nailer
Drill
Miter Saw
Table Saw
Circular Saw
Router
½” Router bit
Tape Measure
T-Square Ruler
Laser Level
Mini Level
Supplies for Your Custom Pull-Out Shelves
Gather these supplies before starting:
Wood Glue
Brad Nails
Drawer Slides & Screws
1×2 Select Pine Boards
½” Plywood
2x4s for Bump Outs
Step 1: Preparing Cabinets for Pull-Out Shelves
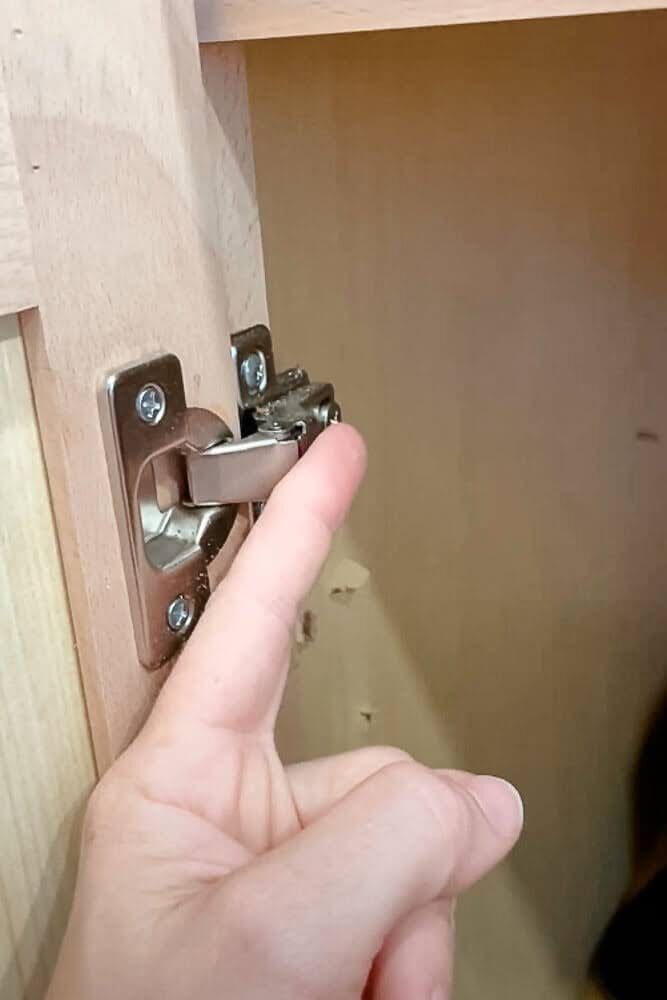
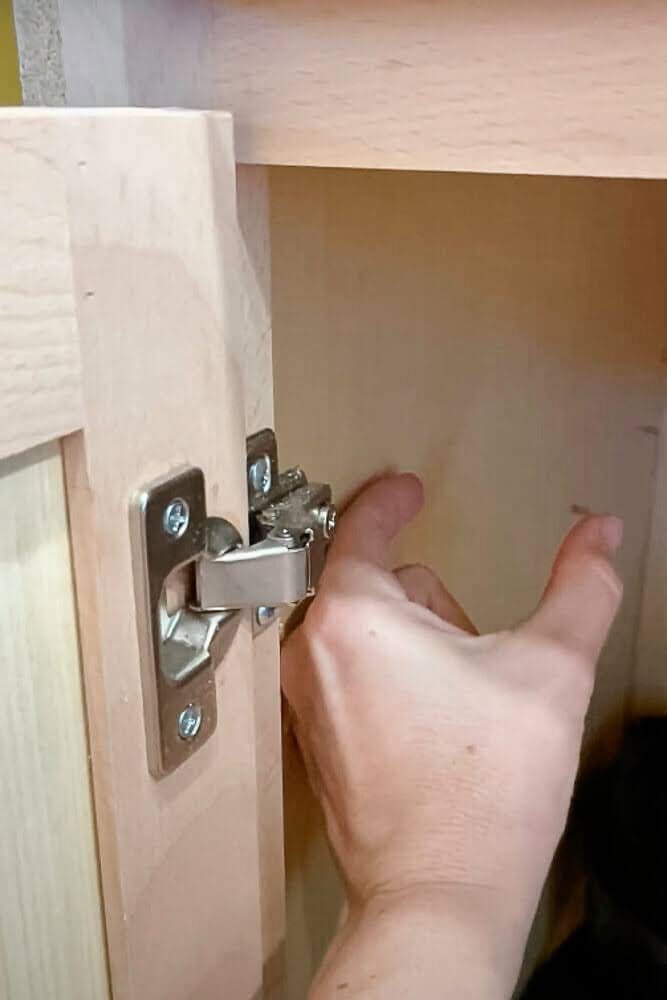
The door hinges stick out a bit, and I wanted the custom pull-out shelves to clear them when sliding in and out, so I needed to do some measurements around those first.
I started by measuring the distance between the fattest part of the hinges on both sides of the cabinet; my measurement came out to 31 ¼”. That’s how wide I needed my shelf to be.
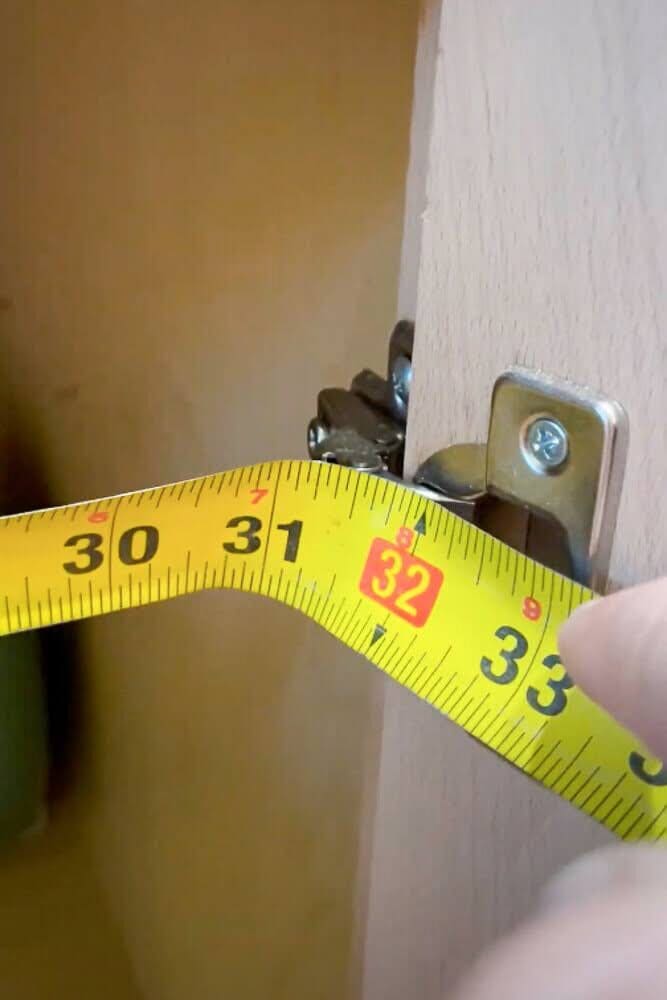
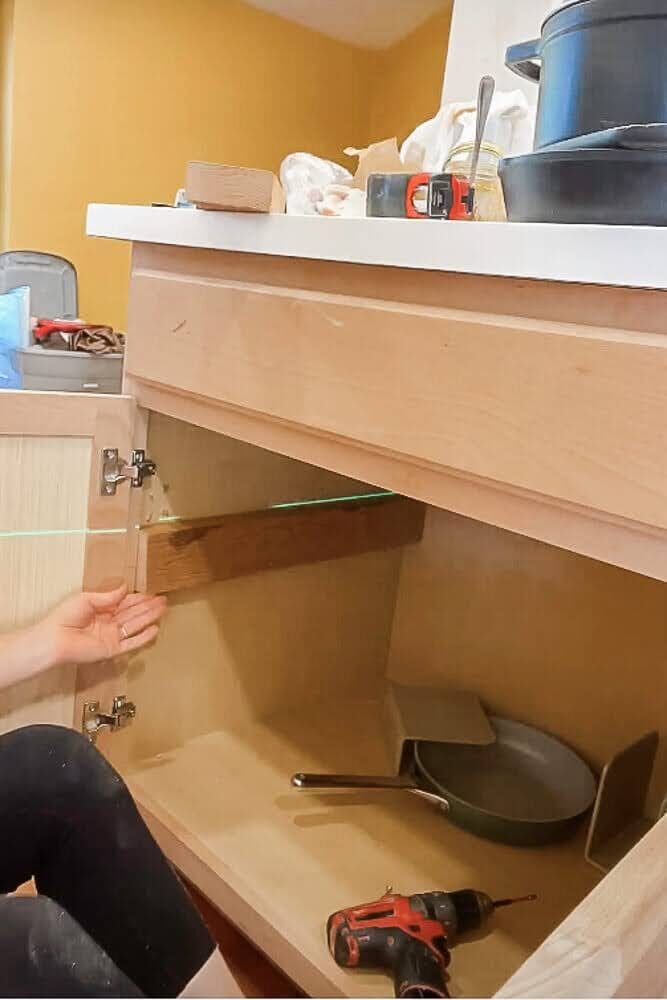
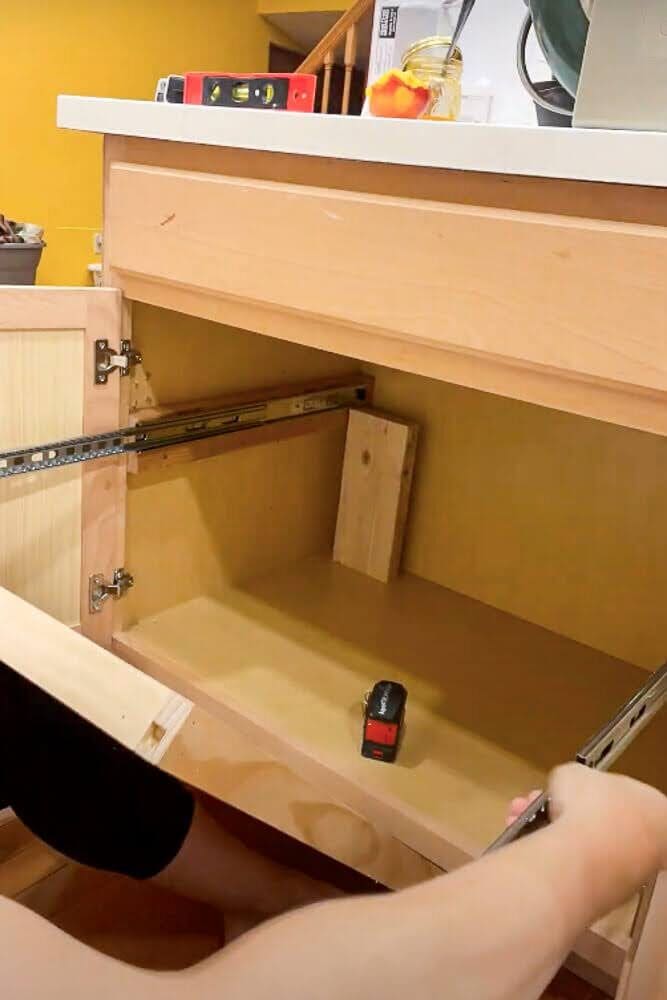
Then, I had to find out what the distance was between the side of the cabinet and the front of the hinge on each side of the cabinet because I had to put something in there that was going to fill in the gap so that my drawer slide could be mounted and clear the hinge when sliding in and out. Unless I added a piece of wood to bump out my drawer slides, my pull-out shelves would hit the frame each time.
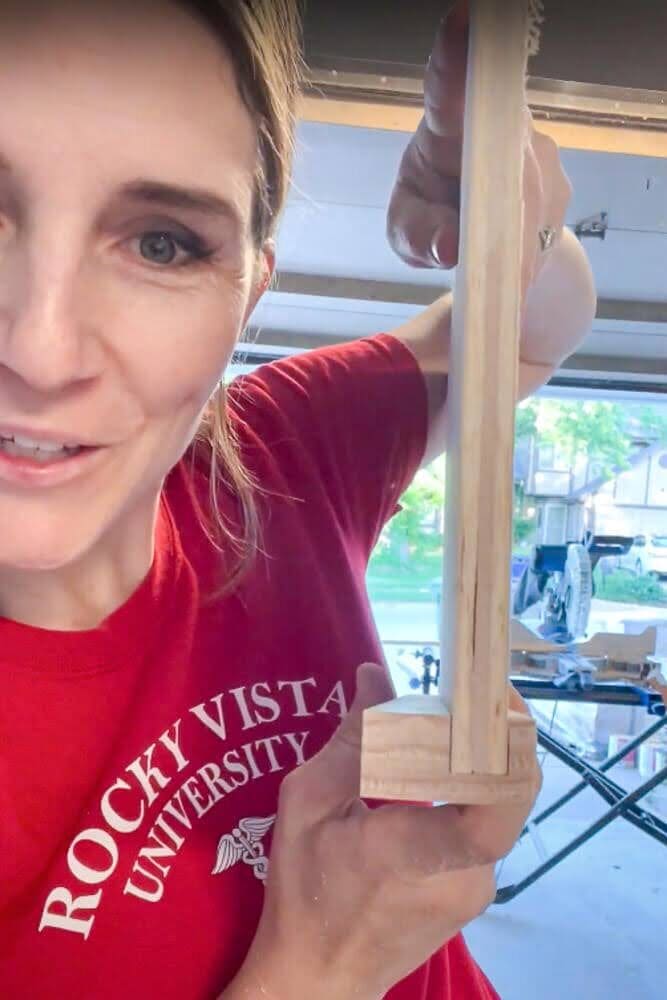
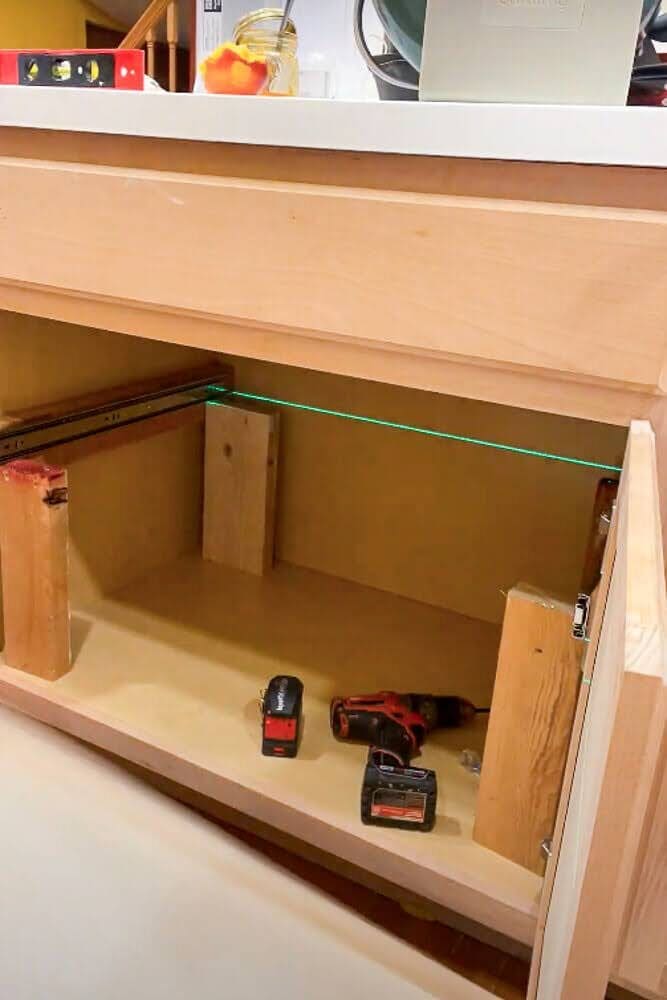
I used a laser level to line up exactly where I needed my top drawer to go. It’s important that both drawer slides are exactly level when you install them; otherwise, they won’t slide out properly. Then, I took a 2×4 piece of wood cut to the depth of my cabinet and used wood glue and multiple screws to mount it to the side of the cabinet. When mounting it, I ensured the wood piece was directly under my laser-level line. Then, I repeated the same steps on the other side of the cabinet.
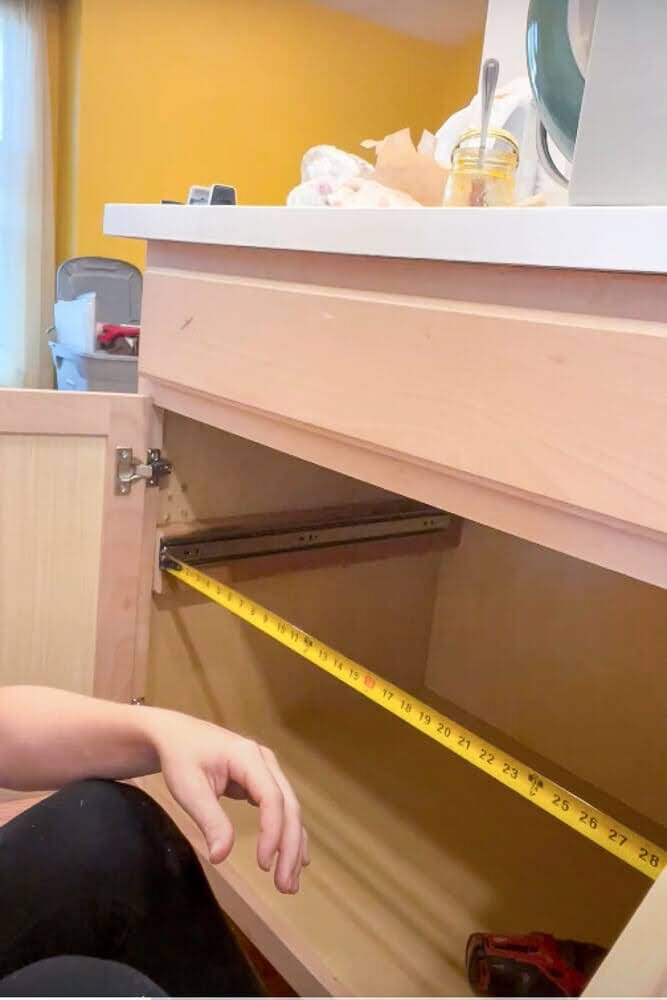
Step 2: Installing Drawer Slides for Custom Pull-Out Shelves
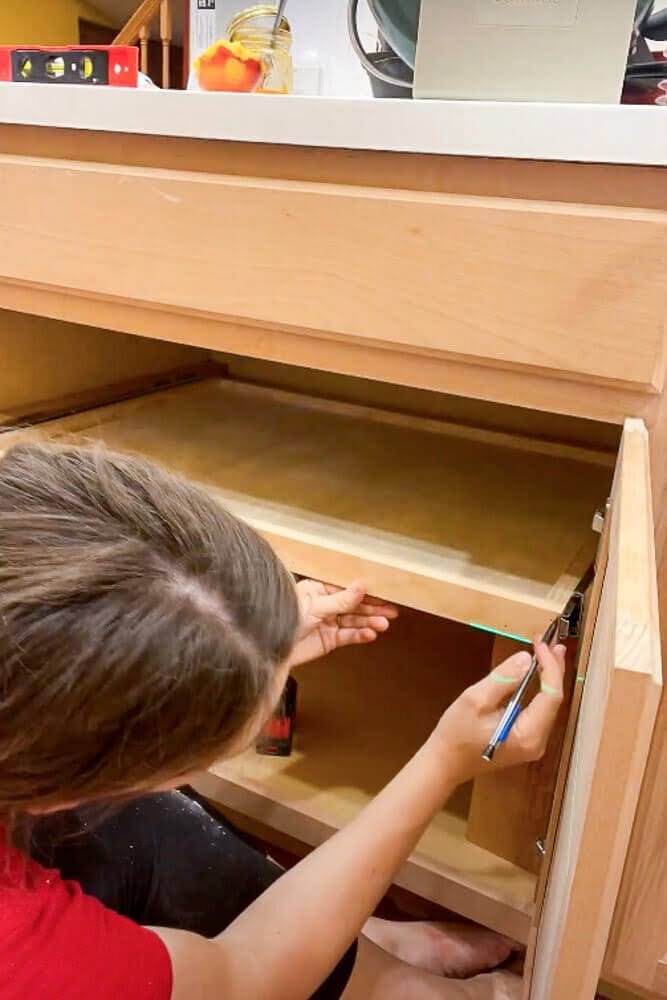
Next, I installed the drawer slides for the top drawer in the cabinet. To install them, I took one slide and lined the top end up with the top of the bump-out board and the laser level line. I then extended the slide entirely out and drilled the screws into the slots within the slide.

Once all screws were in, I pushed the slide back into place and mounted the other slide to the other side of the cabinet. Once both slides were mounted, I measured them to ensure they were level and in the correct spots. Then, I continued these steps to install the drawer slides for the bottom drawer.
Step 3: Measuring and Cutting the Frame of the Custom Pull-Out Shelves
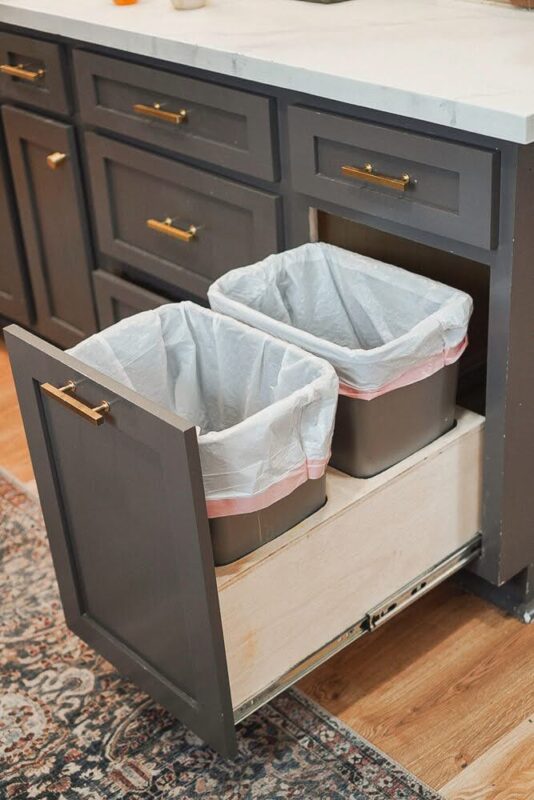
If you followed along with how I built my trash bin cabinet drawer, I essentially did the same thing for the kitchen cabinet drawers, but I replaced the top half shelf and the bottom shelf with custom pull-out shelves instead. These shelves were a little different to build but much easier.

The pull out shelves for this cabinet needed to be shorter, wider, and stronger than those in the trash bin cabinet because this cabinet is significantly wider. That meant the bottom of each shelf required more support than just screws, brad nails, and glue.
For the top and bottom drawers, I built a sturdy frame using 1×2 select pine—the same material I used for my cabinet face frames. I decided to add a decorative wooden border around the plywood shelf, but that’s totally optional! You could simply cut a piece of ¾” plywood to size, apply iron-on edge banding for a clean finish, and attach the drawer slides directly to it. But if you want the extra detail, read on.
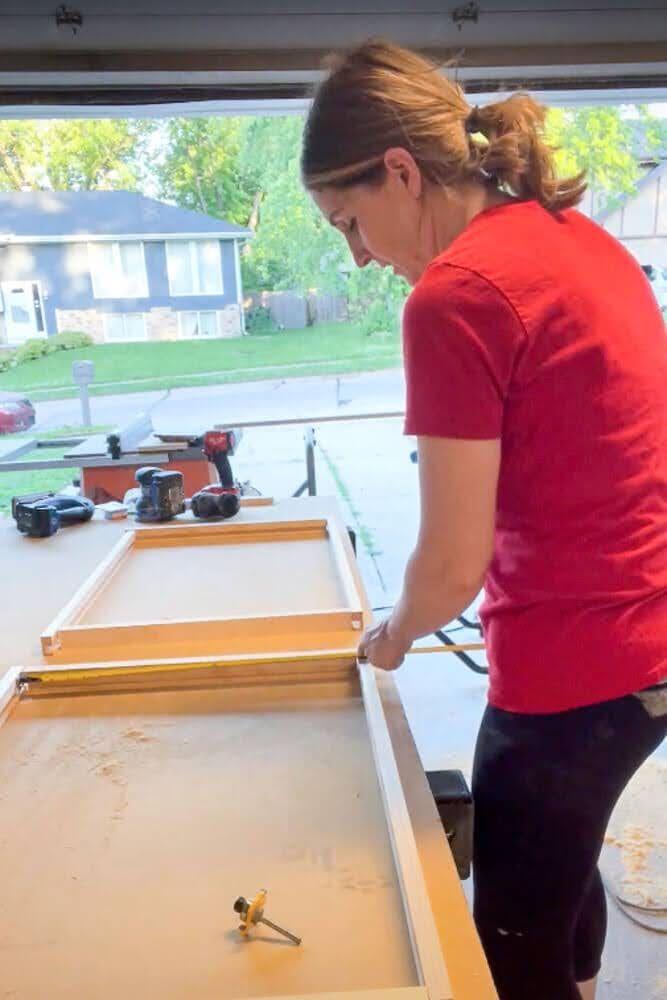
To construct the frame for my pull out shelves, I started with the front and back pieces. I cut two frame pieces to 30 ½” using my miter saw. Next, I determined the length of the side pieces by taking the total drawer depth of 22 ½” and subtracting the thickness of both frame pieces (1 ½” total). That left me with 21”, so I cut both side pieces to that length. For a clearer breakdown:
- Front and back frame pieces: 30 ½”
- Side frame pieces: 21”
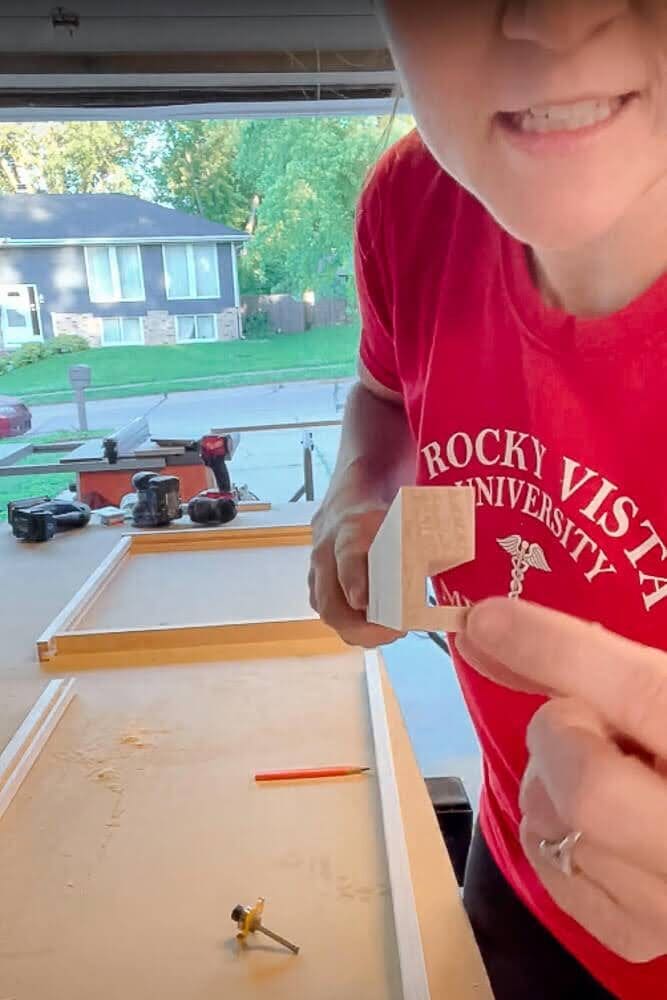
I repeated these cuts for my second drawer. Once all the pieces were ready, I began routing the edge pieces to create a groove for the plywood shelf to fit in, ensuring a snug and sturdy base for the pull out shelves.
This method keeps the construction strong while maintaining a clean, polished look.
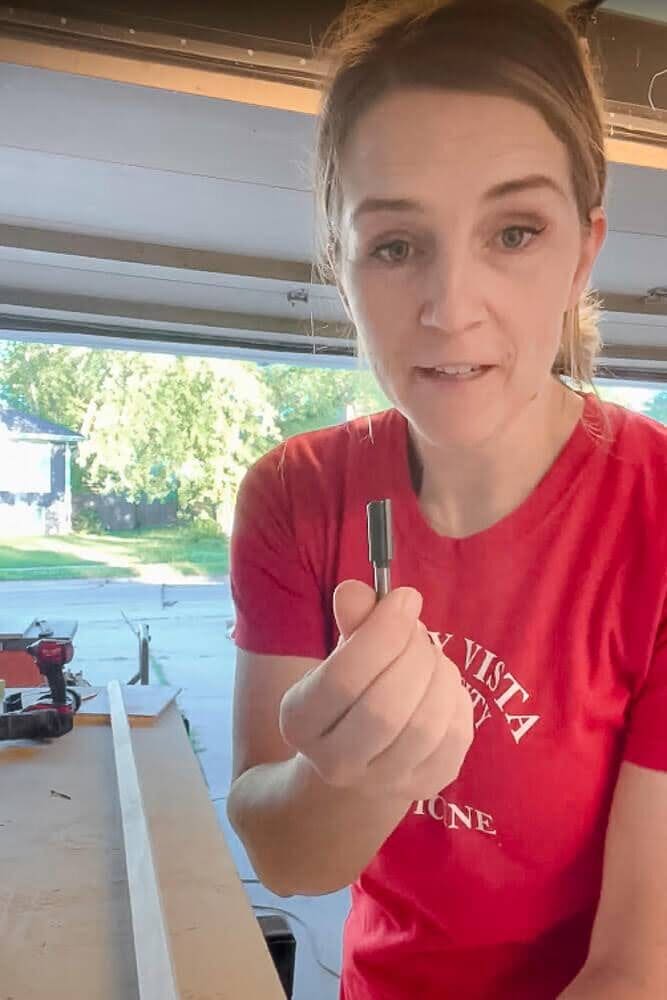
Step 4: Using the Router to Carve the Drawer Frame Edges
When building the drawer frames, I got a little bit fancy and used my 1/2″ router bit on my router because it’s the same thickness as the plywood I used for each drawer’s bottoms. The router bit was used to carve out a slot in each frame piece so that my plywood could sit into my frame. That gave the edges of my plywood something to sit on, making the whole drawer sturdier.
I first ran a test piece through my router and the plywood piece fit in the slot beautifully. Then, I ran all of the edge pieces through the router to create the slot for the plywood to sit in. After each piece was routed out, the most challenging part was over.
When using the router to cut through each edge, I made sure one side of each frame edge was ½”.
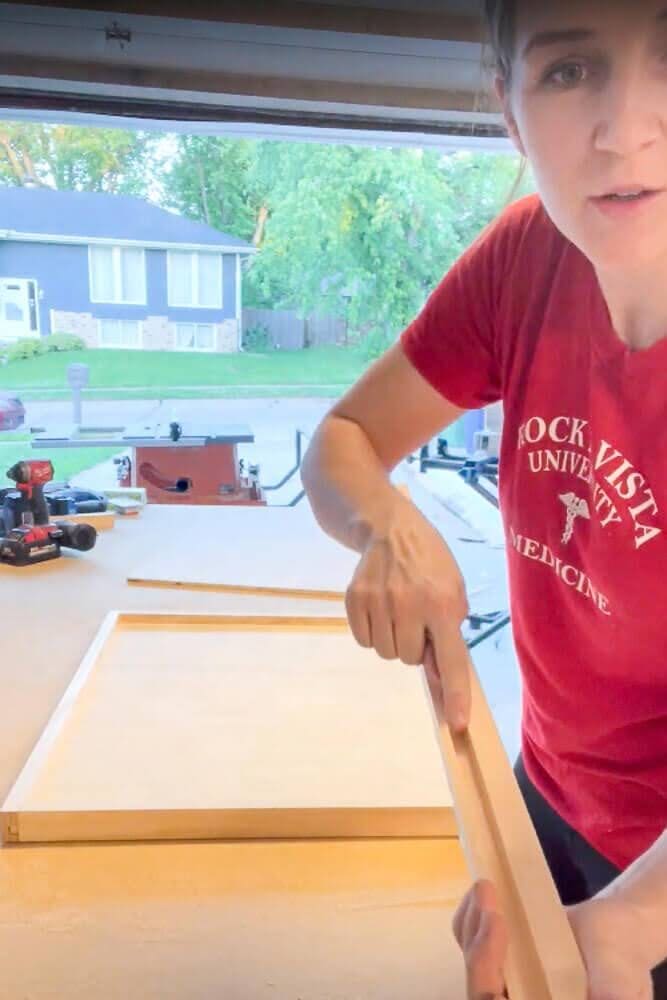
Step Five: Measuring and Cutting the Plywood to Size
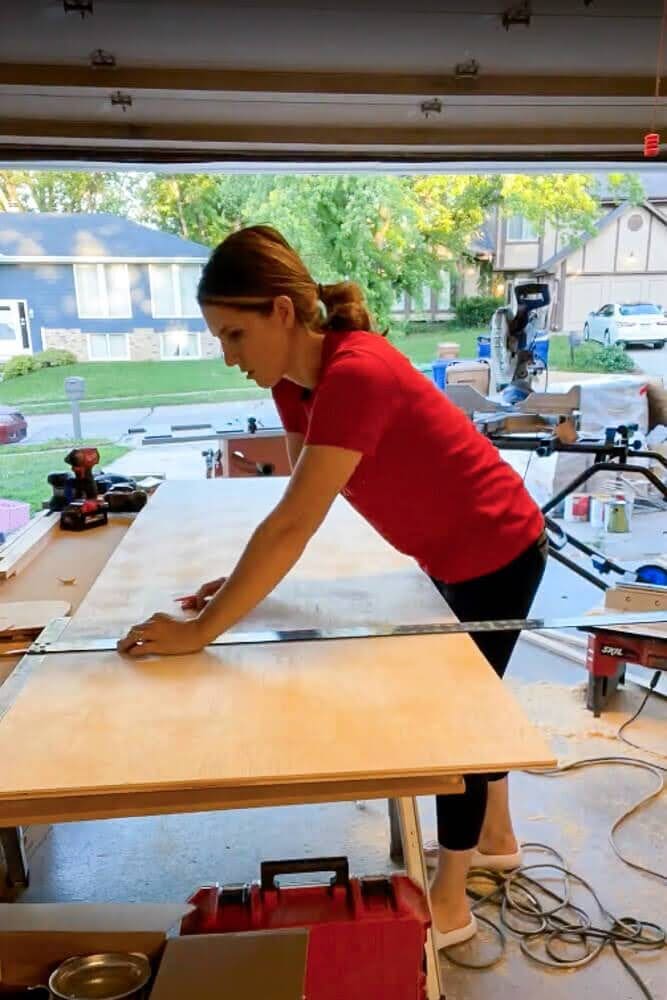
After all frame edges were routed, I put them together to make a square. Then, I measured the inside diameter of the square and added 1”, so ½” on each side of the square edges, and that’s how big I cut each piece of plywood for the bottoms of the drawers.
So, the distance between the front inside edges of the drawer was 28 ¾”, but cut to 29 ¾” to make up for the spacing inside the router slots. Then, I measured the inside edge of the sides of the drawer, which was 21”, so that side of the plywood needed to be cut to 22”. Again, the extra inch makes up for the space within the routed-out slot in each edge piece. So, 29 ¾” x 22” was the dimensions of each drawer’s bottom.

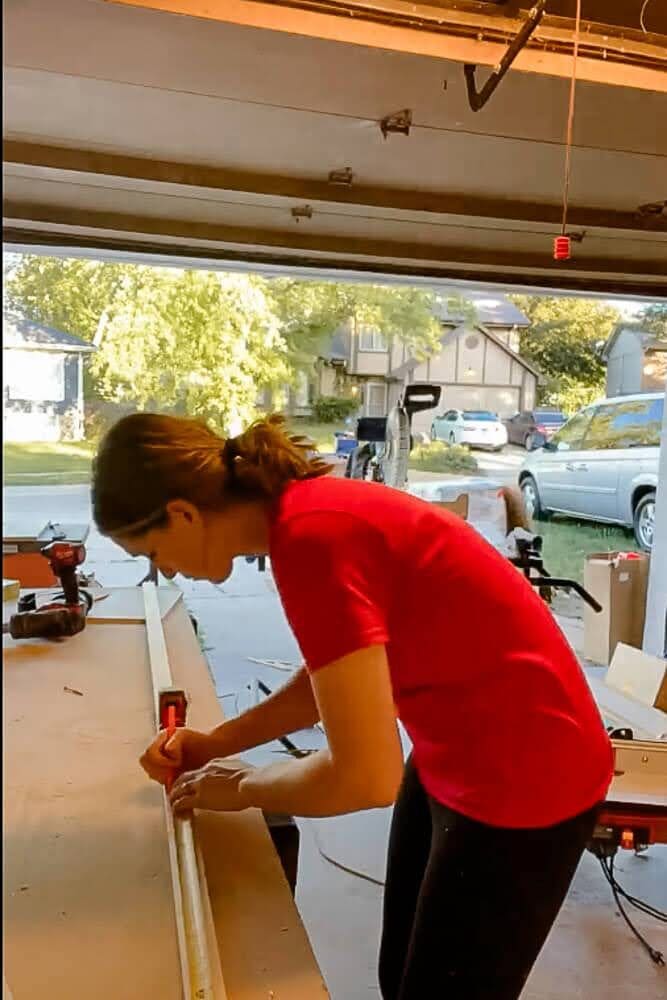
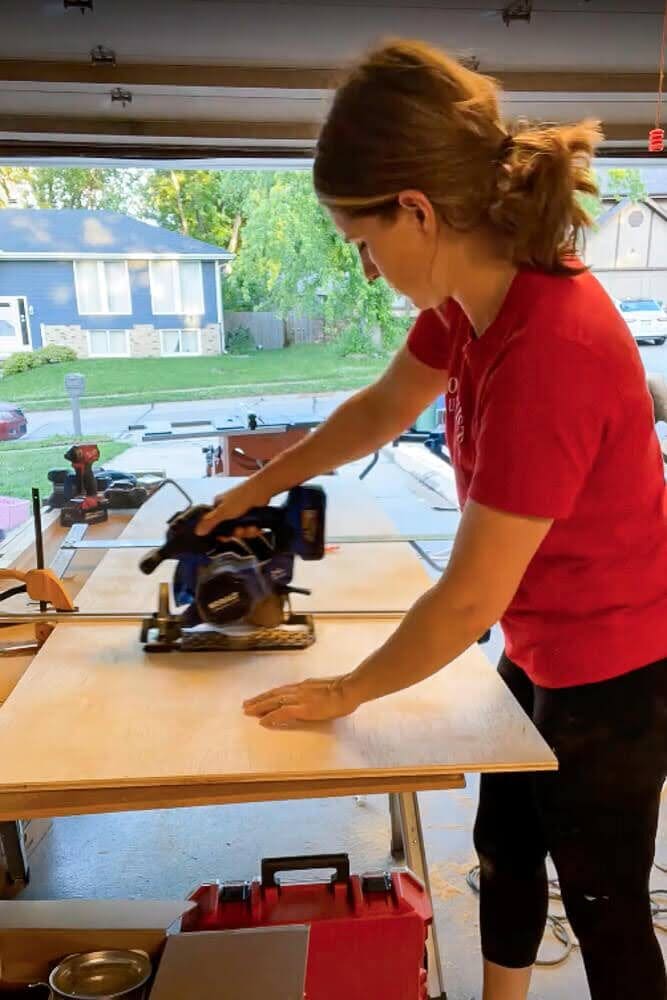
I broke out my T-Square ruler and circular saw and started cutting the plywood to size. After measuring and marking where the first line should be cut, I clamped a straight edge board on the line, then used my circular saw to cut straight up against the clamped board, ensuring the cut was going to be straight. Then, I trimmed the edges down to the exact size using my table saw.
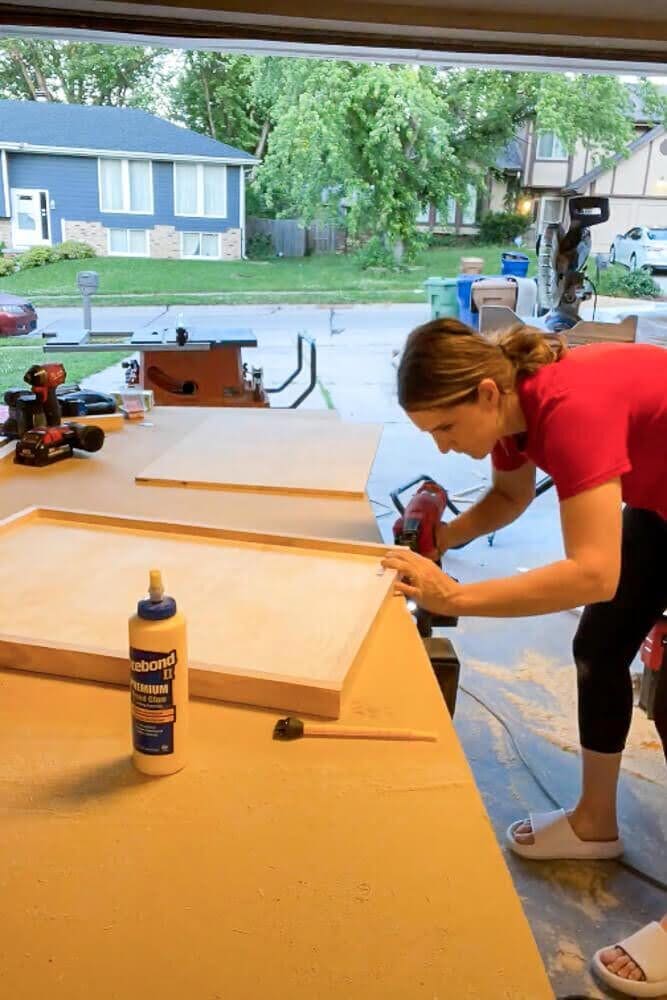
After the plywood used for the custom pull-out shelves was cut to size, I wanted to see how they fit within the routed-out frame pieces; they fit perfectly! So, I put wood glue in each of the troughs within each edge piece and then brad nailed the edges onto the sides of the plywood.

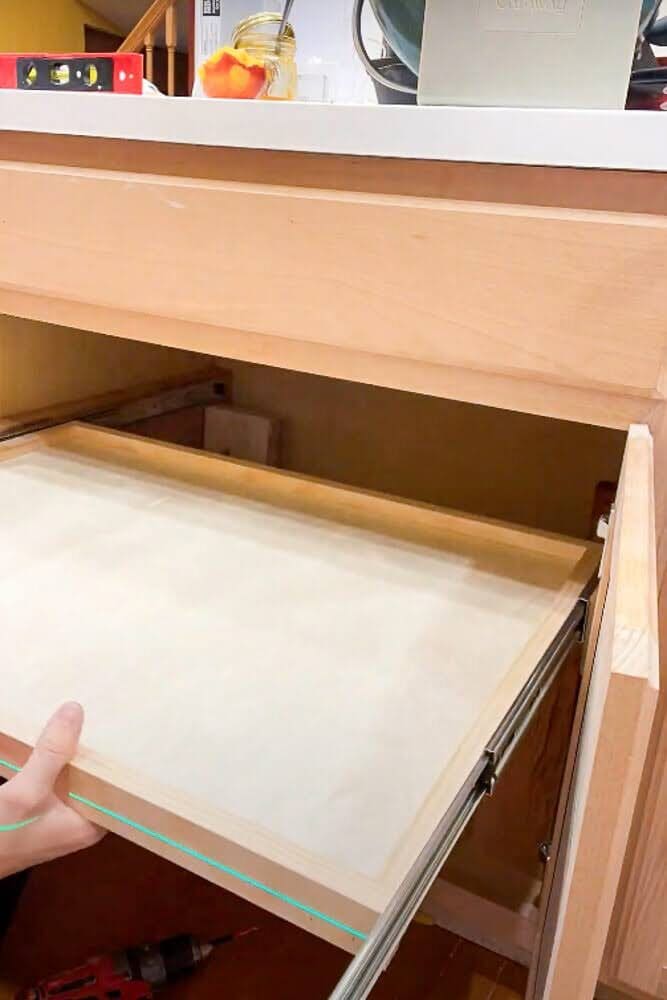
Step 6: Attaching the DIY Cabinet Pull-Out Shelving to the Drawer Slides
Once the drawers were put together, I brought them inside and had to attach them to the drawer slides. To attach them, I cut four 2×4 supports long enough to help support the drawers while I used my laser level to ensure they were sitting evenly.
Then, I measured and marked where I wanted the front of the drawer slide to be attached to both sides of the drawer.
Once that was figured out, I extended the drawer slides all the way out, pressed down on the inside tab, and separated them so that one half was still mounted to the inside of the cabinet and the other half was completely off. The side that was completely off was then screwed into markings I made on the side of the drawer.
After the slides were mounted to the drawer, I put the drawer in place and attached the slides back together until they were latched and the drawer pulled in and out smoothly. I repeated these steps for the bottom drawer.
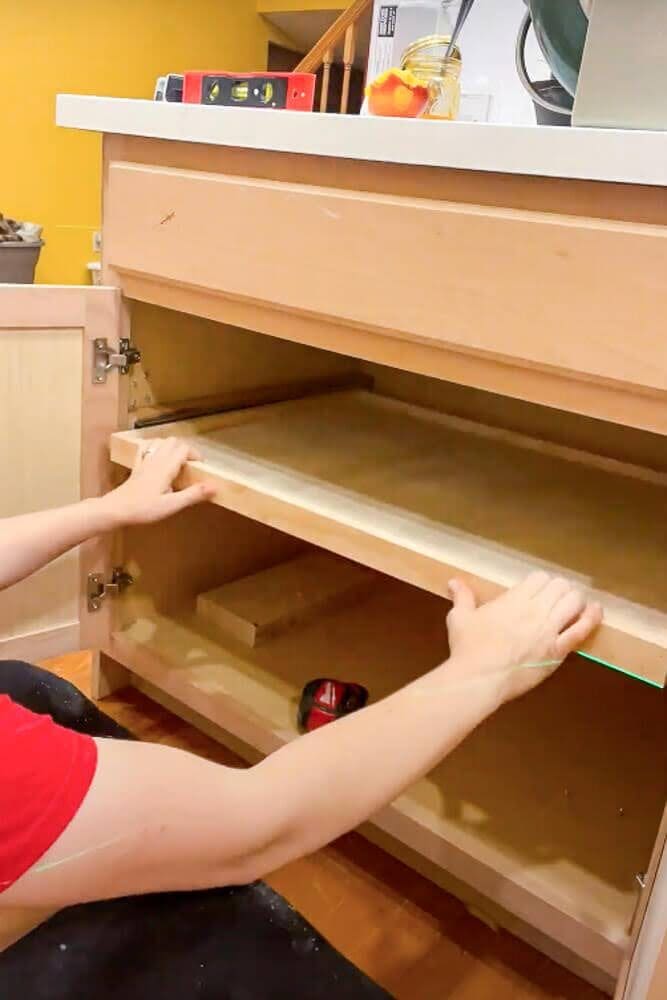
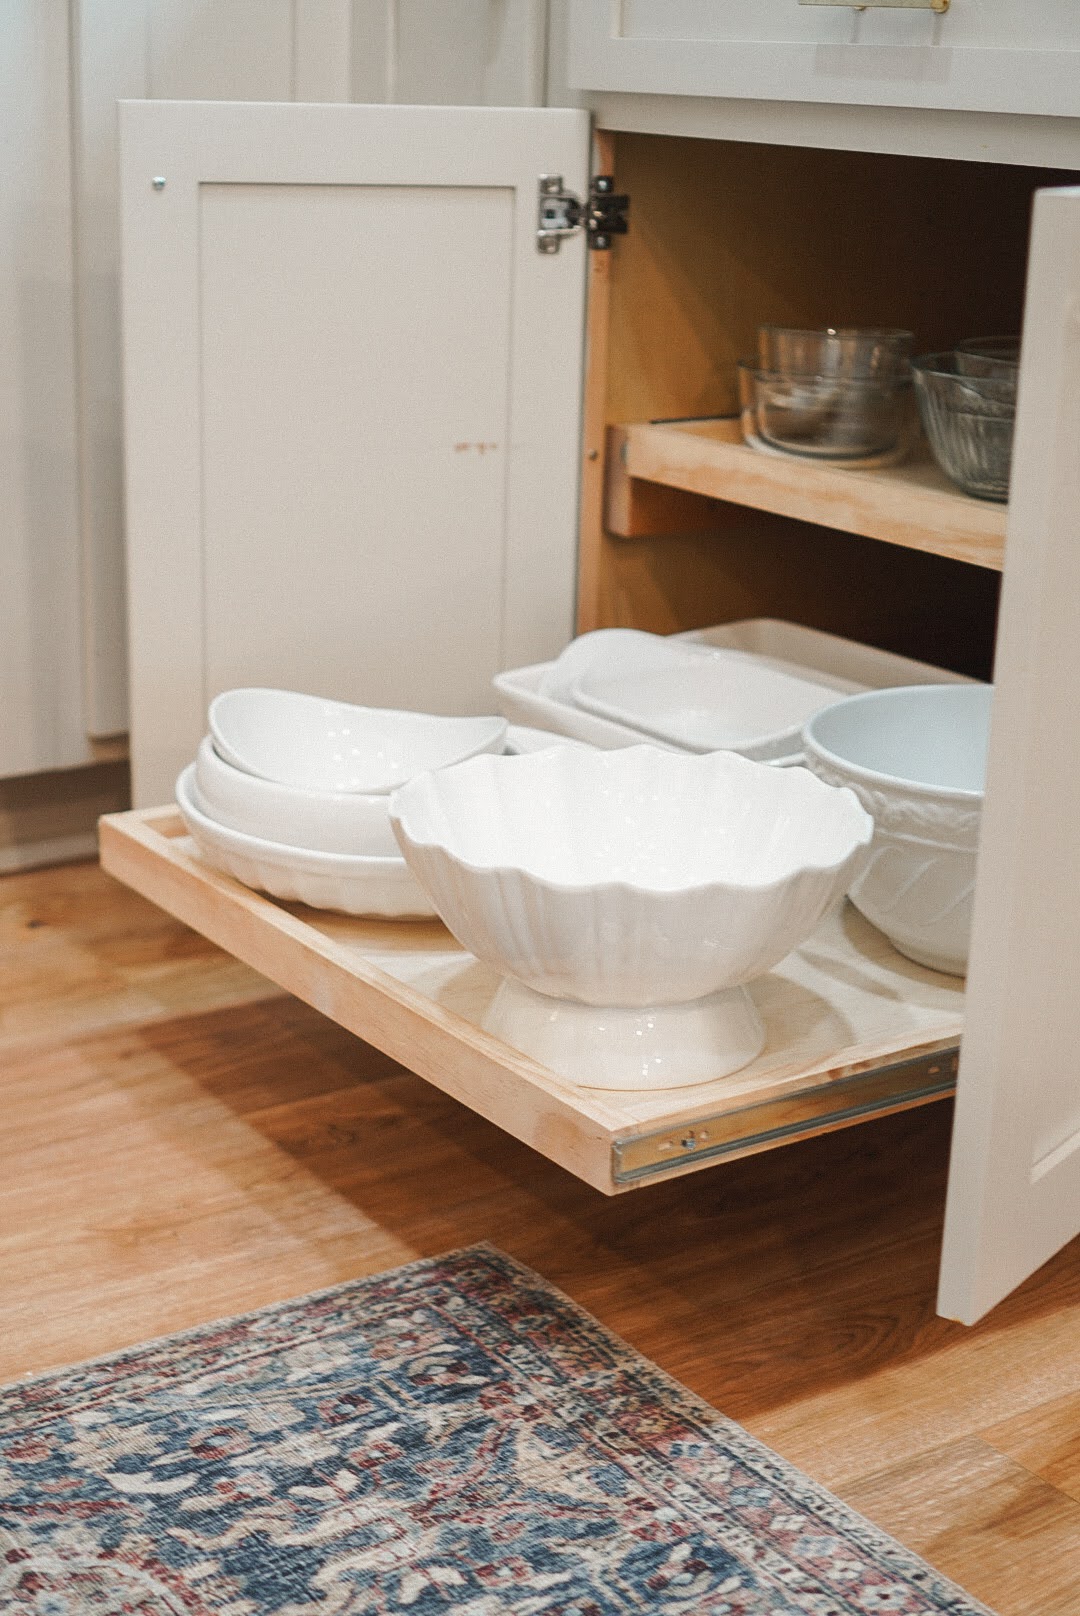
Now, I have two functioning custom pull-out shelves that add a lot more real estate to the inside of my cabinets! What do you think? Would you do this to any of your cabinets? Let me know in the comments!
I just love love love what you did I also bought cabinets that are deep and can’t get anything out .So I also am placing sliding shelves. I had someone make drawers and will place my plates and bols into .love what you have done
I’m thrilled I could give you some inspiration!
How did you remove the original half shelf? (The pointless one)
My half shelf was sitting on a peg and I could lift it out pretty easily. If yours is permanent, use a multitool to take it out. Just go slow and you should be fine.
How do you get the old half shelf out?? I have a narrow cabinet that I want to use for pan storage but it has a half shelf. I want to just cut into it and hopefully pull it out but my husband is concerned it will damage the cabinet box.
My cabinets had adjustable shelving, so that half shelf was sitting on a peg and I could lift it out pretty easily. But, if you have to remove yours, use a multitool. As long as you’re careful, it won’t damage the structure of your cabinet box.