Kiss Impress Nails Review + Step-by-Step Application Tutorial


Updated May 9, 2026
If you’re anything like me, you probably don’t have time to hit the salon every two weeks – but you still love the look of a fresh manicure. That’s where Kiss Impress Nails come in. These press-on nails have totally changed my nail routine, and today I’m showing you exactly how to apply them so they last through mom life, DIY projects, yard work, and everything in between.
Let’s dive into how to get a press-on mani that actually lasts!
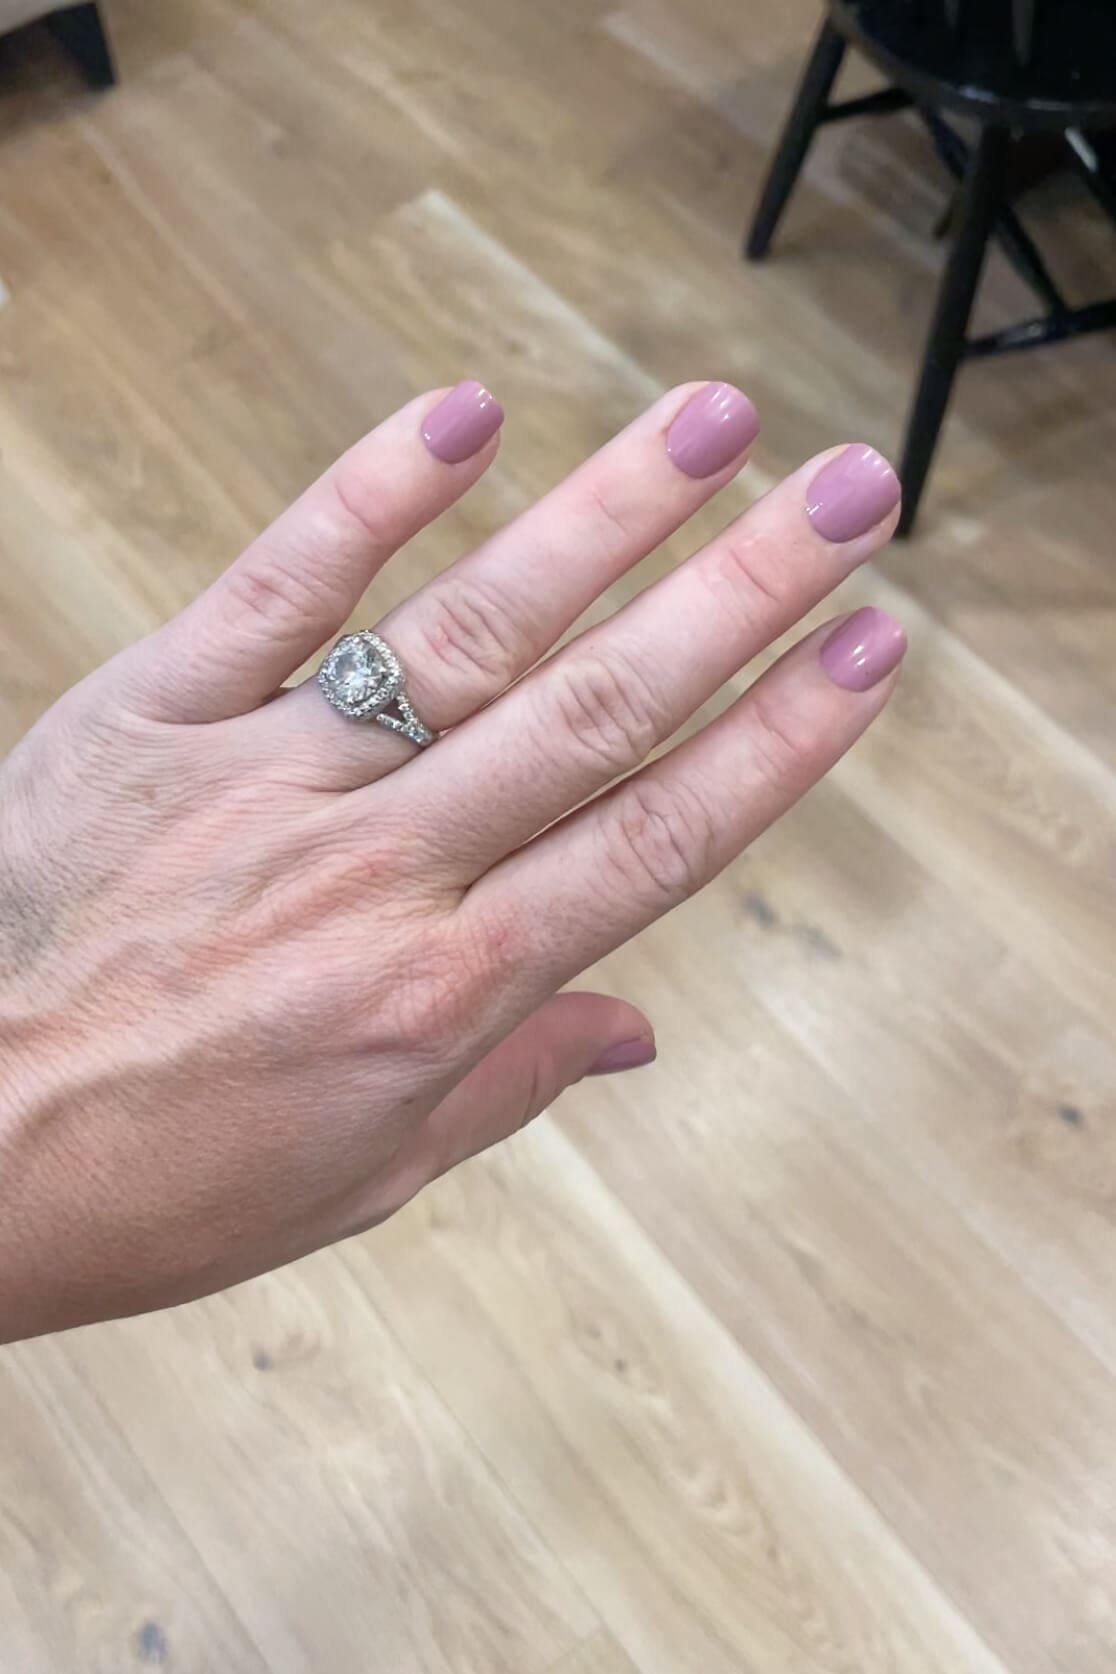
Table of Contents
- How to Apply Kiss Impress Nails Step by Step
- Step 1: Choose the Right Size for Each Nail
- Step 2: Prep Your Natural Nails for Press-Ons
- Step 3: Clean Nails to Help Kiss Impress Adhesive Stick
- Step 4: Peel and Stick Kiss Impress Nails
- Step 5: Press and Hold for Long-Lasting Results
- Step 6: Shape and File the Finished Look
- Real-Life Review: Do Kiss Impress Nails Really Work?
- Final Thoughts on Kiss Impress Nails
- 📌 Save This Manicure Hack for Later
- FAQs About Kiss Impress Nails
How to Apply Kiss Impress Nails Step by Step
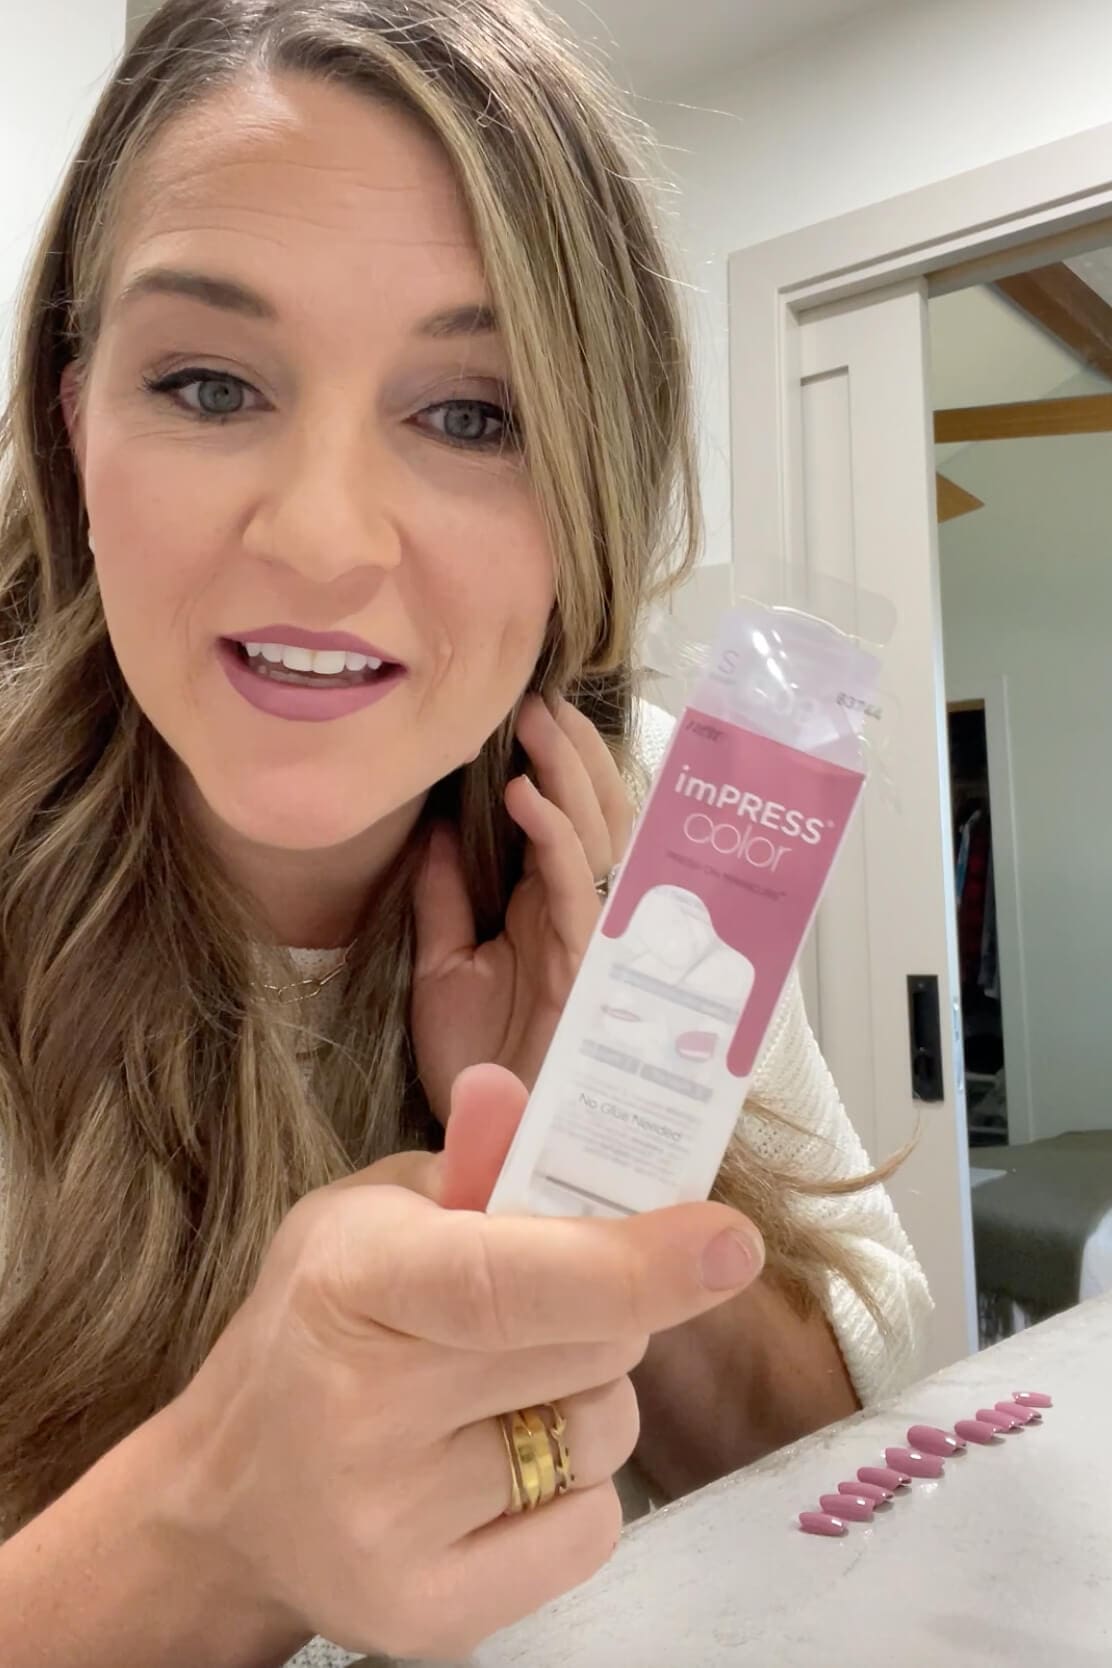
Step 1: Choose the Right Size for Each Nail
Start by laying out all your Kiss Impress Nails and matching each one to your natural nail. A snug fit is key for staying power. If I’m between sizes, I go slightly larger – it covers more and sticks better.
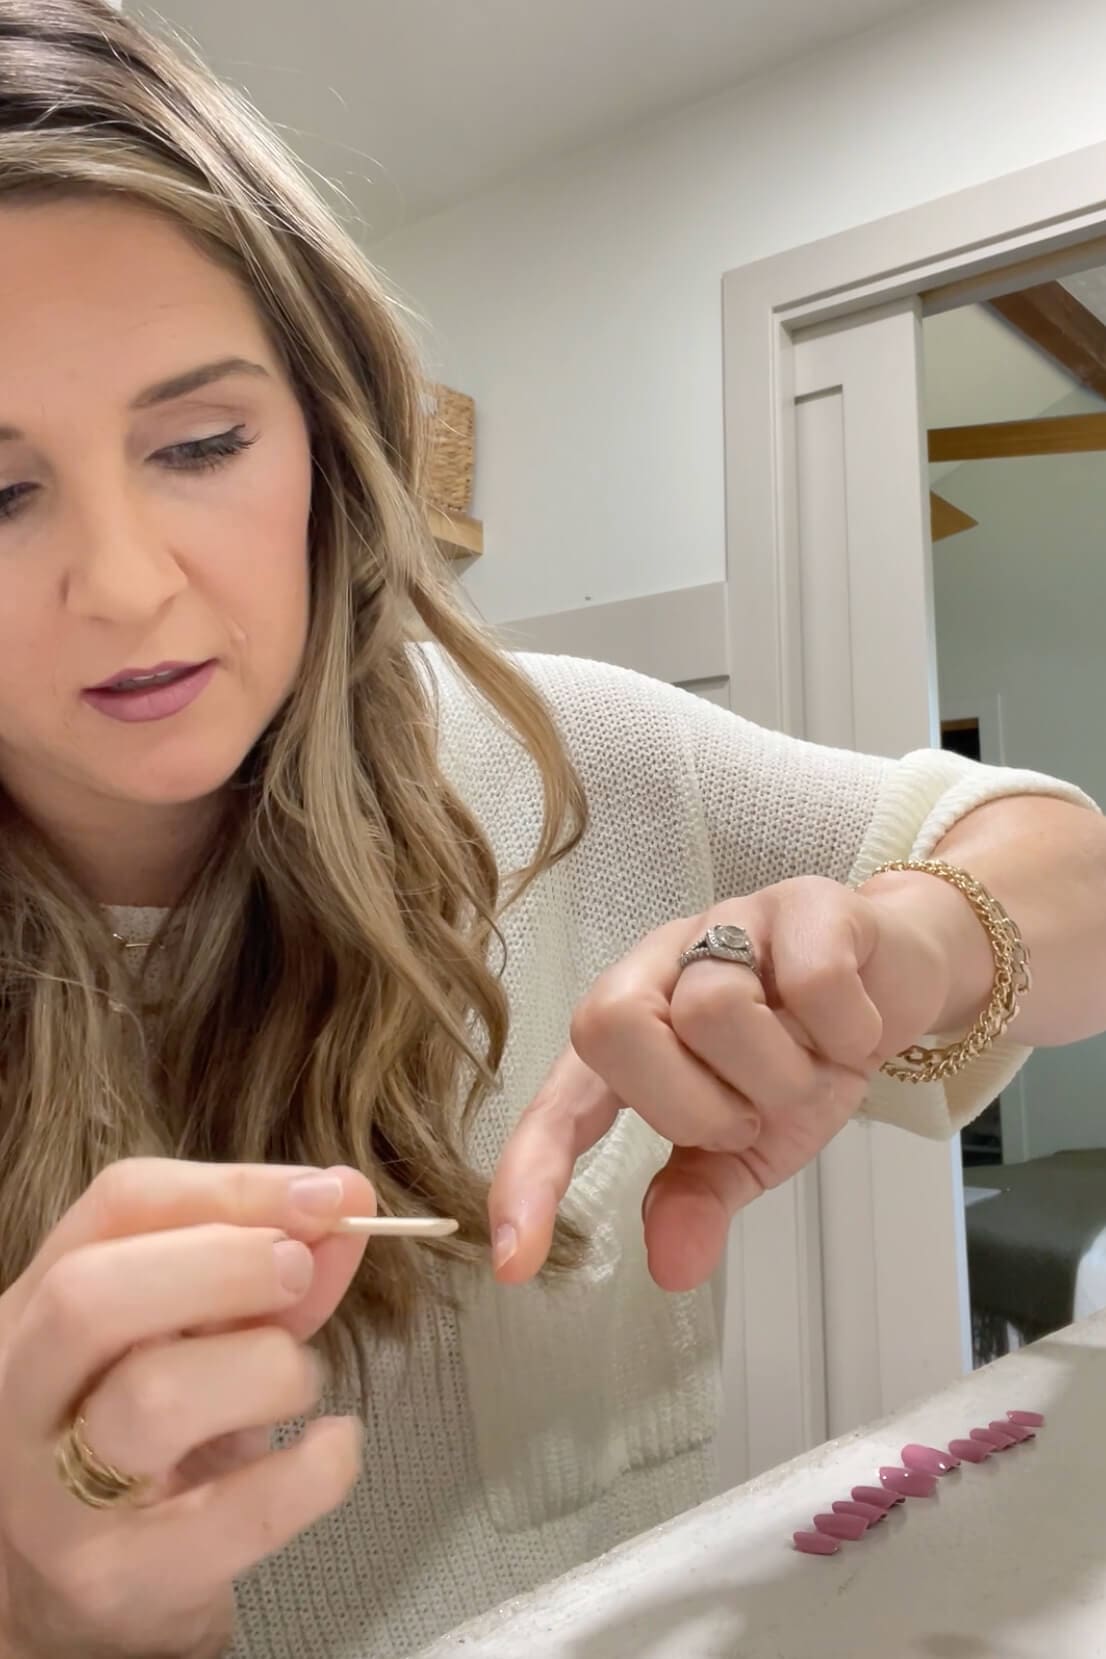
Step 2: Prep Your Natural Nails for Press-Ons
This step is key for getting good adhesion with your Kiss Impress Nails! First, if I need to trim my nails, I’ll go ahead and do that with my favorite nail clippers. Then use the wooden cuticle stick that comes in the kit (or a cuticle pusher) to gently push back your cuticles. Next, lightly file the surface of each natural nail, just to rough up the surface slightly so the adhesive sticks better. The kit comes with a small emery board, but I prefer using my own.
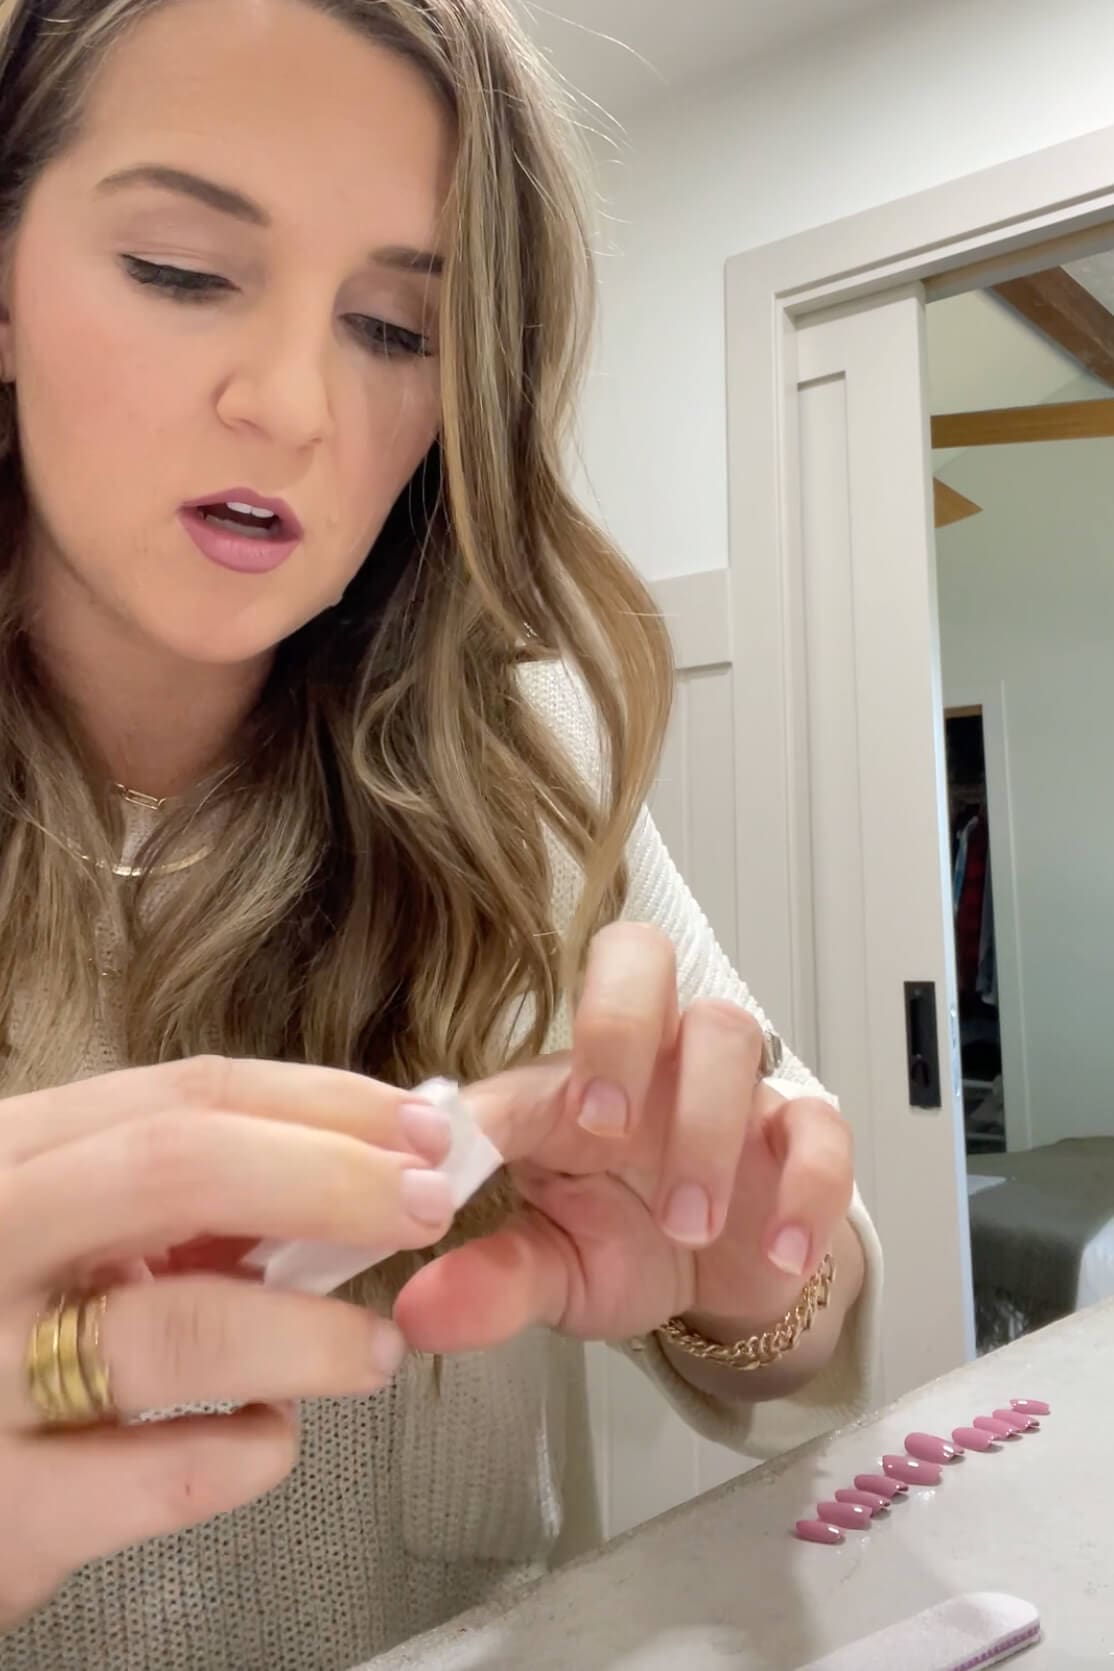
Step 3: Clean Nails to Help Kiss Impress Adhesive Stick
After this, I wash my hands with soap and water and dry them really well. Then use the included prep pad to wipe down each nail and remove any oil or dust. You want clean, dry nail beds to get the best grip.
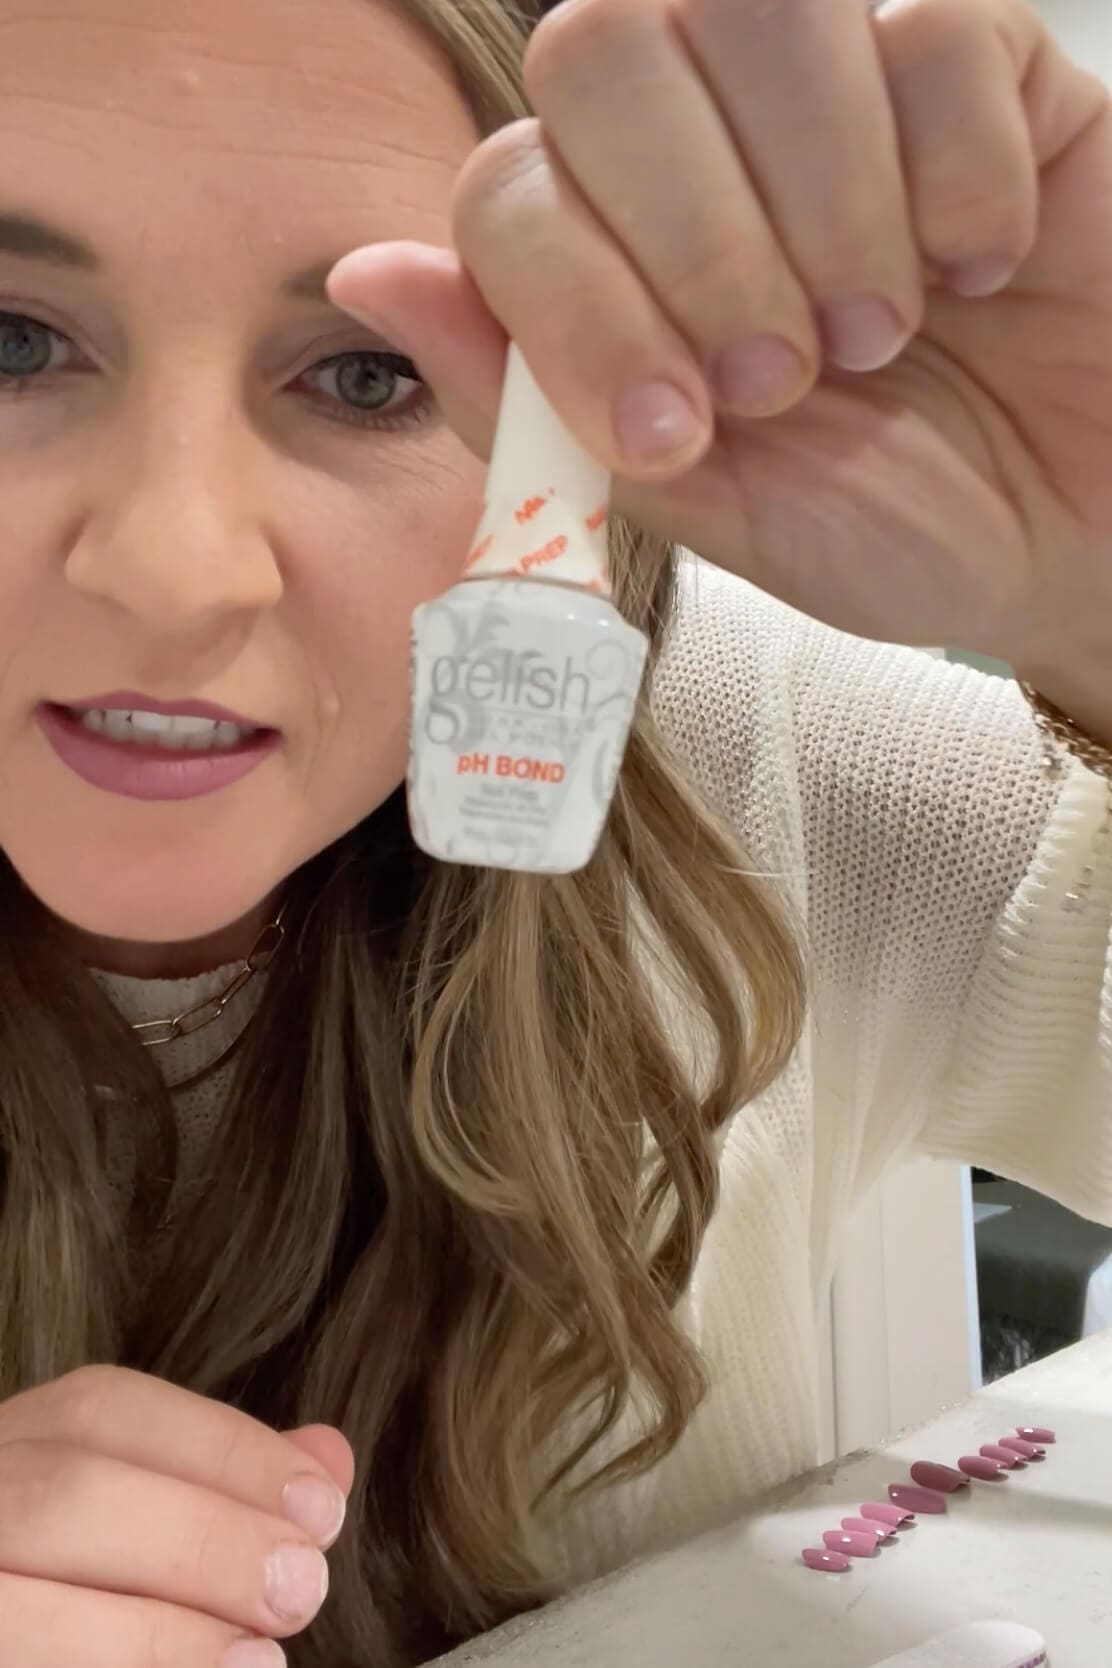
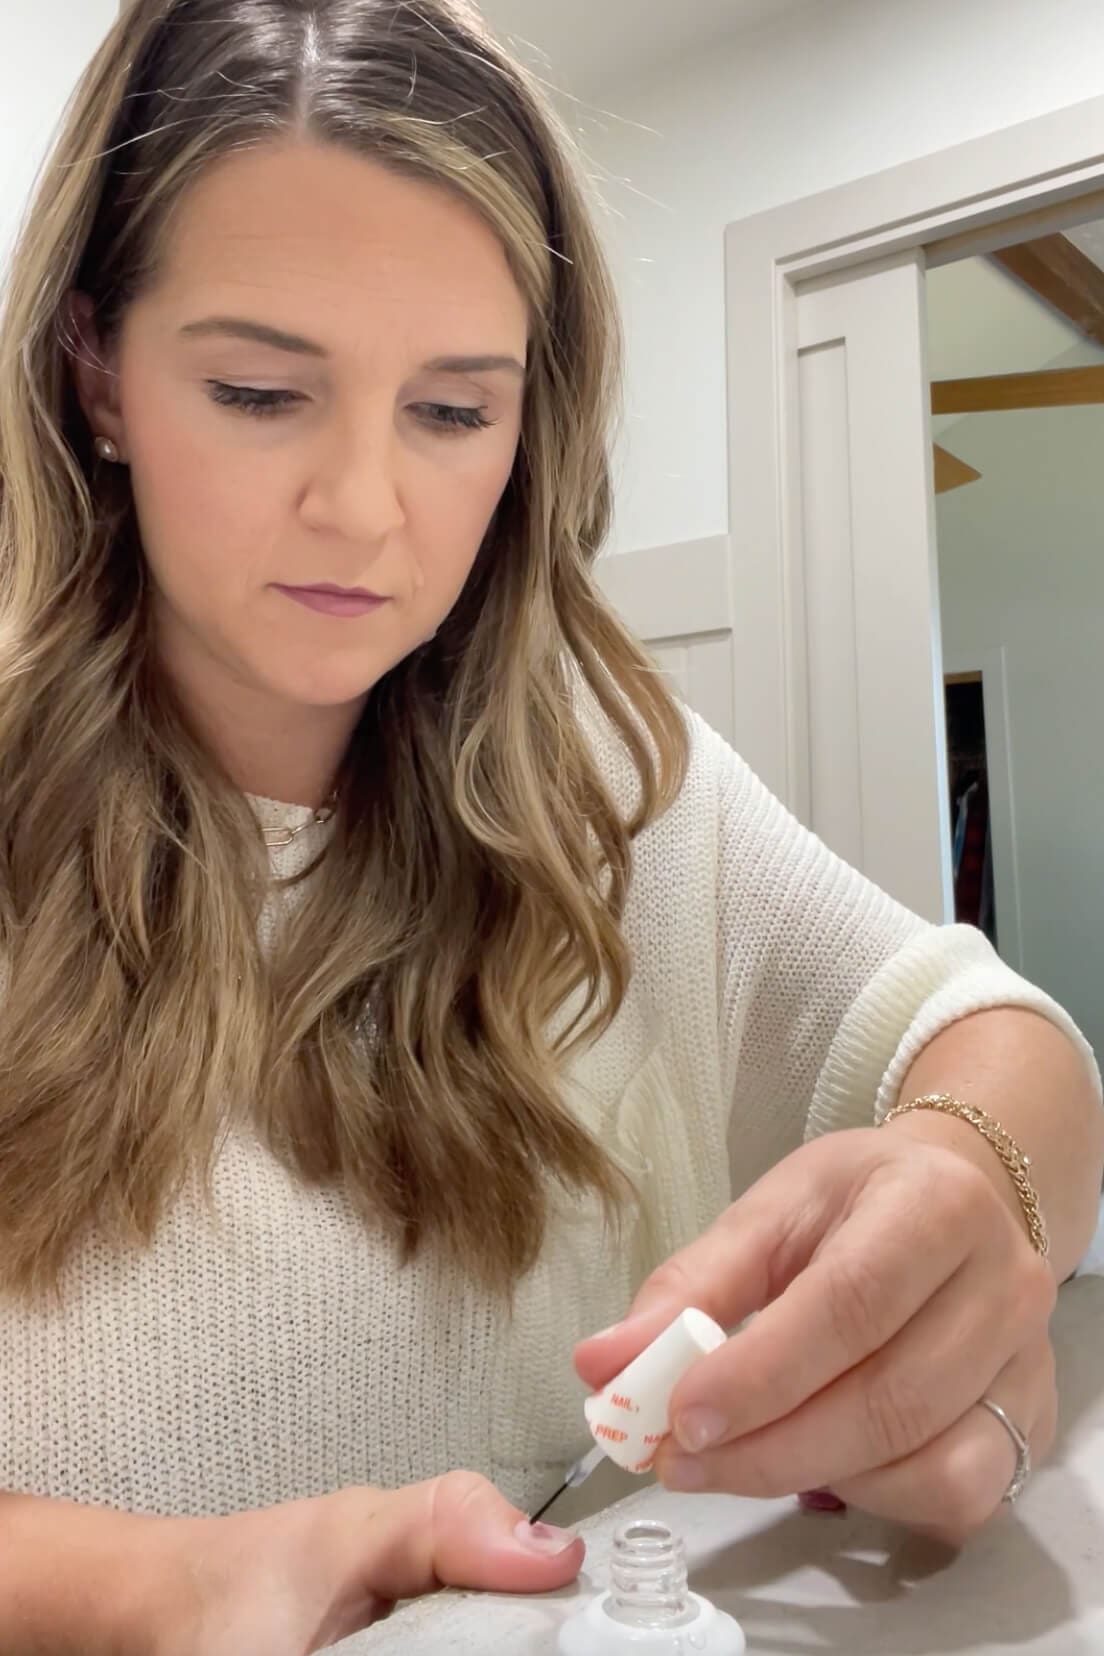
Optional Tip: I use Gelish pH Bond to really make my Kiss Impress Nails last as long as possible. A set usually lasts me 3 weeks to a month, and this stuff really contributes to that!
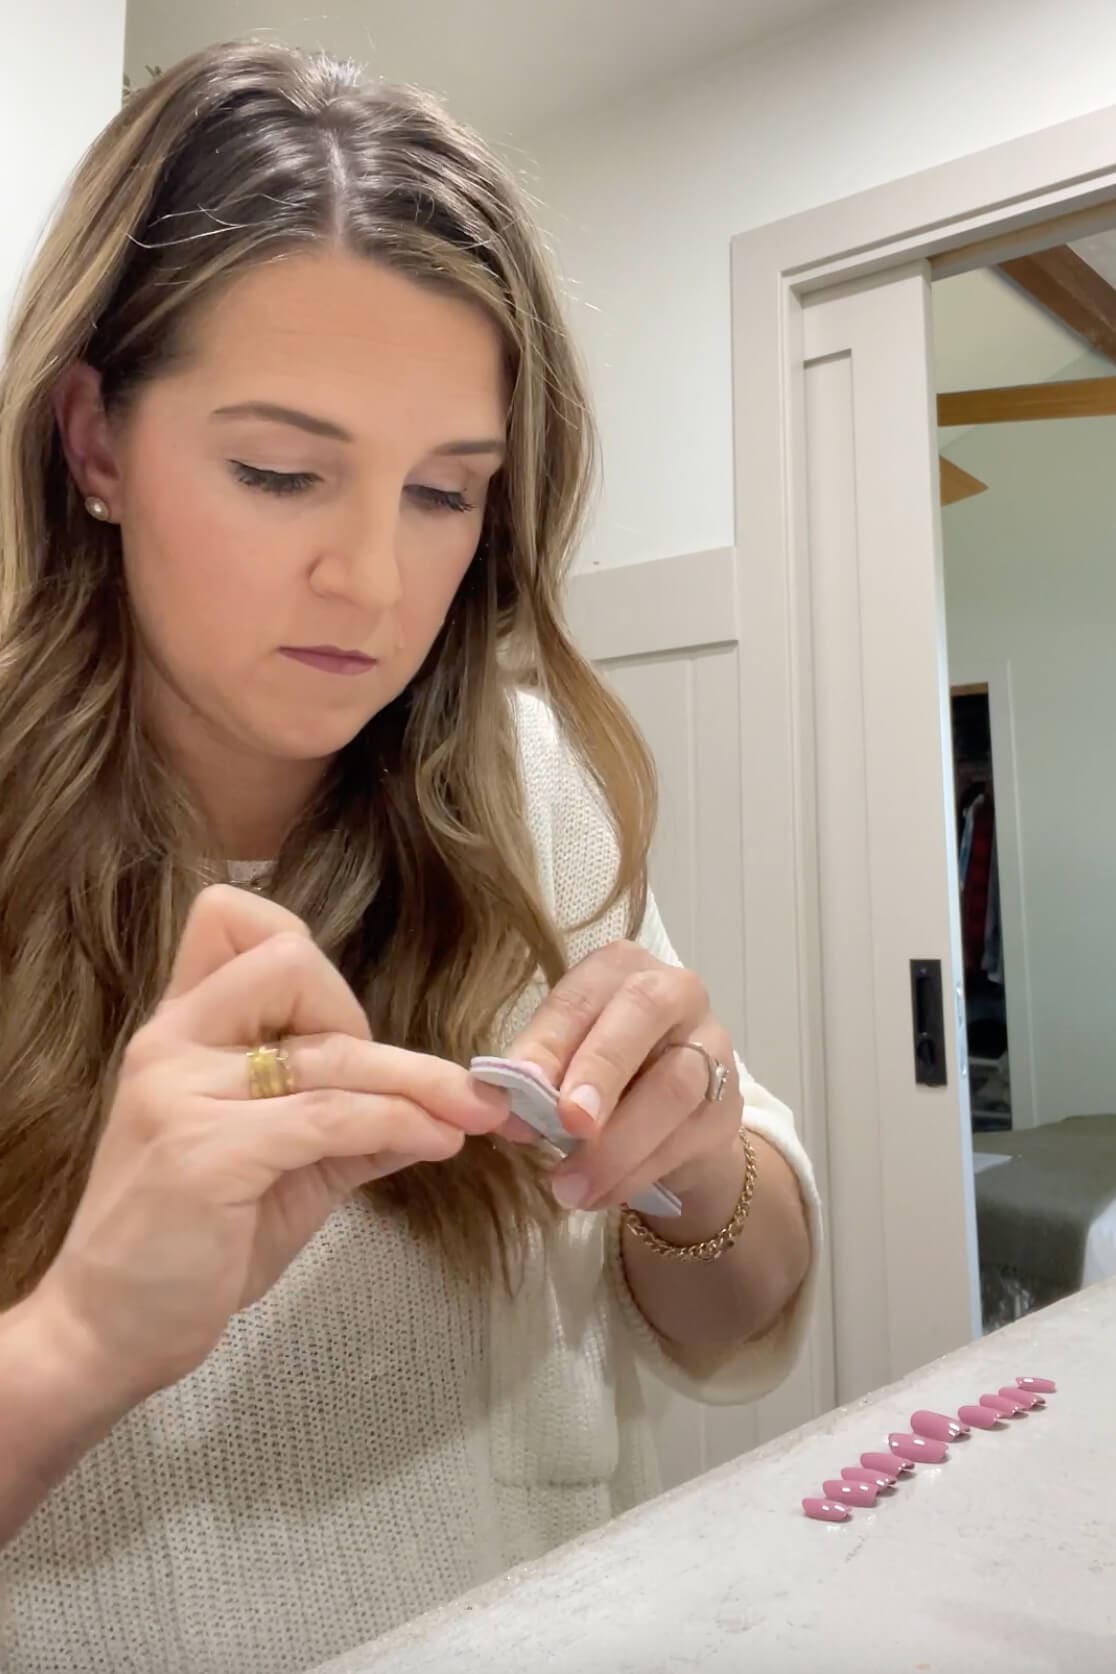
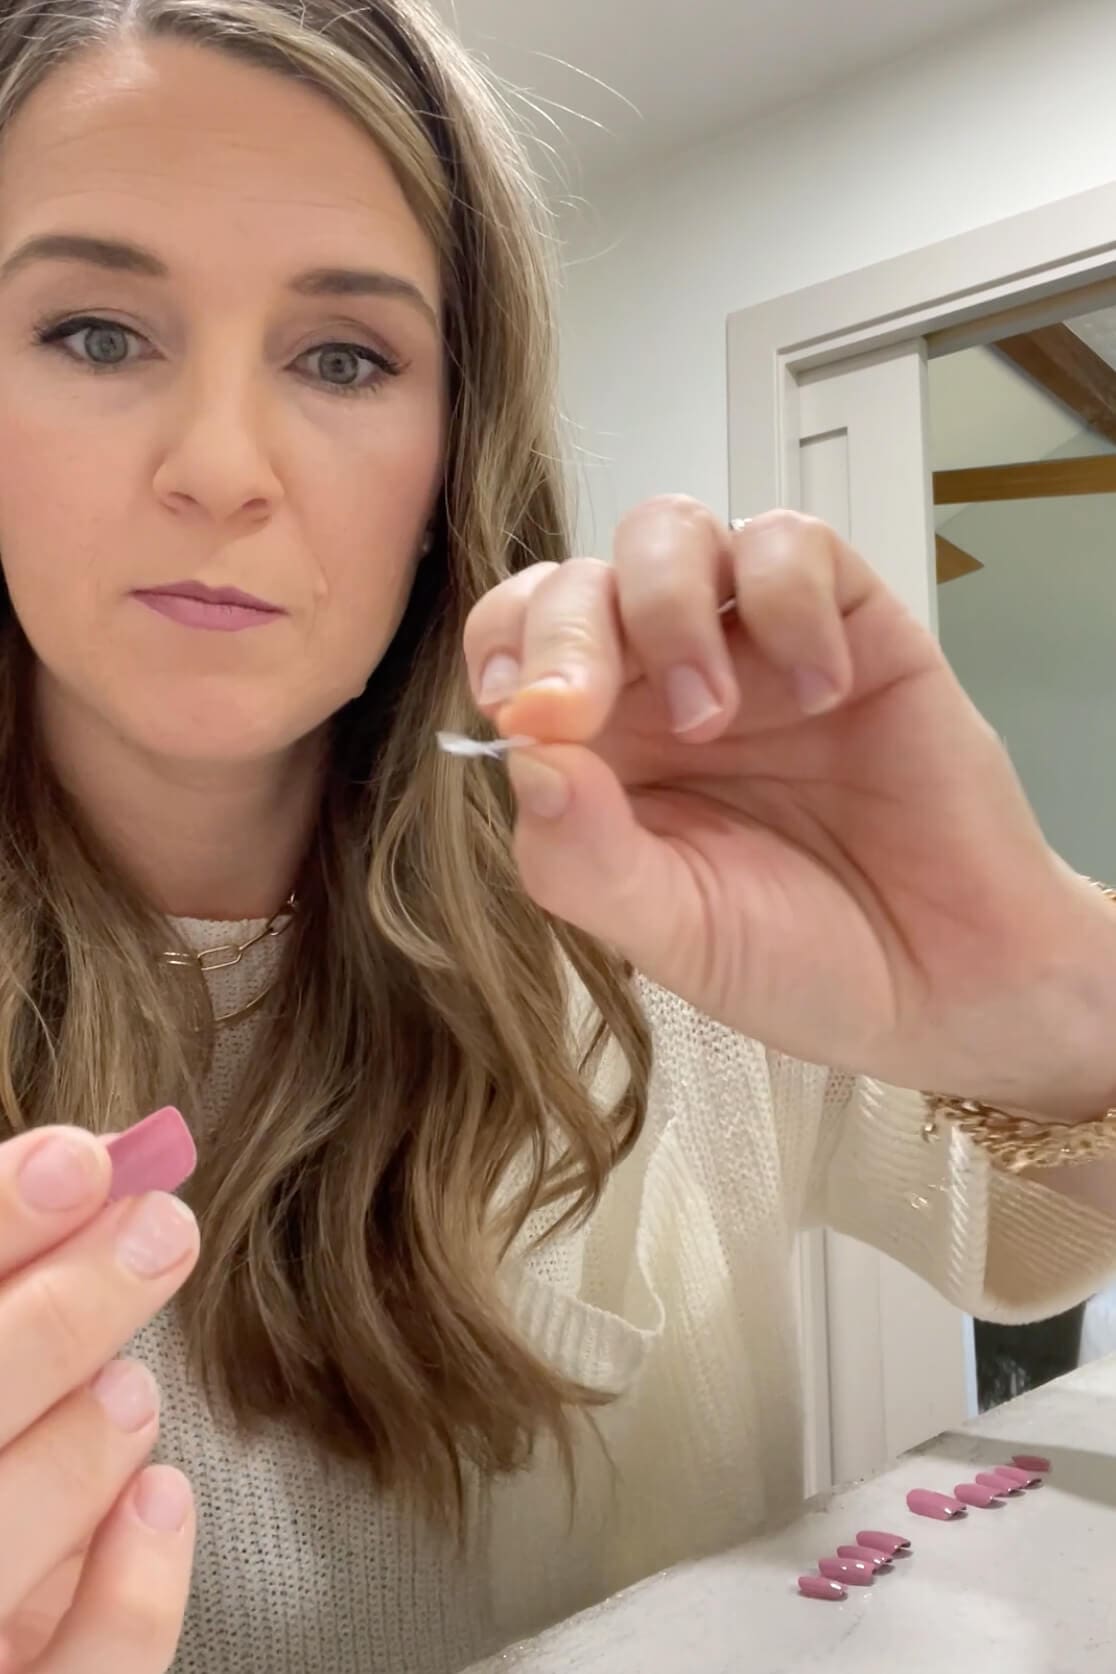
Step 4: Peel and Stick Kiss Impress Nails
This is what really makes these Kiss Impress Nails THE BEST! No extra glue, just peel off the backing and place the press-on nail at the cuticle, then press down firmly, starting at the center and working your way out.

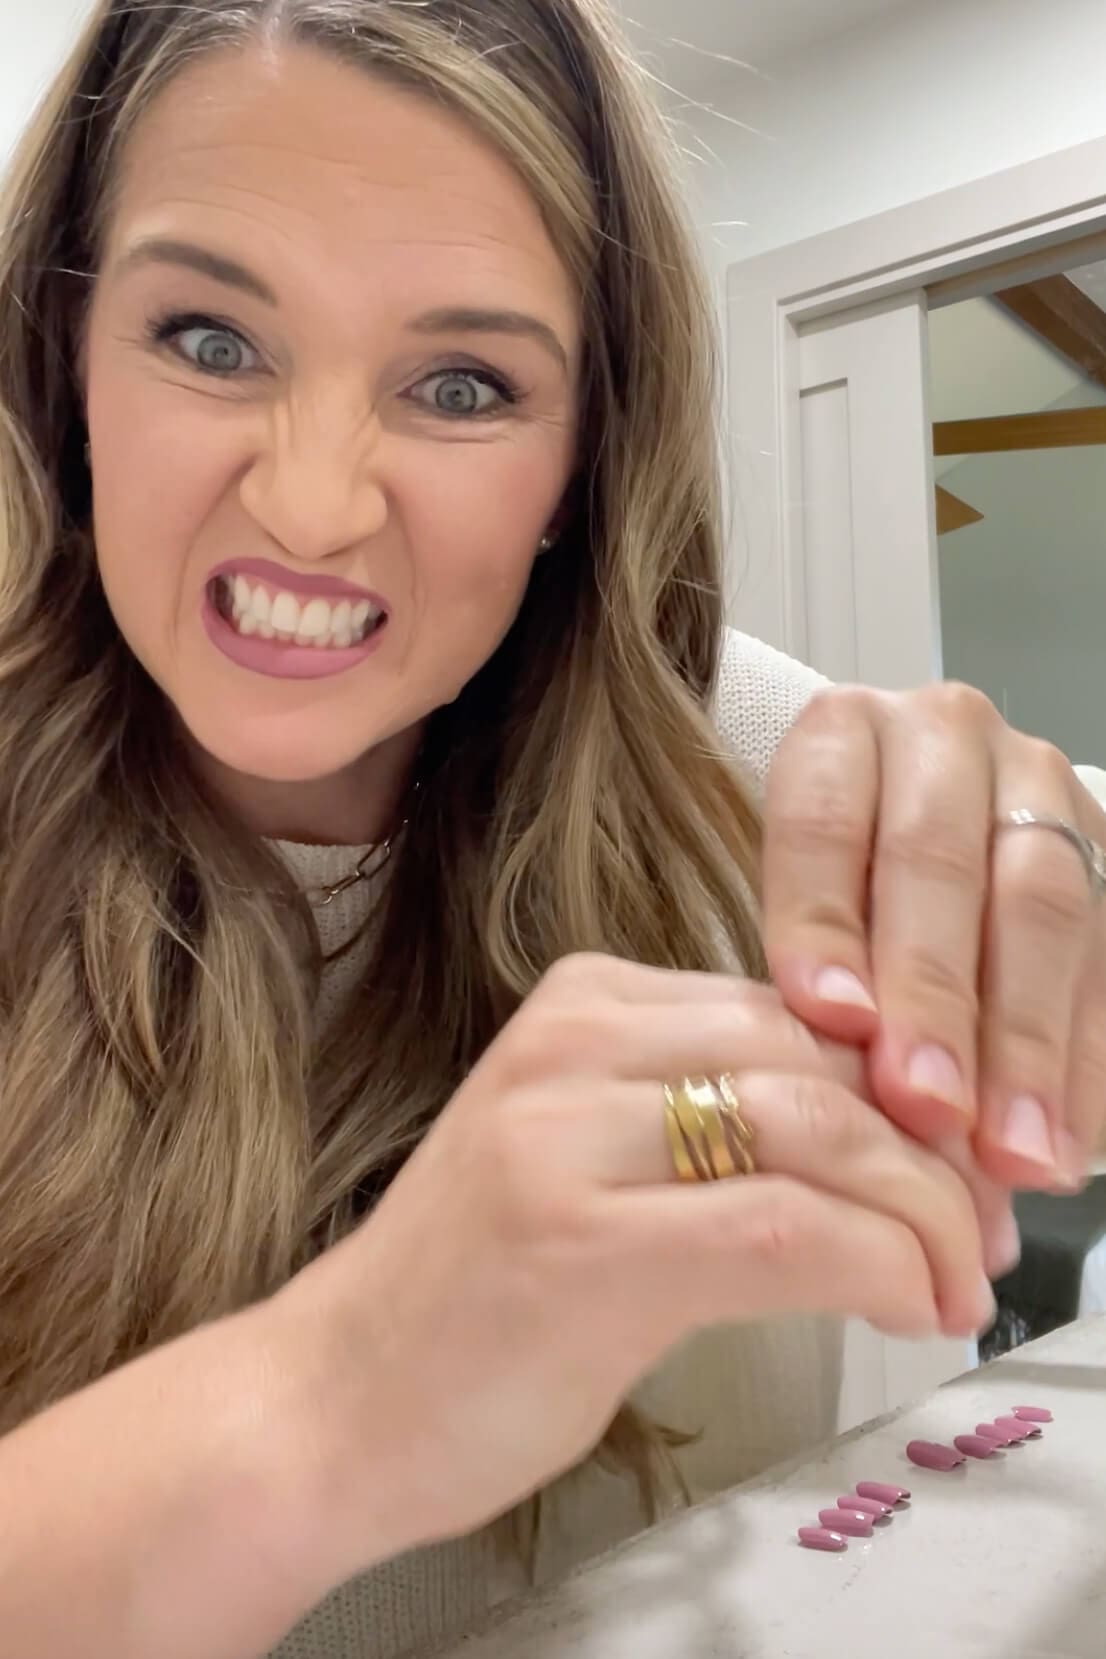
Step 5: Press and Hold for Long-Lasting Results
Give those nails a good squeeze… squeezing face is optional, but I think it helps. Just be sure to hold each nail down for at least 30 seconds with firm pressure all over the nailbed. Don’t skip this step – it’s what locks that adhesive into place.
Step 6: Shape and File the Finished Look
Don’t they look great?! This color is called Petal Pink, and I just love it. It’s a perfect mauve pink!
After all the nails are on, file the ends just slightly if any feel too square or sharp. This part is totally up to your personal style.

Real-Life Review: Do Kiss Impress Nails Really Work?
Okay, real talk… these nails are amazing. They take me maybe 10 minutes to apply, and guess what? They stay put! I’ve had sets last up to a month – and that’s with me being pretty rough on them. I’ve worn them through:
- Painting cabinets
- Installing floors
- Yard work (like, real shovel-in-the-dirt work)
- Tiling a shower
Plus, the color options are endless — from soft neutrals to bright pinks, and bold reds. I like the short version, but they do have longer styles like this set in an on-trend coffin shape. You can buy them right here on Amazon and have them conveniently delivered right to your door. A fresh manicure without ever leaving the house? Yes, please.
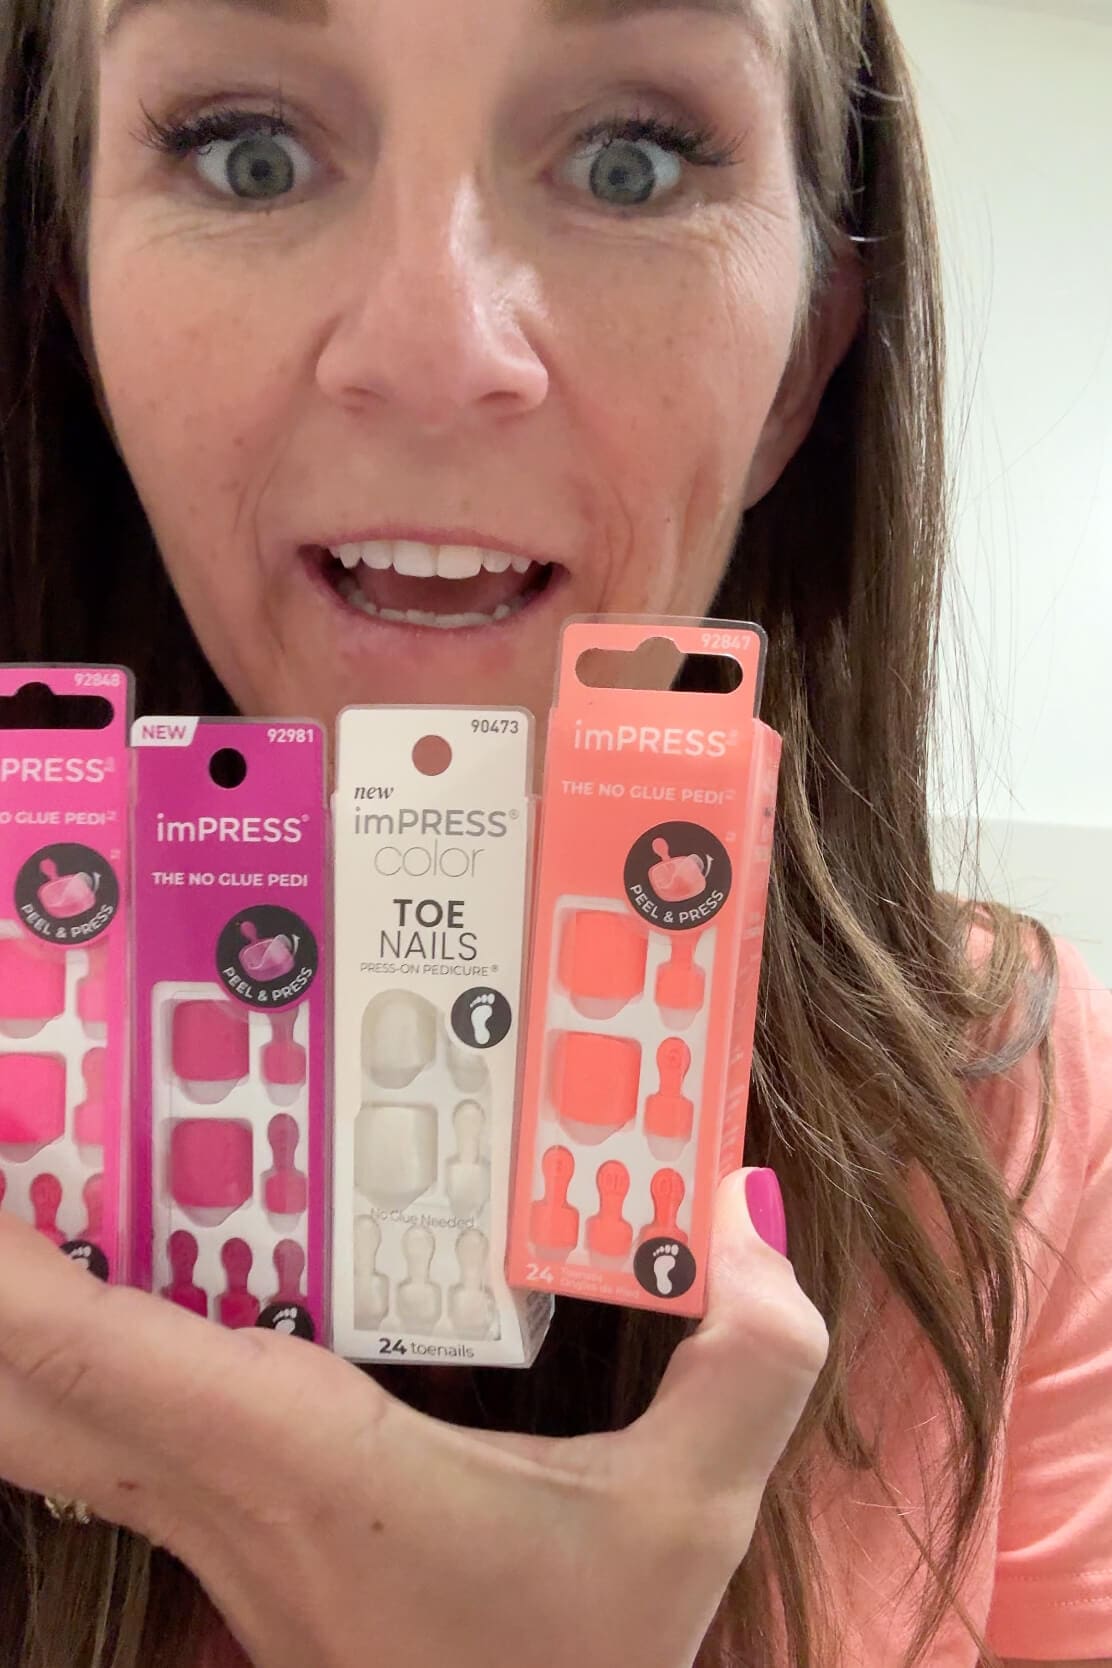
And yes… they even come in press-on toenails now. So if you’re like me and want a quick pedi before slipping on your sandals, there’s a set for that too!

Final Thoughts on Kiss Impress Nails
If you’ve never tried Kiss Impress Nails, this is your sign. They’re affordable, easy, and hold up to real life — even when your real life involves kids, projects, and a never-ending to-do list. I can’t recommend them enough!
Let me know if you give them a try — and tag me if you do. I’d love to see your mani! 💅
📌 Save This Manicure Hack for Later
FAQs About Kiss Impress Nails
With proper prep (and using Gelish pH Bond), mine last 2–4 weeks—even with daily hands-on work.
Not at all if you remove them gently. I peel from the side or soak them in warm water before removing.
Technically no—they’re made for one-time use. But I’ve reapplied favorites using nail glue for a second round.
YES. I’ve worn them through everything from painting furniture to planting garden beds. They stay put and look good doing it.
