


How to Cut Layers at Home for Maximum Volume


Updated May 9, 2026
If you like to wear your hair curled and styled, you’re going to love this simple DIY method for how to cut layers at home. I’m showing you the exact technique I use to create soft, “invisible layers” that add bounce, volume, and movement – without sacrificing overall length or thickness.
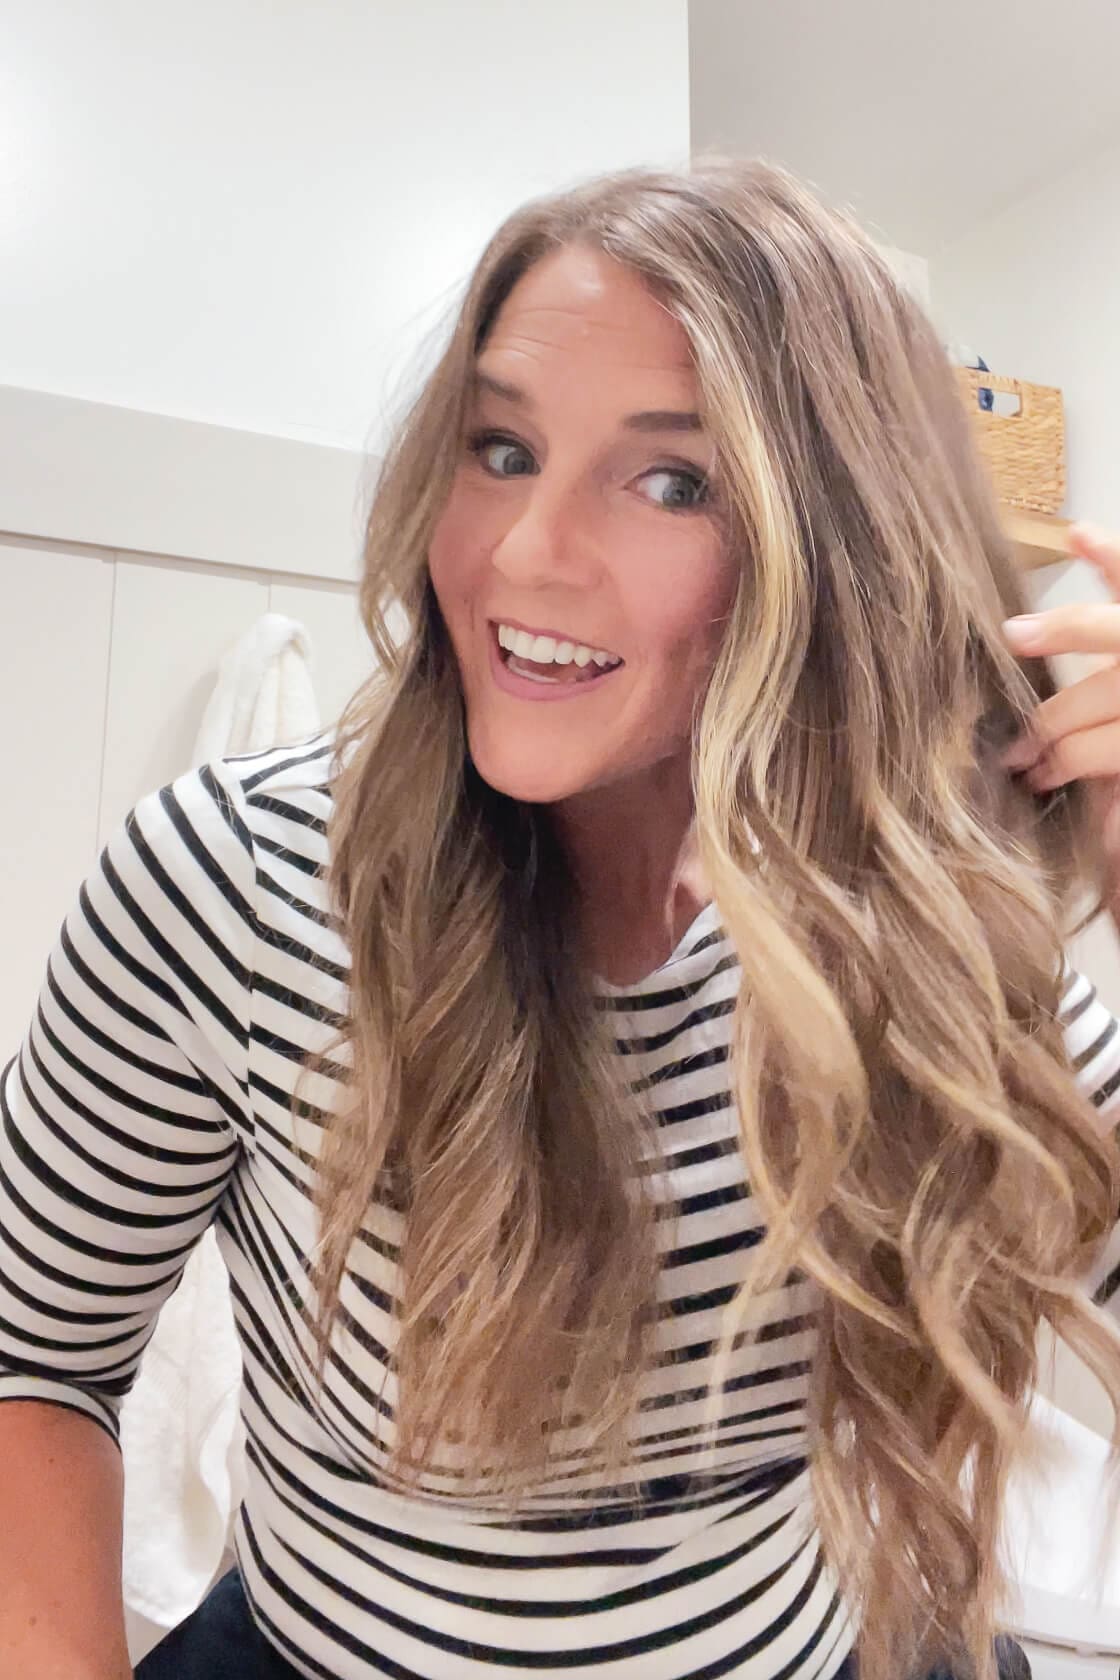
Table of Contents
- What You’ll Need to Cut Layers at Home
- Why I Cut My Own Hair
- Watch: How to Cut Layers at Home – Full Step-by-Step Haircut Tutorial
- How to Cut Layers at Home – Step-by-Step
- Step 1: Start with Clean, Dry, Styled Hair
- Step 2: Trim the Length
- Step 3: Section Off the Front
- Step 4: How to Cut Layers at Home (Top Section)
- Step 5: Blend the Layers Downward
- Step 6: Balance the Crown Layers
- Step 7: Face-Framing Layers at Home
- Helpful Tips for Cutting Layers at Home
- Style the Finished Layered Look
- The Final Result: Soft DIY Layers
- Want Stronger, Longer, Healthier Hair? Here’s Some Hair Growth & Supplement Support
- 📌 Save This Haircut Tutorial for Later
- FAQs About How to Cut Layers at Home
What You’ll Need to Cut Layers at Home
Here’s what I recommend having on hand before starting:
- Scissors – not kitchen scissors, please
- Tail comb – for even parting
- Hair cutting cape
- Clips – to section your hair
- Curling iron (for styling)
Why I Cut My Own Hair
As a former hairstylist, I’m very picky about my hair. But I’m also a mom with limited time to book regular salon visits. Learning how to cut layers at home has been a game-changer – it saves time, money, and honestly gives me better results than I’ve gotten at some salons.
This method works especially well if you wear your hair curled or wavy. The layers are soft and subtle – no harsh lines or choppy ends.
Watch: How to Cut Layers at Home – Full Step-by-Step Haircut Tutorial
In this quick video, I show you how to cut layers at home with my favorite DIY technique for soft, blended volume. See every step in action and learn how to get salon-quality results right in your bathroom.
How to Cut Layers at Home – Step-by-Step
Step 1: Start with Clean, Dry, Styled Hair
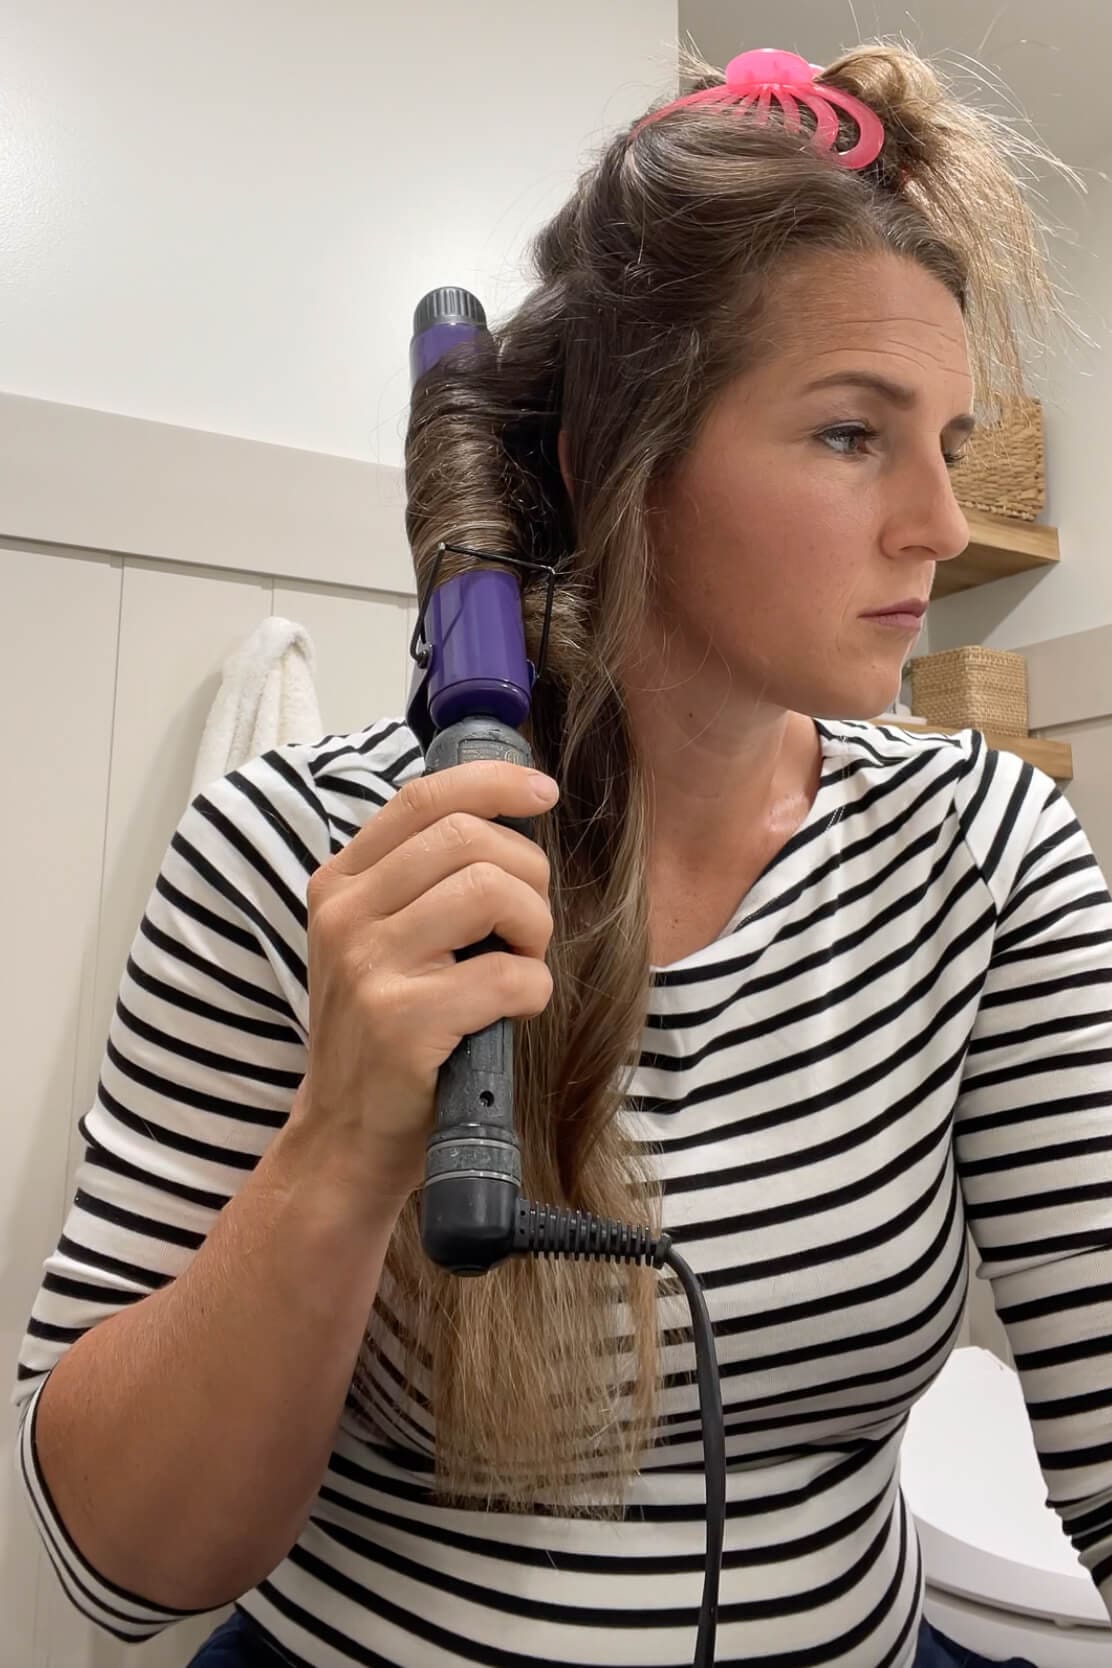
This method works best when your hair is clean, dry, and styled the way you usually wear it. I curl mine first with a large barrel wand, because that’s how I wear it most days – and that’s how I want the layers to fall.
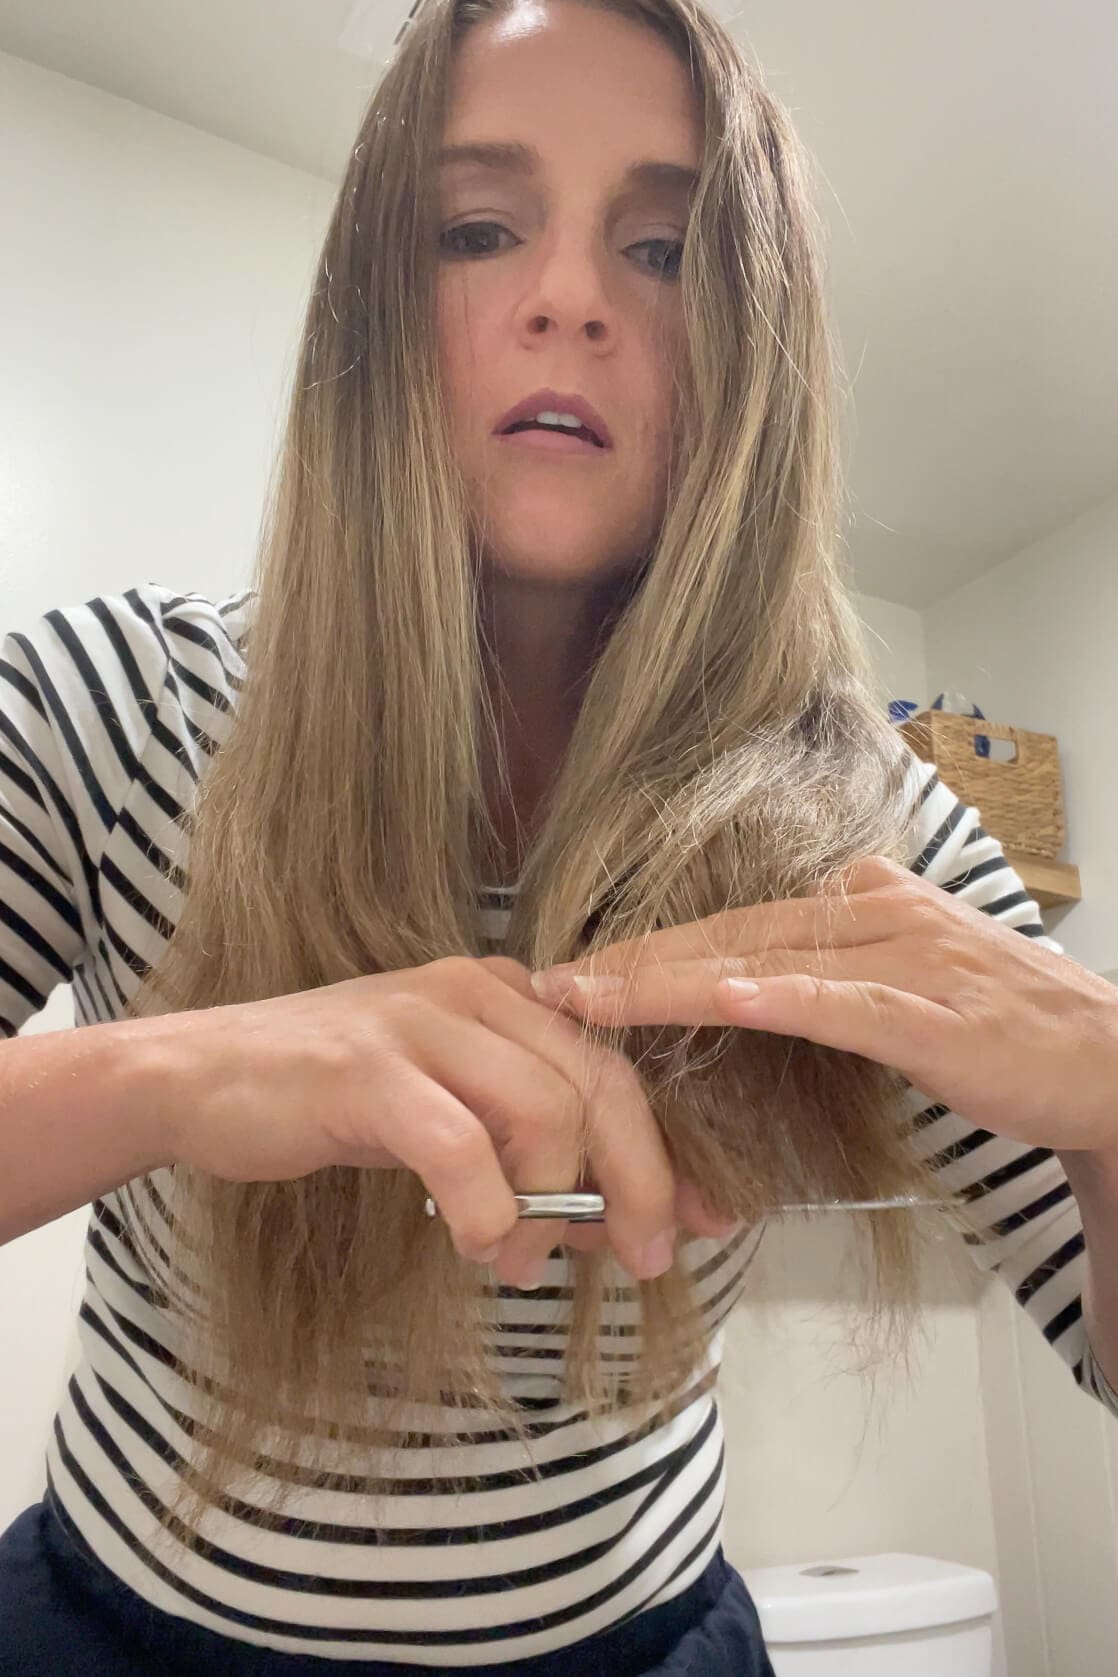
Step 2: Trim the Length
Before cutting layers, clean up your ends. I flip all my hair forward, comb it smooth, and pinch the bottom between my fingers. Then I lift it up and trim across. This creates a soft, flattering angle – slightly shorter in front, longer in back.
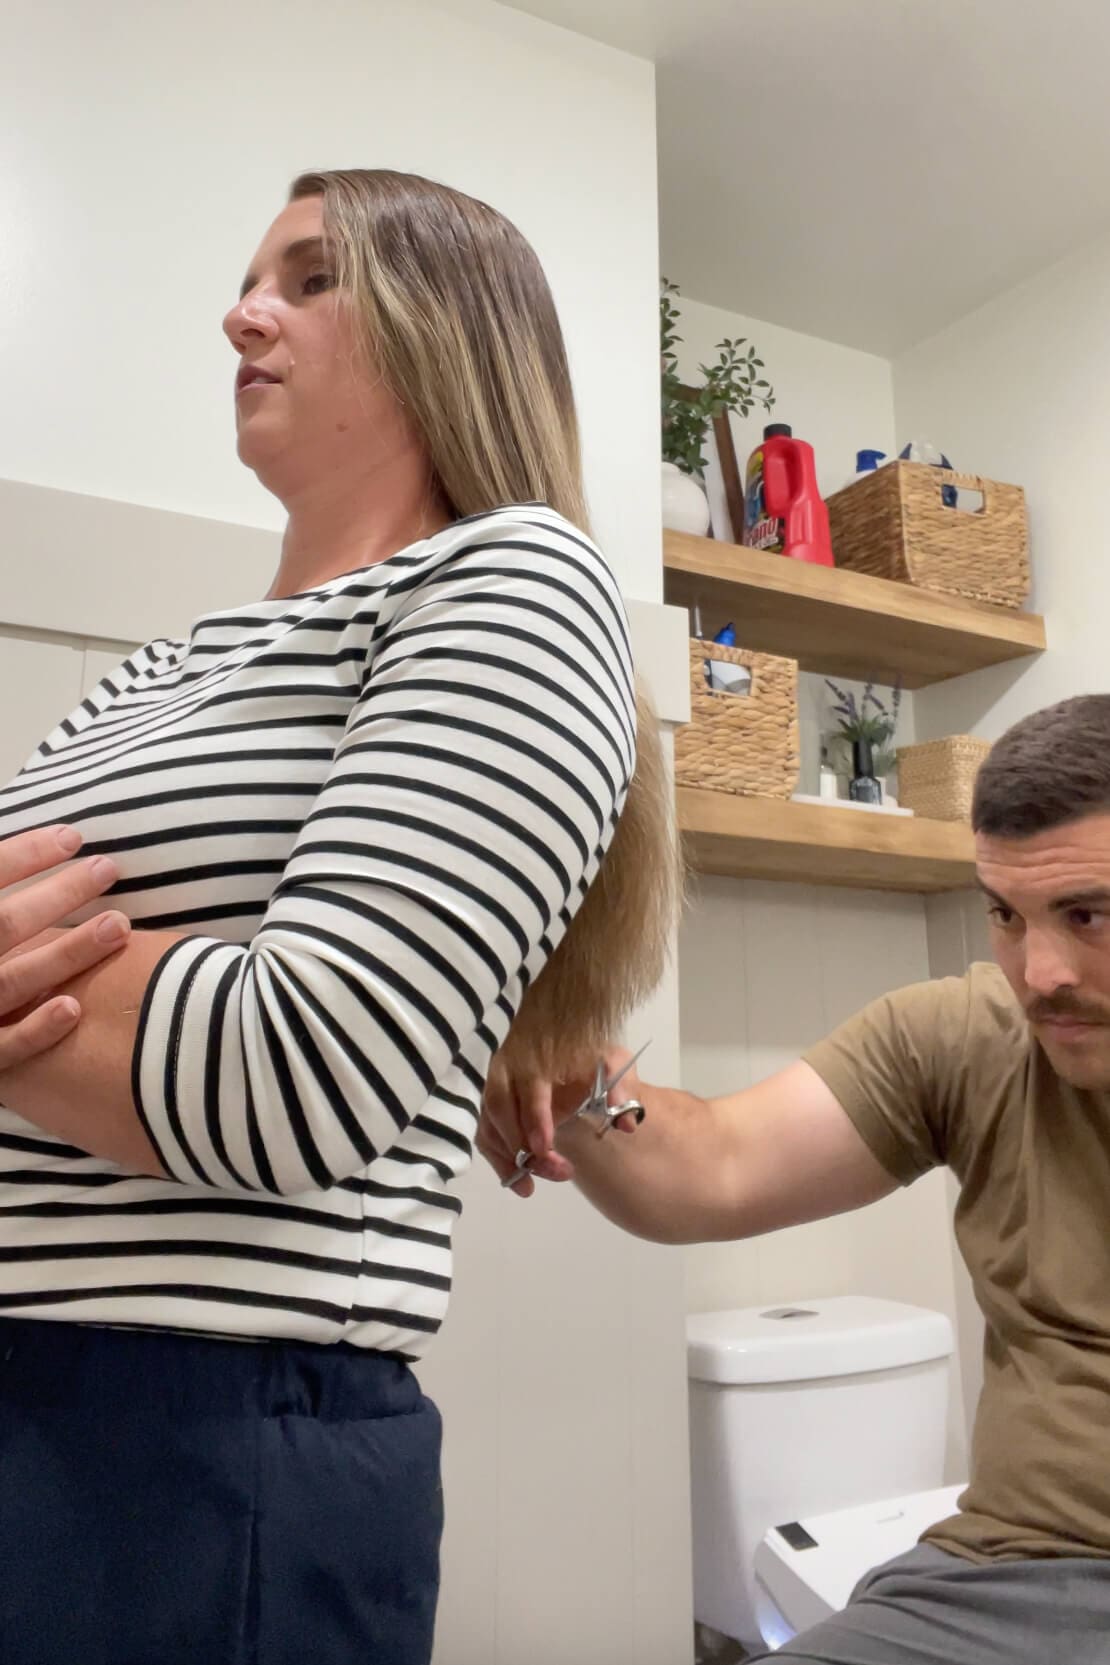
Then I call in my husband to even things out in the back since I can’t see it well myself.
Step 3: Section Off the Front
Section off everything from your temples forward and clip it out of the way. We’ll come back to this section at the end to create face-framing layers.
Step 4: How to Cut Layers at Home (Top Section)
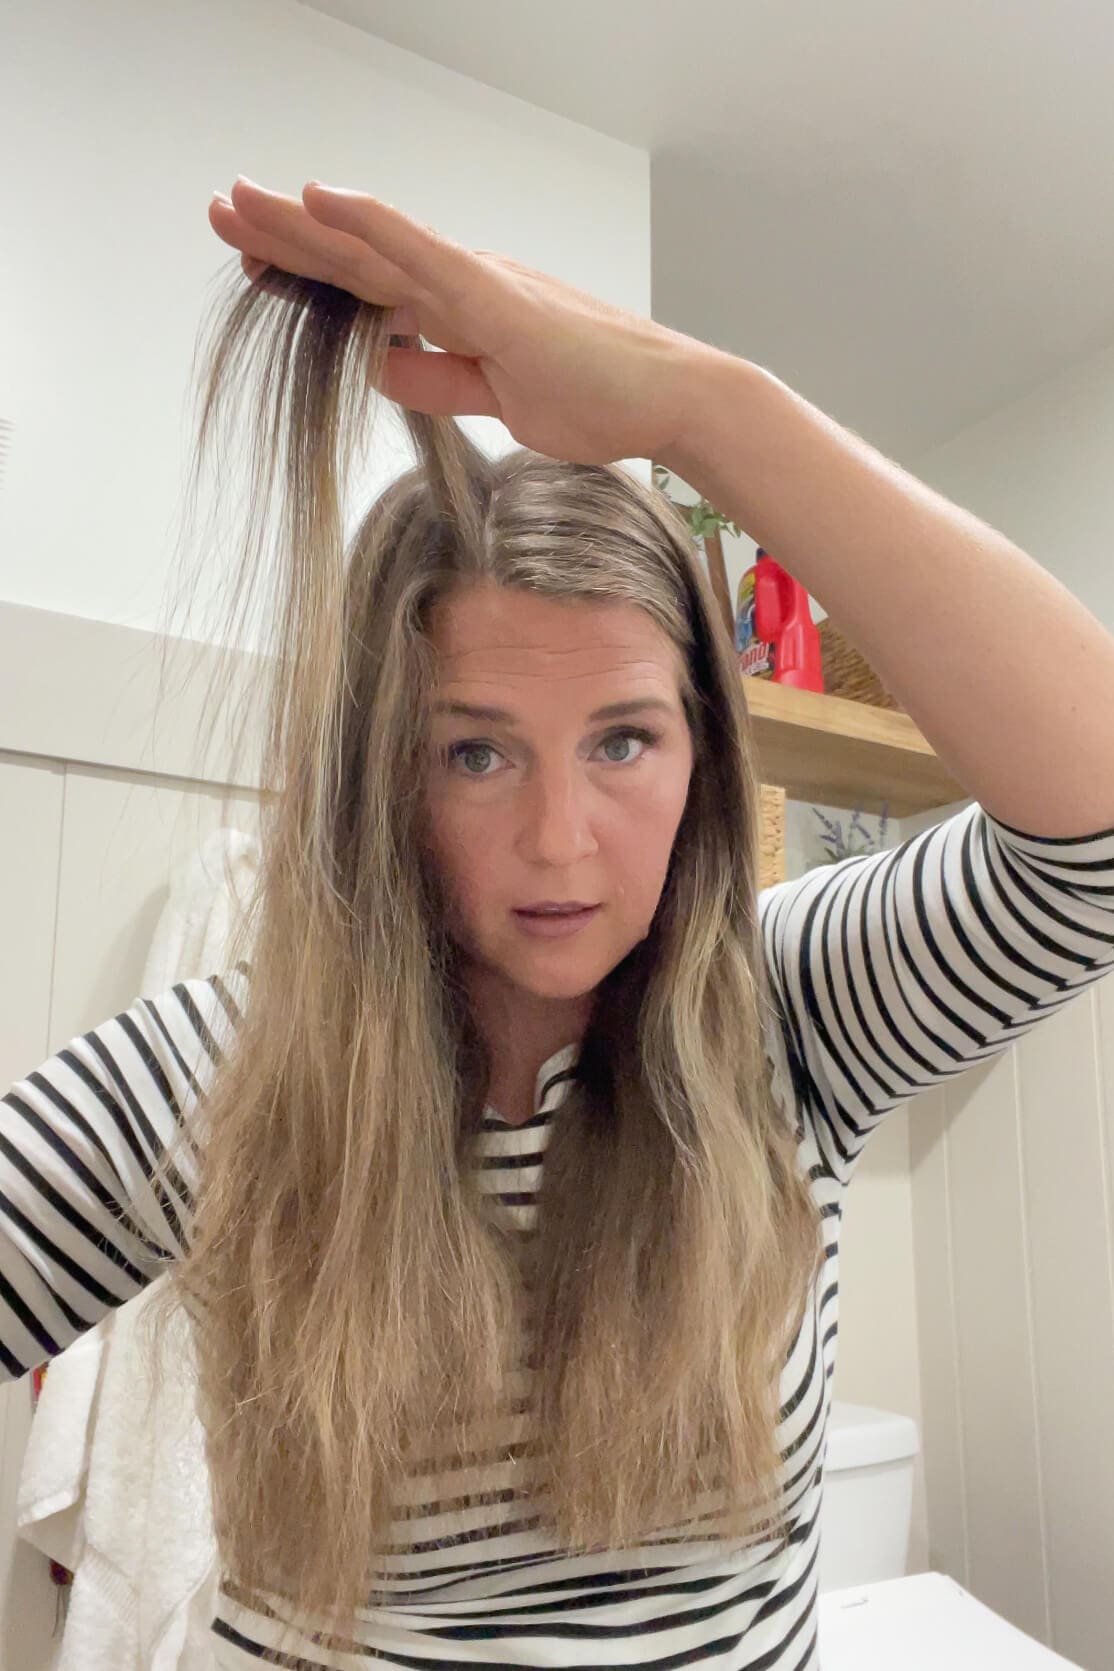
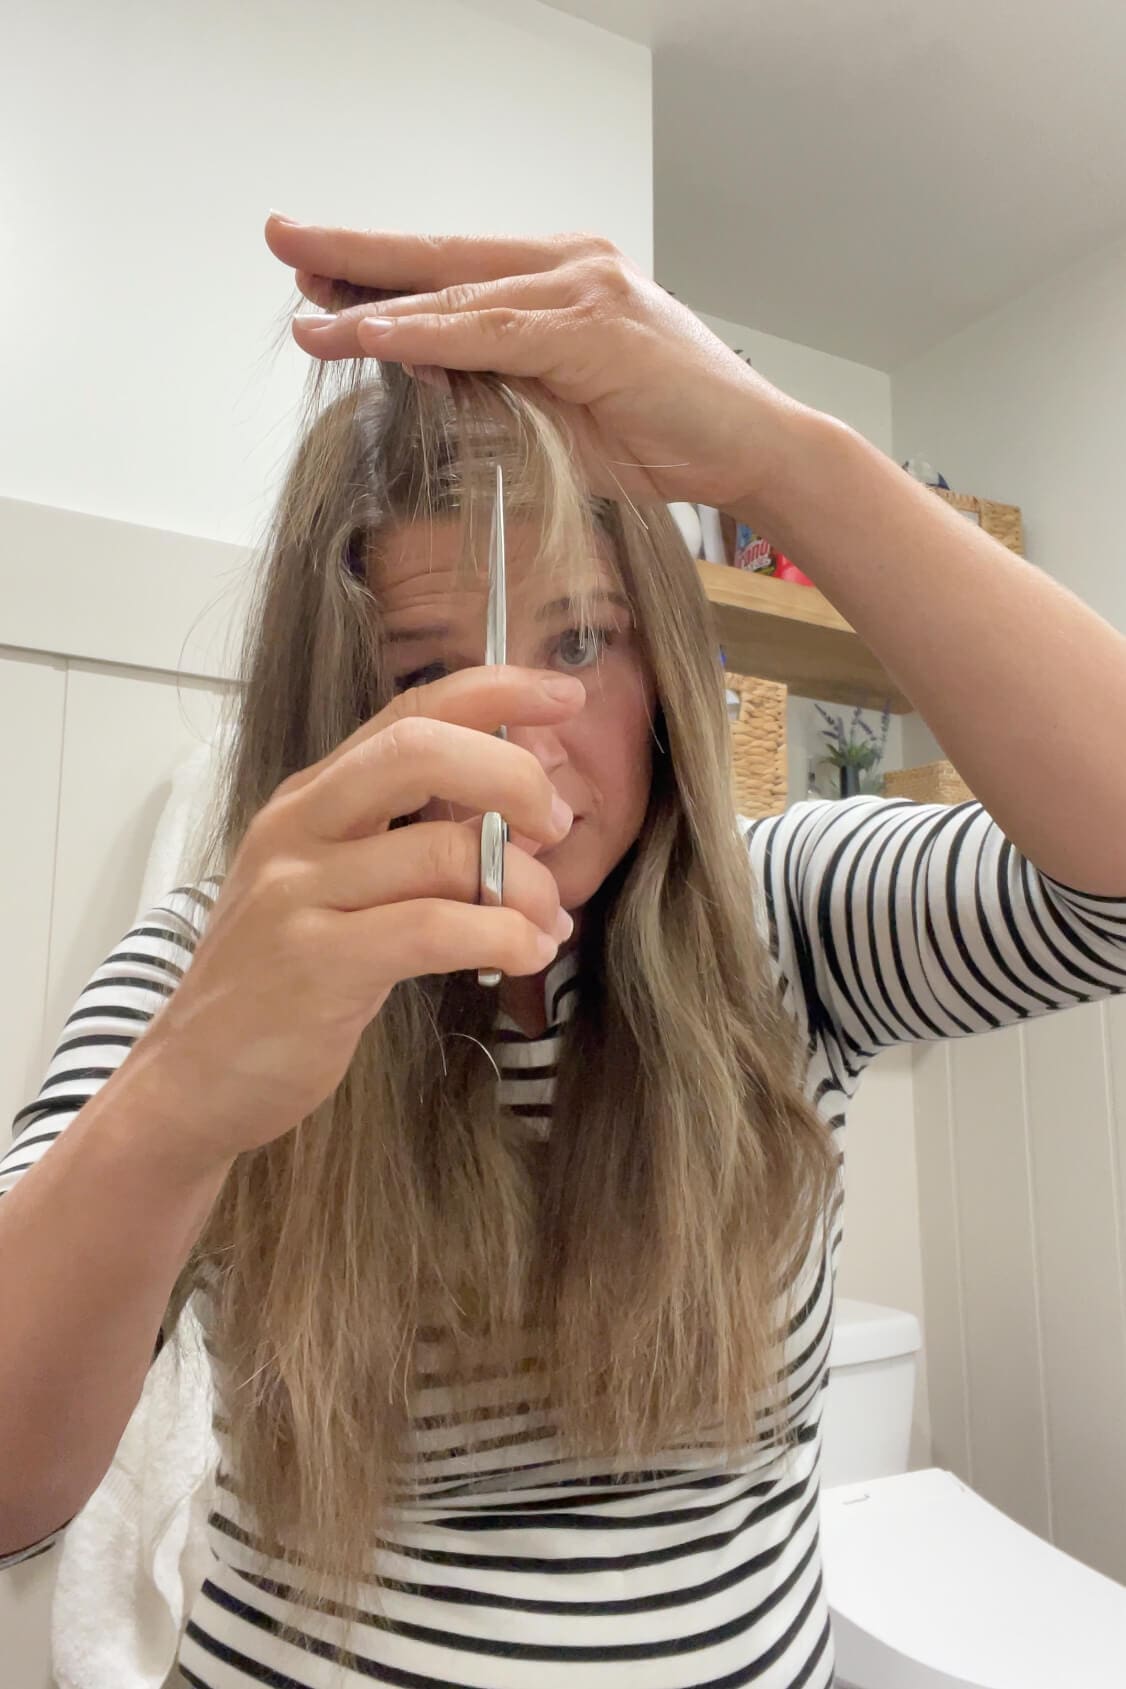
This is where the layers happen! Take a vertical 1-inch section from the top of your head and comb it straight up. Hold it tightly between your fingers and begin point-cutting – just tiny snips into the ends to break up the weight.
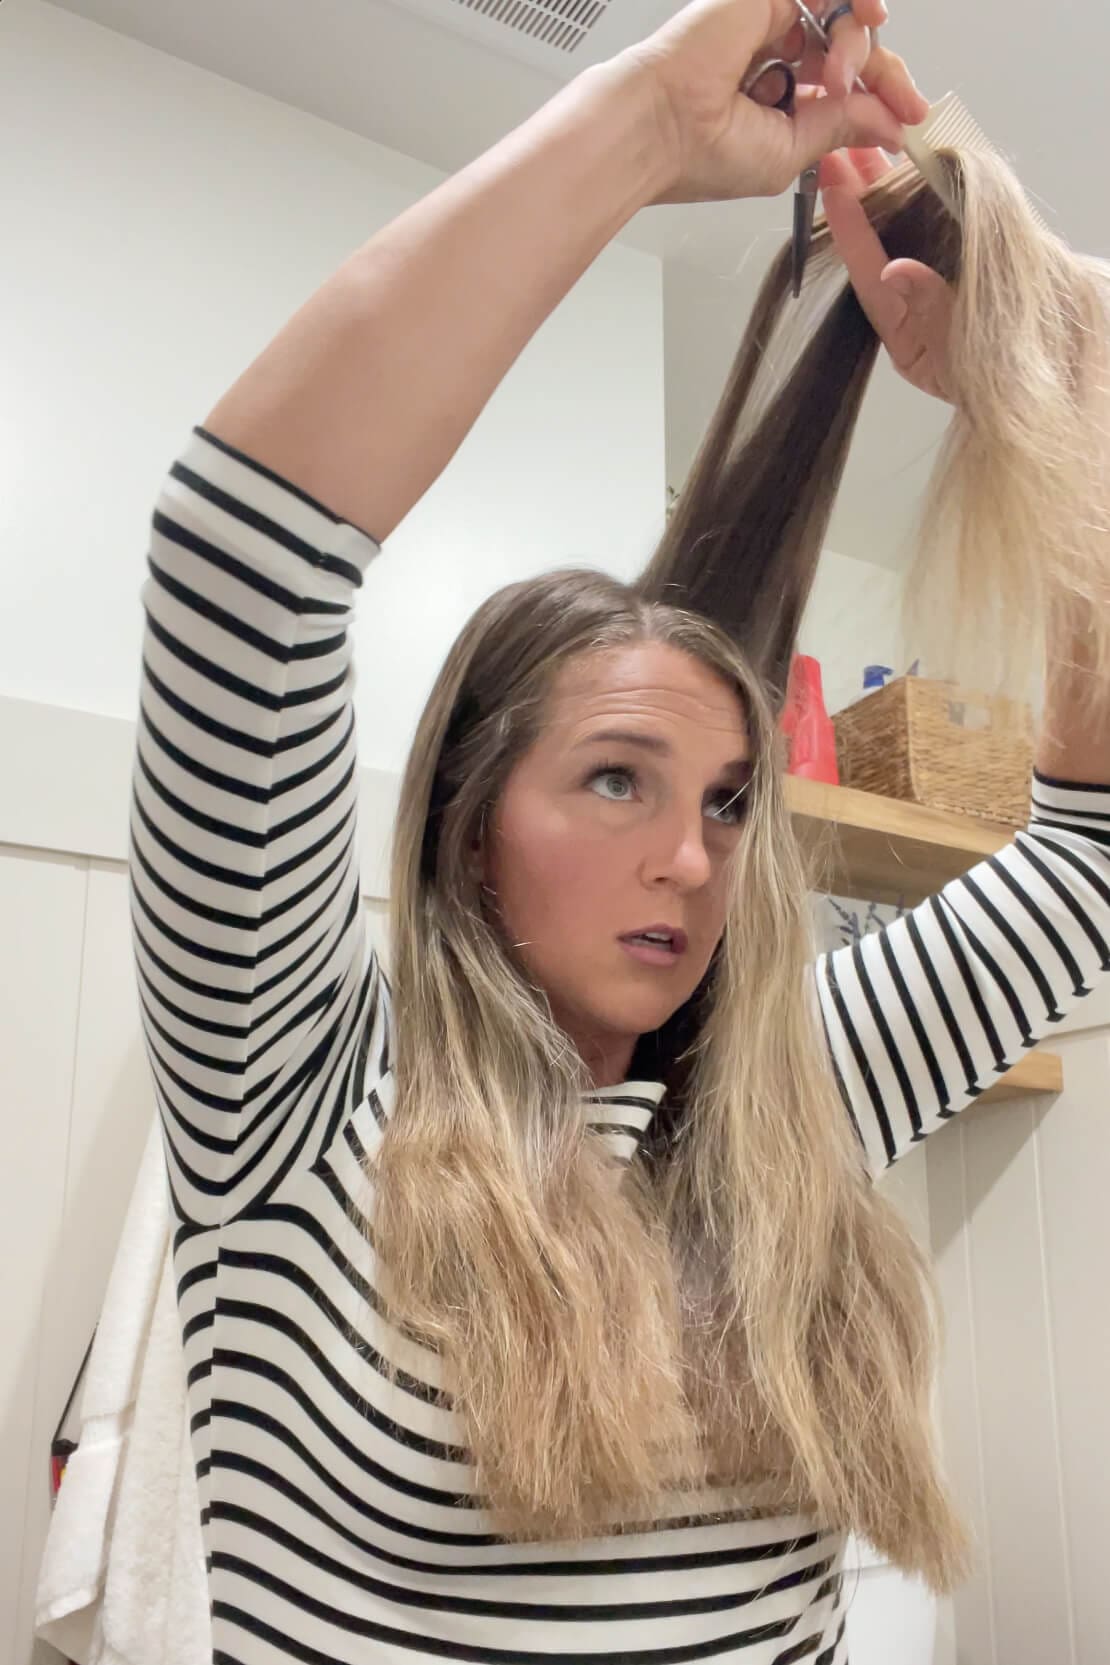
Repeat around the crown, always using small vertical sections and a soft, shallow point-cutting technique. You’re adding shape and volume without creating any harsh lines.
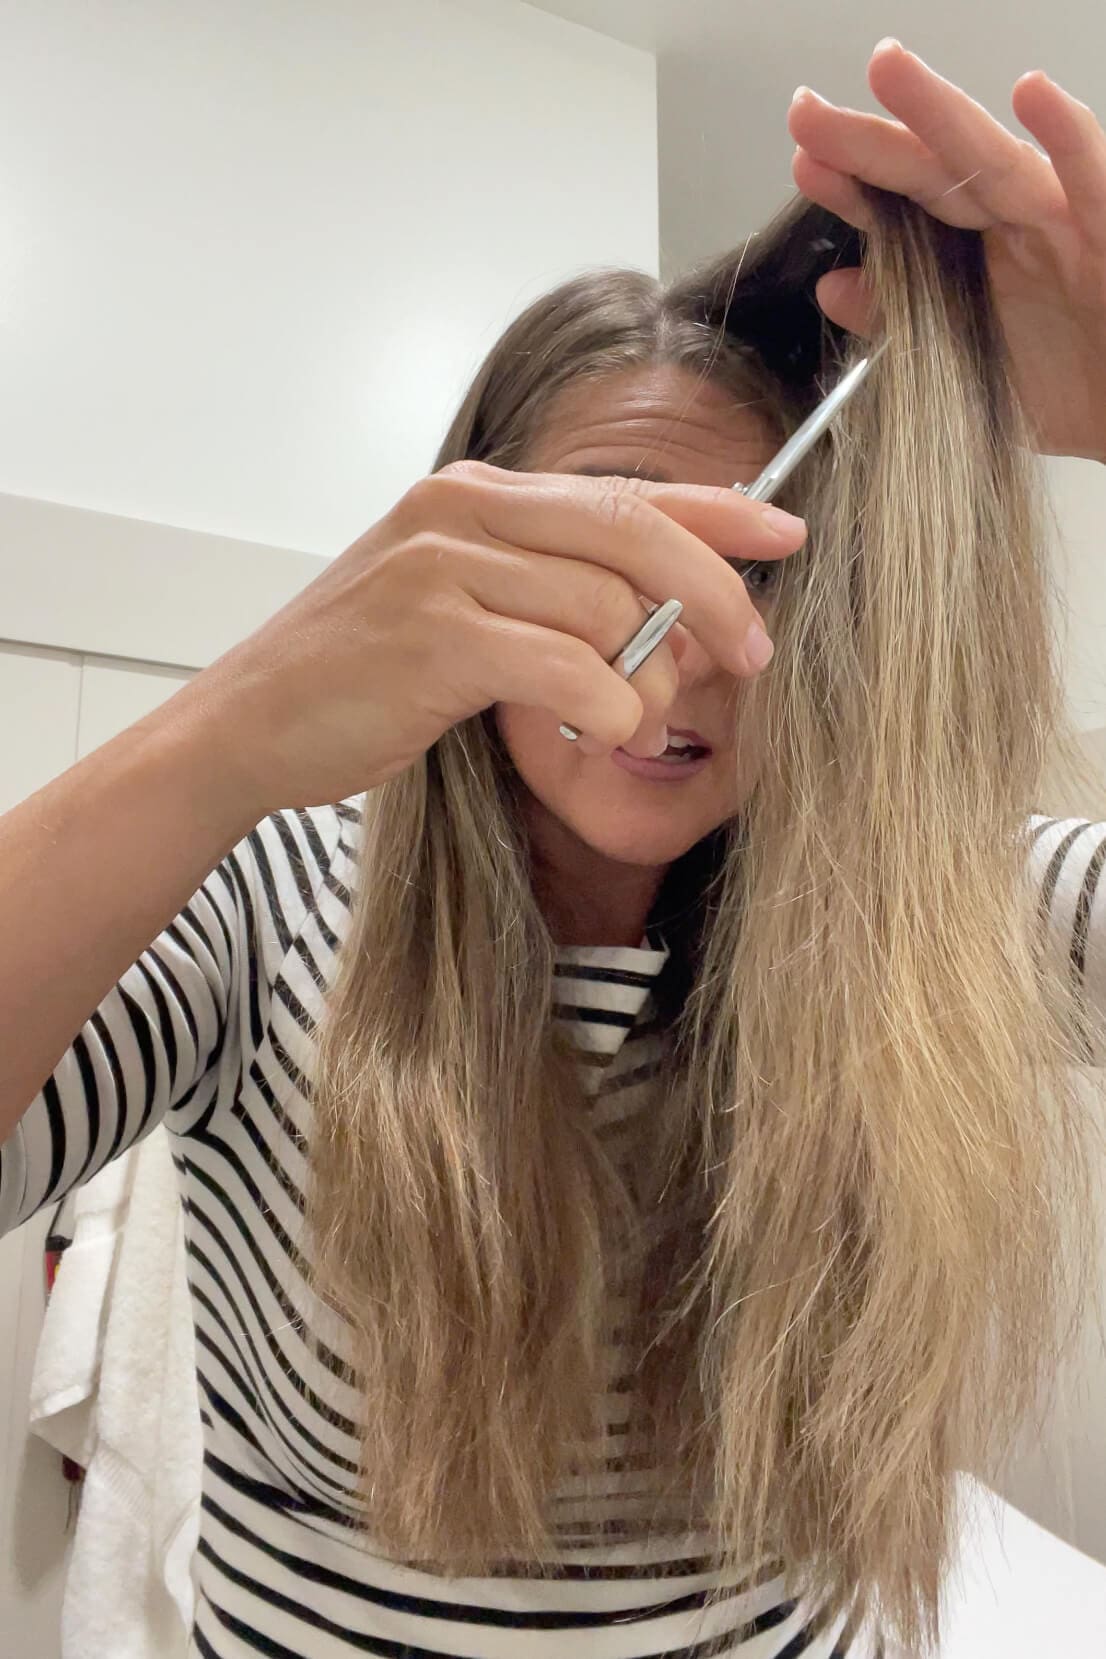
Step 5: Blend the Layers Downward
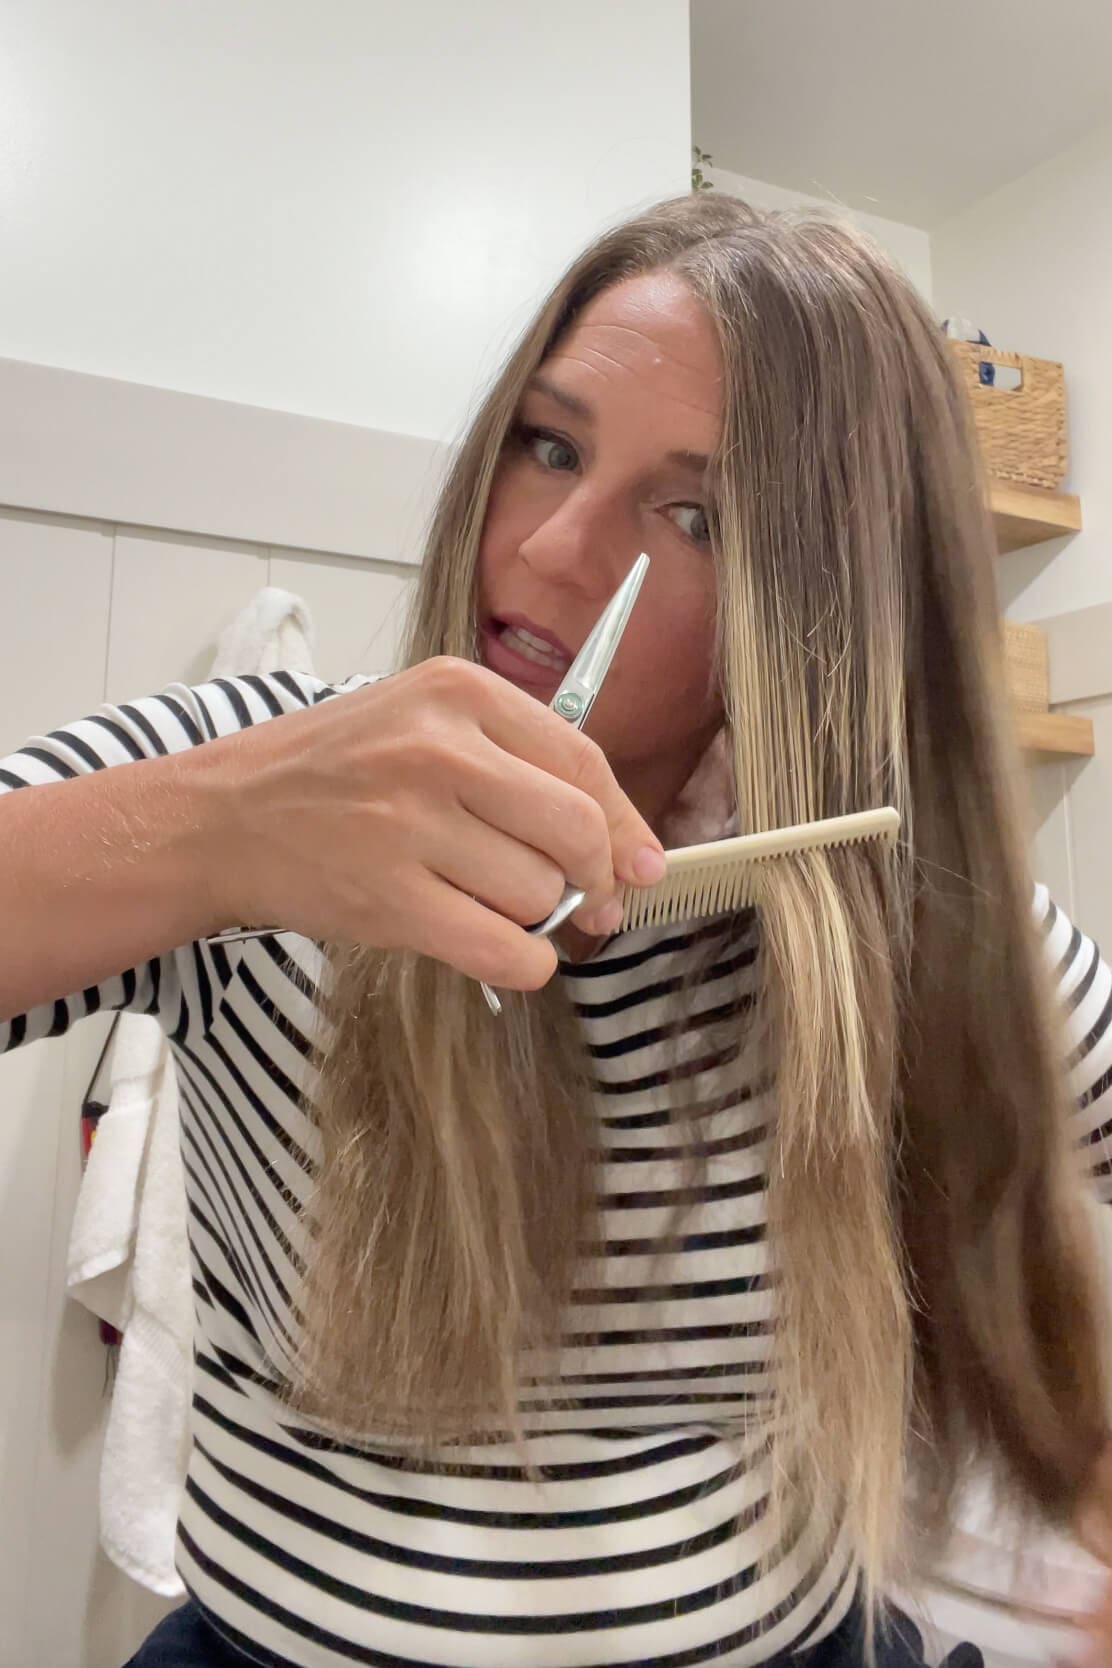
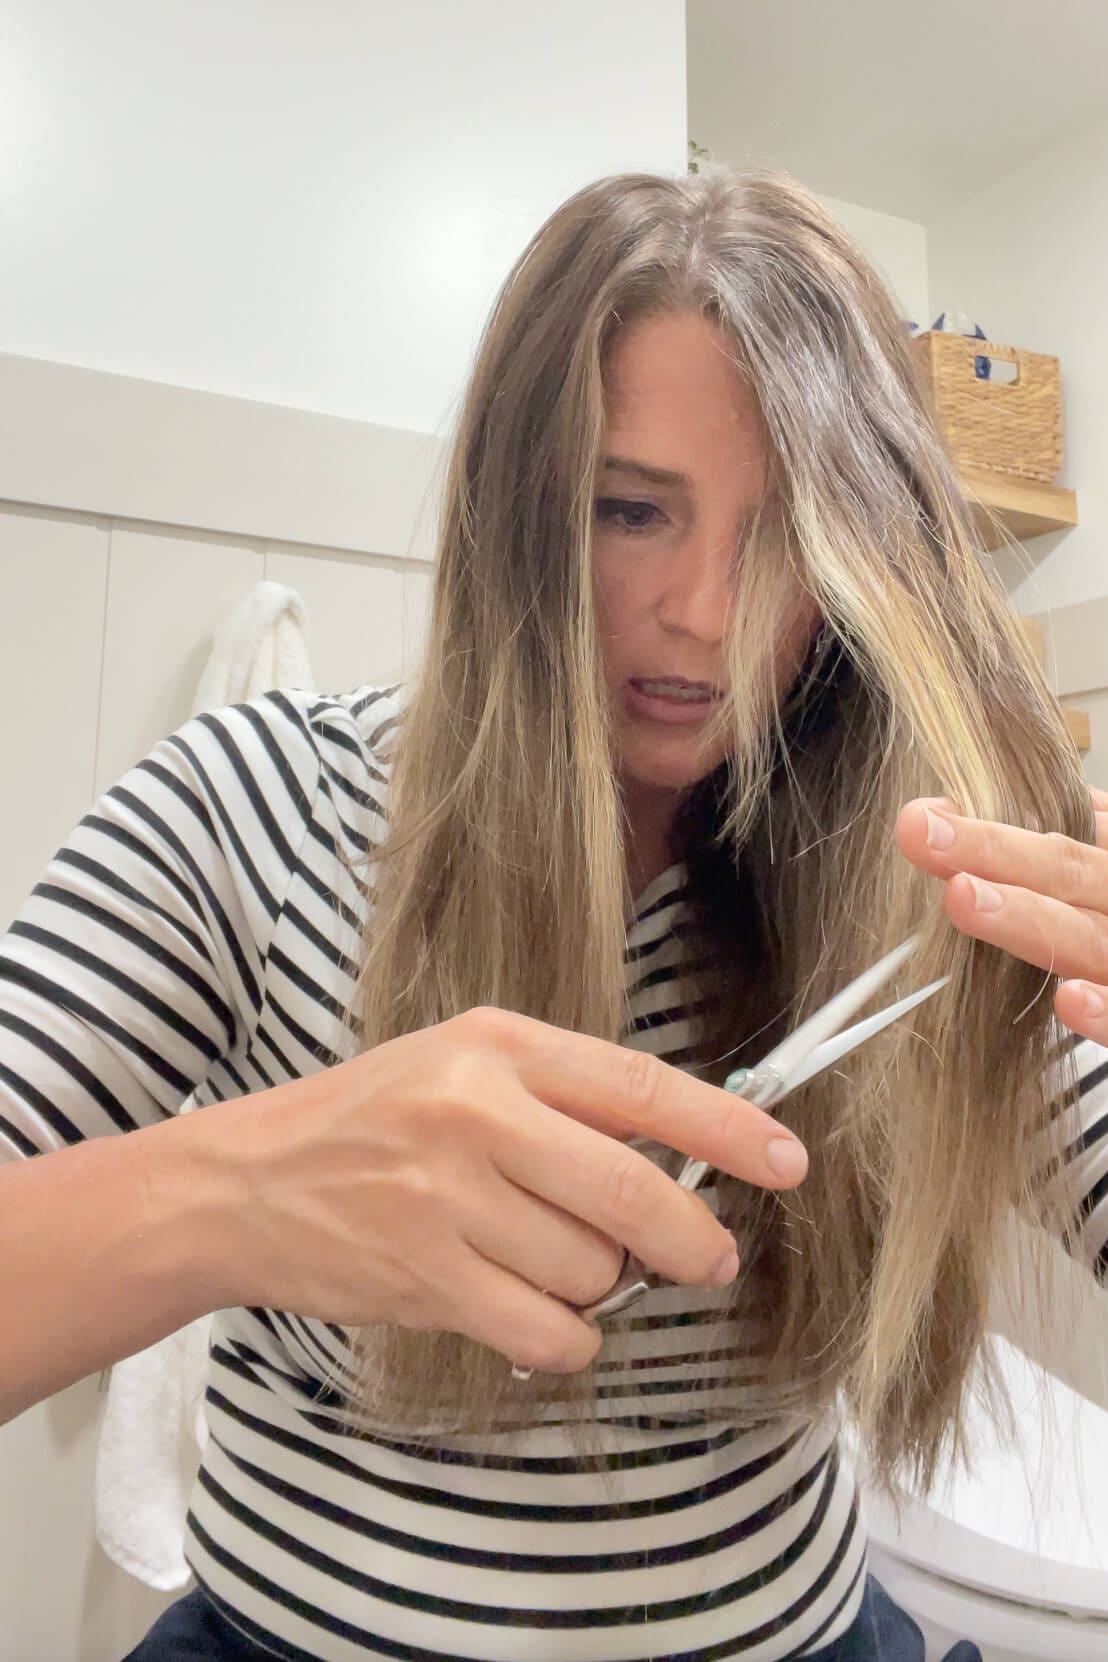
To blend your new layers into the length, take vertical sections and let them fall naturally downward. Hold the section between your fingers and point cut just the top edge. This helps blend the shorter top layers into the rest of your hair without thinning everything out.

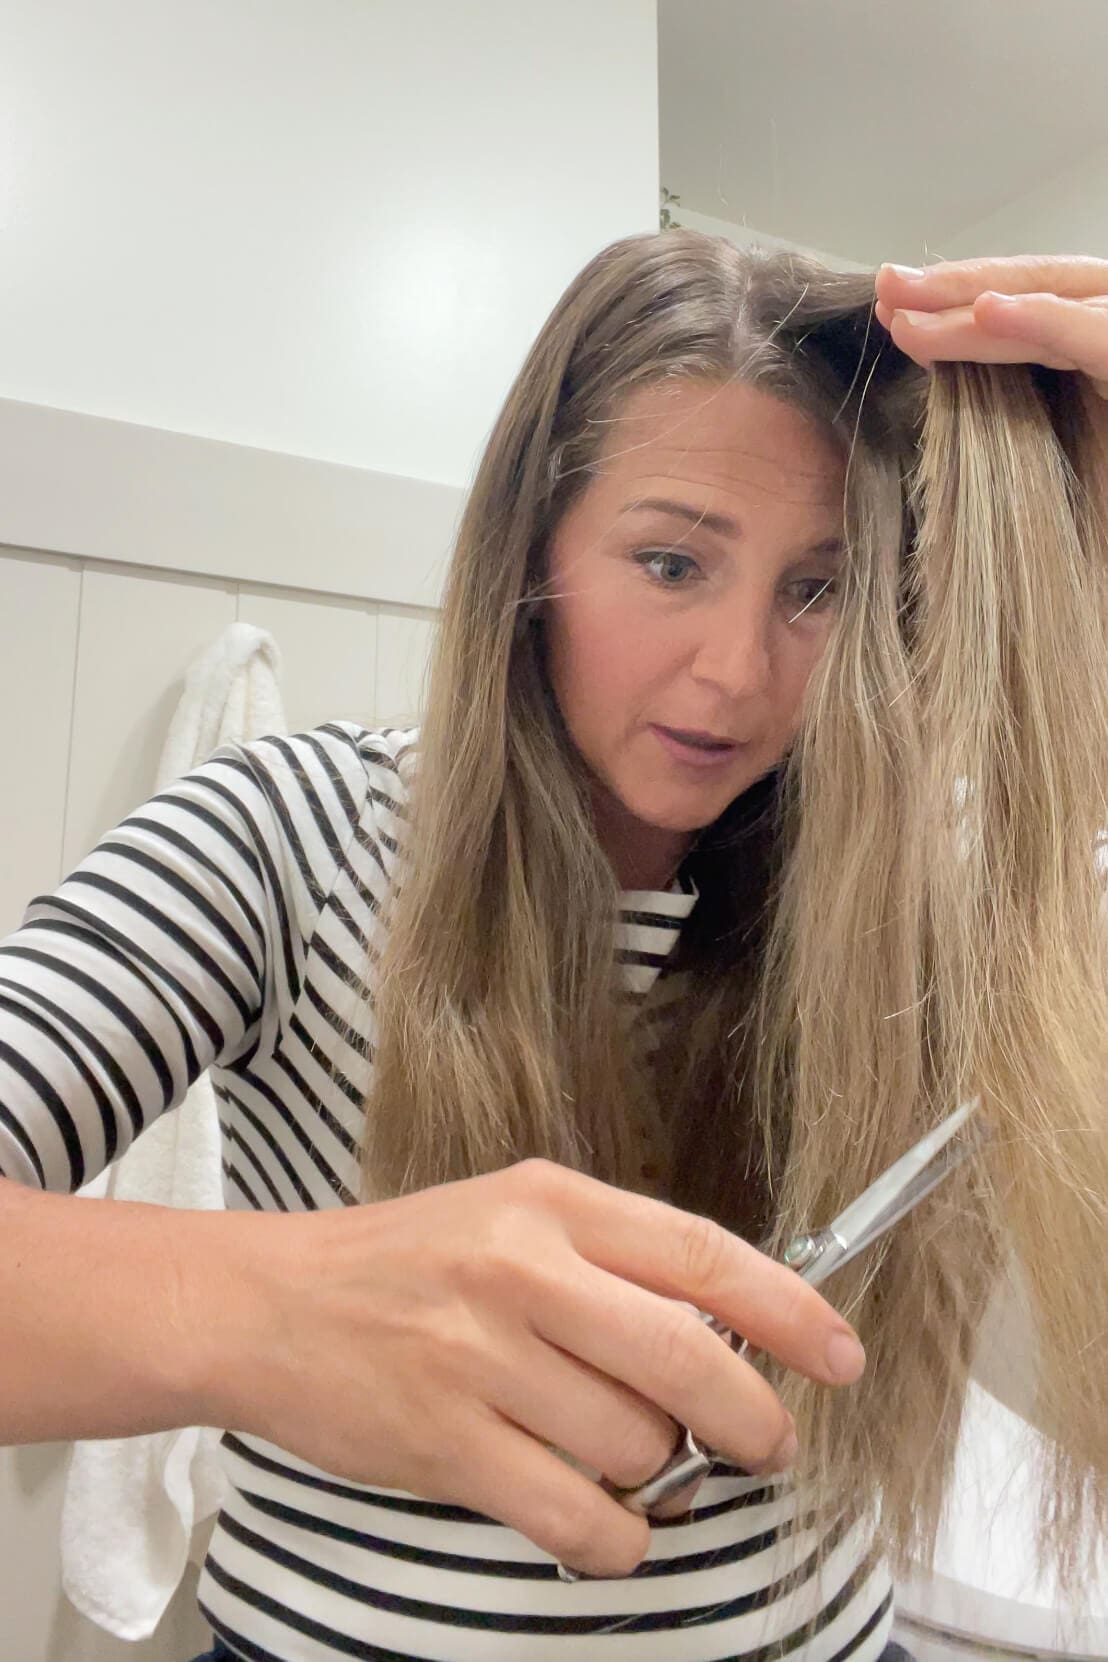
Step 6: Balance the Crown Layers
Take a small half-inch section from the crown, comb it up, and trim any uneven or overly long pieces. Flip that same section to the opposite side and compare. Then repeat on the other side to ensure everything feels balanced.
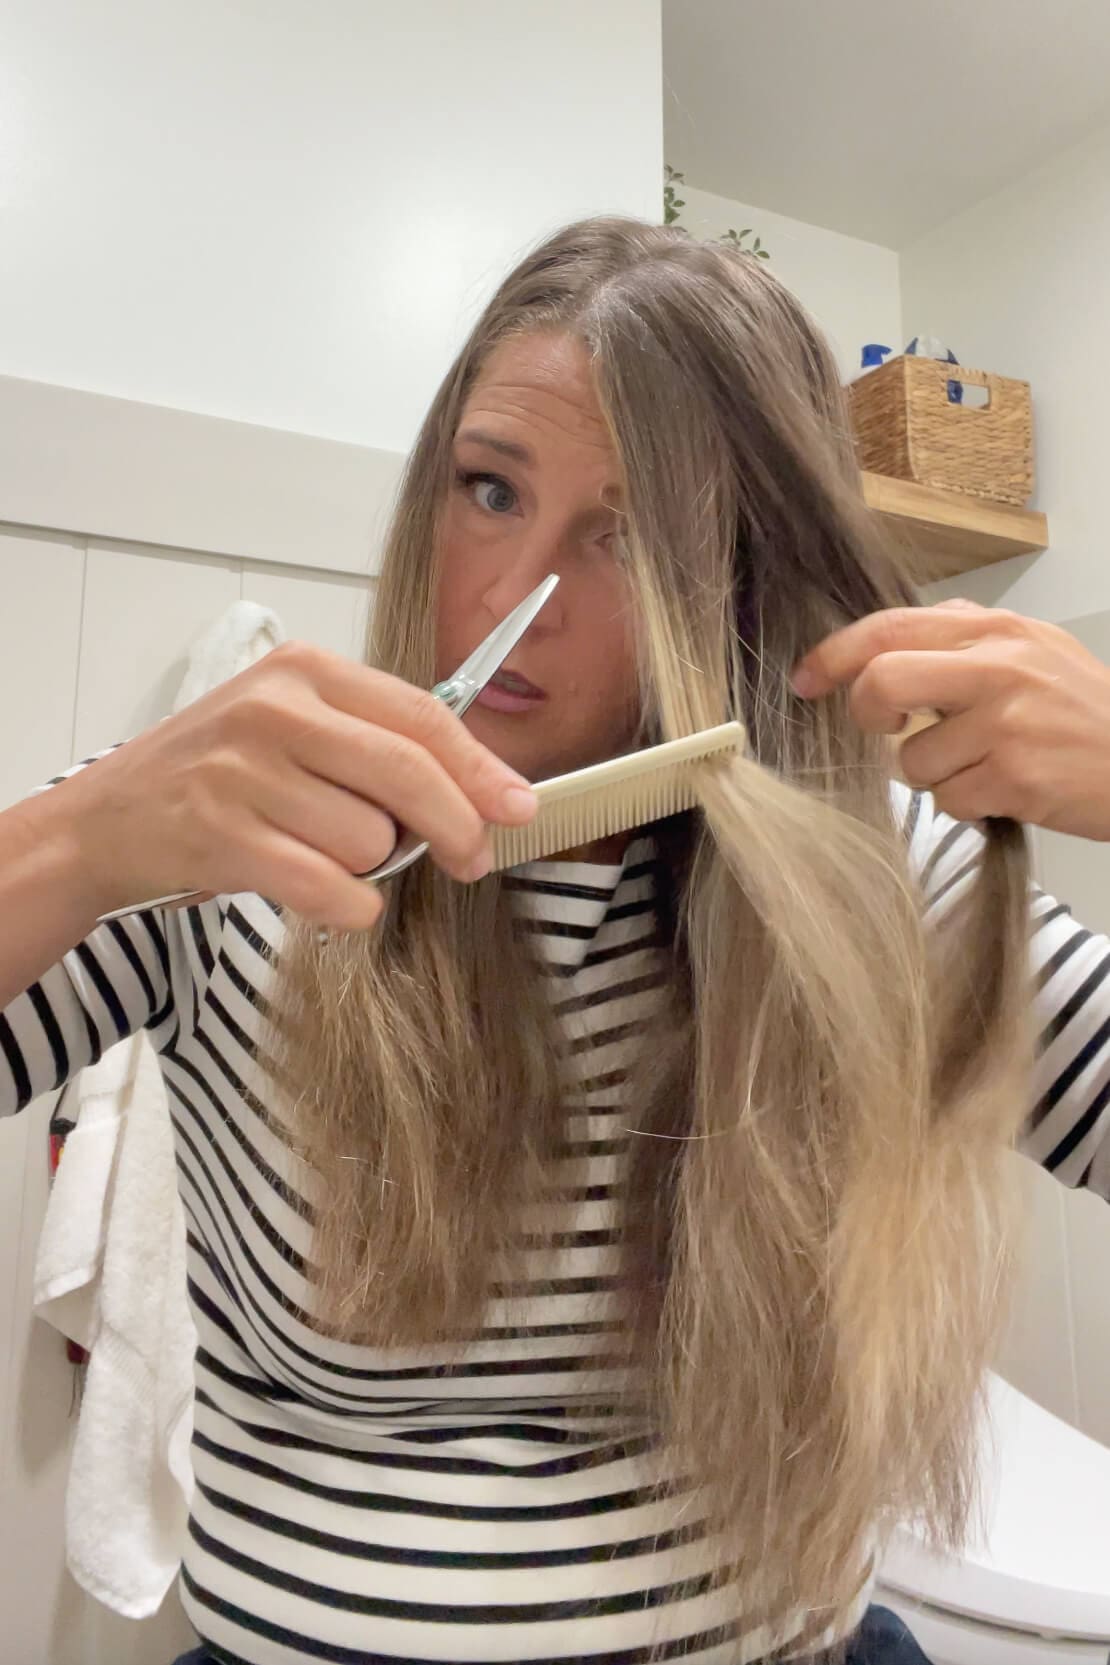
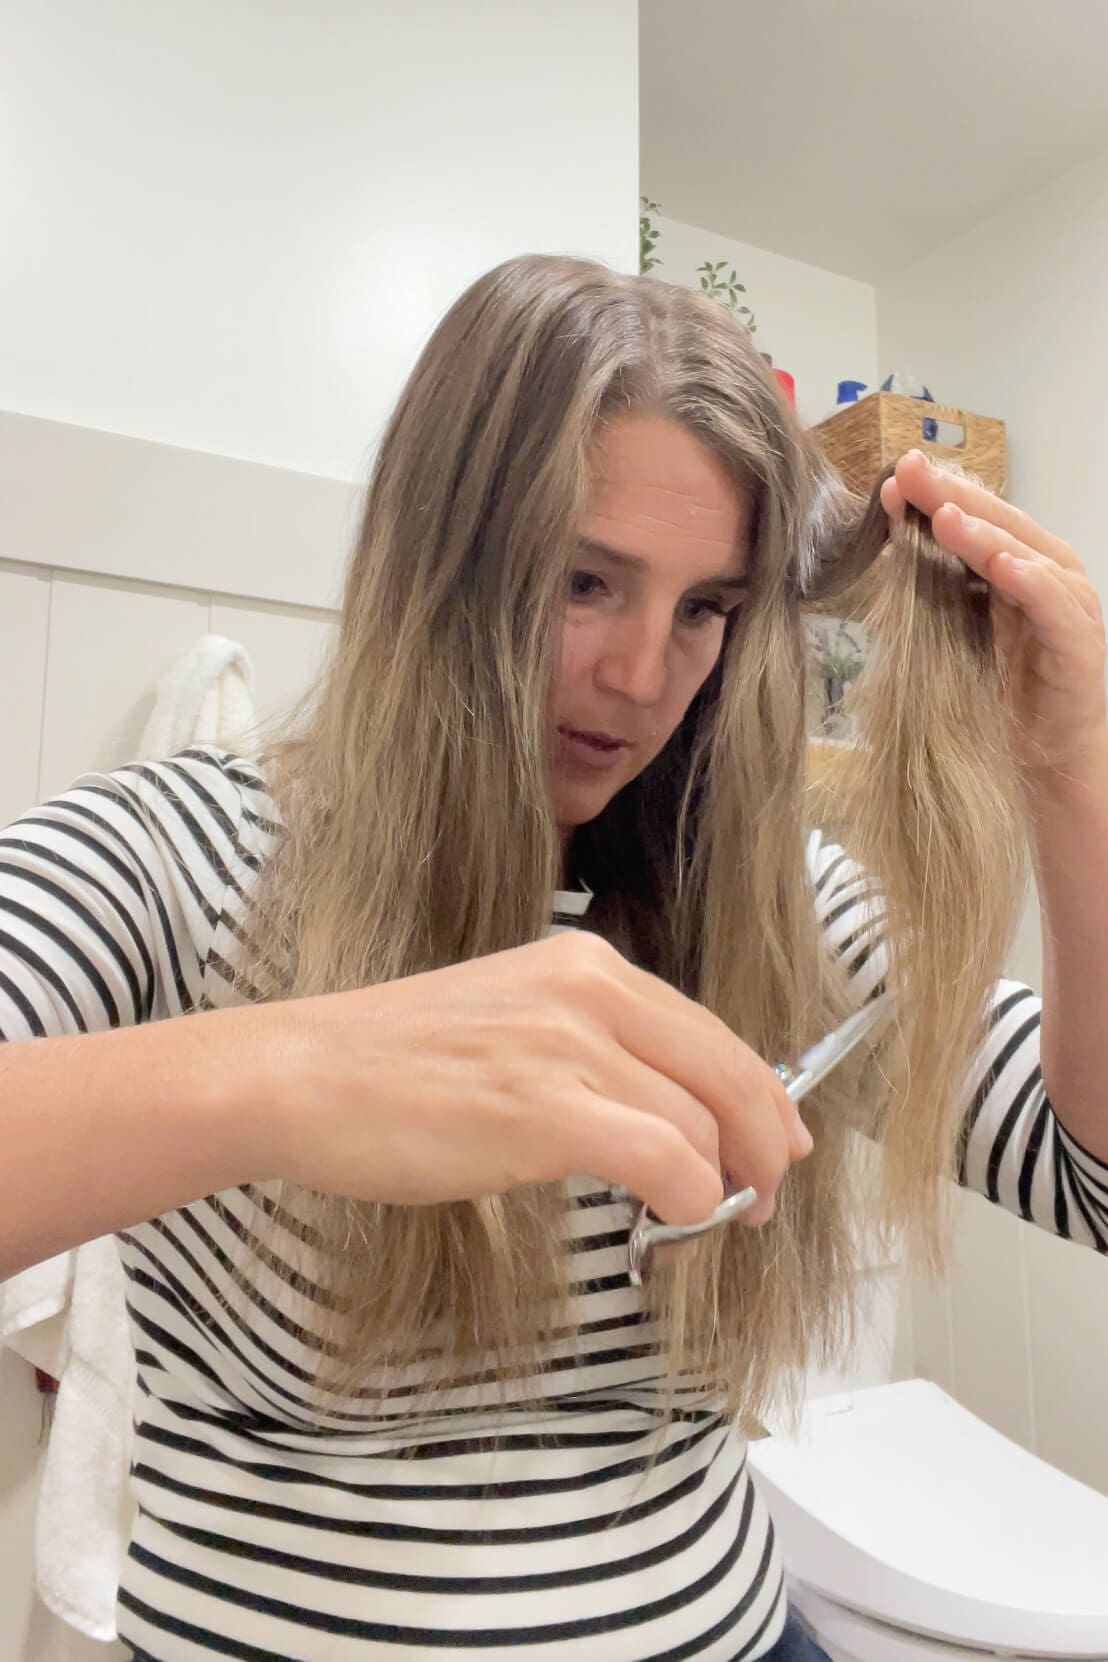
Step 7: Face-Framing Layers at Home
Now go back to that front section you set aside. Comb it straight down and point cut into the front edge to shape soft face-framing layers. You can start around the cheekbones or jawline depending on your face shape. Repeat on the other side and double-check for symmetry.
Helpful Tips for Cutting Layers at Home
- Go slow. You can always cut more, but you can’t put it back.
- If a section feels too blunt, point cut into it again to soften it.
- Only cut the top layers – leave the underneath layers thick to keep volume.
Style the Finished Layered Look
Once your layers are done, it’s time to curl!
My curling iron is ancient and no longer sold, but this one is very similar. I always start by curling the bottom layers first, then work my way up. The shorter top layers curl easily and give tons of lift and bounce now that they’re not being weighed down.
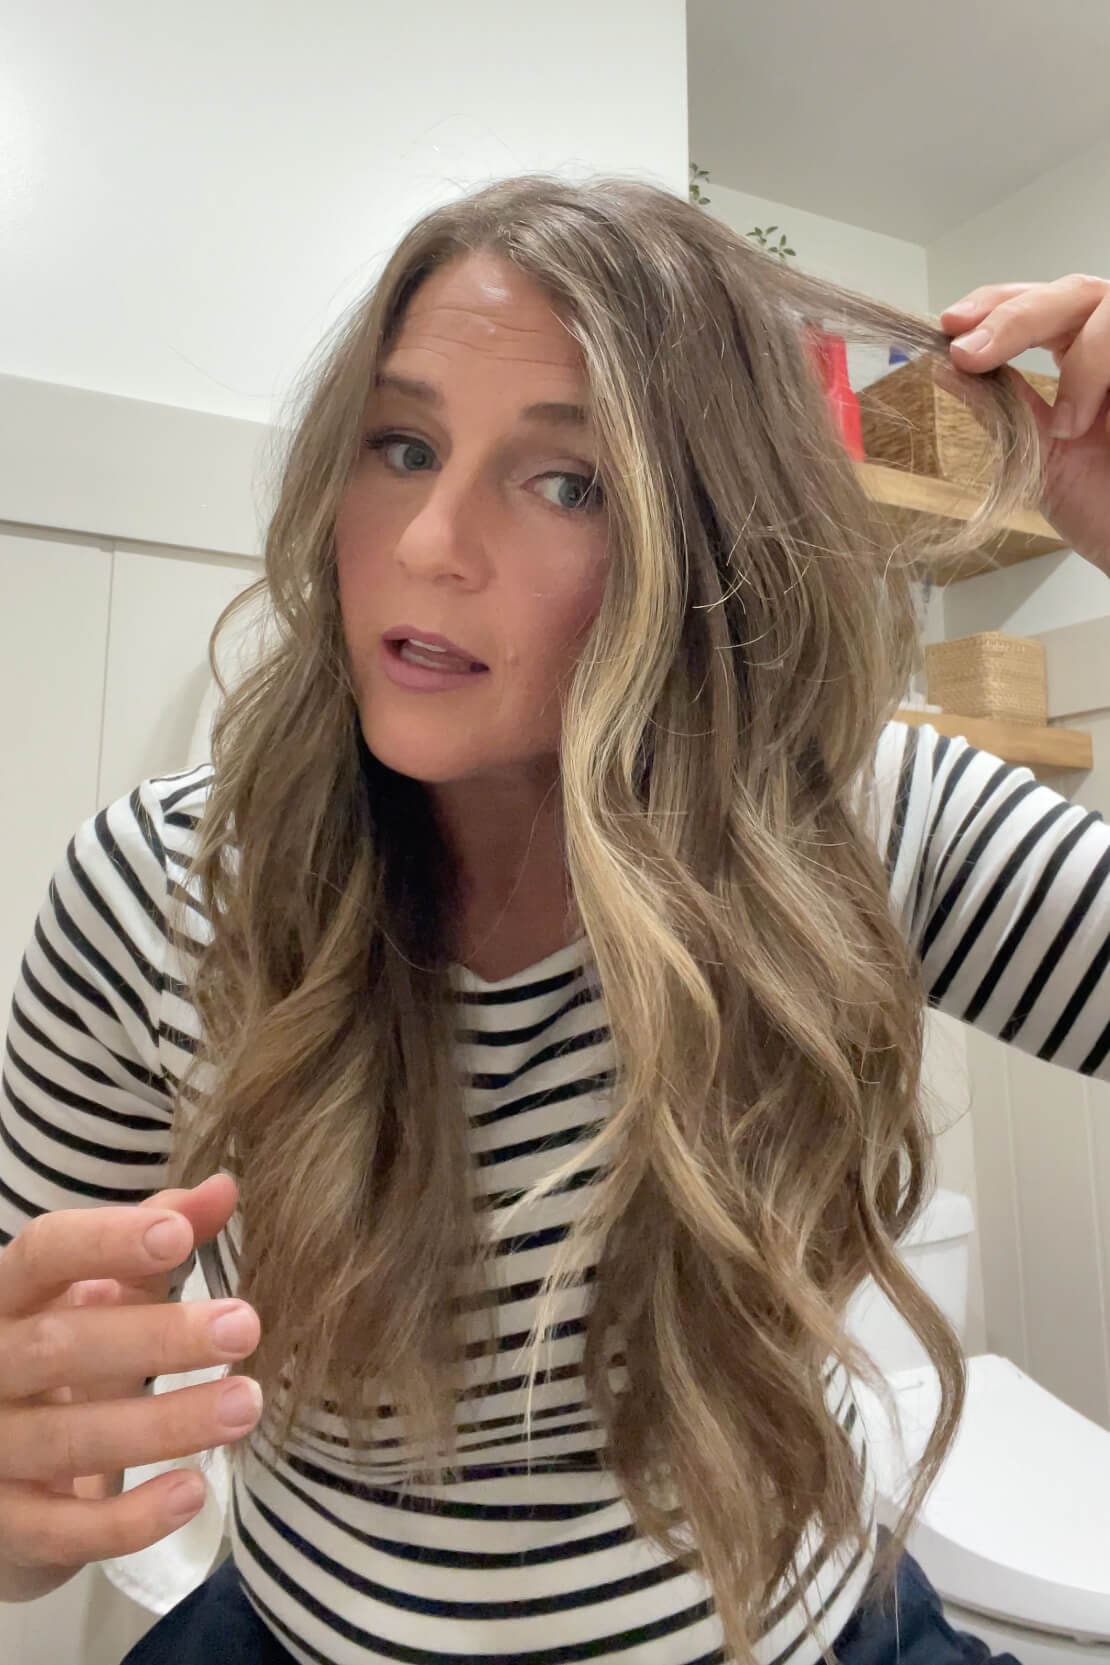
The Final Result: Soft DIY Layers
Look at those curls! My hair still feels long, but thanks to these soft, subtle layers, it has way more volume and holds curl so much better. These “invisible layers” are ideal if you curl your hair often and want that extra movement without looking too layered.
If you love to braid your hair often, these layers might not be the best choice – they can leave you with little pieces sticking out. I’m more of a wear-it-down or toss-it-in-a-ponytail kind of girl myself, so it works perfectly for me.

Want Stronger, Longer, Healthier Hair? Here’s Some Hair Growth & Supplement Support
If you’re looking to support your hair from the inside out, be sure to read Supplements for Women: What I Actually Take and Why. I share the exact supplements I use to promote hair growth, strength, and shine—and how they’ve helped with postpartum regrowth and overall wellness.
📌 Save This Haircut Tutorial for Later
FAQs About How to Cut Layers at Home
Yes! With a few simple tools and the right technique, you can absolutely cut layers at home. In this post, I walk you through the exact method I use to create soft, invisible layers that add bounce and shape – without losing length.
Please don’t use kitchen or craft scissors – they’ll leave your ends frayed. Use a pair of sharp hair-cutting scissors designed for precision. I linked my favorites in the supplies list above!
Not with this method! The technique I share in this tutorial uses point cutting and vertical sectioning to keep the layers soft and blended – not blunt or shelf-y.