


Easy & Low Maintenance Front Yard Landscaping


Updated July 13, 2026
Transform your front yard into a stunning showstopper with my low maintenance front yard landscaping ideas! I’ll give you all my tips and tricks for creating a beautiful and hassle-free, outdoor space that saves you both time and effort. These ideas are perfect for busy homeowners looking to enhance curb appeal without a bunch of added upkeep!
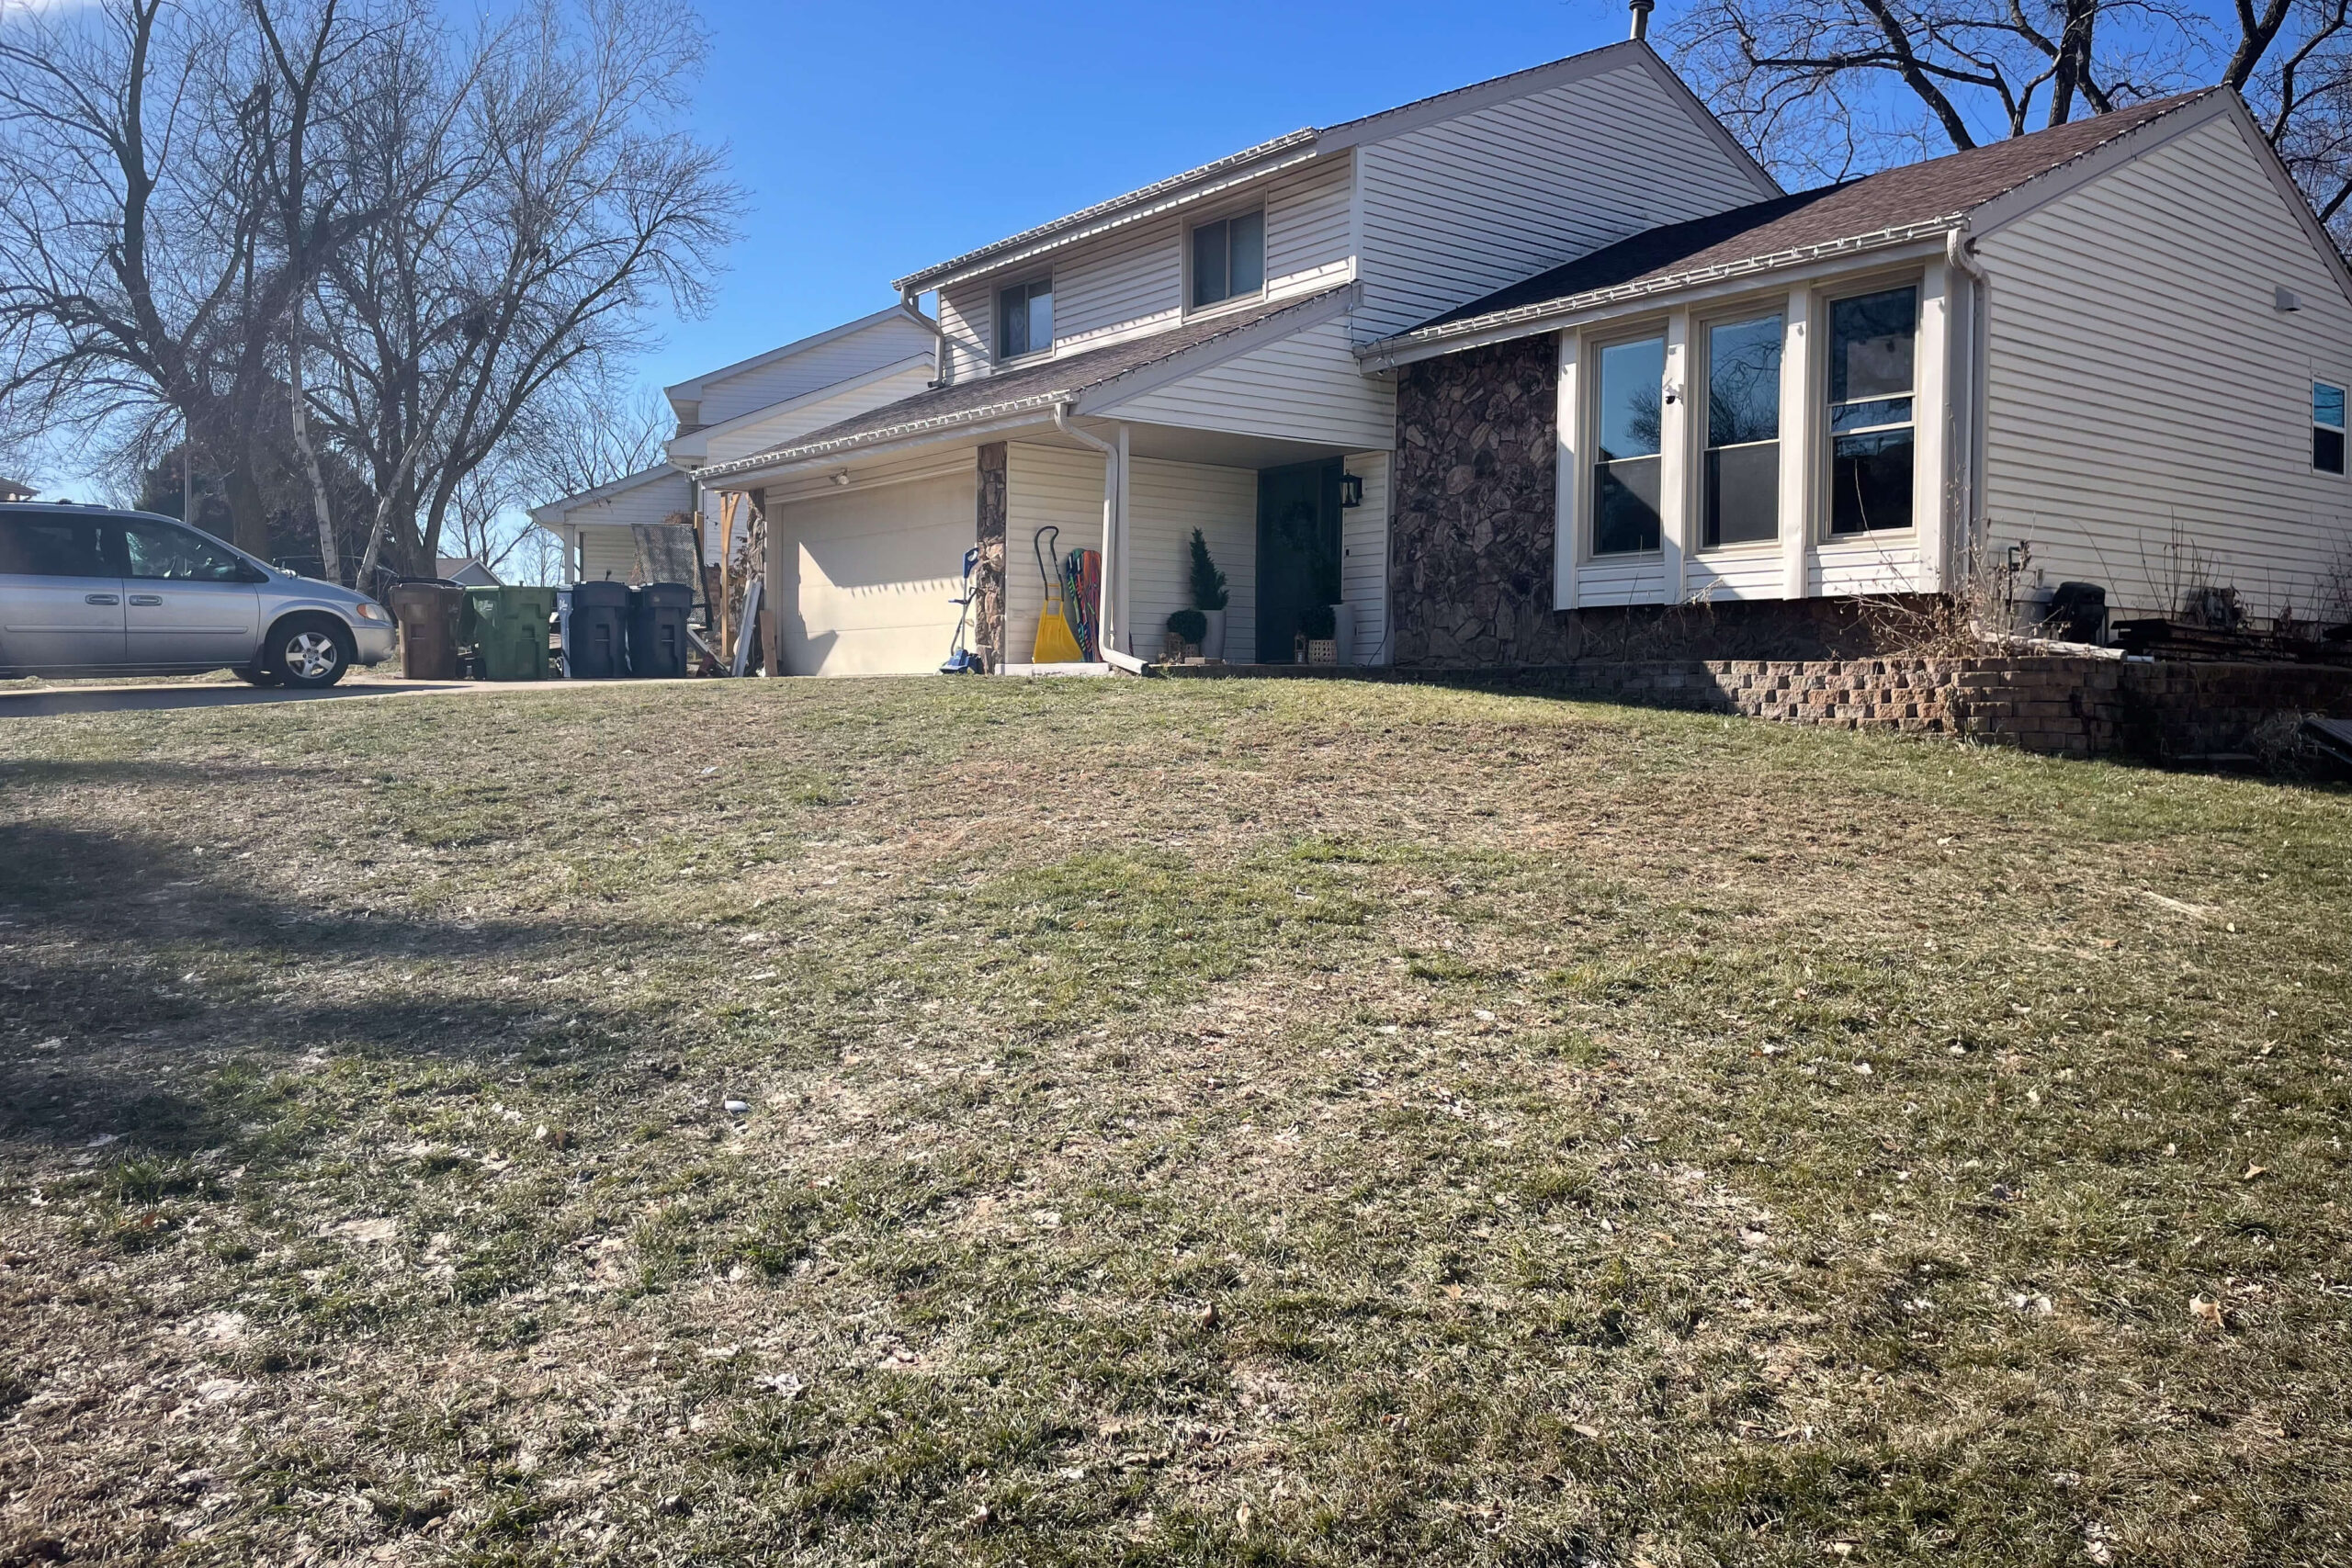
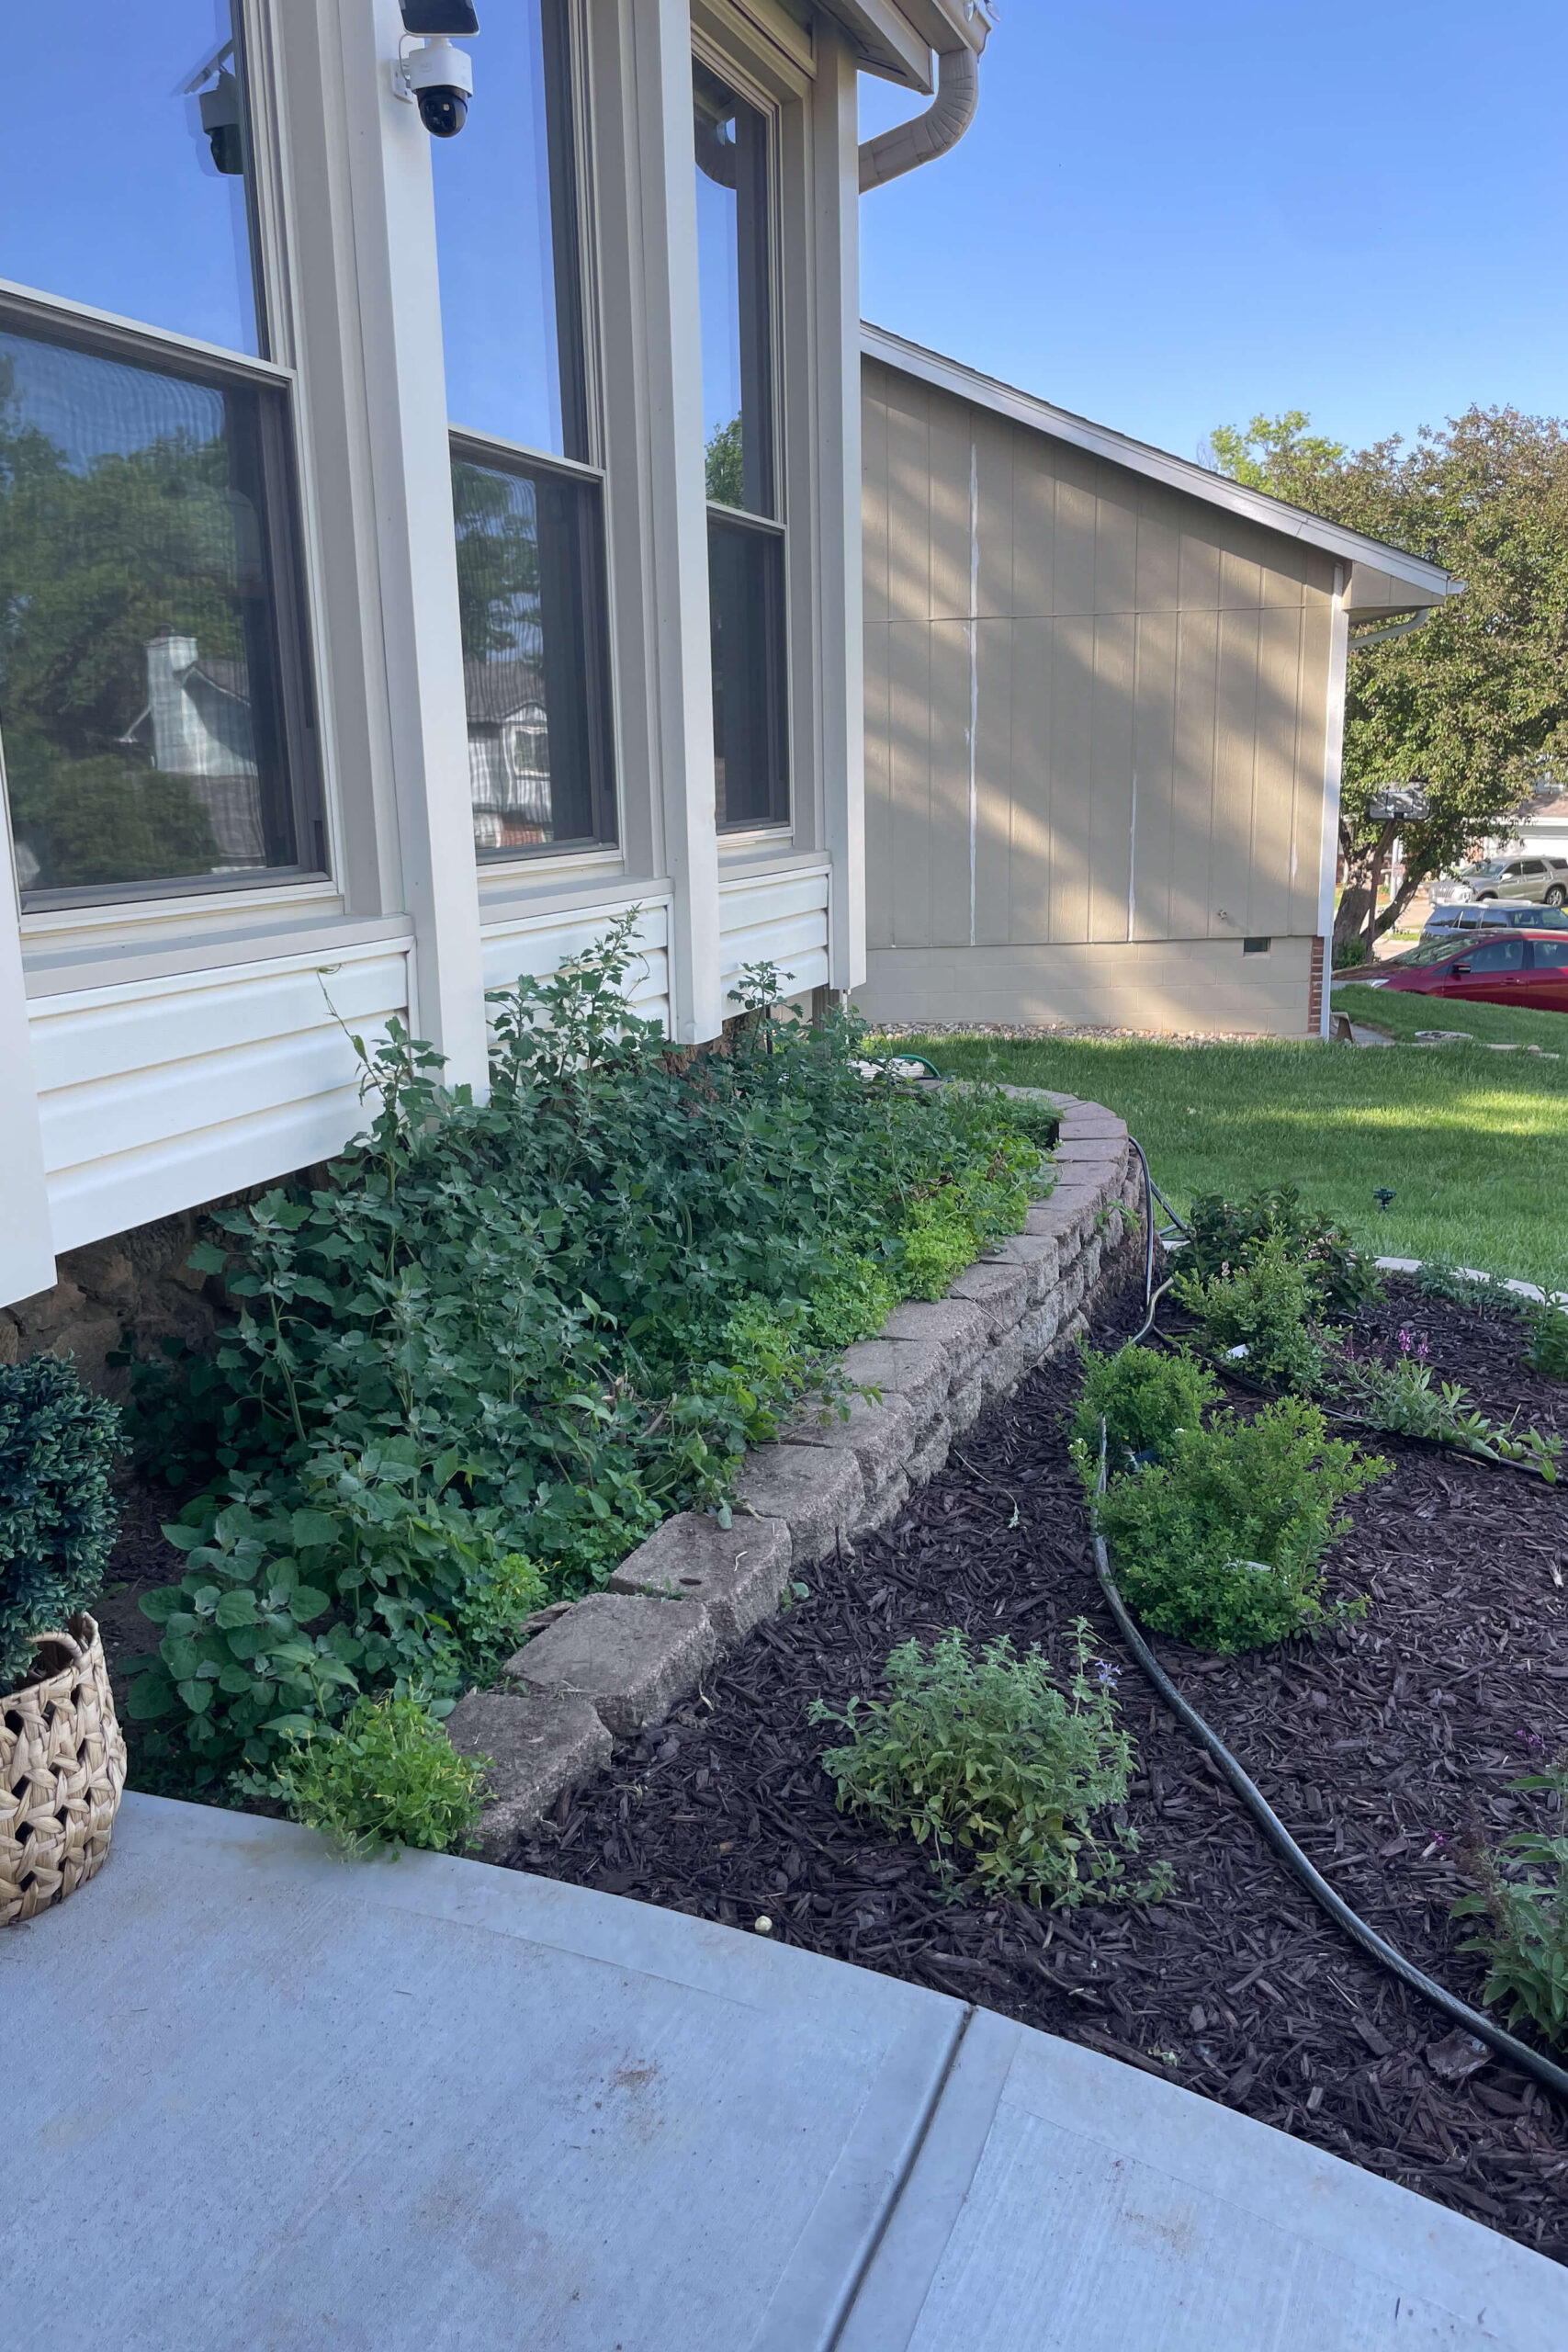
This is what the front of my house looked like just before I started all of my low-maintenance front yard landscaping projects.
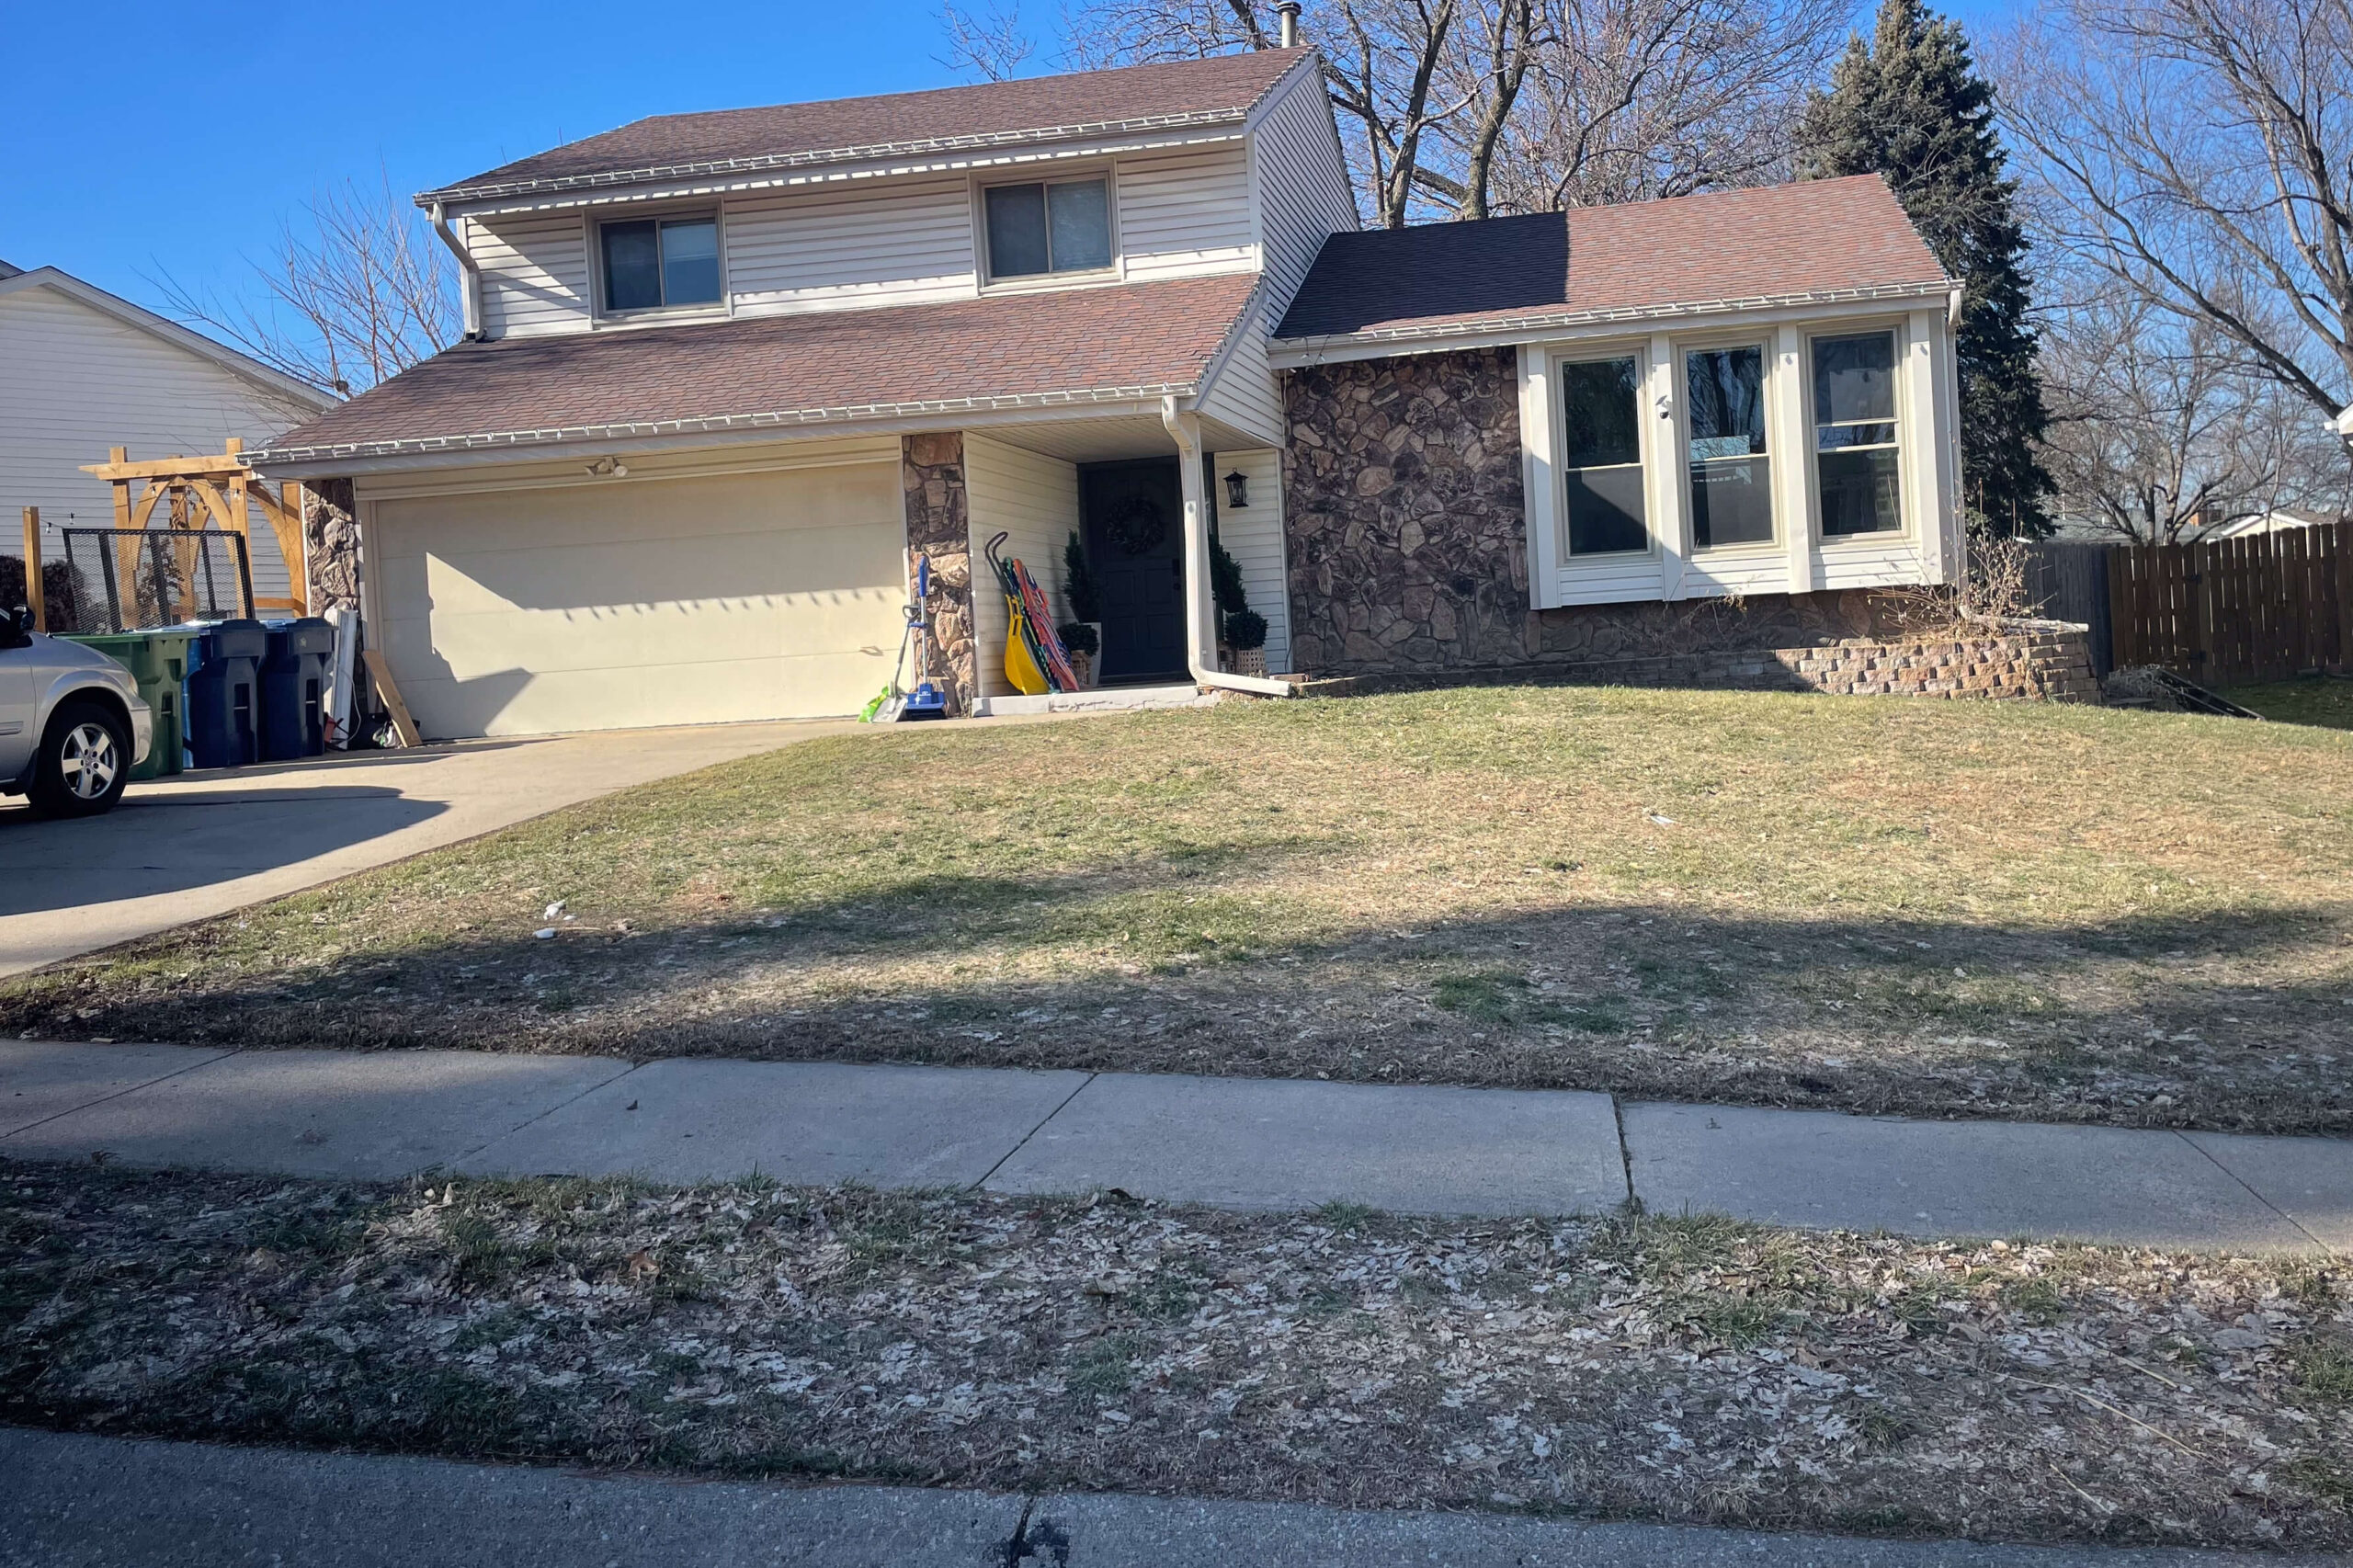
My lawn was dry and patchy. I did have one landscaping bed up against the house, but other than that, it’s pretty basic and uninteresting. I wanted to revitalize my lawn while adding interest with some low-maintenance front yard landscaping.
Recap of My Front Yard Projects So Far
If you’ve been following along, you know that I’ve been working on beautifying my front yard, adding lots of character and curb appeal. We aren’t done yet, but these are the projects I’ve done so far.
- Extended our front porch
- Added a paver driveway expansion
- Installed DIY concrete curbing
- Laid sod for a new lawn
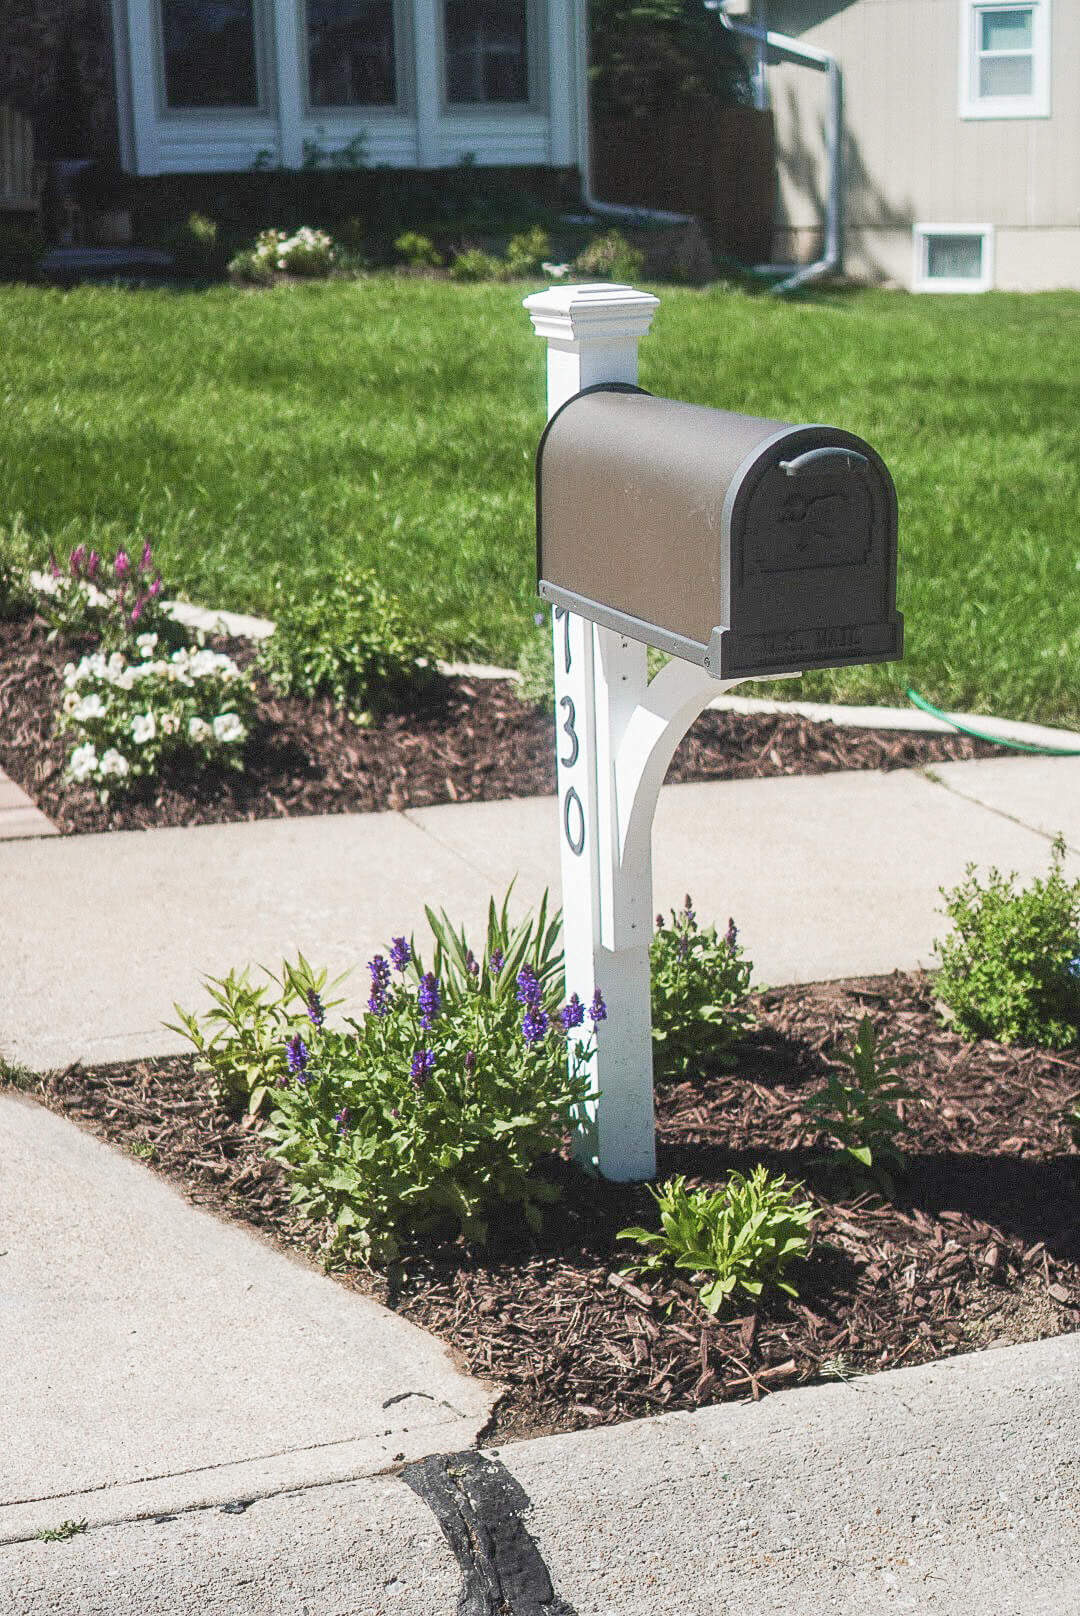
- Built a new mailbox
Helpful Tools and Materials for Landscaping
- Tiller
- Flat shovel
- Digging shovel
- Post hole digger
- Wheelbarrow
- Stiff rake
- Utility knife
- Scissors
- Weed barrier
- Landscape pins
- Mulch
- Grub killer
- Fertilizer
Adding Low Maintenance Front Yard Landscaping Beds
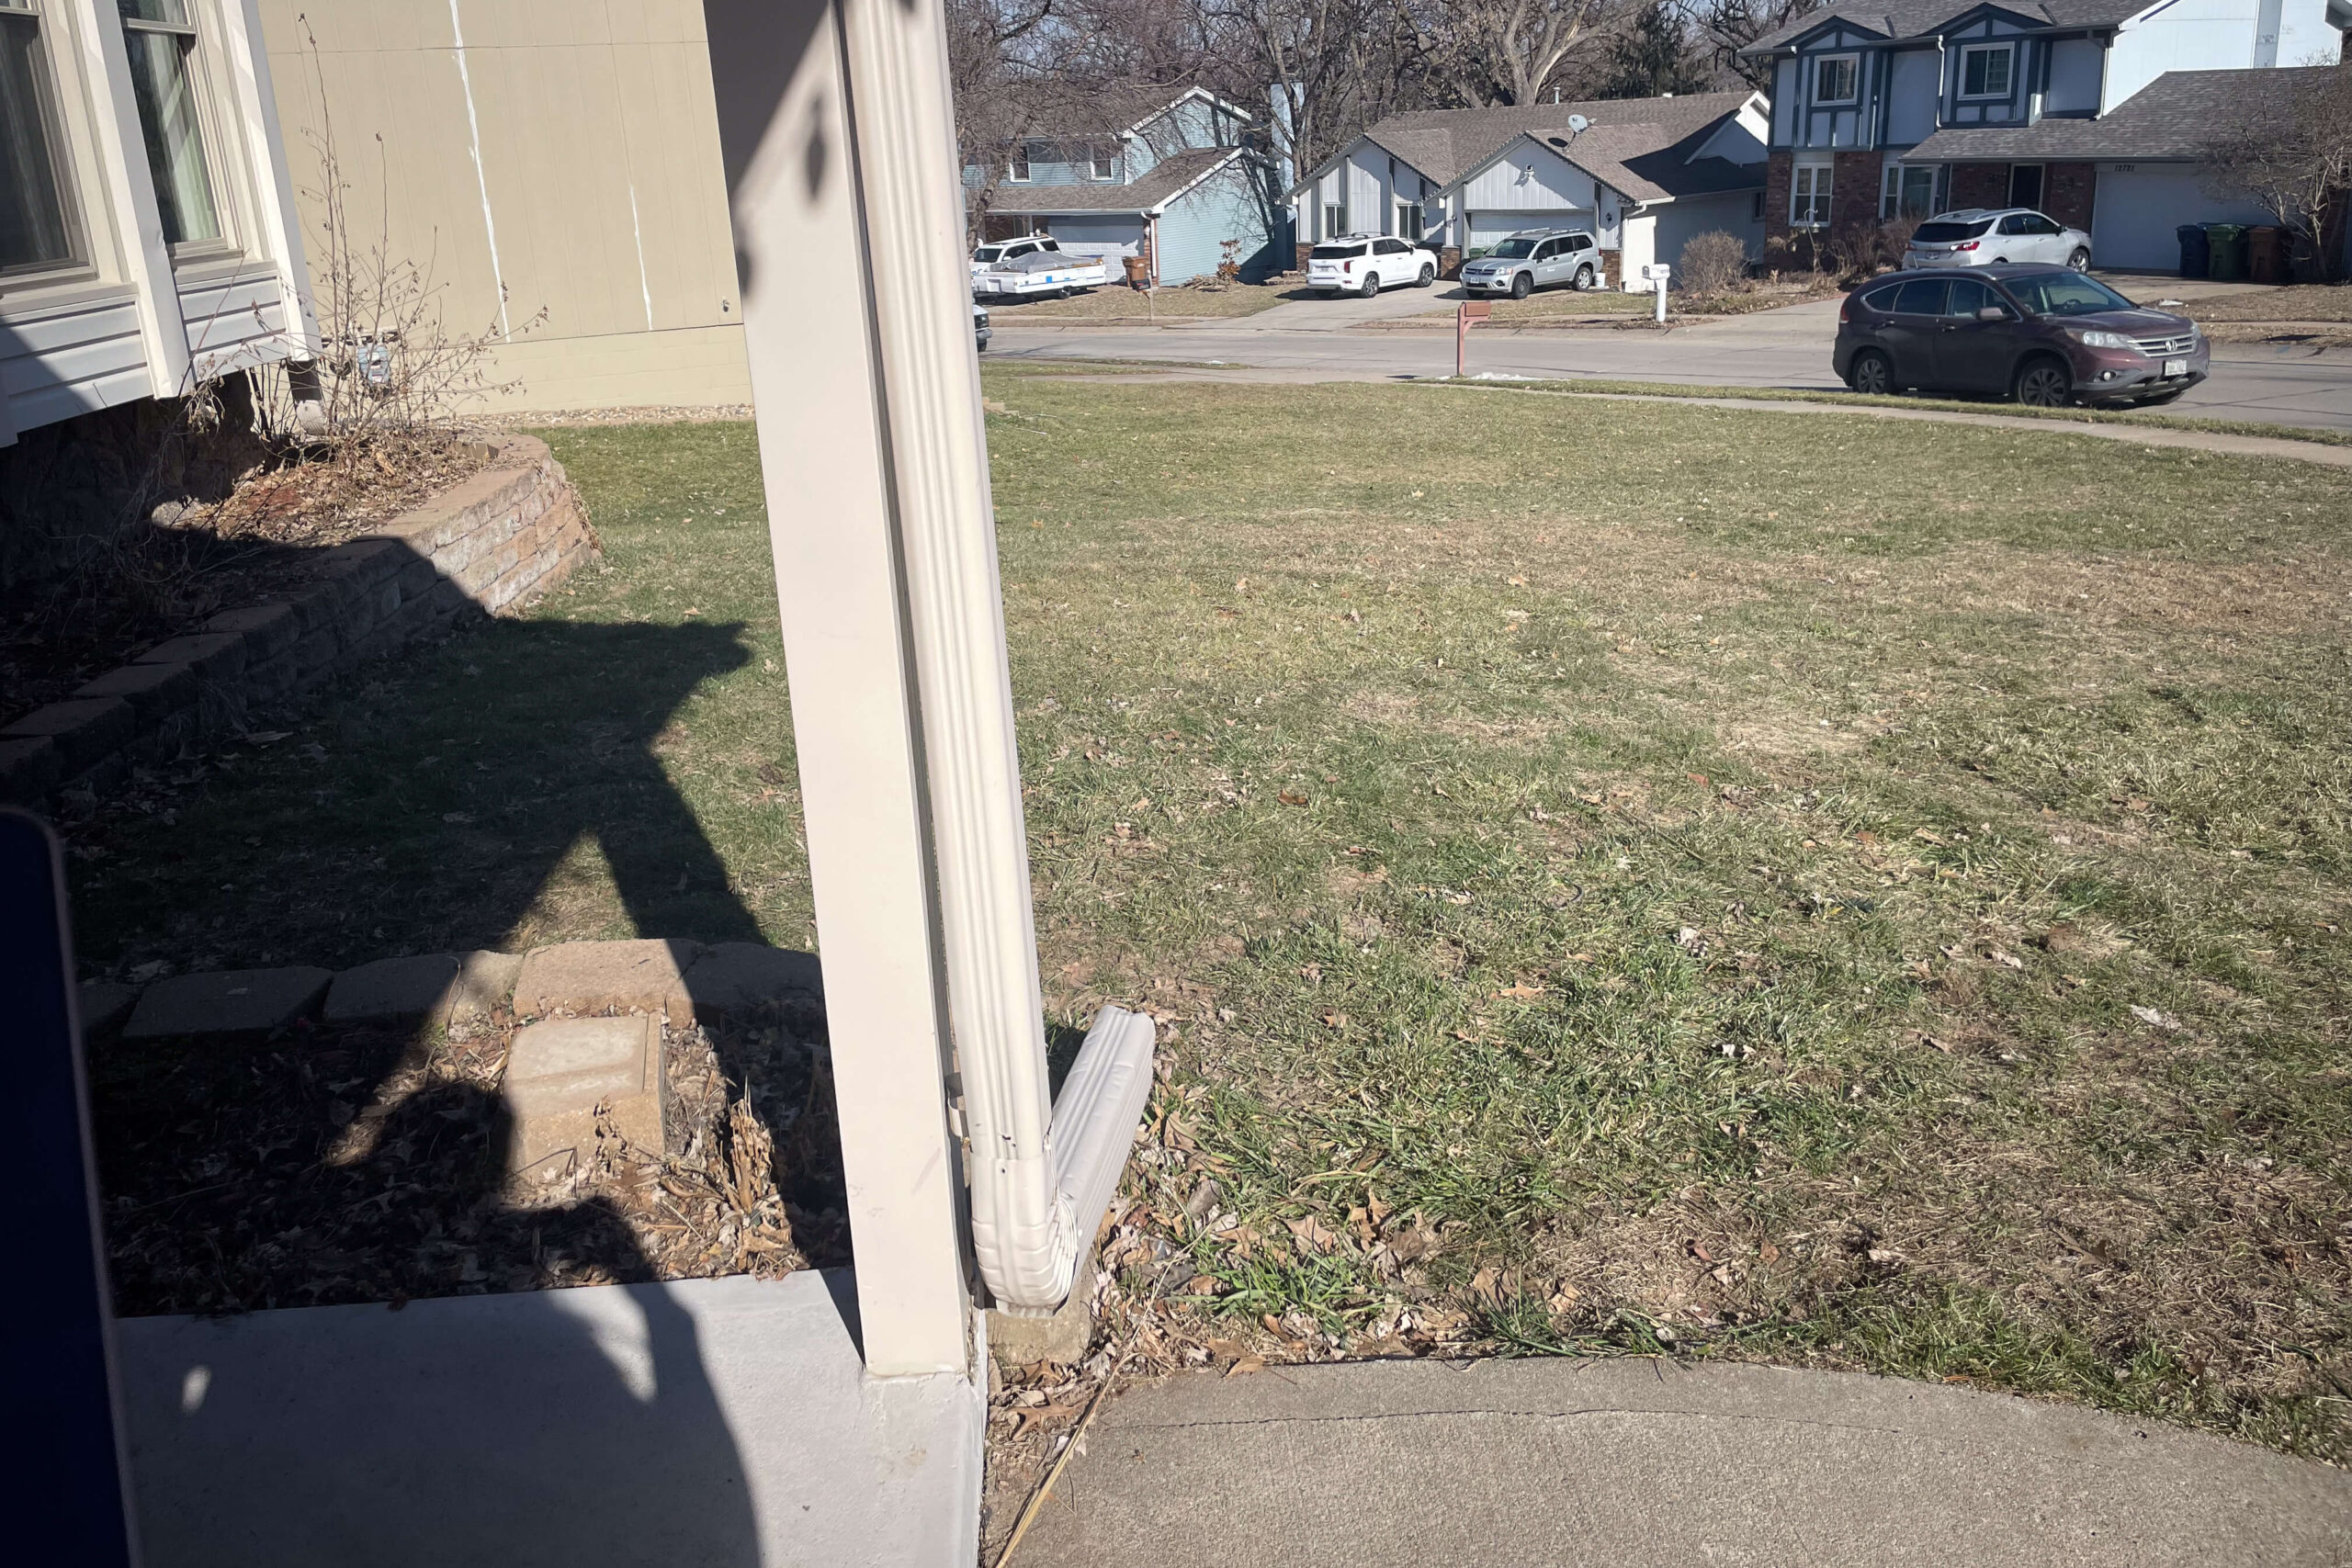
Why remove grass and add a landscaping bed right in the front corner of my yard?
When adding the concrete curbing, I created curved beds that will be perfect for adding some low maintenance front yard landscaping to my house. This spot, in particular, is sandwiched right between my new lawn, my gorgeous, paver driveway, and the sidewalk. It’s the first corner everyone sees as they walk up to my home, and it’s going to look so much more interesting with plants added. The curved shape of the bed on the lawn side makes it much easier to mow as well. Instead of mowing into a tight corner, my mower can follow the curve of my DIY curbing.
Step One: Prepare Your Ground
If you have grass or weeds, you’ll want to remove them, leaving a nice, even patch of dirt. We also have a problem with grubs, so we sprinkled down some grub killer as well as some fertilizer.

Step Two: Cover With a Weed Barrier
Part of keeping this yard low maintenance is keeping weeds out. A weed barrier will be essential. It comes in an easy to put in roll. Simply unroll it on top of your landscaping bed, use scissors to cut it out to fit your bed, then use landscape pins to hold it in place.

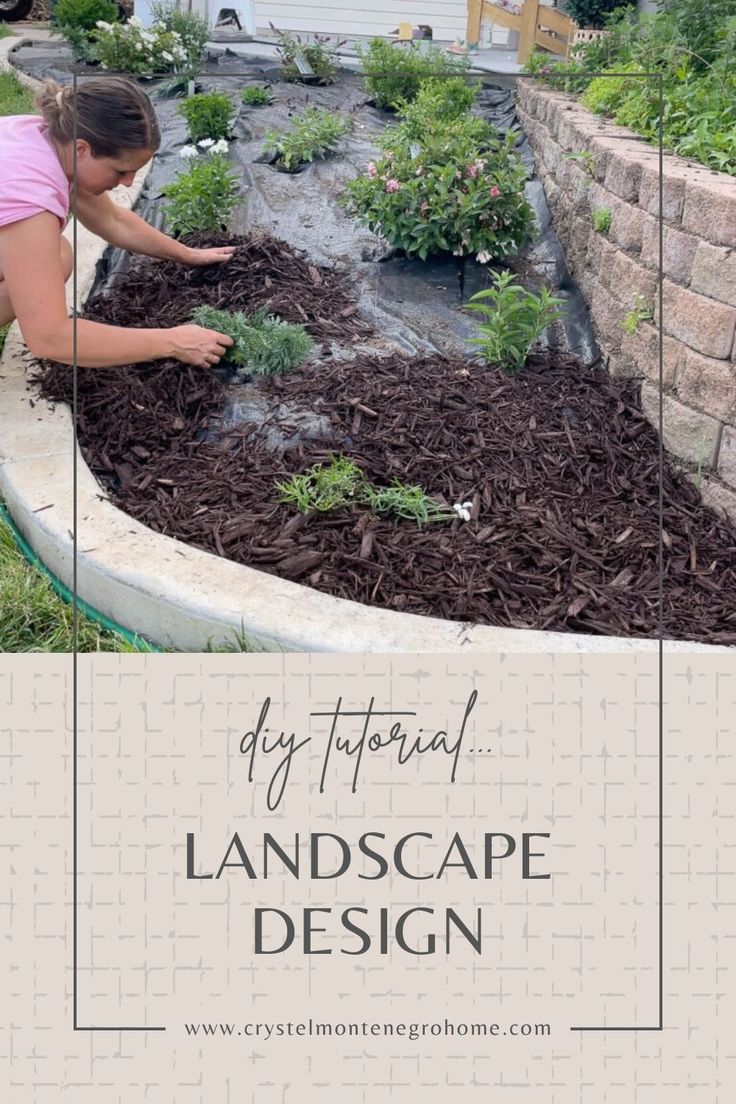
Step Three: Add Plants
I bought my plants at a local nursery, and what works in my yard might not work in your yard. When choosing plants you’ll want to consider things like size, water requirements, do they need sun or shade, and it’s always a good idea to choose plants native to your area. When picking out flowering plants and shrubs, try to stick to just a few colors so your landscaping looks more cohesive.
Before I plant anything in the ground, I like to set it out in pots and rearrange it until I’m happy with its placement.

Using a utility knife, I cut two intersecting slits in the weed barrier, making a big “+”. Then I fold the flaps back giving me access to the dirt underneath.

A shovel is great to start with, but a post-hole digger is my tool of choice here. The deeper the hole goes, the harder it is to use the shovel. A digger like this is ideal for making narrow, deep holes.

After my hole is big enough, I remove the plant from its plastic pot, loosen up the roots a bit, then place the plant in the hole.

Using dirt that I just took out of the hole, I fill in any gaps around the plant, making sure it’s planted nice and tight in place. Then, I fold the flaps of the weed barrier back up around the base of the plant.

Then, repeat for the rest of the plants and shrubs.

Step Four: Cover With Mulch
The final step is to add mulch around all of the plants. This covers up the weed barrier, making it look clean and finished. It’ll also help your ground stay warmer in the winter and cooler in the summer, keeping your low maintenance front yard landscaping healthier.

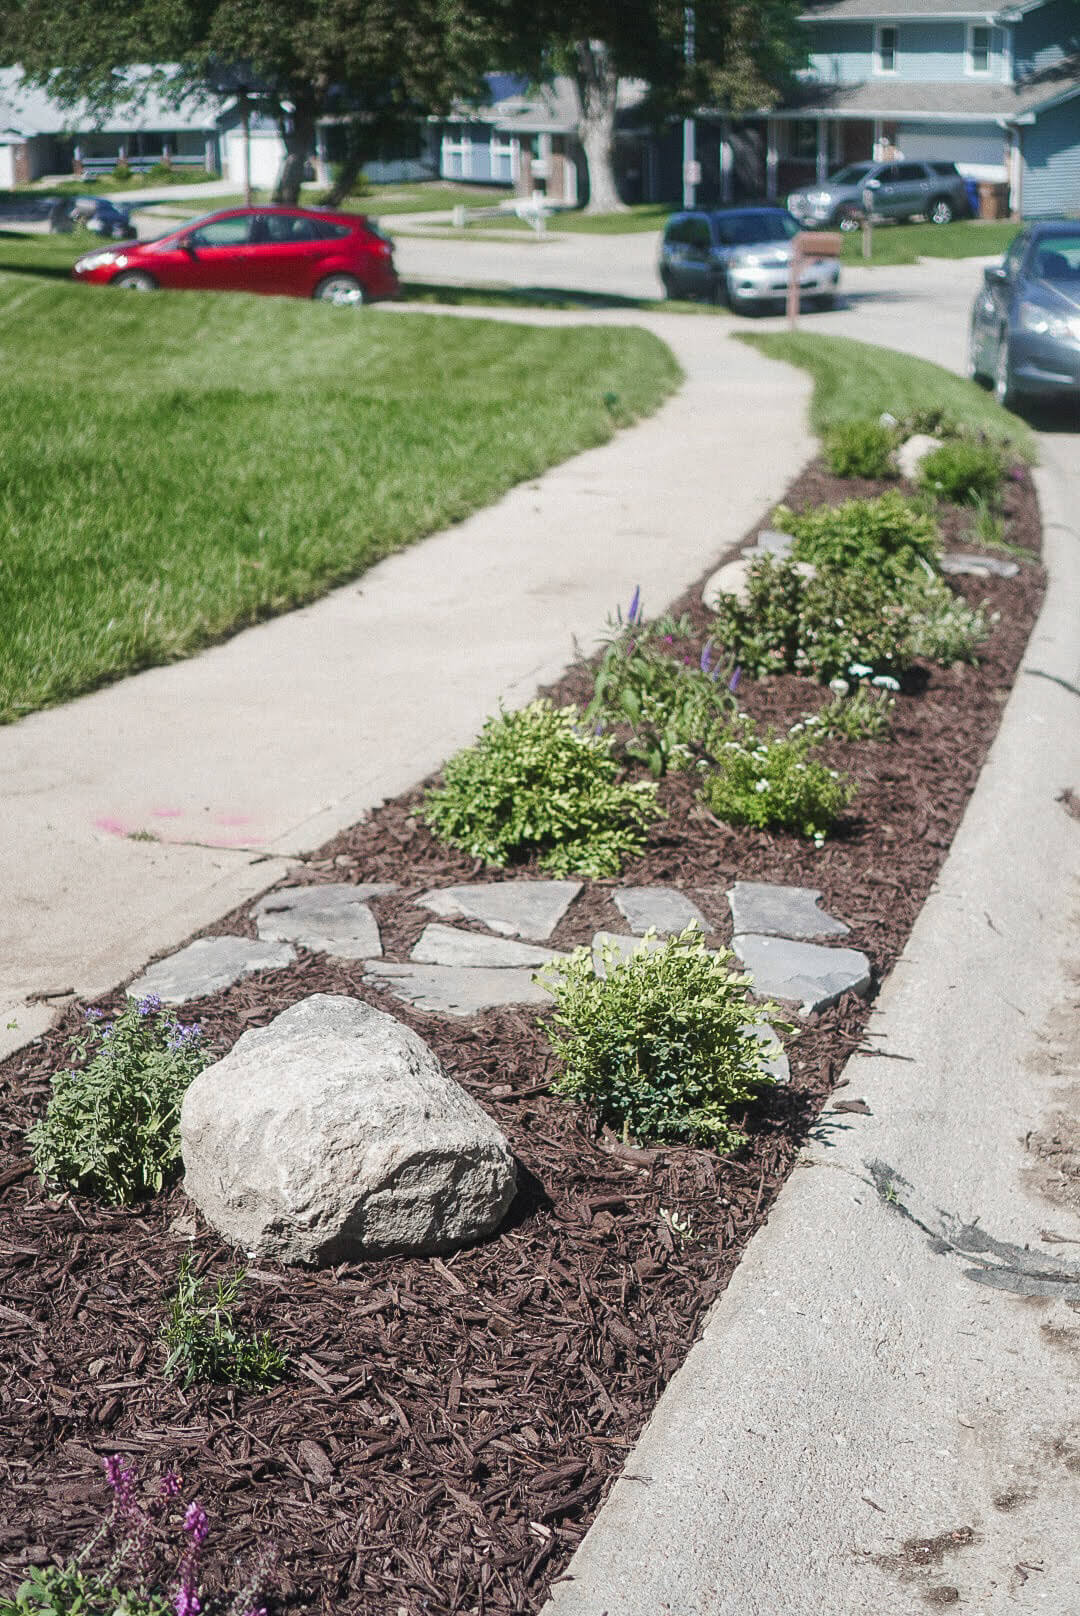
Landscaping a Park Strip
Park strip, parking strip… whatever you call it, I am talking about this little strip of yard that runs between the sidewalk and the street. When we replaced our lawn with sod, I originally intended to add sod here as well, but I’m so glad I thought better of it. I didn’t want to have to mow this area, and I definitely prefer a low maintenance option that looks more interesting than just grass.

I broke out my tiller and went to work in this area. The dirt here was really high, like higher than the sidewalk. The tiller was perfect for breaking this up and making it so that we could rake out all of the grass and weeds, and then shovel out the extra dirt that we didn’t need so that my park strip would be more in line with the height of the sidewalk.

After that was all cleared, smoothed, and leveled out, we could start adding all of my low maintenance front yard landscaping.

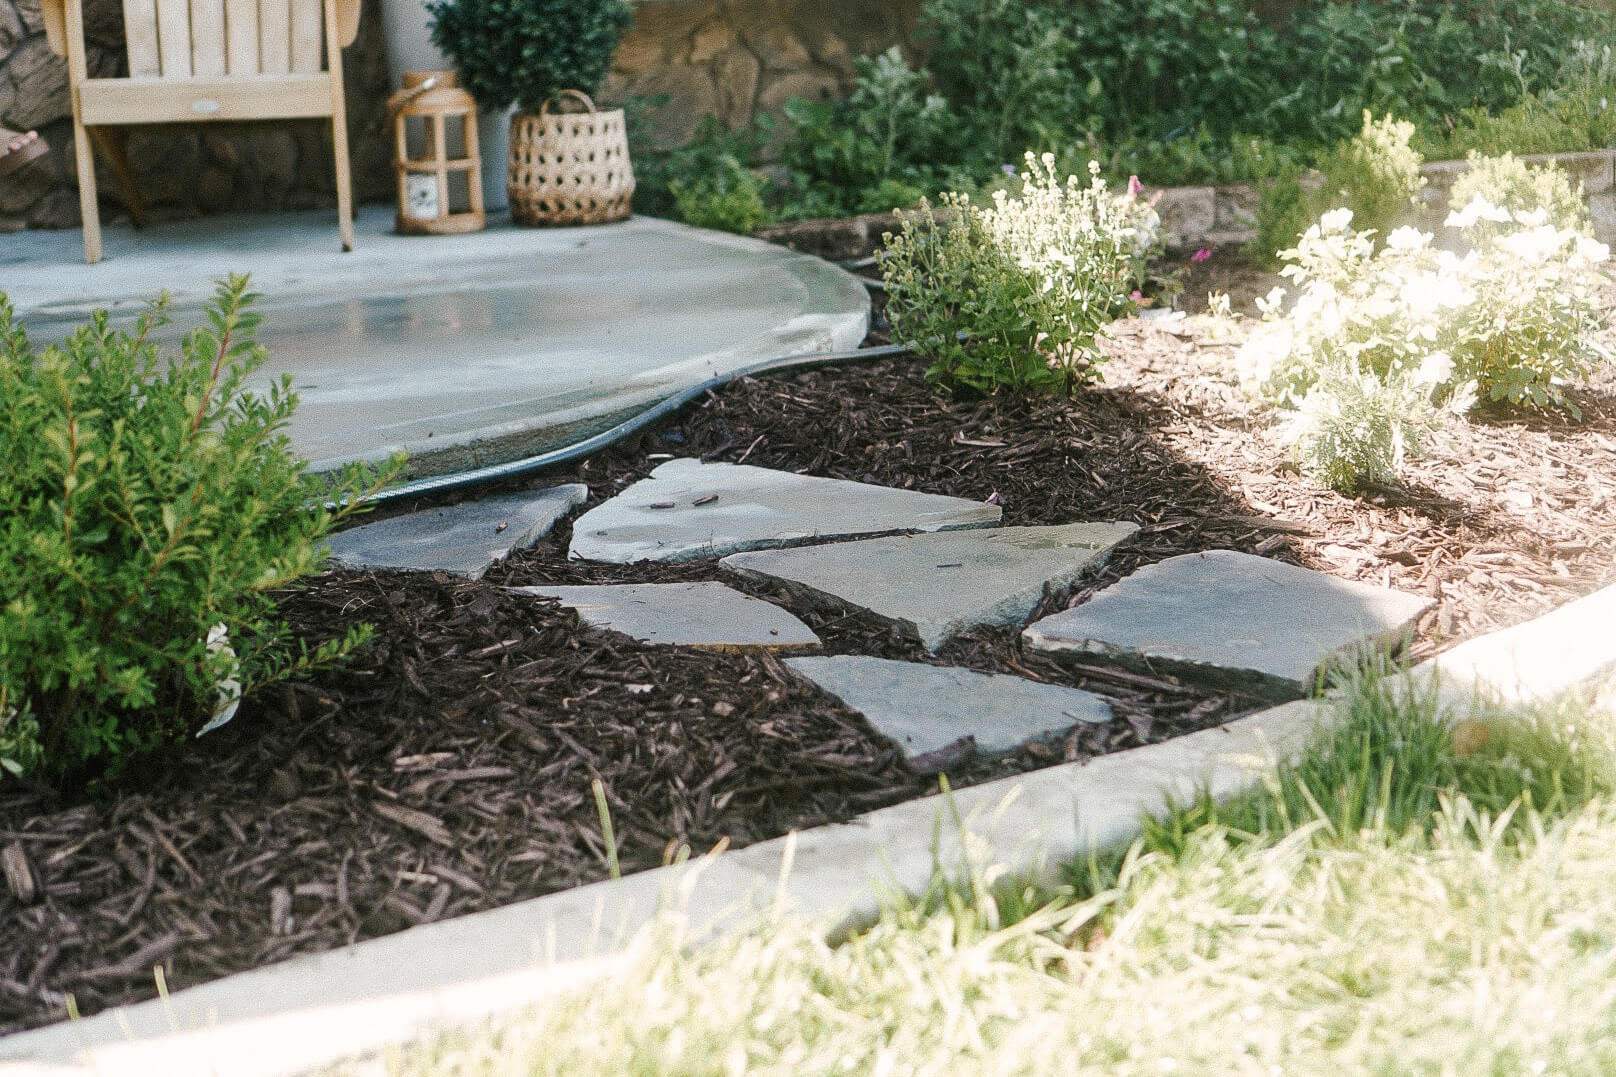
In that small corner bed, I only added plants and mulch. But, for the park strip, I wanted to create a couple of walkways through my landscaping with some flagstone. I also wanted to add even more visual interest using these small boulders.

After a little moving and rearranging, I had the flagstone set in a way that I thought looked nice.

I didn’t want them sitting on top of the dirt, though, so I got out my shovel and used my hands, as necessary, to dig just a bit so that the flagstone would be in the ground.


Now it’s time to set out plants and place these boulders. Fortunately, my trailer had a ramp so I could roll them on down and right into the landscaping bed.

When placing all of my plants, I wanted an organic, cottage garden feel. I didn’t want it to look too patterned or planned; I wanted a natural look.

Once I was happy with the placement of the plants and the boulders with my flagstone walking paths, I began digging holes and getting all the plants and shrubs into the ground.

Then we worked our way down the park strip, getting everything out of the plastic nursery pots and into the ground.

I’m so happy with how my low maintenance front yard landscaping is going! It’s already looking so pretty! I just needed to add some mulch here to finish it off.

You can buy mulch by the bag at your local hardware store, which is great for a smaller project. If you’re doing a big project like this, I highly recommend buying mulch from your local landscape supply yard. It’ll be much cheaper for you that way.
We put the tarp in the bottom of our trailer, then loaded the mulch in with a big front loader. After it’s all in the trailer, I fold the tarp and tie a rope through all the grommets to close it up.
The easiest way to move the mulch from the trailer to your landscaping is to load it up in a wheelbarrow.


Then, roll right on over to where you want the mulch and dump it out.

Using our hands we spread the mulch around, smoothing it out underneath the plants, around the boulders, and between all the flagstones.


It’s amazing what a difference the mulch makes. It looks so good when it’s done! As the landscaping matures over the next few years, it will keep getting better and better looking.

Landscaping Close to the House
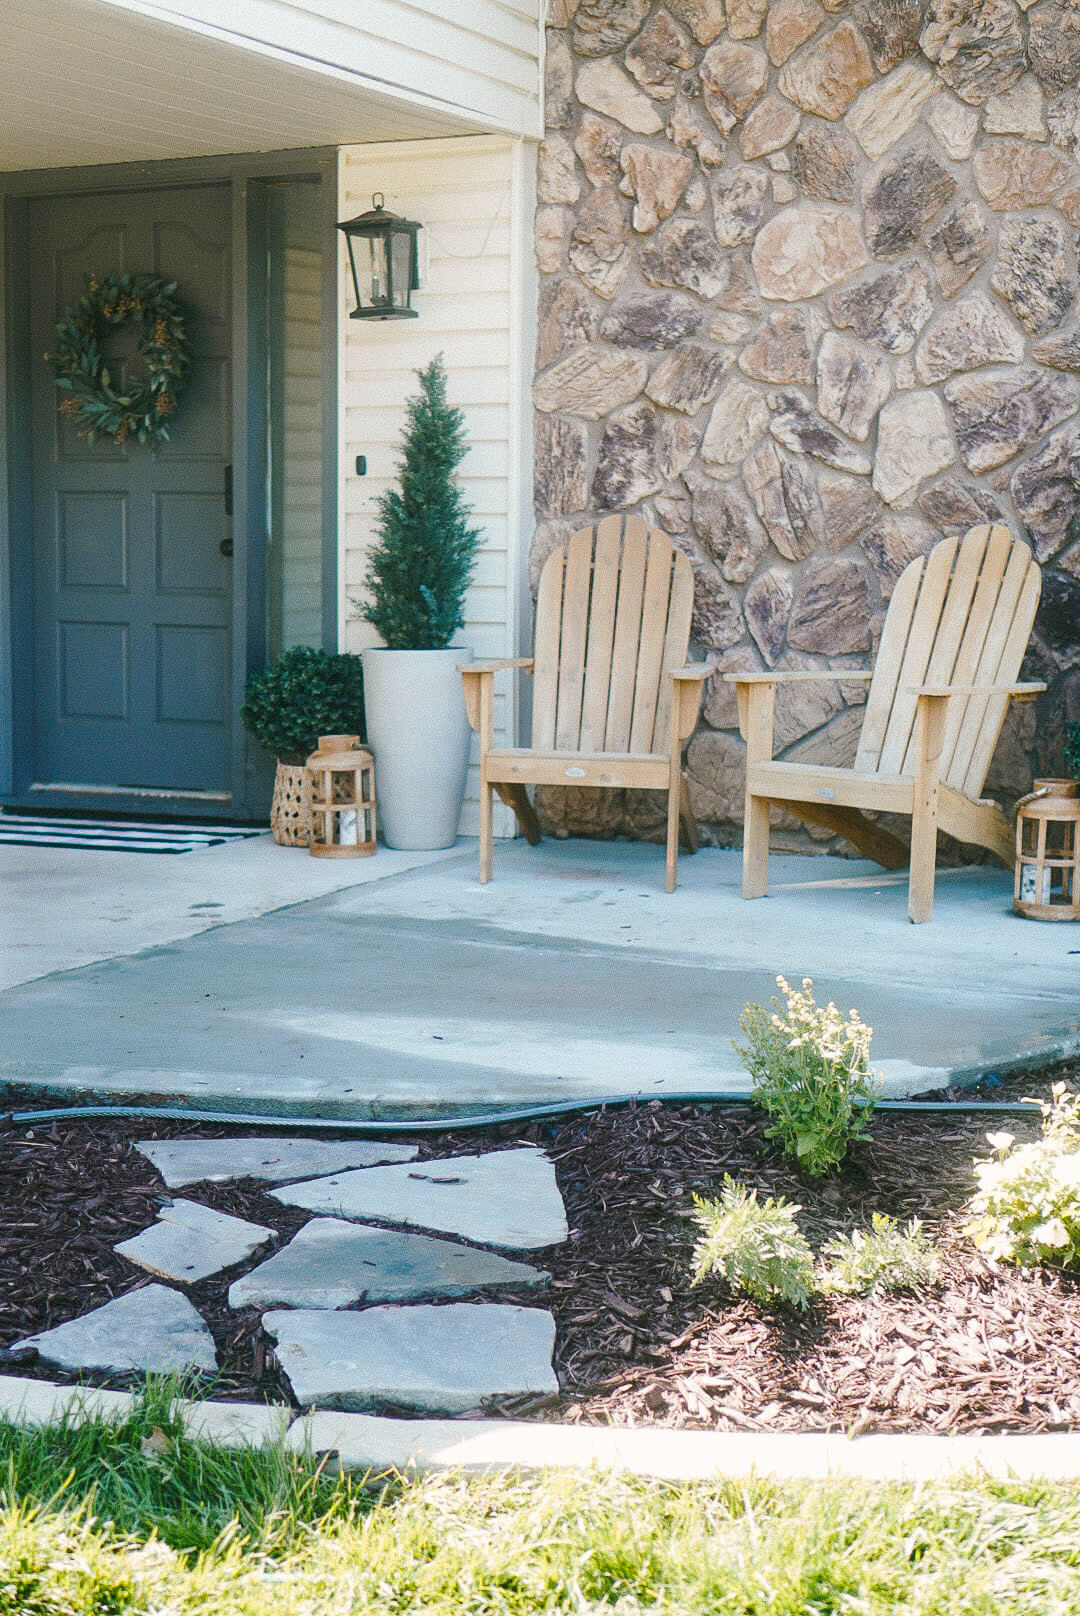
For this long, curved bed right by the house, I followed along with the same general steps. I added the weed barrier, made a flagstone pathway from my porch to my lawn, and then started planting.


Once I had planted this landscaping bed, it was time to finish everything with some mulch.


I’m so happy with how good my low-maintenance front yard landscaping turned out! Even though I already had a raised bed next to the house, it looks so much better and has way more visual interest now, with two layers of beds at different heights. I especially love how all of these curves flow through the yard in such an appealing way. As a bonus, my yard is much easier to mow now!

Another look at a drab before photo, just to remember how things started out.
And an after pic of how beautiful my low maintenance front yard landscaping looks now!
I love coming out here to sit and just enjoy the front yard view!
Plants I Used for My Low Maintenance Front Yard Landscaping
Like I said earlier, plants that work for me in Omaha, might not work for your area. Your local nursery is a great resource for choosing plants that will thrive in your yard.
In case you were wondering though, here is a list of some of the plants that I used for my low maintenance front yard landscaping.
As much as I love my low maintenance front yard landscaping, I’m not quite done with my yard just yet. I have already accomplished so much, but I have a few more projects on the list over the next few weeks so stay tuned. You can follow me on Instagram for the fastest project updates!
Looking for more projects for a low maintenance yard? Check out this post where I set up an affordable and automatic sprinkler system.

Wow, your front yard transformation is stunning! The curved beds and flagstone paths add such charm. I’m curious, how often do you need to water these low-maintenance plants?