Updated July 13, 2026
The best Father’s Day gift ideas? Always handmade. My father-in-law swears the Montenegro name has royal lineage. So we turned the family inside joke into a full-blown DIY project: a regal portrait of him in royal robes, complete with a DIY frame in gold to match. This handmade Father’s Day gift was over-the-top in the best way, and it ended up being the hit of the day.

Table of Contents
- What You’ll Need to Make This DIY Frame Father’s Day Gift
- Step 1: Order a Custom Portrait for the Ultimate Father’s Day Gift
- Step 2: Build the Front of the DIY Frame
- Step 3: Add the Sides to the Picture Frame
- Step 4: Finish with Rub ‘n Buff for a Luxe Look
- Step 5: Attach the Canvas to Your Handmade Frame
- The Reaction? Priceless.
- A Little Backstory…
- Why This DIY Frame Project Makes the Best Father’s Day Gift
- FAQ About Making a DIY Frame for Father’s Day
What You’ll Need to Make This DIY Frame Father’s Day Gift
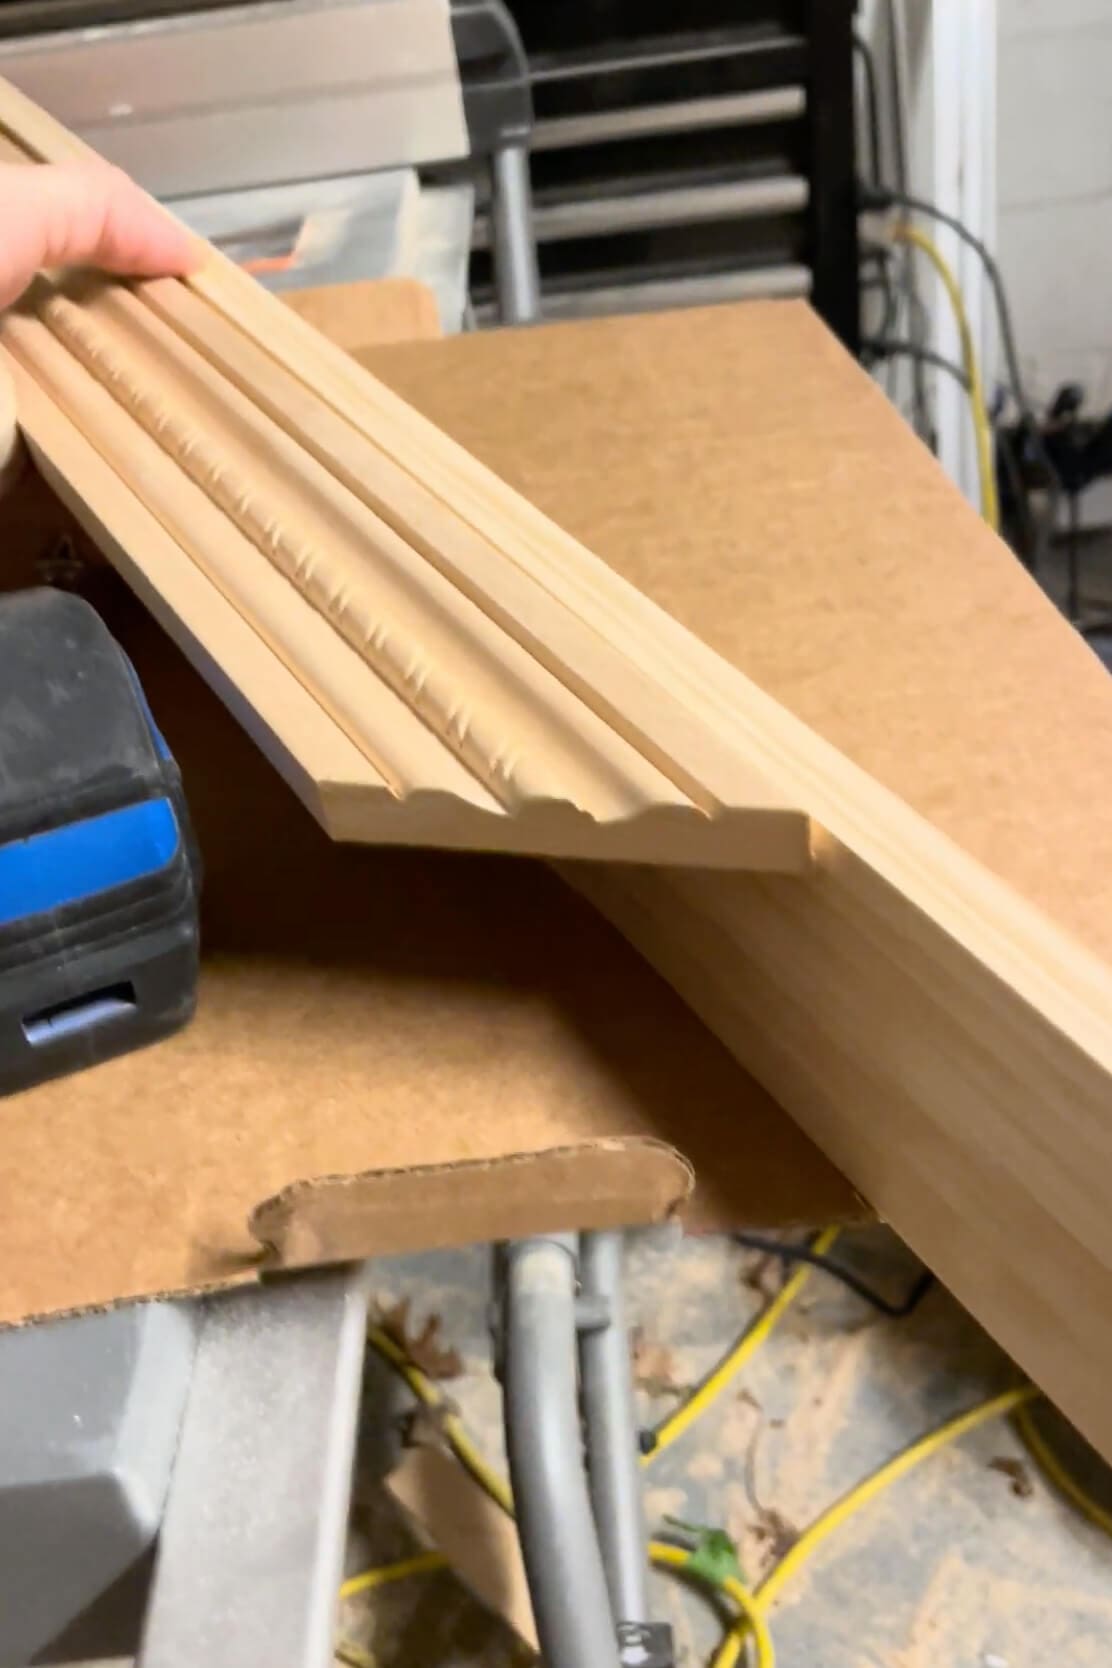
To build this DIY picture frame, you’ll need two types of wood trim: one ornate piece for the front, and a simpler style to wrap around the sides.
In addition to the trim, here are the basic tools and supplies you’ll want on hand to build your homemade frame:
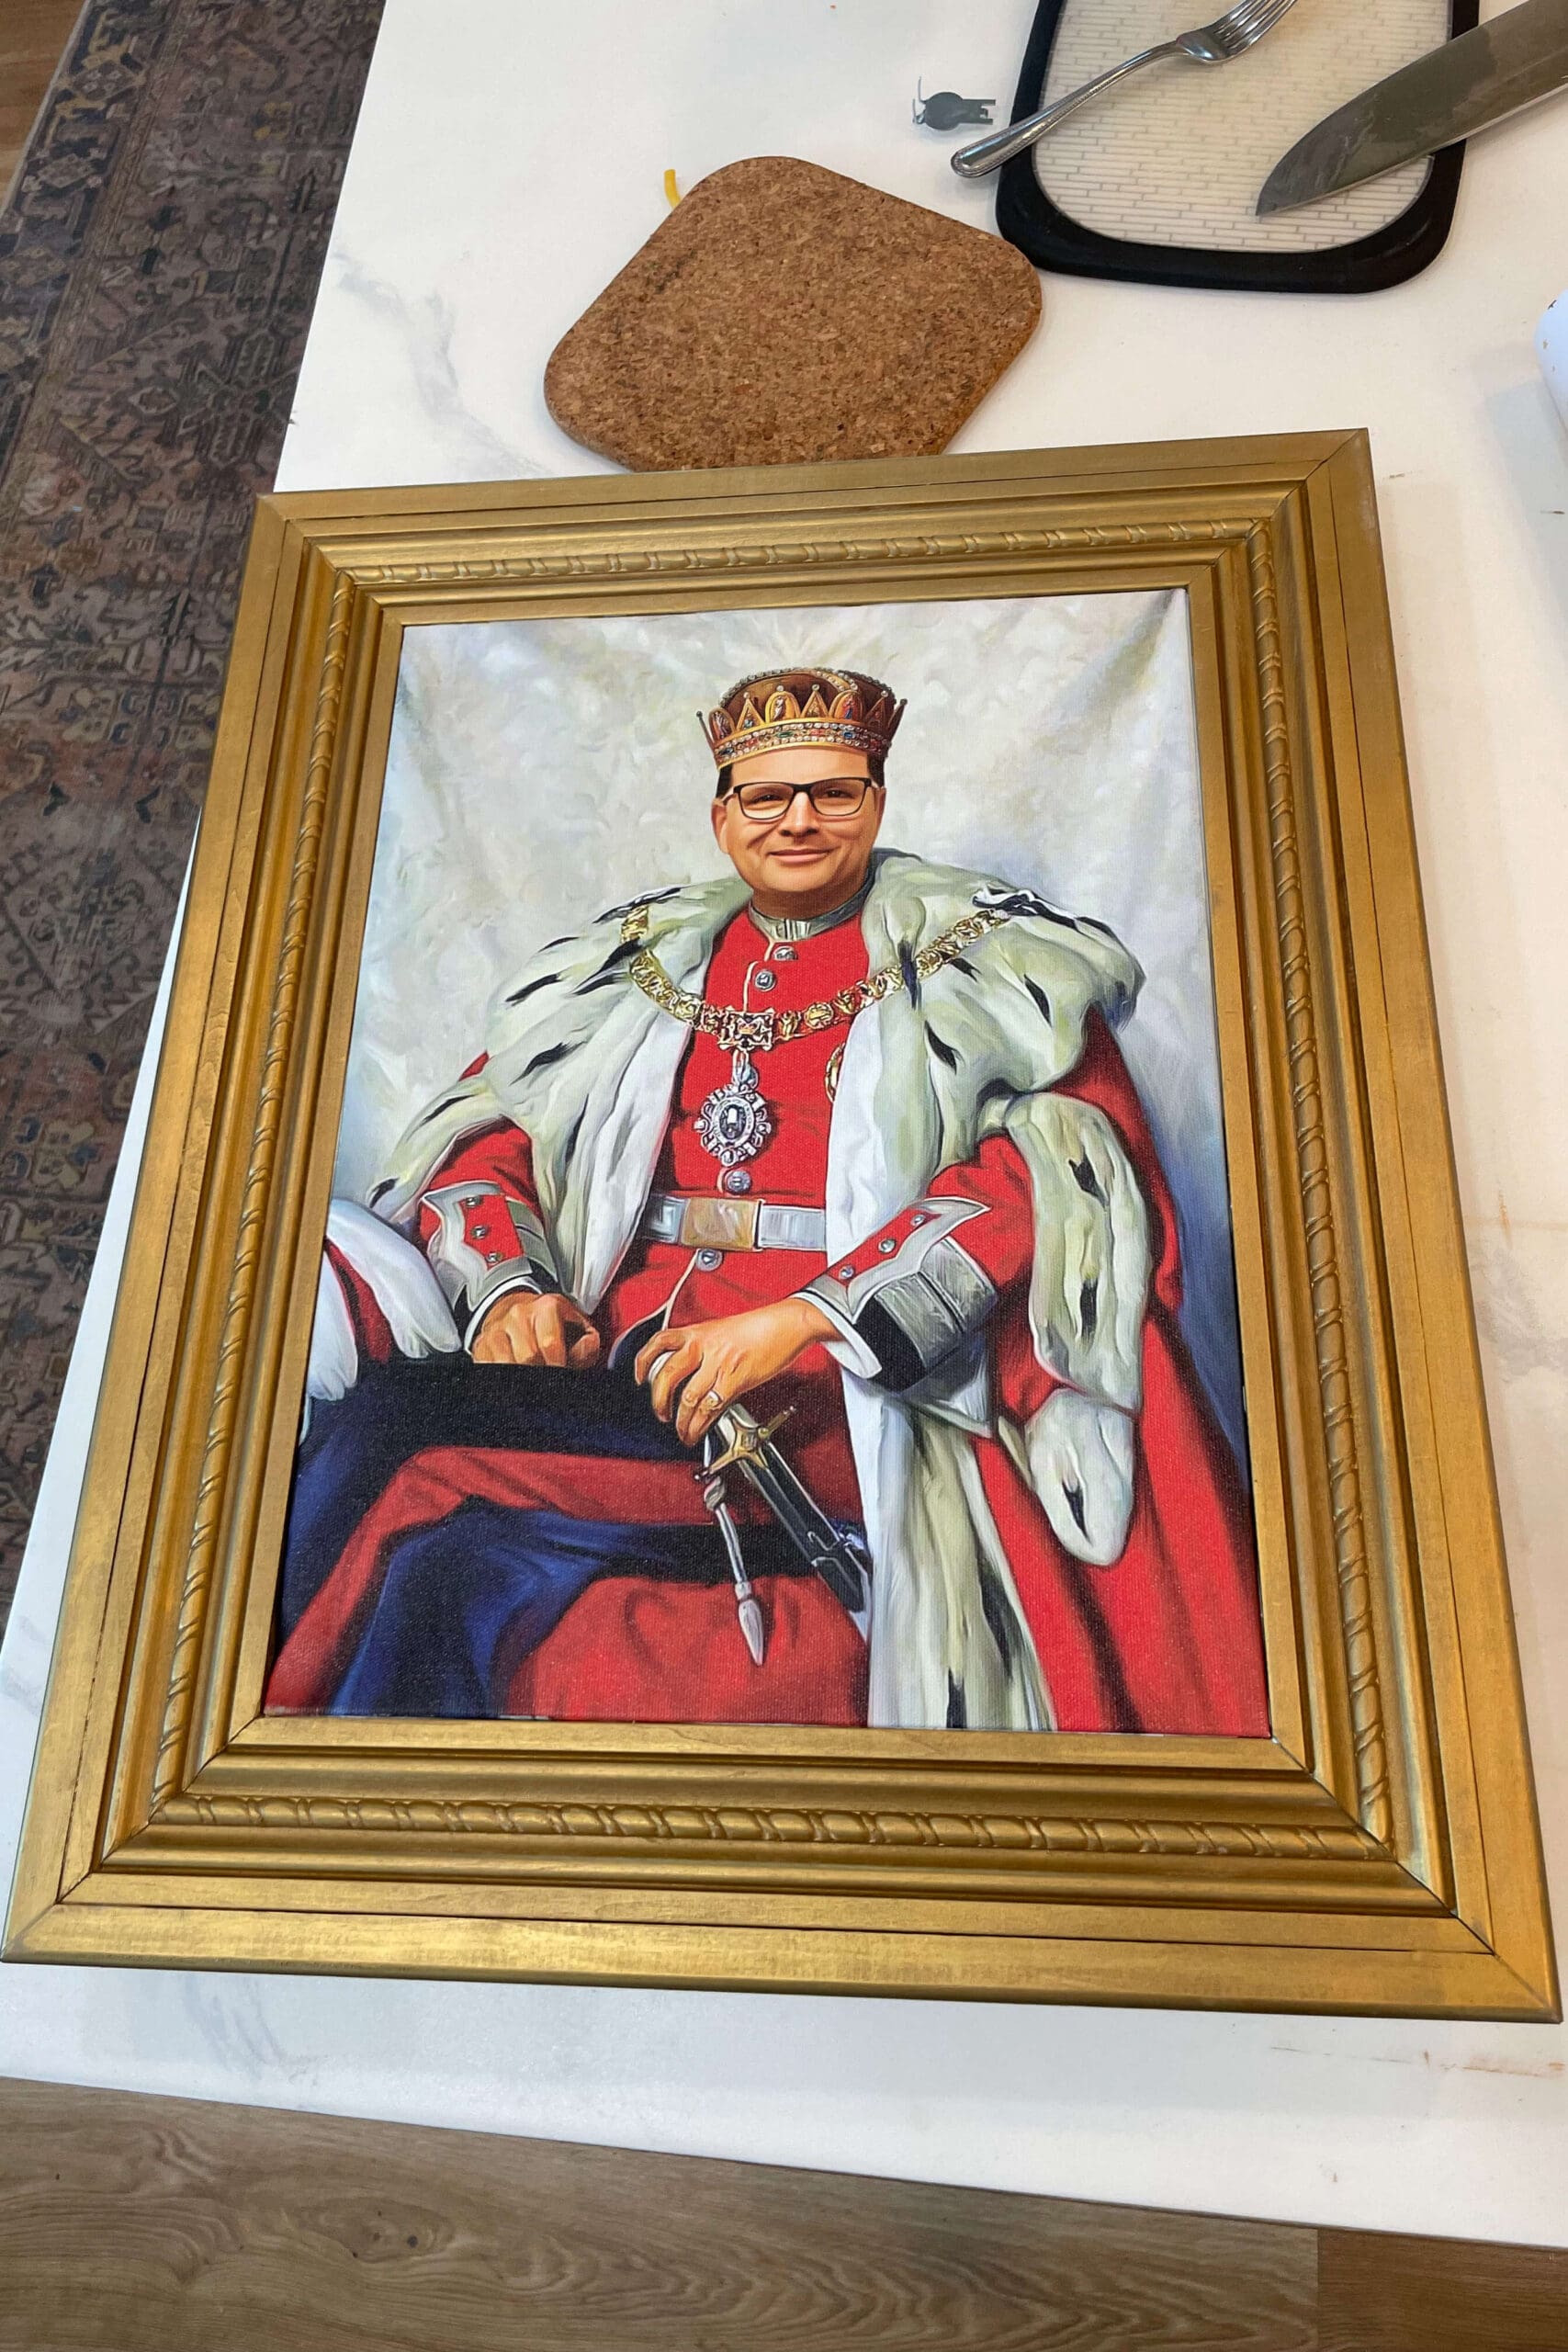
Step 1: Order a Custom Portrait for the Ultimate Father’s Day Gift
Want to make Dad feel like a king? Click here and check out this shop! You can order the exact royal portrait I used for my father-in-law, or browse through tons of other fun options. Whether it’s for your dad, grandpa, husband, or favorite uncle, you’ll have no problem finding the perfect one.
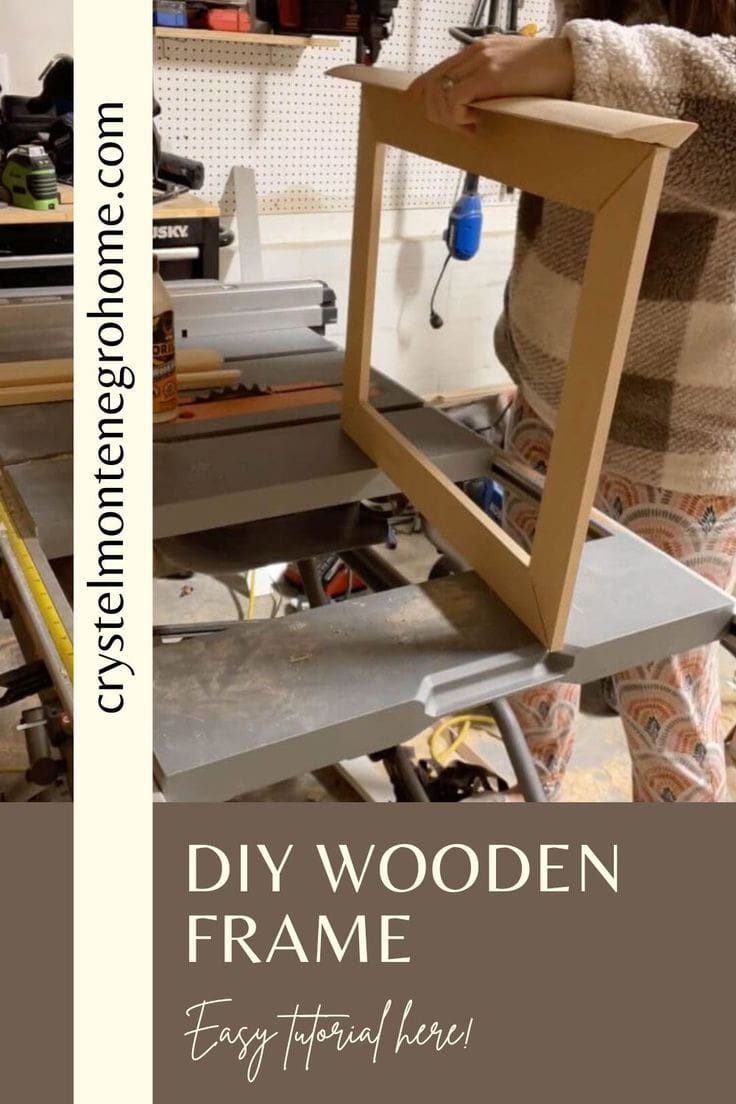
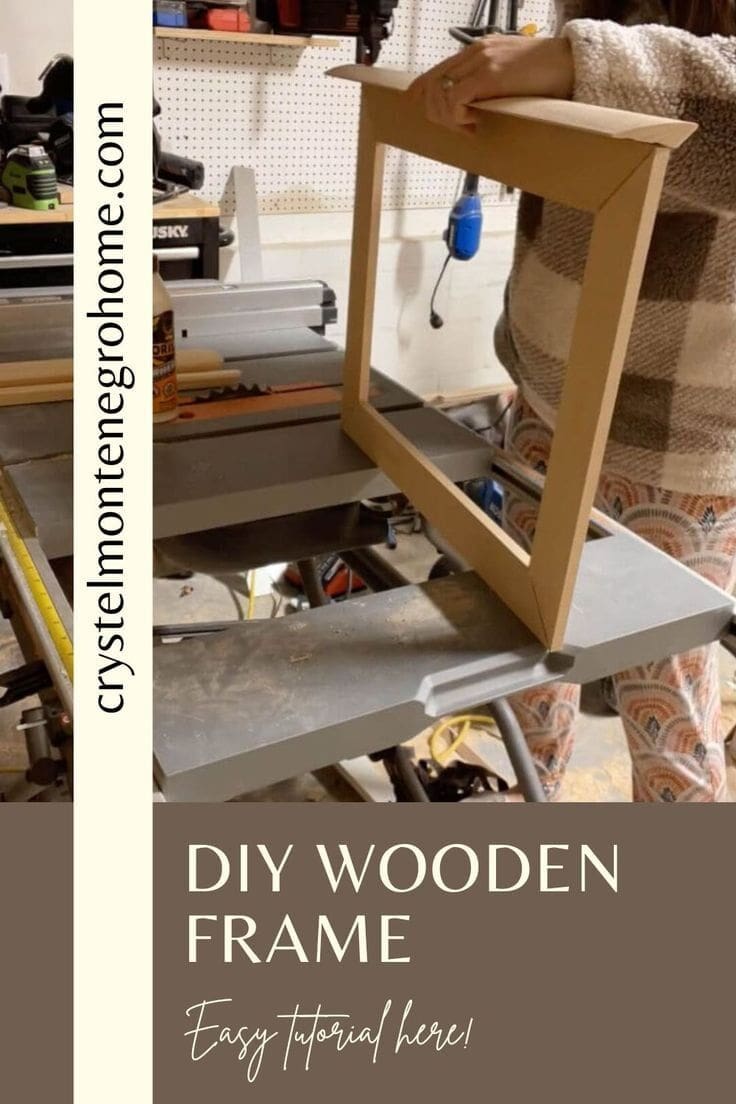
Step 2: Build the Front of the DIY Frame
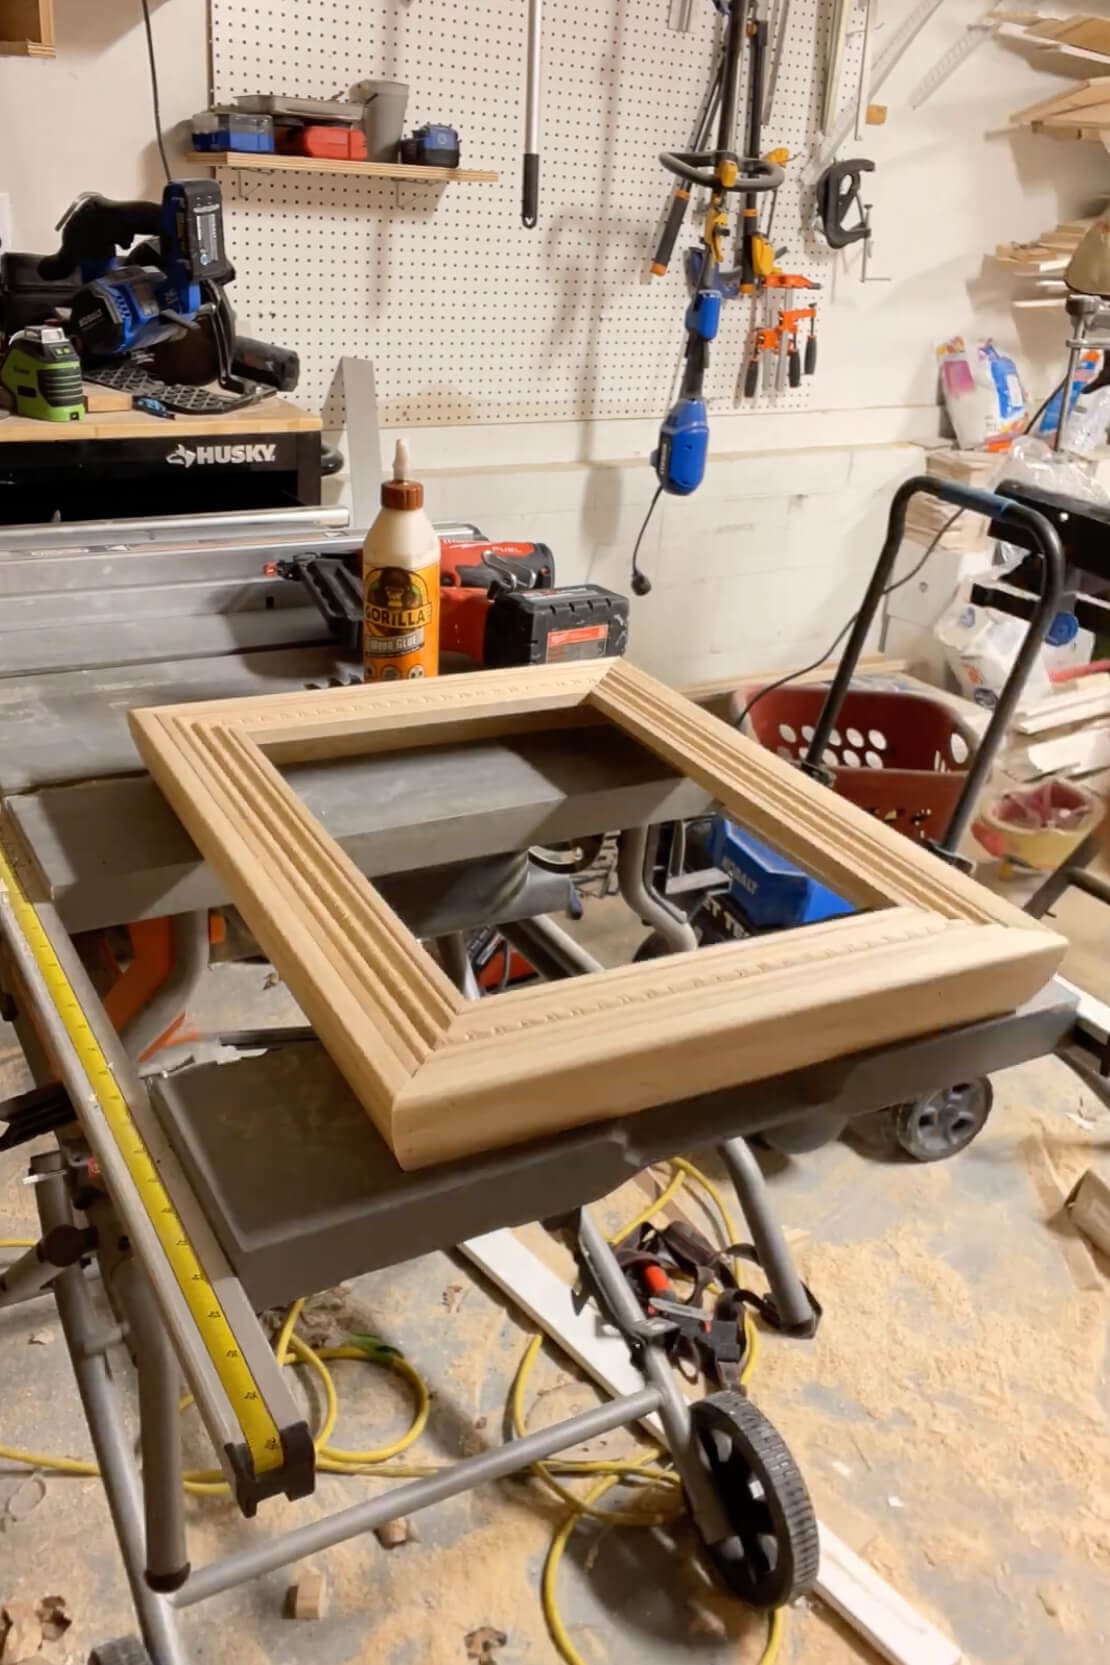
To get that ornate, classic look, I used this pretty, decorative trim for the front of the frame. You’ll want to start by measuring the length and width of your canvas. Then, cut mitered corners so that the shorter inside edge of each trim piece matches those measurements. The key here is precision: the trim needs to fit tightly around the canvas so it looks custom (because that’s exactly what this Father’s Day gift is!). This is the face of the DIY wood frame, so take your time with the cuts.
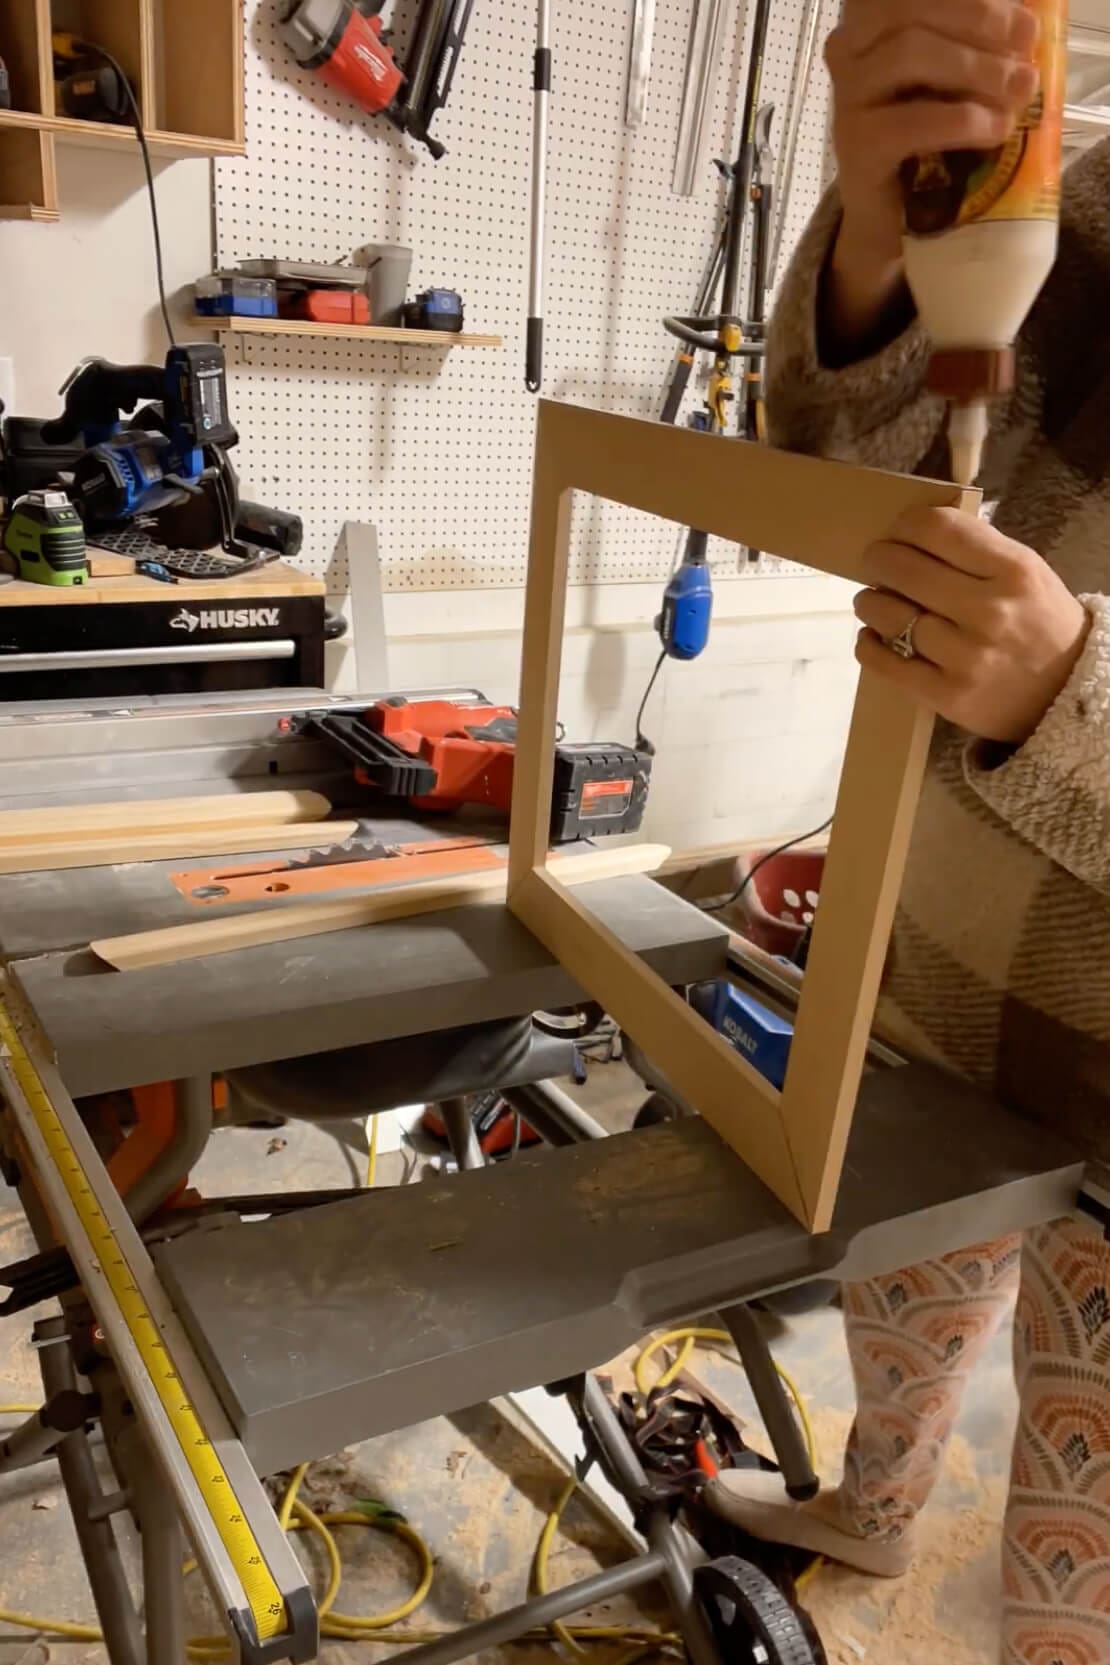
To assemble the front of the frame, I applied wood glue anywhere the corners touched, then secured everything with brad nails driven in from the outer edges.
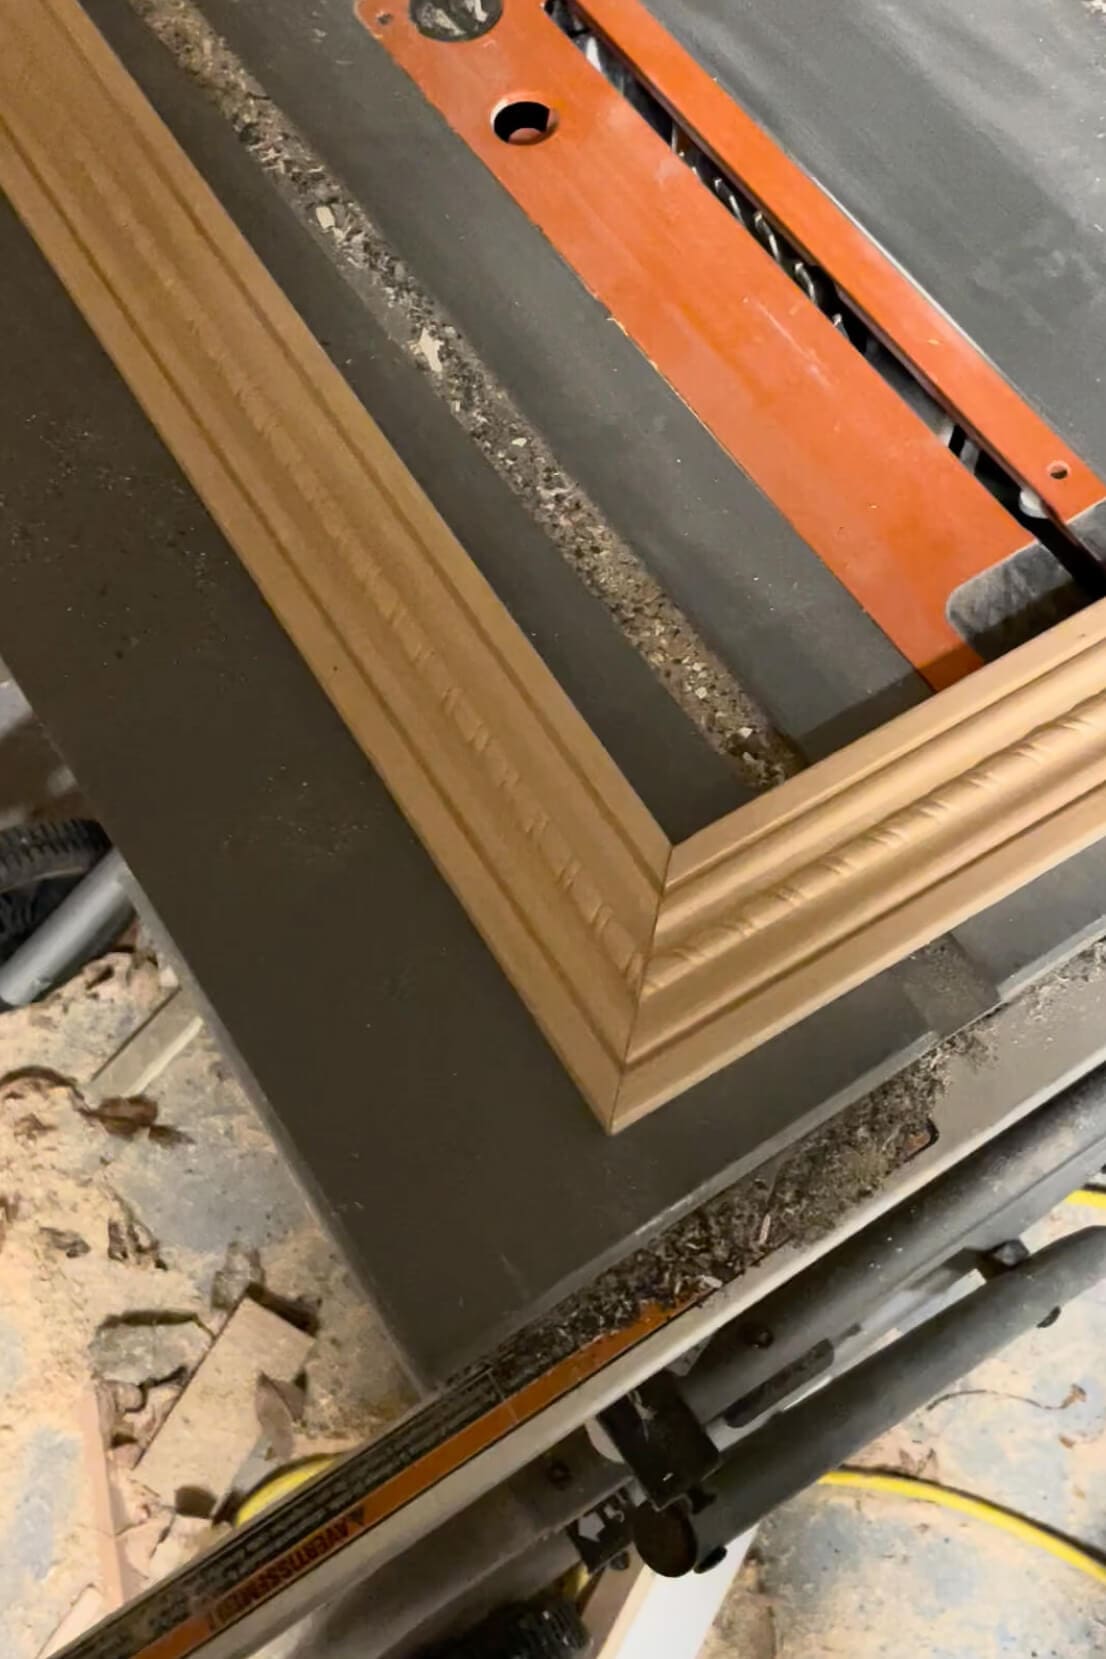
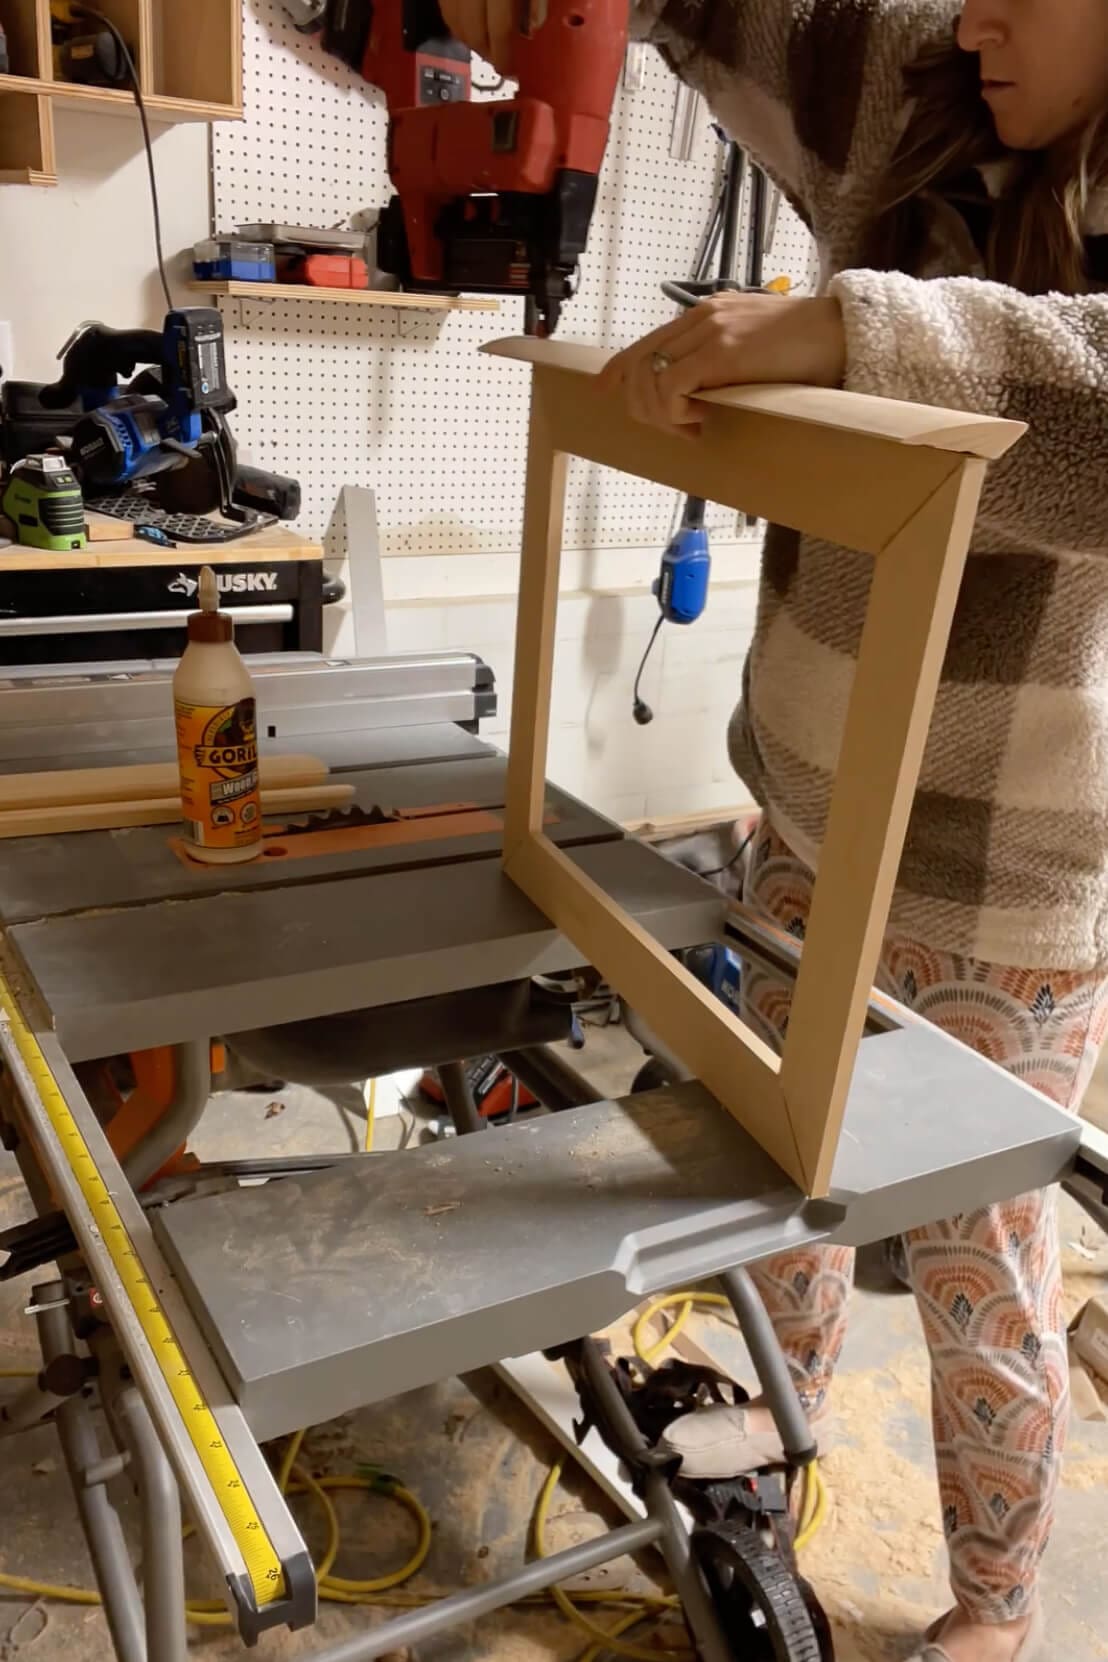
Step 3: Add the Sides to the Picture Frame
Next, wrap the sides with smooth trim to give your DIY frame some depth and a polished finish. This part adds that chunky, high-end look and hides the edges of the canvas. I measured, then cut each side piece using my miter saw, then glued and nailed them directly onto the edges of the front frame using my brad nailer.
Isn’t it looking so good already? This Father’s Day gift is well on its way to becoming something truly special. Before moving on to painting or staining, fill all those tiny brad nail holes with a little wood filler to smooth everything out.
Step 4: Finish with Rub ‘n Buff for a Luxe Look
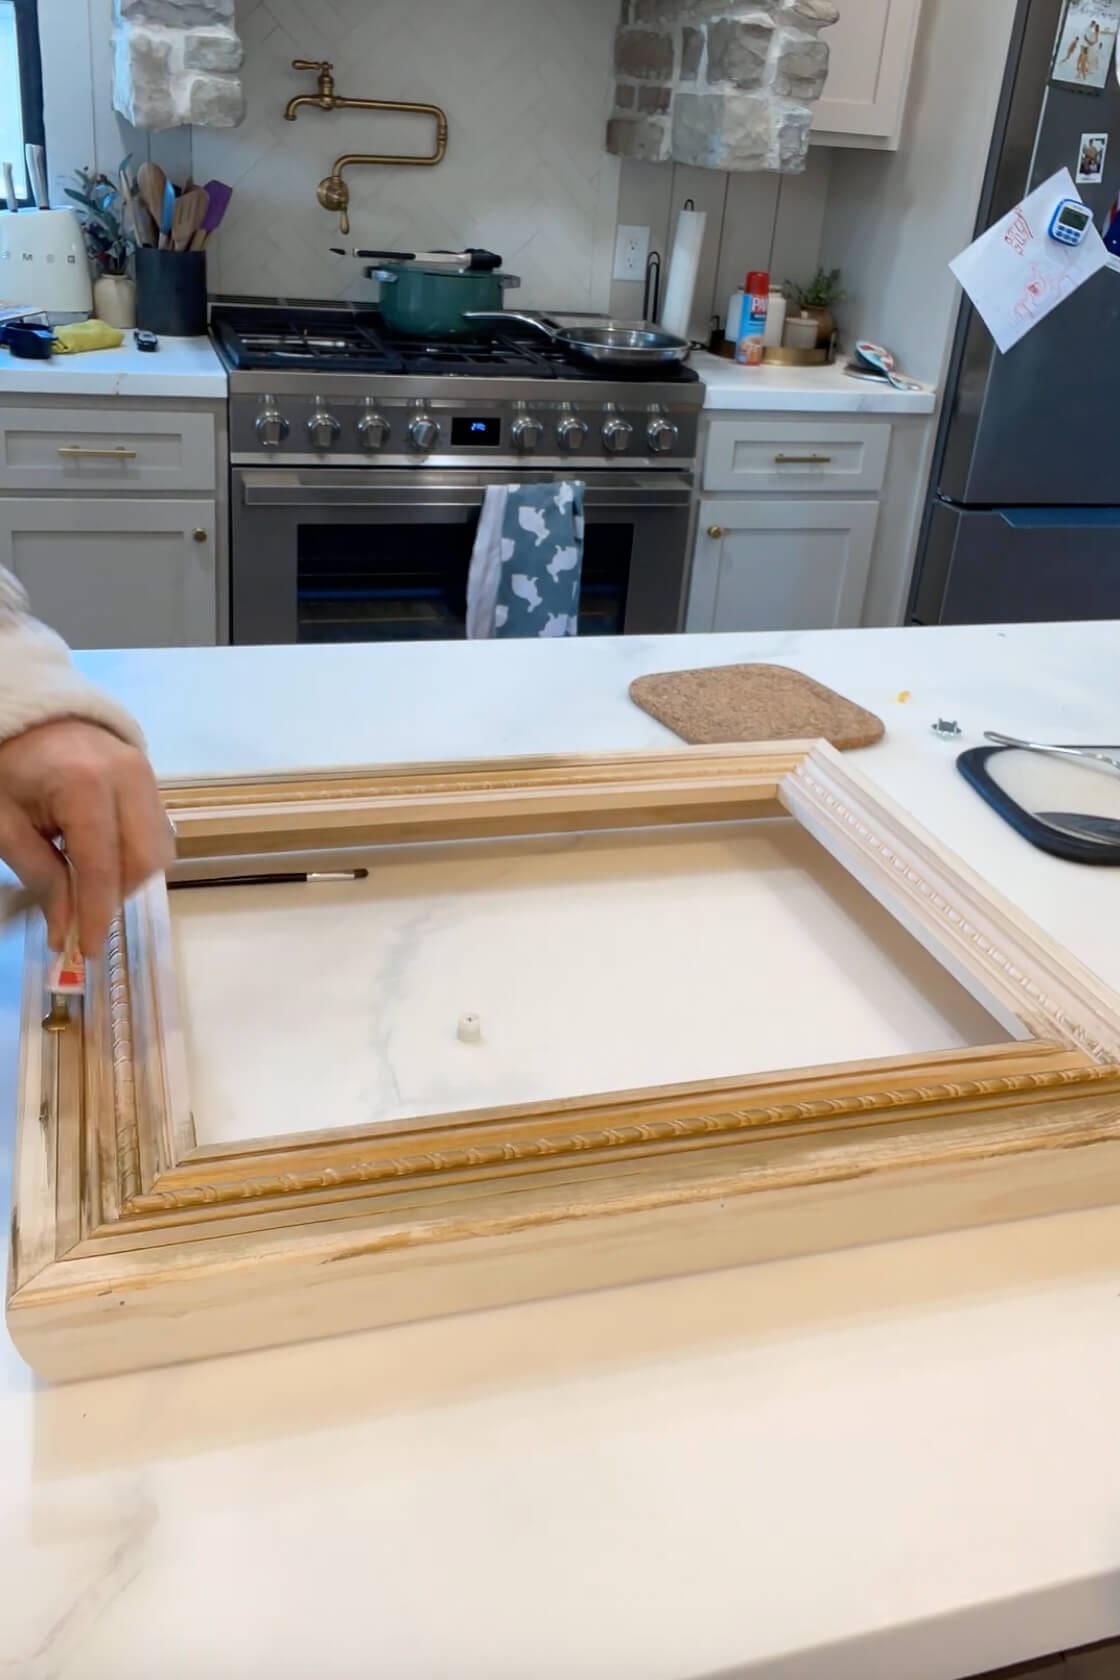
Now for the magic touch! Rub ‘n Buff is different from regular paint – it gives a rich, metallic finish that actually looks like gold. I used the Antique Gold shade and just the tiniest dab at a time. A little really does go a long way. I used my favorite paintbrush to work it into all the grooves of the trim, and it instantly brought out every detail. The result? A DIY picture frame looks like something you picked up at a fancy home decor store.

Step 5: Attach the Canvas to Your Handmade Frame
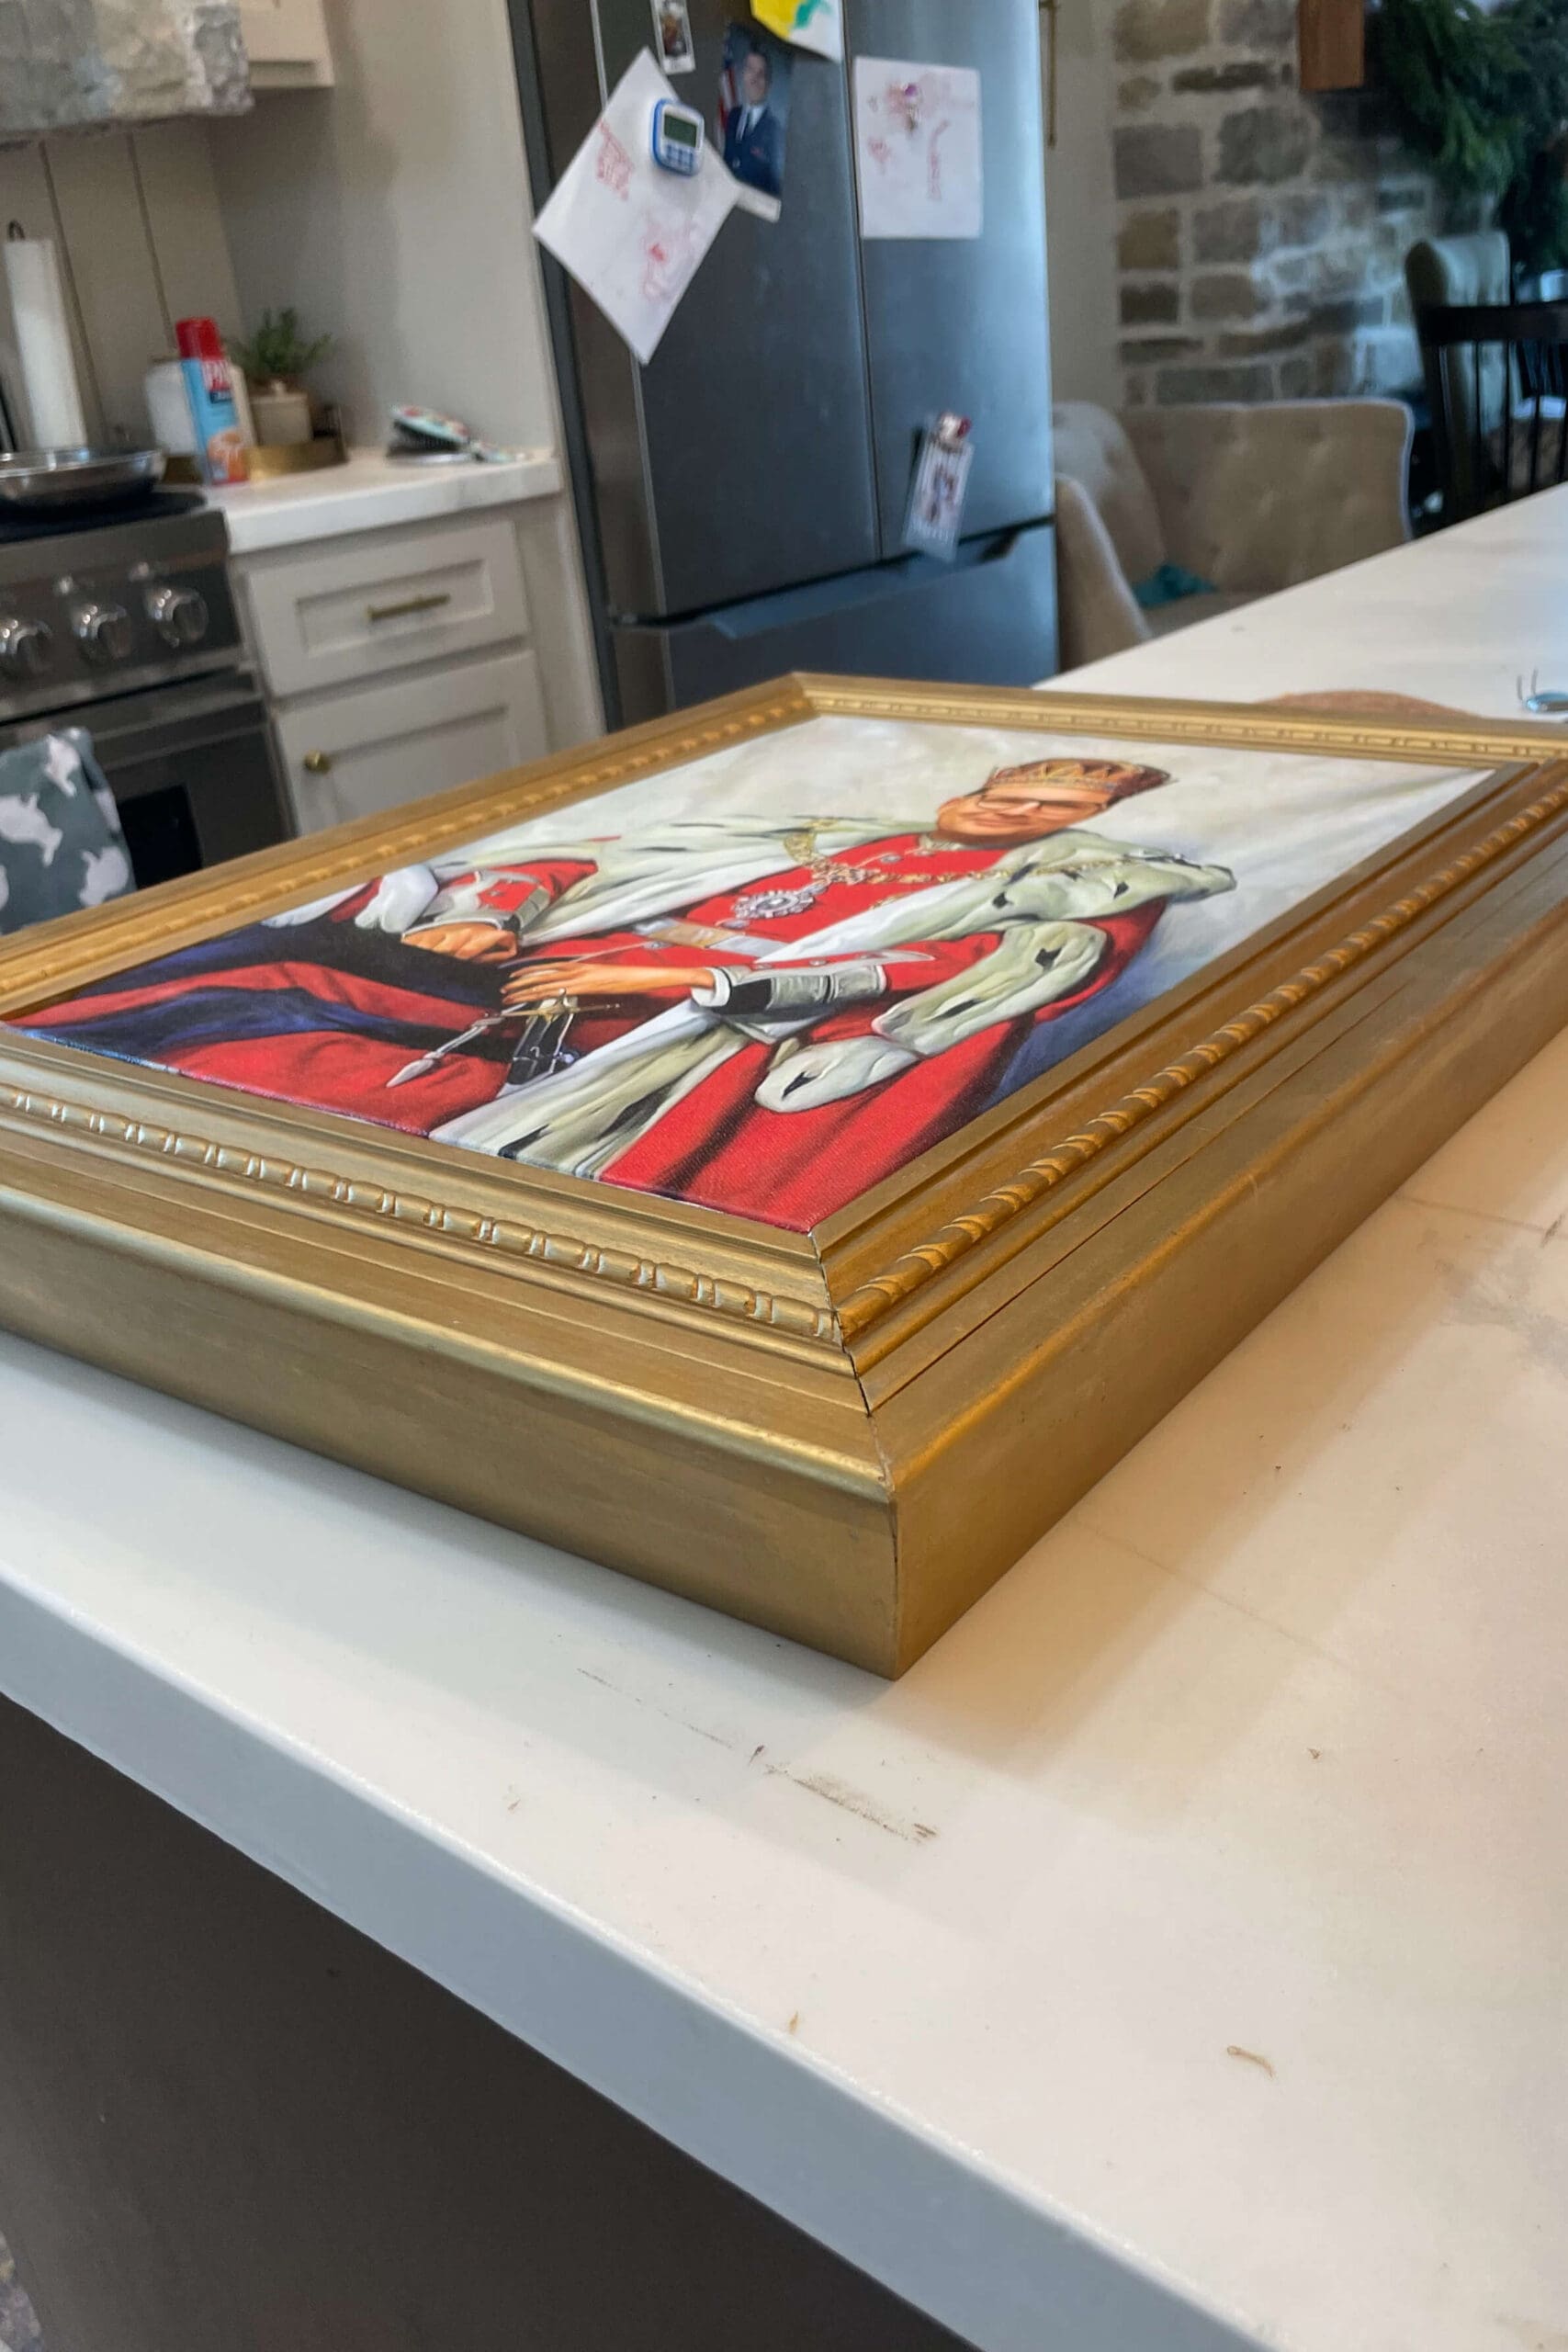
And the very last step, I slid the custom royalty canvas into the finished frame using a little wood glue to hold it in place – just be sure to wipe off any excess that seeps out the front before it dries. This DIY frame looked even better than I had imagined. This handmade Father’s Day gift idea was personal, hilarious, and just plain fun.
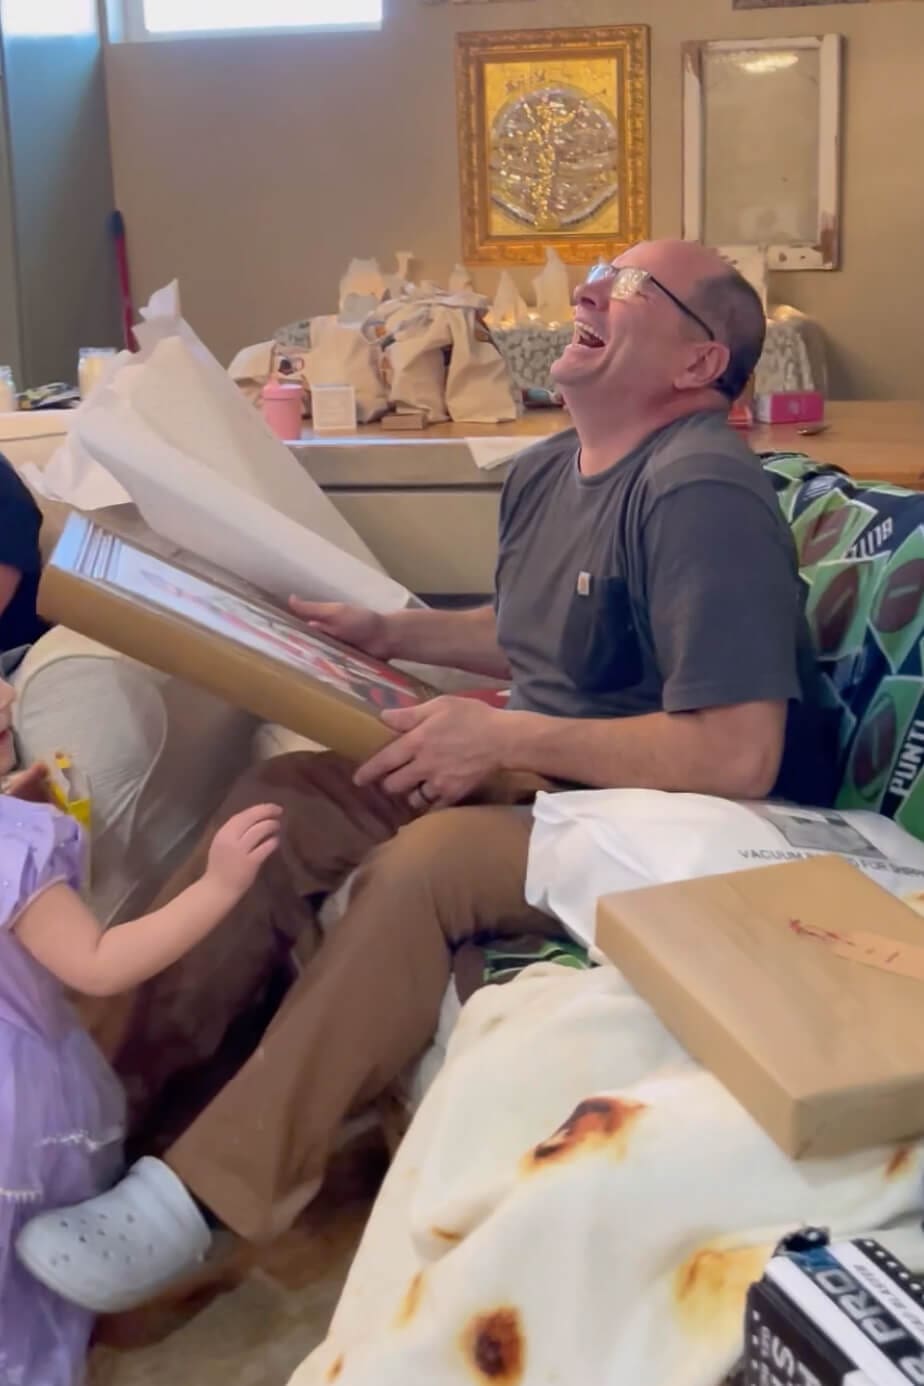
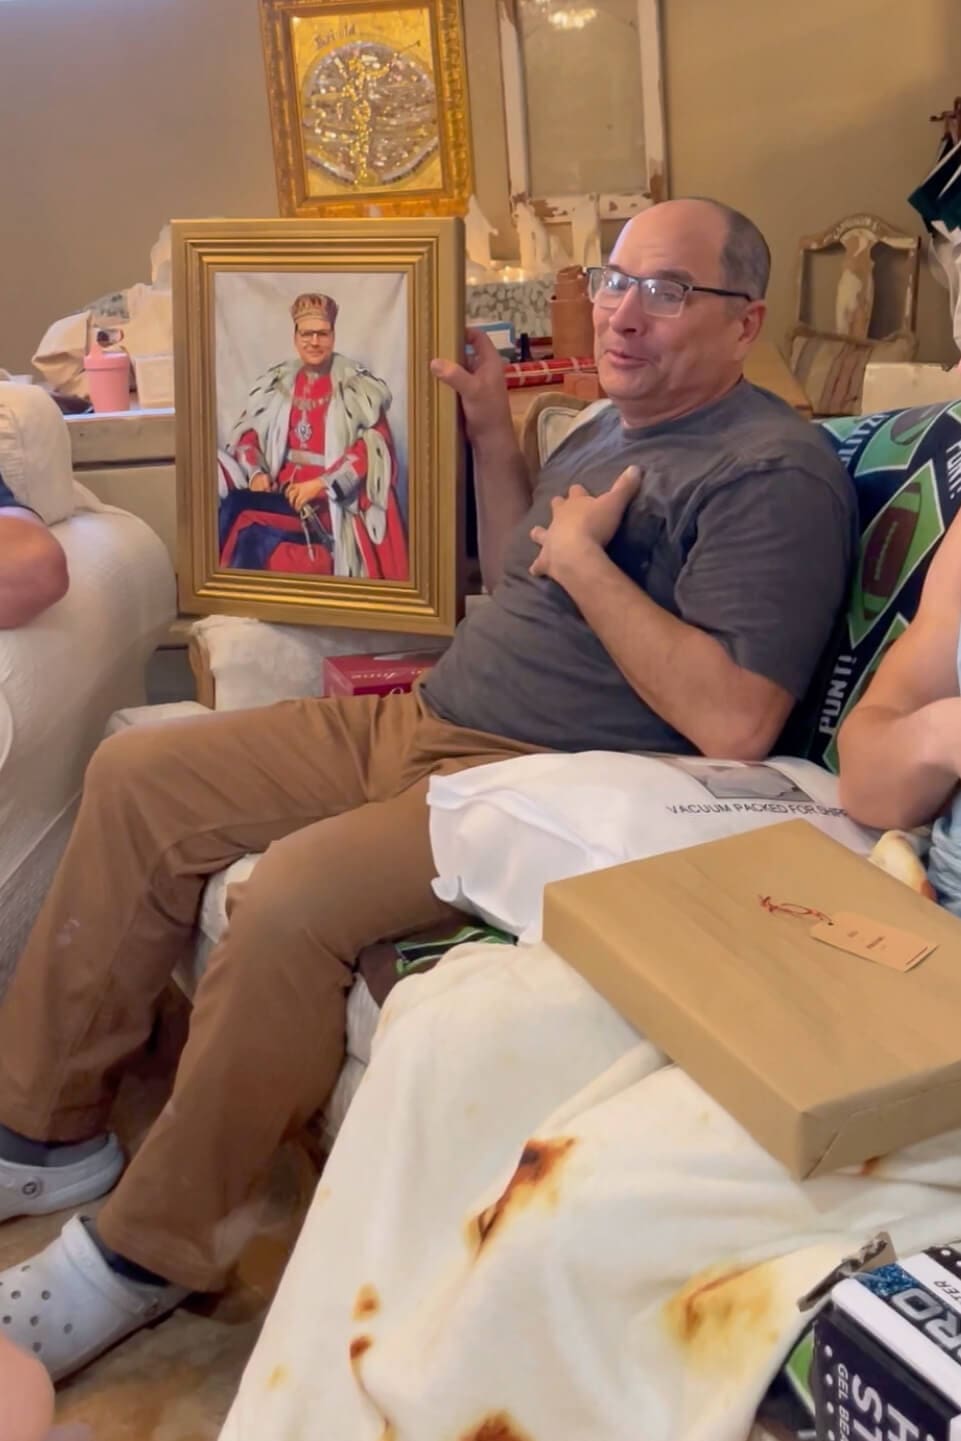
The Reaction? Priceless.
Y’all… his reaction! He laughed so hard and immediately started showing it off. It wasn’t just a gift – it was a moment. This DIY Father’s Day project totally delivered. This wasn’t just a canvas – it was a truly memorable moment for the whole family.
A Little Backstory…
If you follow me on Instagram, you’ve definitely seen Grandpa – my father-in-law and favorite DIY sidekick. He’s helped with:
- Our laundry room makeover
- Building the stone range hood
- Installing the new stair railing
- And our custom walk-in shower
It was so fun to finally surprise him with a gift that showed just how much we appreciate him.
Why This DIY Frame Project Makes the Best Father’s Day Gift
This gift didn’t cost a lot, but it had all the heart. It turned a funny canvas into a meaningful keepsake, and that’s what makes DIY Father’s Day gifts so special. Whether you’re crafty or just winging it, this DIY frame idea is a guaranteed crowd-pleaser.
📌 Save This Handmade Father’s Day Gift for Later
FAQ About Making a DIY Frame for Father’s Day
Pine is a great budget-friendly option that’s easy to cut and finish. For something fancier, go with poplar or oak.
Yes! You can use a handsaw and a miter box if you don’t have a miter saw. A hammer and nails will work in place of a brad nailer, too – it just takes more time.
It’ll work best if your wood is smooth. I recommend lightly sanding before applying it to get that buttery, gilded finish.
I used an 18×24″ canvas, but this project is easily adaptable to any size. Just measure your trim pieces accordingly.