

Updated May 9, 2026
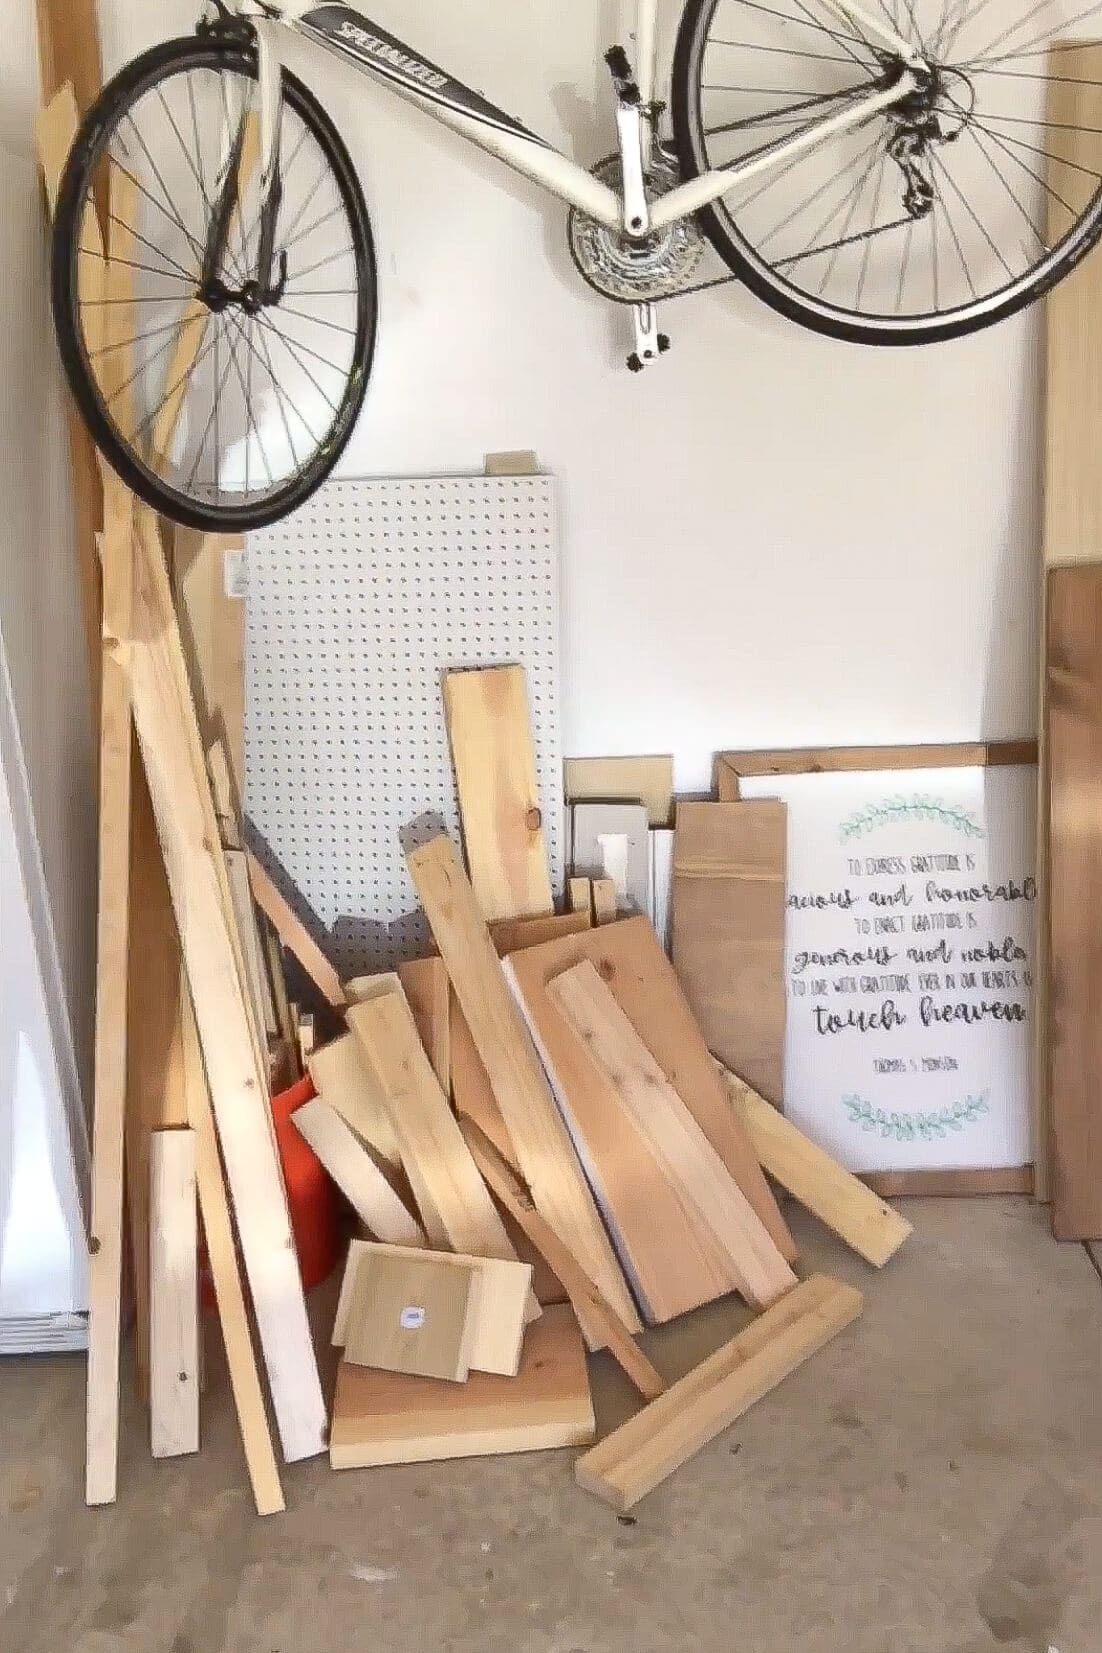
A DIY toddler bed from scrapwood? Absolutely. If you’ve done any DIY projects, you probably have a stash of leftover boards too good to toss. I finally put mine to use by building a simple, sturdy wooden toddler bed for my daughter. No plans, just an idea, some scrap lumber, and a little creativity. Whether you’re tackling your first DIY kids bed or just need ideas for using up extra wood, this project turned out way cuter than you’d ever expect from a pile of leftovers.
Watch Me Build a Toddler Bed Out of Scrap Wood for Almost Nothing
Table of Contents
- Watch Me Build a Toddler Bed Out of Scrap Wood for Almost Nothing
- What You’ll Need to Build a Wooden Toddler Bed
- Step 1: Build the Toddler Bed Headboard
- Step 2: Draw and Cut the Curves
- Step 3: Assemble with Pocket Holes
- Step 4: Add Side Rails
- Step 5: Add Mattress Support
- Step 6: Paint and Style
- Finished Wooden Toddler Bed Reveal
- More DIY Furniture Projects to Try
- FAQ: Building a DIY Toddler Bed
What You’ll Need to Build a Wooden Toddler Bed
Tools for Building a Toddler Bed
Supplies I Used to Build a Wooden Toddler Bed
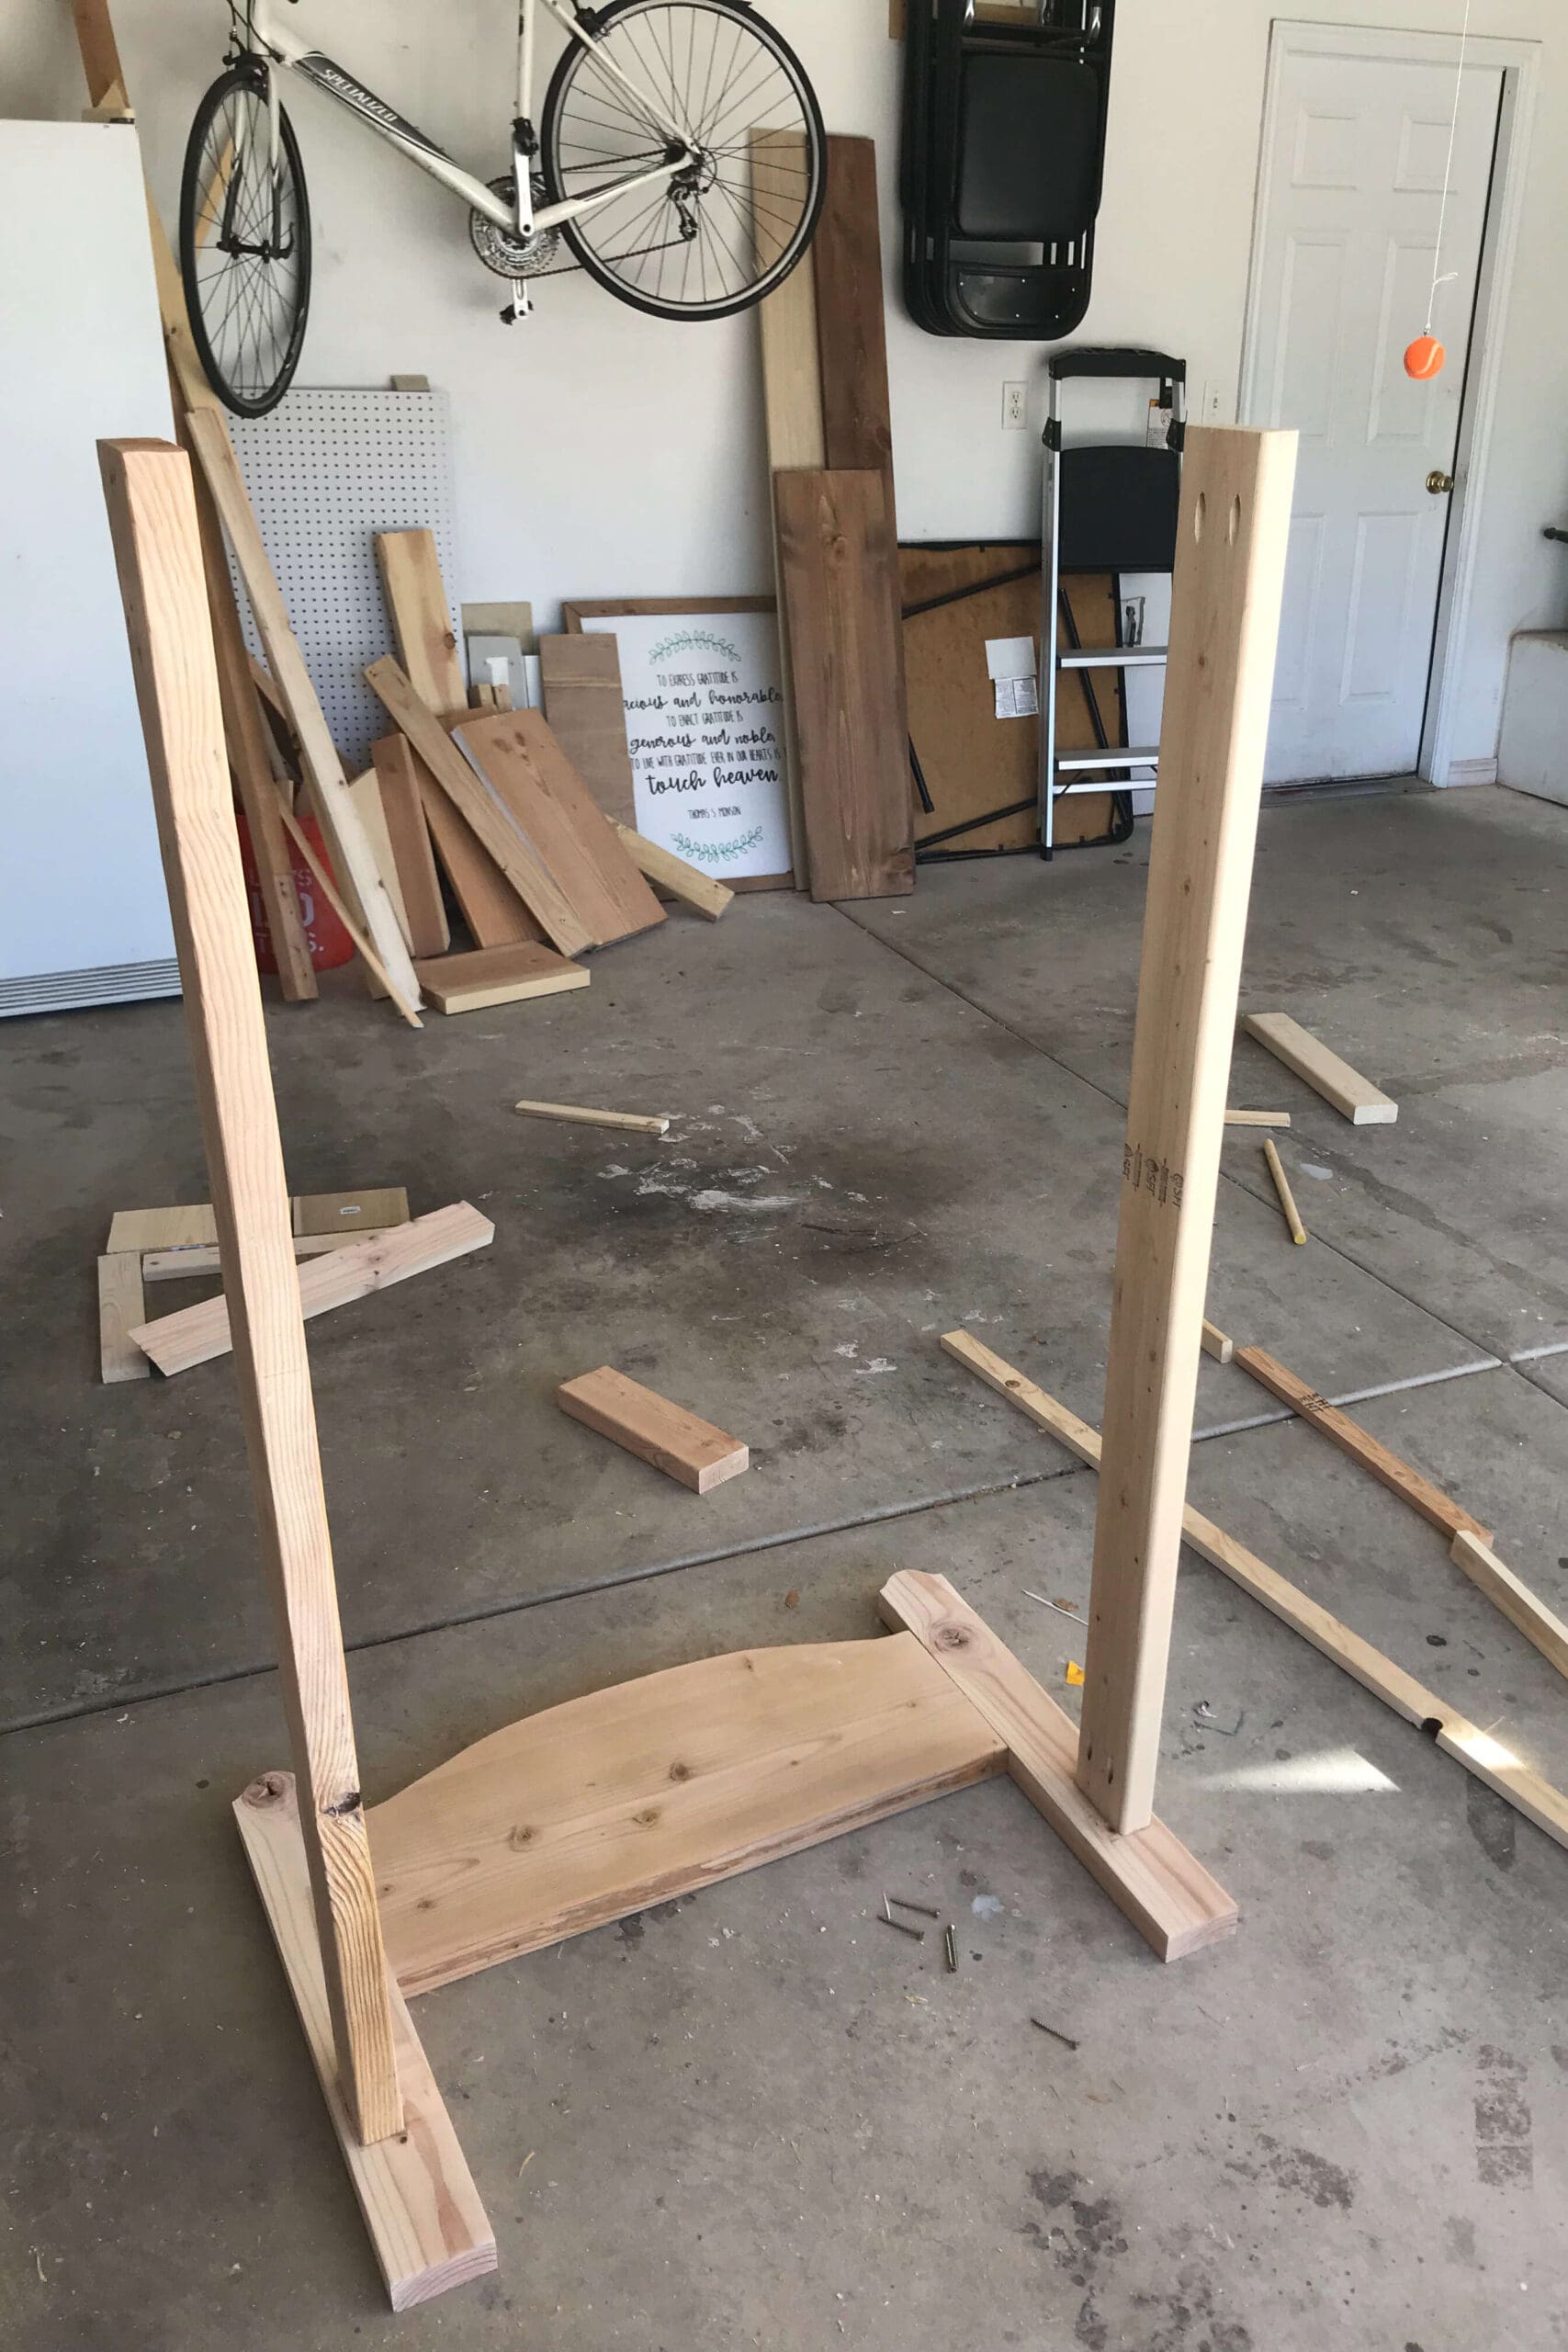
I used all scrap wood, but if you have to make a trip to the hardware store to purchase lumber for this DIY toddler bed, this is what you’ll need.
- 2x4s
- 2x12s
- 1×3’s
- Plywood
- Wood screws
Step 1: Build the Toddler Bed Headboard
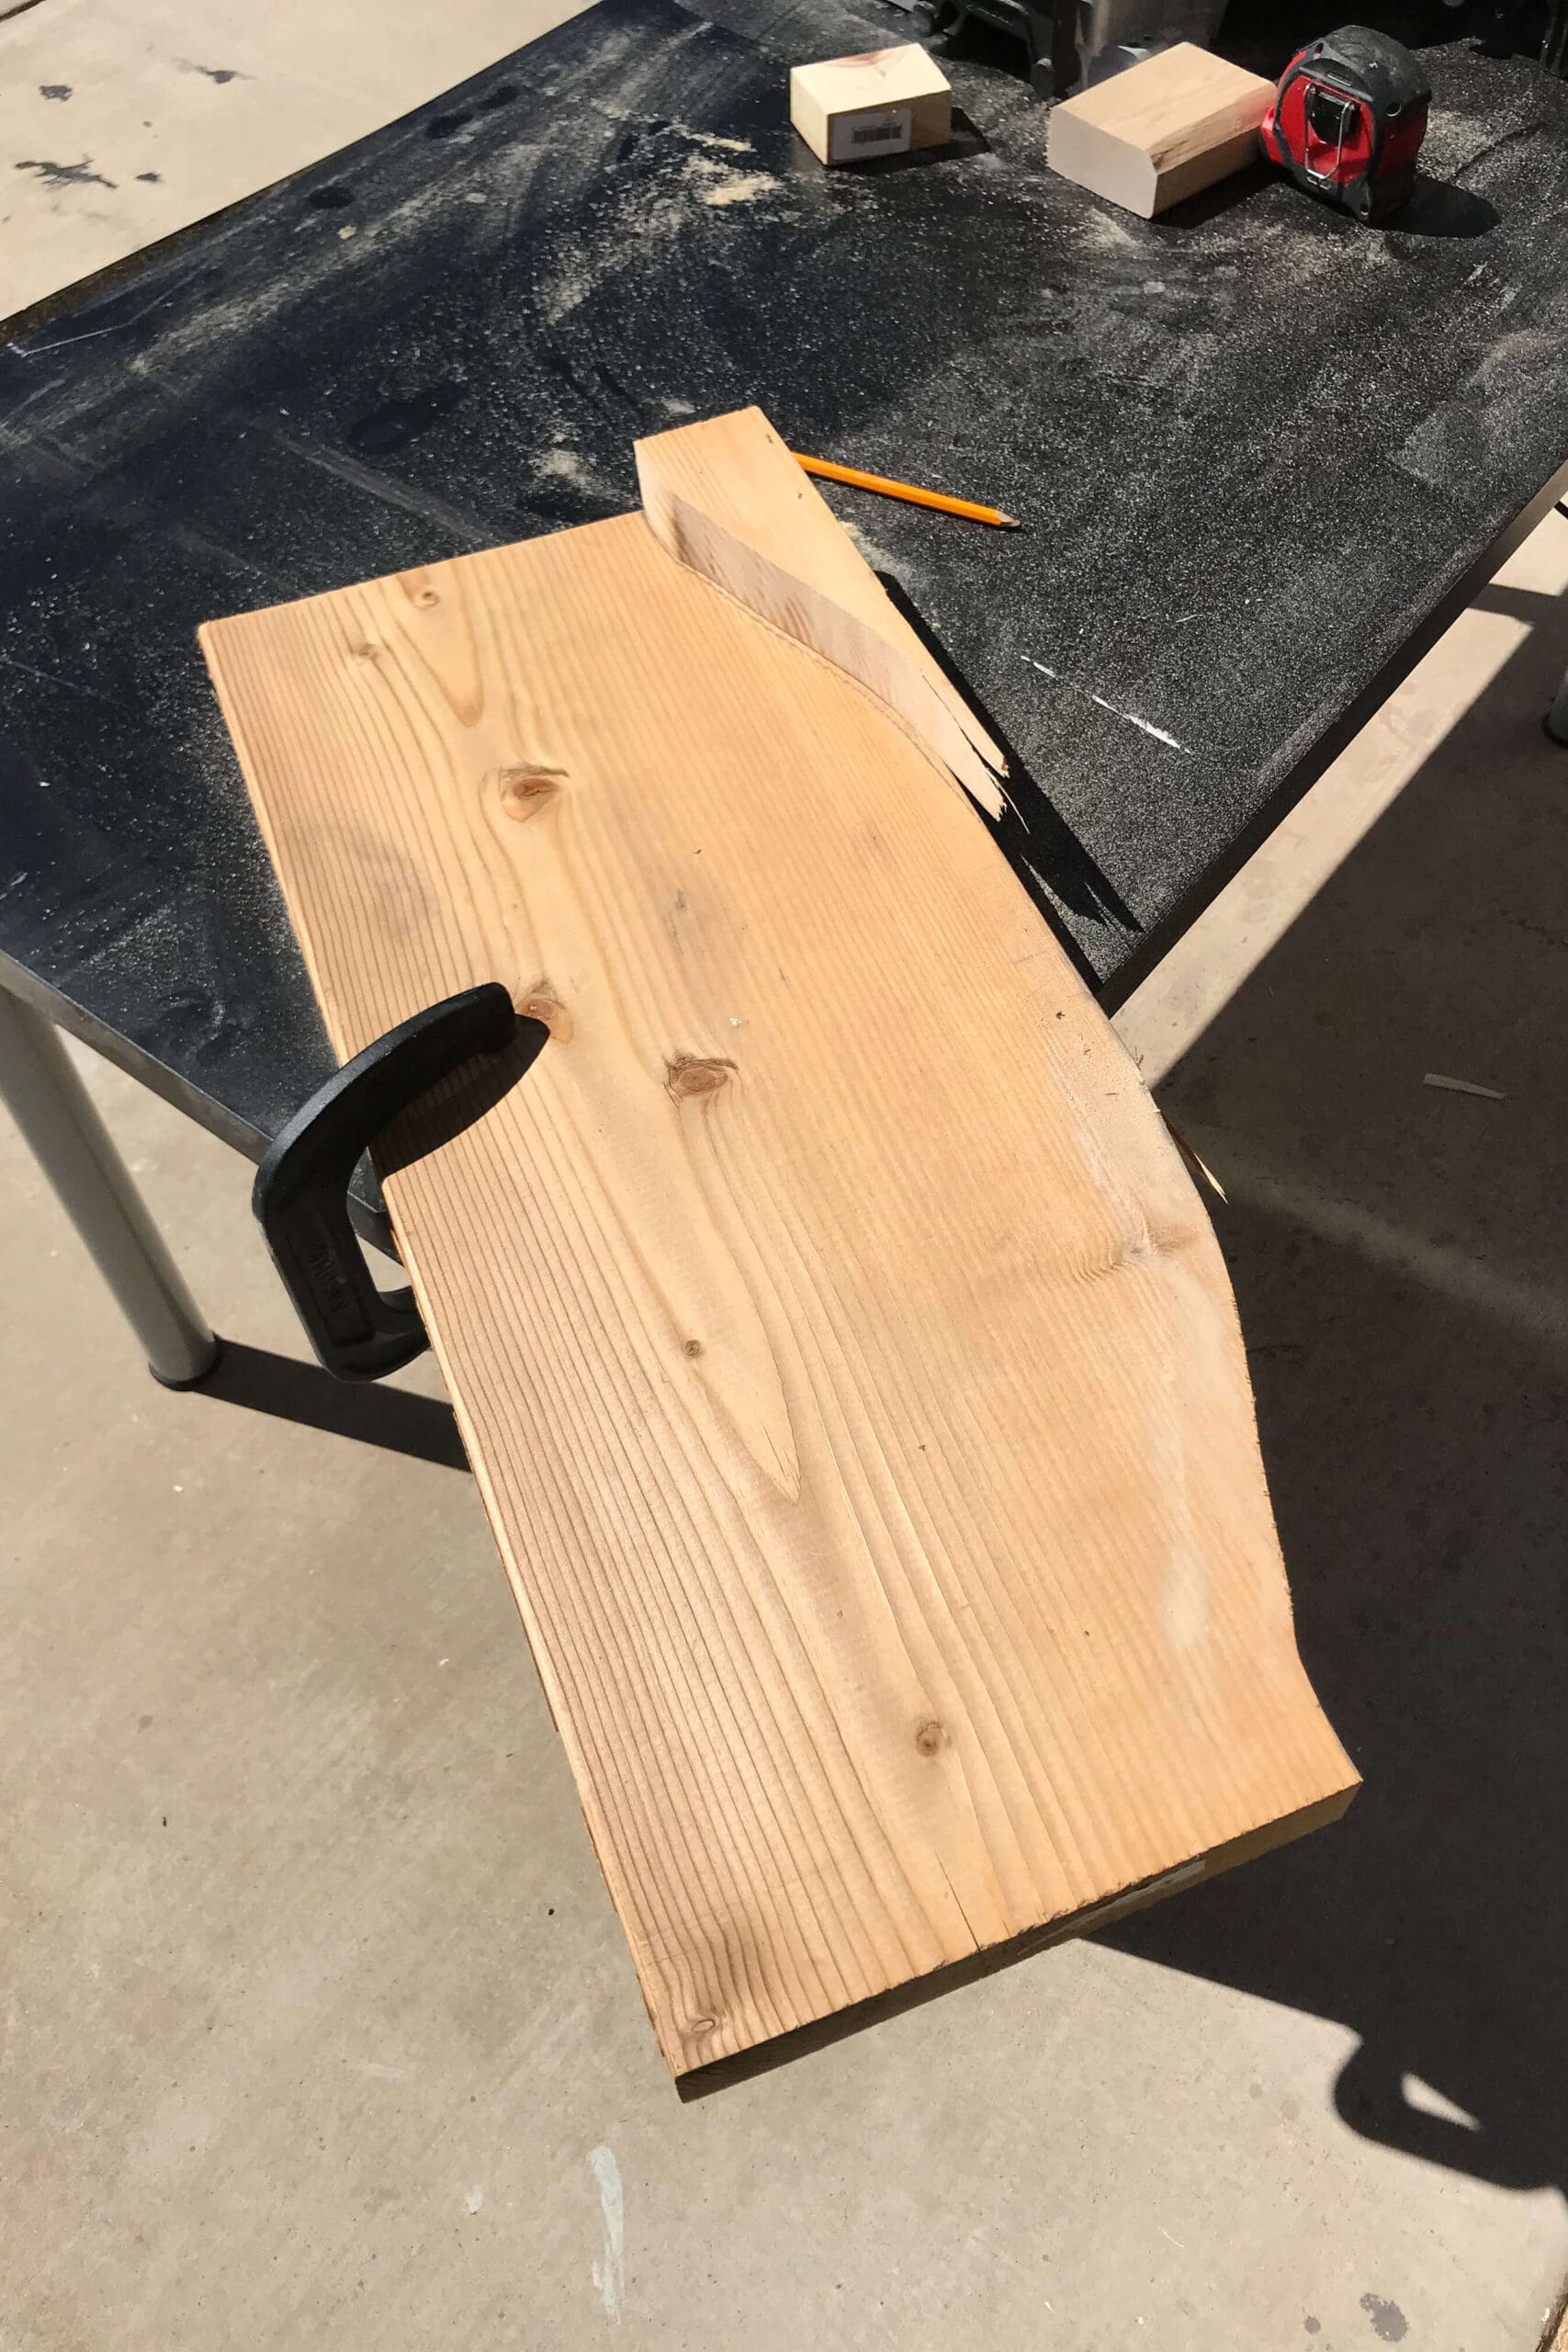
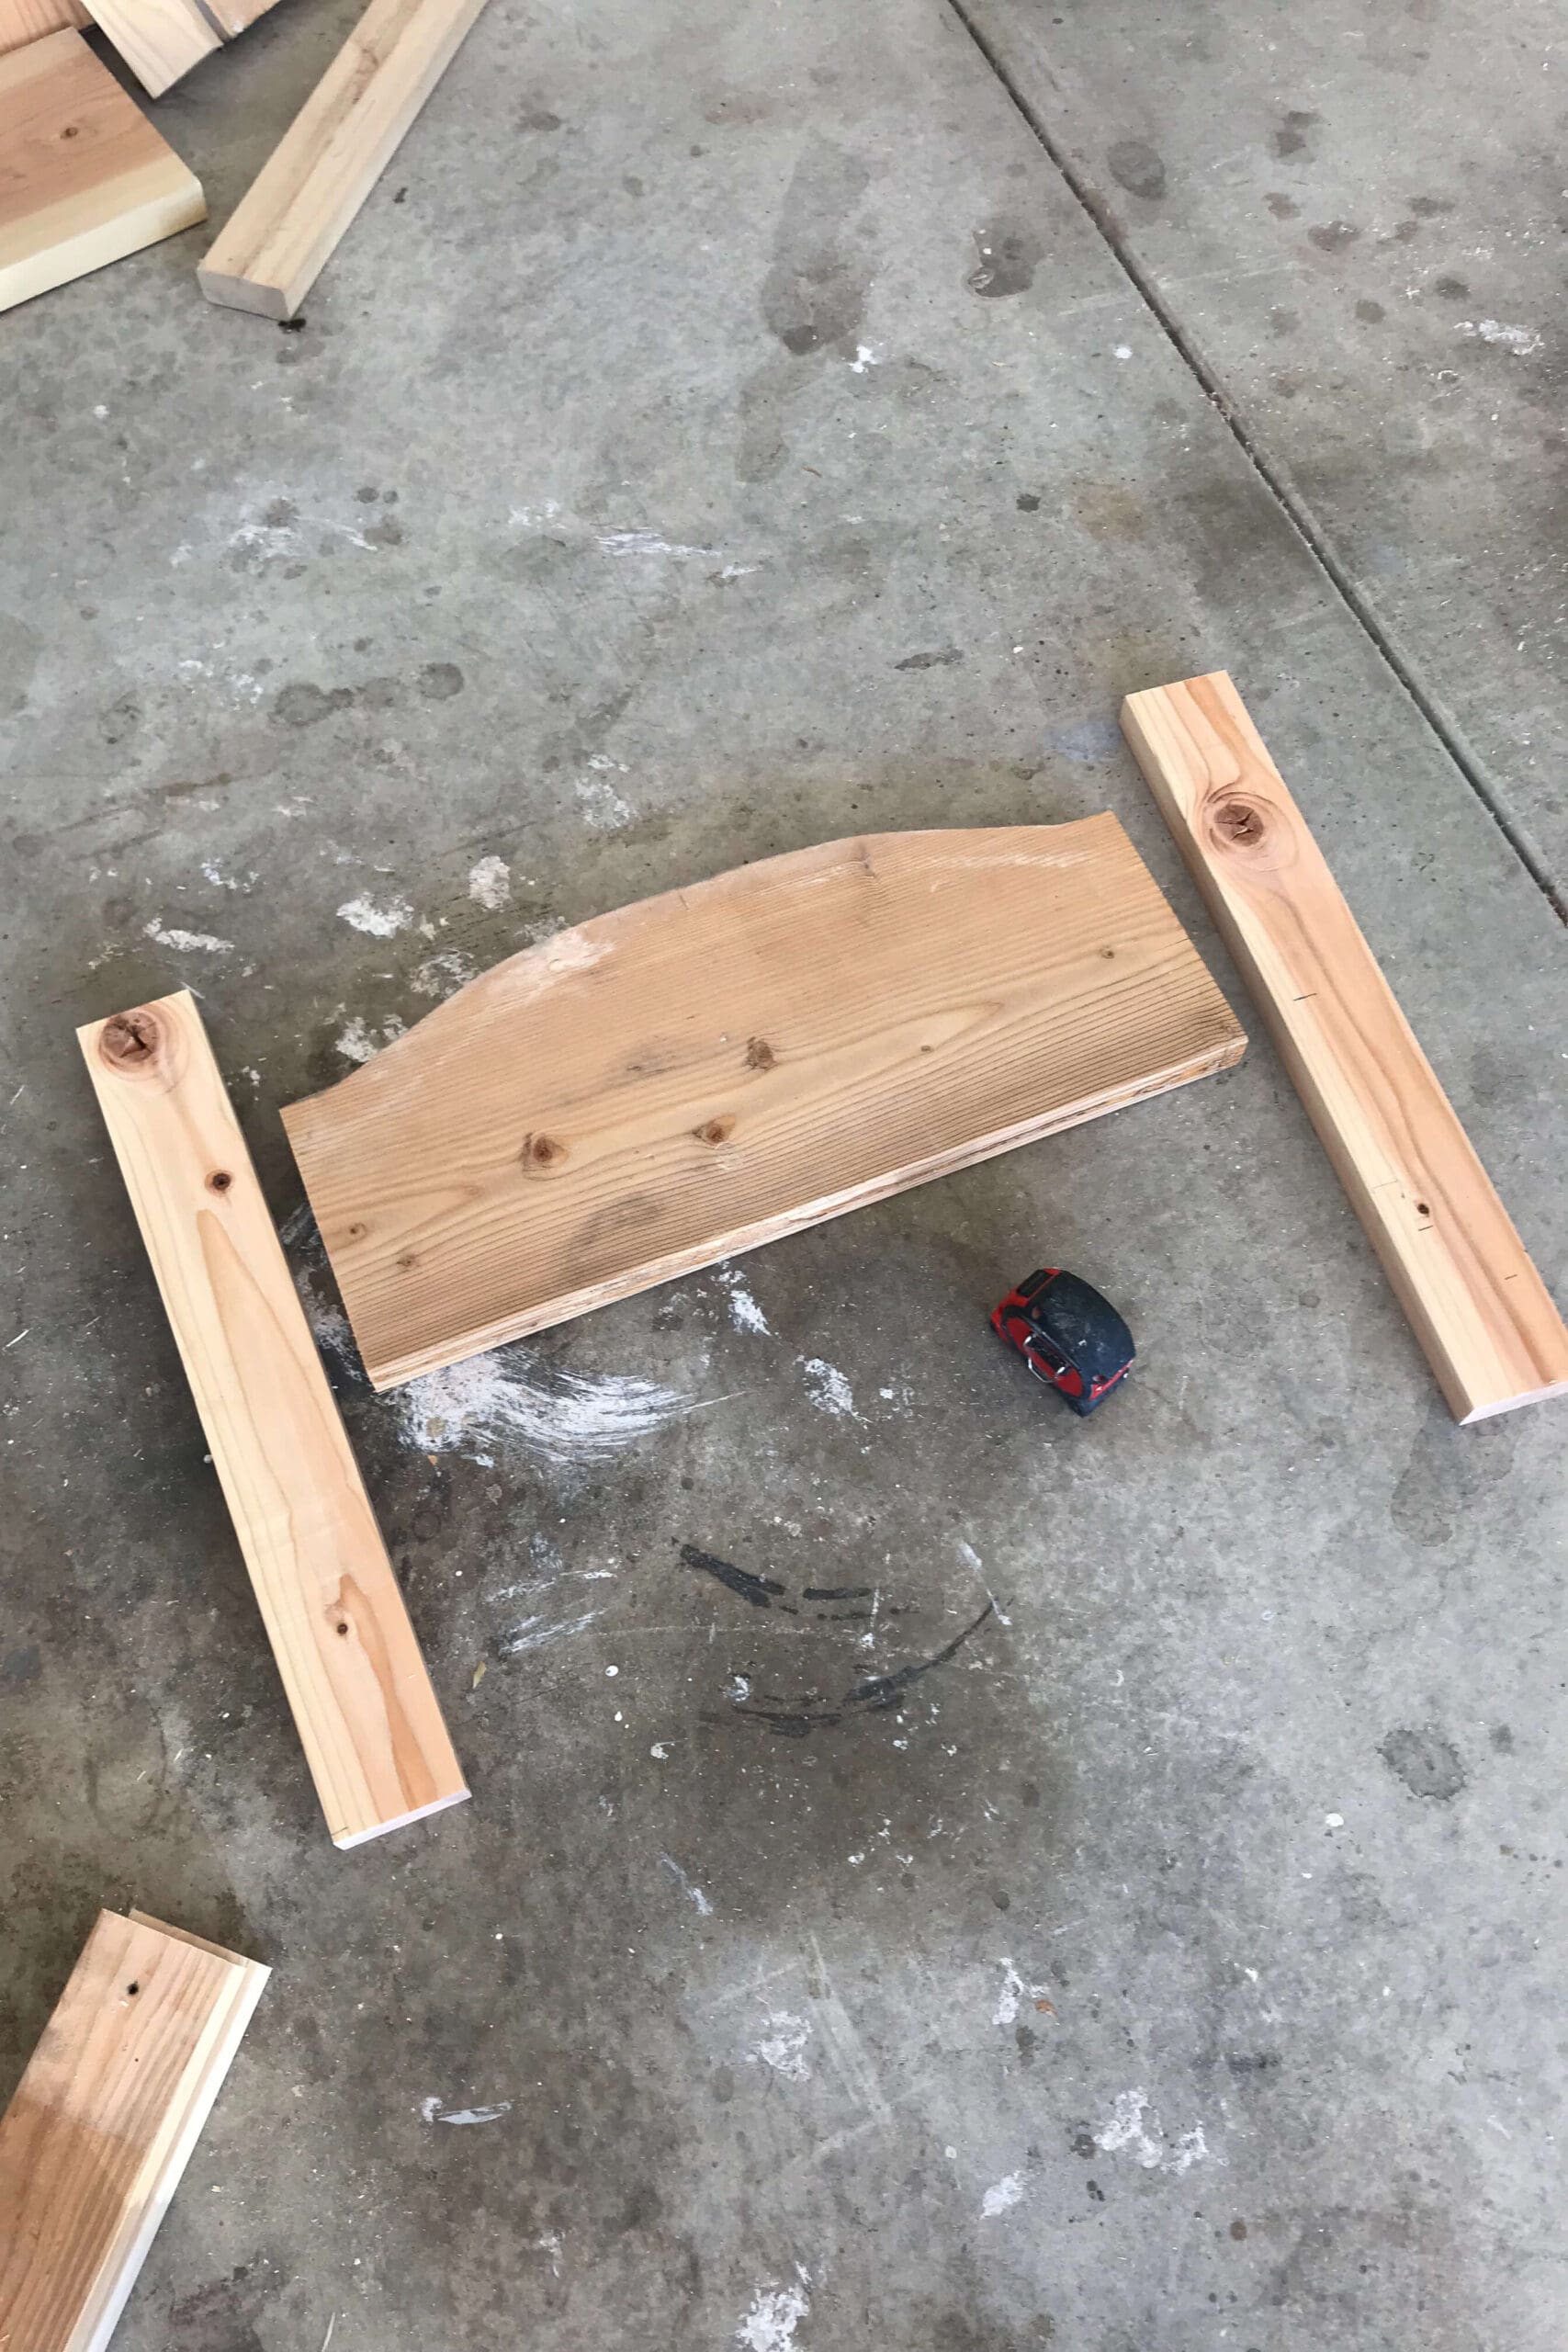
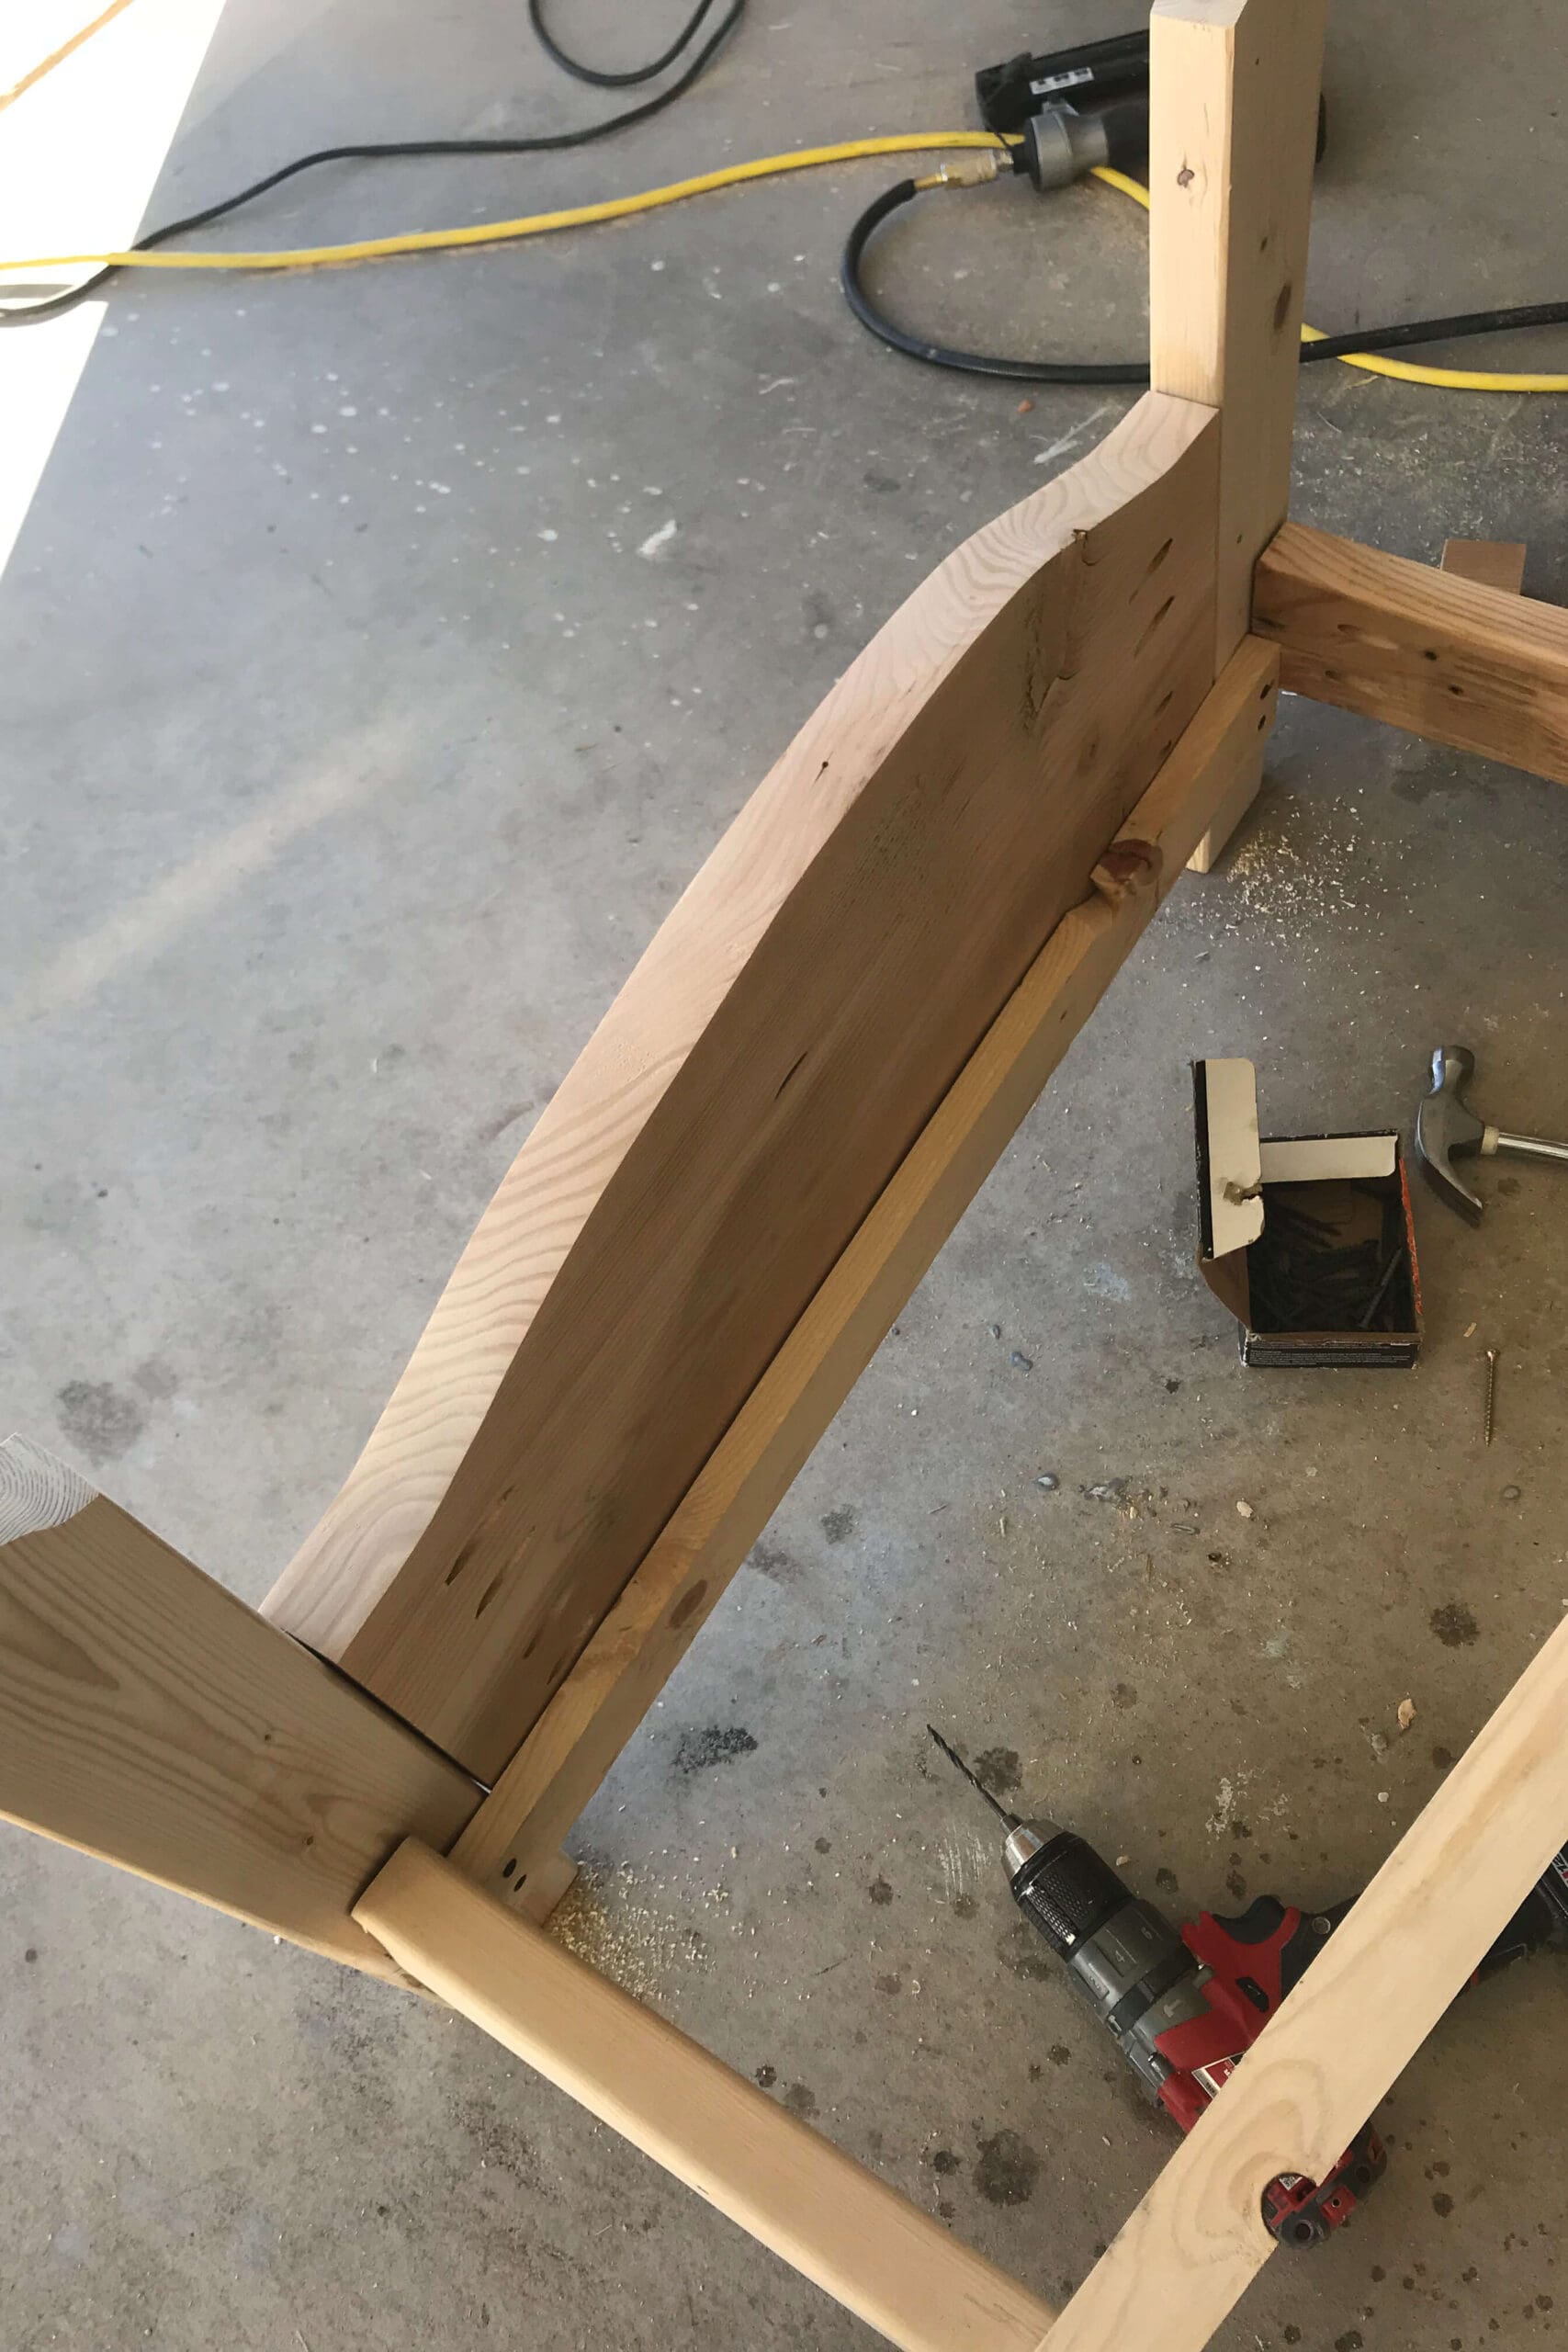
Firstly, I kicked off my DIY toddler bed by piecing together a basic headboard. The center panel is made from a leftover 2×12. The bed posts are made with 2x4s. I don’t want the design to be totally square and boxy. I’m adding a little personality to it with some curved details.
Step 2: Draw and Cut the Curves
For the curve in the headboard, I just grabbed a pencil and freehand drew a swoop I liked. Then I cut along the line with my jigsaw. Pro tip: After cutting one side, I used that piece as a template to trace the opposite side. This way it’s going to be perfectly symmetrical. It always looks a little rough at this stage—don’t stress. Just a quick pass with my orbital sander smoothed it right out. Next, I used this same method to add a little curve to the tops of the 2×4 posts for a custom look.
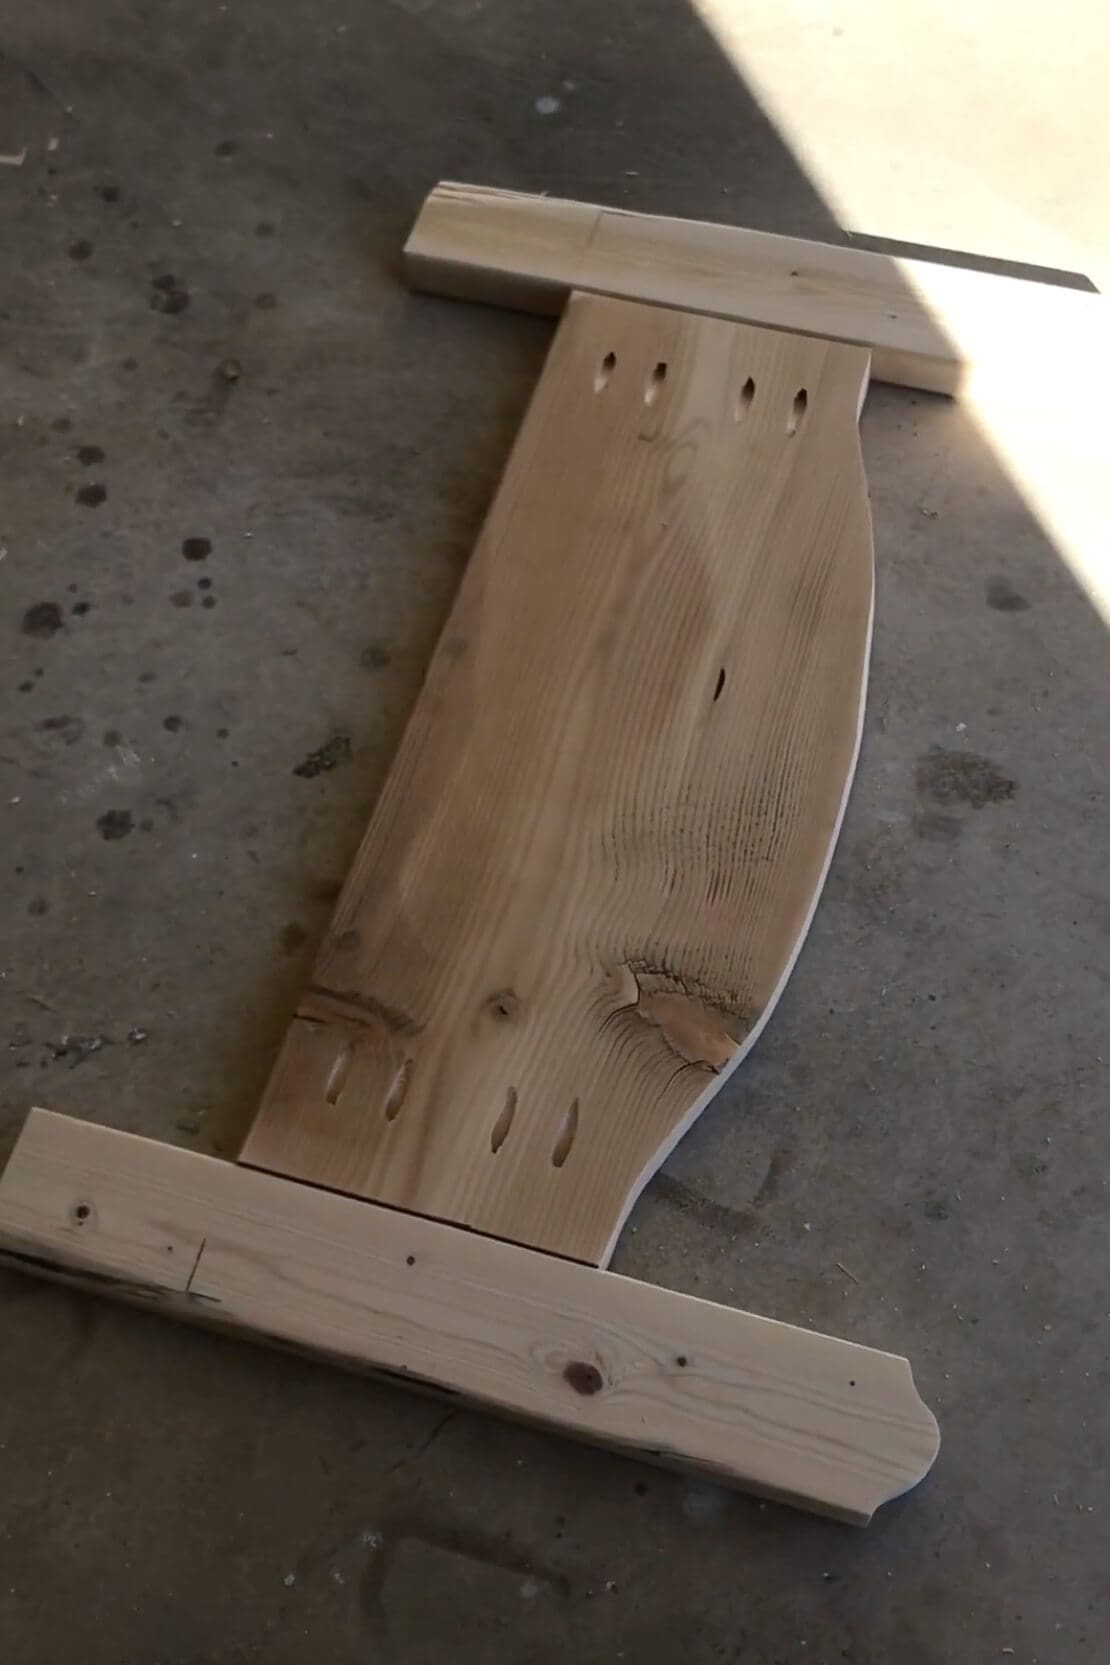
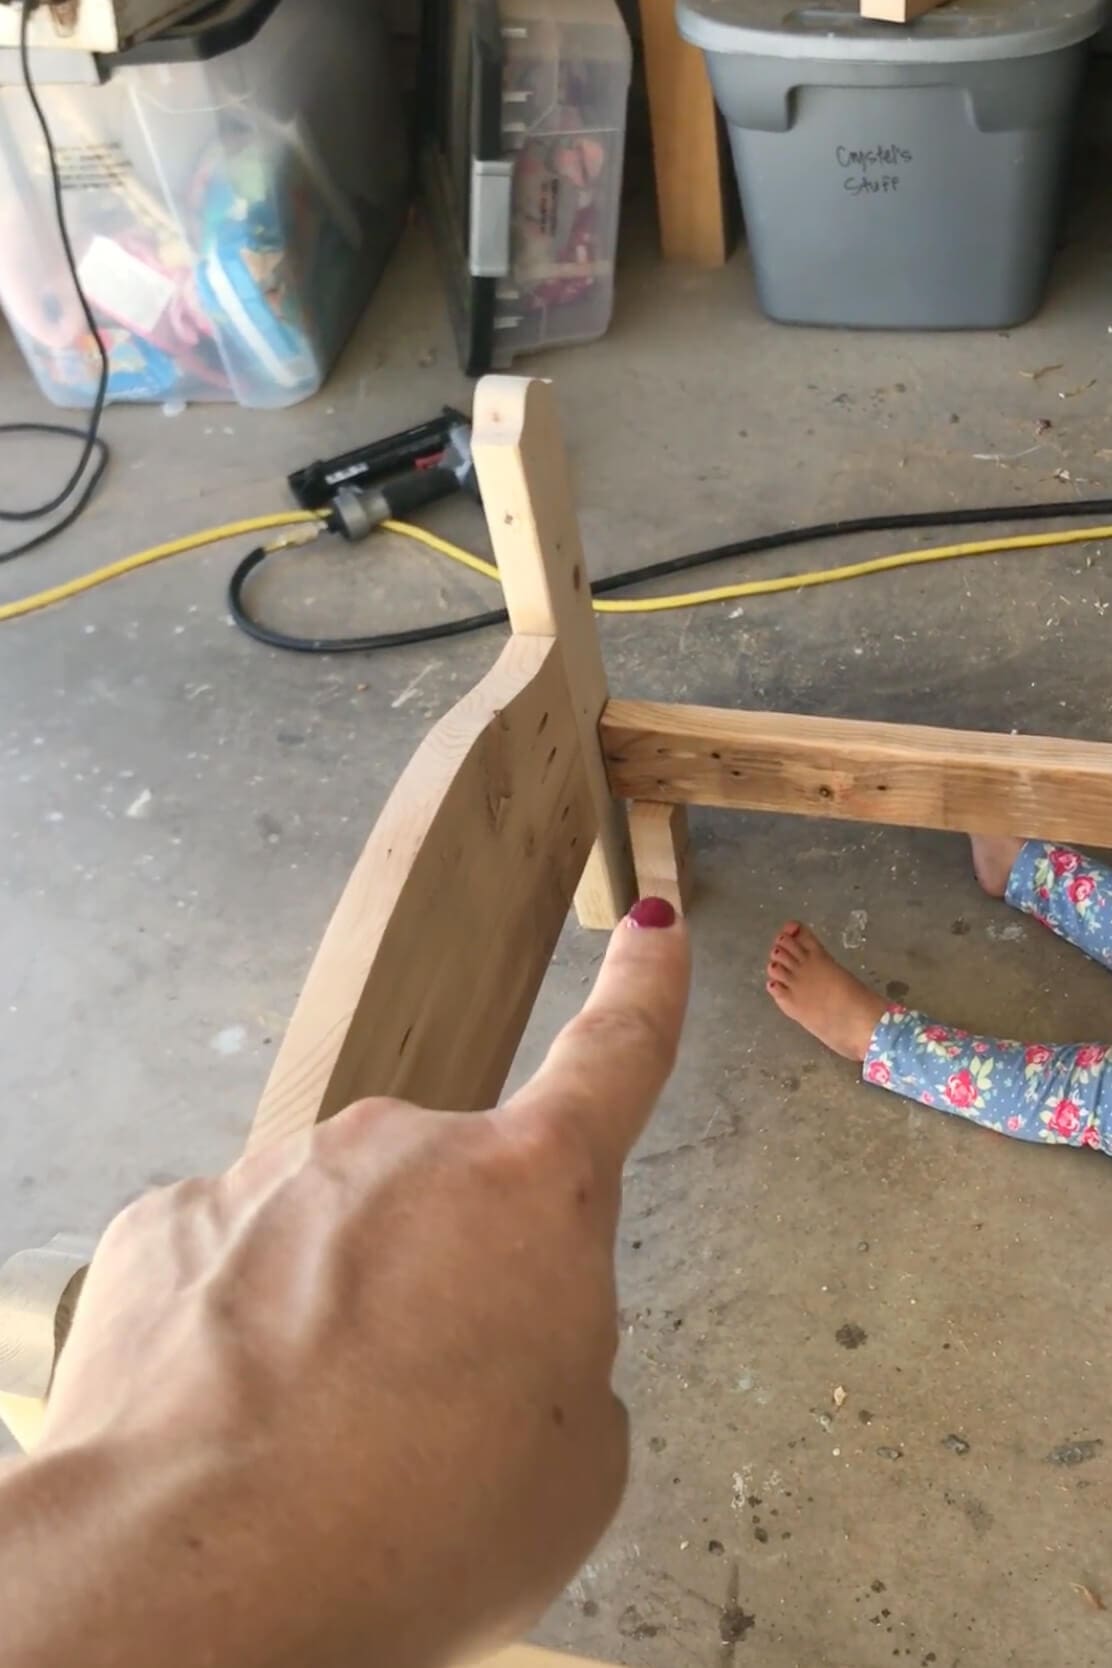
Step 3: Assemble with Pocket Holes
To attach the bed posts to the center of the headboard, I used pocket holes. Just make sure they are on the back. This way, you won’t see them once the DIY toddler bed is up against the wall. For the footboard, I made it just like the headboard (only shorter). I also placed the pocket holes on the inside, where the mattress would hide them.
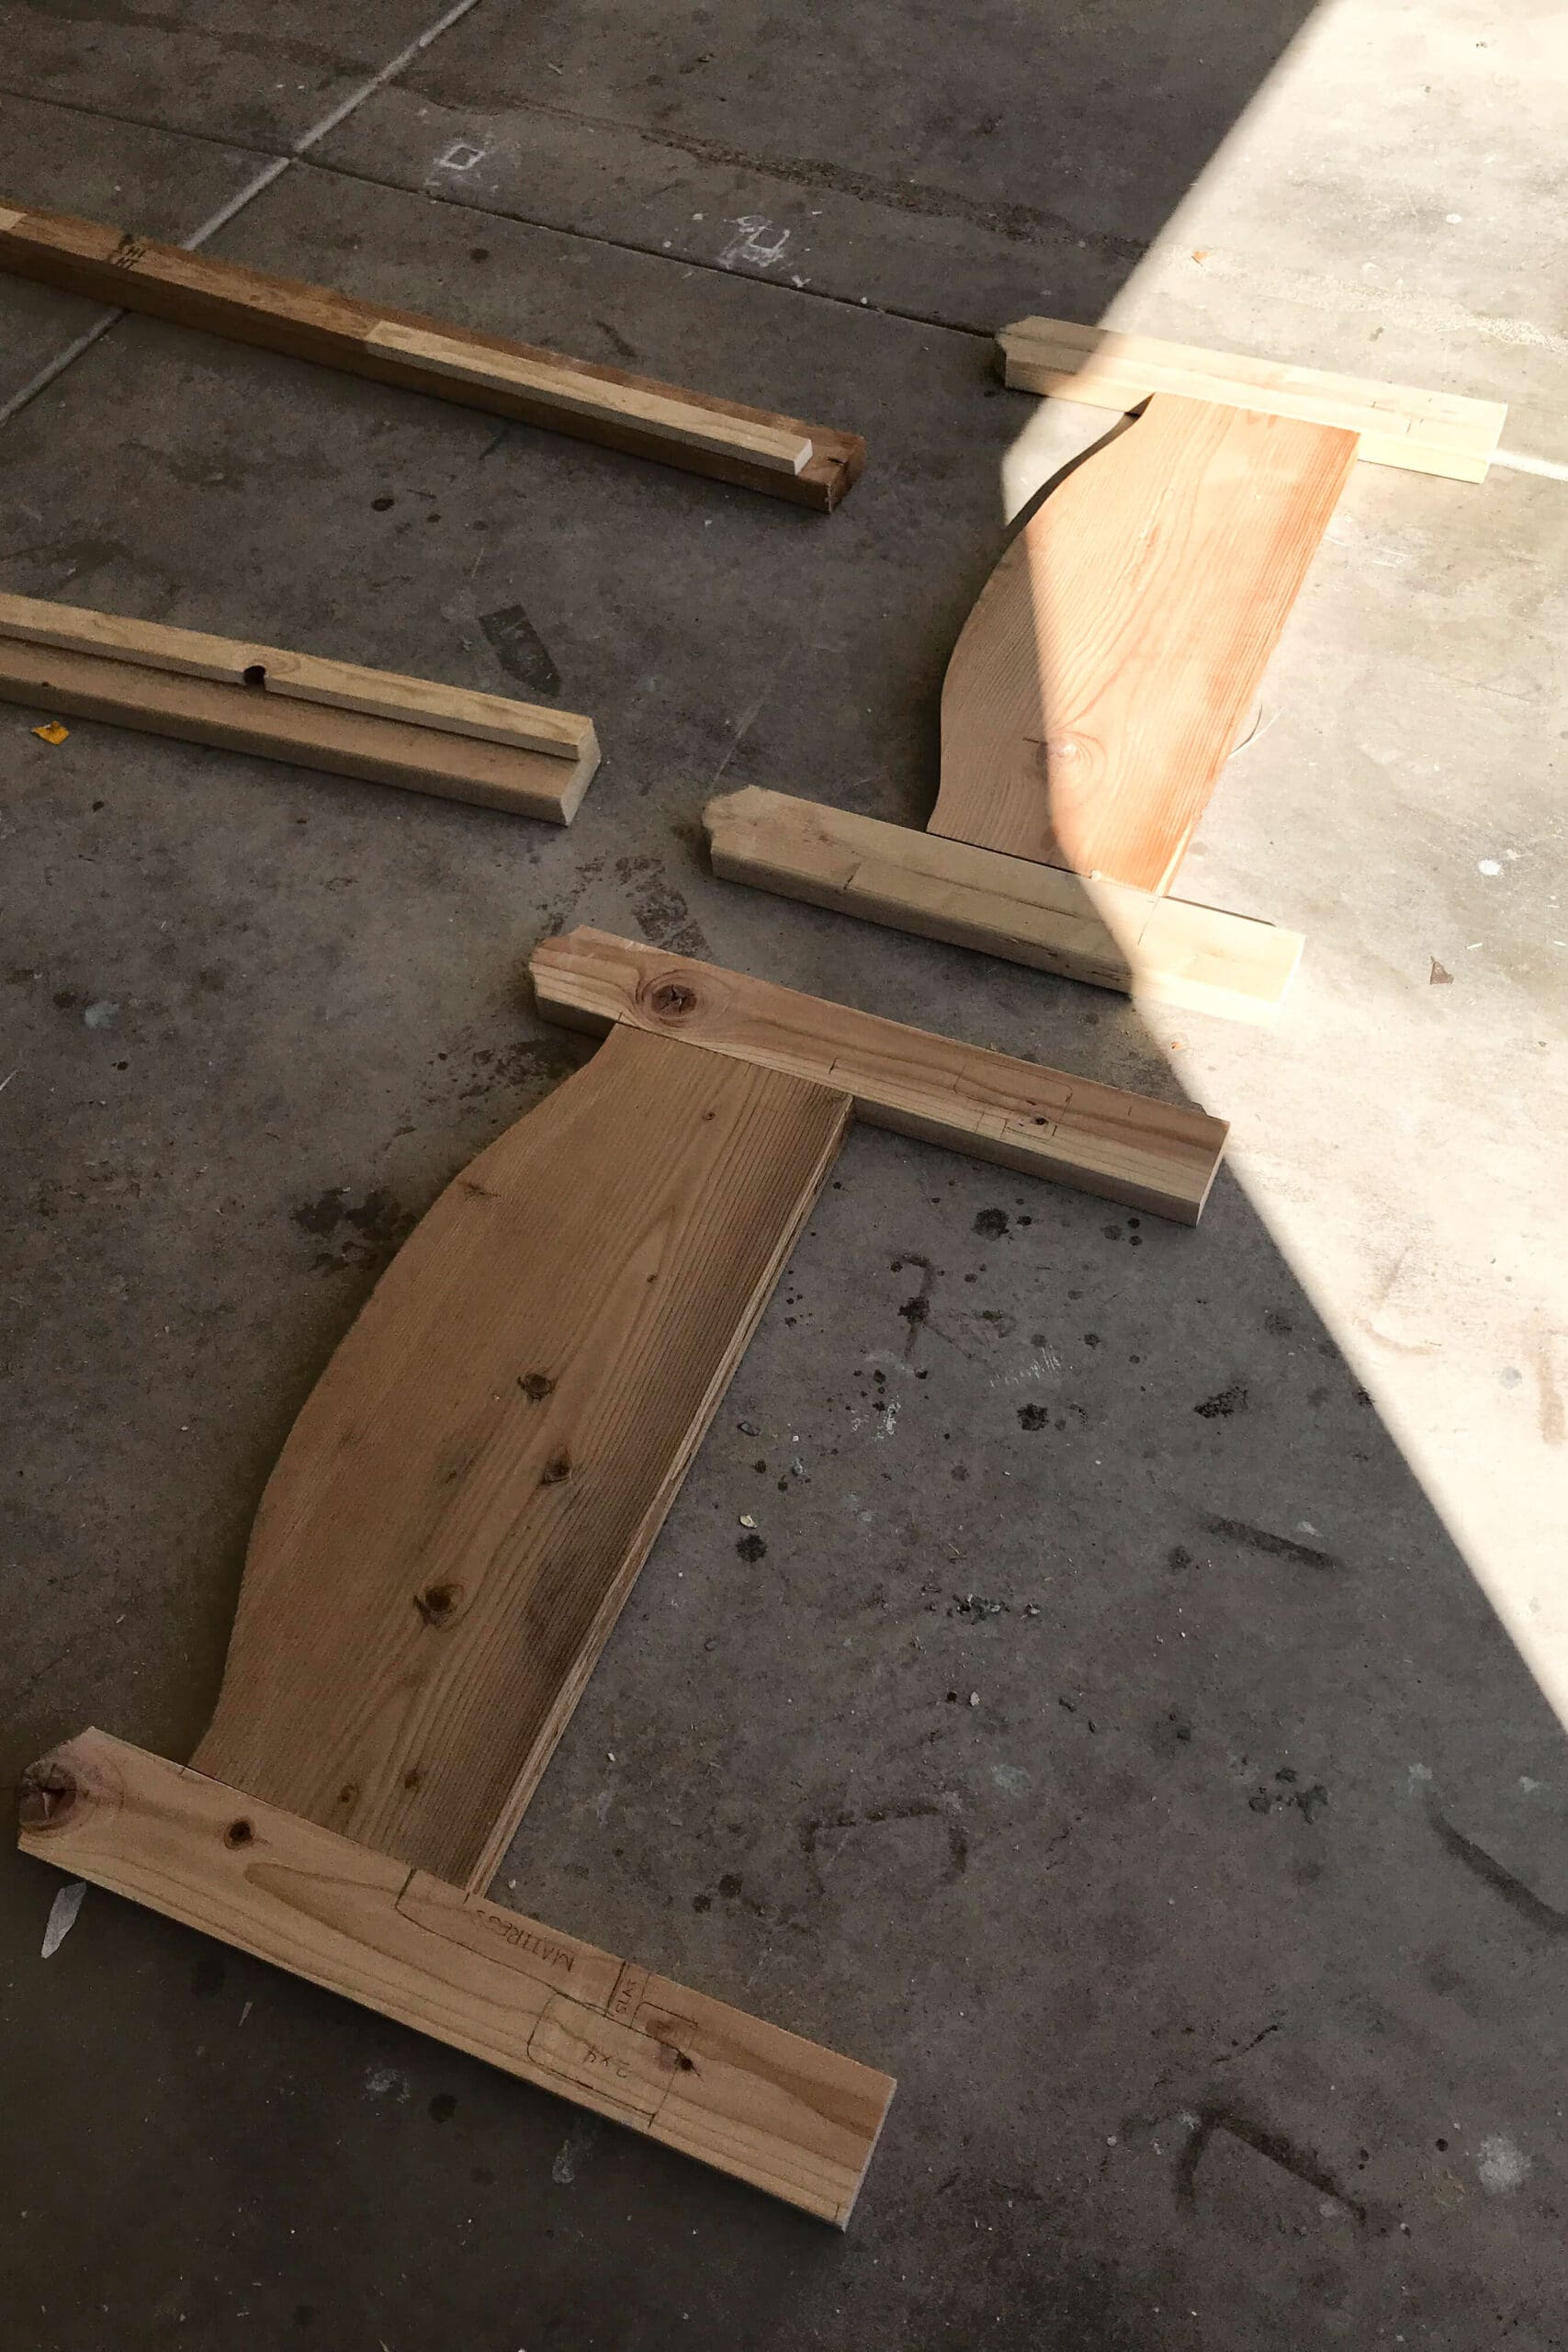
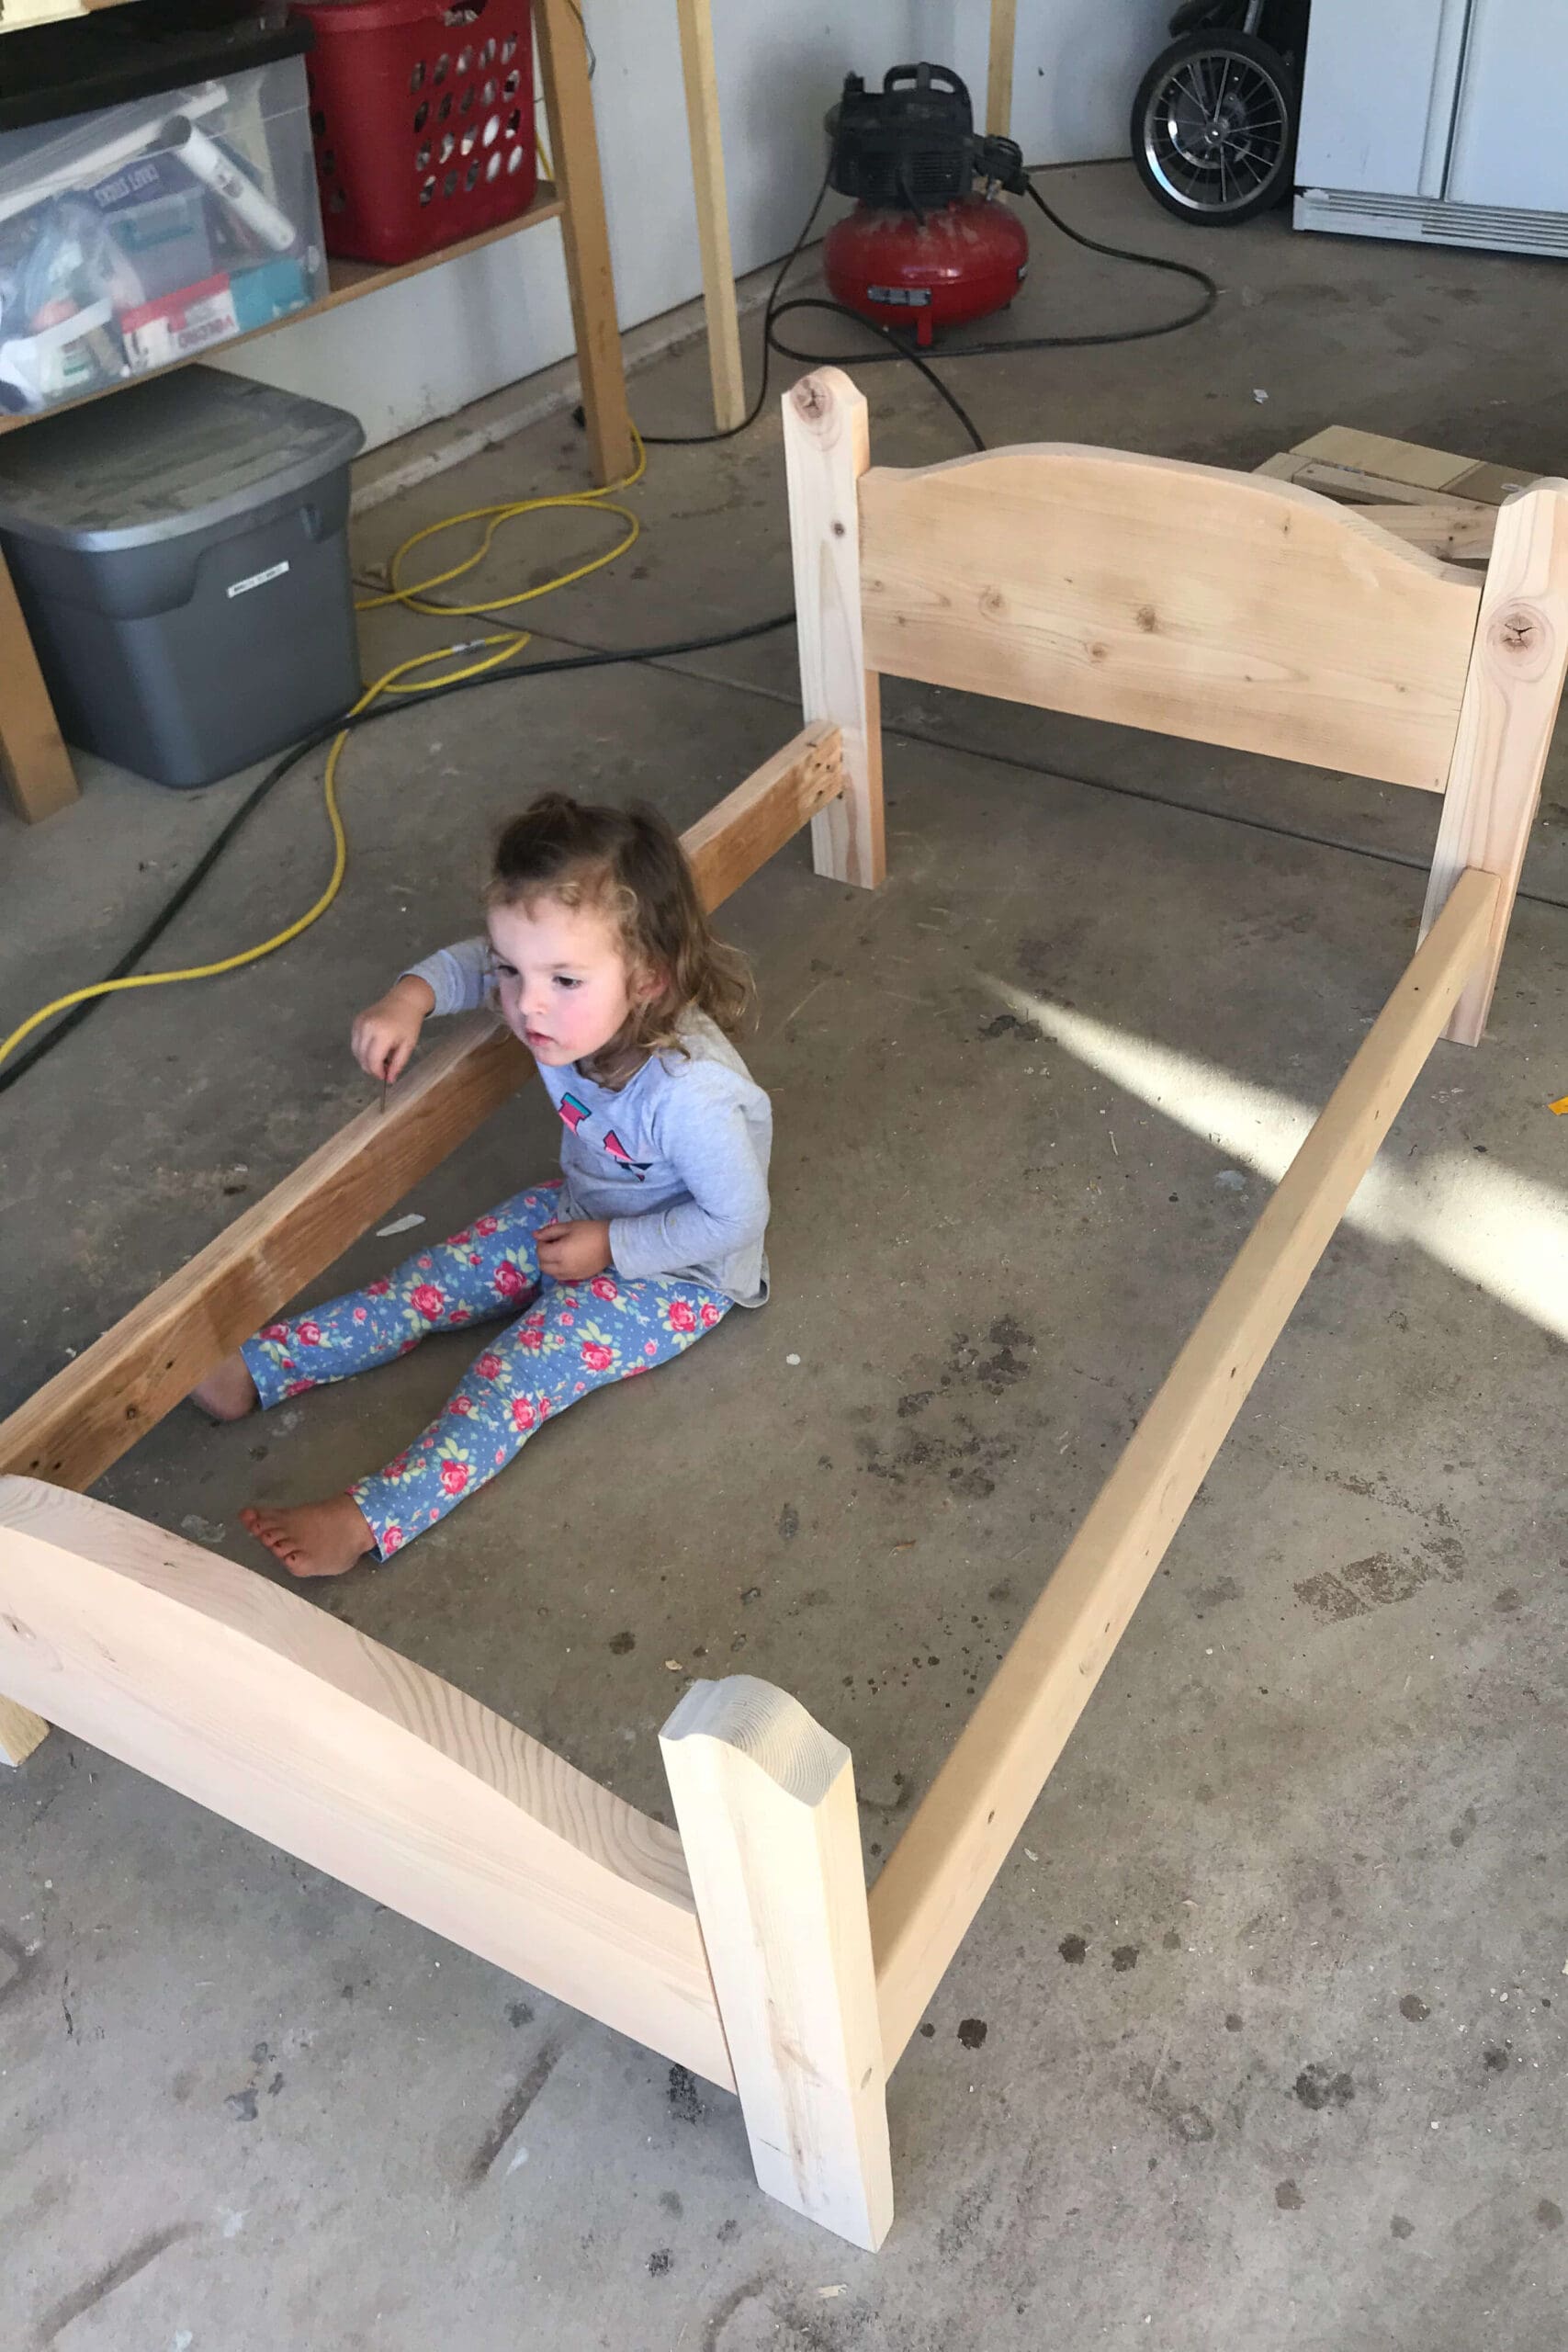
Step 4: Add Side Rails
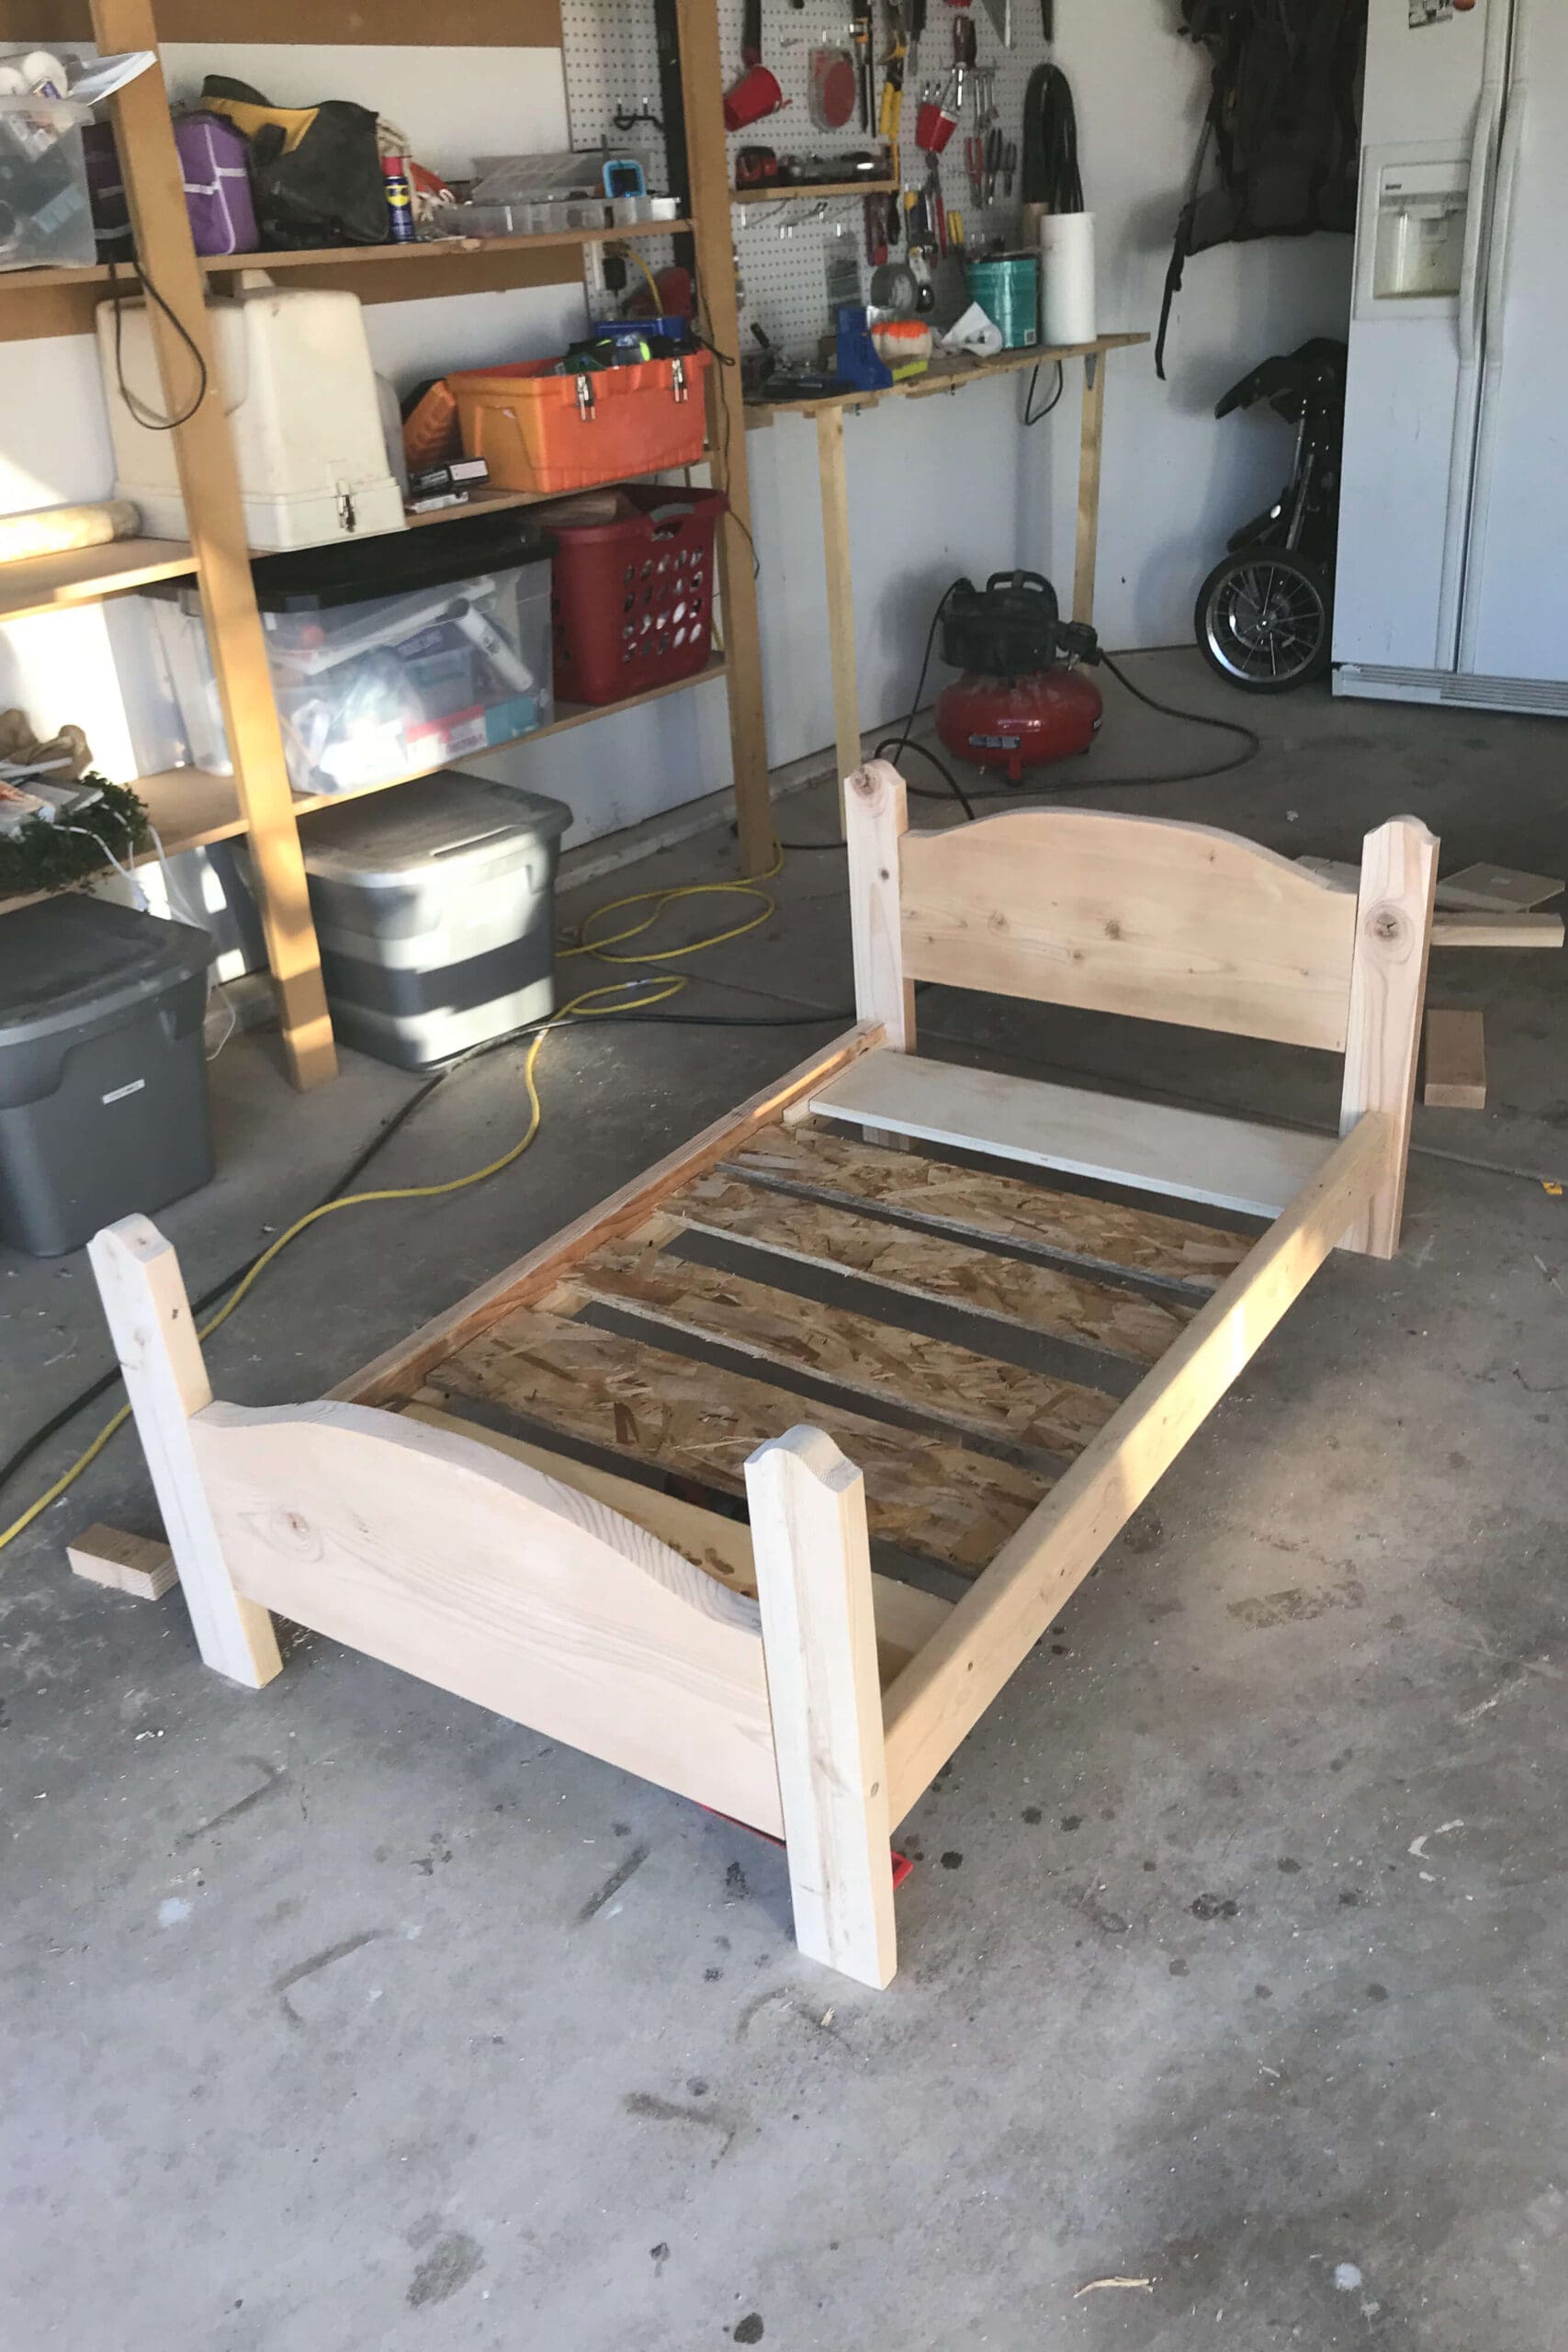
For the DIY toddler bed side rails, I kept it simple and used more 2x4s. I cut them just a bit longer than the mattress so there was a little room to tuck in bedding, and attached them to the headboard and footboard with – you guessed it – pocket holes.
Quick tip: use a scrap piece of wood as a support block while you line everything up. It helps hold the 2×4 at the right height while you screw everything into place.
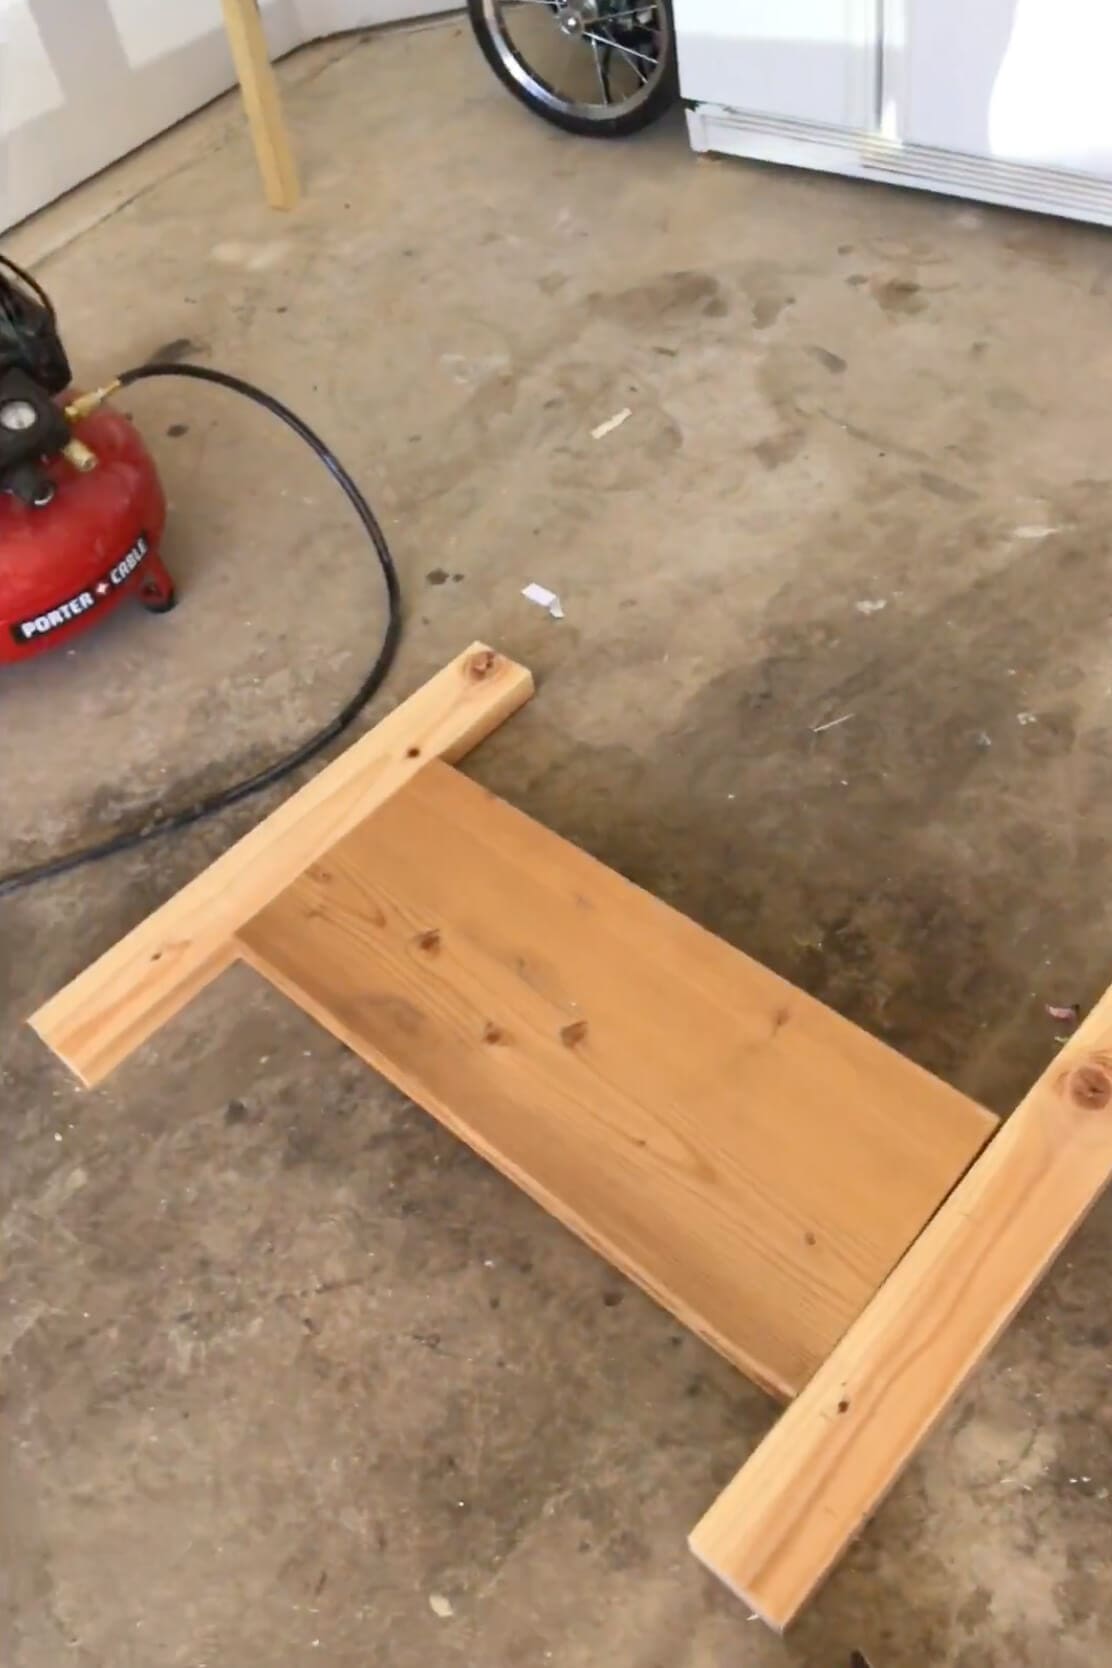
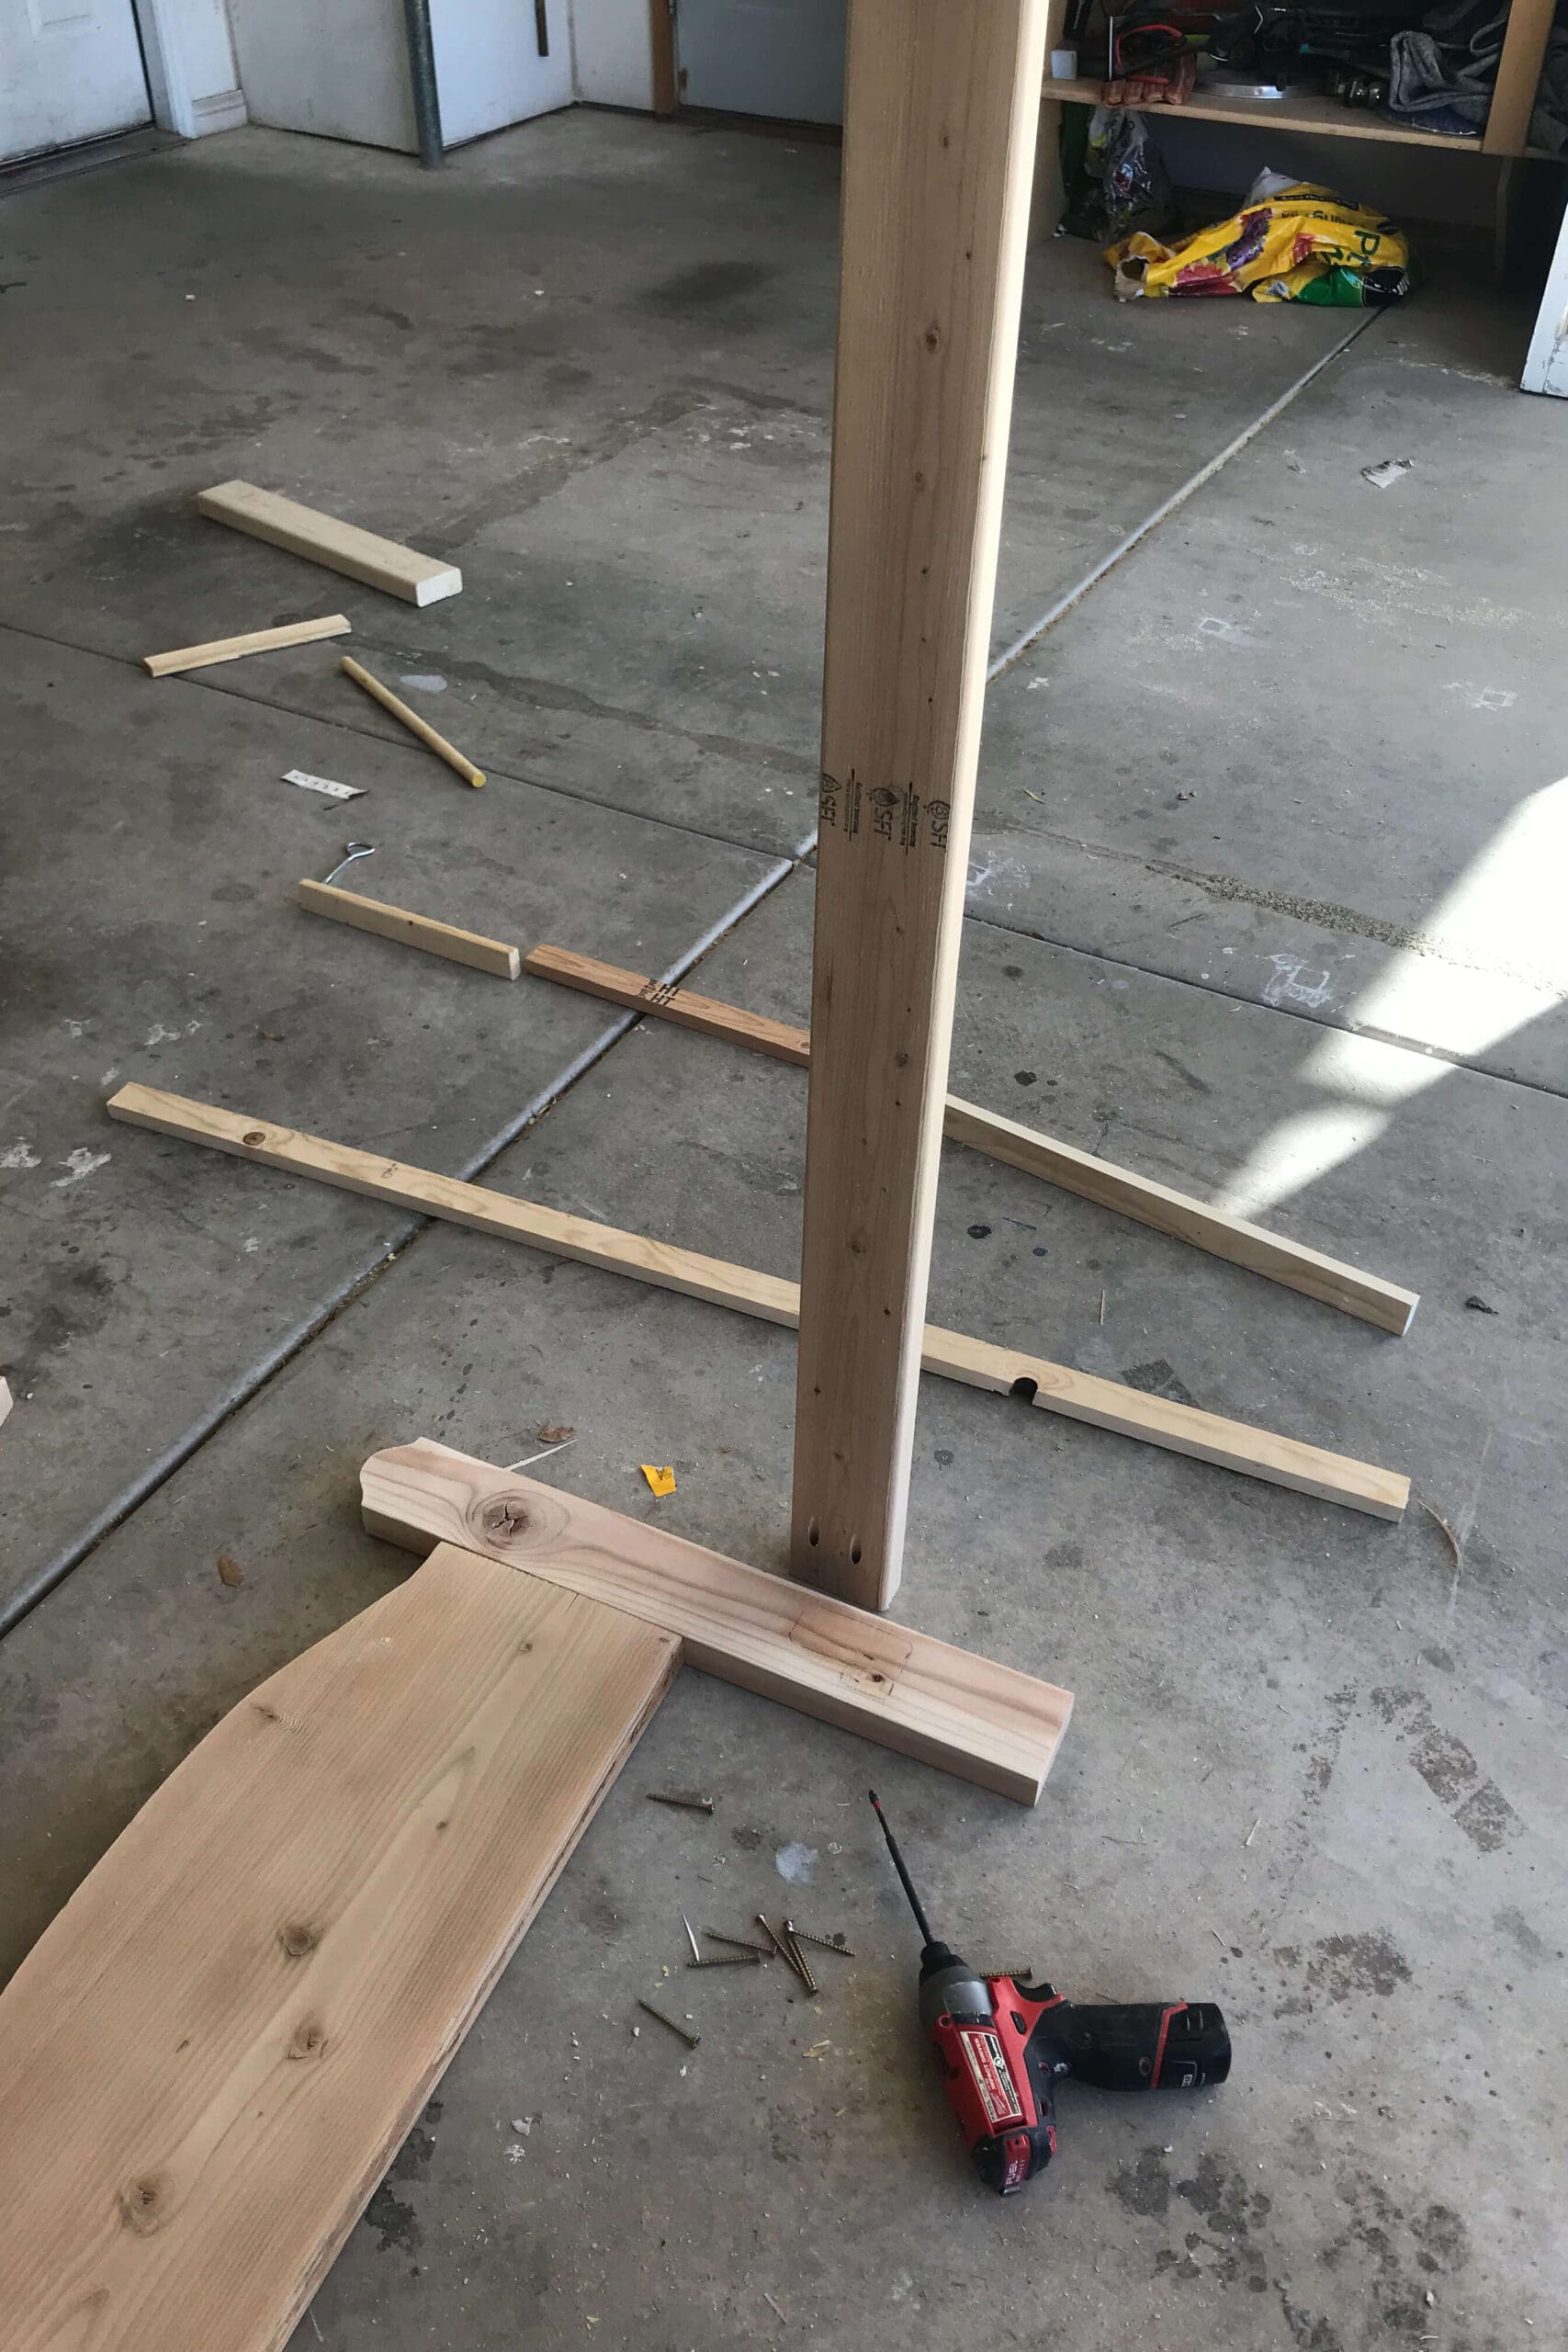
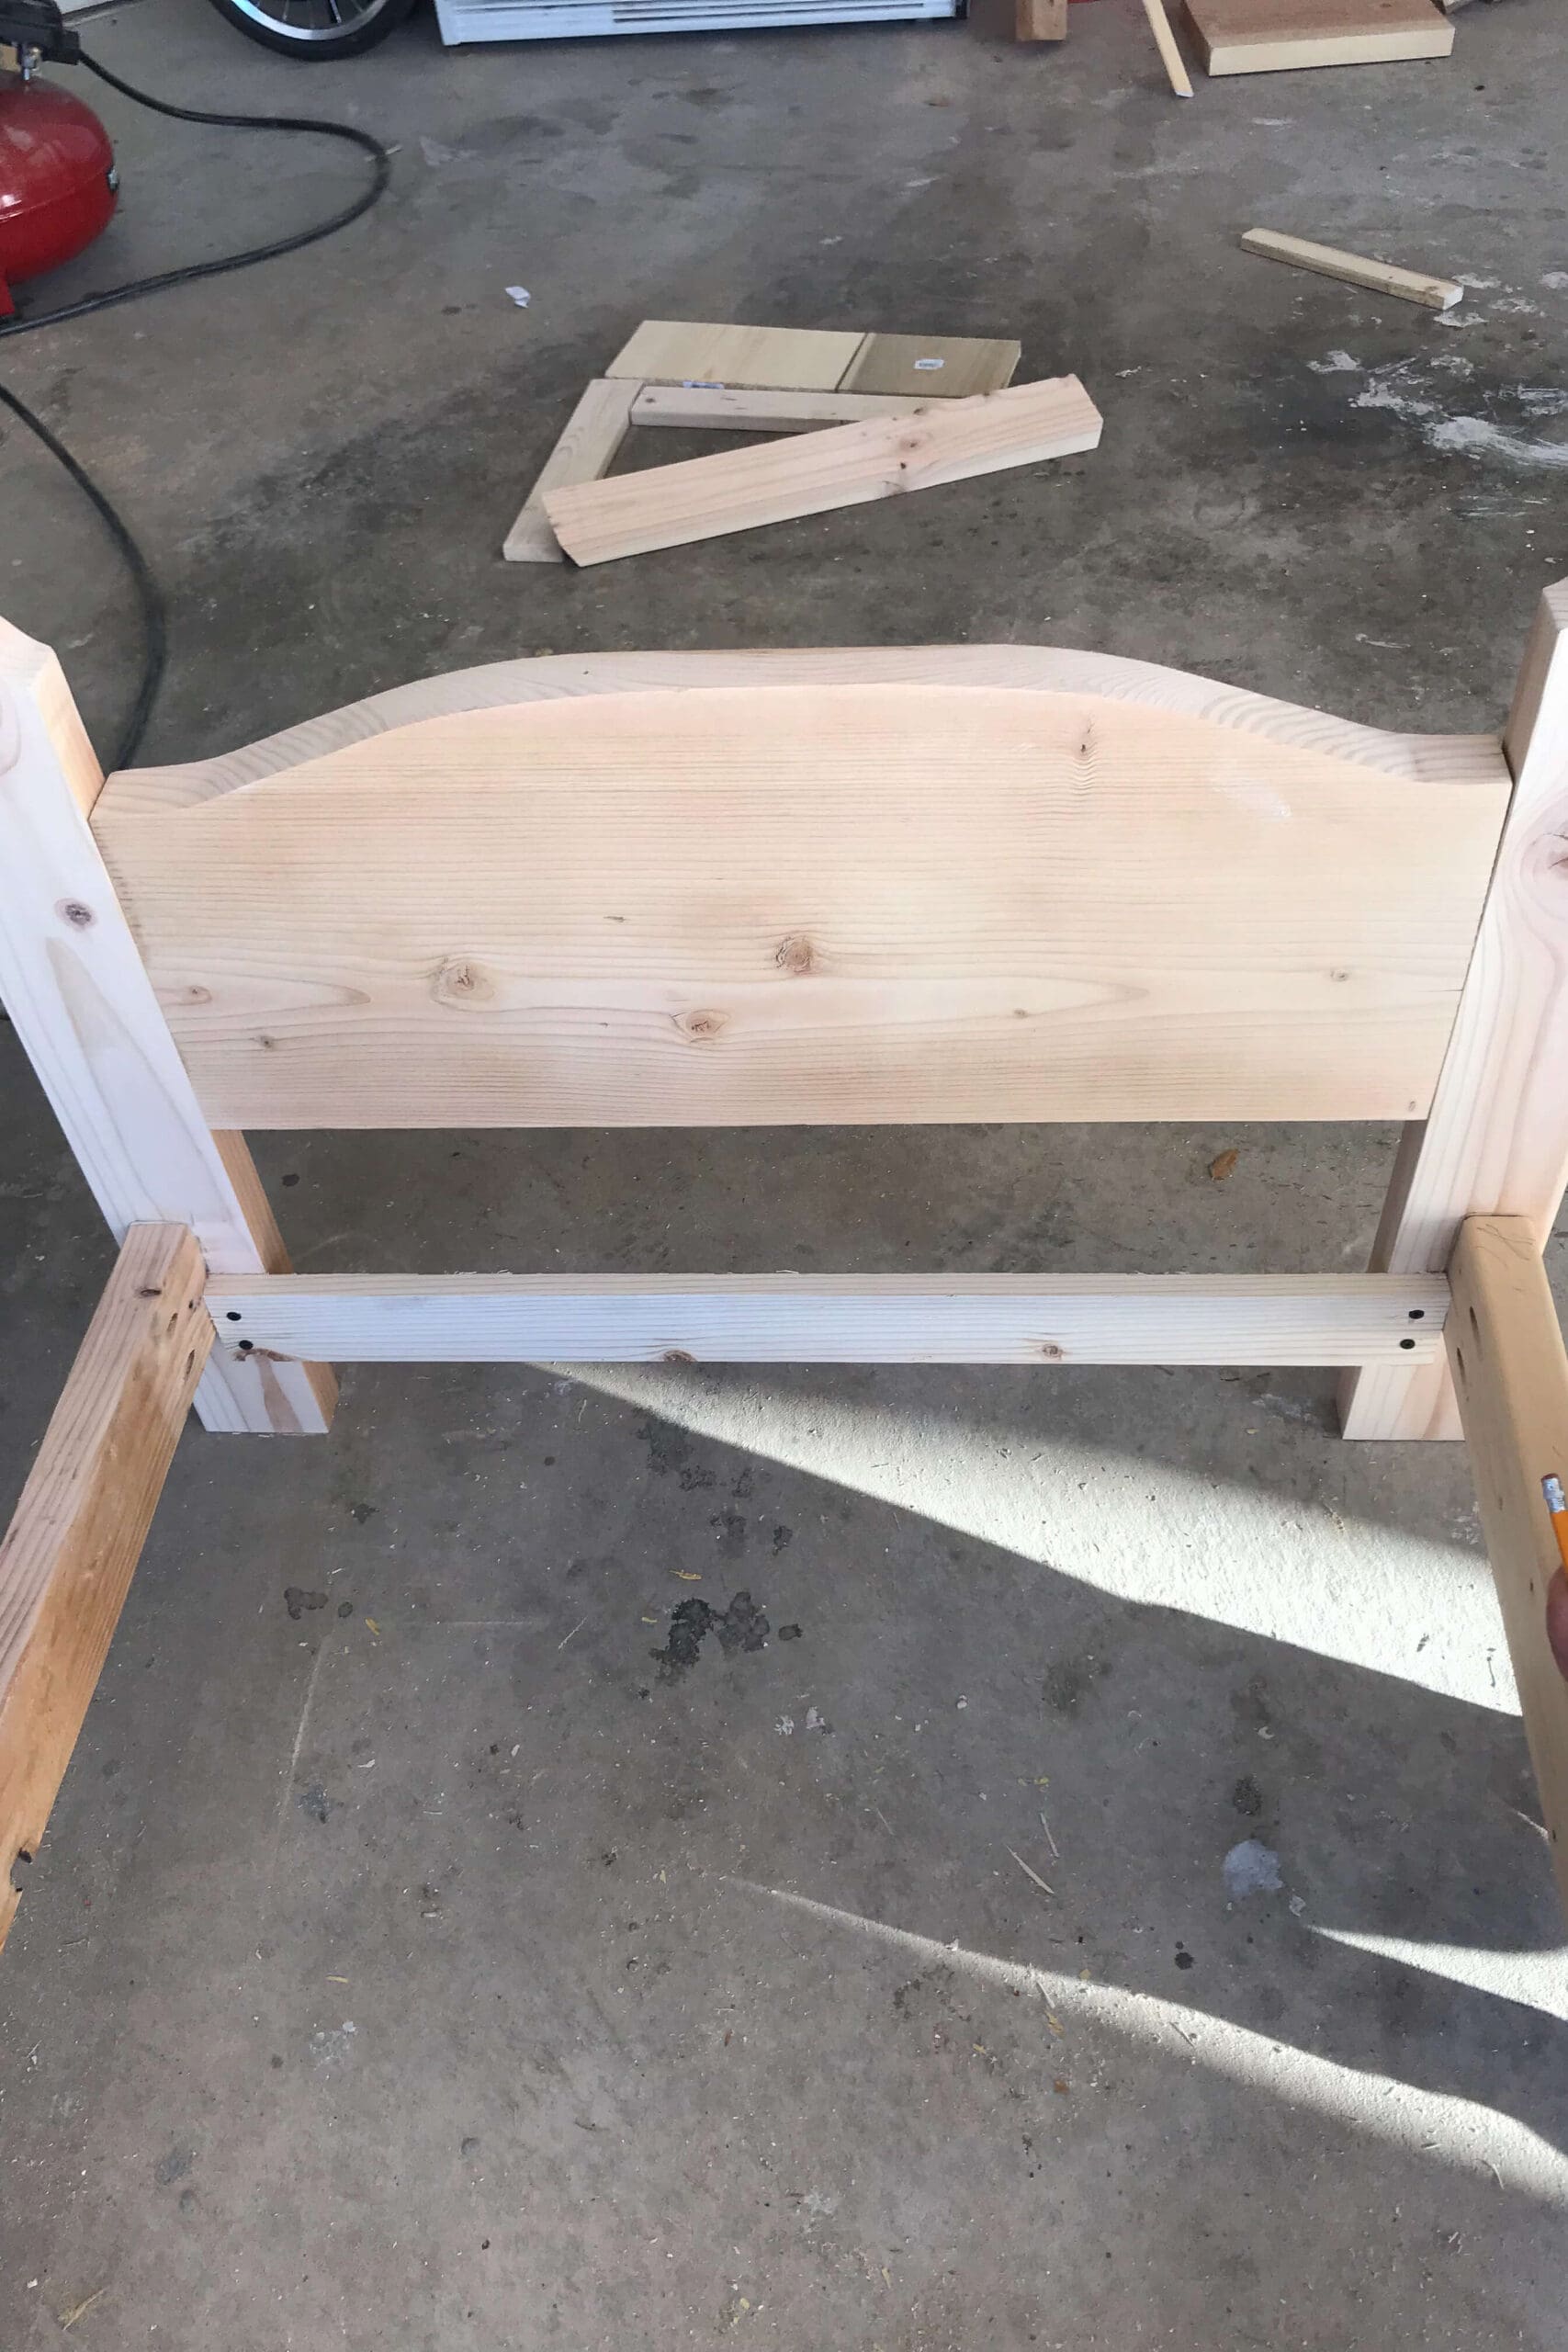
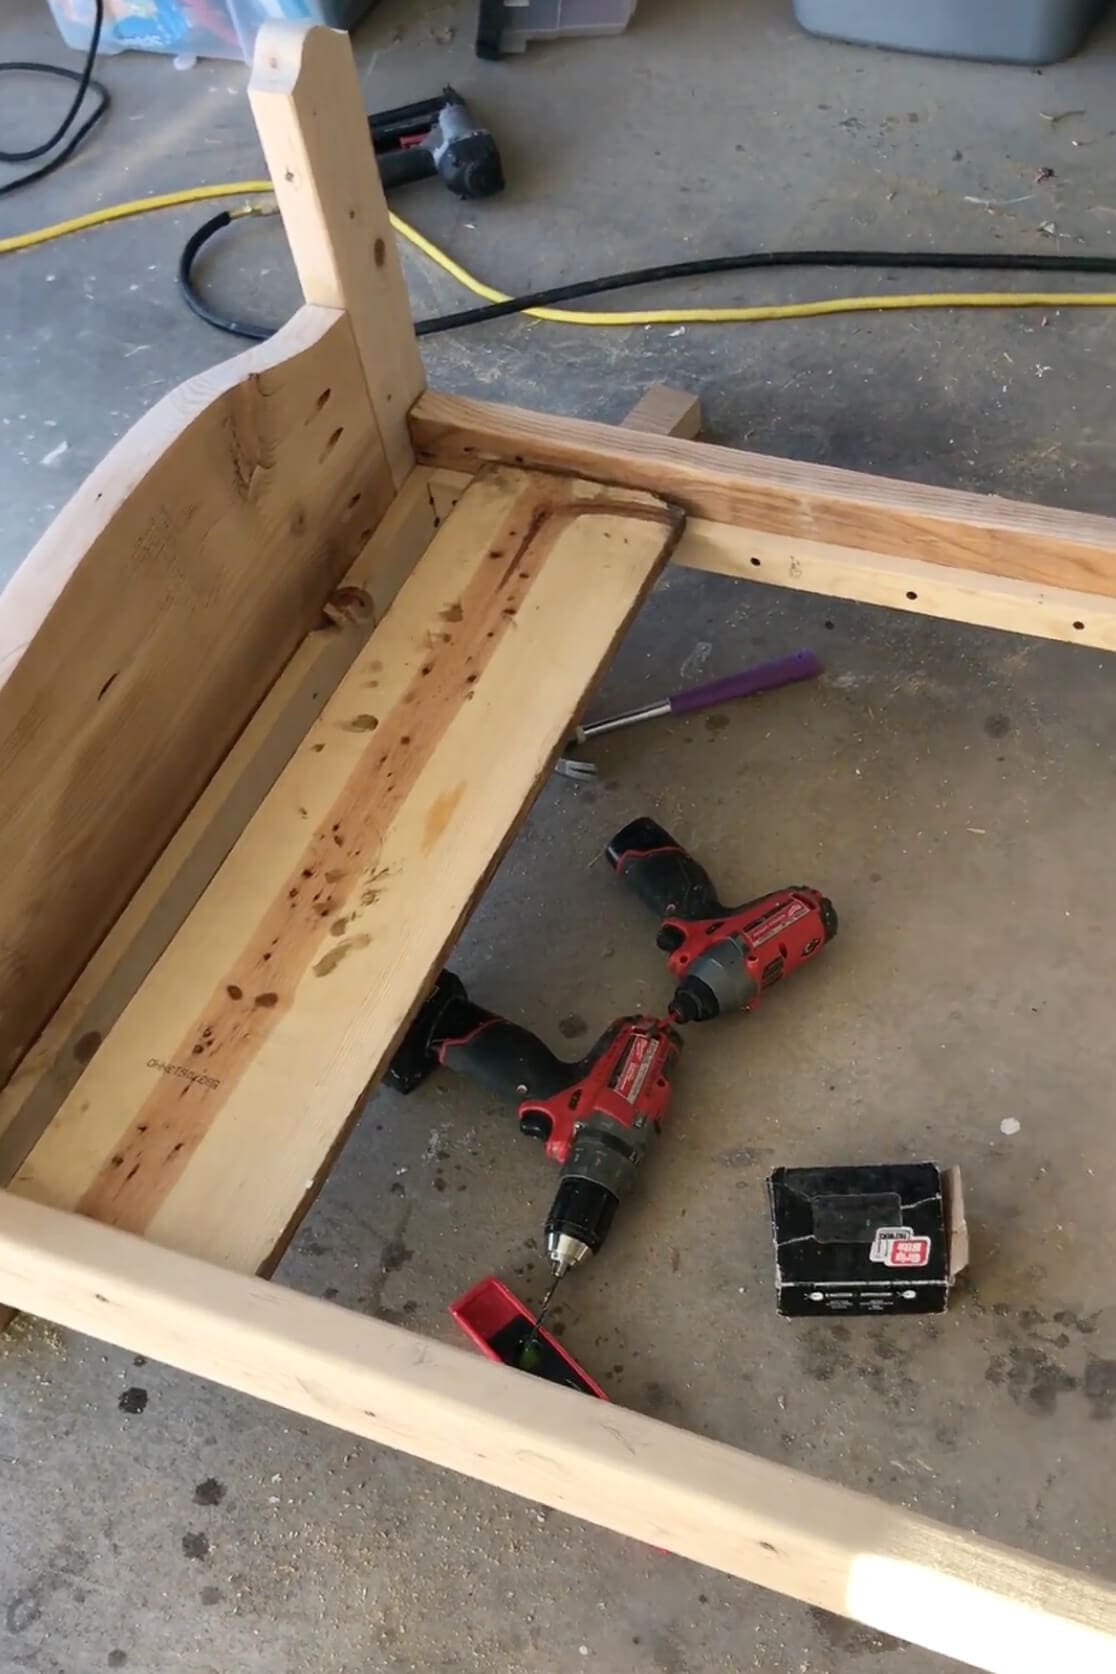
Step 5: Add Mattress Support
At this point, it’s really starting to look like an actual wooden toddler bed, but we still need something to support the mattress.
First, I added bracing across both the headboard and footboard, screwing a couple of scrap 1x3s directly into the bed posts at the height I wanted the mattress to sit. Not only does this support the mattress, but it also helps square up the frame and keep my DIY toddler bed nice and sturdy.
Then I added cleats to the inside of each side rail. So I didn’t have issues with my wood splitting, I pre-drilled my holes and attached the cleats with screws, making sure they lined up with the other support pieces.
After that, I filled in the space with more scrapwood – plywood, particle board, anything I had on hand that was sturdy and at least 28″ wide to span the gap. It’s all going to be hidden under the mattress… it doesn’t have to match, it just has to be stable.
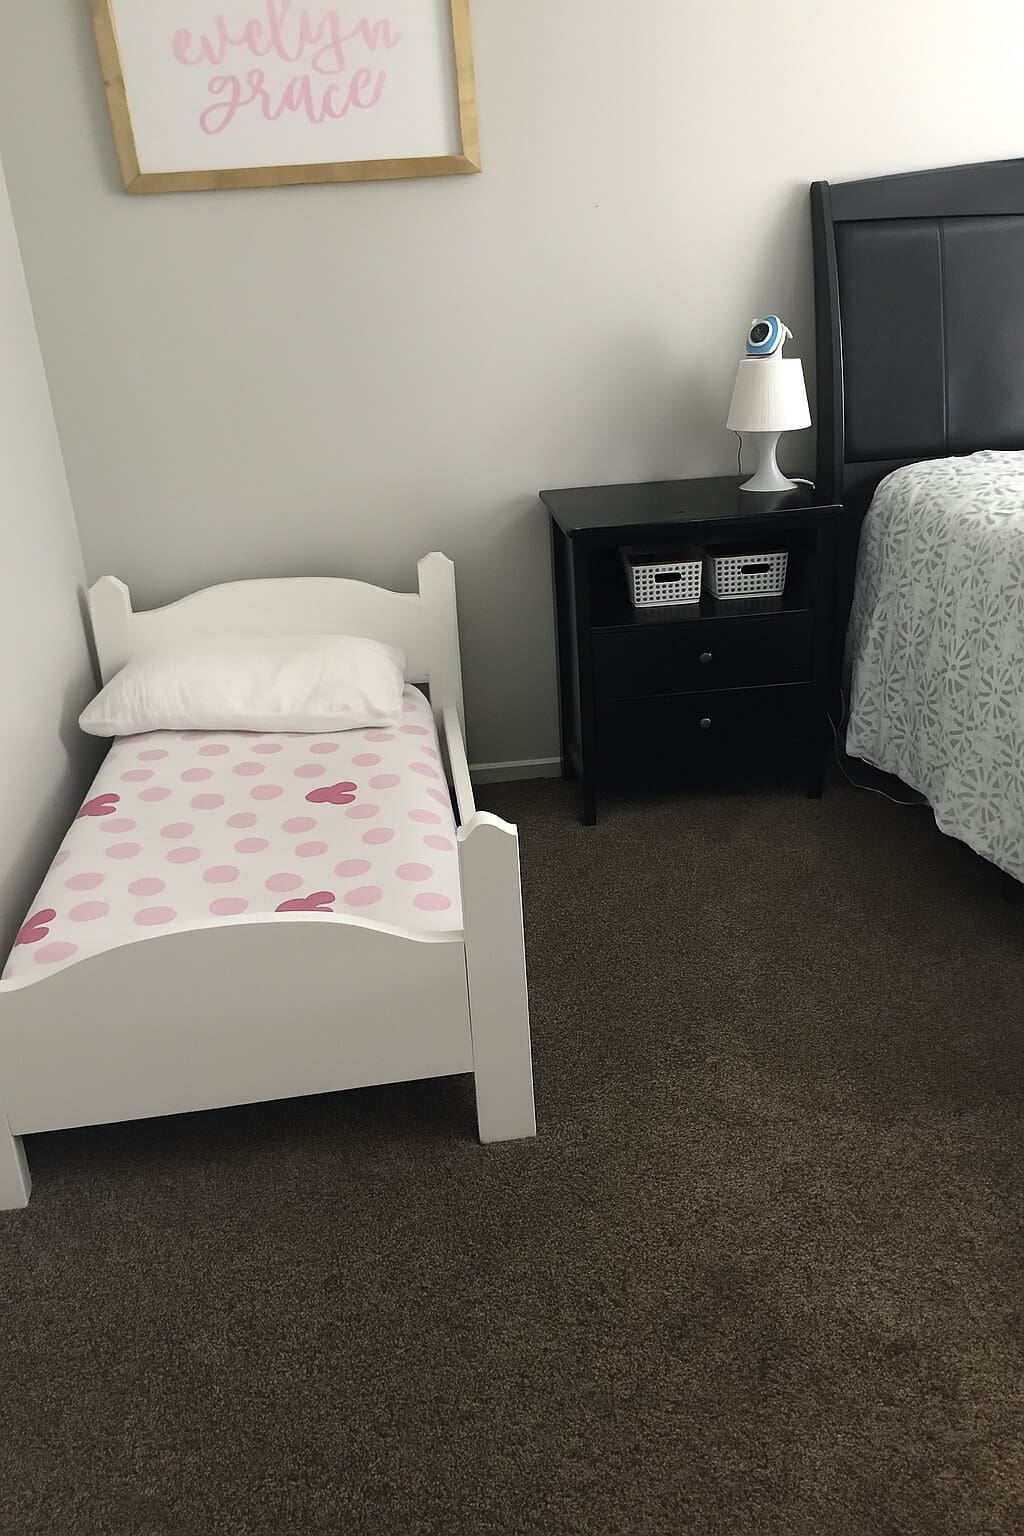
Step 6: Paint and Style
After everything was built and assembled, I added the final touch. A fresh coat of paint! And just like that – you’d never guess this DIY toddler bed came from a pile of misfit boards in my garage. If you want all the details on how I paint my furniture for a flawless finish, I have a full tutorial posted here.
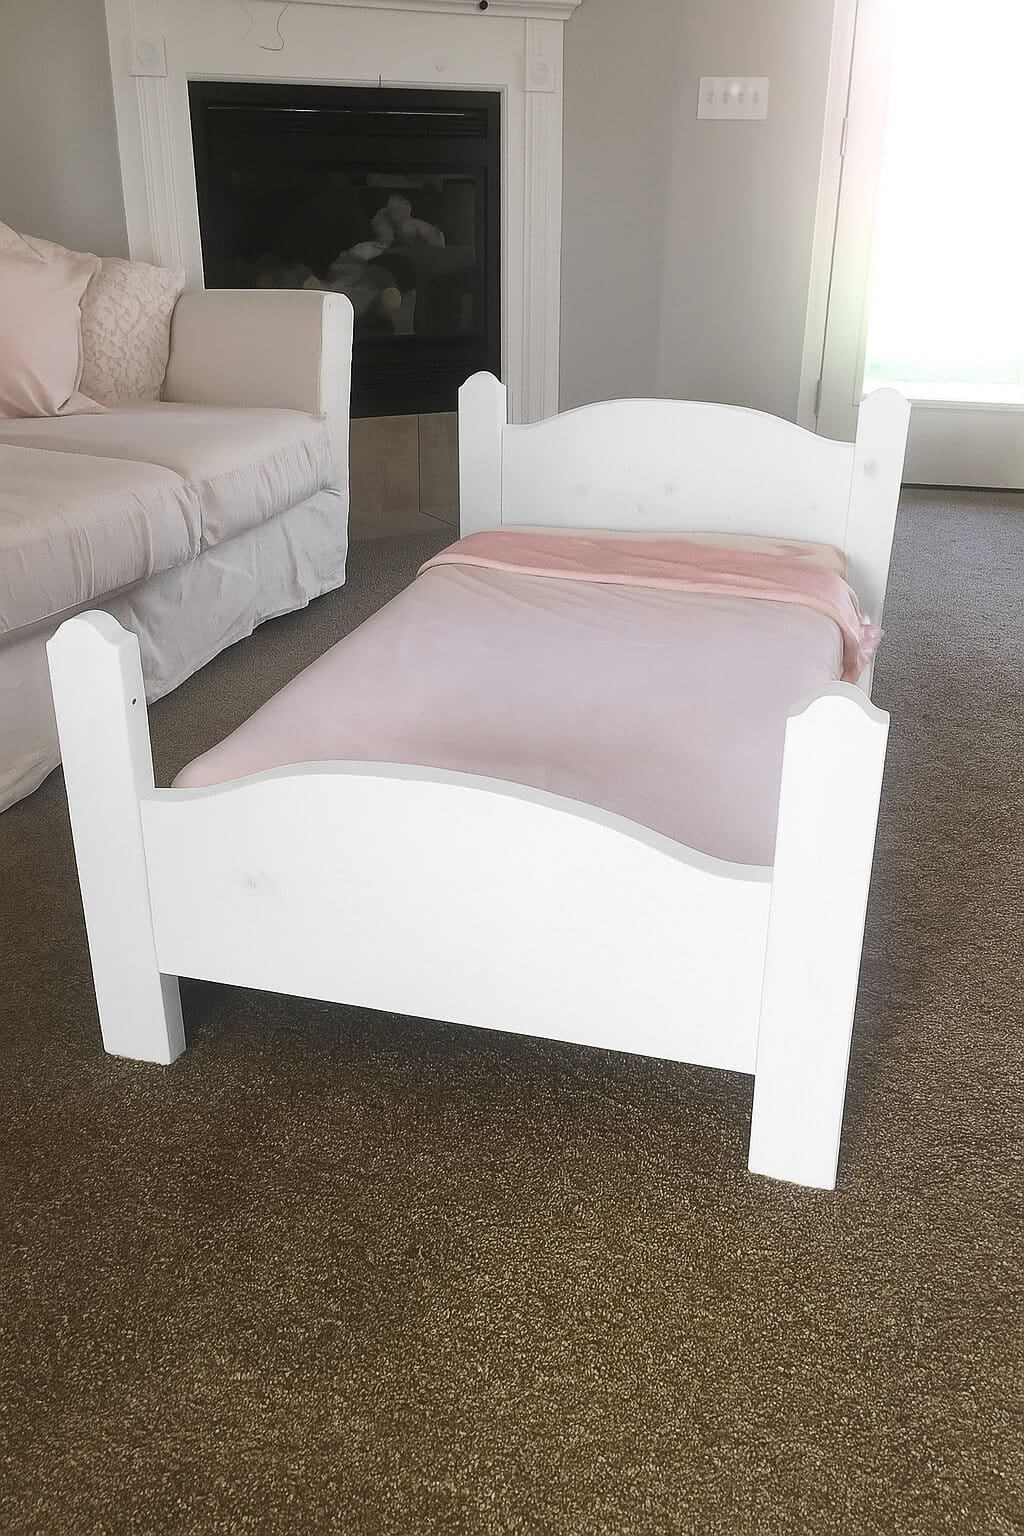
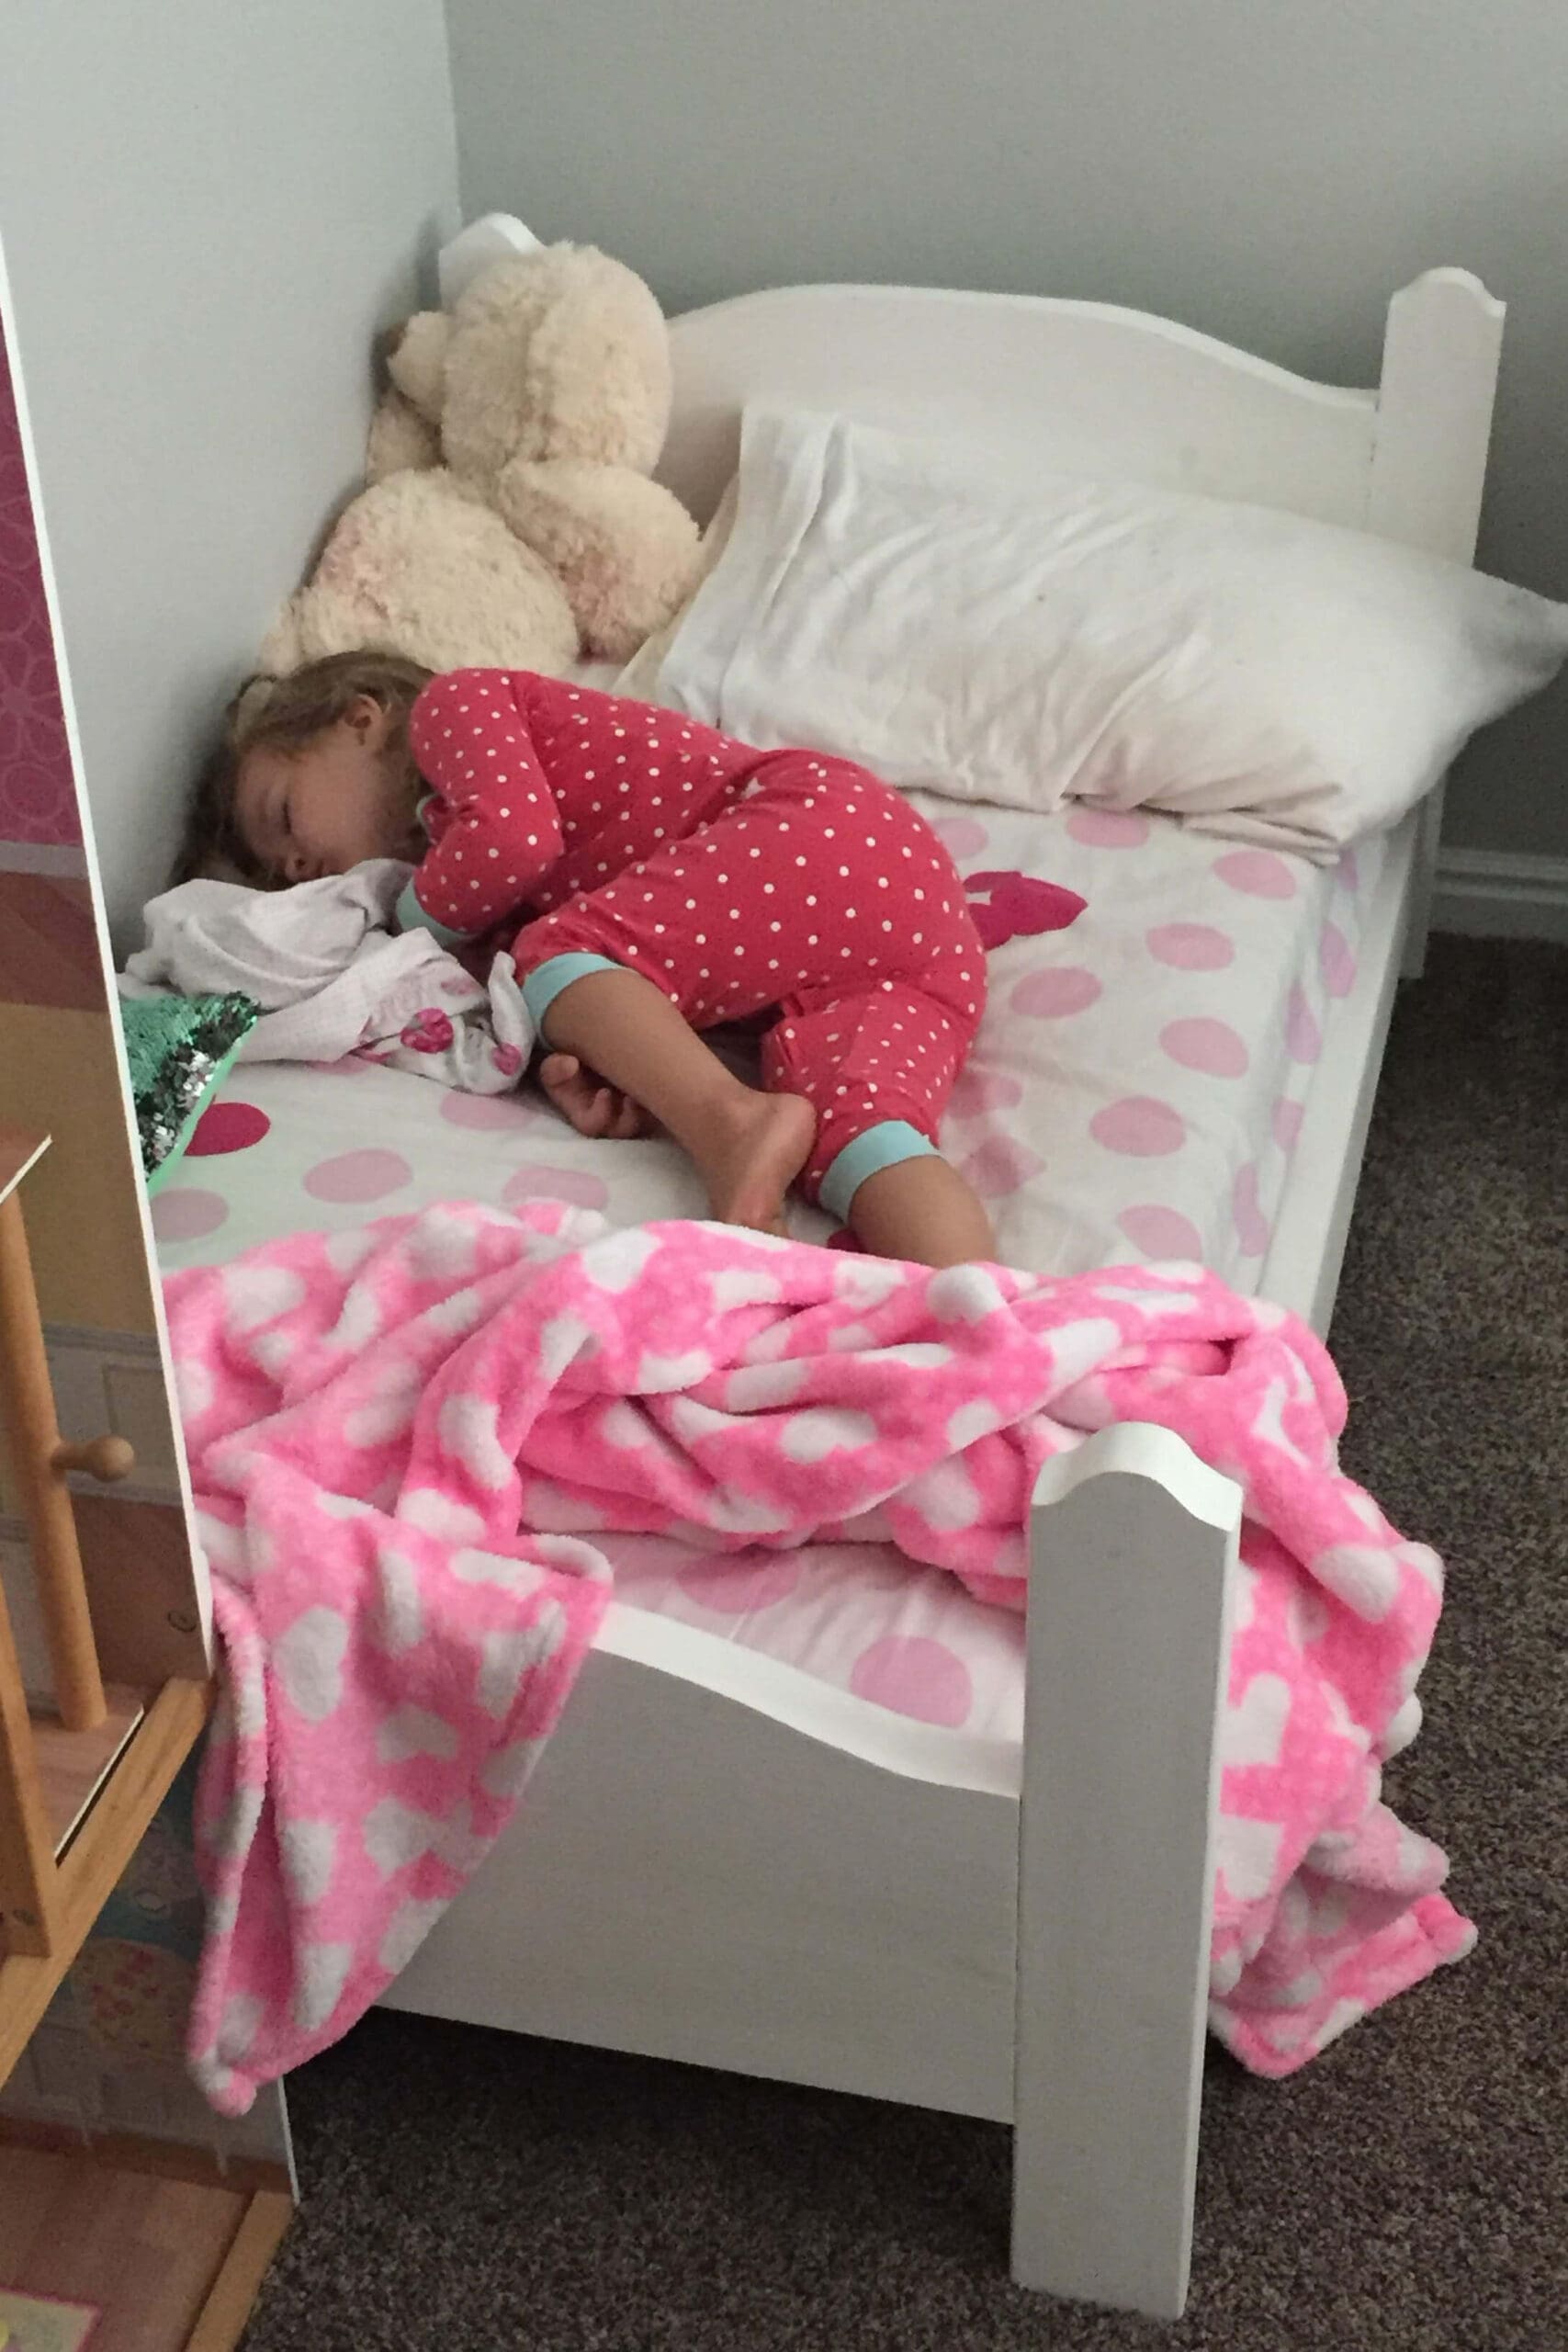
Finished Wooden Toddler Bed Reveal
This DIY toddler bed was exactly what we needed when my daughter outgrew her crib. This bed got plenty of use, and I still can’t believe how beautiful it turned out for being made entirely from scrap. A little imagination, a lot of sanding, and some DIY determination go a long way.
More DIY Furniture Projects to Try
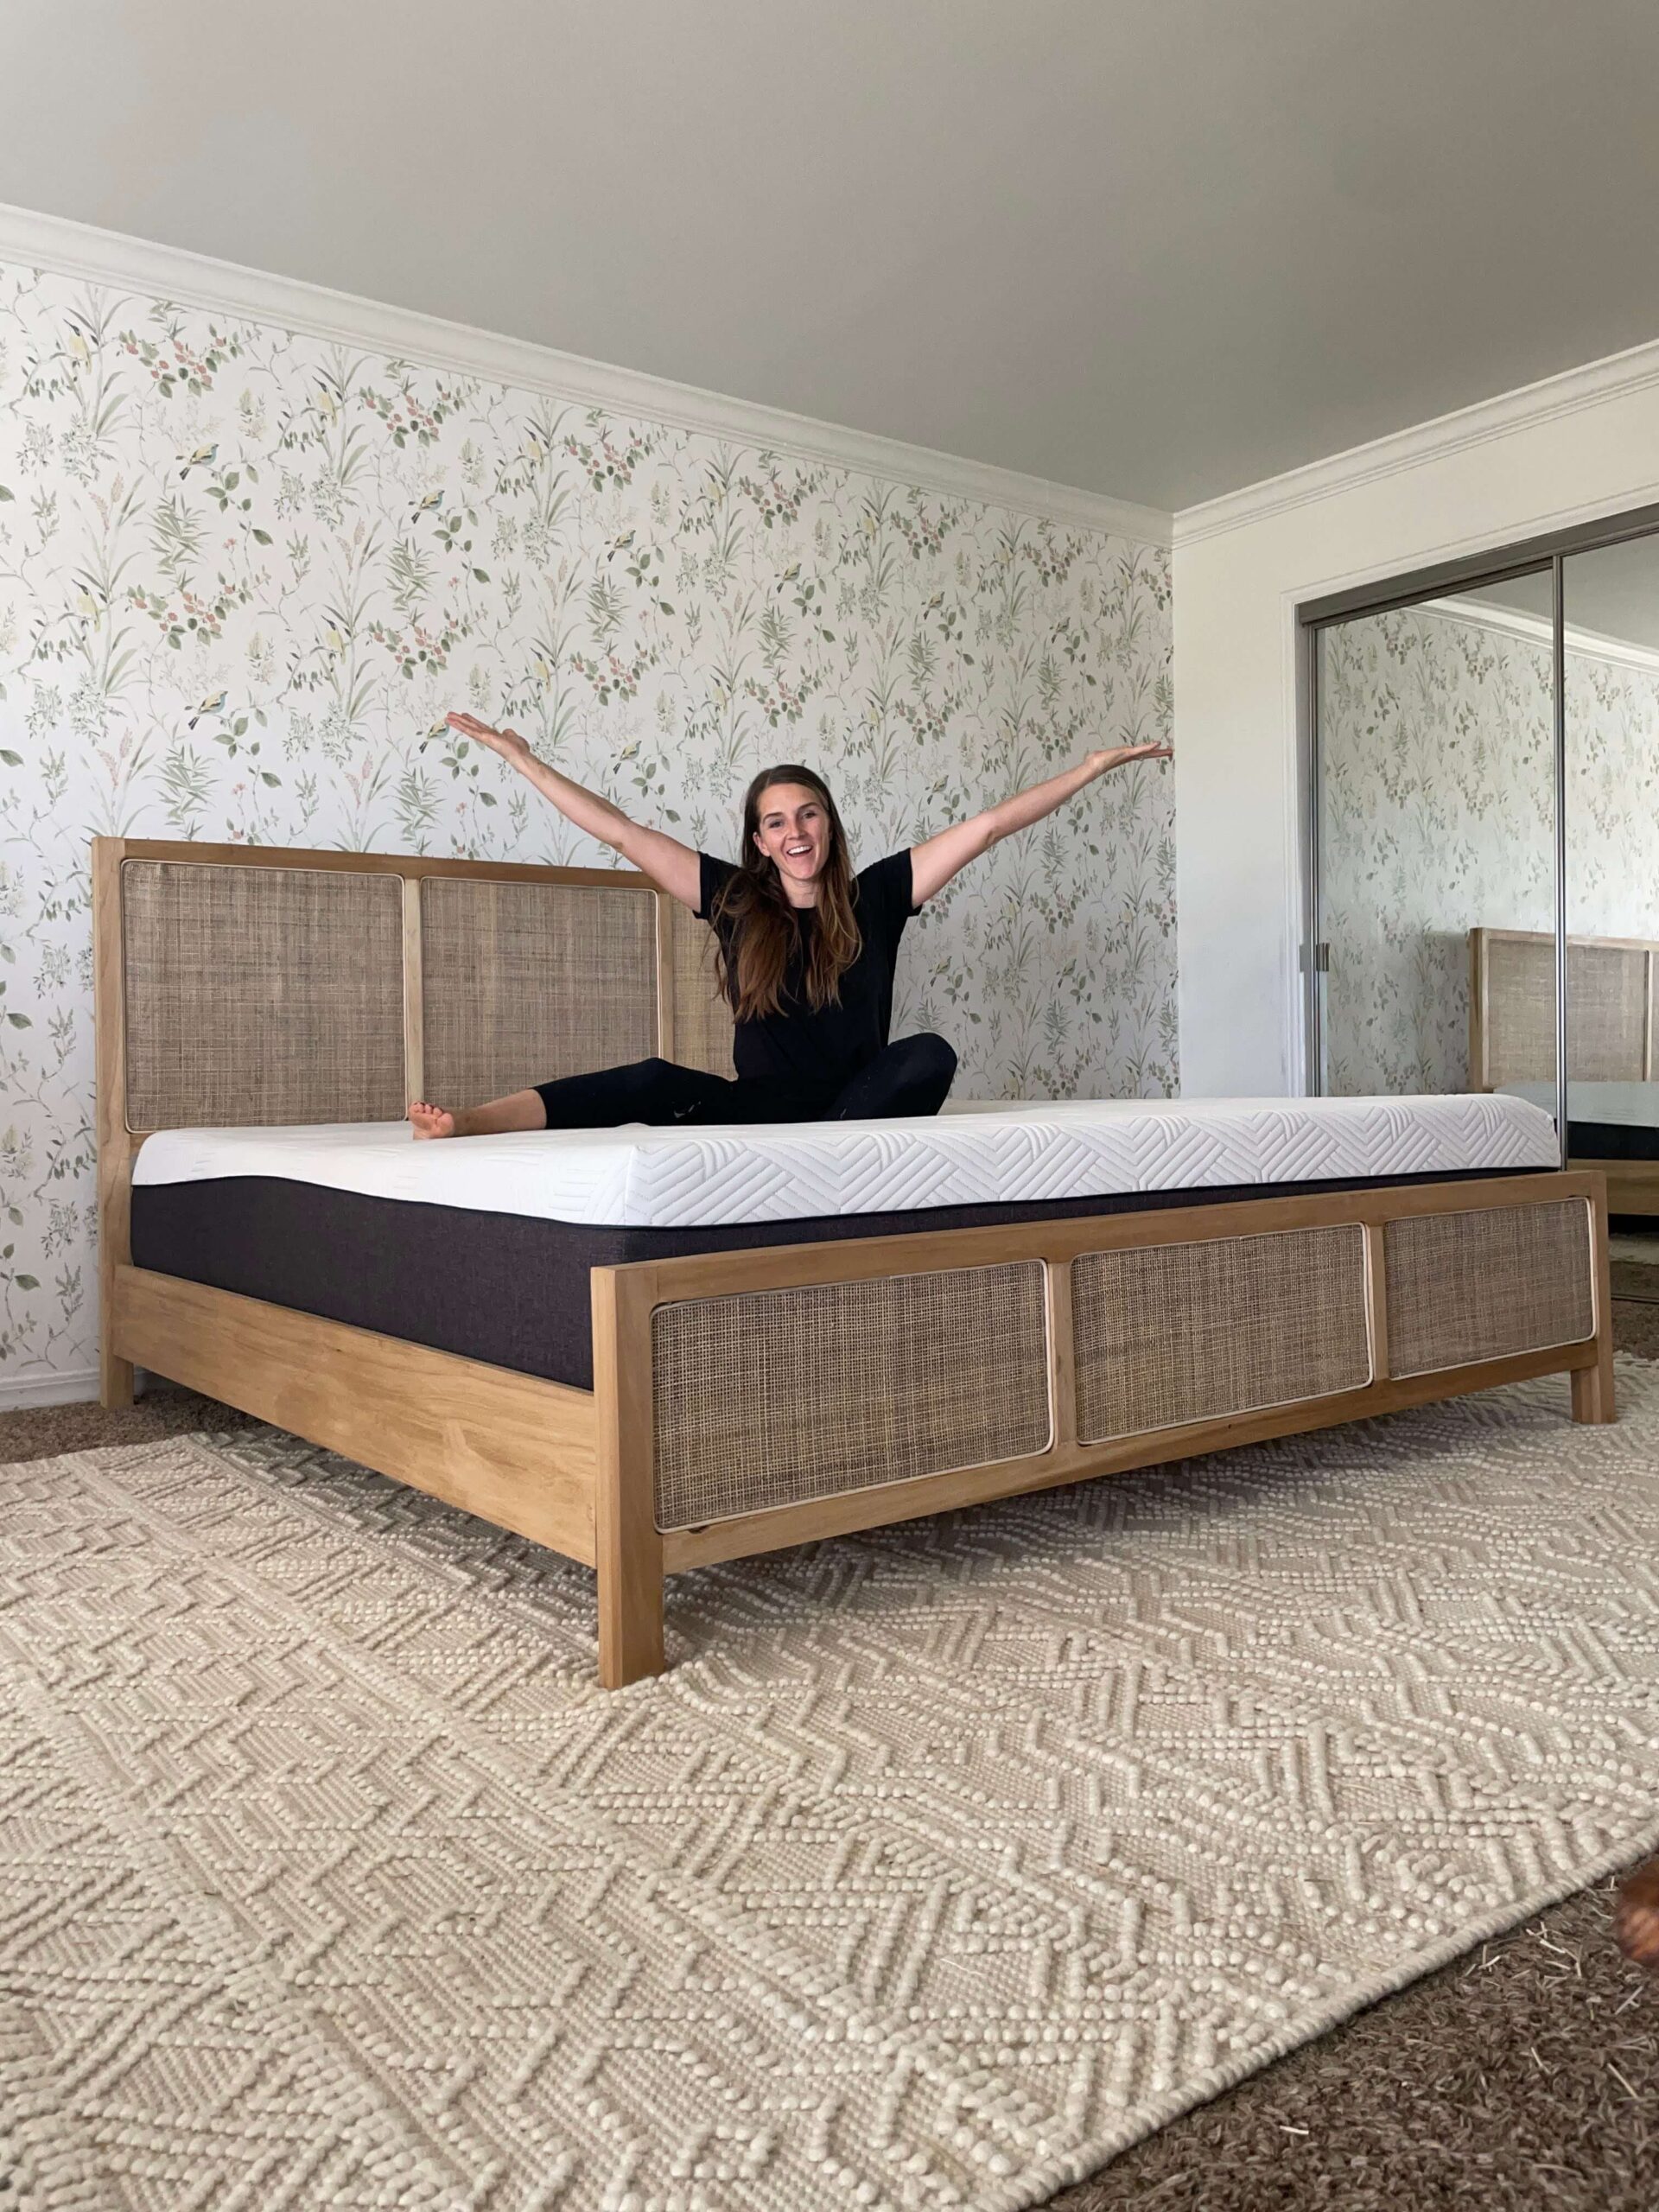
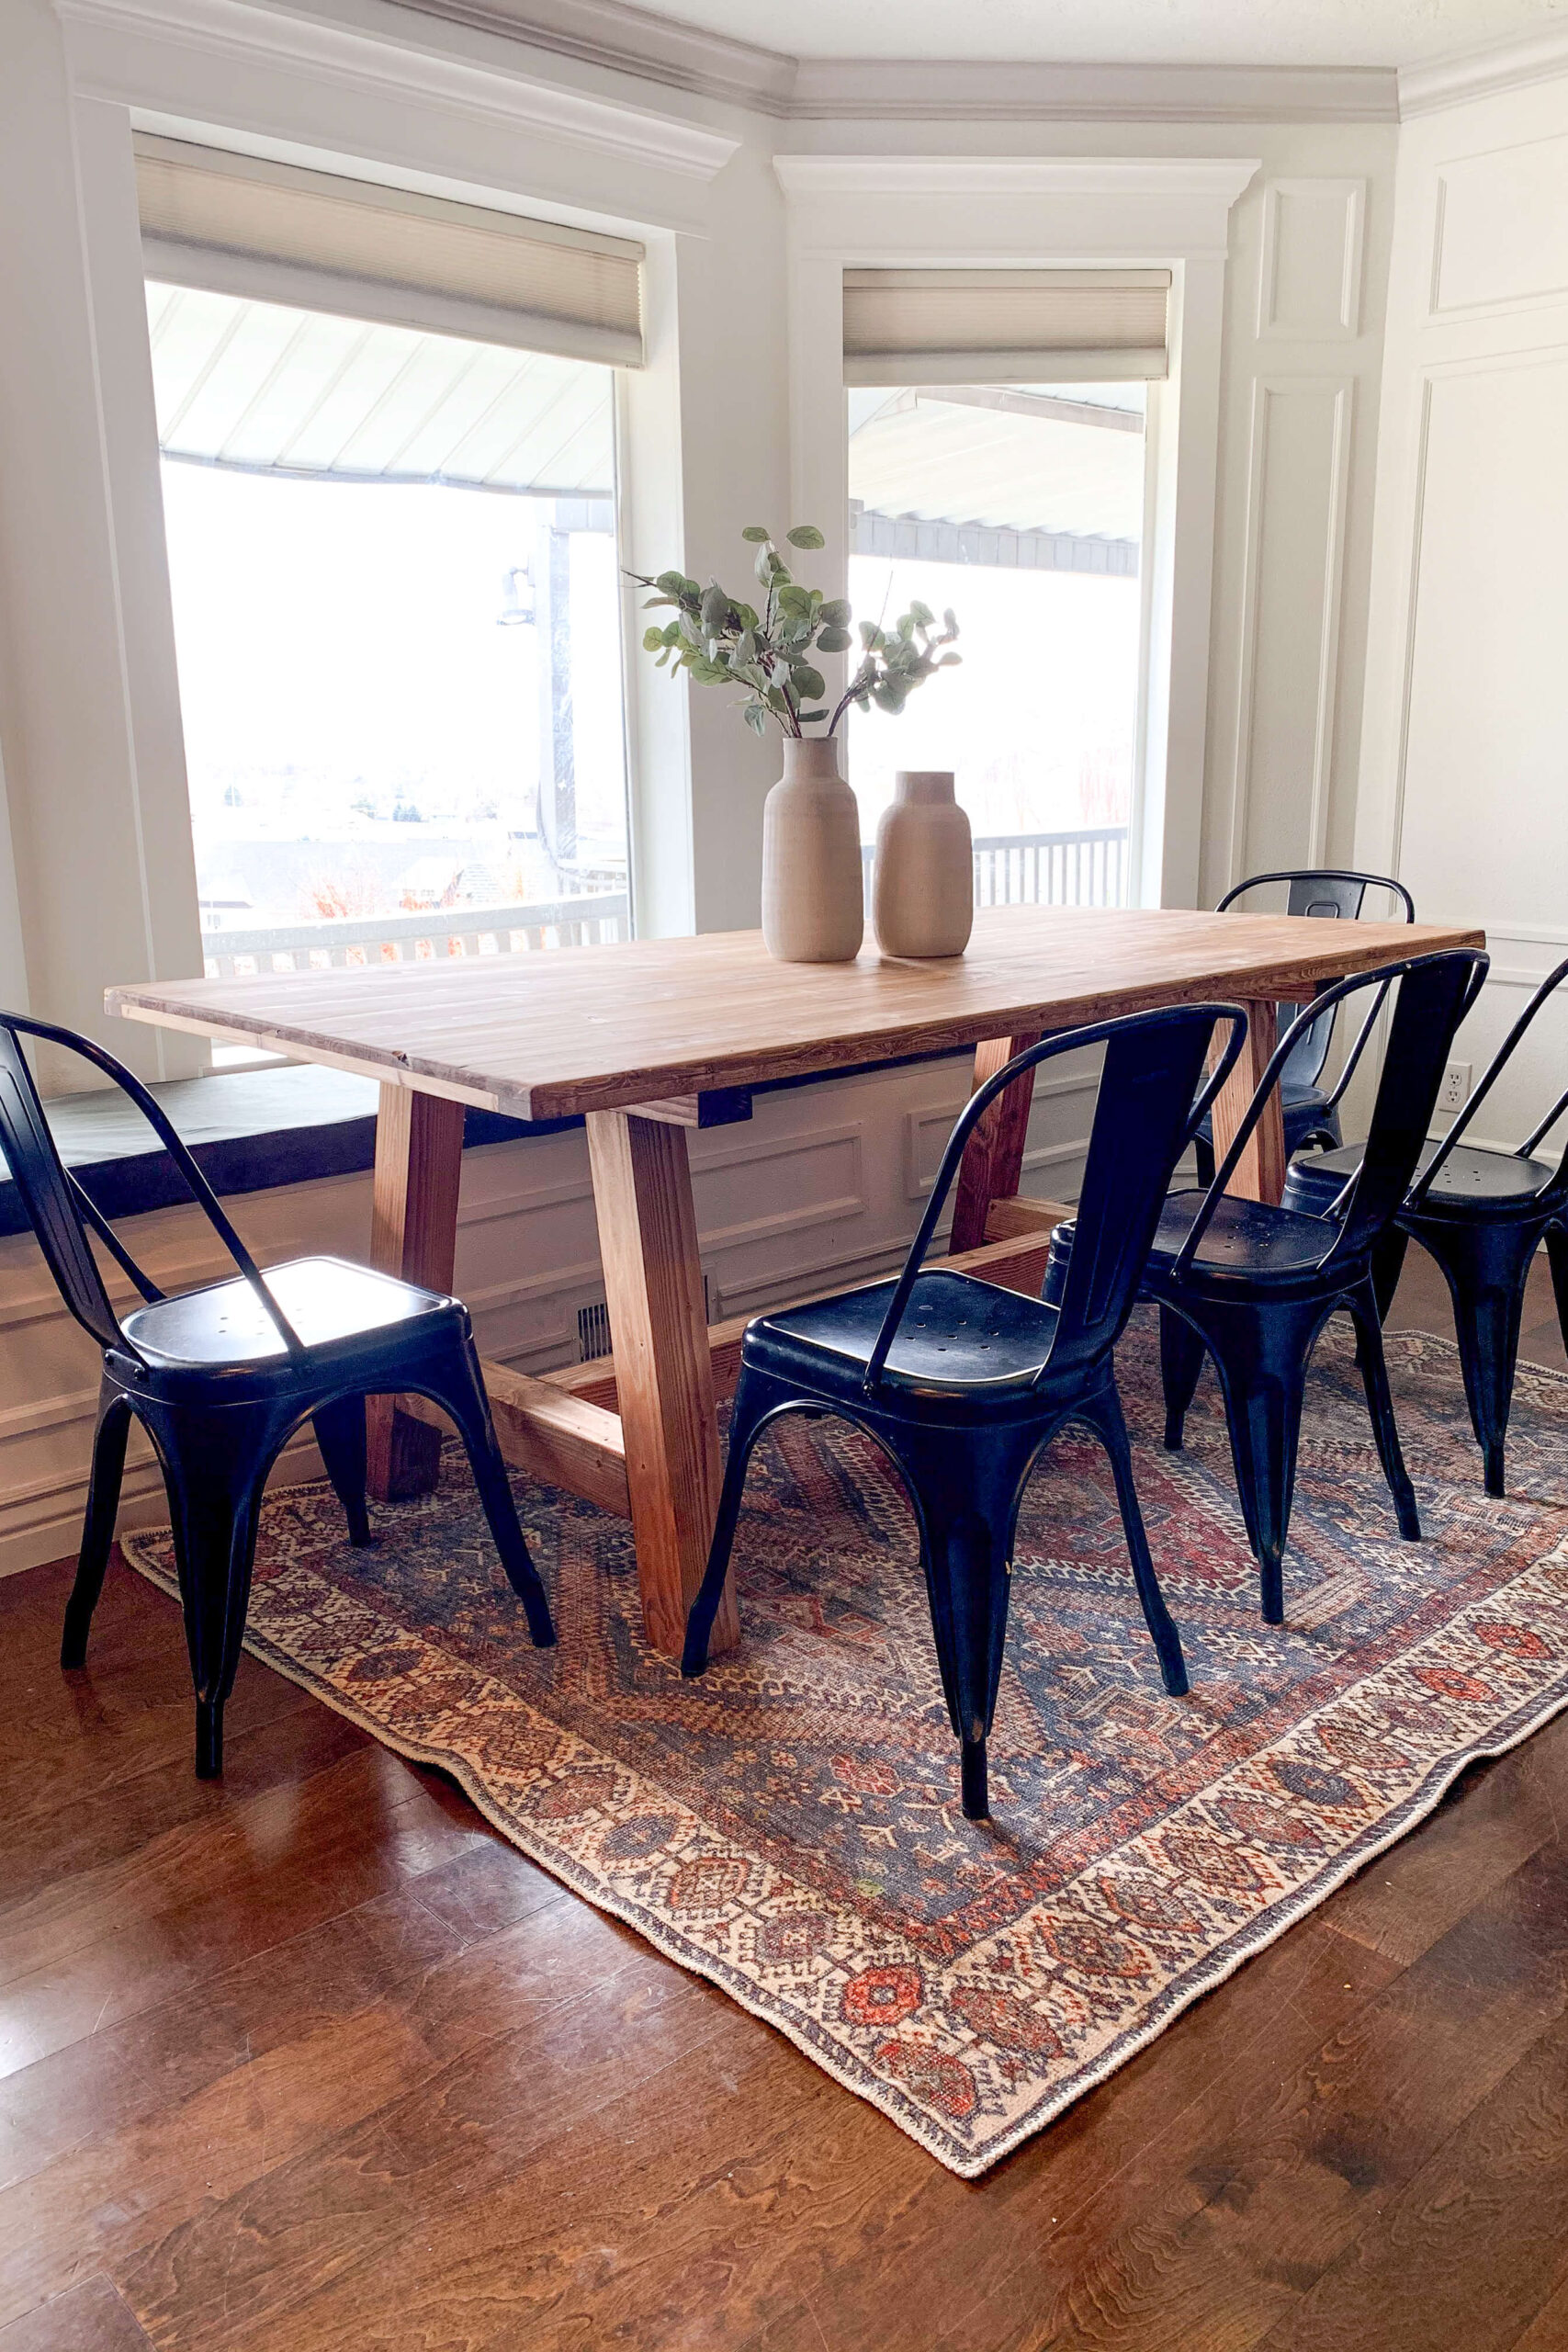
I love building furniture. It’s usually cheaper than buying, and I get exactly what I want. Custom size, style, and that satisfying “I made this” feeling. Are you looking for more DIY furniture inspo? Check out the custom cane bed I built here, and all the details for my dining table project can be found here.
📌 Pin This DIY Toddler Bed for Later
FAQ: Building a DIY Toddler Bed
Absolutely. While I used leftover boards from my scrap pile, this project works just as well with store-bought lumber. Just be sure to pick straight boards and sand everything down for a smooth finish.
Yes! With proper assembly and sturdy joinery (like pocket holes and support cleats), this bed is built to last. My daughter used hers daily and it held up great over time.
This project took me one weekend from start to finish, including building, sanding, and painting. If you’re new to DIY, plan for a little extra time—especially if you’re customizing the design like I did.
I built this bed to fit a standard crib mattress (28″ x 52″). Be sure to measure your mattress before finalizing your cuts so everything fits just right.
