


Beautiful DIY Shiplap Backsplash


Updated July 13, 2026
A shiplap backsplash can elevate your kitchen’s style without draining your wallet! This post is a step-by-step guide to adding this budget-friendly DIY project to your home. Discover how simple it is to achieve a charming and customized look while being affordable.
Over the years, I have done several kitchen backsplashes using various materials, including the go-to tile backsplash. I have even made a faux marble backsplash using the same method for epoxy countertops, just mounting it to the wall. But I had yet to tackle a shiplap backsplash.
Tools
- Tape measure
- Small roller
- Contour gauge
- Laser level
- Table saw
- Miter saw
- Jig saw
- Screwdriver or Phillips bit
- Brad nailer
Materials
Painting the Shiplap Backsplash
You will save yourself so much work if you paint your shiplap before you install it. The way shiplap is designed with the overlapping joints makes it much easier to get paint down into the grooves when you paint the pieces separately prior to installation. You will probably still have to do a little touch-up painting at the end, but it’s so much less work than trying to paint down in those tight grooves and joints after installing them.
I used pre-primed pieces of shiplap that can be easily found at your local hardware store. For paint, I used the same paint as I did when painting my cabinets. I love the Sherwin Williams Emerald Urethane Trim Enamel. It is so durable and worth the slightly higher price tag. And the color Accessible Beige is perfection. I have used it all over my house, including my master bathroom and my command center.
The small, foam rollers are perfect for getting a smooth finish on the shiplap boards. Then, I use a brush to get into the joint groove. You may have to do a little back and forth between the brush and the roller to get a good, clean finish.


After two coats of paint, we were ready to install this shiplap backsplash in my kitchen.
How High Should My Shiplap Backsplash Be?
How high your shiplap backsplash goes is entirely up to your personal preference. Some backsplashes are only a few inches tall, while others opt to extend their backsplash to the ceiling. Aesthetically, I thought mine would look the best ending just as the straight portion of this opening was ending and the archway was starting.
Once I had settled on a height for my shiplap backsplash, I used a laser level to set that height all around my entire kitchen, then drew over that line with a pencil for a more permanent guide. I will be capping my shiplap with another piece of trim on top but I didn’t want it to add any additional height. Using a pencil, I traced where the trim would fall and now knew how high I needed the pieces of shiplap to be to make my backsplash.


How to Install a Shiplap Backsplash
Most of my kitchen was going to be easy cuts, with the shiplap backsplash sitting just between the countertop and the cabinets. But this first piece, which sits right by the arched opening to the homeschool station, was going to be a little trickier. I wanted this piece to start at my baseboard, sit flush next to the dishwasher, and wrap around the countertop and an outlet.
I started out by just measuring, and transferring those measurements to a painted piece of shiplap.


Then, for the more complicated section around the countertop, I decided to use a contour gauge.

This was a new tool to me and fun for this project. The little plastic pins adjust to whatever shape you press them against. So, I pressed them against my countertop and traced the resulting shape onto my piece of shiplap.


Once I had all of my measurements drawn, I headed out to the garage to make all my cuts.
The miter saw was perfect for quickly cutting pieces of shiplap down to the correct length. I used my table saw for the one long, vertical cut that would be sitting next to the dishwasher. Everything else was cut with the jig saw. It’s the perfect tool for small, detailed cuts with many corners like this.


Now that all those notches and corners were cut out, it was ready to install on the wall.

Before I could slide it all the way into place, I needed to unscrew these outlets.
Pro Tip: Butter knives are a great substitute for a screwdriver when you are in a pinch or don’t feel like walking back out to the garage.


Once I had the outlets loosened I could slide the piece of shiplap right into place.
Typically outlets screw into the electrical box behind them. I wanted my outlets to sit flush on top of my shiplap backsplash. So, when I made my cut to wrap around the outlet, I was careful to leave enough wood for the outlet to sit on. You also want to make sure that the hole you leave behind is small enough to be covered by a wall plate. It wouldn’t have turned out so nicely if I had made the cut any larger.


Now that my first piece of shiplap was in place, I attached it to the wall using my brad nailer.
The nails that are on the lip of the joint on the right side of this piece will never be seen as they will be overlapped and covered by the next piece of shiplap. That is one of the cool parts of shiplap.
For this very first piece, I also wanted to do a few nails on the left side of the board, just to make sure that it stays put. These small brad nails are easy to cover up with Bondo or wood filler and then paint to touch up.


After that first piece of shiplap is on, it goes pretty quickly. Simply continue to work your way down the wall measuring for height, cutting out around outlets, windows, etc. where needed, and attaching it to the wall with the brad nailer on the right hand, joint side.
If I needed to add a nail on the left side I tried to place it either at the top, where the nail would be covered by my cap trim or hidden from view by the cabinet, or I could add a nail near the bottom where it will be covered by a small shoe molding.

Installing a Shiplap Backsplash in the Corner
When installing the pieces of shiplap along your wall, you may eventually run into a corner where you cannot fit an entire piece. When this happens, simply use your table saw to cut a piece of shiplap down to fit into the gap. Then, use the rest of the cut piece to start off your next wall, putting the cut side into the corner.


When you start the second wall it’s a good idea to use a laser level to make sure that your first piece is straight. Once you have that first piece attached nice and straight, the rest of the pieces will fall in line perfectly.


Adding a Cap Piece
As I said earlier, I wanted to trim my backsplash with a cap piece. I am using some thicker PVC trim than the shiplap pieces, and I’ll cut out a channel for it to overlap the top of the shiplap backsplash, giving it a clean, finished edge.
First, I adjusted my table saw blade to the height that I needed the channel to be. I just used the shiplap and traced a line to know how thick the channel should be. I adjusted the fence on my table saw to help me perfectly line up my piece of trim with the table saw blade, then ran the piece of PVC trim straight through.


Now it looks like this. You can see I have a nice, long cut running through my piece of trim, but I have to get the rest of the channel cut out and opened up.

I lowered my table saw blade to the height of the piece of PVC trim I needed to cut from the channel, adjusted the fence to the proper width, and then simply ran the piece of PVC trim through the saw.
Pro Tip: A scrap piece of wood is great for pushing small things through the table saw to keep your fingers away from the blade.


It’s time to attach it. With the channel cut out, my piece of PVC trim sits perfectly on top of the shiplap backsplash. All I need to do now is add a few brad nails to set it in place. Once it is painted the same Accessible Beige as my cabinets and the rest of the shiplap backsplash, it’s going to look so good!


Adding Base Molding
The last piece I need to install for my shiplap backsplash to be complete is a small piece of molding at the base. I didn’t want that small crack at the bottom of my shiplap to become a crumb catcher, so I am sealing it off with trim. I chose a small shoe molding in a cove shape. You could also do a quarter-round style or even just a basic square trim.

Adding the small pieces of trim is very easy. I measured and cut the needed lengths, cutting 45° angles for any corners that would meet (another great use for the miter saw). Then I attached the trim with my brad nailer.
See how finished it is starting to look!


The trim I am using only came in 96 inch lengths, but one of my walls for my shiplap backsplash was longer than that. If you run into a section of your kitchen (or any room in your house where you are installing trim) and your wall is longer than your piece, cut your trim off at a 22.5° angle. Then when the two pieces meet, the seam disappears. It looks so much cleaner than just doing a straight, vertical cut.


Finishing Touches
The last few steps of my kitchen’s shiplap backsplash are all of those finishing touches that really bring a project together. I caulked along the trim, filled nailed holes, touched up paint where needed, and painted both the base trim and the cap I had added.
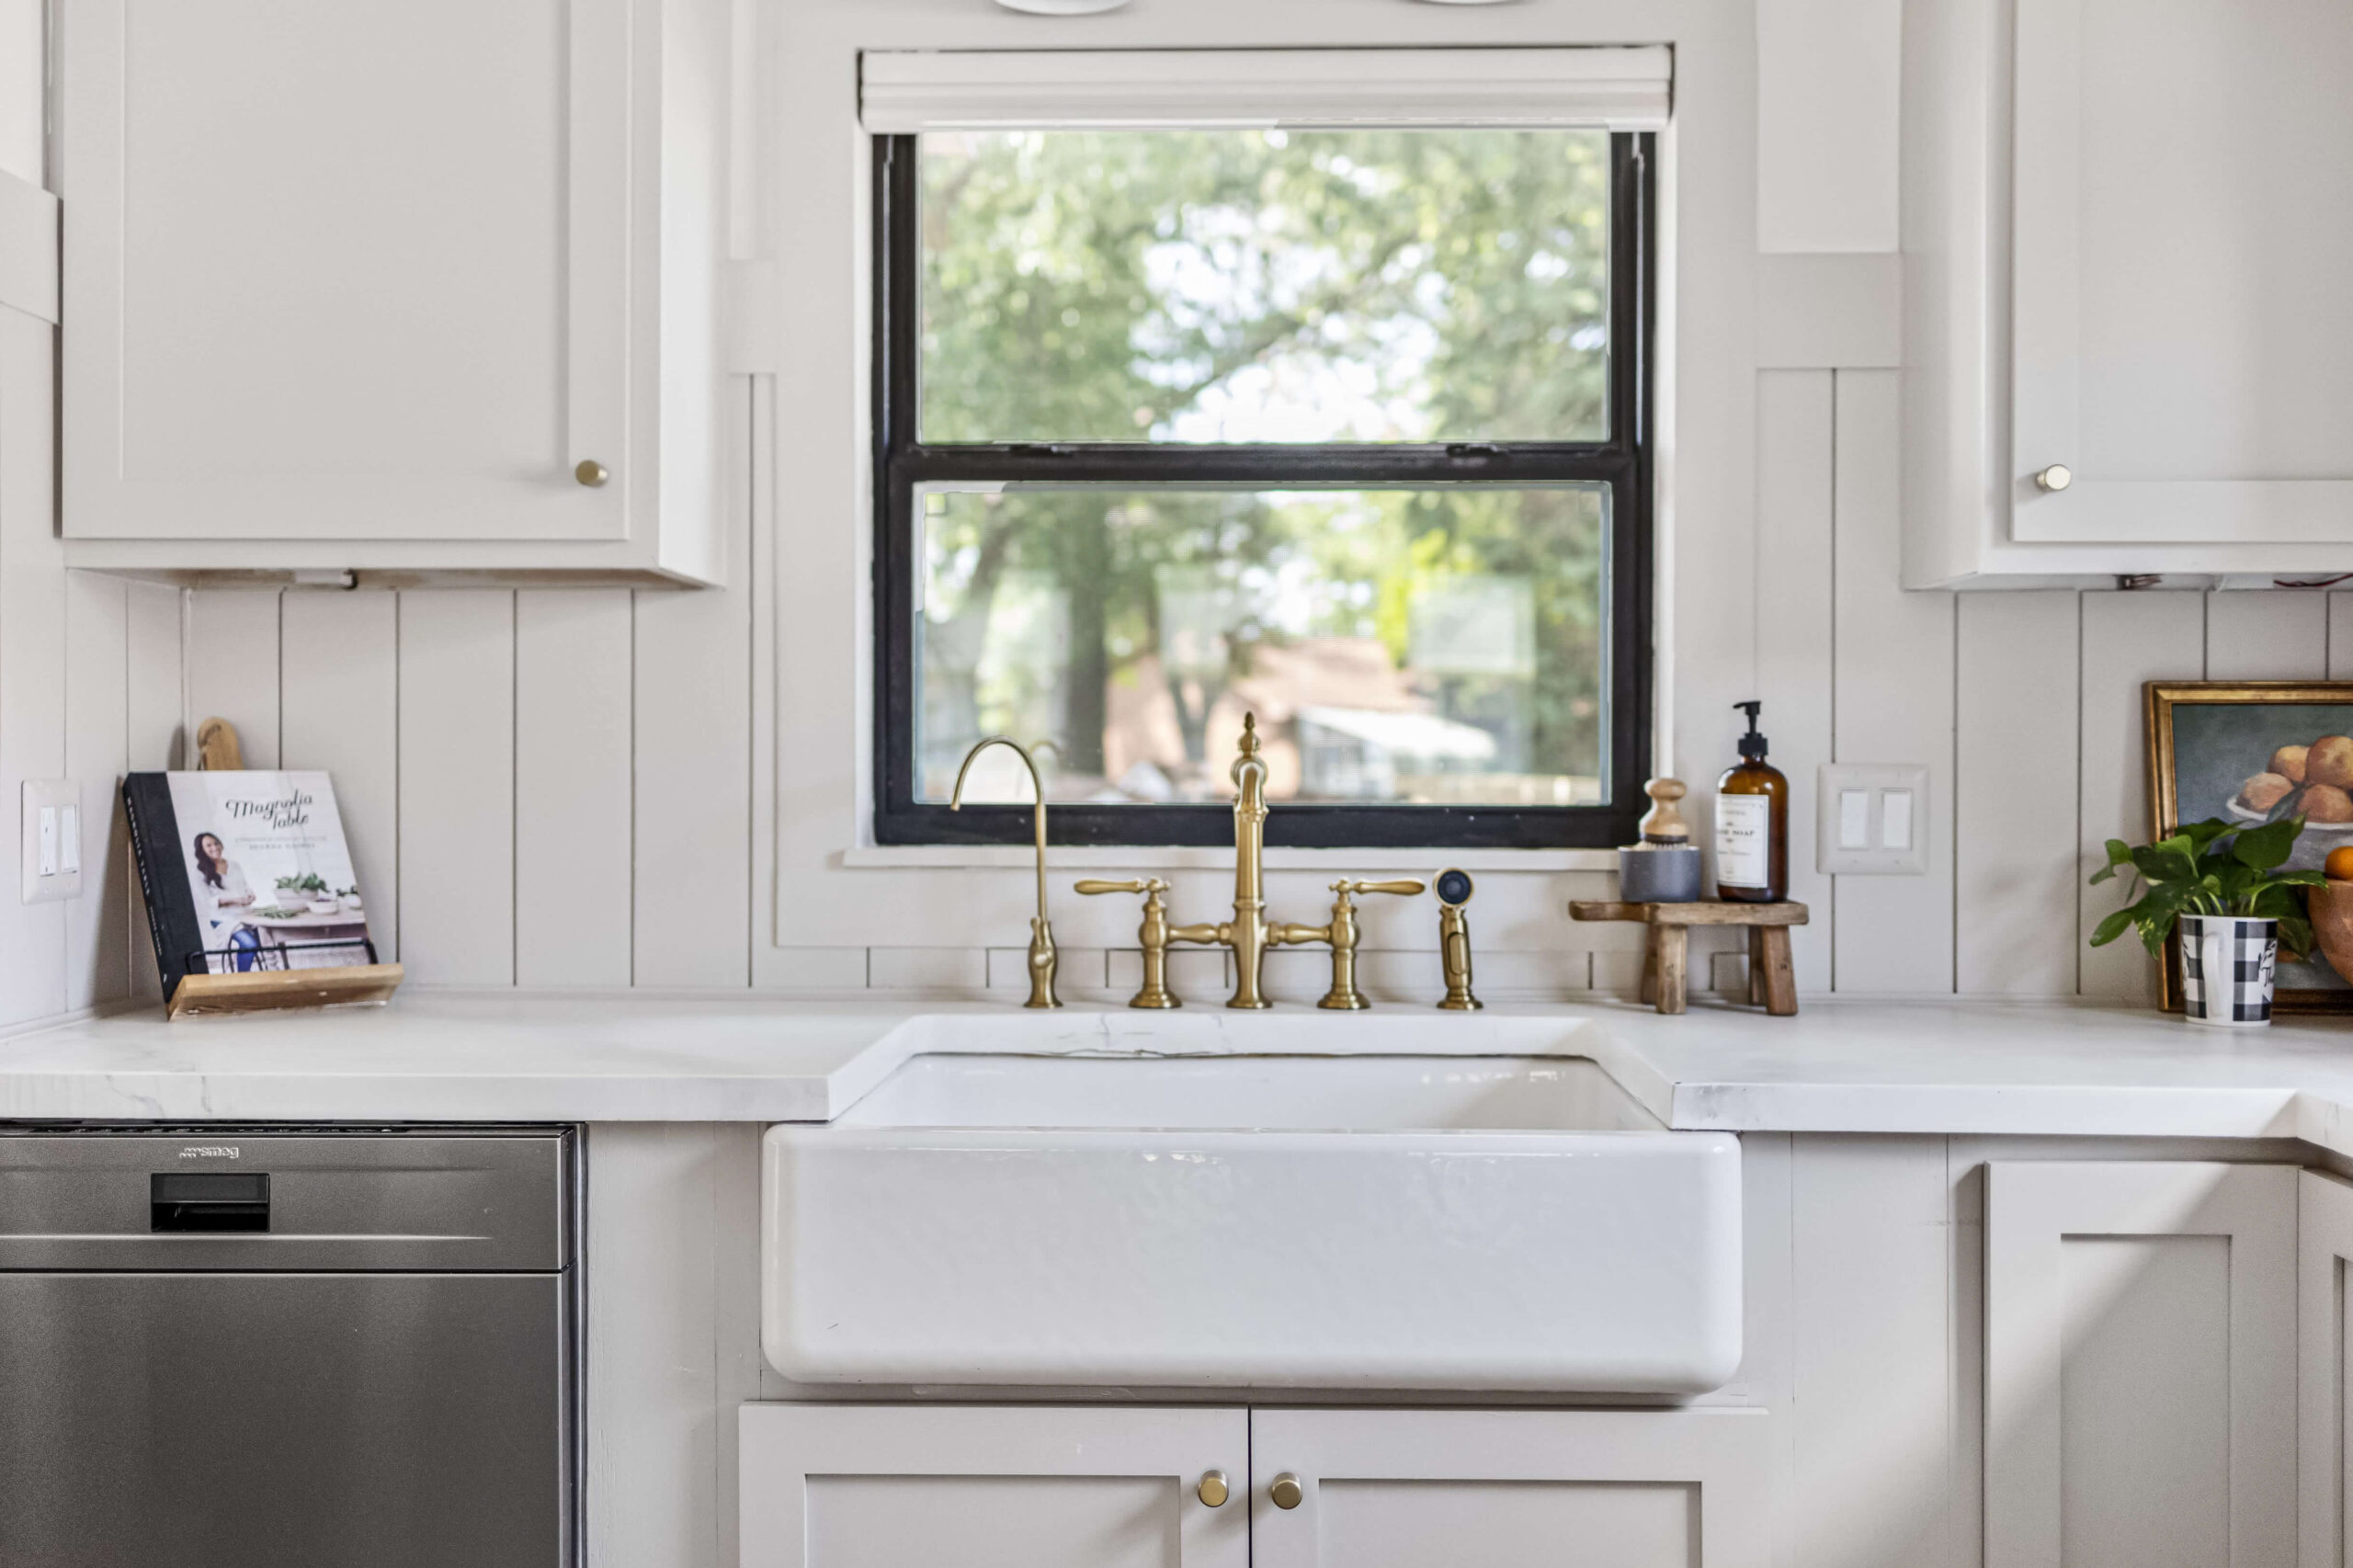
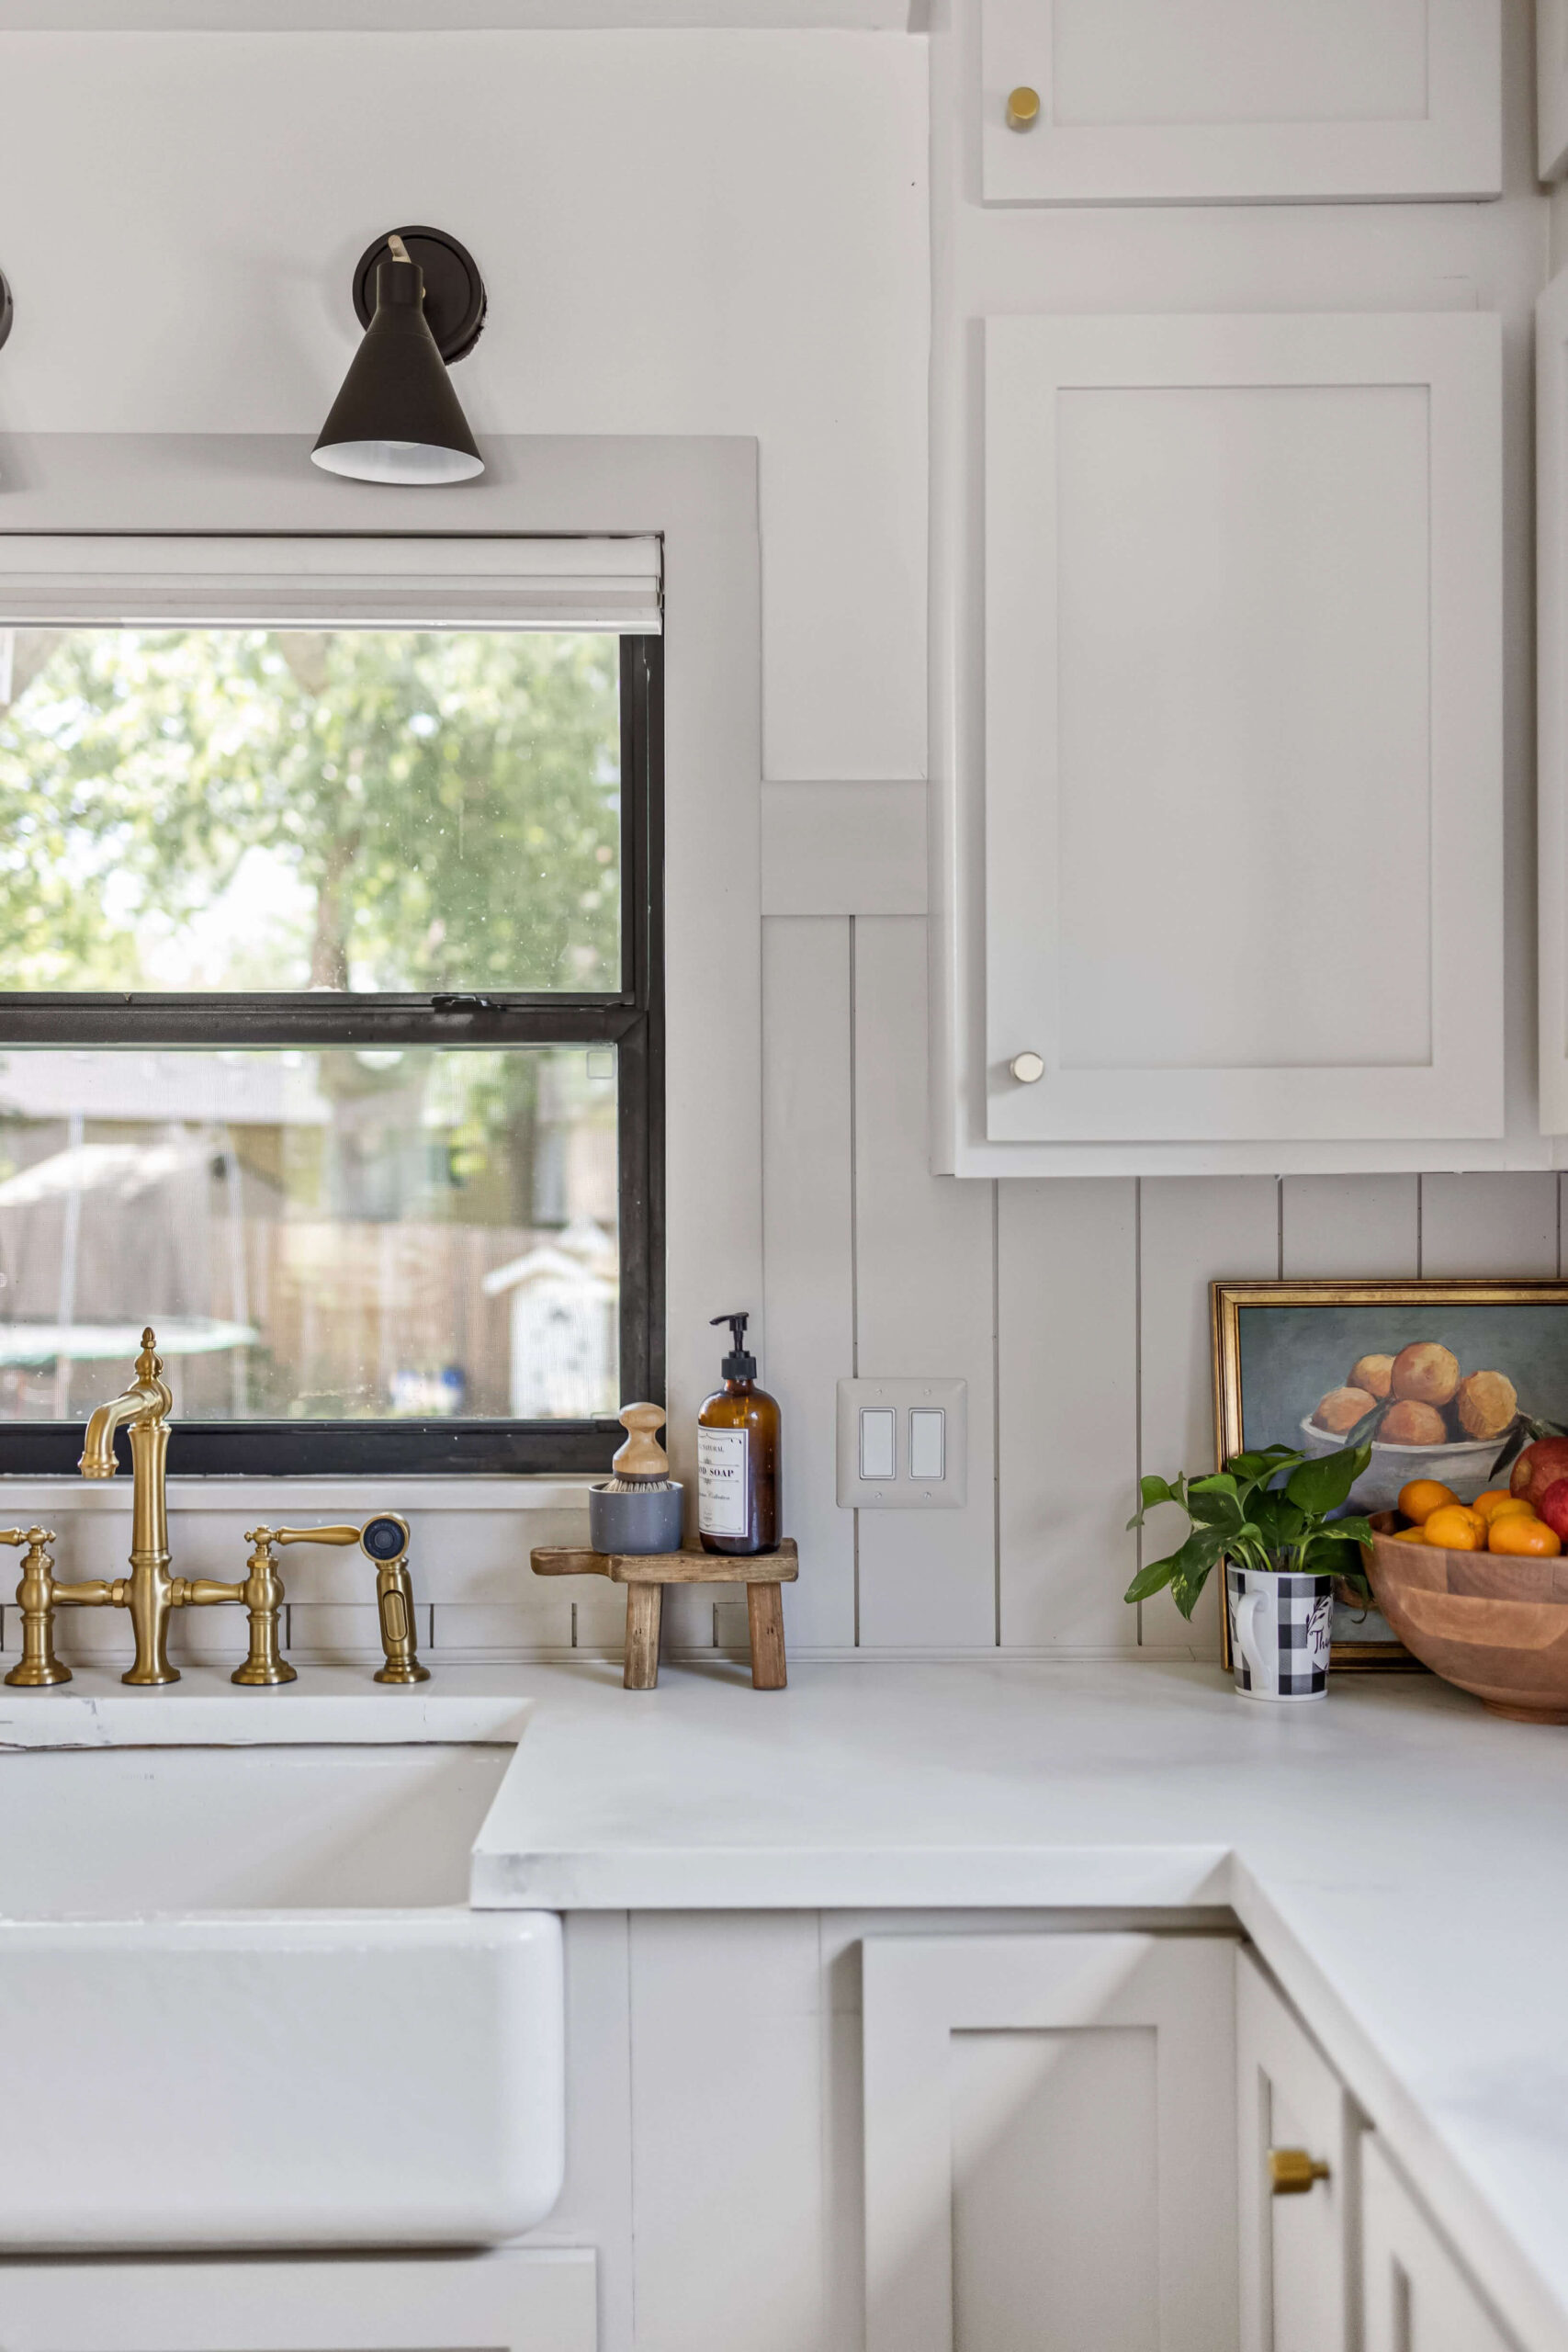
I also used these amazing paintable wall plates. They looked so good after I painted them the same color as my cabinets and my shiplap backsplash. Whether you need them for outlets, light switches, or even a mix of both, they have them. These paintable wall plates were the perfect cherry on top of my shiplap backsplash, but they are also great to use on any painted wall. I love how they make the outlets and switches almost disappear.

Frequently Asked Questions
When I was working on this project and posting about it in my Instagram stories, a couple of questions frequently came up.
One… does my dishwasher still open?
Yes, my dishwasher opens no problem. I had plenty of room for the shiplap on the wall there, and the door opens without any rubbing or anything.


Two… Am I worried about having wood for a backsplash?
Nope. It is completely painted and sealed with high quality paint. Have I mentioned how much I love the Sherwin Williams Emerald Urethane Trim Enamel? So far, my shiplap backsplash has been durable, easy to clean, and shows no signs of water damage, even behind my sink.
Overall, this is a very easy, beginner-level DIY project. Whether you are in the middle of a full kitchen remodel like I was, or your current backsplash has just seen better days, a shiplap backsplash could be the perfect way to update the style of your kitchen for a reasonable cost.
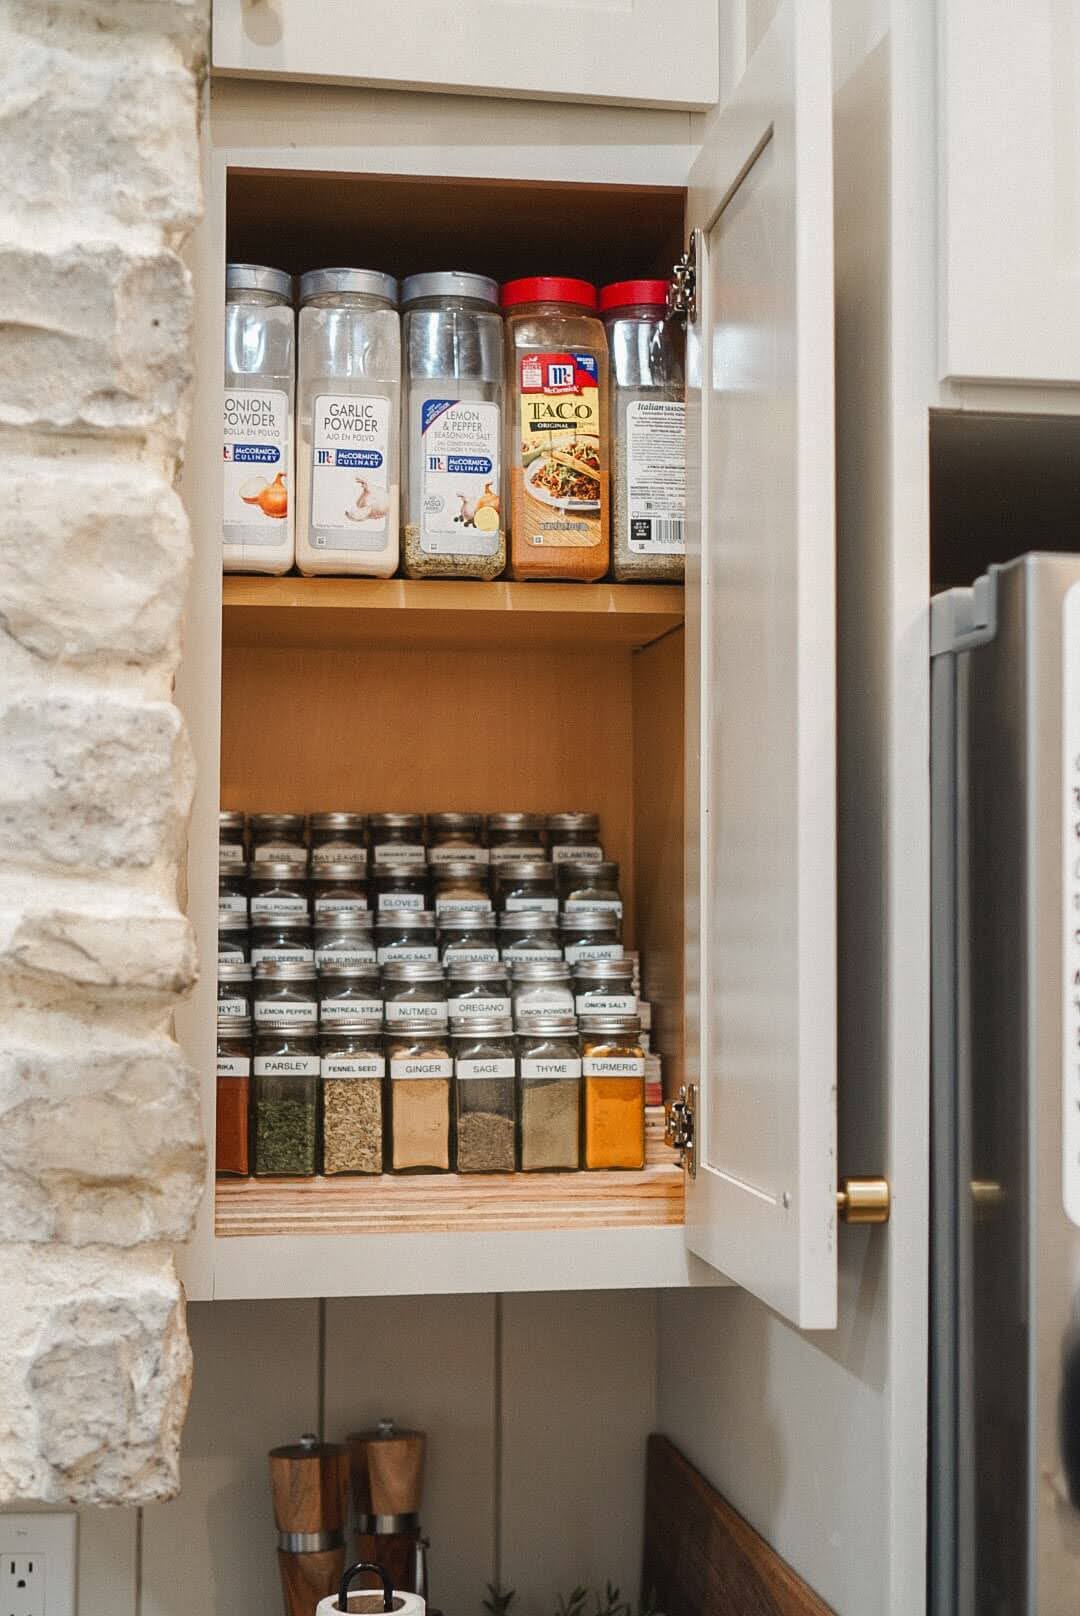
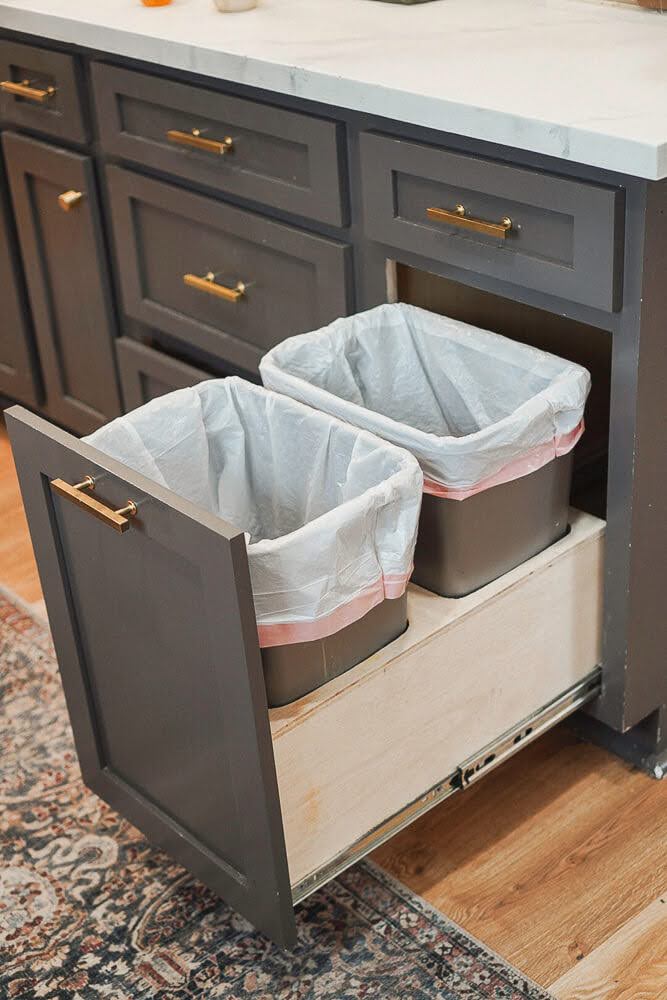
This backsplash was one of many projects that I did during my kitchen remodel. Other projects you may enjoy doing to update your kitchen are adding custom doors to stock cabinets, building a pull-out trash cabinet, and a simple, tiered spice rack. Let me know if you are trying any of these projects yourself!


Would you share the cabinet paint on cabinets and island?
Pale Iron Ore and Accessible Beige
I love the look of this. May I ask, how well has this held up to the wear and tear of being in the kitchen?
The backsplash has held up beautifully, and it wipes clean very easily. Behind the sink we had to remove it because we had to replace that portion of the cabinet, but effort to do some extra waterproofing there should definitely be made.