




Updated October 9, 2026
While we were visiting family in Utah, I took on my sister’s bedroom, and the star of this whole makeover is a DIY room divider wall. Her bedroom is HUGE. And while that sounds like a dream, a room that big can actually be hard to use well.
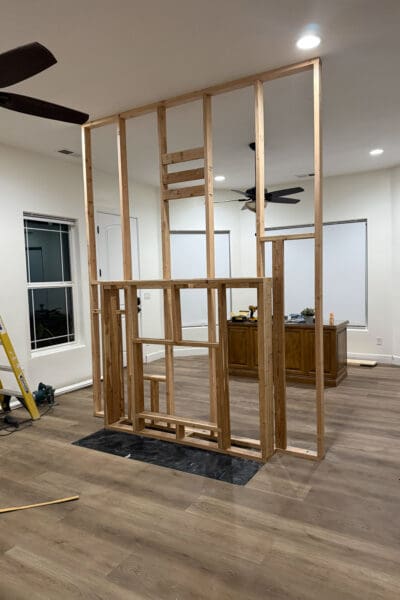
So we did something a little unexpected. We built a wall to divide it into two spaces, but we didn’t add any doors. It’s still one room. It just finally has a front and a back. This is part one of the series, and today I’m walking you through the whole framing process, from prepping the floor to getting the wall up and solid.
Table of Contents
- The Before: One Really Big Room
- The Plan: Divide the Room Without Closing It Off
- What You’ll Need for a DIY Room Divider Wall
- Step 1: Replace the Flooring
- Step 2: Cut the Flooring Where the Wall Will Sit
- Step 3: Add Blocking in the Ceiling
- Step 4: Build the Wall Frame on the Floor
- Step 5: Raise the Wall and Secure It
- Step 6: Frame for the Fireplace Insert
- Future-Proof Your DIY Room Divider Wall
- Where We’re Leaving Things Off
- 📌 Pin This DIY Room Divider Wall for Later
- DIY Room Divider Wall FAQ
The Before: One Really Big Room
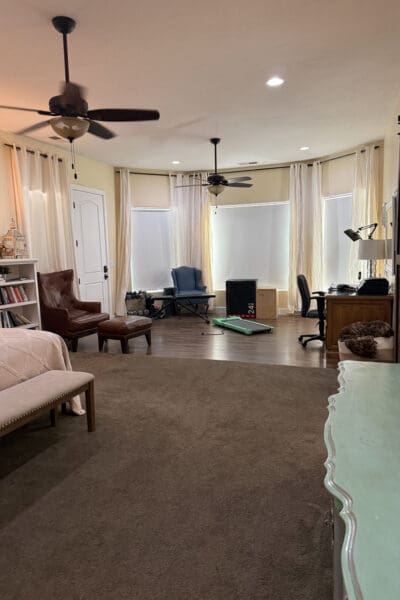
Here’s what we started with. The front half was the bedroom, and the back half by the windows had become the spot for everything that didn’t have another home. A desk, weights, a walking pad, bookshelf, and more. You know the corner. We all have one.
The Plan: Divide the Room Without Closing It Off
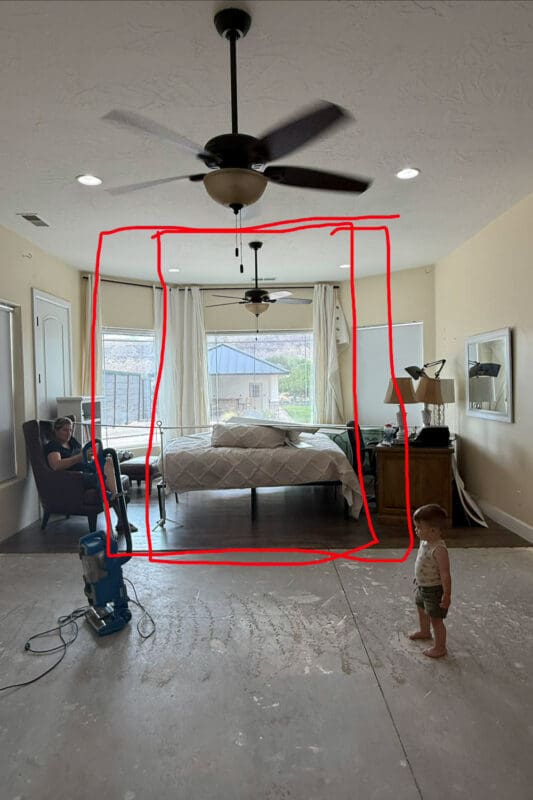
The idea was simple. Build a wall across the room with open space on both sides, so the front half becomes the bedroom and the back half becomes an office. The back half is big enough that you could even put a bed on the wall facing the windows. We’re planning ahead and leaving room for however they want to rearrange in the future.
No doors, no hallway; we’re just building a wall that visually separates the two spaces. I sketched it right on a photo of the room so we could all picture where it would go. Then I made an AI rendering to get a feel for the finished look.
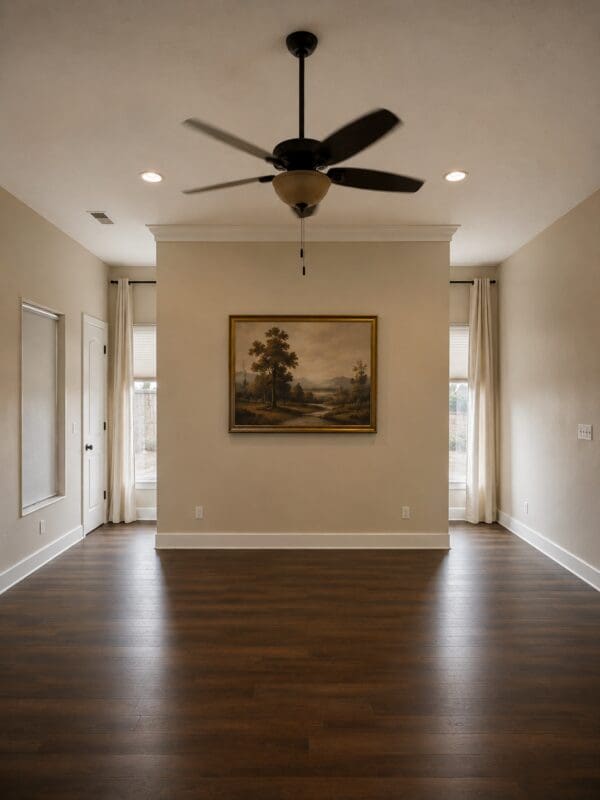
The photo on the right is AI-generated, not real, and not even proportionate, but it’s still helpful for inspiration. Curious how I use AI to picture my projects before I build them? I have a blog post explaining how – Using ChatGPT for Interior Design Help.
What You’ll Need for a DIY Room Divider Wall
Good news: framing a wall doesn’t take a fancy workshop. Here’s everything I used. How many 2x4s and screws you’ll need depends on the size of your wall, so measure your space and grab a few extras. Trust me, you’ll always need one more 2×4!
Materials
Tools
- Circular saw
- Drill and impact driver
- Level
- Tape measure
- Ladder
- Marker or pencil
- Ear protection
- Safety glasses
Step 1: Replace the Flooring
This room had carpet in half the bedroom and laminate in the other half, so before we built anything, we removed it all and installed new flooring. Since the house is on a slab foundation, I laid down a moisture barrier over the concrete first, then got to work.
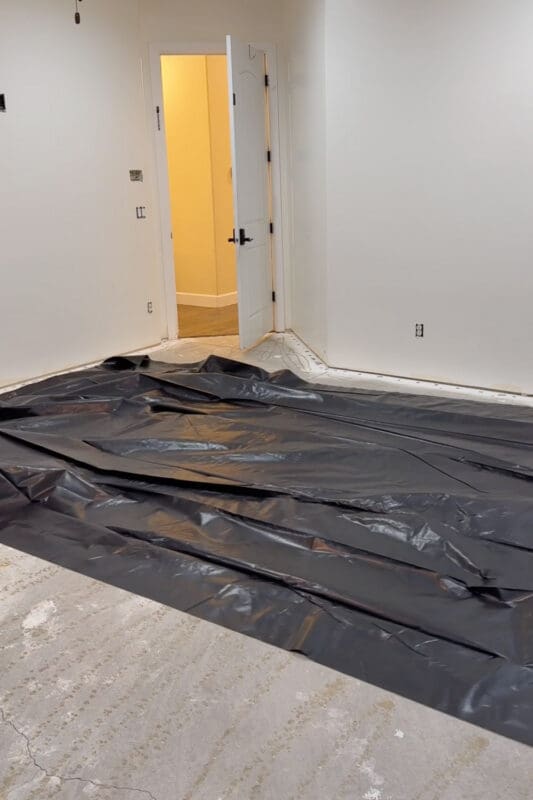
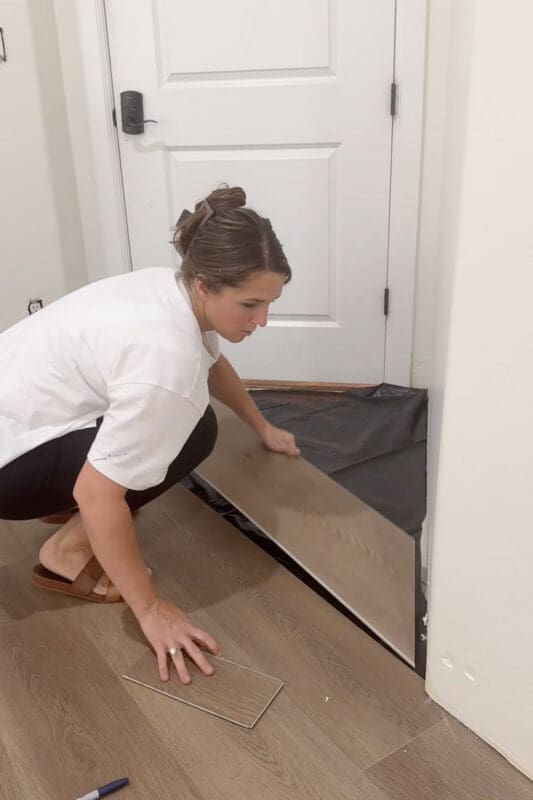
I love this flooring. It’s the same flooring that we added to the entire first floor of our home in St. Louis, and we couldn’t be happier with it. It’s waterproof, scratch-resistant, and absolutely beautiful. Check it out here!
I’ve already shared posts with full flooring installs, so if you want the step-by-step, check out Simple DIY Duravana Plank Flooring Installation and How I Installed Laminate Kitchen Flooring.
Step 2: Cut the Flooring Where the Wall Will Sit
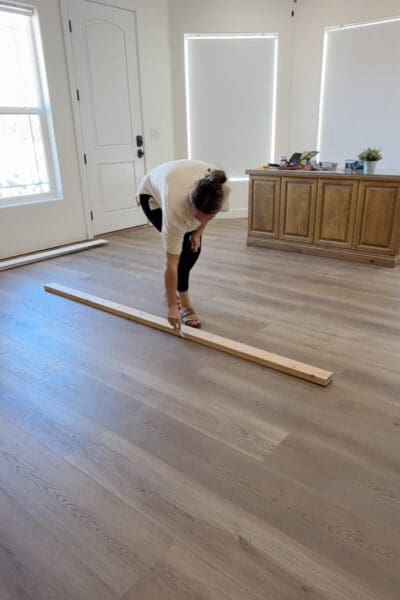
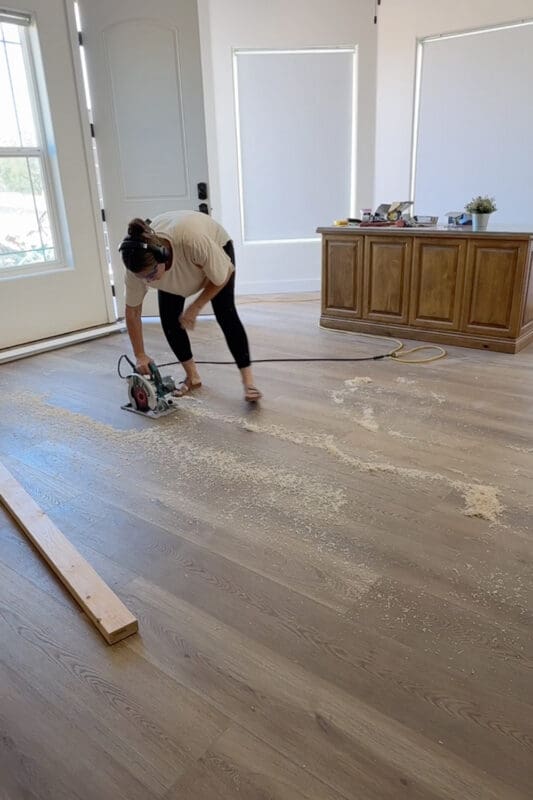
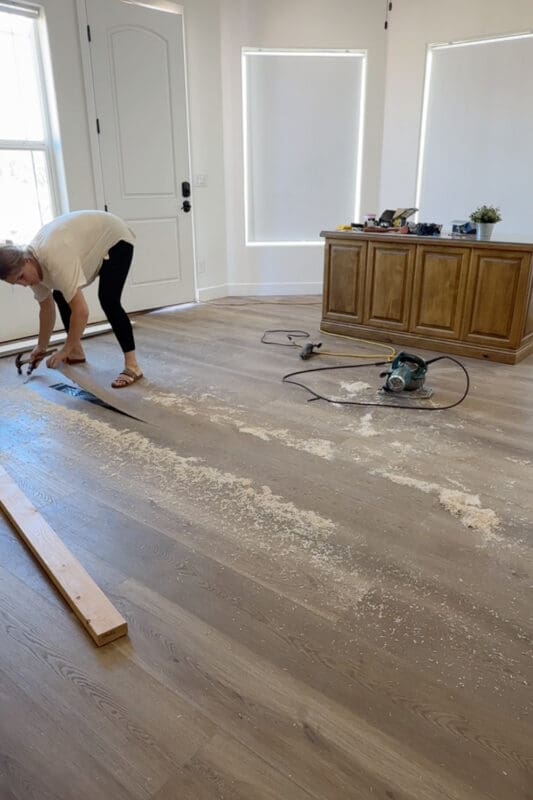
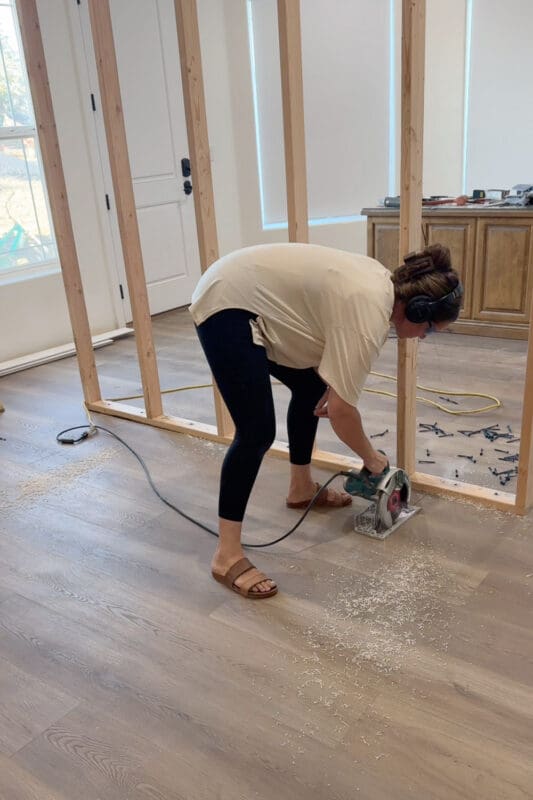
Since this is a floating floor, I couldn’t just build the wall right on top of it. Floating floors need room to expand and contract, and pinning them under a wall is a recipe for buckling. So I traced my 2×4, cut out a strip, and set the wall right on the slab.
First, I laid a 2×4 where the wall would go and traced along it.
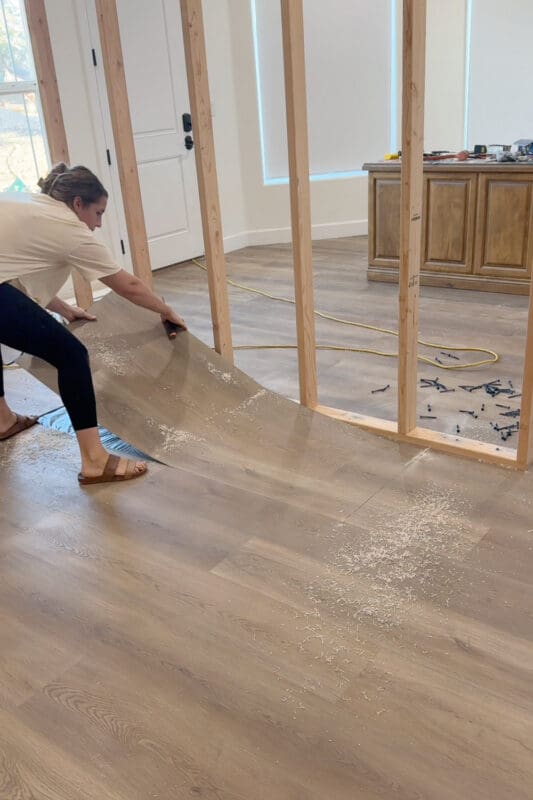
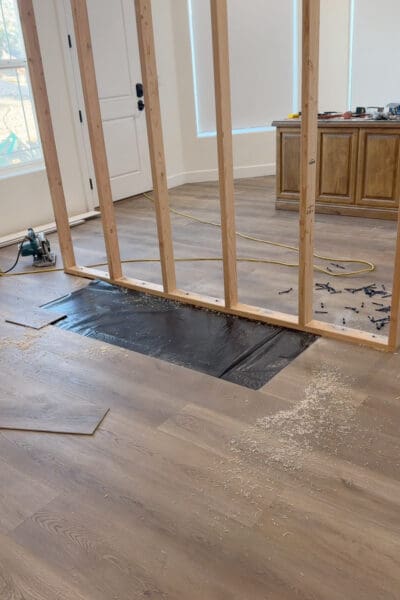
Then I cut along the line with a circular saw. Wear your ear protection and safety glasses, friends. Your future self will thank you. Finally, I pried up the strip of flooring down to the moisture barrier.
Step 3: Add Blocking in the Ceiling
Next up, the ceiling. The top of the divider wall needs something solid to screw into, and you won’t know what’s up there until you look.
I drove a screw up through the ceiling right where the wall would go.
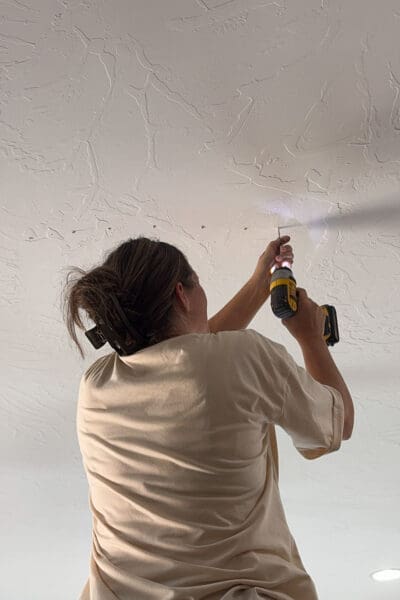
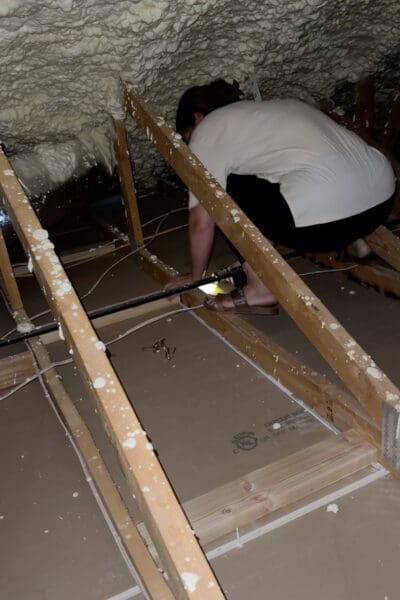
Then I climbed up the ladder and into the attic to find it. Nothing says glamorous DIY quite like crawling around an attic in sandals.
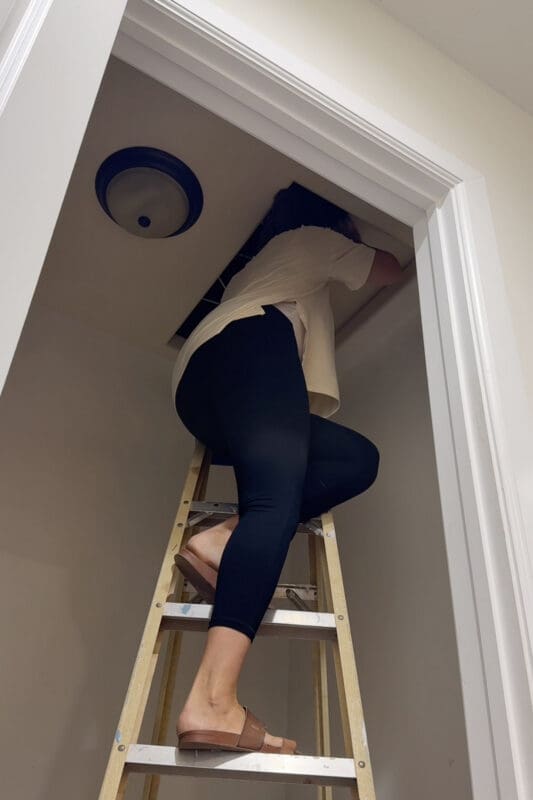
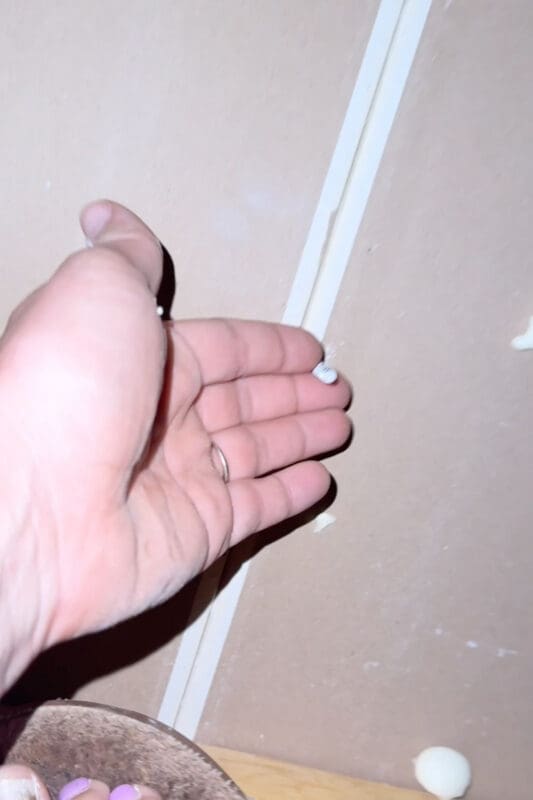
Our DIY room divider wall runs right between two trusses, so there was nothing to attach it to. The fix is blocking. I cut 2x4s to fit between the trusses and screwed them in place, giving the top of the wall something solid to grab onto from below.
Step 4: Build the Wall Frame on the Floor
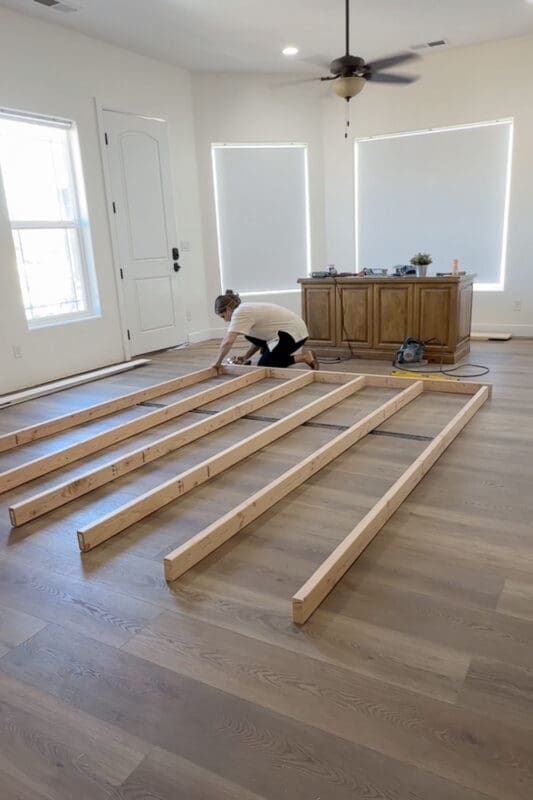
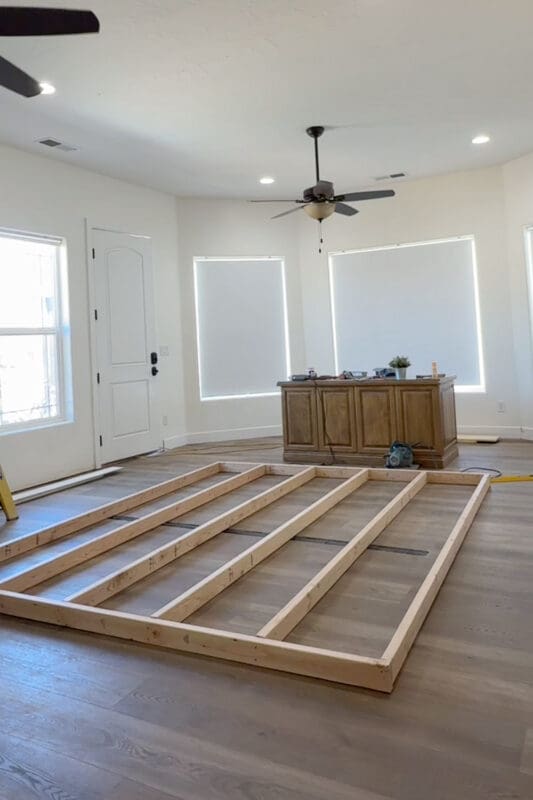
With the floor and ceiling ready, I built the wall frame flat on the floor. It’s so much easier than trying to build it in place. You’ve got a top plate, a bottom plate, and studs in between.
Step 5: Raise the Wall and Secure It
This is the fun part! With a little help, we tilted the frame up into place.
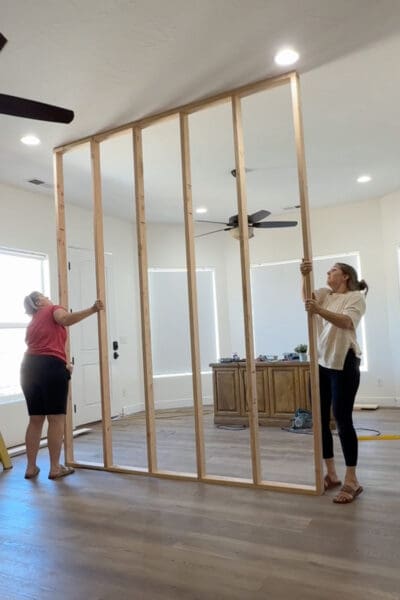
I attached the top plate through the ceiling into the blocking that I added in the attic. Then I anchored the bottom plate right into the concrete slab where I’d cut the flooring away. For concrete, you’ll want self-tapping masonry screws. Regular wood screws are perfect for attaching the top plate, but won’t cut it here. Be sure to pre-drill your holes in the 2×4 first.
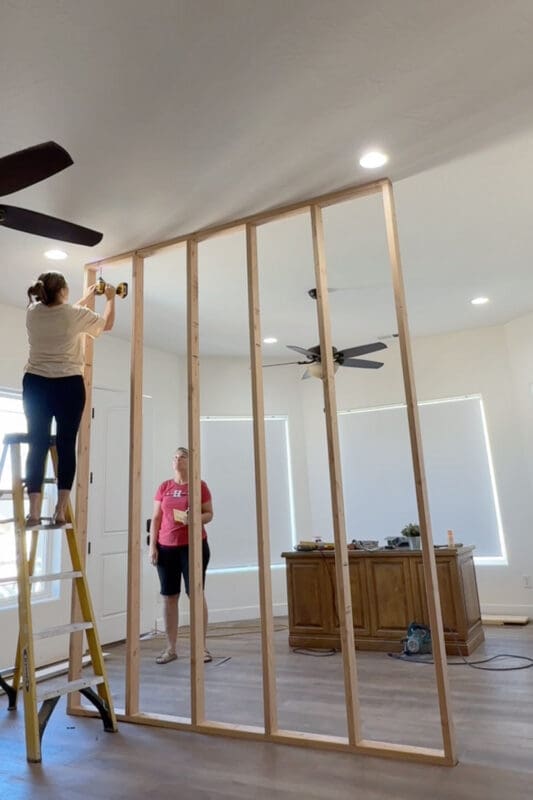
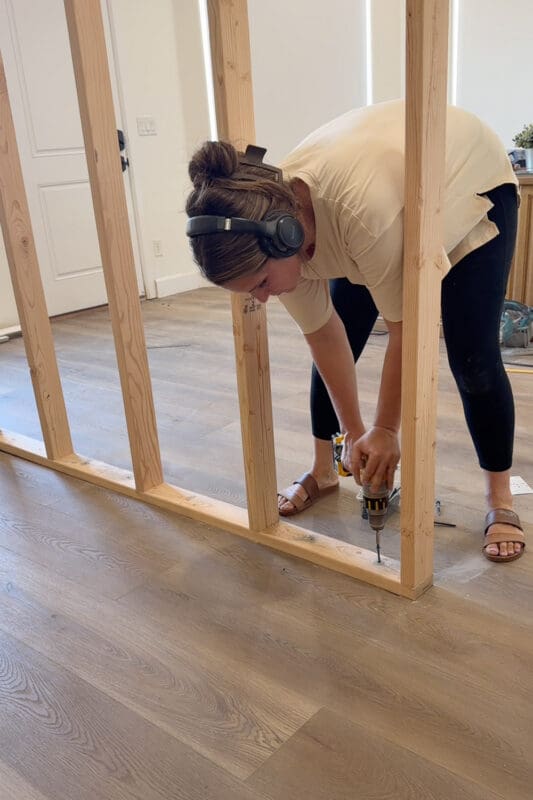
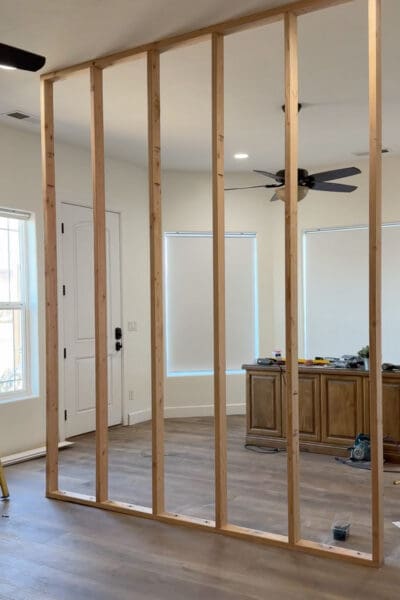
And just like that, we had a wall! We could’ve stopped right there. In fact, my original plan WAS to stop there. You saw the inspiration photo. But then we got to thinking… how awesome would a fireplace be? So we took it one step further and framed in for an electric fireplace insert.
Step 6: Frame for the Fireplace Insert
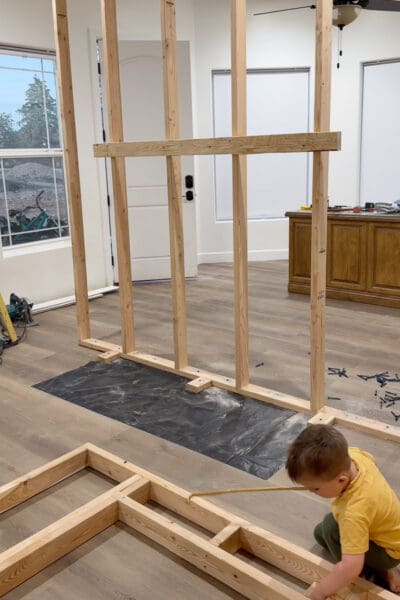
First, I built the fireplace frame on the floor, starting with an outer box and an inner box, then joining them with cross braces.
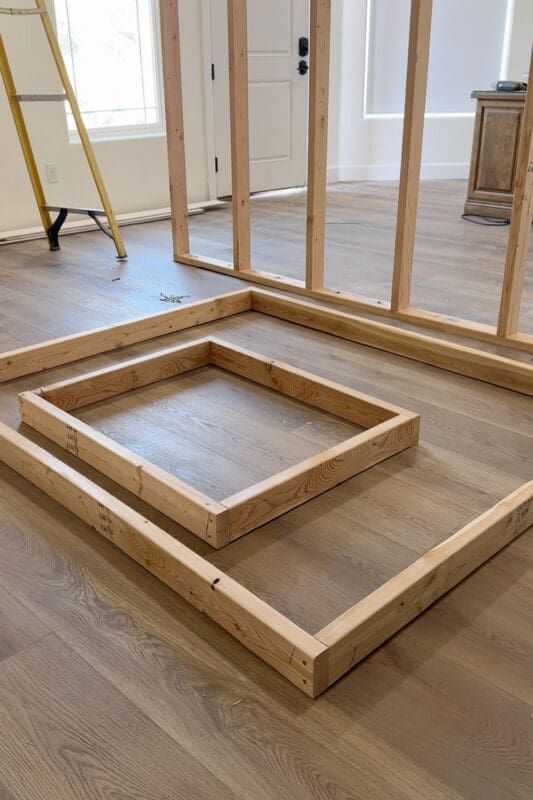
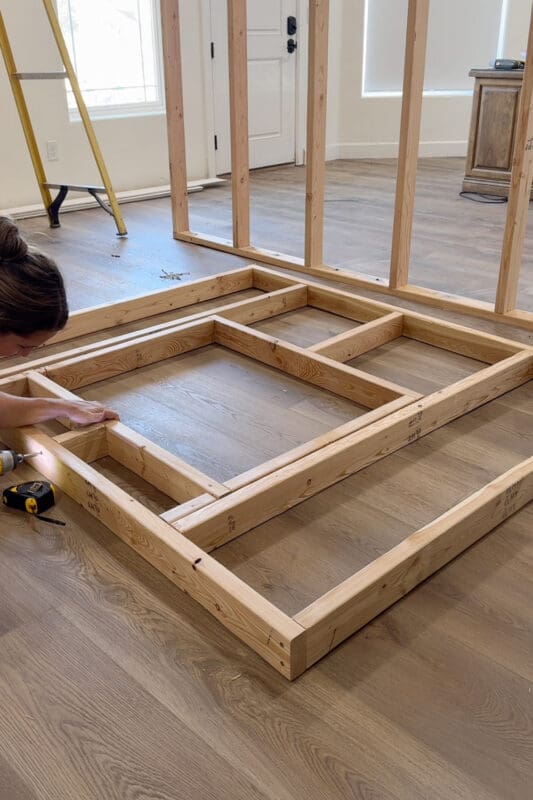
Then, I cut out another section of flooring in front of the wall. This cleared space for the fireplace framing and left room for a hearth that we’ll add later.
To bump the fireplace framing out from the wall, I added 2×4 blocks at the bottom. How far you bump it out depends on how much room your insert needs, so check the manufacturer’s specs before you build.
I also added a 2×4 across the studs, sitting at the same height as the top of the fireplace framing,
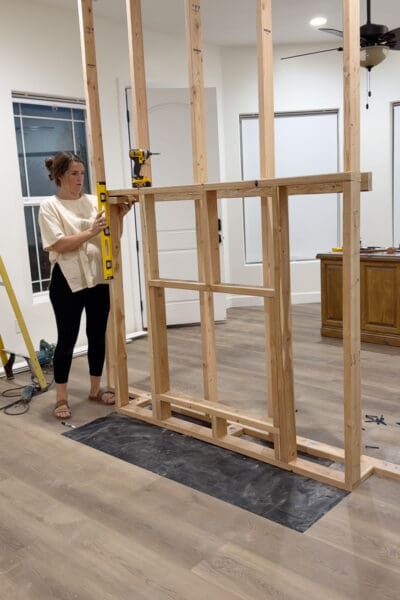
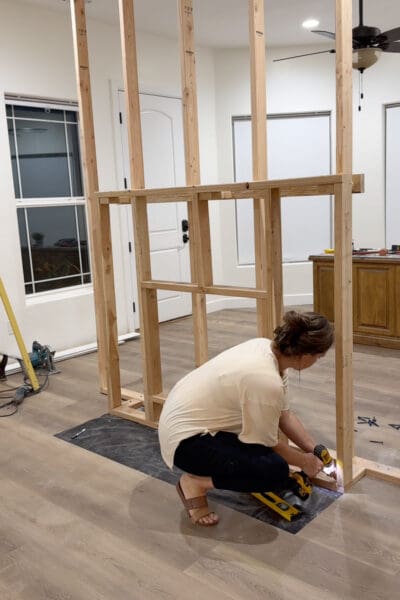
Finally, I set the fireplace frame in place and checked that it was level before screwing it in with my drill. I attached it from the front into the blocks at the bottom and added blocks just under the top of the frame that tie back to that horizontal 2×4.
Future-Proof Your DIY Room Divider Wall
Here’s my biggest tip for any wall you build: plan ahead while the studs are still exposed. Once the drywall goes up, adding support gets a lot harder.
Think about where you might want lights, heavy artwork, floating shelves, a TV, or outlets, and add blocking there now. It takes a few extra minutes and a couple more 2x4s, and it saves you a big headache later. I added extra blocking between the studs where I knew we would need it, and we were done with the initial wall framing.
Where We’re Leaving Things Off
And that’s where we’re pausing for now! The wall is up, it’s solid, and you can already see how it’s going to turn this big room into two separate spaces. But trust me, we’re just getting started. Next up, I’m framing the arches – DIY Arched Doorway: How to Arch any Wall Opening
After that comes drywall, then the fireplace insert, mantel, and surround, some gorgeous trim, and finally the big reveal. I’ll link each post here as it goes live, so pin this one or bookmark it and follow along!
📌 Pin This DIY Room Divider Wall for Later
Got a big room that feels more awkward than awesome? Save this DIY room divider wall to your favorite Pinterest board so you have the steps handy when you’re ready to build your own. And while you’re there, come follow along for the rest of this makeover!
DIY Room Divider Wall FAQ
No. Floating floors need room to expand and contract, and a wall pinning them down can cause buckling. Cut out the flooring where the wall will sit and attach the wall directly to the subfloor or slab.
Add blocking. Go into the attic, find the spot where your wall will be, and screw 2x4s between the trusses or joists. That gives the top plate something solid to attach to from below.
Use self-tapping masonry screws. They’re made to bite into concrete, which regular wood screws can’t do.
On the floor! Build the frame flat, then tilt it up into position and secure the top and bottom plates. A second set of hands makes the lift much easier.
Yes. Adding blocking while the wall is open makes it easy to hang lights, heavy art, or shelves later.