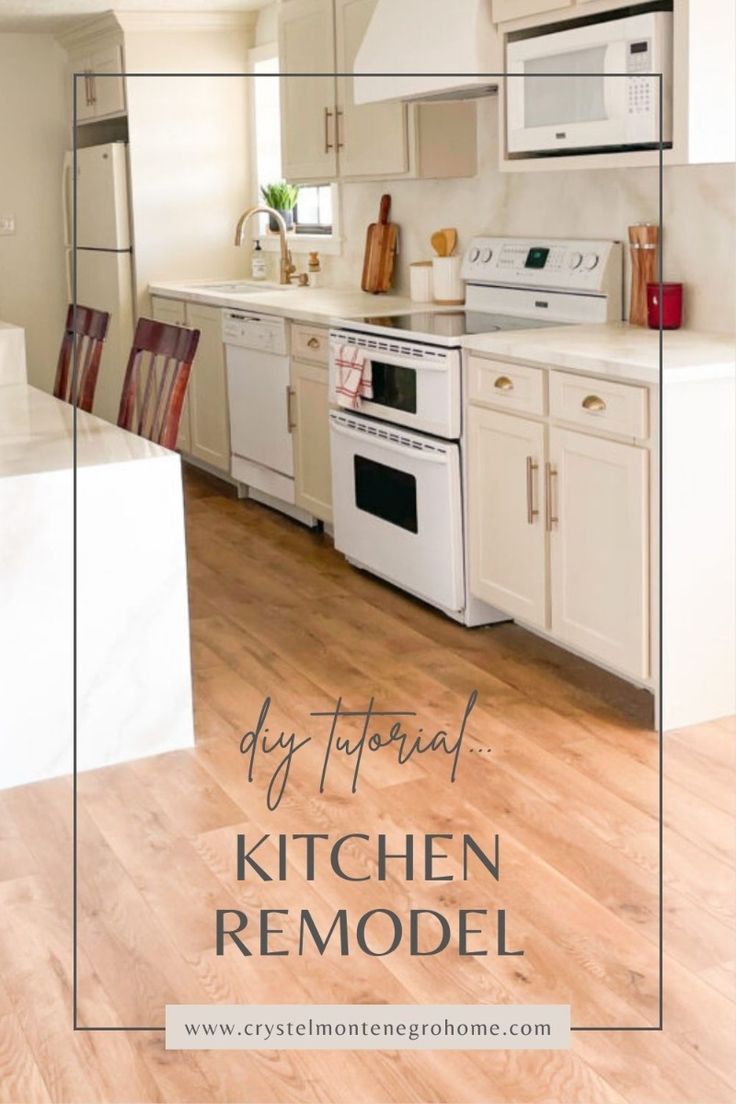

Kitchen remodels can be super pricey, but you can save a bundle by using refurbished kitchen cabinets. Before moving out of our Utah home, we tackled a basement kitchen remodel, and instead of splurging on new cabinets, we gave the old ones a fabulous facelift.
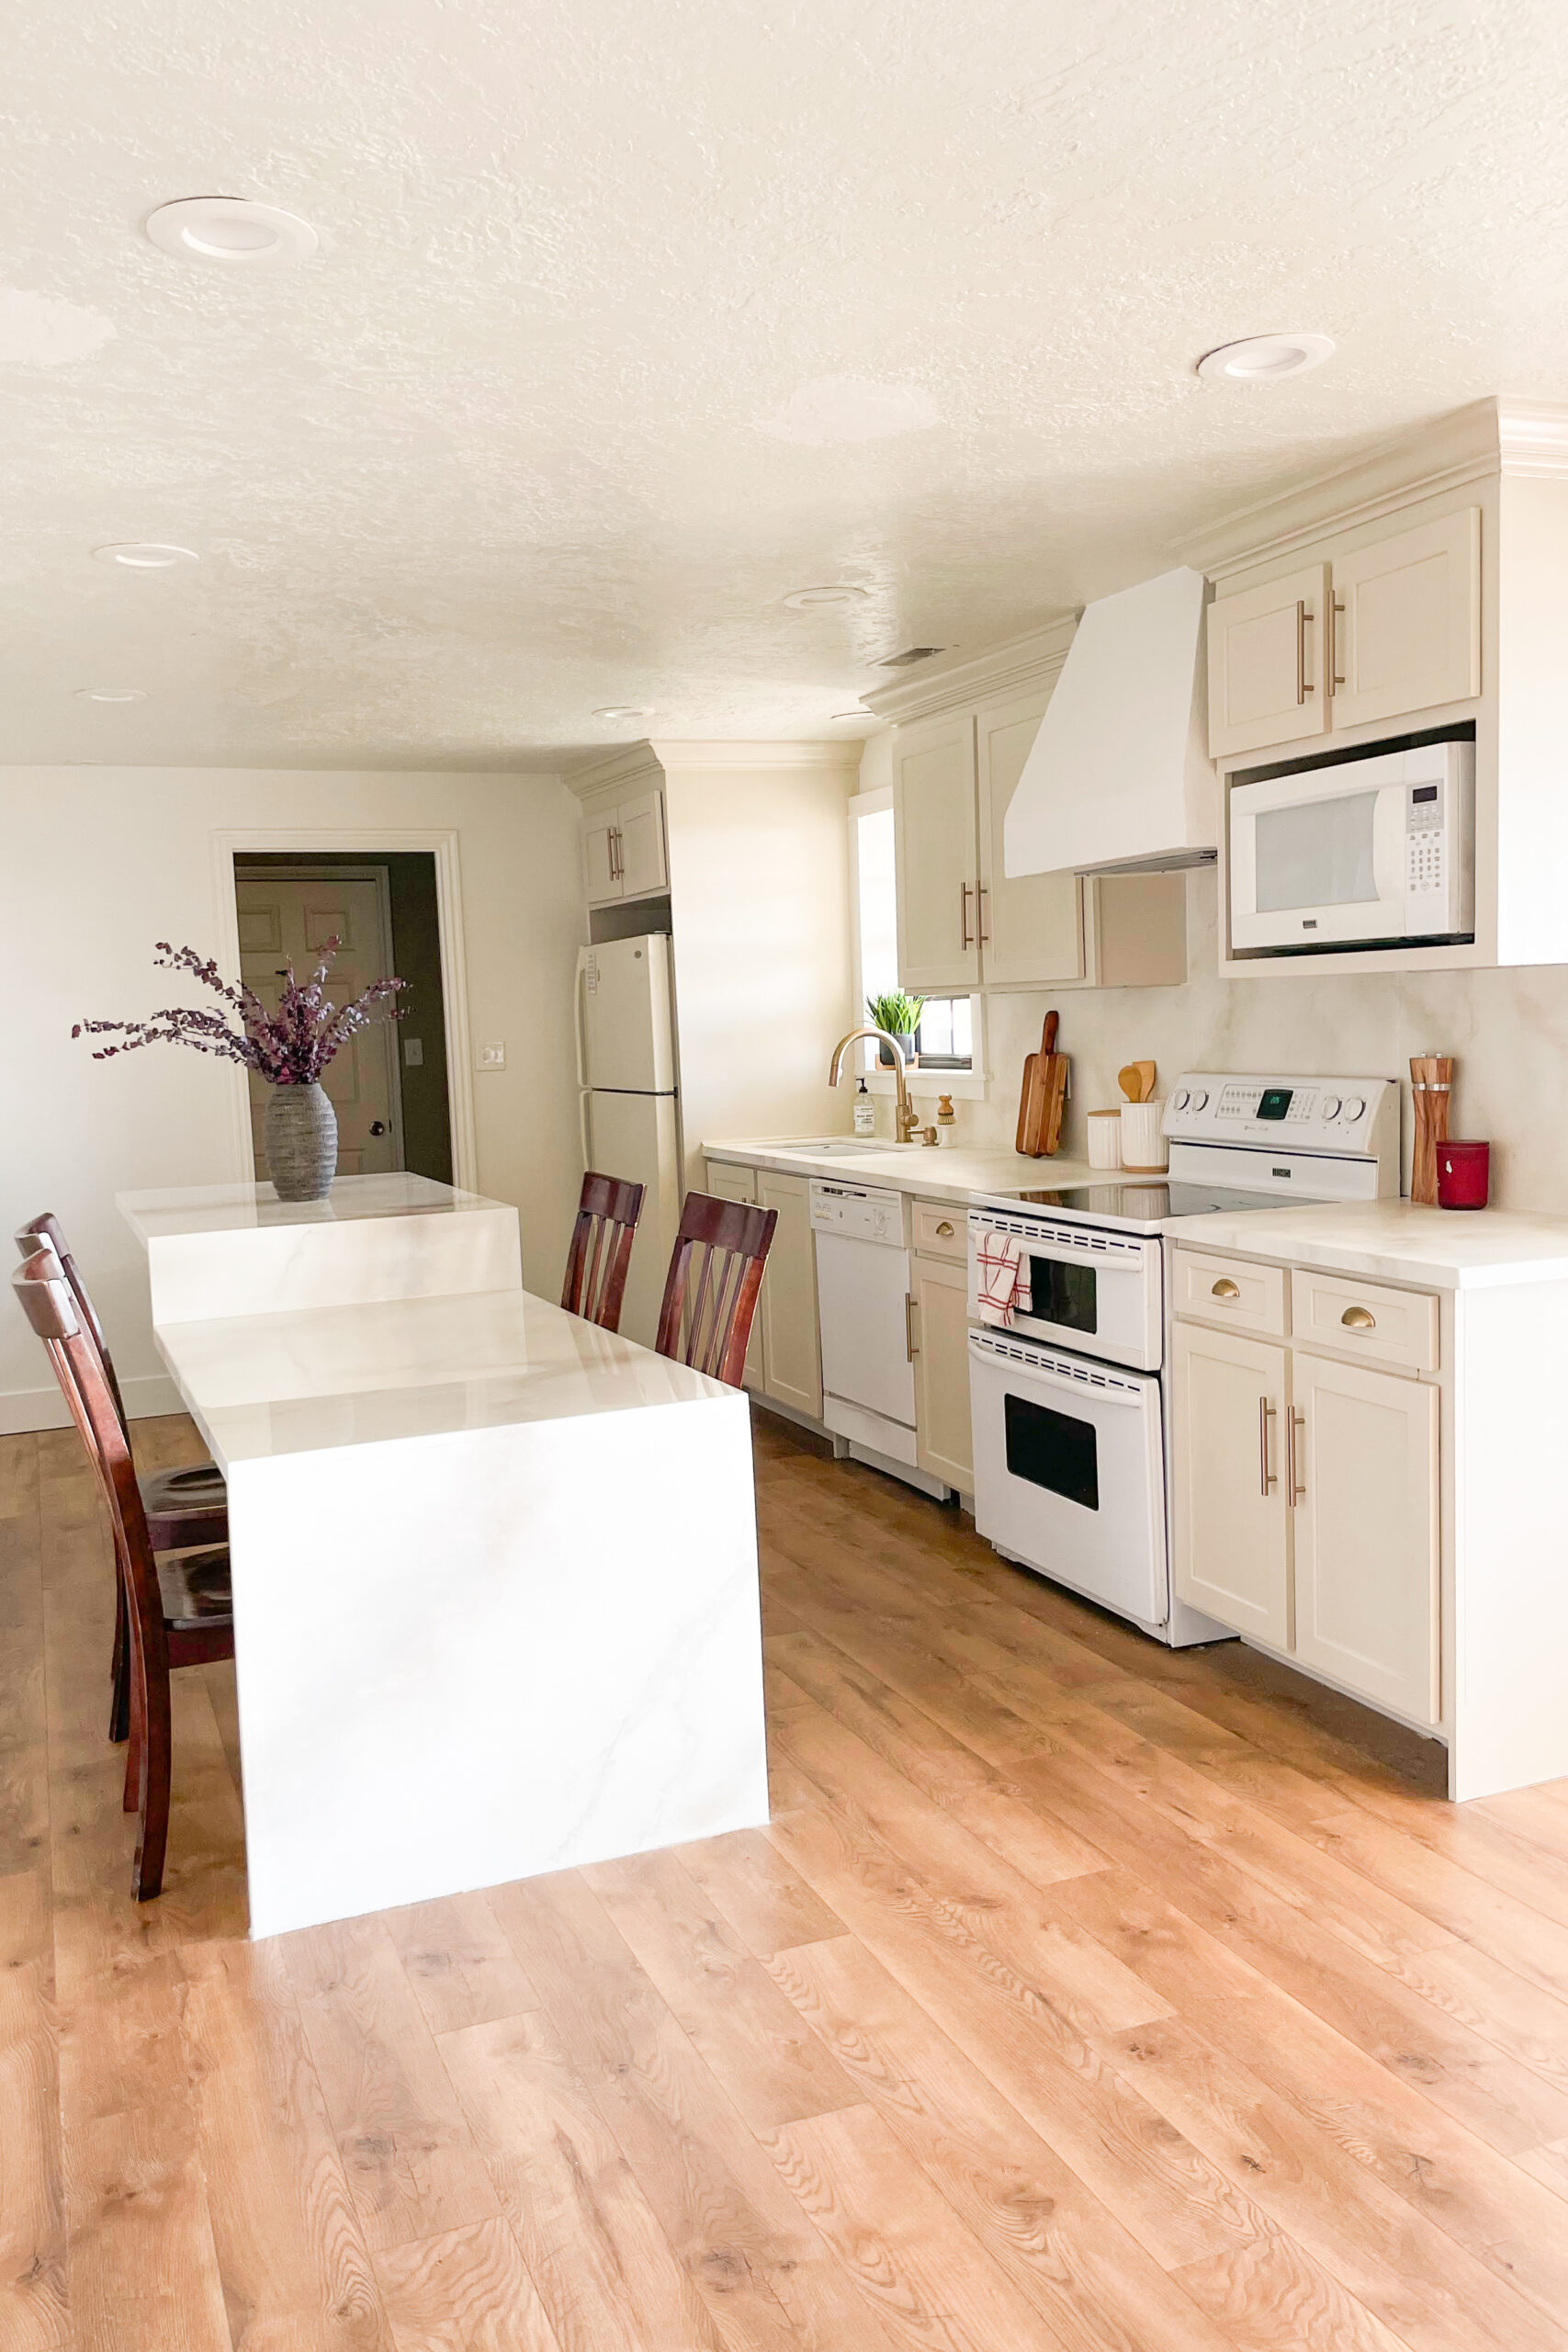
Check out the after photo—those gorgeous refurbished kitchen cabinets look brand new!

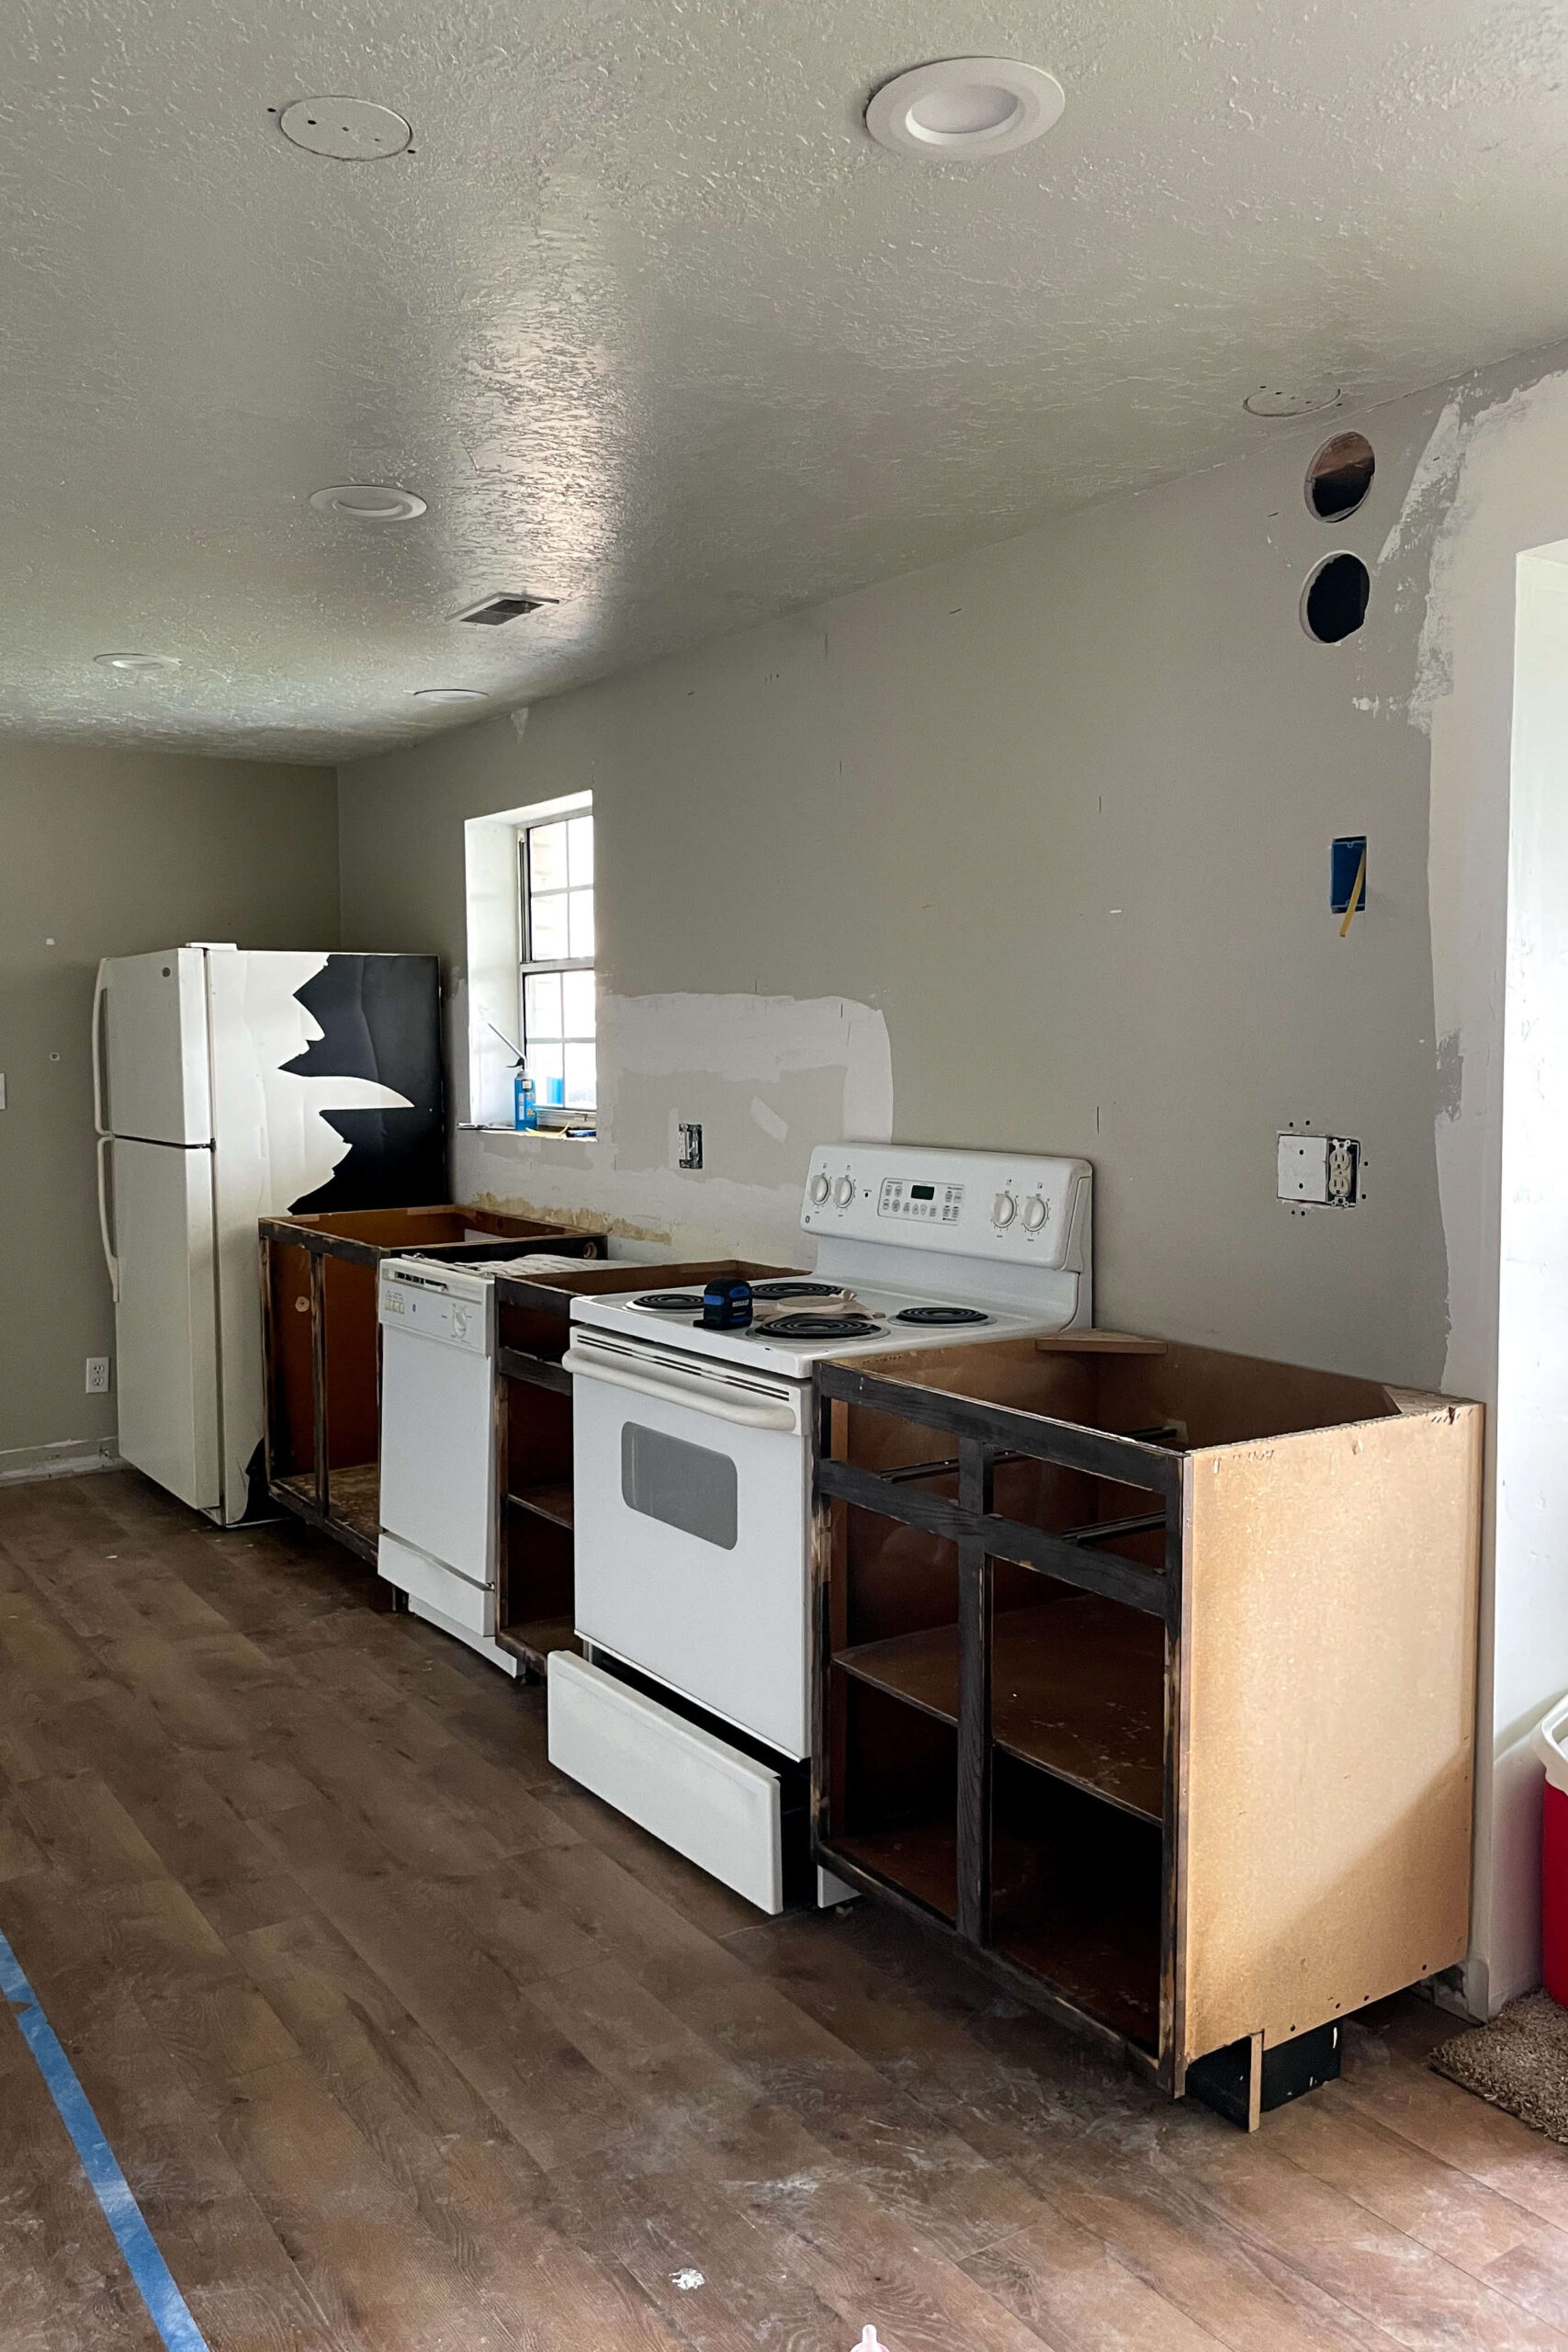
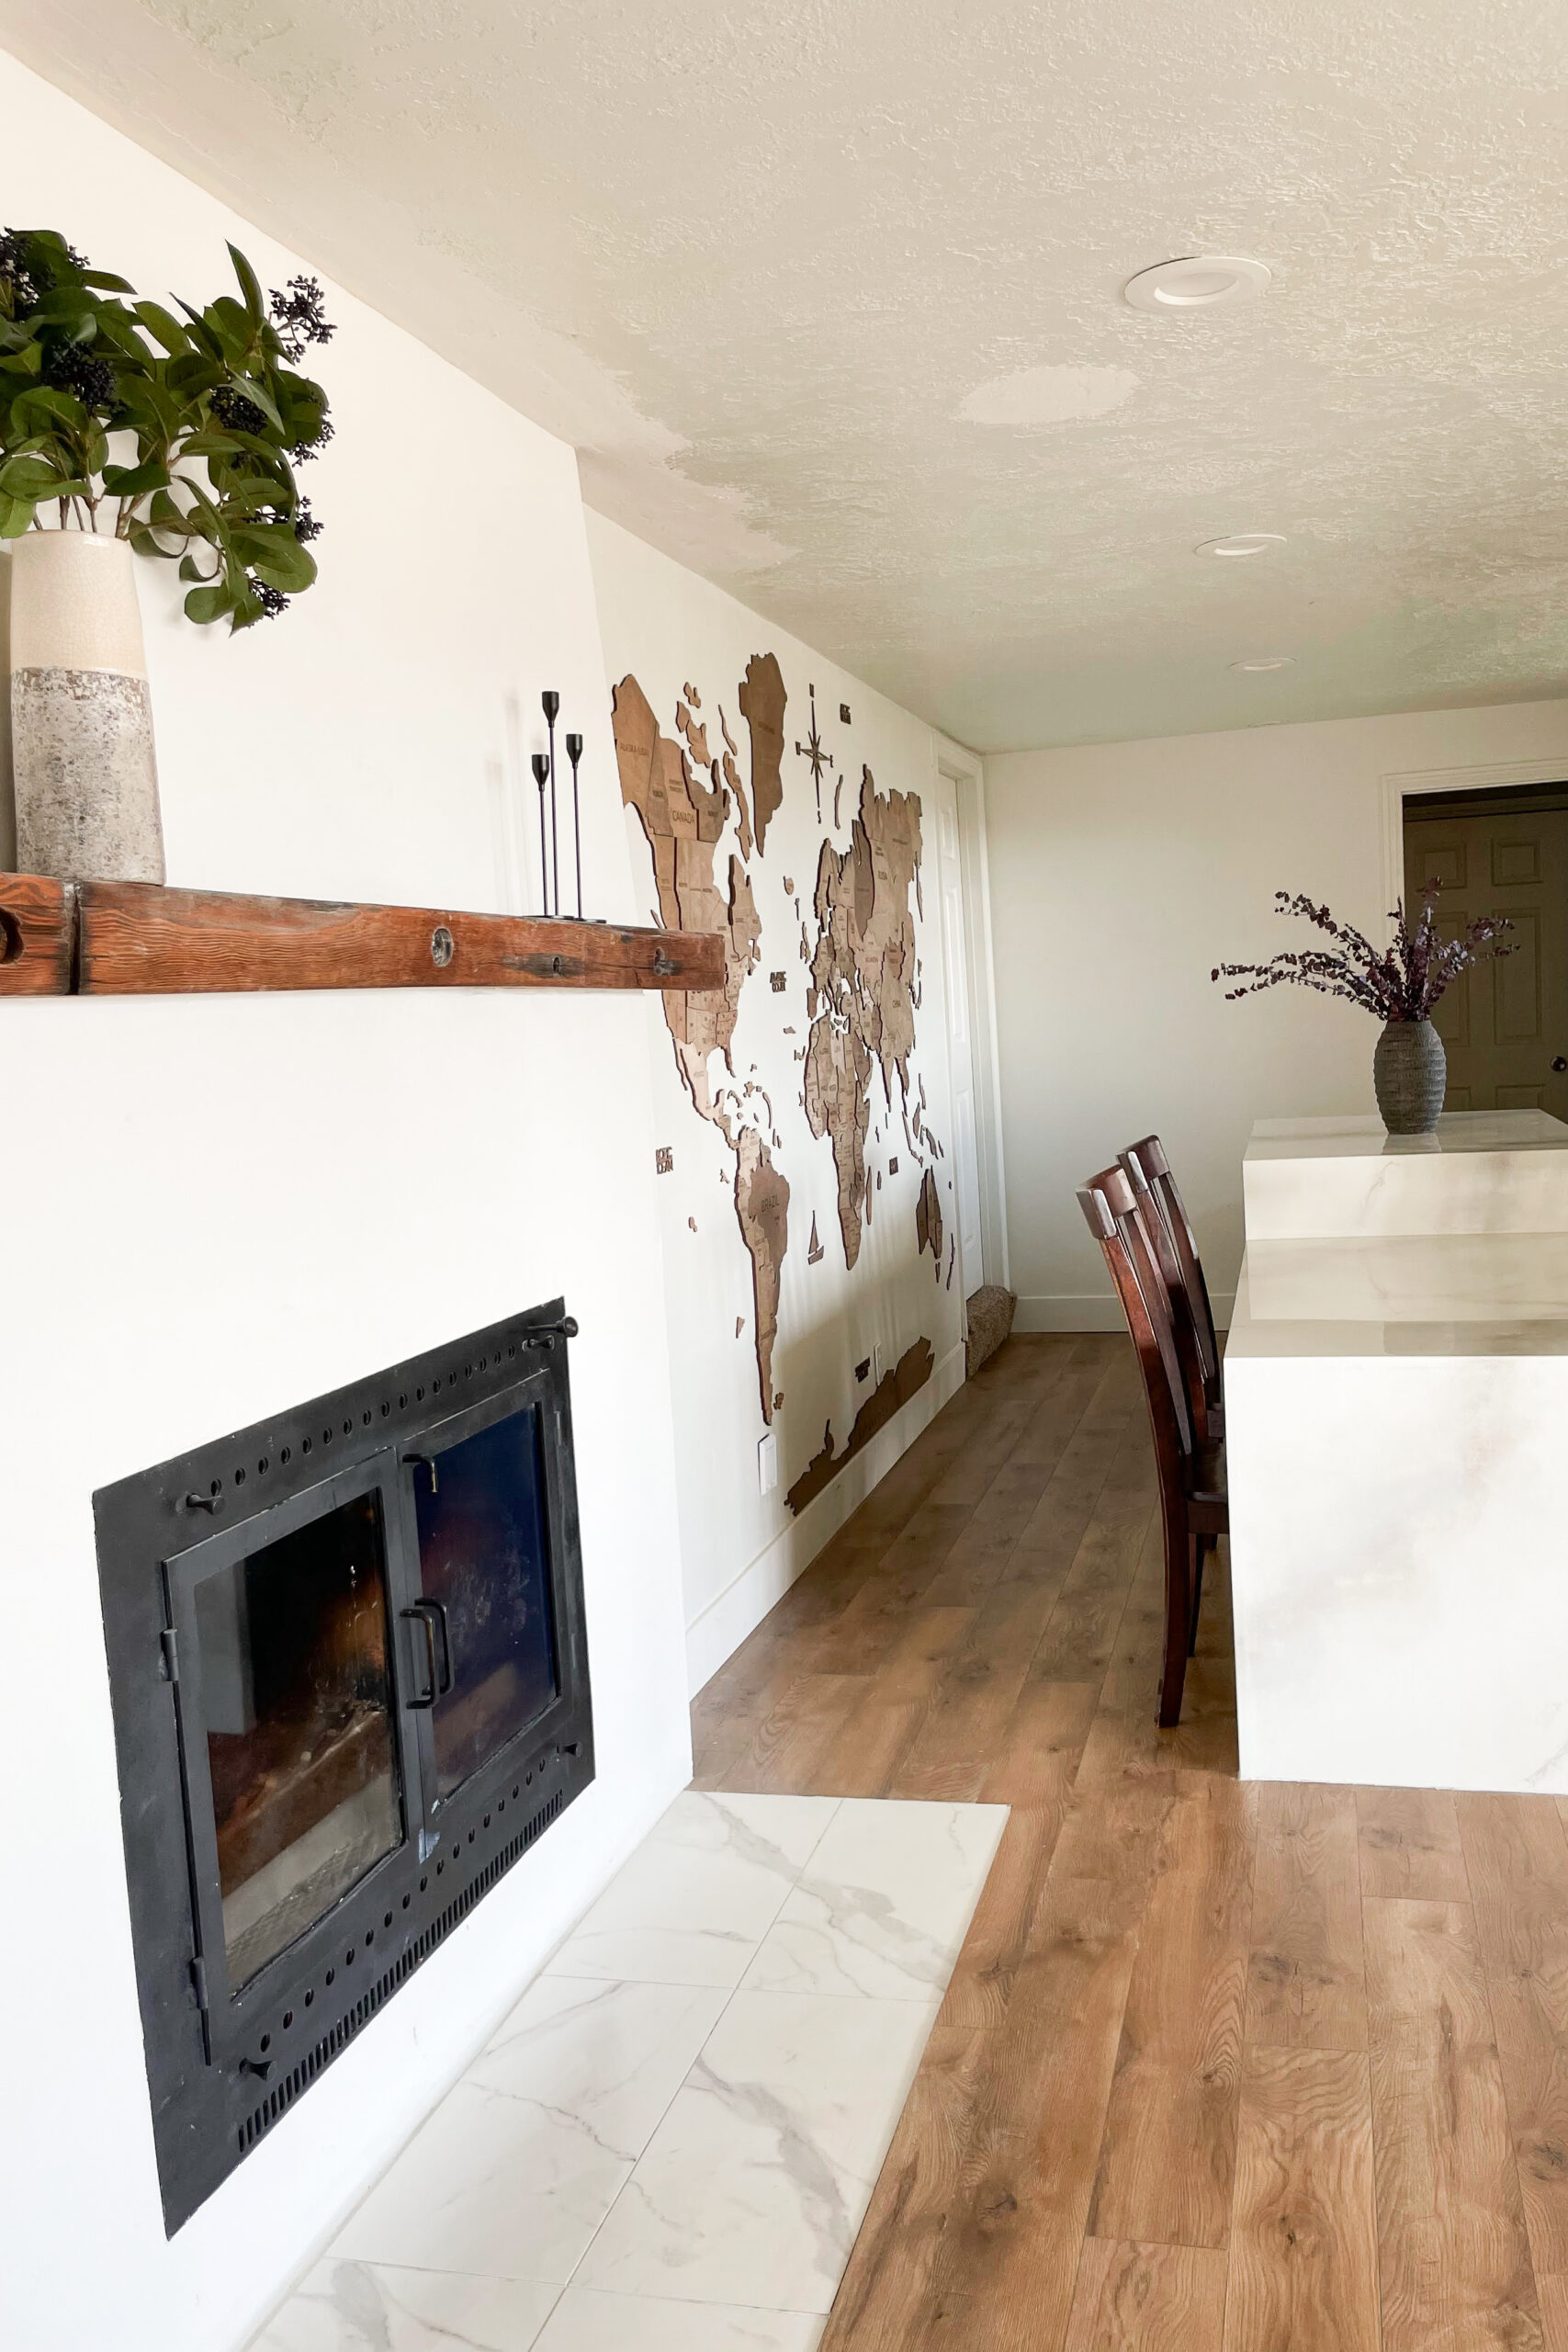
We started with a dated kitchen and an old stone fireplace. First, we tackled the fireplace, then replaced the tile and carpet with laminate flooring. Now, it was time for the main event: refurbishing the kitchen cabinets.
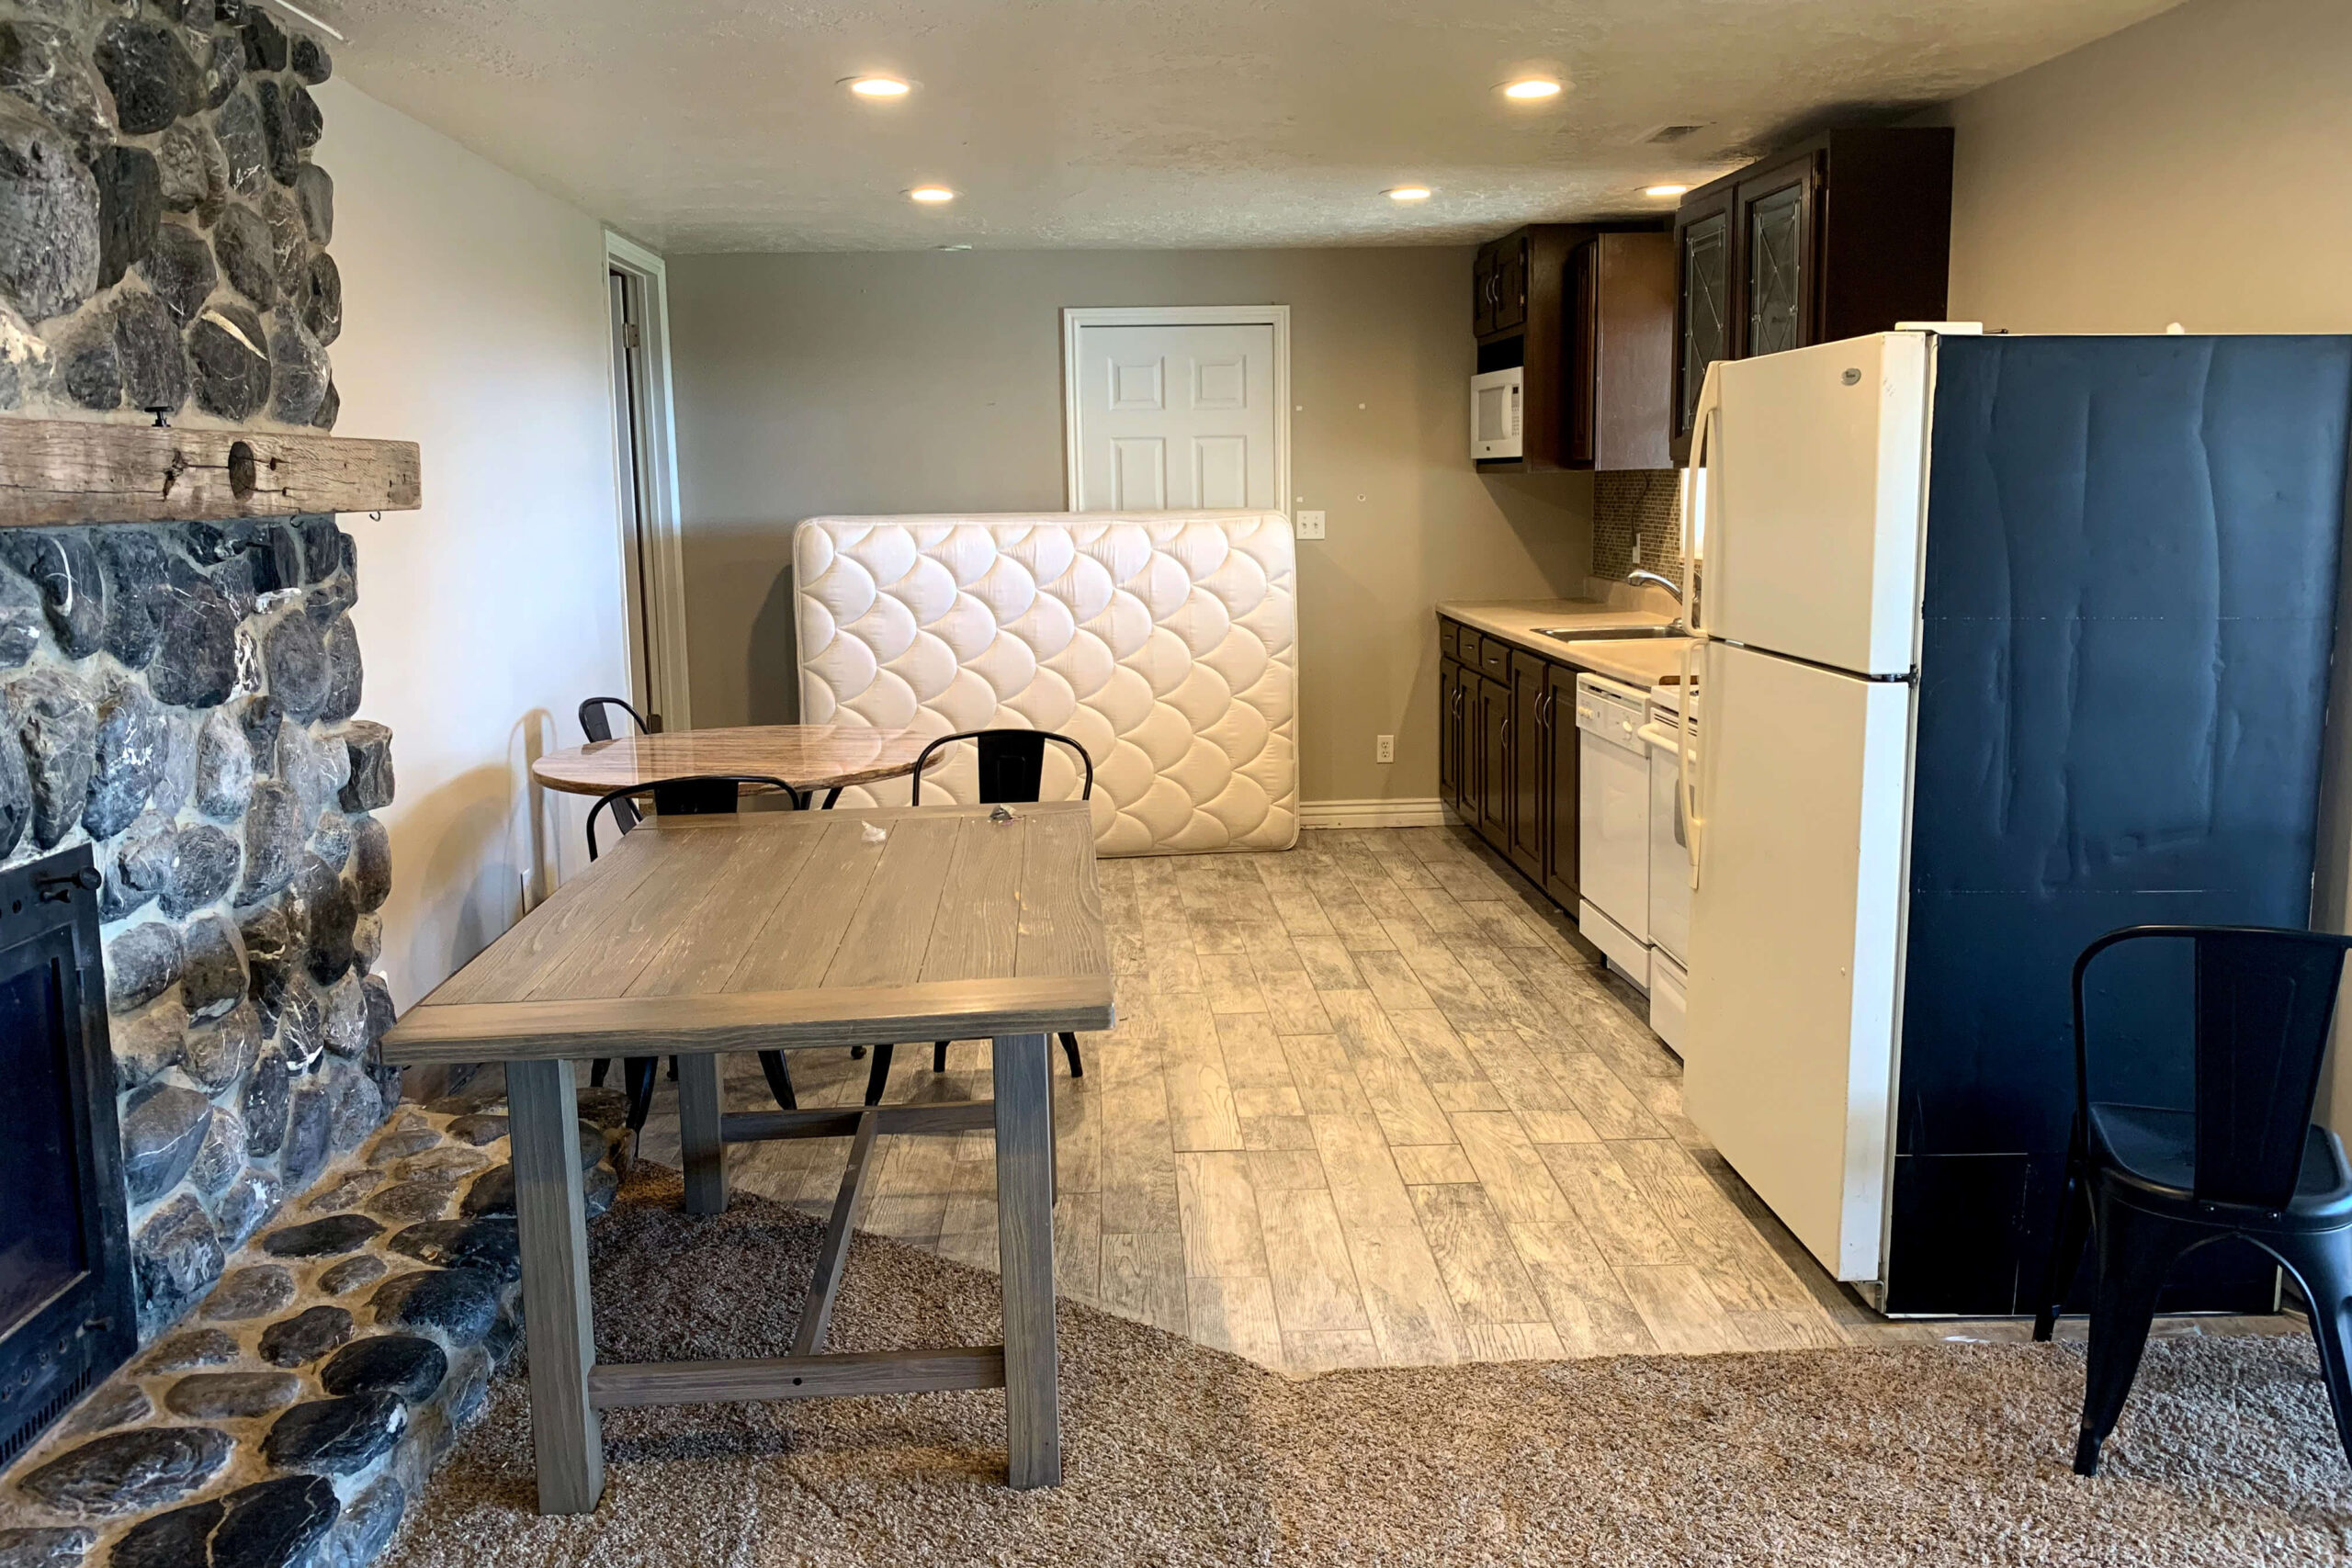
The kitchen was dark and cramped, with appliances awkwardly stacked at the end. My mission? Make it bright, airy, and spacious.

Tools and Materials
- Multi-tool
- Drill or impact driver
- Handheld sander with 120 grit sandpaper
- Brad nailer
- Bondo
- Caulk
- Caulk gun
- Pre-taped masking plastic
- Painter’s tape
- Paint sprayer
- Primer
- Paint
- Crown molding
- Cabinet hardware
- Drawer pulls
Demo the Old Kitchen
We carefully demoed the kitchen, removing all cabinet doors, appliances, plumbing, garbage disposal, and sink.
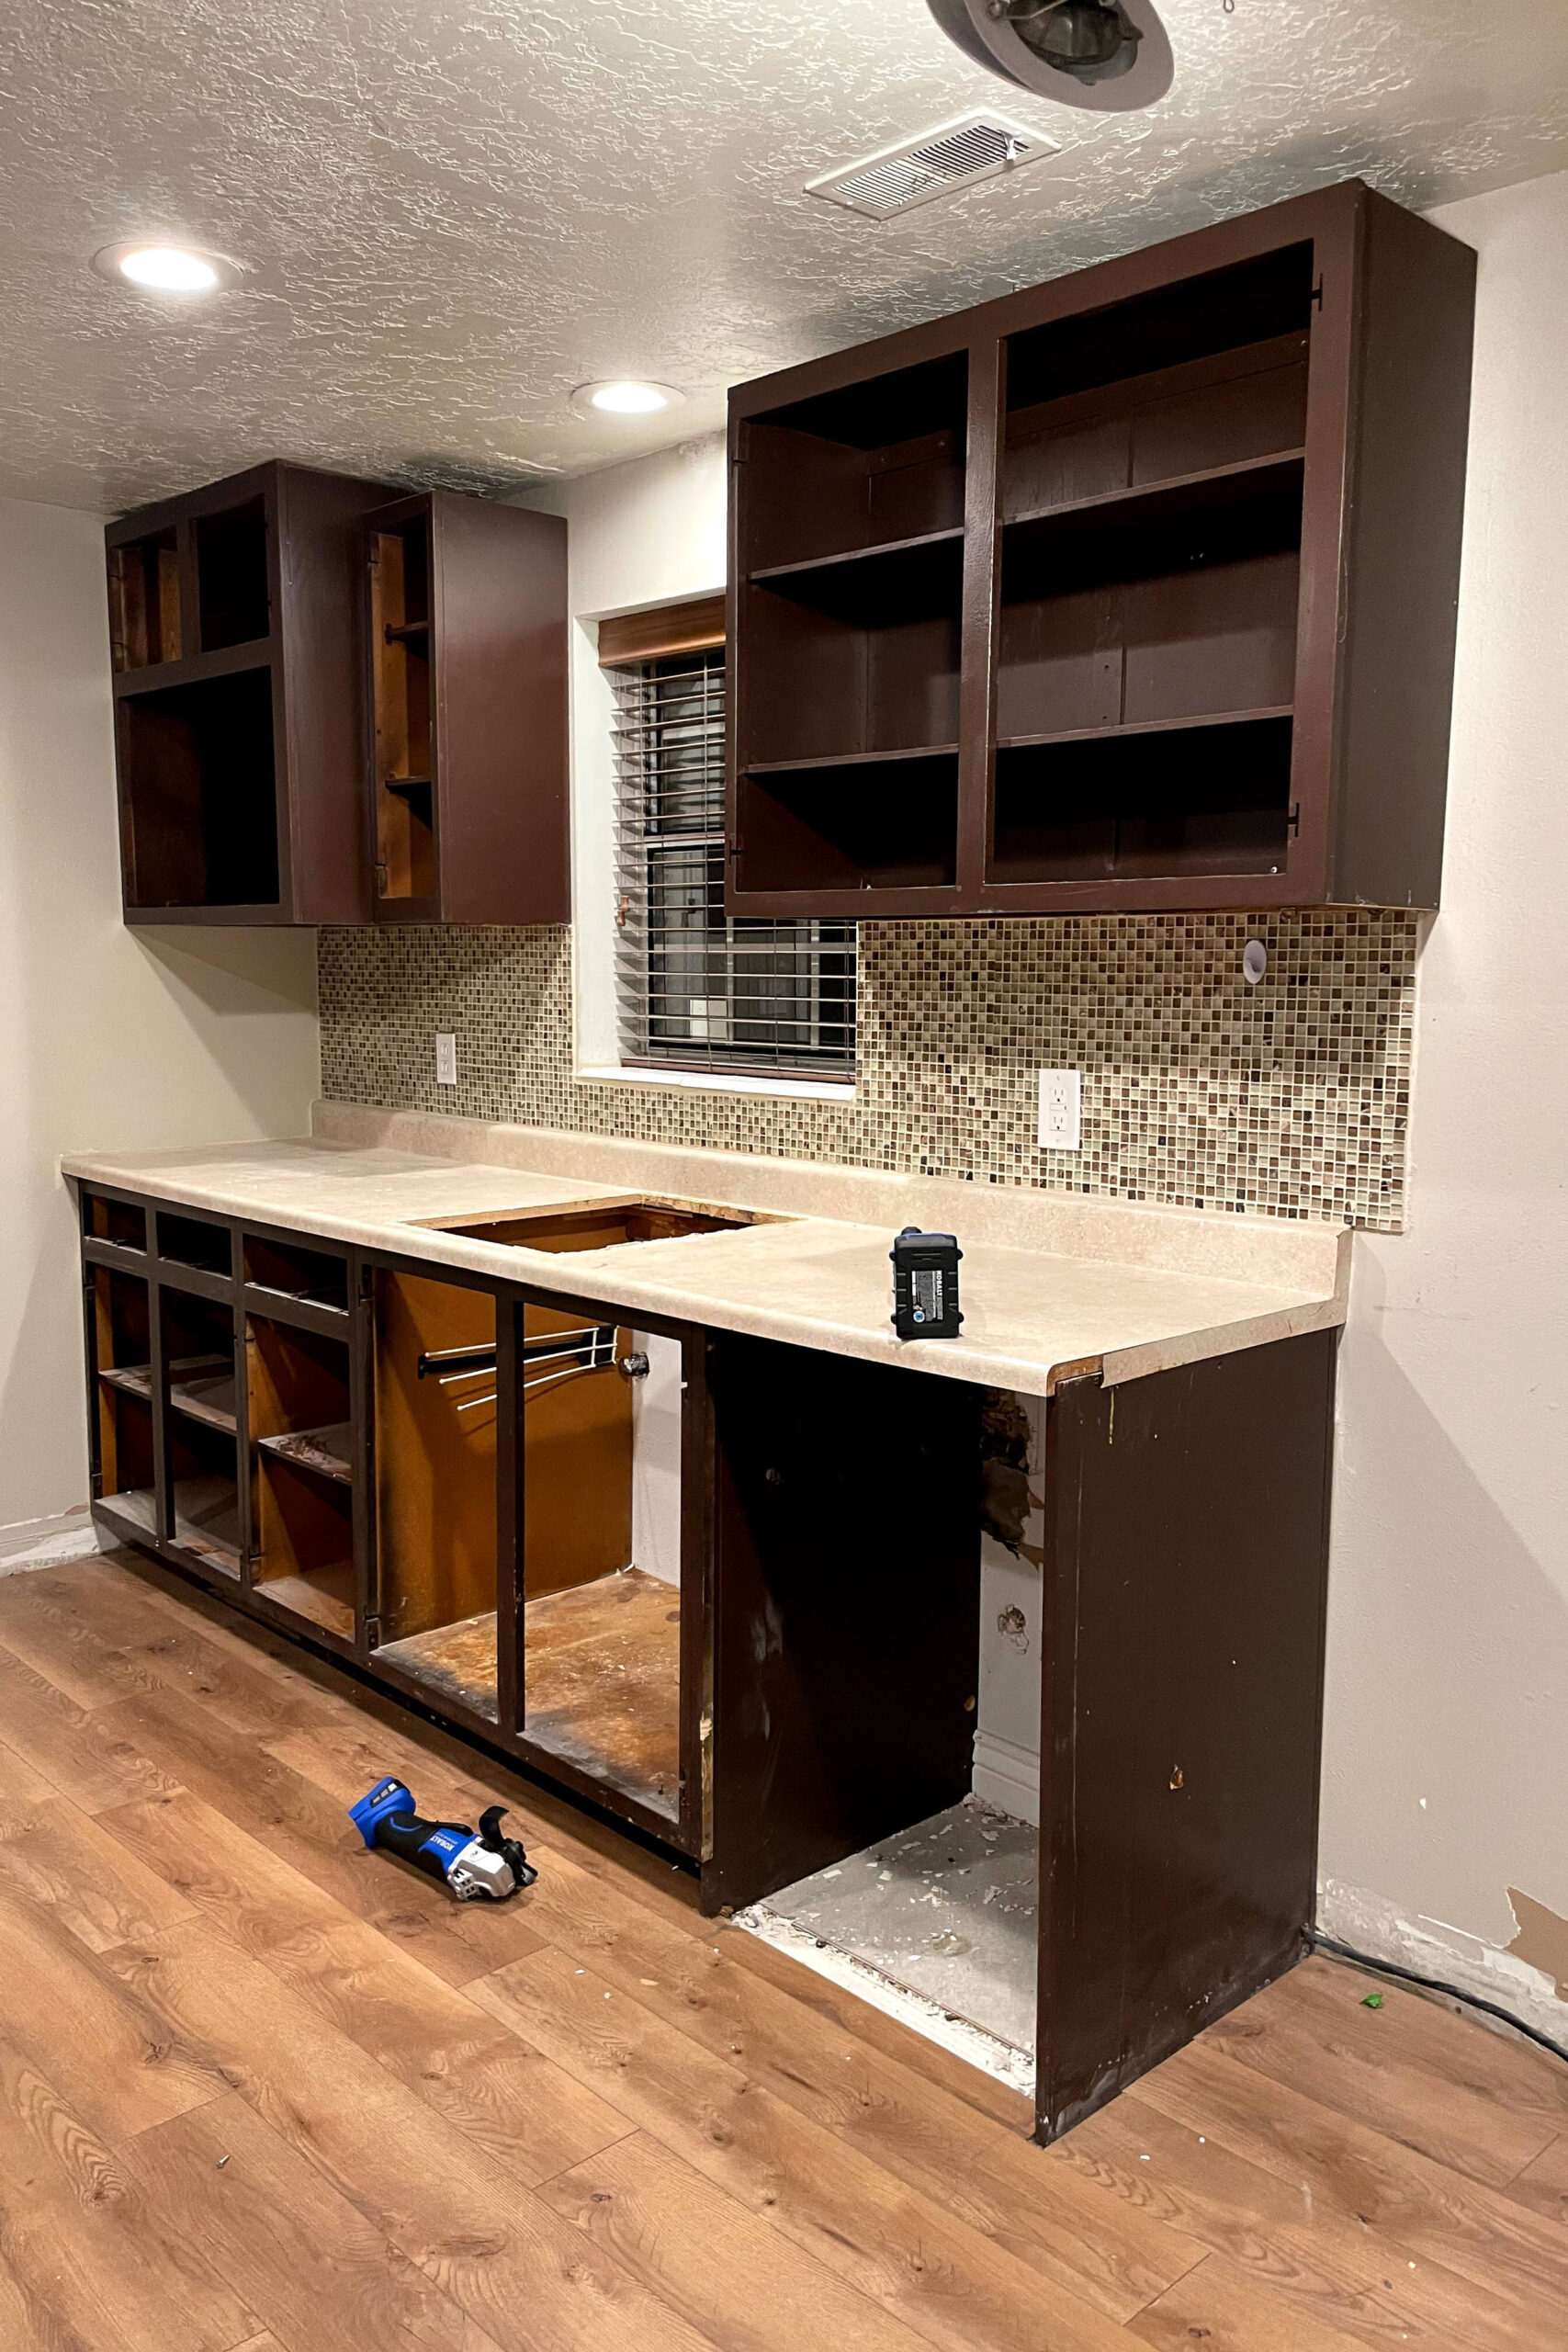
Removing the countertop was a cinch with my multitool. Just cut the caulking, and pry it off. Sometimes countertops are attached with screws, so check underneath before prying away.


Next, out came the cabinet boxes with a drill or impact driver.


Rearranging the layout meant moving some plumbing and electrical lines. Thankfully, Grandpa (my father-in-law) was around to help with that.

The tile backsplash didn’t survive my multitool, so we replaced the drywall too. With new drywall up, it was time to reassemble the kitchen using the refurbished kitchen cabinets.


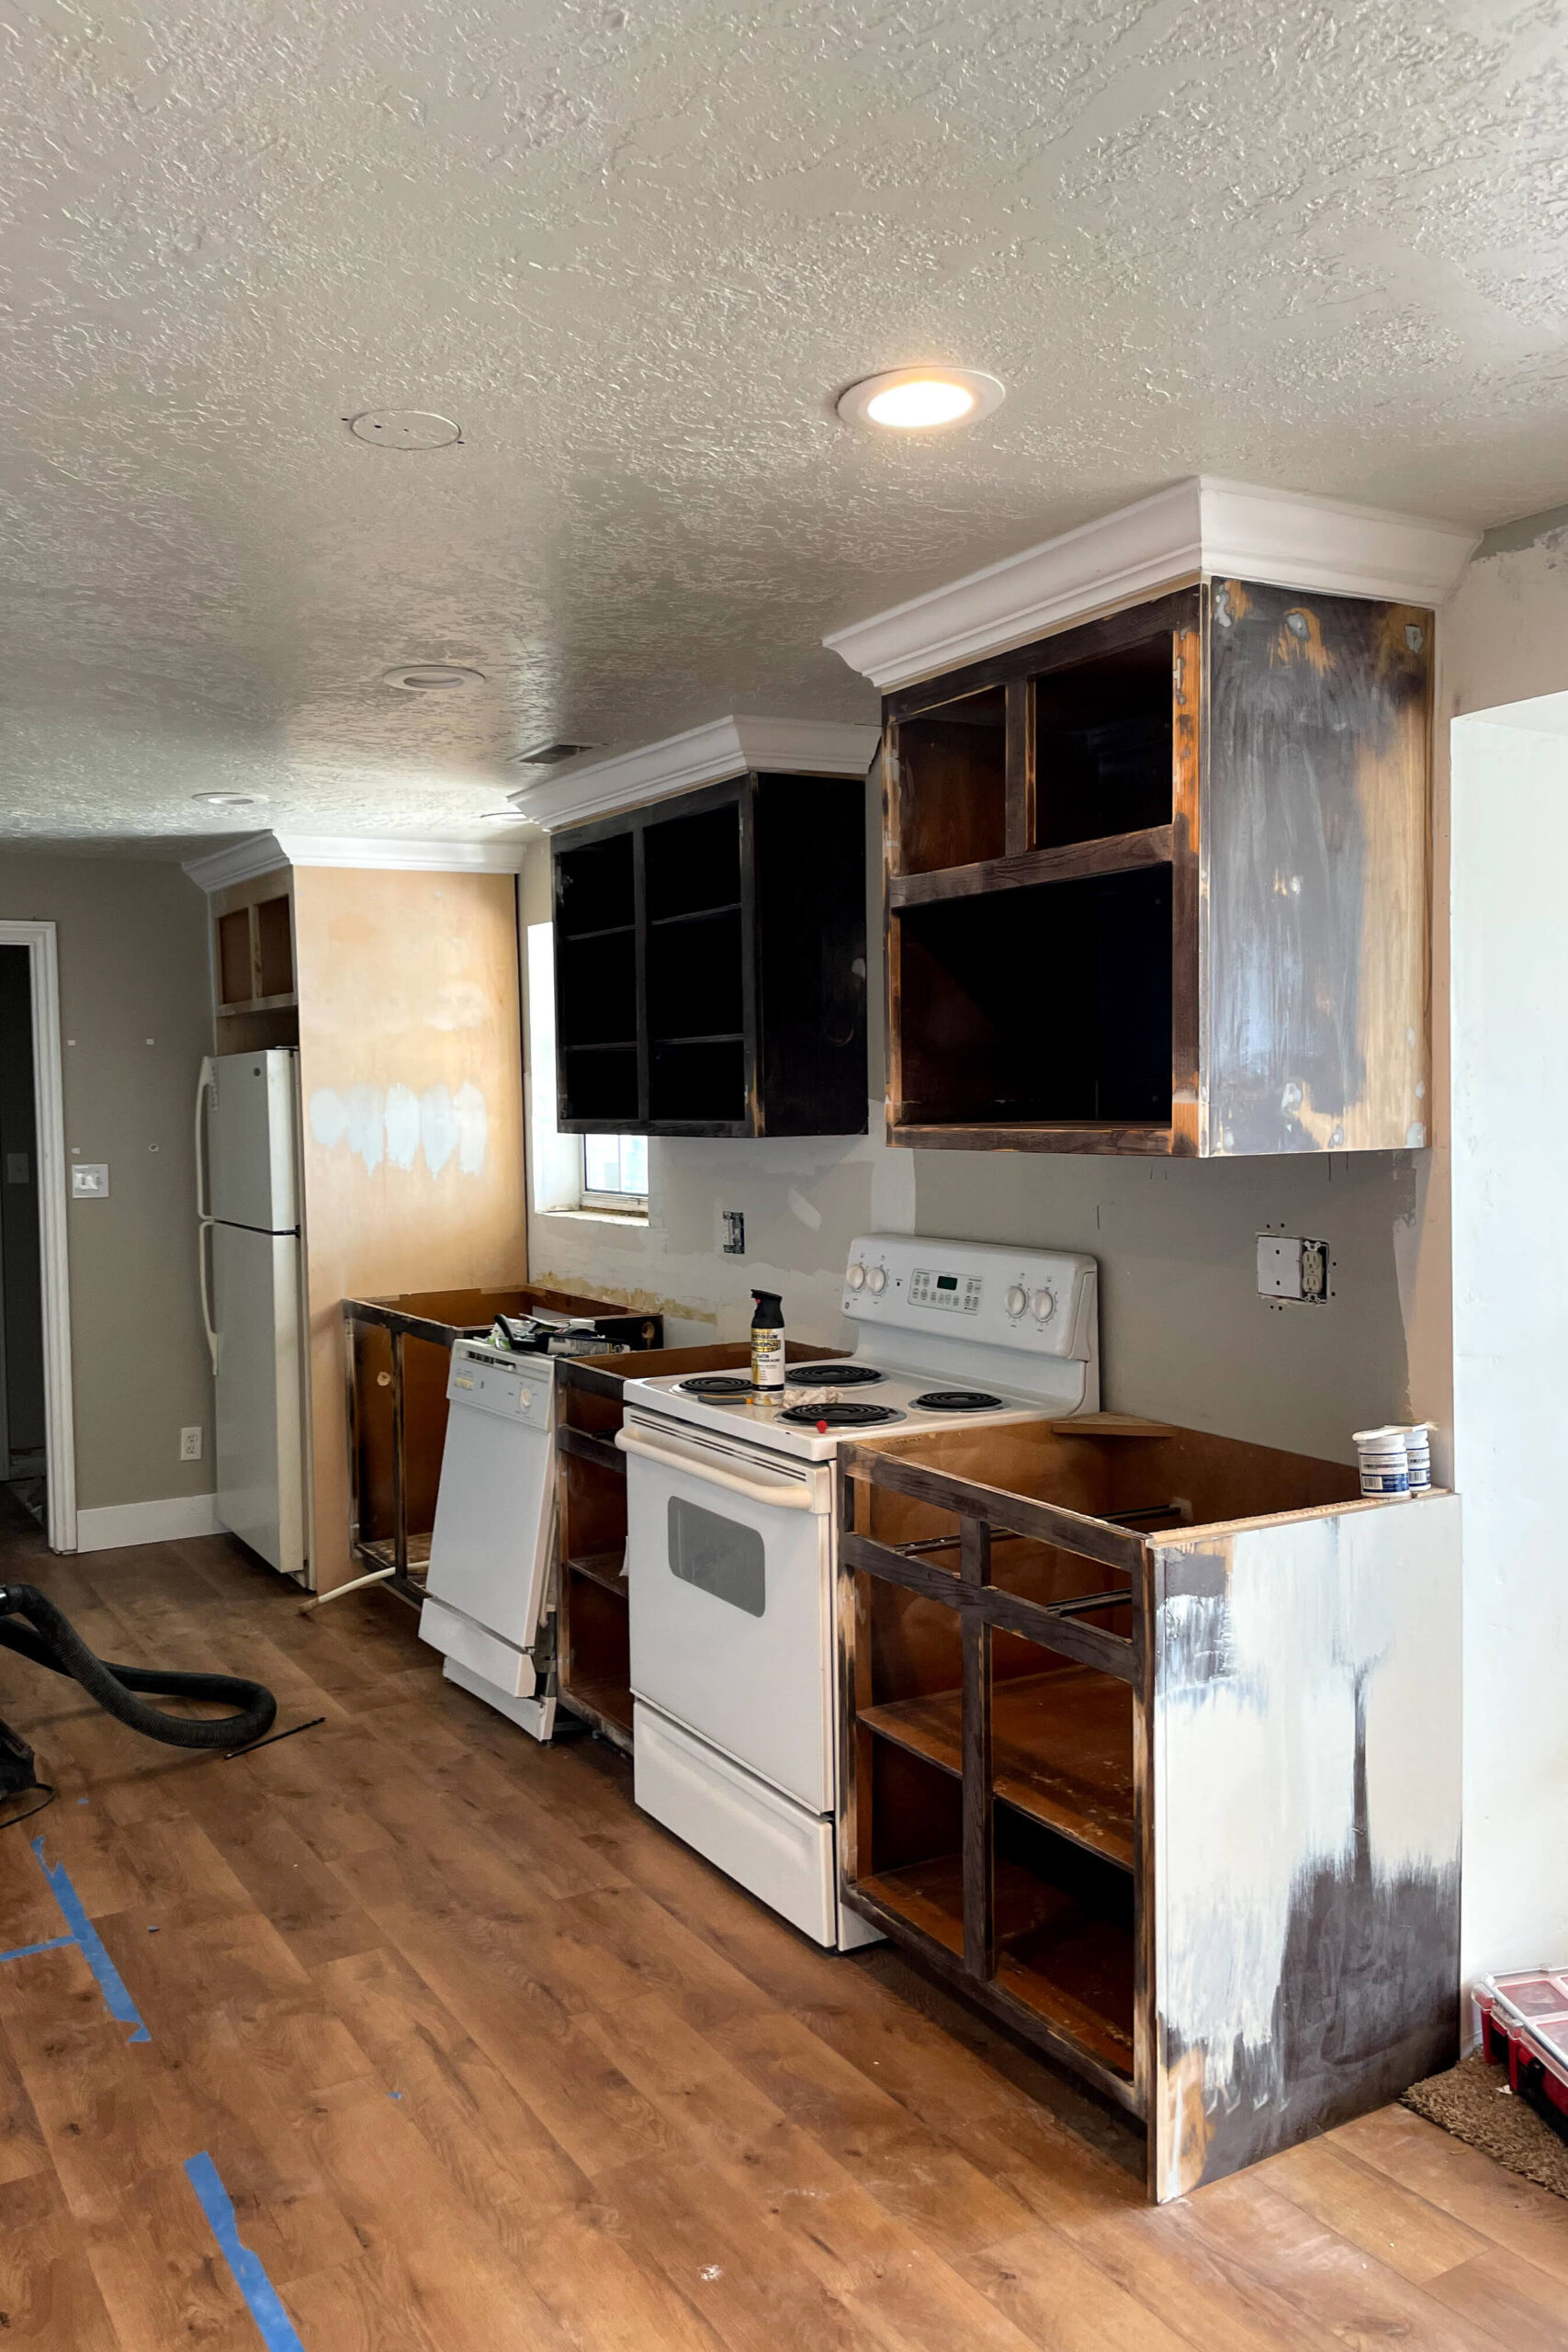
Preparing the Kitchen Cabinets for Paint
These cabinets needed some TLC. I sanded the fronts and insides using a handheld sander with 120-grit sandpaper.


Then, I moved the fridge to the corner, centered the sink under the window, and flanked the stove with cabinets. The space was already looking bigger and brighter!
While refurbishing the kitchen cabinets, I built a cabinet box for around the refrigerator—a touch that makes the kitchen look high-end. I have a post on building a refrigerator cabinet if you’re interested.


With the refrigerator cabinet in and the uppers installed, I filled any nicks and old hinge holes with Bondo. Mix a little at a time since it hardens quickly, and apply sparingly to avoid excessive sanding.

Before painting these refurbished kitchen cabinets, I added crown molding.
I cut 2×4 blocks, attached them to the top of the cabinets, and enclosed the area with scrap plywood. Then, I mitered the corners and attached the crown molding with a brad nailer. I cut the crown off flat where it runs into the wall in the back. After caulking, it was paint time!


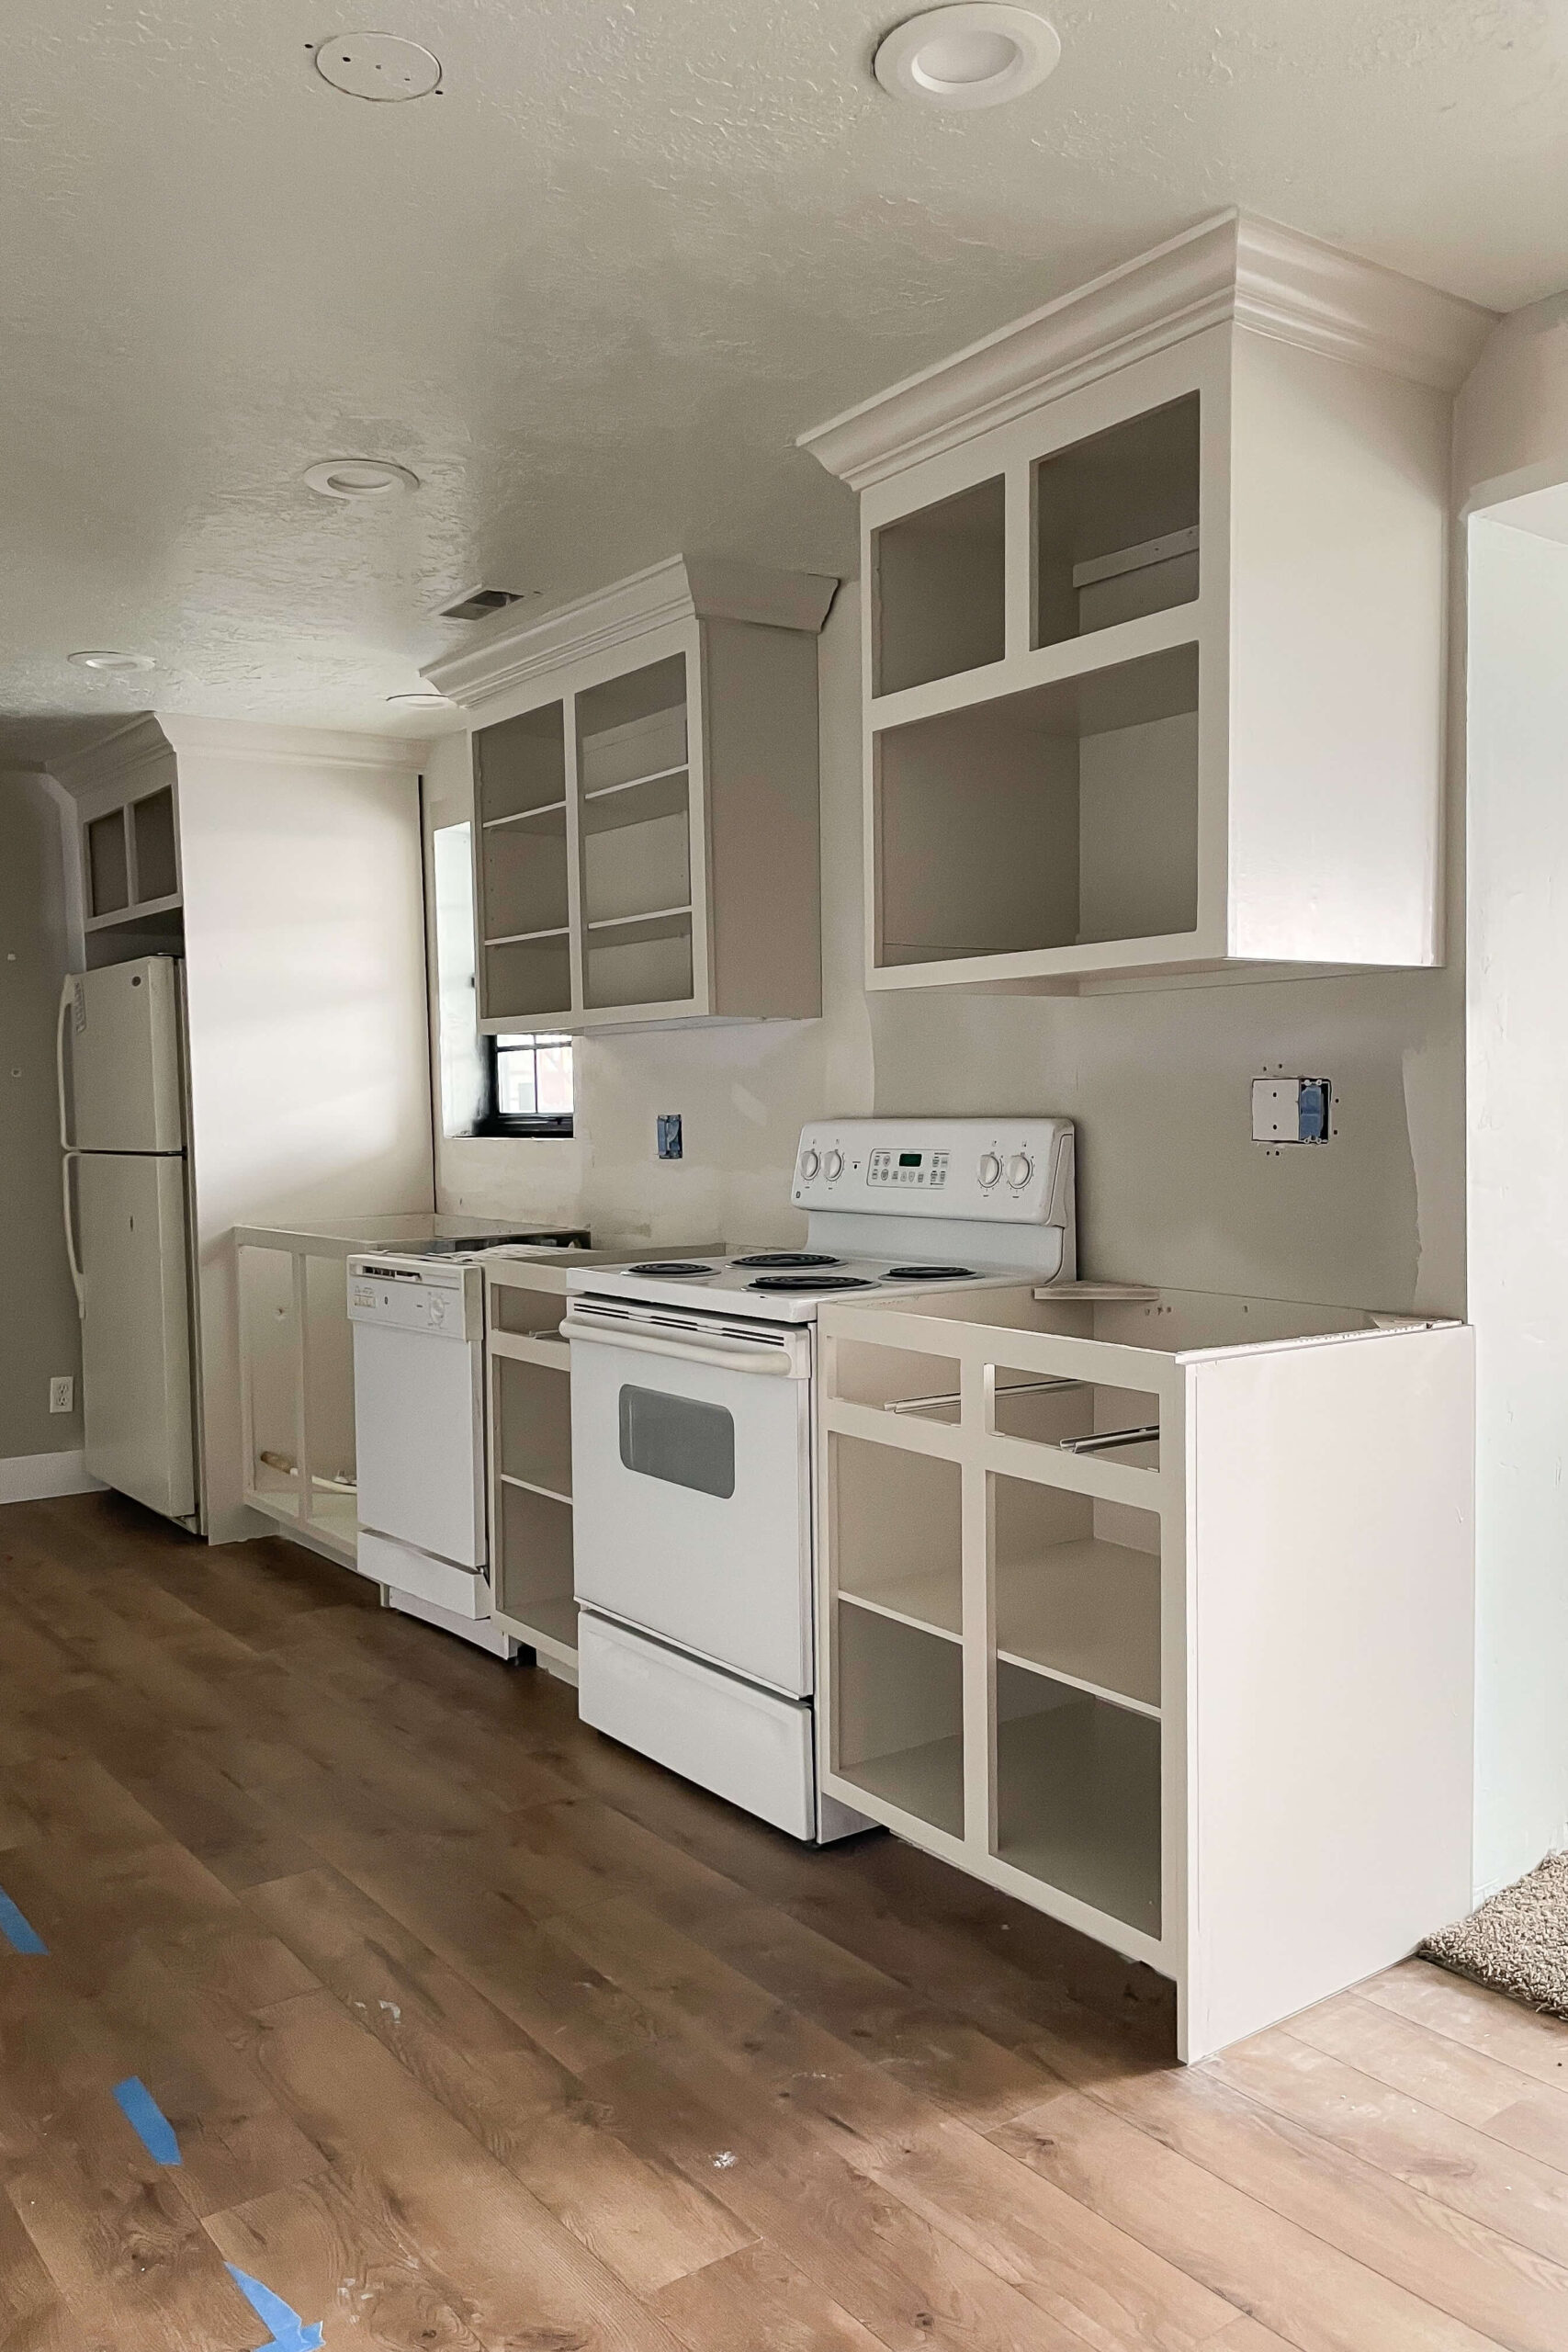
Painting the Refurbished Kitchen Cabinets
Using a paint sprayer gives the best finish for kitchen cabinets. Protect everything you don’t want painted with pre-taped plastic. I covered the ceiling and floors, and removed the appliances. Don’t forget to protect yourself with a paint suit or old clothes.


First, spray on a good primer. I recommend BIN Shellac-Based Primer. Once dry, move on to Sherwin Williams Emerald Urethane Trim Enamel. My sprayer worked wonders, even in tricky spots. It sprays continuously no matter which direction you hold it, which was great for maneuvering around inside these cabinets.


The refurbished kitchen cabinets looked stunning even without doors or a countertop!
Installing New Doors on Old Cabinets
I’ve built shaker doors before, but for this kitchen, I opted to buy and paint some unfinished, shaker doors. I have a whole system for hanging and painting them with my sprayer. For a full tutorial on how to do that, and where I bought my shaker doors from, check out this post here.


Once the doors were painted and installed on our refurbished kitchen cabinets, all that was left to do was install the hardware. I have a hack to make this so much easier.
After installing the doors on our refurbished kitchen cabinets, the last step was the hardware. My hack? Use a thin plywood template for evenly spaced holes. Clamp it to each door, drill through the template, and voila! Perfectly aligned hardware every time.


A quick reminder of where we started on this kitchen.

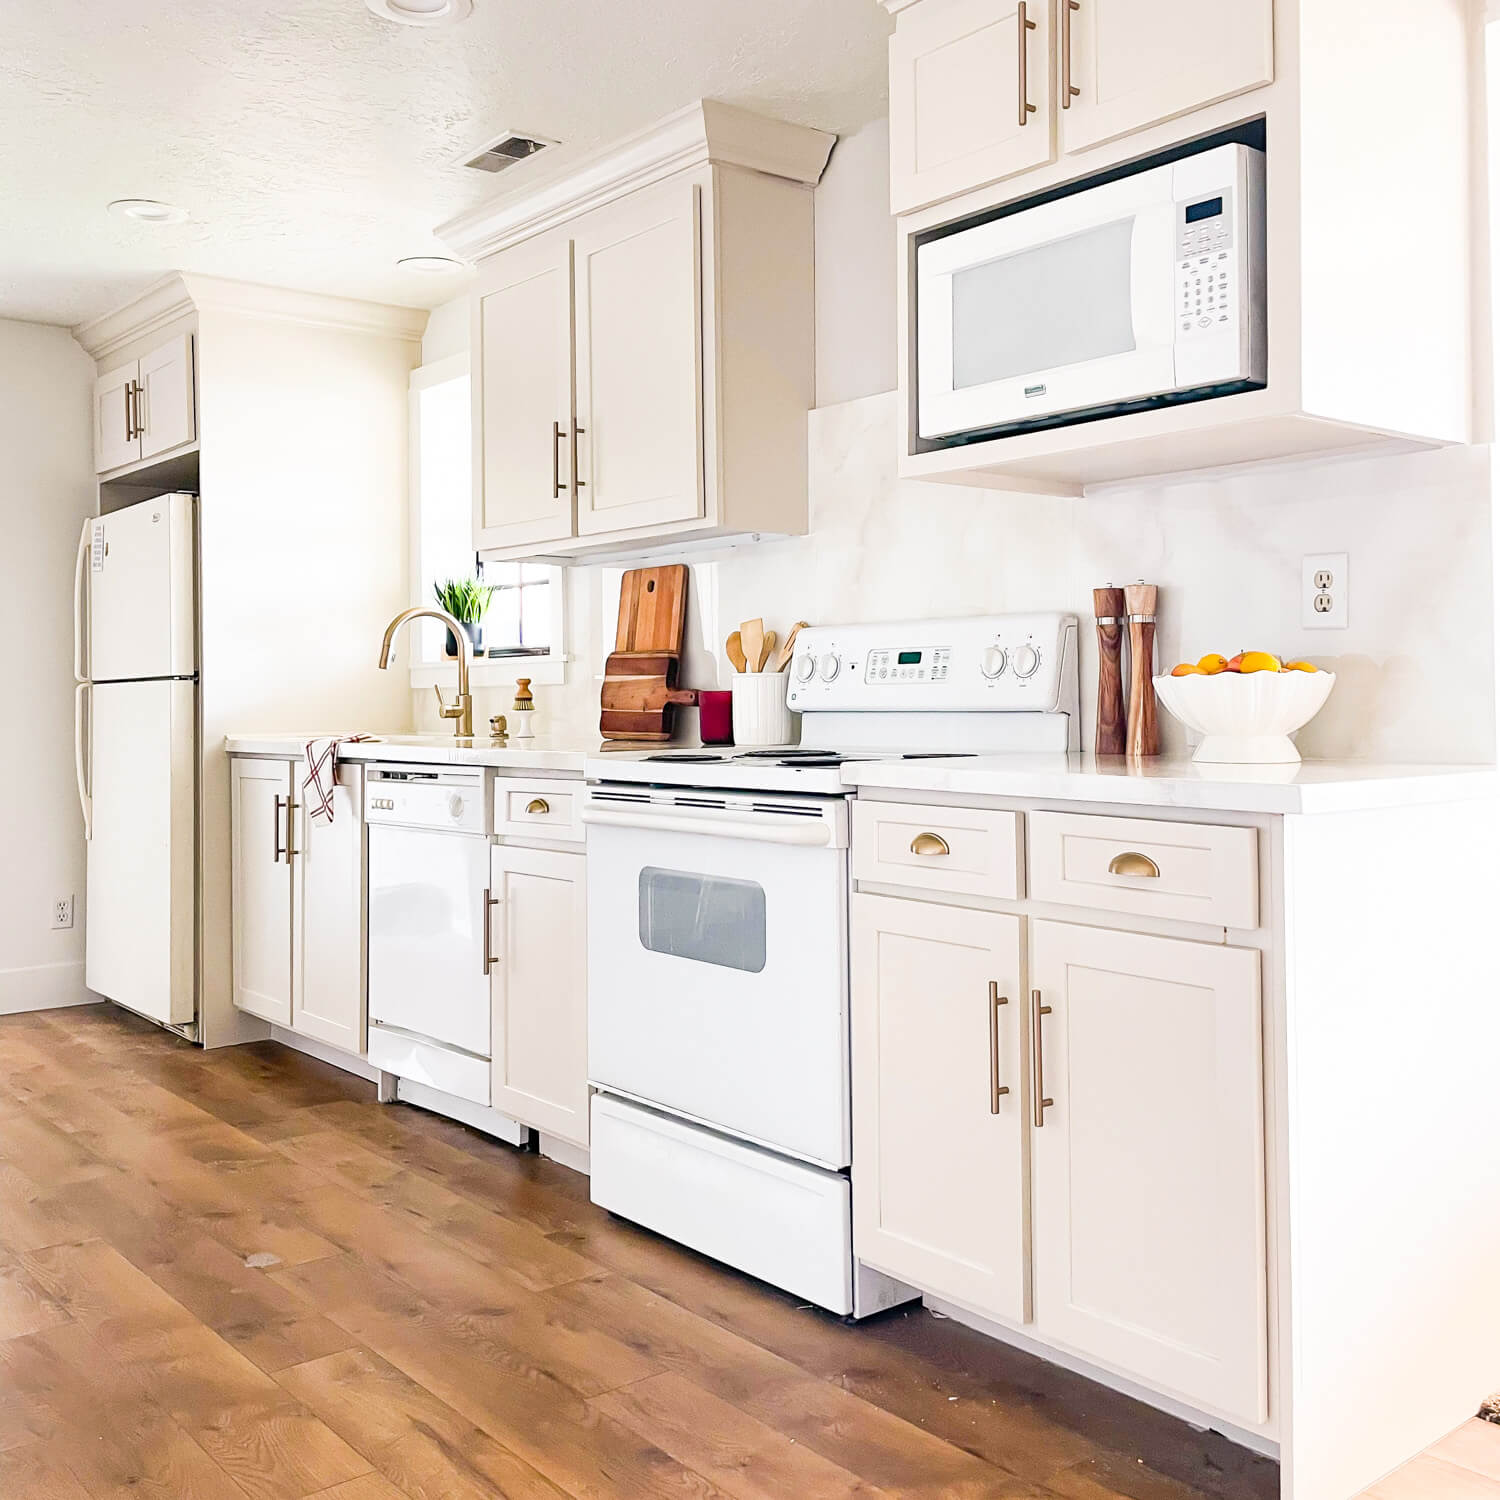
And look at these refurbished kitchen cabinets now! What a big difference! Seriously, you would never know I didn’t buy these cabinets brand new for this remodel, and the new layout is way better too.
And here’s a peek after the whole kitchen was done! I’m working on full posts for all of the individual projects I did in this kitchen, like building the island and the range hood. Keep following along on my blog and my Instagram for when those tutorials go live.
Currently, I have tutorials finished for the gorgeous fireplace makeover, as well as the laminate flooring installation.
Using refurbished kitchen cabinets for your remodel will save you so much money. And it keeps old cabinets from ending up in a landfill. If you’re changing your layout and need more cabinets, try looking on Facebook Marketplace. It’s a great place to find old kitchen cabinets that someone wants to get rid of.

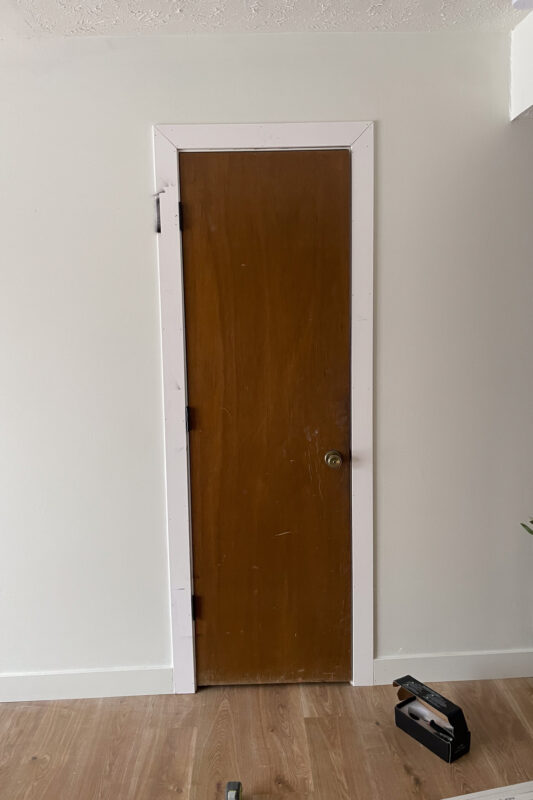
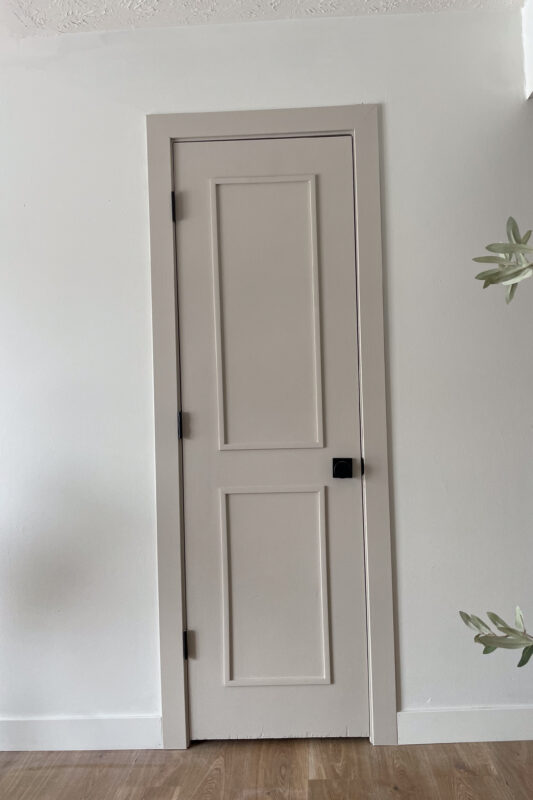
Looking for more posts where I transform something old into something that looks brand new? Check out this tutorial where I take these basic, 1970’s style doors to the look of custom, high-end doors.
Leave a Reply