

Updated September 8, 2025
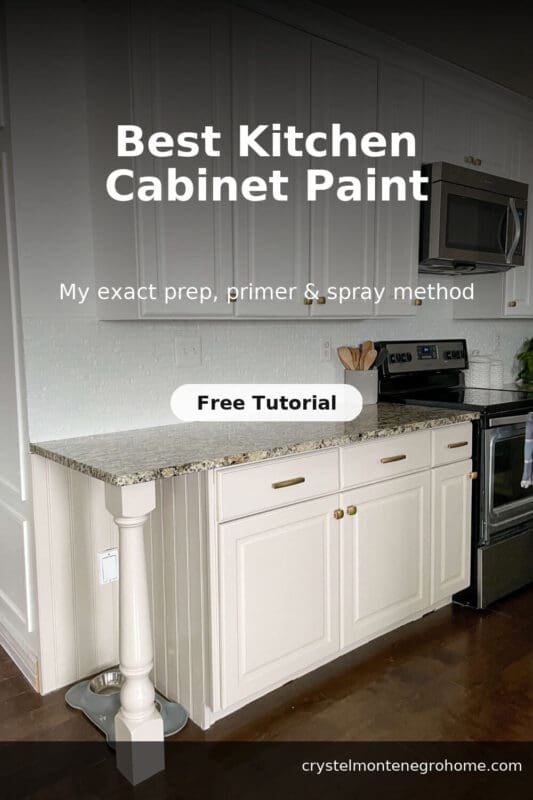
Getting great results with painted kitchen cabinets comes down to two things: choosing the best cabinet paint and applying it the right way. For this refresh, I cleaned and sanded everything, primed with BIN shellac, and sprayed a smooth, durable finish using Sherwin-Williams Emerald Urethane Trim Enamel. It is a budget-friendly weekend project that makes a huge impact without replacing your cabinets.
Before you dive in, skim The ULTIMATE Guide to Painting Cabinets & Furniture for my complete prep, primer, and finish roadmap.
Project at a glance: Cost range depends on tools you already own, timeline is a weekend for paint plus cure time, skill level is intermediate if spraying and beginner friendly if rolling.
Table of Contents
- Best Paint for Kitchen Cabinets (My Pick)
- Tools for Painting Kitchen Cabinets
- Materials for Painting Kitchen Cabinets
- The Before Photos
- Step 1: Prep and Prime Upper Cabinets
- Step 2: Spray the Uppers and Smooth Between Coats
- Step 3: Paint the Lower Cabinets a Second Color
- Step 4: Paint the Tile Backsplash to Match
- Step 5: Finish With Hardware and Drawer Organizers
- Kitchen Cabinet Paint Colors I Used
- More Budget Kitchen Upgrades You Will Love
- Save This Project For Later
- Frequently Asked Questions About Painting Kitchen Cabinets
Best Paint for Kitchen Cabinets (My Pick)
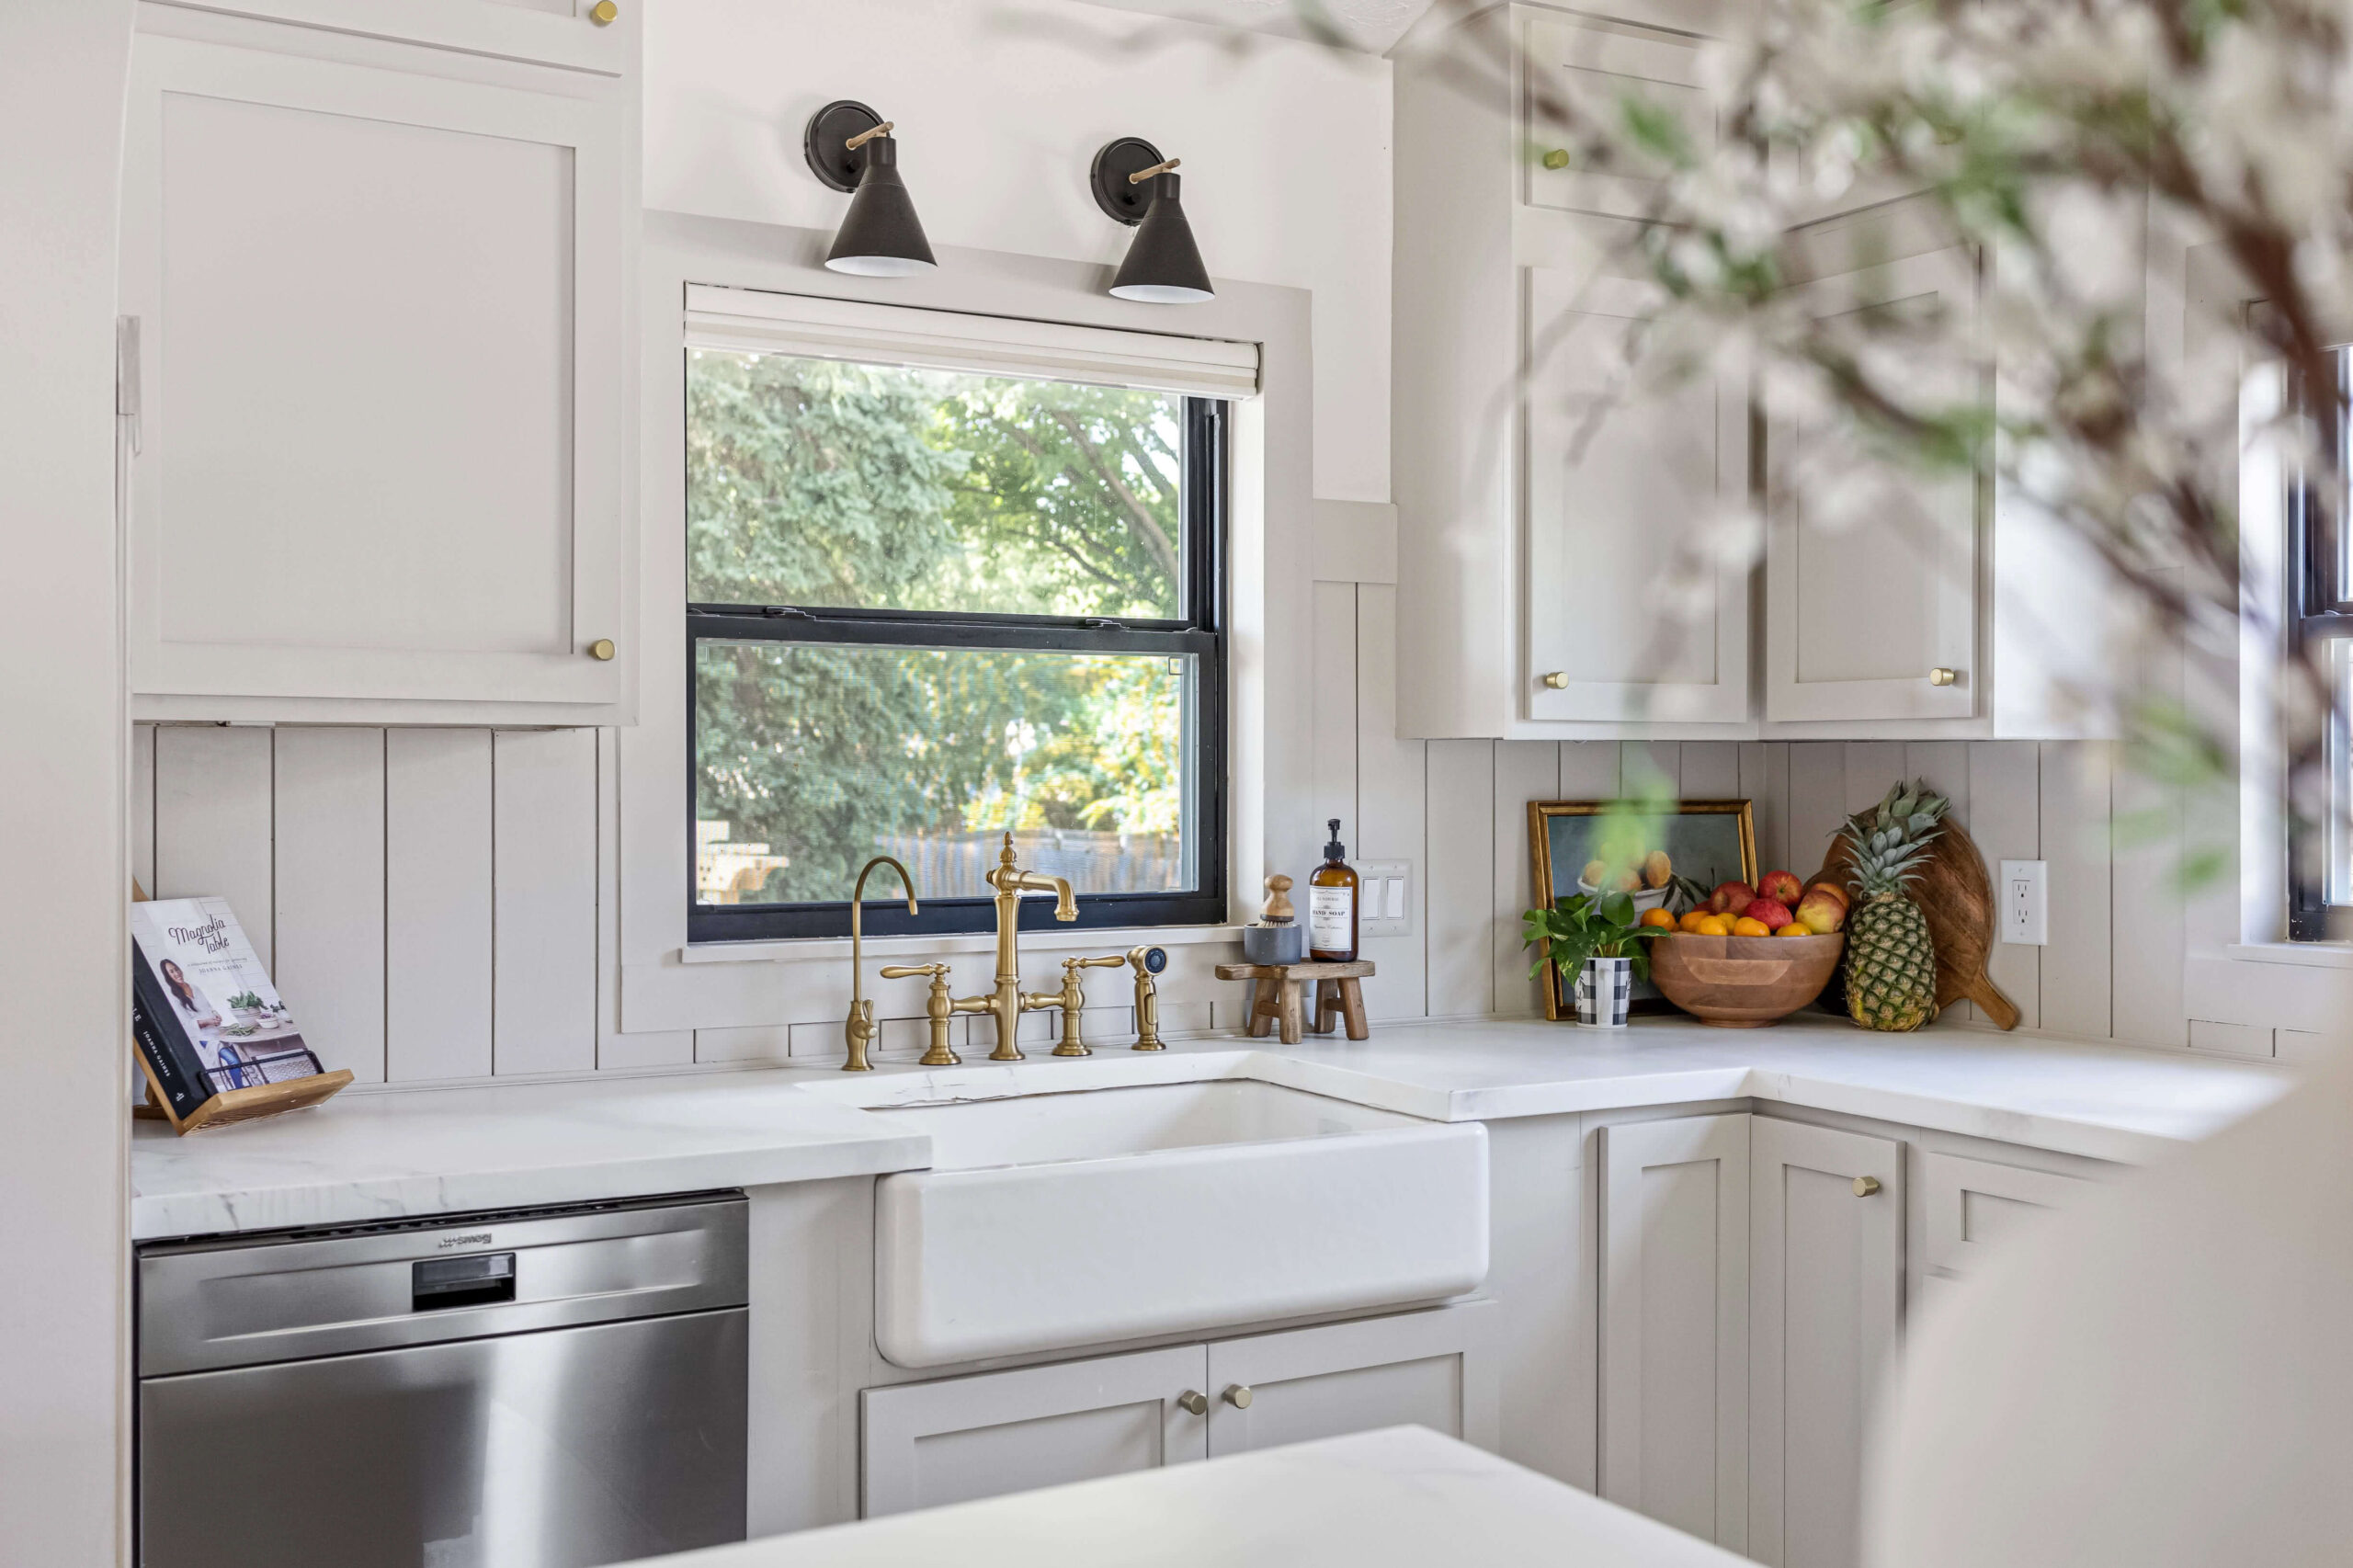
After a lot of trial and error, I keep coming back to Sherwin-Williams Emerald Urethane Trim Enamel. It levels beautifully, cures hard, and stands up to daily kitchen life. For this space, the uppers are Alabaster and the lowers are Accessible Beige, which creates that light, warm contrast without feeling stark.
For a deeper breakdown of sheens, durability, and curing, see The ULTIMATE Guide to Painting Cabinets & Furniture.
Tools for Painting Kitchen Cabinets
Materials for Painting Kitchen Cabinets
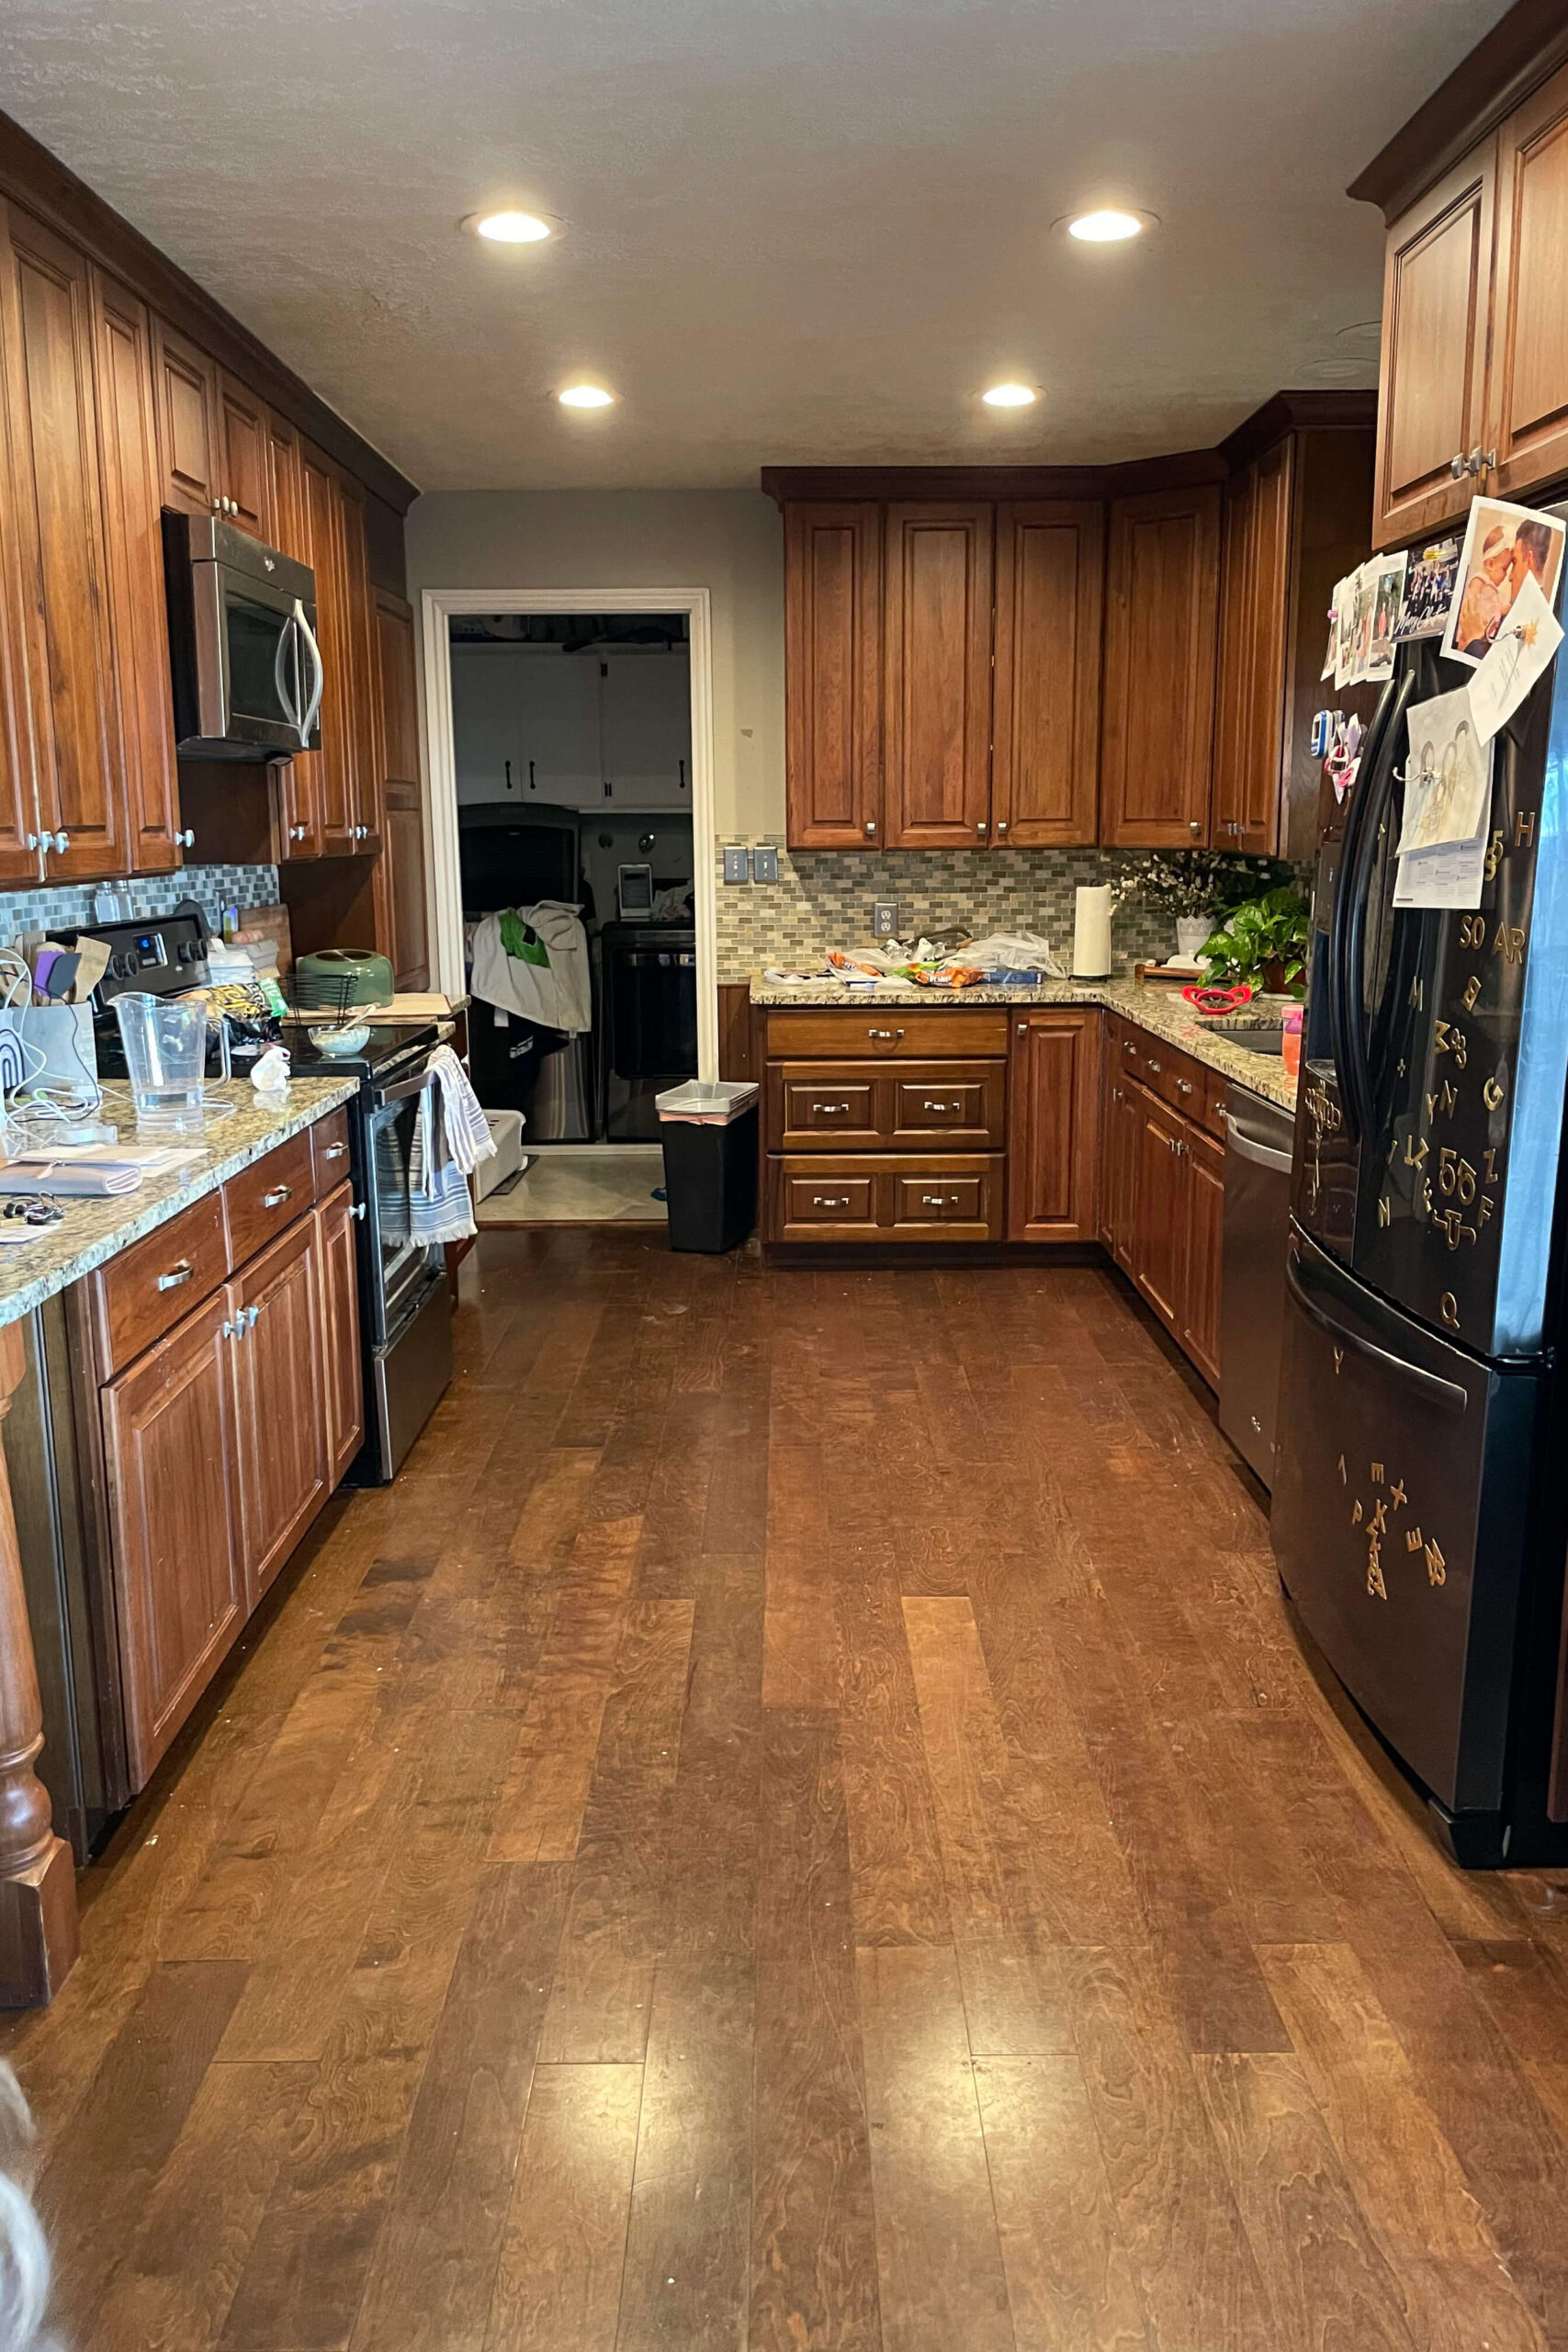
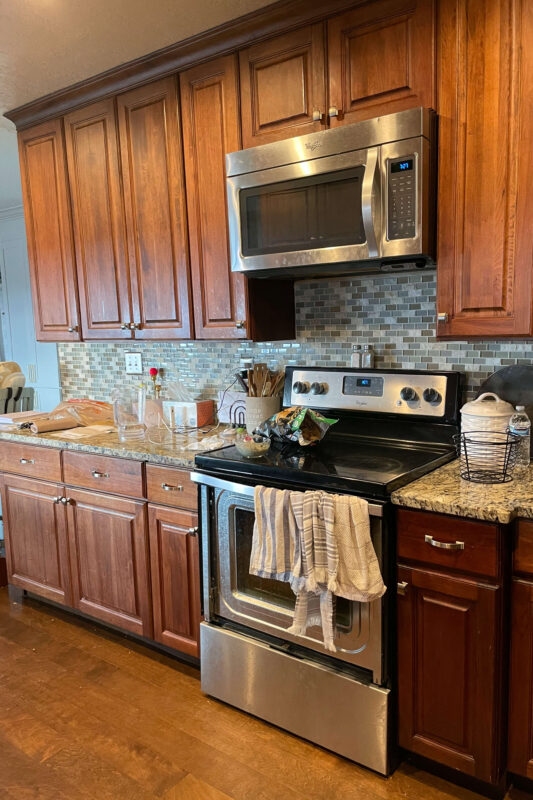
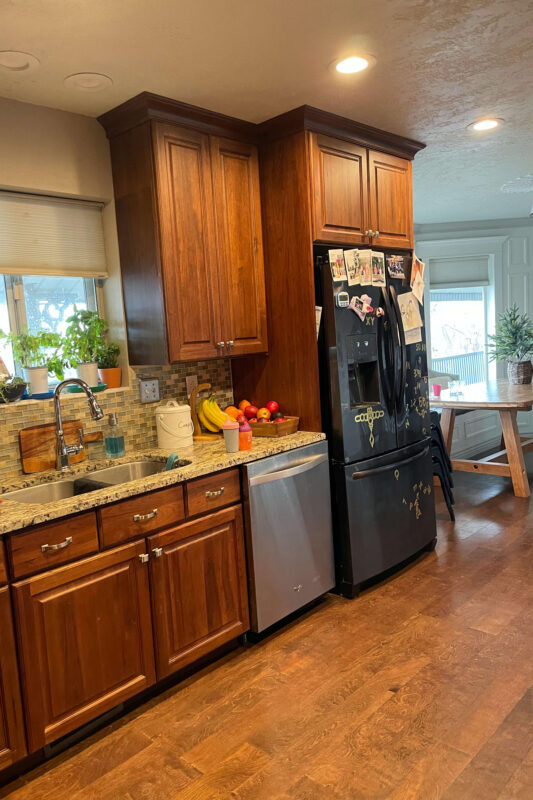
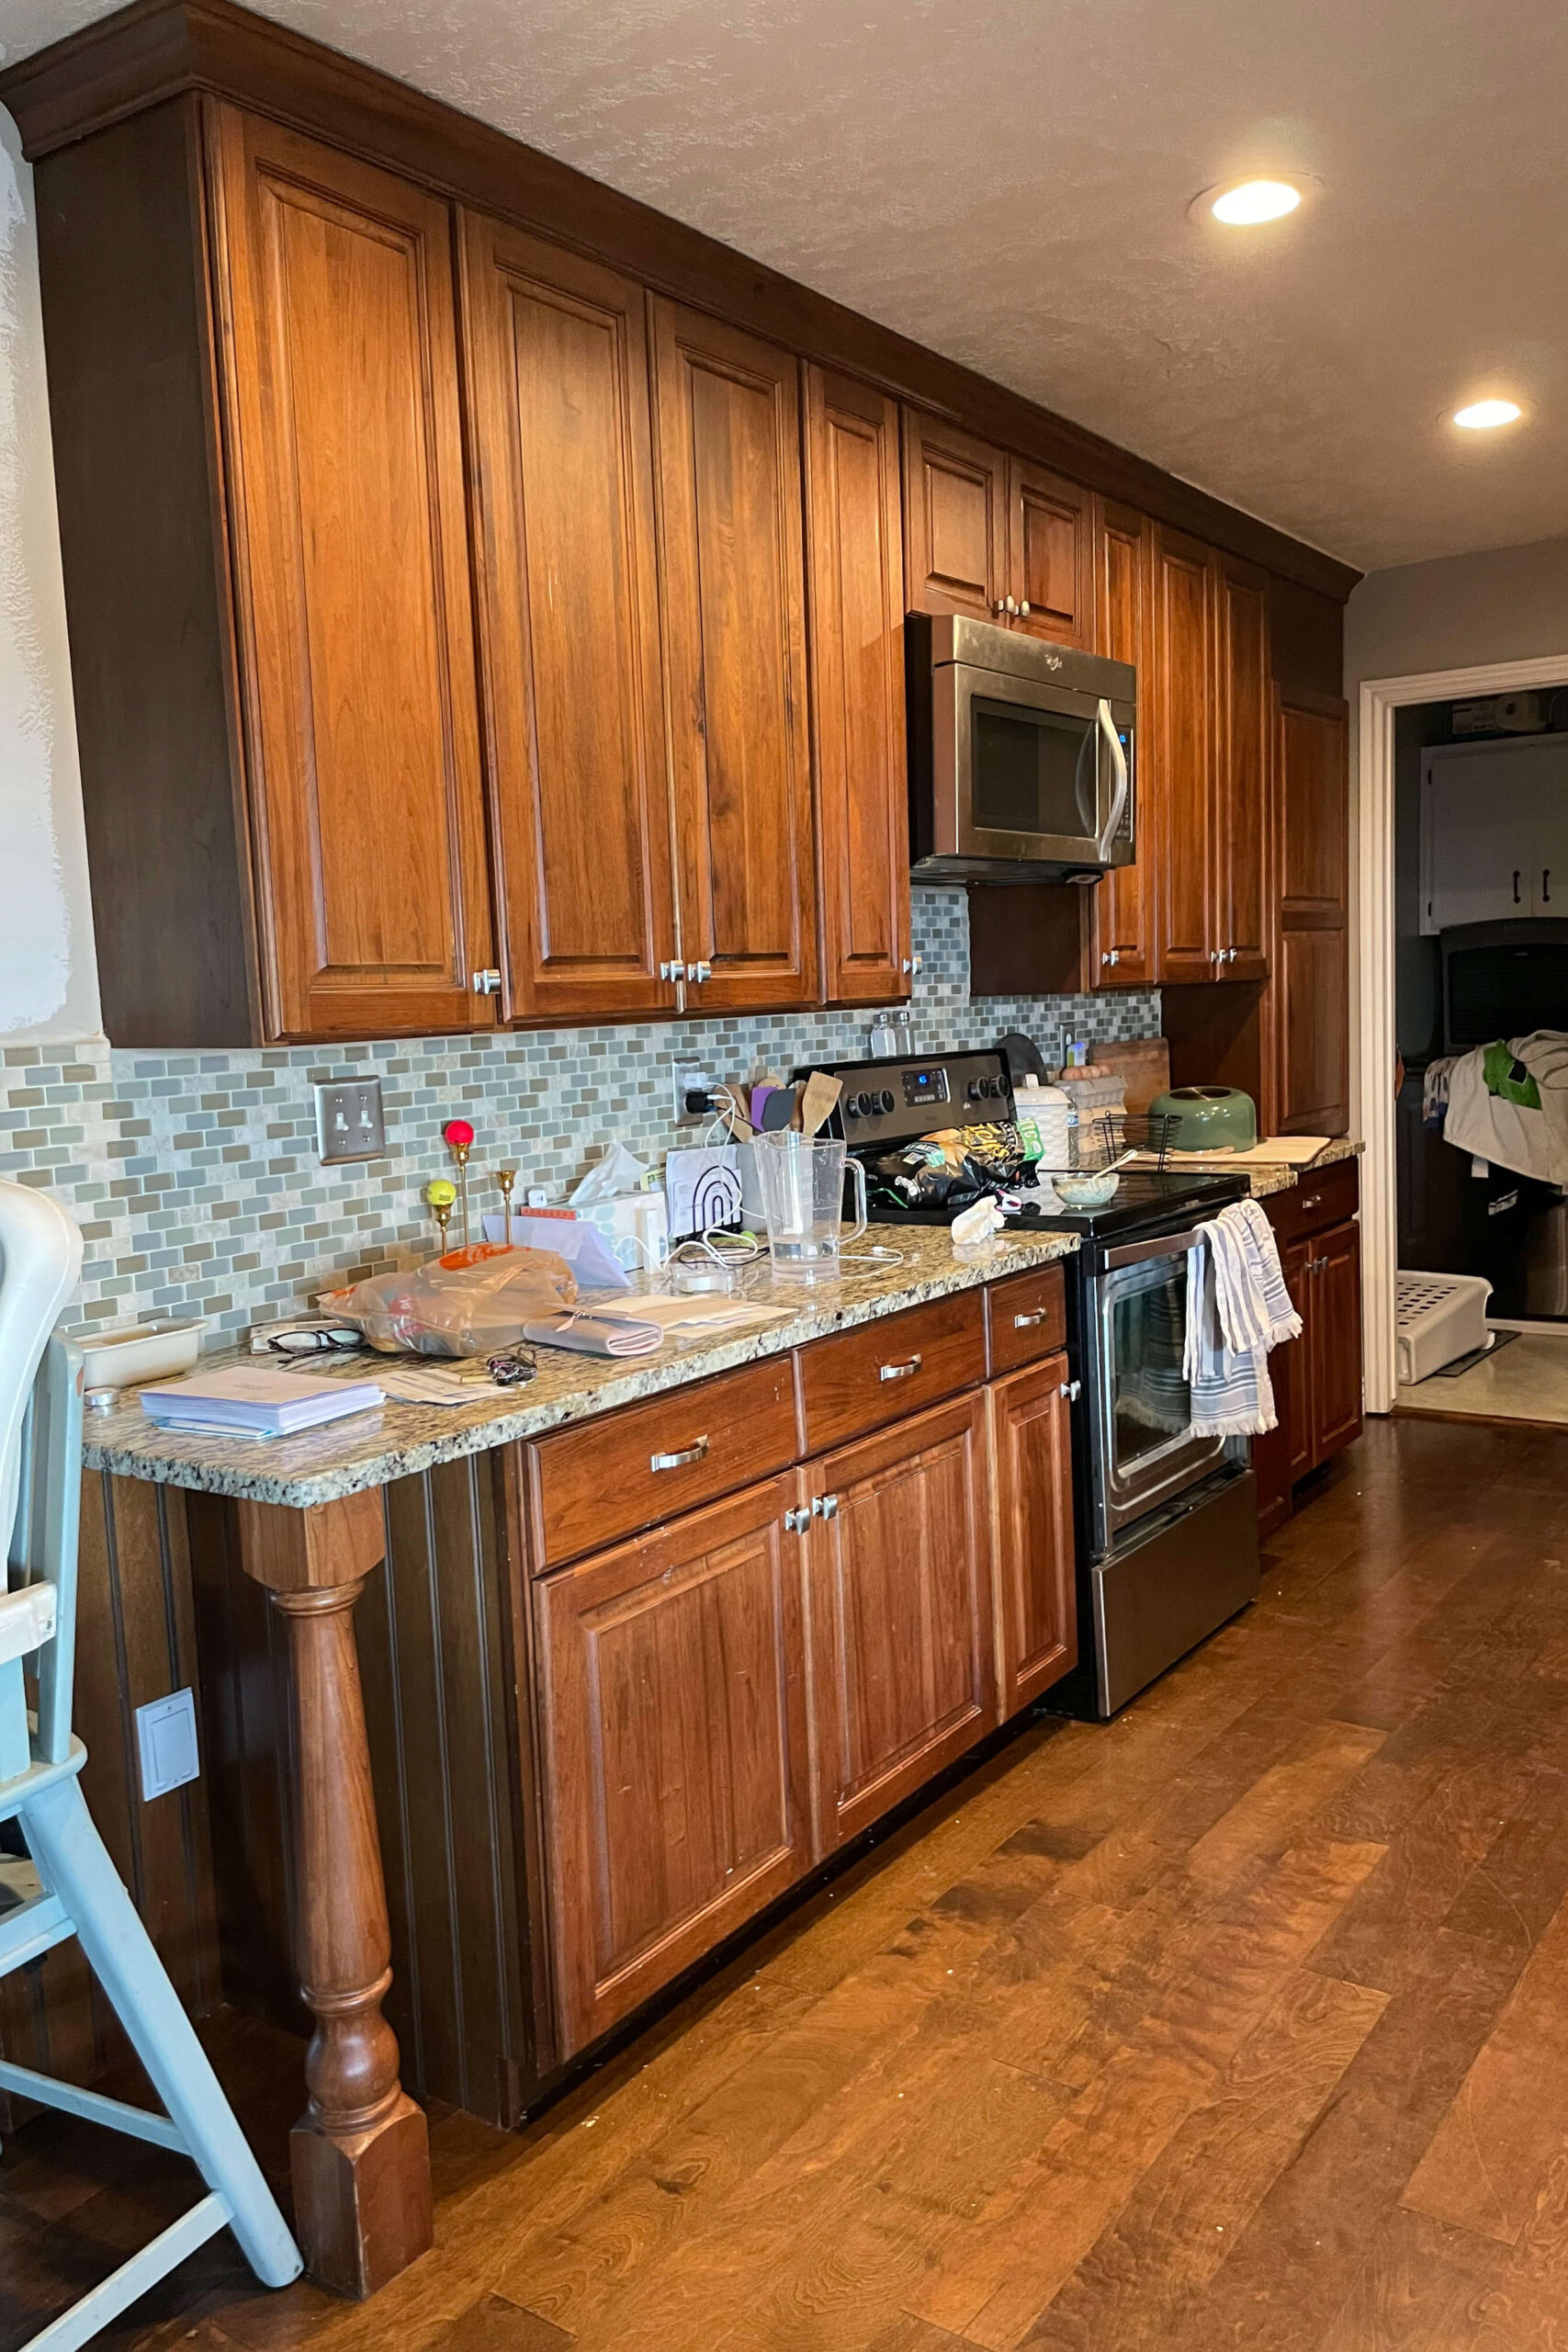
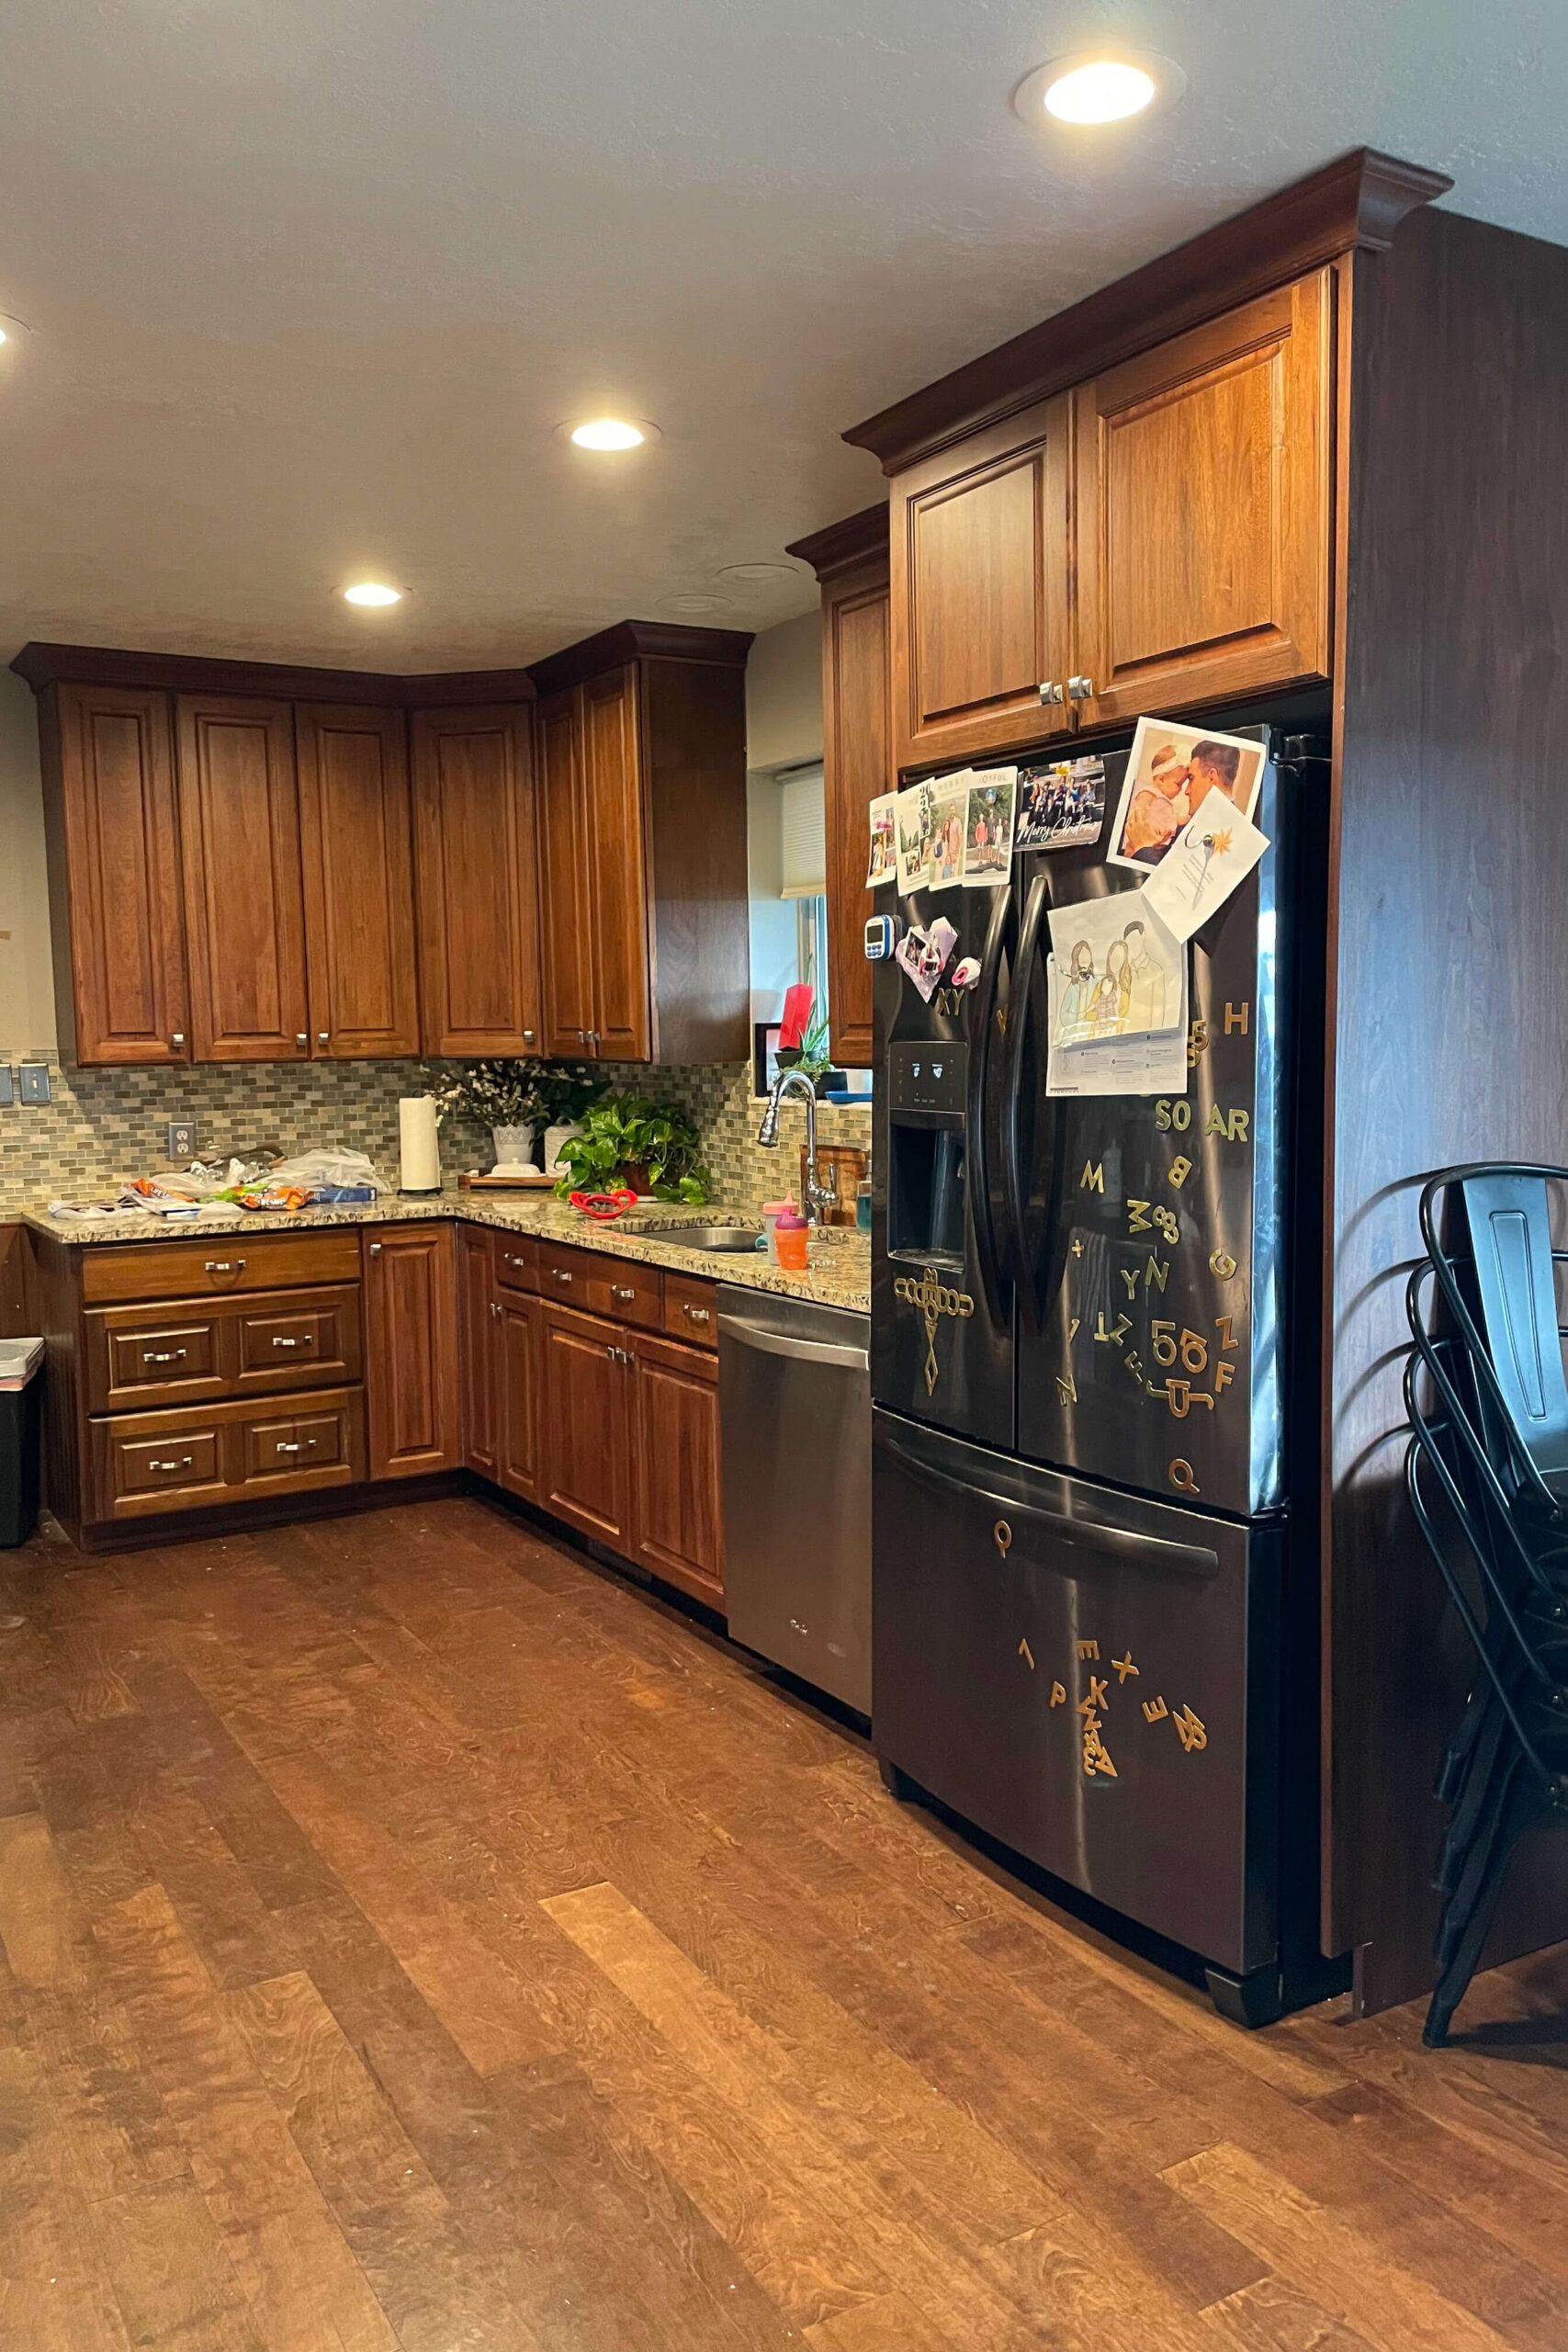
The Before Photos
This upstairs kitchen had a solid layout and just needed brightening. A fresh coat of paint on the cabinets made it feel new again without the cost of a full replacement. The space sits right off the dining nook where I installed trim in my DIY Bay Window Trim post, and built a table in my How to Build a Beautiful DIY Table post.
Step 1: Prep and Prime Upper Cabinets
I always start by getting the surfaces clean. A good degreaser removes what soap leaves behind, which means your paint can actually do its job. Once the doors were off, I gave every surface a quick scuff with a 120-grit sanding block, and wiped away dust with a lint-free cloth.

With everything prepped, I moved to primer. BIN Shellac-Based Primer grabs slick finishes and blocks stains, so it sets you up for a longer lasting topcoat. I rolled and brushed the face frames first. Since I planned to spray the doors and exteriors, I taped and papered the cabinet interiors, which let me avoid emptying every shelf.

A small setup note that makes spraying easier: open the doors before you mask appliances and counters, then use pre-taped plastic to cover anything that might catch overspray.

Opening all the cabinet doors made it easy to spray the outside and both sides of the doors.
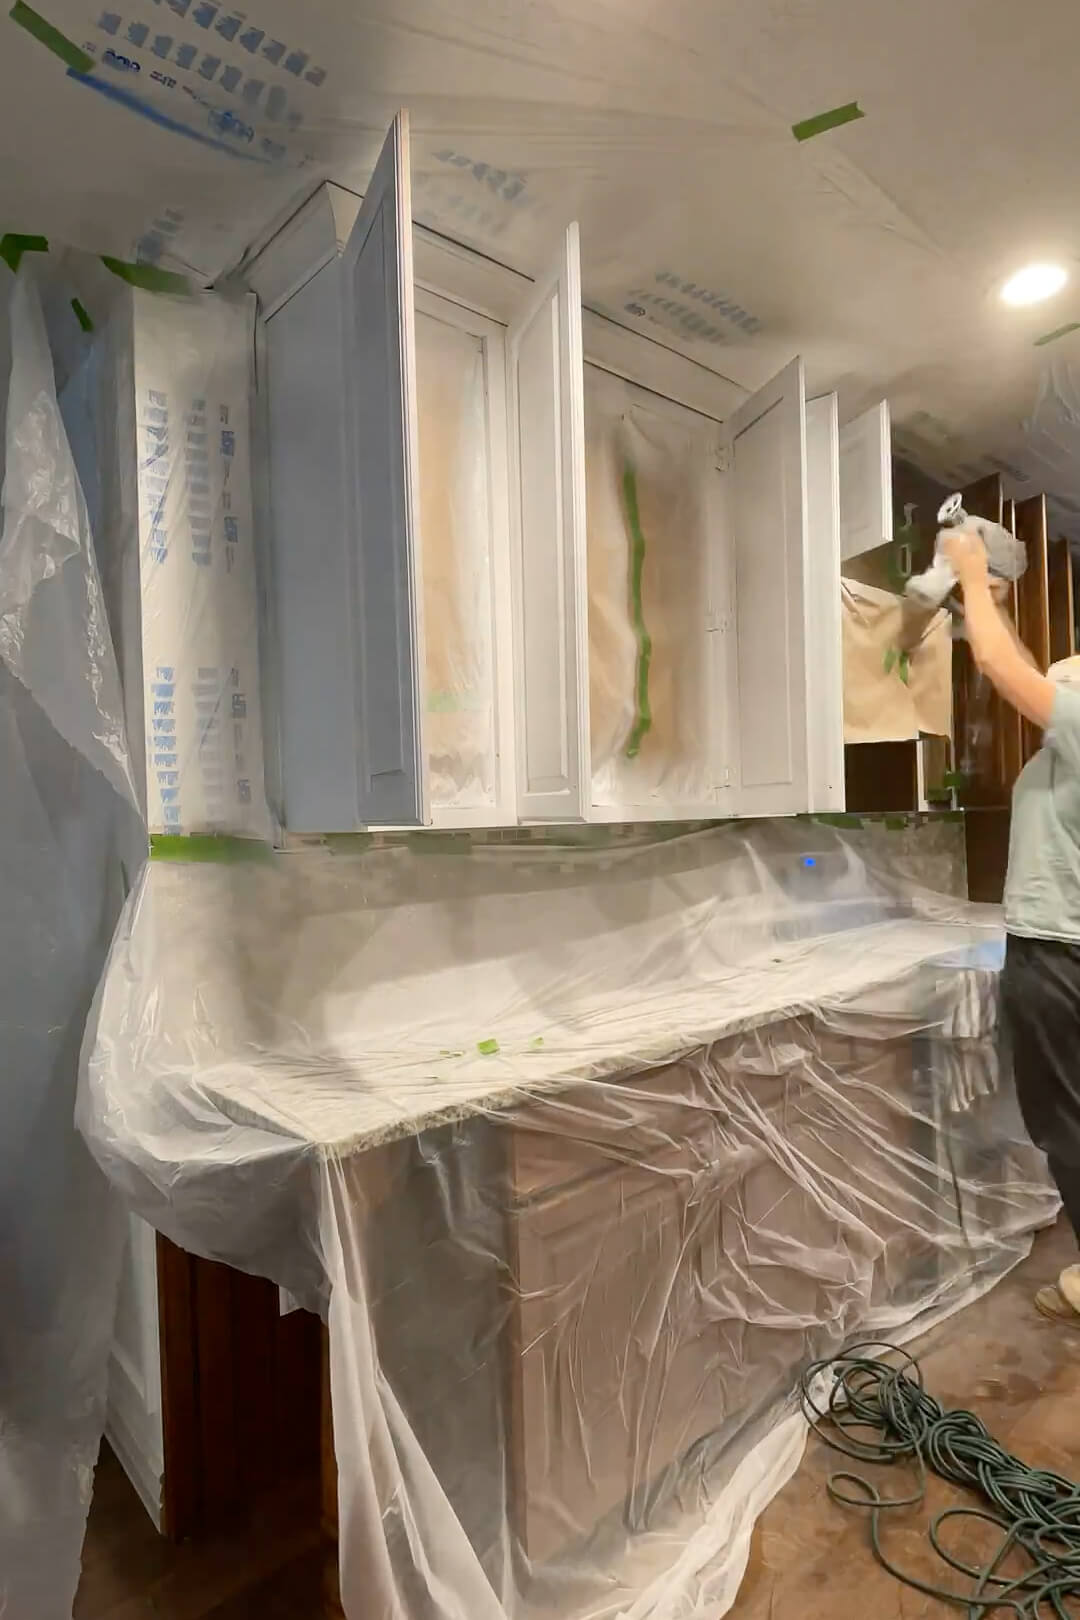
Step 2: Spray the Uppers and Smooth Between Coats
After the primer dried, I did a quick nib sand with 220-grit sandpaper. This takes just a minute, and it makes the final coat feel professional. At this point I reinstalled the doors so the hinge edge was easy to hit, then built up the finish in light, even passes with the sprayer.

One thing I learned the hard way: protect the floor. Masking it at the start is faster than scrubbing overspray later.
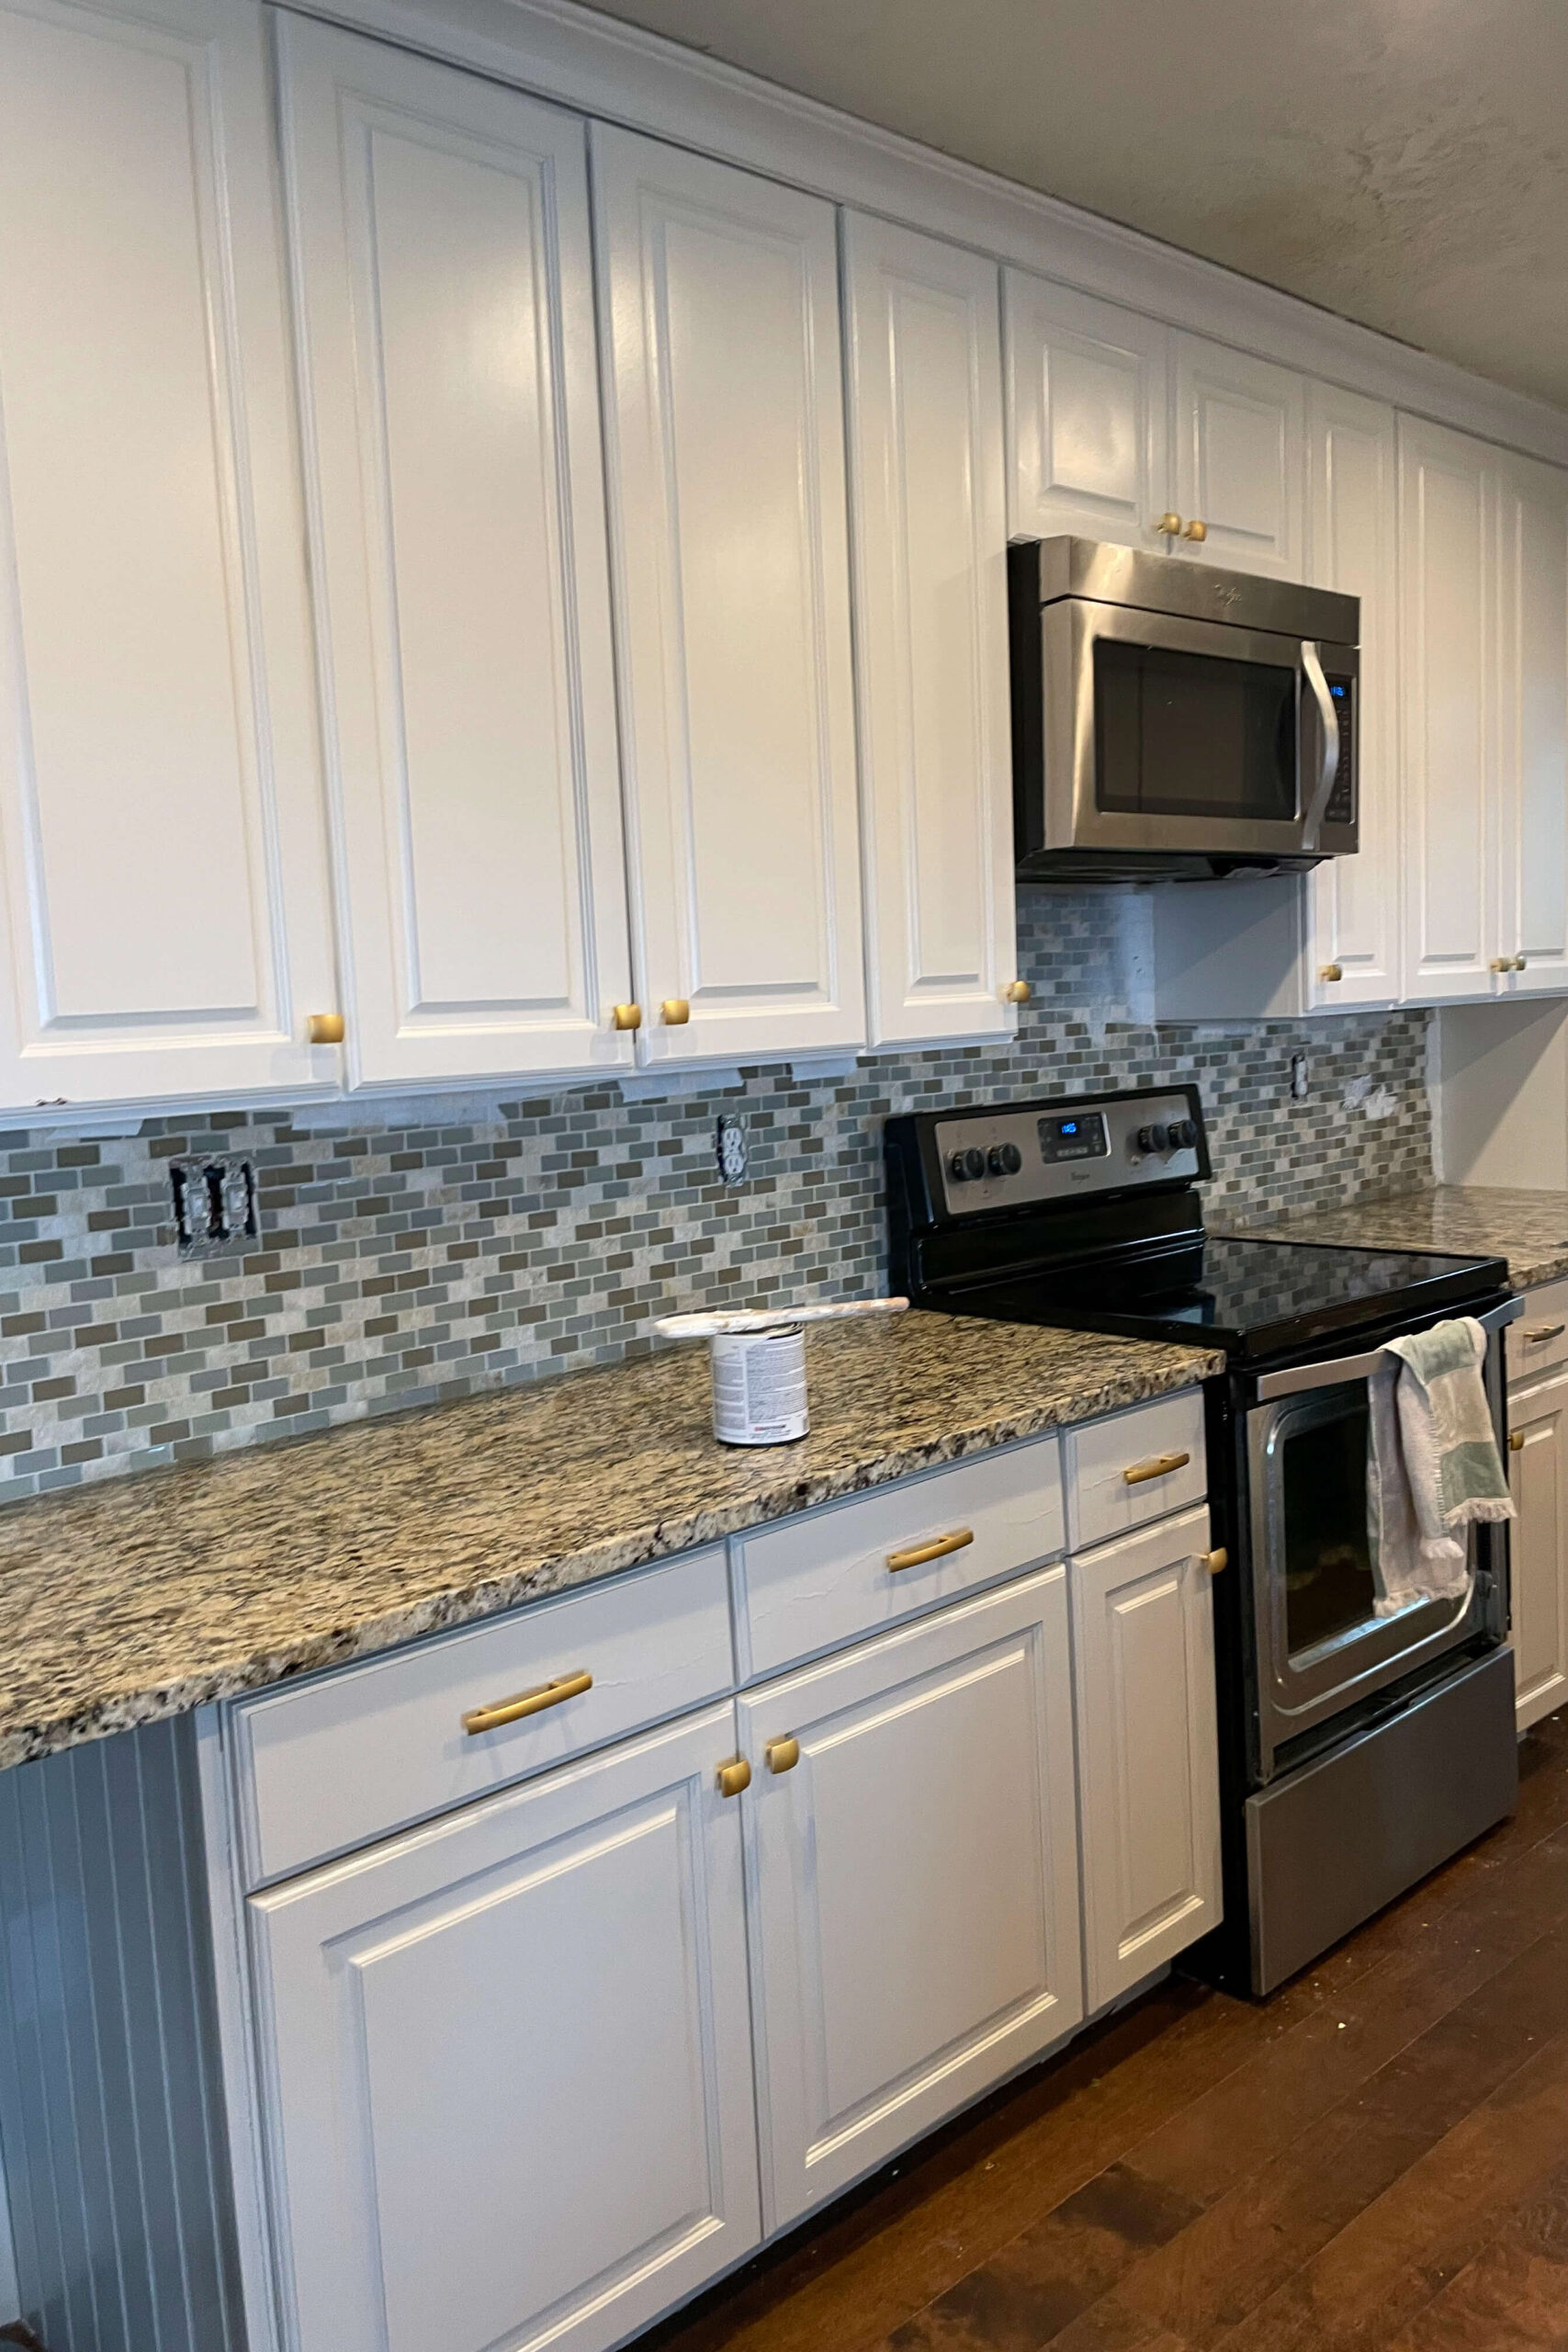
Step 3: Paint the Lower Cabinets a Second Color
Because the lowers were a different color, I handled them as their own mini project. First came the same clean, sand, and dust-off routine.

To save time on masking the interiors, I hand-primed and painted the full face frames, the backs of the doors, and the drawer frames.


Once that dried, I masked the uppers and nearby surfaces, then sprayed the lowers with primer and paint. The two-tone look comes together right here, and the Alabaster and Accessible Beige combo keeps everything light while adding depth.

Step 4: Paint the Tile Backsplash to Match
The cabinets looked fresh, but the original backsplash felt out of place. Rather than demo, I painted it to tie in with the uppers. I started with Rust-Oleum Home Floor Coating as a base, then rolled on Alabaster for the topcoat.
Here are other options for backsplashes that I’ve installed in the past –
Beautiful DIY Shiplap Backsplash
The Best Way to DIY Epoxy Countertops
For a crisp line where the backsplash meets the countertop, score along the tape with a sharp utility knife, run a tiny bead of caulk, and only then pull the tape. The edge turns out clean and professional.


Step 5: Finish With Hardware and Drawer Organizers
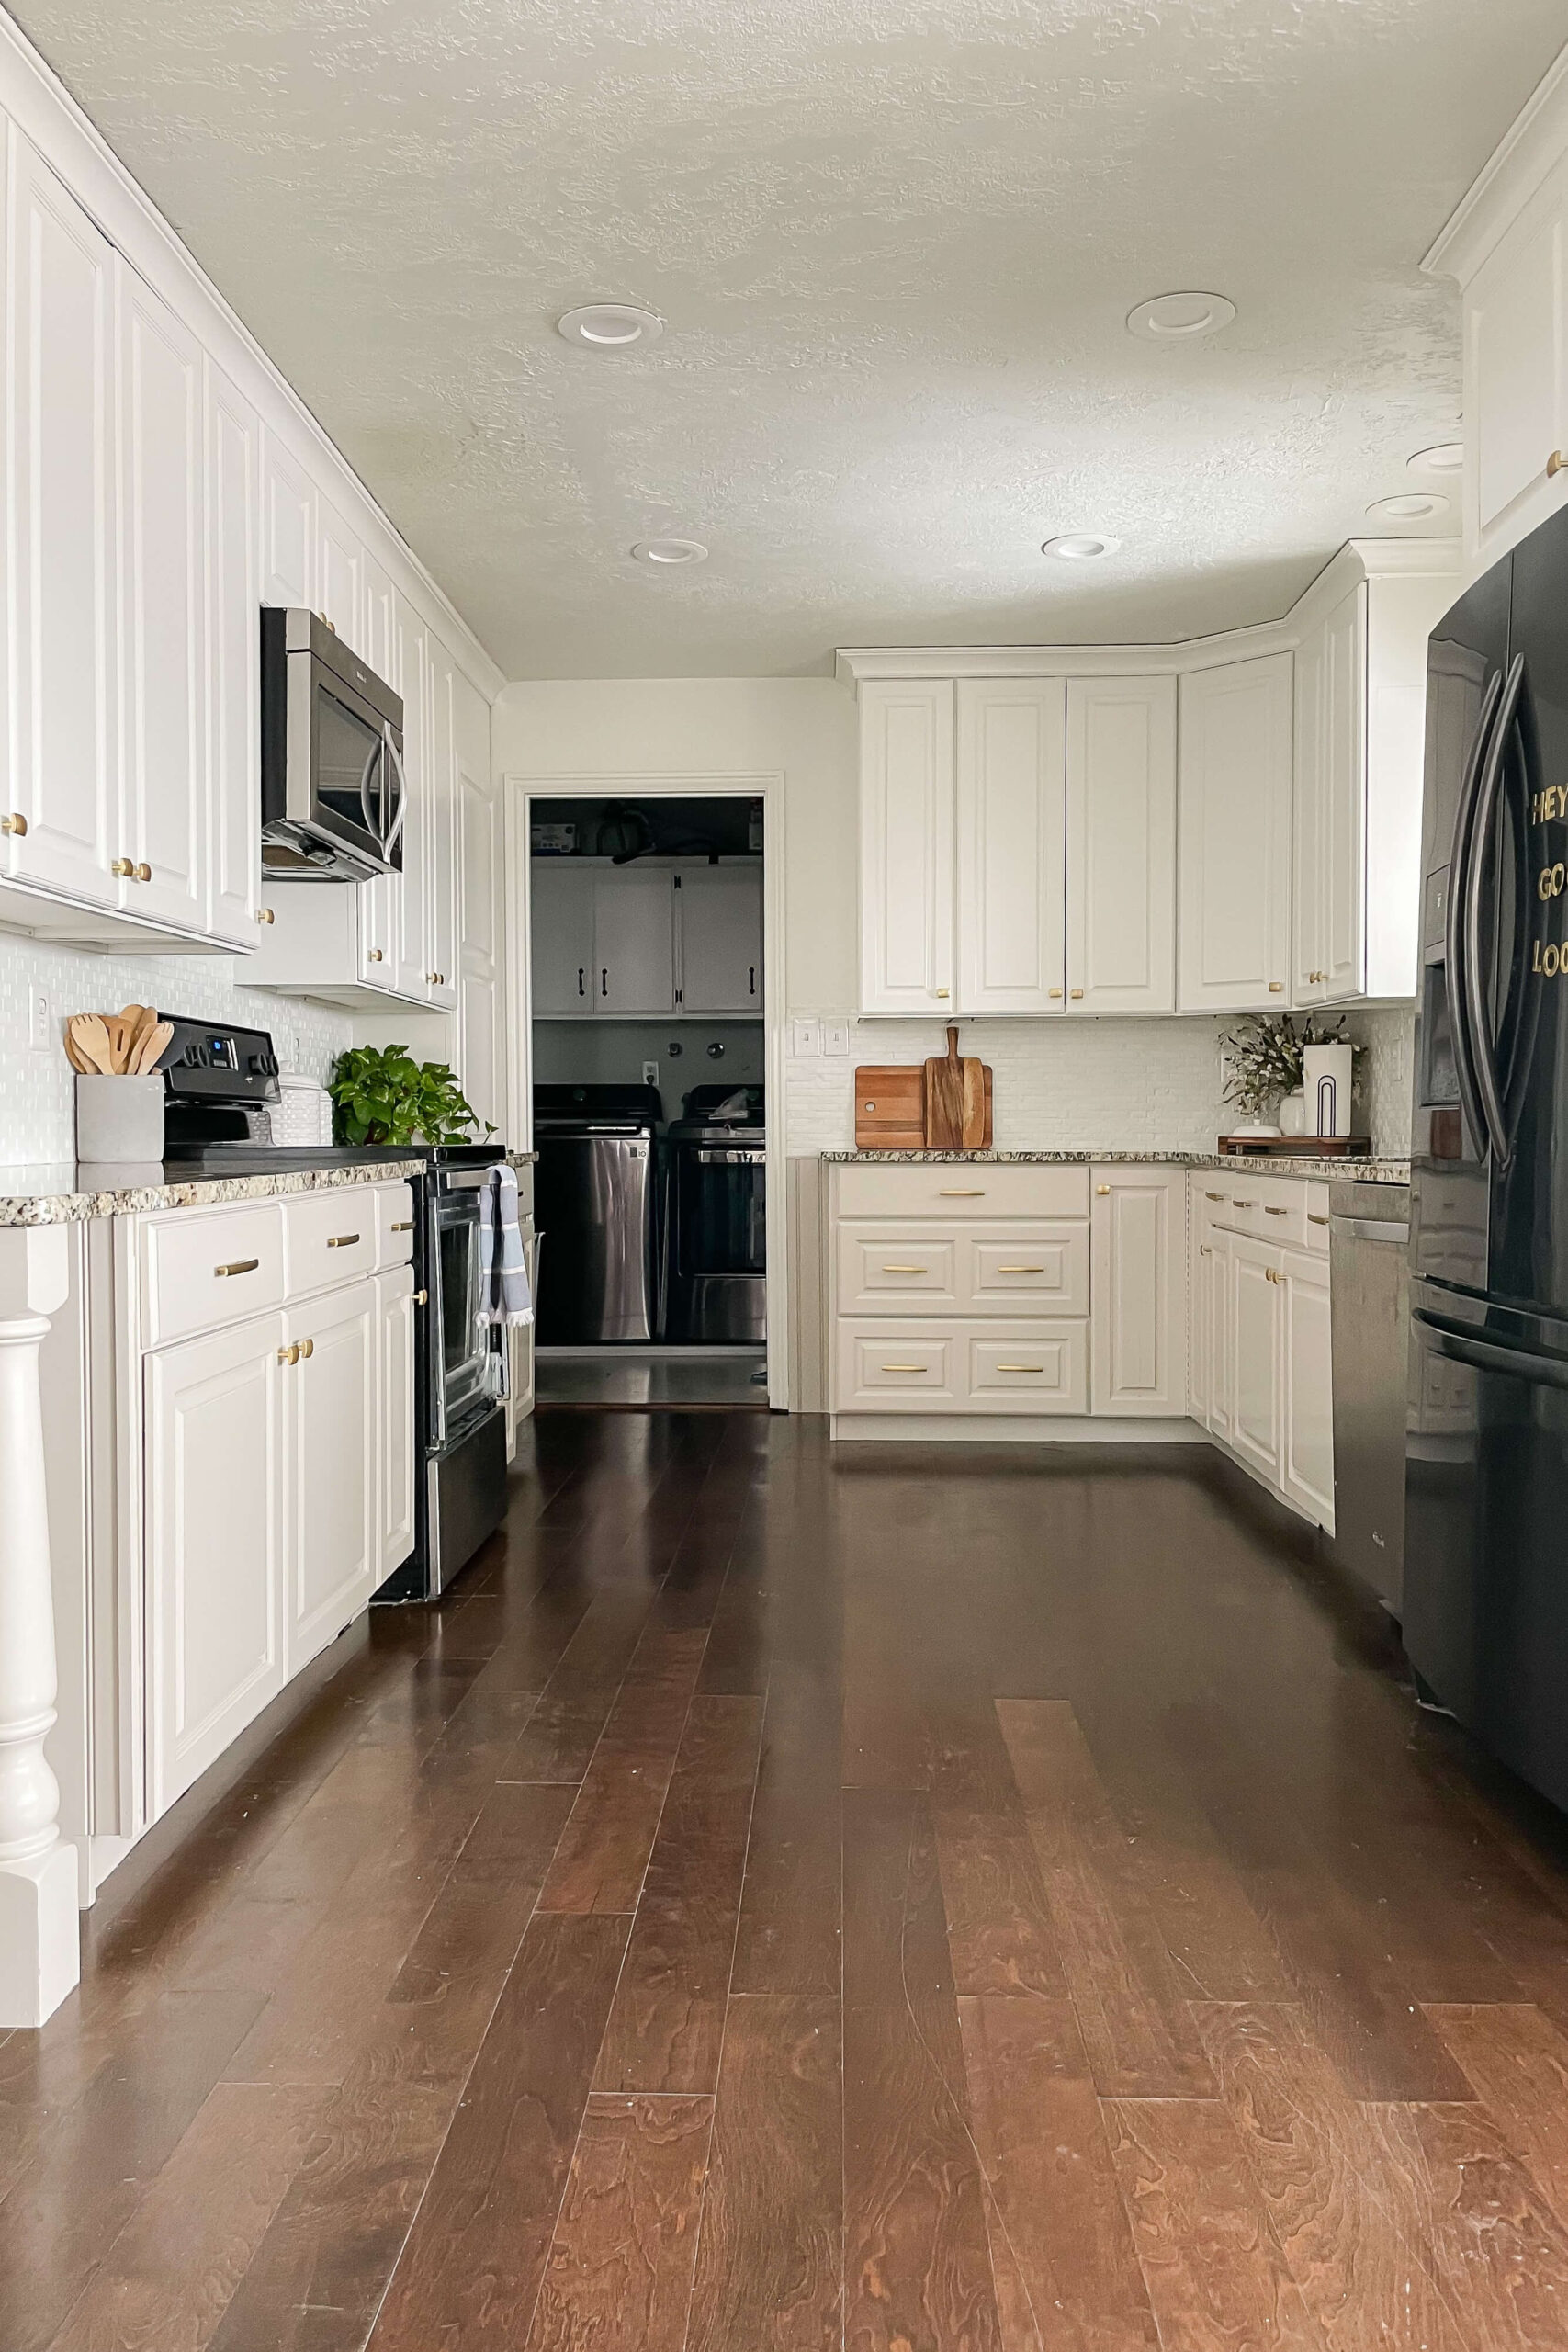
With the paint cured enough to handle, I swapped in brass hardware and built simple plywood organizers for the drawers. That last bit of function makes the whole project feel finished. Side by side, the before and after photos tell the story: the kitchen reads brighter, cleaner, and a little bigger. If replacing cabinets is not in the budget, paint can deliver major results.
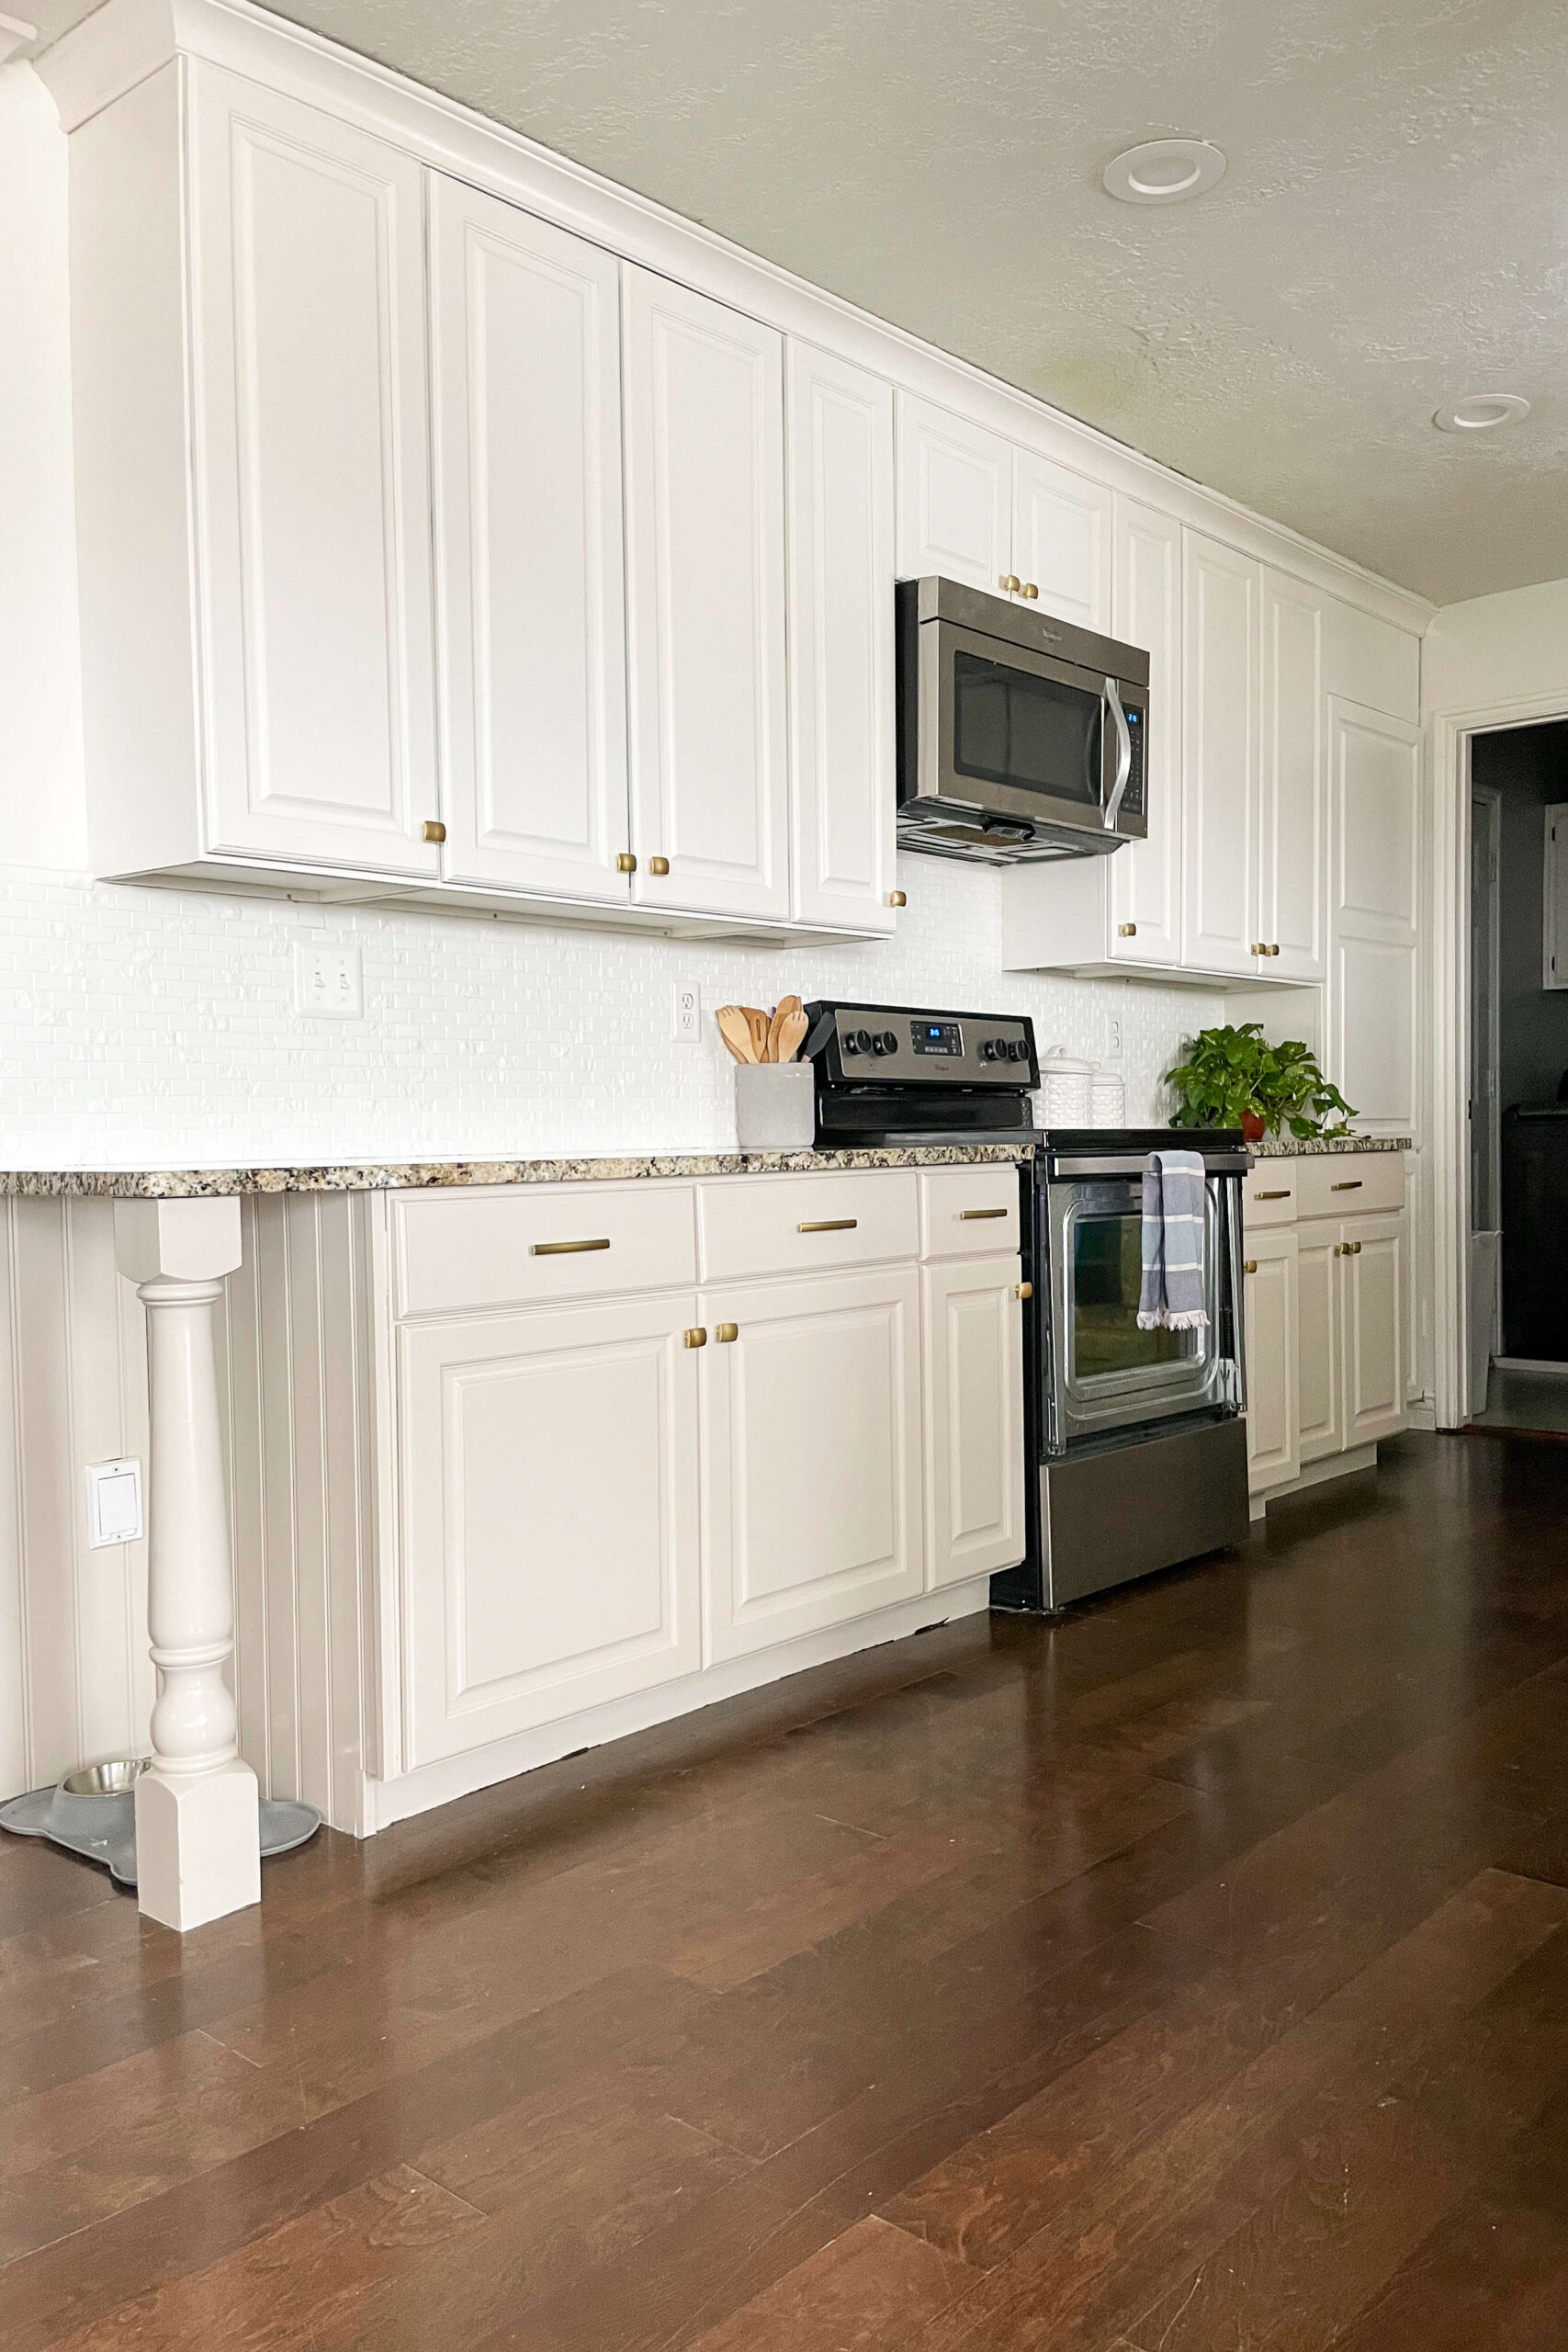
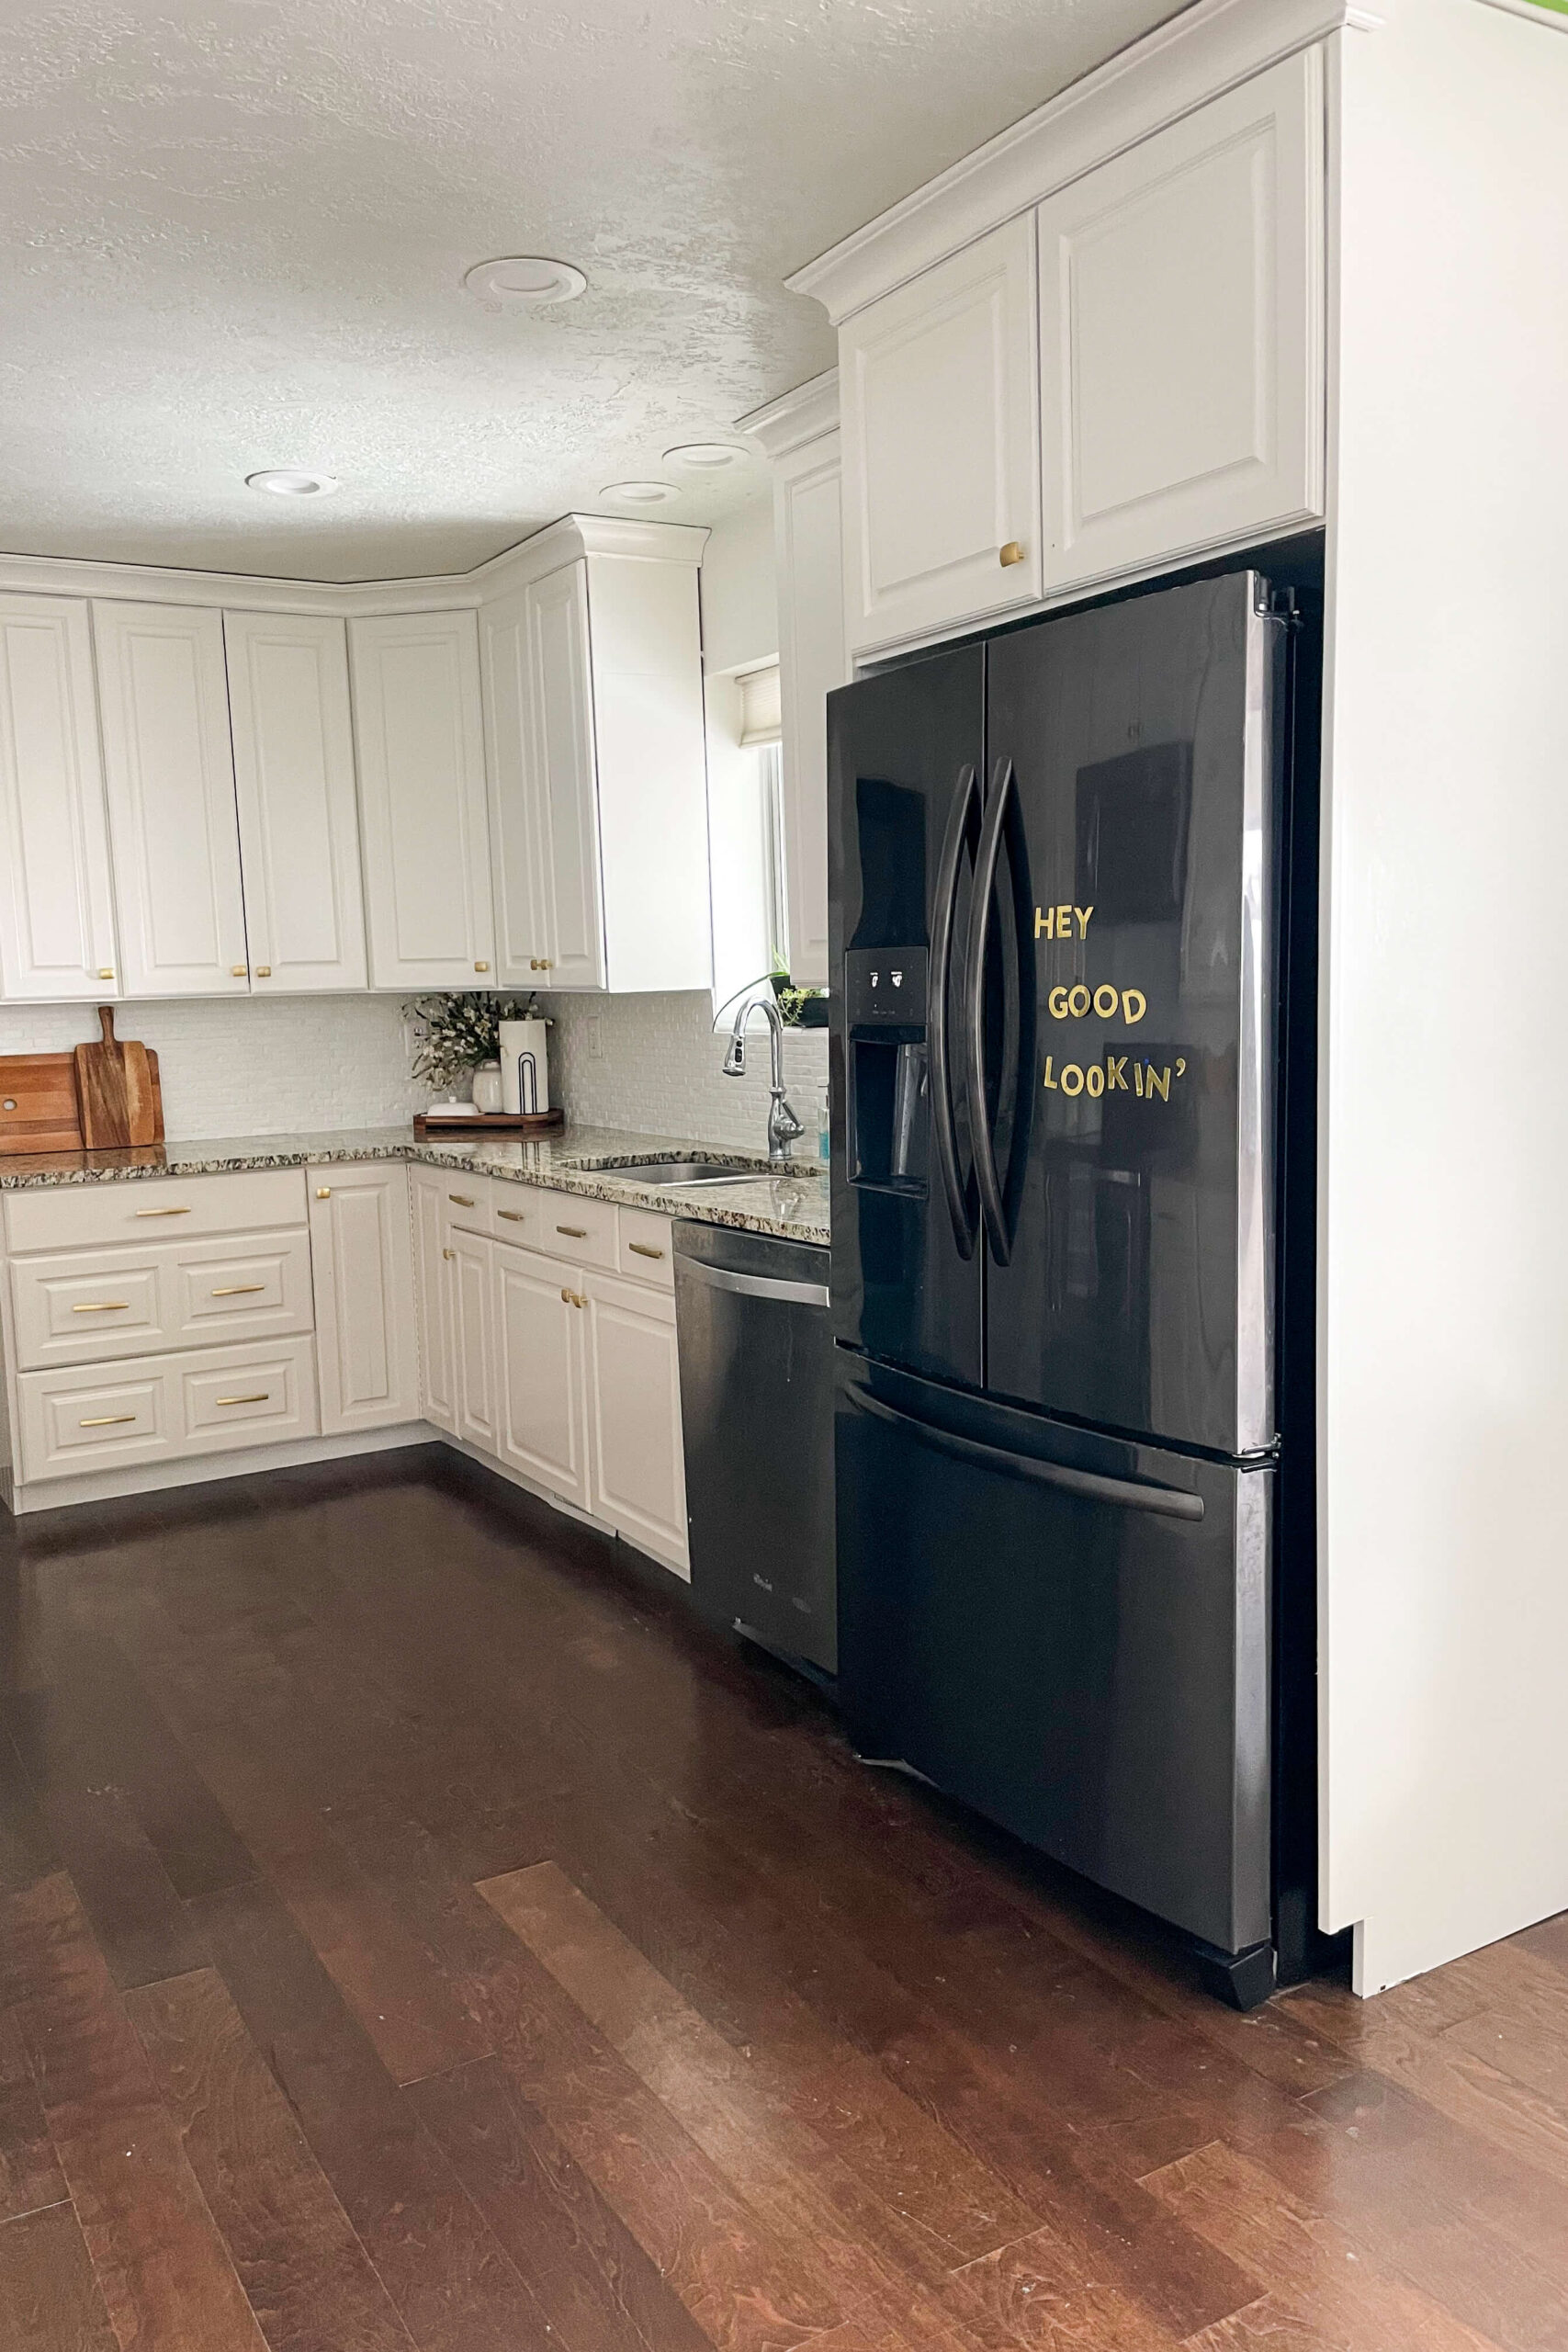
If replacing cabinets is not in the budget, paint can deliver major results.

Kitchen Cabinet Paint Colors I Used
- Upper cabinets: Sherwin-Williams Alabaster
- Lower cabinets: Sherwin-Williams Accessible Beige
Save This Project For Later
Pin now and come back when you’re ready to paint your cabinets.
Frequently Asked Questions About Painting Kitchen Cabinets
I recommend Sherwin-Williams Emerald Urethane Trim Enamel. It levels smoothly, cures hard, and resists everyday wear.
A quick scuff sand with 220-grit makes a noticeable difference in adhesion and longevity. Clean first, sand second, then wipe away dust before priming.
BIN Shellac-Based Primer blocks stains and grips factory finishes, which helps your topcoat bond and cure more evenly. For the full prep sequence and why shellac primers bond better on slick finishes, read The ULTIMATE Guide to Painting Cabinets & Furniture.
A sprayer delivers the smoothest finish with minimal texture. Foam rollers can work well too. Light coats plus a quick sand between coats are what really elevate the result.

